To my other GT6 pages
August 23, 2023
Front Electrics
There are two major electric cables in this car--one for the rear part of the car, and one for the front. With the rear
cable installed and mostly tested, it was time for the front cable,
which serves the front lighting, the engine, and the electrical
components on the firewall.
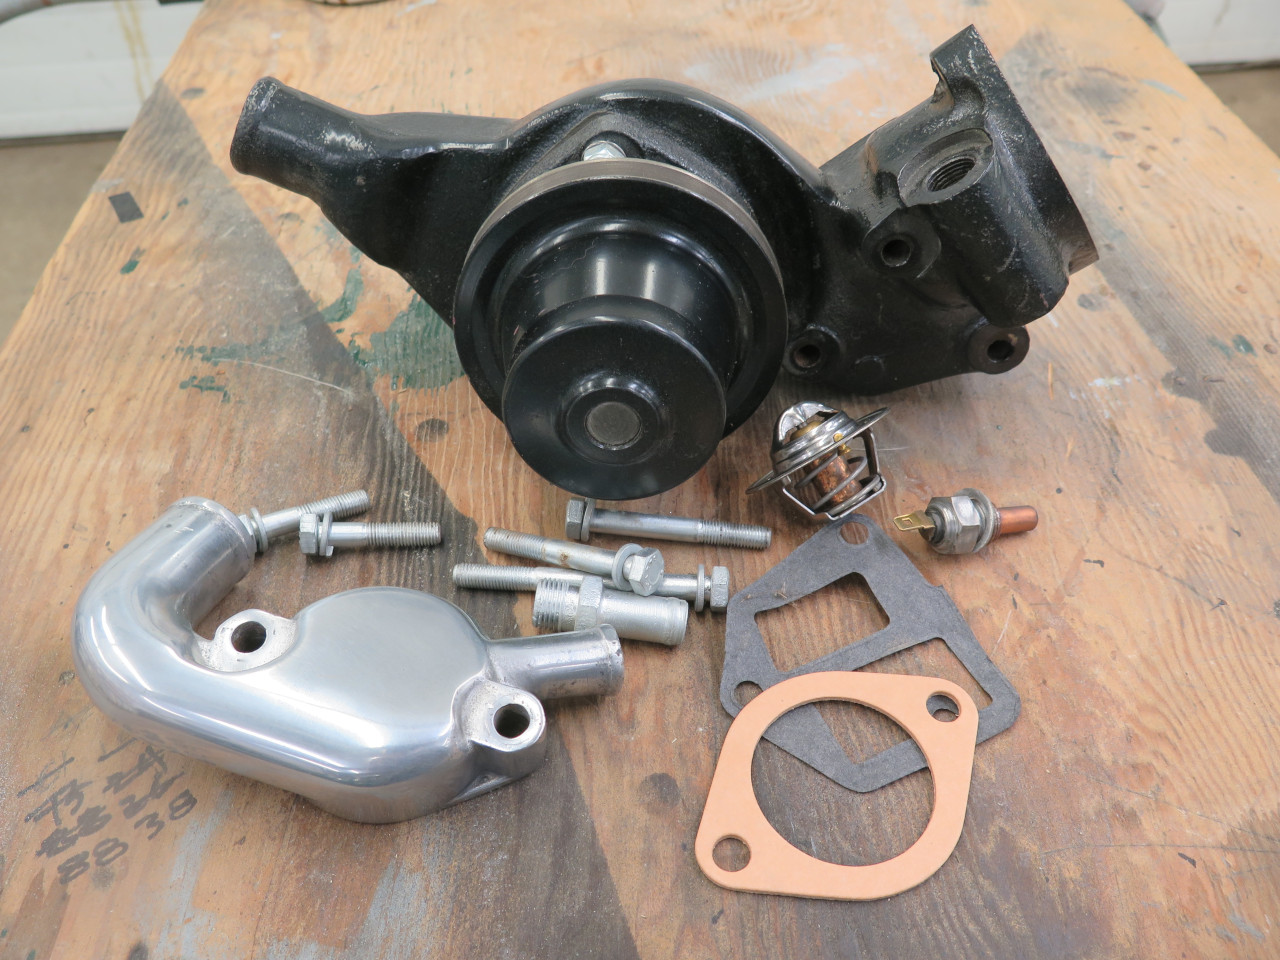
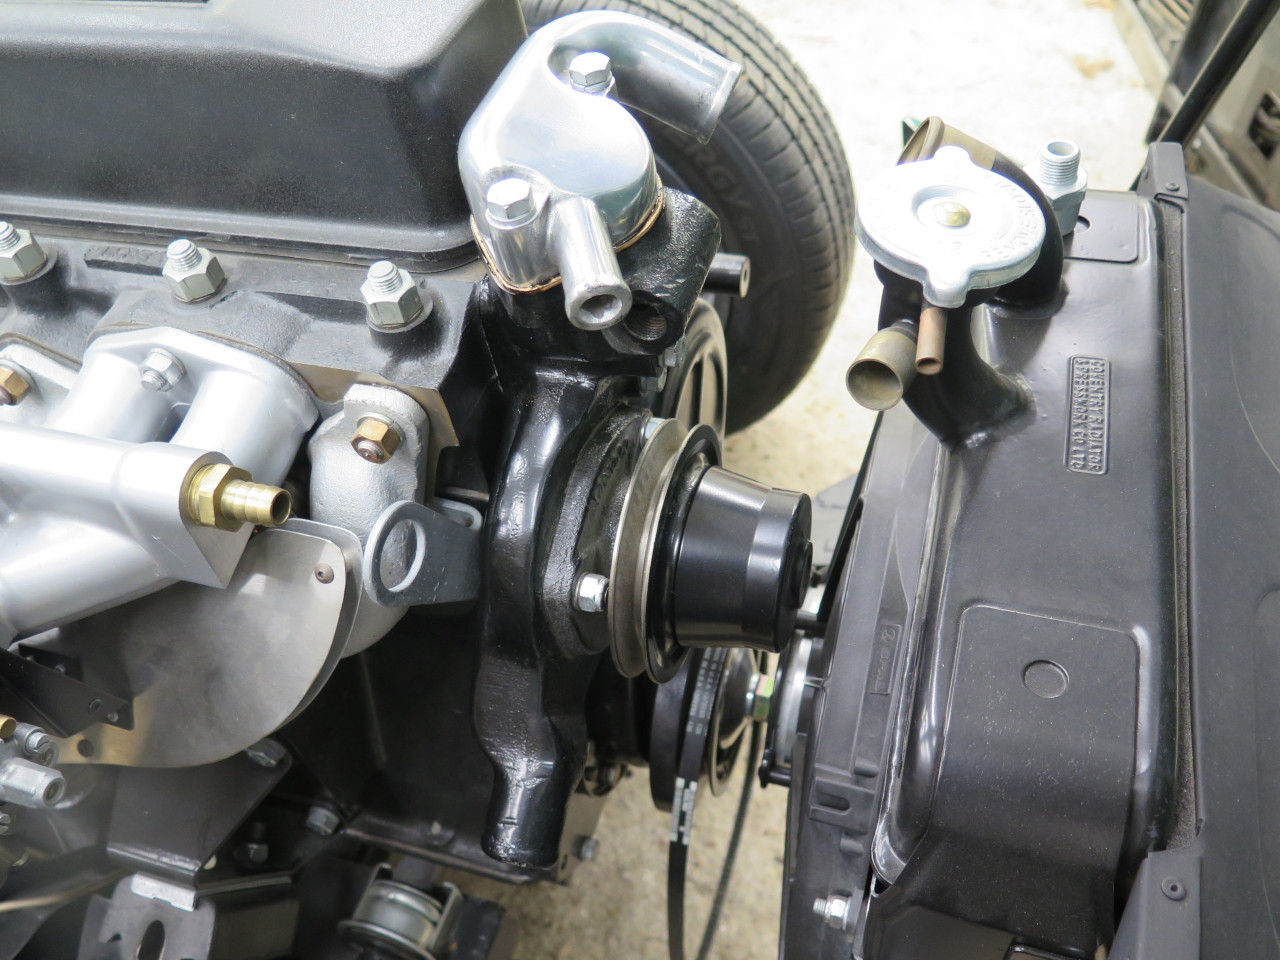
The first task was to install all of the remaining components that
needed electrical connections. First up was the refurbed water pump,
with its temperature sender. I did a cursory test of the original
sender, and opted to re-use it. A lot of anecdotal evidence suggests
that many replacement senders may be "universal" types, and not direct
replacements. If the resistance range differs from the original,
gauge readings can be skewed.
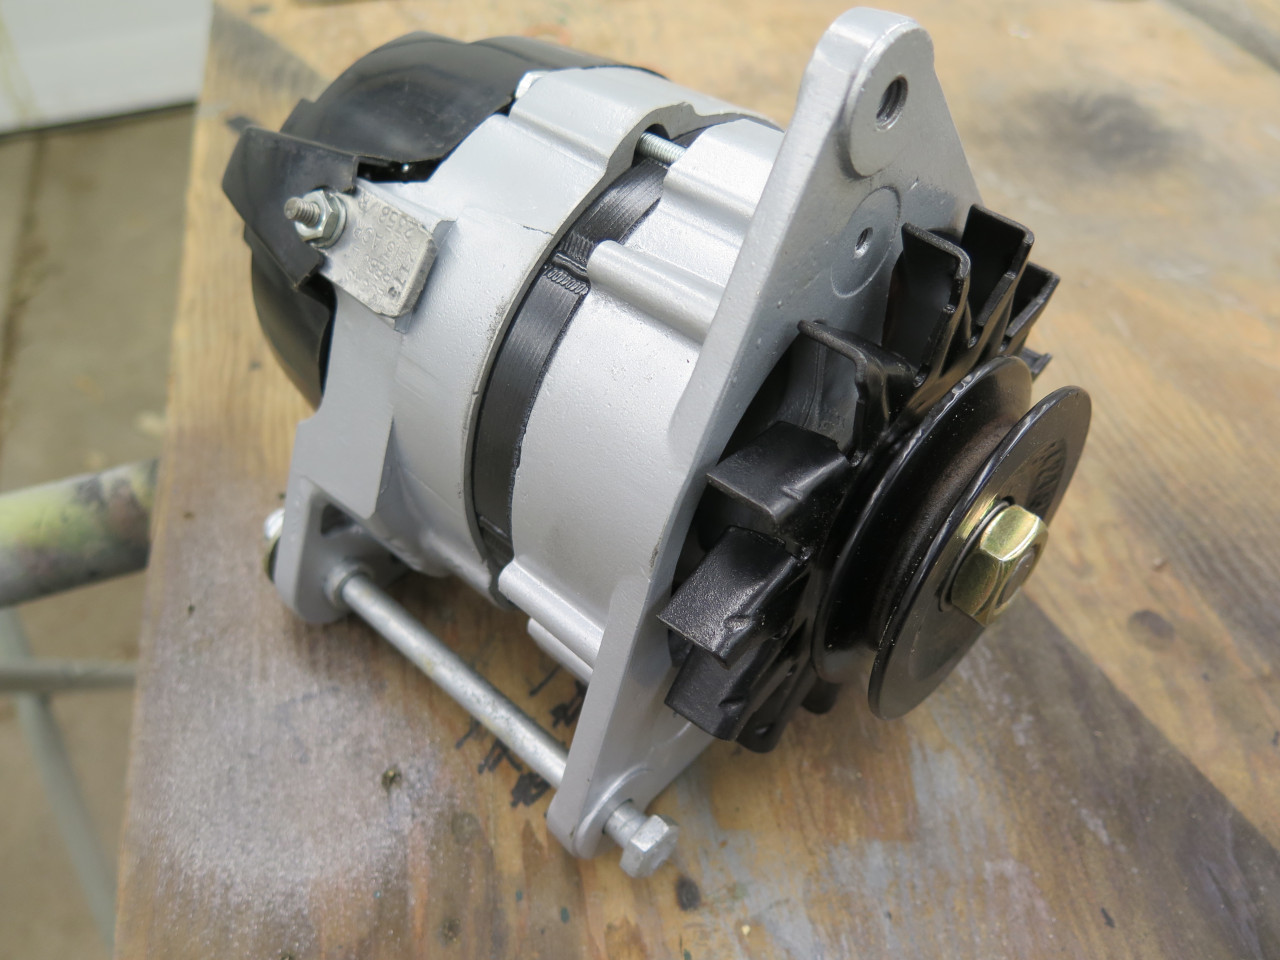
Next up was the rebuilt alternator. I apparently didn't take a pic after installation.
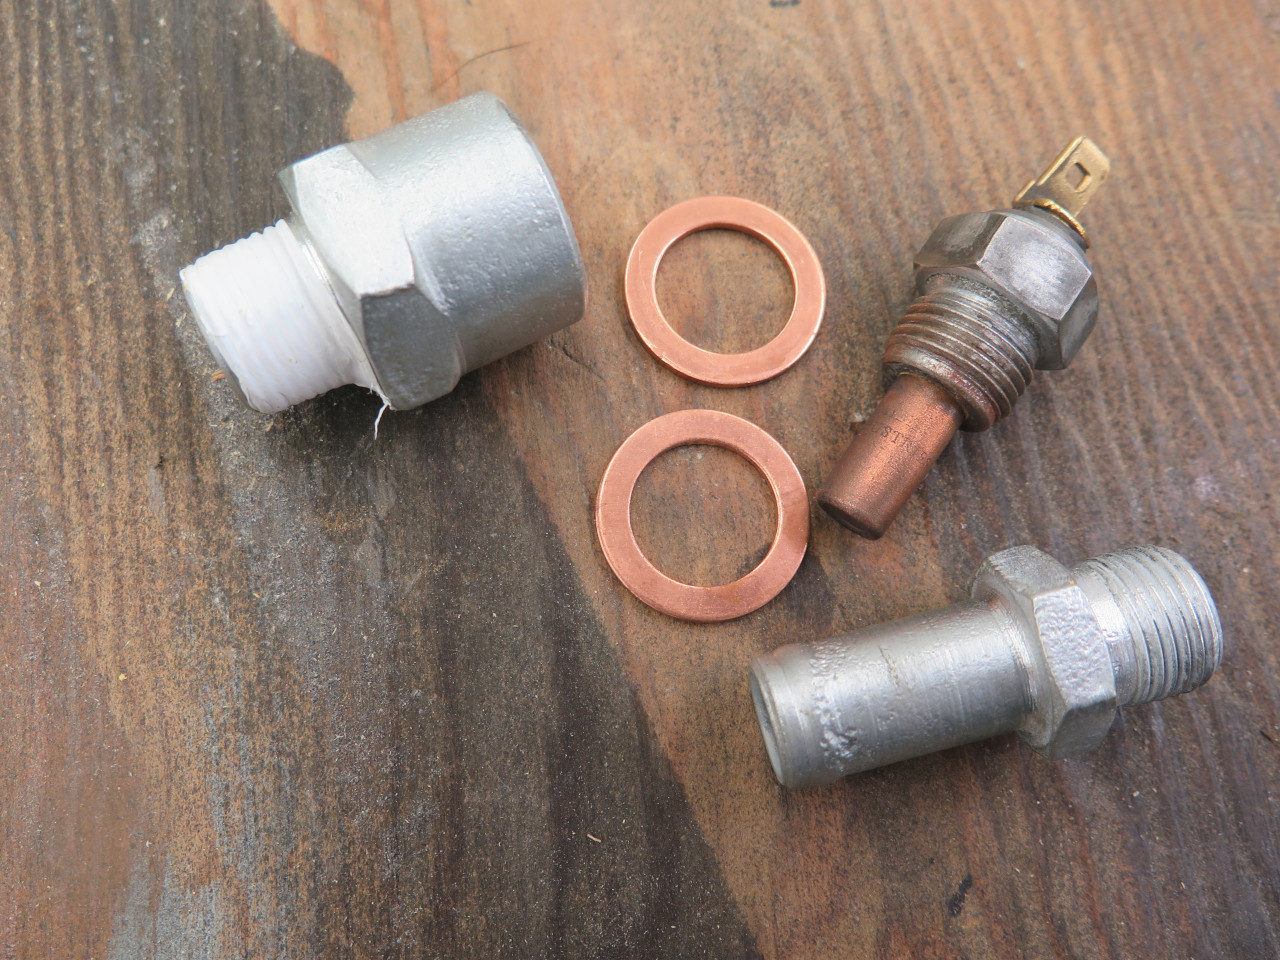
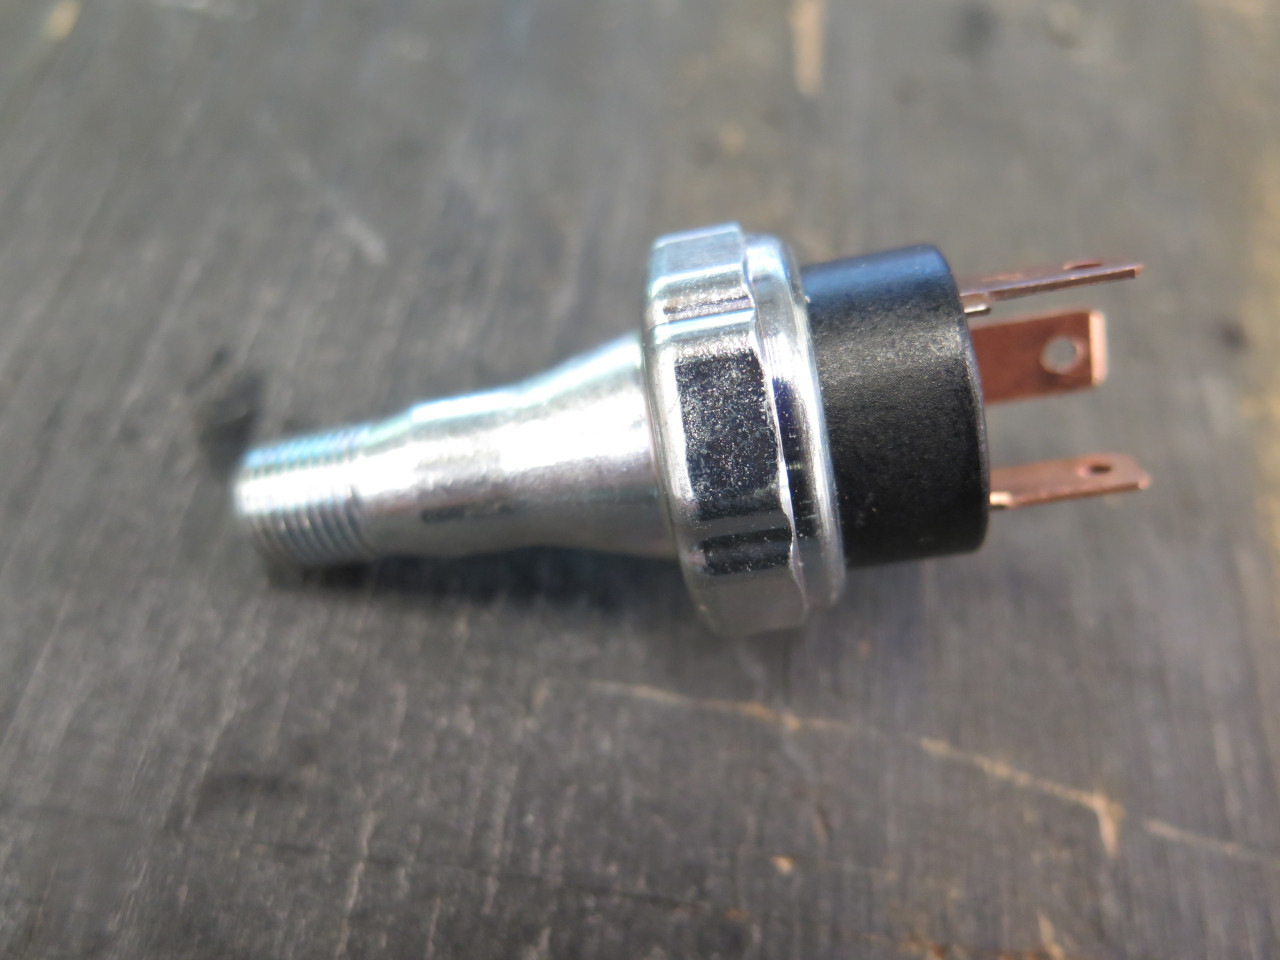
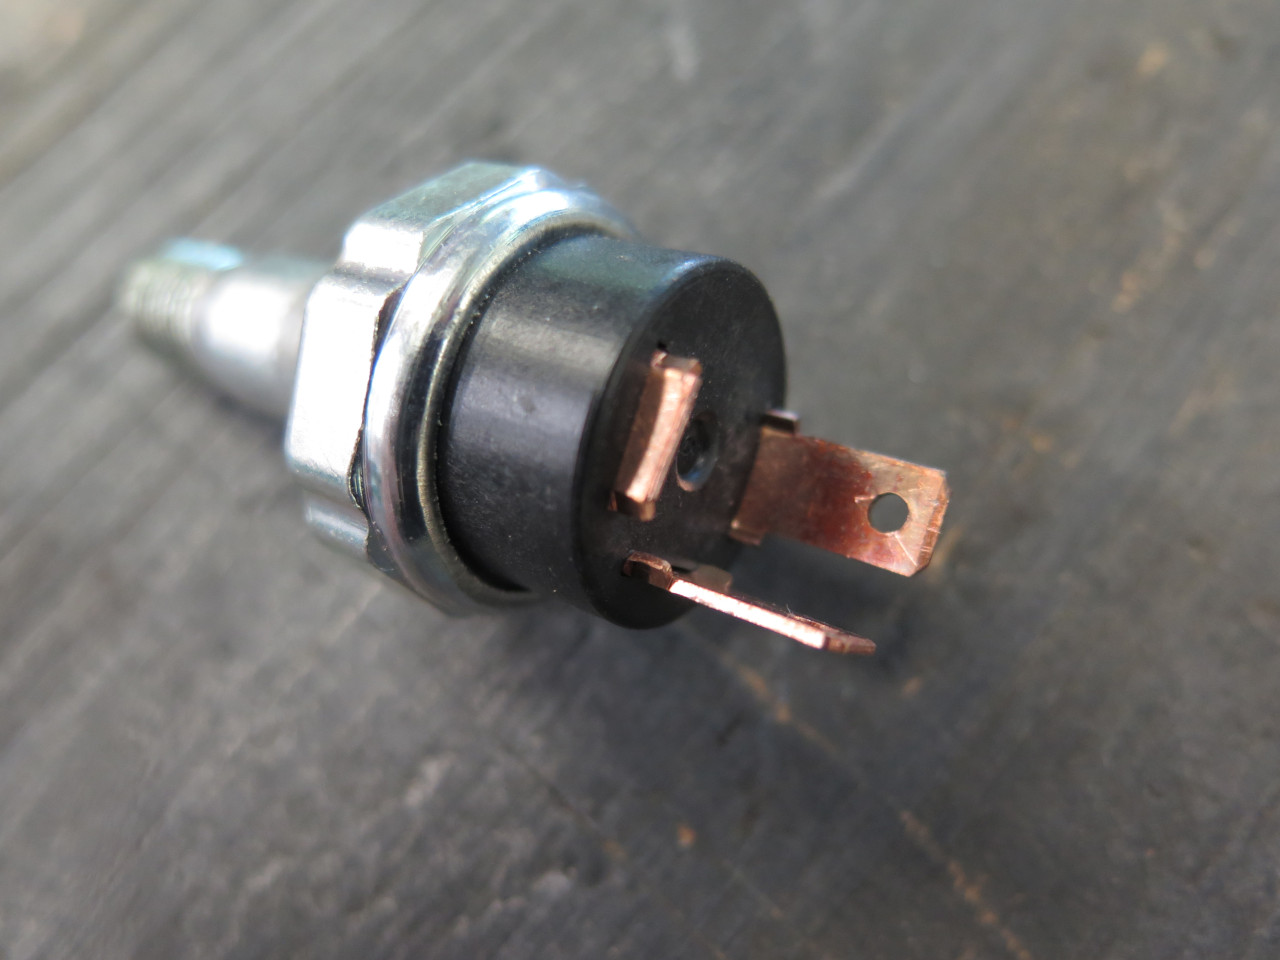
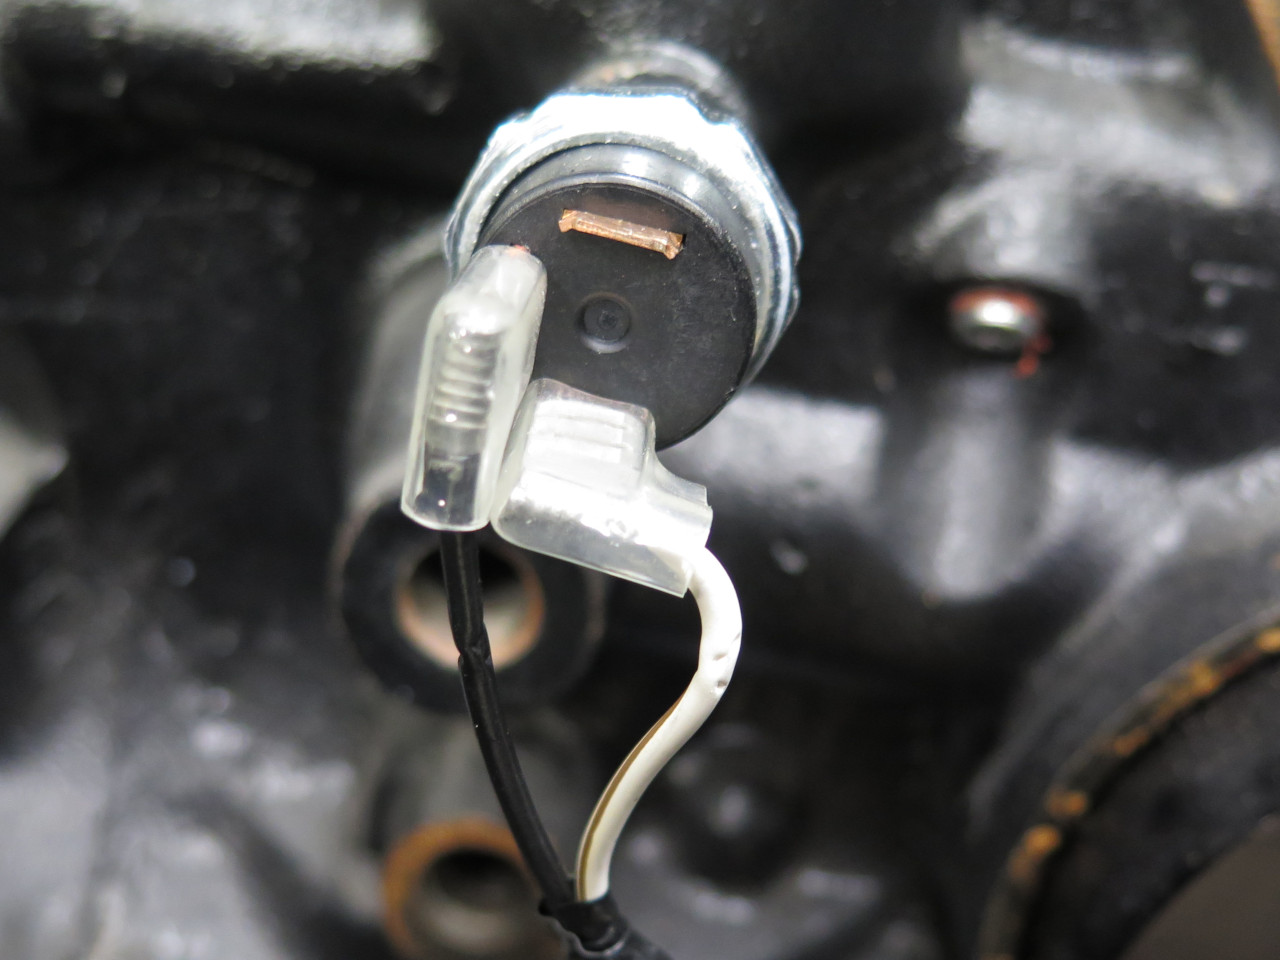
Continuing with the engine, I installed the oil pressure switch.
Since I'm trying to avoid using the car itself as a ground return
wherever I can, I wanted a two terminal normally closed switch. I
found this three terminal switch that provides both NC (normally closed)
and NO (normally open) contacts. It's a universal switch, but
appears very similar to what is used on the later TR6 and many other
cars. I cut off the NO terminal so there would be no question
about hookup. The other two terminals are interchangeable.
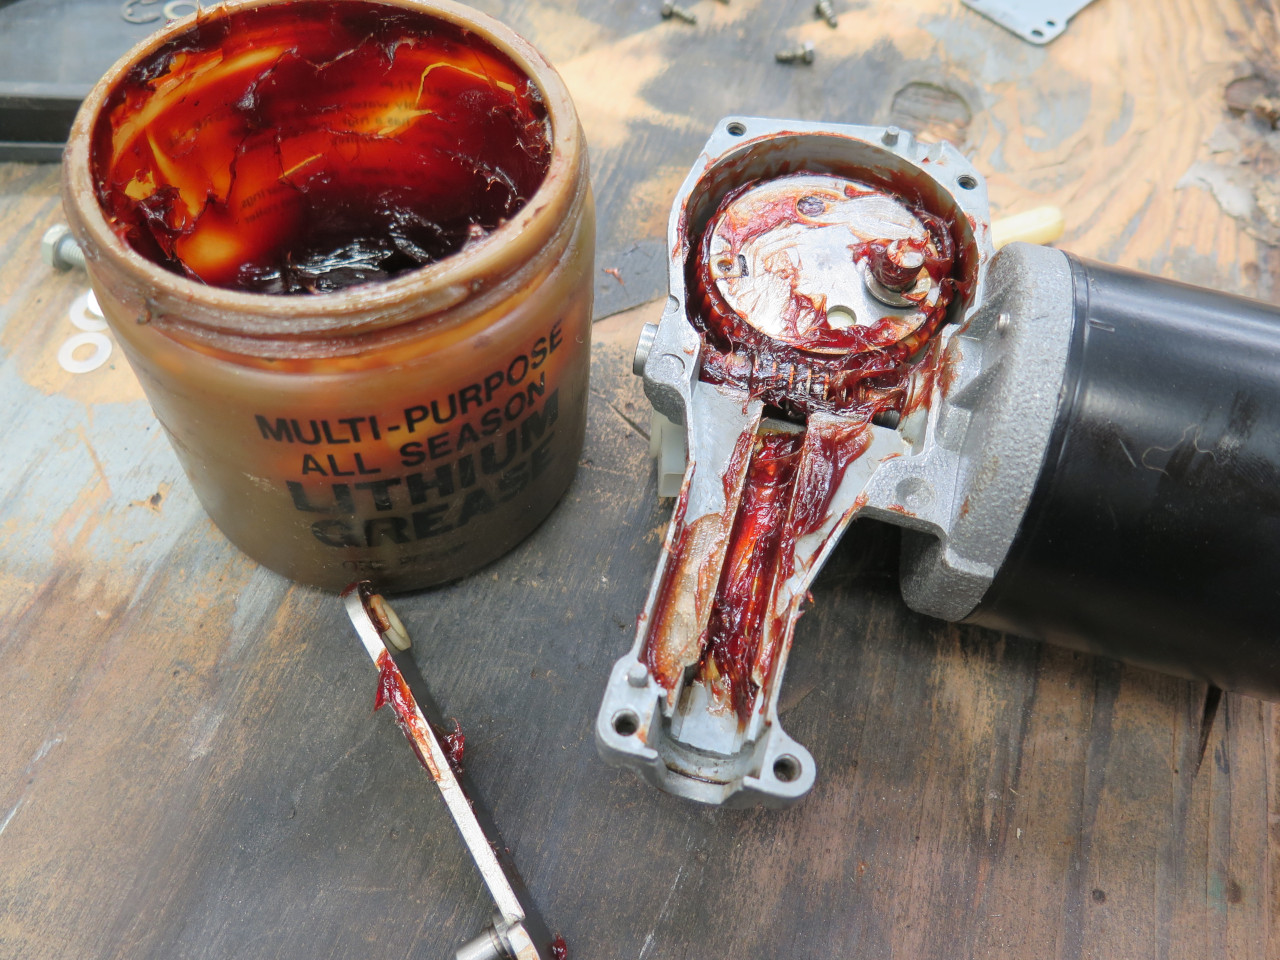
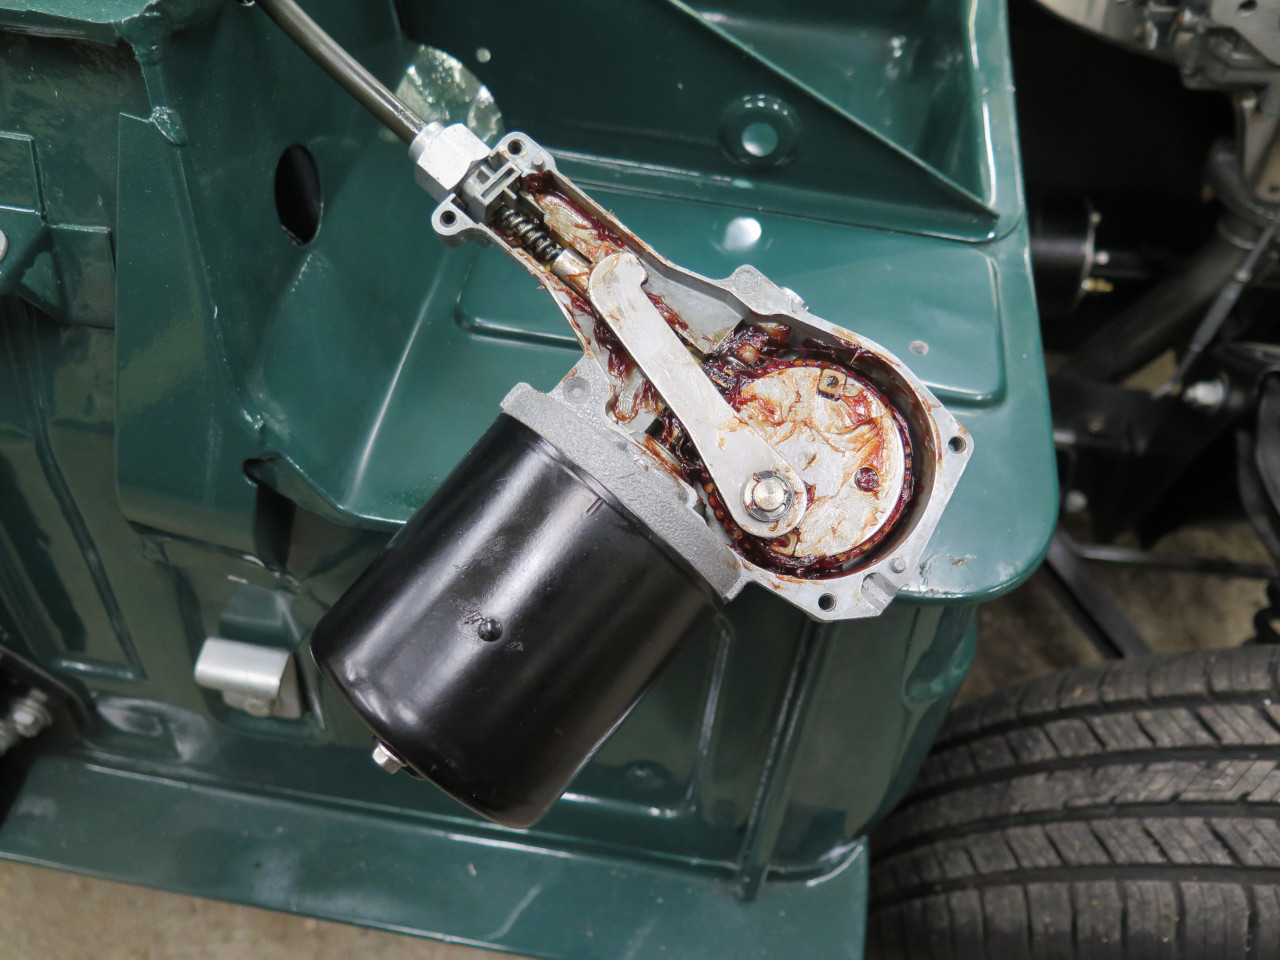
Then the re-done wiper motor.
The cover has to come off to connect the drive cable, and I packed the
gearcase with plenty of grease. The drive cable attaches to the reciprocating arm before the
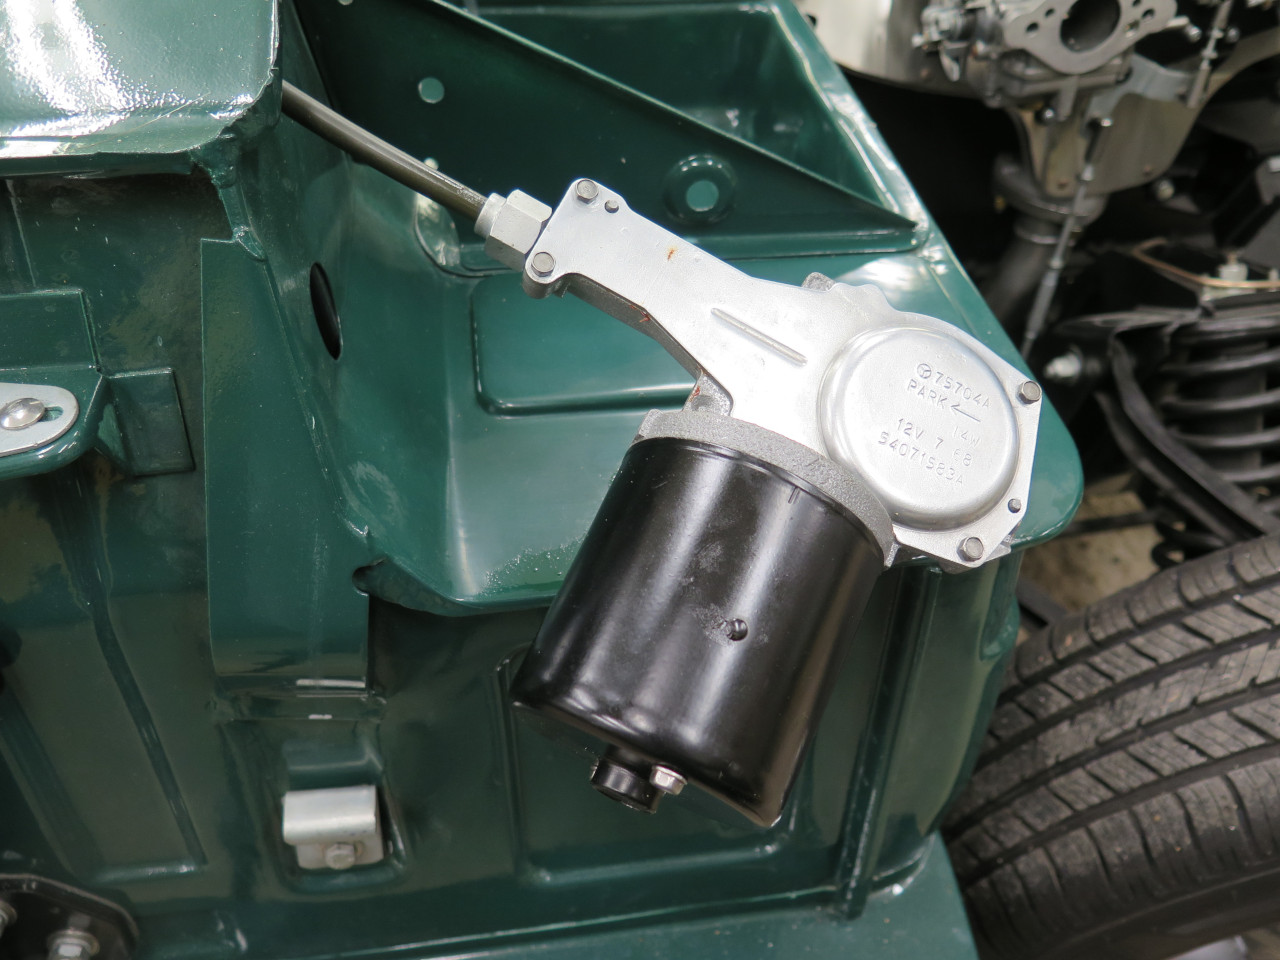
cover goes back on.
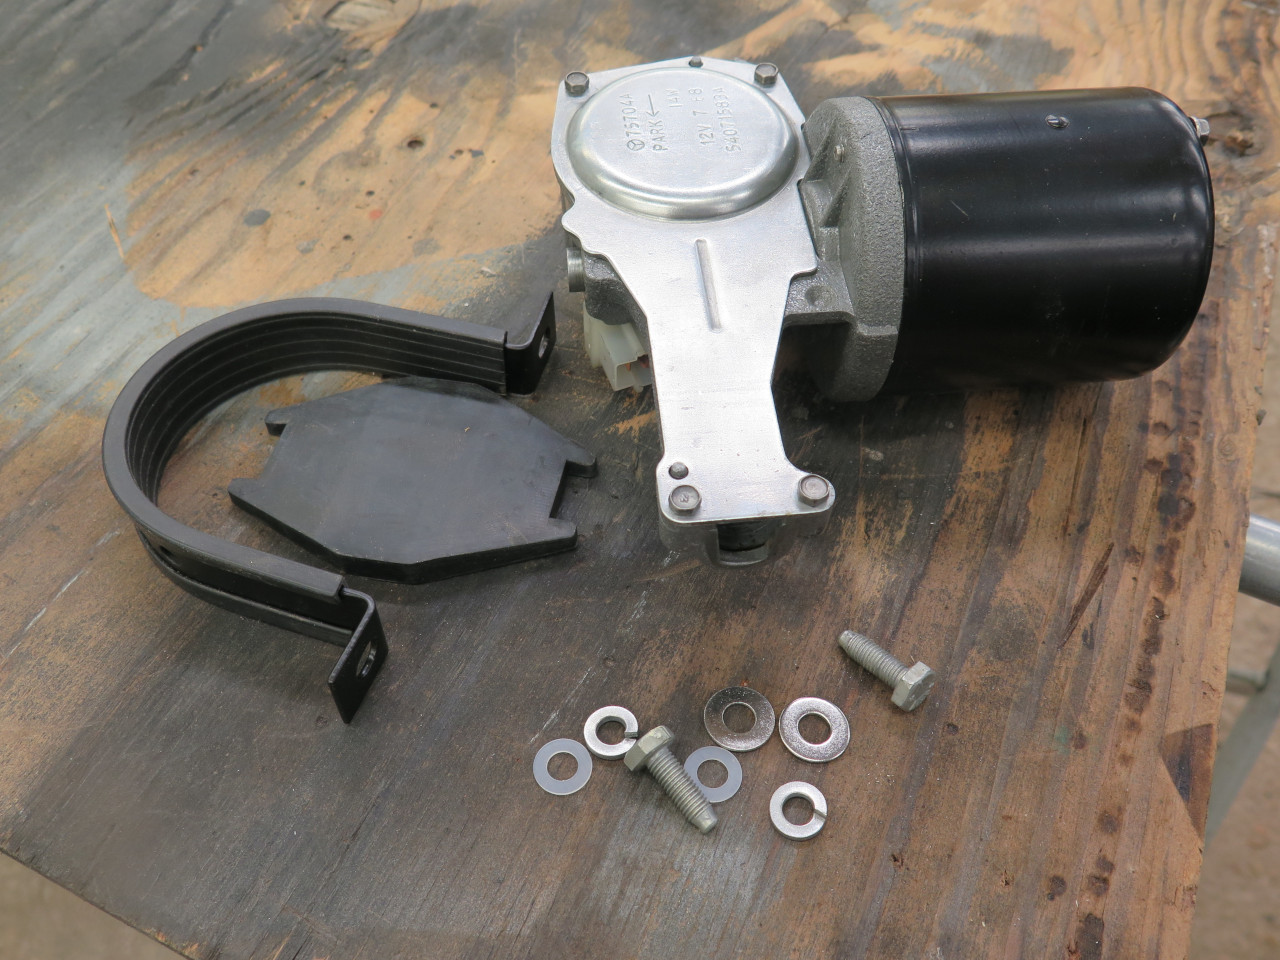
The unit then gets flipped over, and fastened in place.
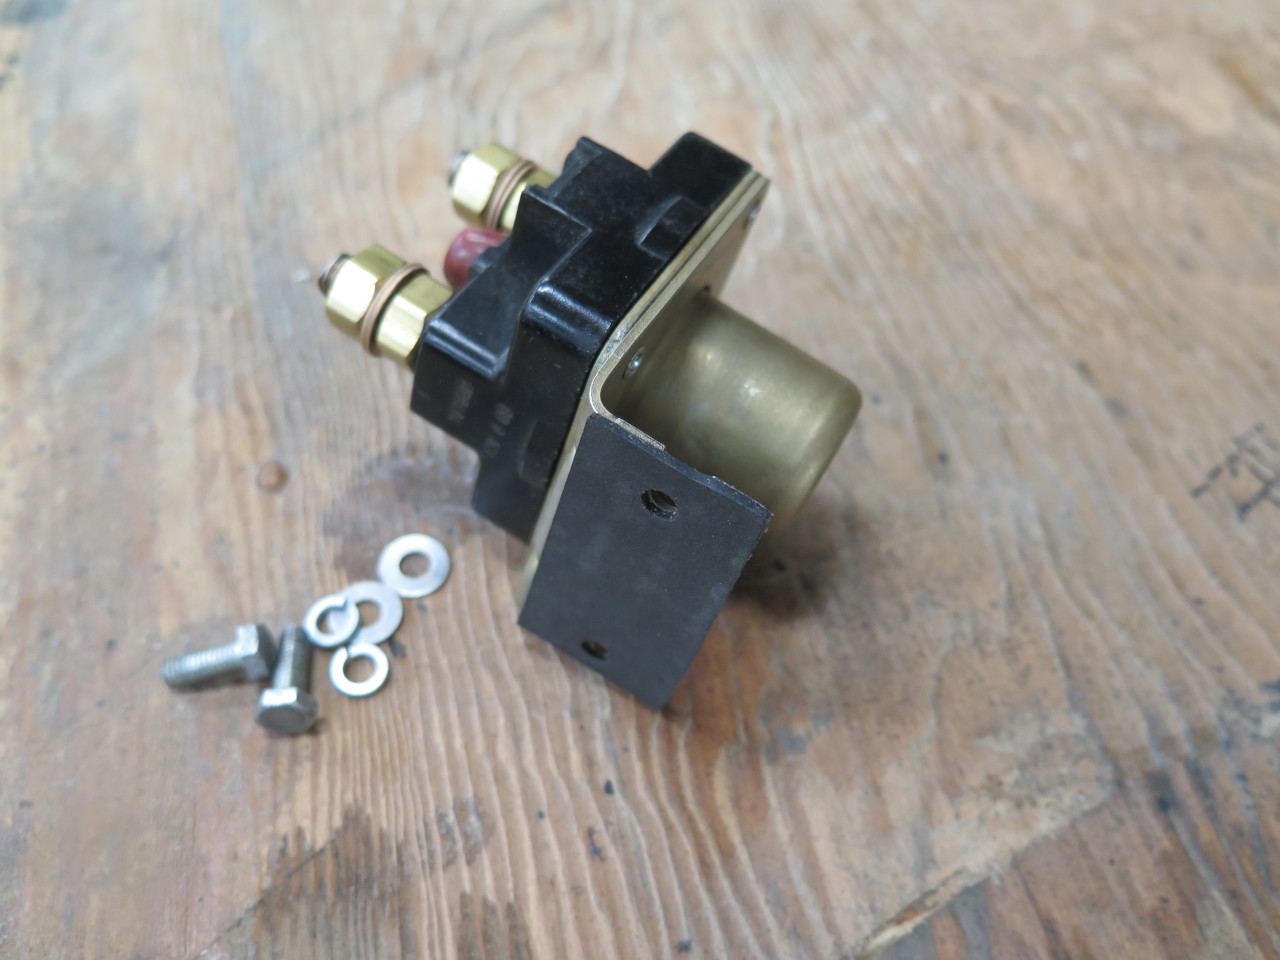
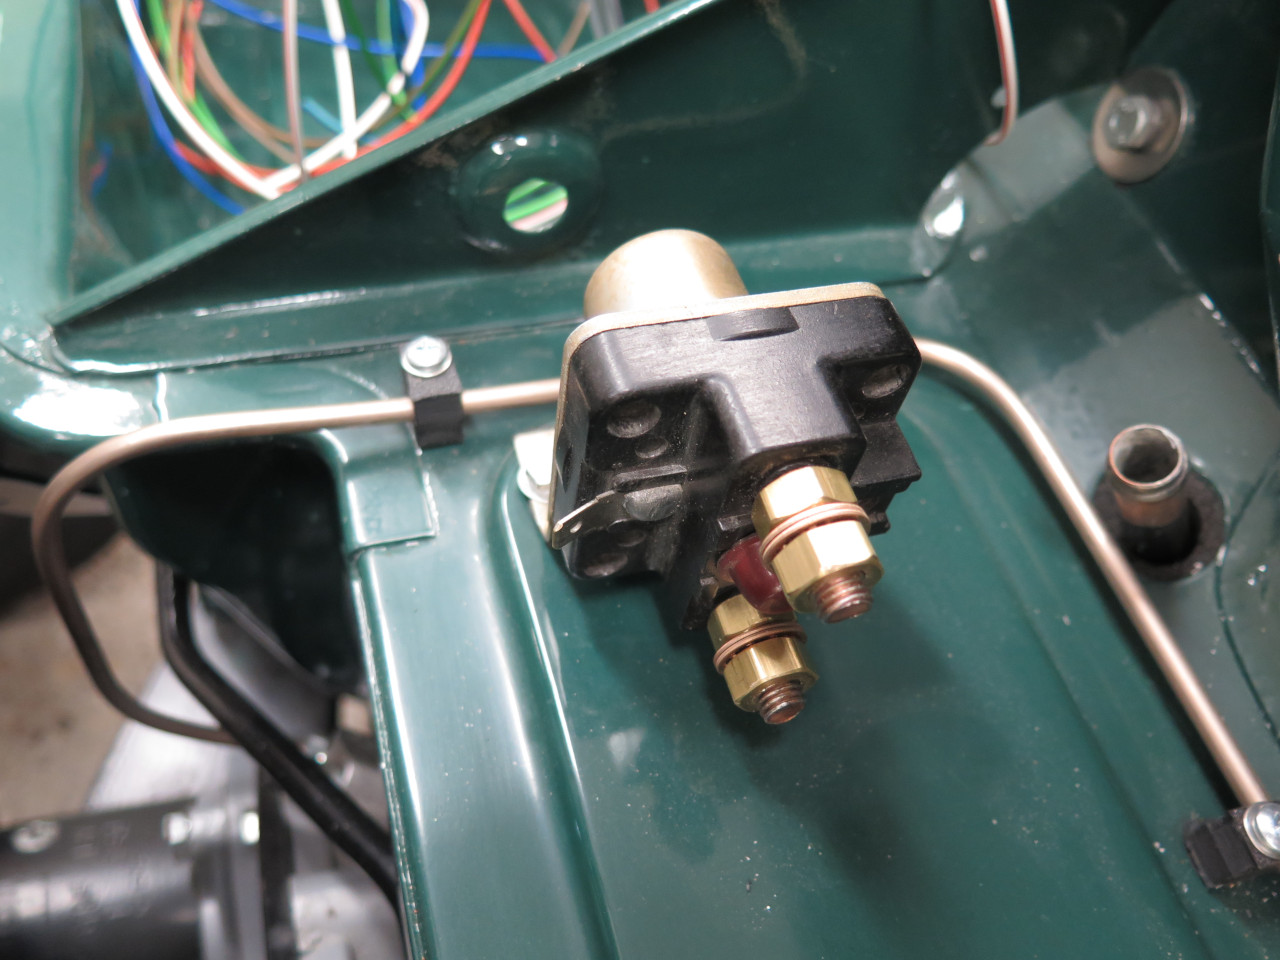
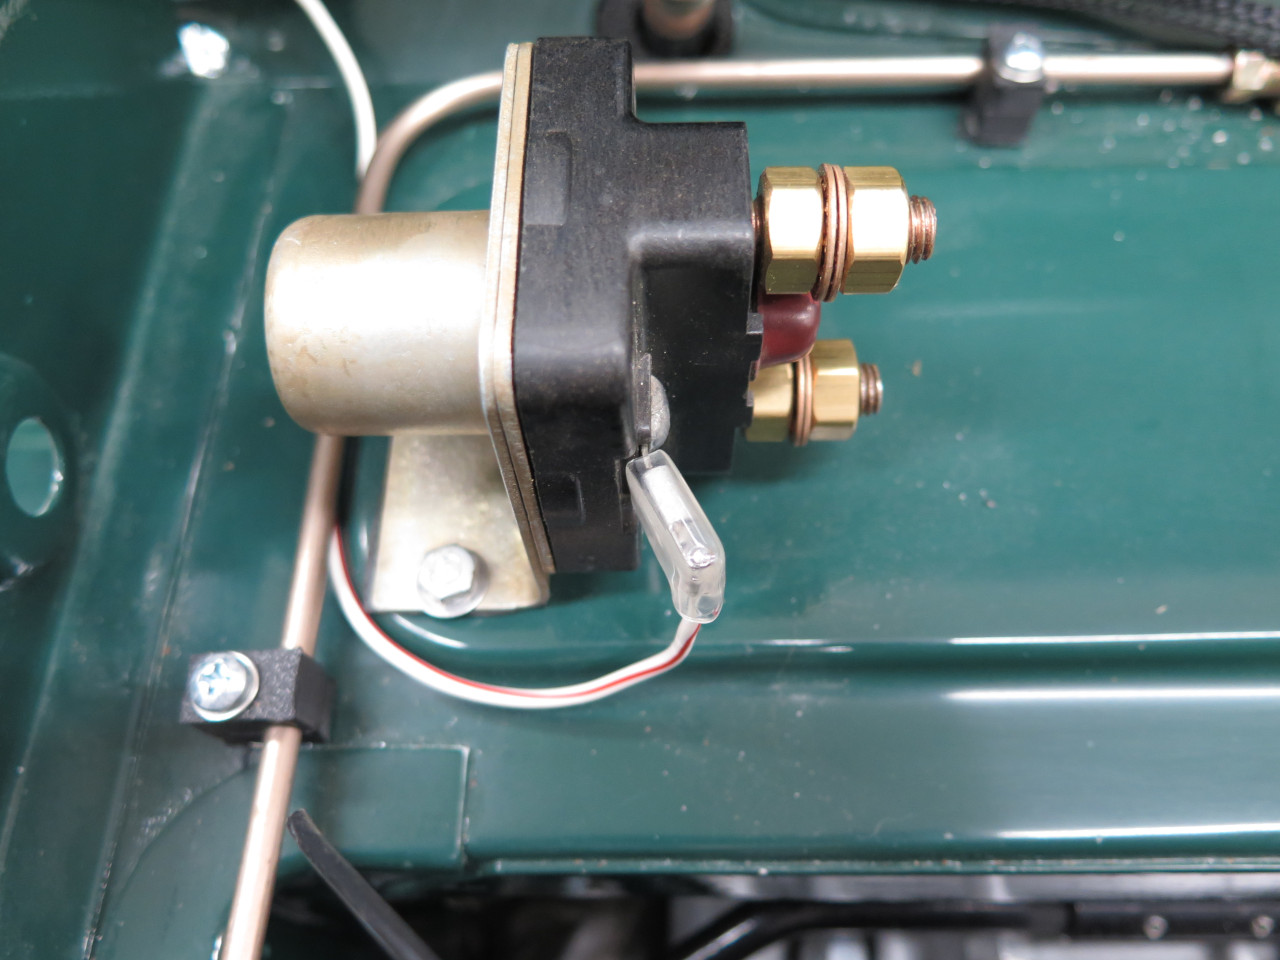
Staying on the firewall, the starter solenoid
was next. I mulled briefly whether there was a better place for
this, but couldn't really come up with a good reason to move it.
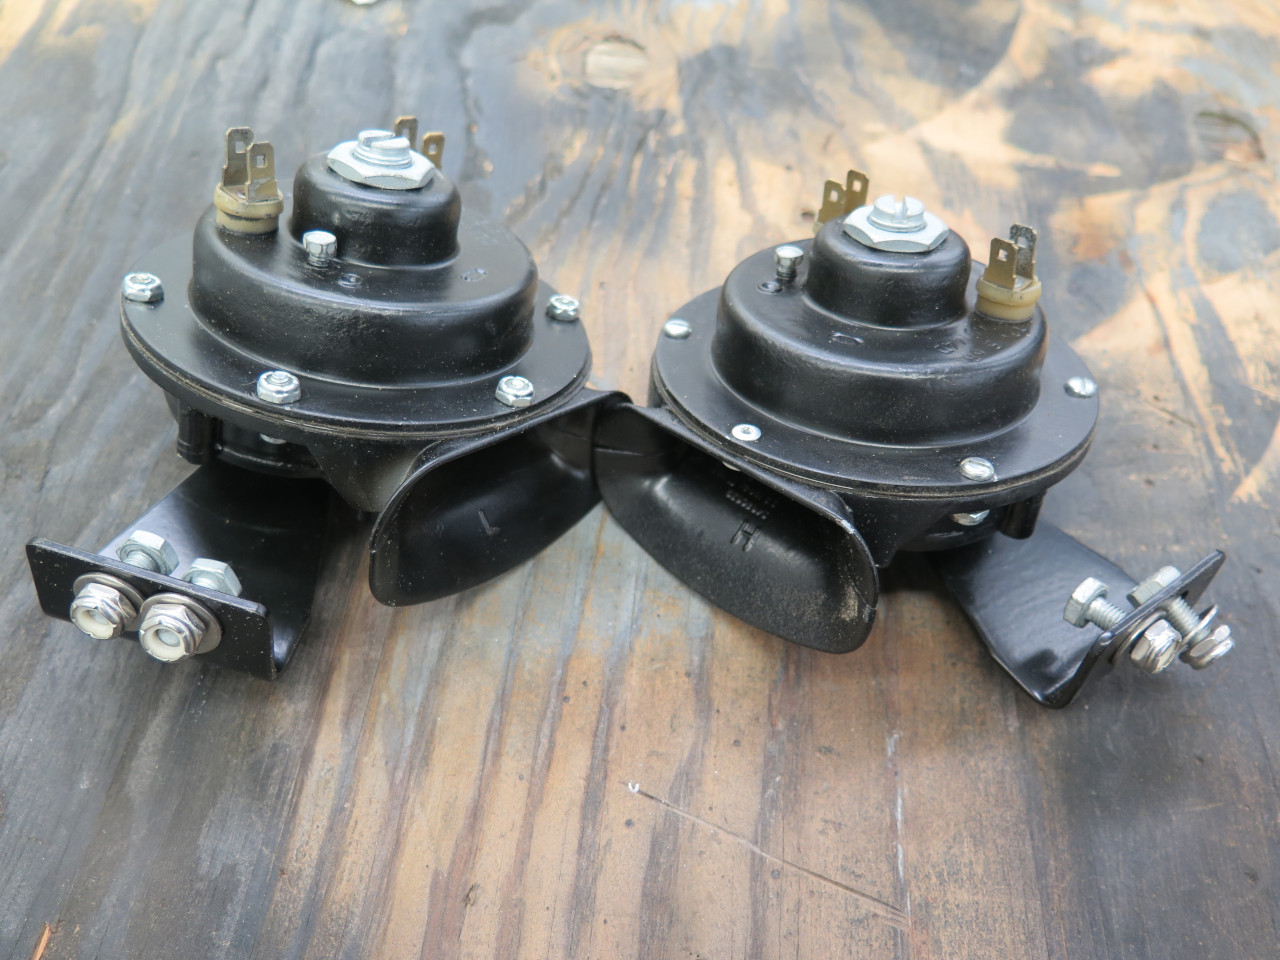
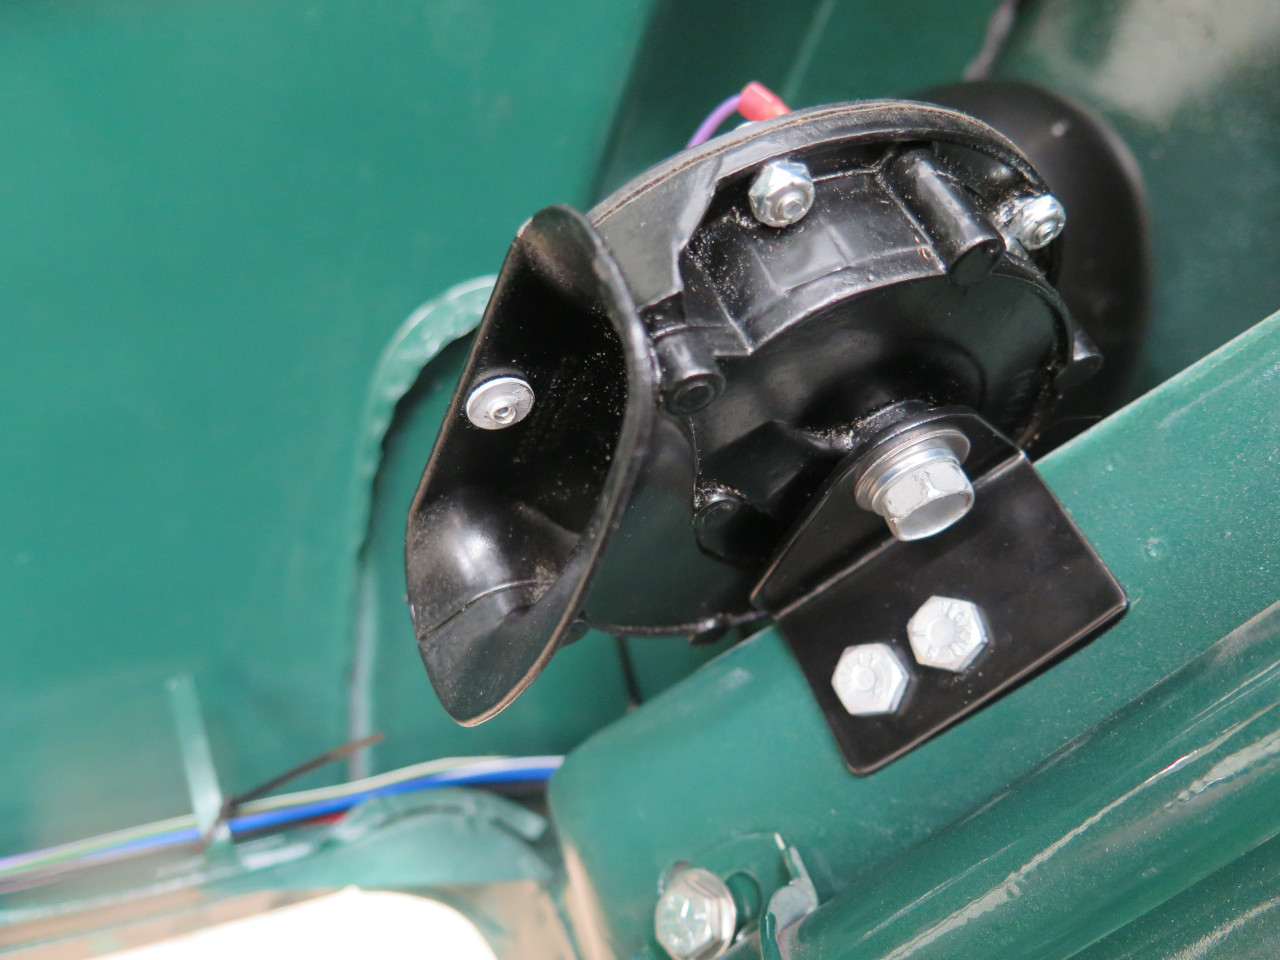
Then back to the front of the bonnet with the horns.
This was where I had my first heartbreak on this part of the
project. The left horn mounted without any excitement, but the
right one ran afoul of my trick new air induction duct.
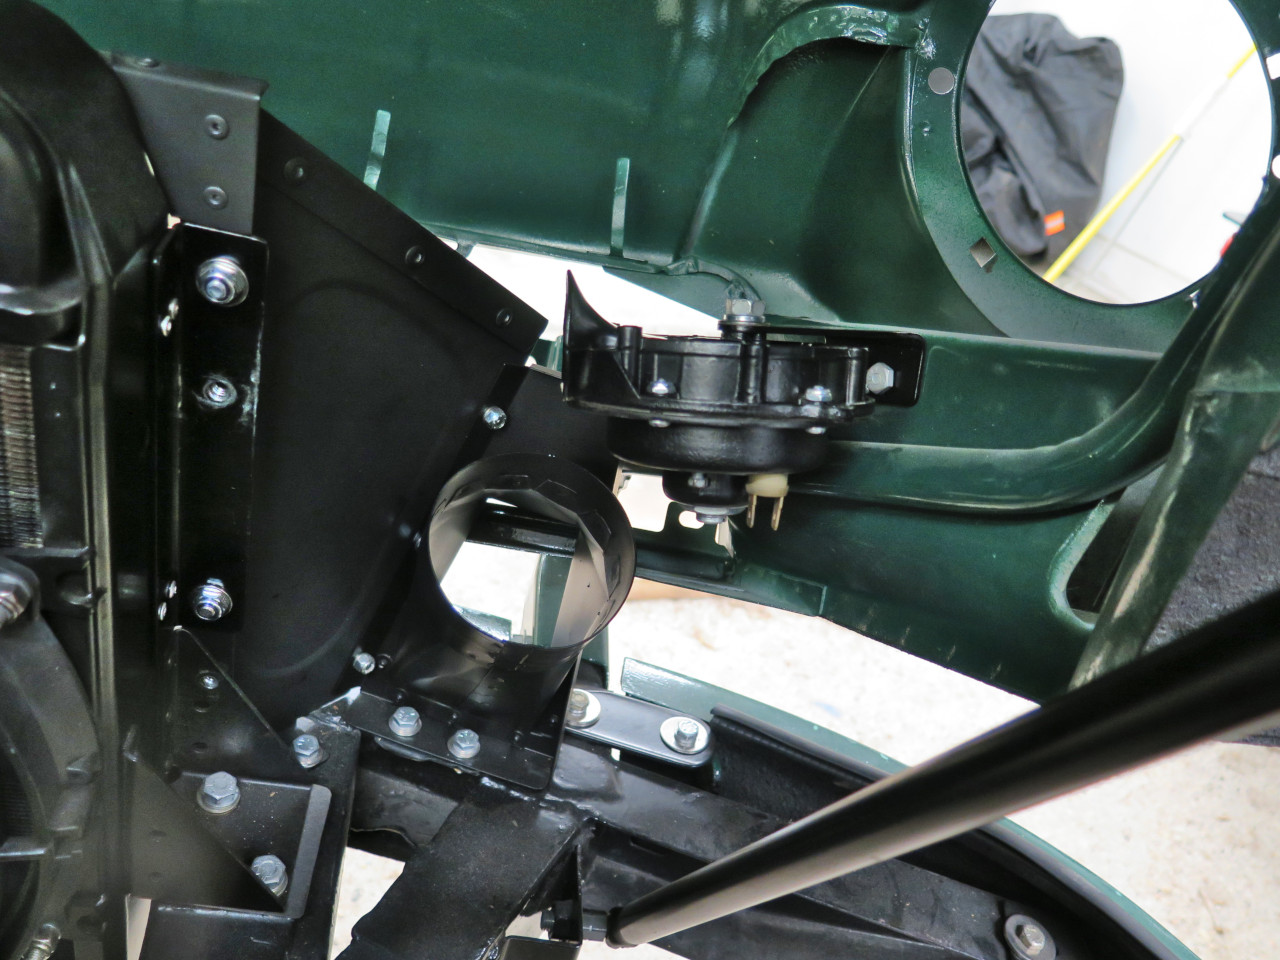
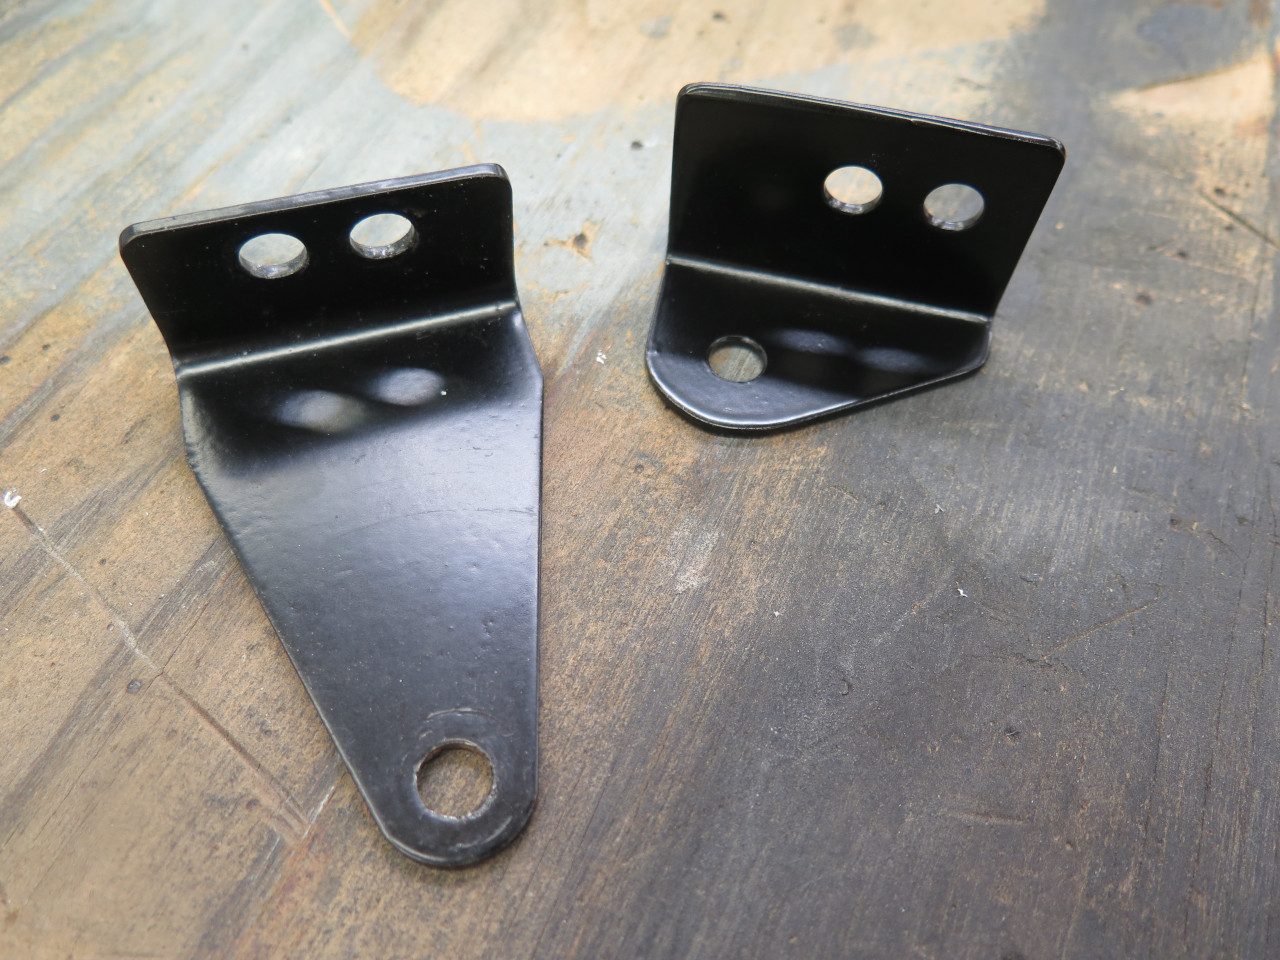
The fix involved making a new bracket that moved the horn up and back a few inches.
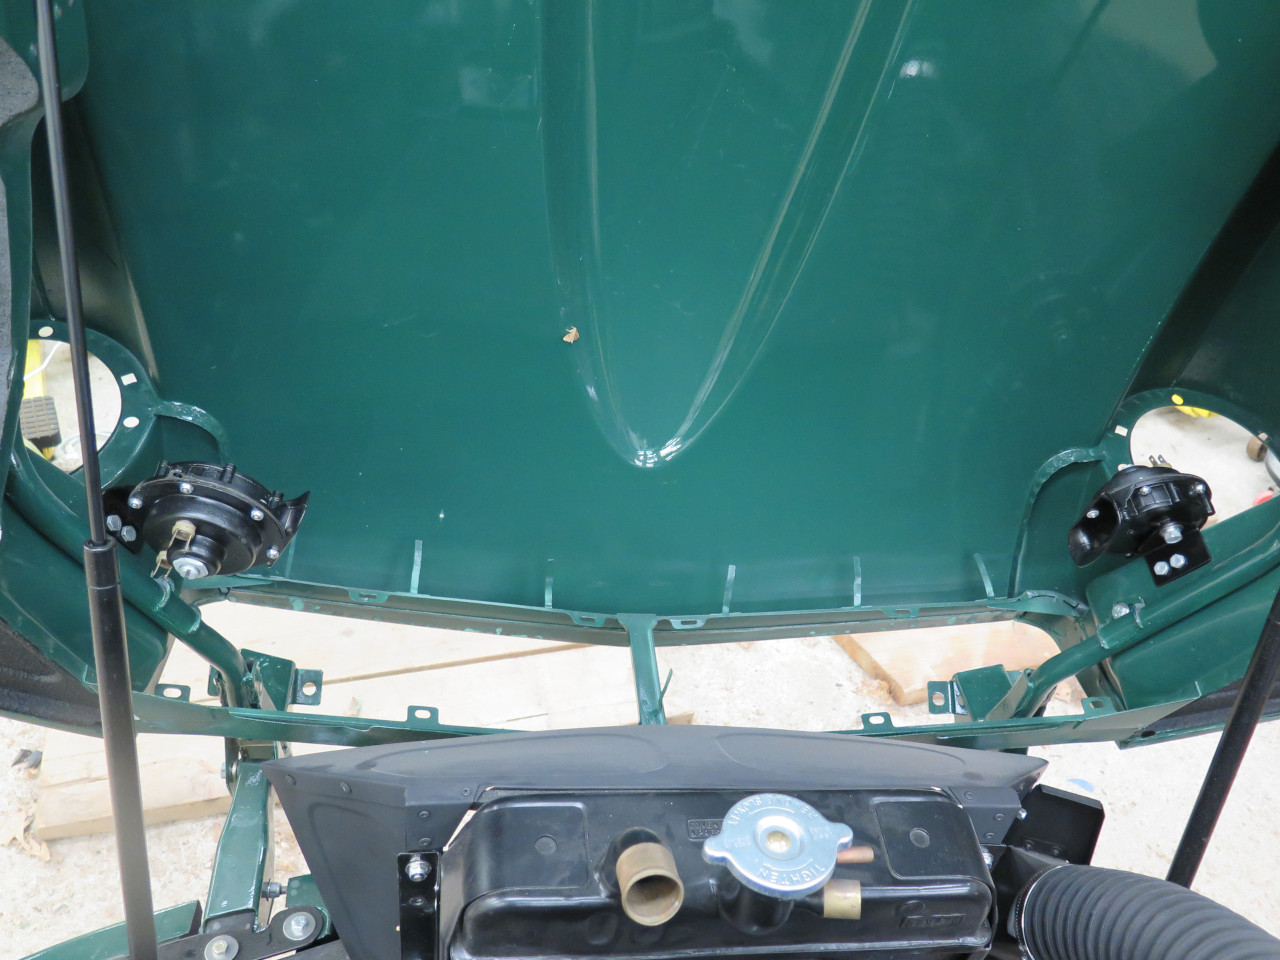
All cool with the horns now. It really isn't that obvious that the right horn is flipped over and repositioned.
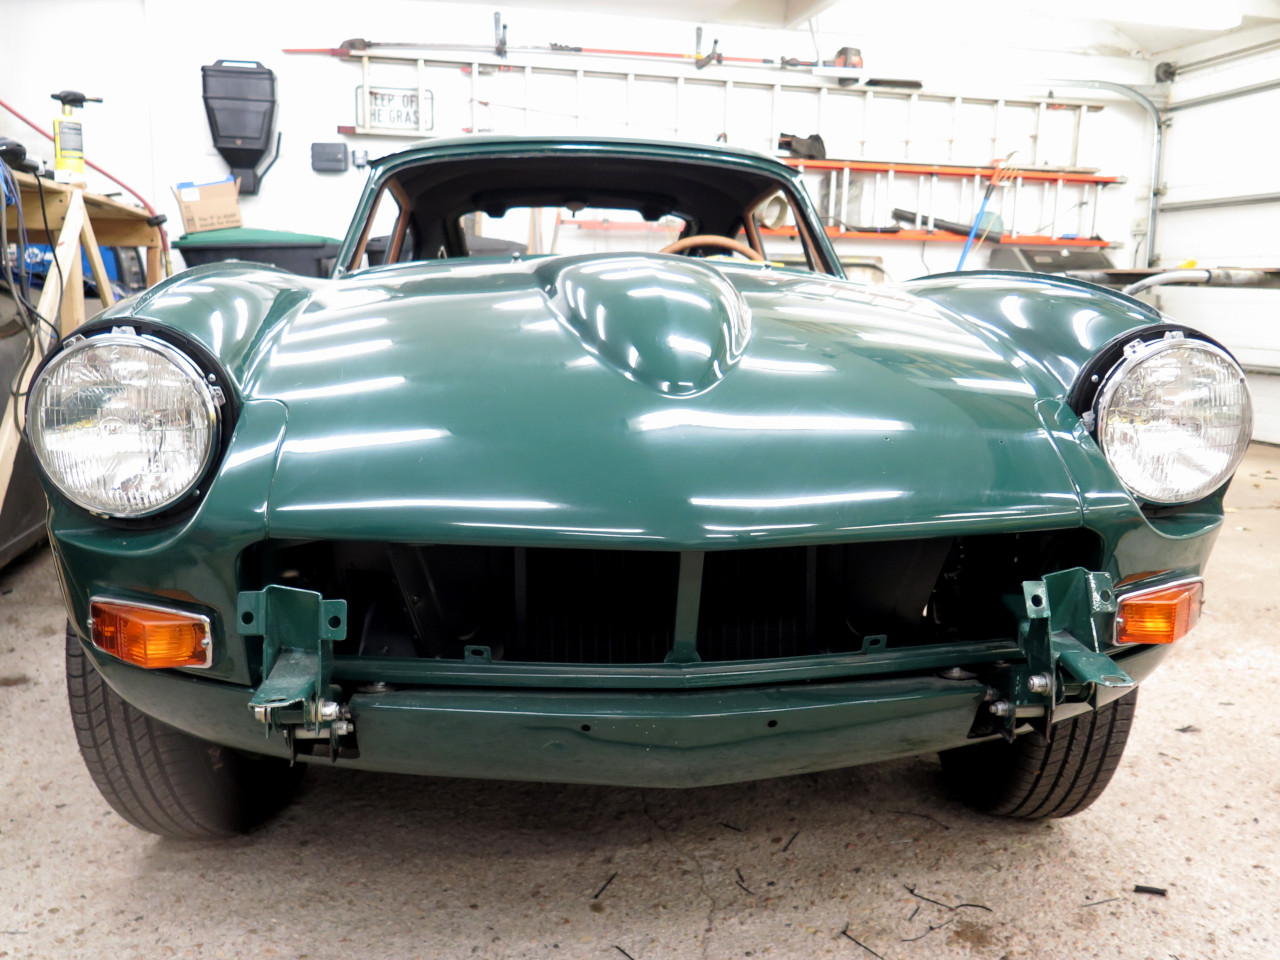
Last items were the front headlights and park/turn lights.
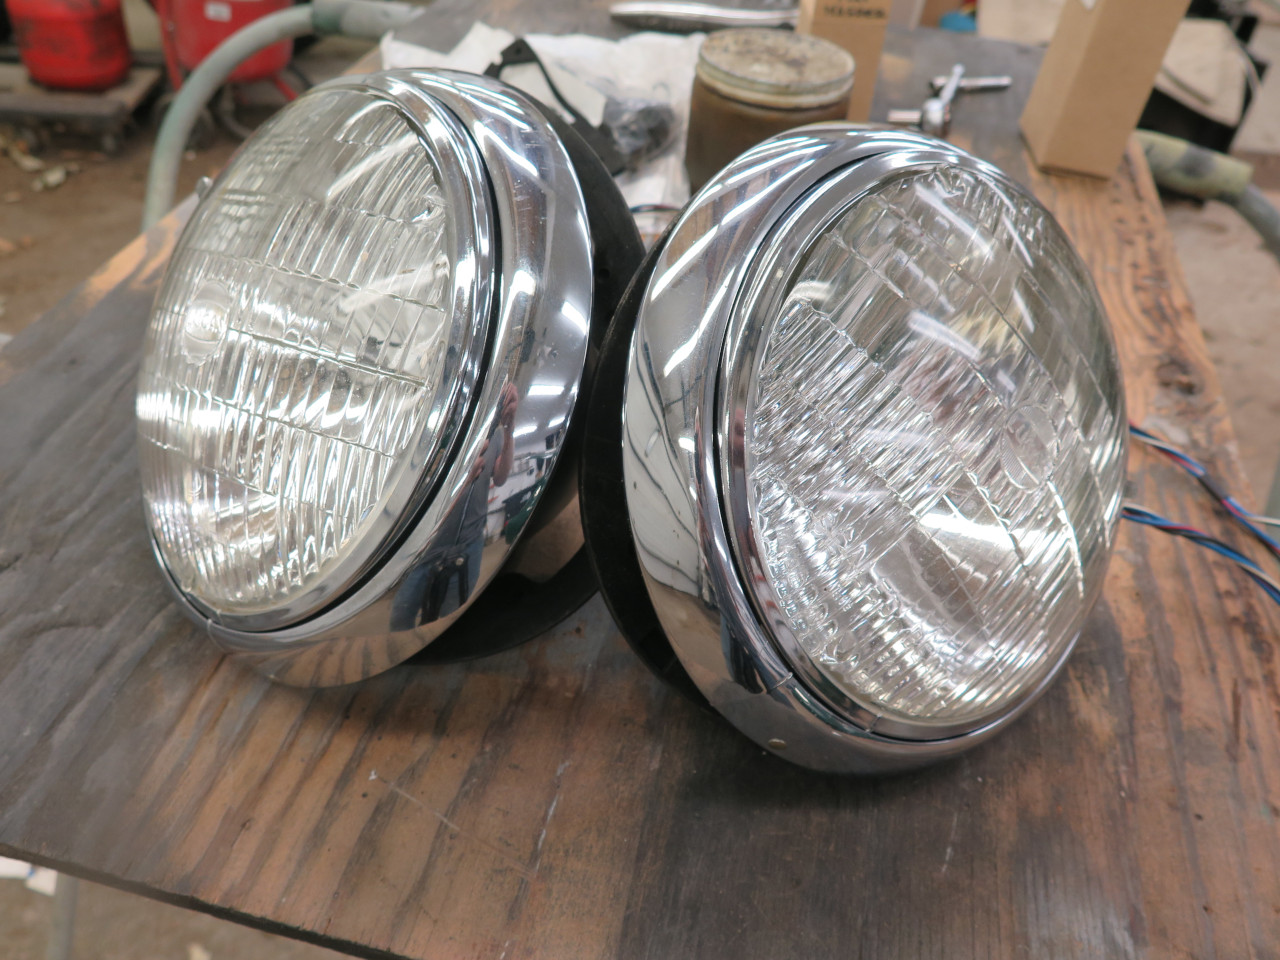
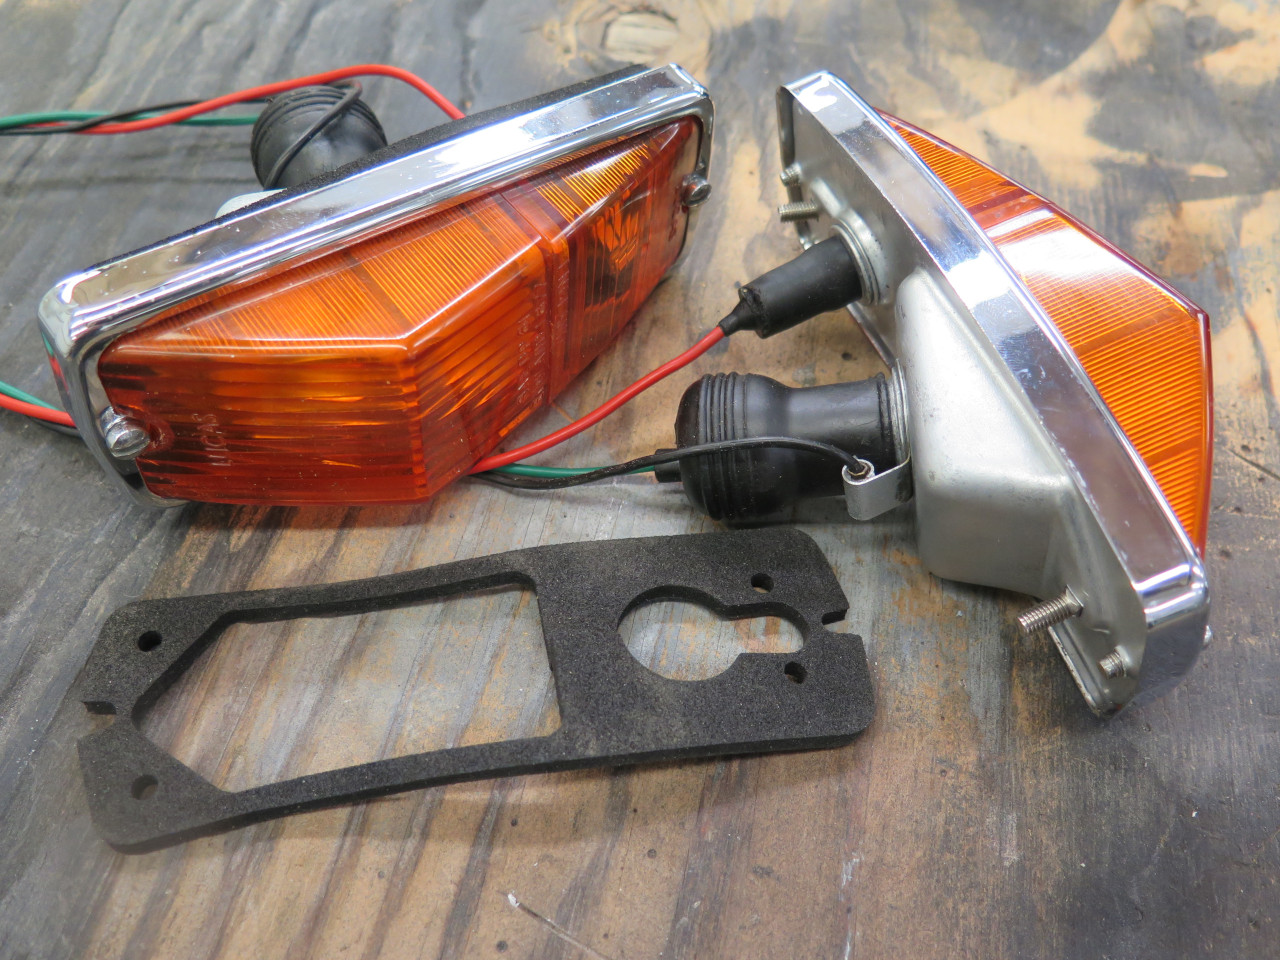
These last two items made a big cosmetic change to the front end.
I'll wait to install those aggravating trim rings until after I aim the
headlights.

Now it was finally time for some wire.
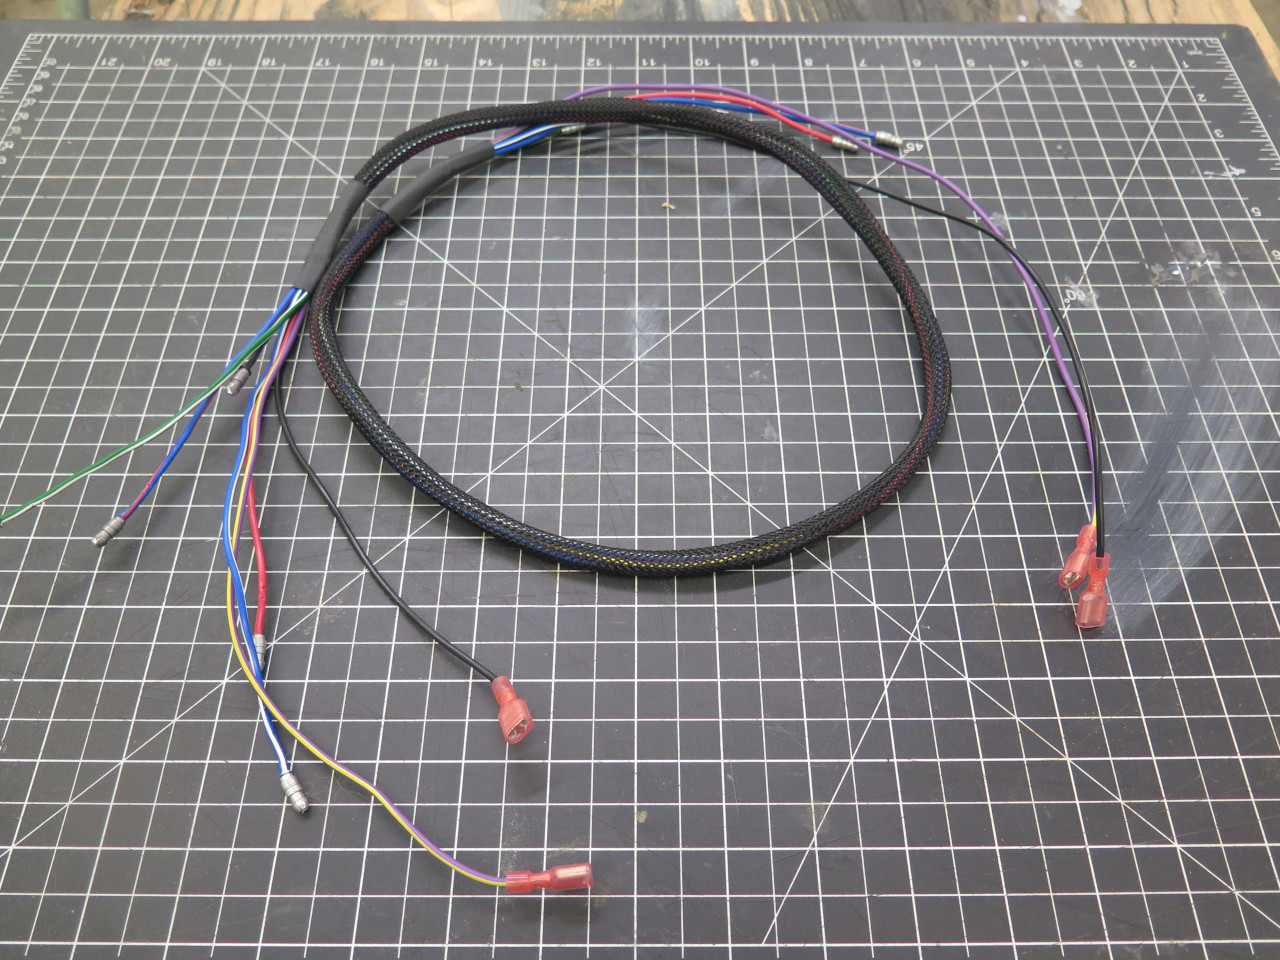
A little prematurely it turns out, I made up a cable that spans the front of the bonnet from side to side.
I installed it and began to work on the connections to the car
itself. I couldn't remember how the stock cable got from the
bonnet to the frame. I assumed there was a flying leap near the
left hinge, but I wasn't sure, so I asked on one of the popular
forums. The consensus was that the leap in fact occurred at the
center of the bonnet. I checked my car, and sure enough, the
evidence was right there in plain sight. Near the base of the
center rib of the grille opening was one of those metal tabs that
Triumph used to hold cables. A quick check at online photos
showed many examples of a tangle of wire and connectors right at that
point.
So I then knew what the stock configuration was, but had to decide if
that's how I wanted to do it. In the end, I decided to depart from
stock, and make my flying leap at the left hinge. This would
eliminate the visible wad of connectors, and provide a more direct route
for some of the wires.
This path did seem a little more vulnerable though. It was a
longer
leap, and here were more things around to provide potential
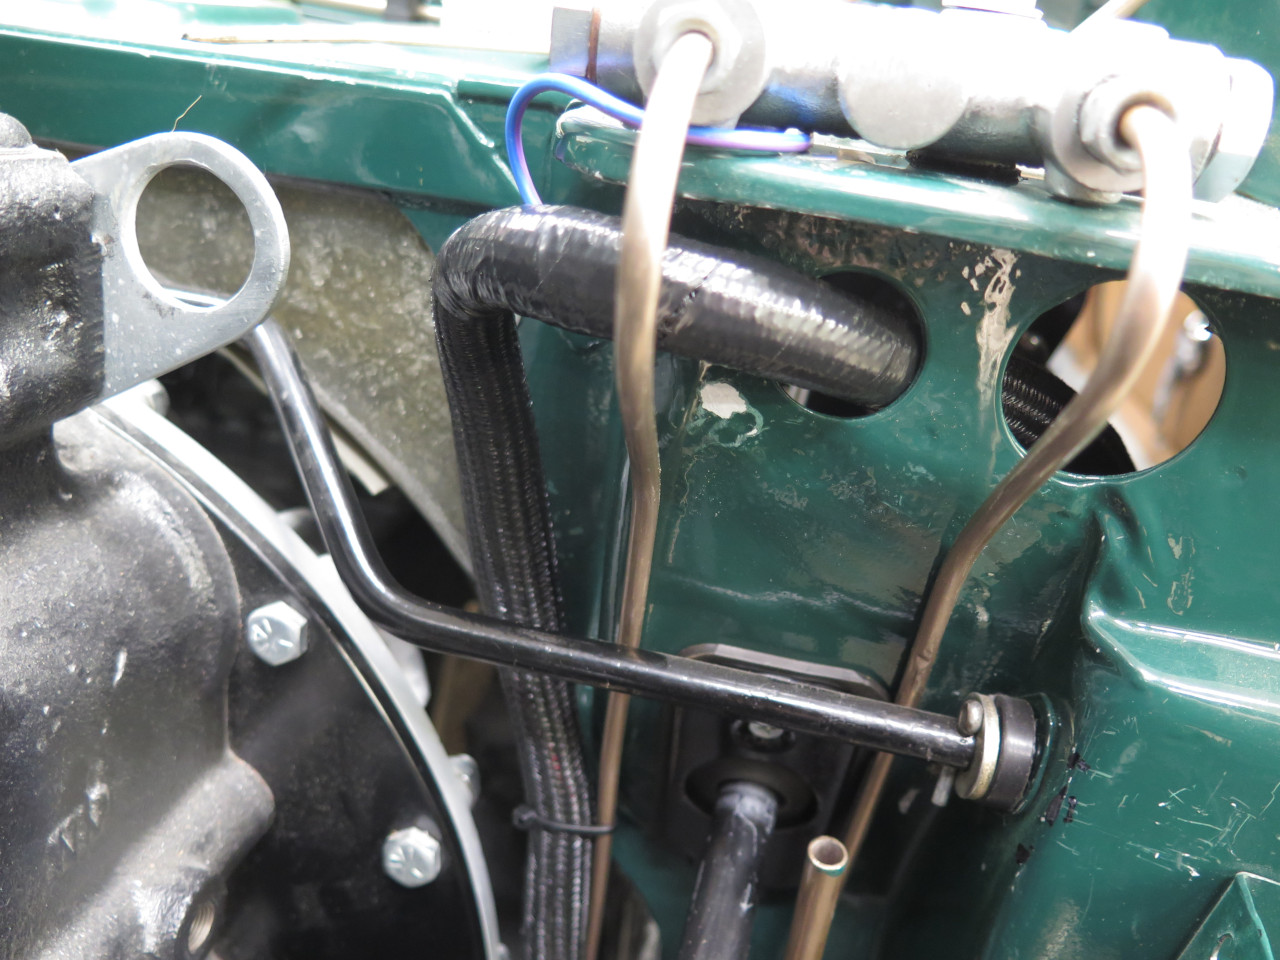
interference. Some extra protection for the wires seemed like a
good
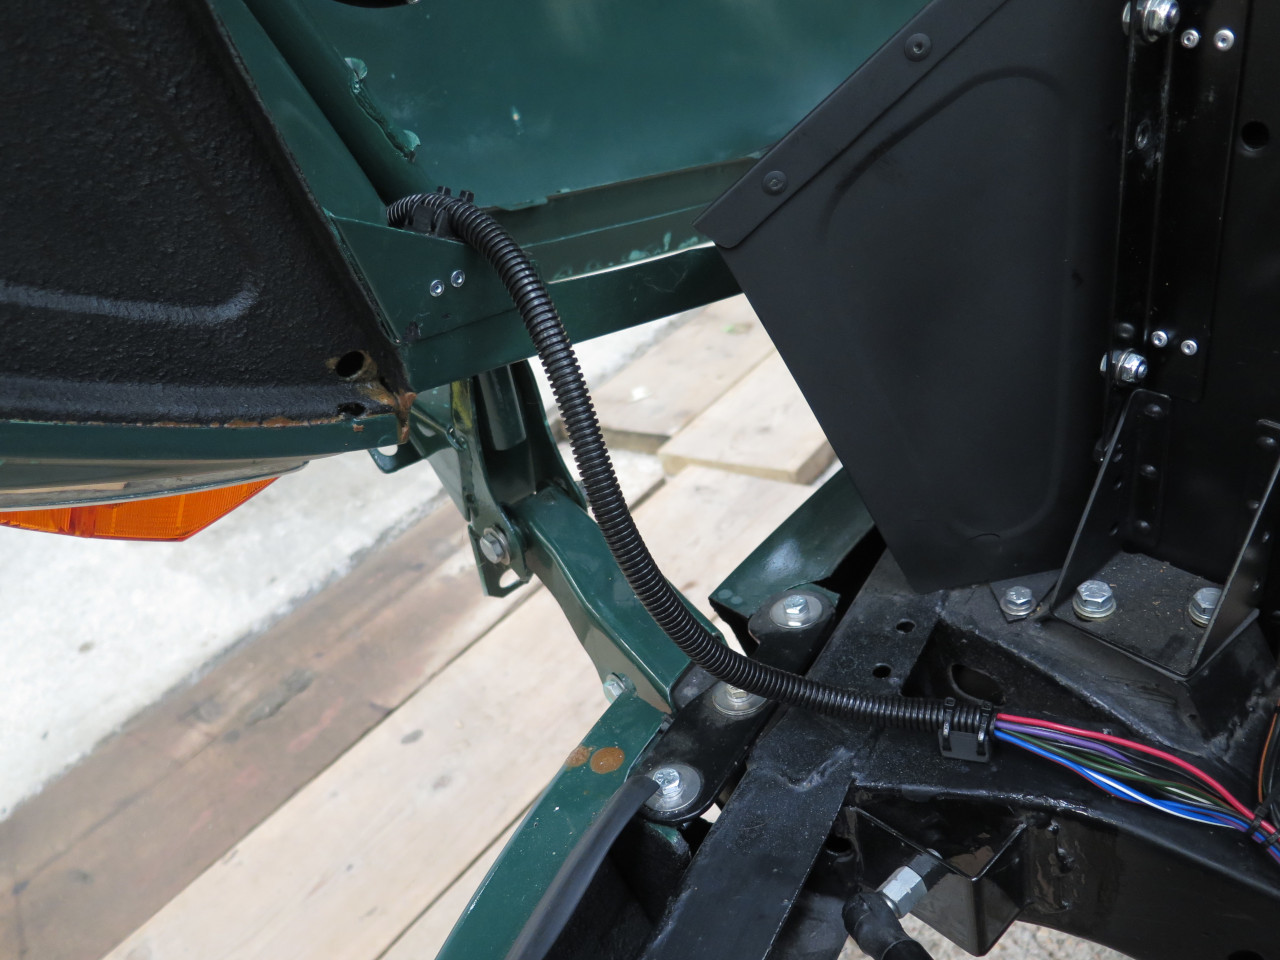
idea. This corrugated duct is pretty tough. This seemed like a workable solution, so I went with it.
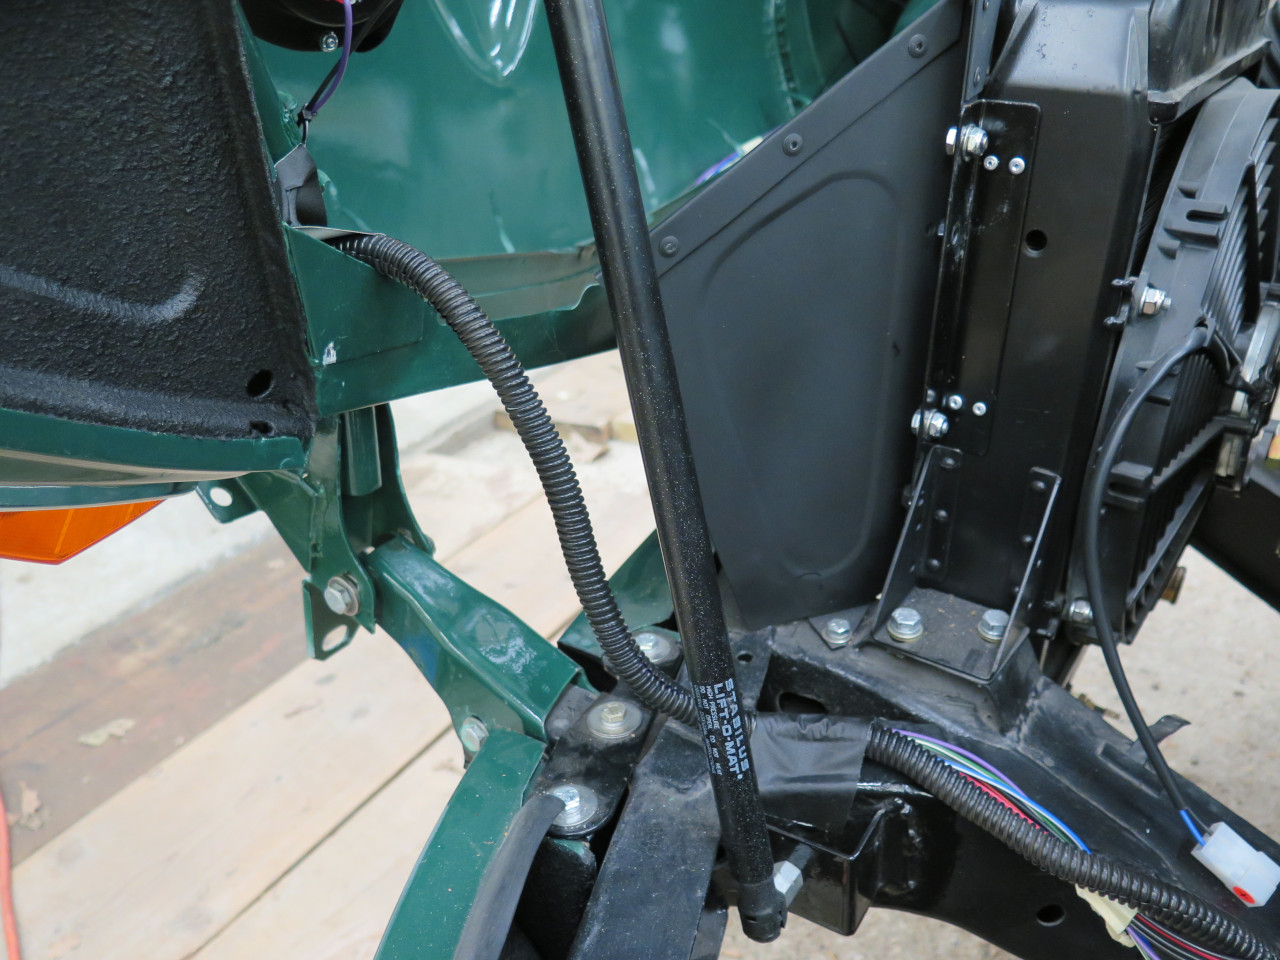
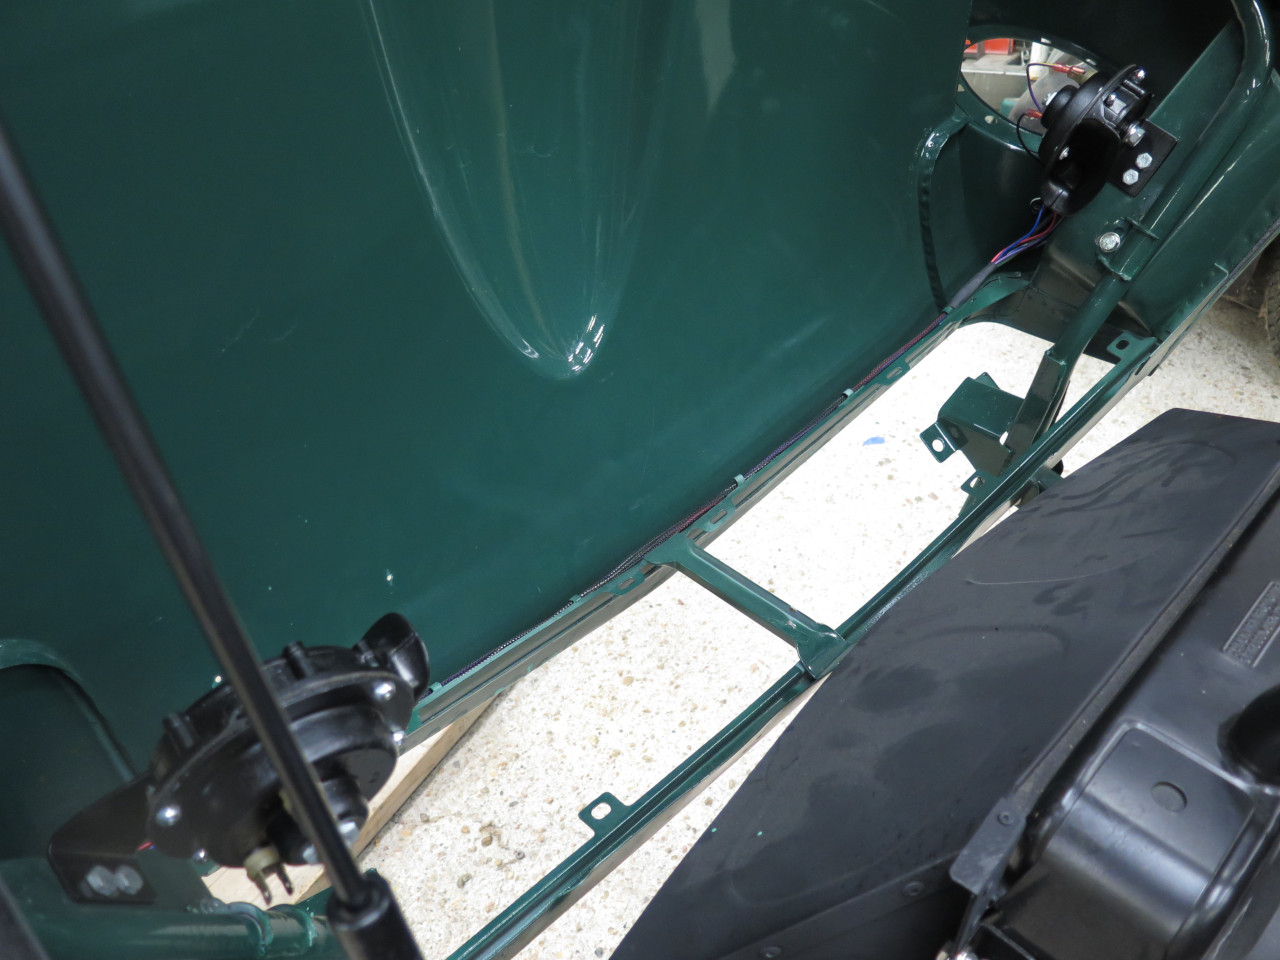
Moving the bonnet-frame jump to the left also cleans up the grille area. I removed the original cable guide tab.
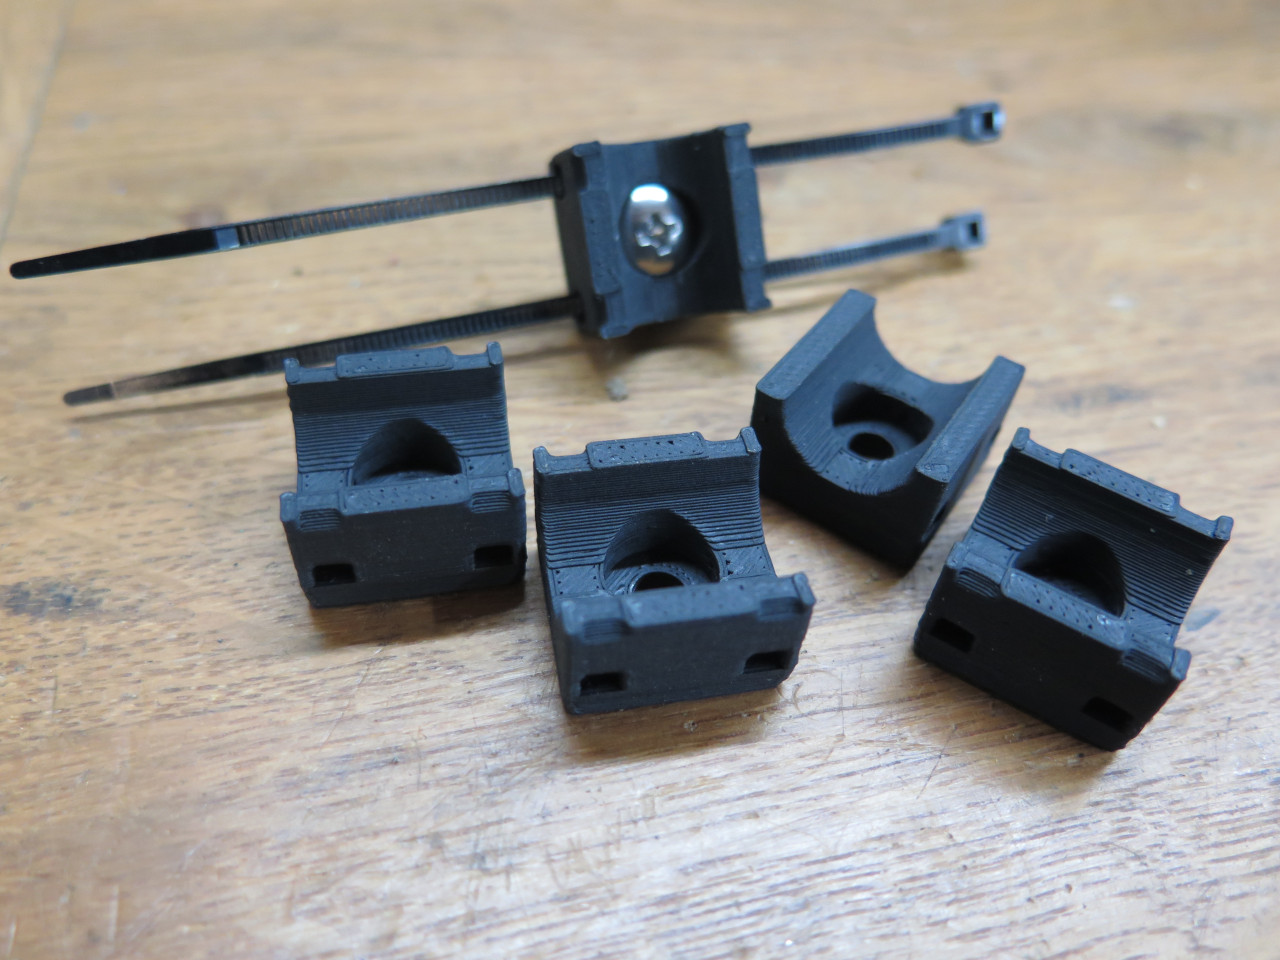
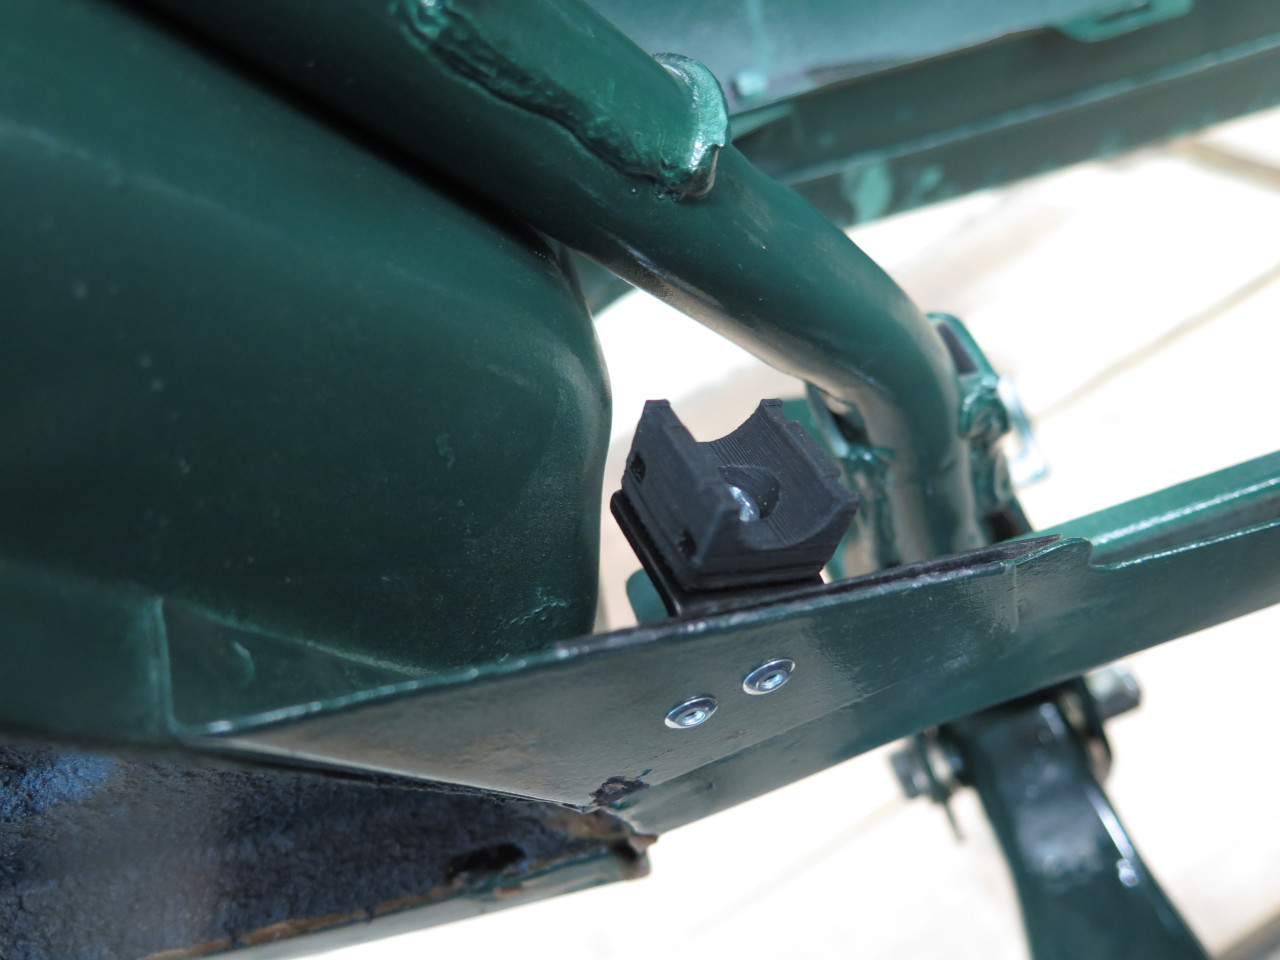
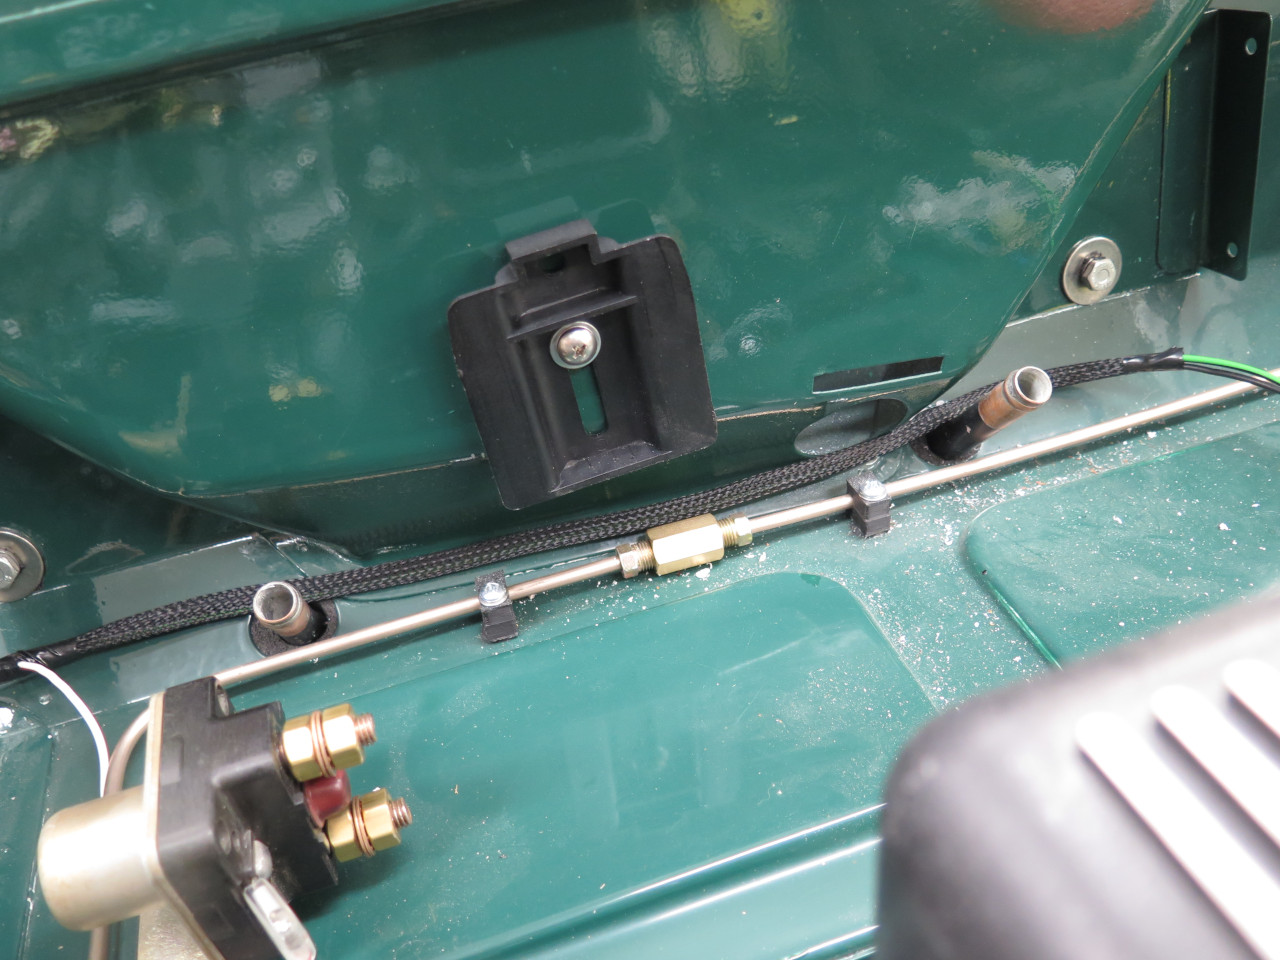
I made these little 3D printed seats to anchor the duct at each end. The bonnet side seat needed and angle bracket. The seats work for the rest of the cable, too.
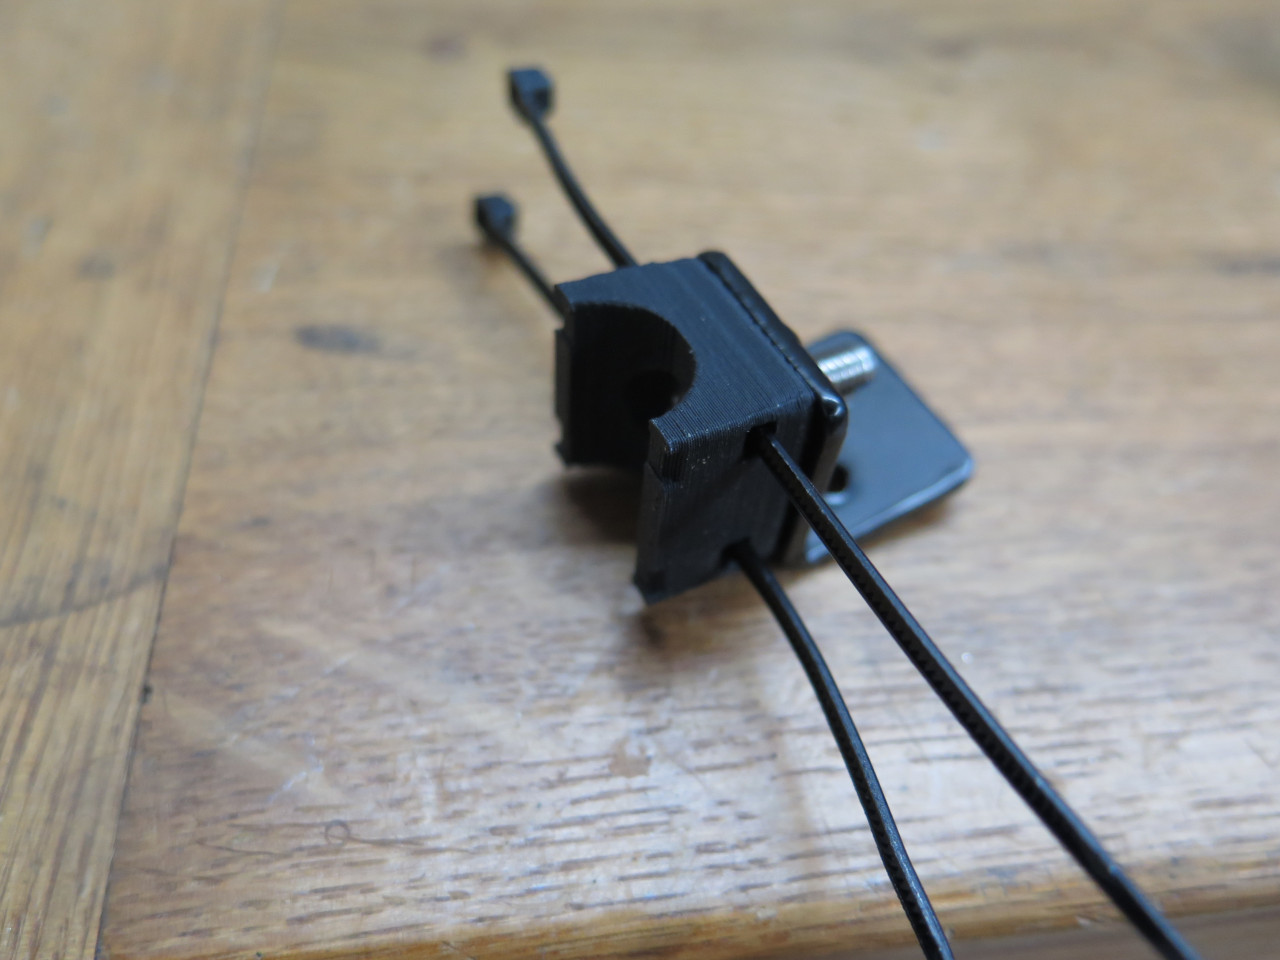
On the frame side, the seat was fixed with a rivnut. When the
bonnet goes down, the conduit coils gracefully on top of the front frame
crossmember.
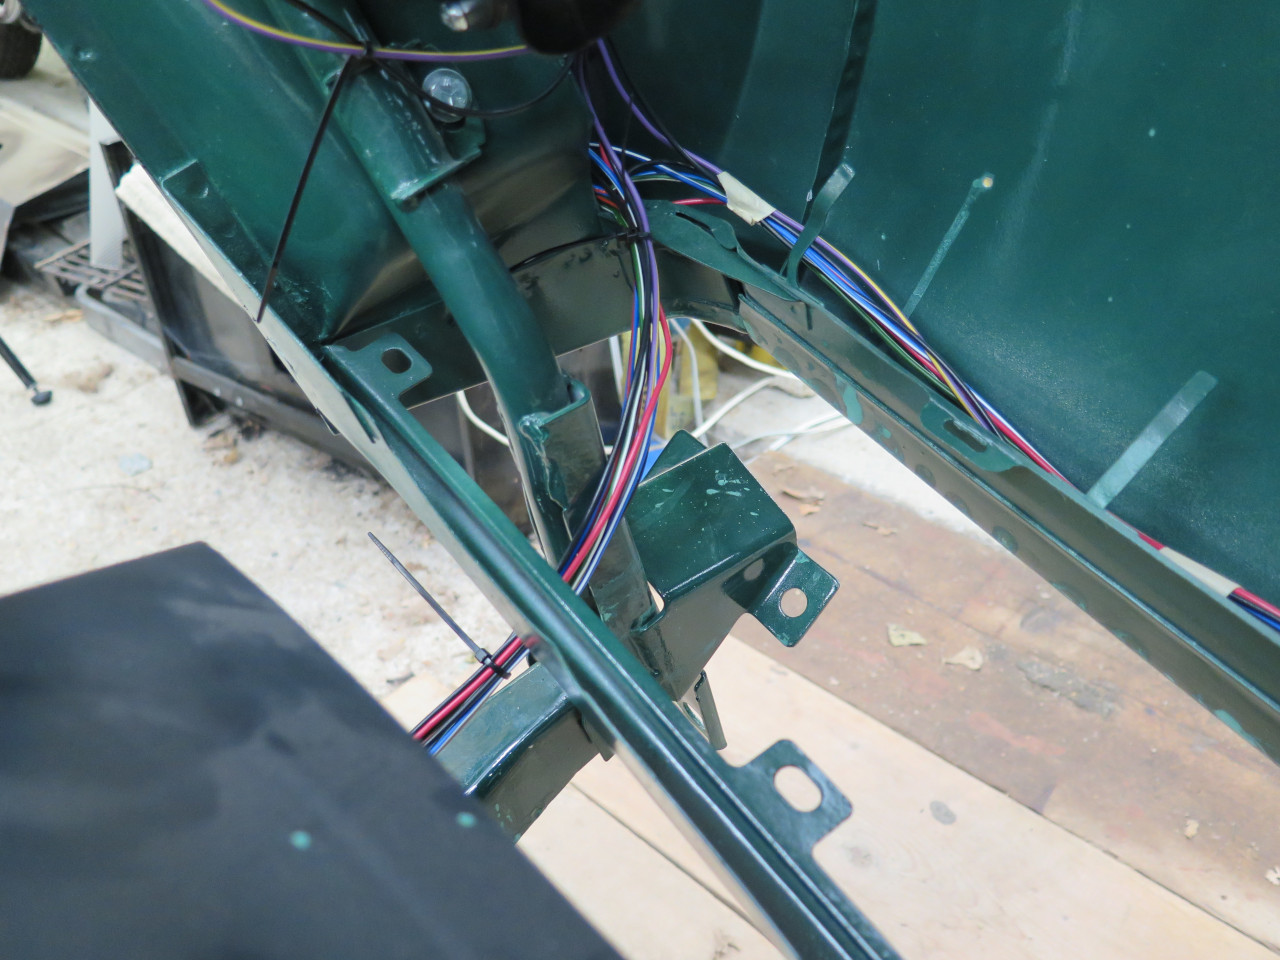
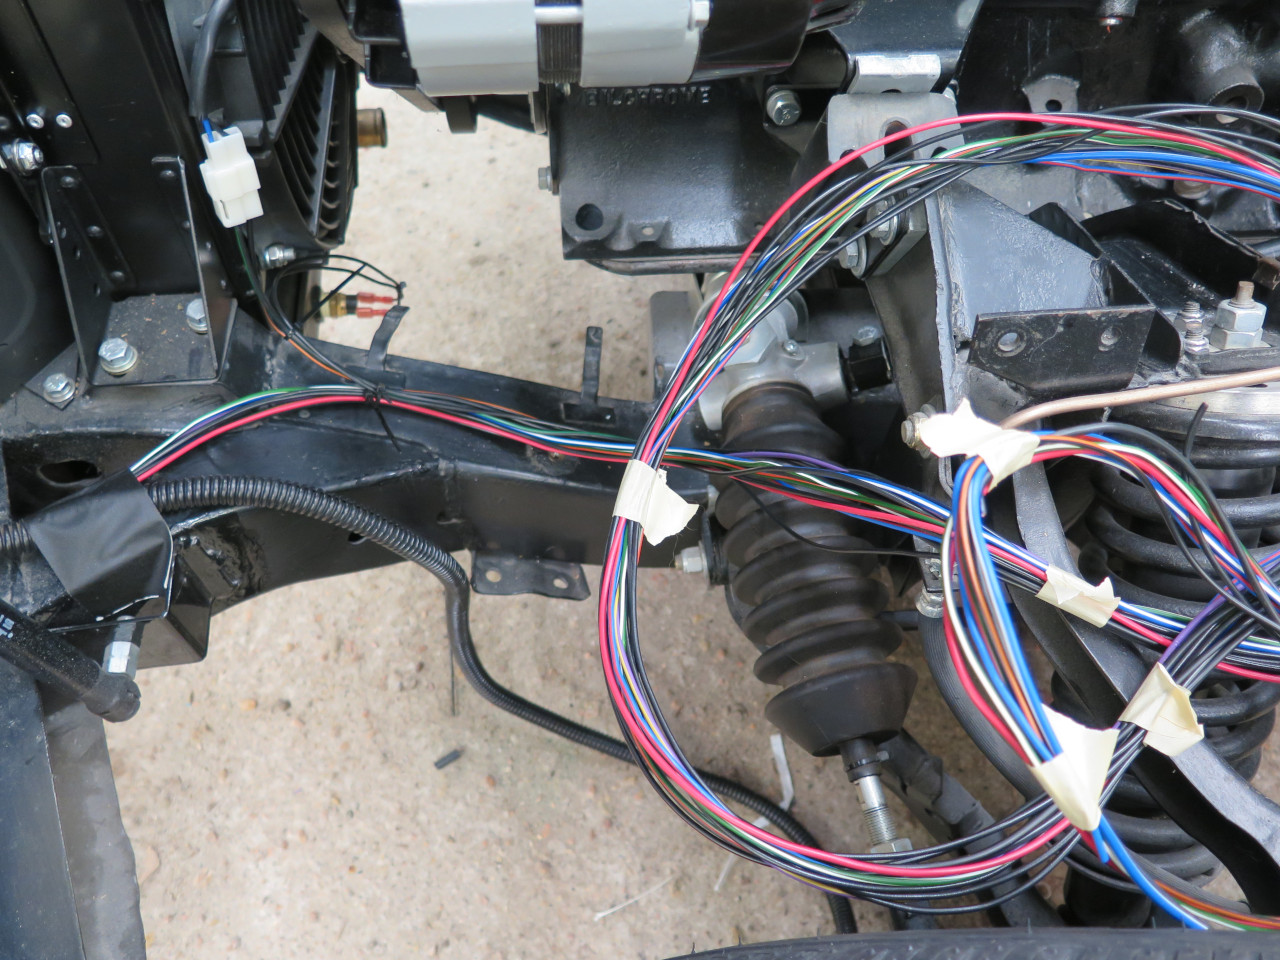
From there, the cable goes into a wrap jacket and runs along the left
frame rail. Here, wires break out for the fan and the fan thermal
switch.

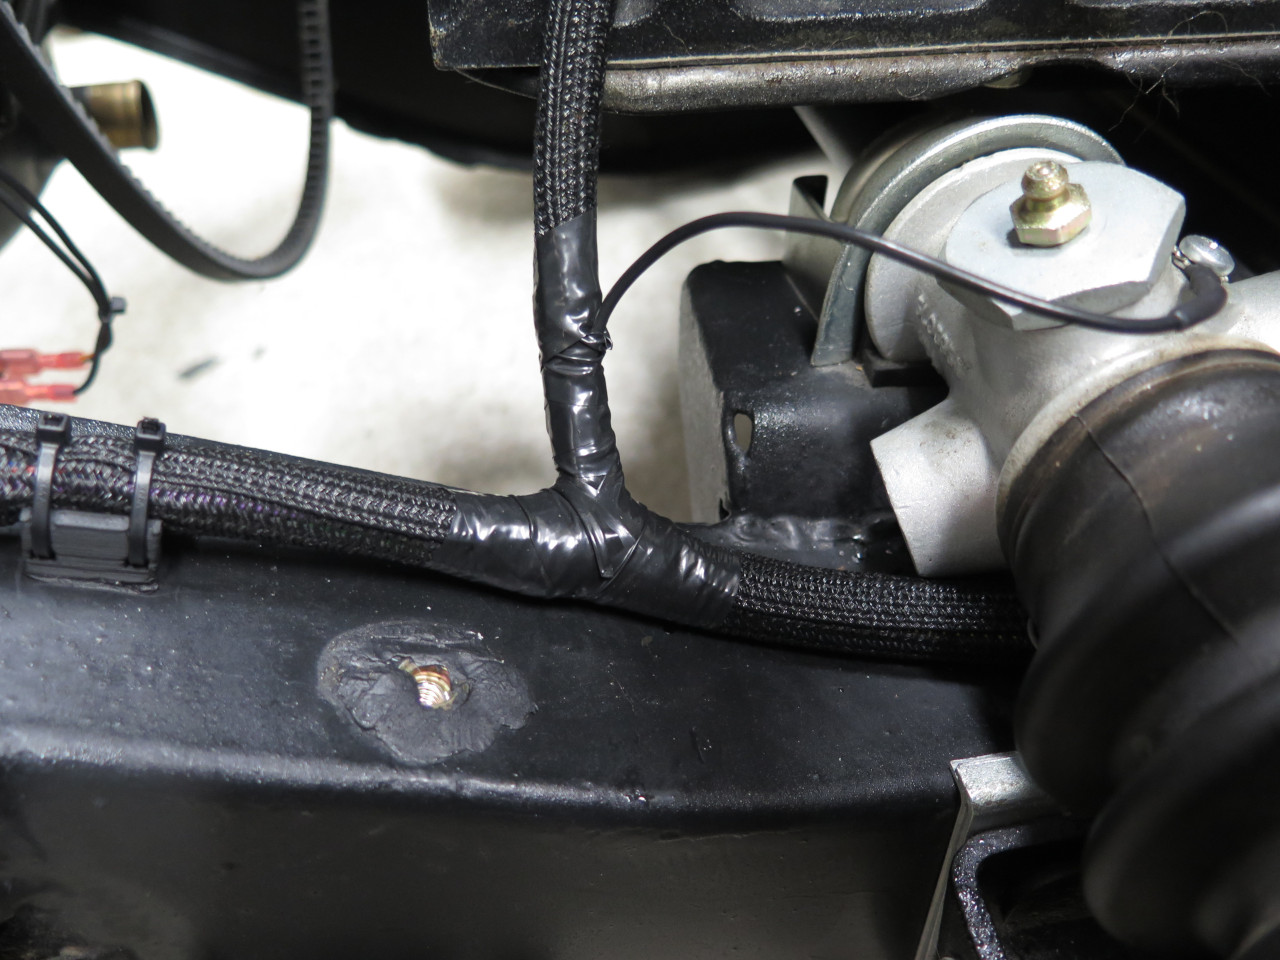
This is the breakout for the alternator, ignition, and temp gauge
sensor. The rivnut in the foreground is for the engine
valance. I put strip caulk around all rivnuts in the frame rails.
The single black wire is the dedicated ground for the steering column.
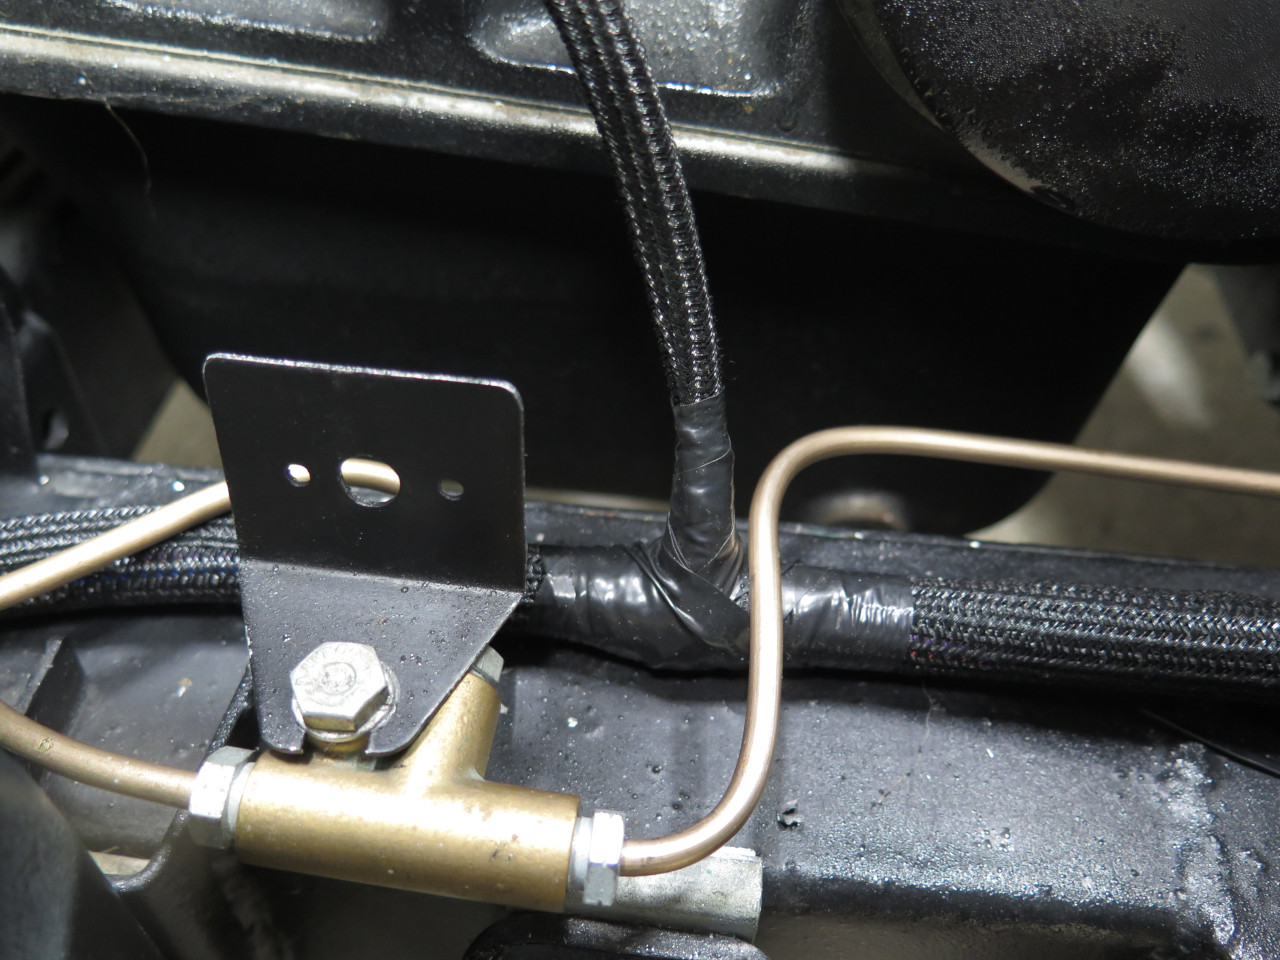
This is the breakout for the oil pressure switch. The bracket on top of the brake line "T" is also for the engine valance.
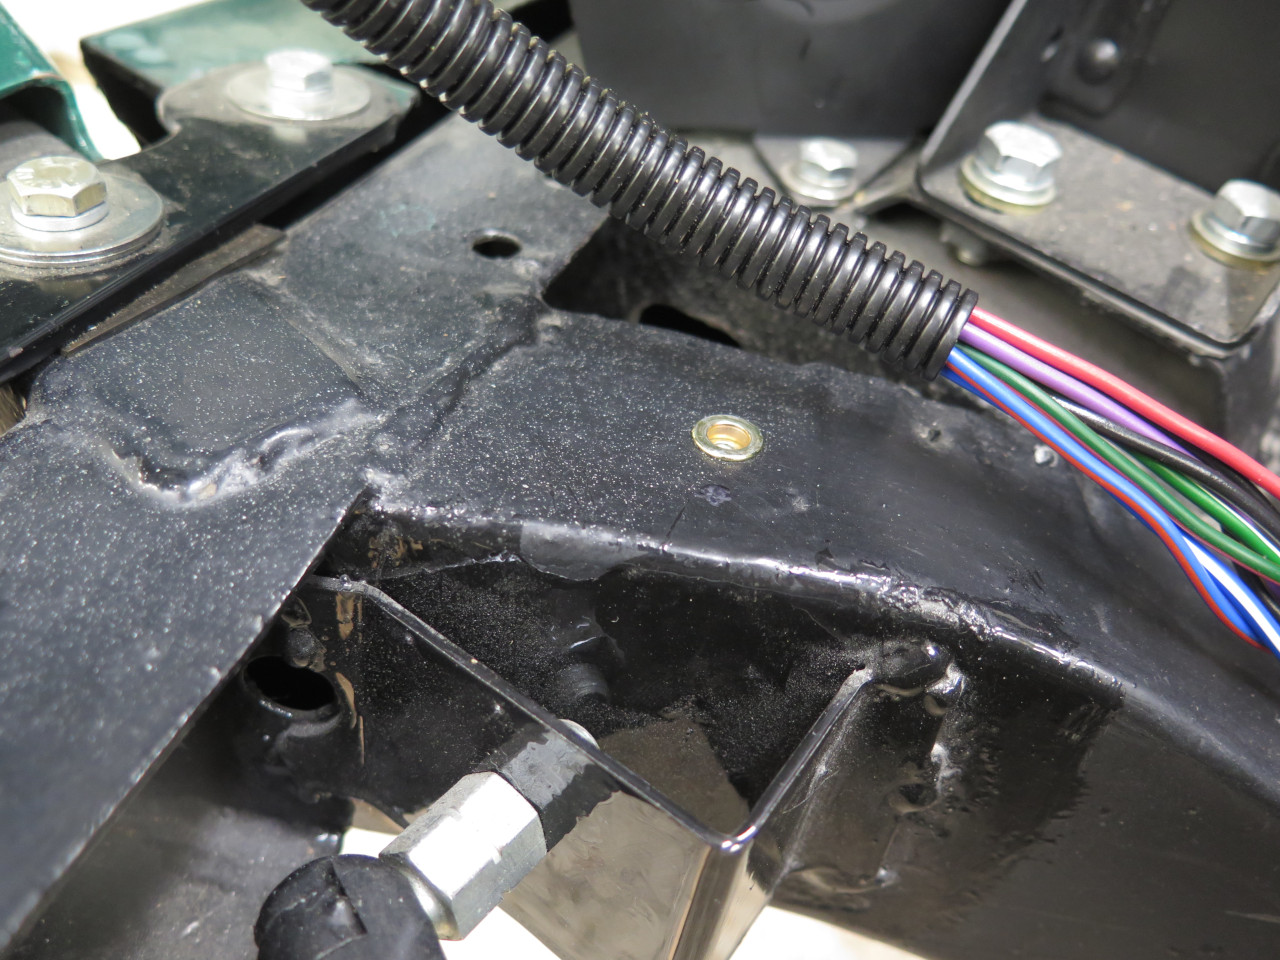
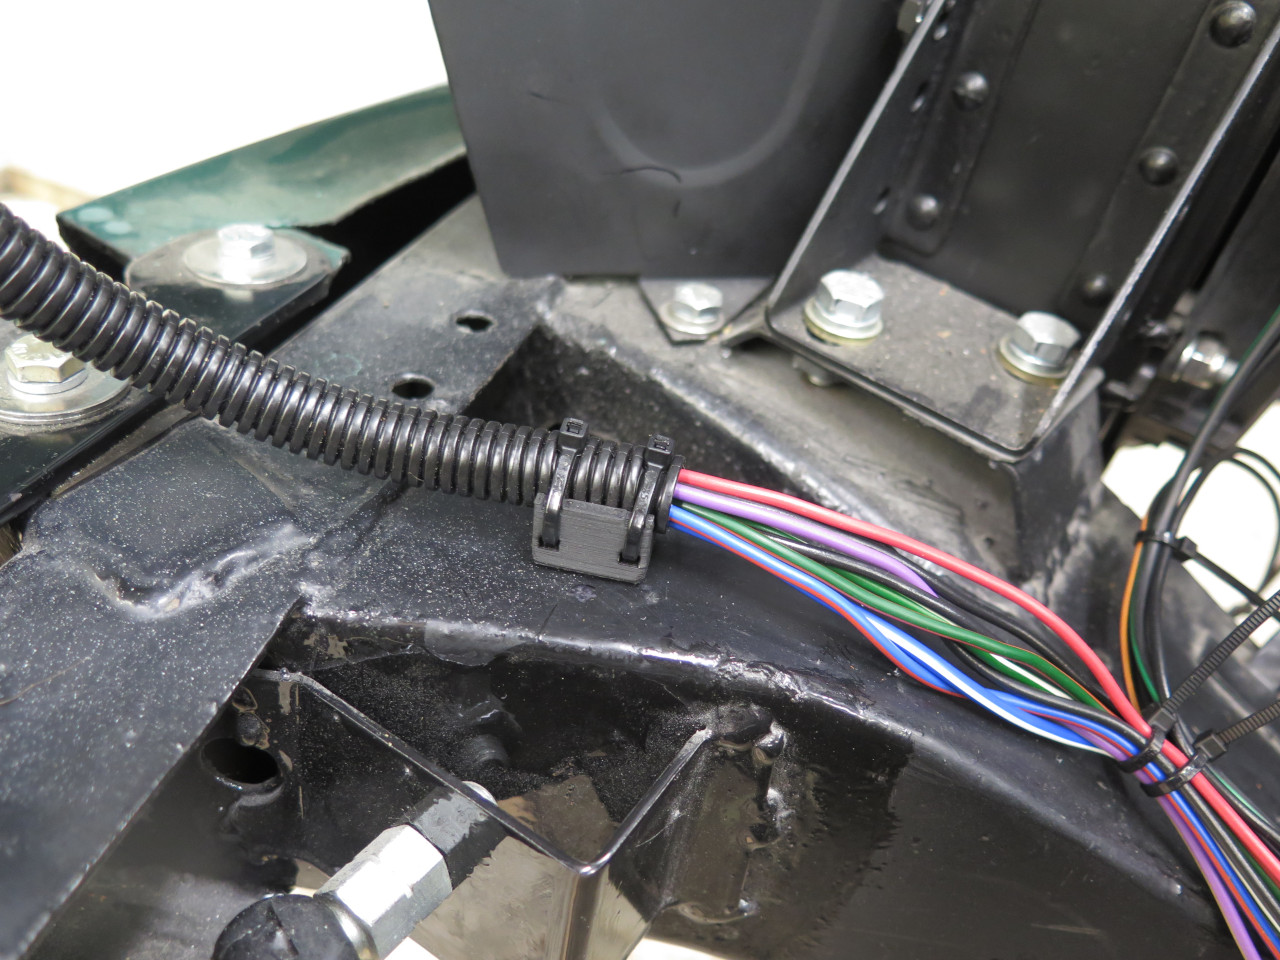
The cable then goes vertically up the firewall. A single wire
breaks out to go to the PDWA, then the main cable goes through the
firewall. I believe the stock cable went through the other
hole. I'll install a grommet later.
Inside the car, the cable splits, with the left branch going back through the firewall into the Power Module.
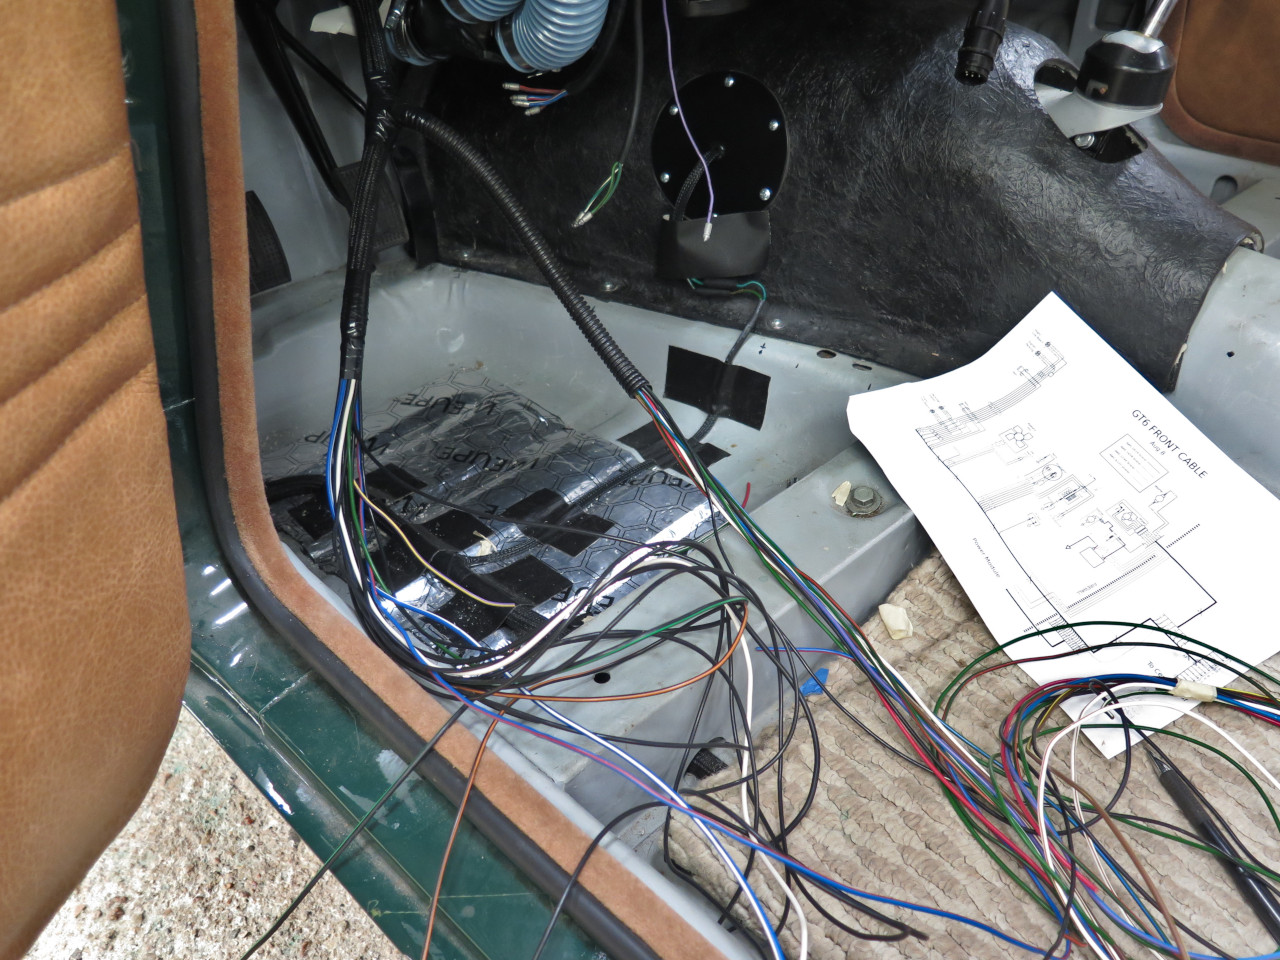
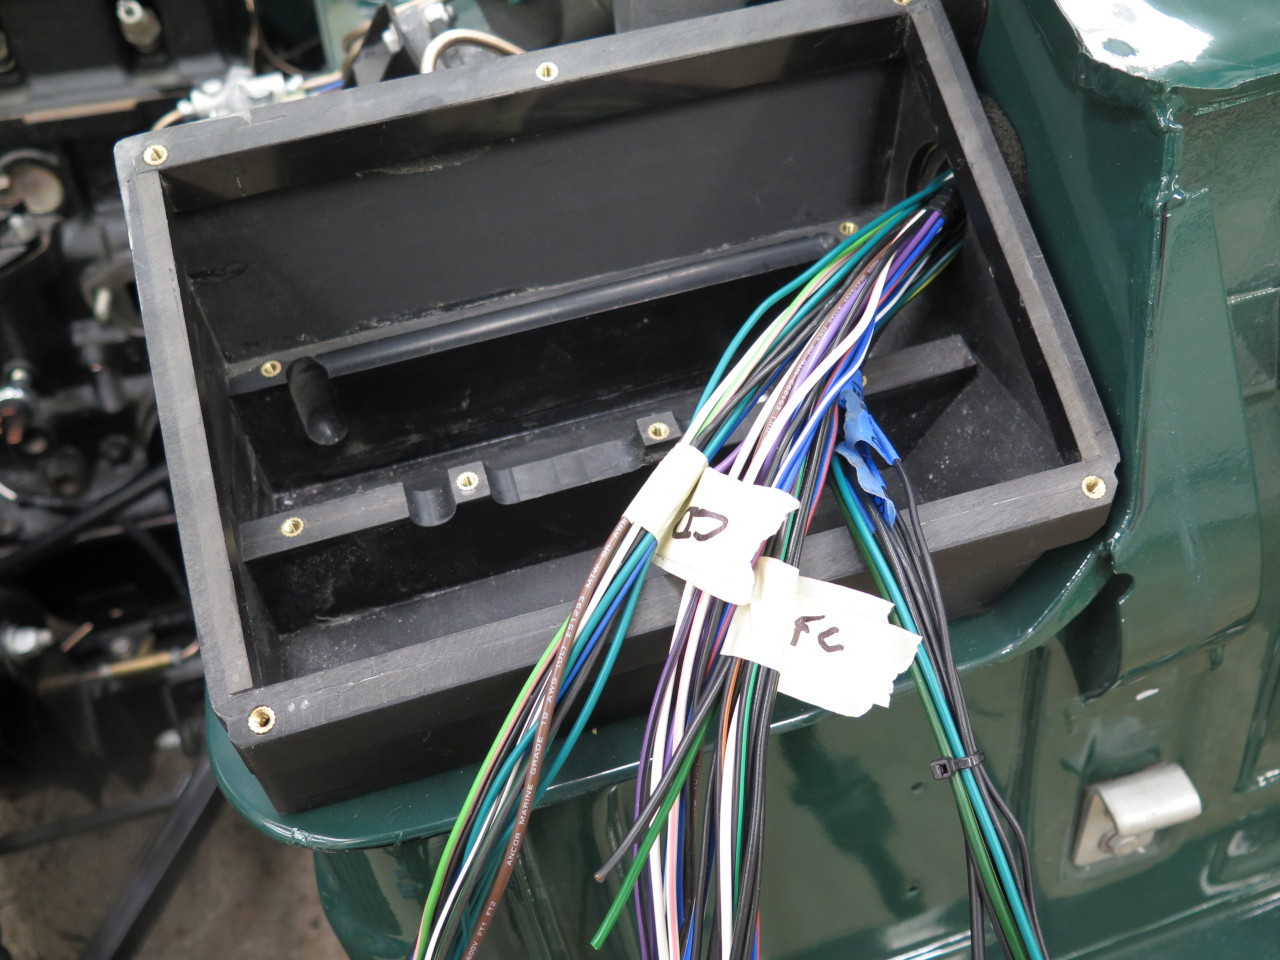
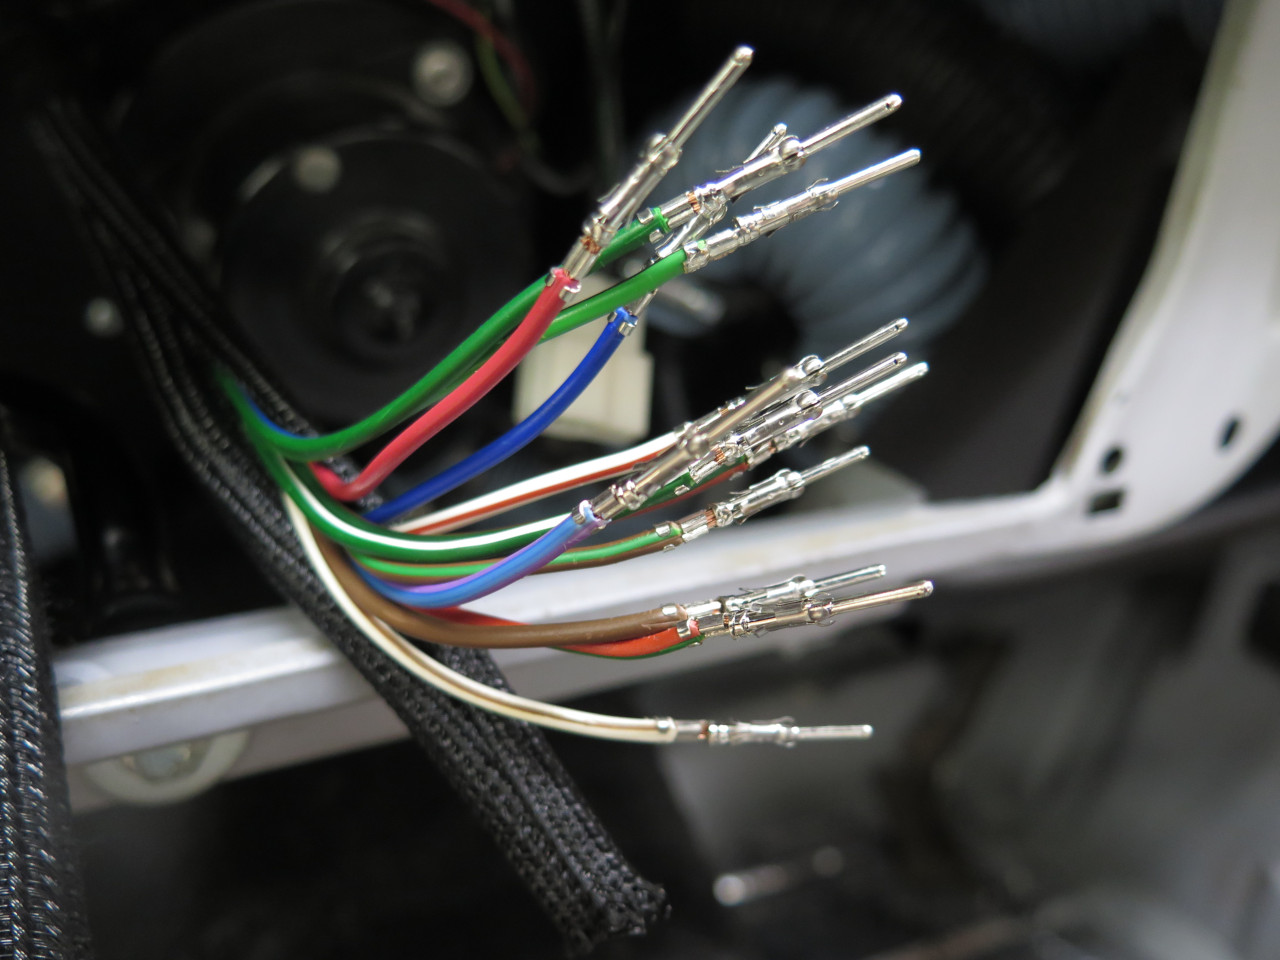
The right branch splits again, with one bunch of wires going to a
connector for the center dash. The other connector is from the
rear cable.
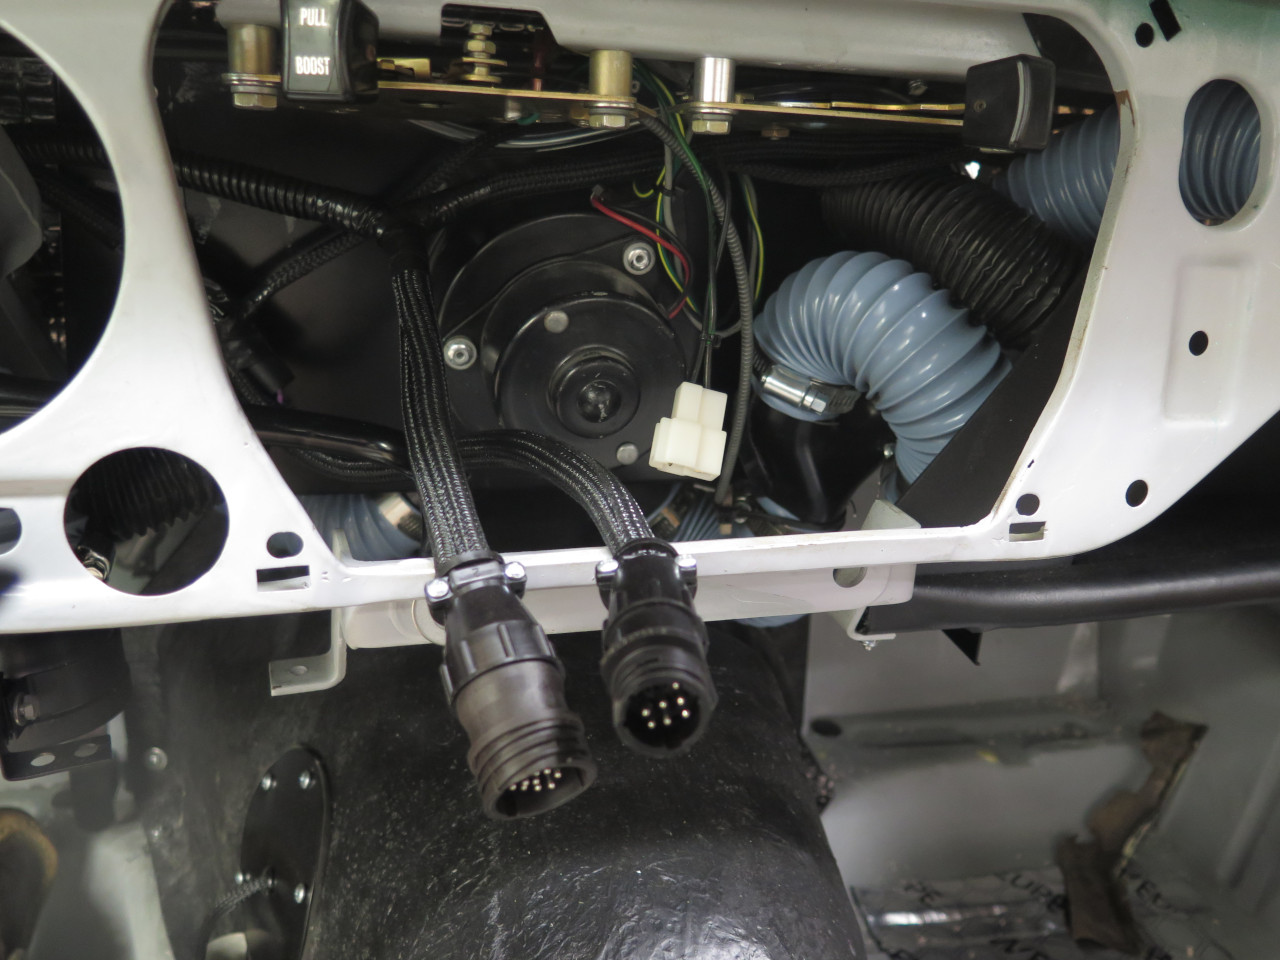
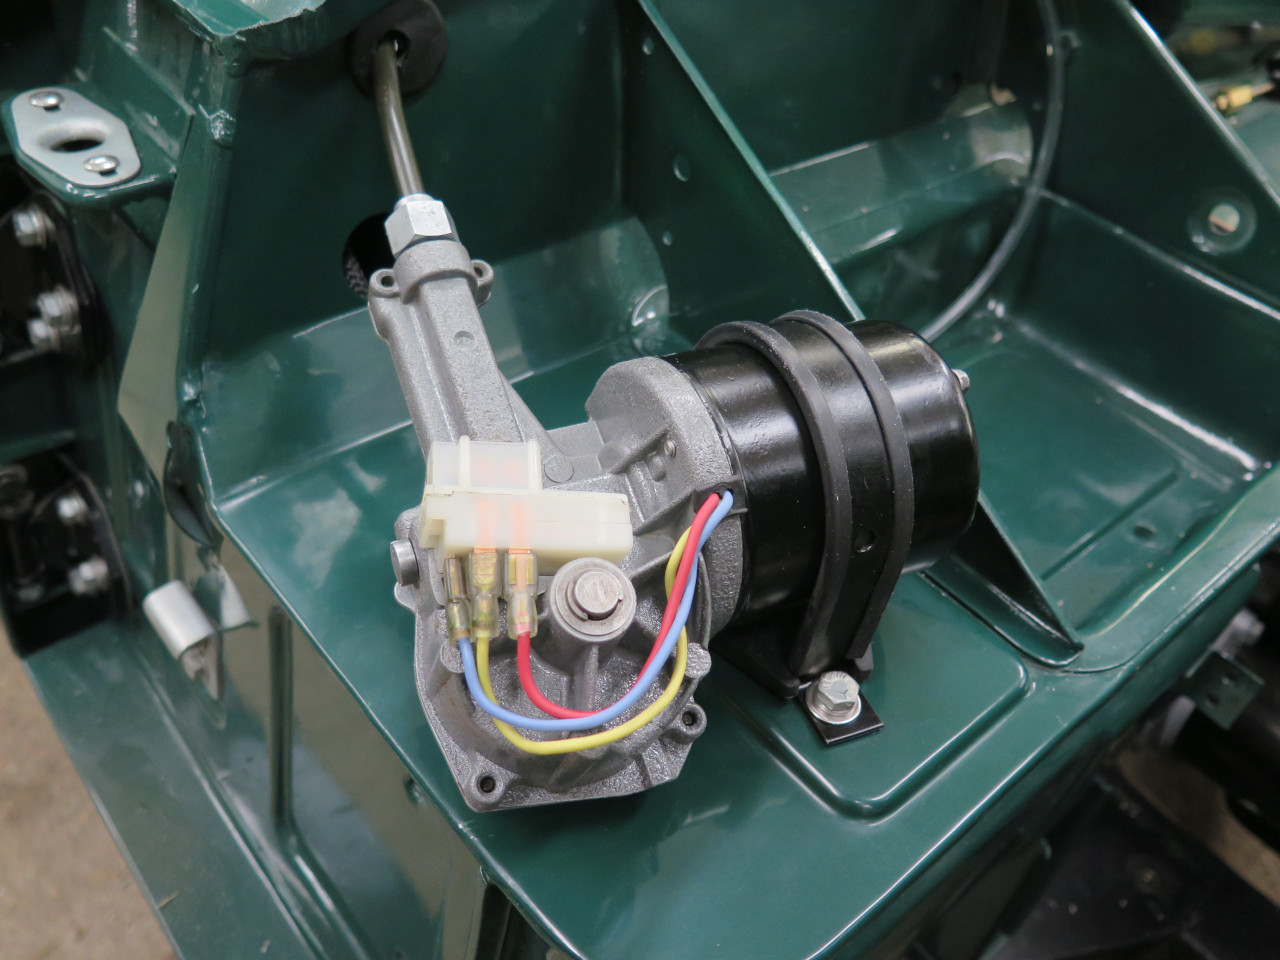
The remaining wires continue to the right and pass back through the firewall near the wiper motor.
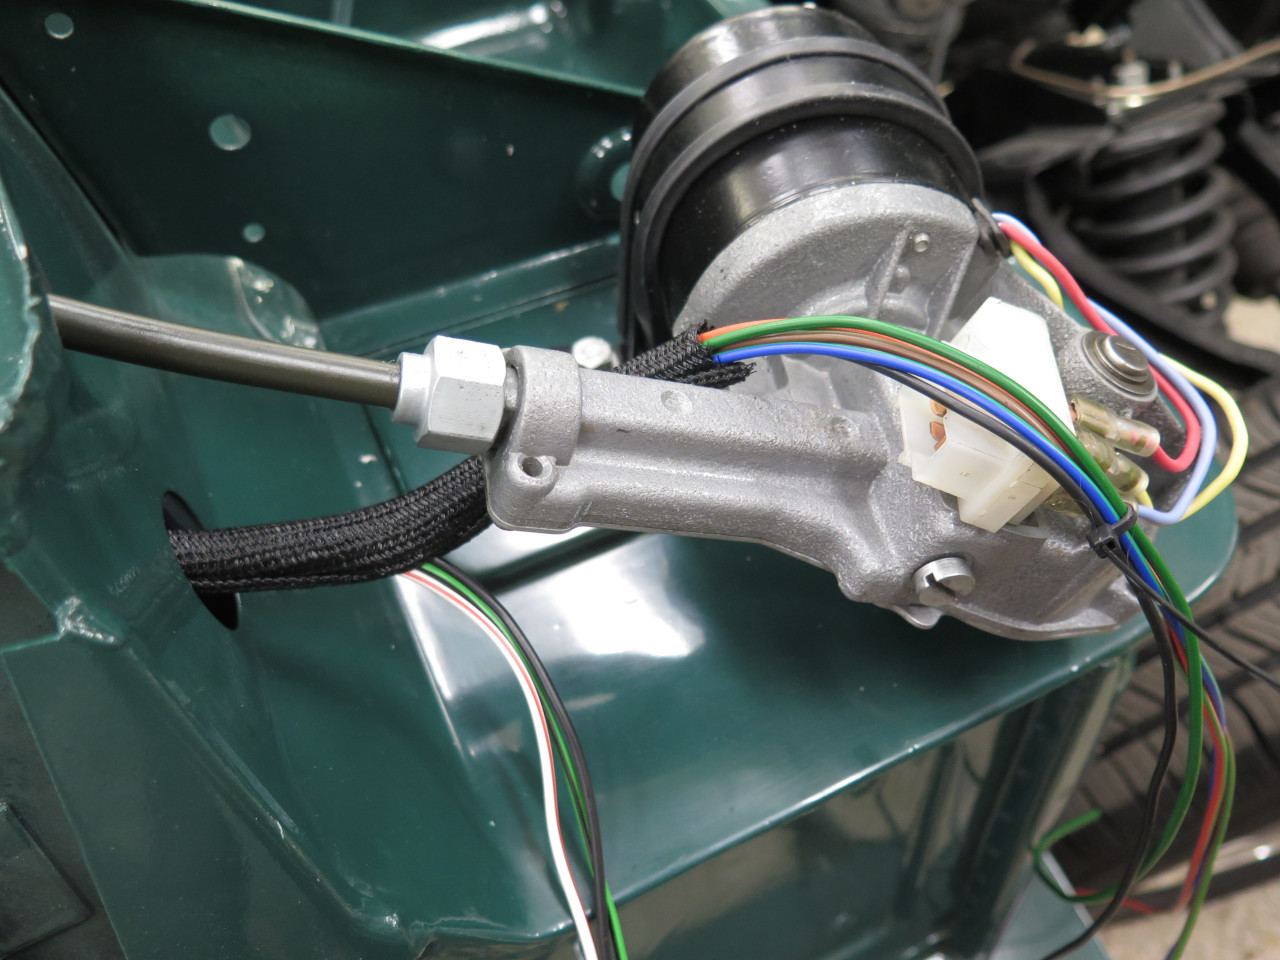
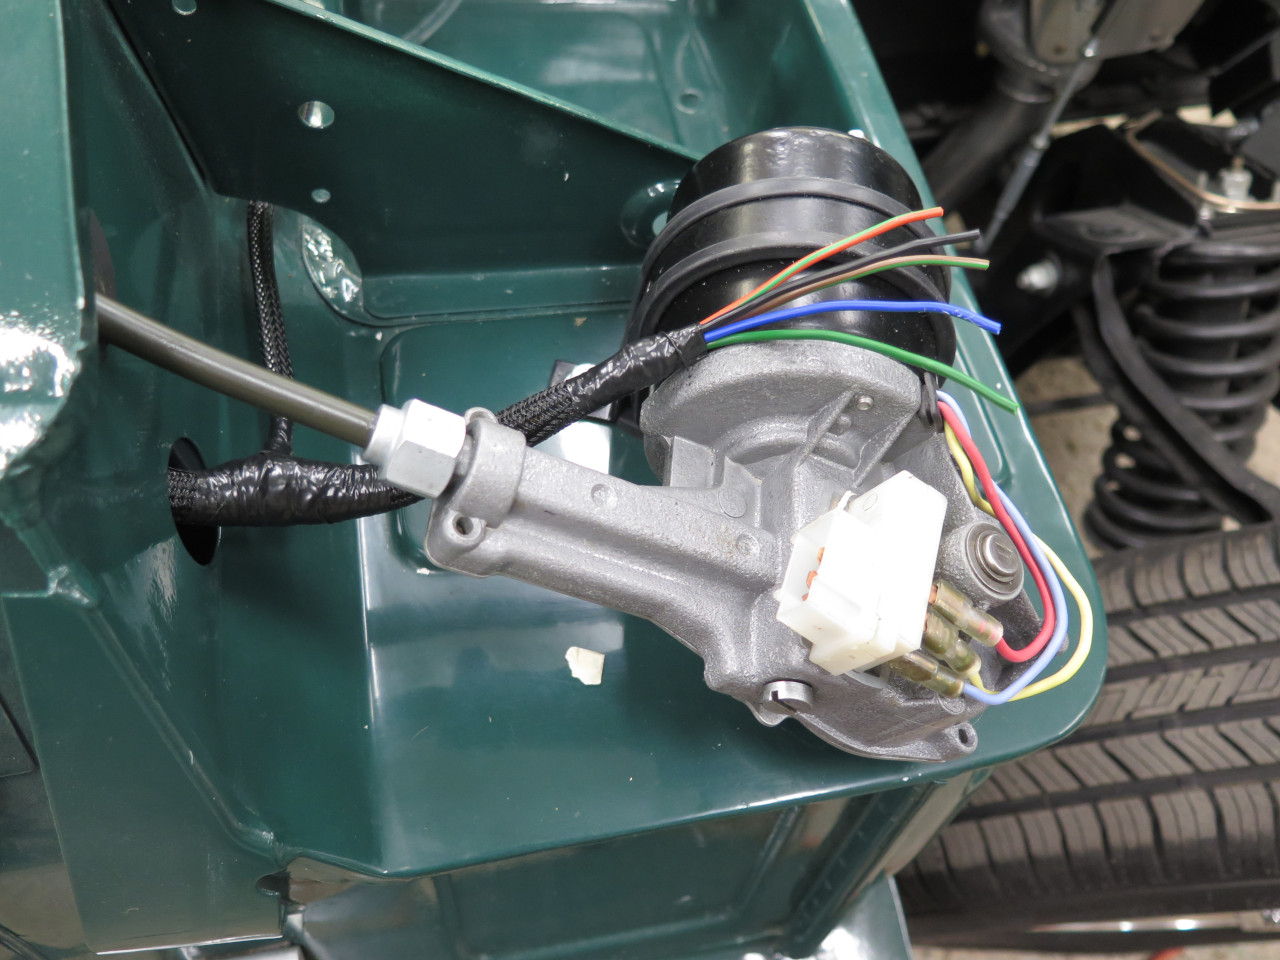
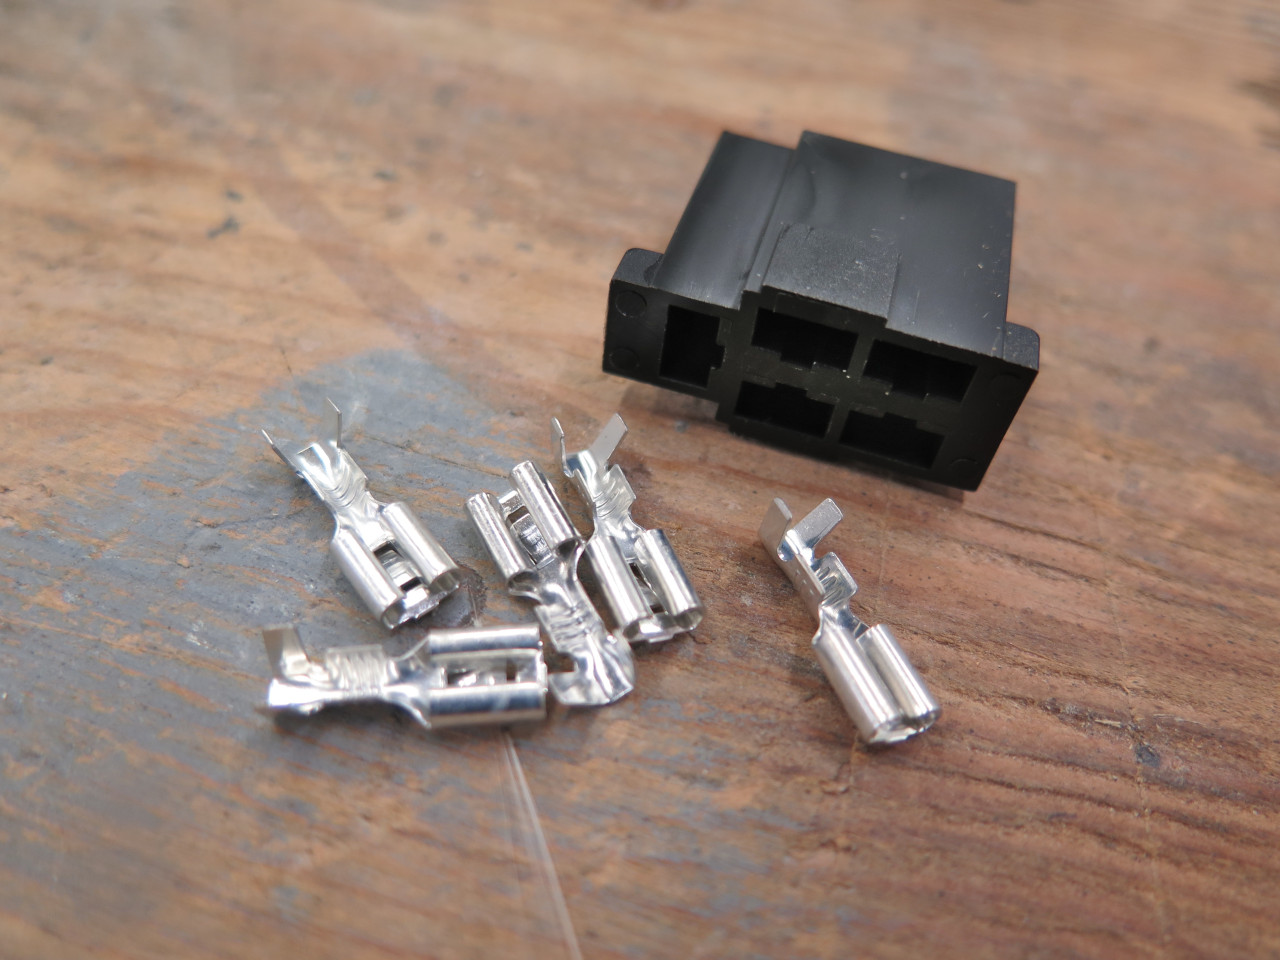
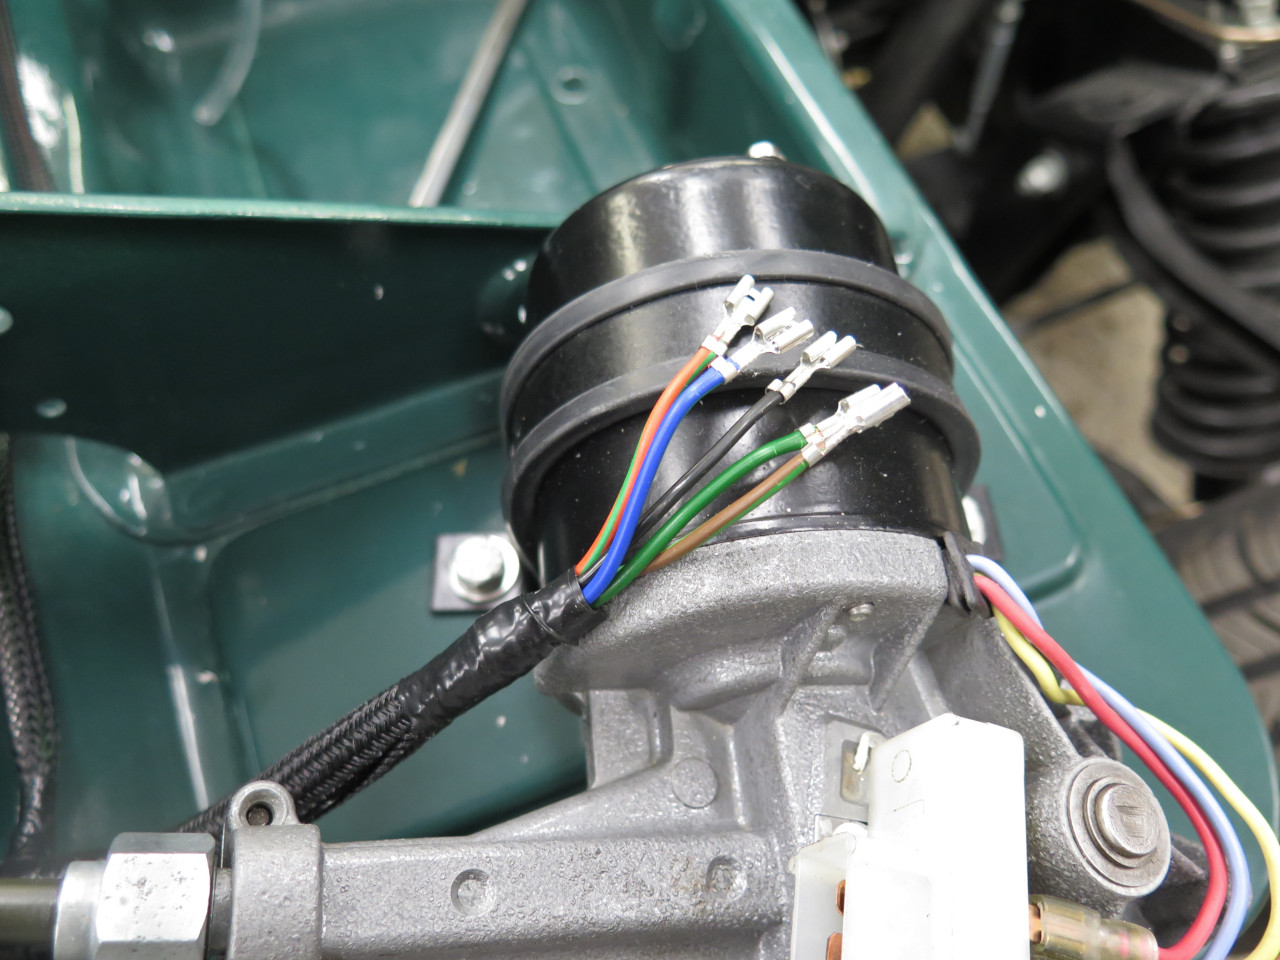
Five of the wires get connectorized to plug in to the wiper motor.
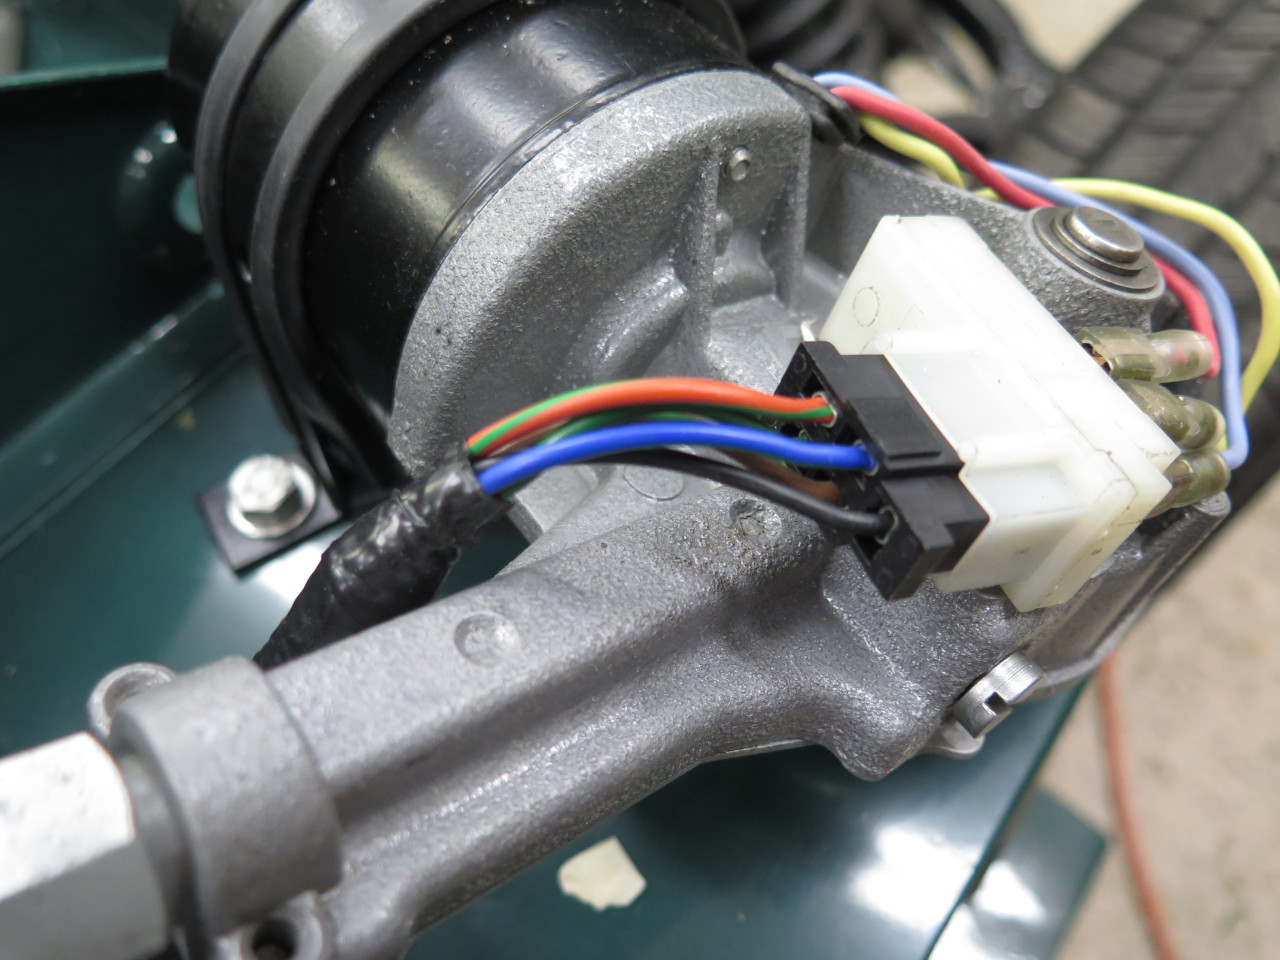
And the start solenoid gets its control wire.
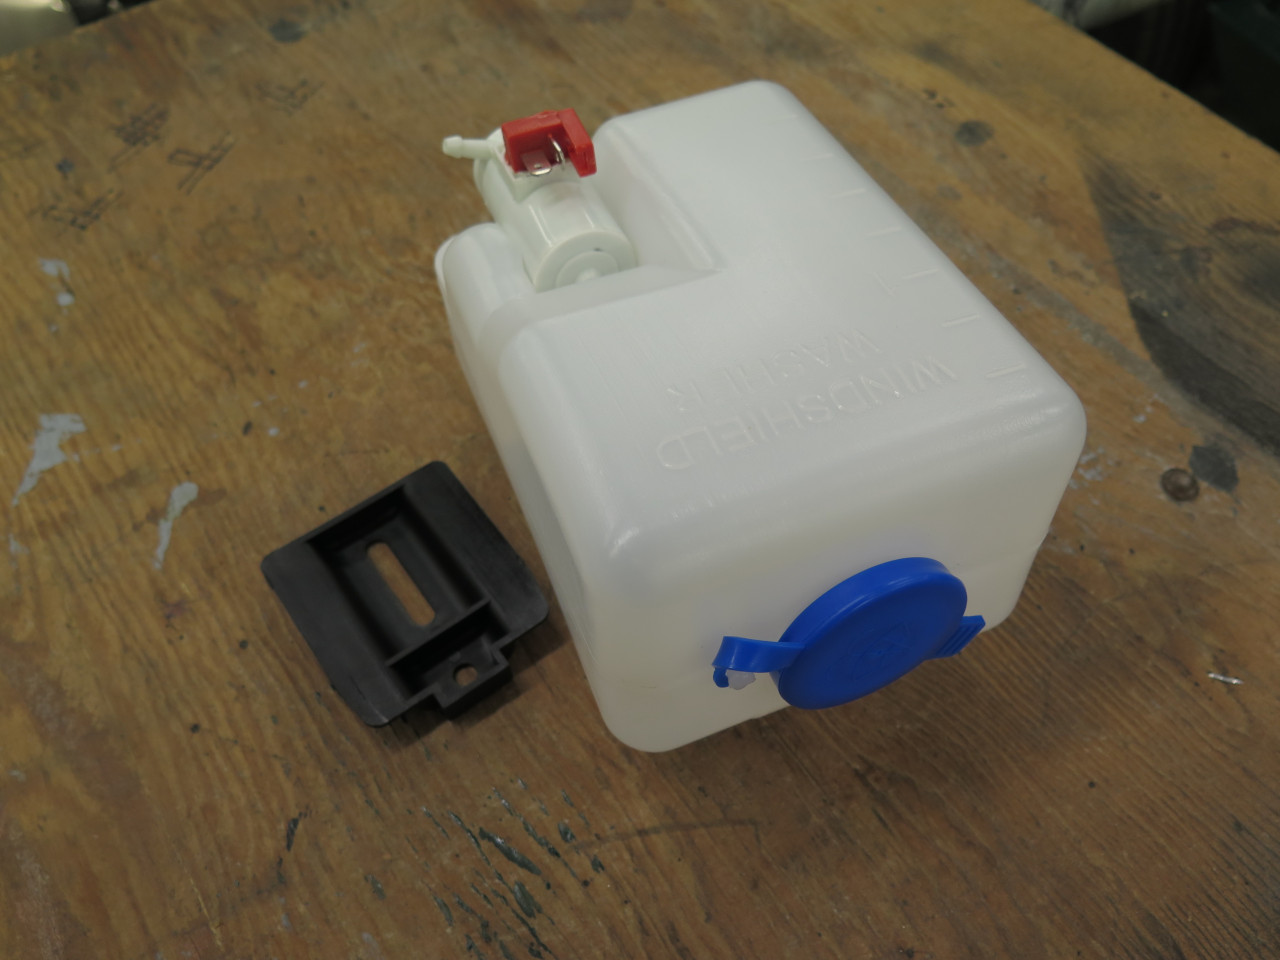
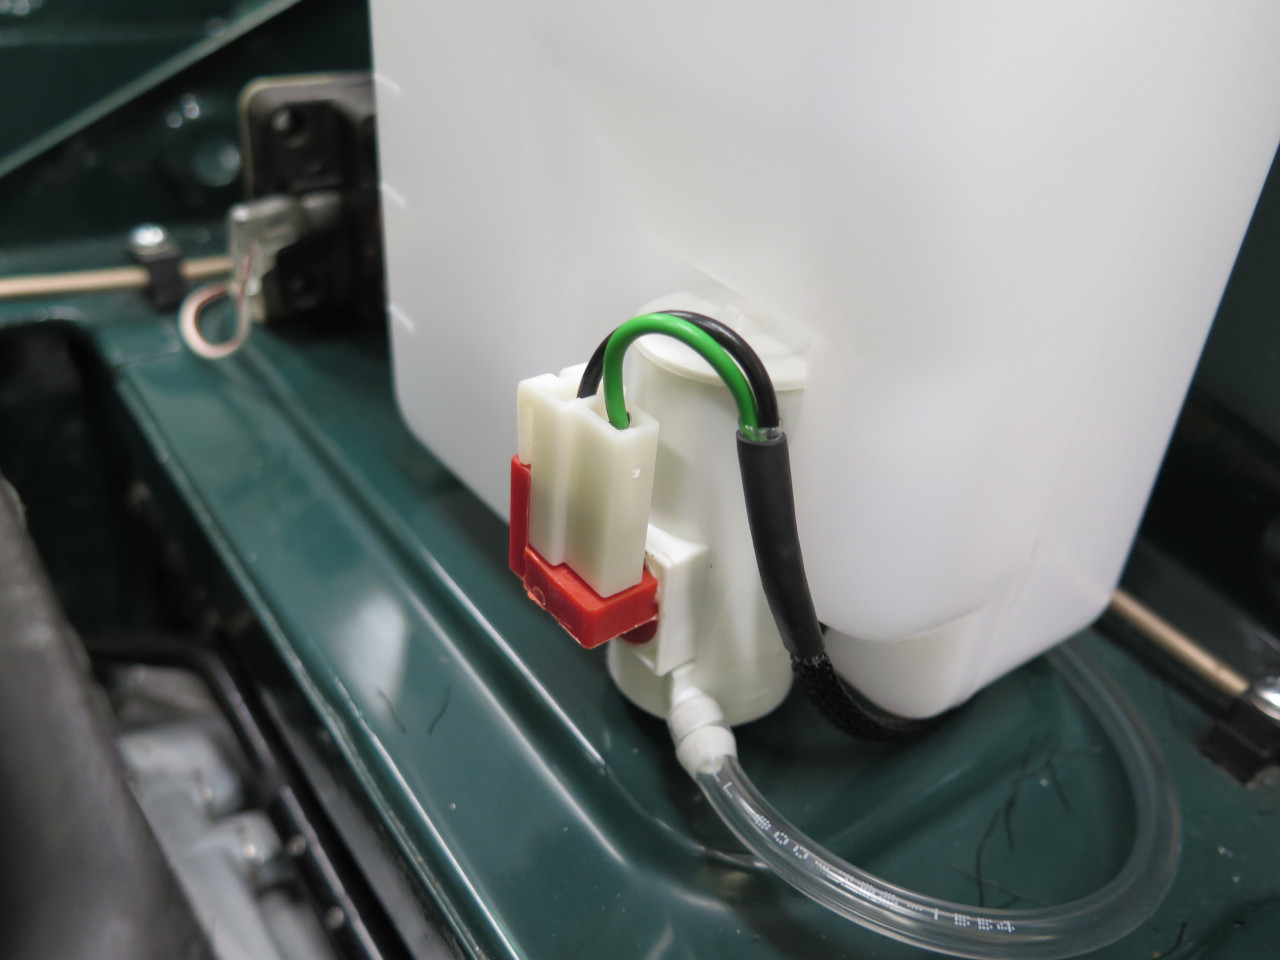
The last electrical device in the engine bay took a little more
thought. Since I eliminated the original manual pump-style
windscreen washer arrangement and replaced it with a momentary
electrical switch, I needed some kind of washer reservoir and
pump. I found this universal unit that is a good fit. I
assumed I'd have to do some mods to mount it, but fit perfectly as is.

Hooked up the washer tubing and the wires. The plug came with
wires attached, but I had to change them to match my color code.
This front cable, as well as the rear one, were built in situ, which of course guarantees that they fit. In principle, they could be removed intact, but I'm not sure why that would ever be necessary.
This kind of work is really enjoyable for me. It does take a
massive amount of prior planning though. I think cost was under
$100, mainly for the wire, sleeve, and connectors.
Comments to Ed at elhollin1@yahoo.com
To my other GT6 pages