To my other GT6 Pages
November 26, 2019
Alternator
I
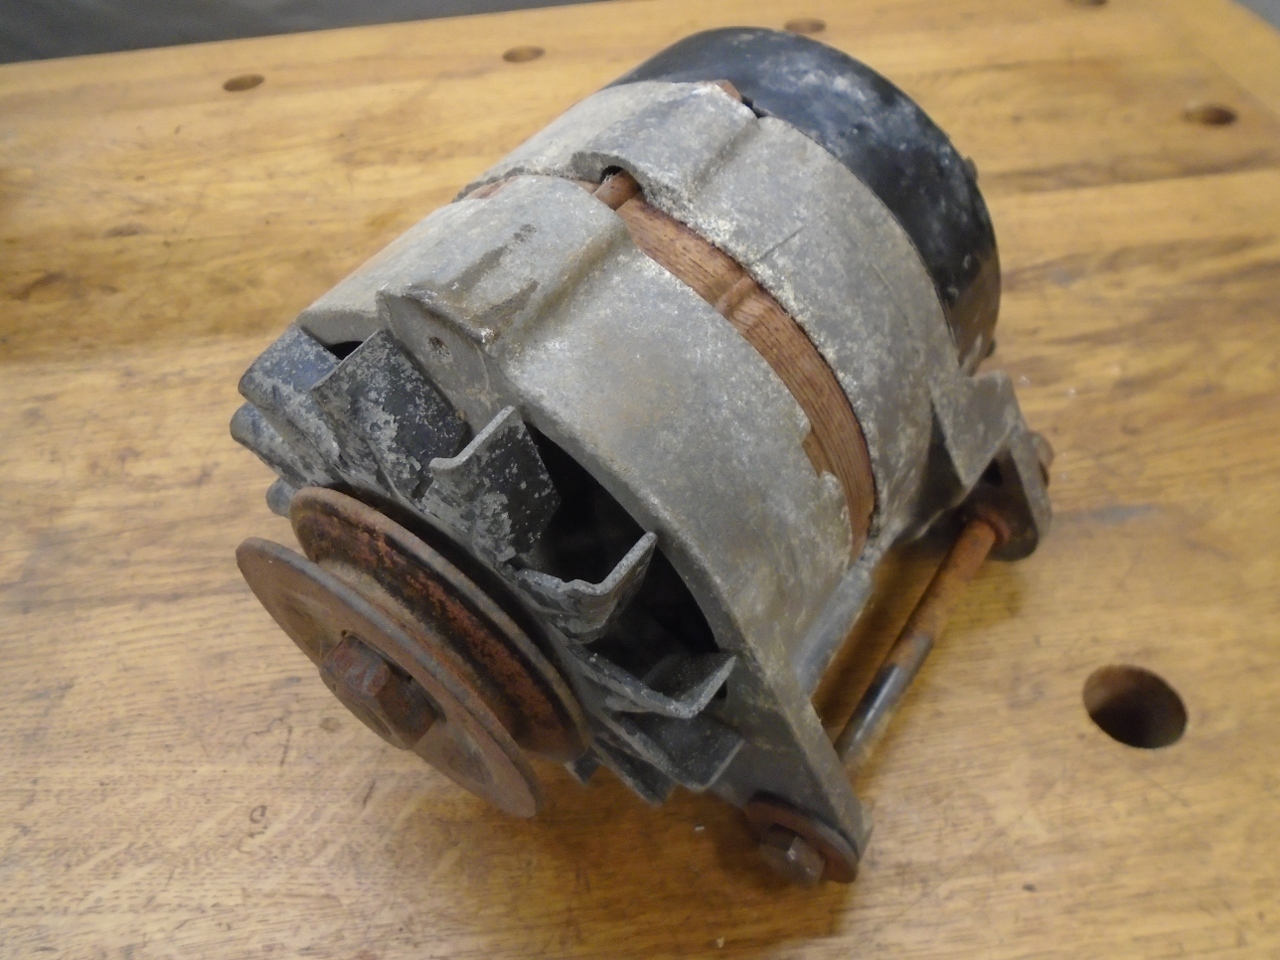
believe all GT6 cars had alternators installed to maintain battery
charge. Mine had a Lucas 15ACR unit, rated at something around 28
amps. It was pretty crusty, but I believe it was working fine
when the car was put away over 30 years ago.

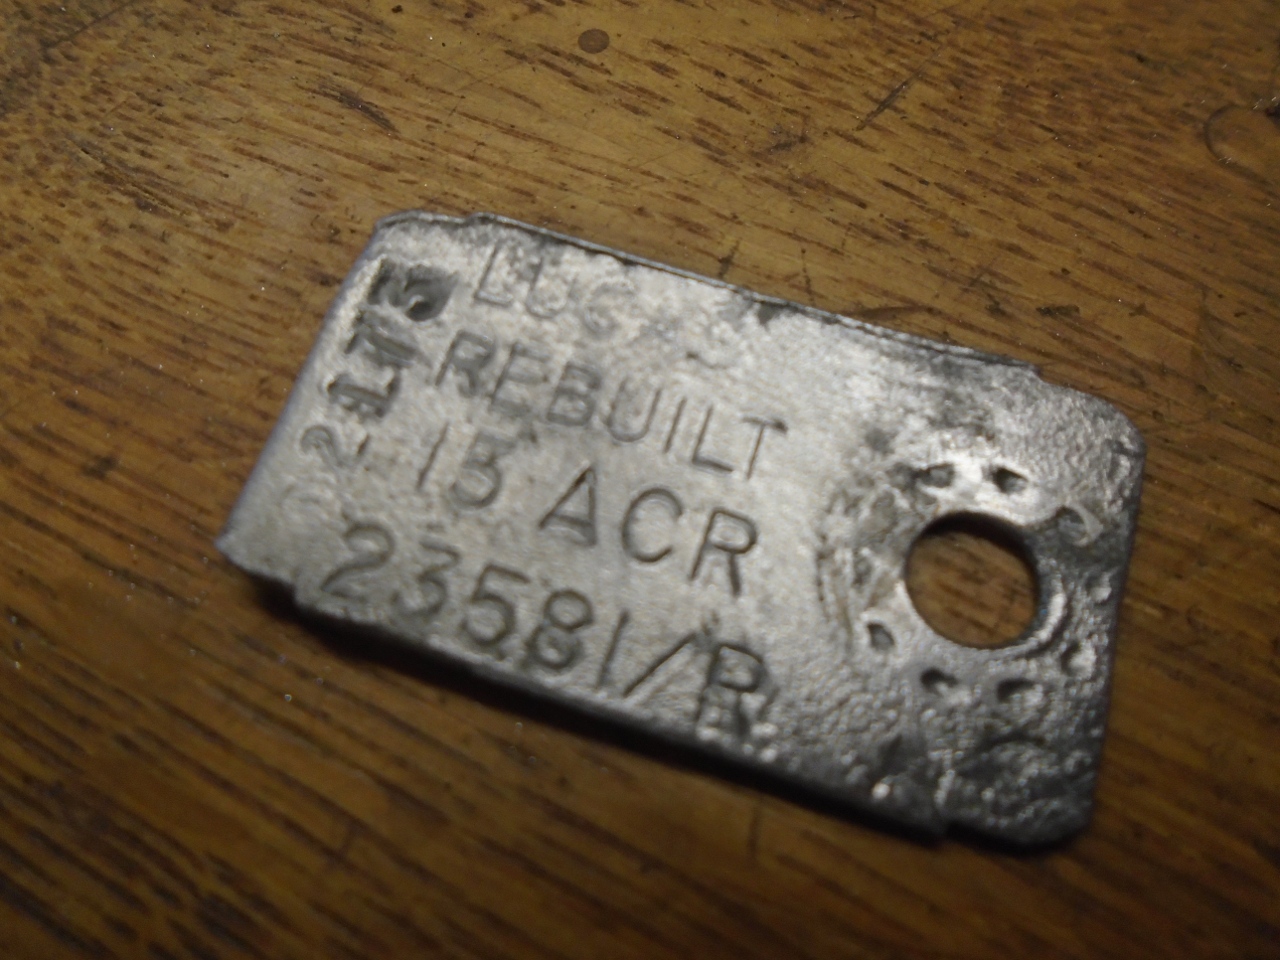
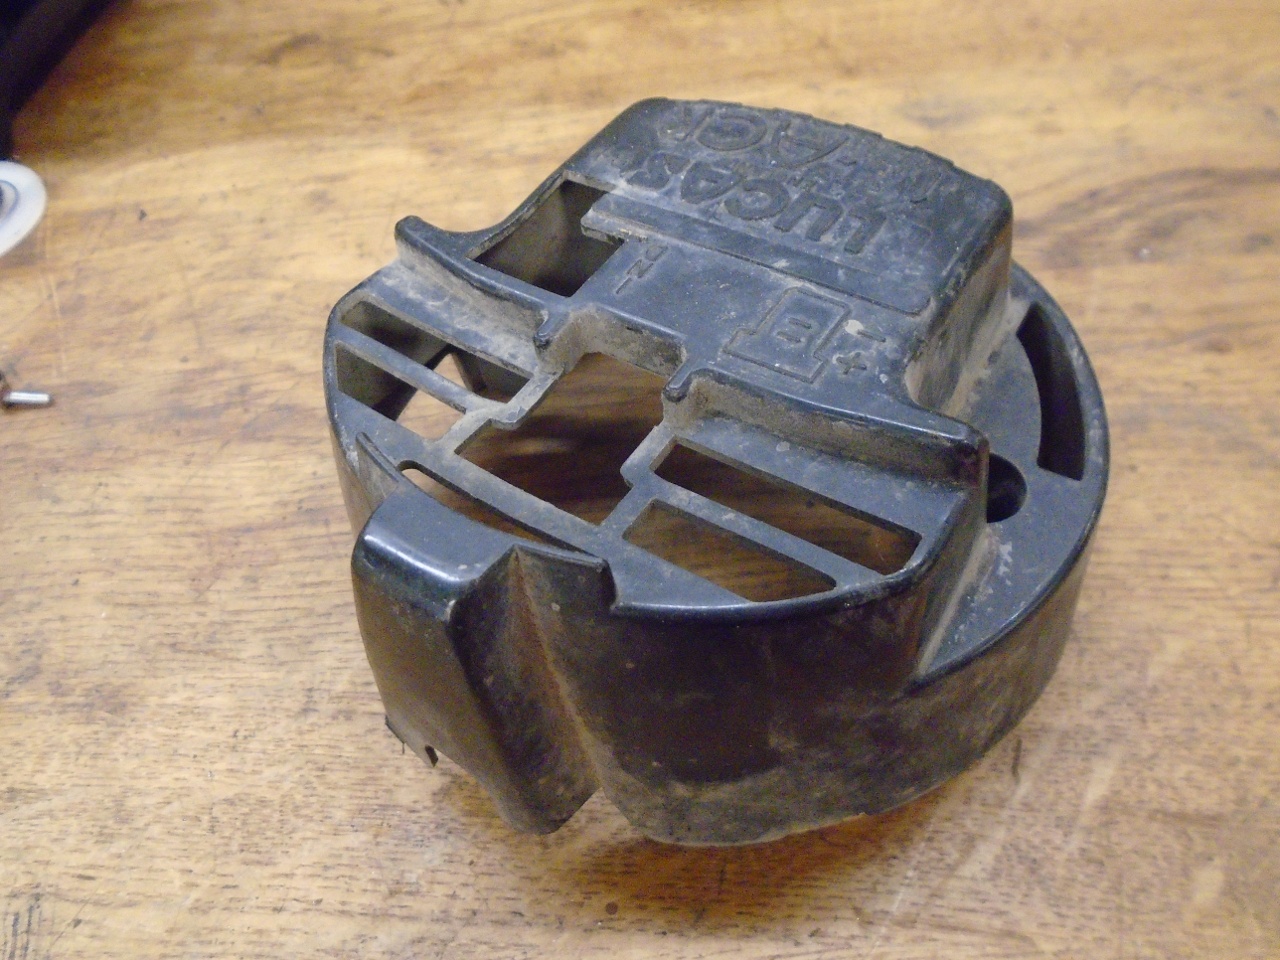
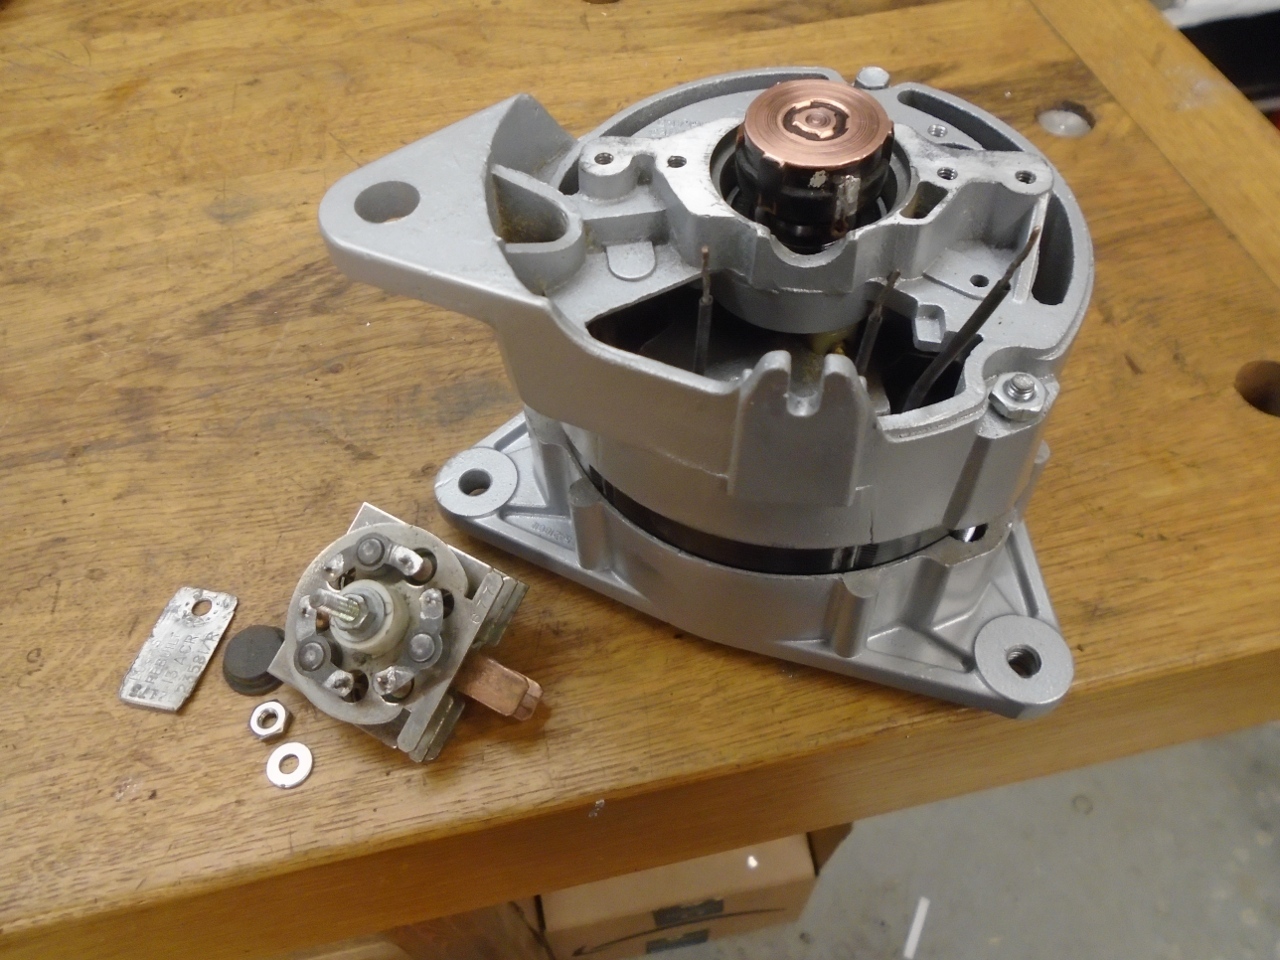
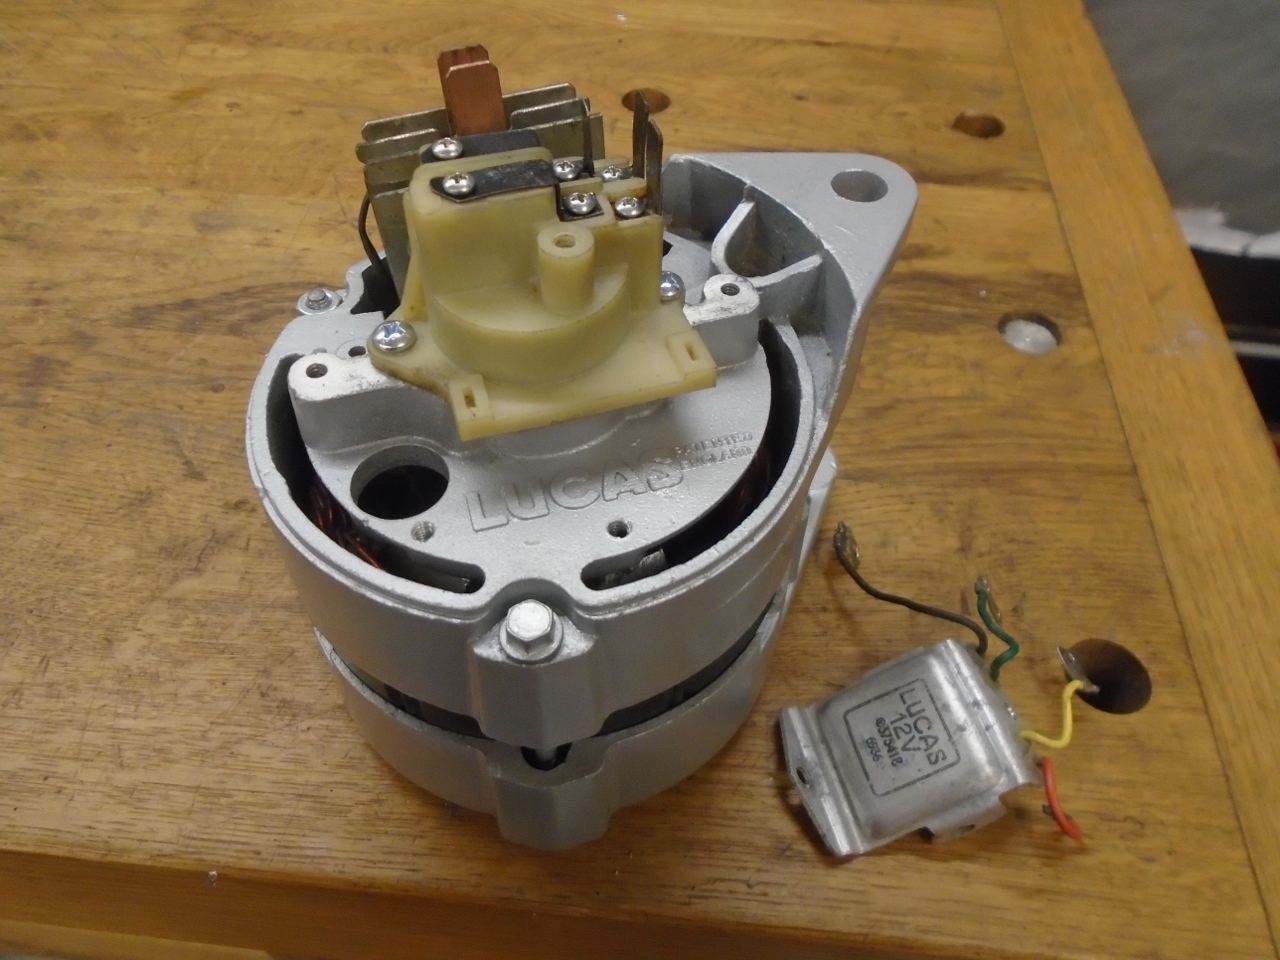
According
to this tag on the alternator, it was a rebuilt unit. I'm
assuming the number on the left is a date code--probably week 21 of
1973.
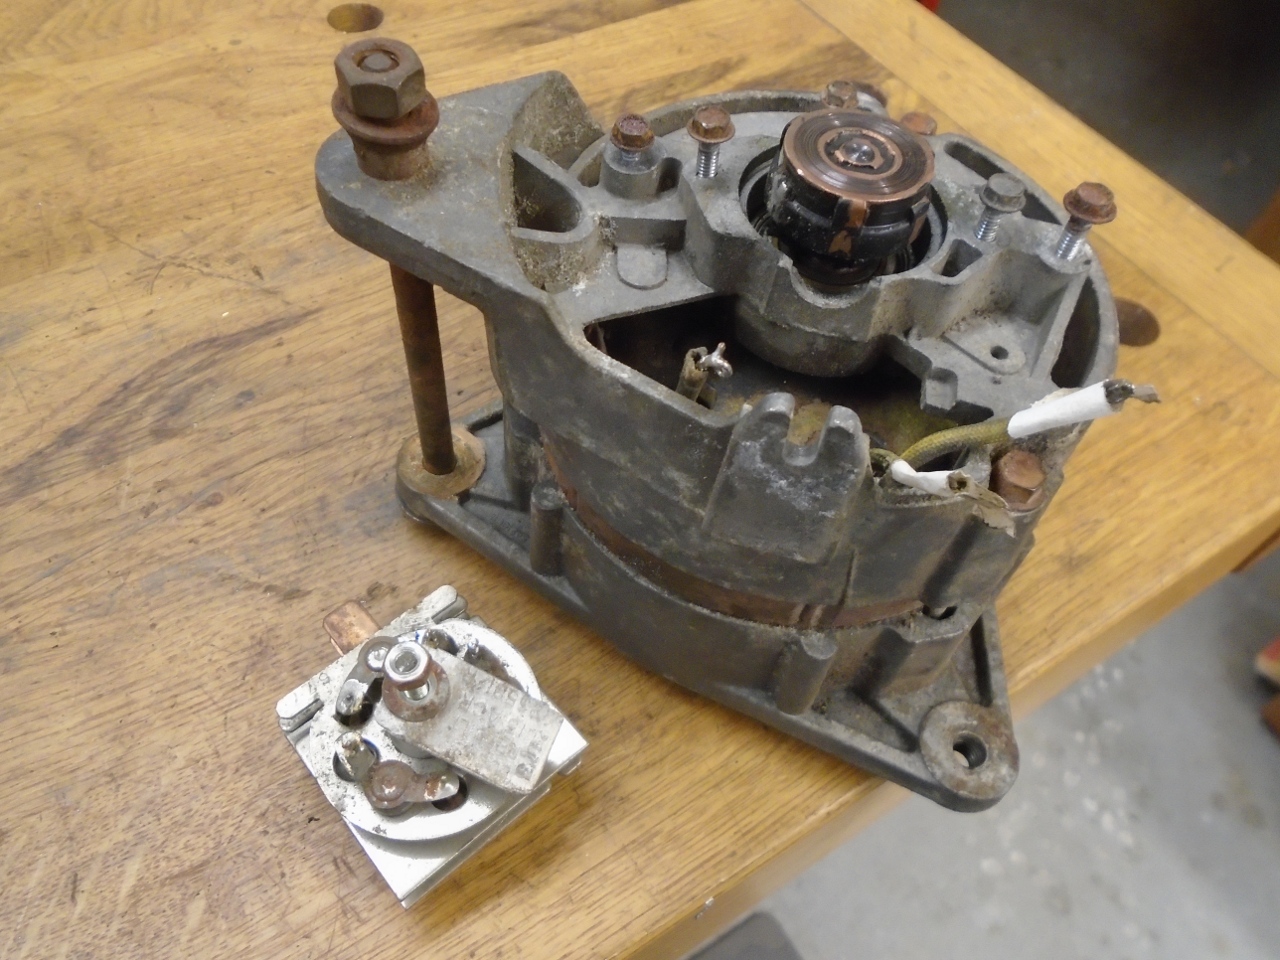
In
a cursory inspection, there was a lot of corrosion under the rear
cover, and the bearings felt a little rough. I decided there
wasn't much to lose by taking it apart, at least to replace the
bearings.
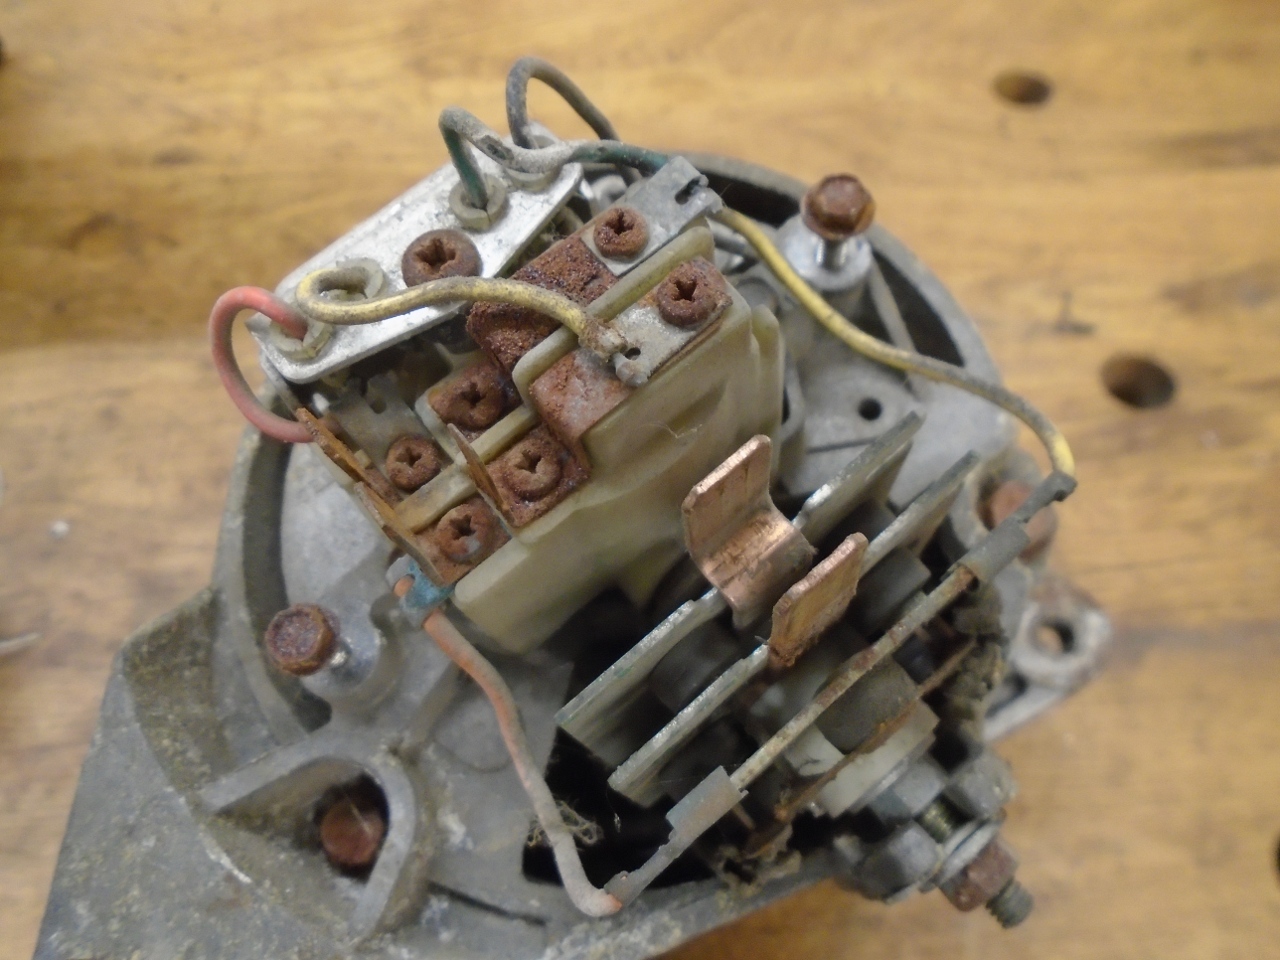
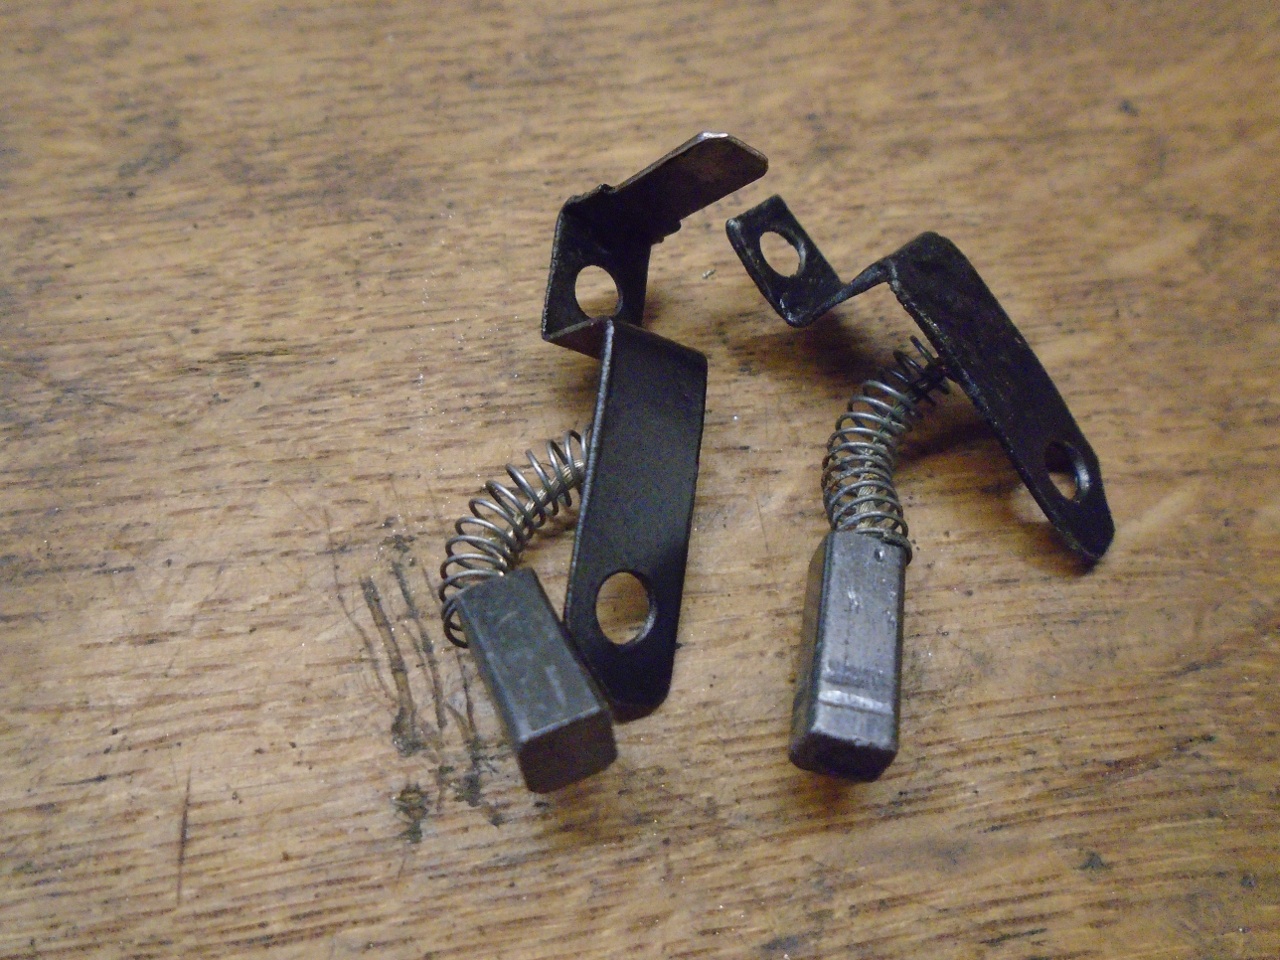
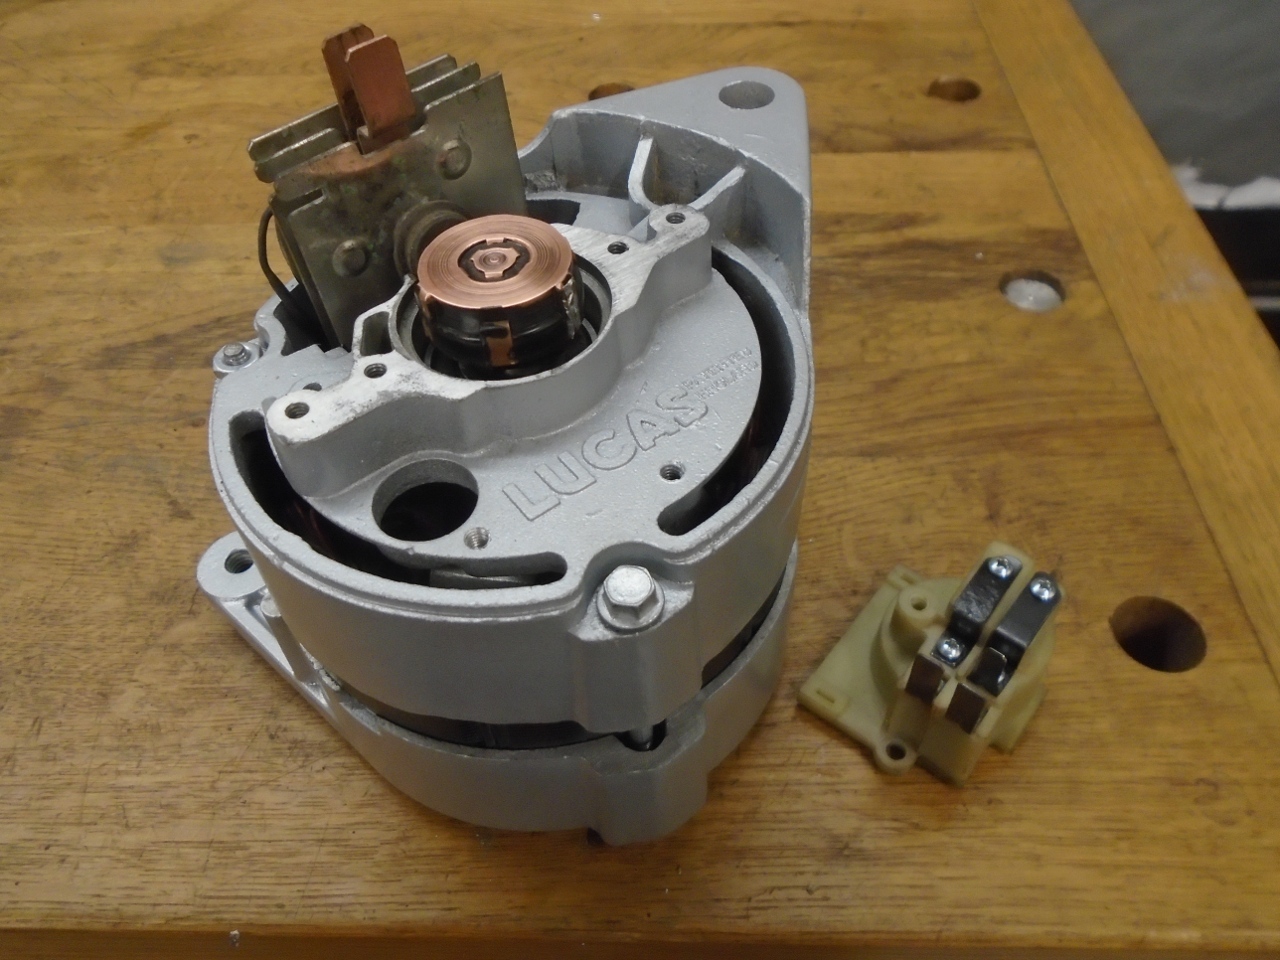
The
plastic brush holder at the back of the unit comes off to reveal the
slip rings. On these kinds of alternators, the field winding
rotates, and is energized by brushes through the slip rings.
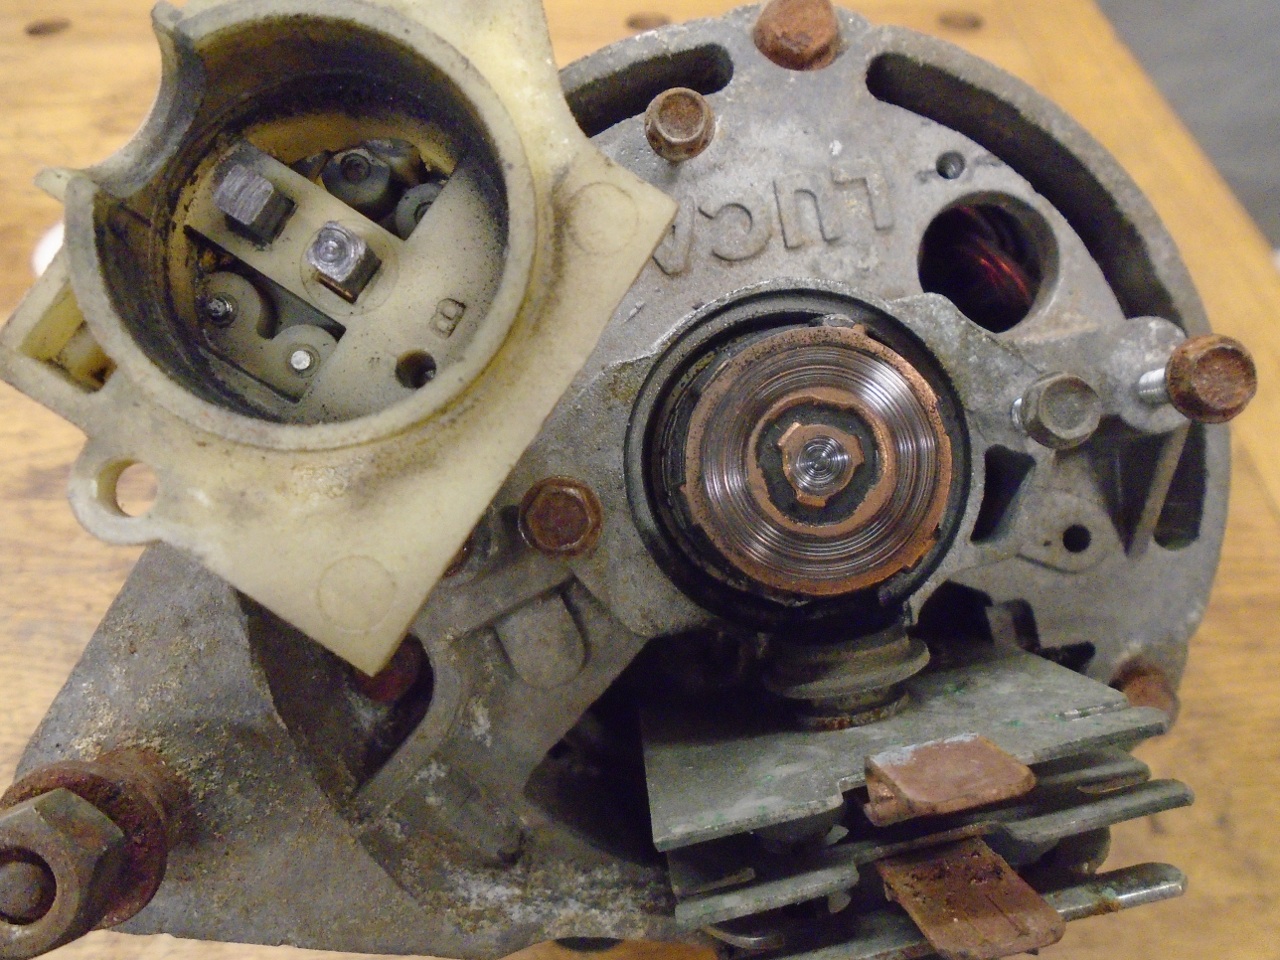
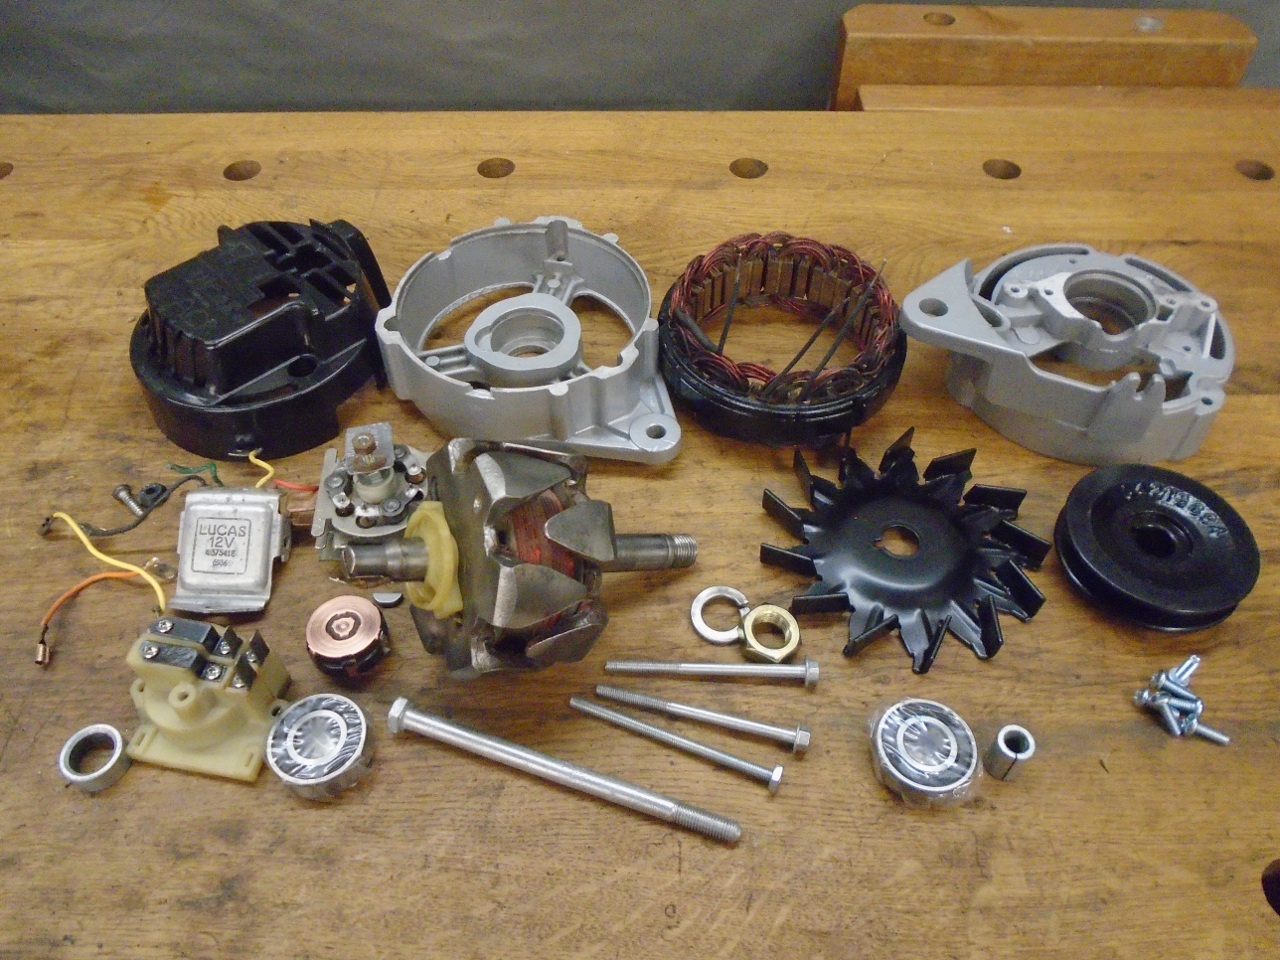
To
get the case apart, rectifier module has to be removed. This
requires unsoldering the three phase connections from the stator
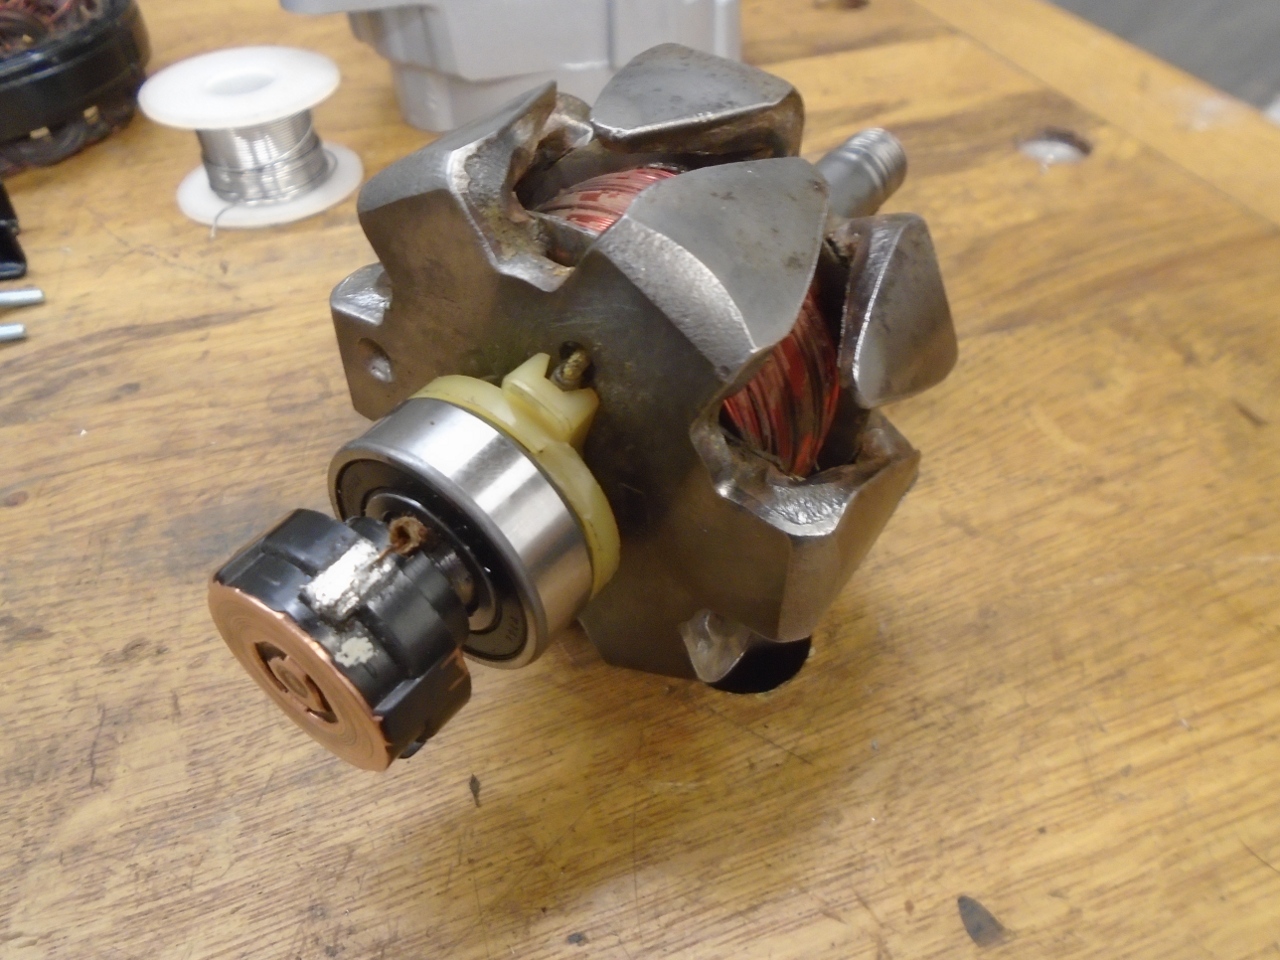
windings. The pulley and fan have to come off the other end.
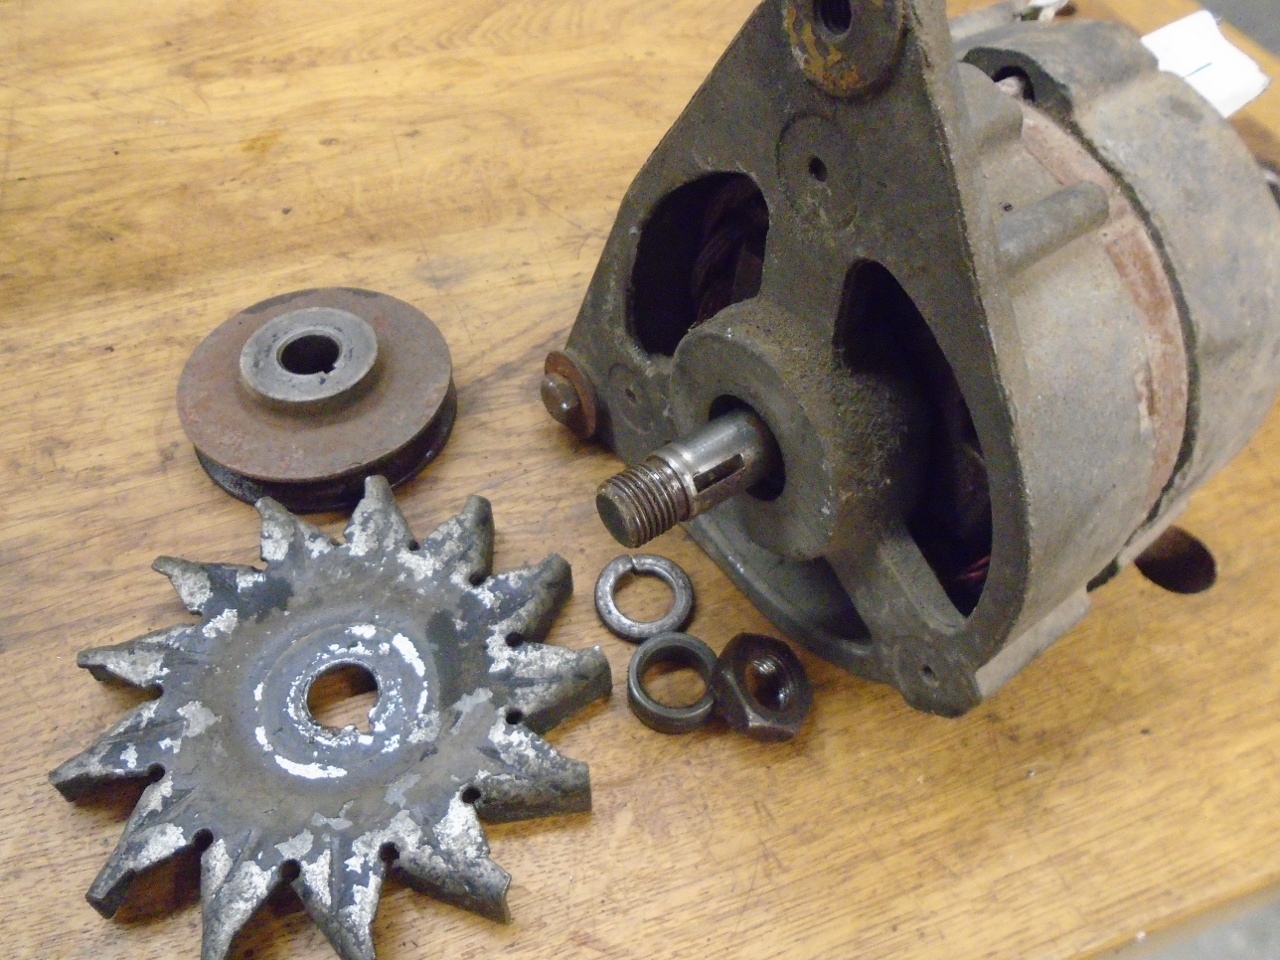
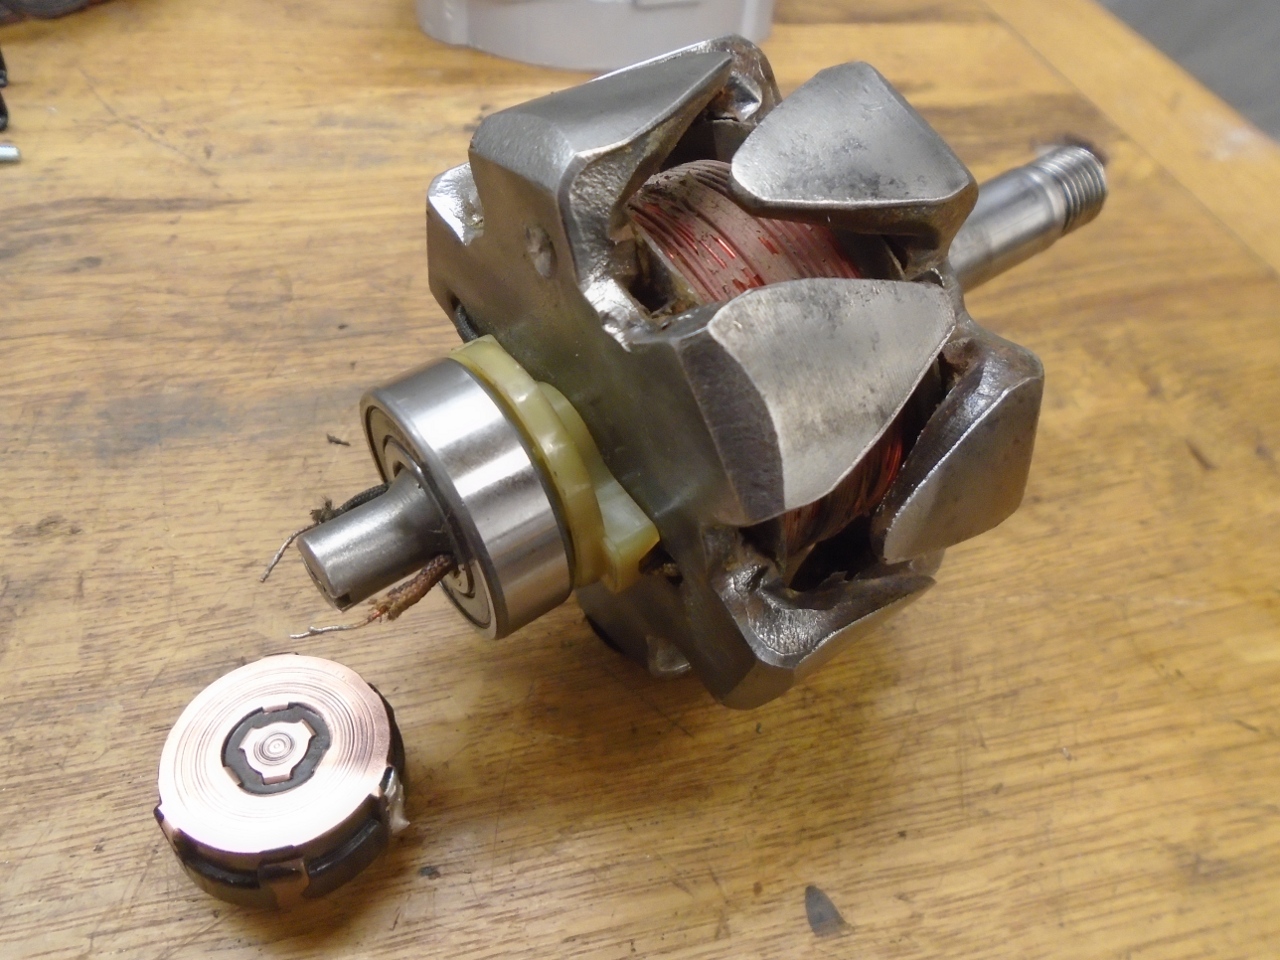
The slip ring module has to come off the end of the rotor shaft. This also requires some desoldering.

Then
the case can be pulled apart. One of the three long bolts holding
the end pieces together decided to sieze on me, snapping its head off.

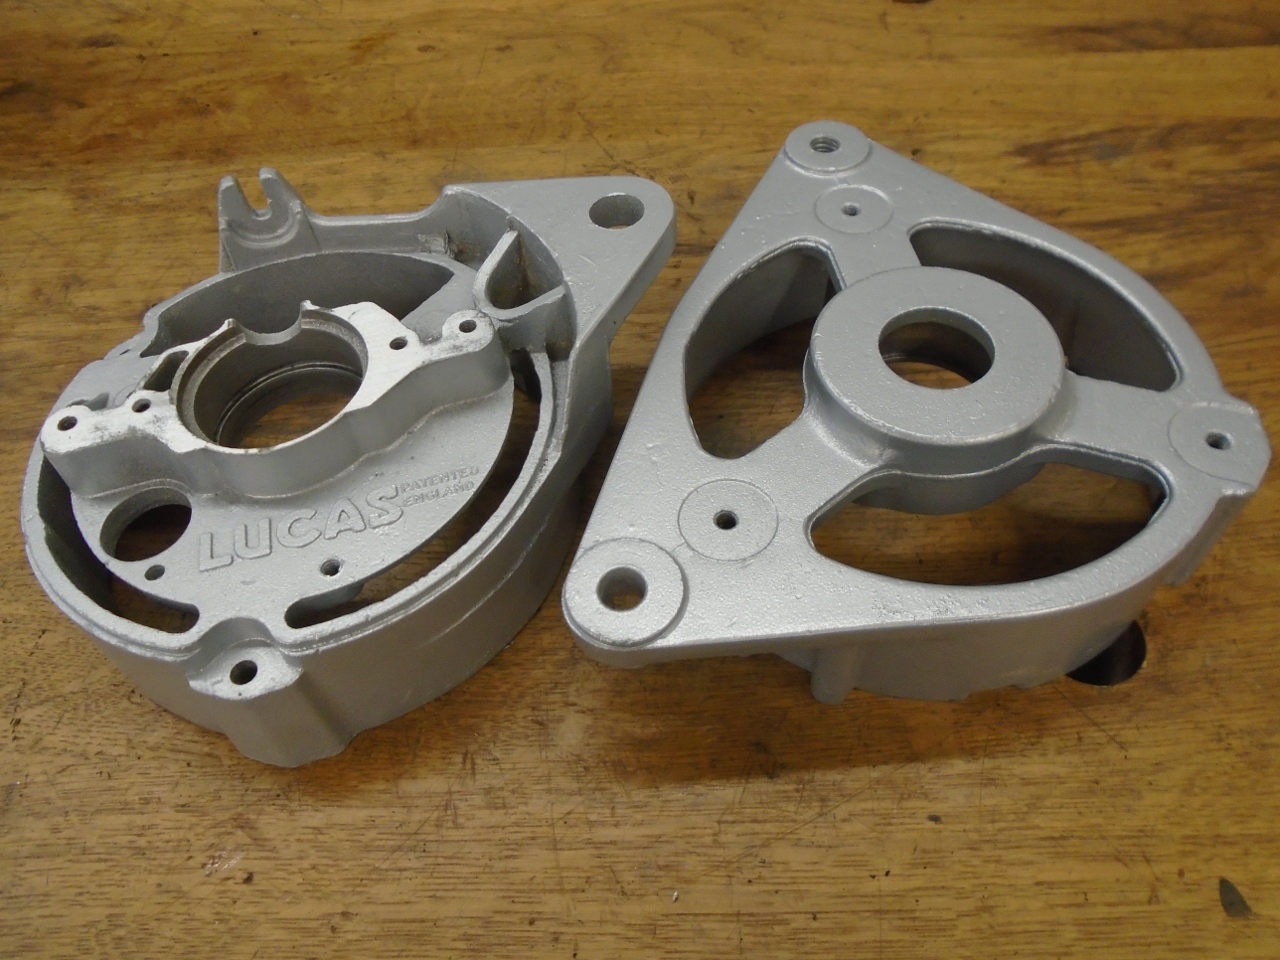
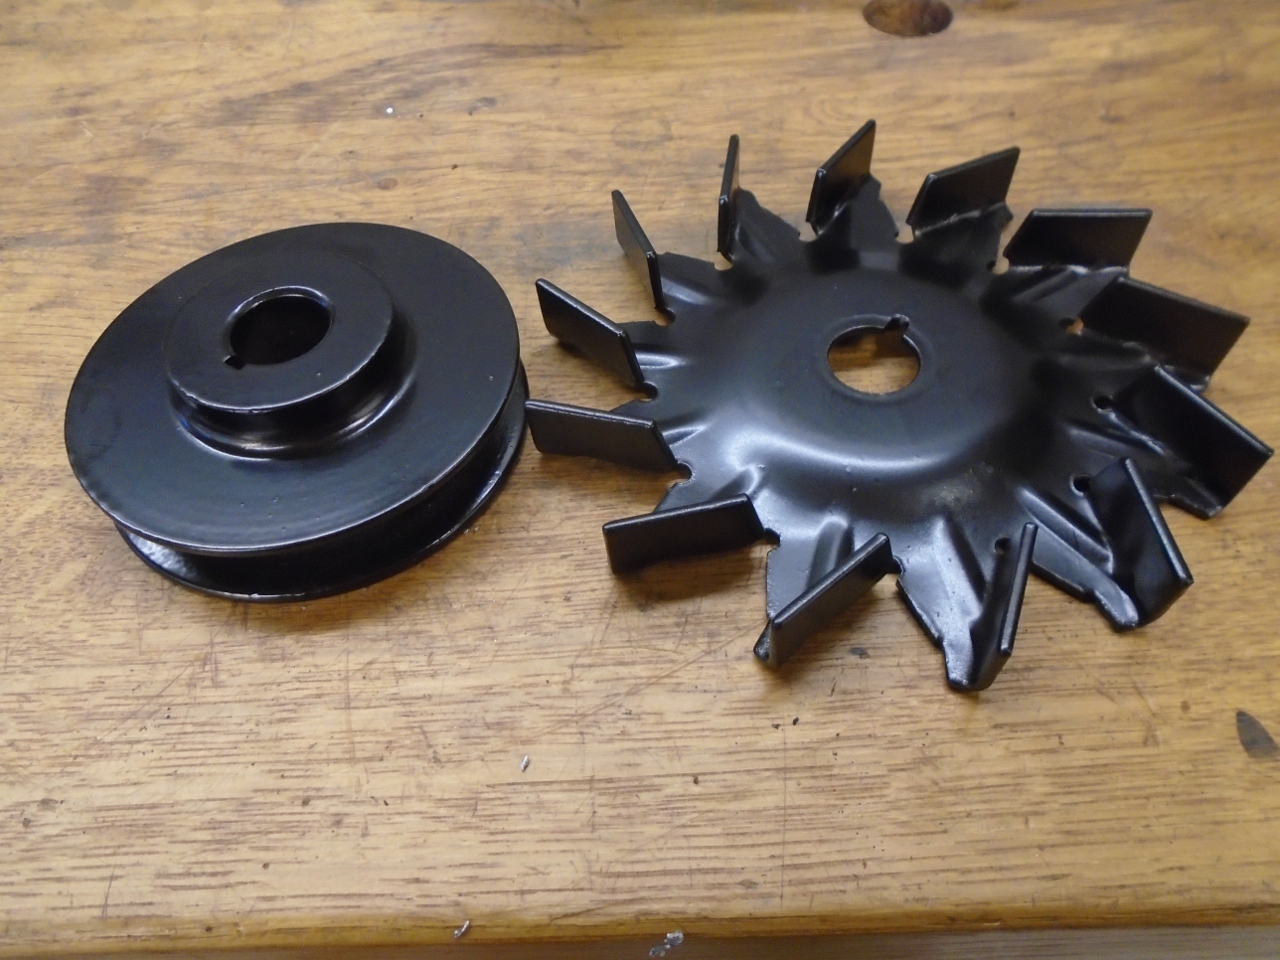
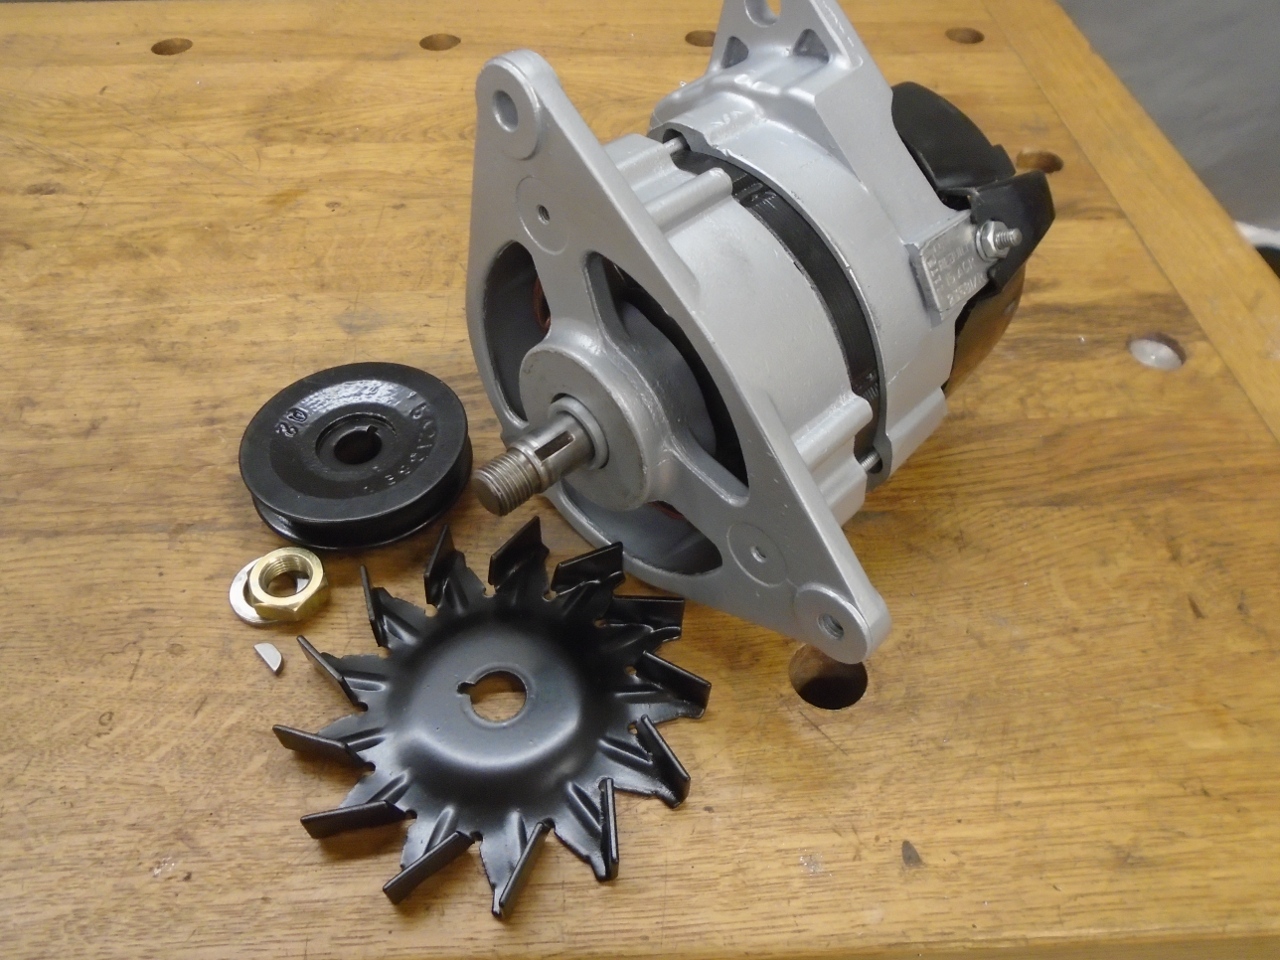
Then the refurb started. A nice powder coat for the aluminum end caps and the pulley and fan.
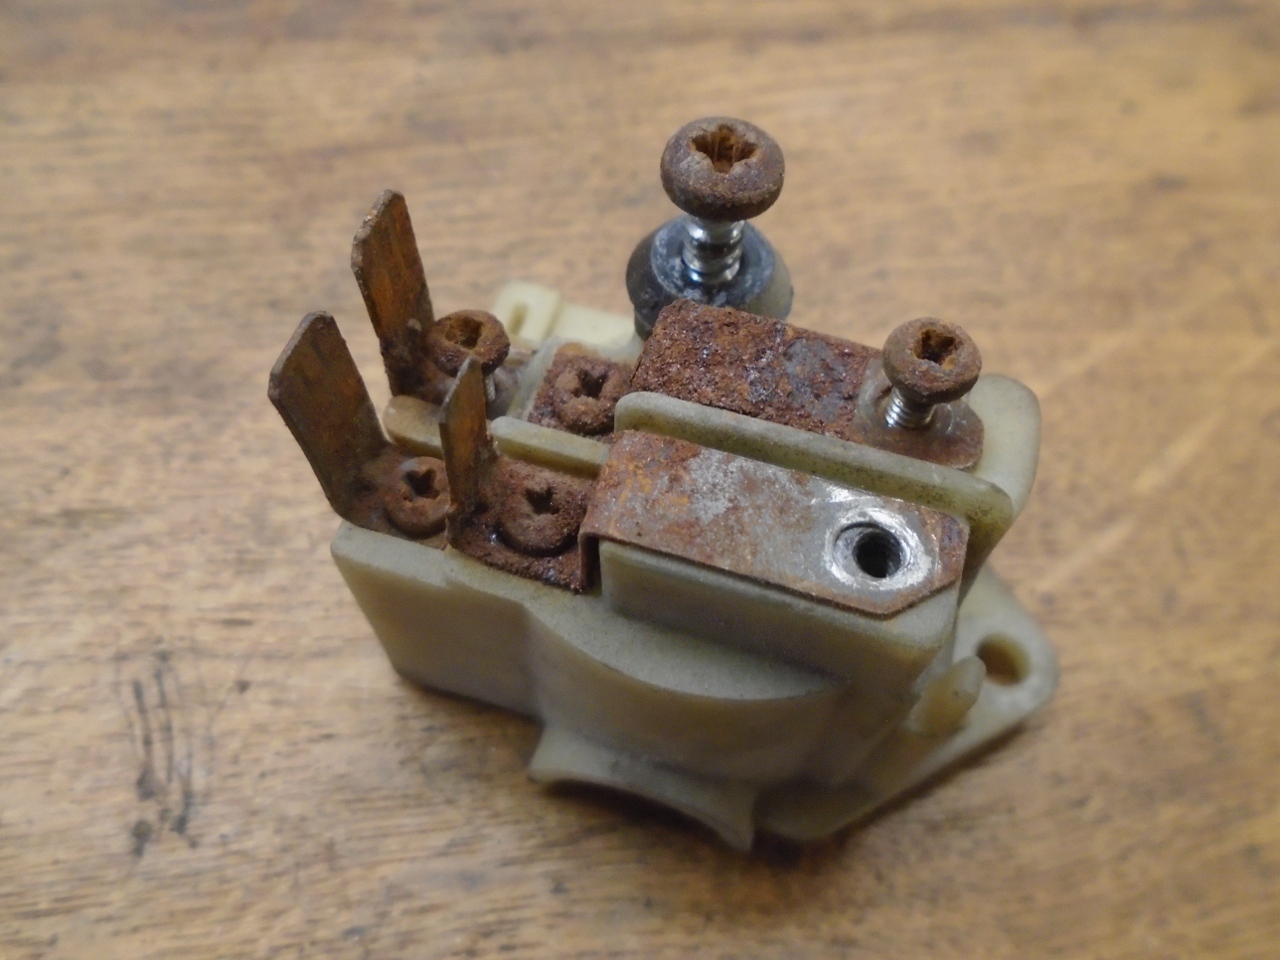
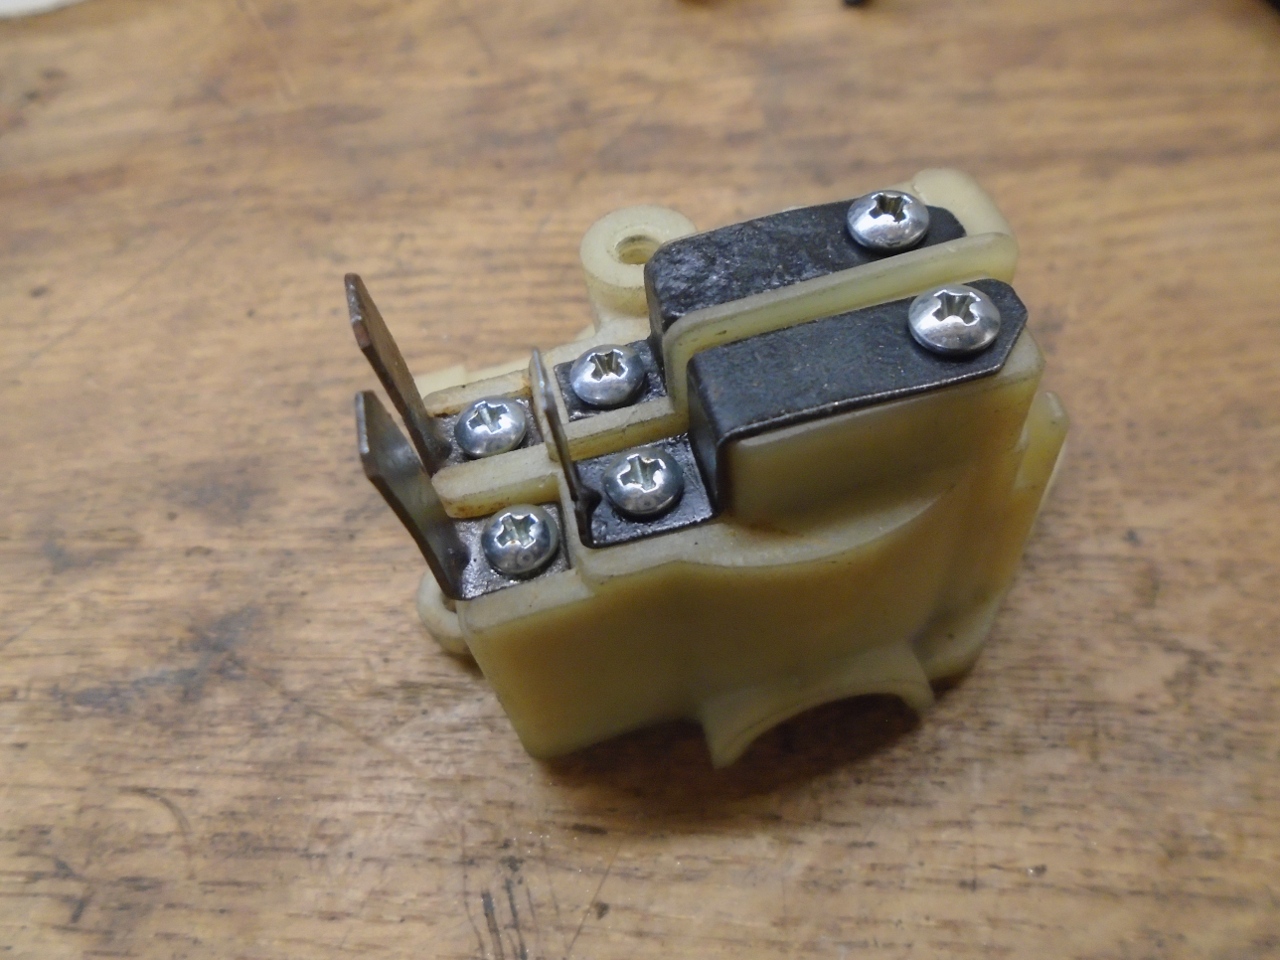
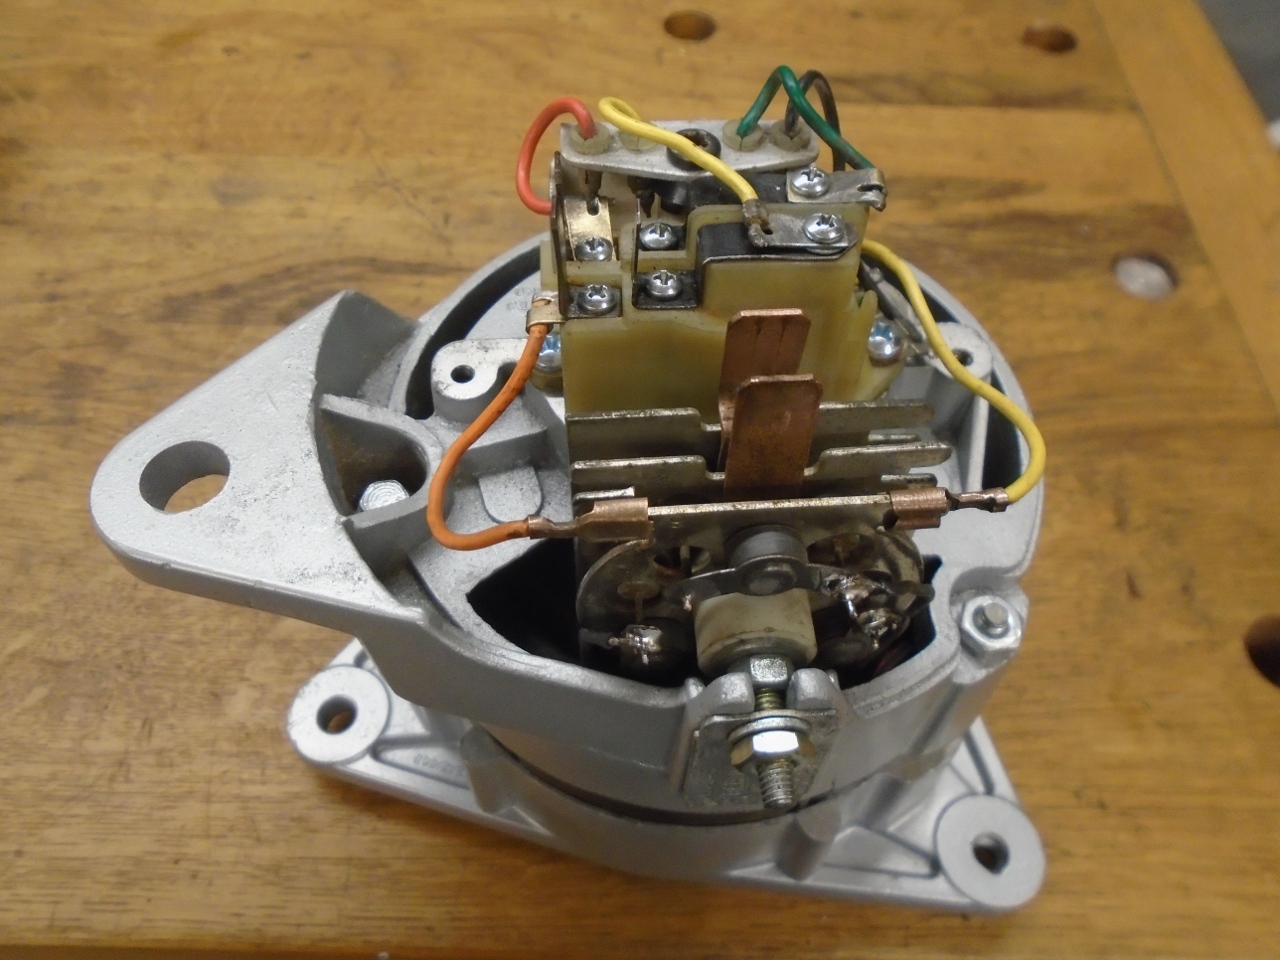
The
brush holder cleaned up OK, but I was disappointed to find that the
metal parts were all steel. You'd expect copper or brass in an
electrical device like this. I'll bet a significant number of bad
ACR alternators failed due to corrosion of the steel conductors and
joints. I briefly considered making new parts from brass, but
attaching the brushes would have been tricky. Though new brushes
and slip rings are available, they were both in decent shape here, so I
just cleaned off all of the rust and painted them.
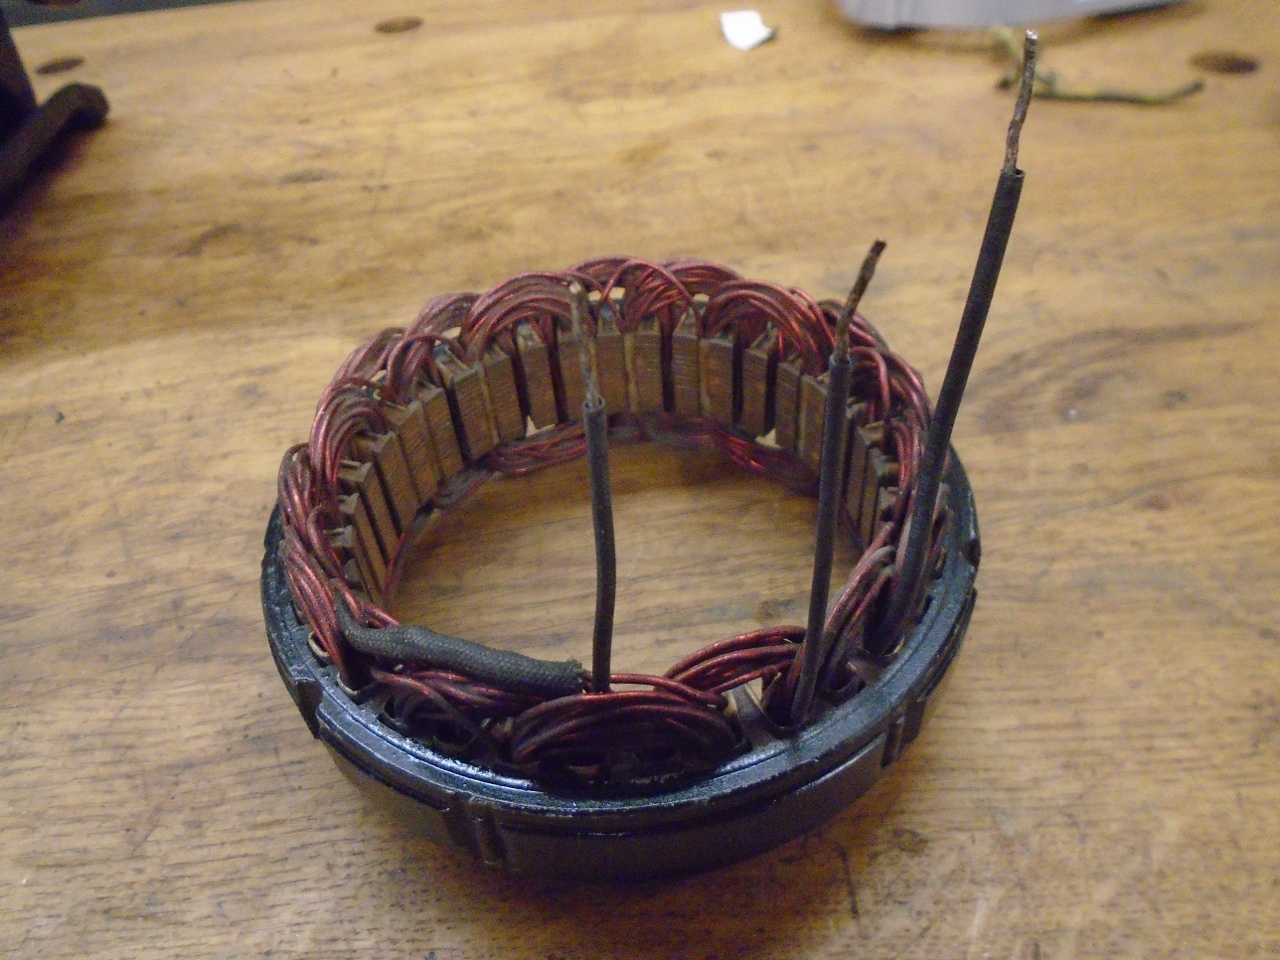
I
didn't want to subject the stator to powder coating heat, so it
just got cleaned and painted. I replaced the frayed braided
insulation sleeves with something neater.
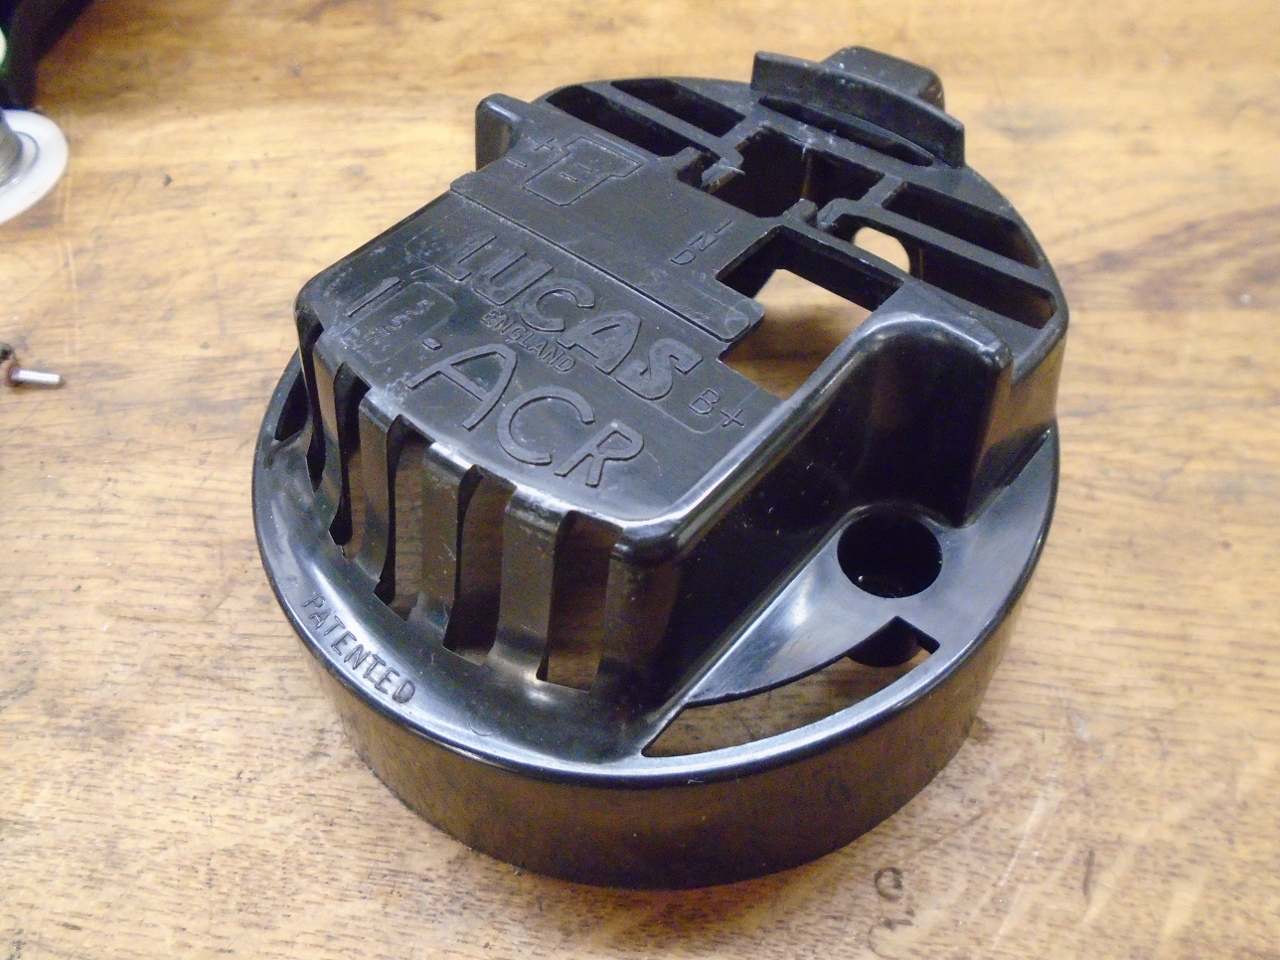
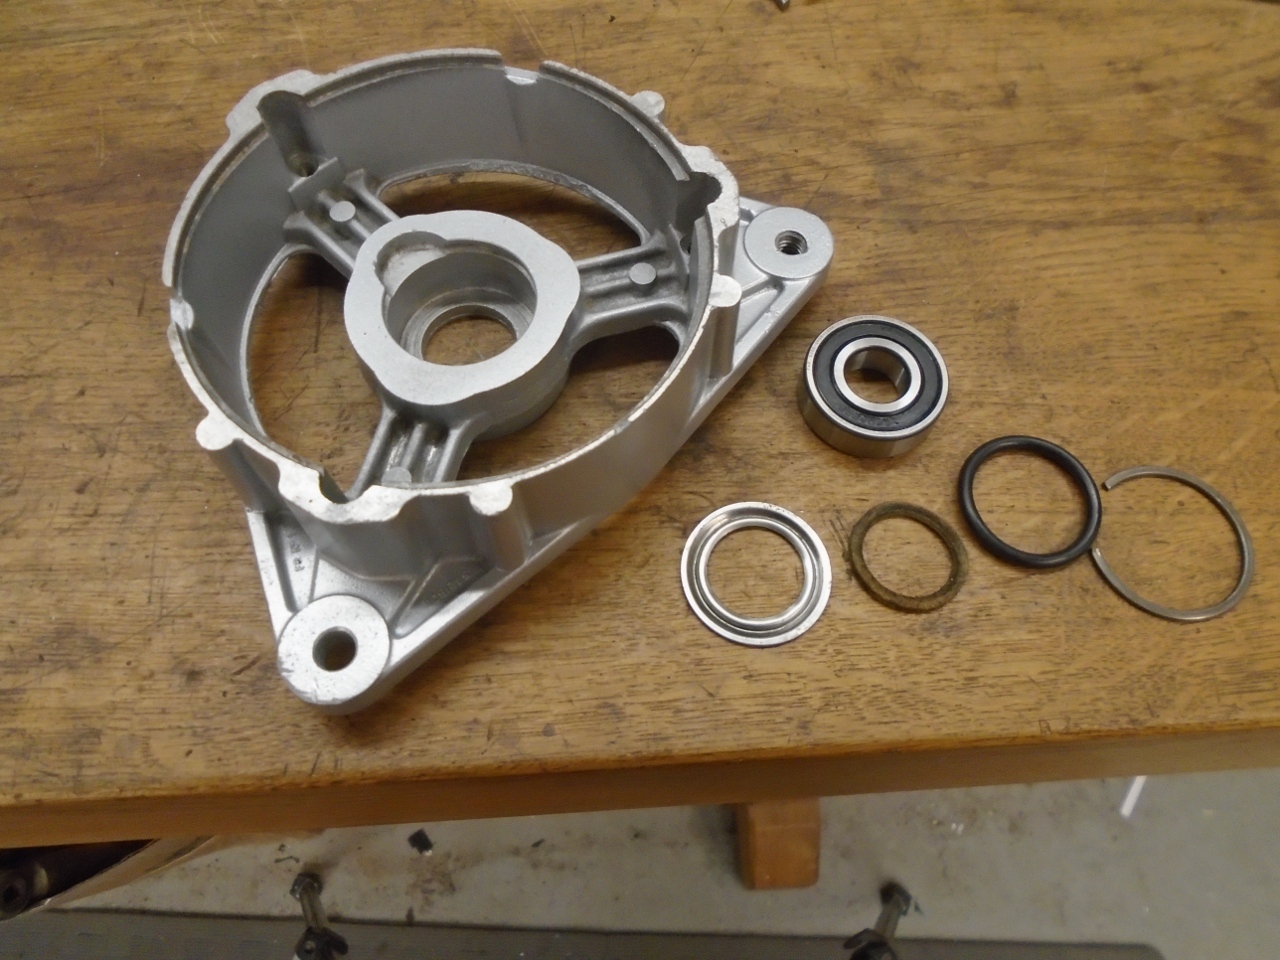
Even the 46-year old (at least) back cover cleaned up pretty well.
So,
not finding anything unfixable, it was time to put it all back
together. I noted during disassembly that the ball bearings were
shielded units, not sealed. This seems odd to me. This is a
device operating in an engine compartment with a lot of air forced
through it, not all of it clean. The shields probably help, but
it seems like a good application for sealed bearings, so that's what I
put in. The bearings are the ubiquitous 6202 type.
The new bearing and slip ring module go on the rotor shaft, and the winding wires get soldered to the slip rings.
The
other bearing gets installed in the front case. There is an O
ring in there, called a "seal" on some of the parts listings. I'm
not sure what it was sealing, but it probably wasn't necessary with the
sealed bearings. It has to be installed, though, since the
stacked thickness of all the parts is required to make sure the snap
ring holds everything in place.

The
two case halves were then assembled with the stator sandwiched between.
The broken bolt was replaced with a length of #10 threaded rod
and a nut. The rectifier pack is standing by for installation.
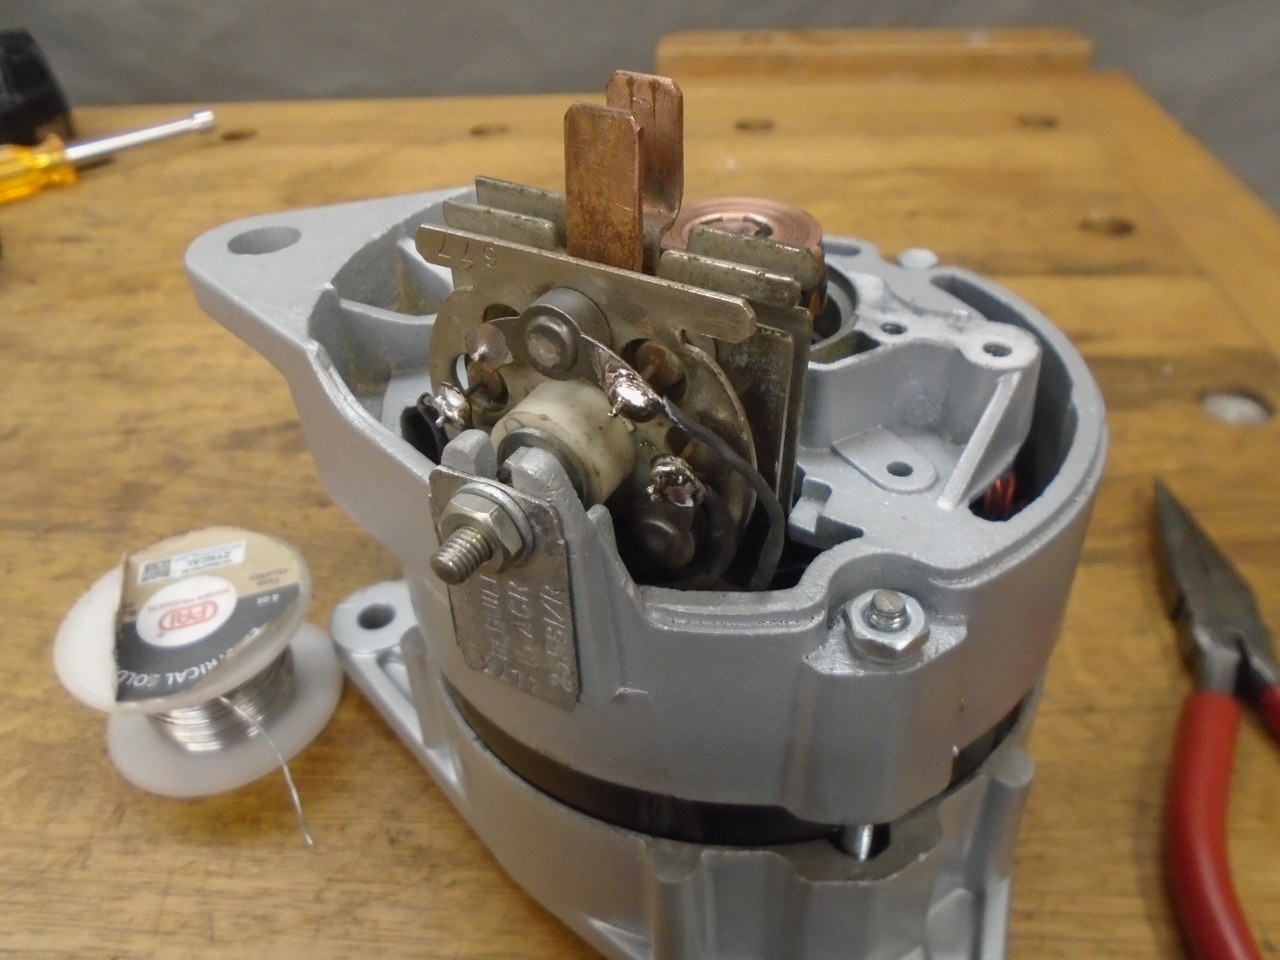
Then the brush holder assembly and the regulator.
Then finished up the wiring...
...and added tthe rear cover and the fan and pulley.
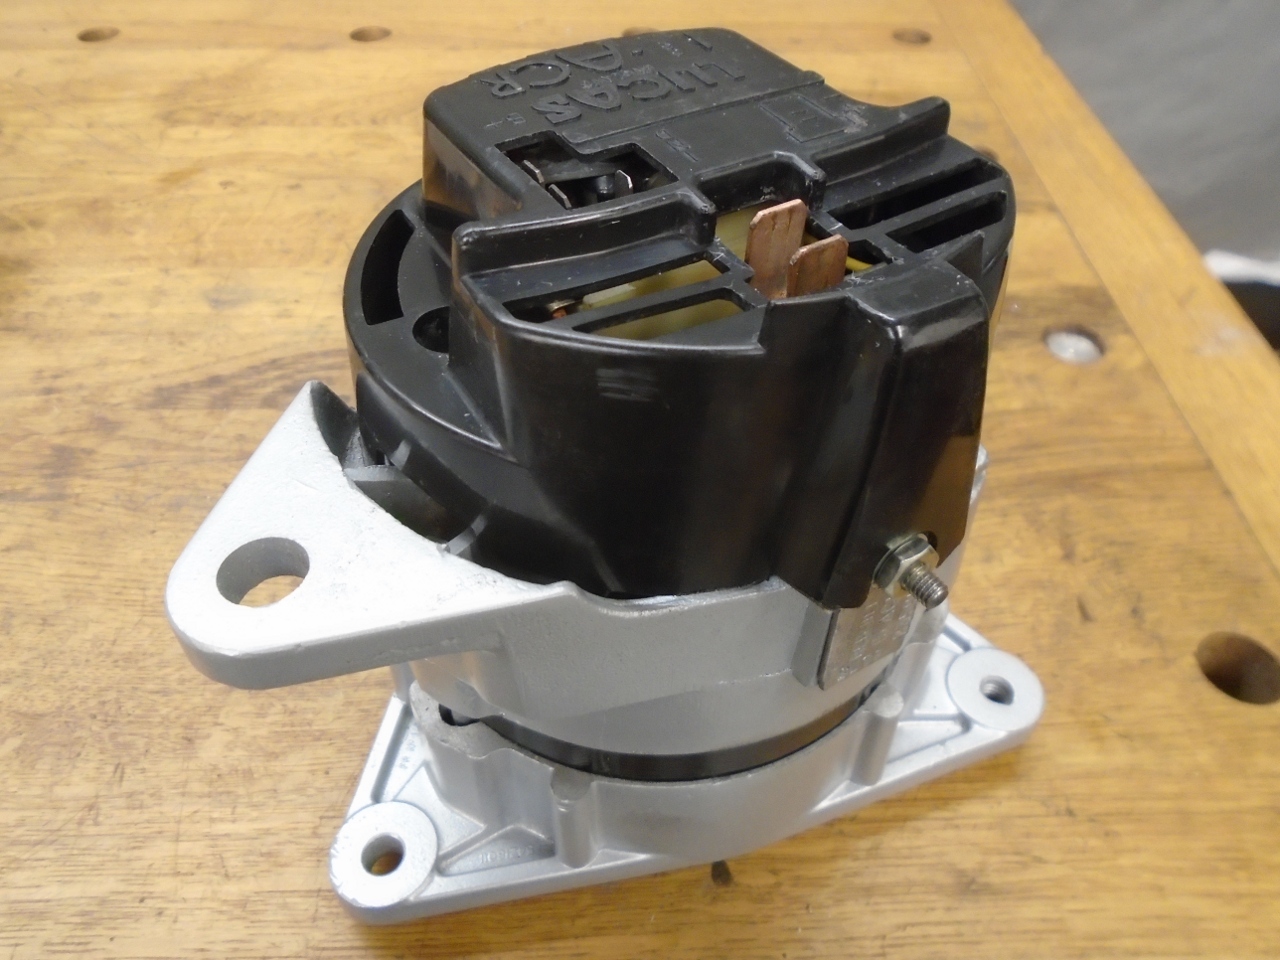
I don't have a good way to test the device, so on the shelf it goes, to wait for installation some day.

This was a fairly quick project, and pretty cheap--less than $20 for trhe bearings and some hardware.
Keeping with the electrical theme, I think the starter motor is next.
Comments to Ed at elhollin1@yahoo.com
To my other GT6 Pages