To My Other TR6 Pages
November 8, 2017
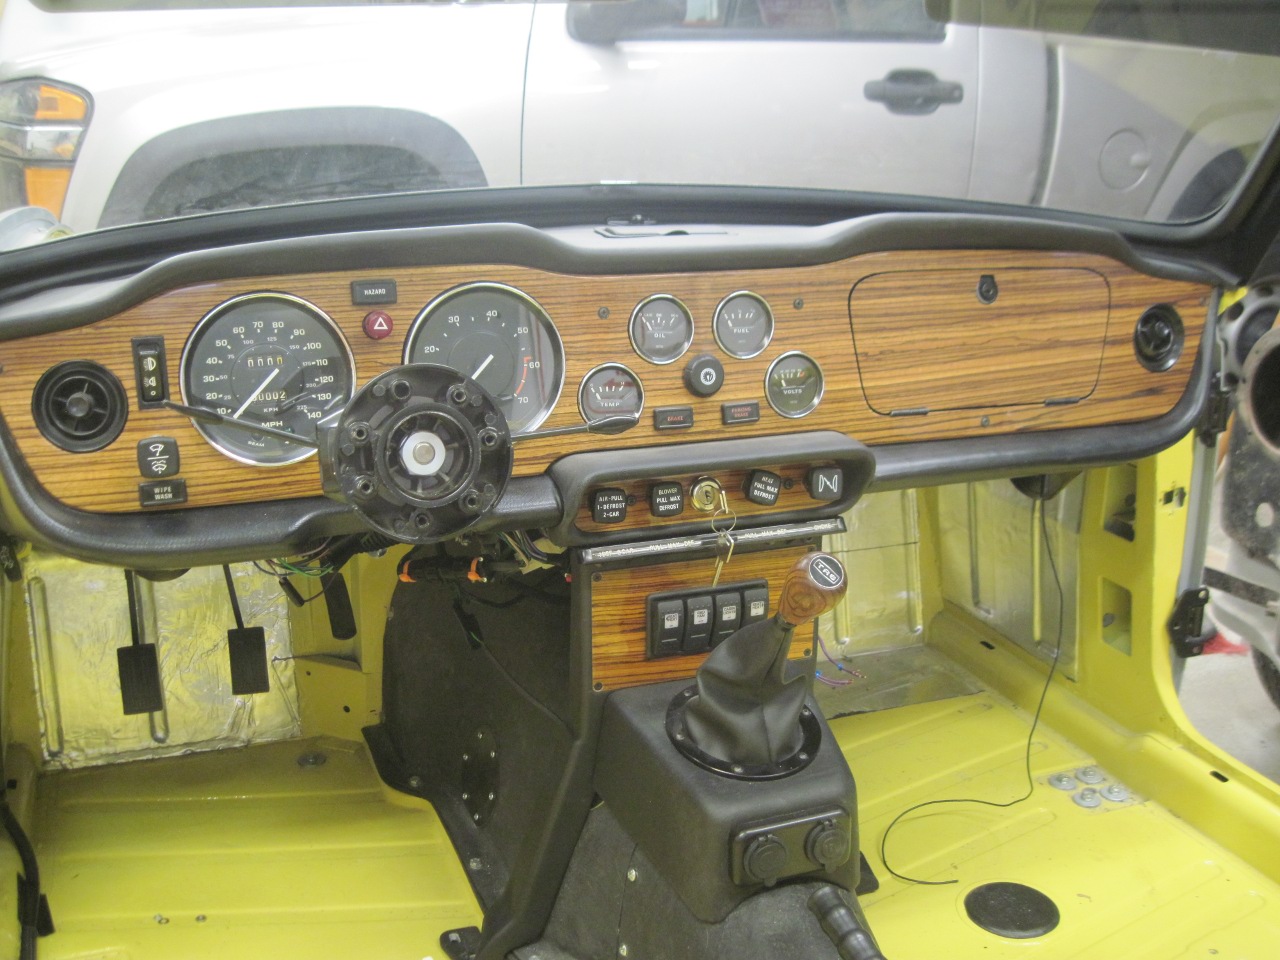
Final Dash Install
[Click the pics for a larger view]
I
wanted to get some of the wiring finished and tested before installing
the last bits of the dash. The steering column, glove box, and
the ventilation air duct system all hamper access to the back of the
dash, so I saved them for last.
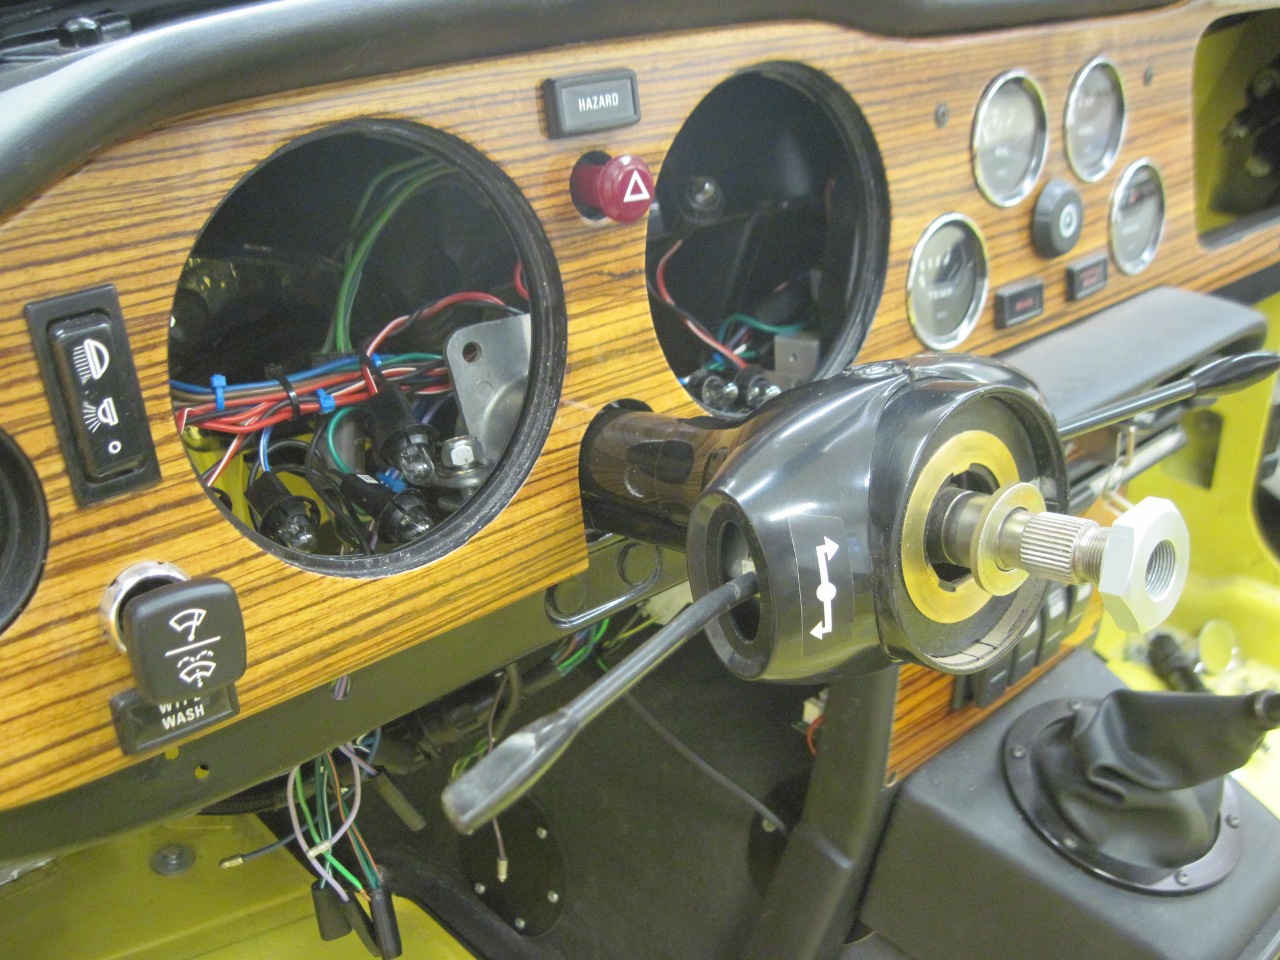
The
last piece of the electrical system was the steering column, so it was
next. I thought there might be an issue with installing the
column with the wood dash already in place, but there wasn't.
Possibly if I were using the original ignition switch and lock,
there would have been trouble. I don't know--my spatial reasoning
isn't good enough to figure that out.
So down came the rebuilt steering column from the shelf where it's been collecting dust for over two years.
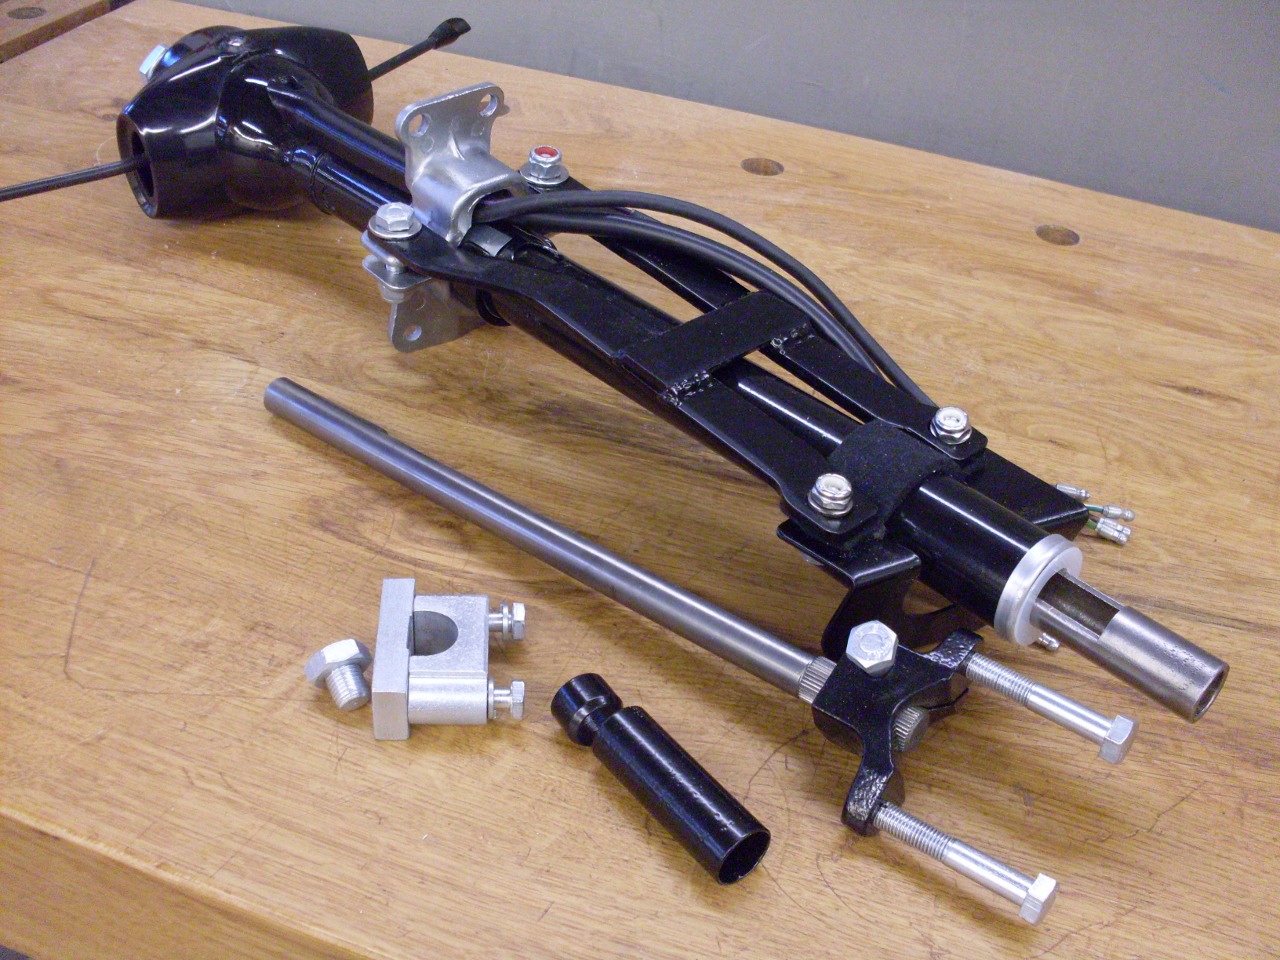
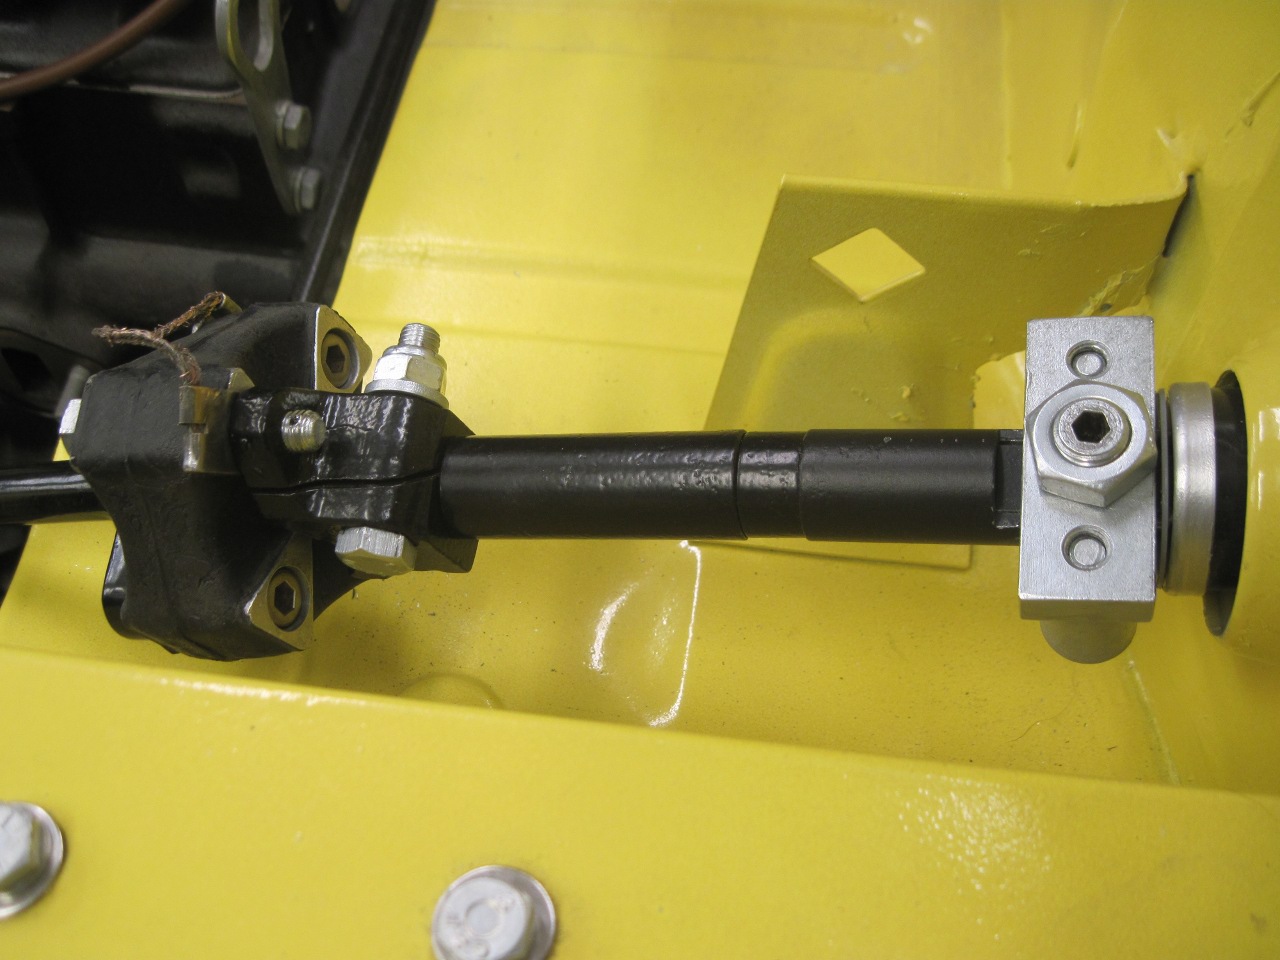
The
upper column assembly slid in place easily. The sort of complex
fixing bracketry behind the dash was not quite so simple, but
eventually it all got tightened down. It goes much better if the
tach and speedo are removed.
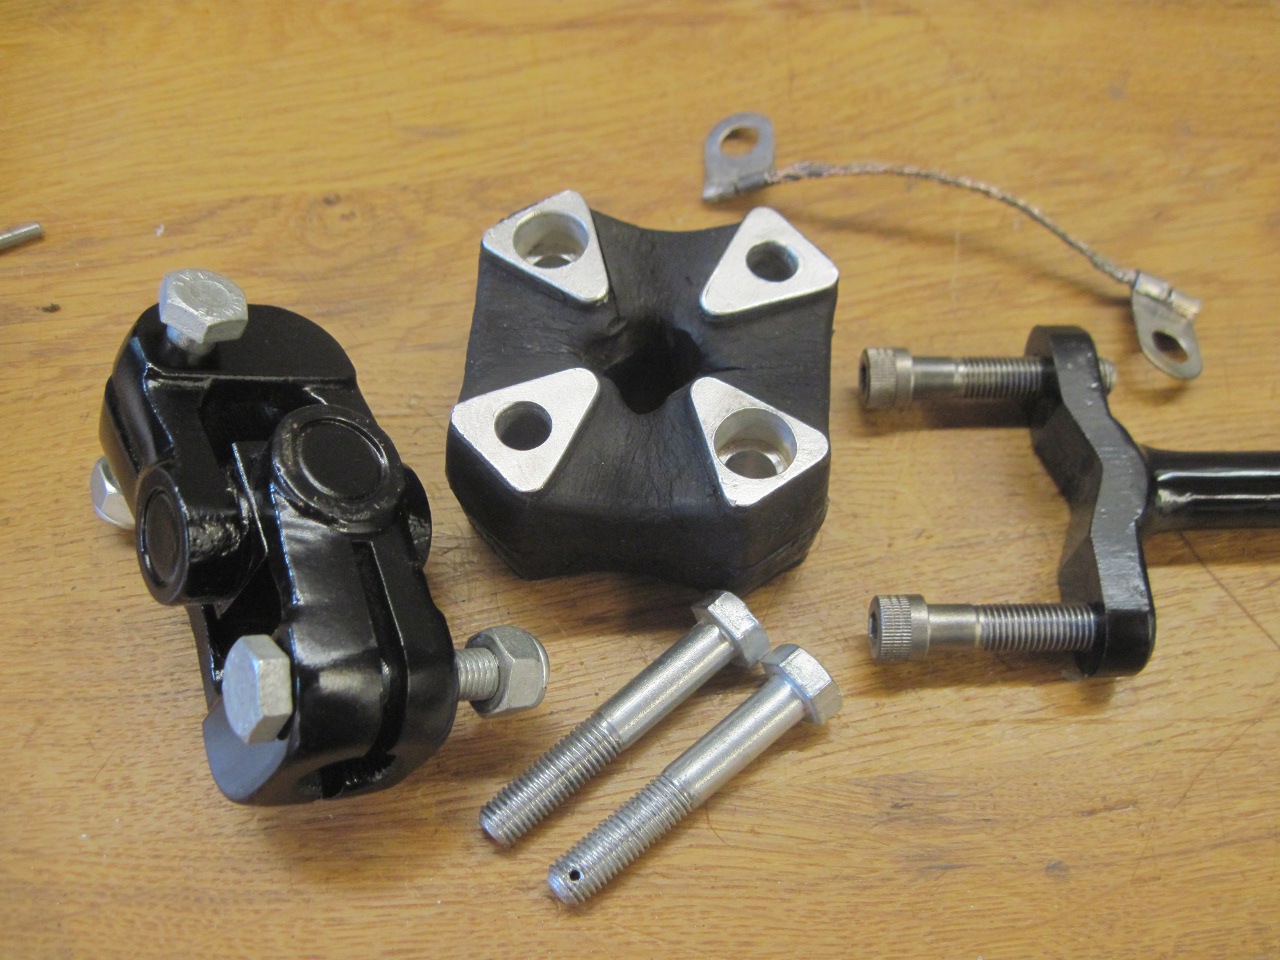
The
steering wheel is connected to the outer upper shaft. An upper
inner shaft slides inside it. The two are locked together with a
friction coupling that allows the assembly to telescope in the event of
a frontal crash. In that case a pair of special collars
absorb crash energy by one riding up over the other.
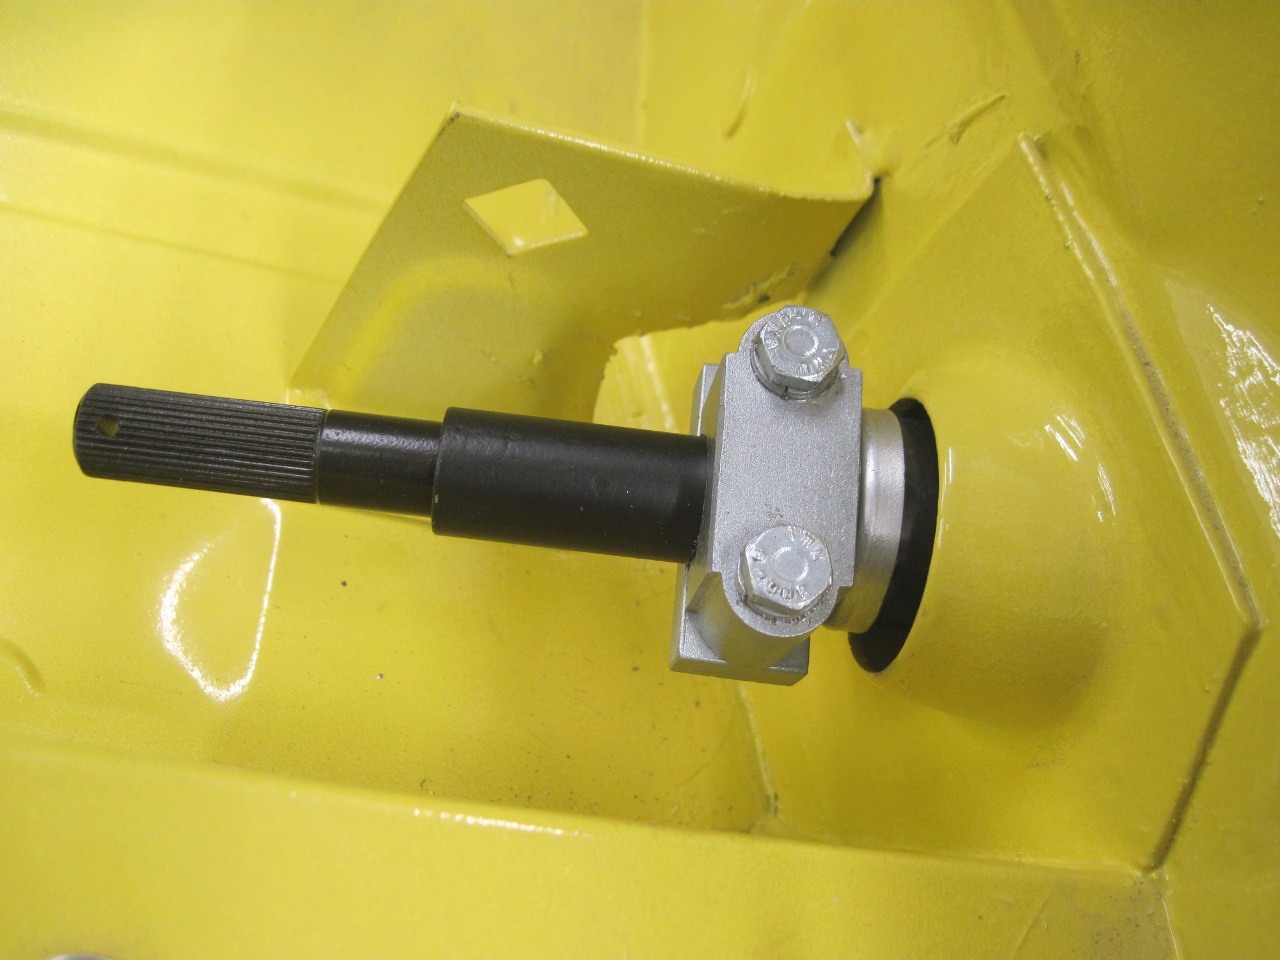

A
rubber U joint connects the upper shaft to an intermediate shaft, which
in turn is connected to the steering rack through a conventional U
joint.
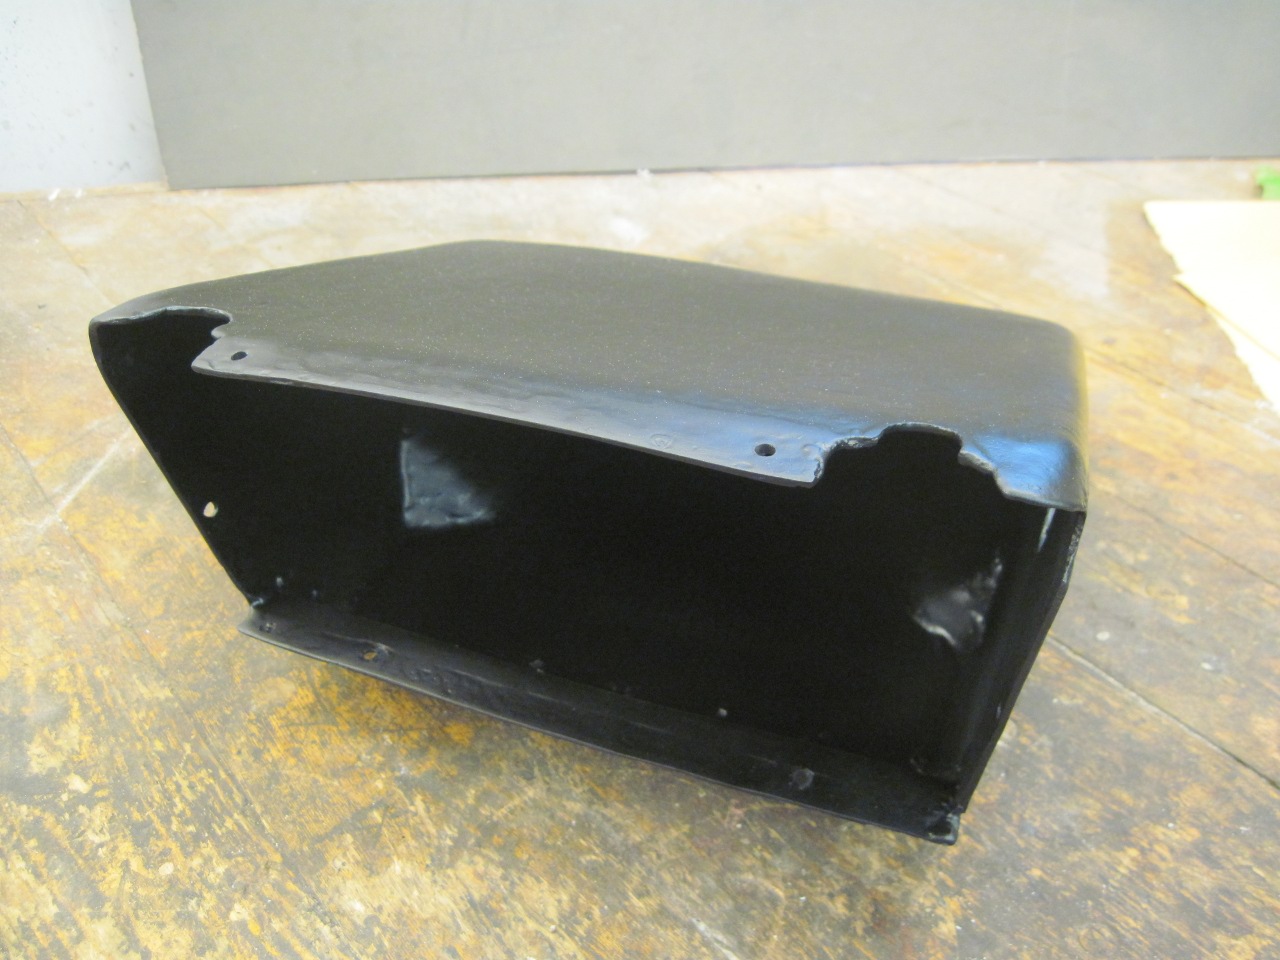
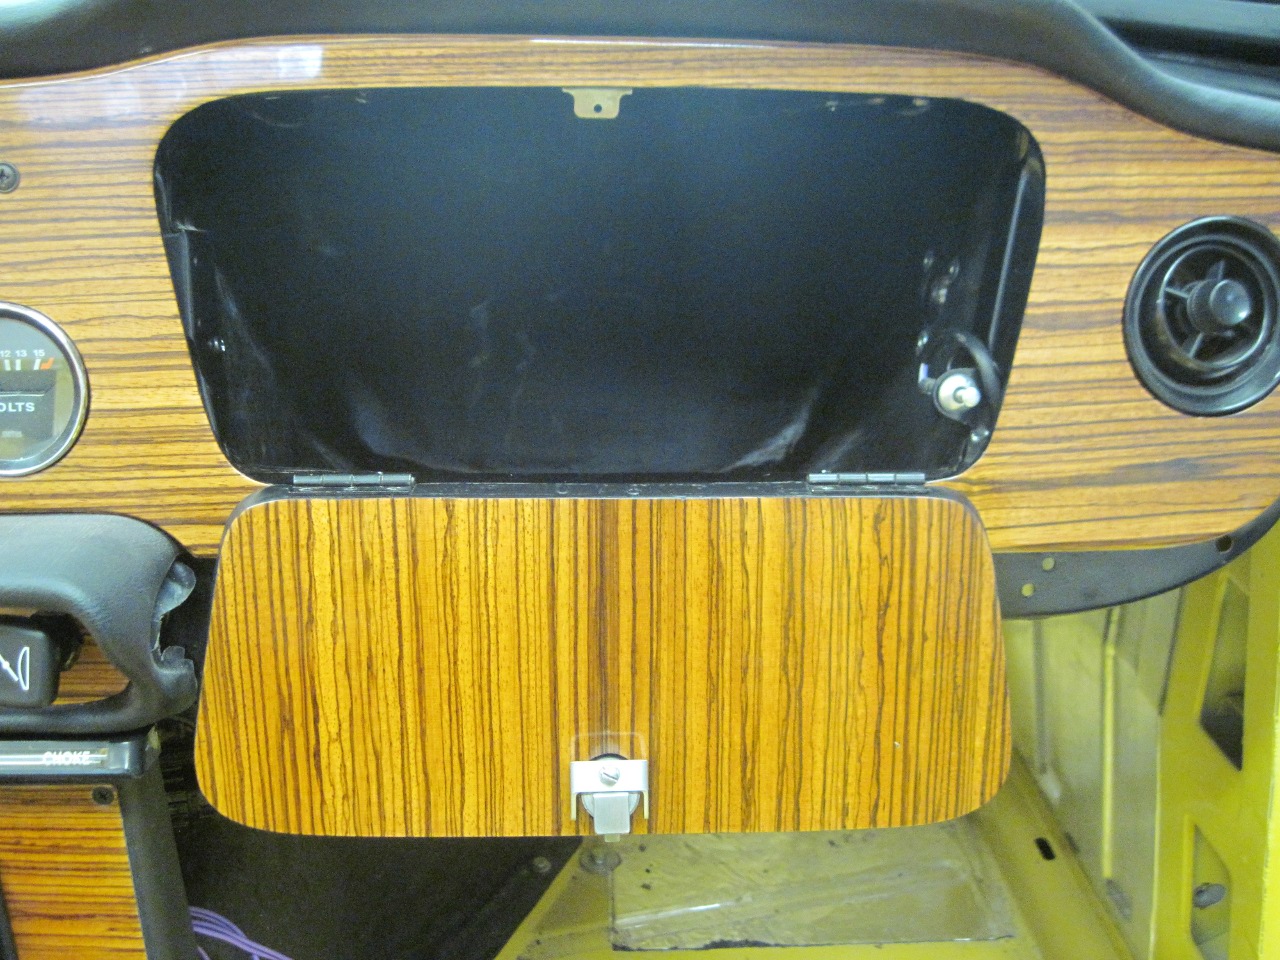
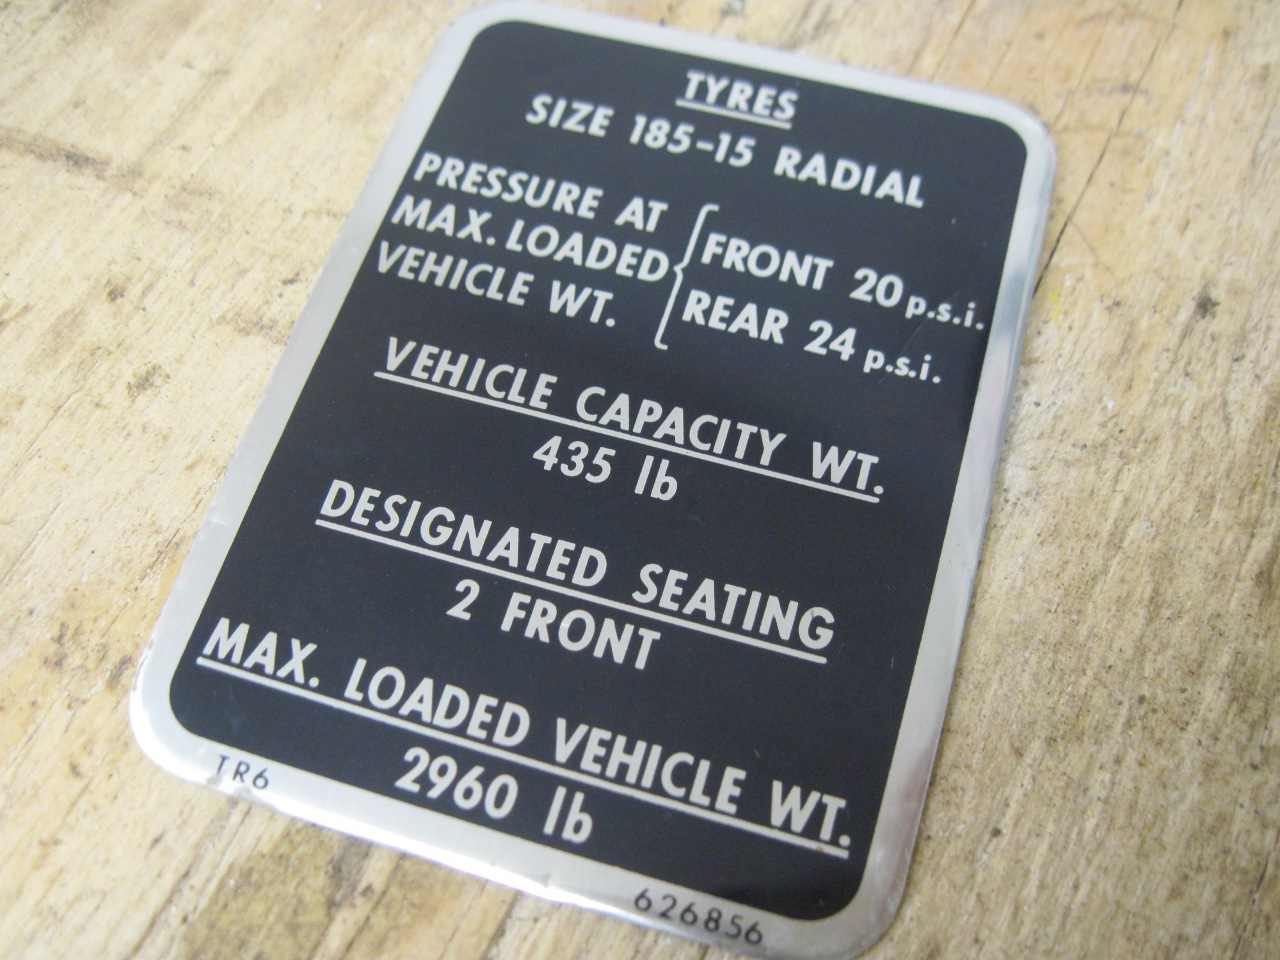
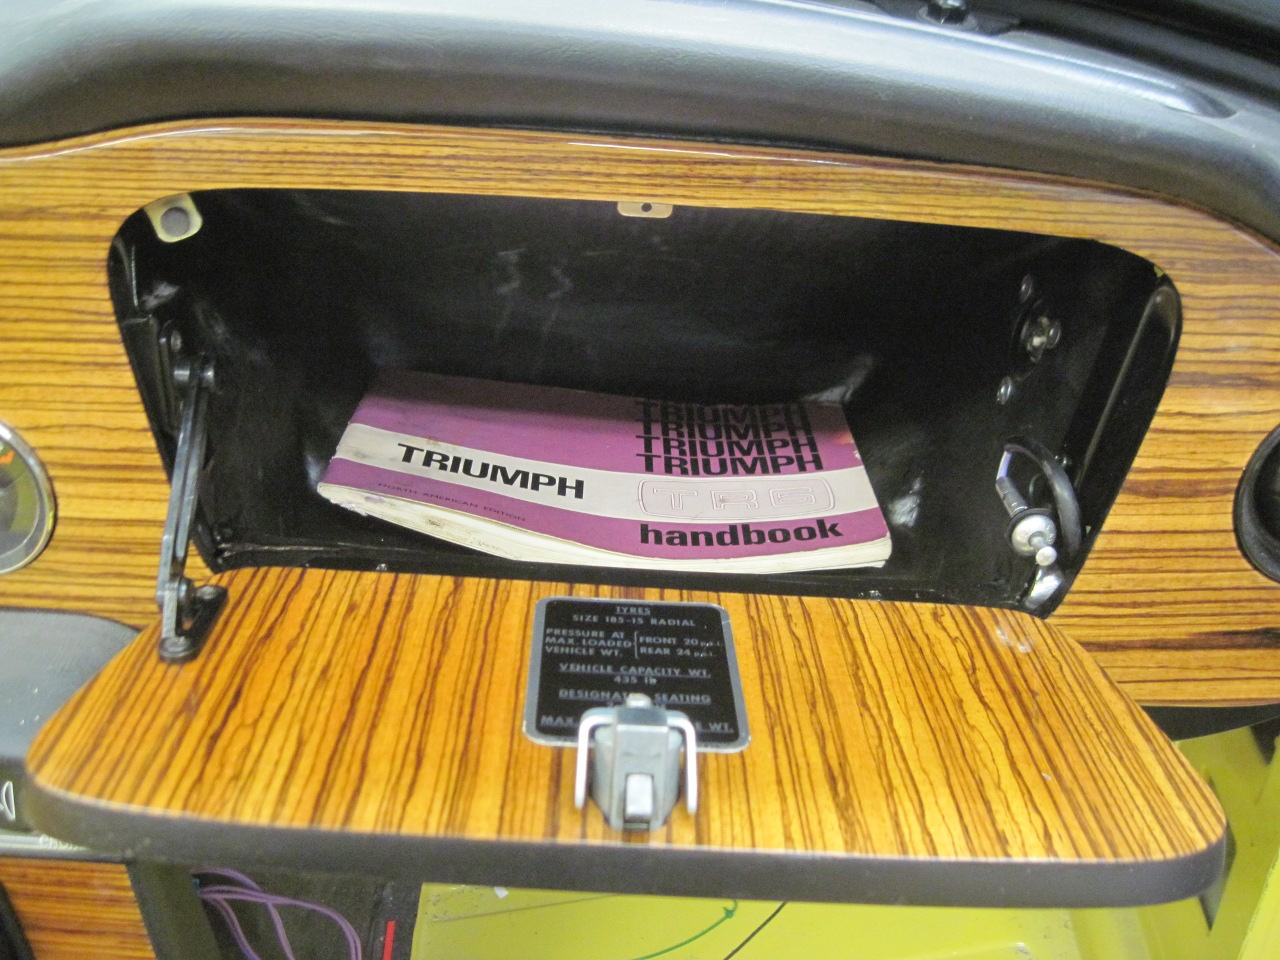
Next up was the glove box. I got my pimped original down from the shelf and dusted it off.
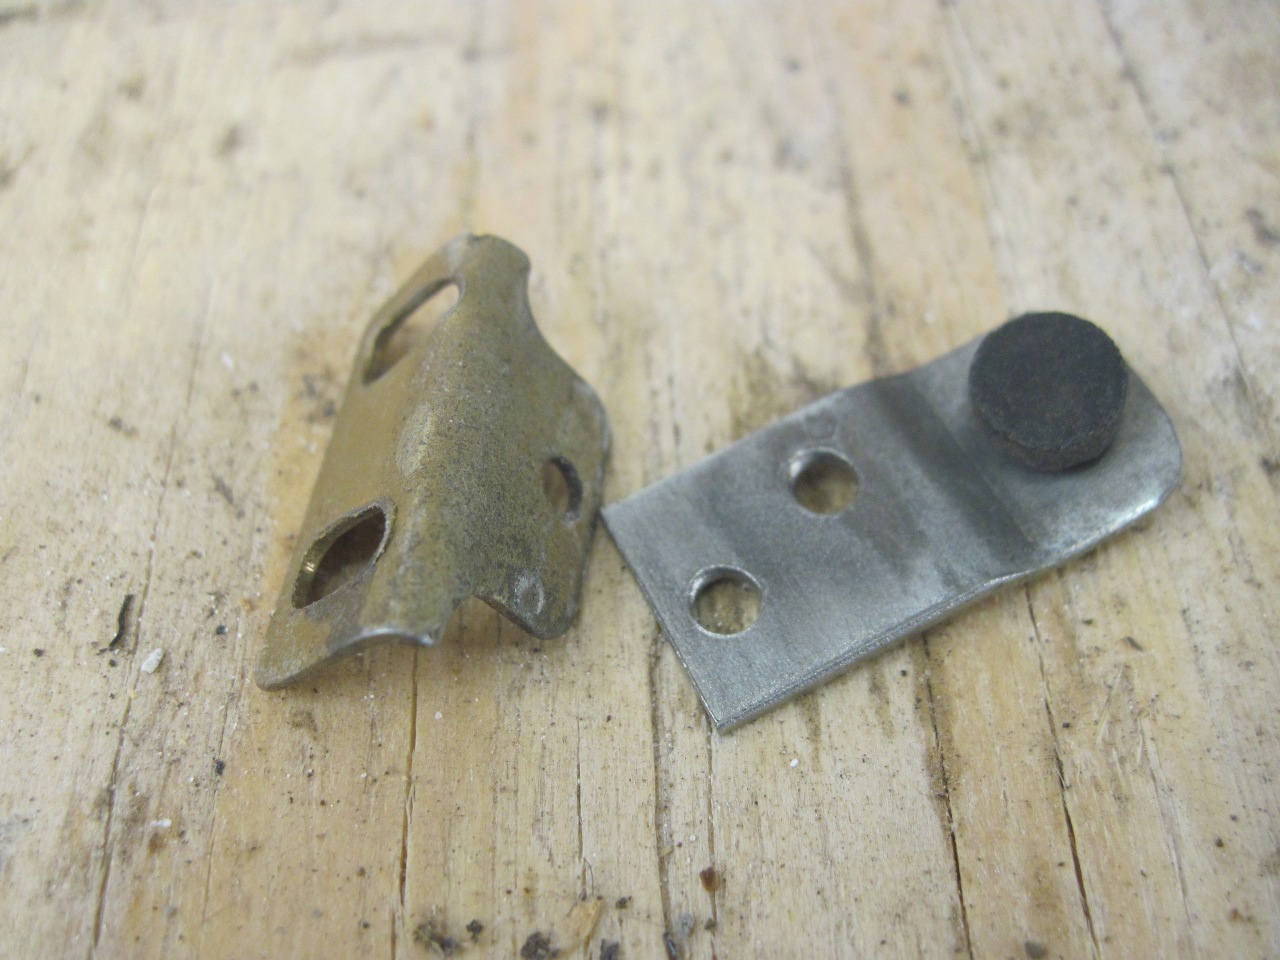
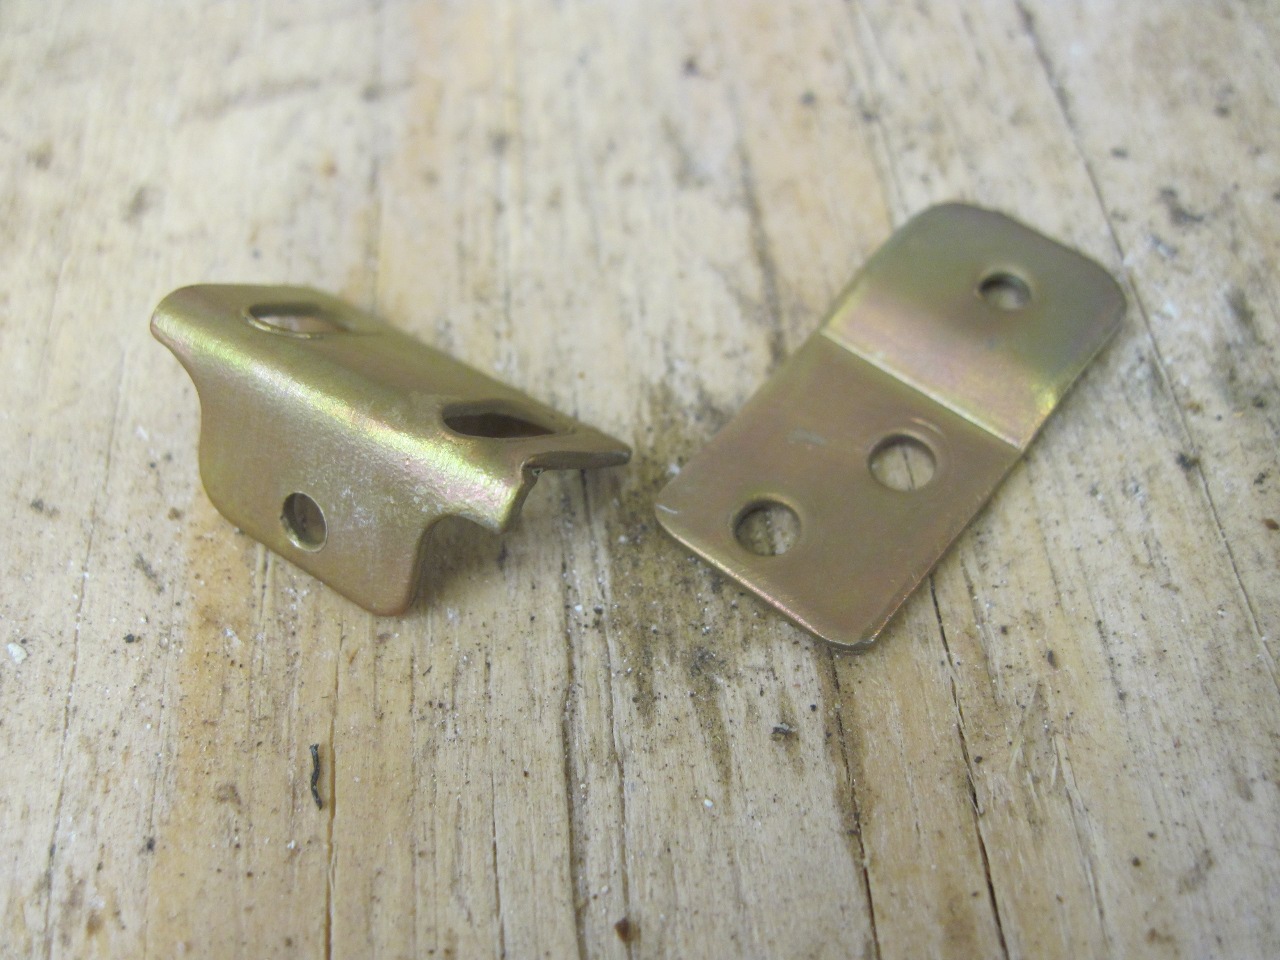
There
are various little widgets associated with the glove box. The one
on the left in the first pic is the catch for the door latch. The
one with the rubber button is a travel stop for the door. I
stripped and replated them. I usually do a clear chromate on zinc
parts, but in this case, I used a yellow chromate to recreate the
original finish.
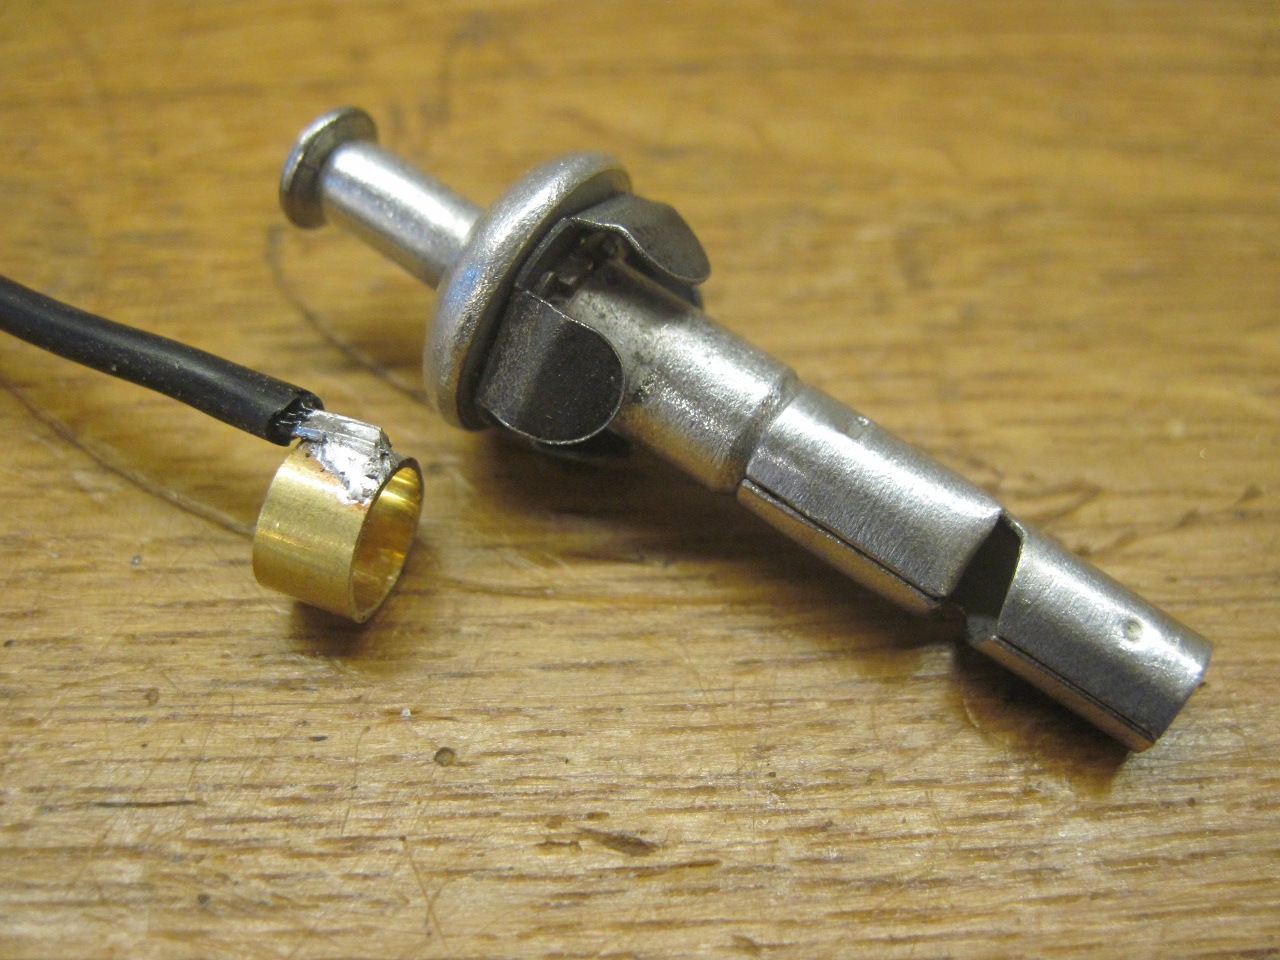
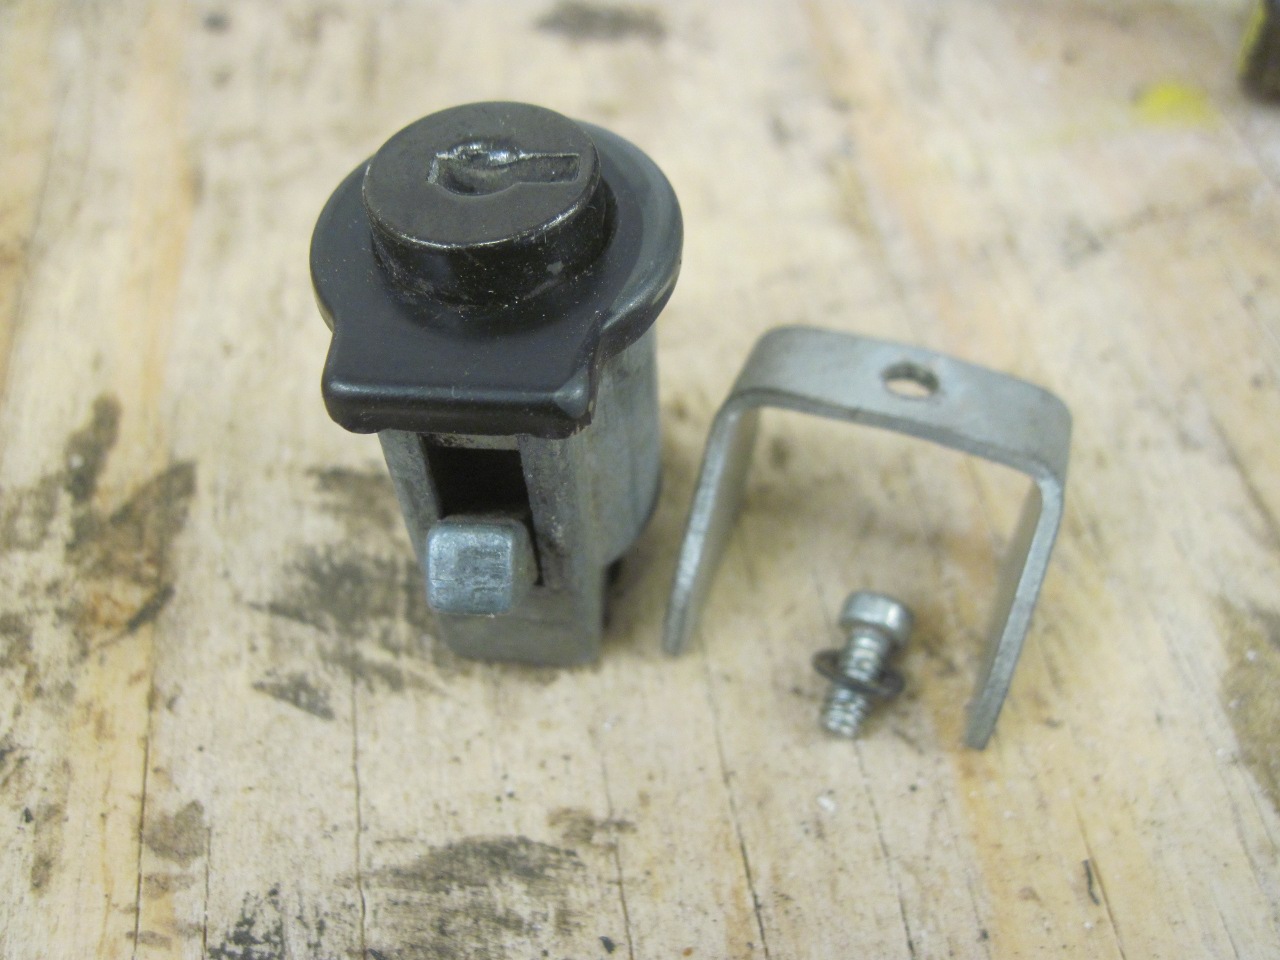
Then
there is the light switch for the glove box door. In my quixotic
quest to eliminate the car body as an electrical return path wherever
possible, I added an explicit ground wire. It is soldered to a
brass band that is a tight sliding fit on the barrel of the switch.

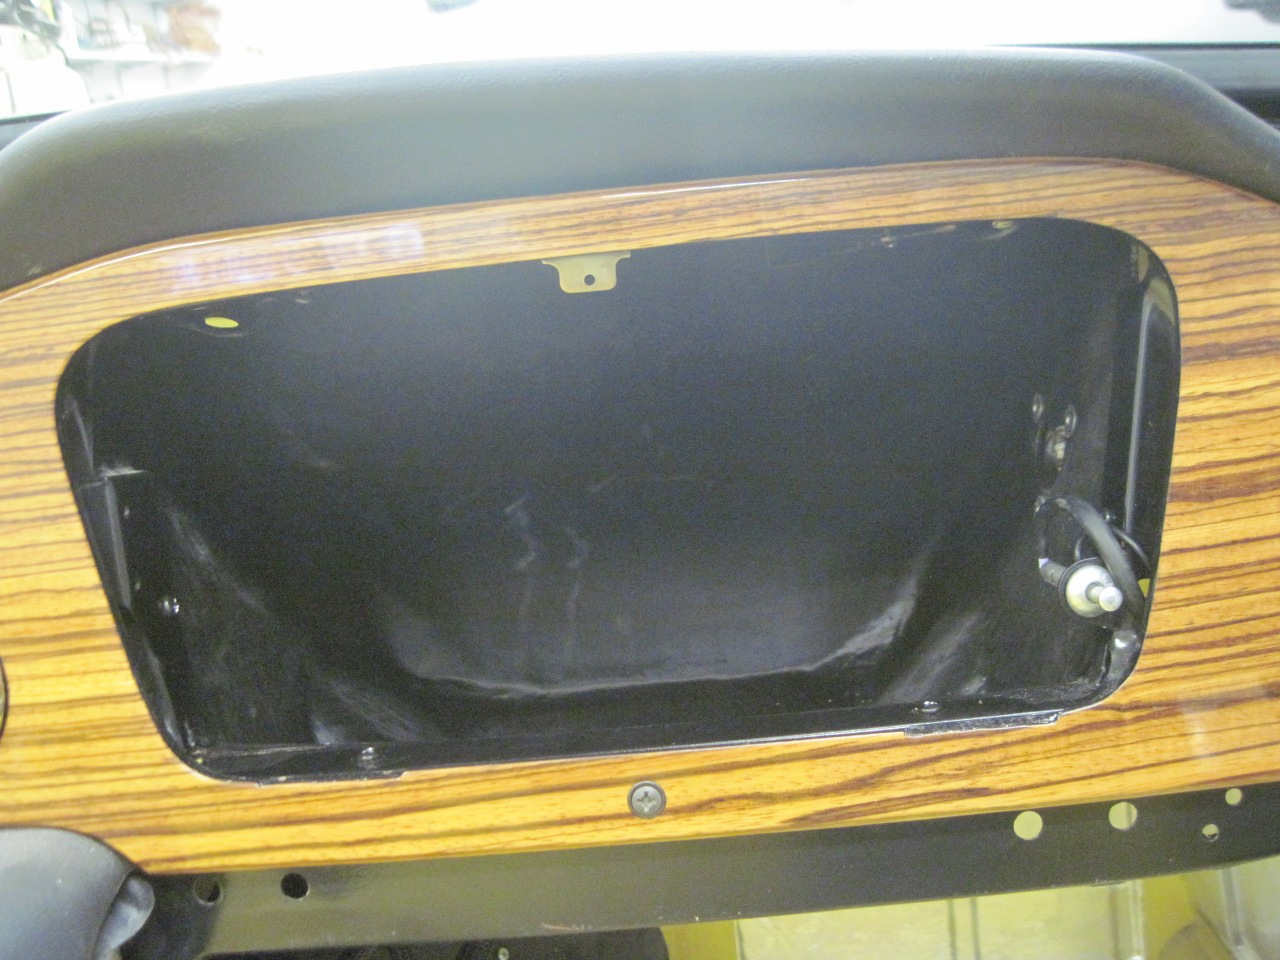
The
glove box is a tight fit, especially since I eliminated much of
the flex in the original cardboard part. It finally went
home, though I had to remove the bottom metal dash brace to pull the
dash out a little.
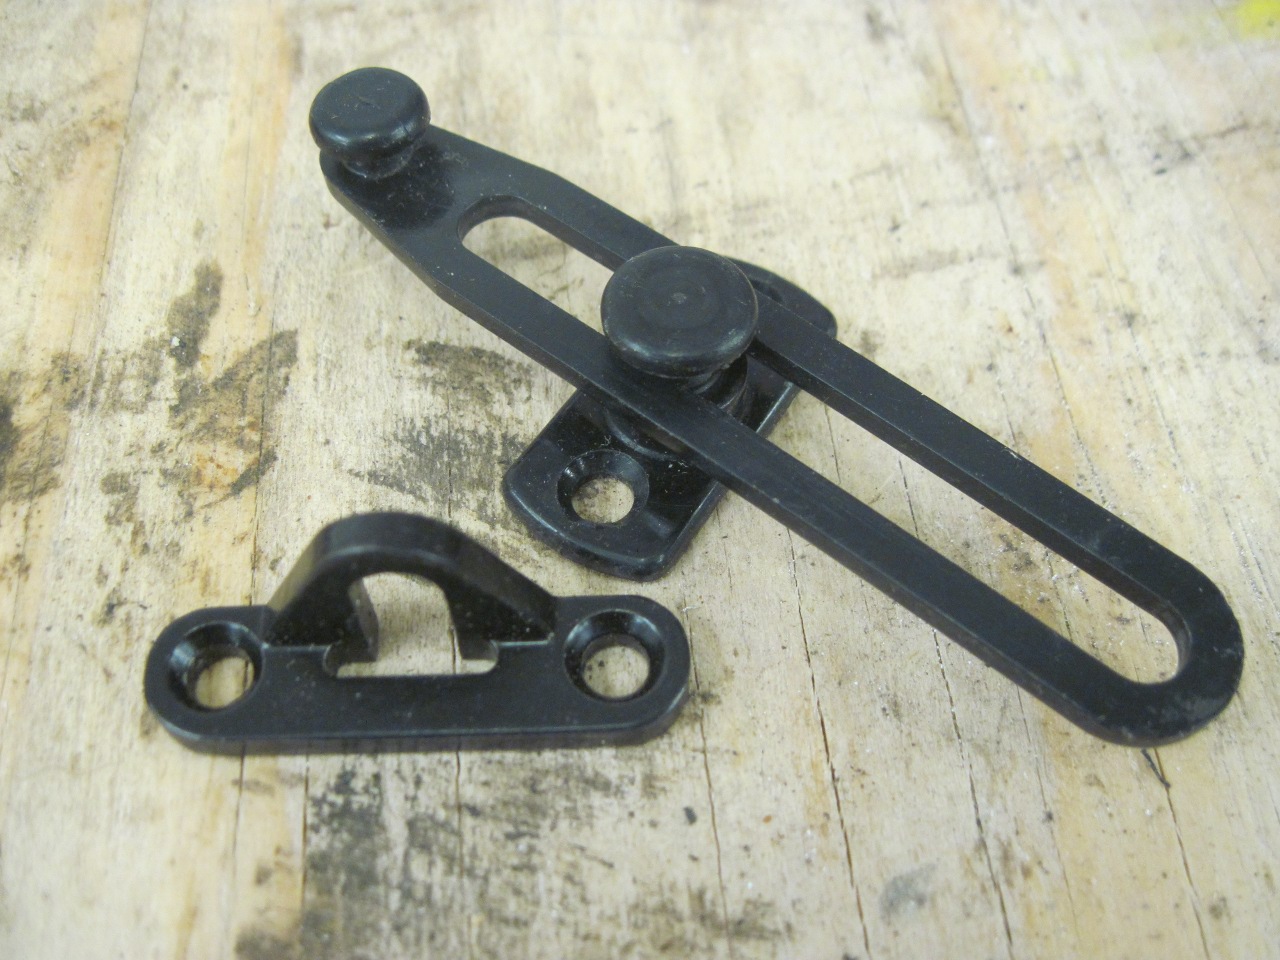
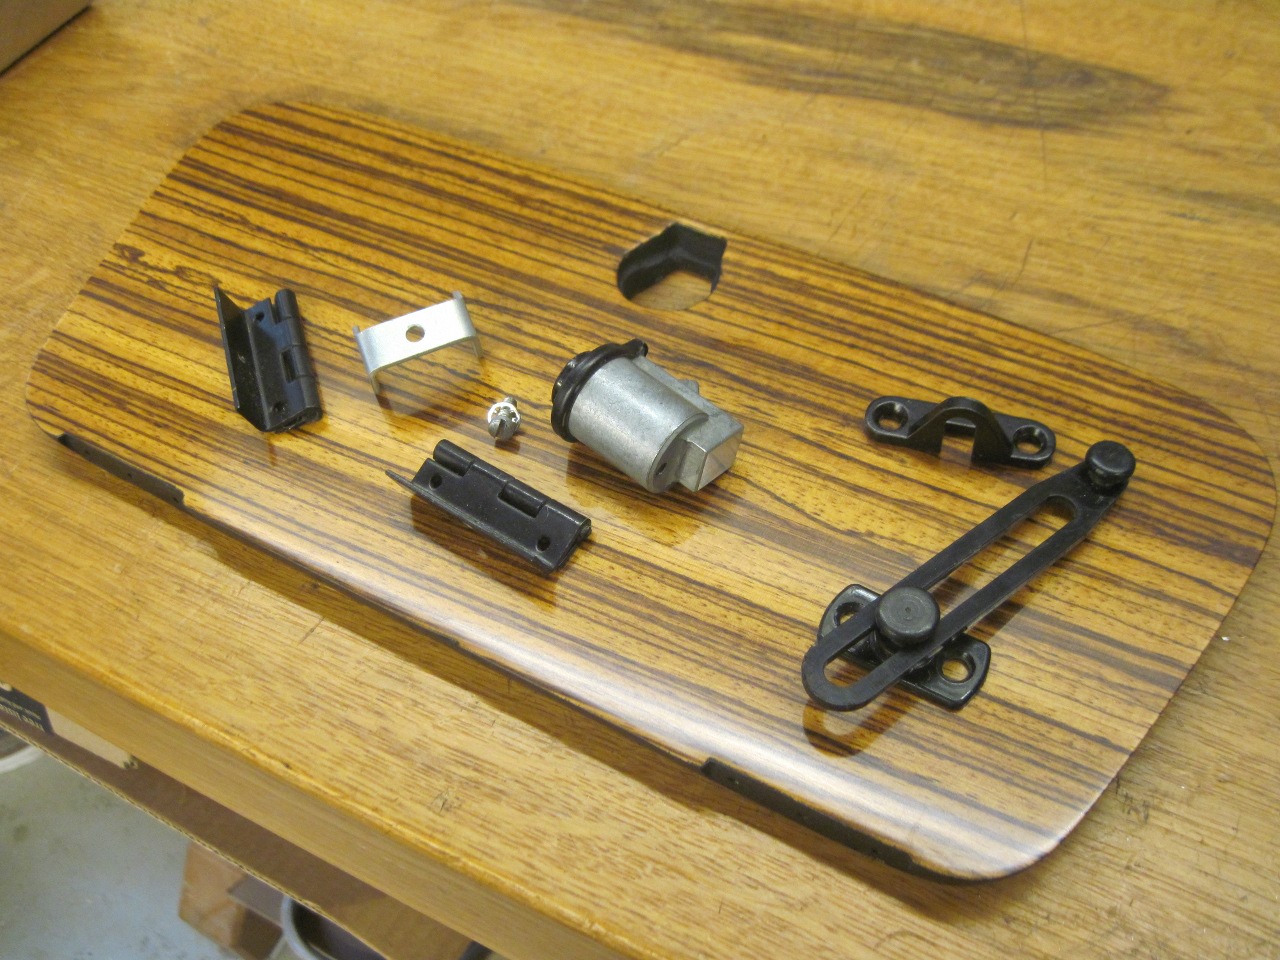
Then
the glove box door. Here are the parts that go with it: The
hinges, the latch and bracket, and the limiter strap assembly.
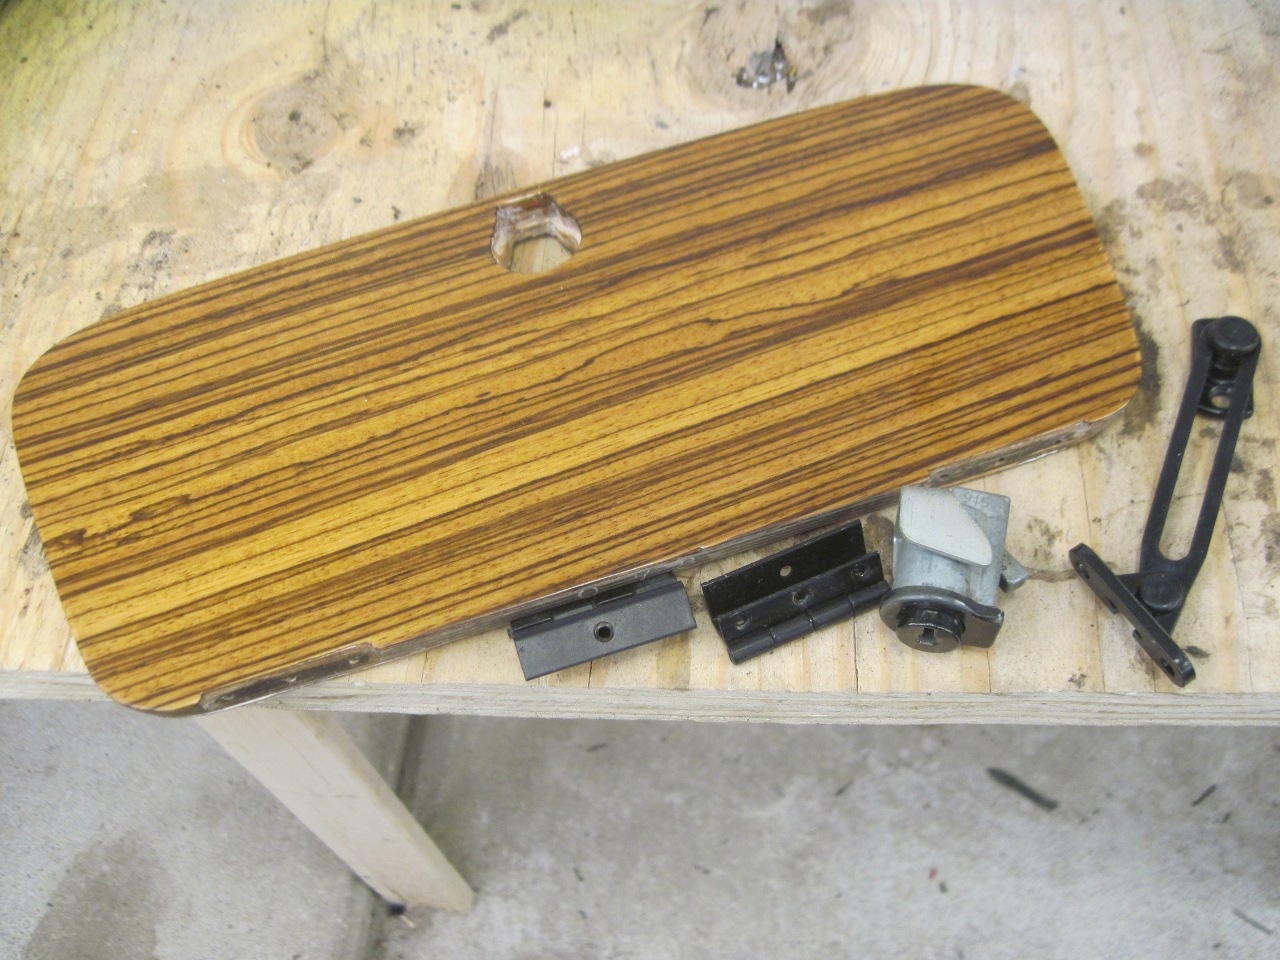
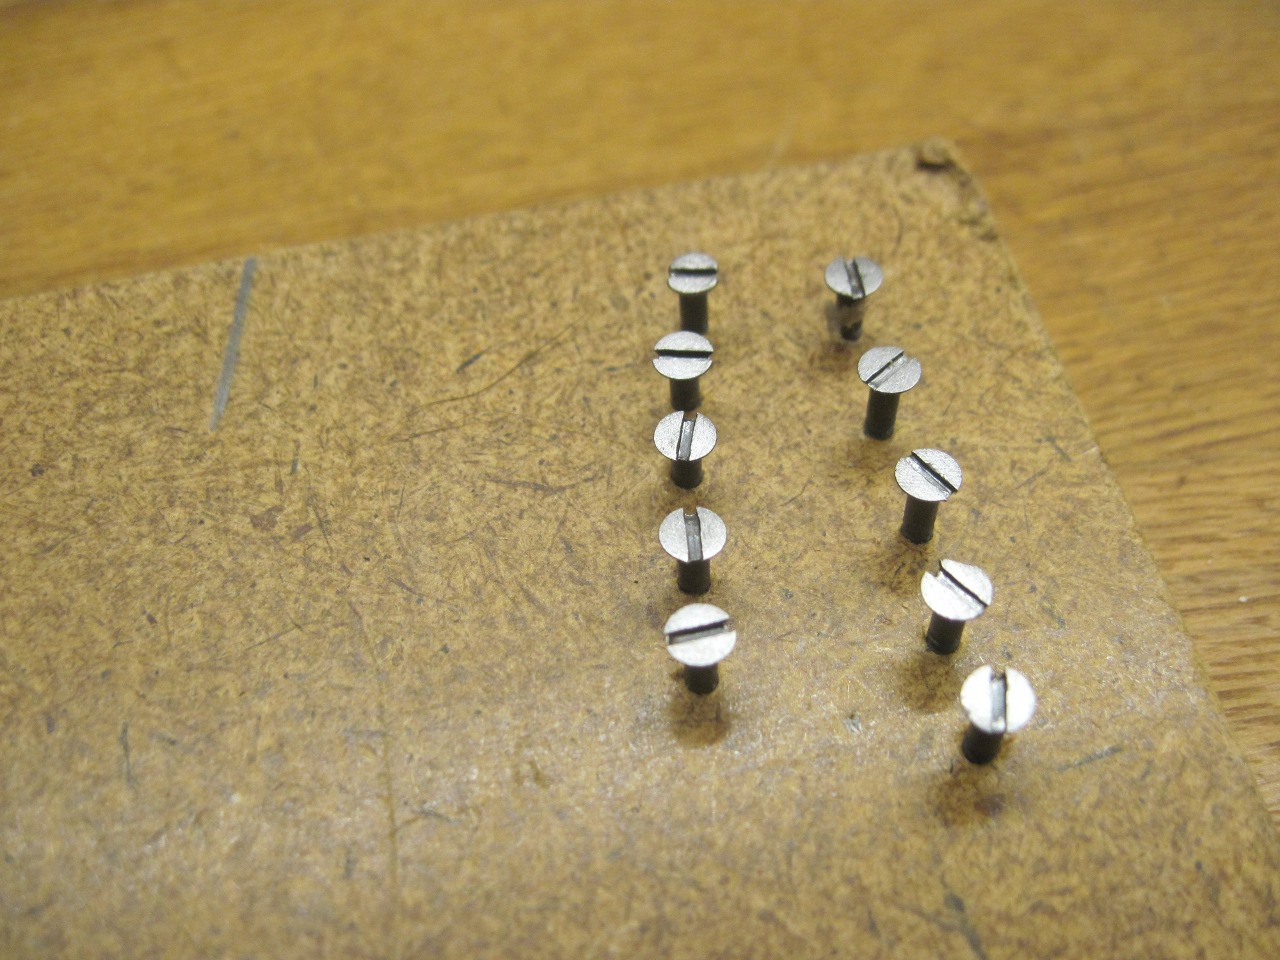
The hinges cleaned up easily, and didn't even need painting. The screws, though, looked pretty rough.

I
tried to match the screws, but they appear to be something between a #1
and #2 wood screw. A #2 screw has to big a head, and the #1 would
be loose on the hole. In any case, for small shallow screws like
these, I always much prefer to use the originals since replacements
won't necessarily have the same thread pitch, and will likely
crossthread the already miniscule threads in the wood. I cleaned
up the rust on the screws, resurfaced the heads, and here they are
ready for paint.
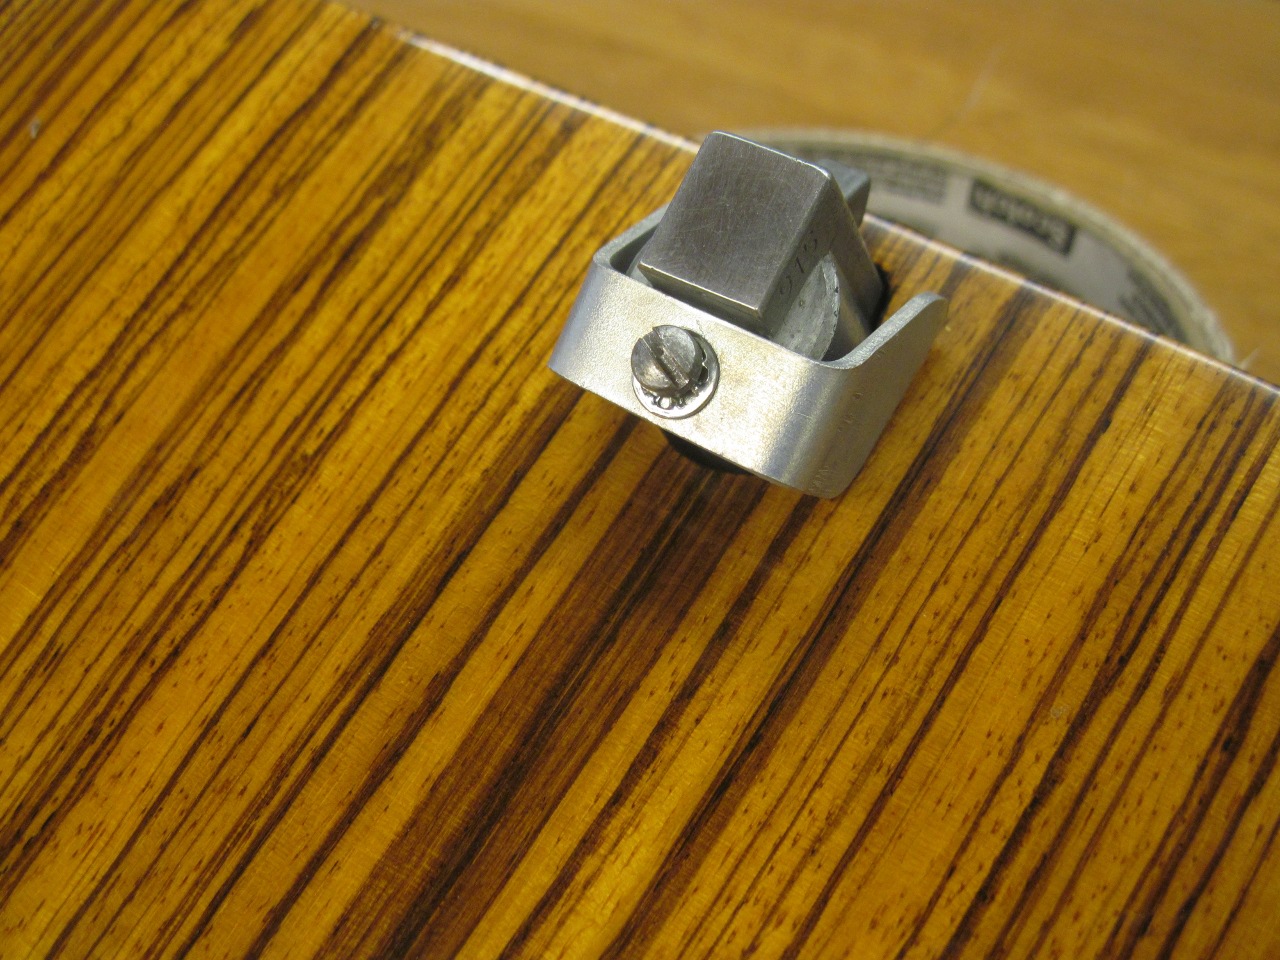
The
latch was sticky, but some lube fixed that. The bracket was in OK
shape, but I replated it with some other assorted stuff.
The
plastic check strap anchor to the door was broken, so that is a new one
made from aluminum. Faced with that problem today, I'd probably
try to 3D print it.
Everything ready to go back together.

Then
it was on to those infernal ventilation hoses and fittings. It's
already pretty tight behind the dash, but room has to be found for
these and a few feet of largish hose. One of the main reasons for
prewiring the dash was to avoid having to contort under the dash, but
to do the hoses, it's unavoidable.

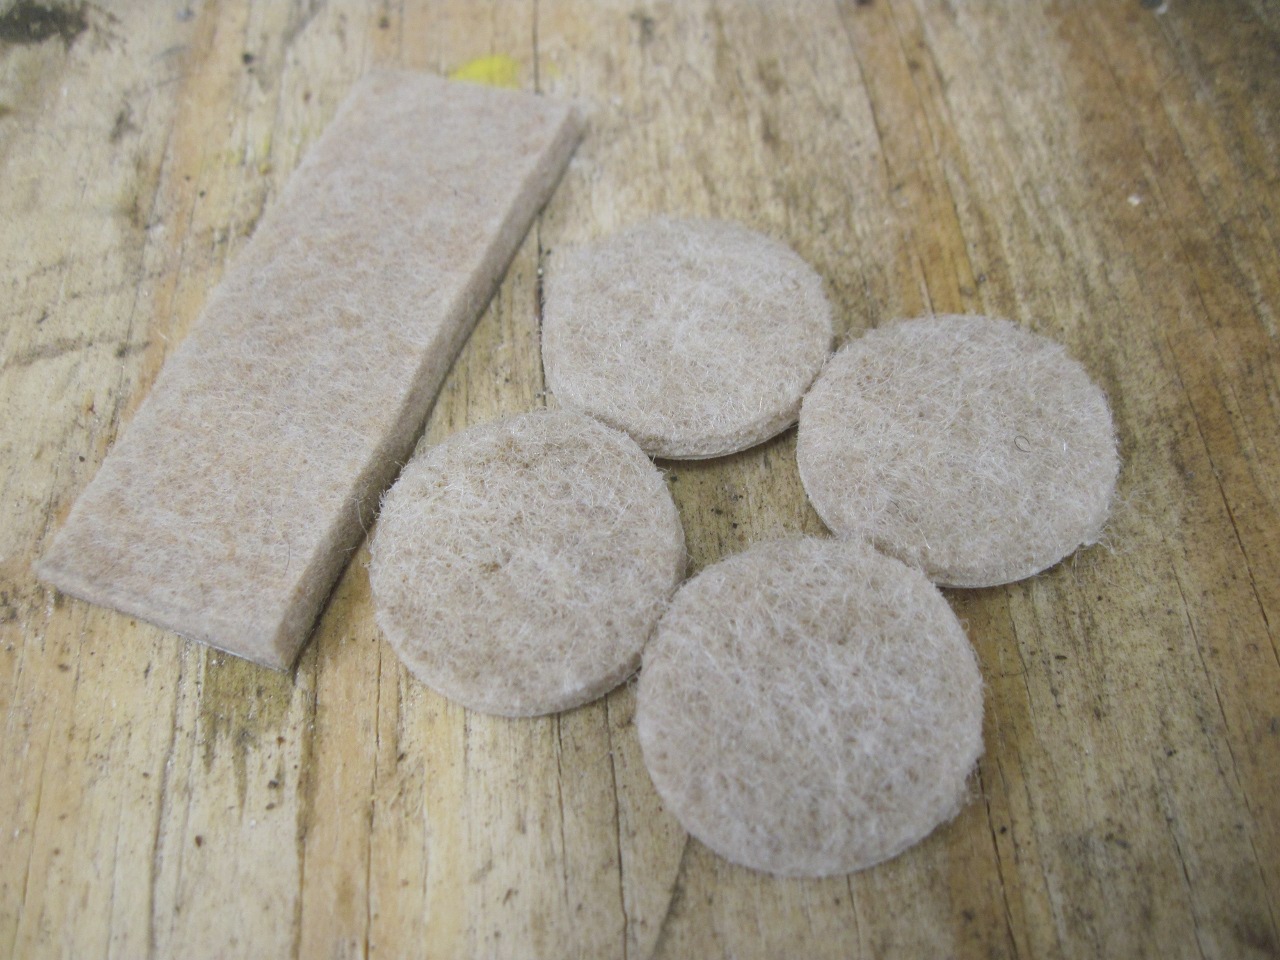
So,
after an hour or so of forcing myself into unholy positions, the hoses
were all in place. There aren't any pictures. To avoid
rattles, while I'm snaked in under the dash, I look for anything loose
that could hit anything else. Where I find such a situation, I
apply one of these self stick felt pads to at least muffle the noise.
Next
up were the lower crash pads. These would have been a lot easier
if I'd put them on before the wood dash. The left one is the 40+
year old original. The right one is the original recovered with new vinyl.
Finally, the DIY steering wheel.
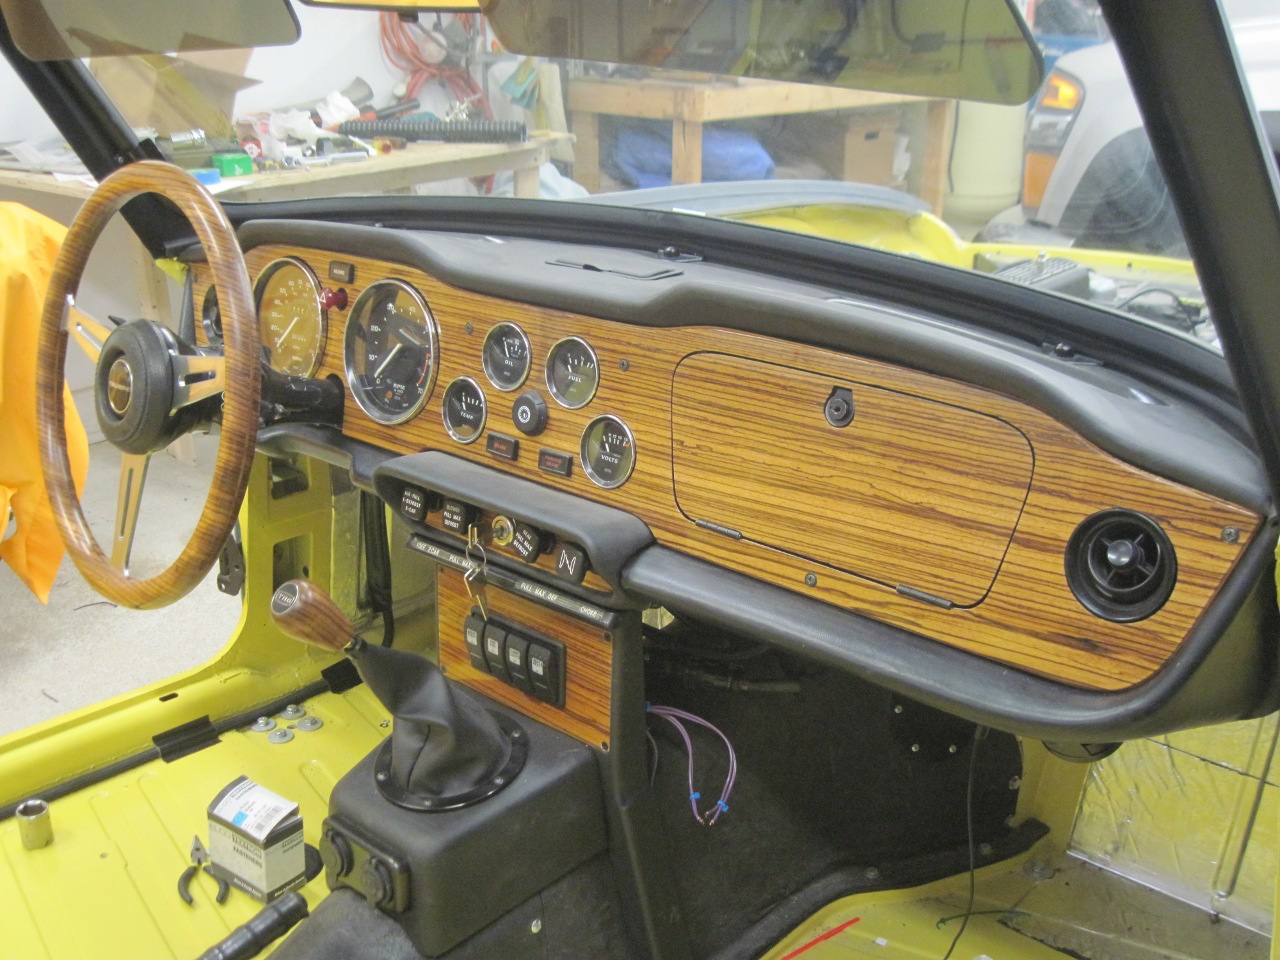
This
was pretty big milestone for me. In principle, I could bolt
up the fenders, start the car and drive it now, but I'll try to
restrain myself until next Spring, after the final bodywork and
painting is done.
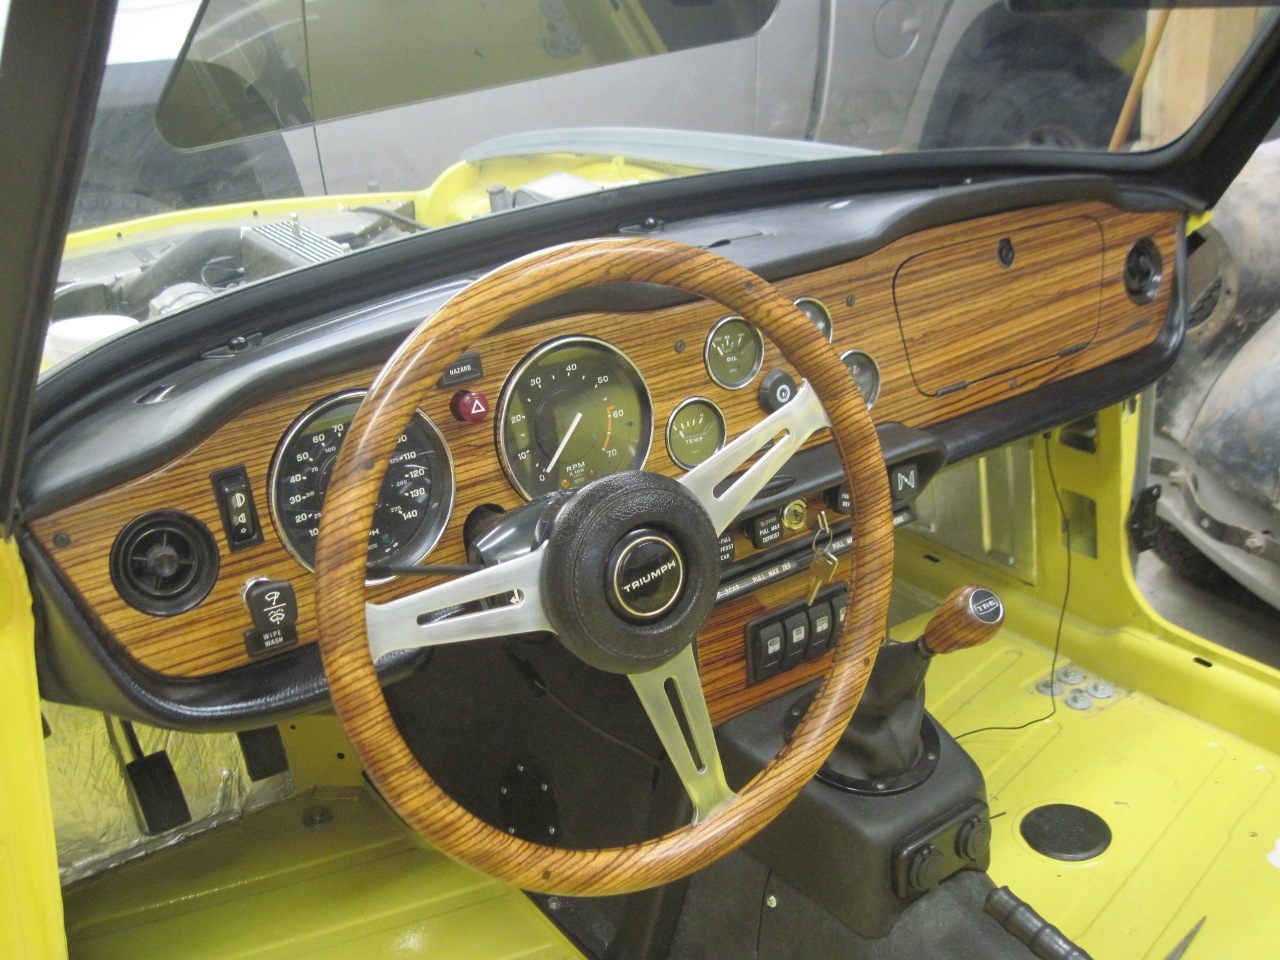
As
a recovering woodworker, I love wood. Nonetheless, I acknowledge
that there can be such a thing as too much wood. I might be
crowding that line a little here, but I probably won't change it.
No more wood for this interior, though.
Commnets to Ed at elhollin1@yahoo.com
To My Other TR6 Pages