To my other TR6 pages
November 28, 2016
Glove Box
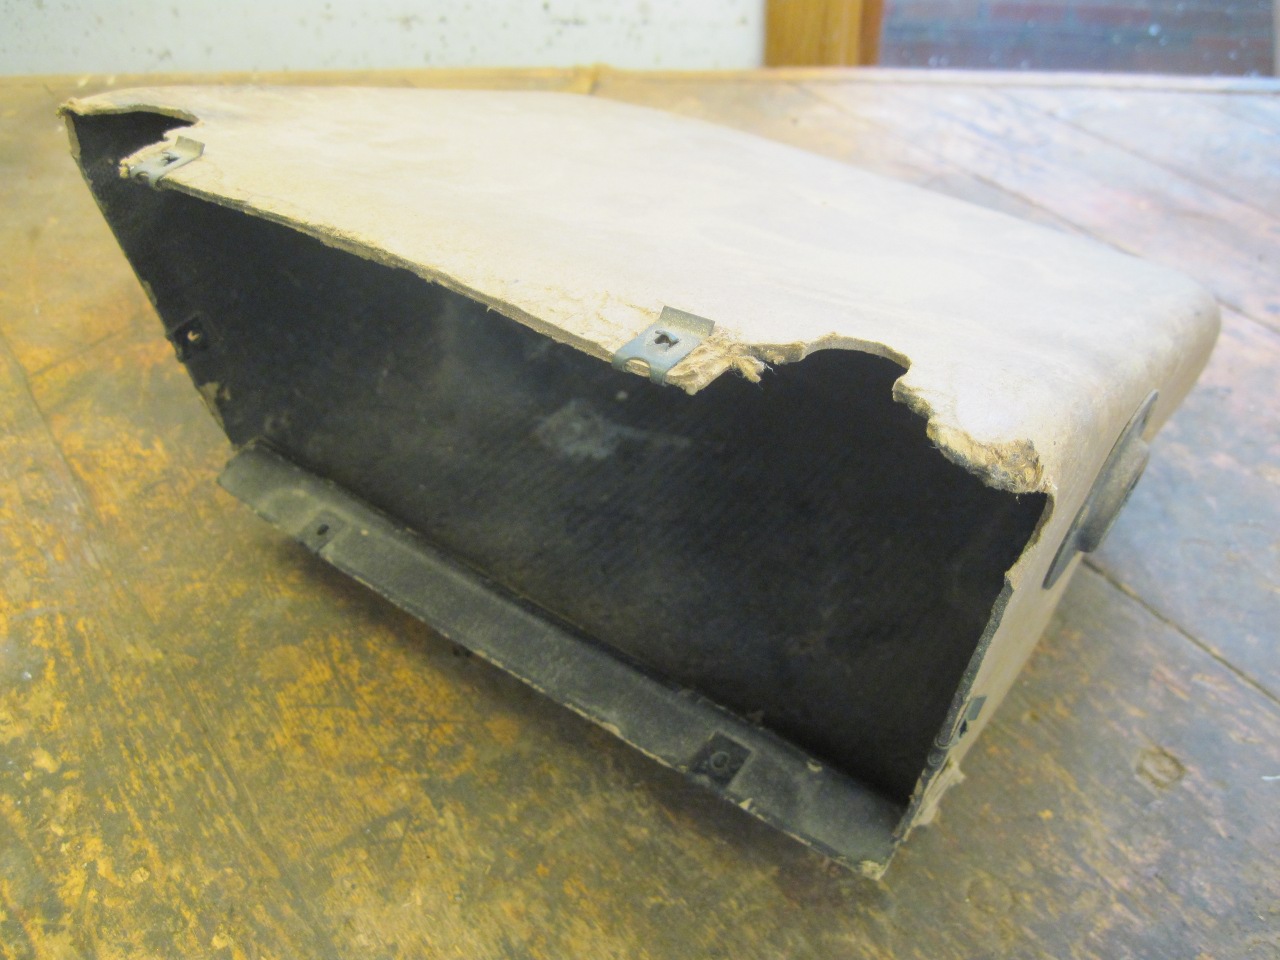
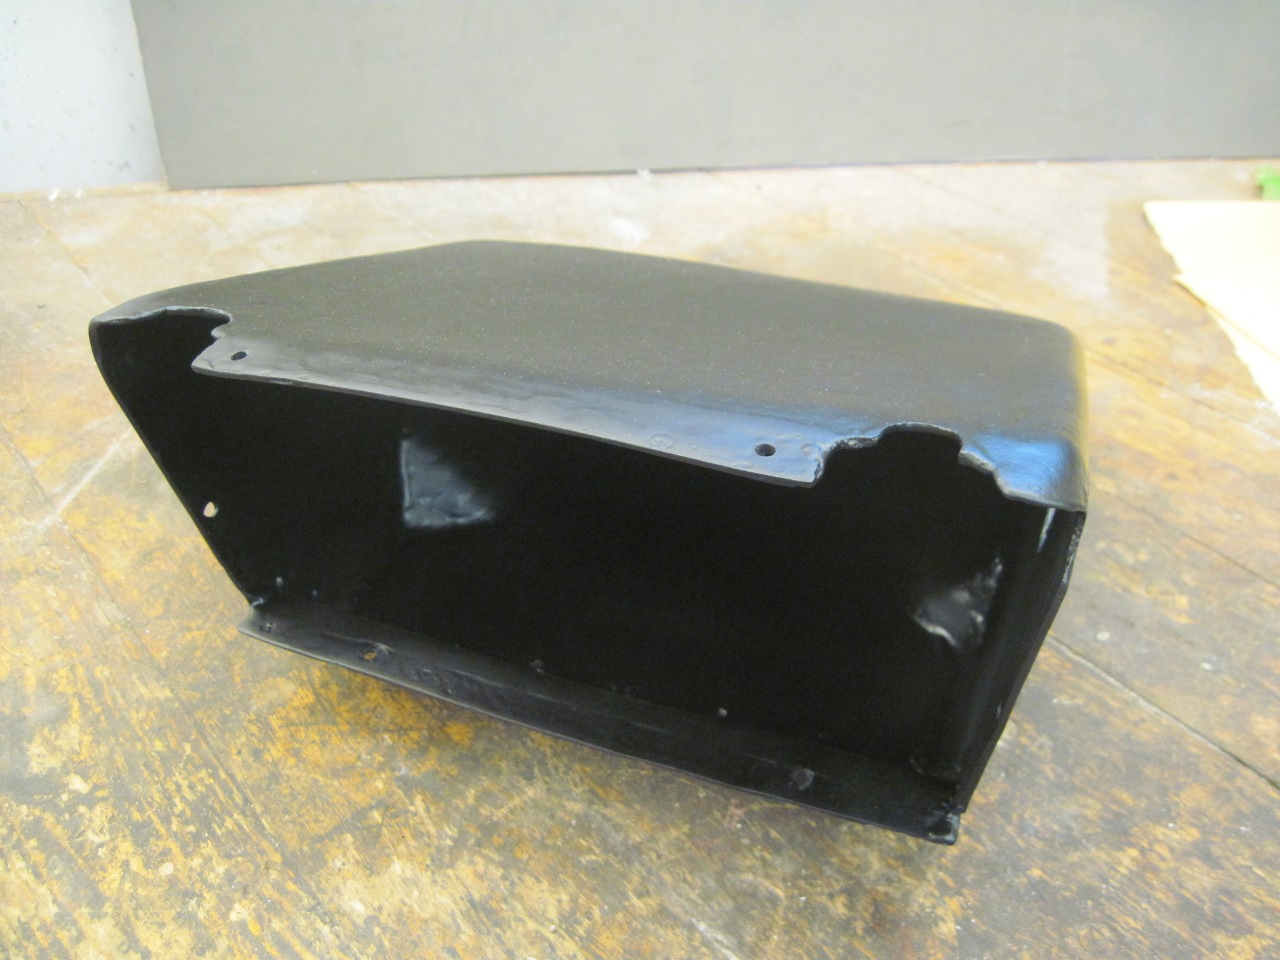
TR6 cars included a glove box cubby screwed to the back of the dashboard behind the glove box door.
The
box itself was made of a pressed cardboard material similar to the
stuff used for the transmission tunnel. It's not very durable and
tends to distort under any pressure, and to disintegrate around edges
and fasteners.
My box wasn't in really bad shape, but was just sort of cheesy looking.

Replacements
for these units are easily available. The ones I've seen in
pictures appear to be blow molded plastic, and would probably work just
fine. On the other hand, I had in mind that I would make a new
box from fiberglass using a technique similar to that used on my transmission tunnel.
That is really a lot of work, though, and since the box was in
nowhere near as bad a condition as the tunnel, I finally settled on a
much simpler approach.
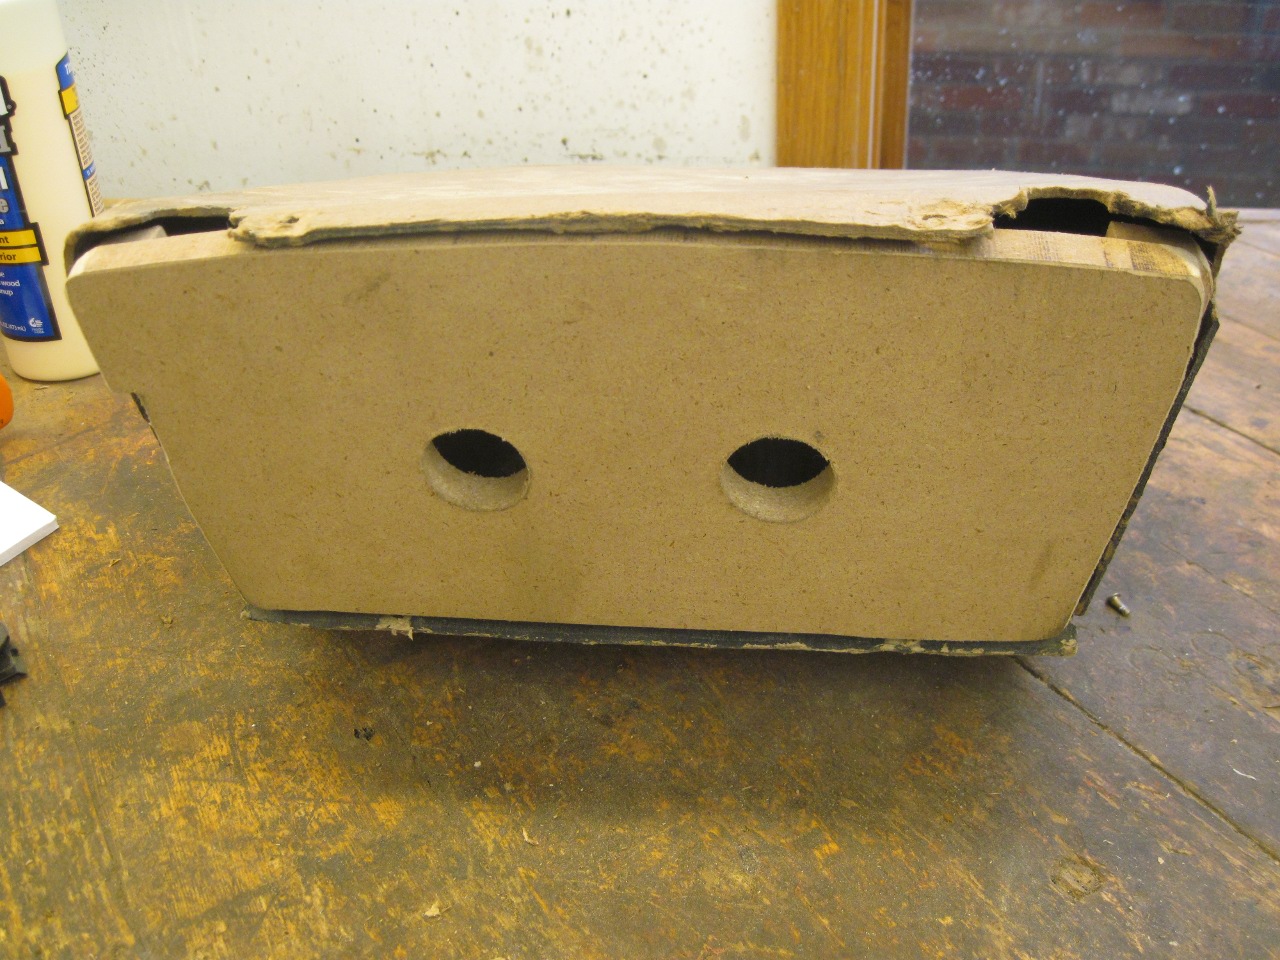
It's
really just the material that it's made from that's the problem with
the box. Since the cardboard seemed fairly absorbent (which is
part of its problem), I thought that I could probably just fortify it
by infusing it with a plastic resin.
Before
putting anything on the box that would harden it, I wanted to make sure
that the mounting surfaces were in the correct shape to mate properly
to the metal dashboard opening.
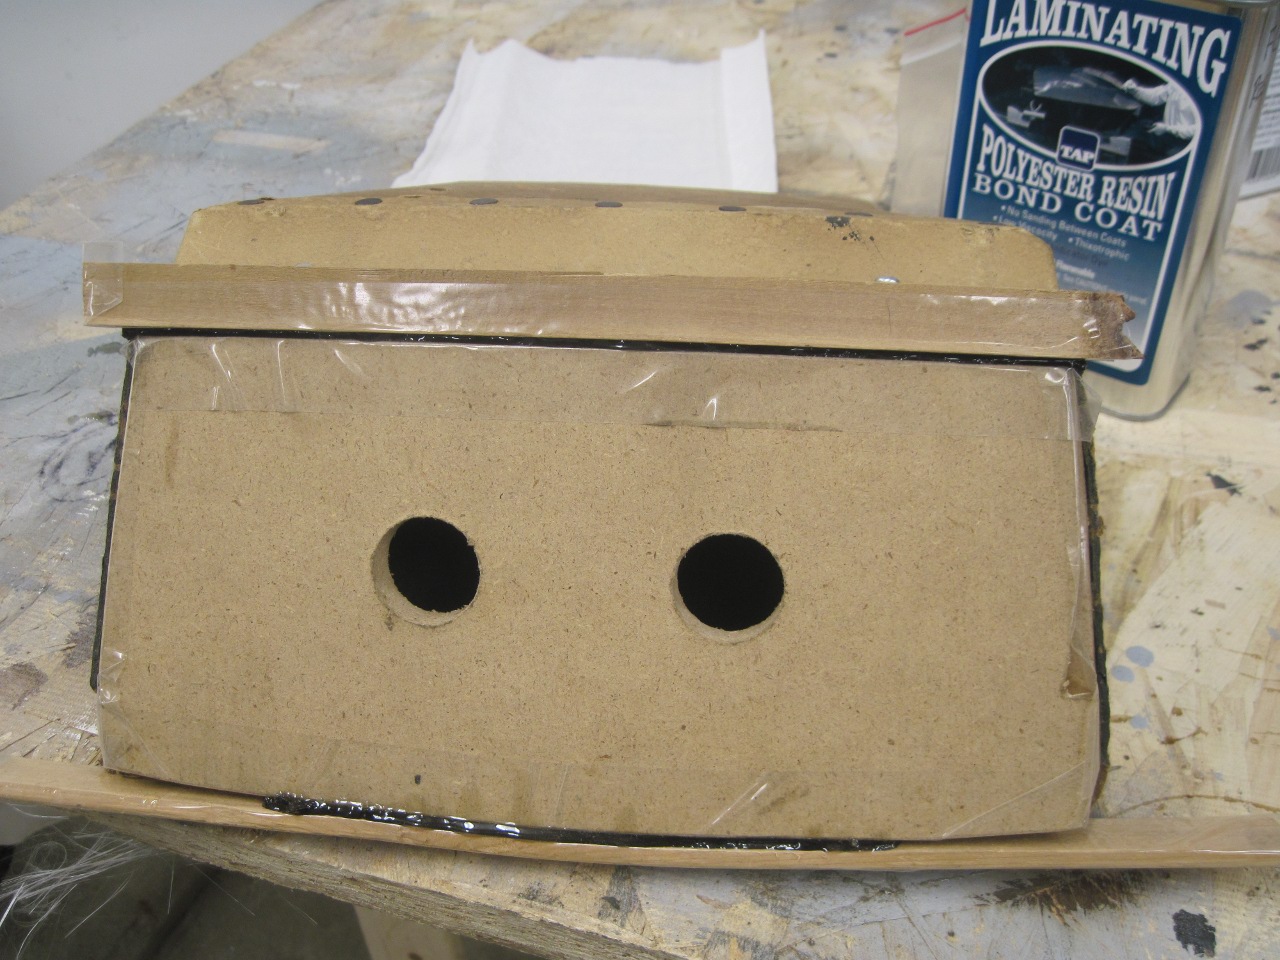
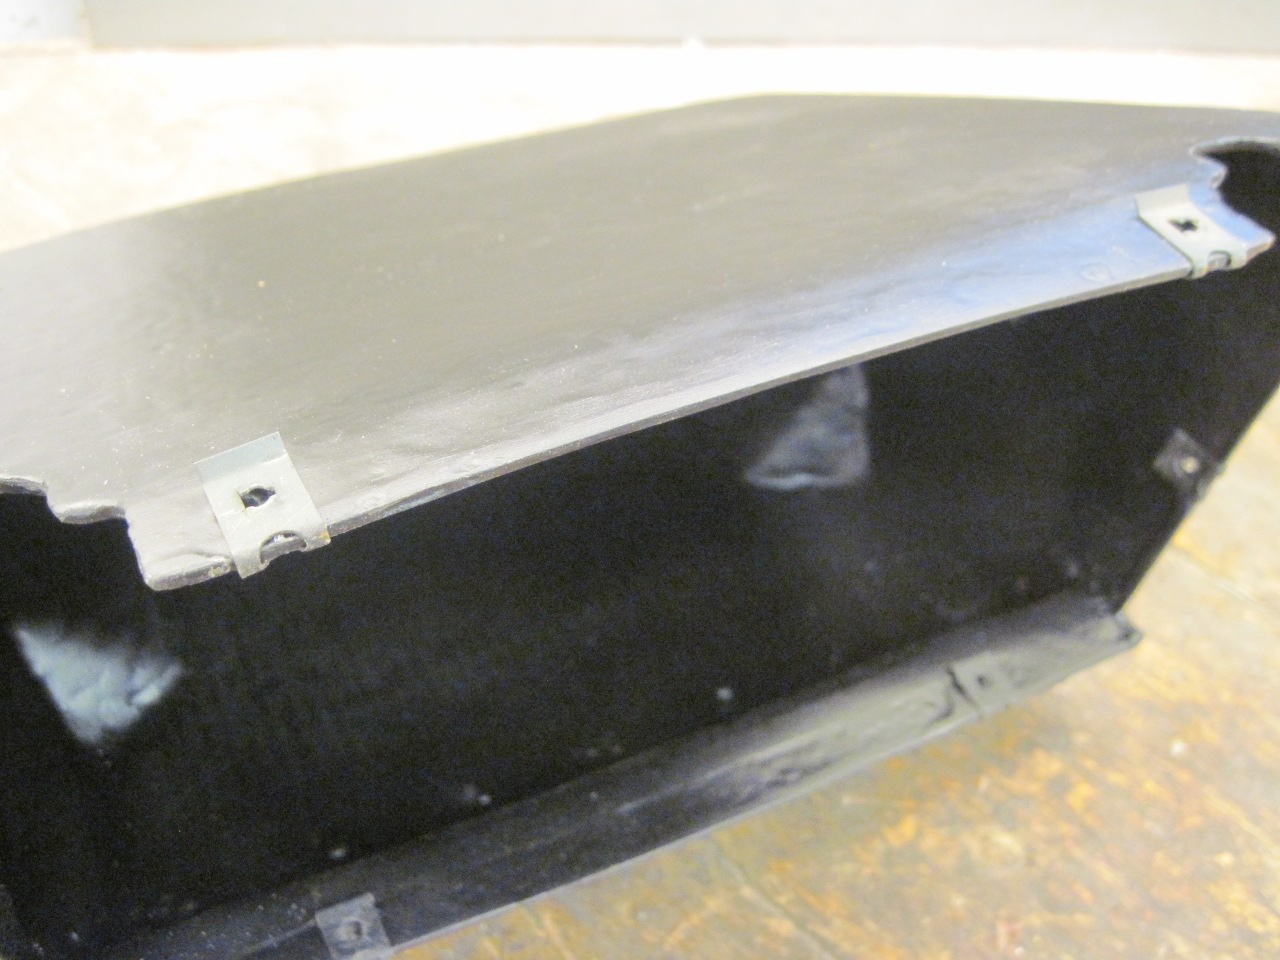
I
made this template that matches the flanges on the metal dash. It
fit nicely inside the box opening. Then, after painting some
polyester resin (same stuff used for fiberglass) on the mounting
surfaces, I screwed some wood strips to the template to act as clamps.
The top mounting surface is curved, so the clamp strip had to be
thinner.

When this set up and the clamp strips were removed, the mounting surfaces were much stiffer and held their shape very well.
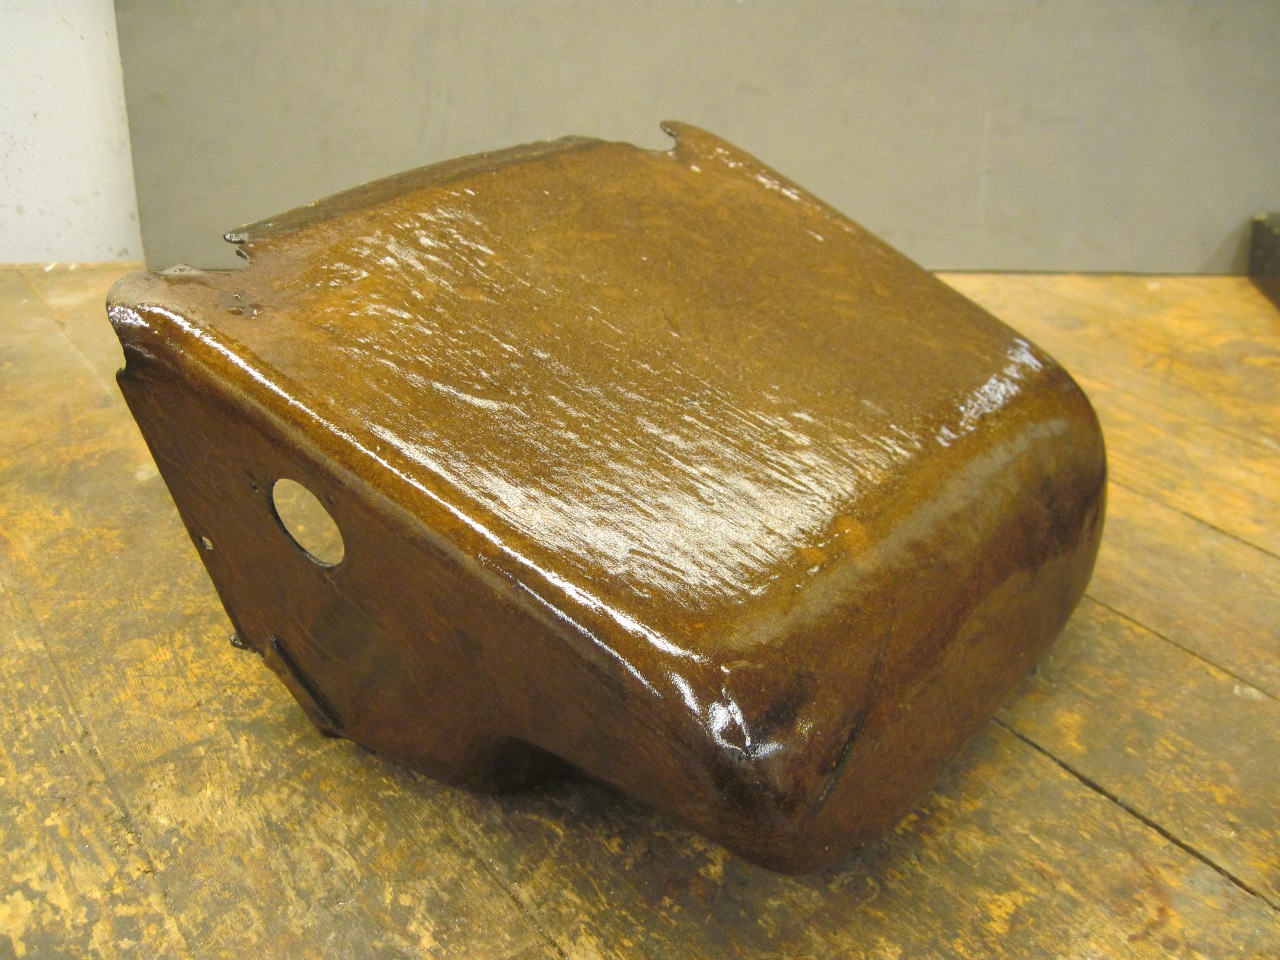
Next,
I applied two coats of resin to both the inside and outside of the box.
I removed the paint on the inside with lacquer thinner first for
better resin penetration. It was obvious from the gradual color
change that the resin was sinking in to the cardboard. When set,
the box had a hard, much more substantial feel than it did before.
The frayed areas absorbed the resin particularly well, which made
them easy to shape with files and sandpaper.
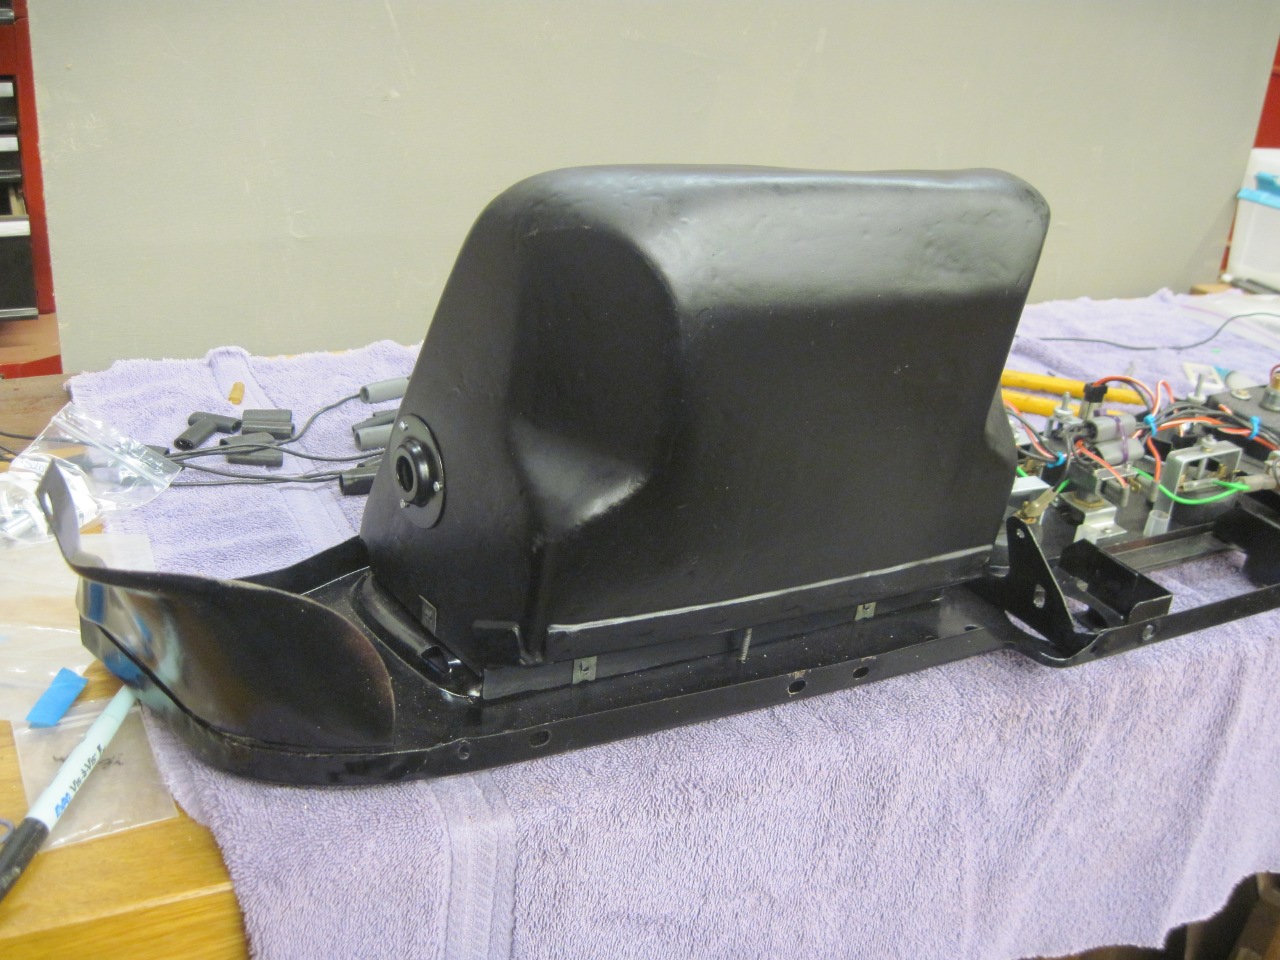
Primer and paint, and this box now looks and feels much more respectable.
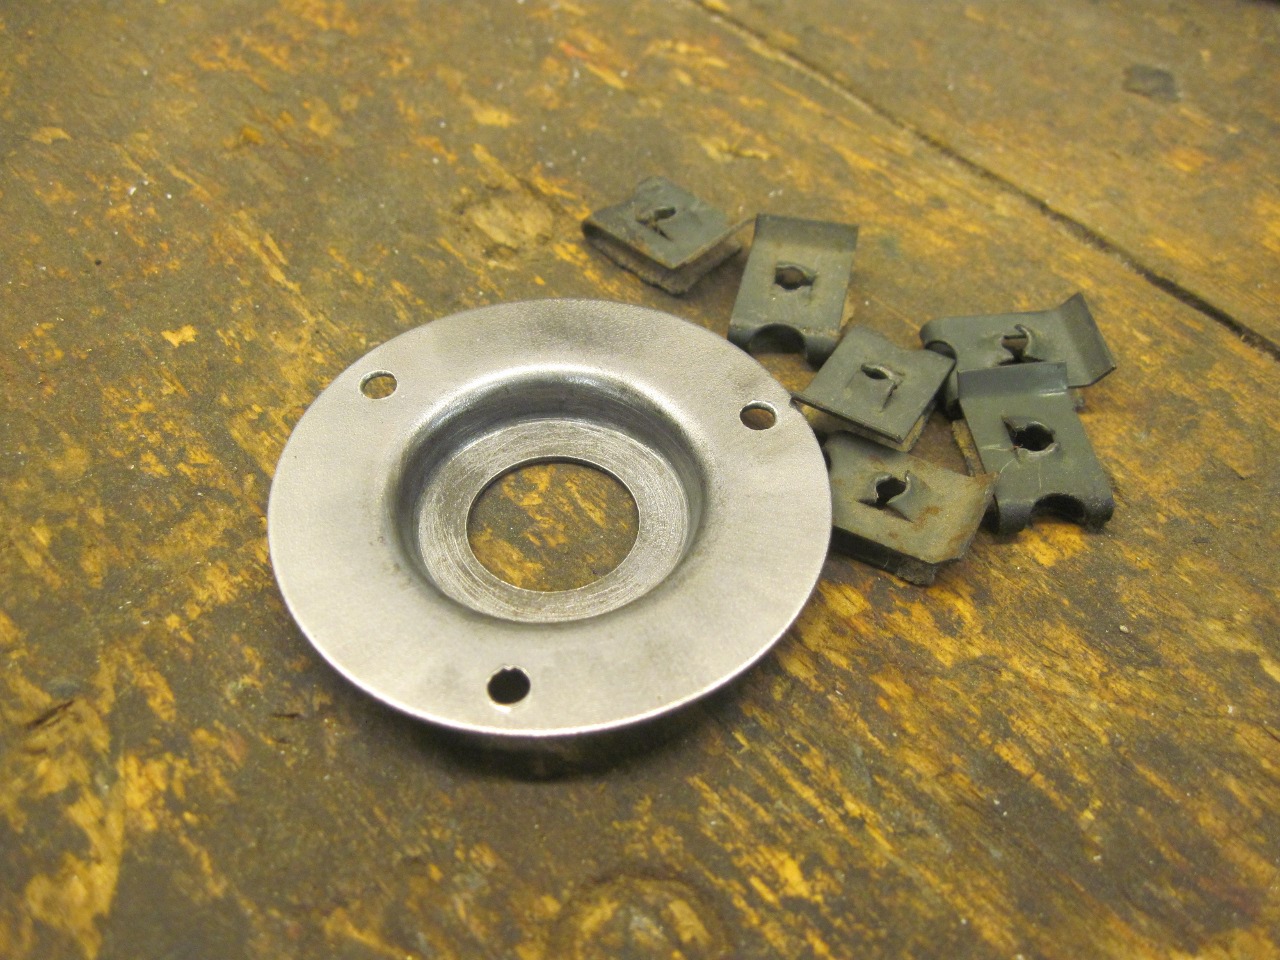
Cleaned up the clip nuts and stripped and powder coated the light plinth...
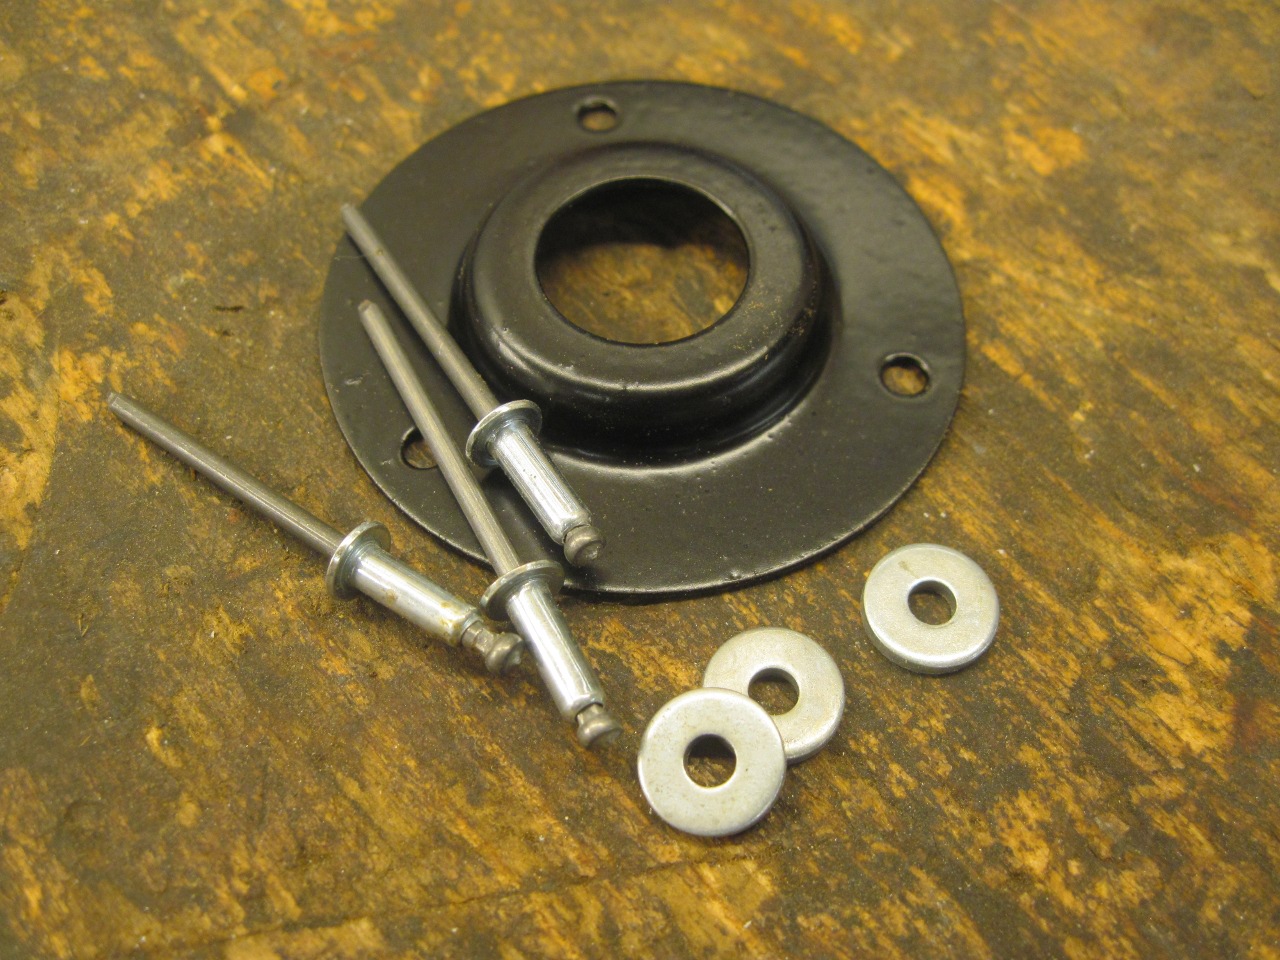
...and put everything back in its place.
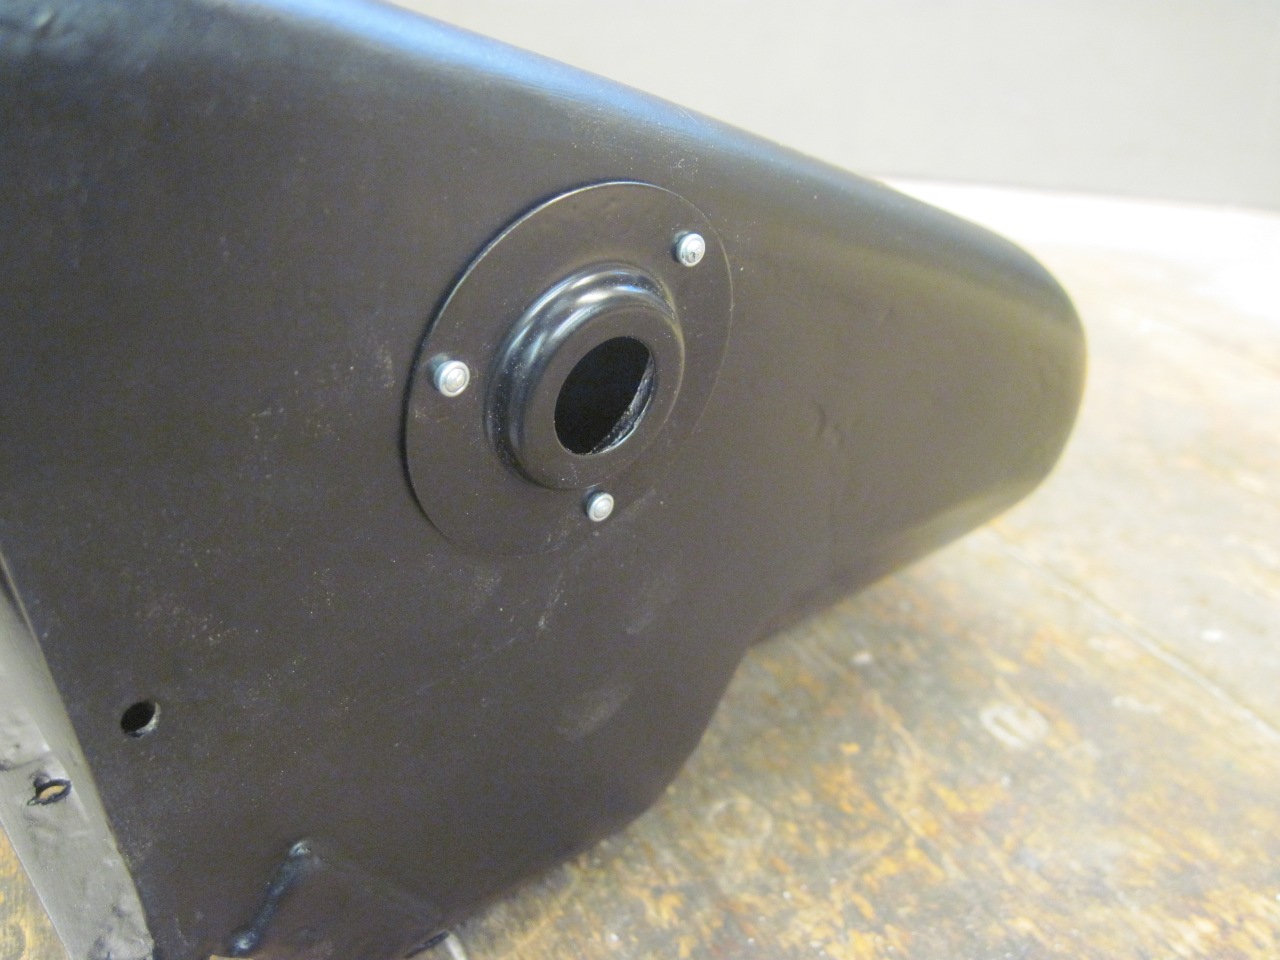
Test fit on the metal dash.
This
was the kind of project I like--I got to try out a new technique with
basicaslly no monetary risk. Success wasn't assured, but cost was
near zero.
Comments to Ed at elhollin1@yahoo.com
To my other TR6 pages