To my other TR6 Pages
December 20, 2016
Crash Pads
[Click the pics for a larger view]
One
of the few passing nods to luxury in the TR6 was the cushioned pads
that surround the dashboard. Though they were likely there
because US crash safety rules required them, they did add a subtle air
of refinement to an otherwise pretty stark and utilitarian cockpit.
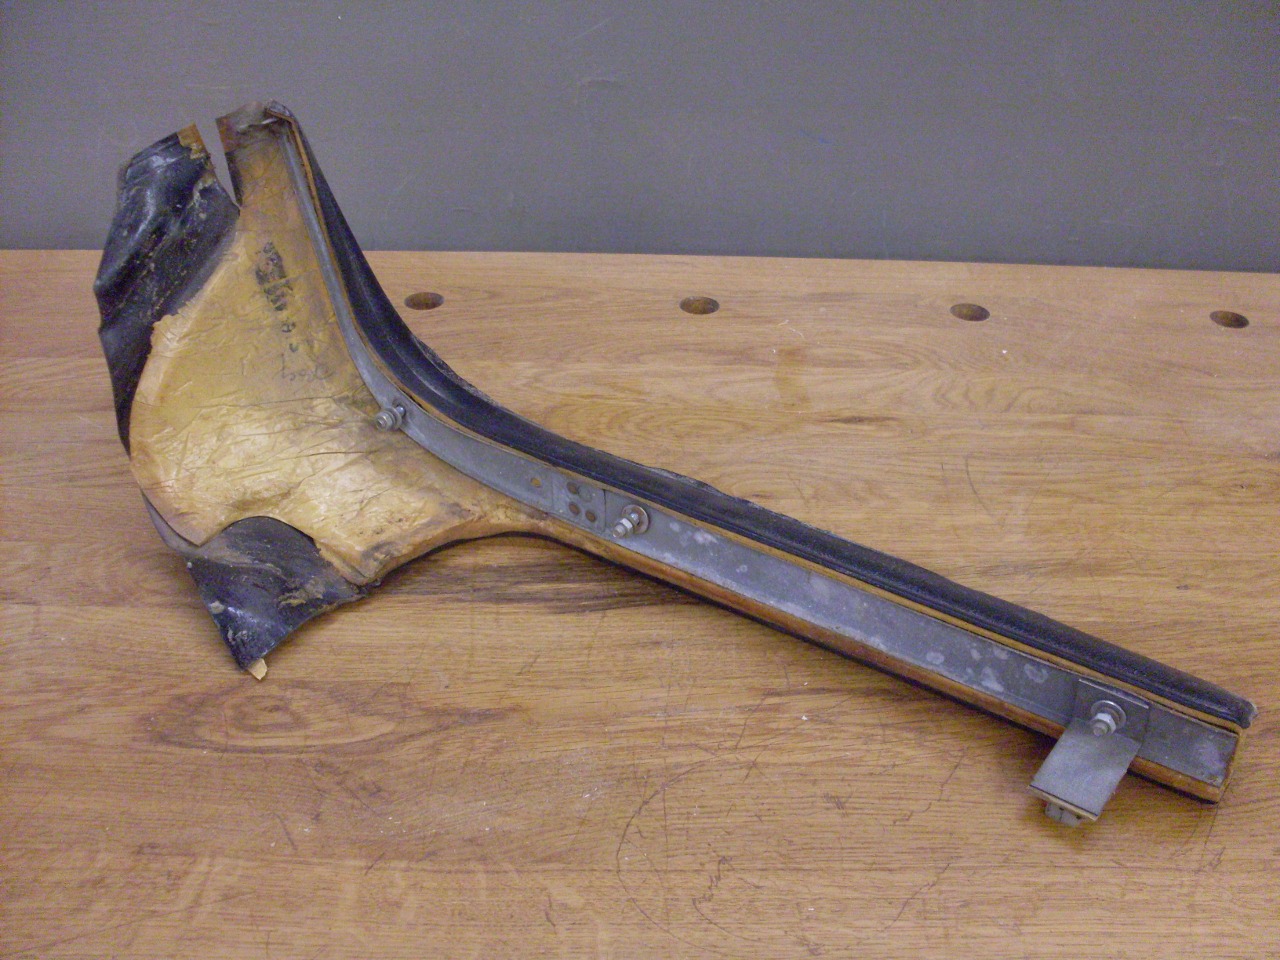
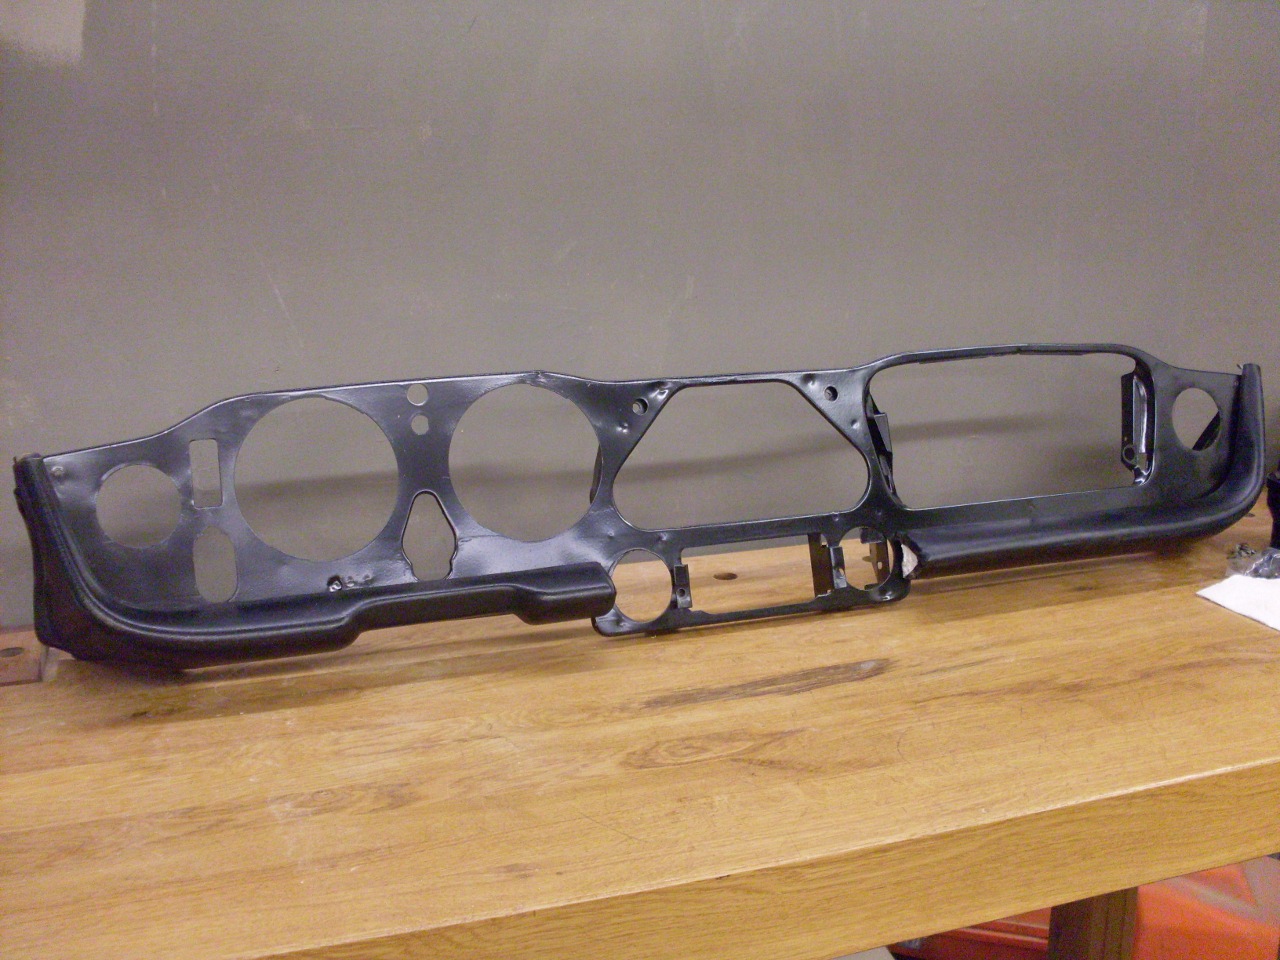
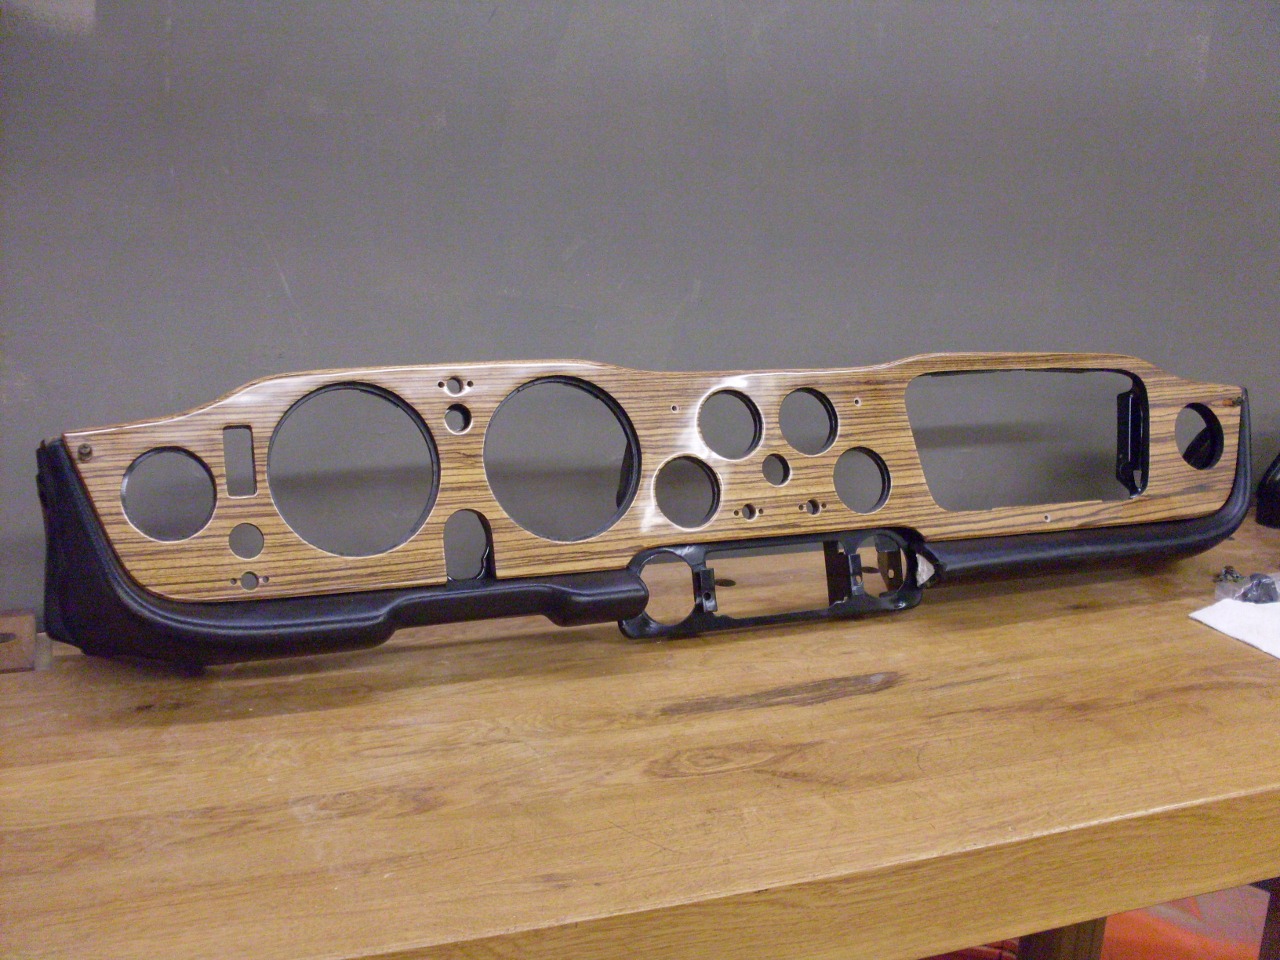
The
pads were vinyl covered foam moldings across the top of the dash and
under the dash on either side of the center console. My driver's
side lower pad was in great shape, but the passenger side unit was
pretty sad. Though most of it was OK, on the front side the old
vinyl, brittle with age, had cracked and some of it had fallen away.
This laid bare the foam, which isn't used to being exposed to the
elements, and it too had deteriorated in the open area.
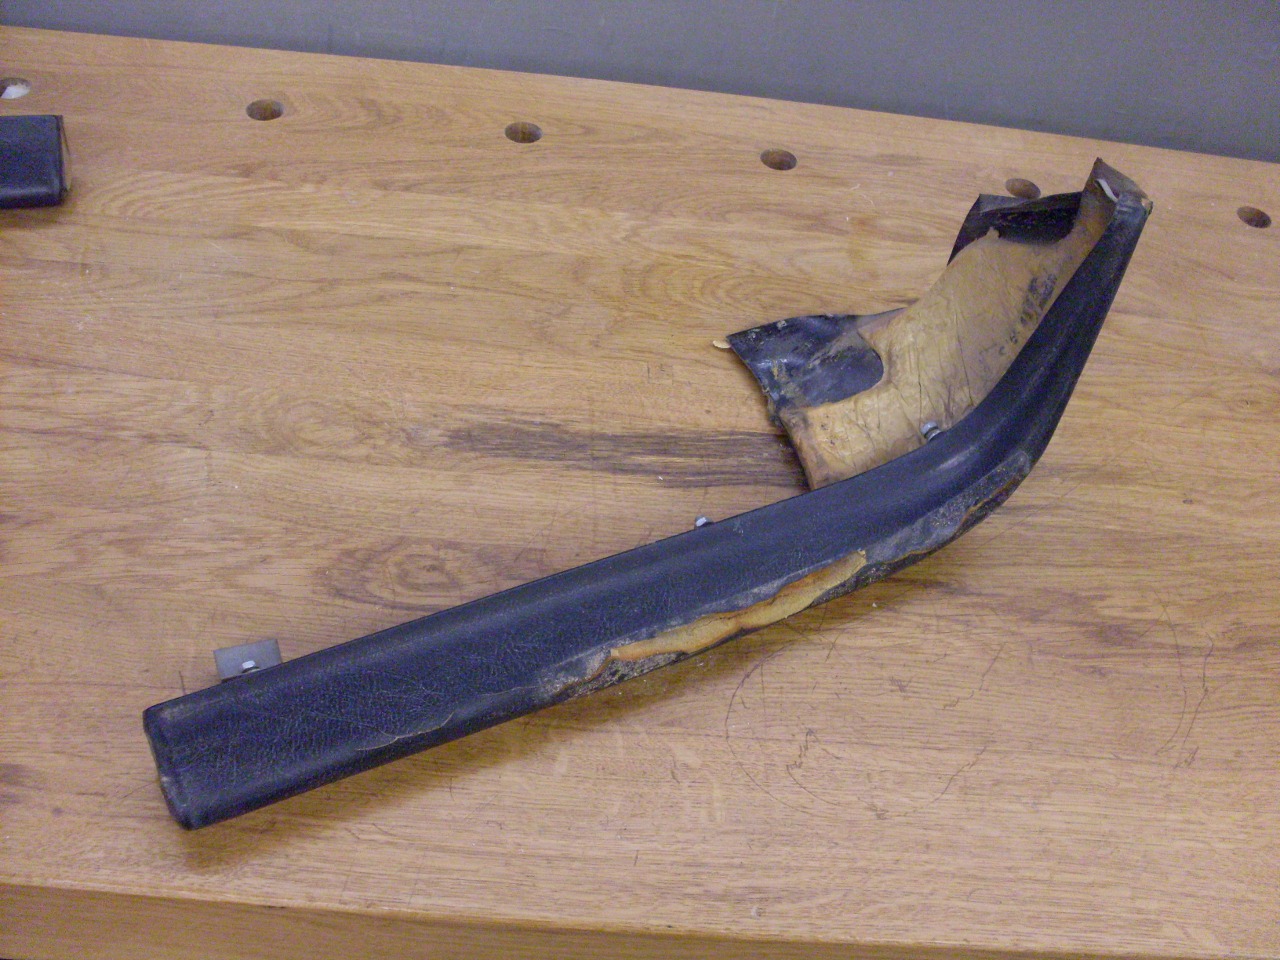
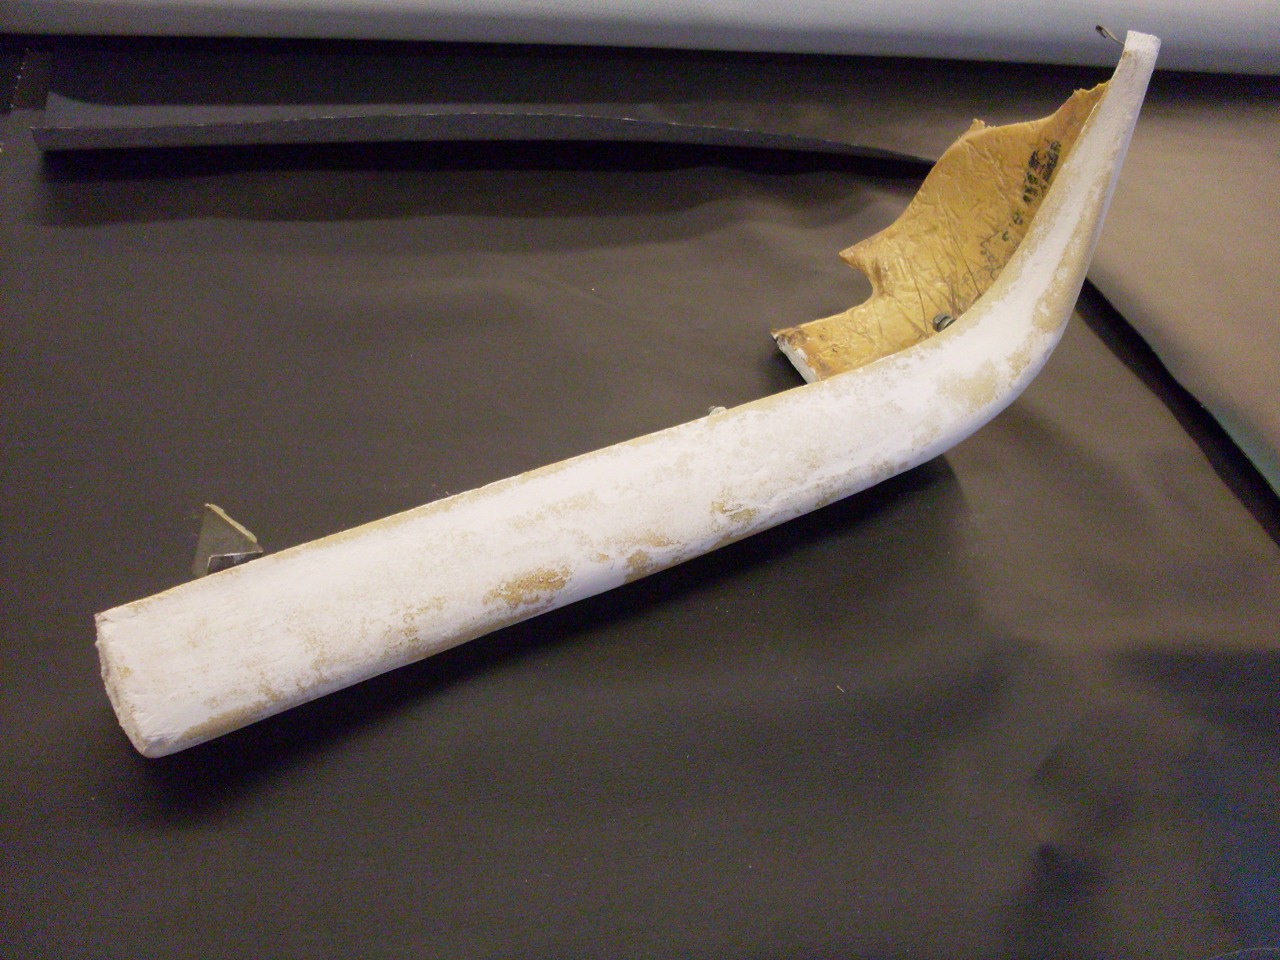
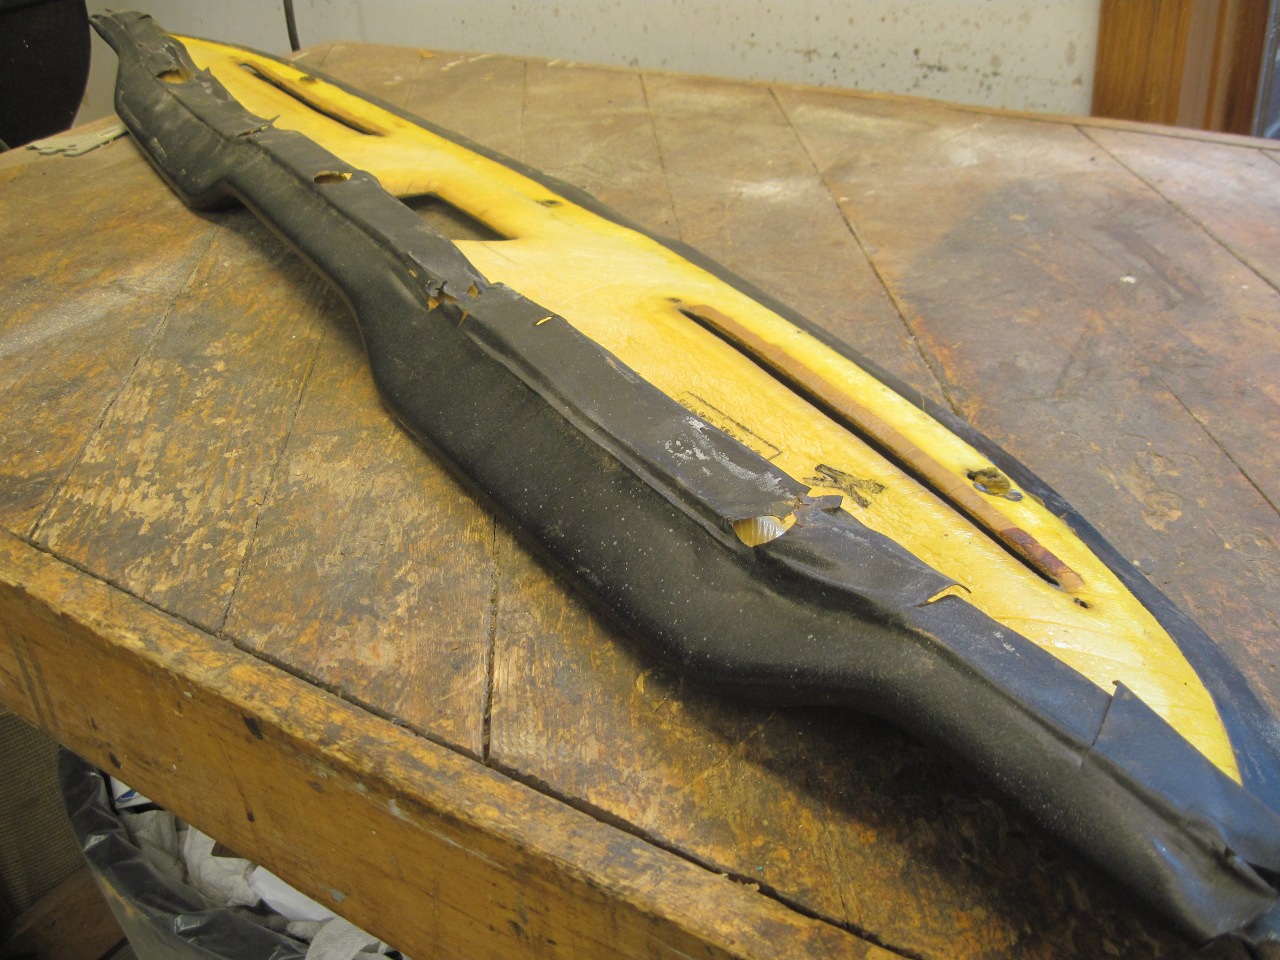
The
vinyl didn't seem repairable, so I stripped it off. This revealed
that the underlying foam was mostly intact, but had a deep pit where
the vinyl was missing. There were also a few pits where the foam
decided to go with the vinyl when it was peeled away.
Figuring
I had little to lose, I decided to try to revive the pad. If I
failed, replacements are available, though not exactly cheap.
I
tried several things to fill the pits in the foam. Though I can
imagine something better, I ended up using a paste made form latex
paint and spackling compound. It dries flexible, and was easy to
sand to shape. The resilience of the filler isn't too far off
from that of the rest of the foam when felt through a layer of vinyl.
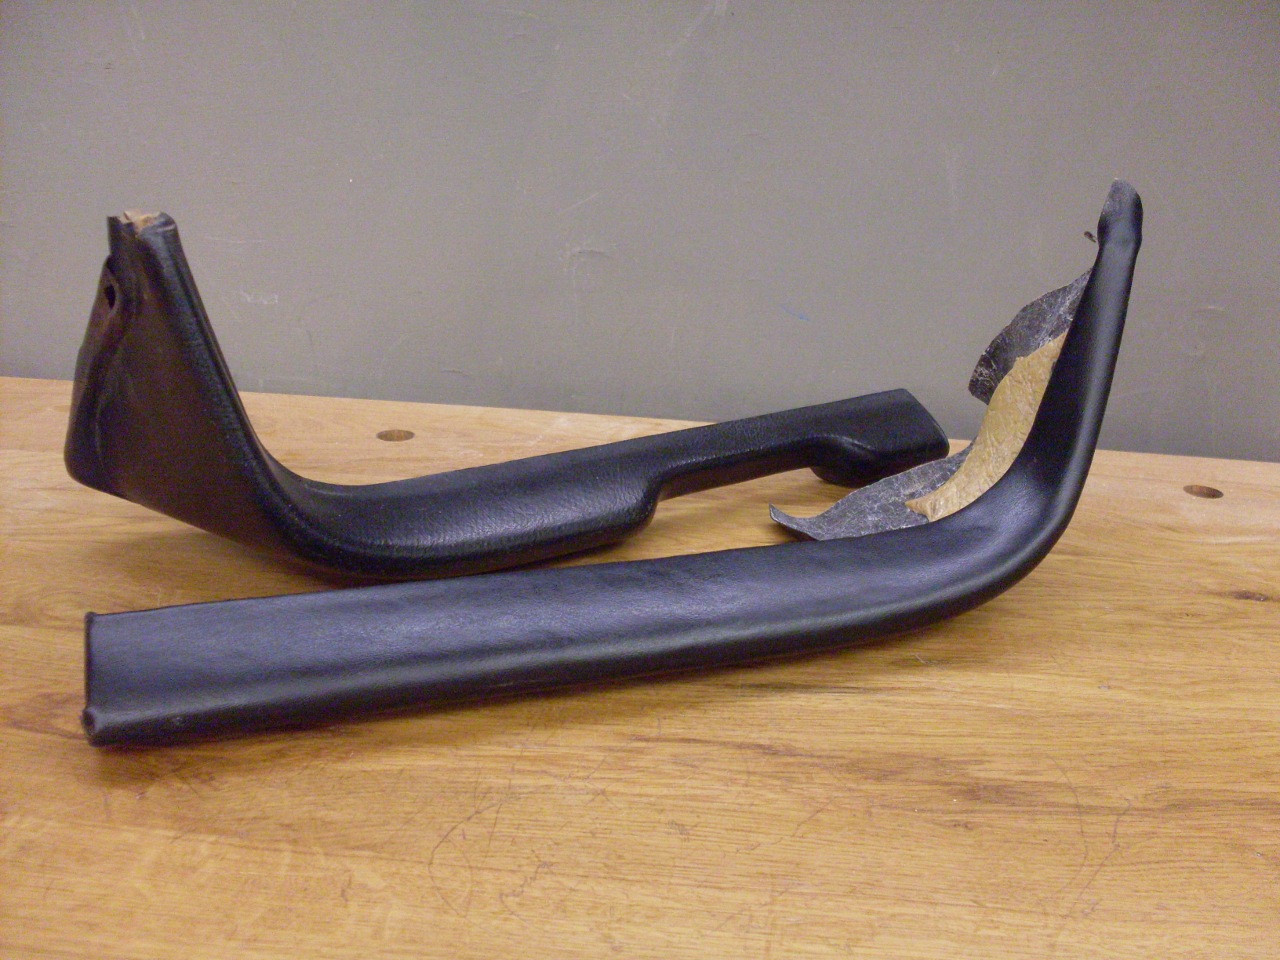
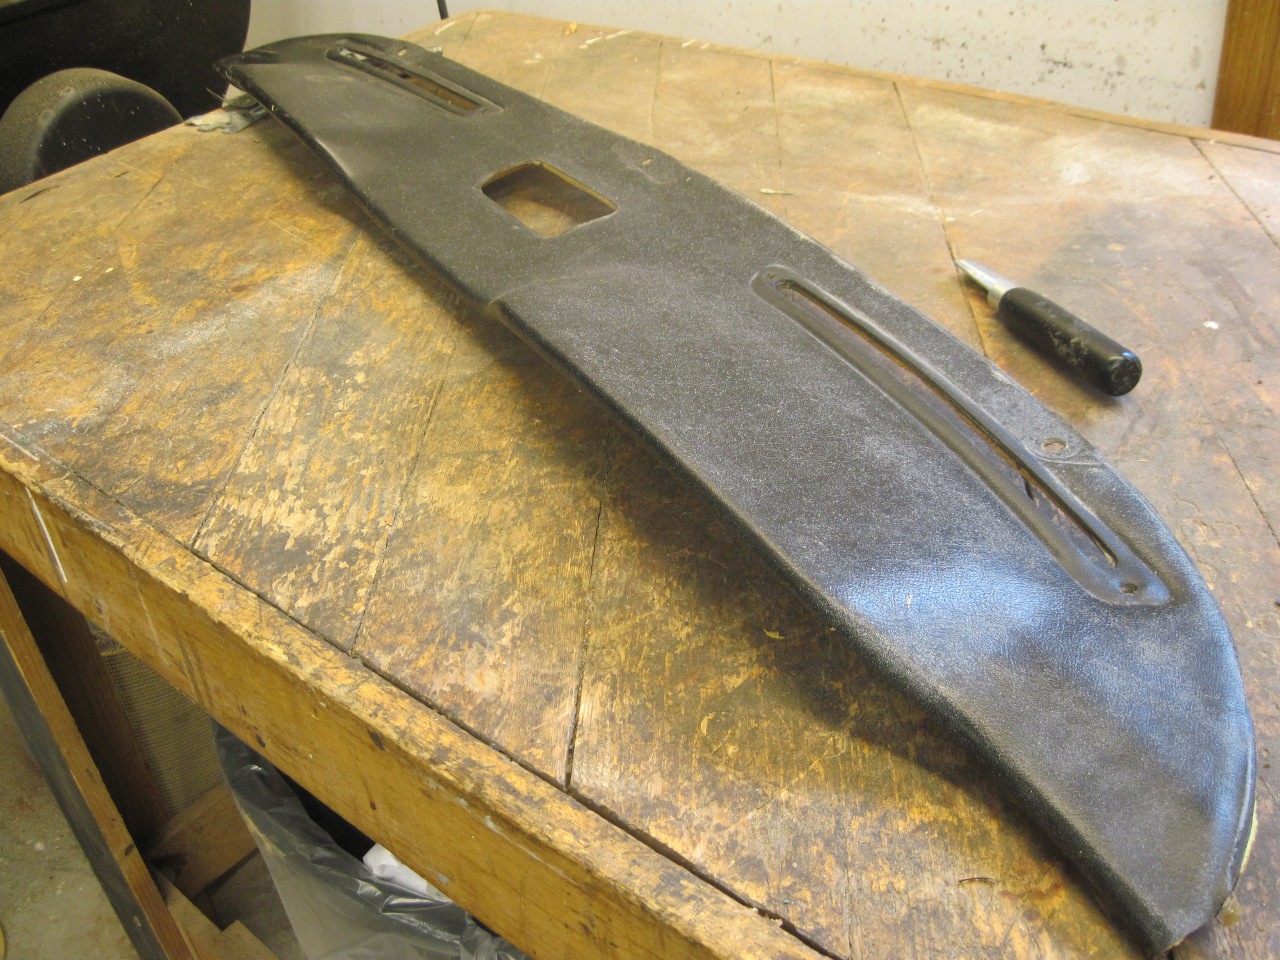
I
glued on a layer of black automotive vinyl, and it looks pretty good.
The grain in the new vinyl is a little different than the
original, so if it bothers me, I may cover the driver's side pad , too.
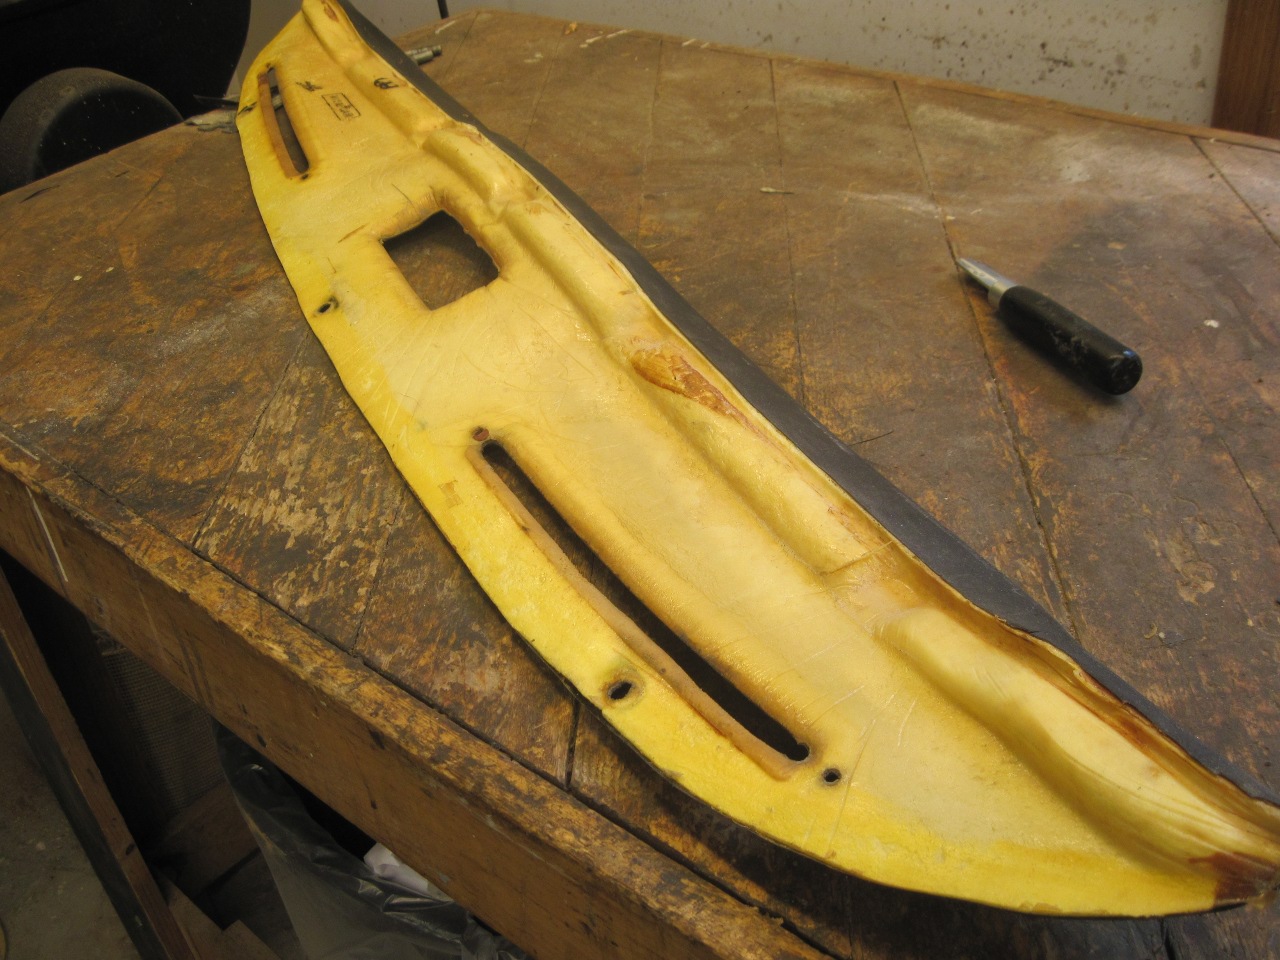
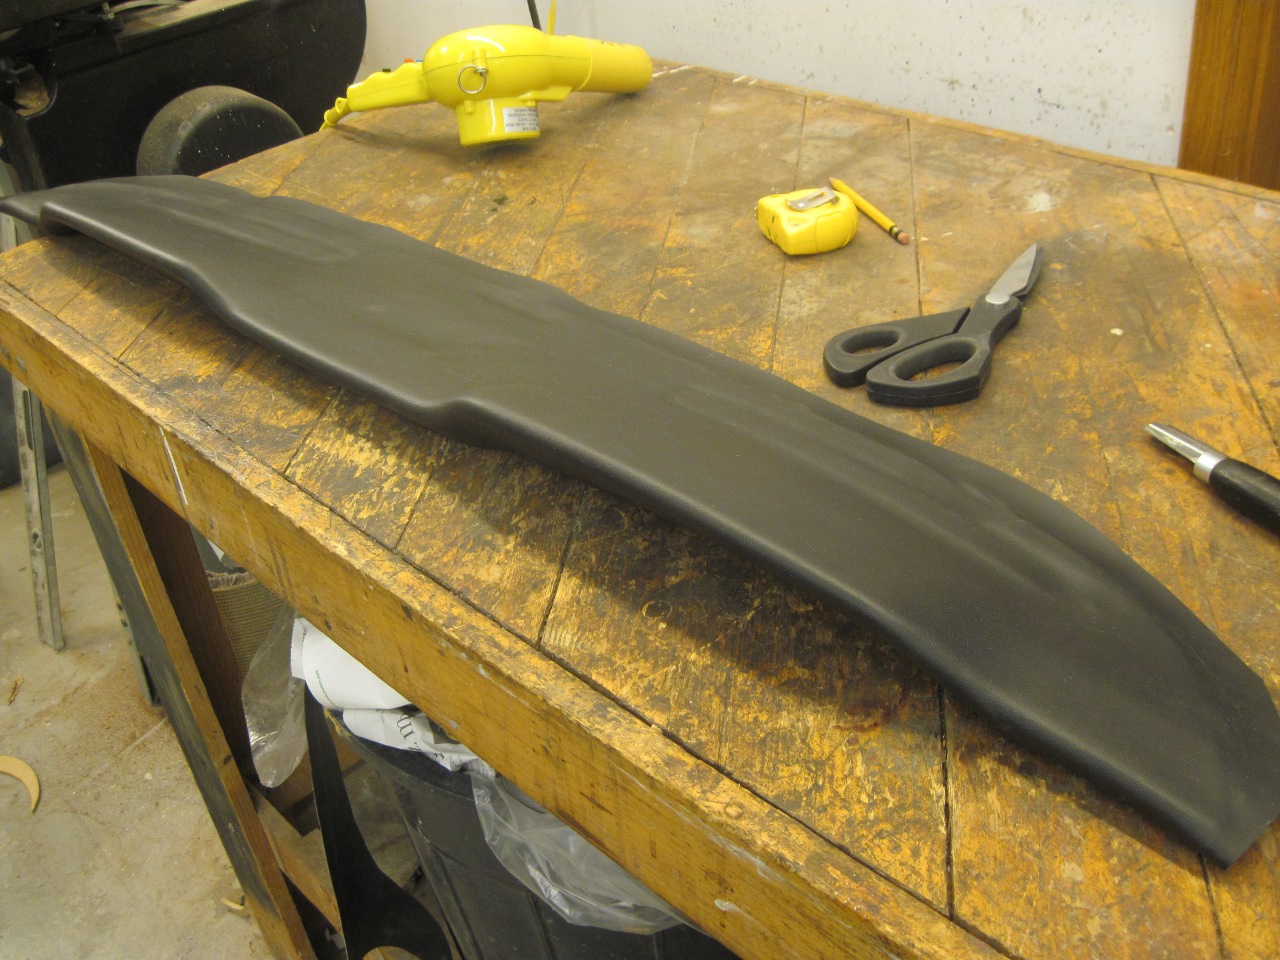
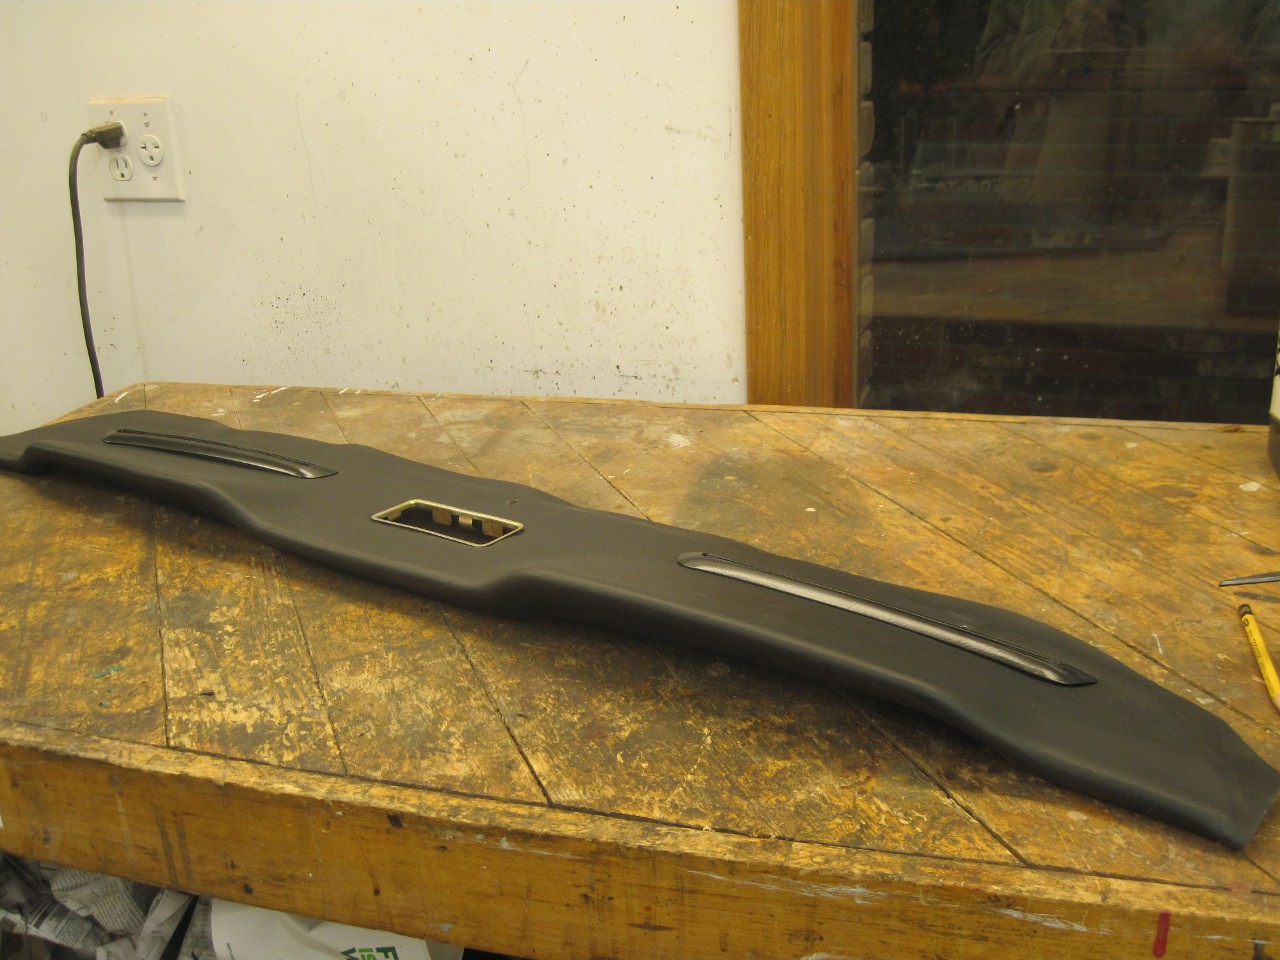
Now
on to the upper crash pad. The vinyl on this unit was generally
OK, but it felt brittle, and was cracked in a few places under the
overhangs. Since this pad is a royal pain to remove, I thought it
prudent to renew the vinyl now while it was out. If that weren't
enough, the pad also had some kind of speckled paint overspray on it
that I couldn't get off. That's an inevitable result of
spending 30 years in my garage.
Since
the vinyl on the top pad was intact, I saw no reason to remove it.
I just trimmed it back to where it was stuck to the foam.
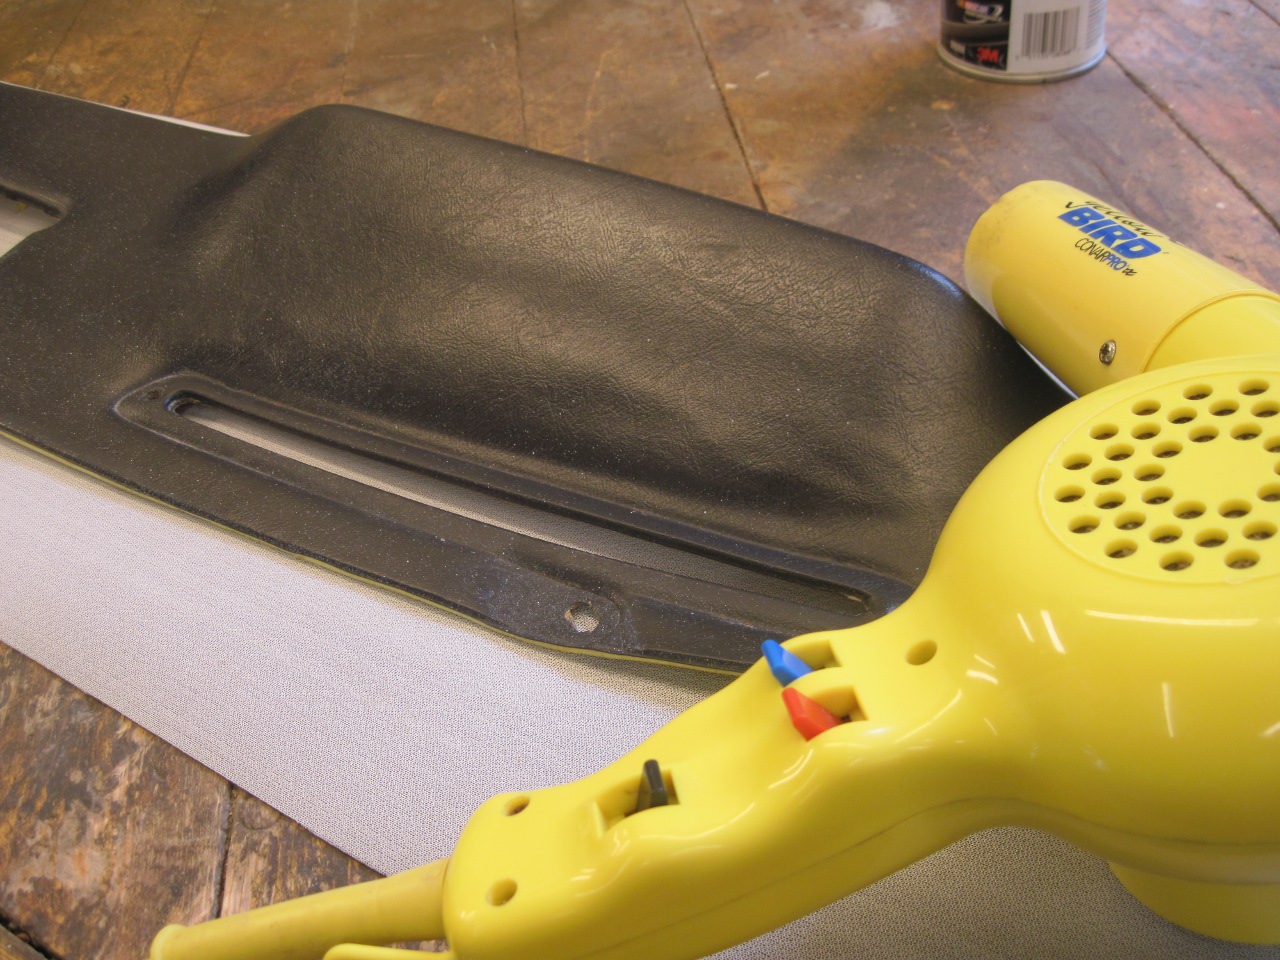
Then cut a generous piece of new black automotive vinyl to fit.

Before
going any further, I noticed a subtle little lumpy crease on the top
side of the pad. I think this was from the way it had been stored
for the three years since I removed it. A little warm massaging
with the help of a hair dryer got that kink out.
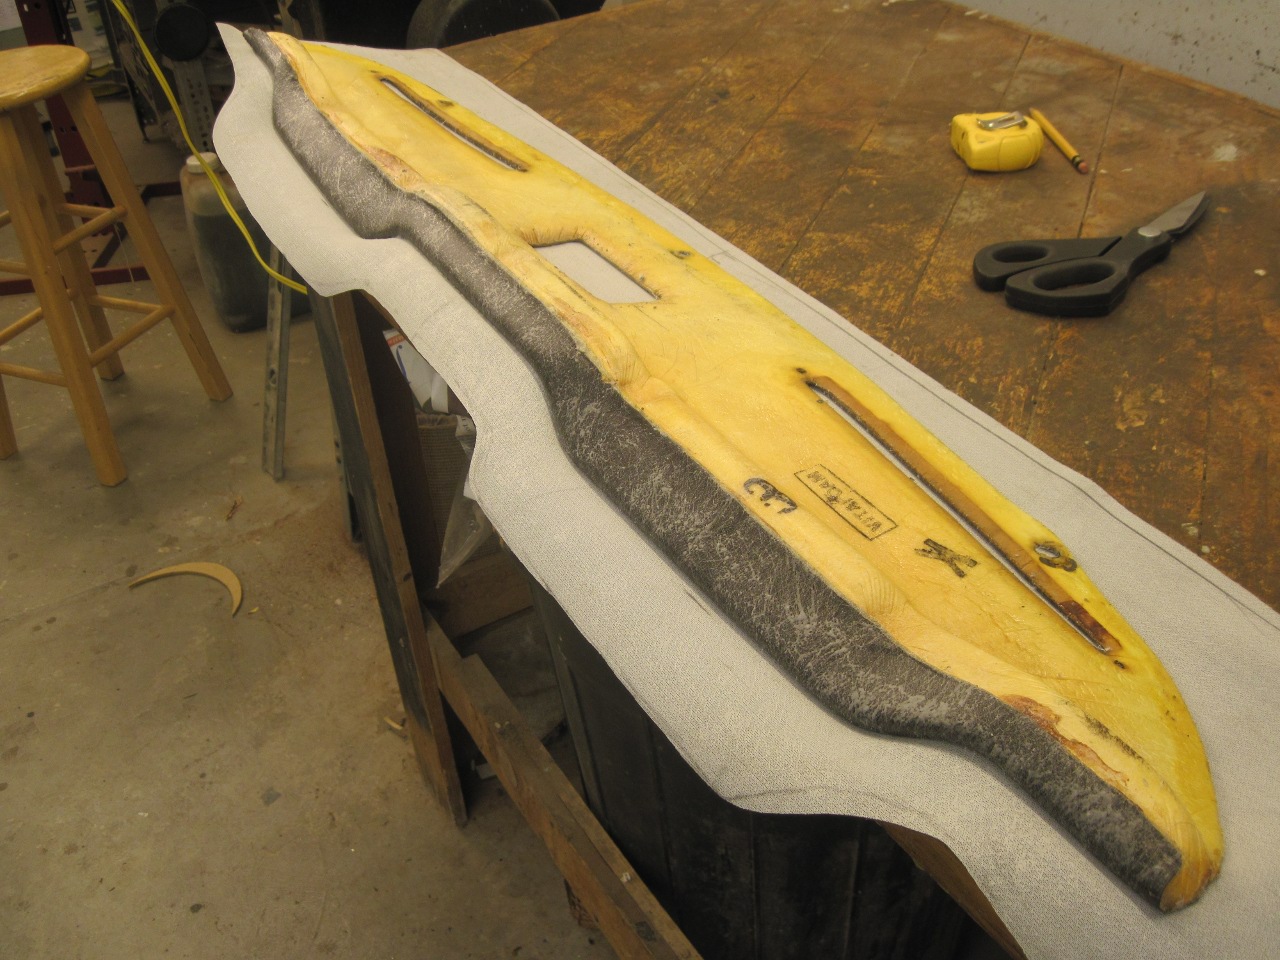
I
glued the vinyl to the top side of the pad first, then trimmed the
wrap-around, and glued it to the underside of the overhangs. Some
stretching was required, and heating the vinyl helped with that.
I actually had to do this process twice. The first time, I
trimmed the vinyl a little too much, and it wouldn't wrap around far
enough. I had to strip off the vinyl, remove all the glue, and
start over.
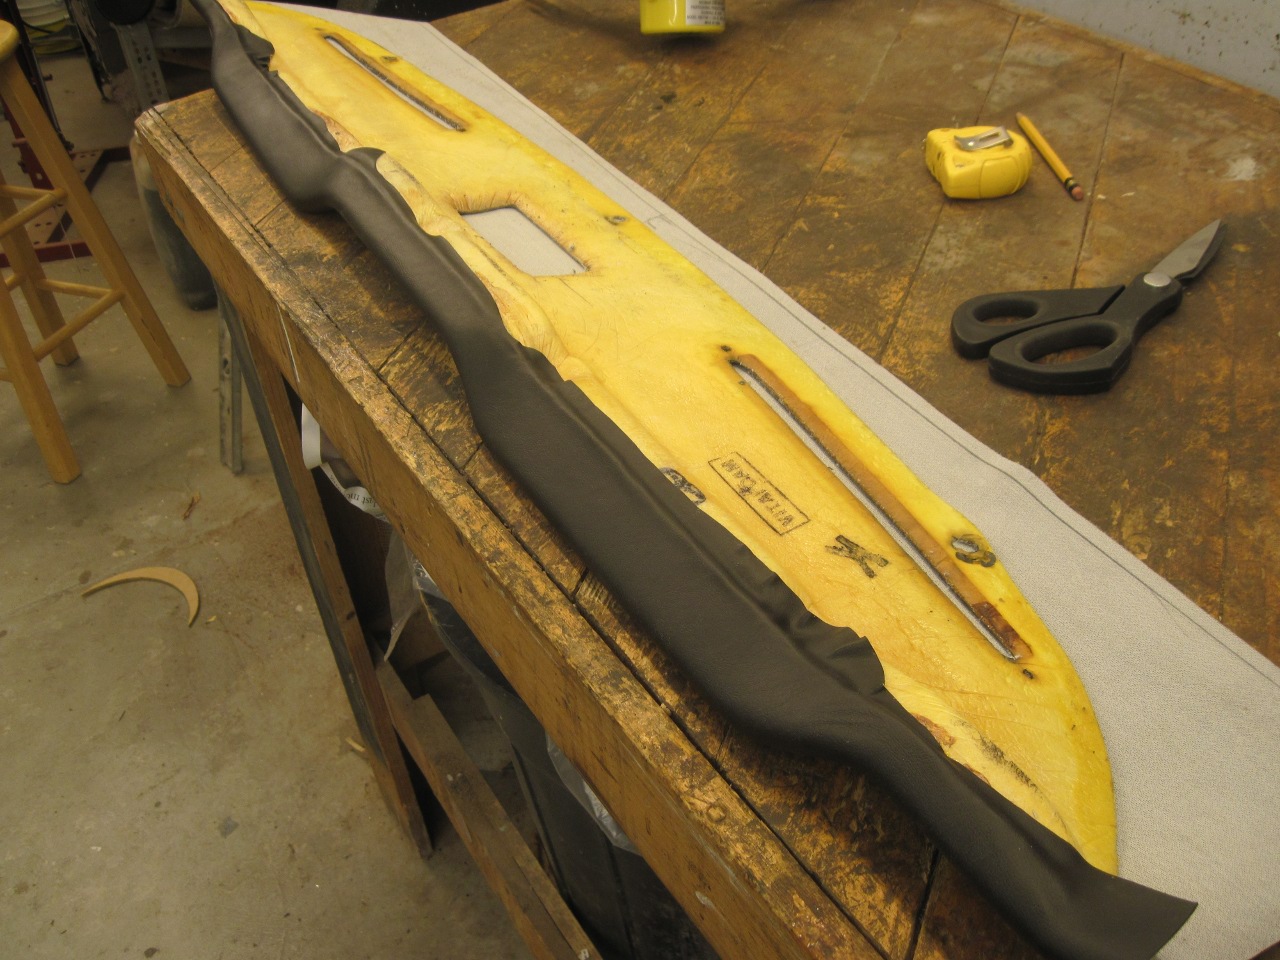
After massaging out a few small wrinkles here and there, the pad looked pretty good.
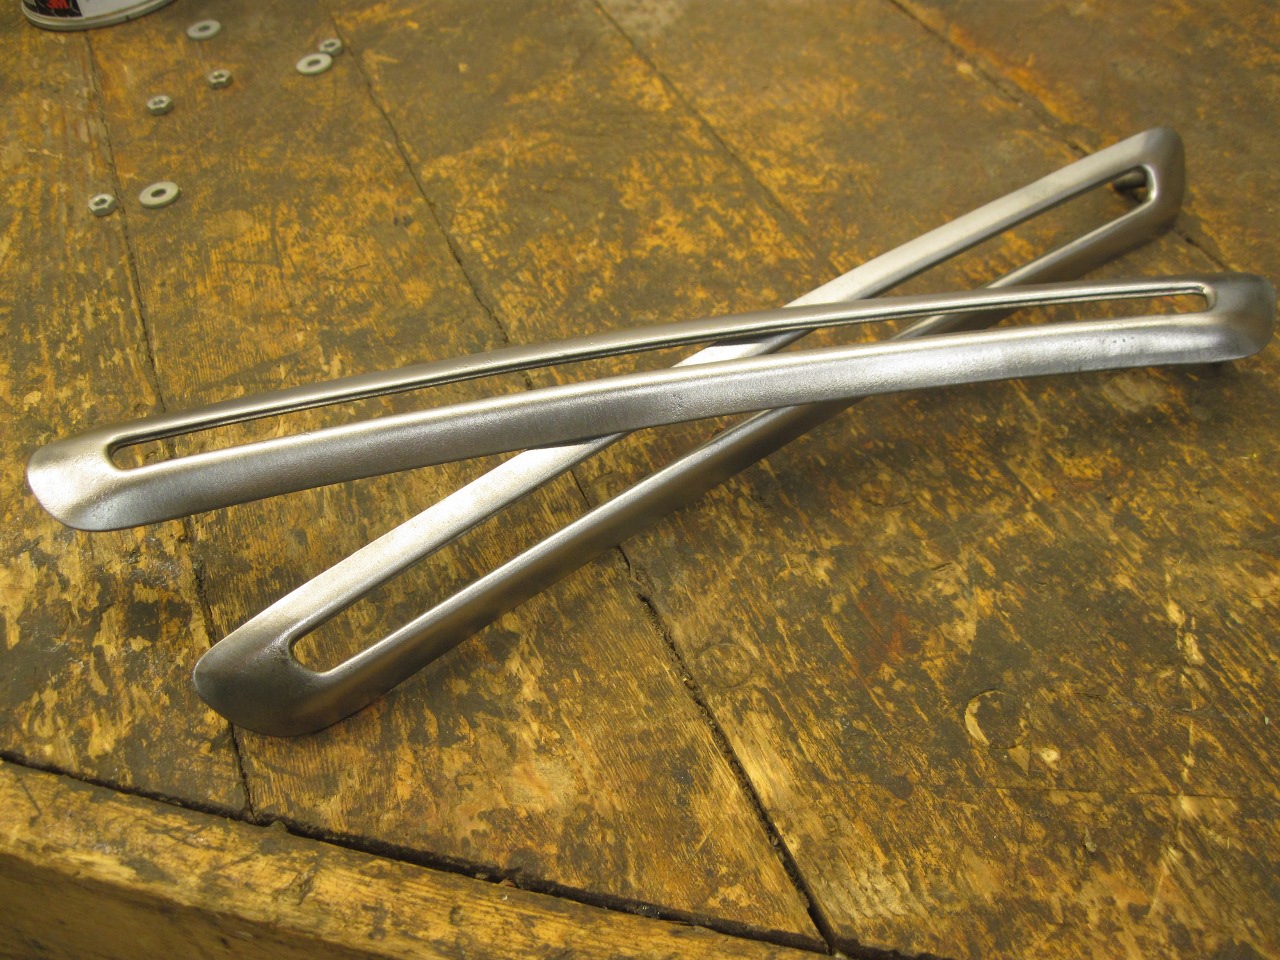
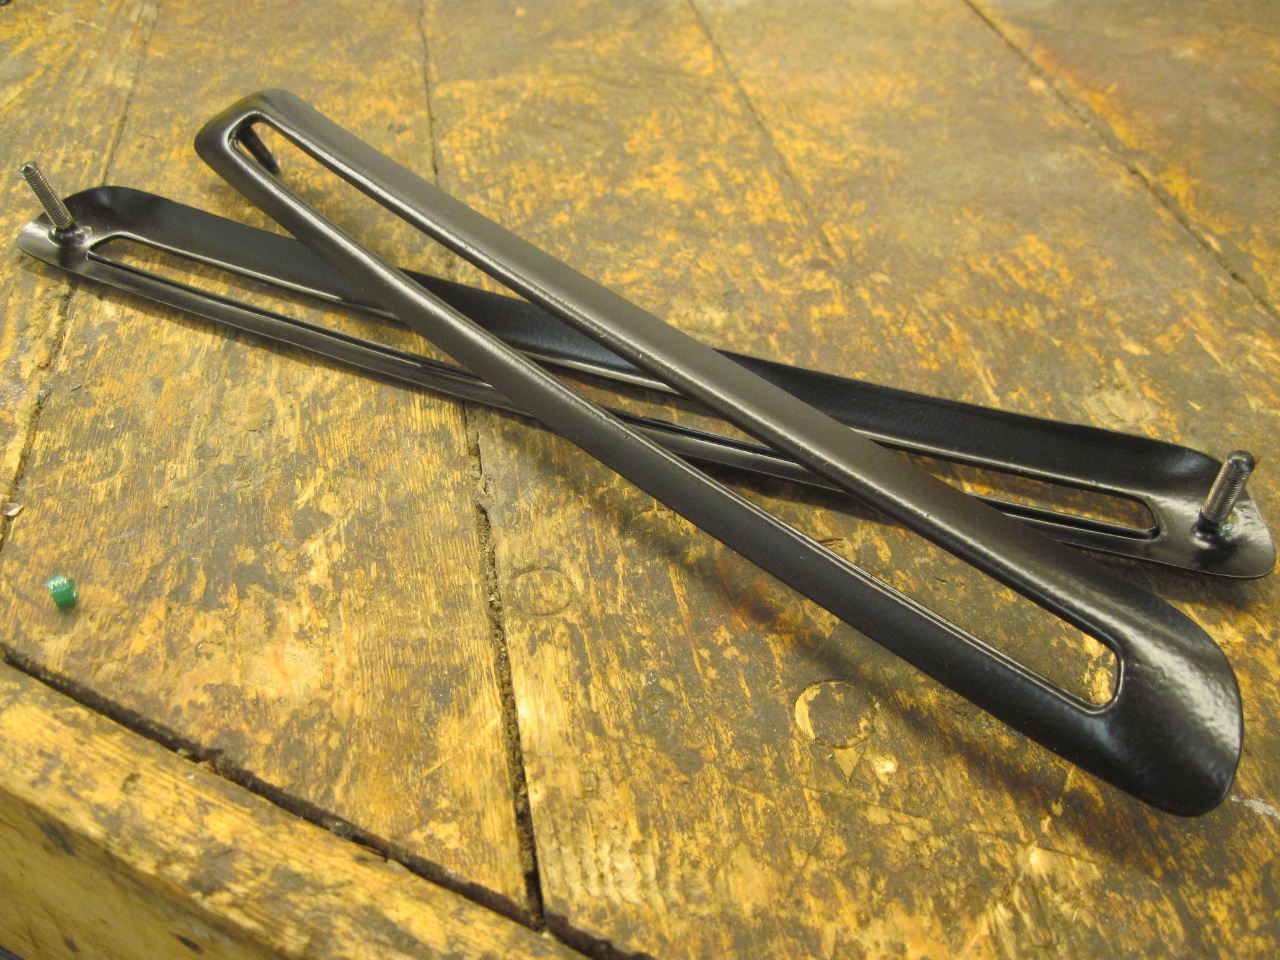
While I was at it, I dug out a few other pieces that fit on the pad-- the defrost bezels and the ash tray.
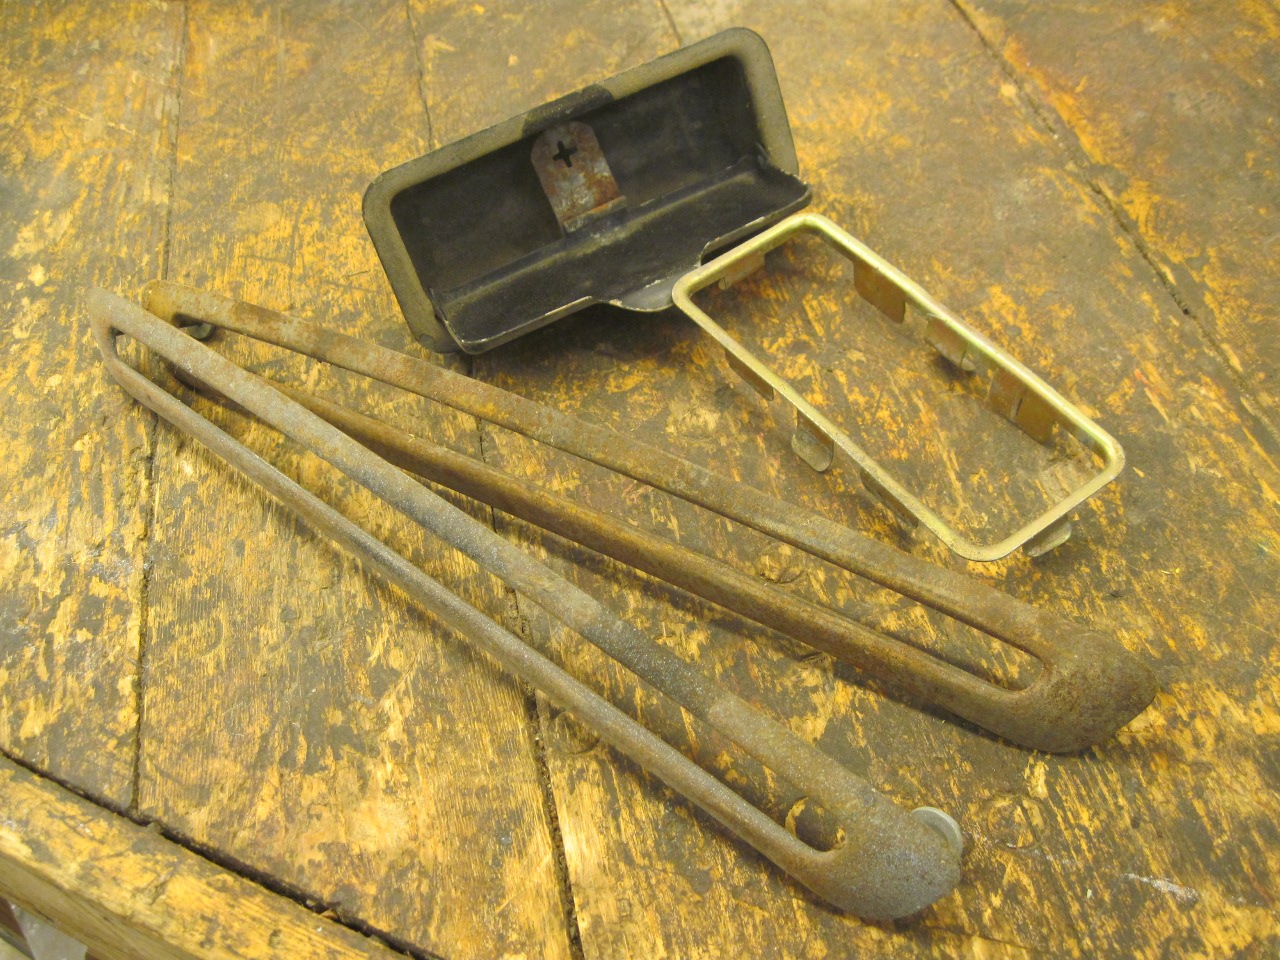
Derusted
and powder coated the bezels, but I'm still pondering what to do with
the ash tray. Some have installed power or USB ports. Maybe
I'll do that.
The pad came out OK. I expect there might be a little adjustment at the corners when I finally get to install this puppy.
On
this job, I half expected that in the end I'd be buying a top dash pad.
Turns out I'm pretty happy with this one. It was a quick,
fun job, and pretty cheap.
Comments to Ed at elhollin1@yahoo.com
To my other TR6 Pages