To my other TR6 pages
July 6, 2018
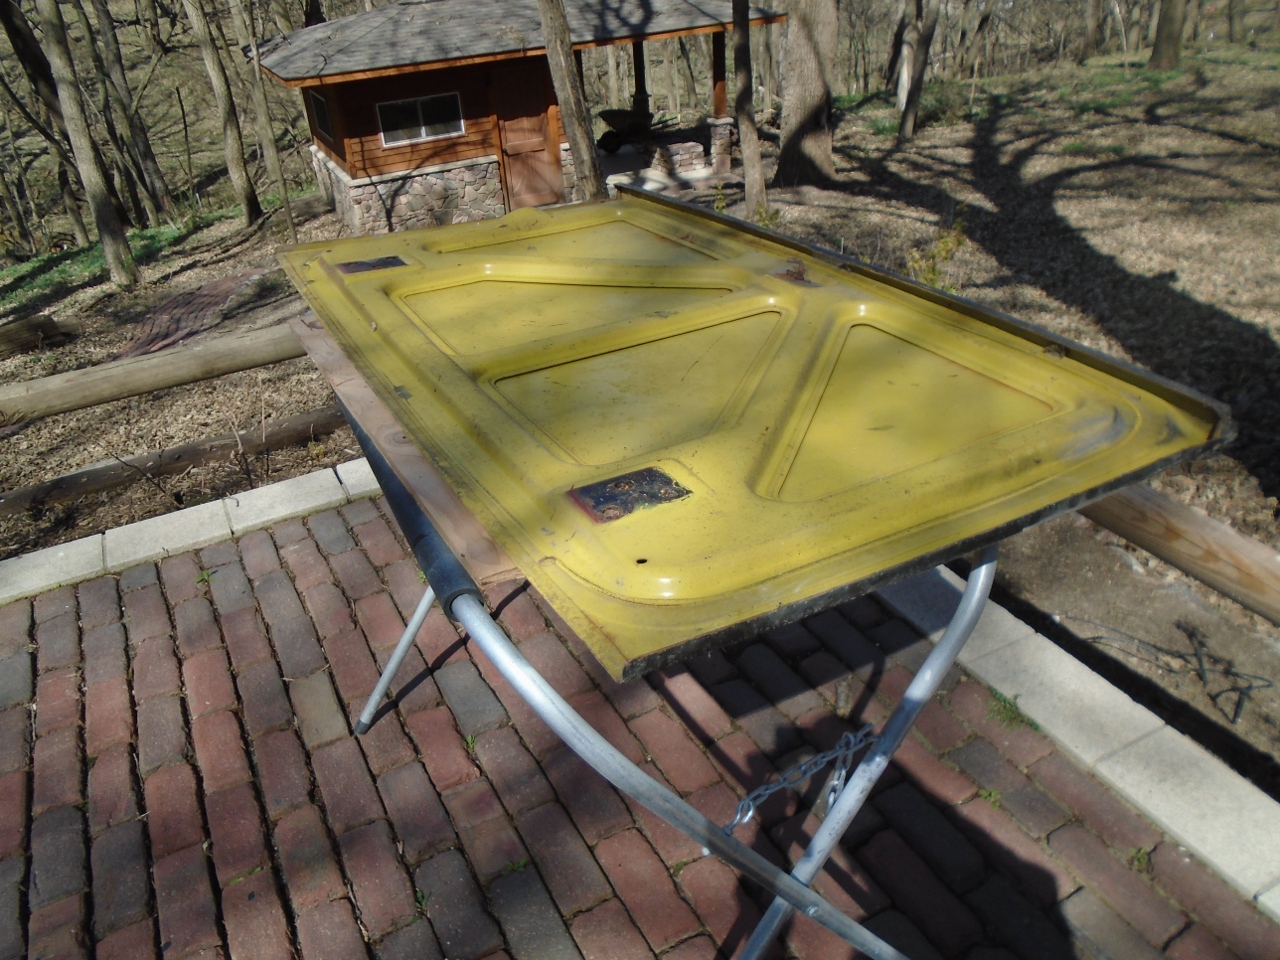
Boot Lid
I
hauled the boot lid up from the shed and put it on a stand to look it
over. It's paint was tired, but other than a small dent on the
trailing edge, I didn't see any significant rust or other damage.
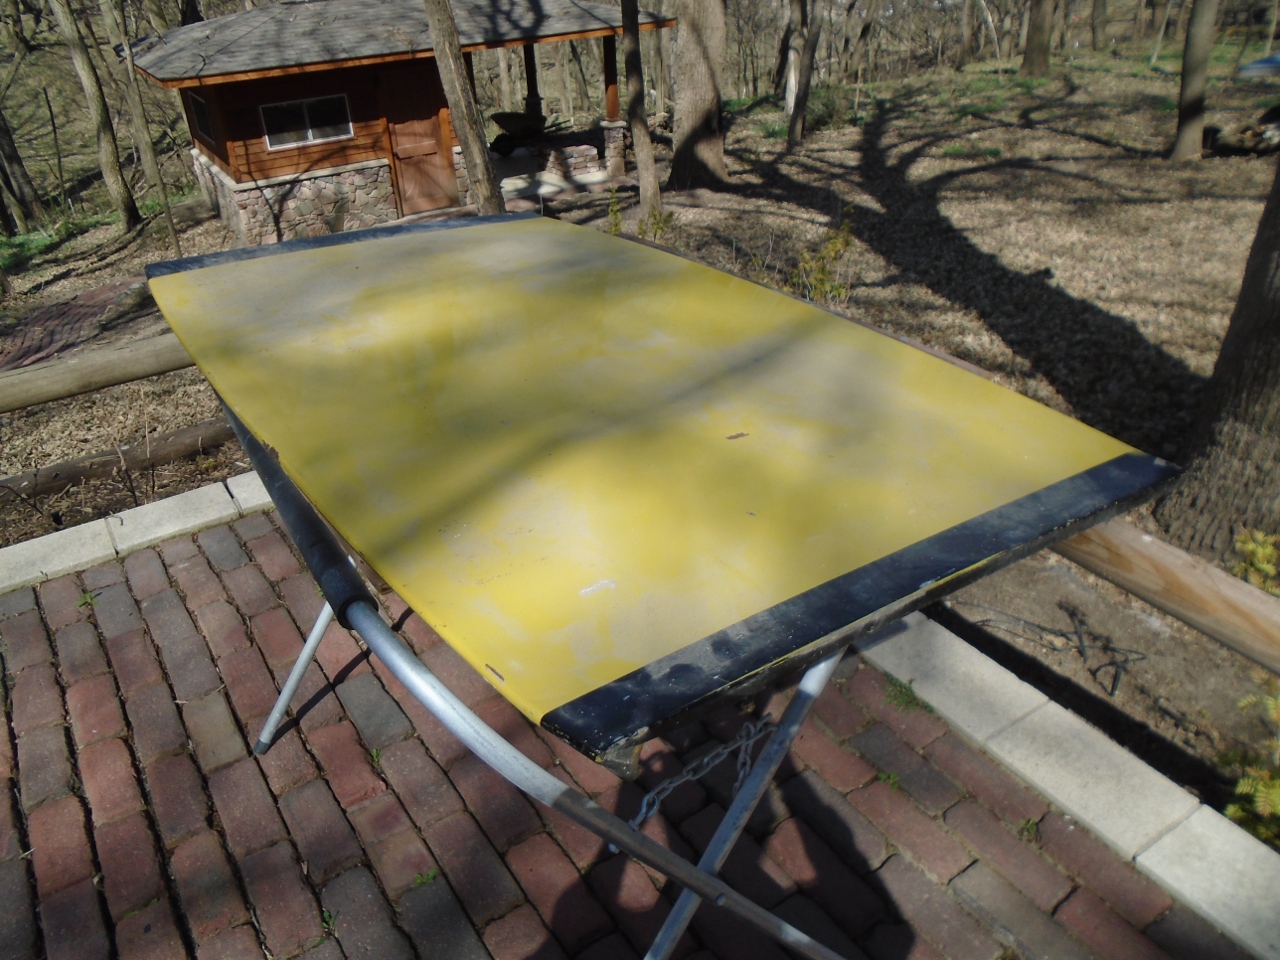
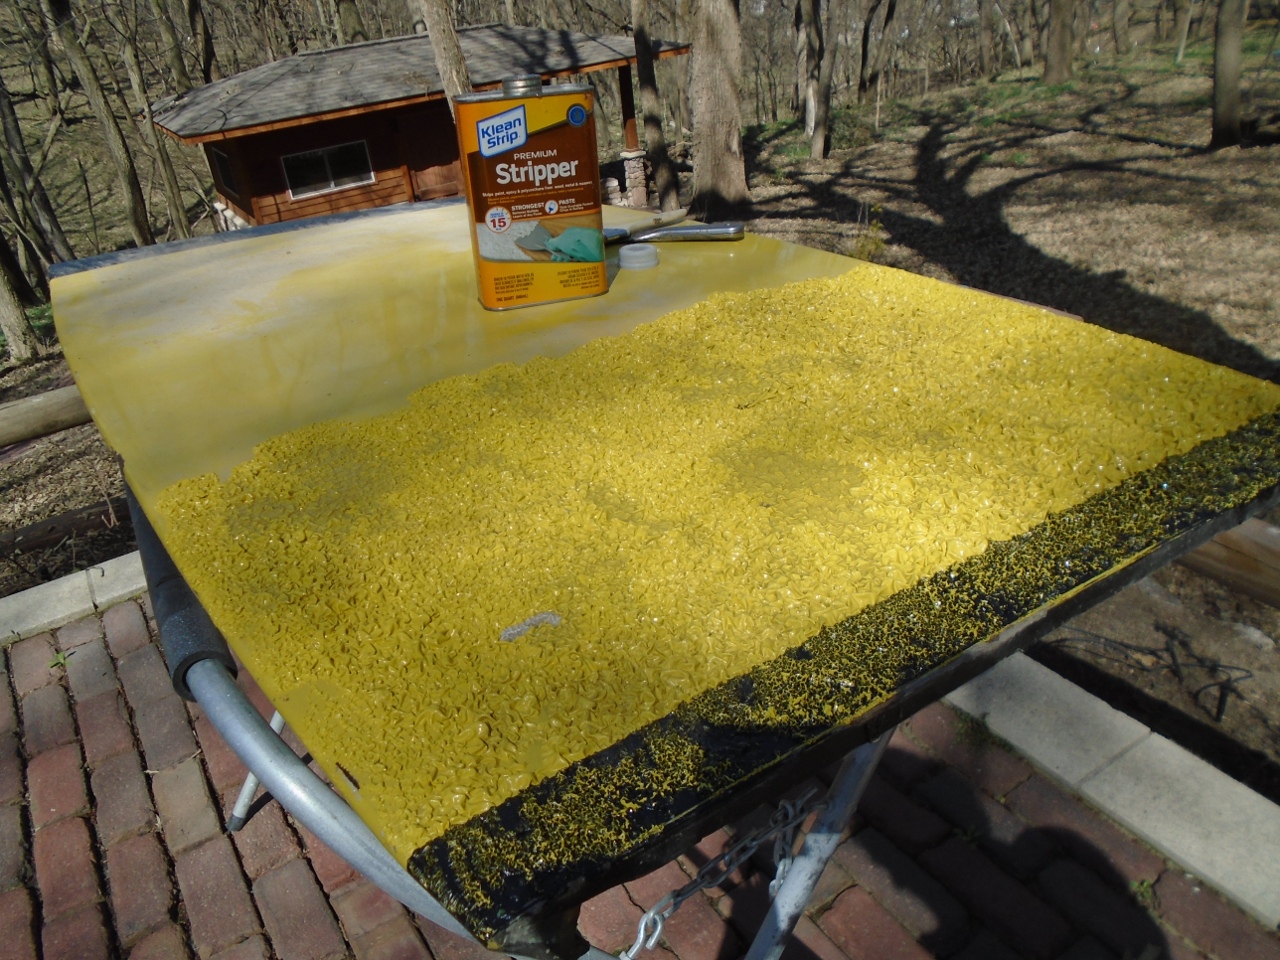
Two rounds of stripper got off nearly all the paint.
Then
a light sand blast cleaned up the rest. One has to be careful
with blasting on these nearly flat panels (I did the bonnet at the same
time). It is easy to get some distortion in areas that don't have
much shape to stabilize them. Still, I consider blasting just
about the best way to clean down to the metal surface, especially in
tight nooks and crannies.
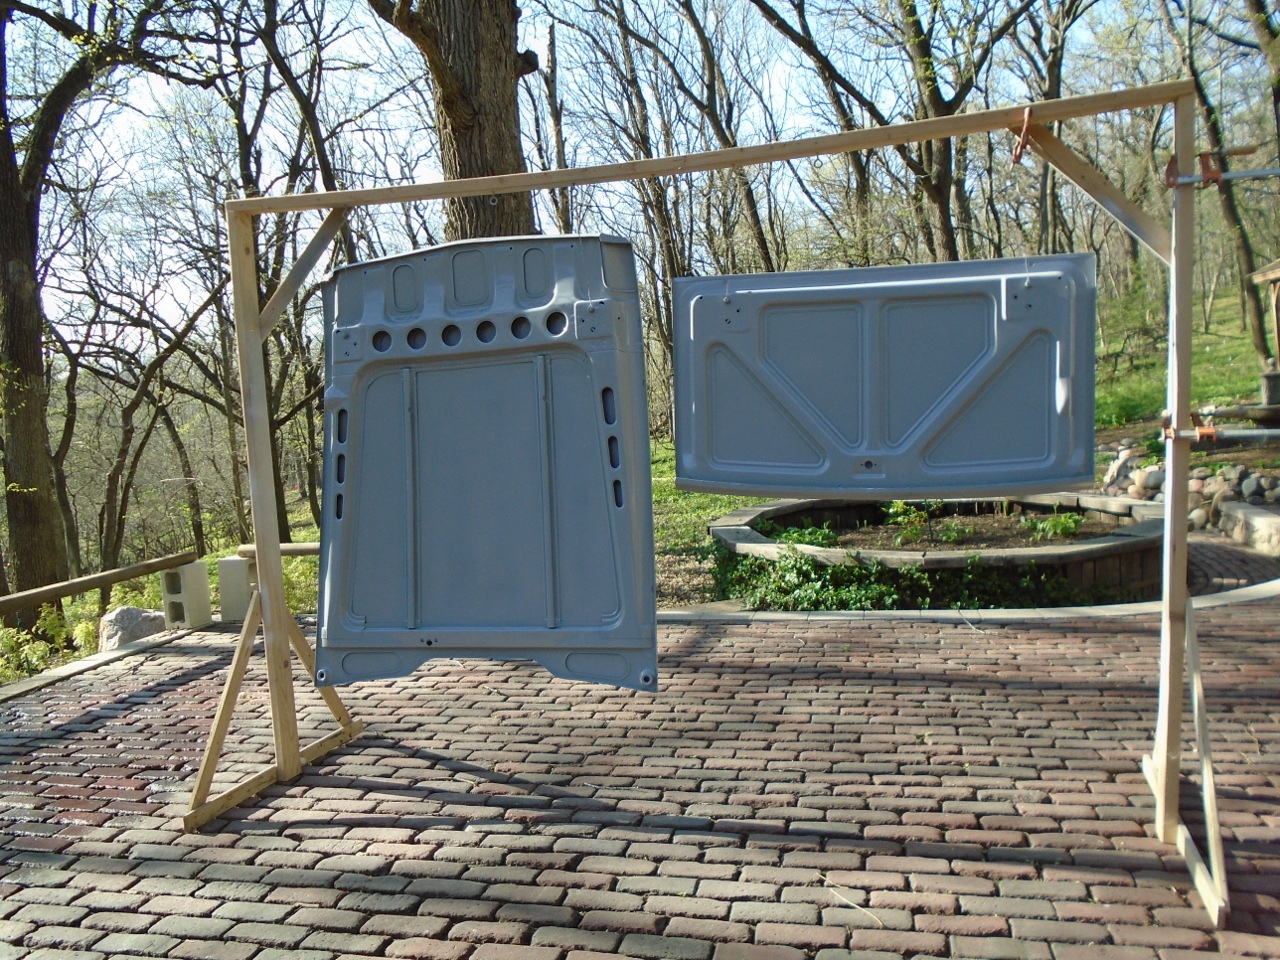
Then a couple of coats of gray epoxy primer to protect the panels from the elements.
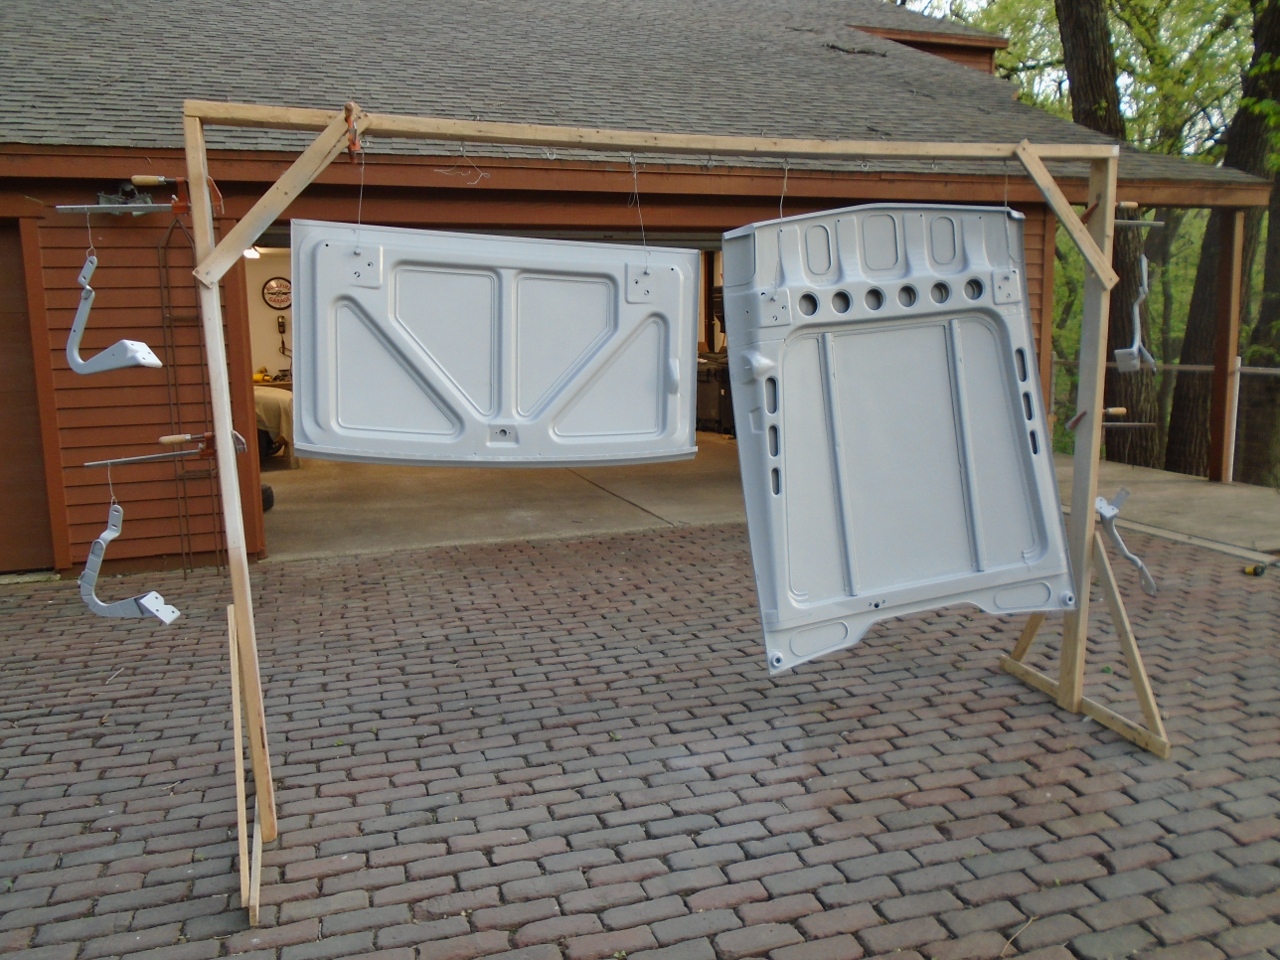
I
set the bonnet aside to concentrate on the boot lid. The small
edge dent proved to be part of some collision damage in the
center rear of the lid. It had been repaired fairly well,
considering the poor access to much of the backside of the panel.
I was able to improve the fix a little by using a stud welder and
slide hammer. In the end, it still took a little filler, but not
much. Apparently, I neglected to take any pictures of that repair.
But
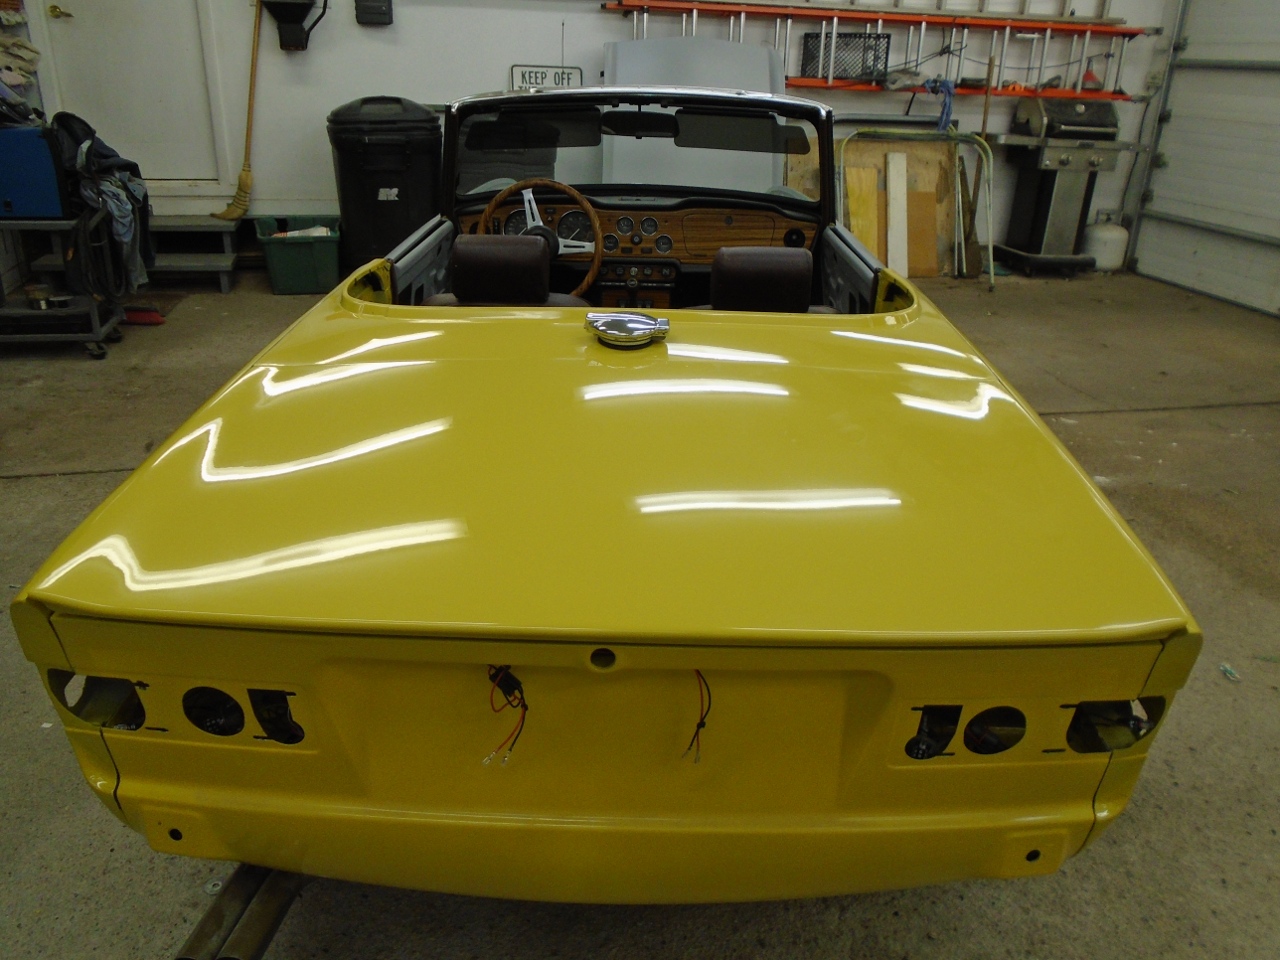
then, there was a bigger problem. I put the lid in place for a
test fit. I quickly found that something was not square.
I'm pretty certain that this had to do with the fact that I
replaced the rear valance. In a flash of clarity, I realized that
I should have had the fenders and boot lid in place before I welded in
the valance. When I placed the valance, it seemed to fit so
perfectly, I didn't anticipate any problems down the road.
It was a learning moment.
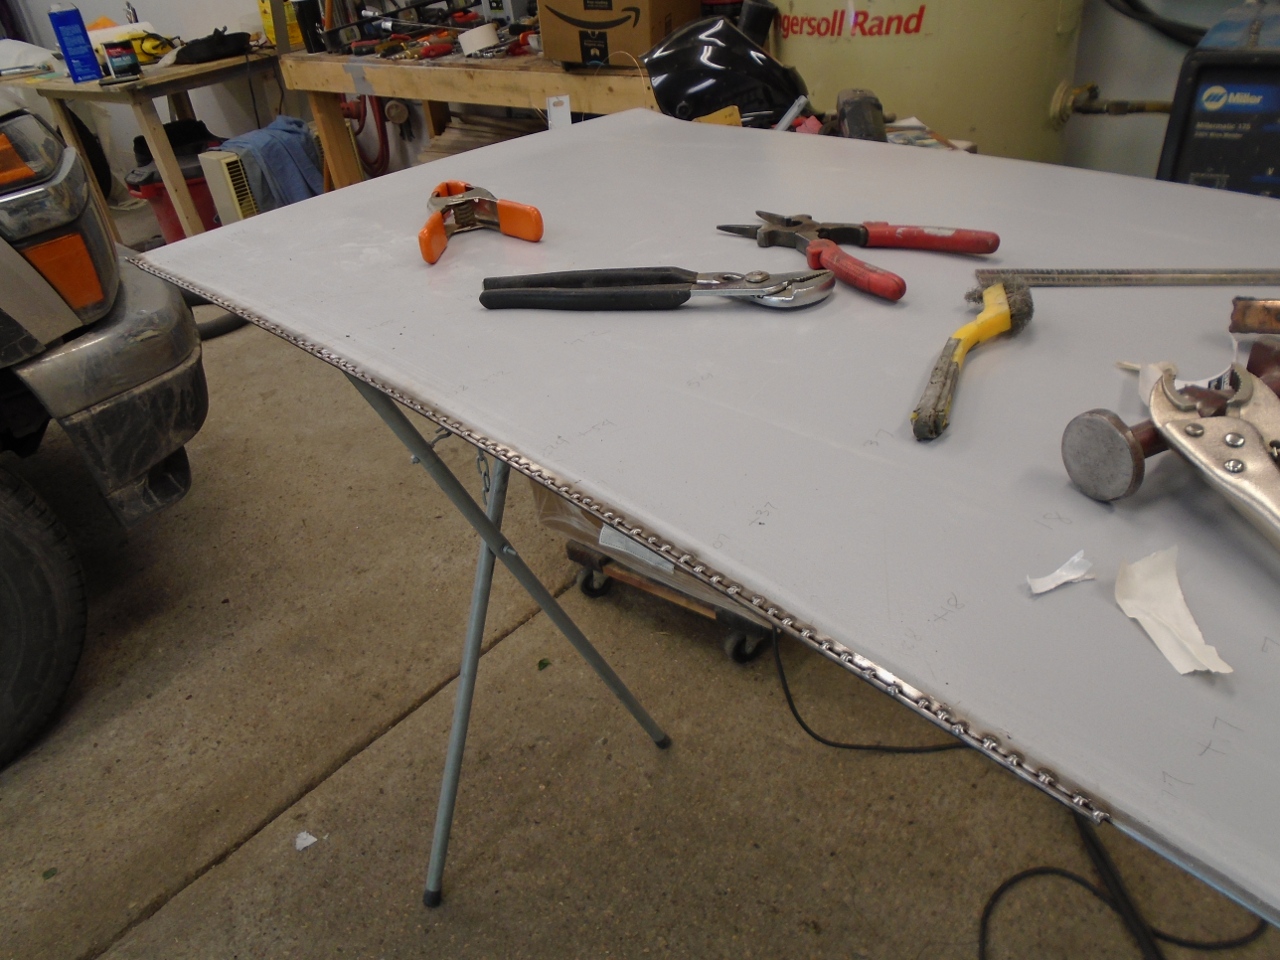
So
now, what to do? The unsquareness was only about 1/8 inch, but it
was obvious, and I couldn't hide it. Unwelding and adjusting the
valence was way down the list of possible options. In the end, I
decided to use the same technique I used to get some of the door gaps
more even. I welded 1/8" rods part way across the front and
the left edges of the panel, then ground them to a taper. This
was enough to get the fit pretty good.
When
I was satisfied with the fit, the panel got one more coat of epoxy
primer, then a few rounds of polyester surfacer and block sanding.
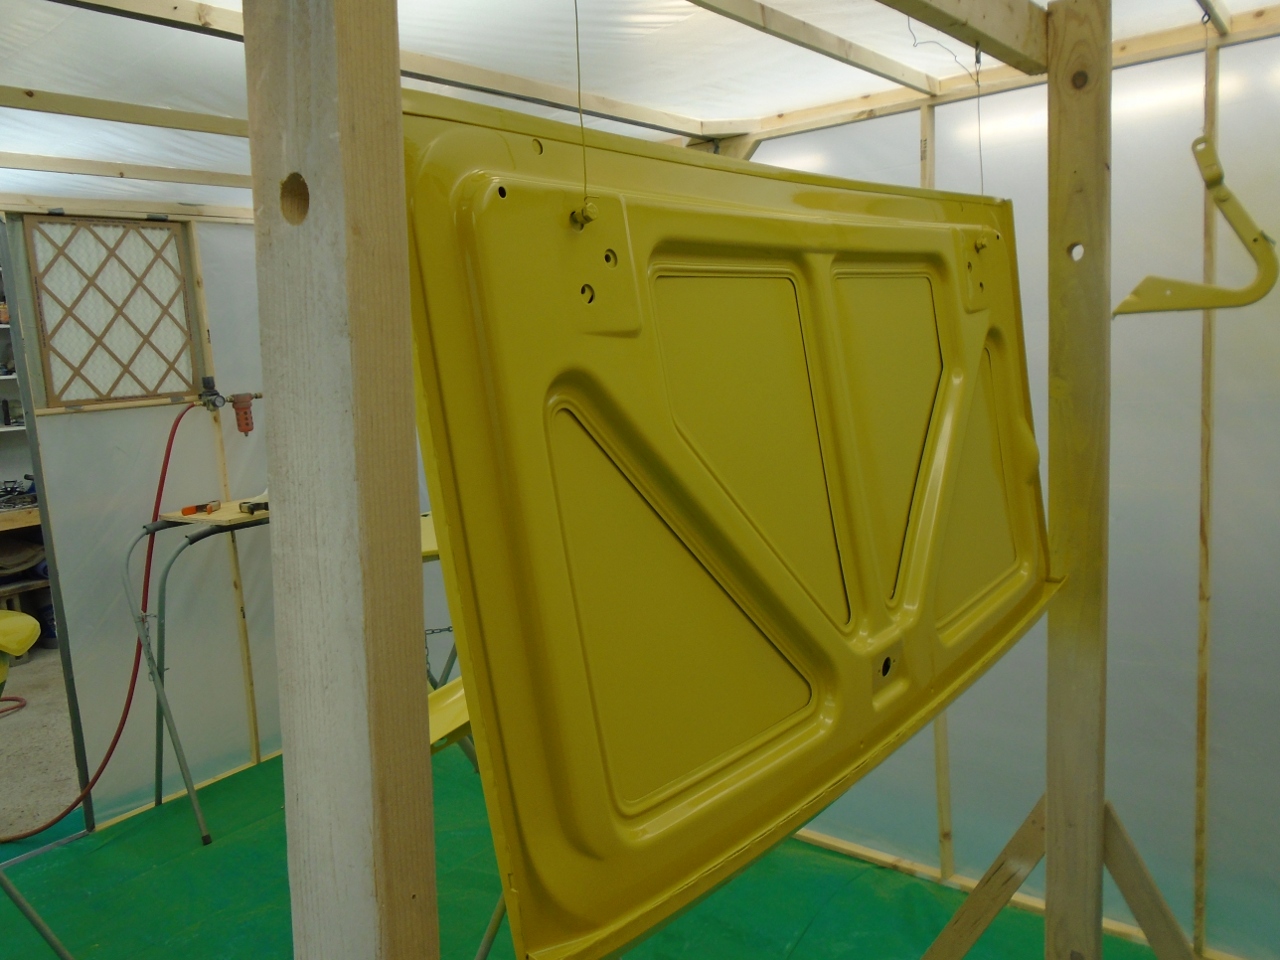
When the block sanding stopped showing low or high spots, I set
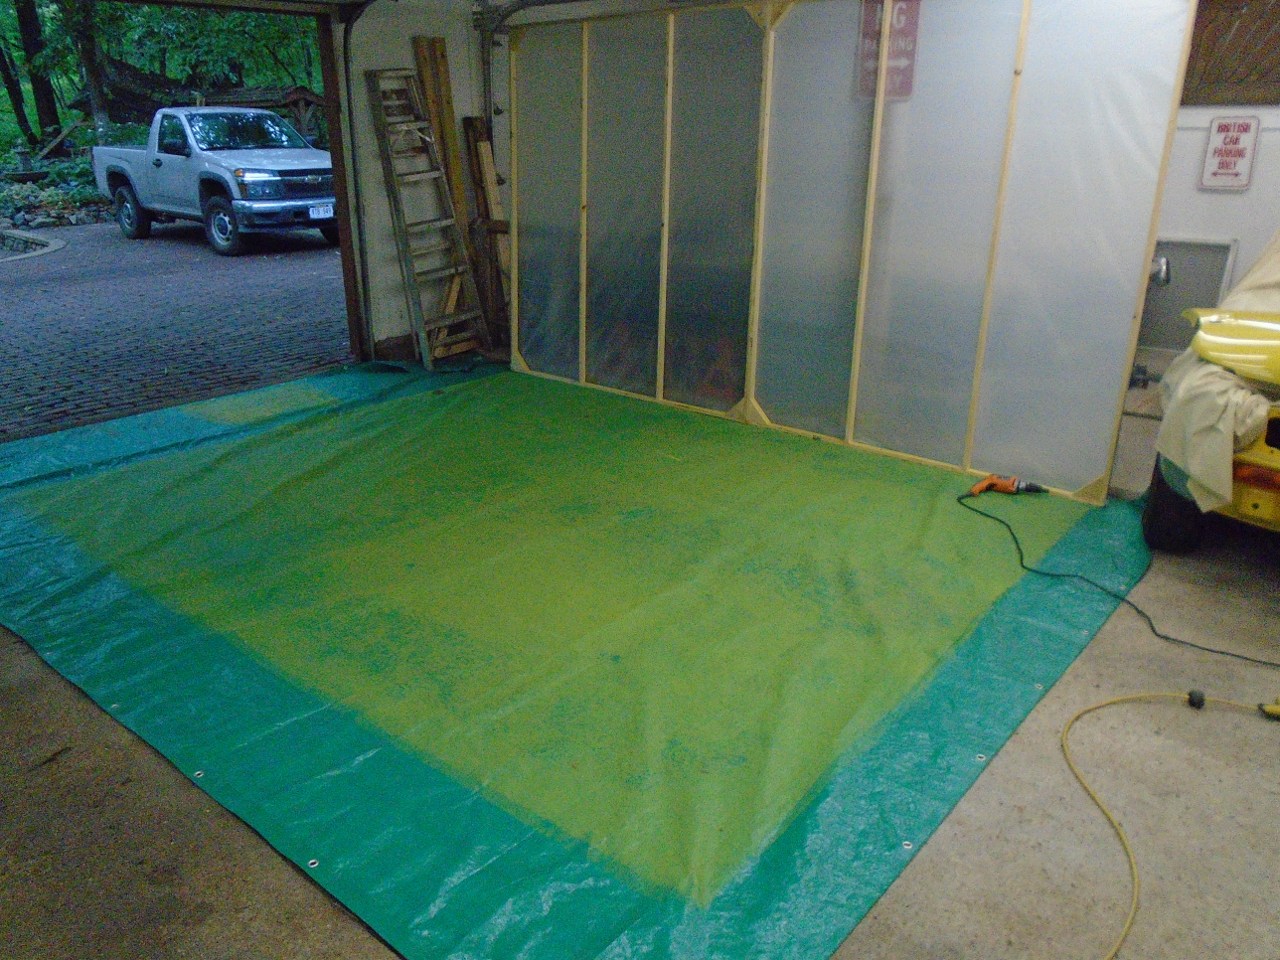
up the temporary spray booth and shot some color. Almost forgot
the hinges.
This is the overspray that would be on everything in the garage without the spray booth.
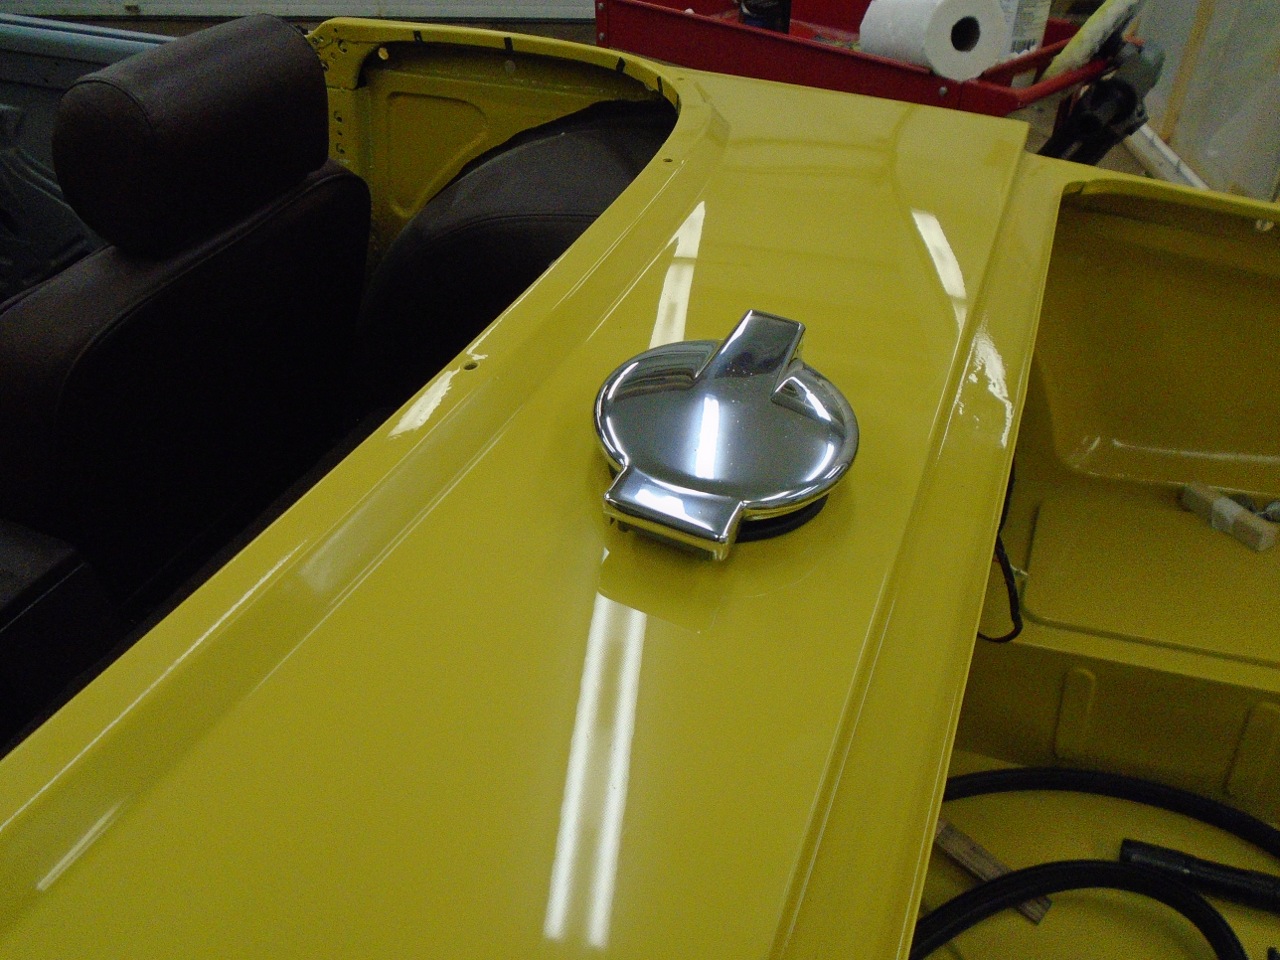
While waiting for the paint to cure, I installed the refreshed fuel filler.
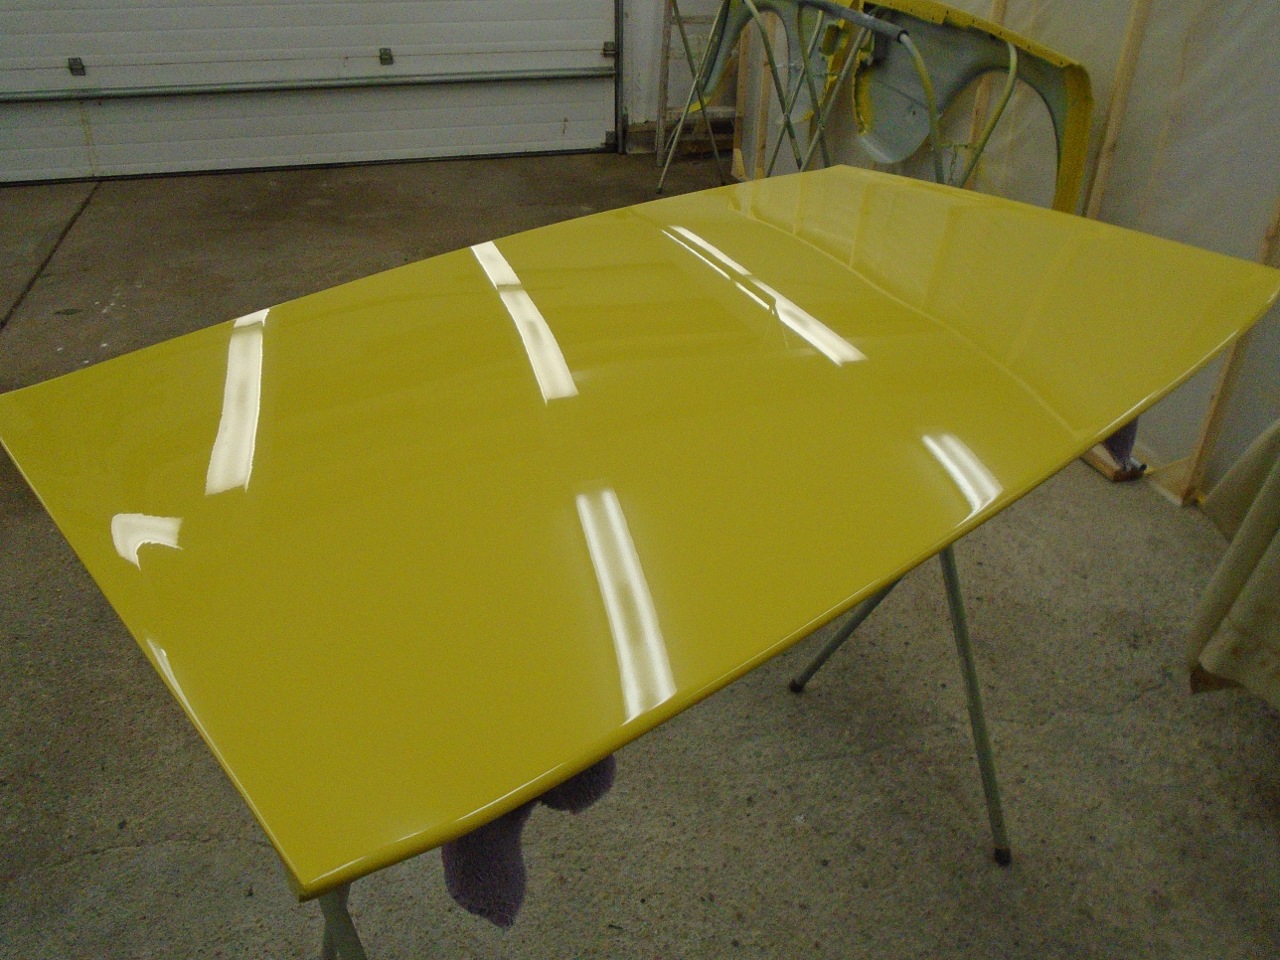
Then did some wet sanding and buffing. I would not call the result show quality, but it's not too bad.
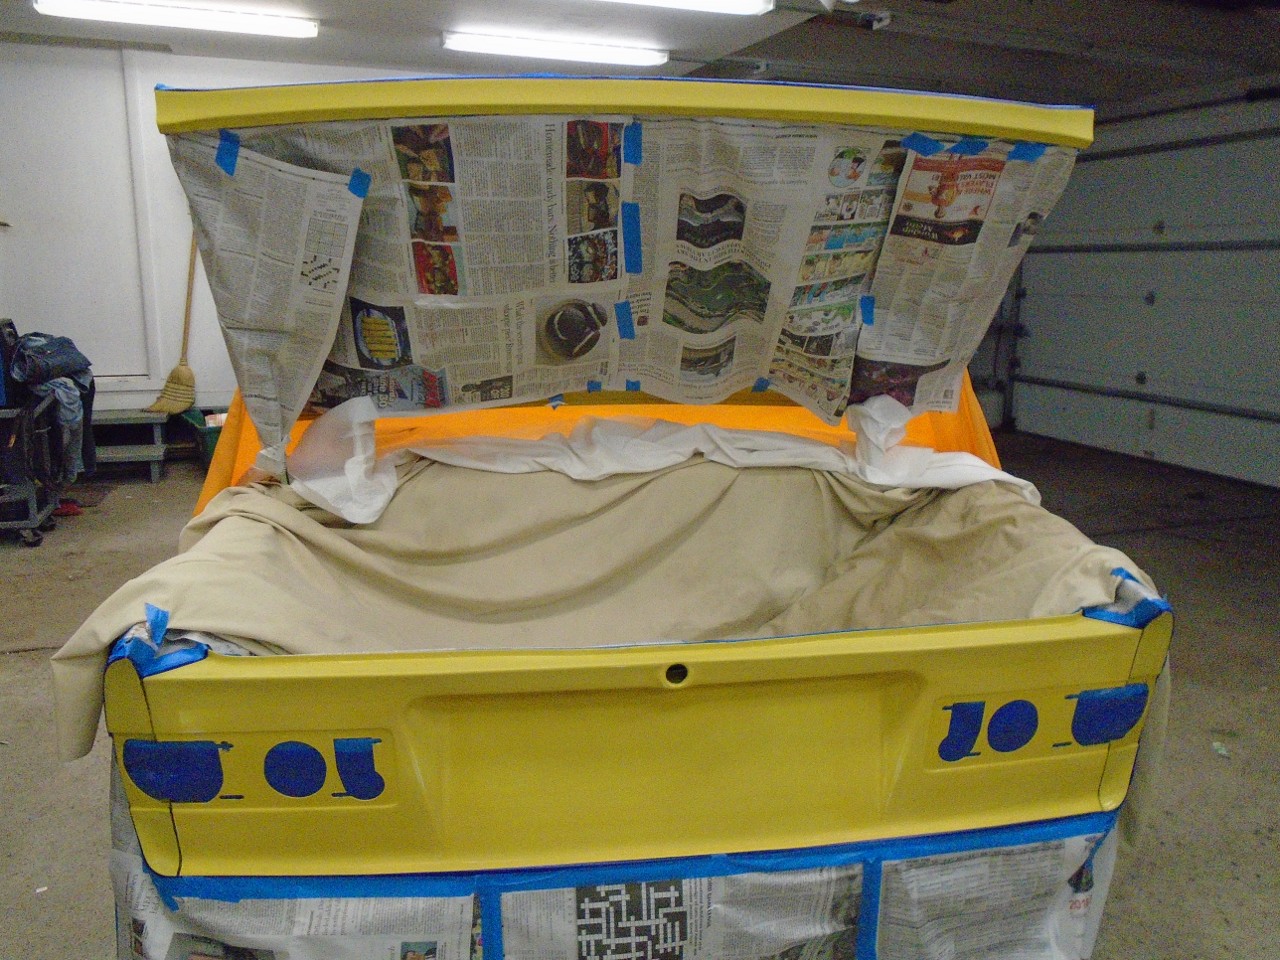
Getting ready to fit the boot lid, I masked the edges of the opening to protect them.
I
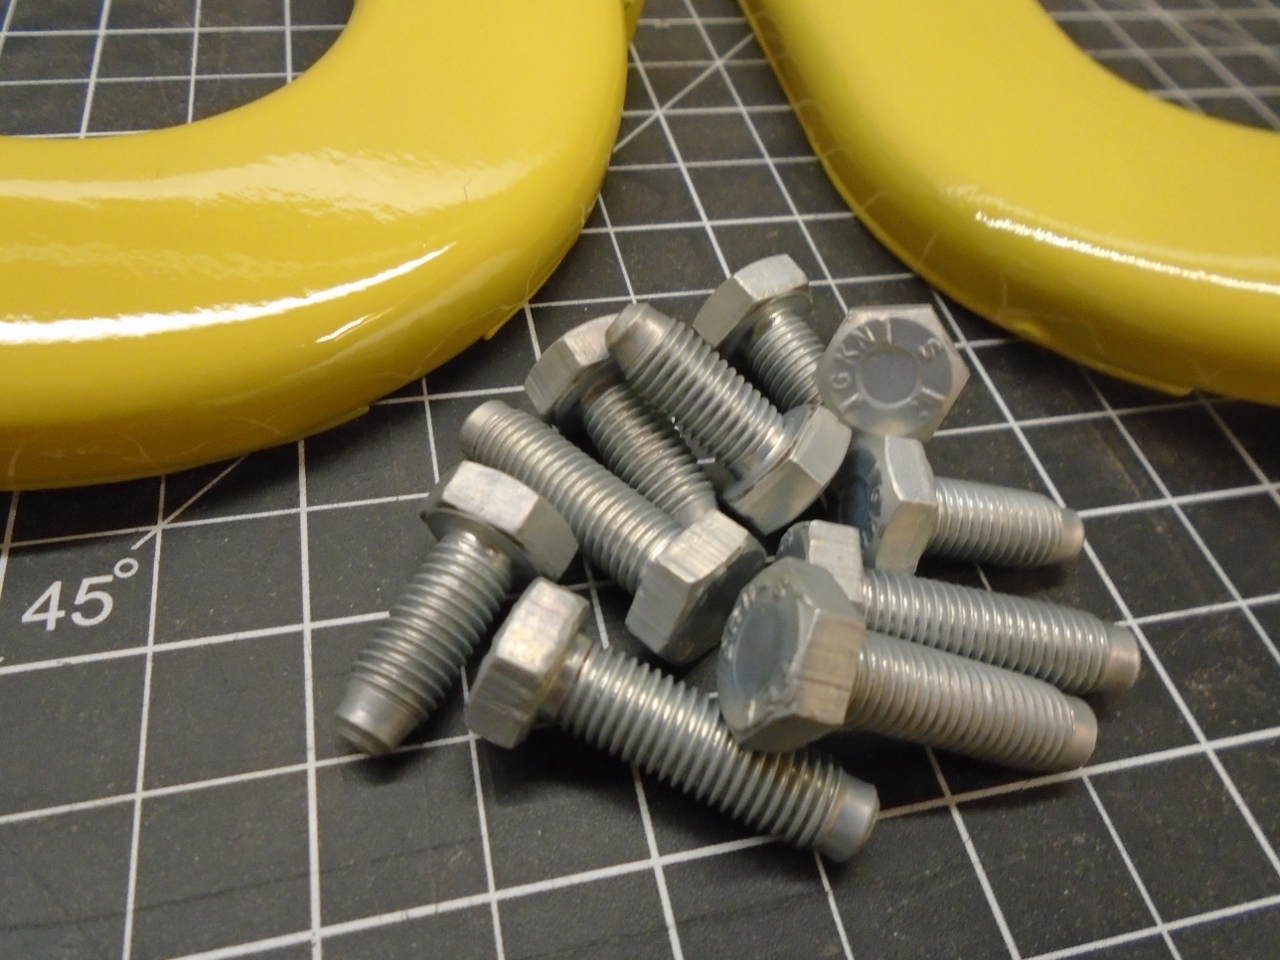
dug out the hinge hardware. It was in pretty good shape, so just
cleaned and replated it. Then mounted the hinges loosely to the
tub.
Since
I'm a solo act, I unfolded the shop crane to help with the lid.
It's just too awkward and heavy to place by hand with any finesse.
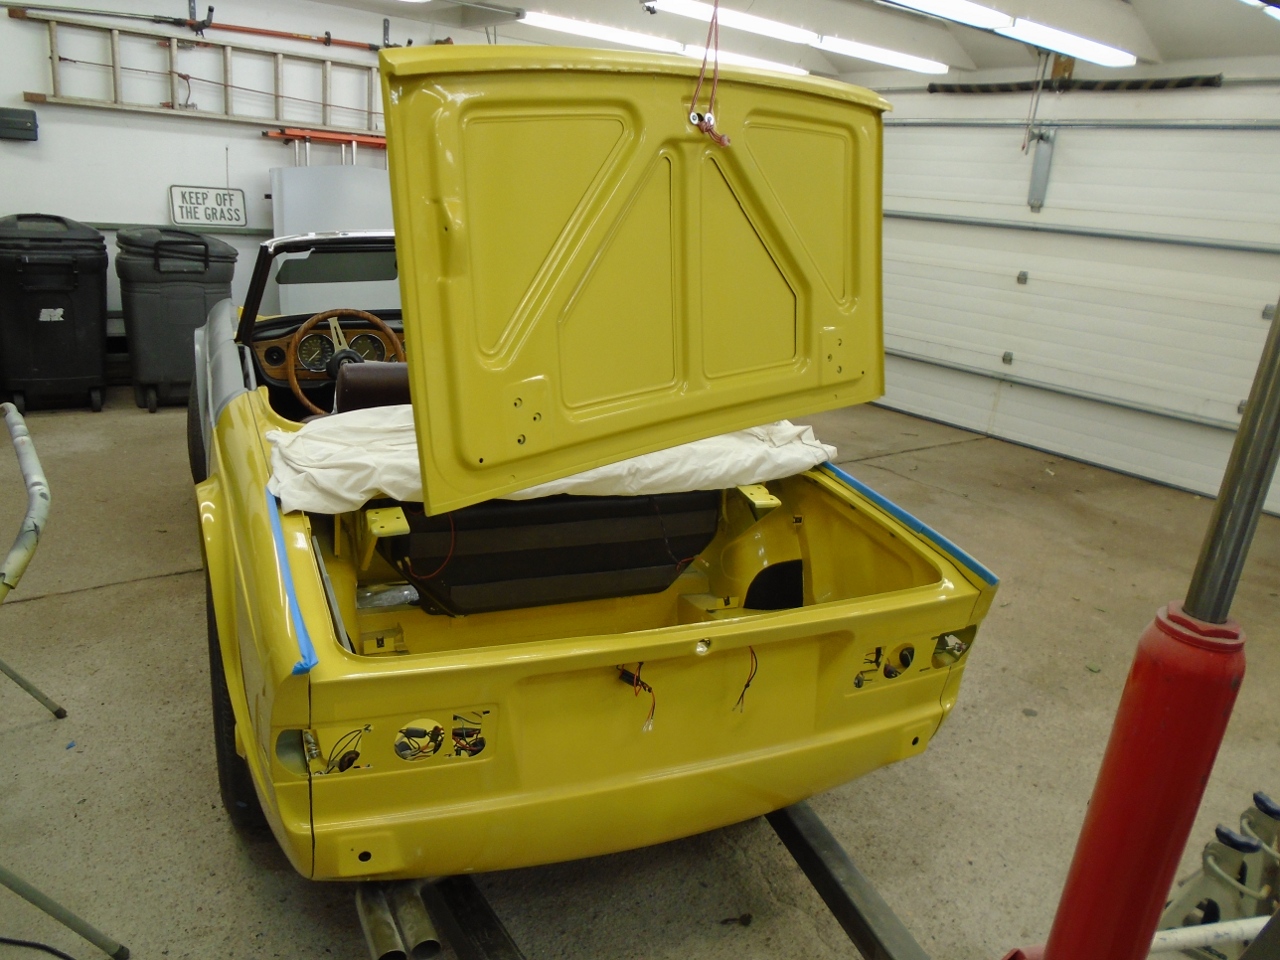
An hour or so adjusting alignement, and the gaps weren't too bad.
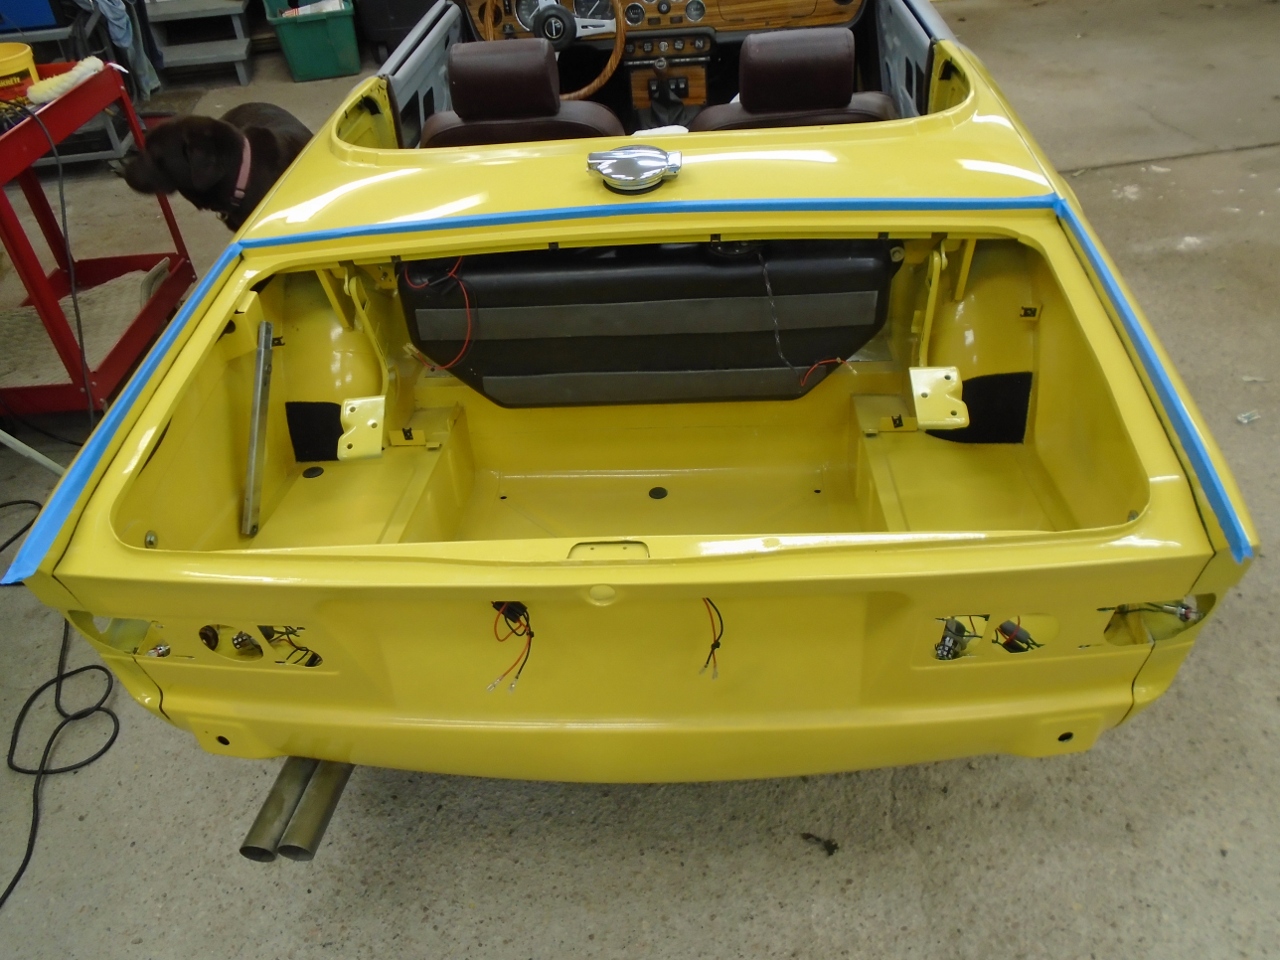
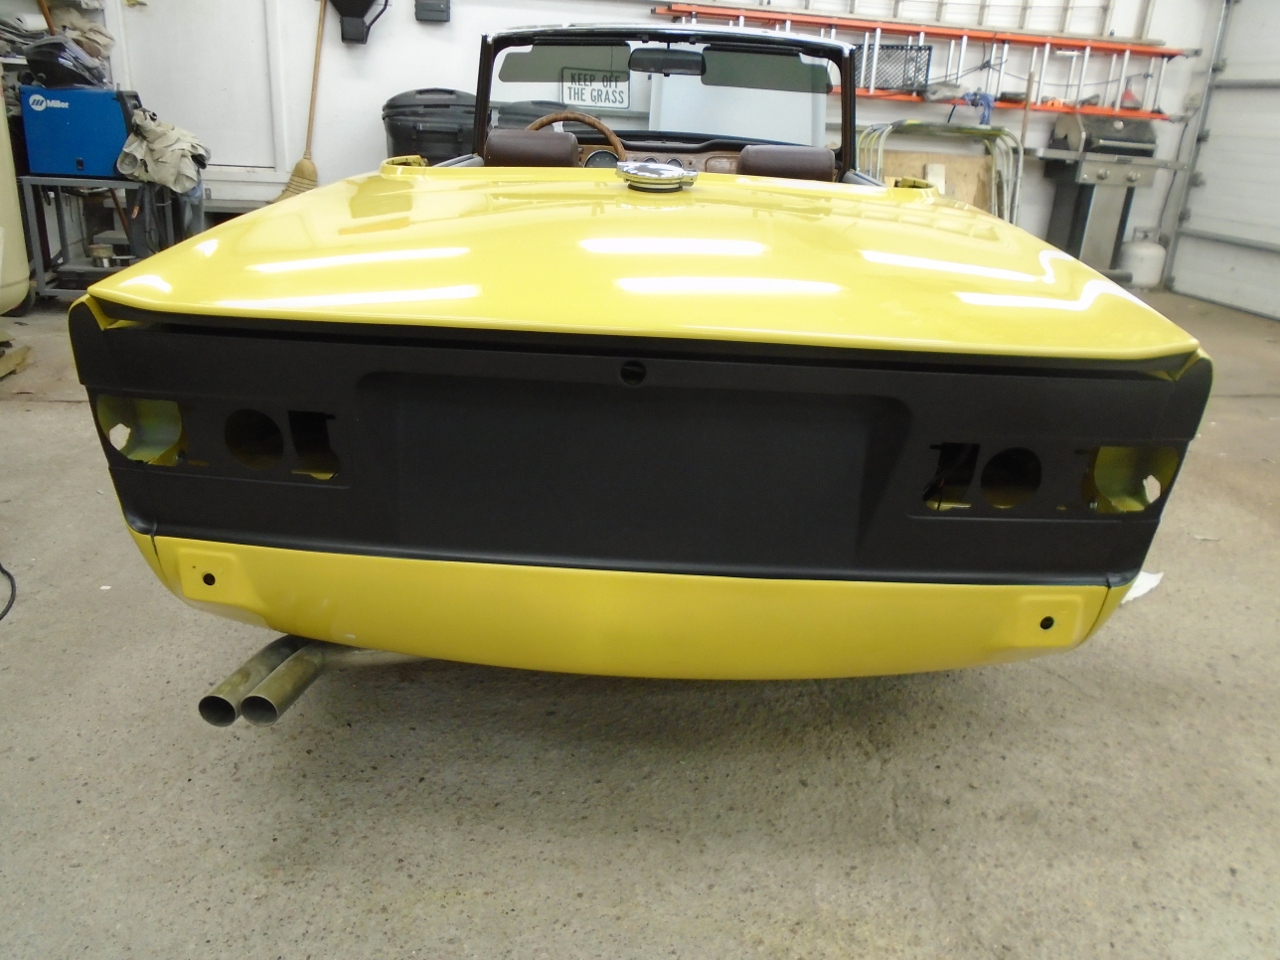
Something
I've been waiting a long time to do--painting the rear valance satin
black. It's one of the most iconic aspects of the TR6.
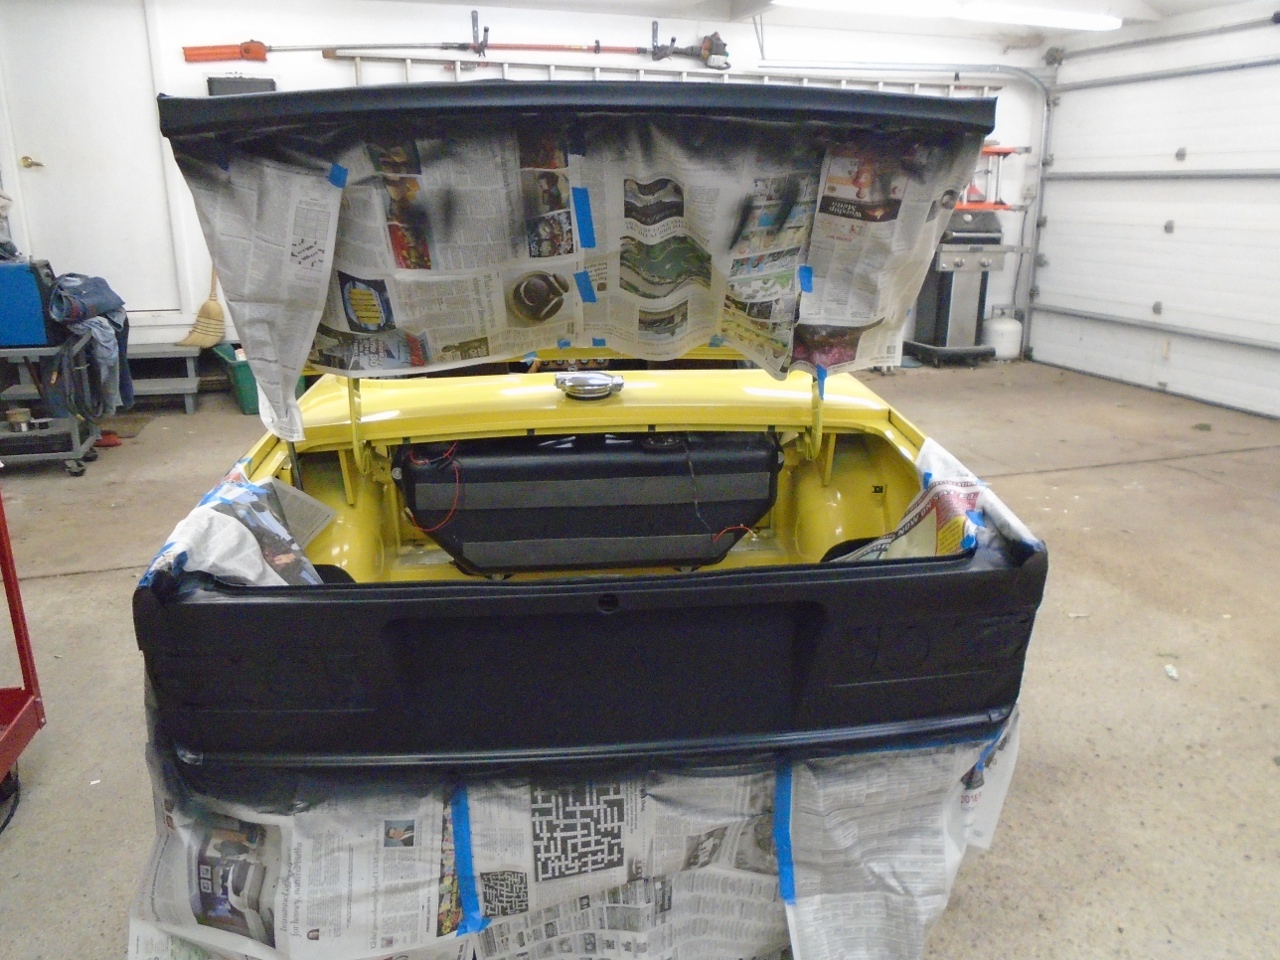
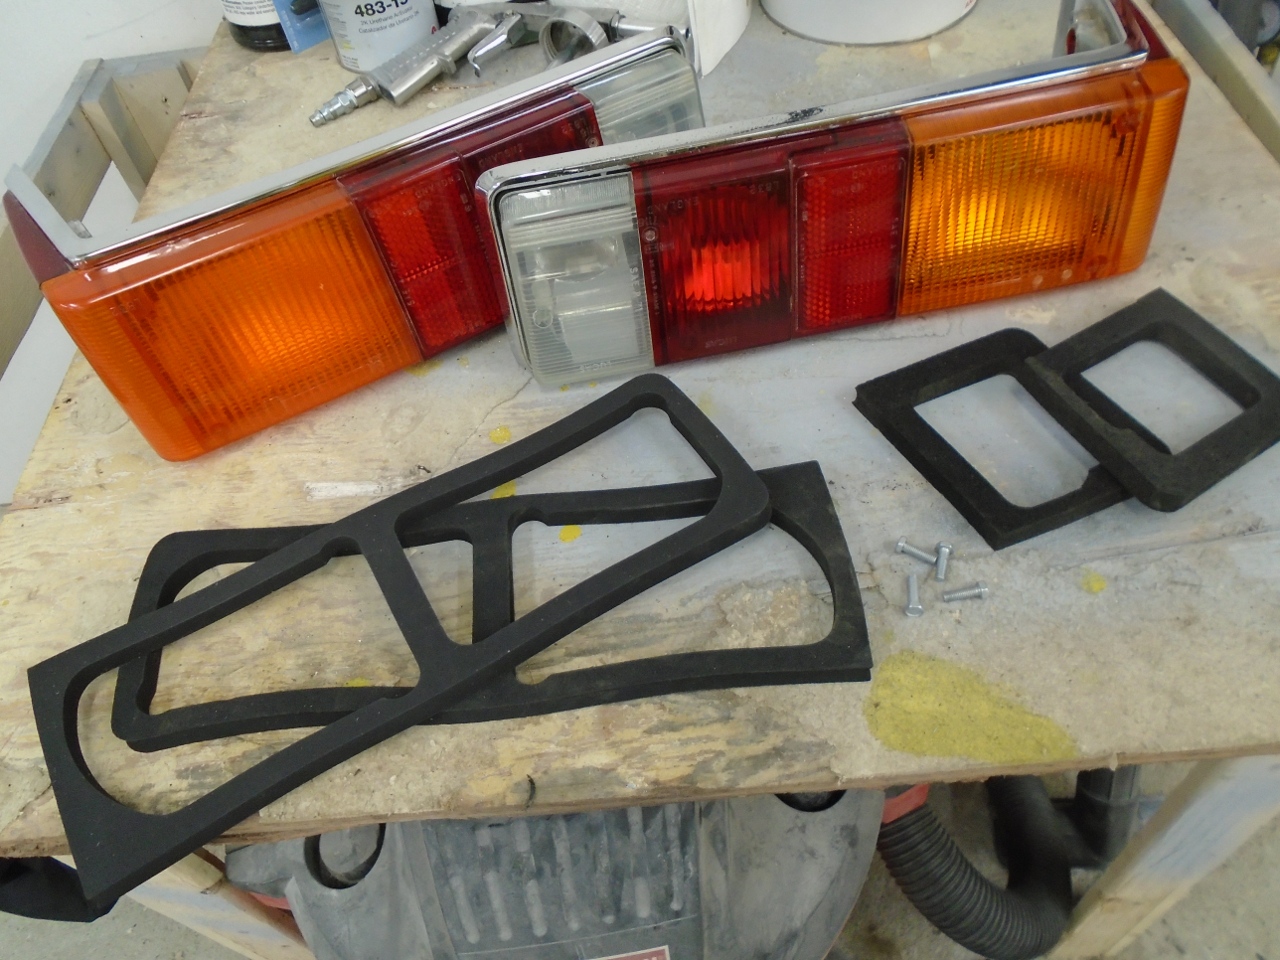
At this point, I couldn't see any reason not to mount the refurbed tail lights.
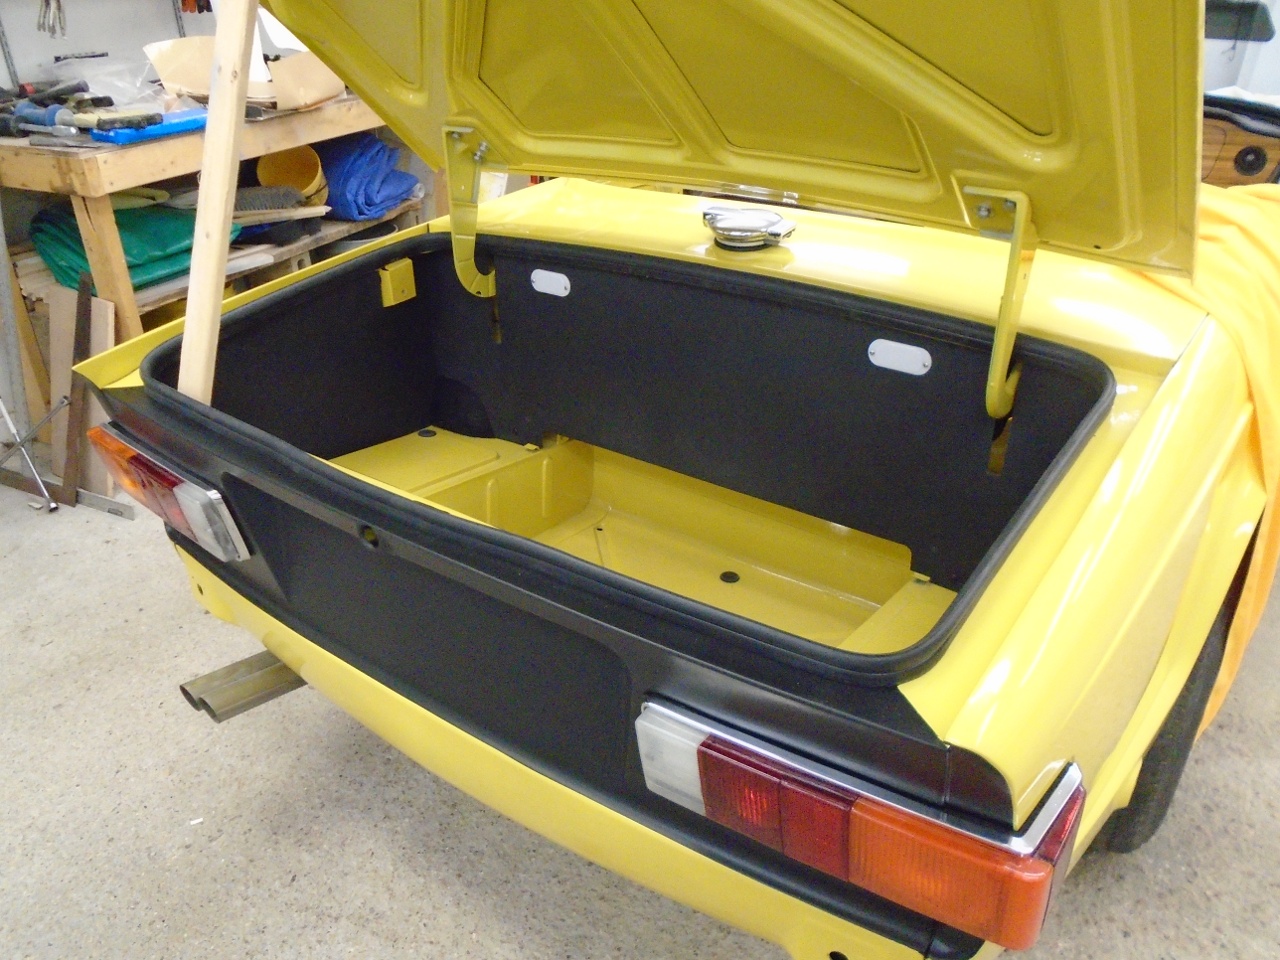
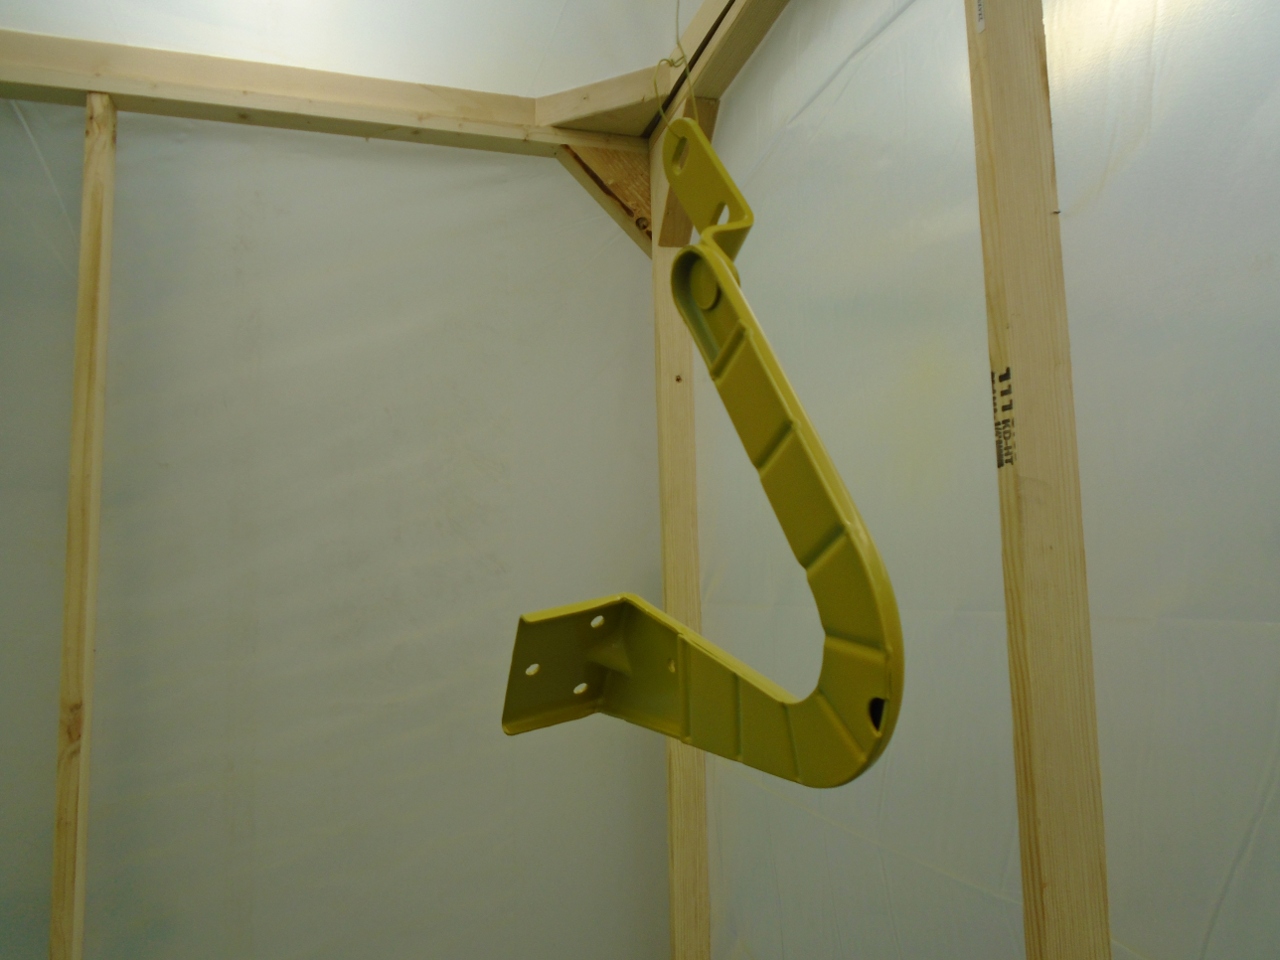
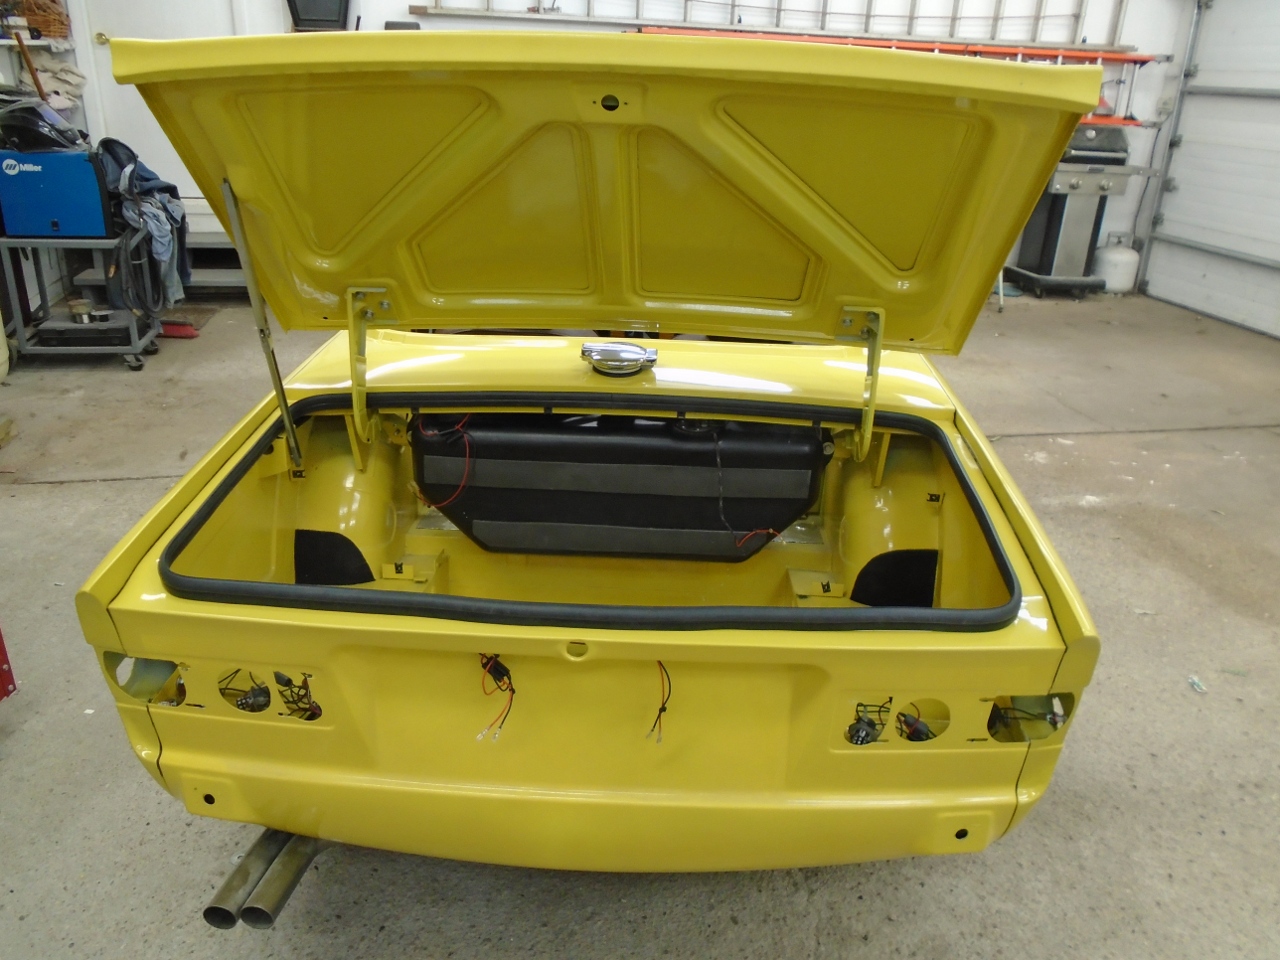
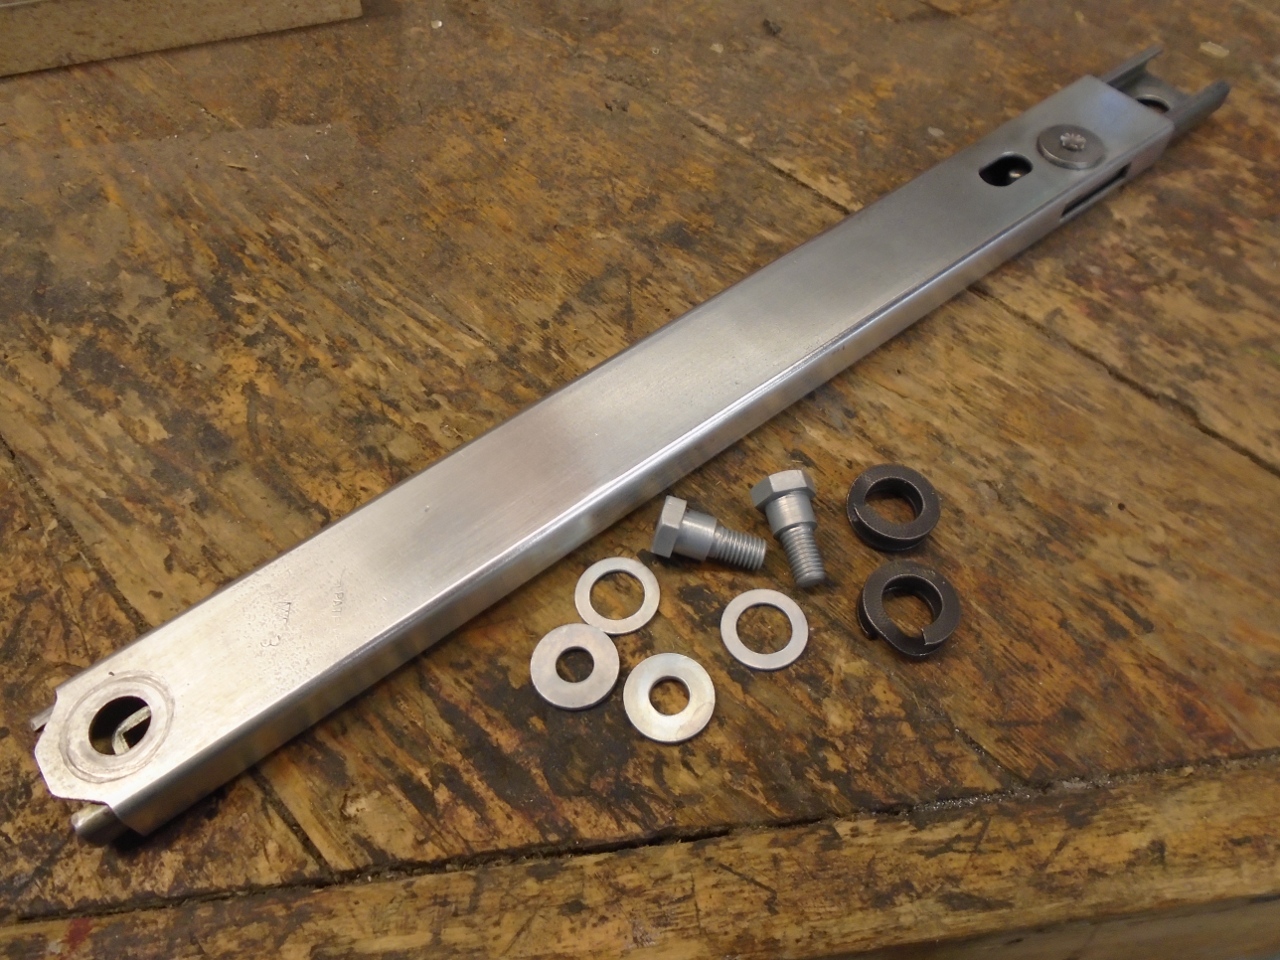
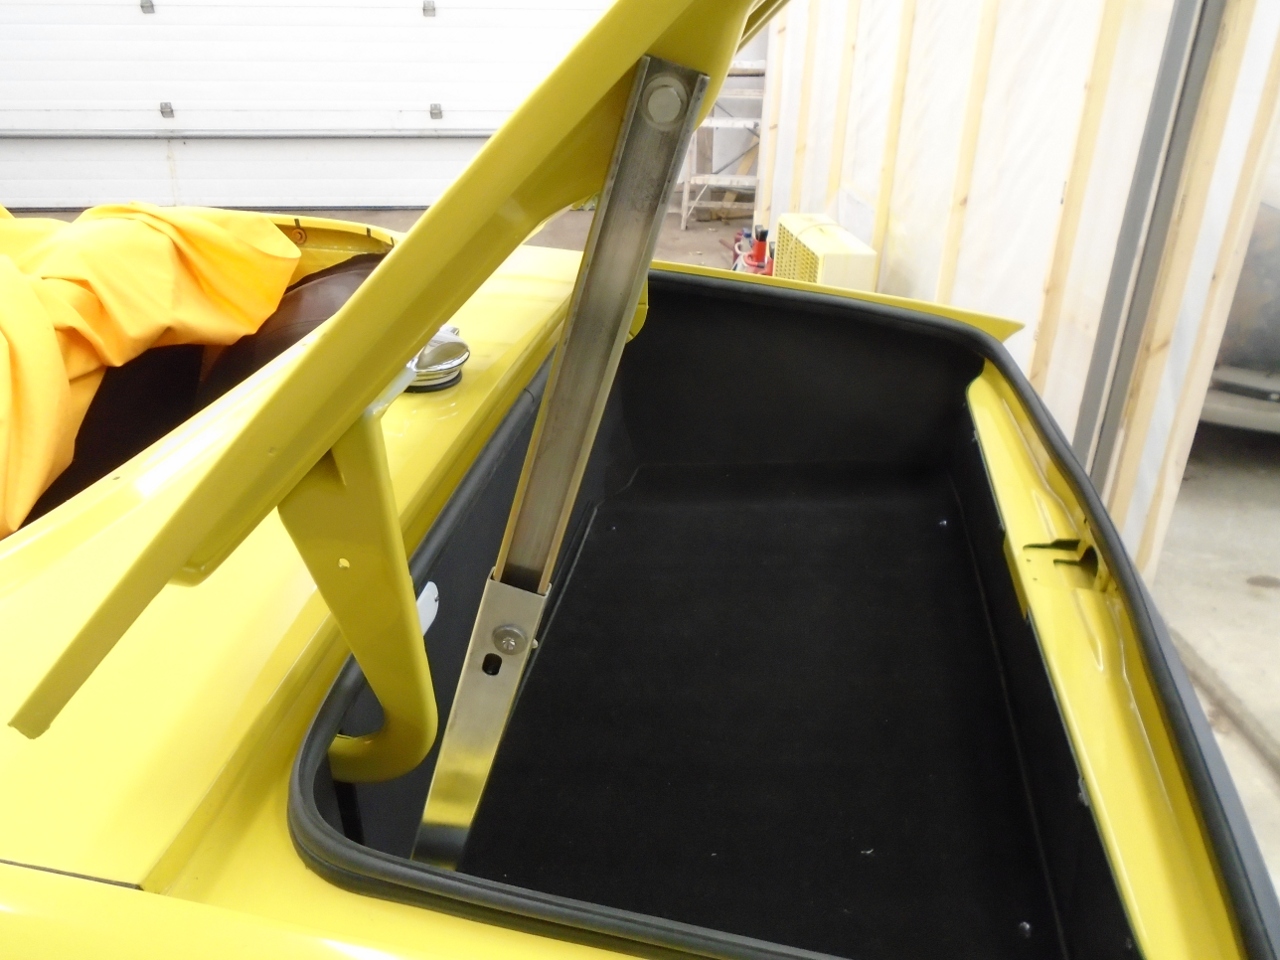
I thought I could improve on the lid stay I was using, so I found the original with its hardware and cleaned it up.
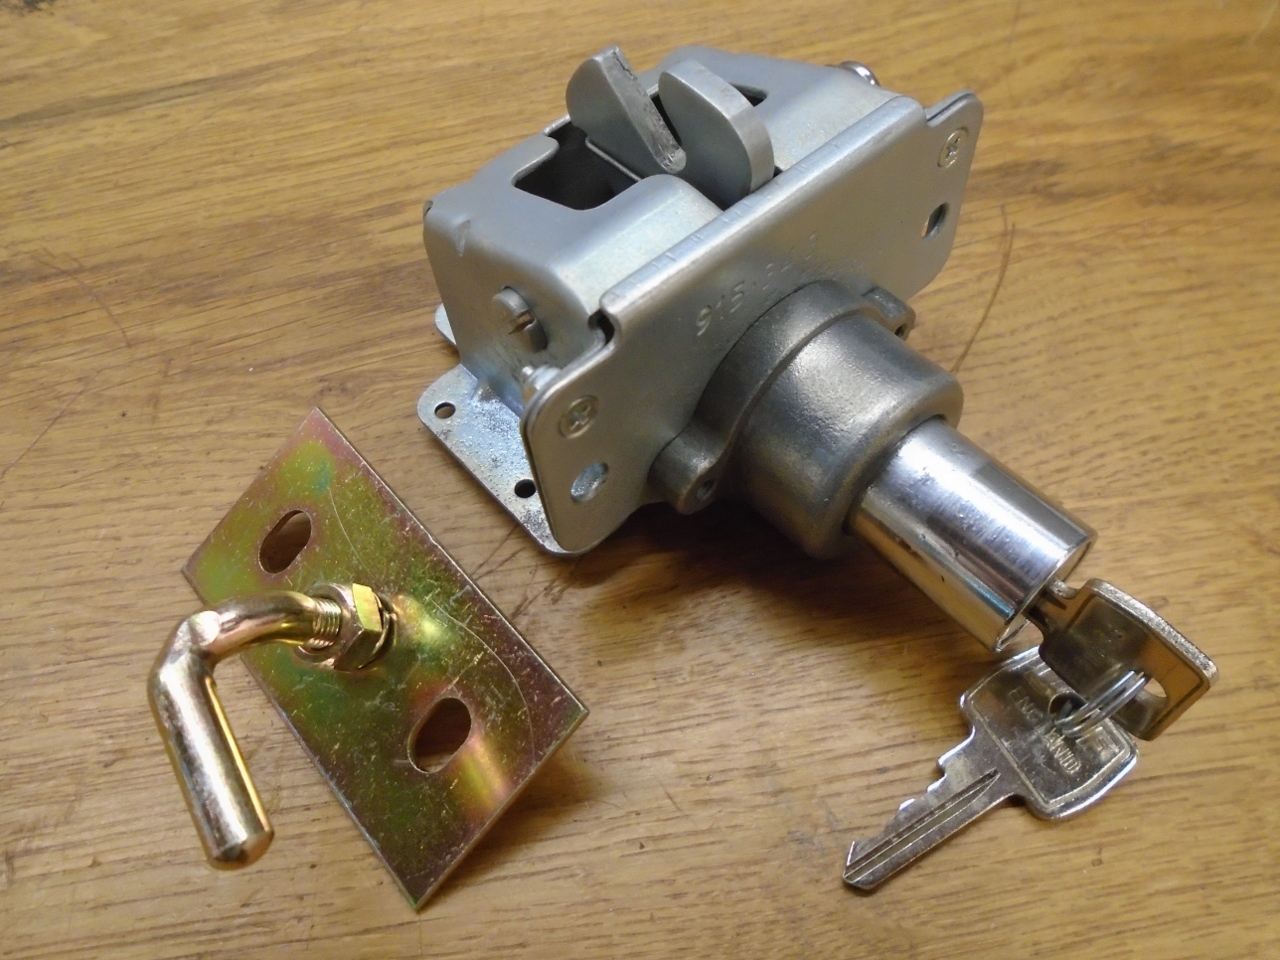
Then the rehabbed latch mechanism. The striker on the left was new. Somehow the original one went missing.

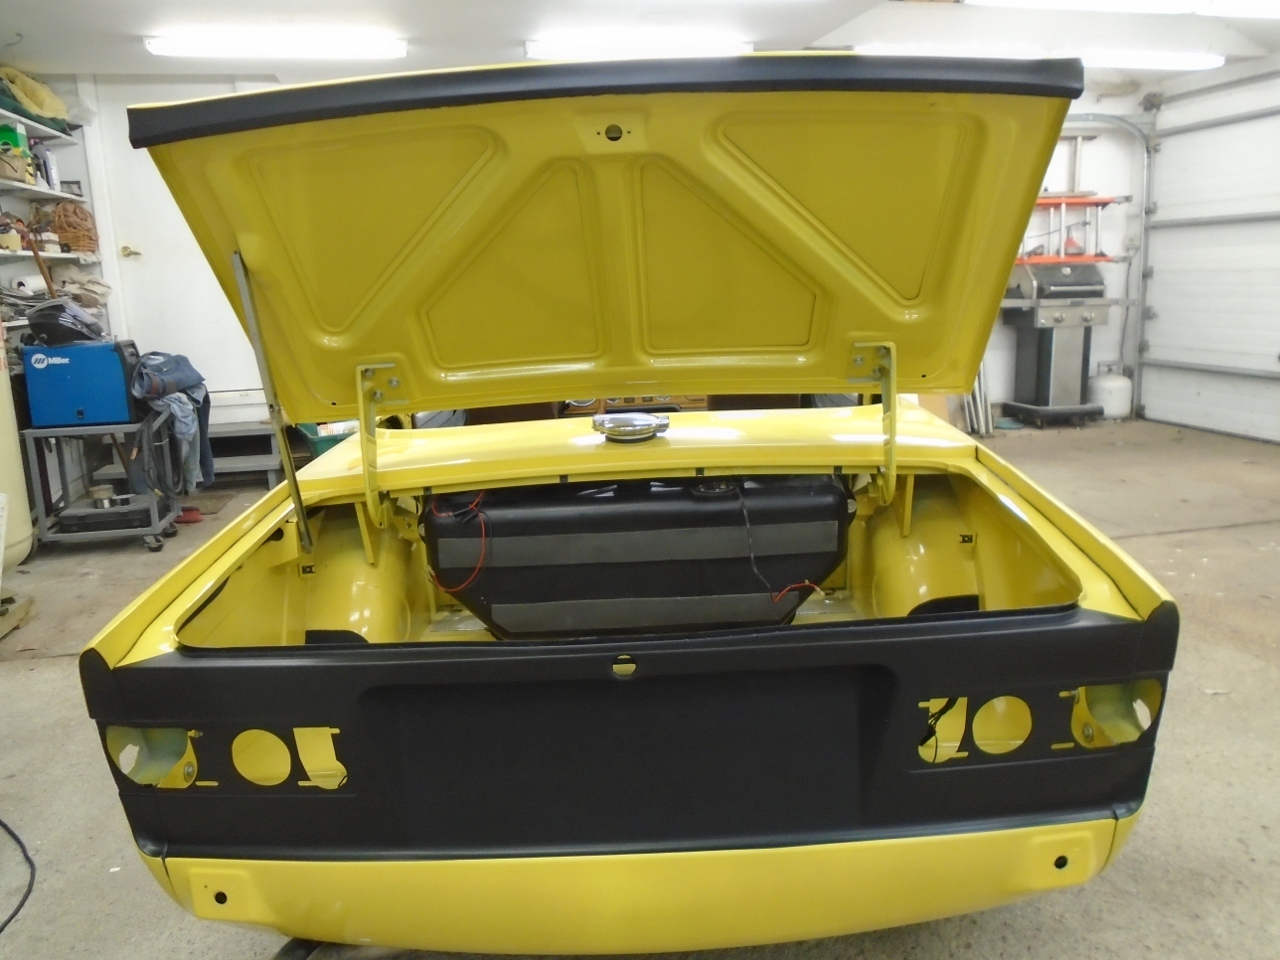
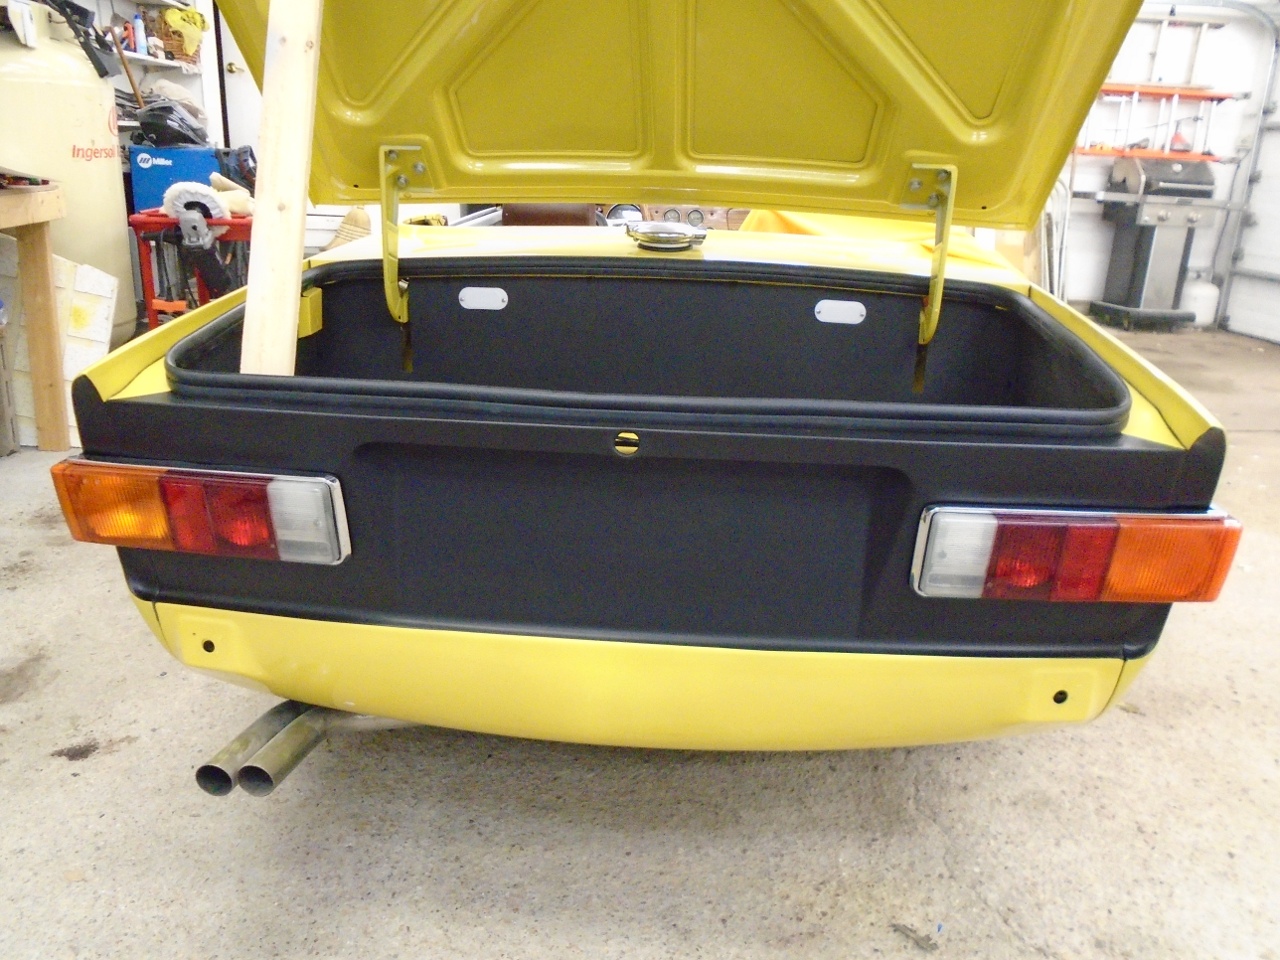
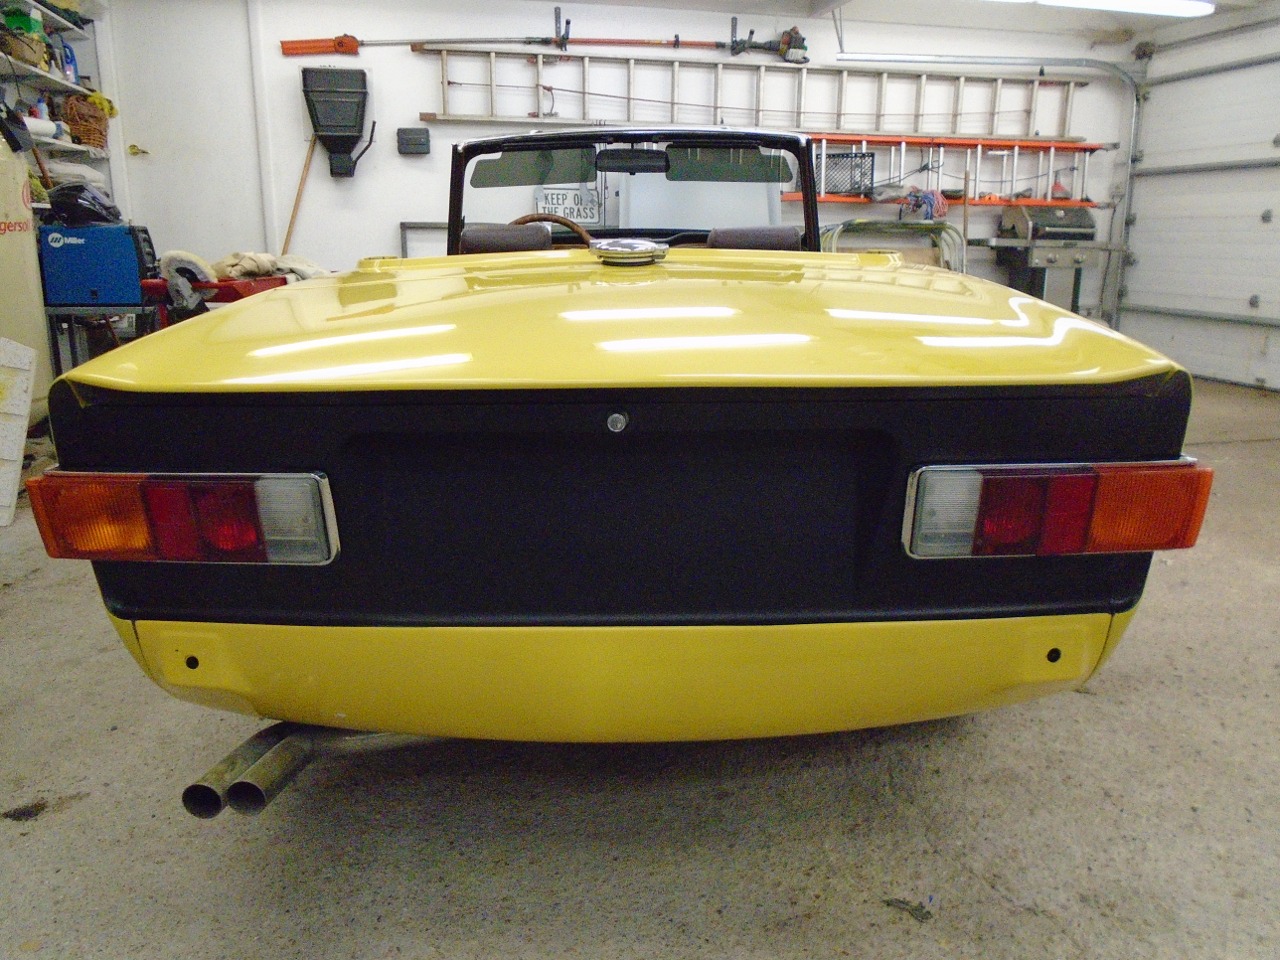
So
this is how th tail end looks today. It's not bad, but there are
still a few things. First, when closed, the lid isn't quite
aligned with the top edge of the wings at the rear. I've used up
all the adjustment in the striker and it still won't pull down far
enough. With the new boot seal strip it was worse. I had to
put the original seal back on to get this far. I'm still working on this.
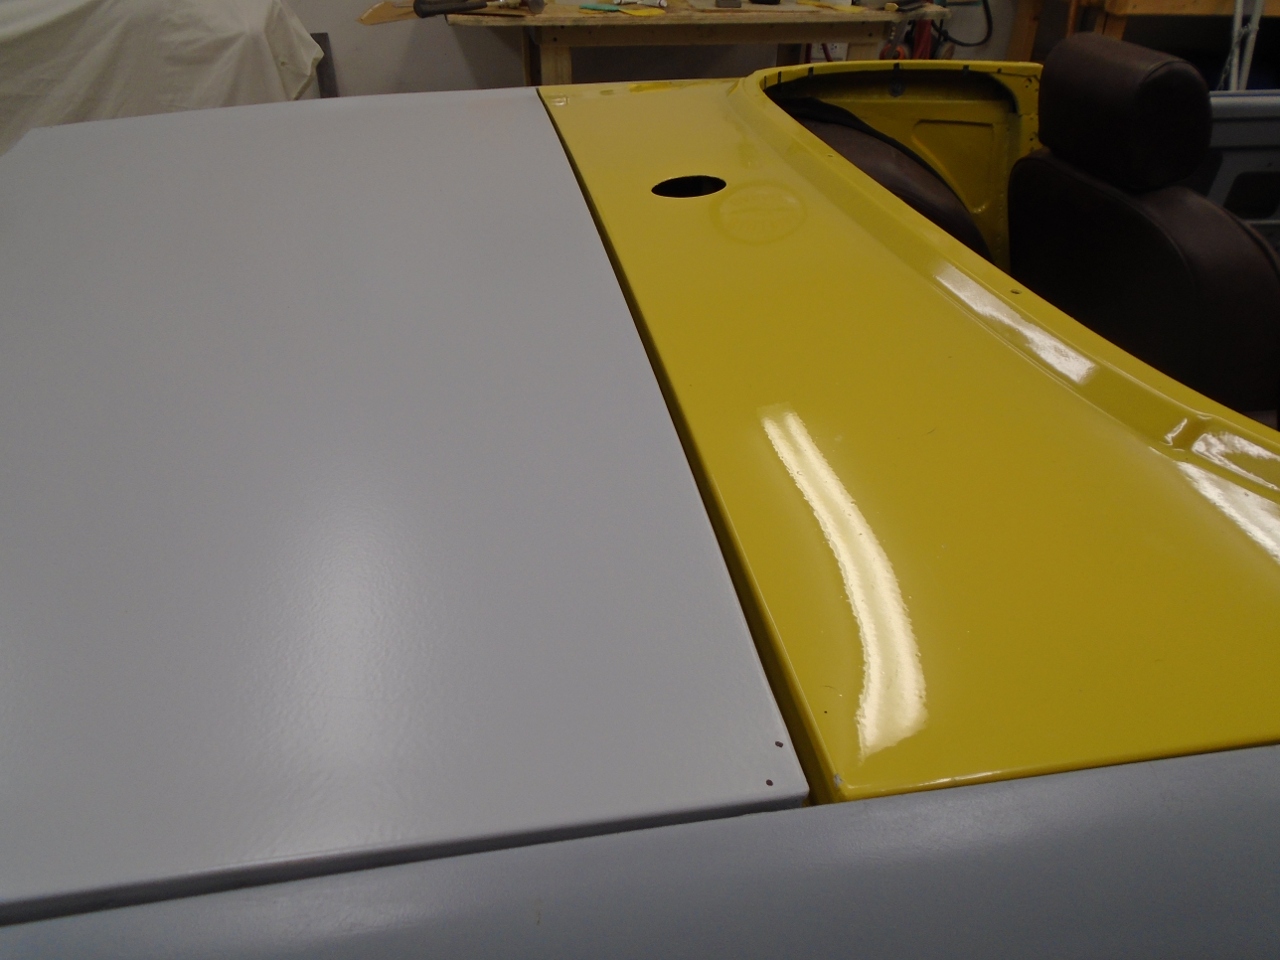
Second,
the paint pattern I used on the inside of the tail fins allows some
yellow to show in the joint from the rear. Yes, this is a trifle, but it's easy to fix.
It's been a long haul to this point, but the fresh look really has me excited.
Working on the bumper now, and ramping up to the doors.
Addendum, October 20, 2018
A few weeks ago, I finished the bonnet,
including making a set of those black foam pads that glue to the
underside. As I said in the bonnet article, I'm not convinced
about any heat or sound insulation benefits of the pads, but they look
cool. I had a some of the foam material left over from the
bonnet, and while waiting for some parts recently, I decided to try to
make a set of pads for the boot lid. A cursory look online didn't
turn up anyone selling them.
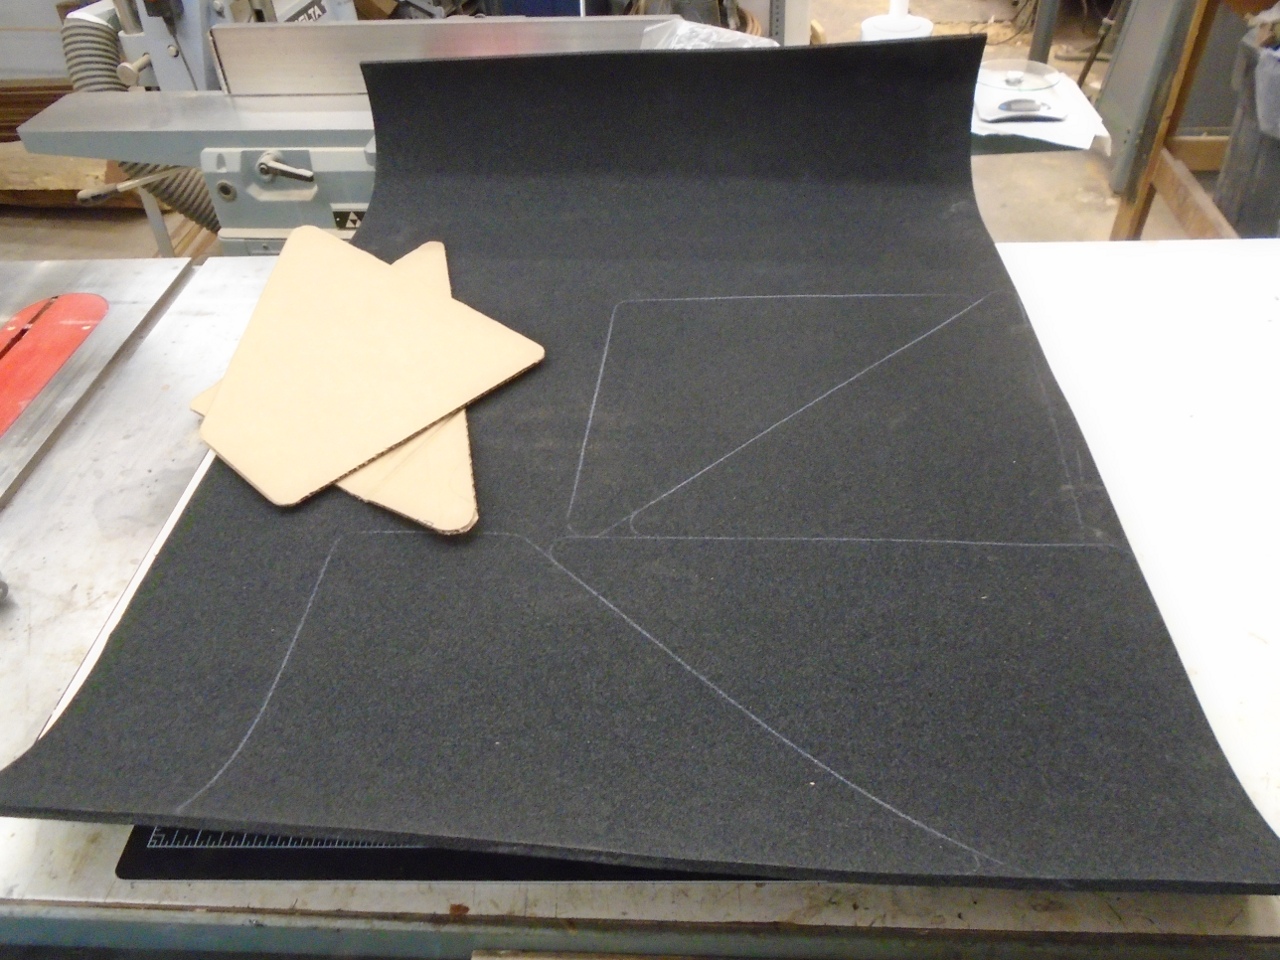
Same process as for the bonnet. Start with some cardboard templates, then transfer to the foam and cut them out.
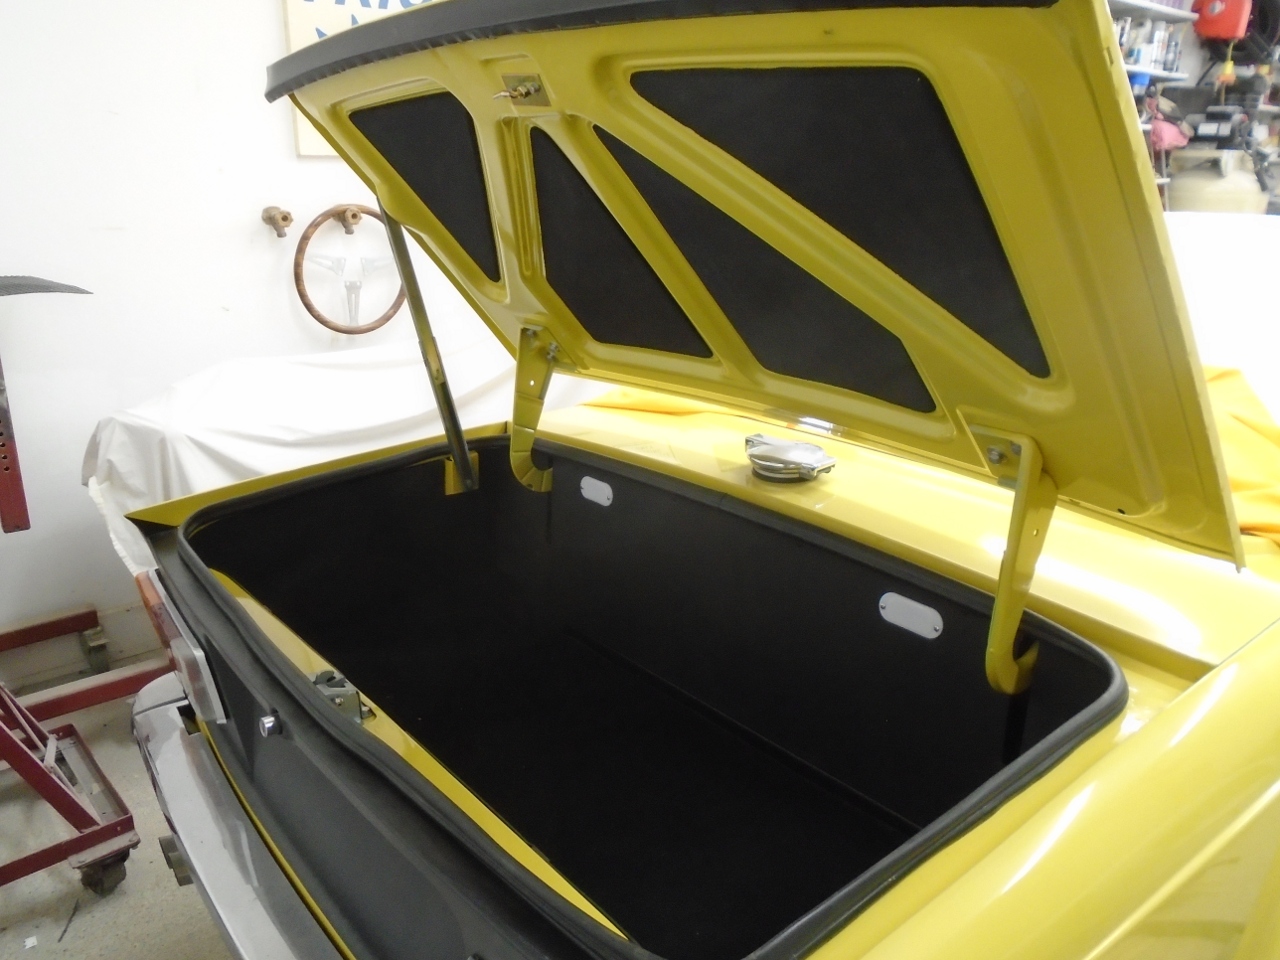
Then
glue them to the underside of the boot lid. This would have been
a lot easier with the lid laying on the bench, but I didn't really want
to remove it. I think I like it.
Comments to Ed at elhollin1@yahoo.com
To my other TR6 pages