To my other TR6 pages
March 6, 2017
Boot Latch
[Click the pics for a larger view]
The
TR6 boot latch assembly is pretty typical of automotive door and trunk
latches. The latch is mounted to the body at the rear of the boot
opening. When the boot lid is closed, a striker arm on the boot
lid engages a catch on the latch, which rotates and captures the
striker. The catch is held in this rotated position by a release
plate in the latch. When the release button is pushed, the
release plate frees up the catch, which releases the striker.
There is a lock mechanism in the release button that keeps
it from pushing the release plate when the boot is locked.
My latch was dirty and corroded. It worked, but was a little sticky. I couldn't find the key.

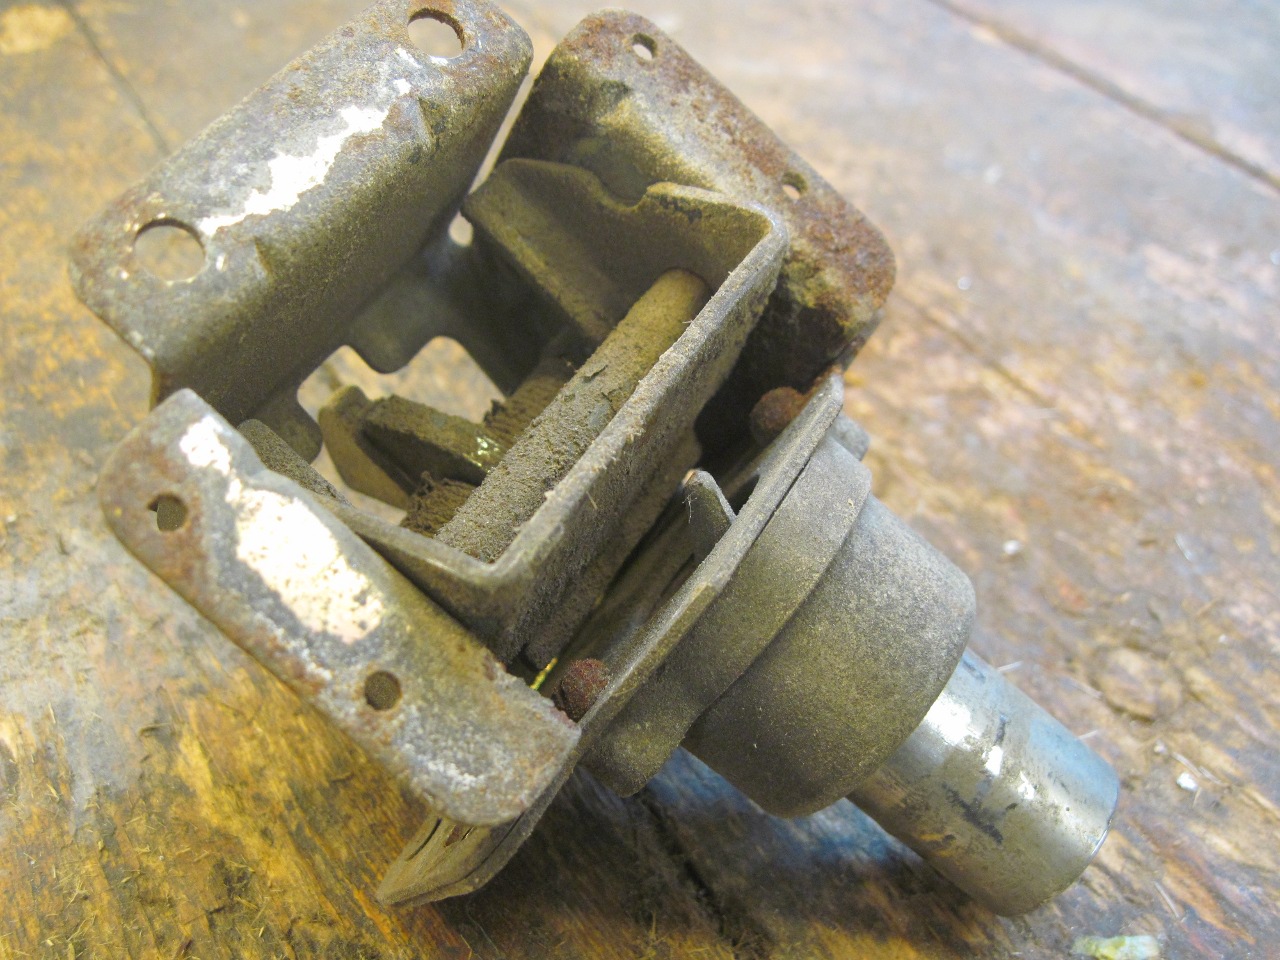
These
devices are available on the aftermarket, and other than my general
skepticism of reproduction parts, I don't have any reason to think they
wouldn't be of reasonable quality. At over $100 for the examples
I looked at, a good measure of quality should be expected. On the
other hand, It didn't appear that there was anything wrong with my
latch that a good cleaning wouldn't fix.
This
mechanism was riveted together, and obviously wasn't designed with
repair or rejuvenation in mind. The only replaceable part I know
of is the lock cylinder, and even that is not easy to get to.
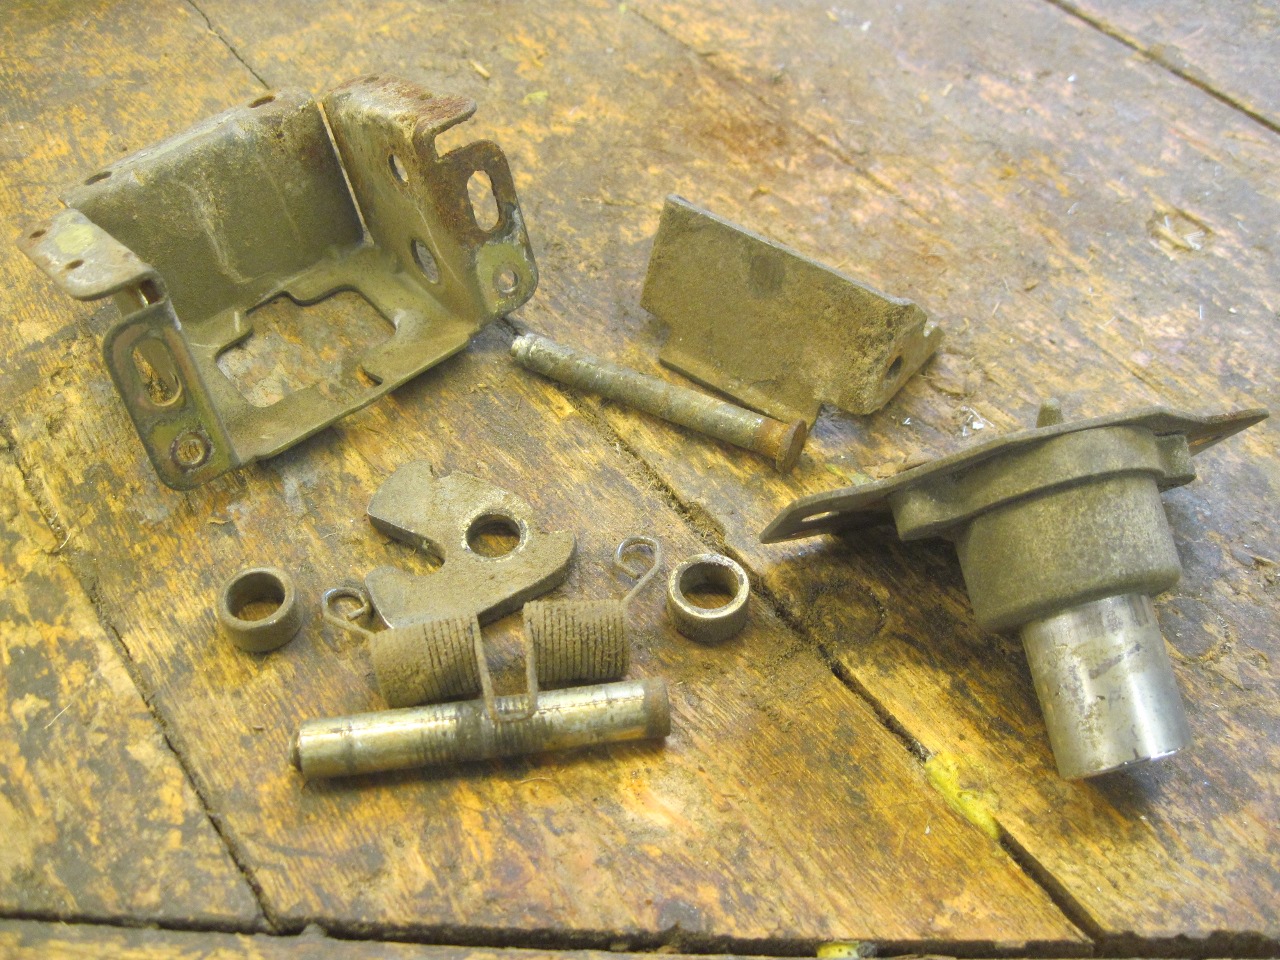
Drilling out two flat head rivets on the lock side of the device frees up the plate that holds the locking push button.
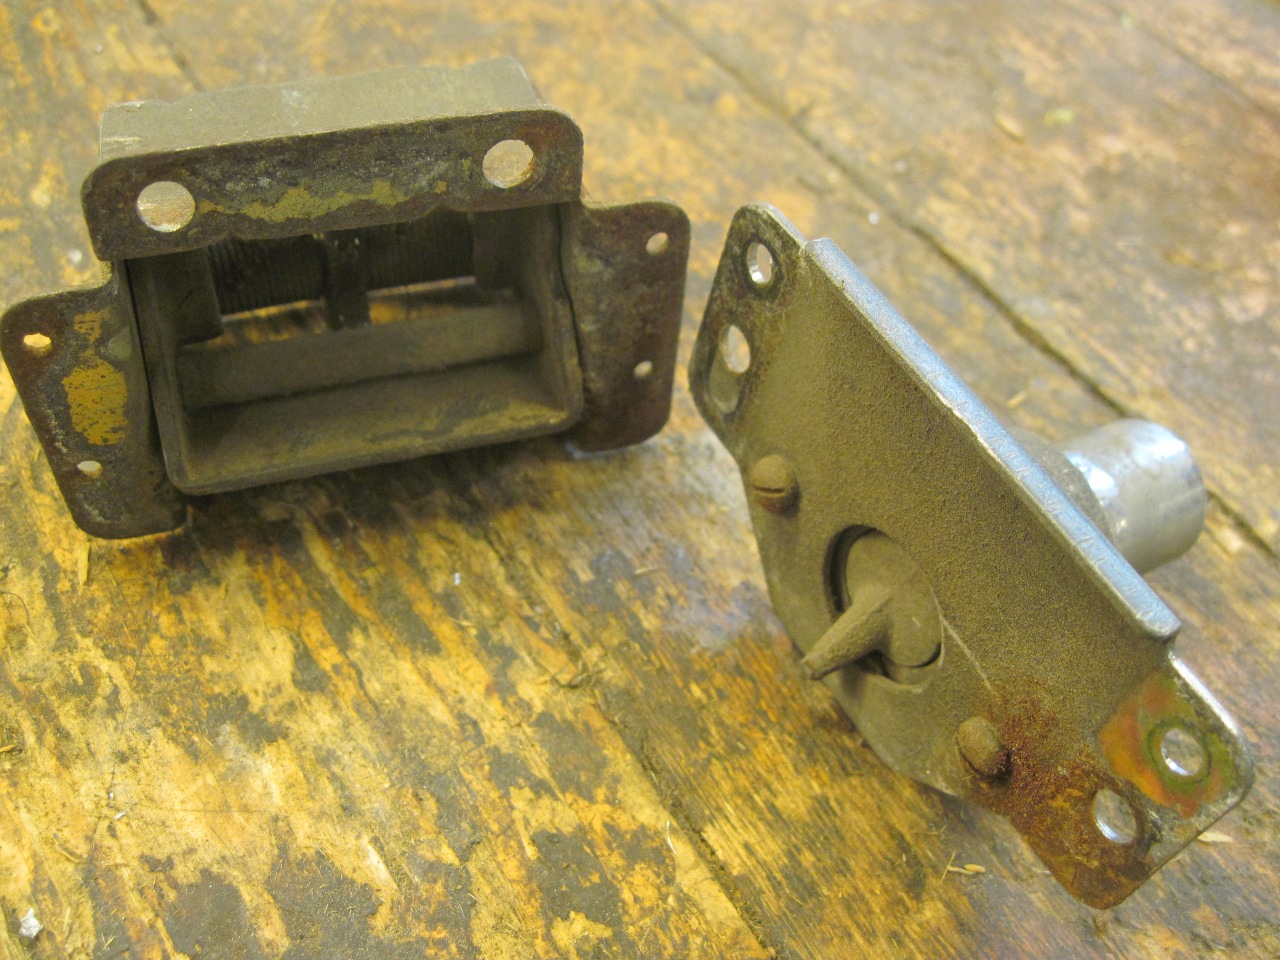
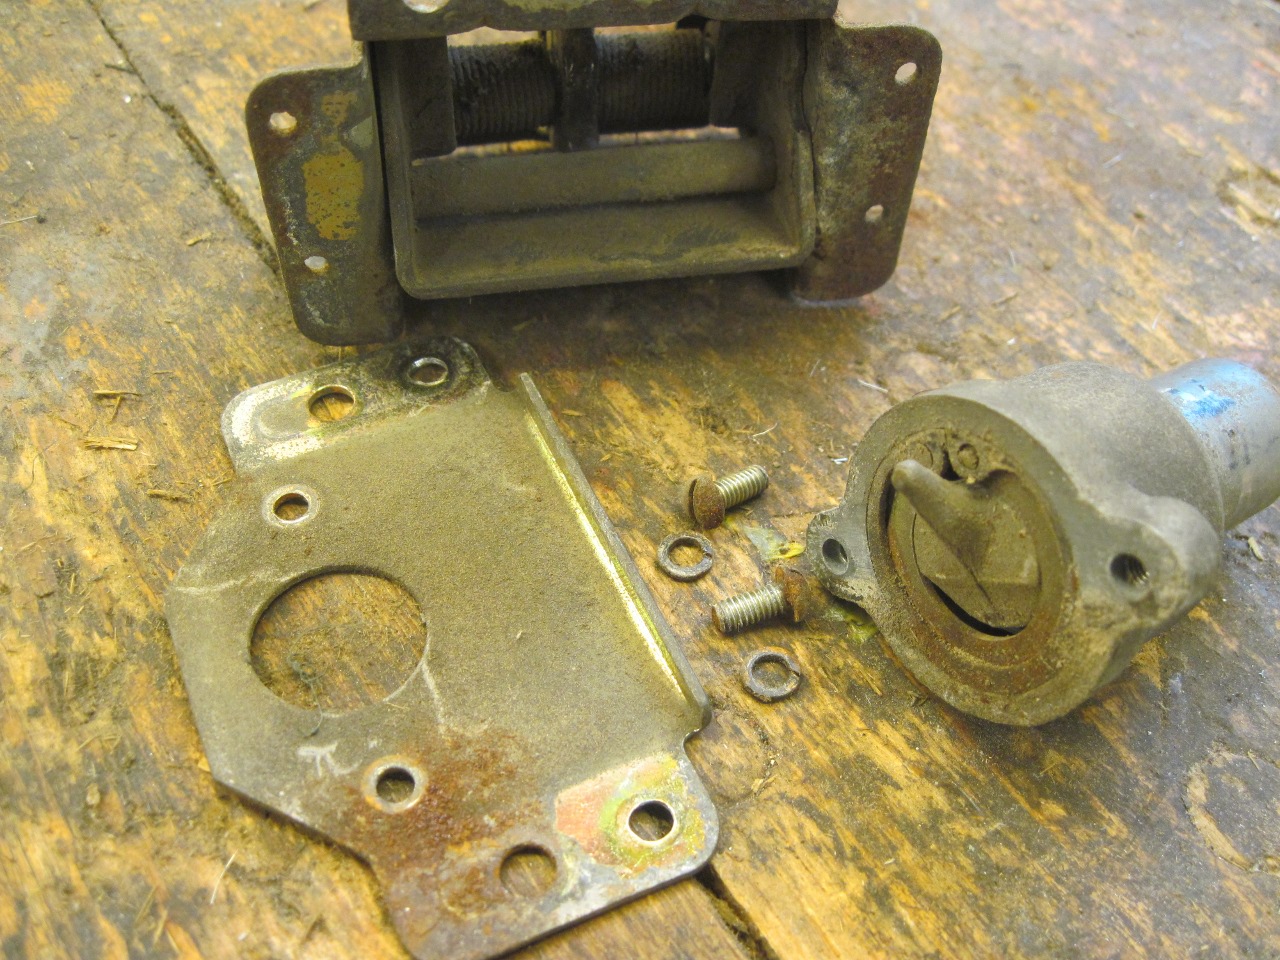
The
rest of the parts for the latch are held by two long rivets that
extend from side to side. Drilling out their smooshed ends allows
all the internal parts to fall out.
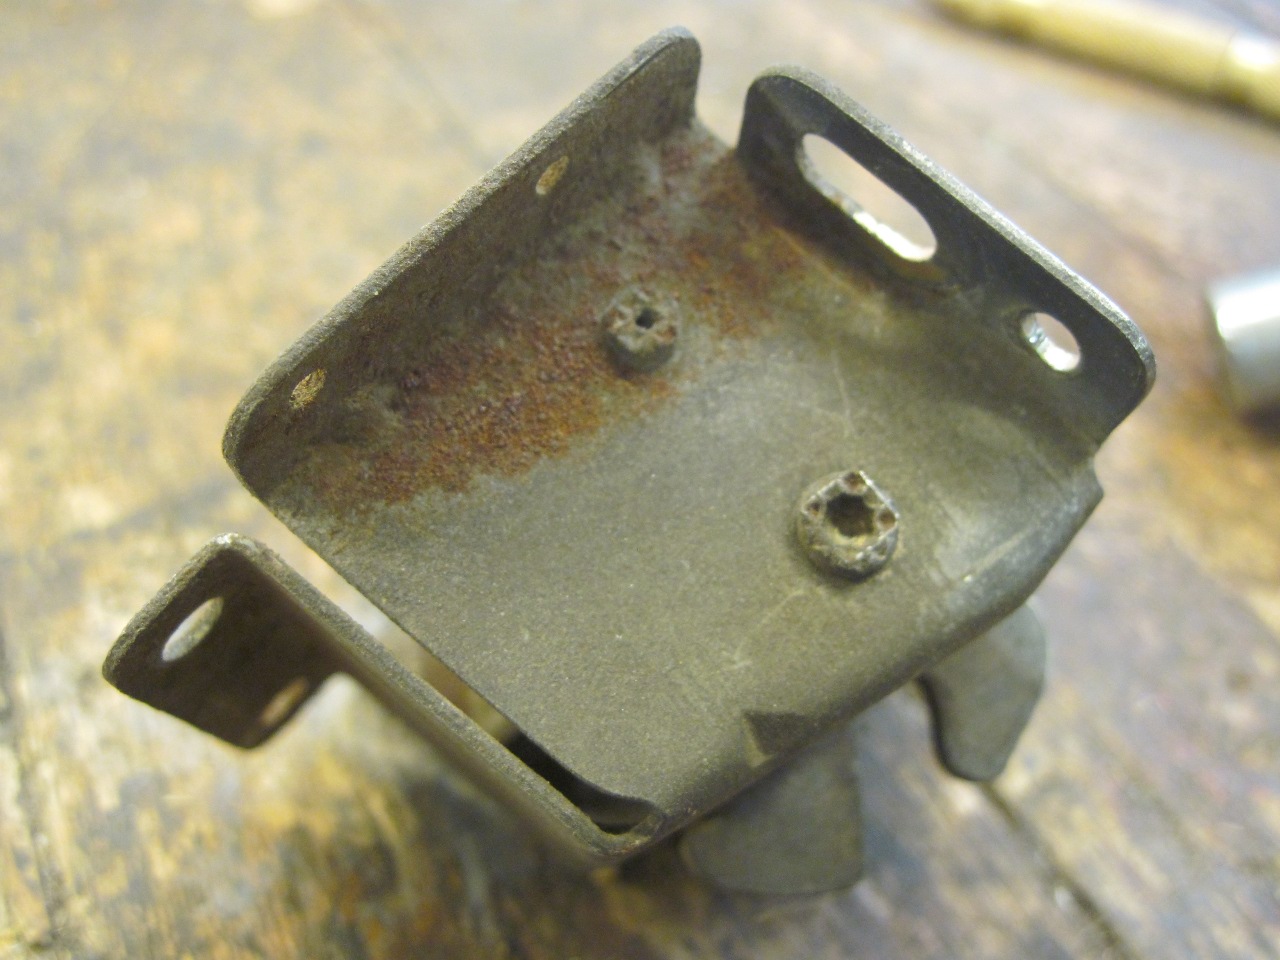
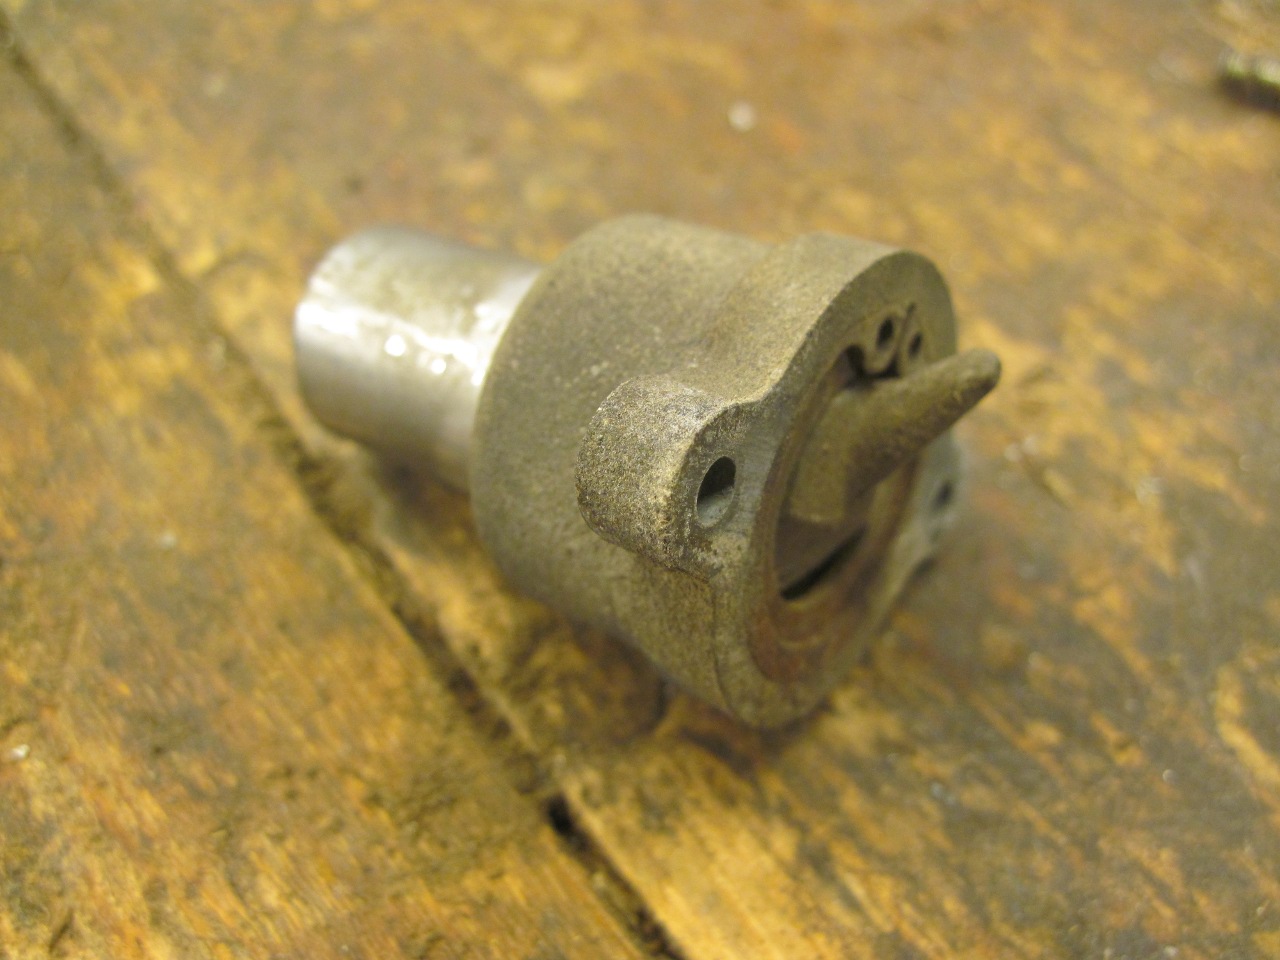
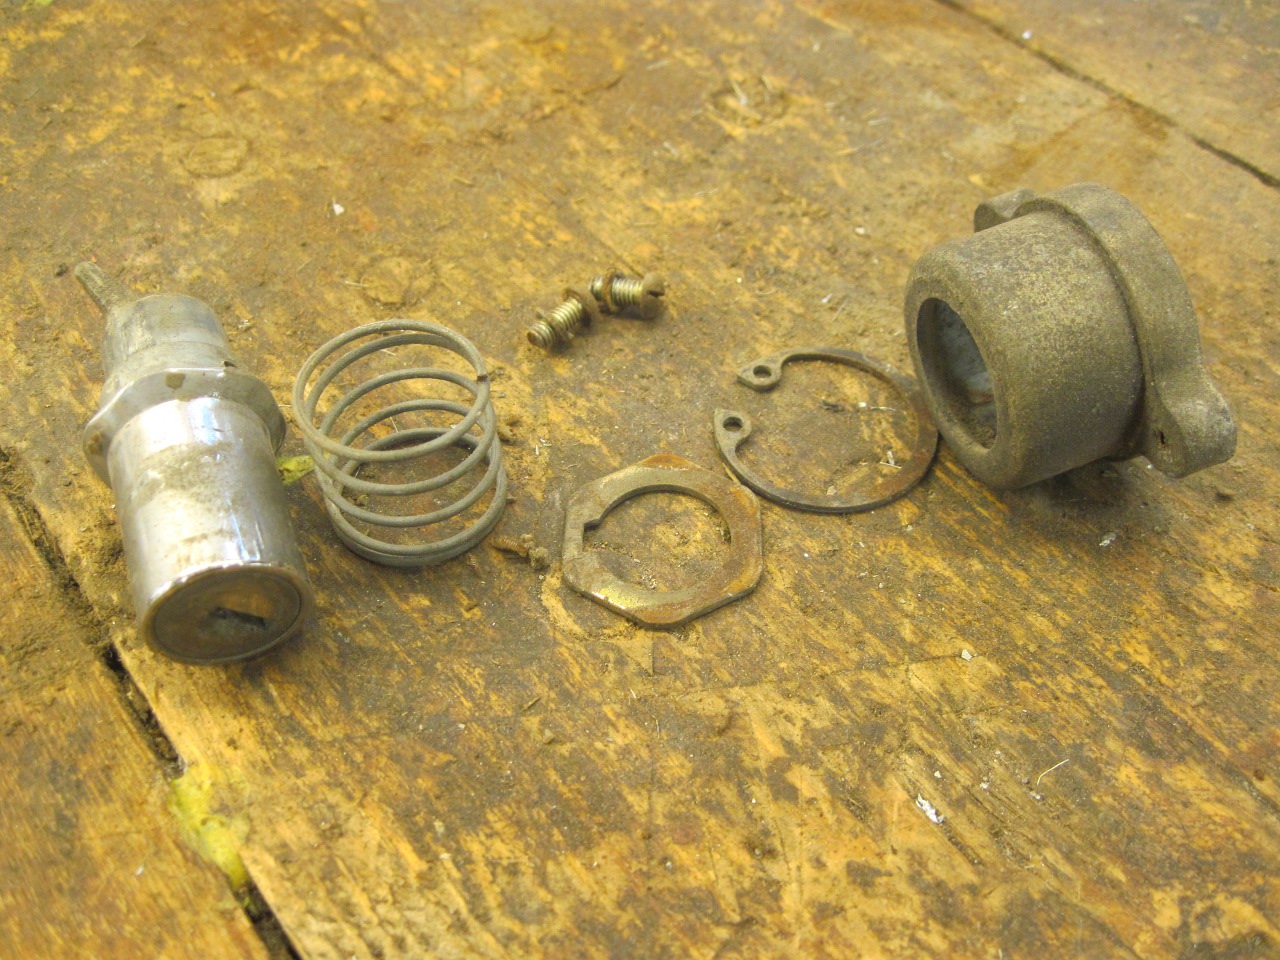
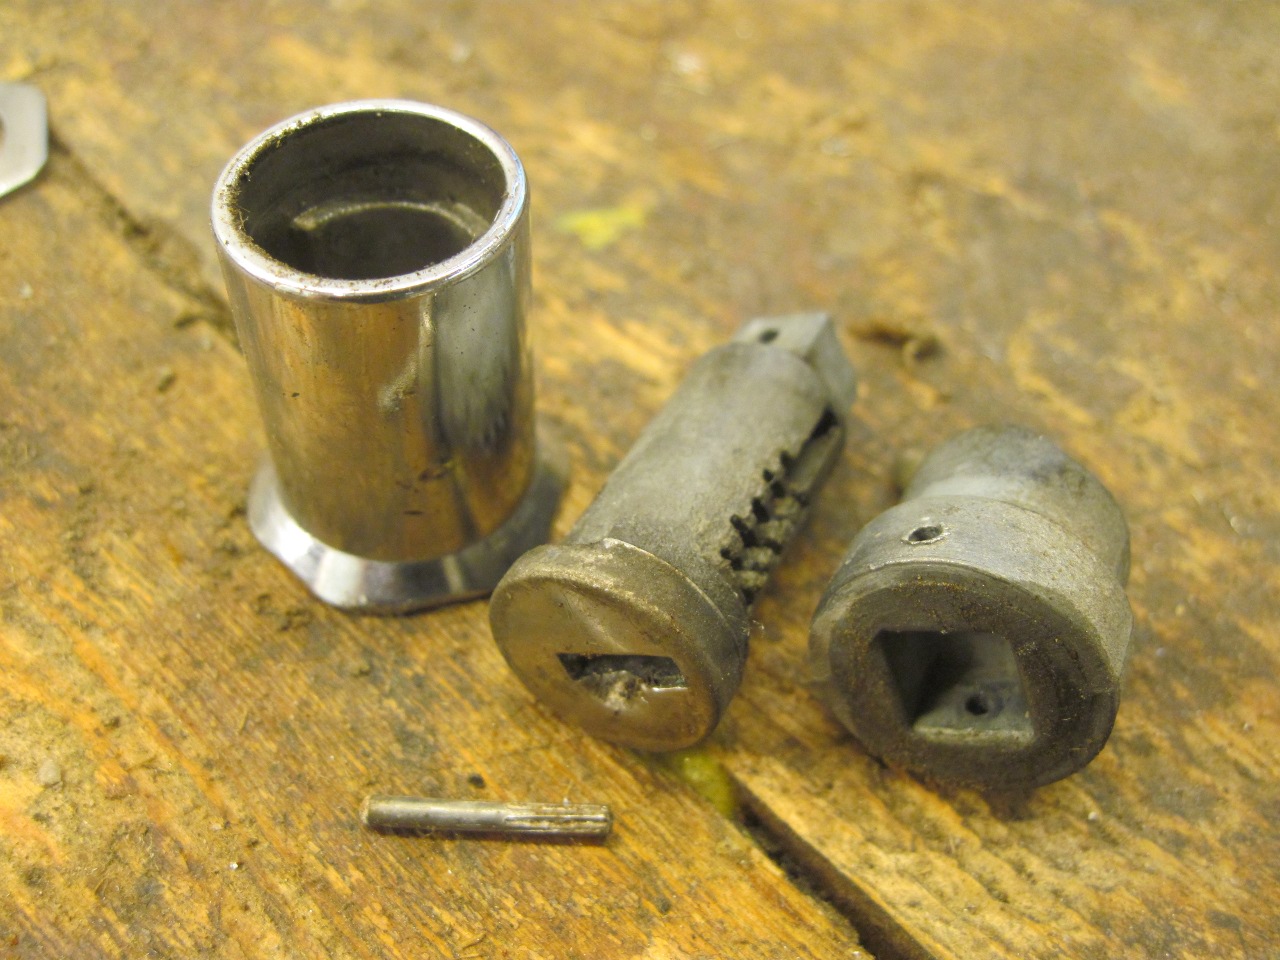
The lock mechanism comes apart by removing a snap ring.
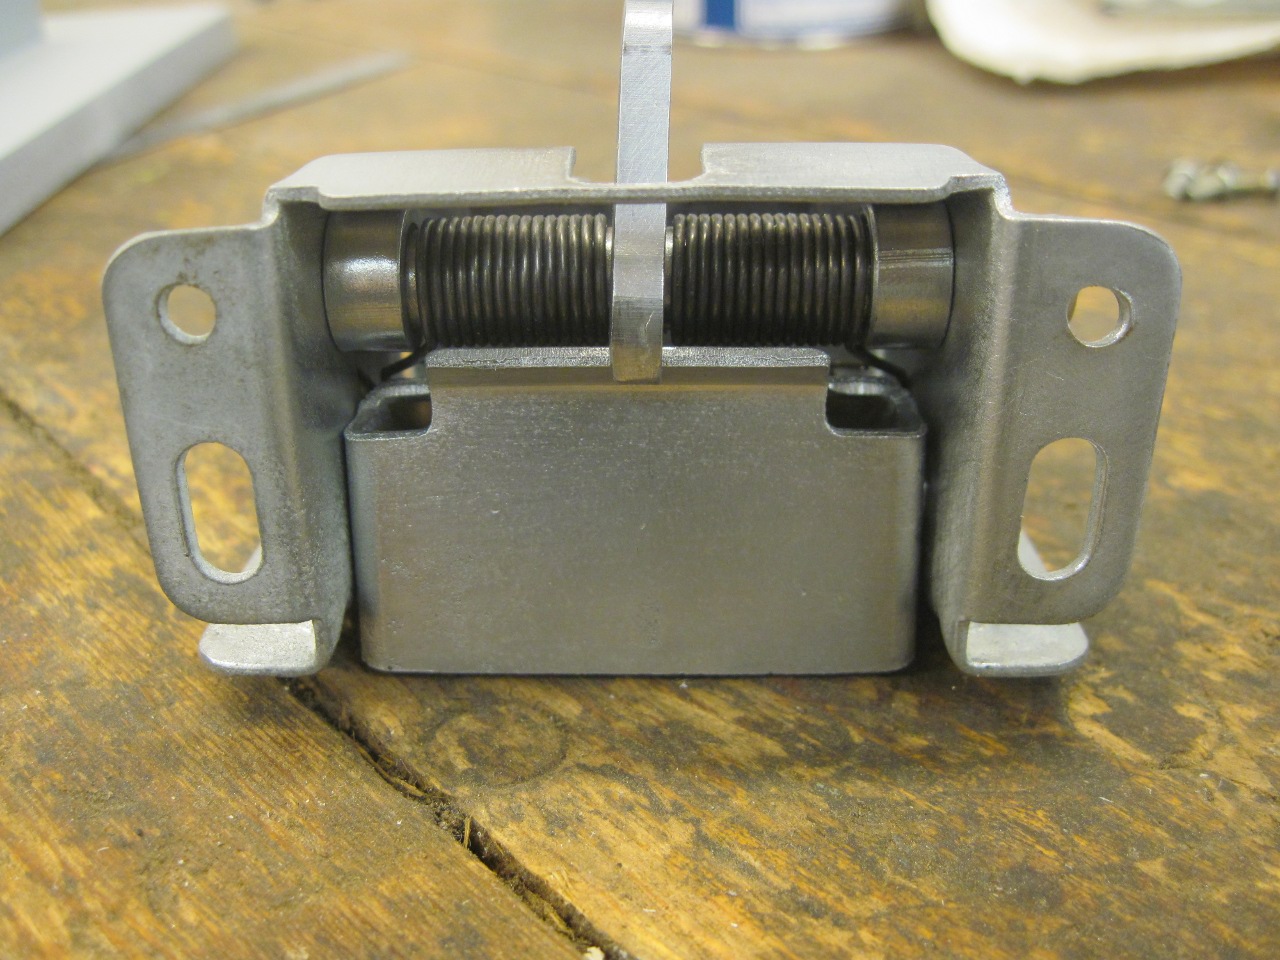
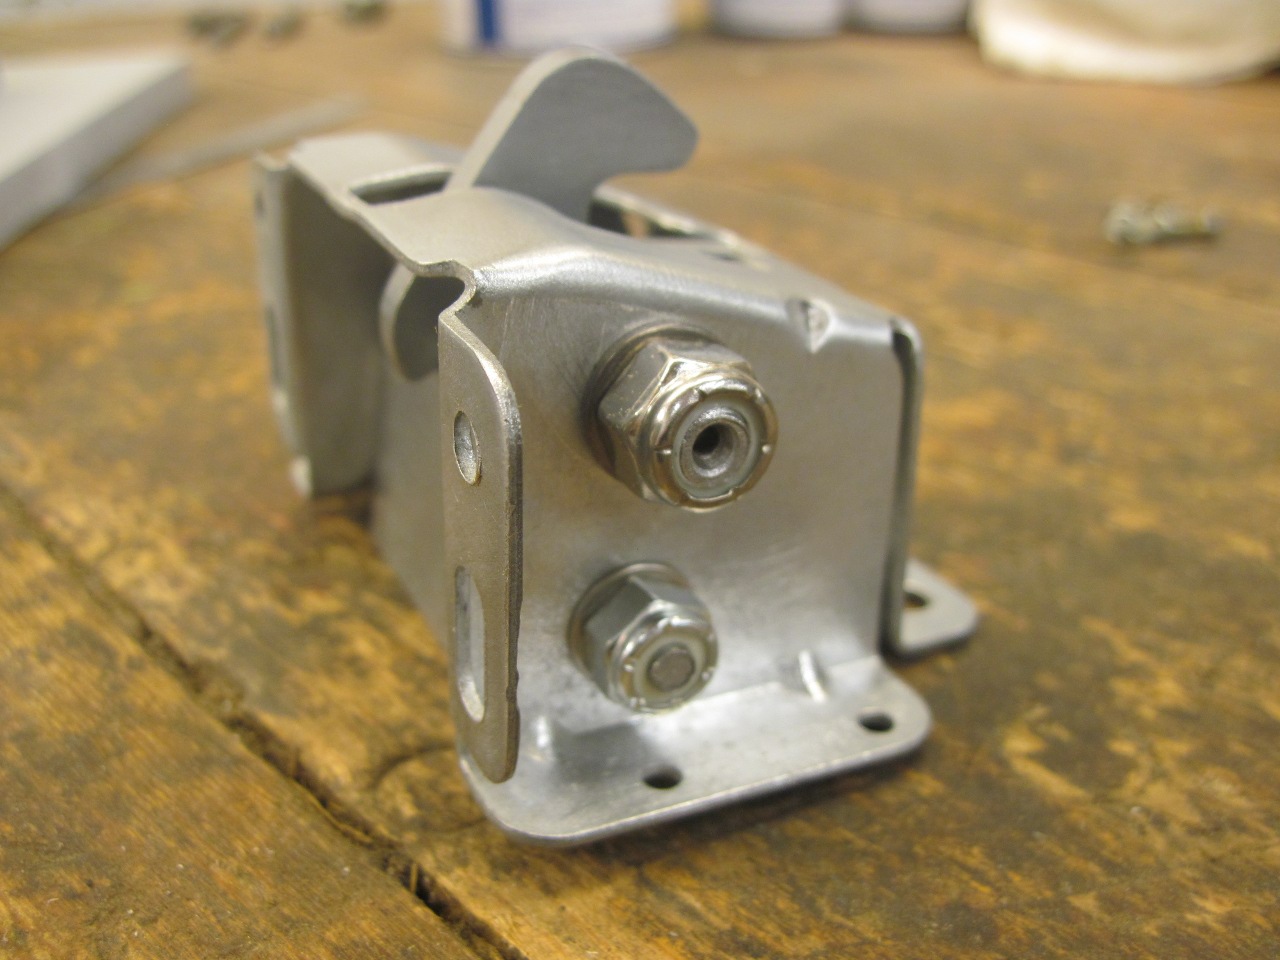
The
rivets, of course, are toast after removing them. I made some
replacements, but instead of rivets, they have a threaded end for a
nut. This should make disassembly easier for the next
restorer. Screwdriver slots are necessary on the other ends to
tighten the nuts.
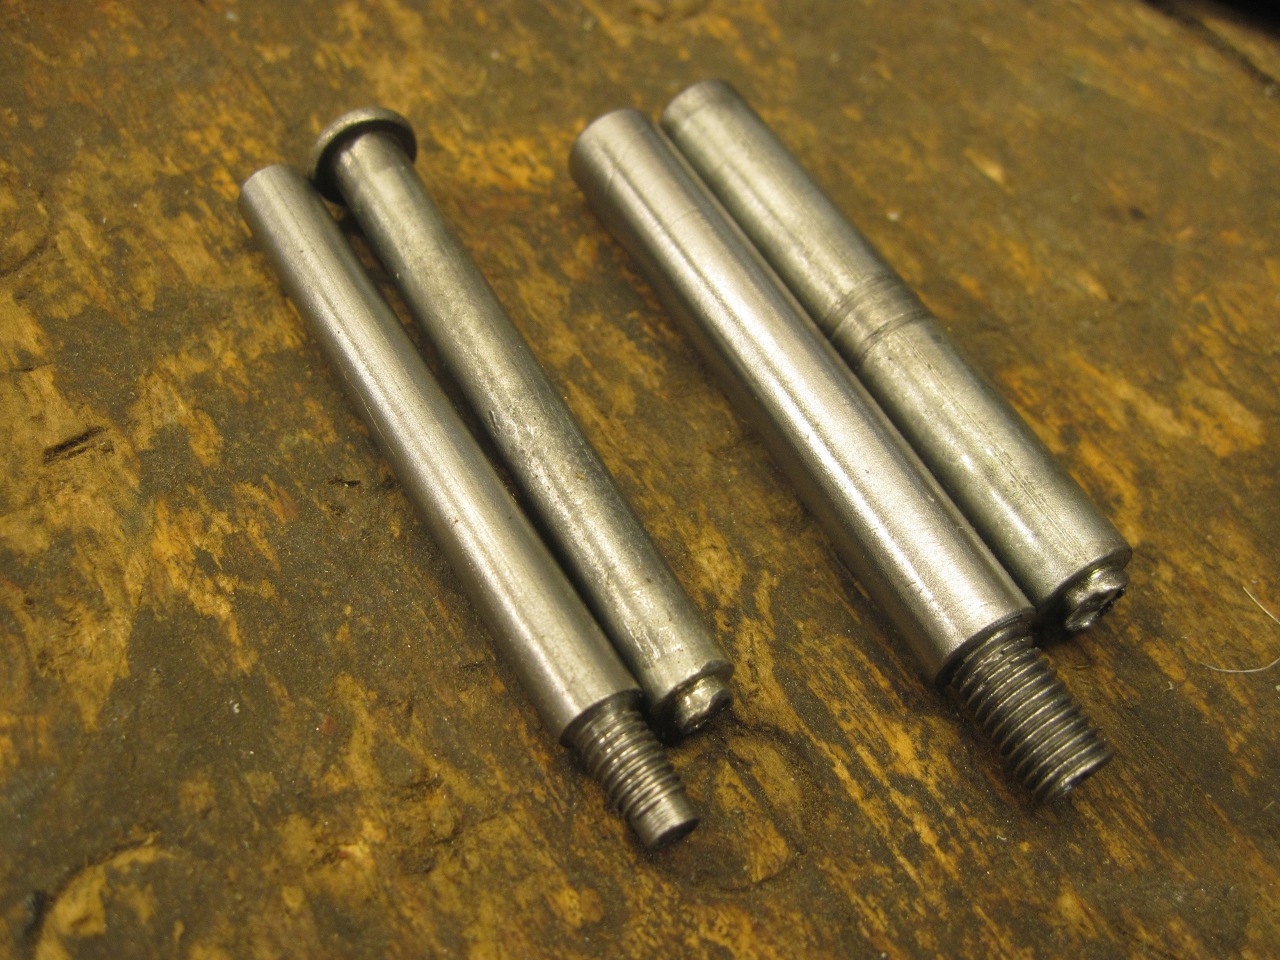
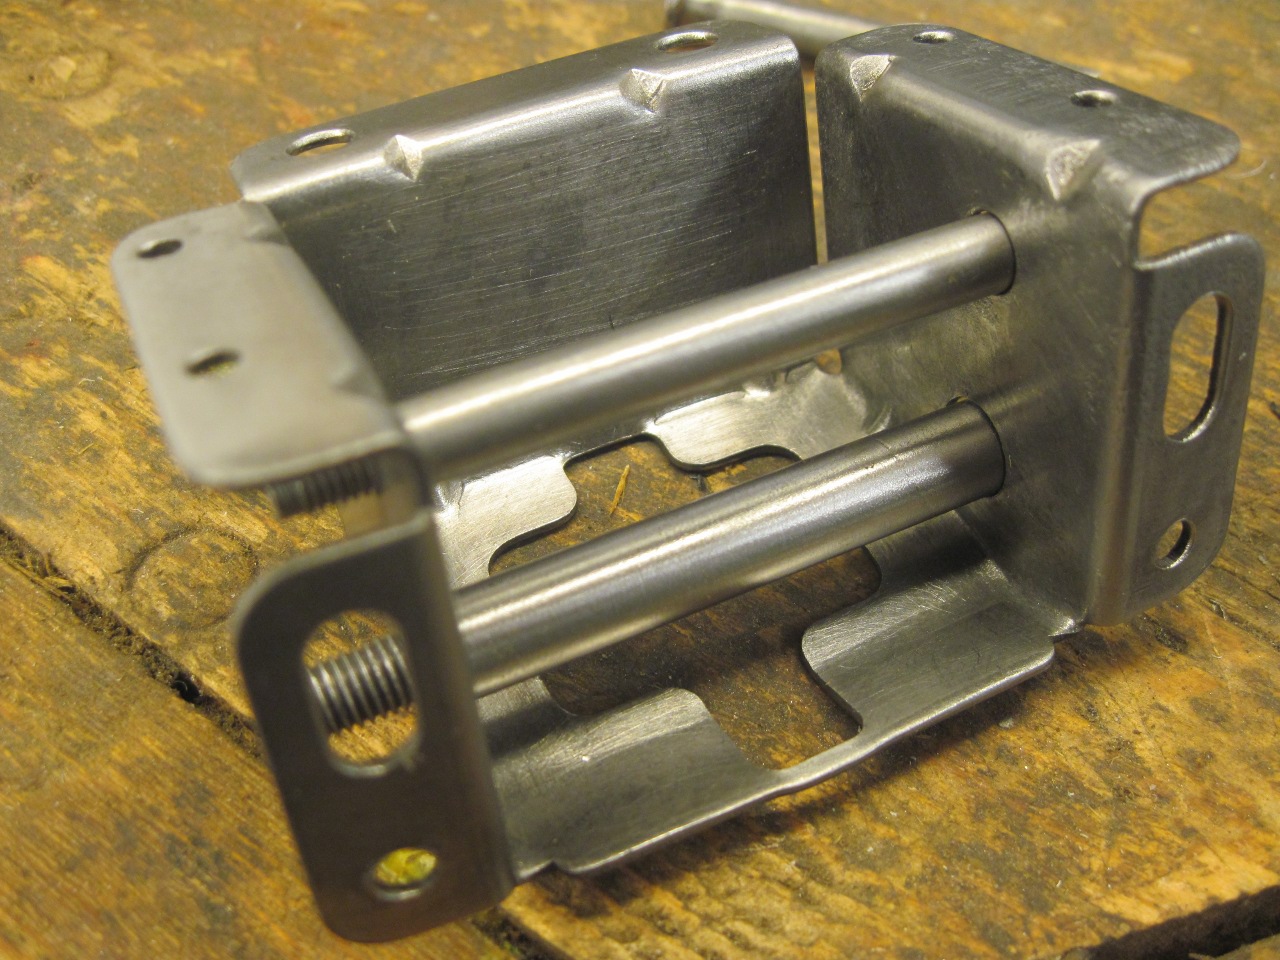
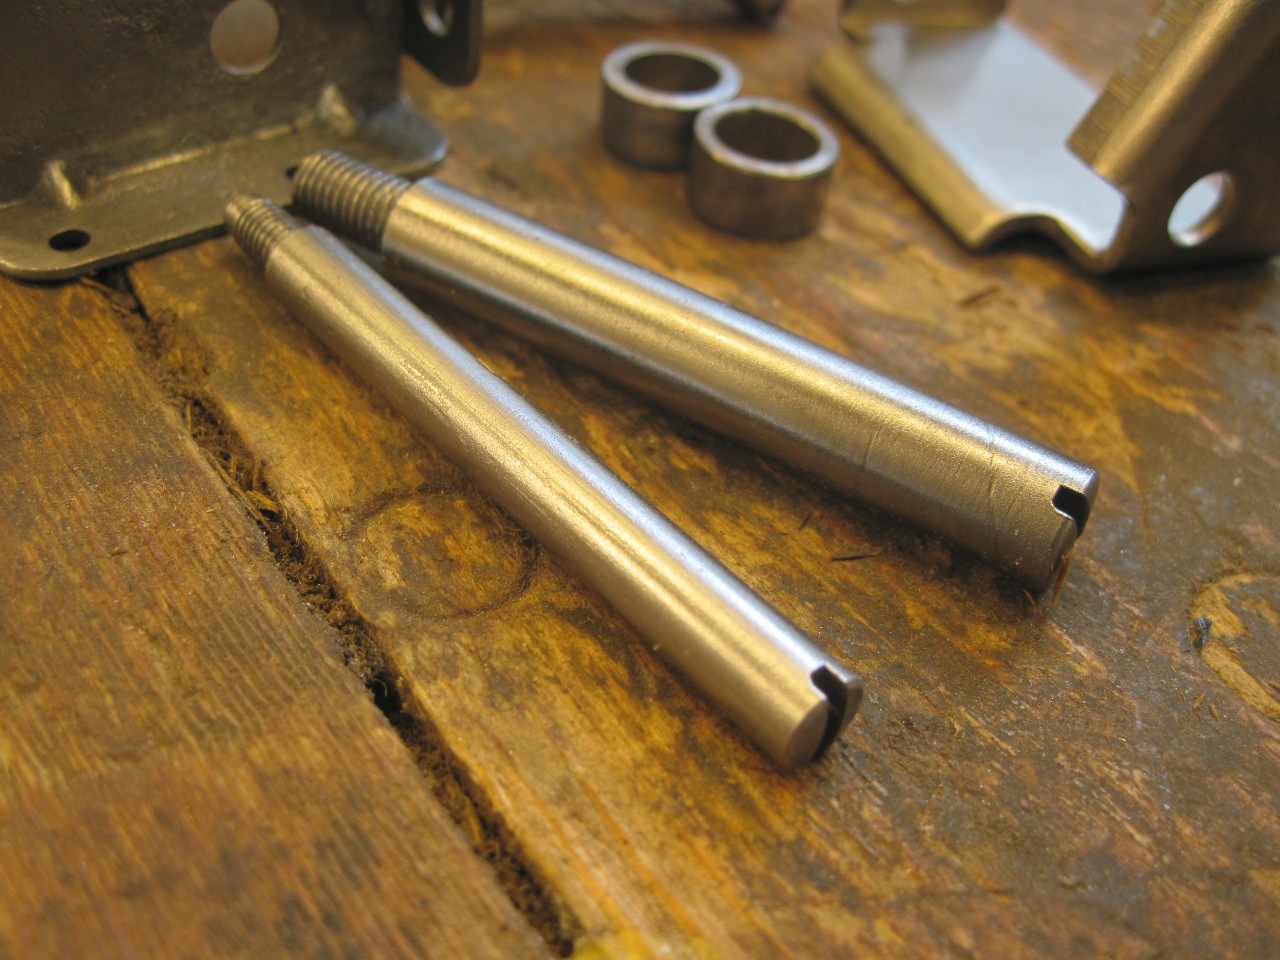
I cleaned up and replated most of the steel parts...
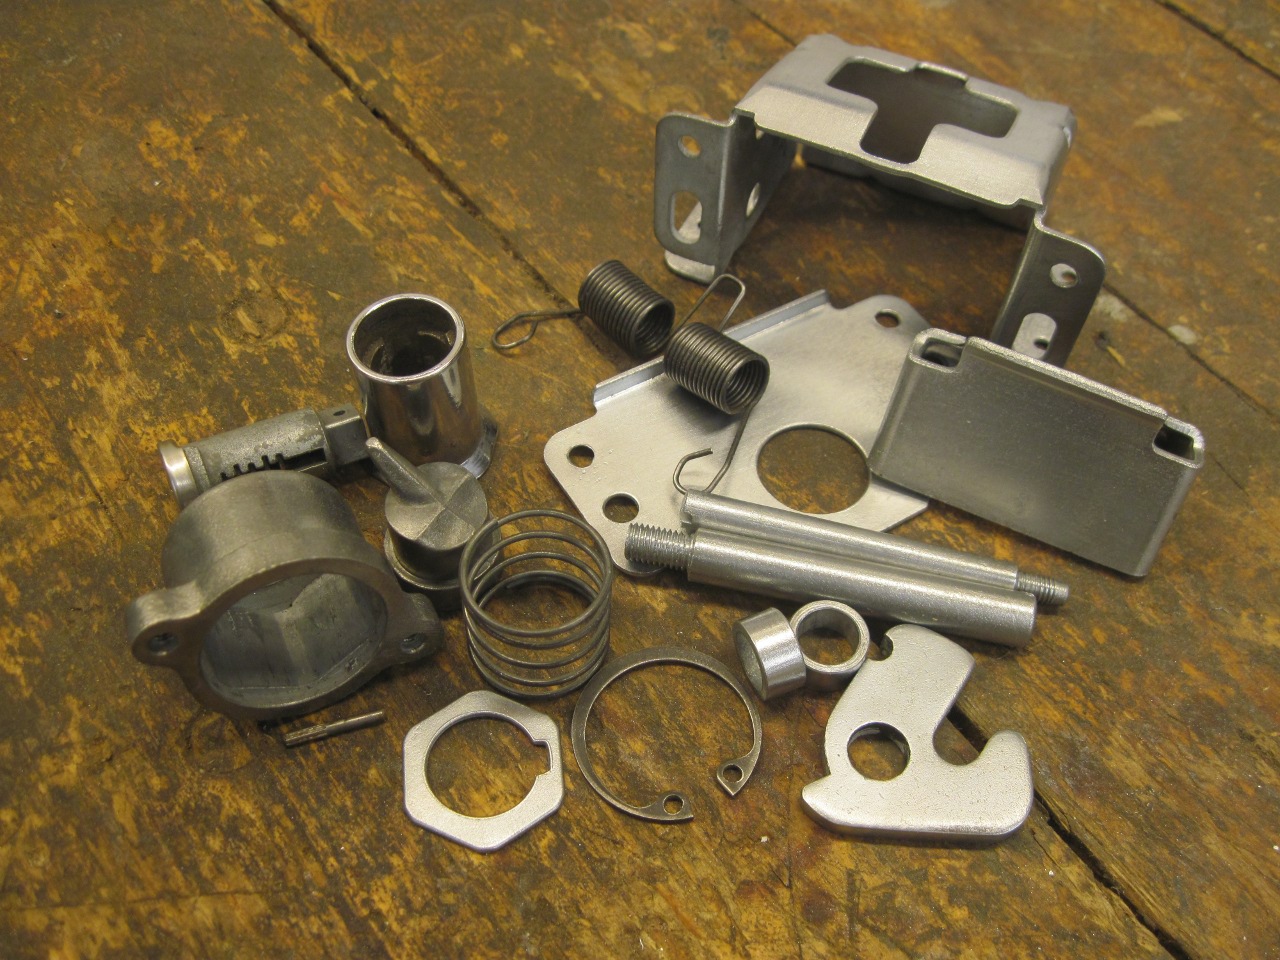
...and put 'er back together. There are several wrong ways to assemble the parts. I tried them all.
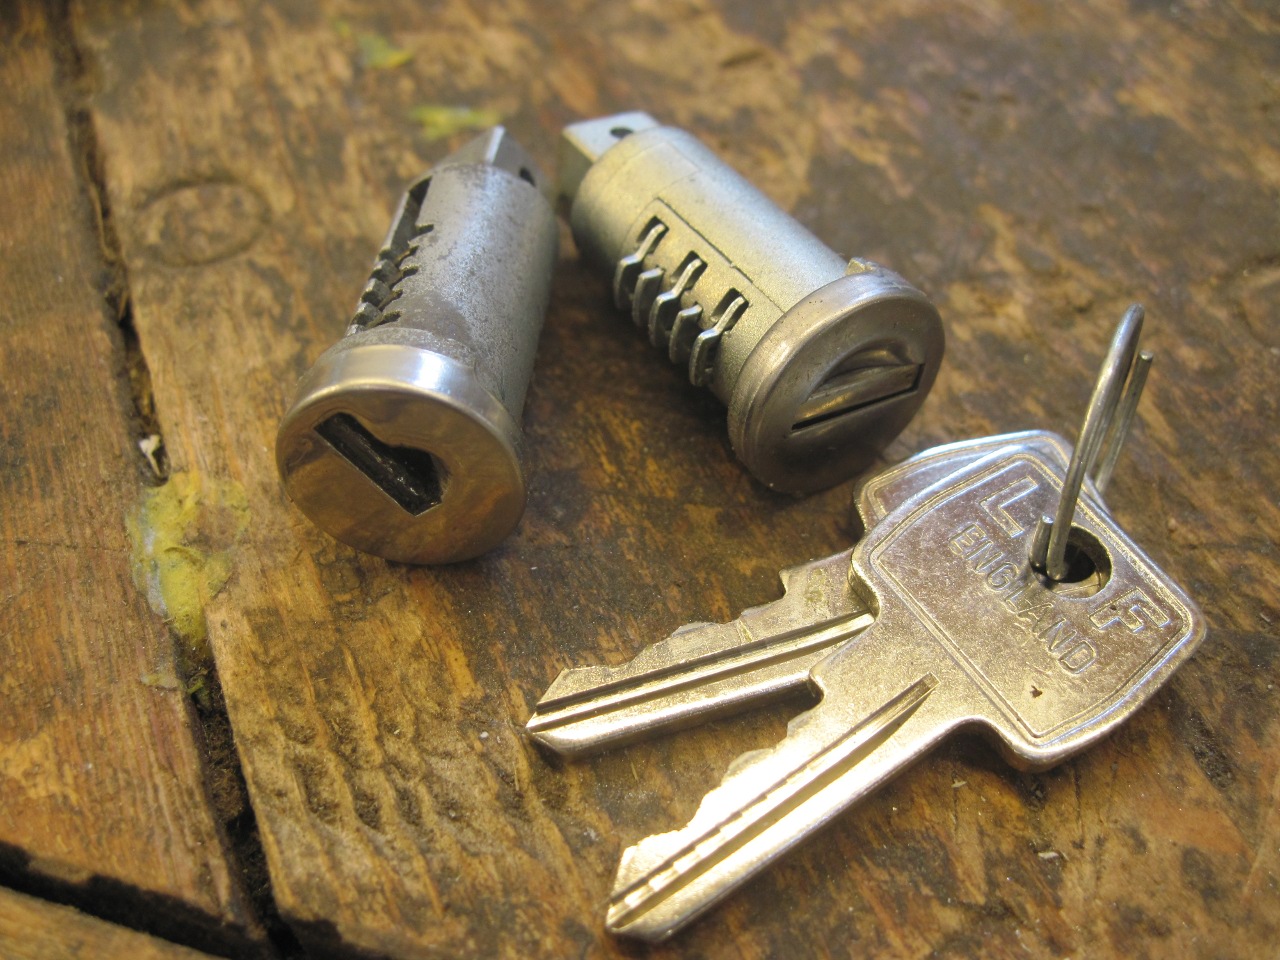
When
I first took the latch apart, the lock barrel was completely frozen
with corrosion. I was finally able to get all the pins freed up,
but still couldn't insert a key. The little door that closes off
the key opening was siezed, and I never could get it free. So I
reluctantly ordered a new lock barrel.
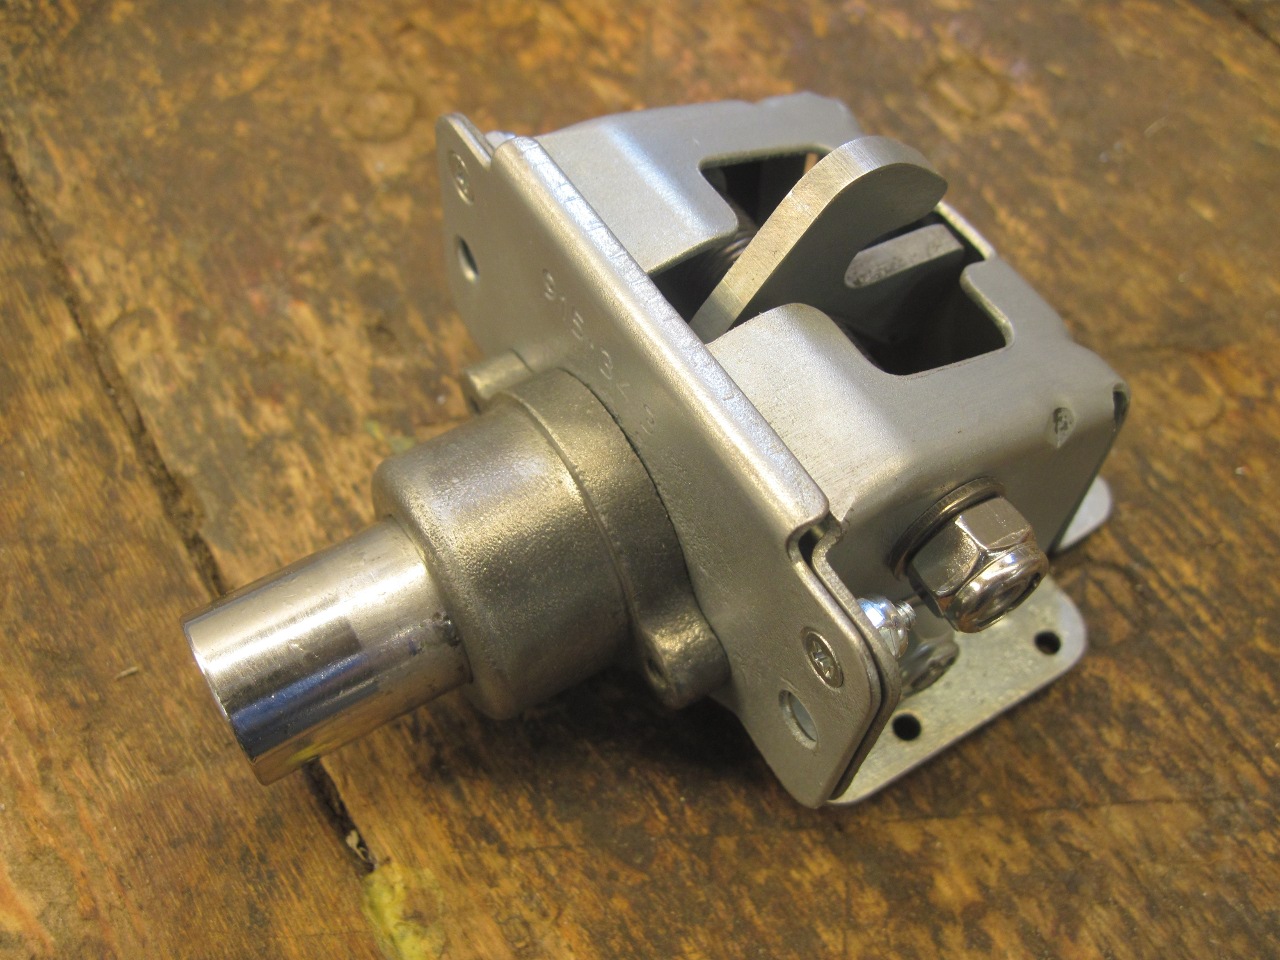
The
screws holding the button/lock assembly to the plate were pretty
rusted. They look like 6-32, don't they? Nope--they are
4BA. I don't really get the Brits and their fascination with
odd-ball threads. For some reason, I had a little stash of 4BA x
1/4 screws. I'm sure I bought them for some other TR6
application. Could have been the Triumph bike, too.

Final assembly.

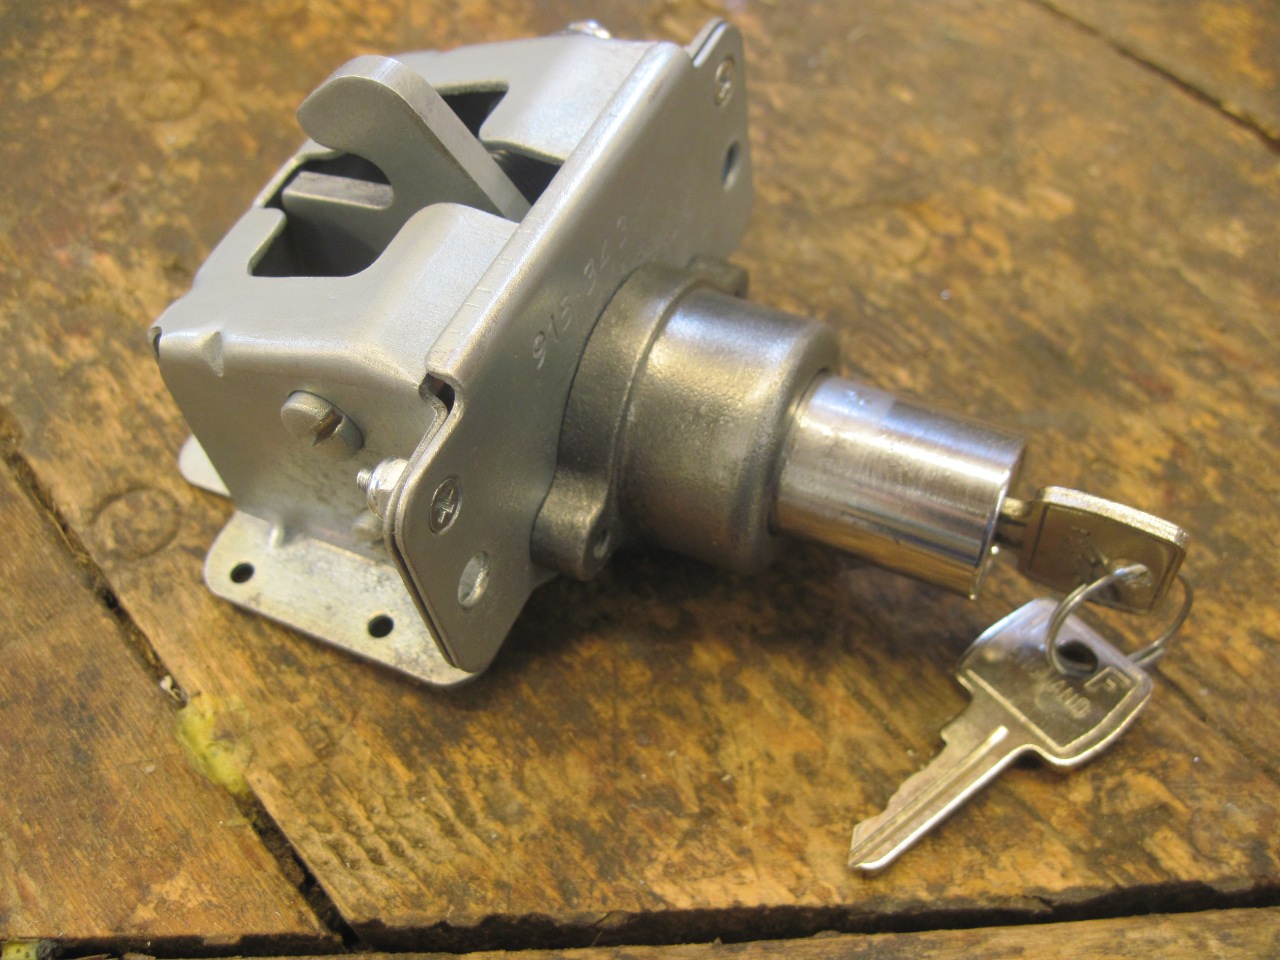
Bagged, tagged, and on the shelf.

This was a fun little project. Took a few hours in total, and cost was around $20 for the new lock barrel.
Comments to Ed at elhollin1@yahoo.com
To my other TR6 pages