To my other TR6 pages.
May 1, 2018
Fuel Filler
One
of the more distinctive styling features of the TR6 was the fuel filler
neck and cap. Instead of being meekly hidden away under a body
colored door somewhere, it was placed conspicuously smack dab in the
center of the rear deck, the large bold chrome cap poised proudly for
everyone to see. I think it contributes to the husky, masculine
air of the car. It was even reminiscent of the large fillers seen
on some race cars of the time.
My filler assembly was in pretty good shape. The 40+ year old chrome was dirty, but looked like it would clean up OK.
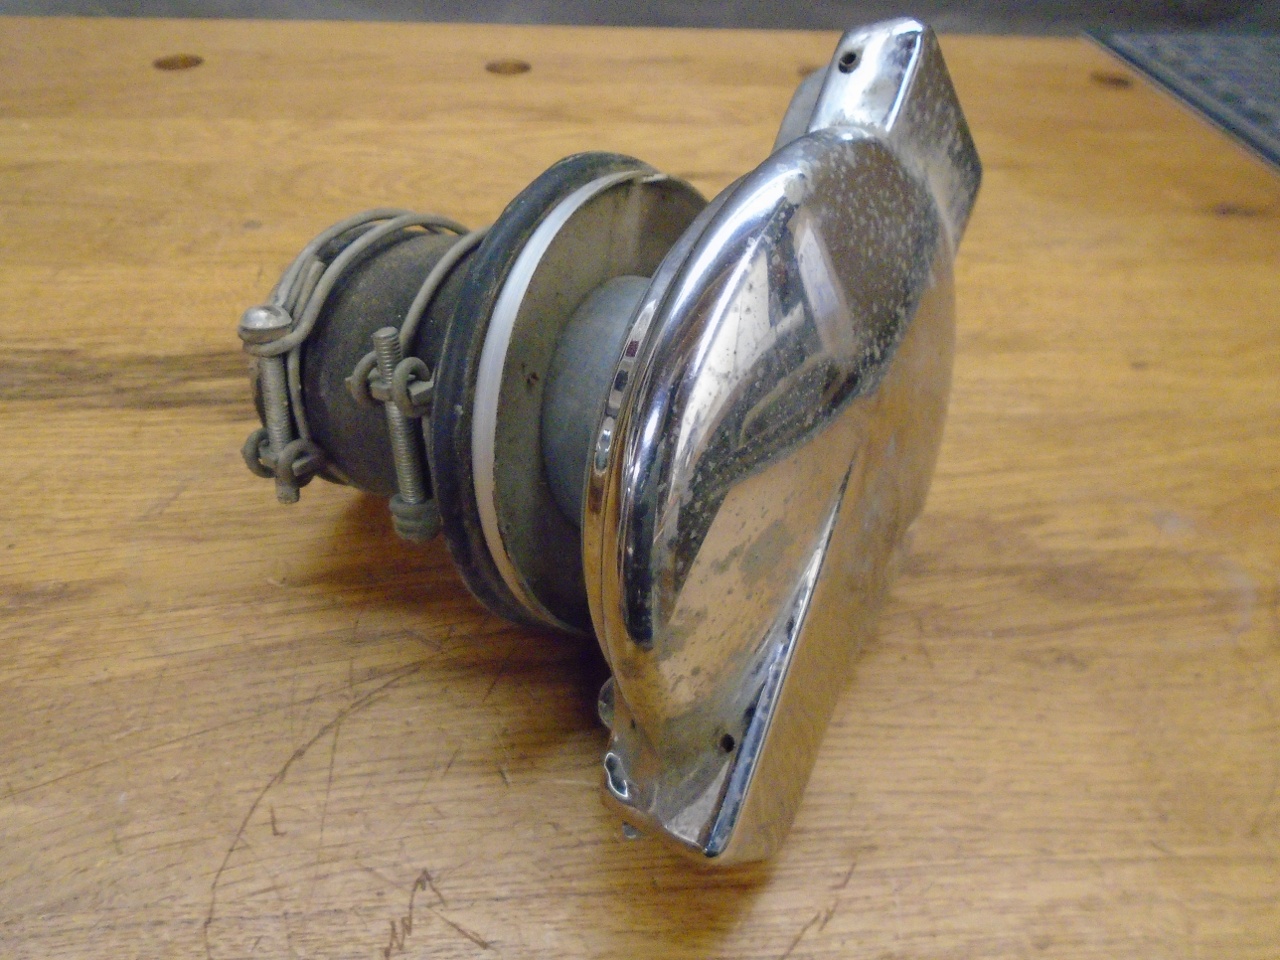
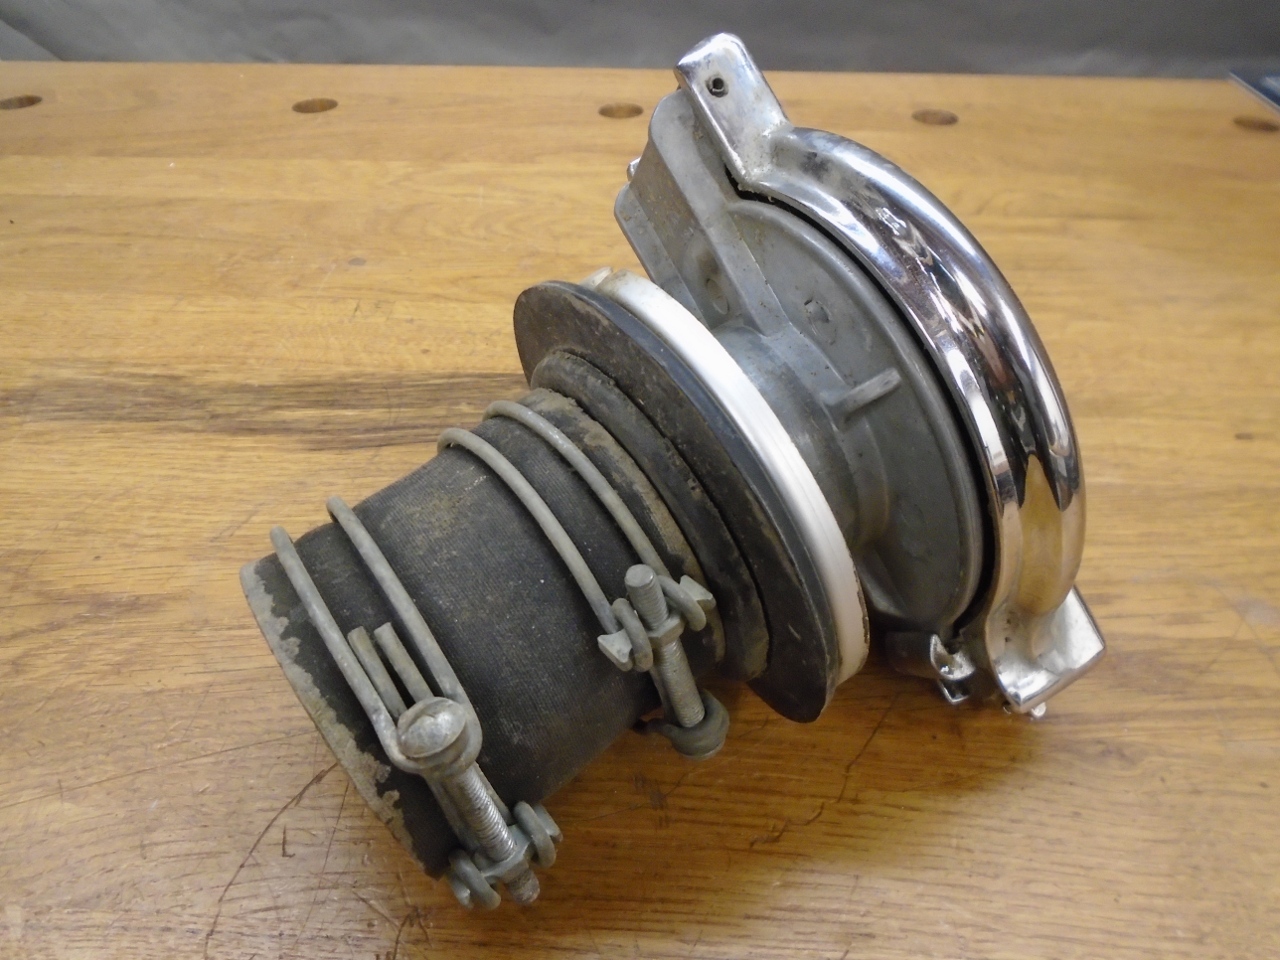
A
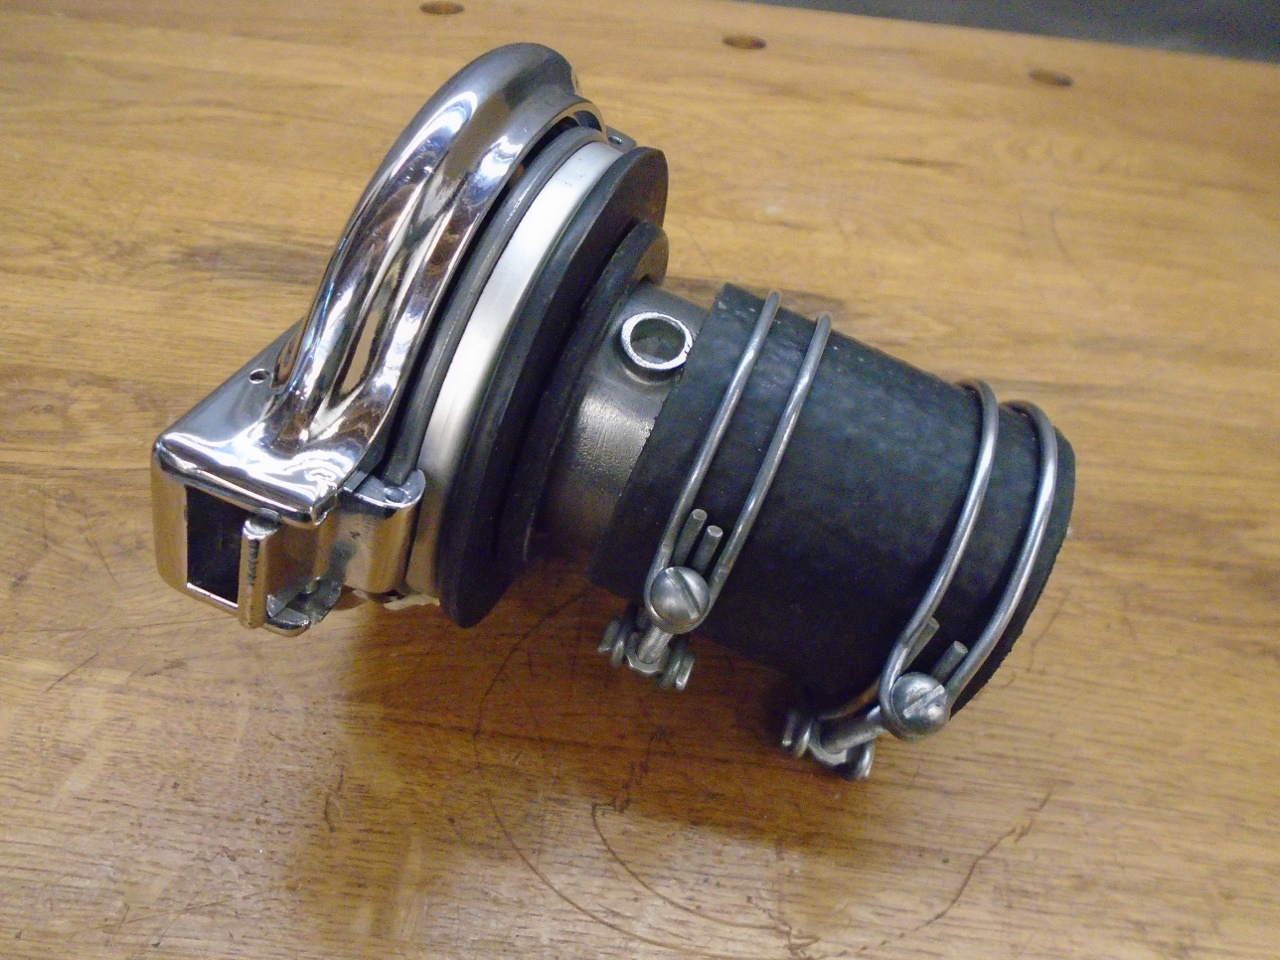
short length of hose connects the filler neck to the tank. The
neck passes through a large rubber grommet in the deck sheet metal.
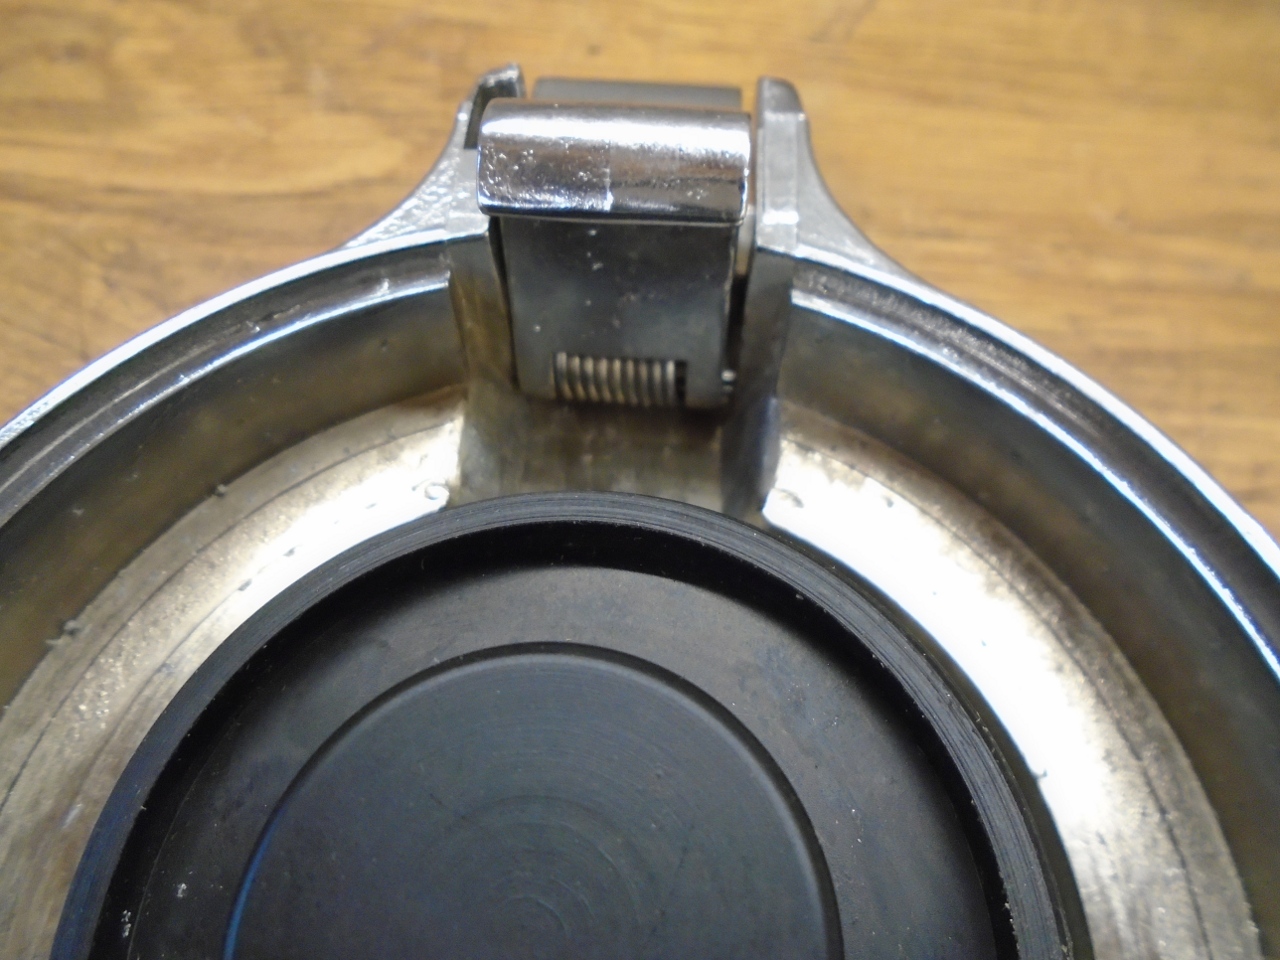
With
the cap open, the internal rubber seal is revealed. With the cap
closed, the seal is spring loaded against the filler neck. There
is a provision for a tank vent in the neck, but in this version, it is not used.
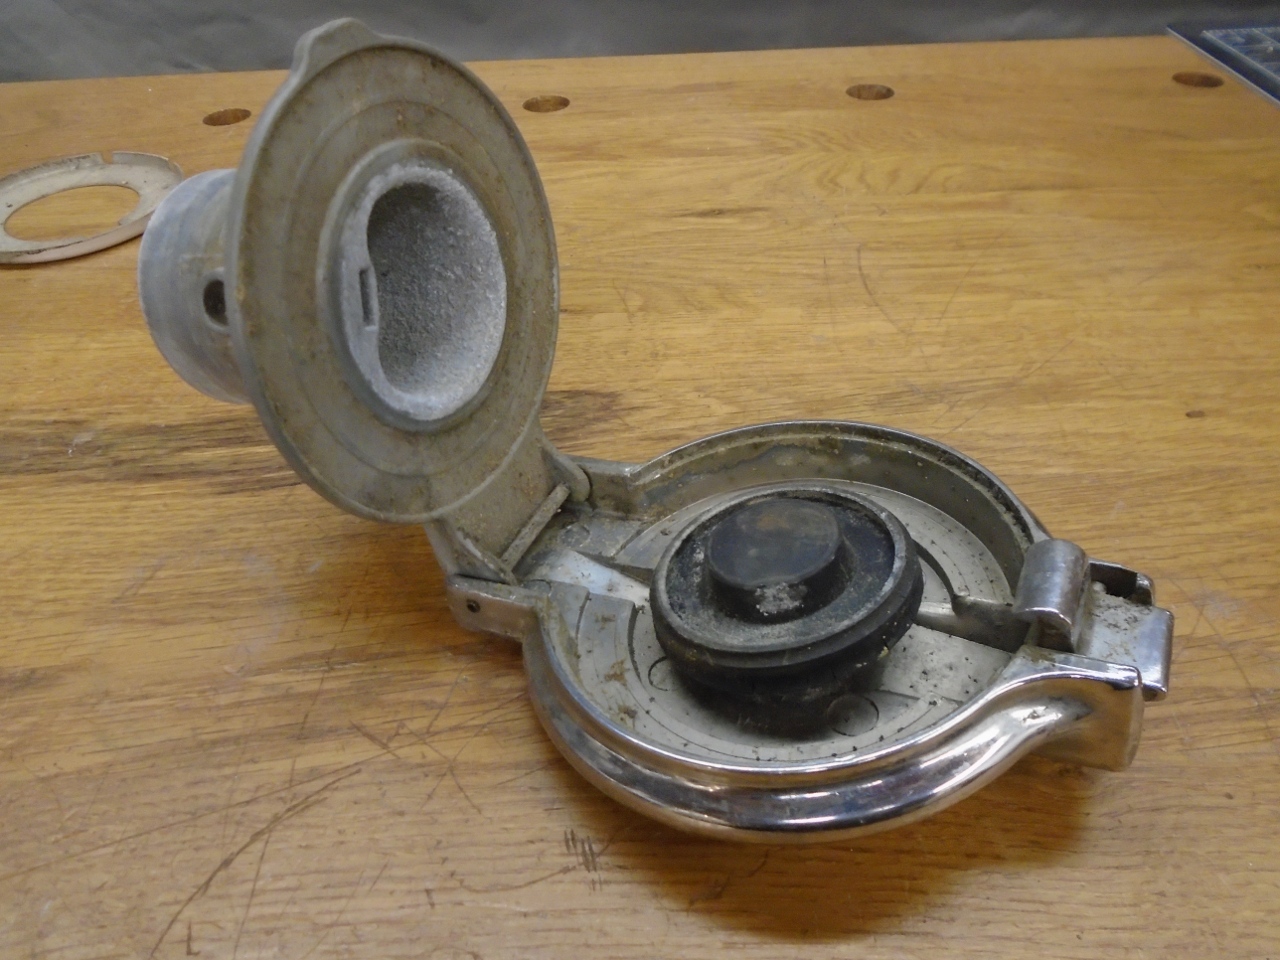
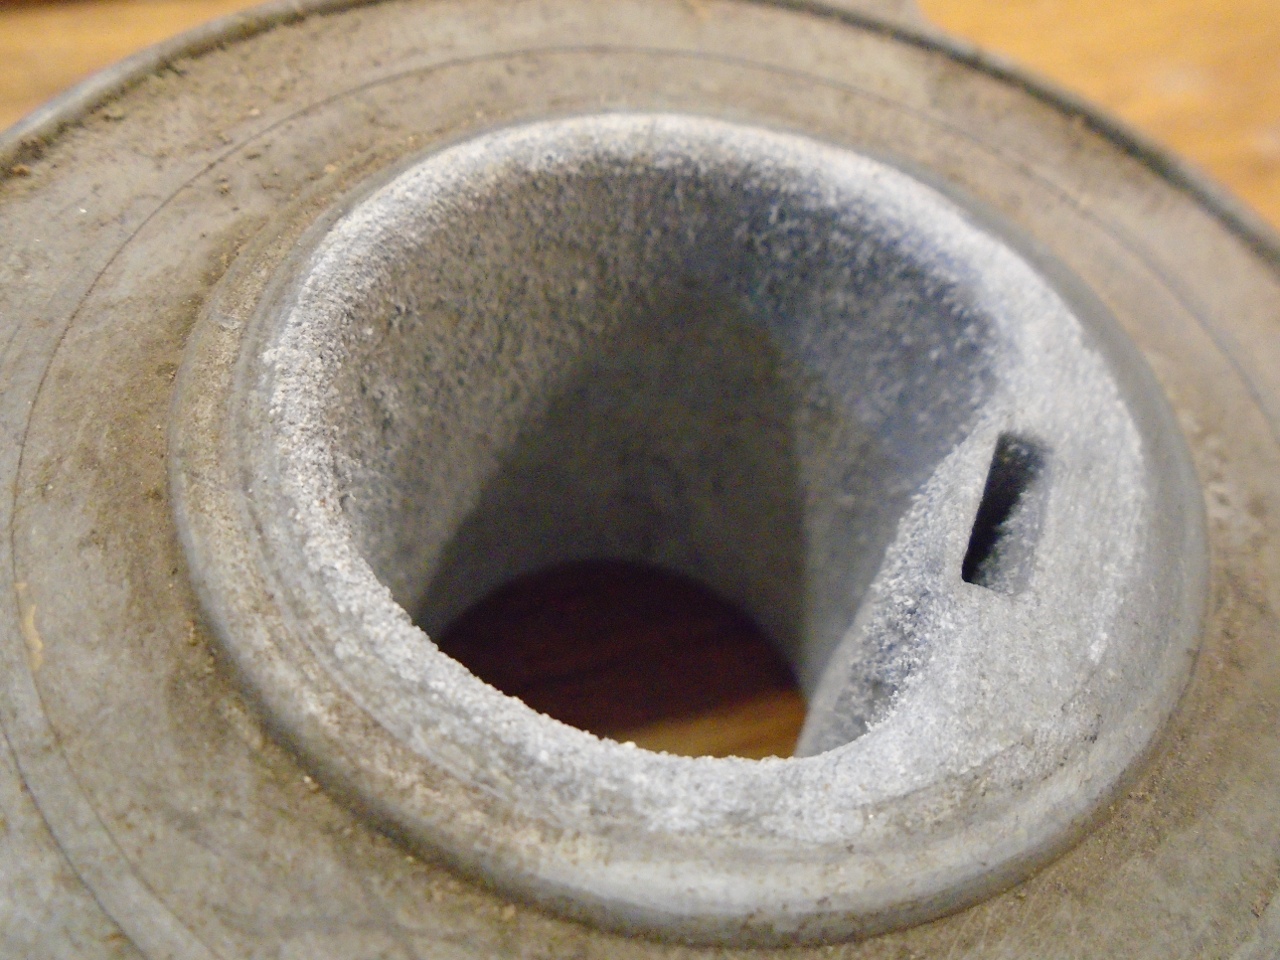
The seal was deceased.
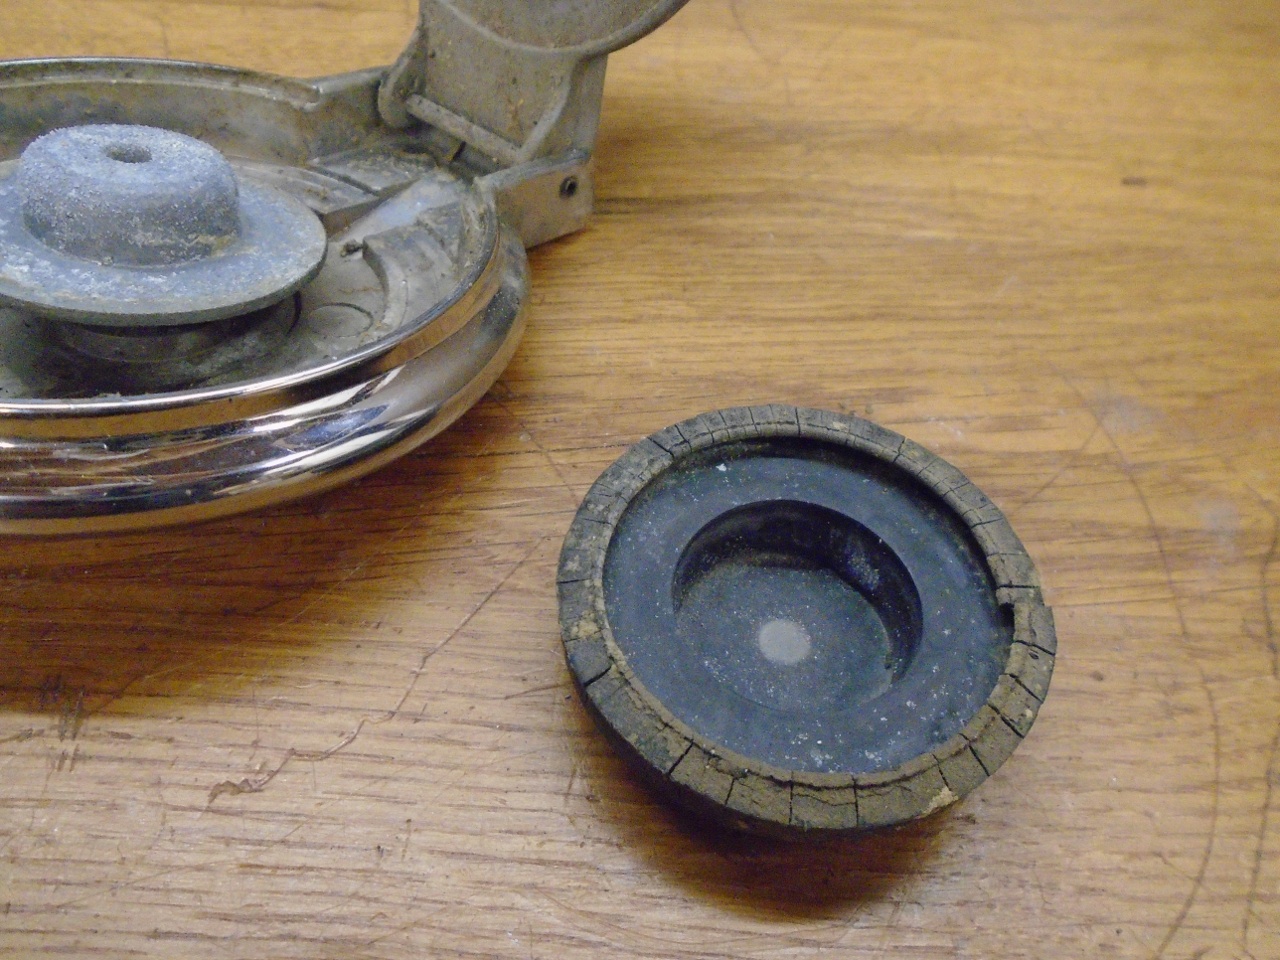
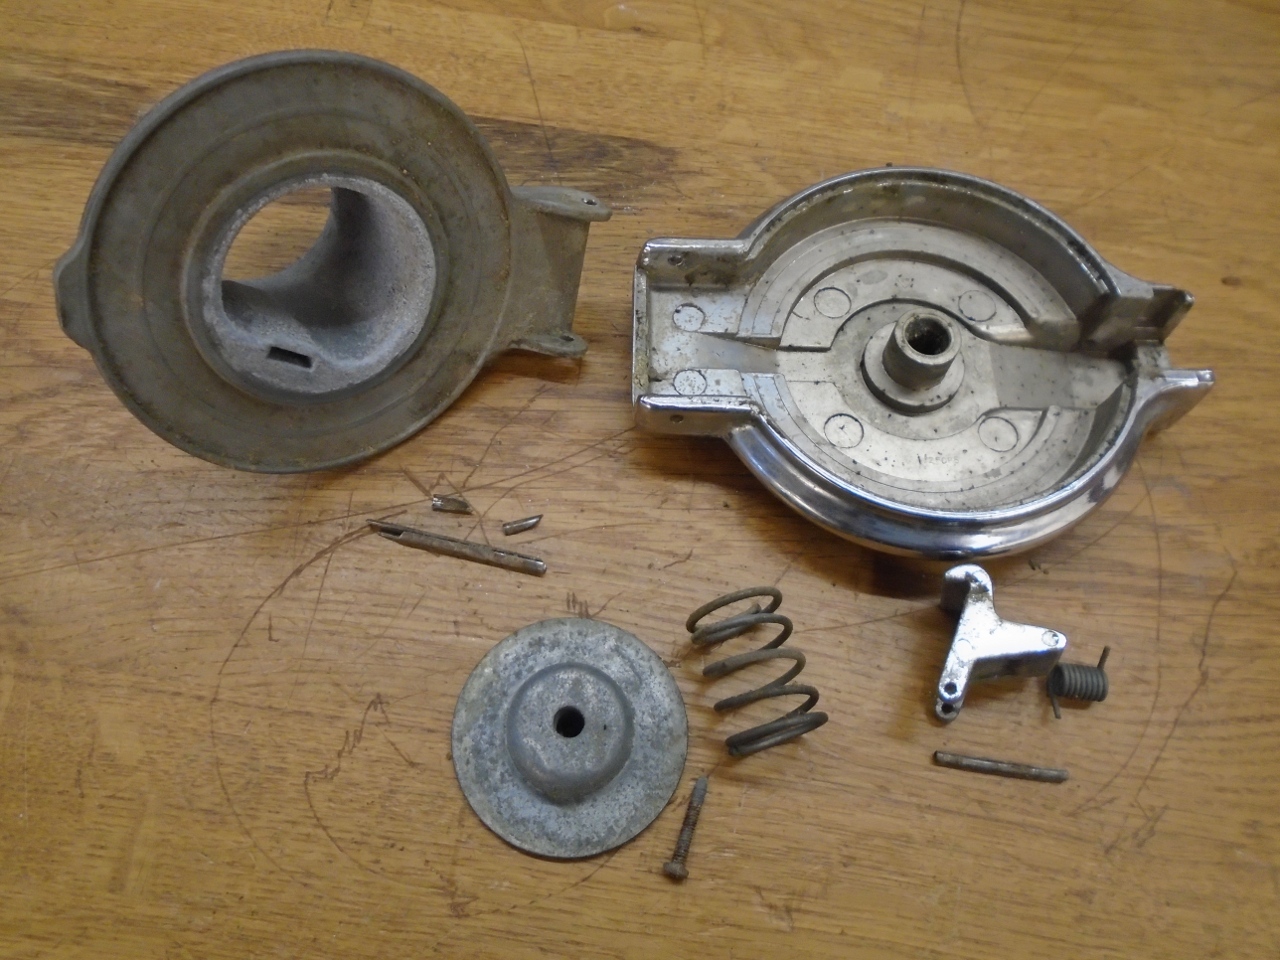
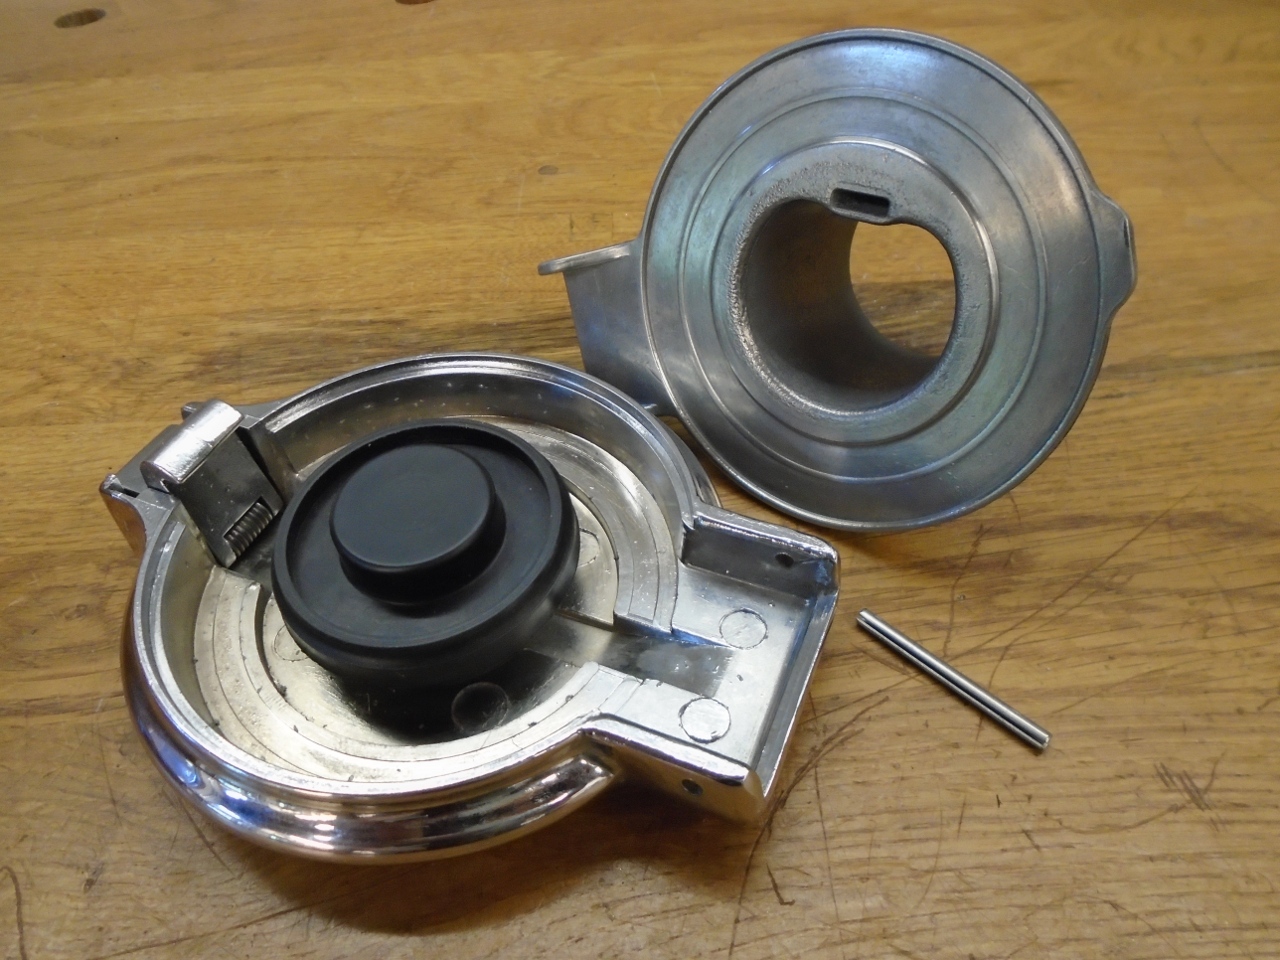
The
pot metal seal carrier is held to the cap with a screw. The
spring loaded cap latch is retained to the cap by a roll pin, as is the
cap to the filler neck. The pins didn't do well in the removal
process.
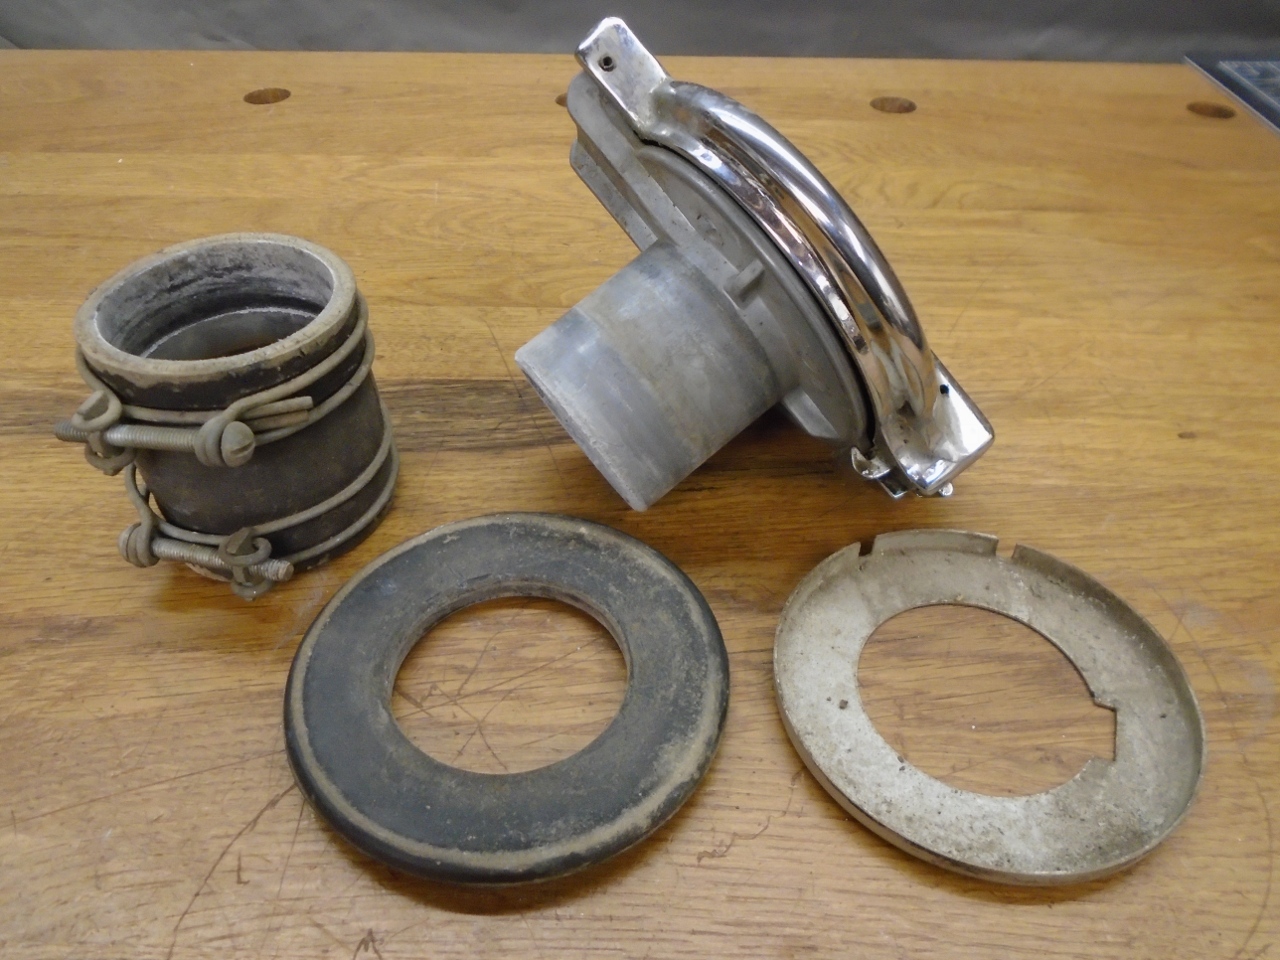
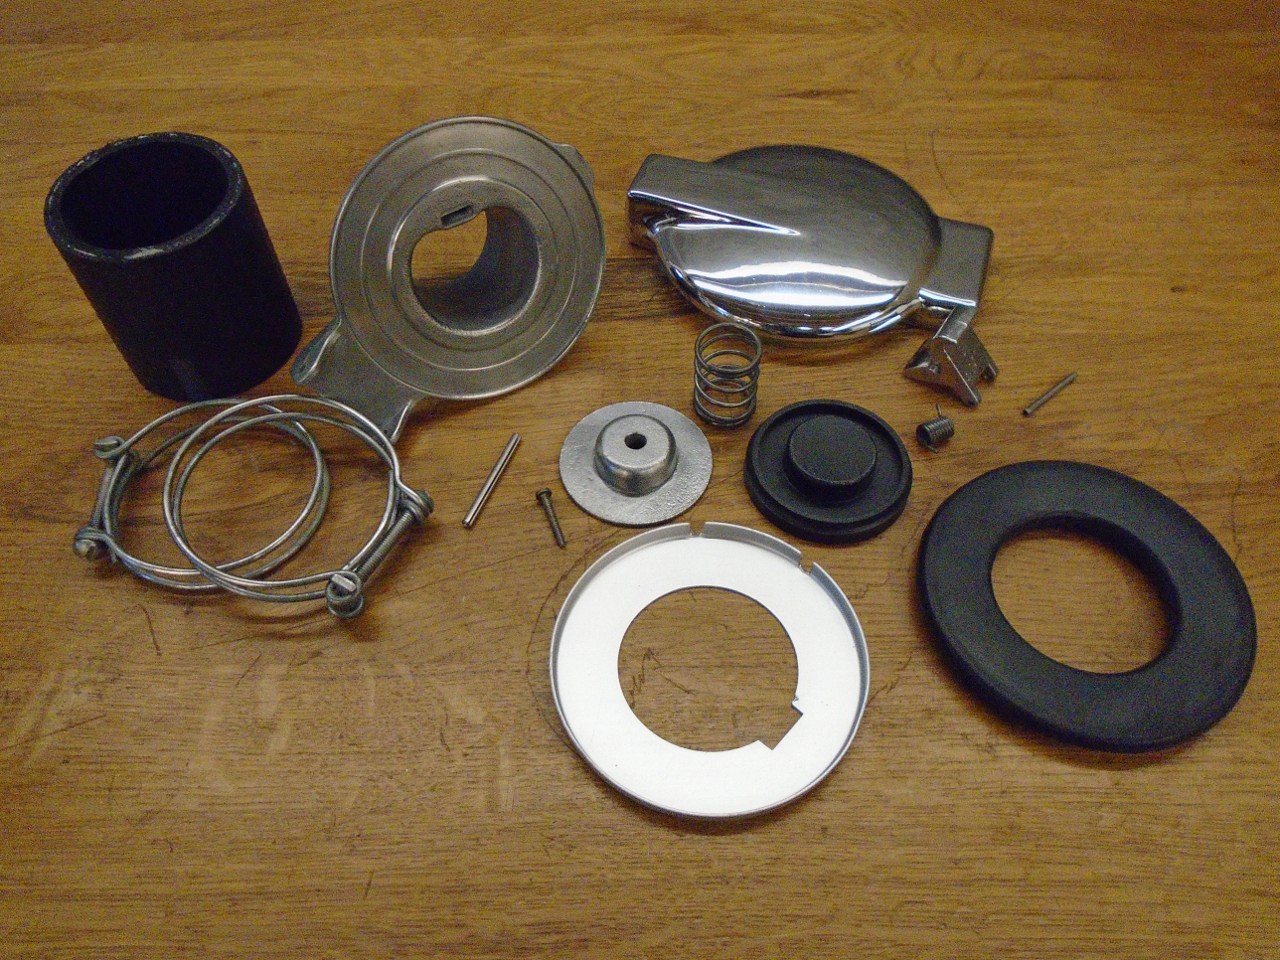
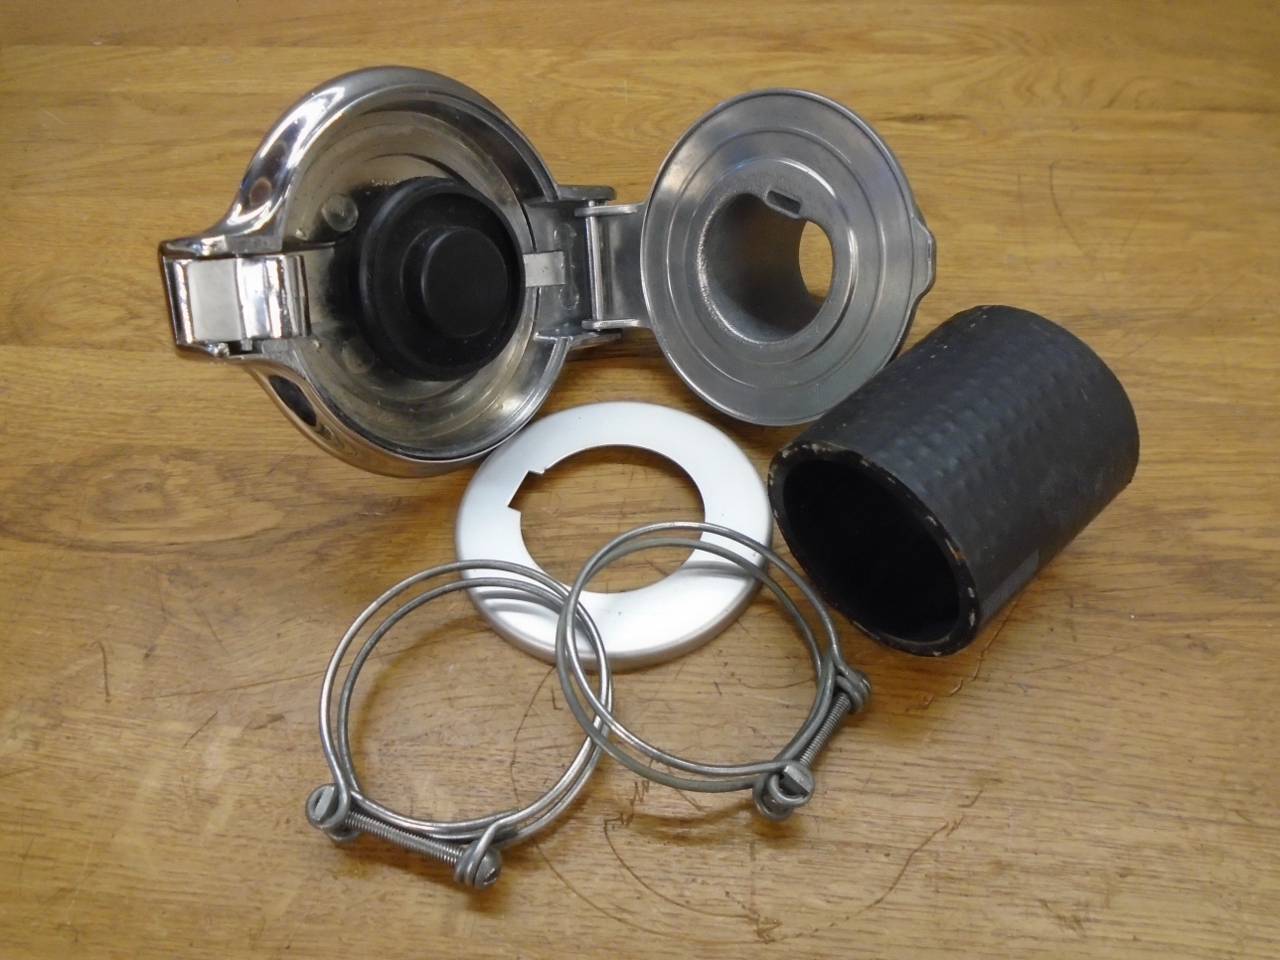
The
only parts I had to replace were the seal, the short hose, and the two
roll pins. Amazingly, after cleanup, the rubber body grommet
still looked and felt new.
The latch spring can be a little tricky to re-install. The biggest risk is having it launch.

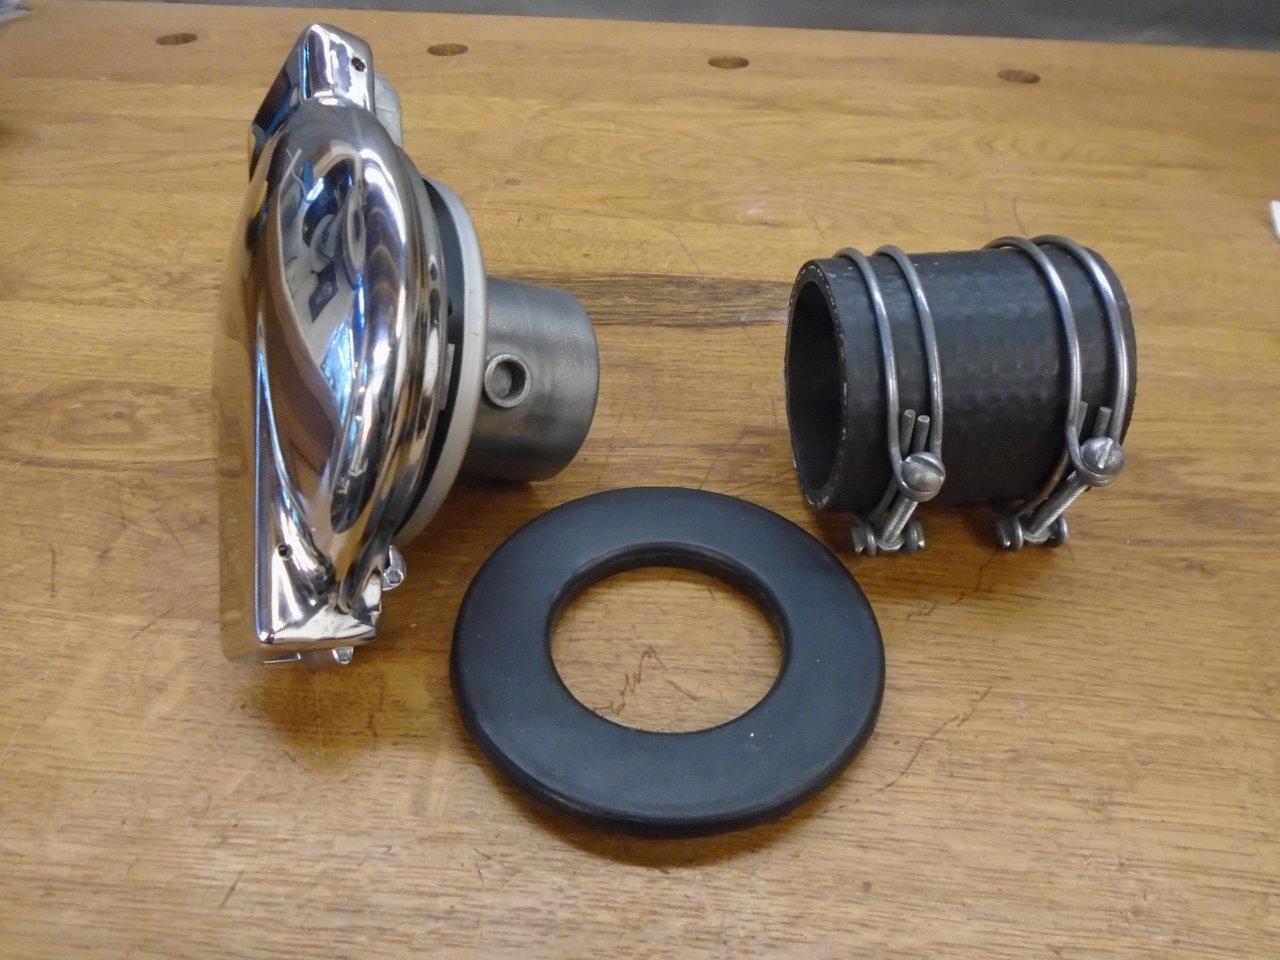
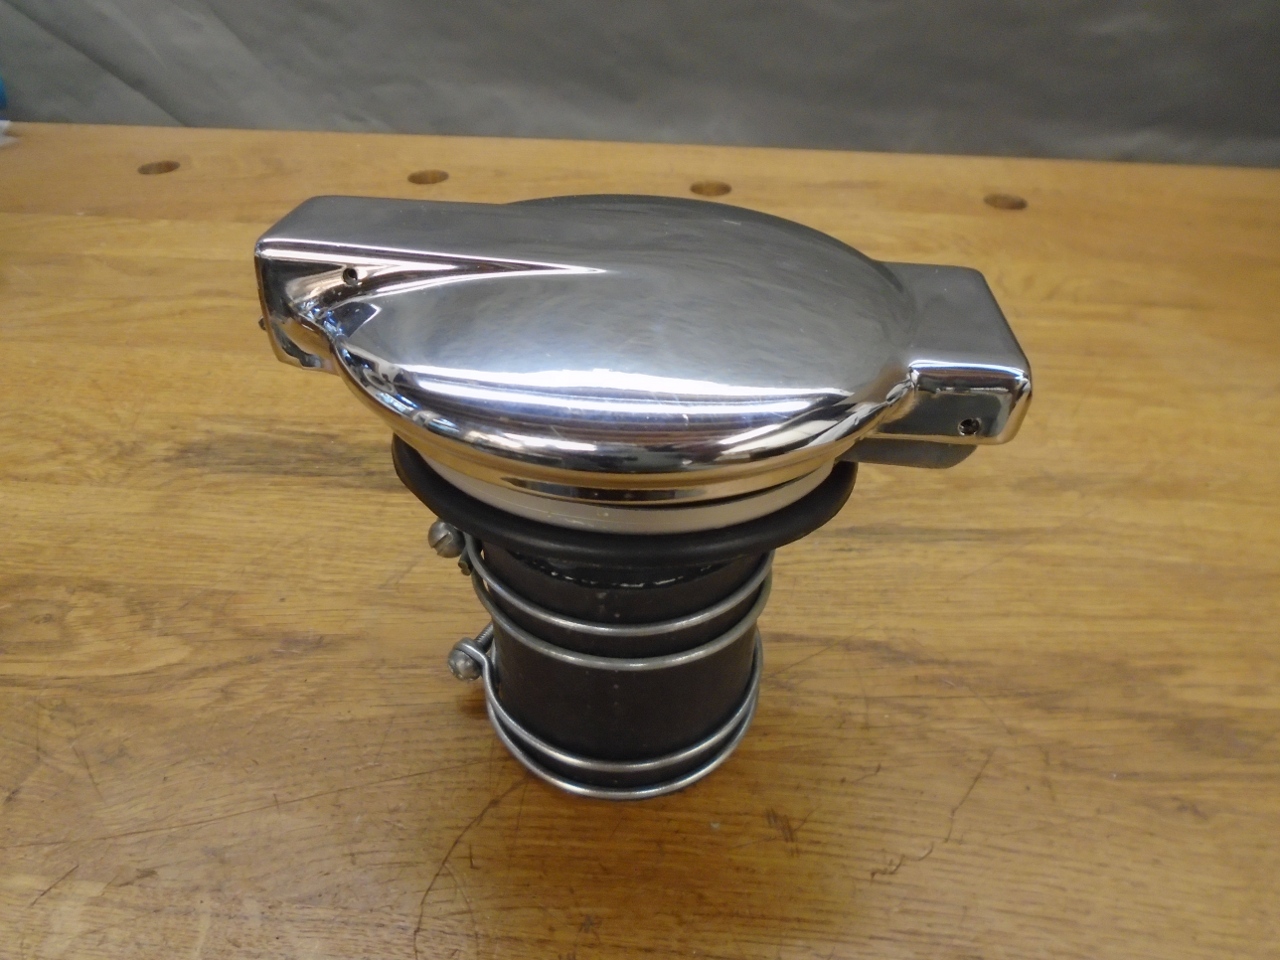
Finally, the cap and neck are re-joined.
The rest of the parts. The metallic ring is an anodized aluminum finishing ring that hides the underside of the neck.
This dude goes on the shelf until final assembly.
I
enjoy these easy jobs. No stress, no drama (well, except maybe
getting that latch spring installed). Cost was minimal.
Comments to Ed at elhollin1@yahoo.com
To my other TR6 pages.