To my other TR6 Pages
October 4, 2018
Bonnet
The
last of the panels to get under paint is the biggest one--the bonnet.
I can move it around by myself, but it's pretty awkward.
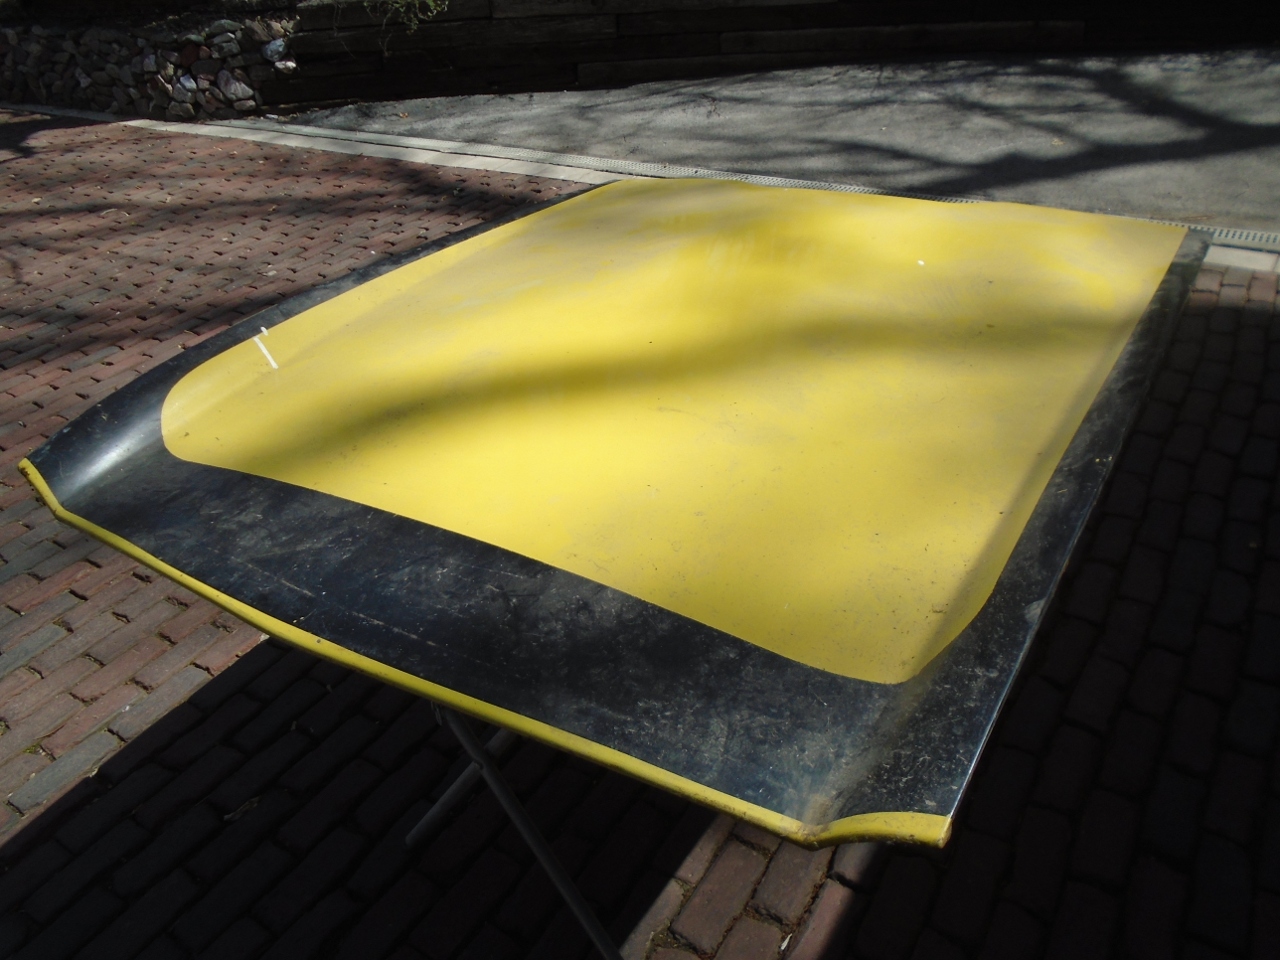
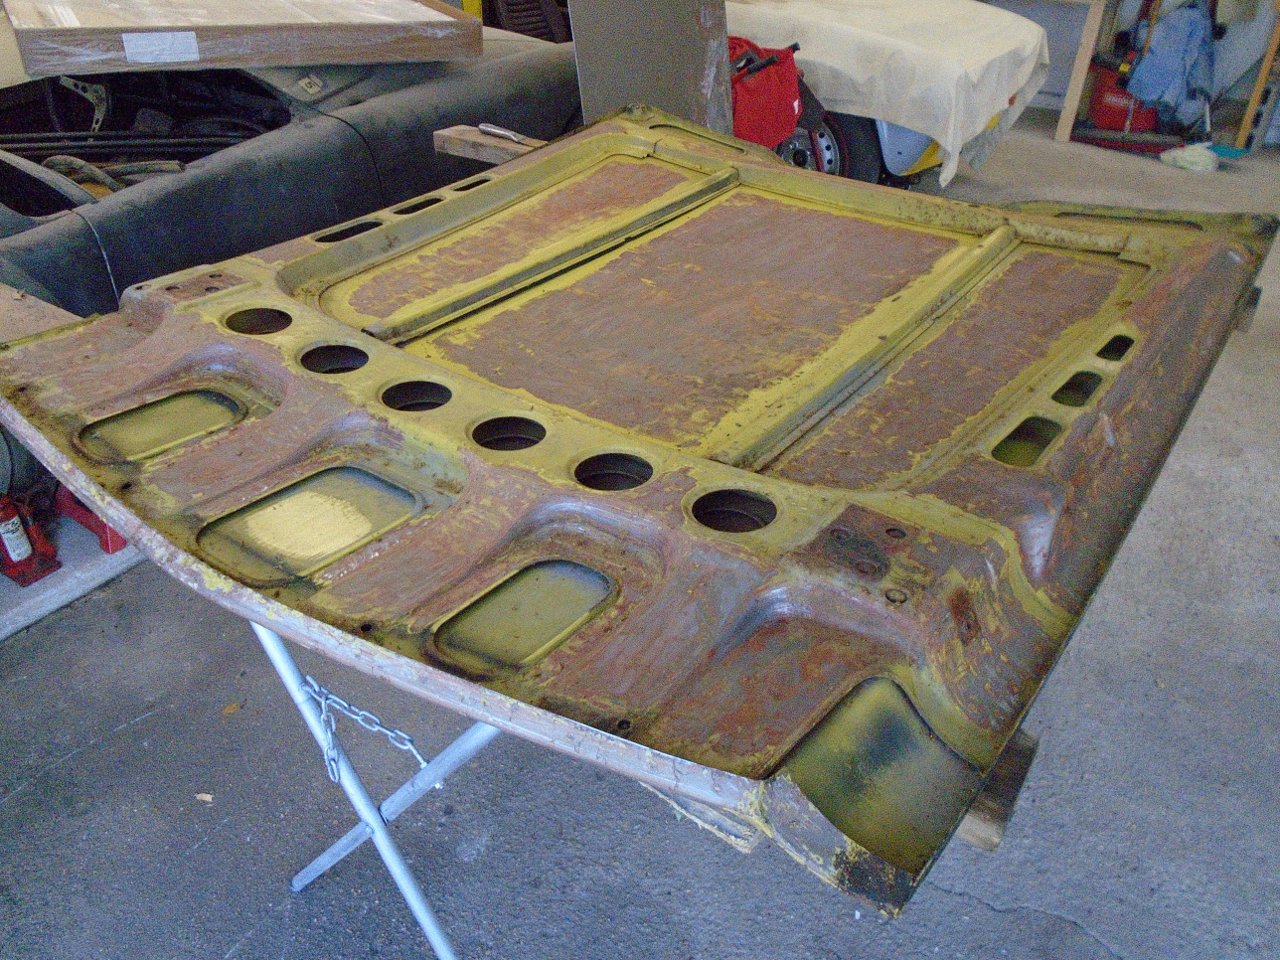
The
bonnet was in pretty good shape. Little rust, but there were a
few little dings on the leading edge, and a long shallow crease from
side to side near the cowl end. The crease was only noticable
from certain angles, but it was so uniform that I suspect it was a
defect from the factory.
First, off with the paint. I don't mess around with wimpy strippers
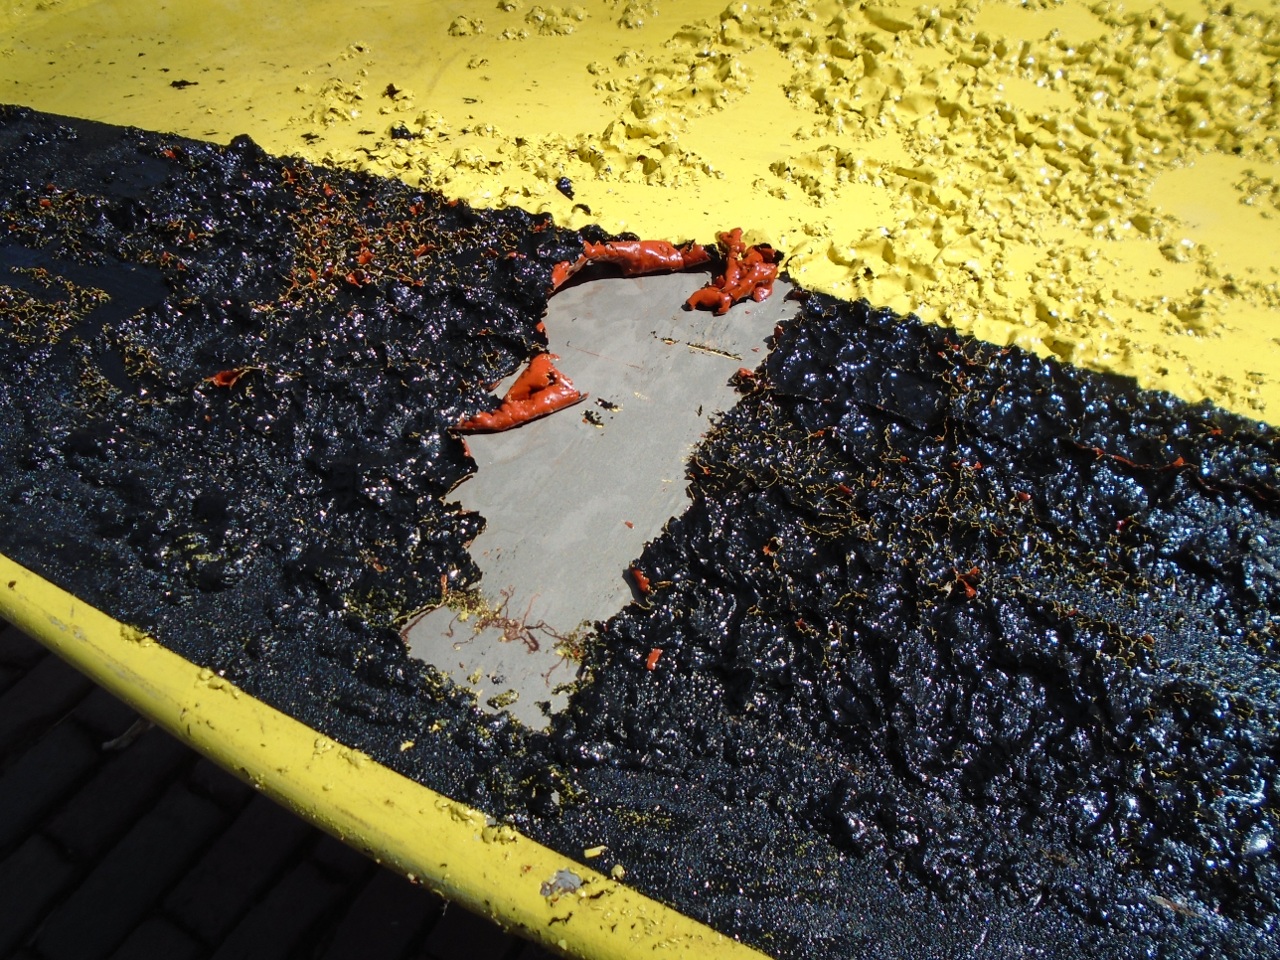
The backside is a little more challenging.
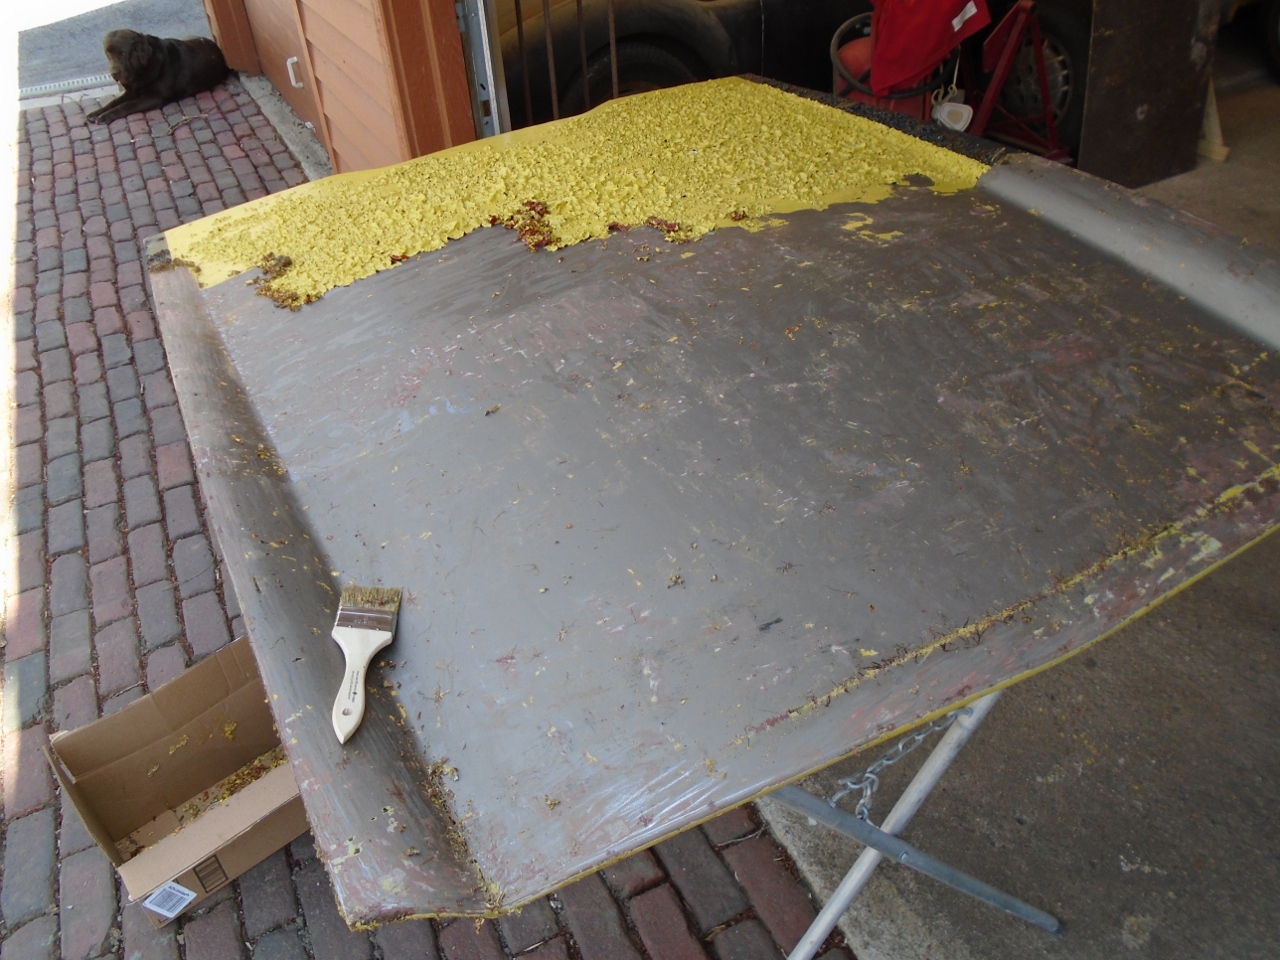
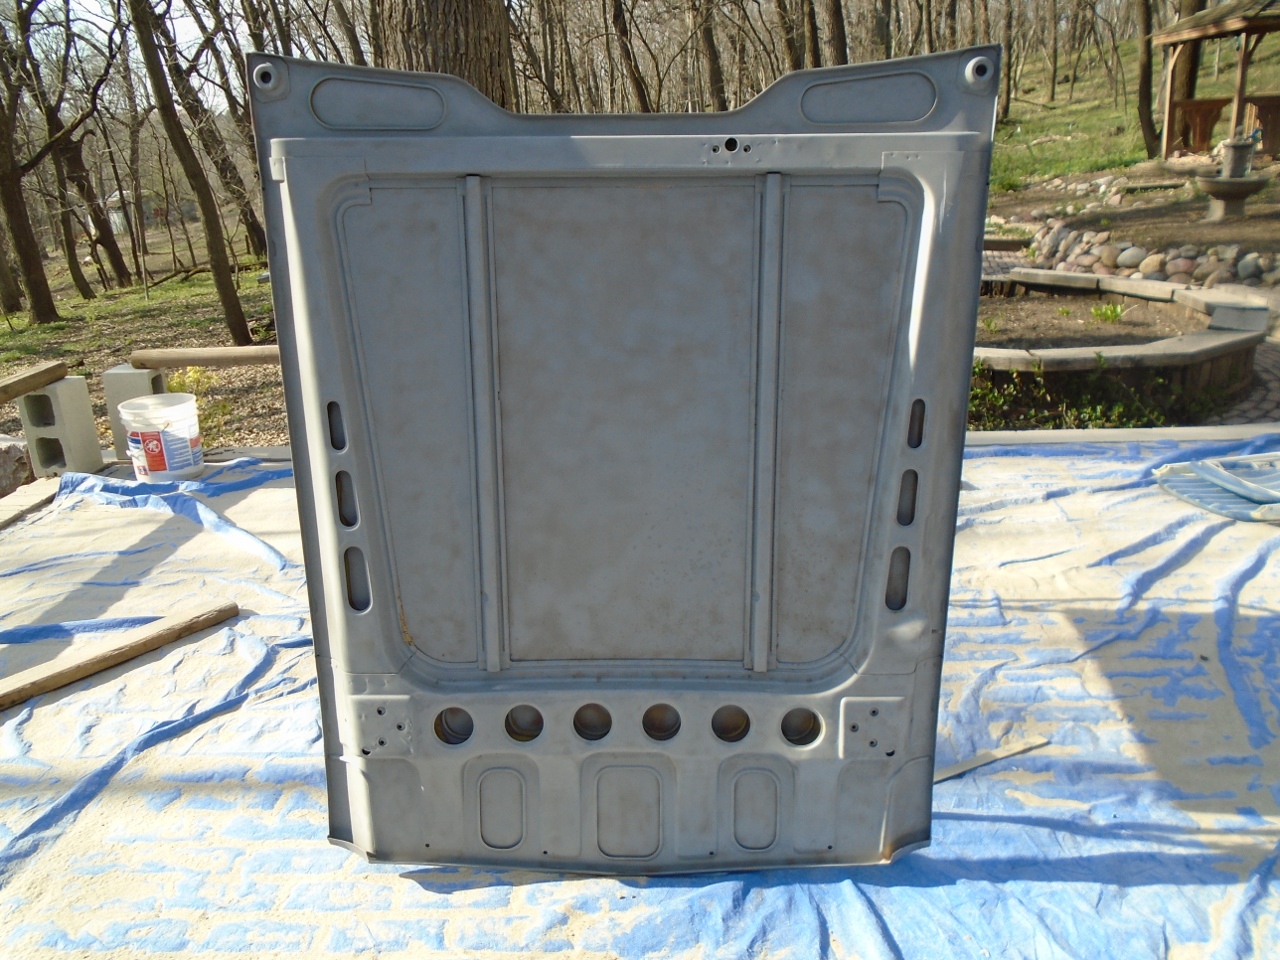
Then,
to get rid of the remaining paint residue, especially on the underside,
a light sand blasting. Though I consider blasting the best way to
get to clean metal, a really light touch is needed on flat or nearly
flat panels like the skin of the bonnet. The formed
understructure of the panel is a lot tougher, and the blaster cleans
that up really quickly.
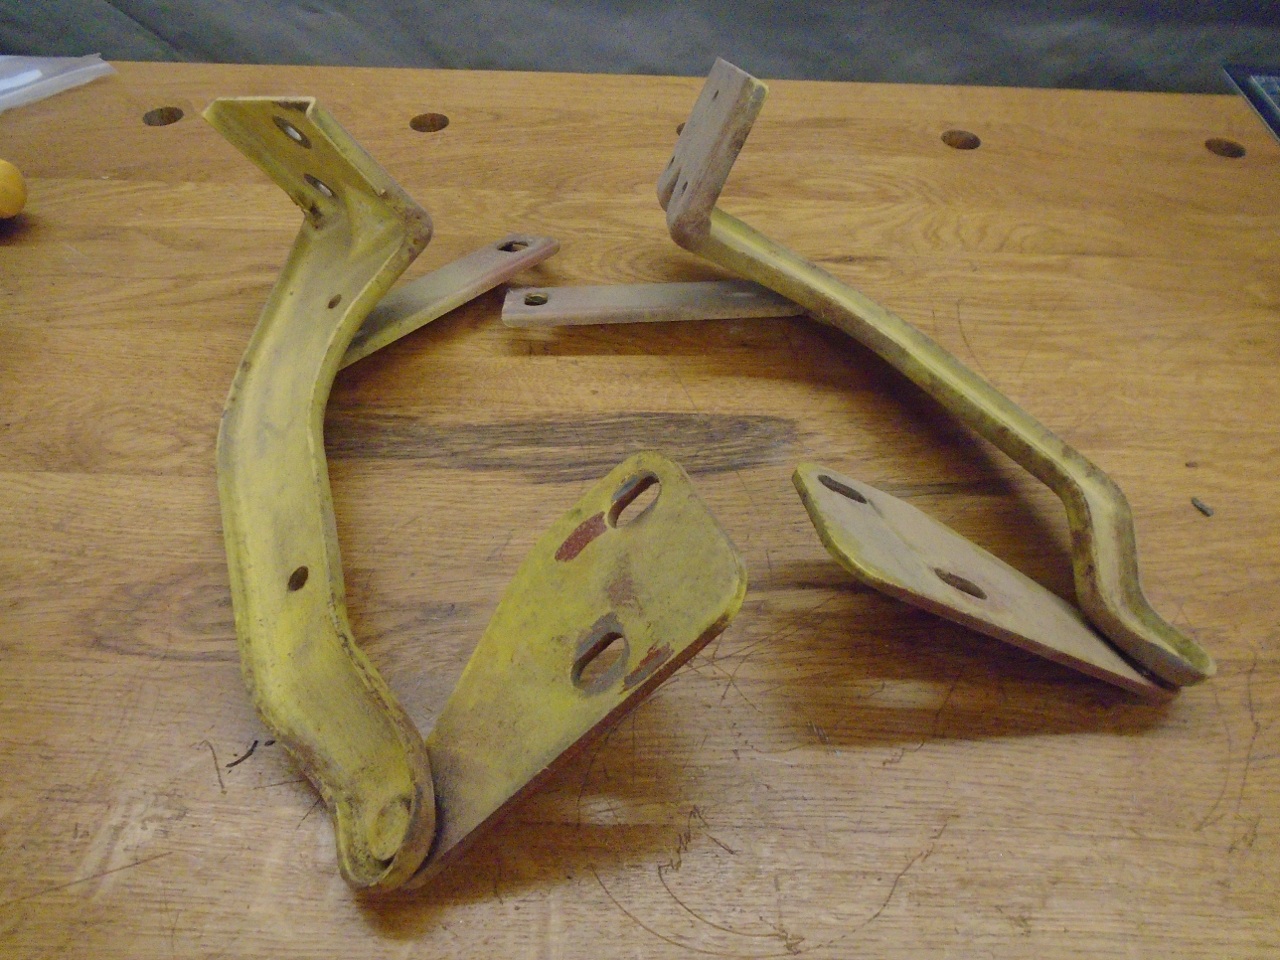
Almost forgot the hinges. My hinges were still tight and smooth.
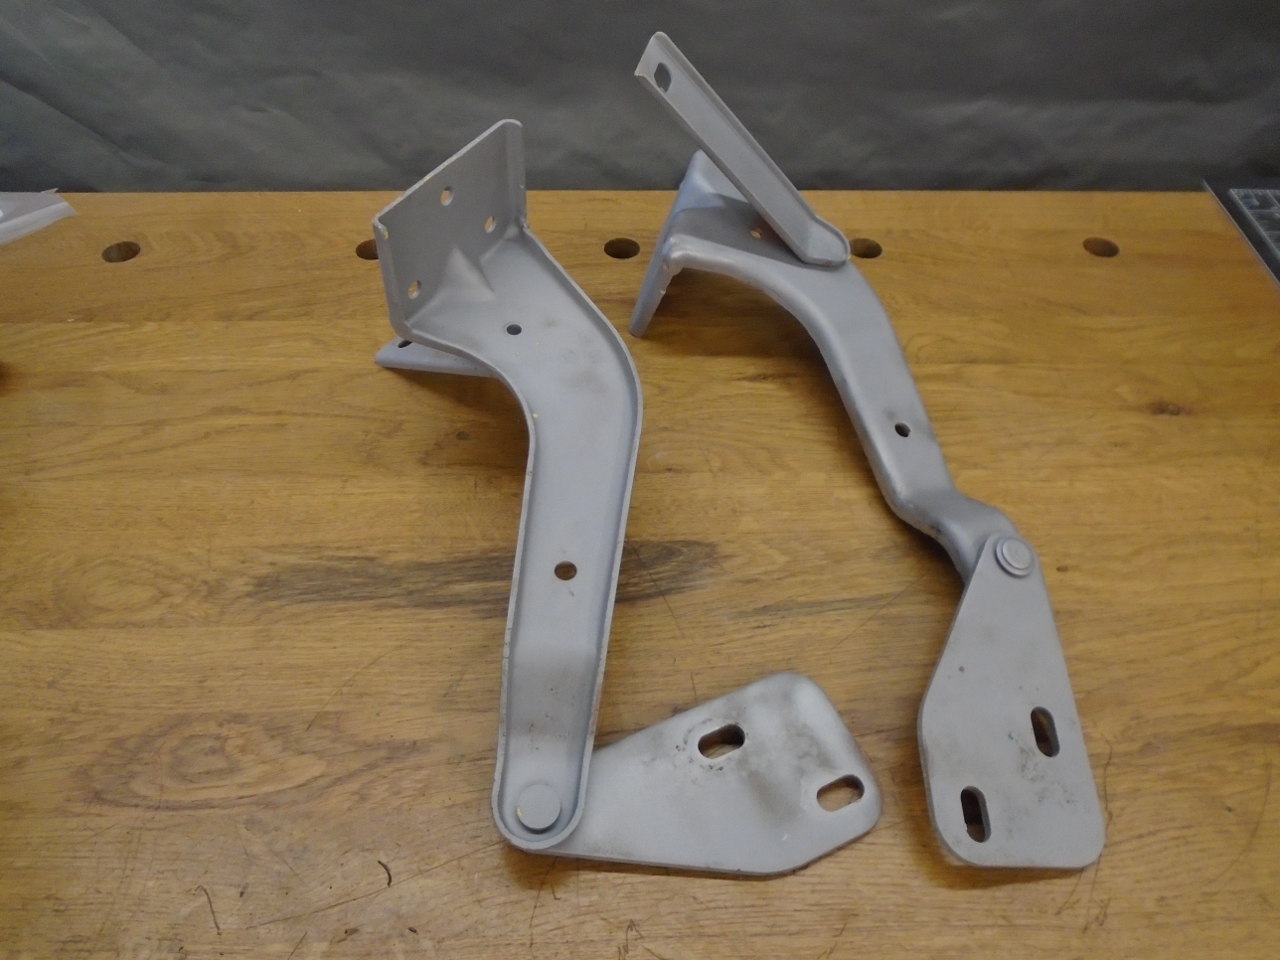
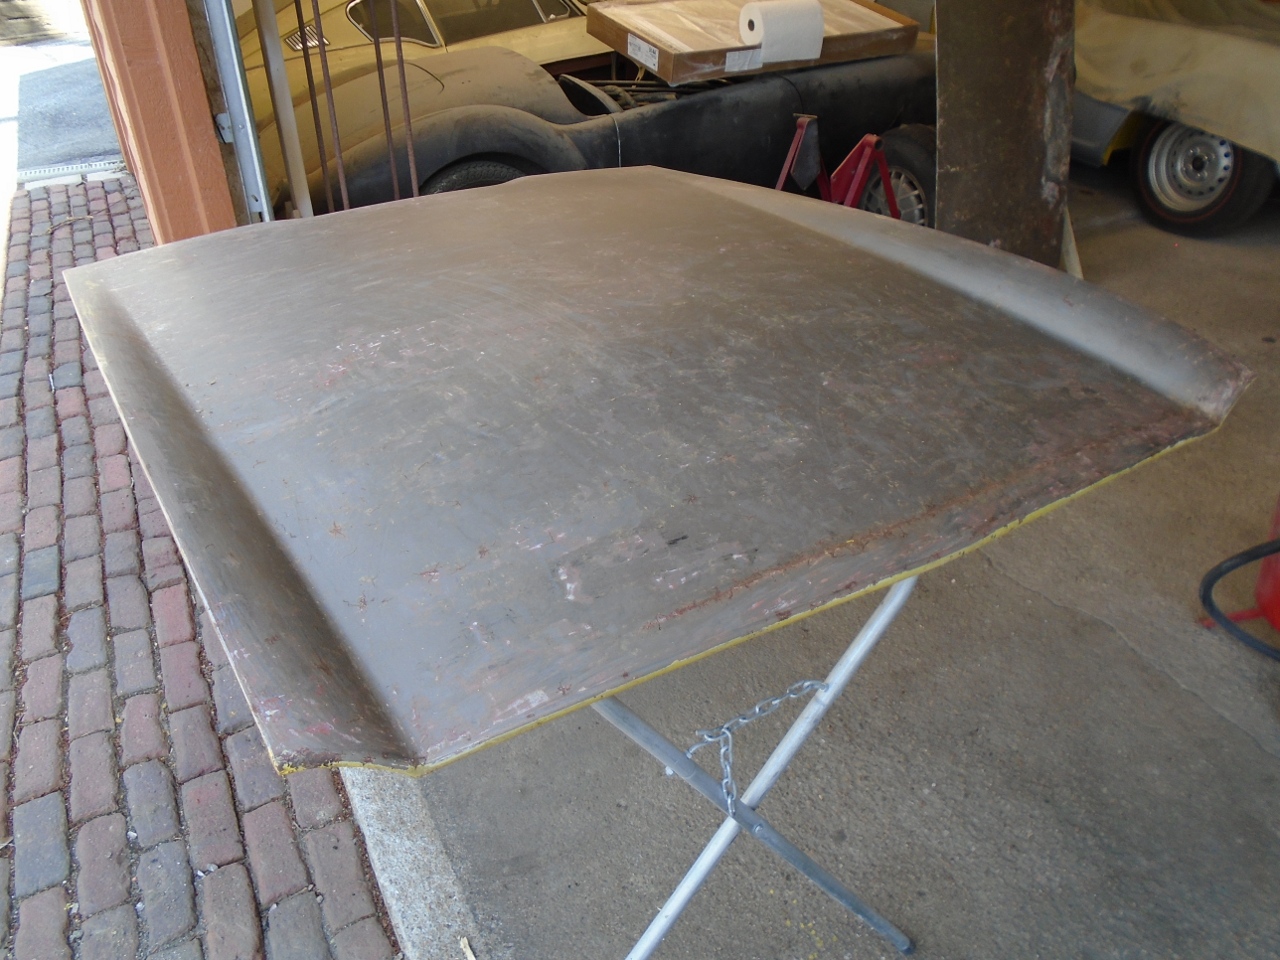
Then a coat of epoxy primer to protect the metal surfaces from humidity.
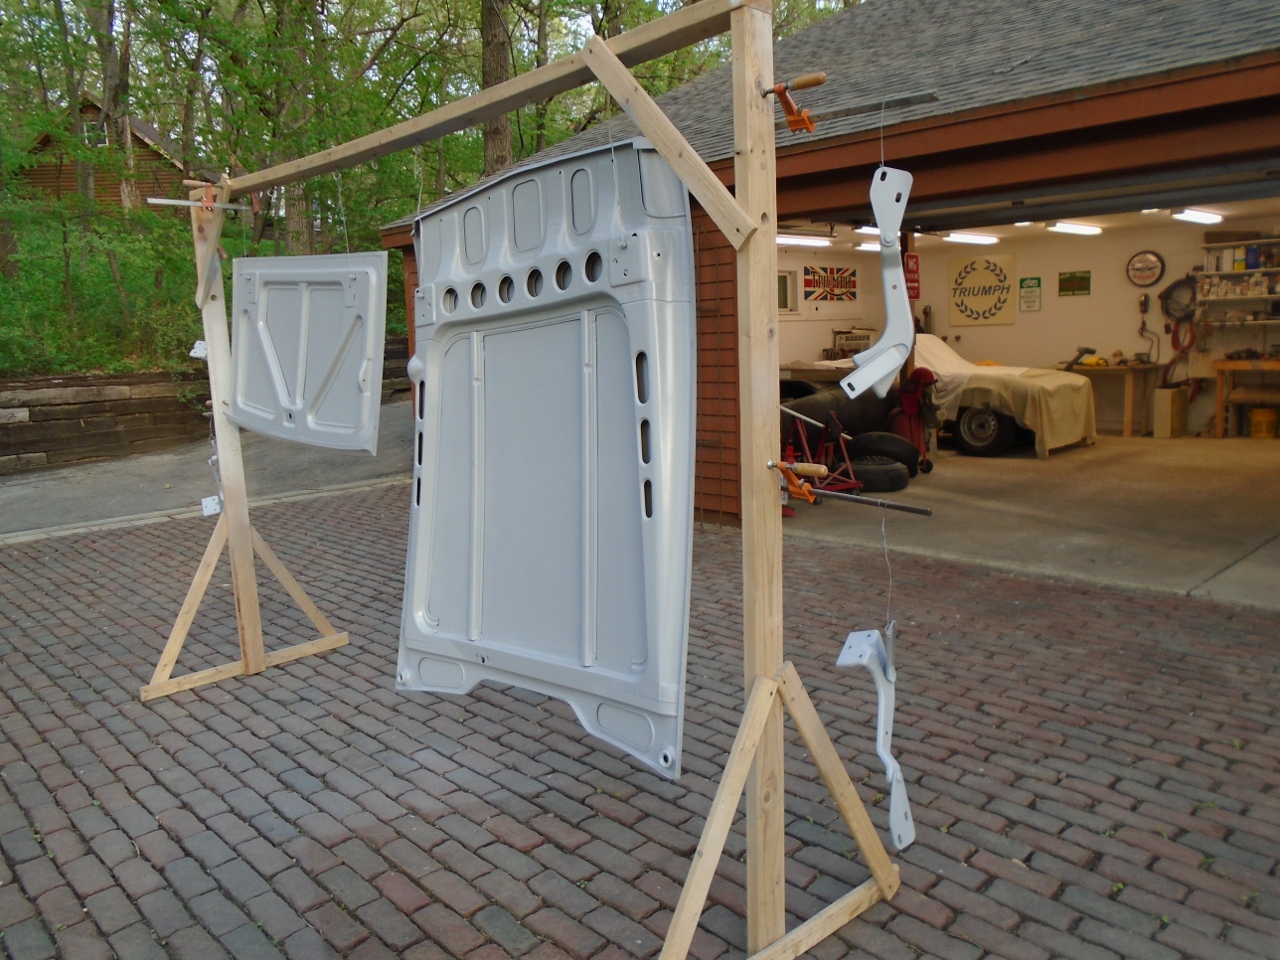
Fast
forward a few months, and all the other panels on the car are done.
The bonnet got the same treatment as the others--block sanding,
some filler where necessary, and another coat of epoxy primer to coat
the bare metal exposed by the block sanding. Then a few rounds of
a polyester surfacer primer and more block sanding. The bonnet
took five rounds of priming/sanding. The other panels only took
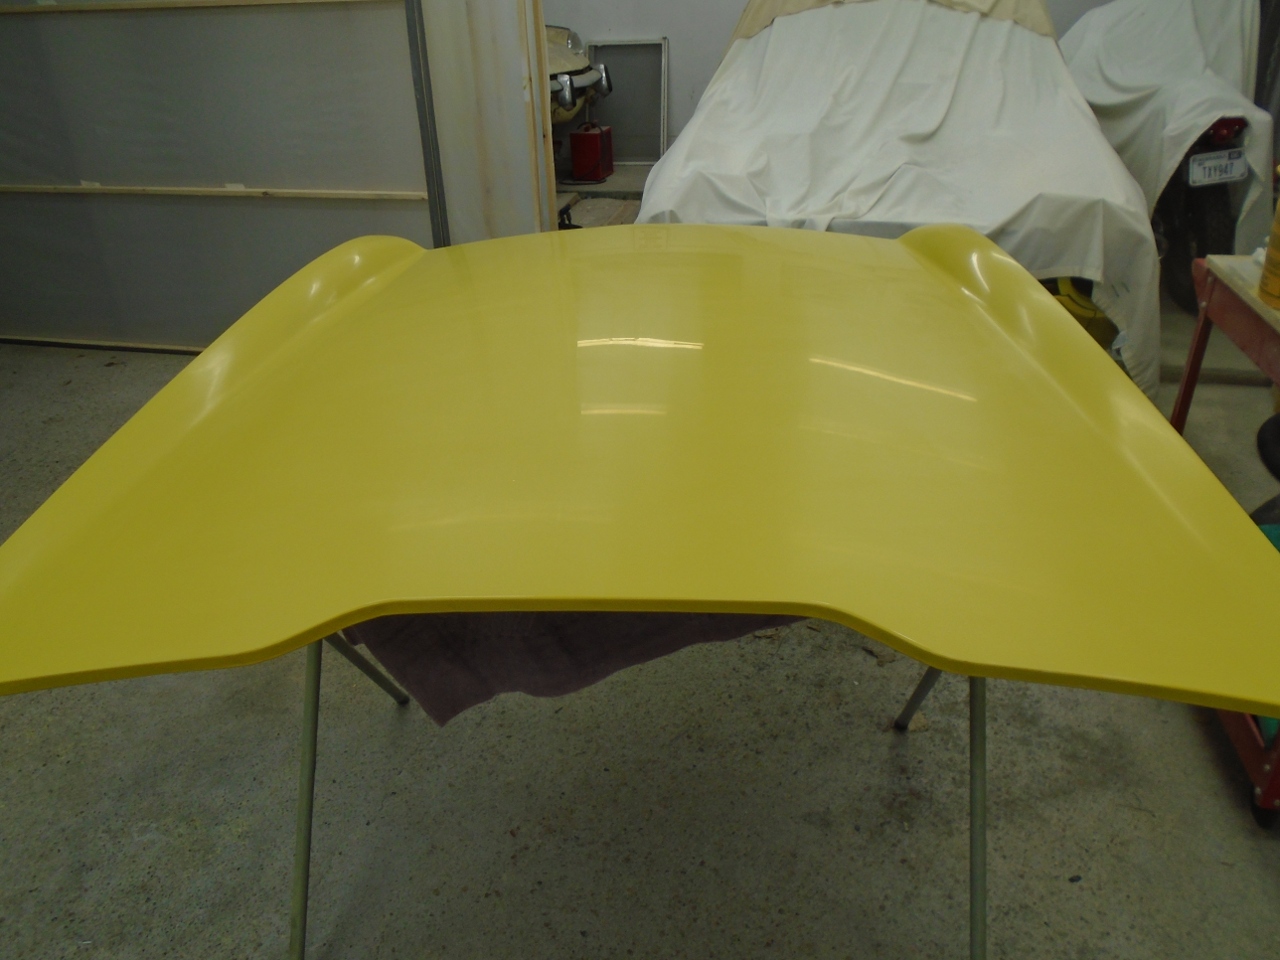
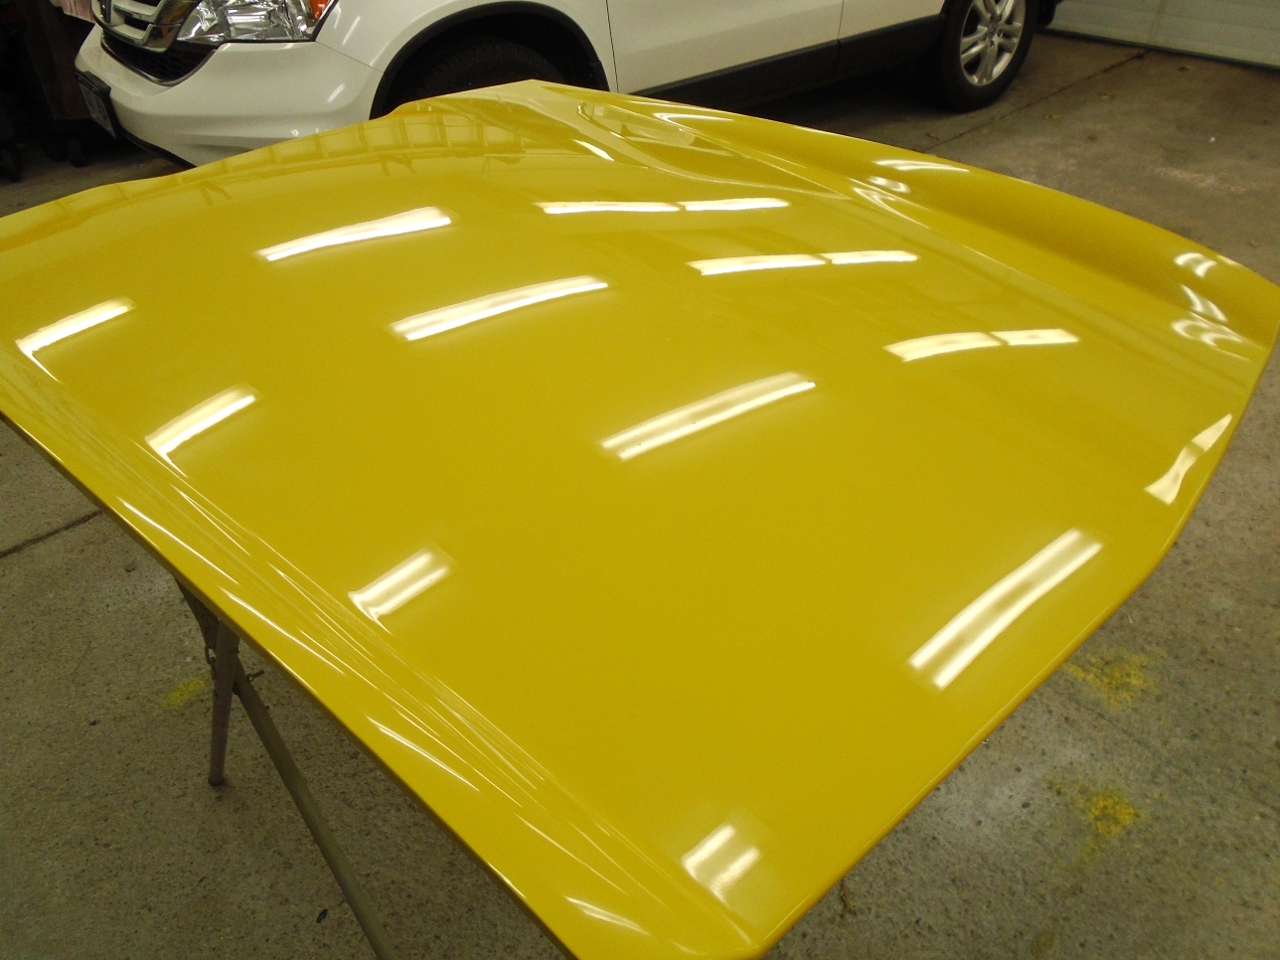
from one to three. I apparently don't have any pictures of the
block sanding steps, but here is the color coat. I had already
painted the underside.
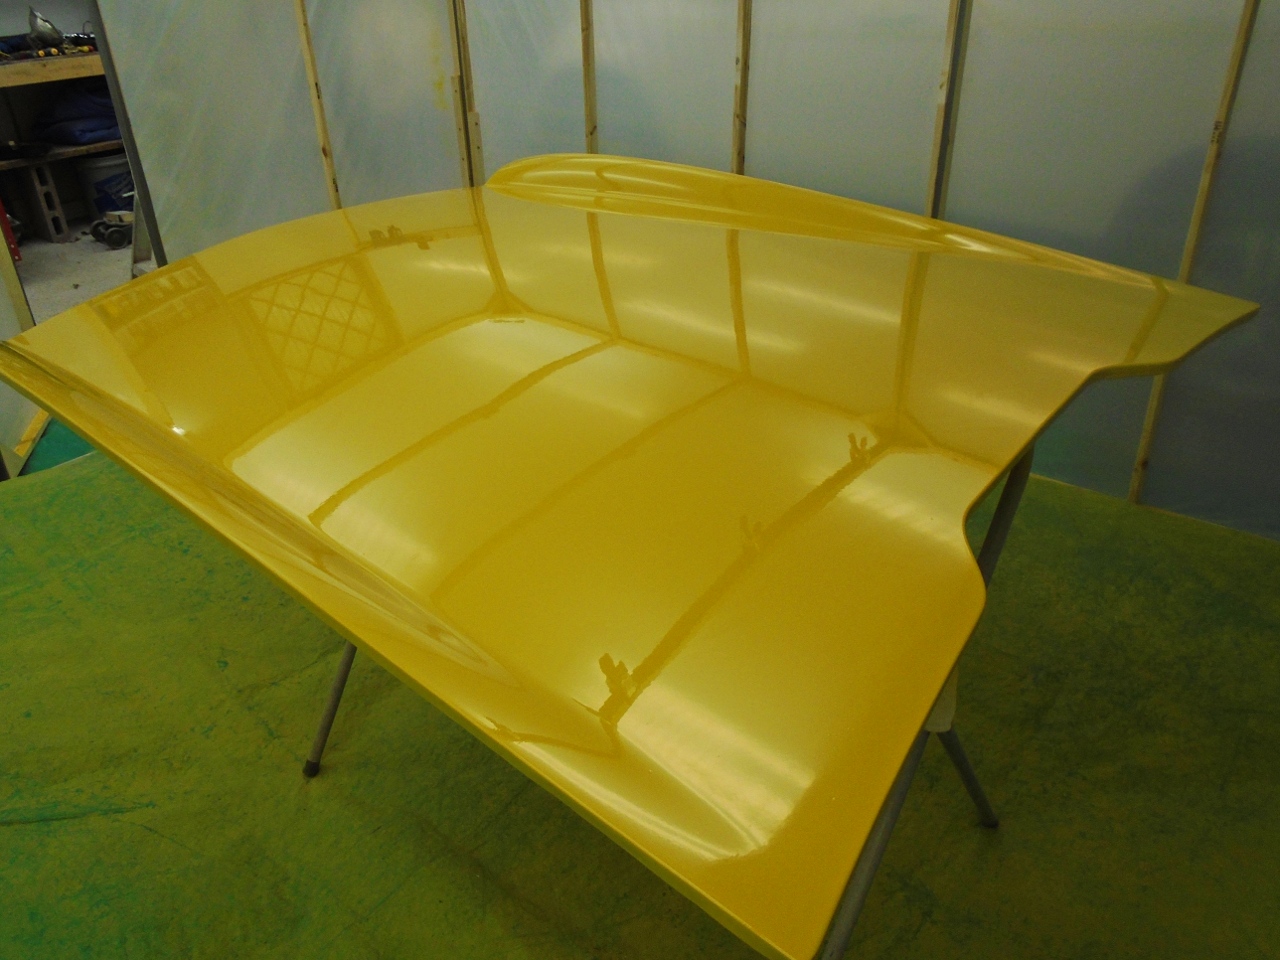
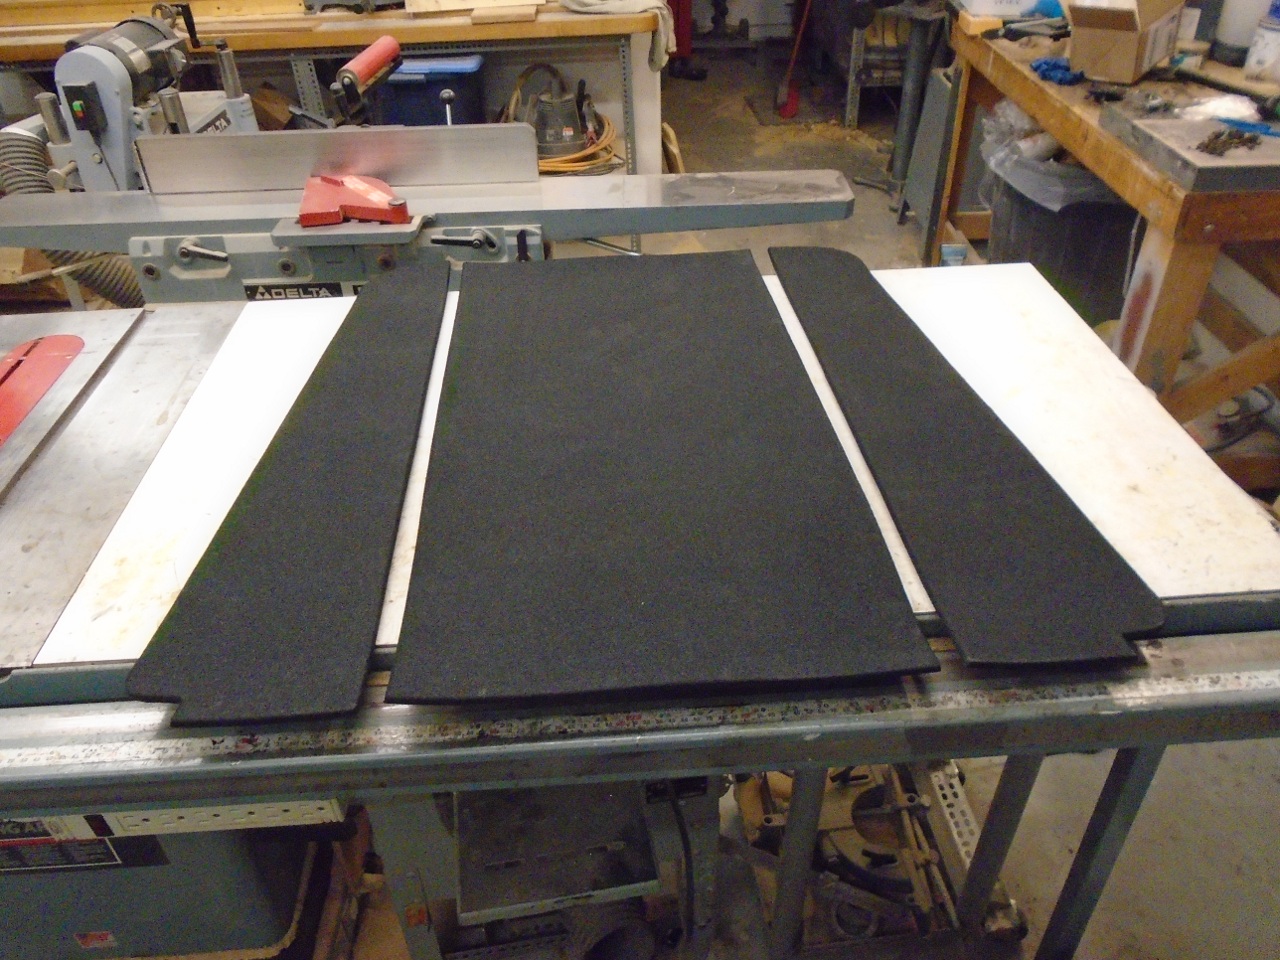
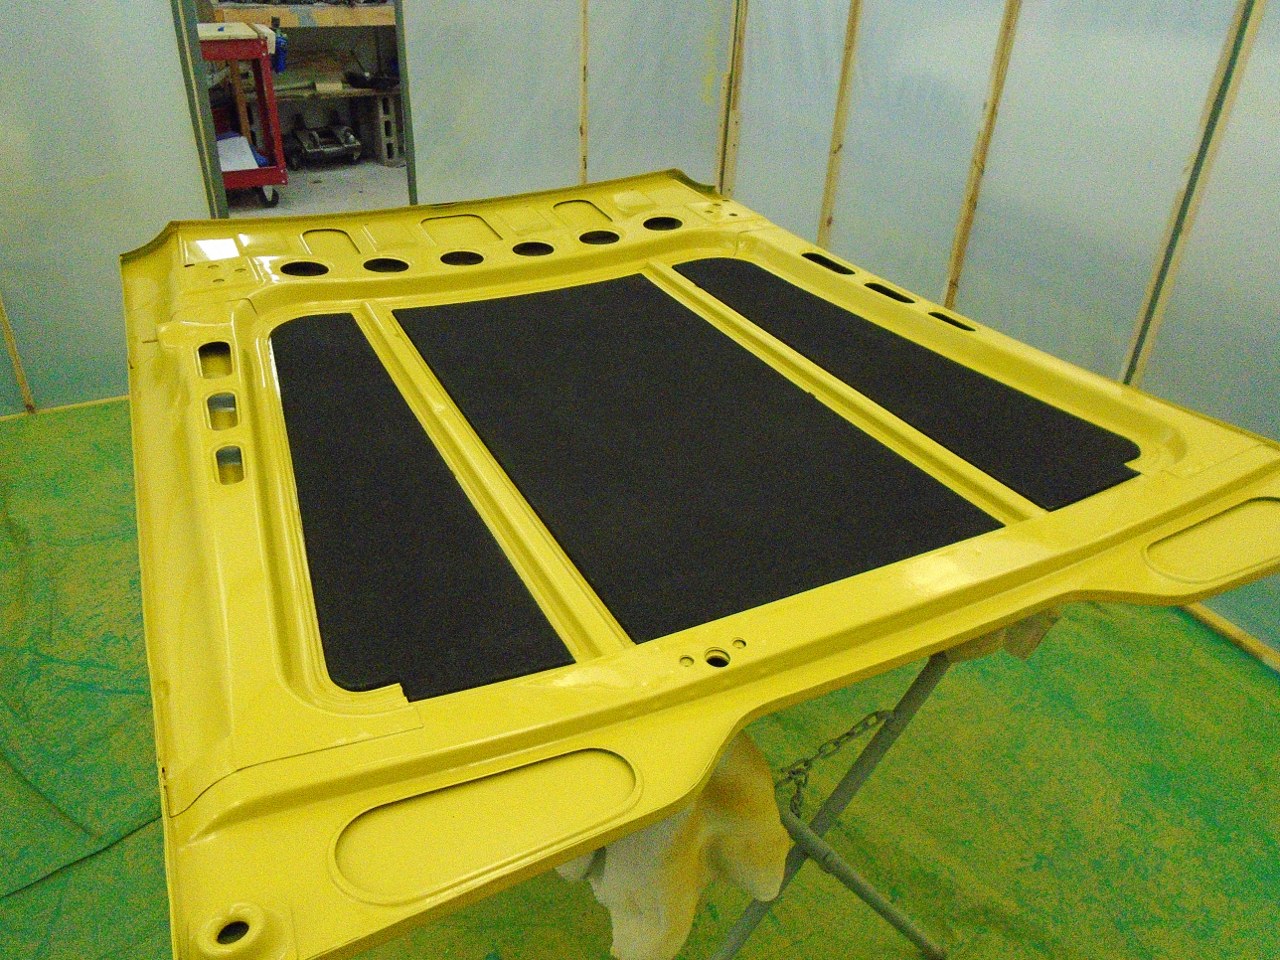
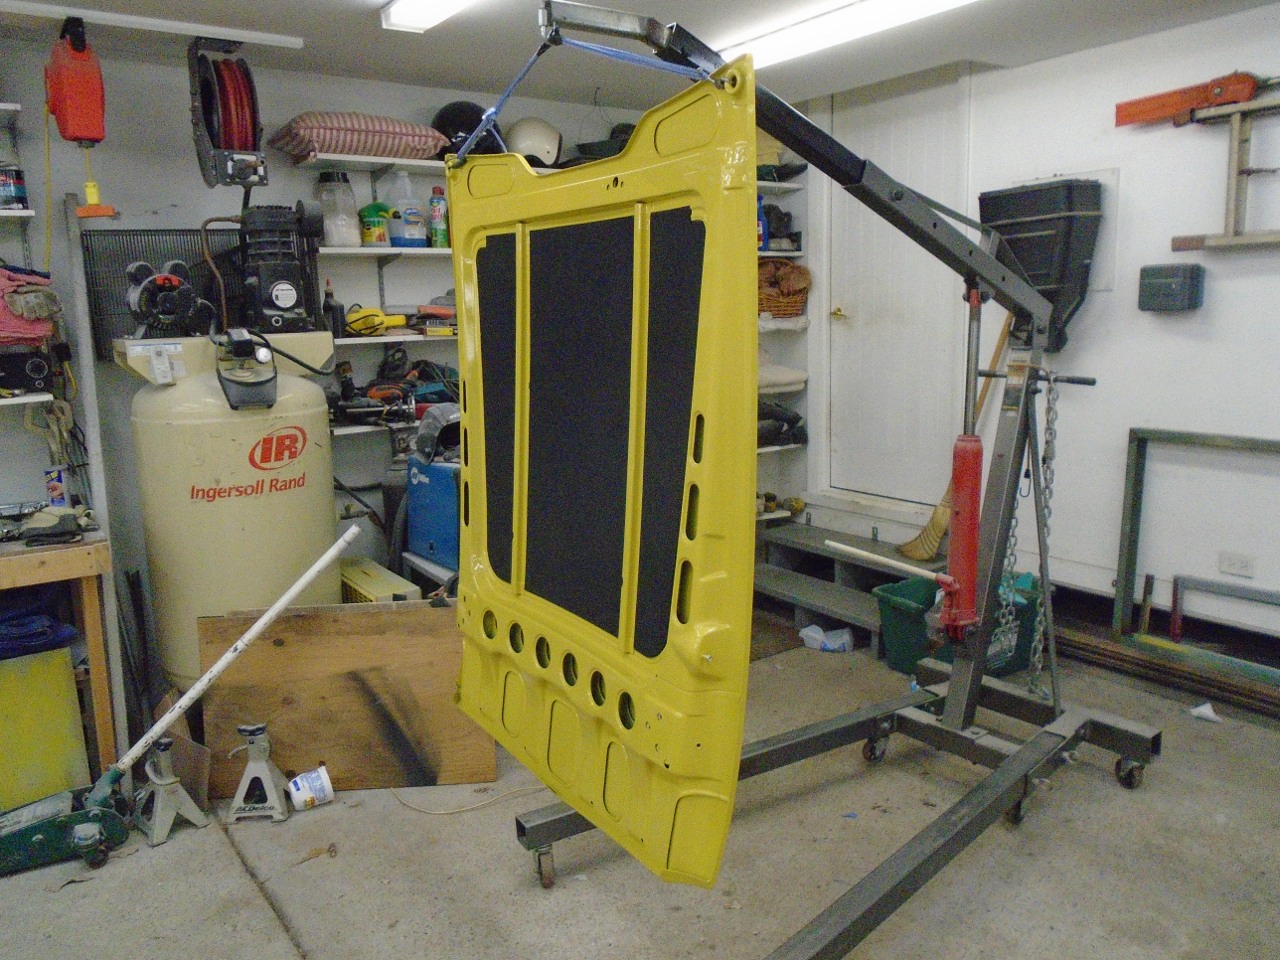
I
like the looks of those black foam pads on the underside of the bonnet.
I'm not sure I totally buy their sound or heat insulating
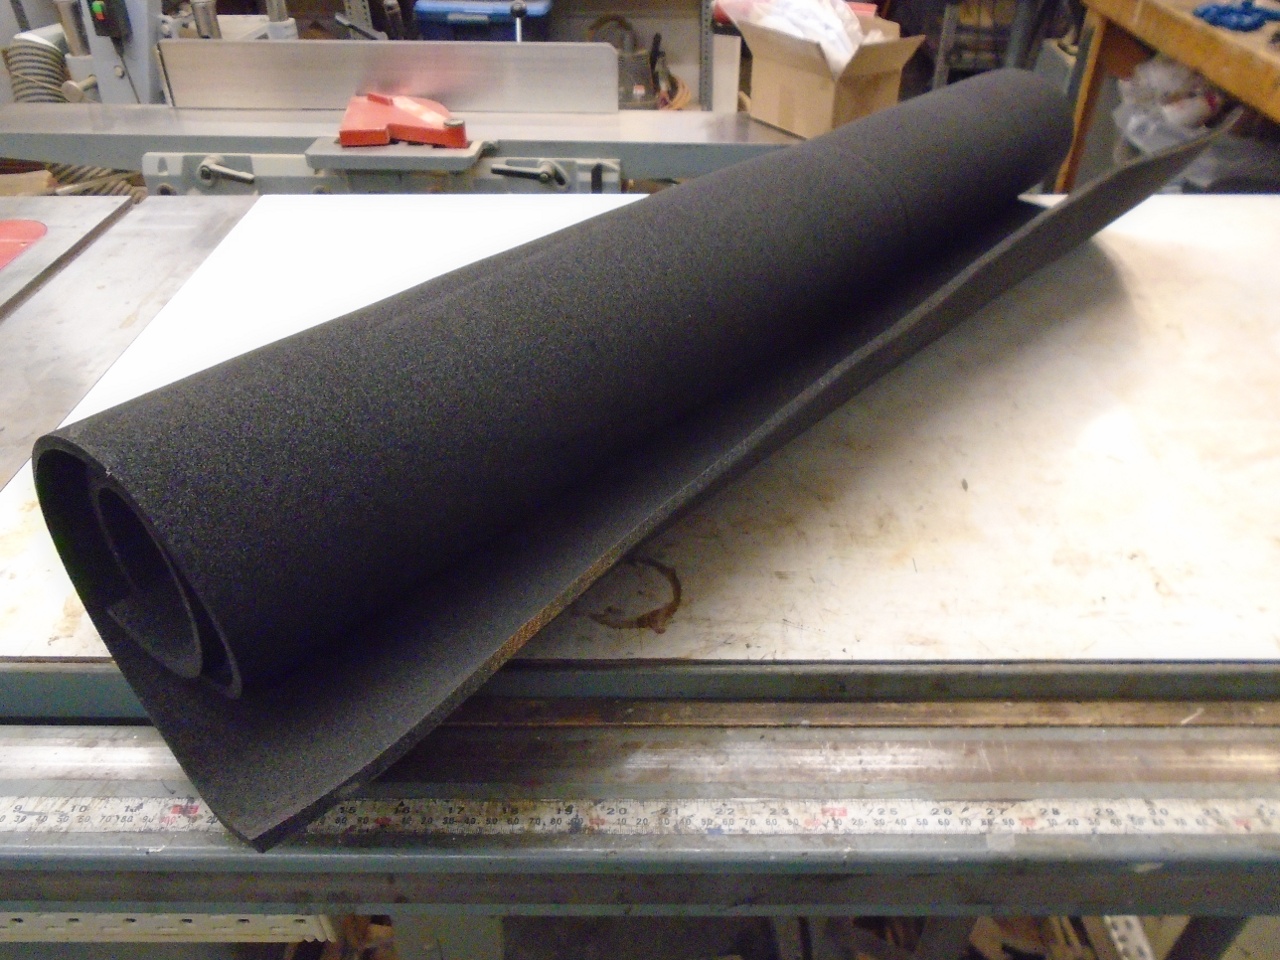
benefits, but they look cool to me. I shopped around and thought
the prices were a little higher than they needed to be. From the
descriptions of the commercial products, I could make a pretty good
guess about what material they used to make them, so I bought a small
roll of 1/4" black foam. This is a blended, closed cell Buna-N
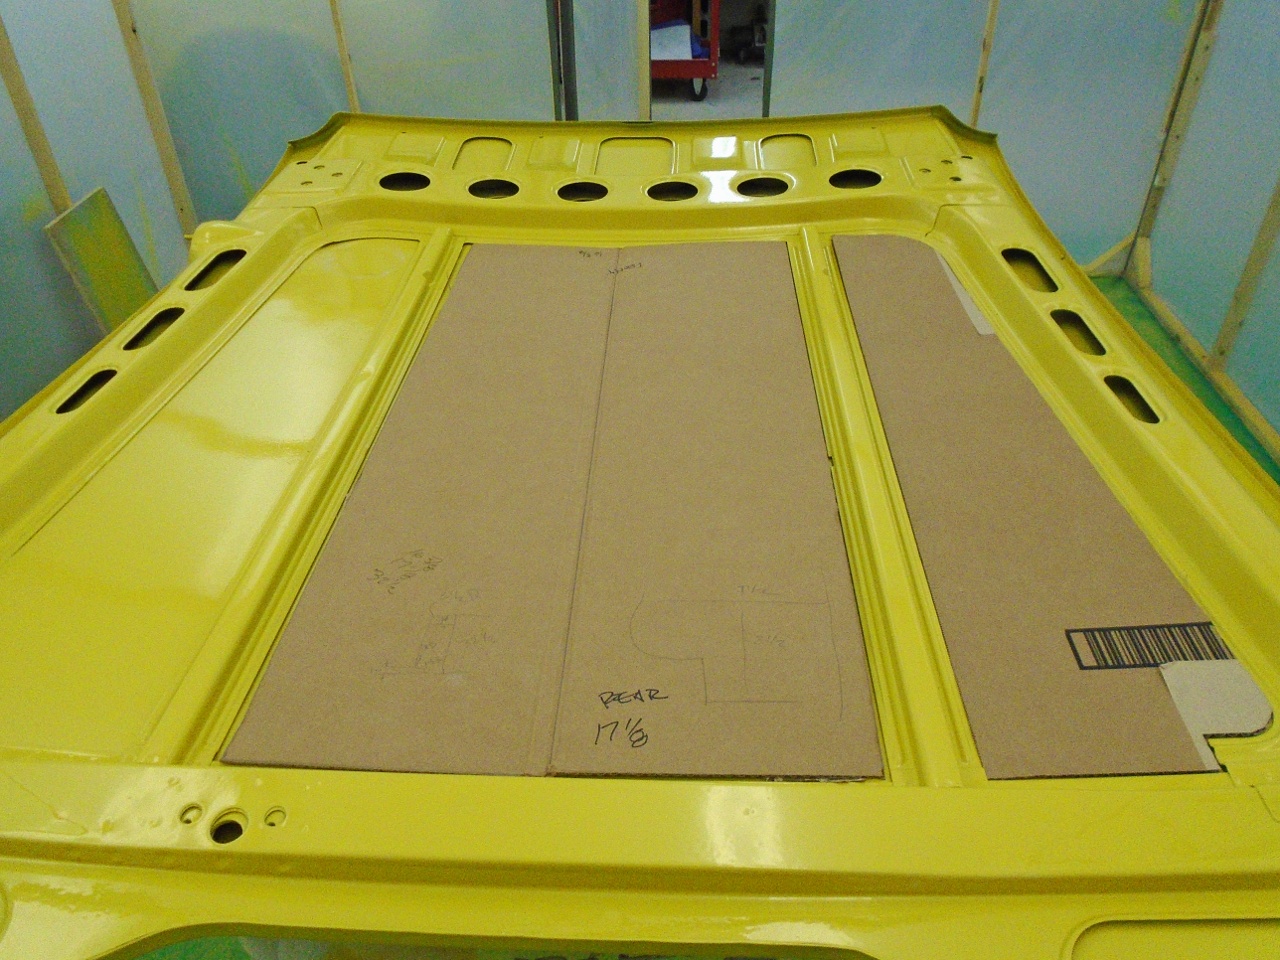
material that is oil resistant and flame retardant. I made some
cardboard patterns to get the fit right. The commercial suppliers
offer largish logo decals to go on the center panel. I had
decided not to do the decal. In my opinion, one too few logos is
way better than one too many.
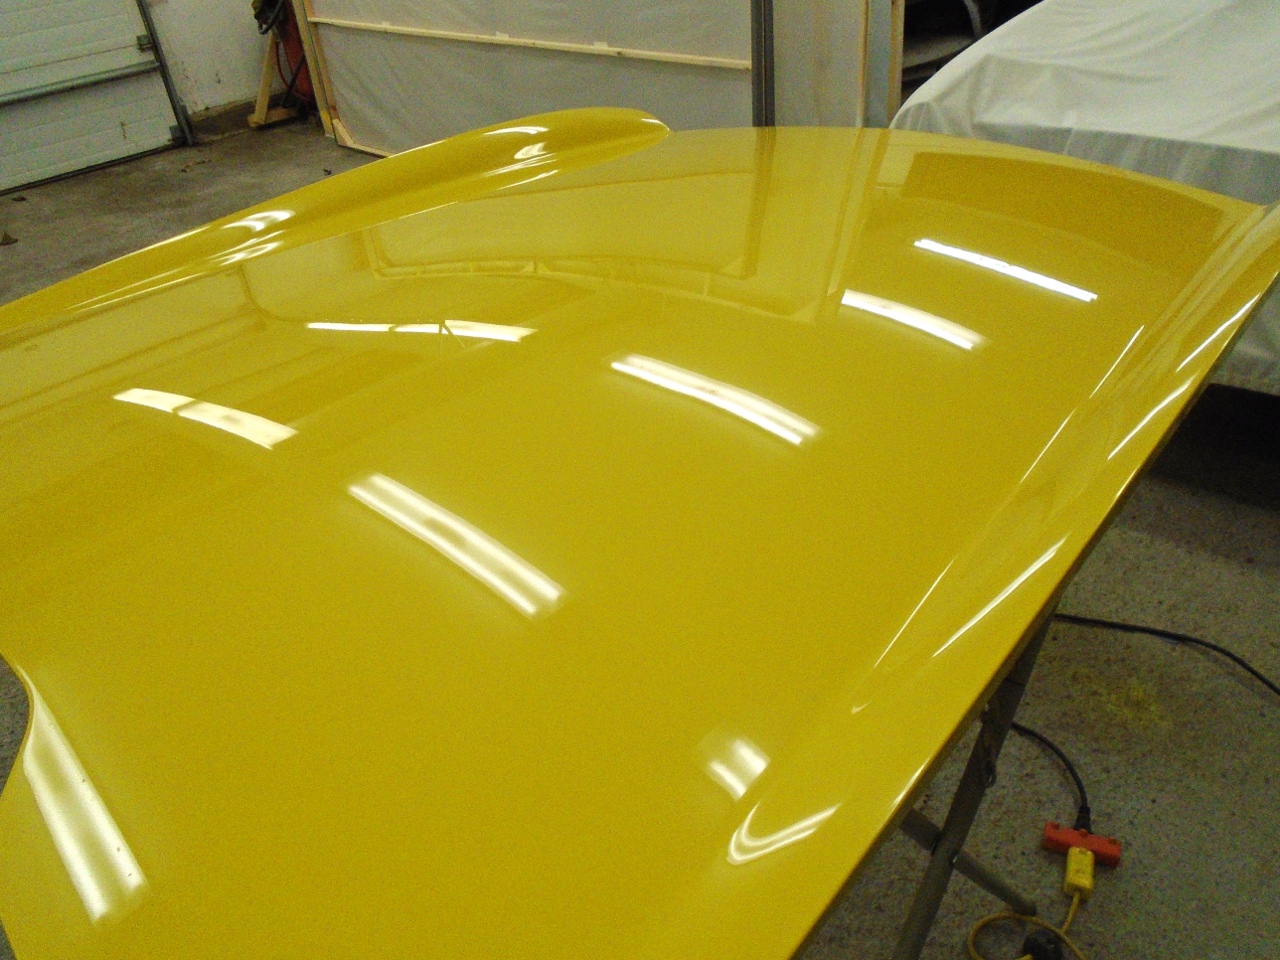
Final
steps for the color are to wet sand it with 1000 grit, them 2000.
This flattens orange peel and many other imperfections.
Then power buffing with compounds and polishes.
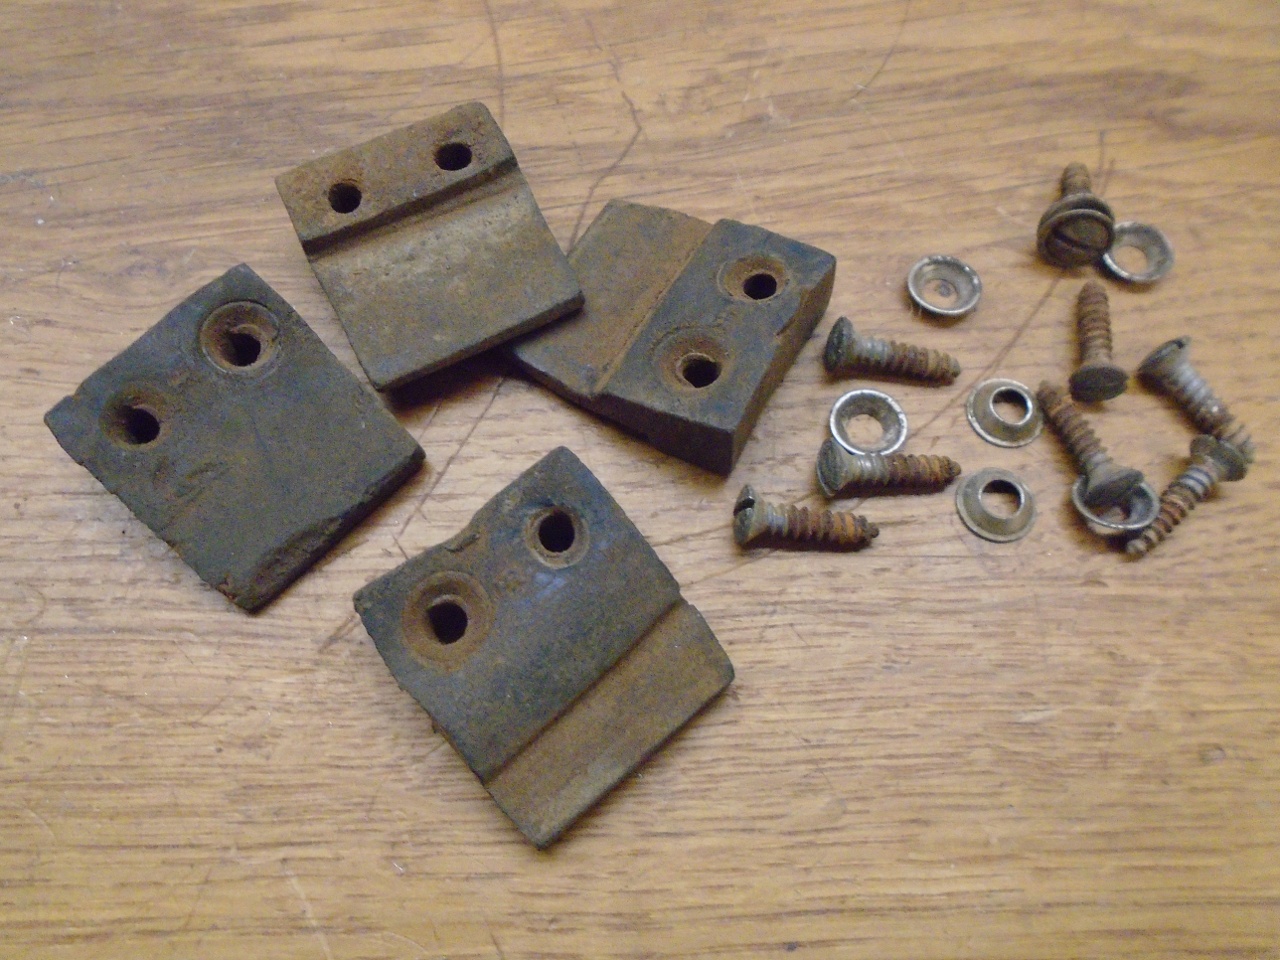
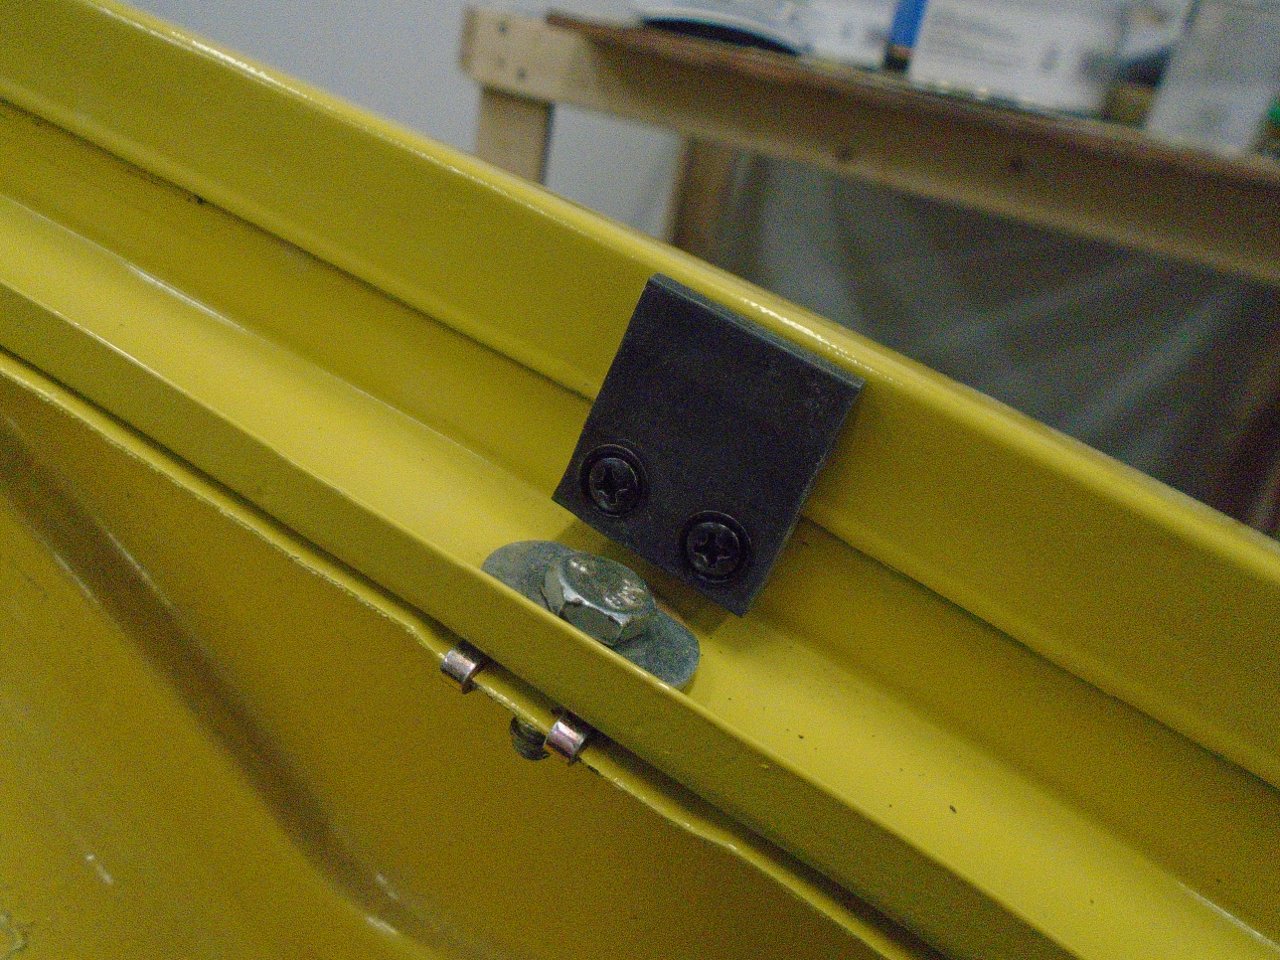
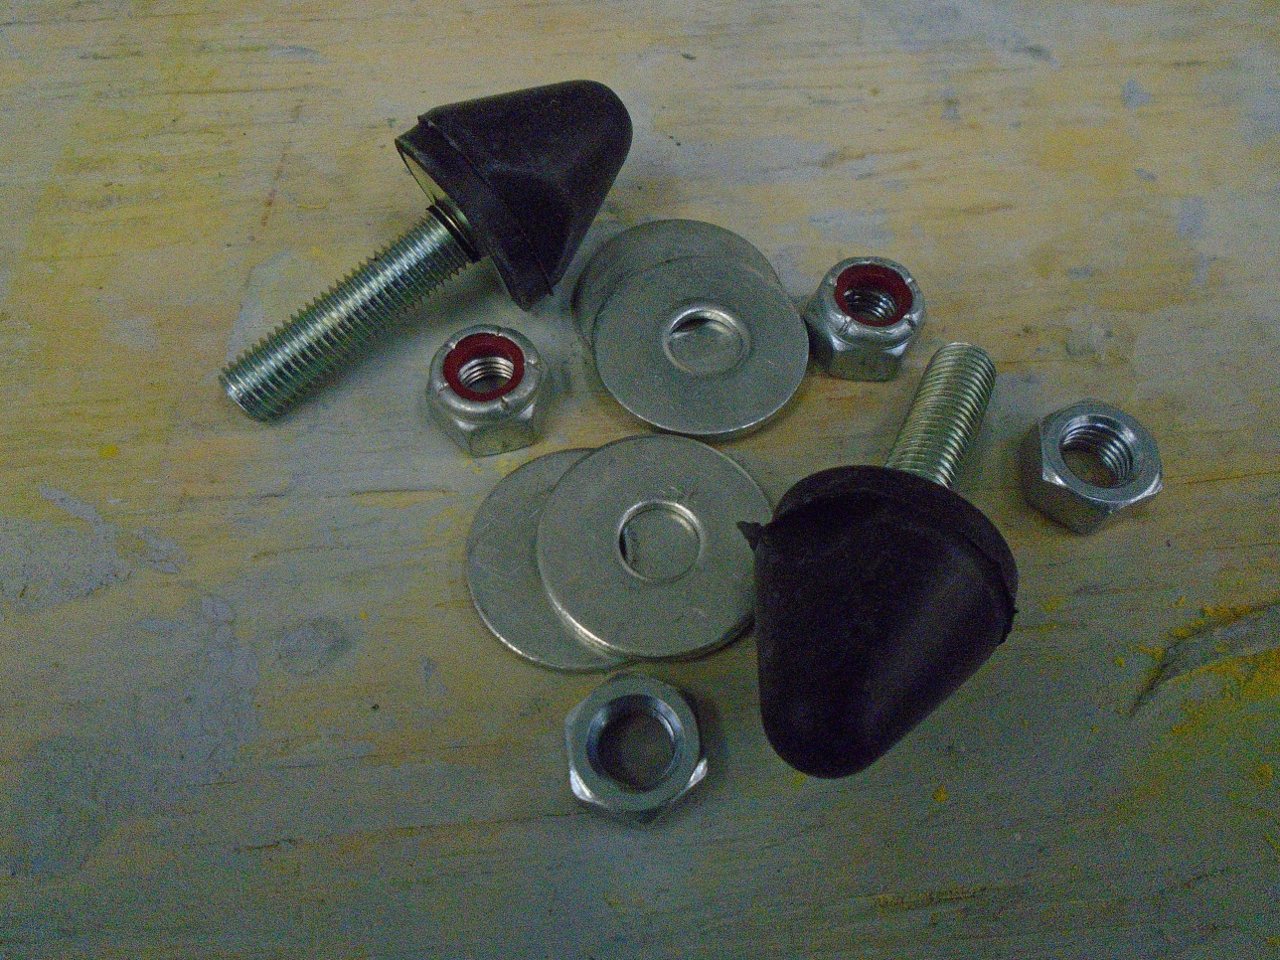
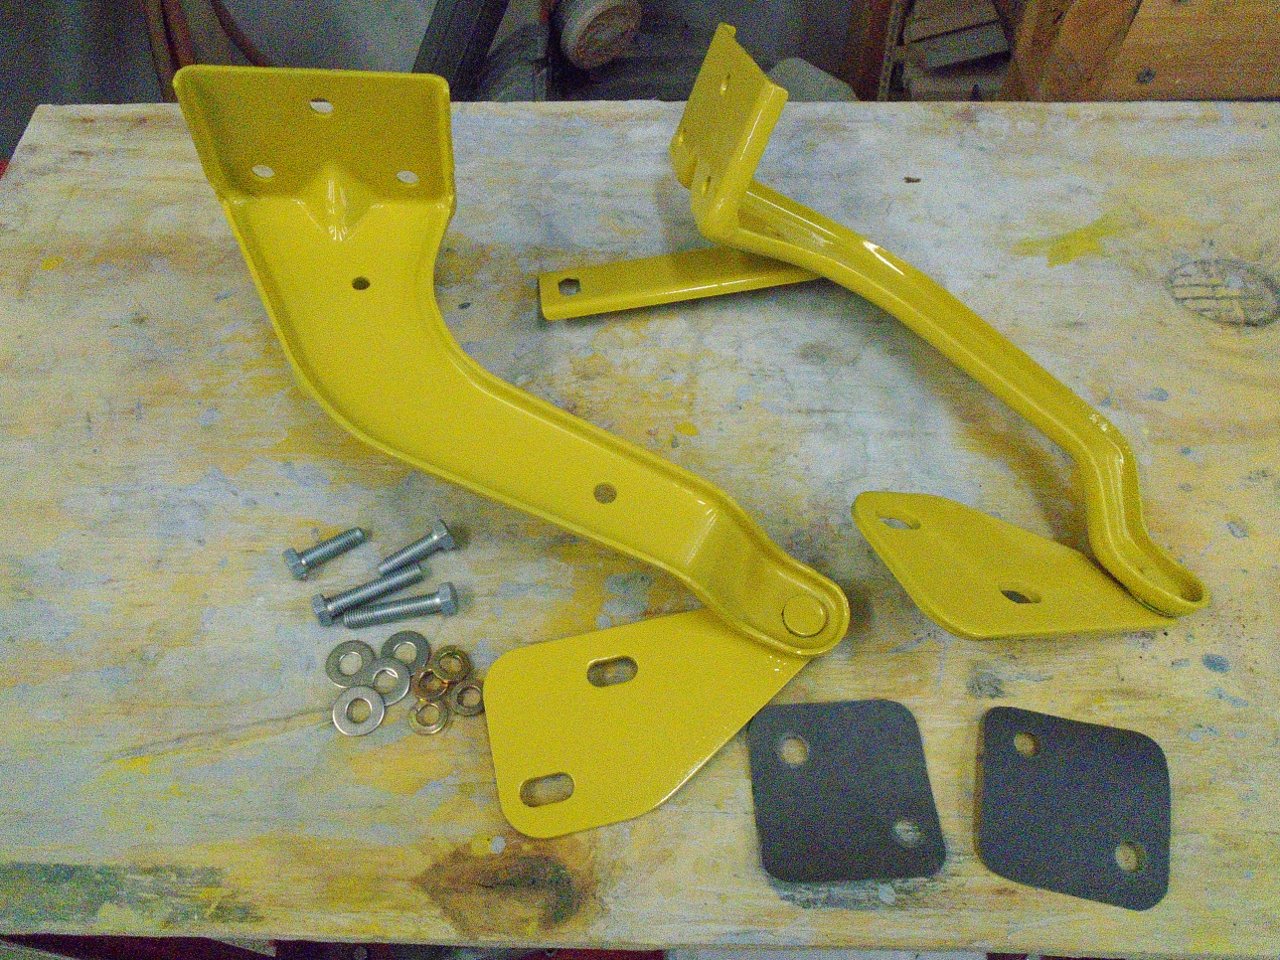
In
getting the engine bay opening ready for the bonnet, there are a few
little attachments that have to be installed. There are four
rubber buffers that (I guess) serve to keep the bonnet centered in the
opening. Mine were all there, even with their hardware, but the
rubber was hard and distorted, and the screws and cup washers were
dirty and rusty.
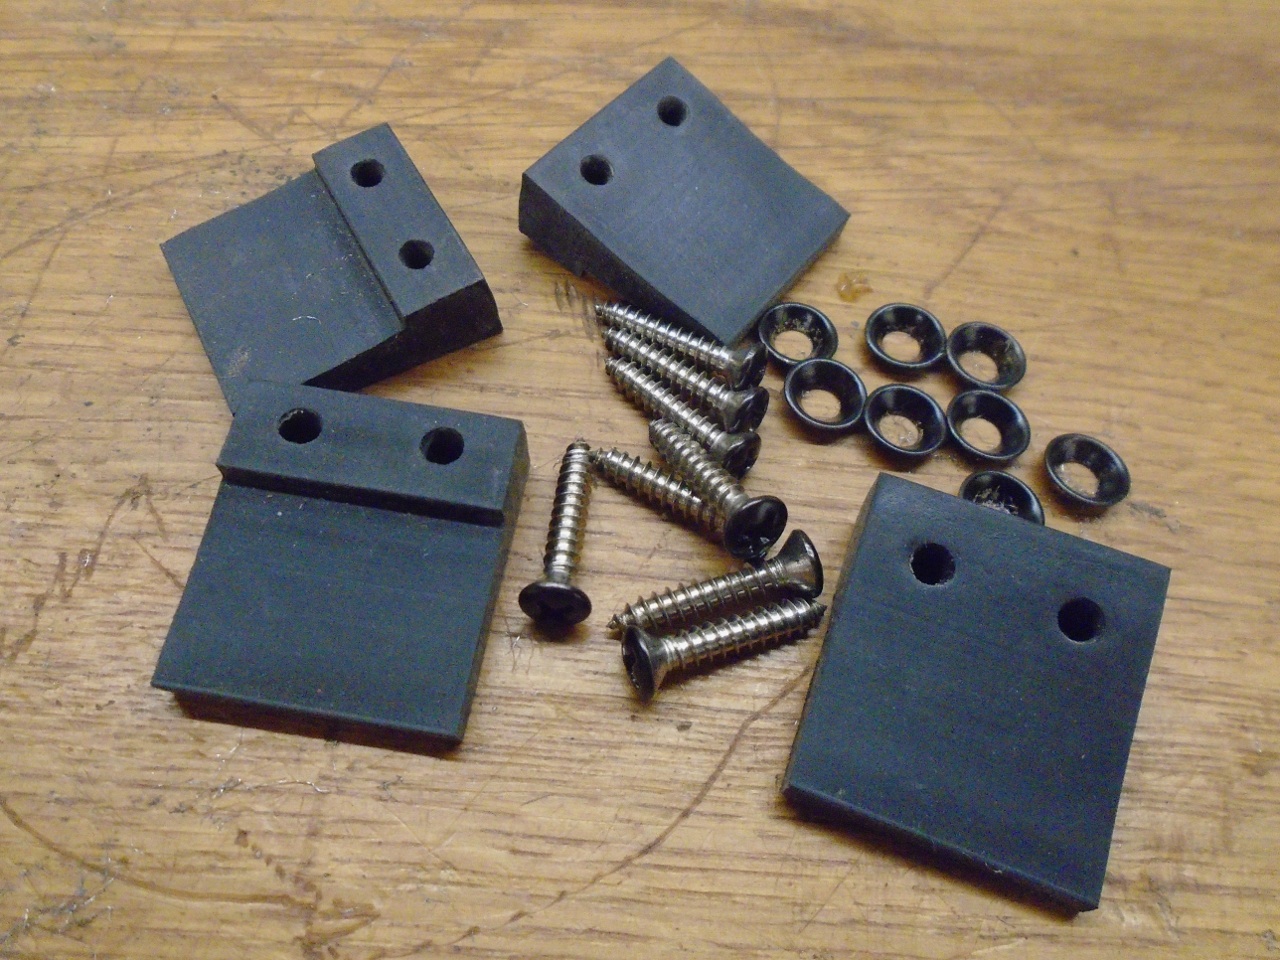
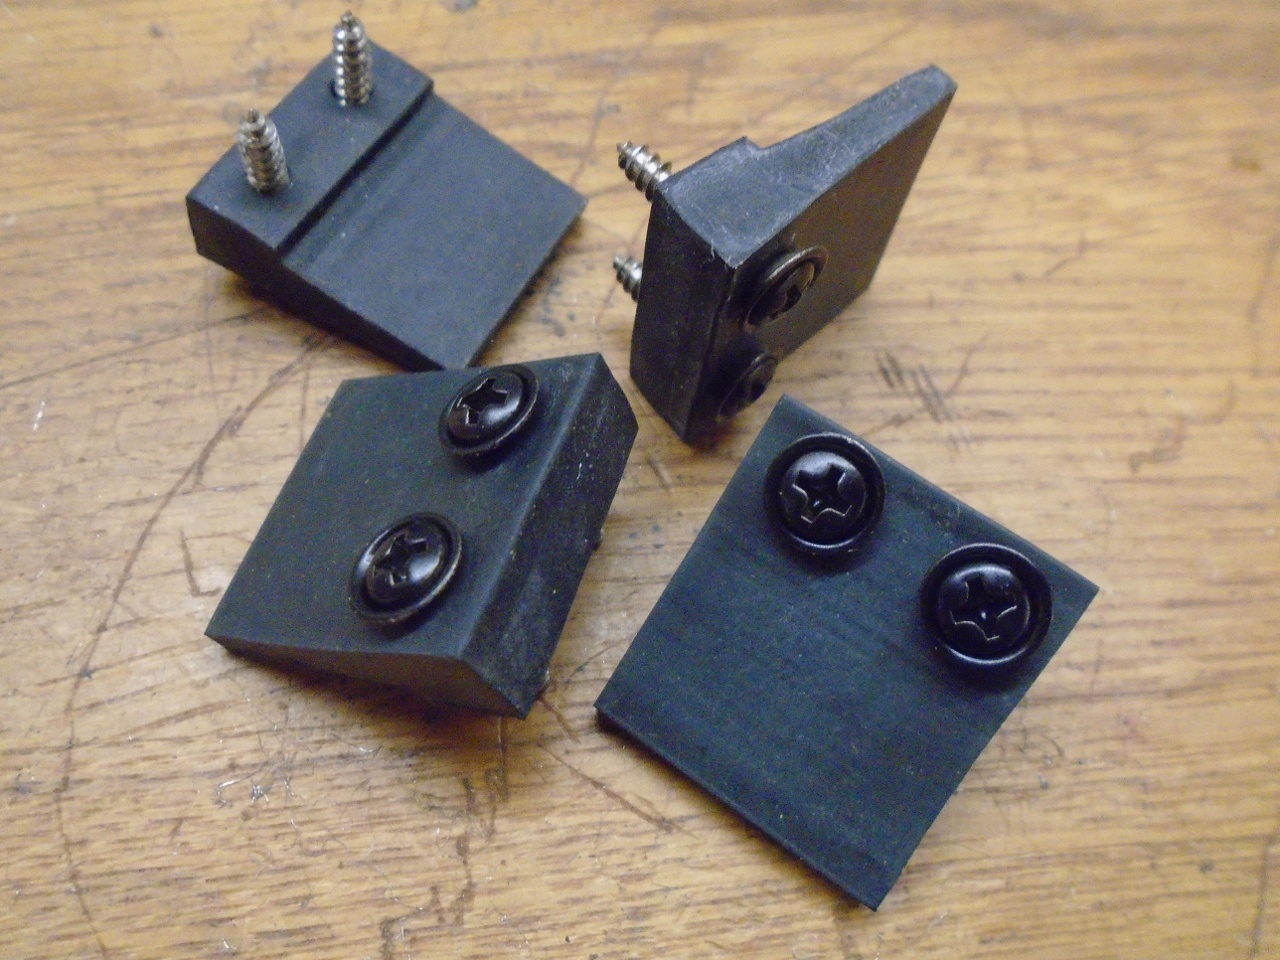
I
got new buffers, and new stainless screws, but re-used the cup washers.
The screw heads and the washers were powder coated black.
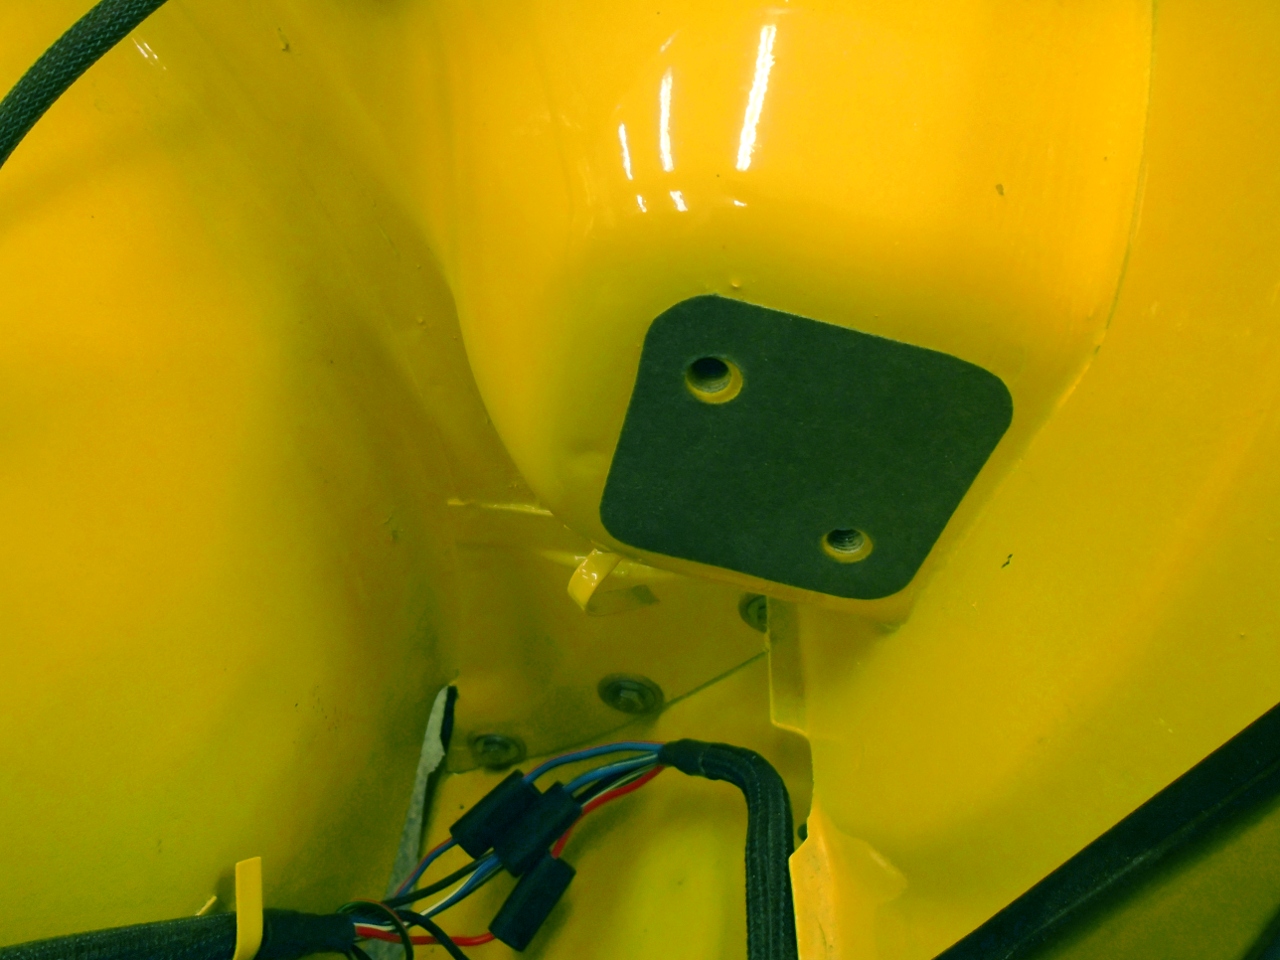
Also, new locating bumpers at the rear corners.
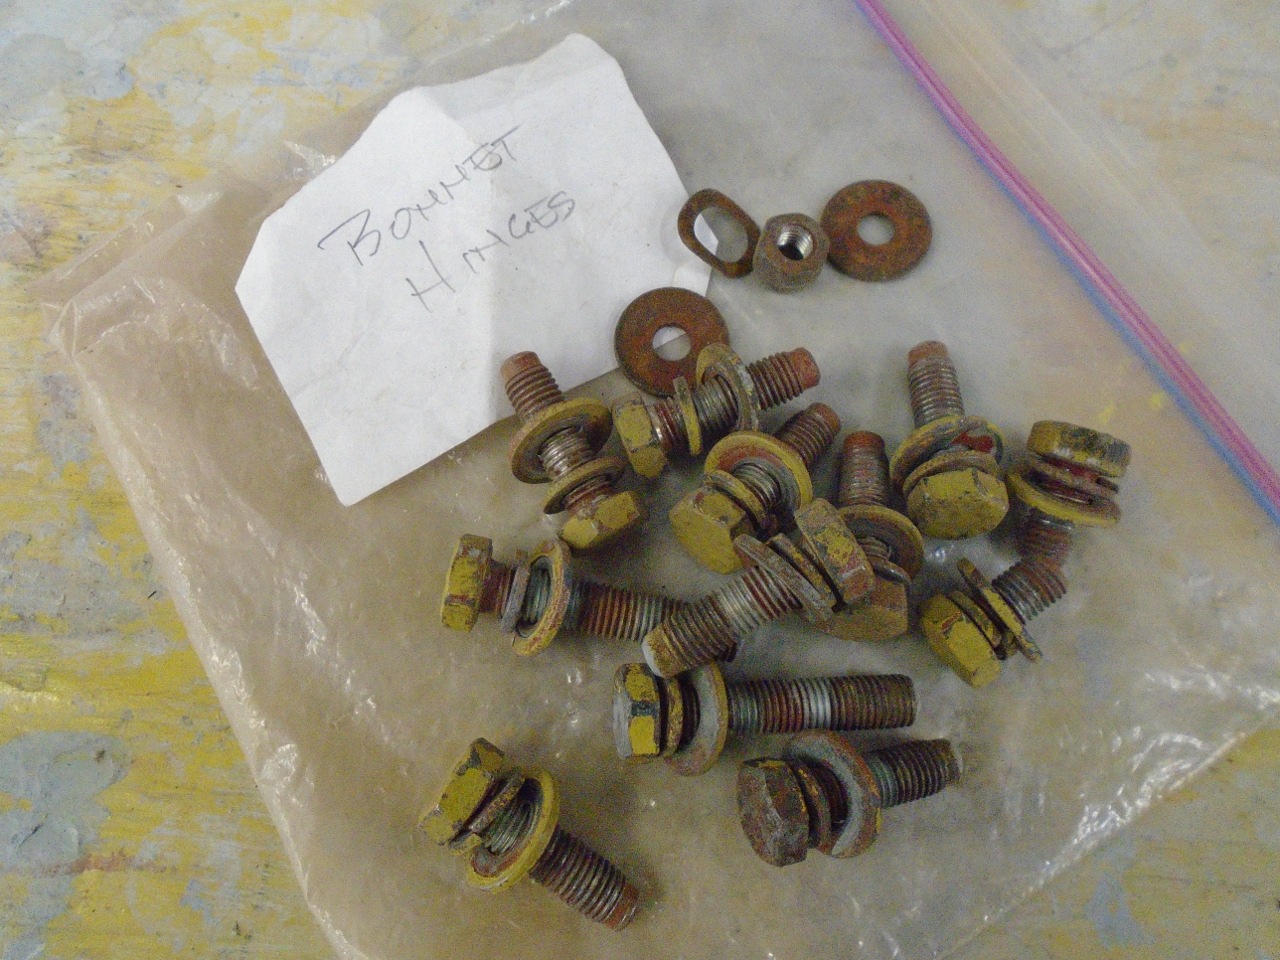
OK,
ready for hinges. I found the baggie with the original
hardware. I like to reuse original fasteners when I can.
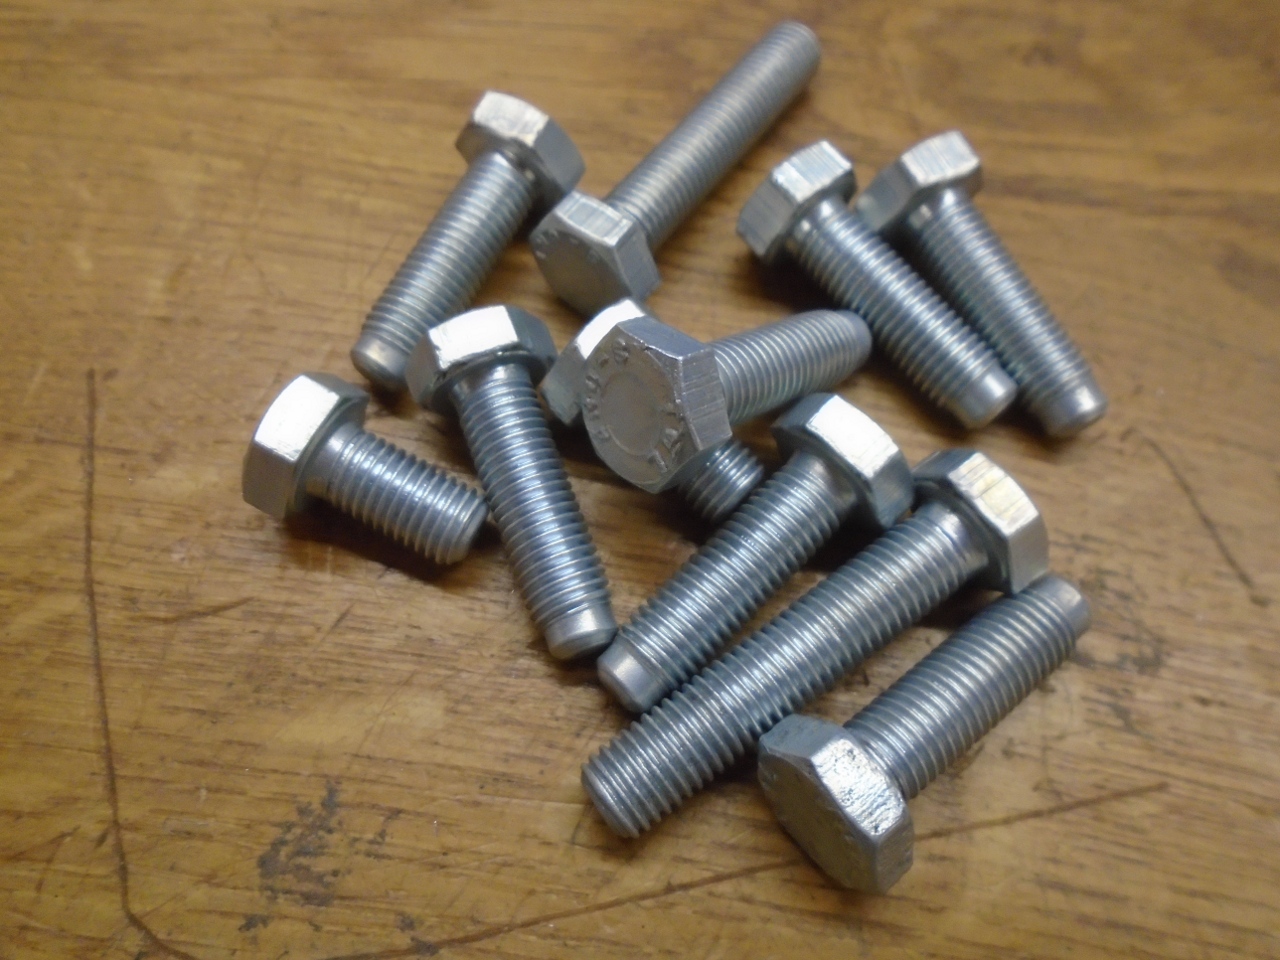
These bullet-nose bolts make alignment easier.
Fiber pads protect the paint.
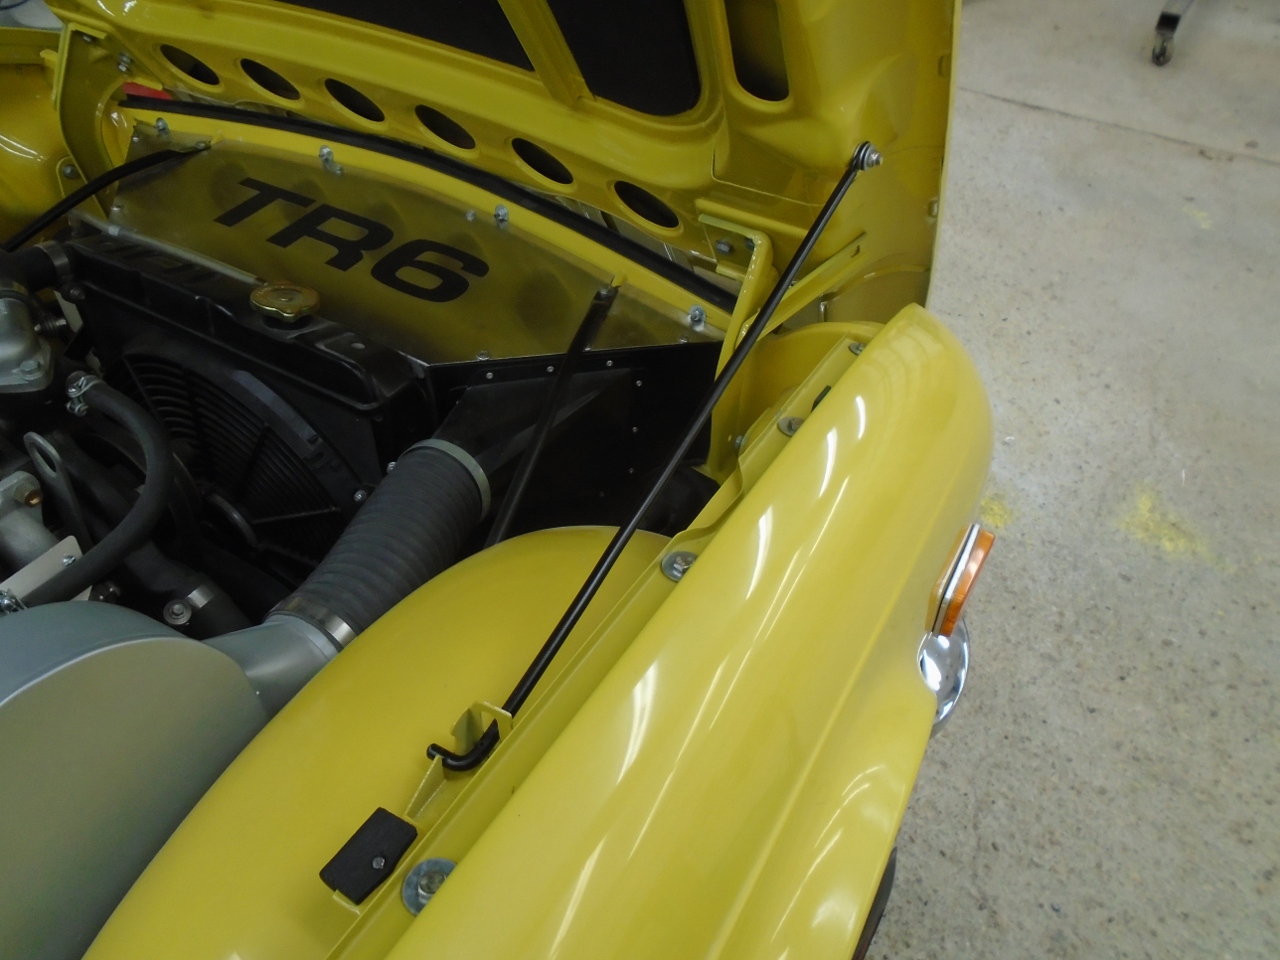
Since I'm a one-man show in this garage, I needed some help maneuvering the bonnet into place.
The bonnet stay rod keeps the lid open while I make sure the fit is going to be OK.
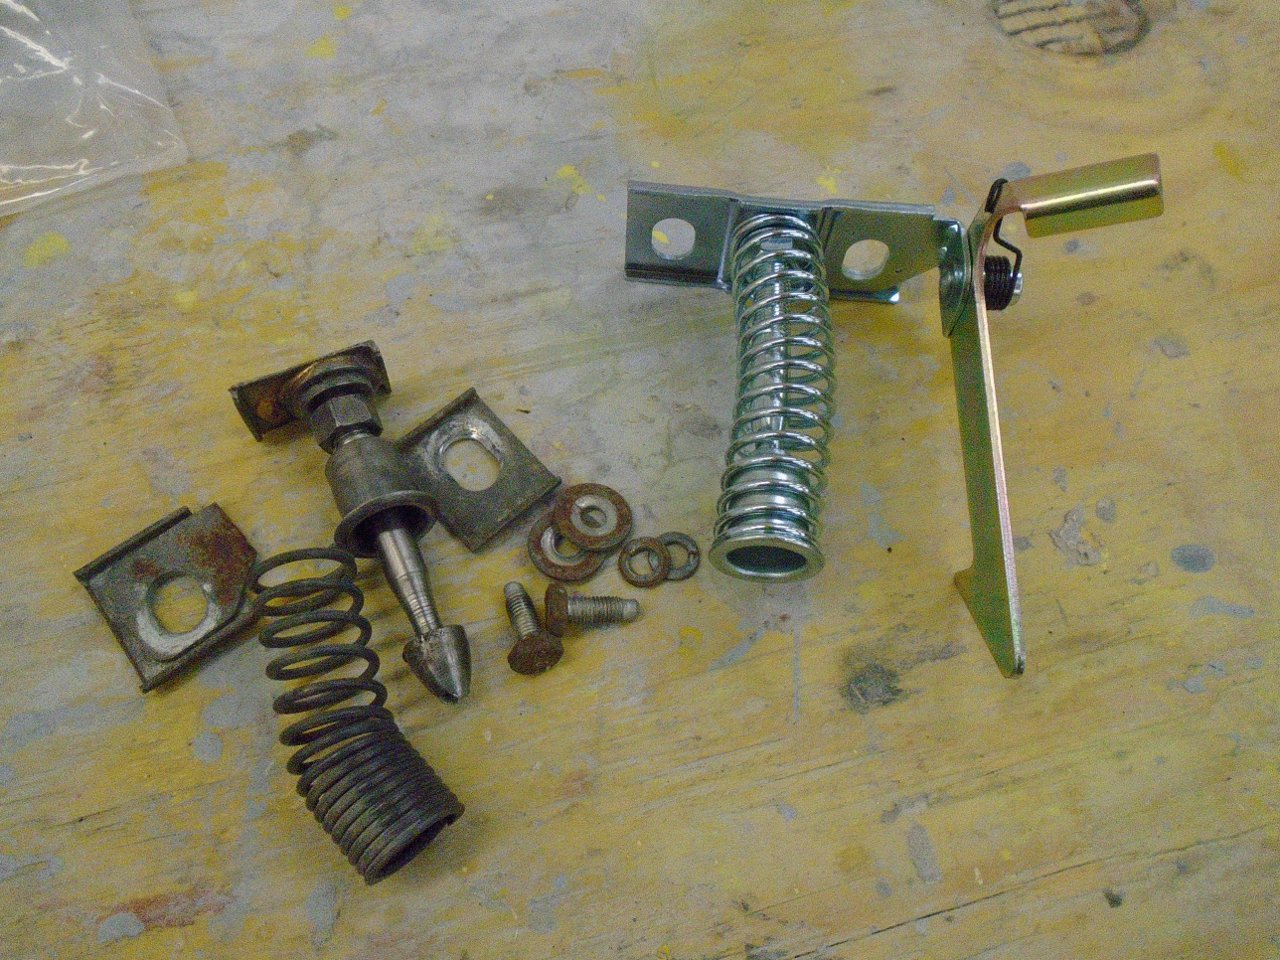
My
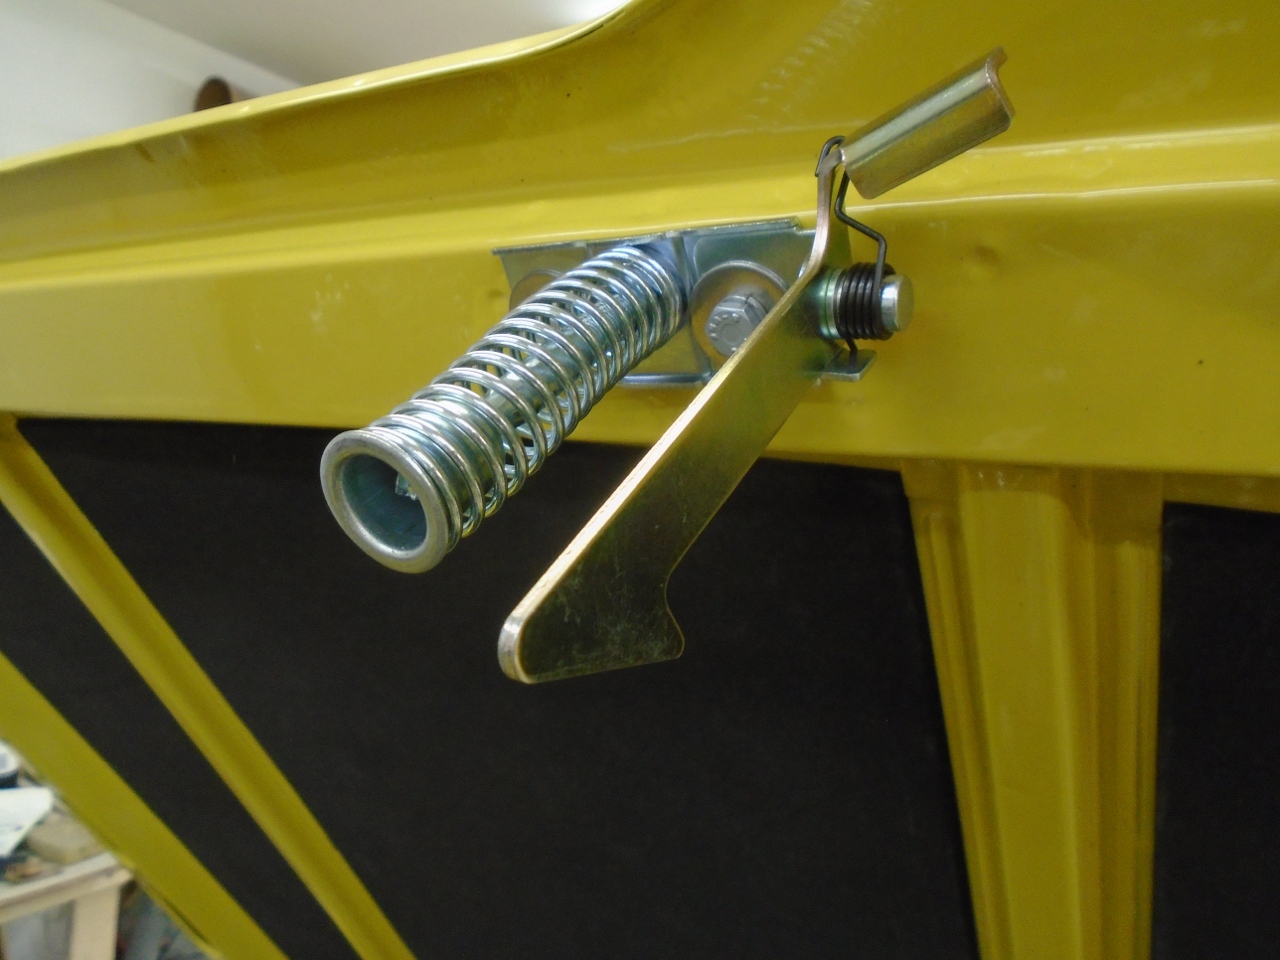
bonnet catch assembly had fallen apart decades ago, so I got a new one.
To get the catch nose lined up with the hole in the release
mechanism, I put a small wad of clay over the hole. The catch
nose leaves an imprint on it, indicating which direction it has to go.

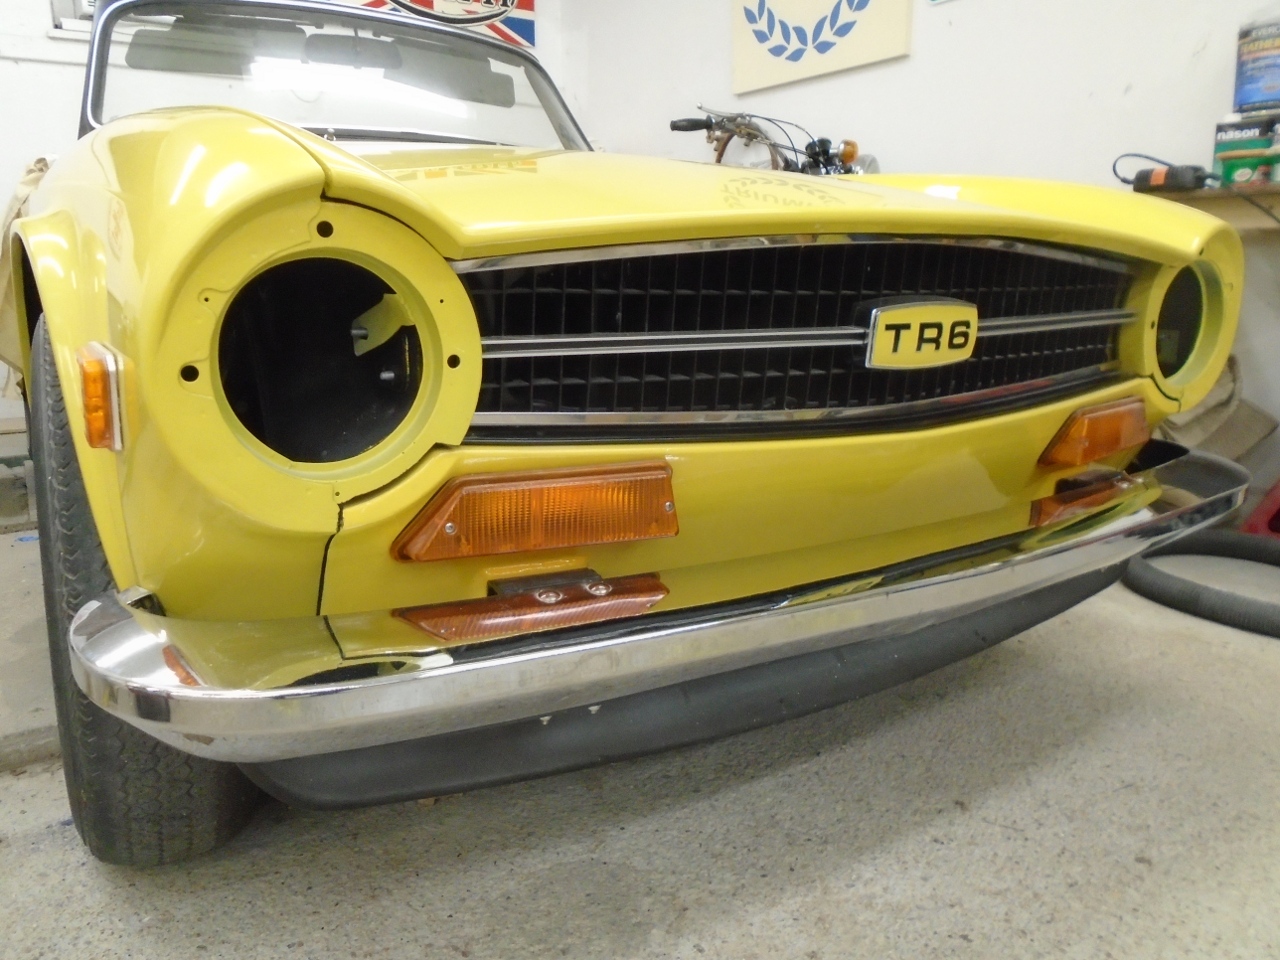
Carefully
lowering the bonnet and watching the gaps on either side, the bonnet
went home. 40 minutes futzing with the hinges got the alignment
pretty good. The side gaps are pretty even, but they seem a
little wide to me. I'm still puzzling what to do about that.
Now that the bonnet hinges were set, I could do the last wing fasteners, which uses one of the hinge bolts.
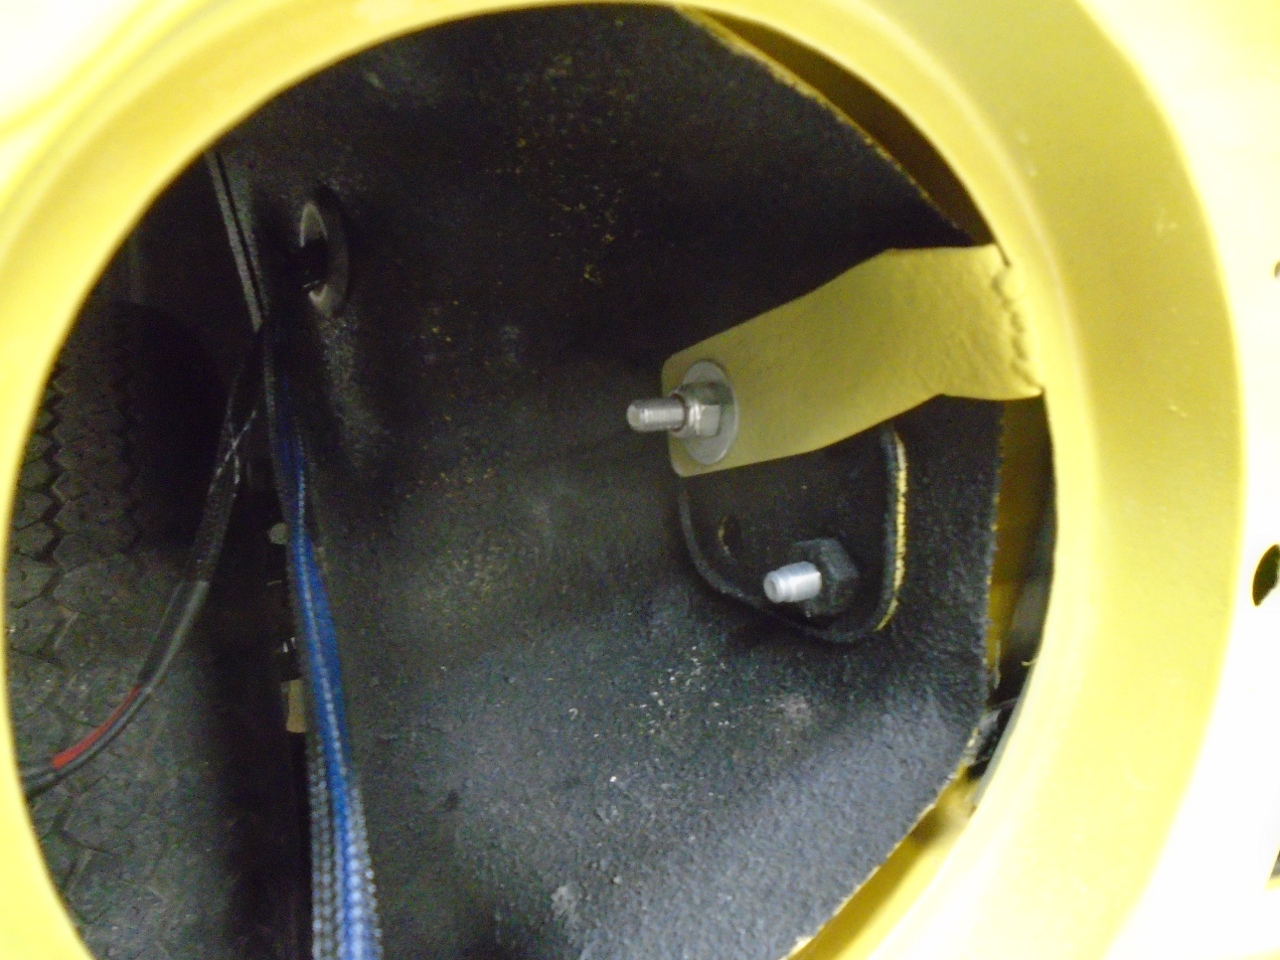
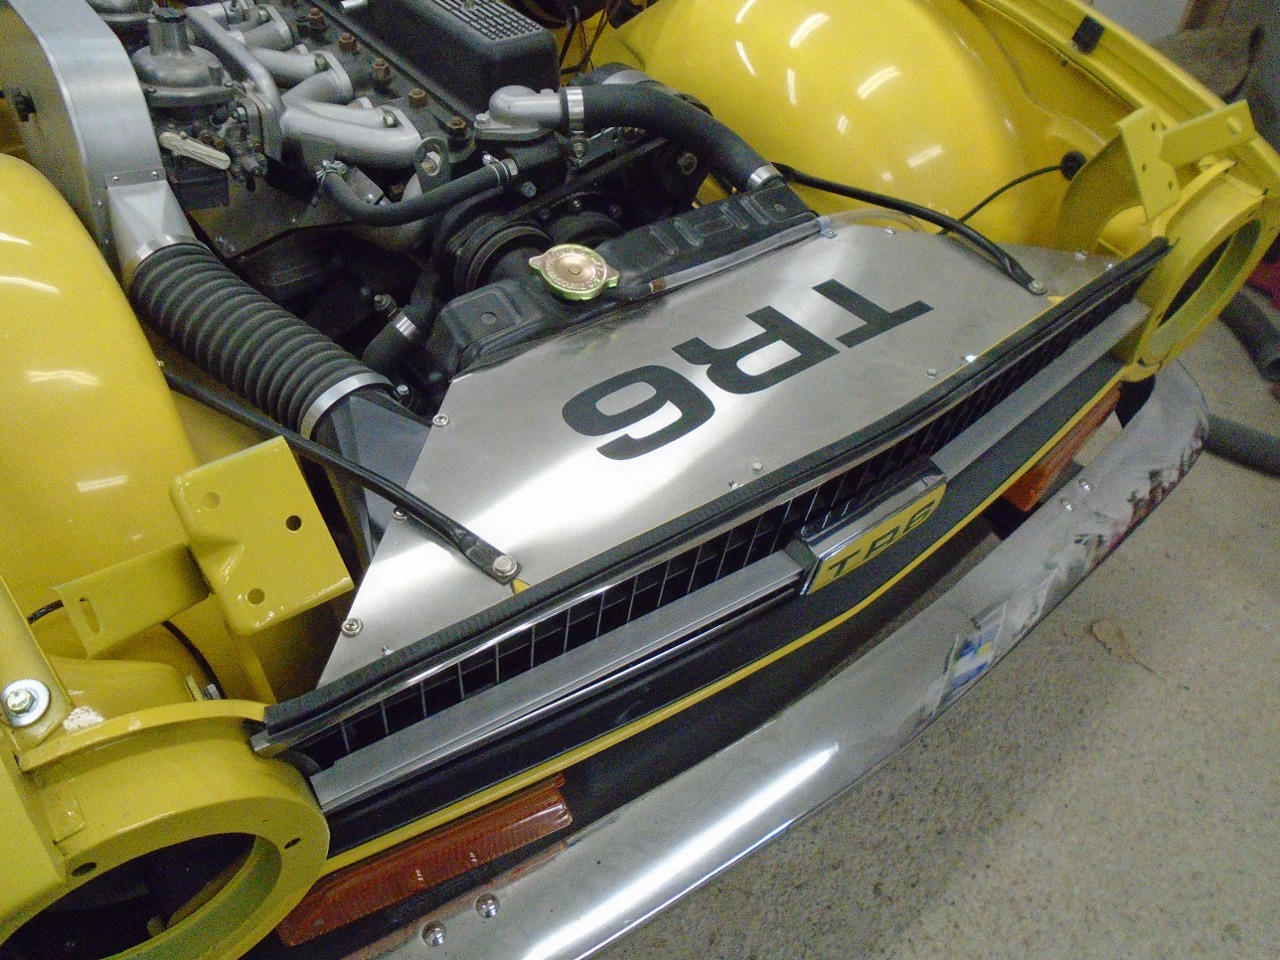
And that cleared the way for the headlights.
After the wires are routed through the gromment in the inner wing, the headkight buckets are riveted to the wings.
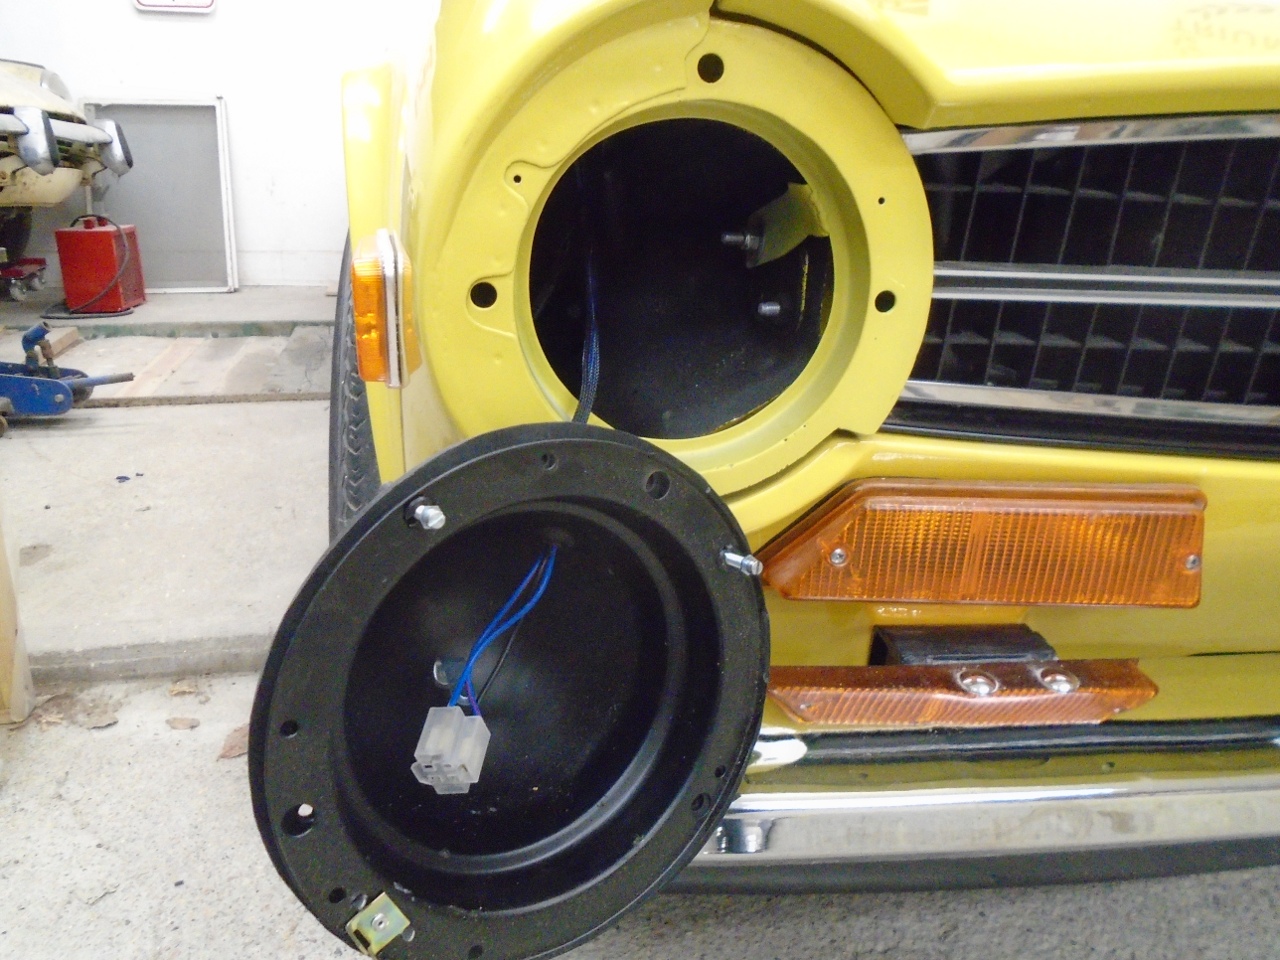
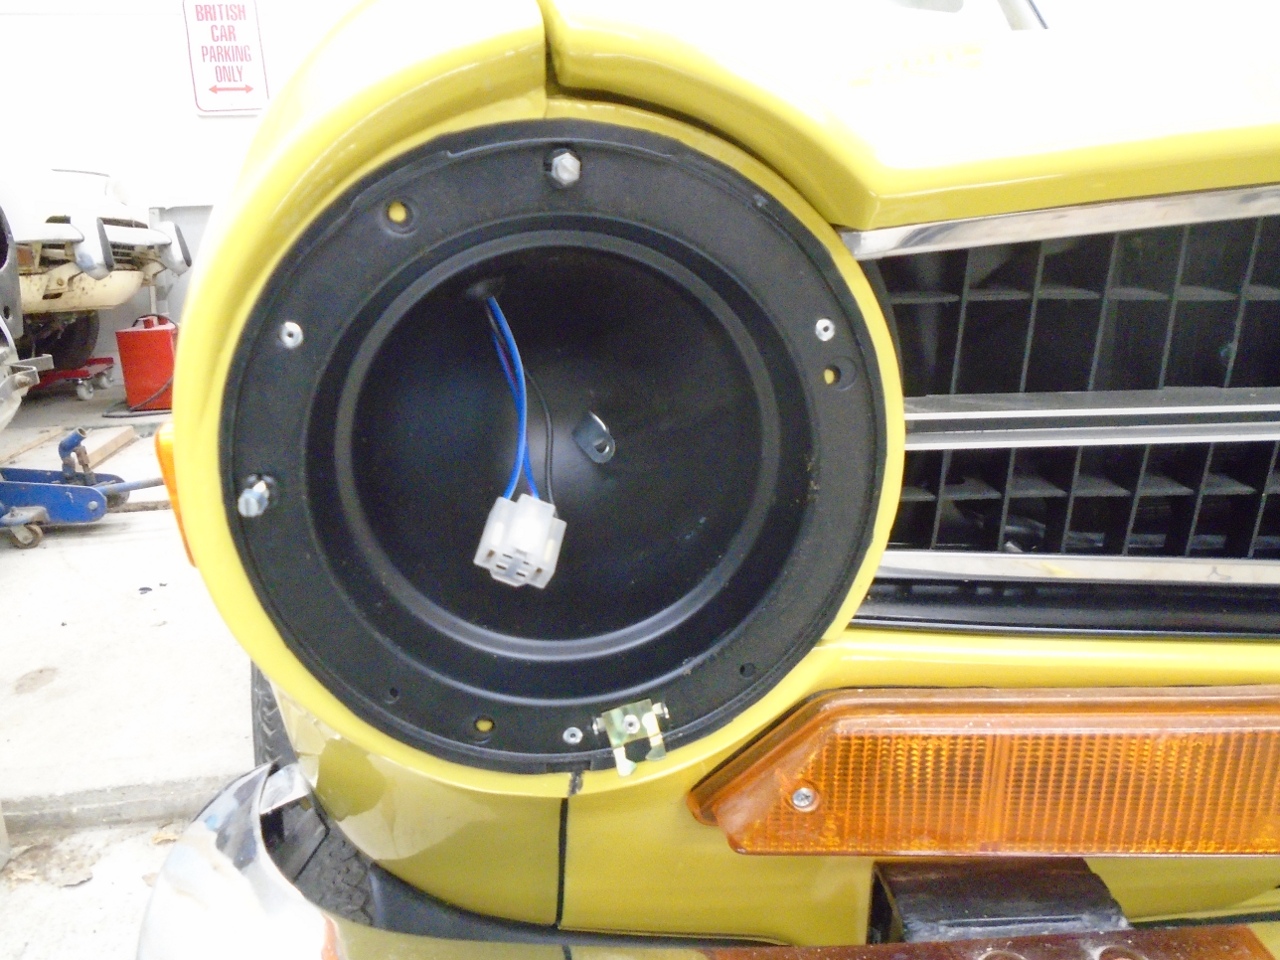
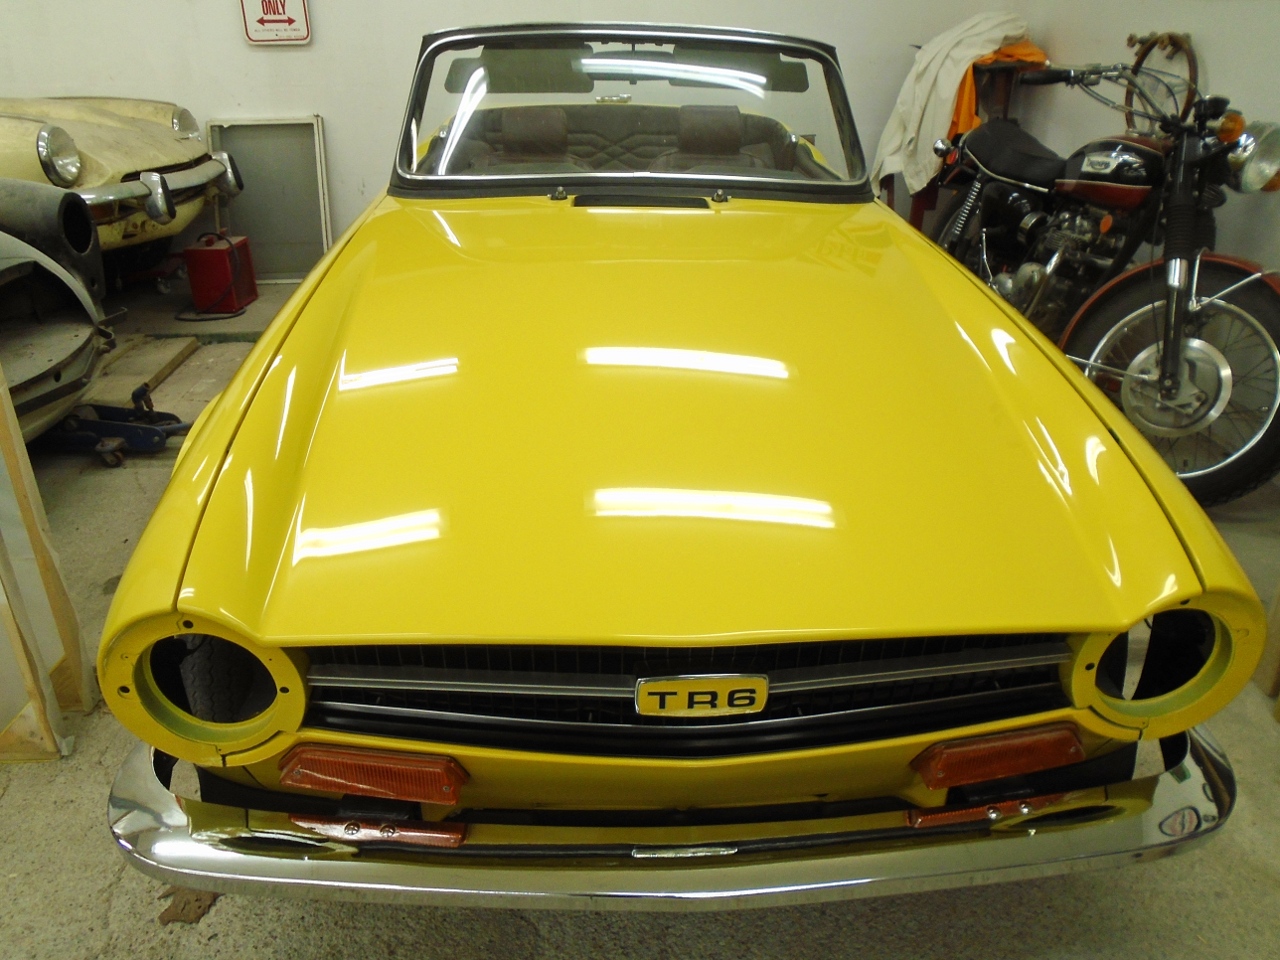
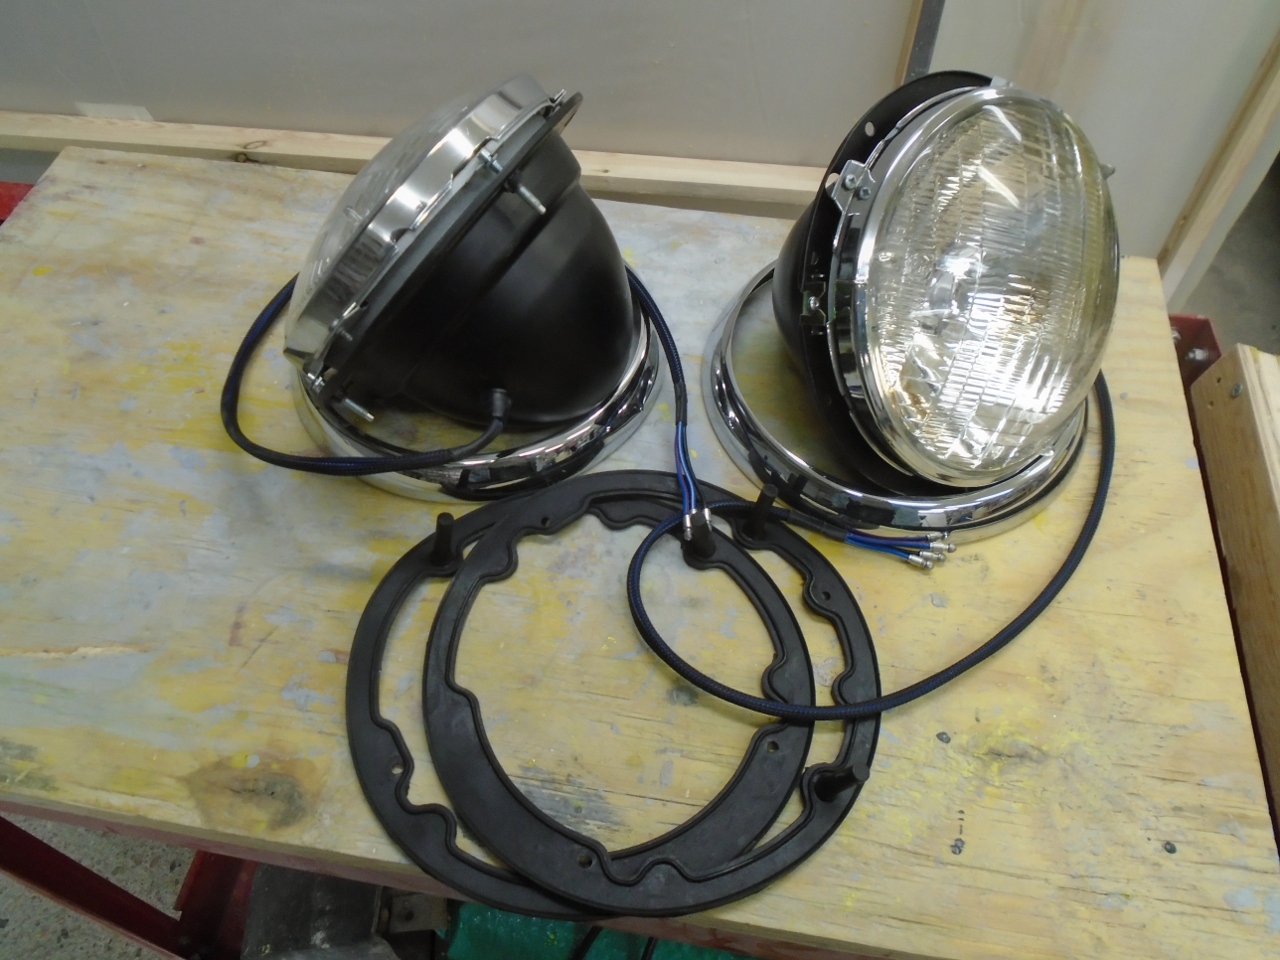
Then the lamp carrier and the lamp...
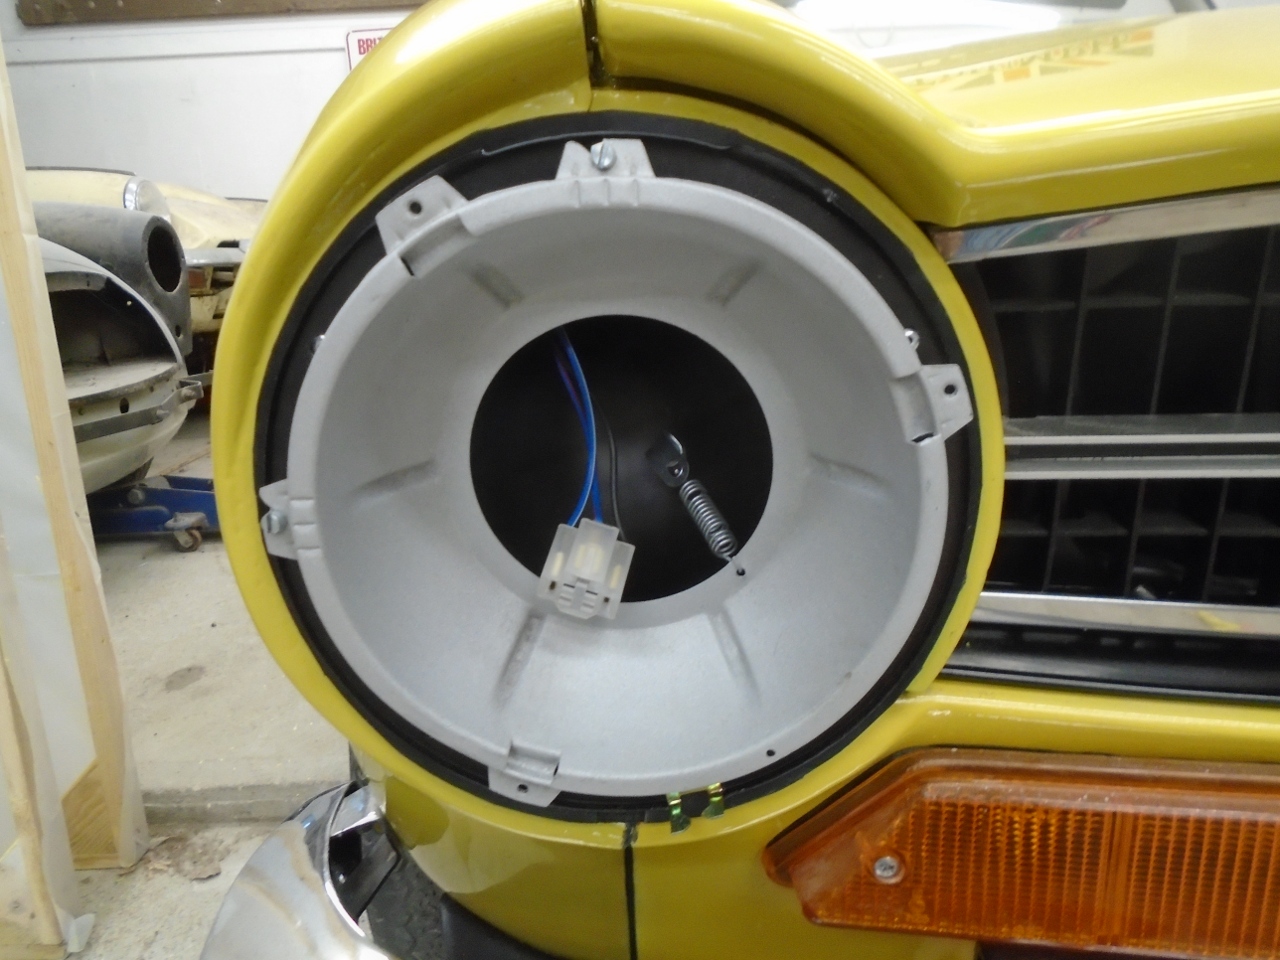
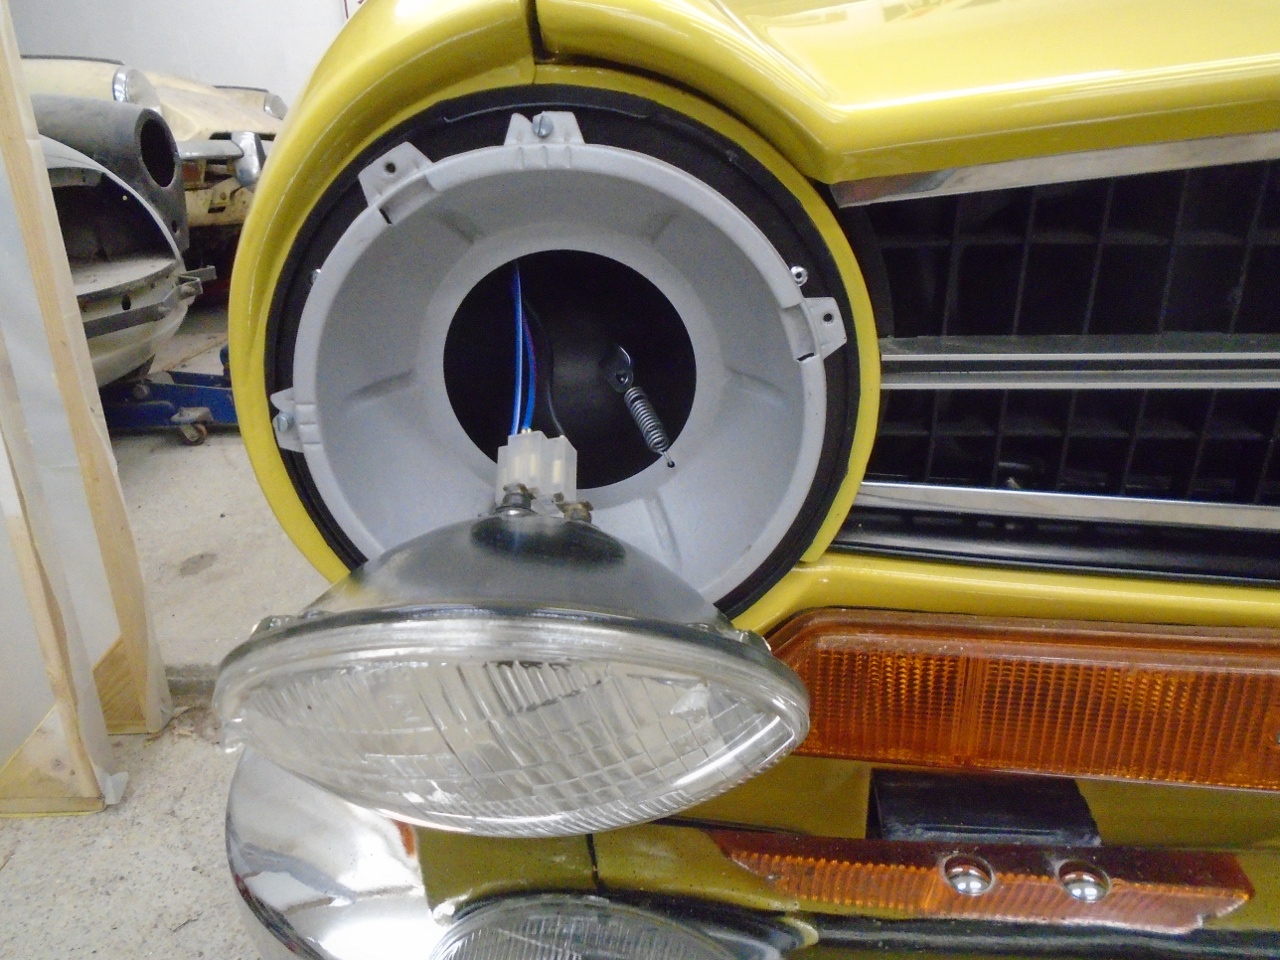
...the lamp retainer...
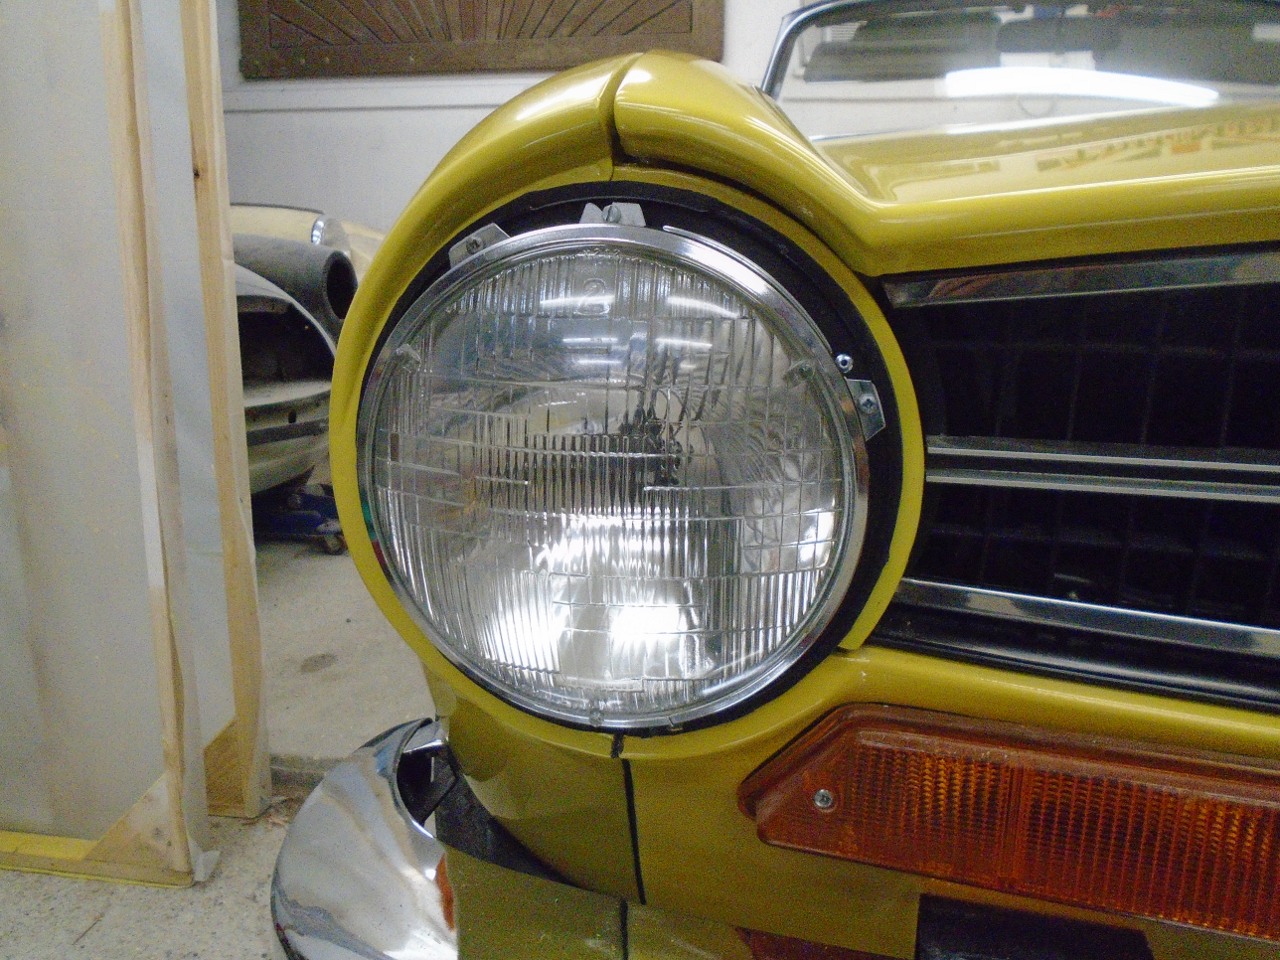
...and finally, the trim ring.
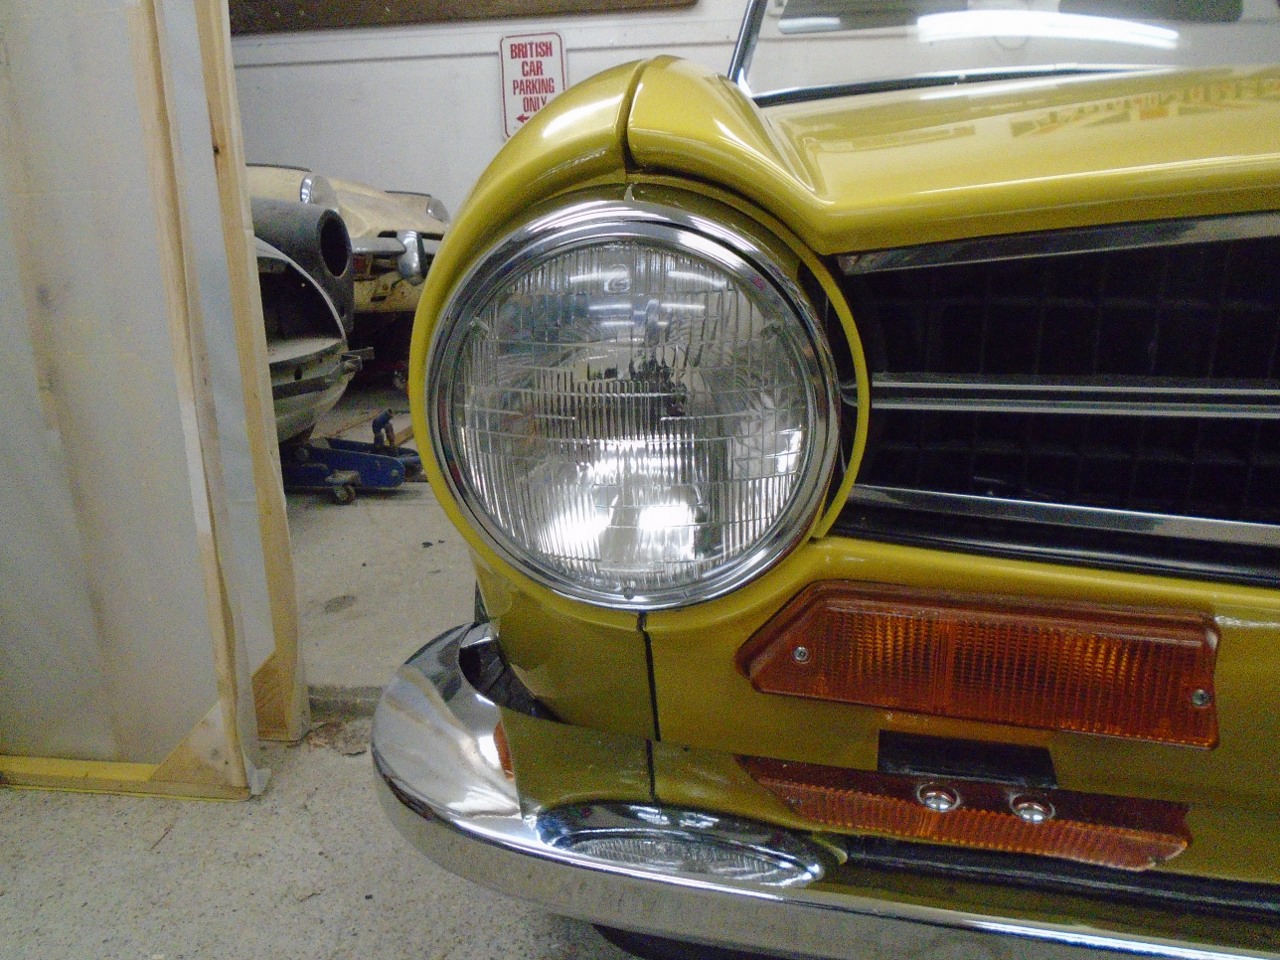
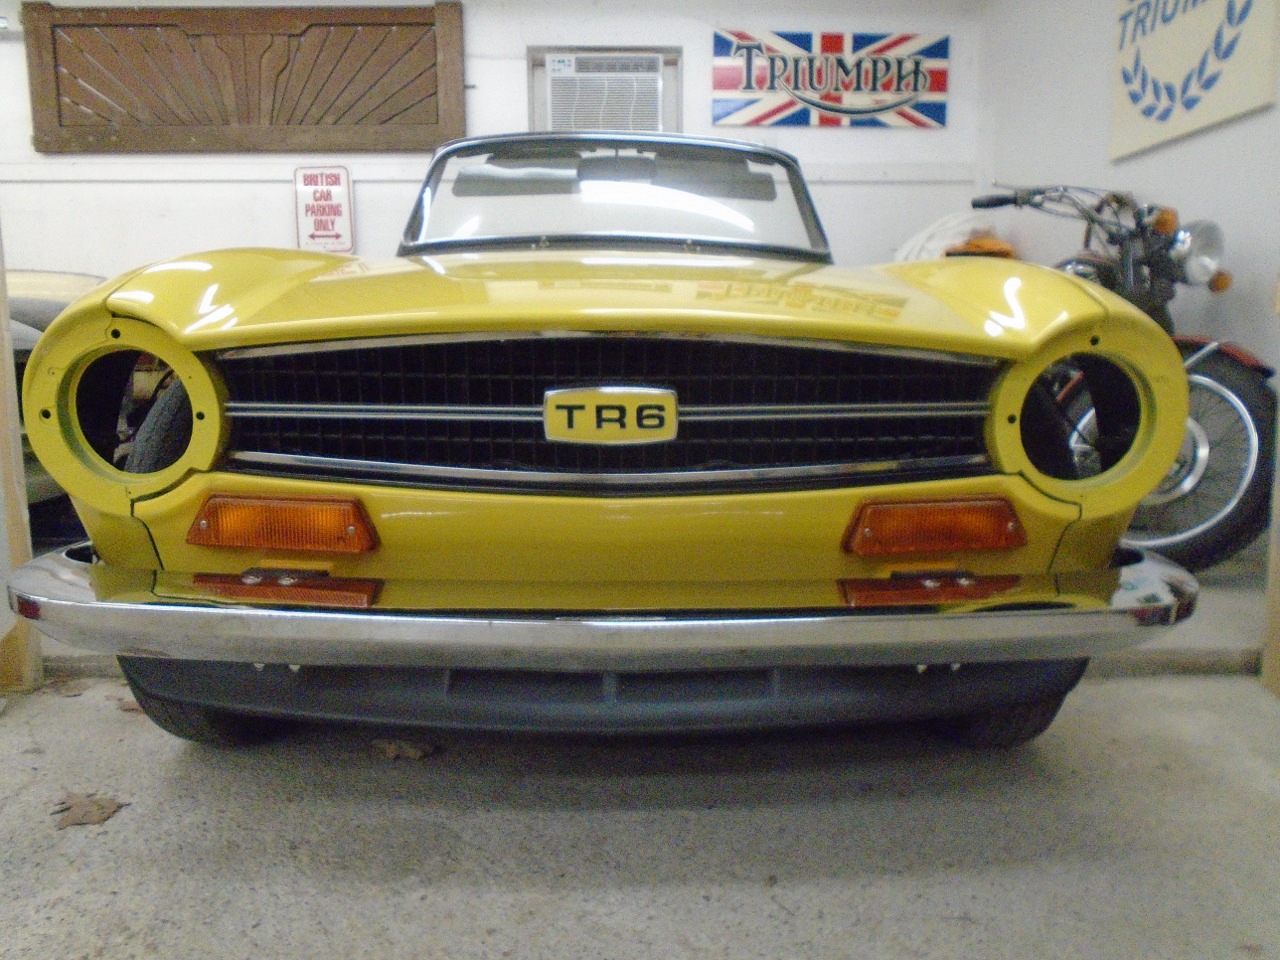
Now this is looking like a proper motorcar!
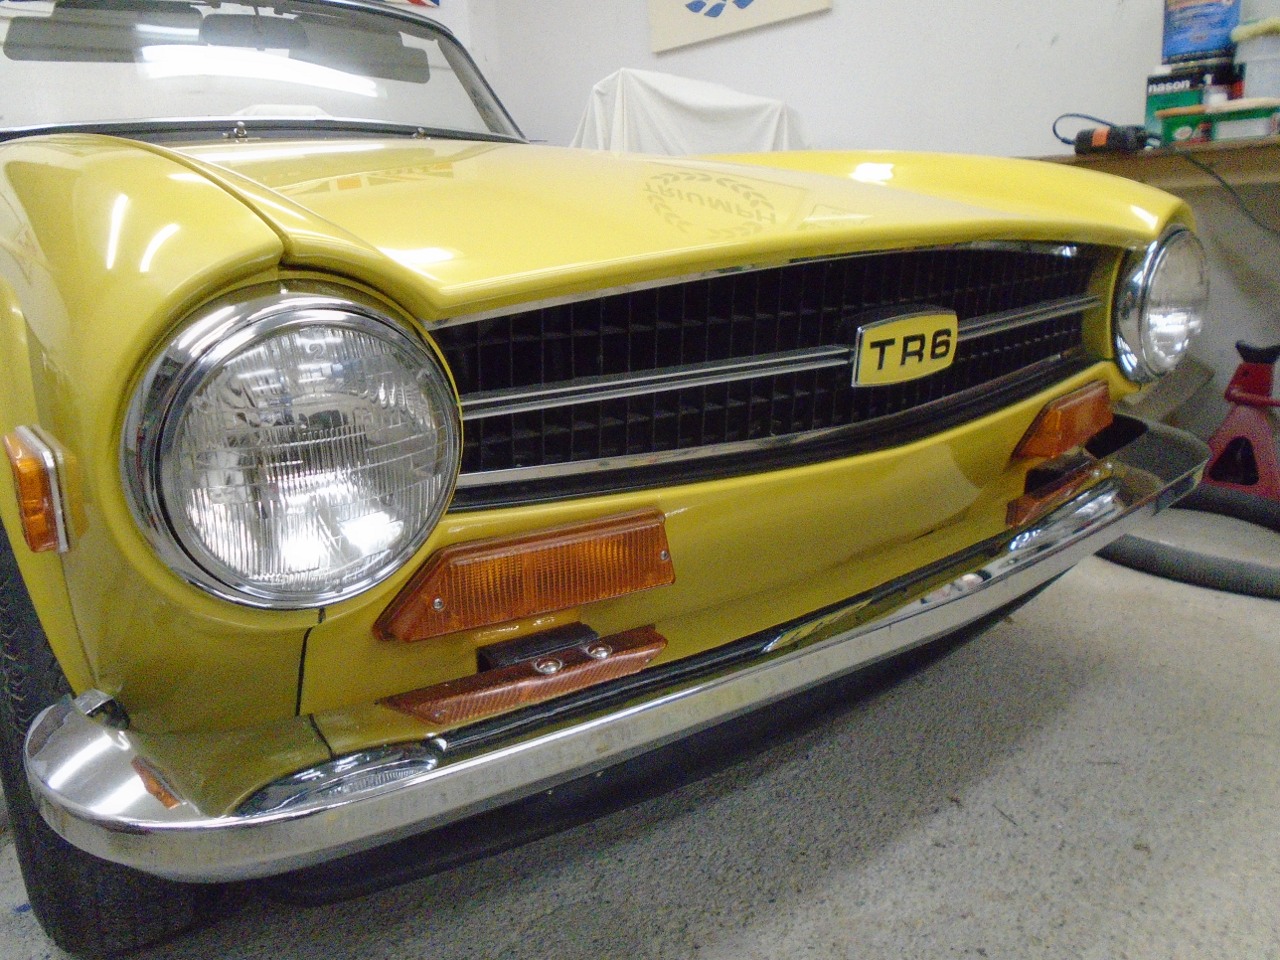
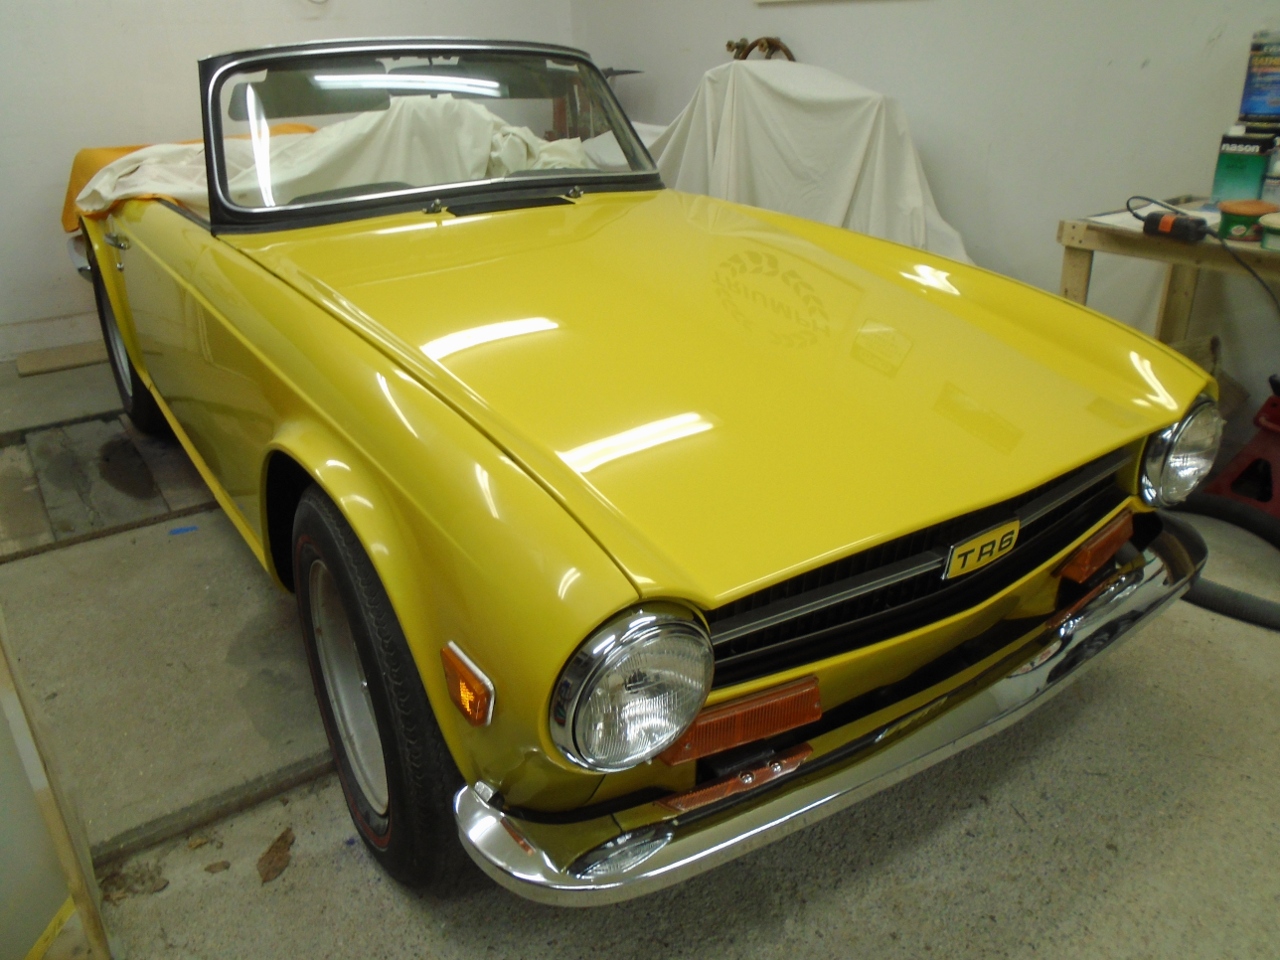
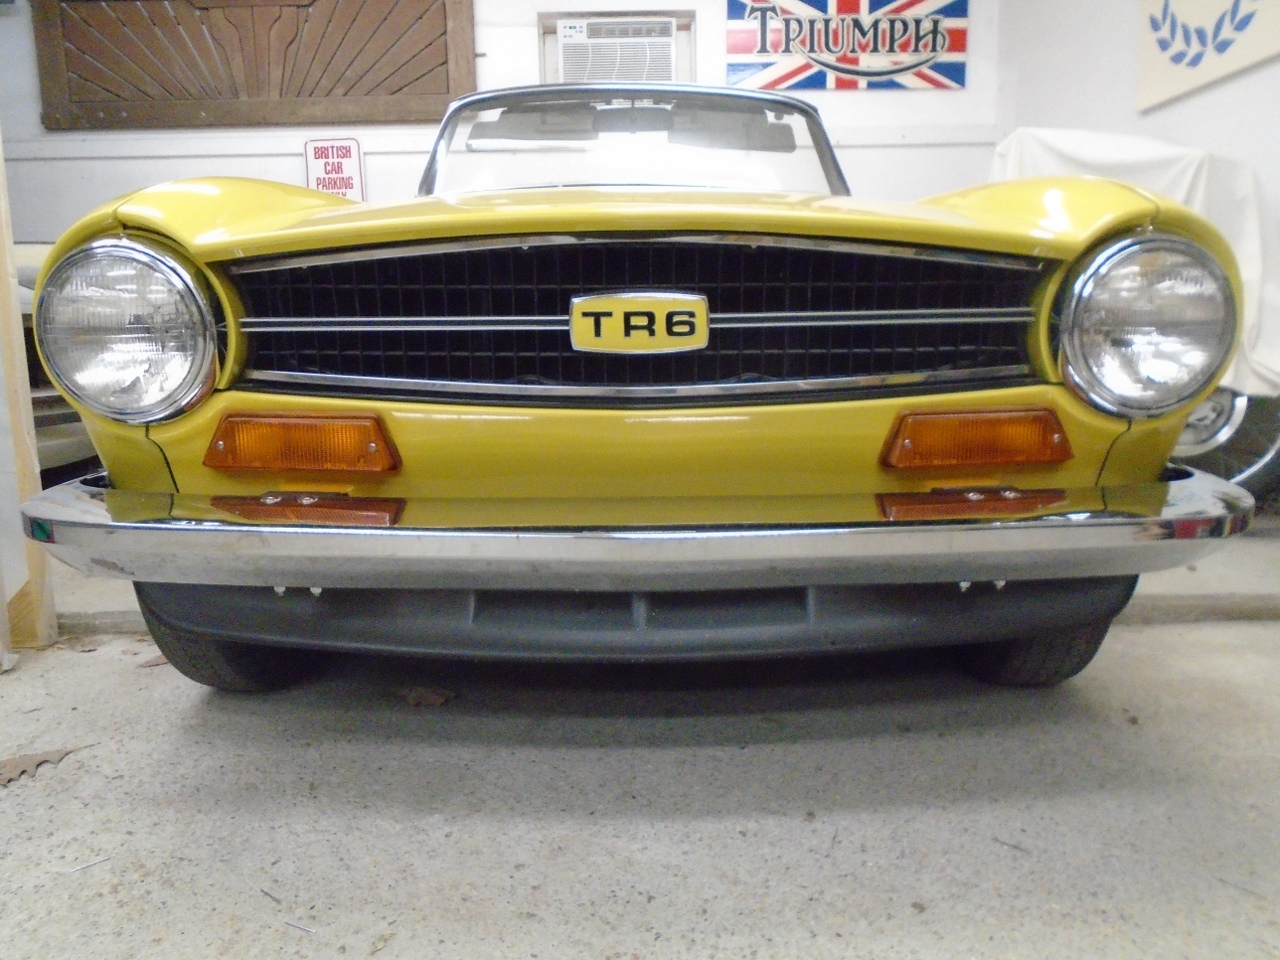
It's
been a long haul painting all the panels this summer. I'm still
not a great painter, and the paint on this car would not be mistaken
for a professional job, but I'm better now than I was in June.
Next step is to try to get this puppy running!
Comments to Ed at elhollin1@yahoo.com
To my other TR6 Pages