To my other TR6 pages
September 20, 2016
Hanging Panels/Door Gaps
[Click the pics for a larger view]
So after finishing the rust repair on the front and rear wings, I set out to get the door gaps right before doing final body work.
After
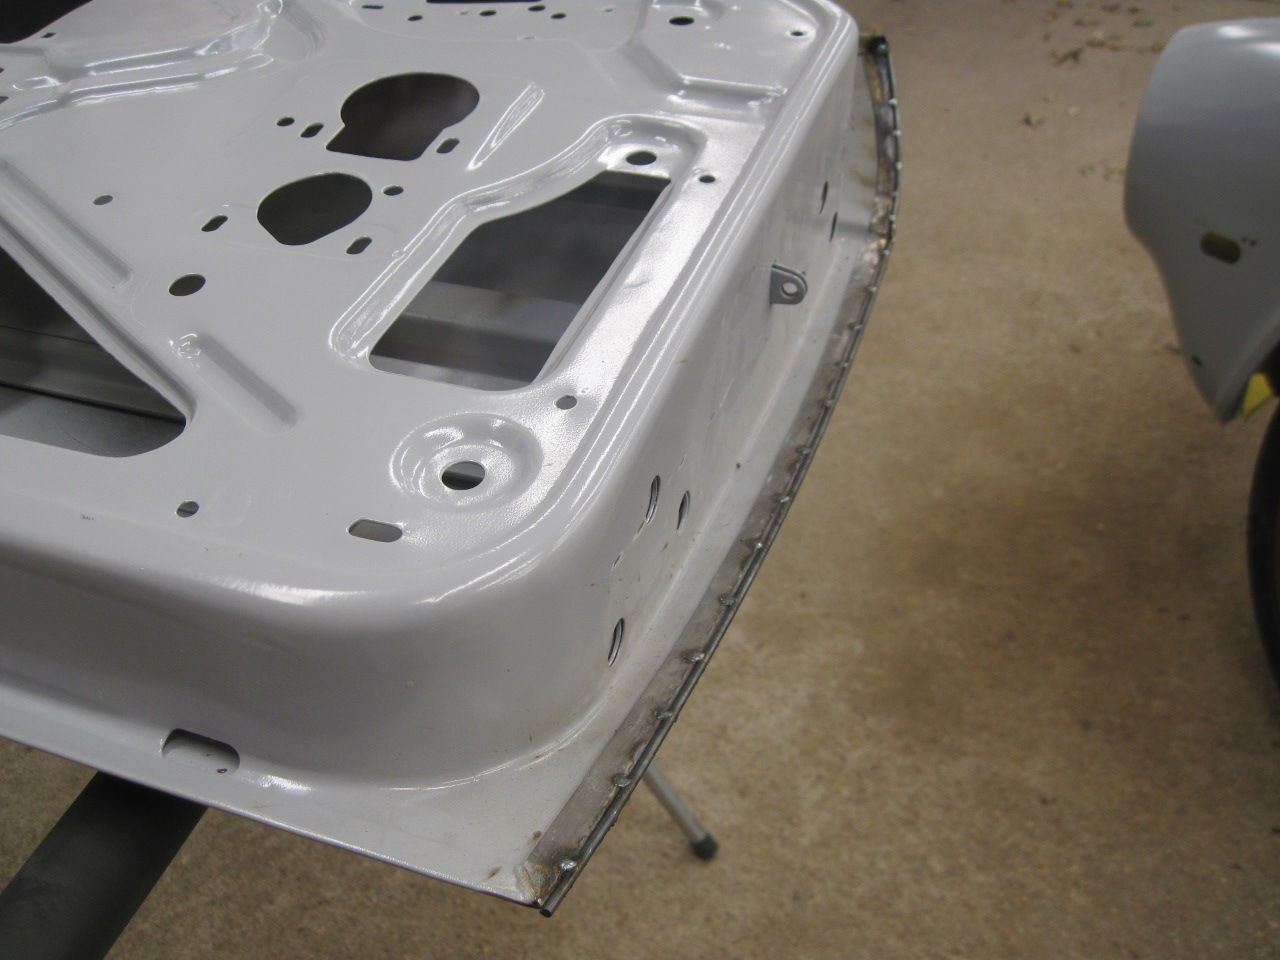
blasting all the remaining paint off the wings and doors, I primed them
with an epoxy primer. This not only protected them from any
further rusting, but it made them a lot more pleasant to handle.
Unlike the wings, the doors had virtually no rust.
I hung the doors onthe rebuilt hinges, and installed the bazillion or so "spire nuts" for the wings.
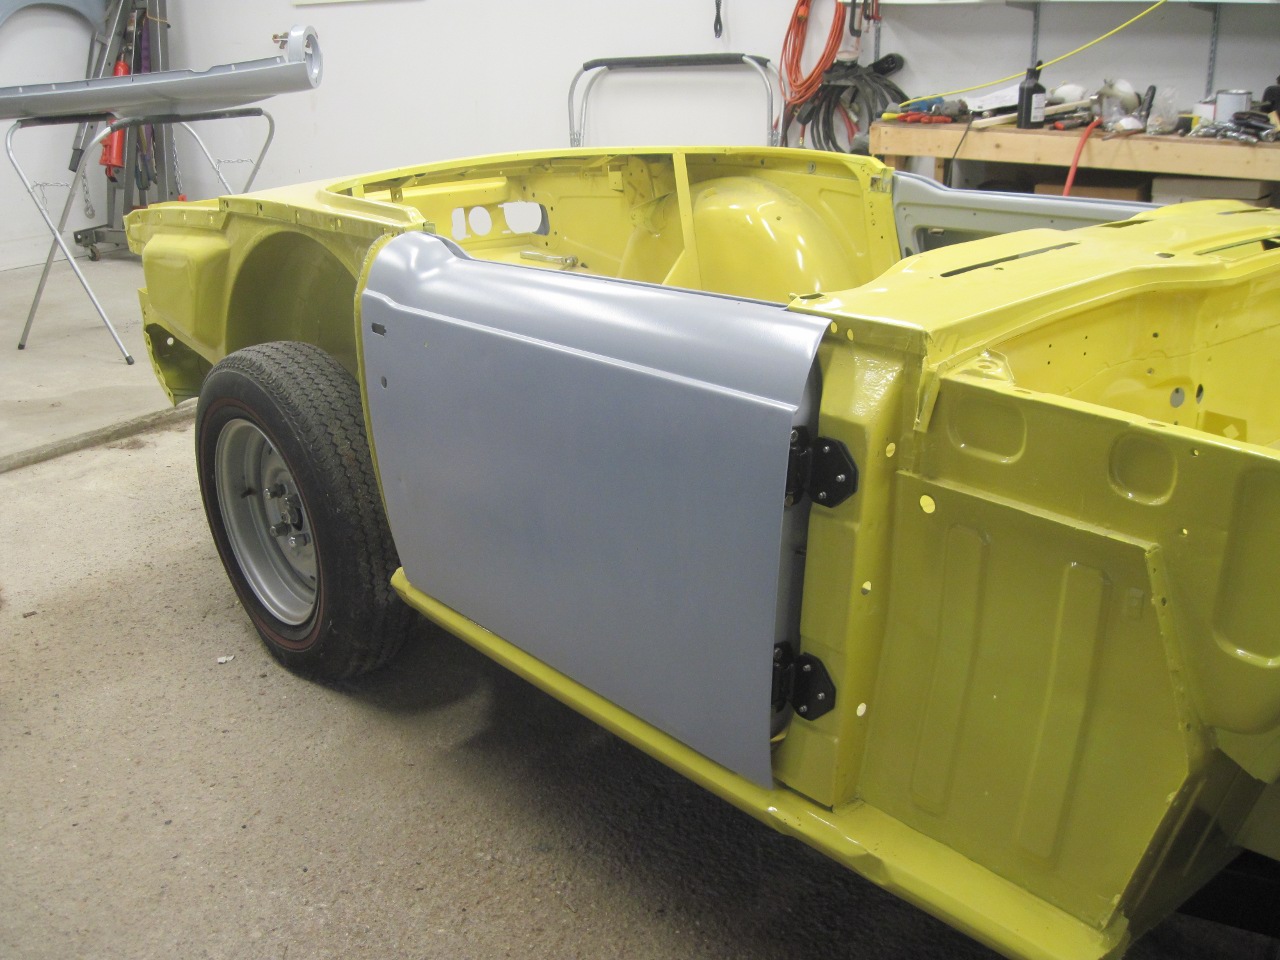
With all the new and fabricated pieces and parts, some of the panel mounting holes didn't align well at first.
The door gaps on the first fit-up were not horrible, but needed some work.
The
rear body mounts were hanging about 5/8" above the frame, and
increasing this gap would raise the rear of the tub, and close the rear
door gap. The 1-1/2" spacer was too much, but 1-1.25" seemed about
right.
Unfortunately,
this is a familiar situation for TR6 rebuilders. Now, I had
checked the so-called "kick-up" of the rear frame rails before I began
work on the frame, and it was a smidge over 4 inches. I believe
the correct value is about 4.5 inches, but in addition to whatever
tolerence the factory allowed itself, stresses on the frame over the
years tend to cause the rail ends to sag, especially if it is weakened by rust, so many if not most frames
will have less kick-up than factory original.
Another thing that can
cause the frame rail ends to sag is welding on the bottom surface of
the frame. Welding tends to shrink metal, and shrinking the
bottom face of the frame, where most of the welding was, will tend to
bow it to some extent. I tried to minimize this by controlling
the heat as much as possible, but I assume that the extra sag was from
my welding operations.
Spacers
work perfectly well to compensate
for sag and lift the tub back up to the level it needs to be to get
good door gaps, but there are a couple of other problems with having
rear frame rails hanging too low. First, there is a bumper
bracket that has to mate with both the frame and a boss on the rear
valance panel of the tub. If the frame rails are too low, the
bracket can't be installed properly. Second, rails hanging too
low will be obvious when looking at the back of the car. I
believe that on a new car, the frame rails hung just slightly below the
bottom edge of the rear valance, but hanging an extra inch lower, they
would be obviously out of place. Further, since the muffler and
tail pipes are hung from the frame, drooping frame rails will cause the
tail pipes to hang lower under the valance and bumper than normal.
One
recommended fix for this
condition is to reverse the frame bow by cutting the bottom and side
surfaces of the frame rails in the cruciate plate area, raising rear of
the frame to the correct position, and rewelding. Though I
acknowledge that this may be an absolutely correct way to mitigate the
problem of drooping rear frame rails, I didn't really savor the idea.
I
expect that the solution I finally applied might be controversial.
That's fine with me, because nothing I report here is a
recommendation for action. Here is my logic:
The other
main component attached to the rear frame rails that might be affected
by sagging is the rear suspension. If we assume that all of the
droop of the rails was due to welding at the narrowest part of the
frame, we can think of that as a pivot point for the sag. A
little trig suggests that the sag at the rear suspension attachment
would be about one fourth of the value at the rail ends, since the rail
ends are about four times further away from the pivot. Since my sag appeared to be about an inch, this puts
the sag at the rear suspension at about 1/4". This is probably
absolute worst case in my situation, since I also had welded repairs
behind the rear suspension which would have contrubuted to the sag.
Another
data point is the body mounting points at the top of the rear
suspension bridge. With the nominal compliment of mounting pads
and shims in place, there was only about a 1/8" gap remaining.
This suggests that the actual sag at the rear suspension is
likely closer to 1/8". This, I believe, is getting close to
factory tolerence.
So maybe it's rationalization and maybe it
isn't, but I decided not to worry about how the sag was affecting the
rear suspension. But I did have to fix the bumper mount situation.
First, removed the silencer to get some room to work.
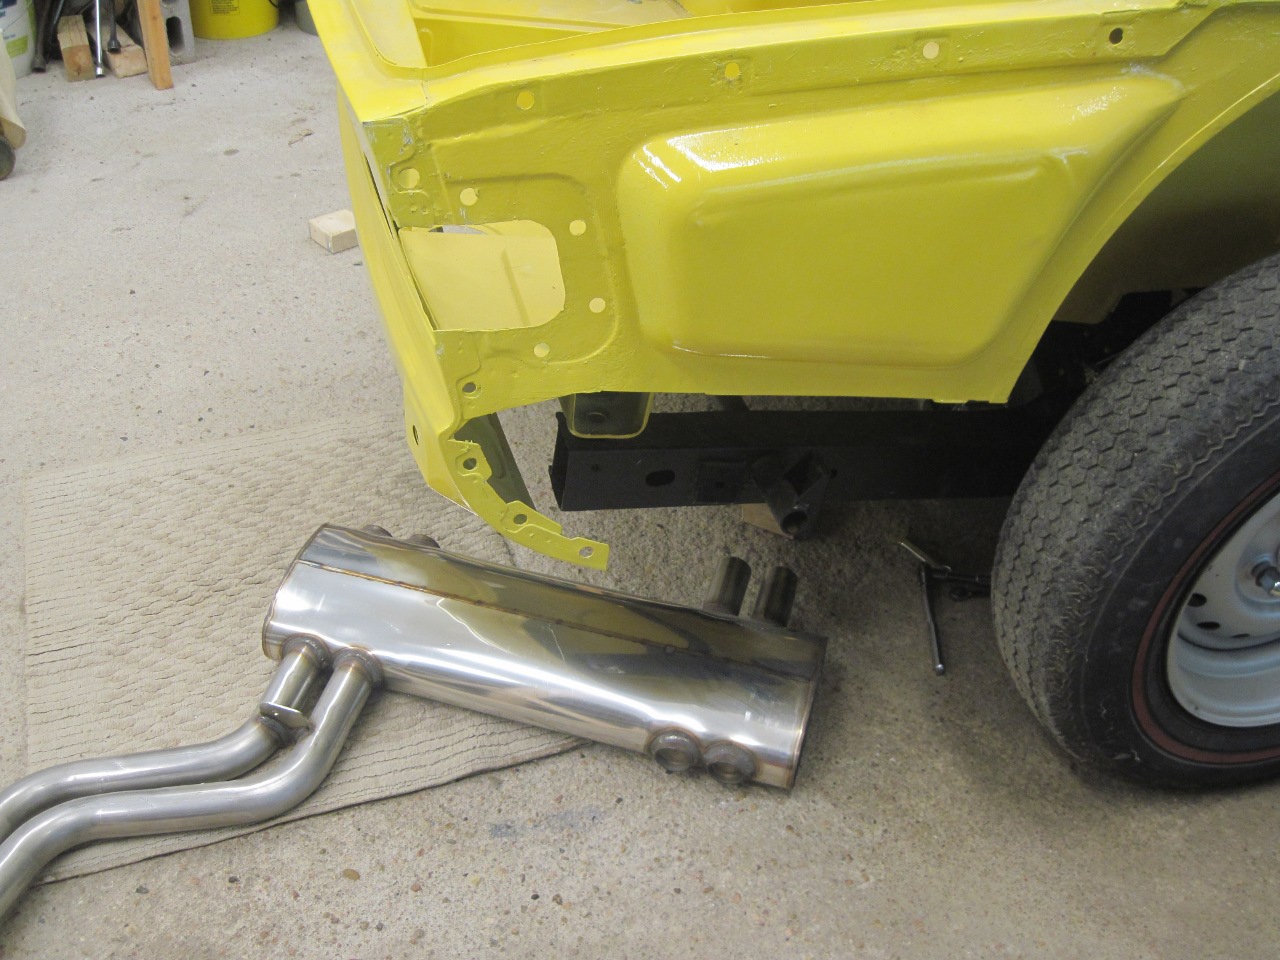
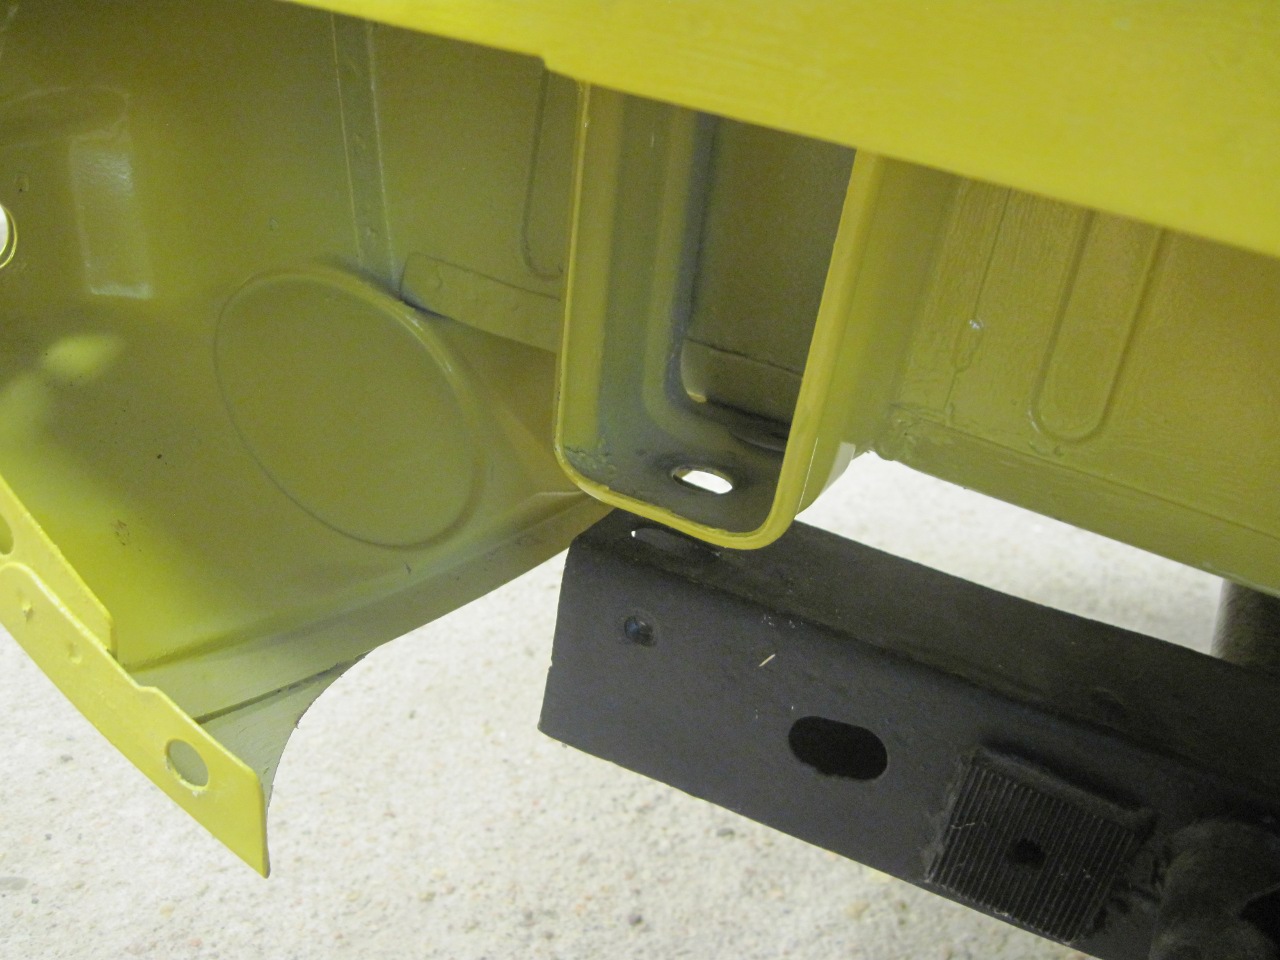
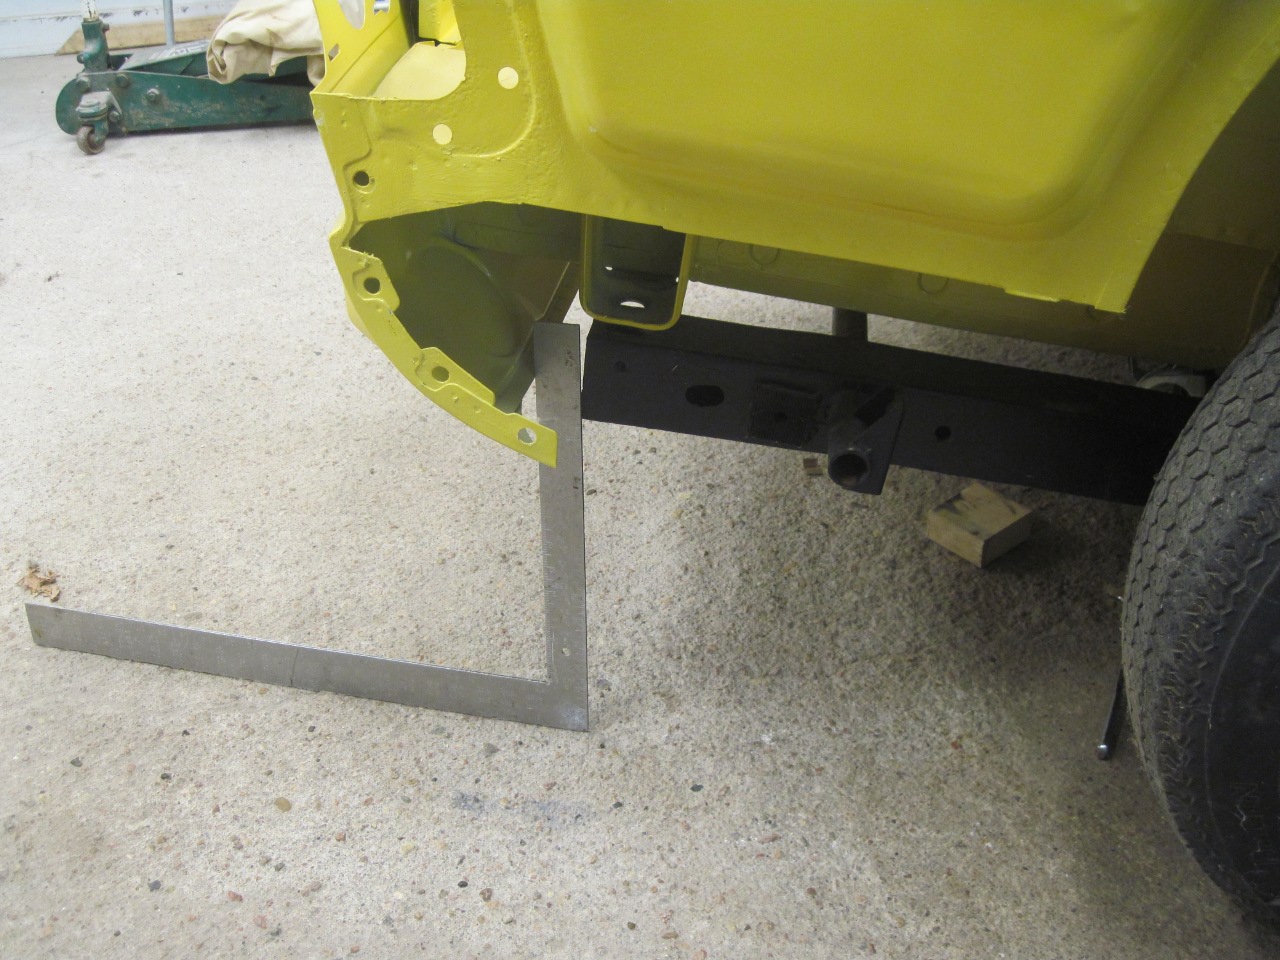
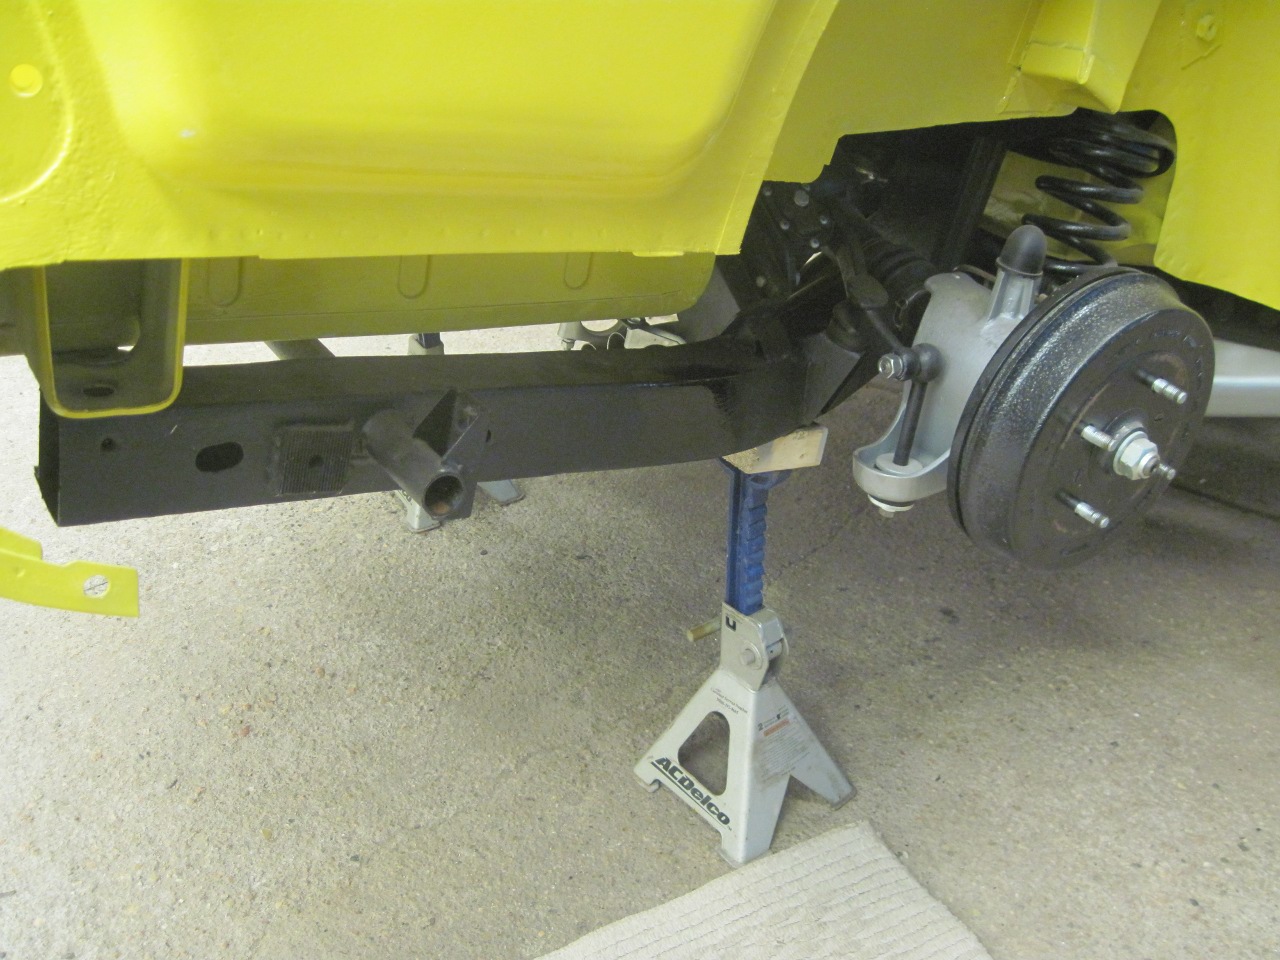
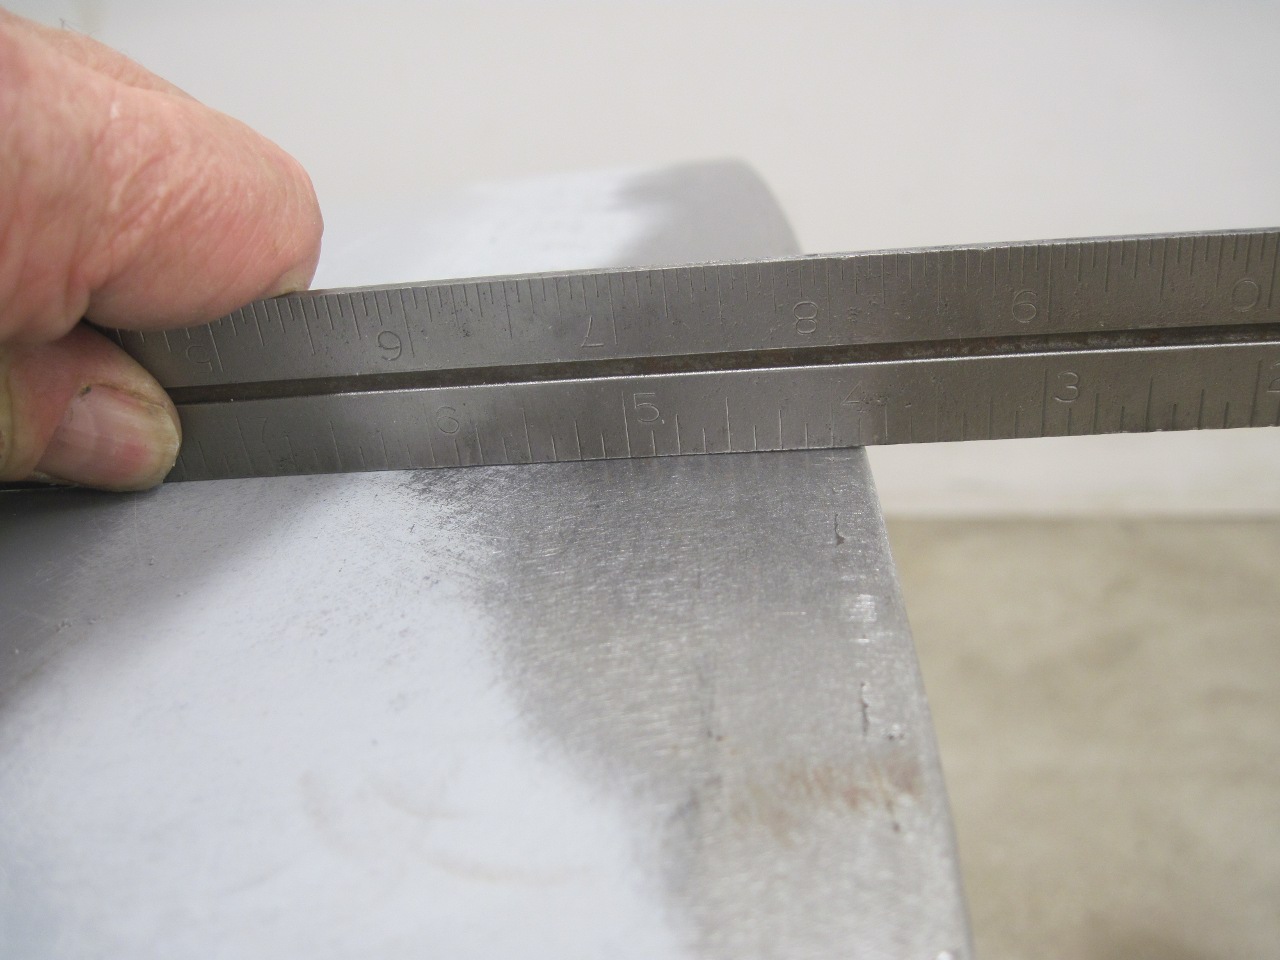
Then
measured the height of the rail tails to get the baseline.
Contrary to what the pic shows, I made the measurement with the
rear of the car on jack stands.
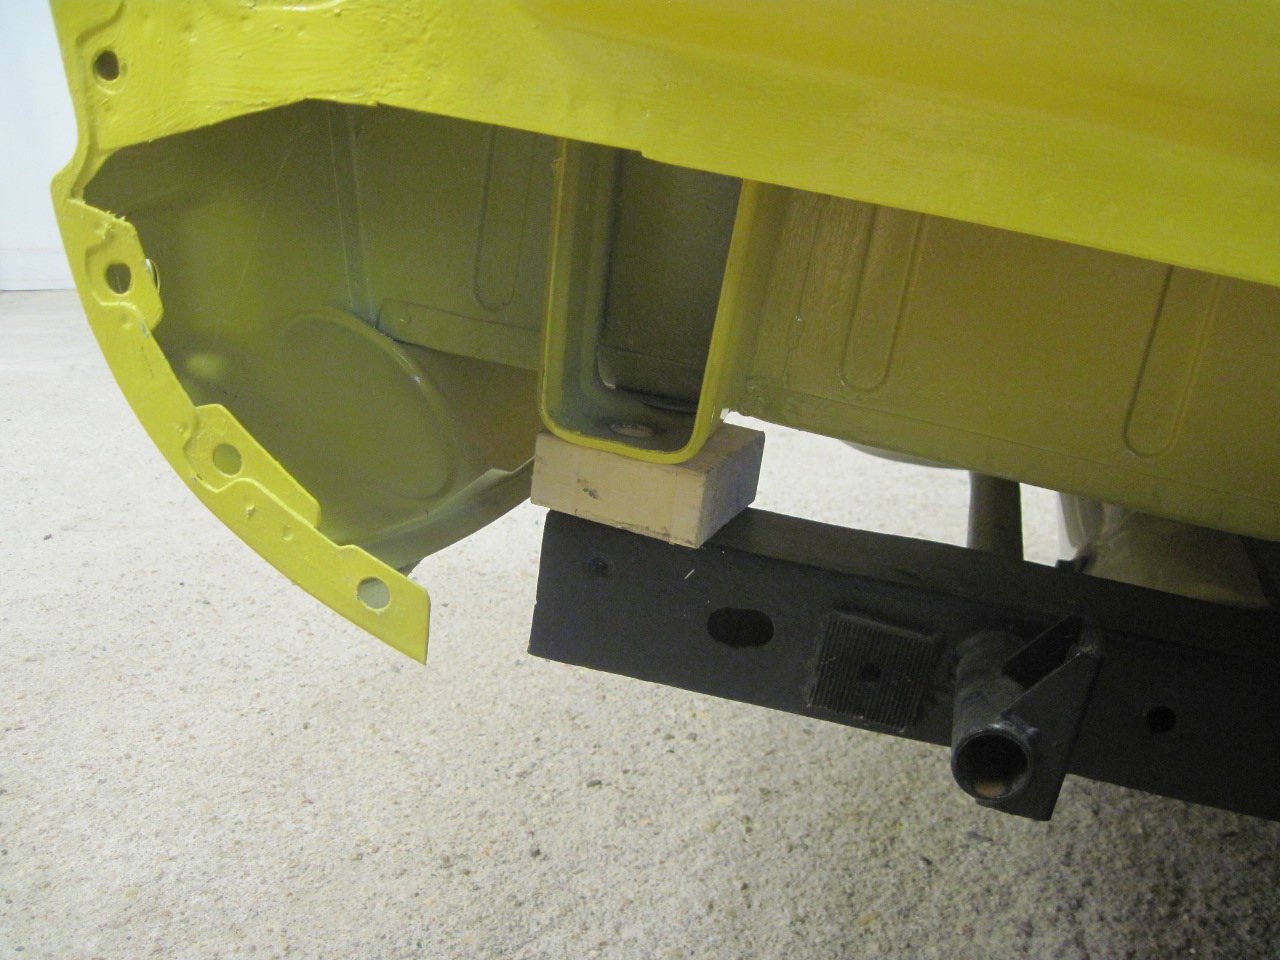
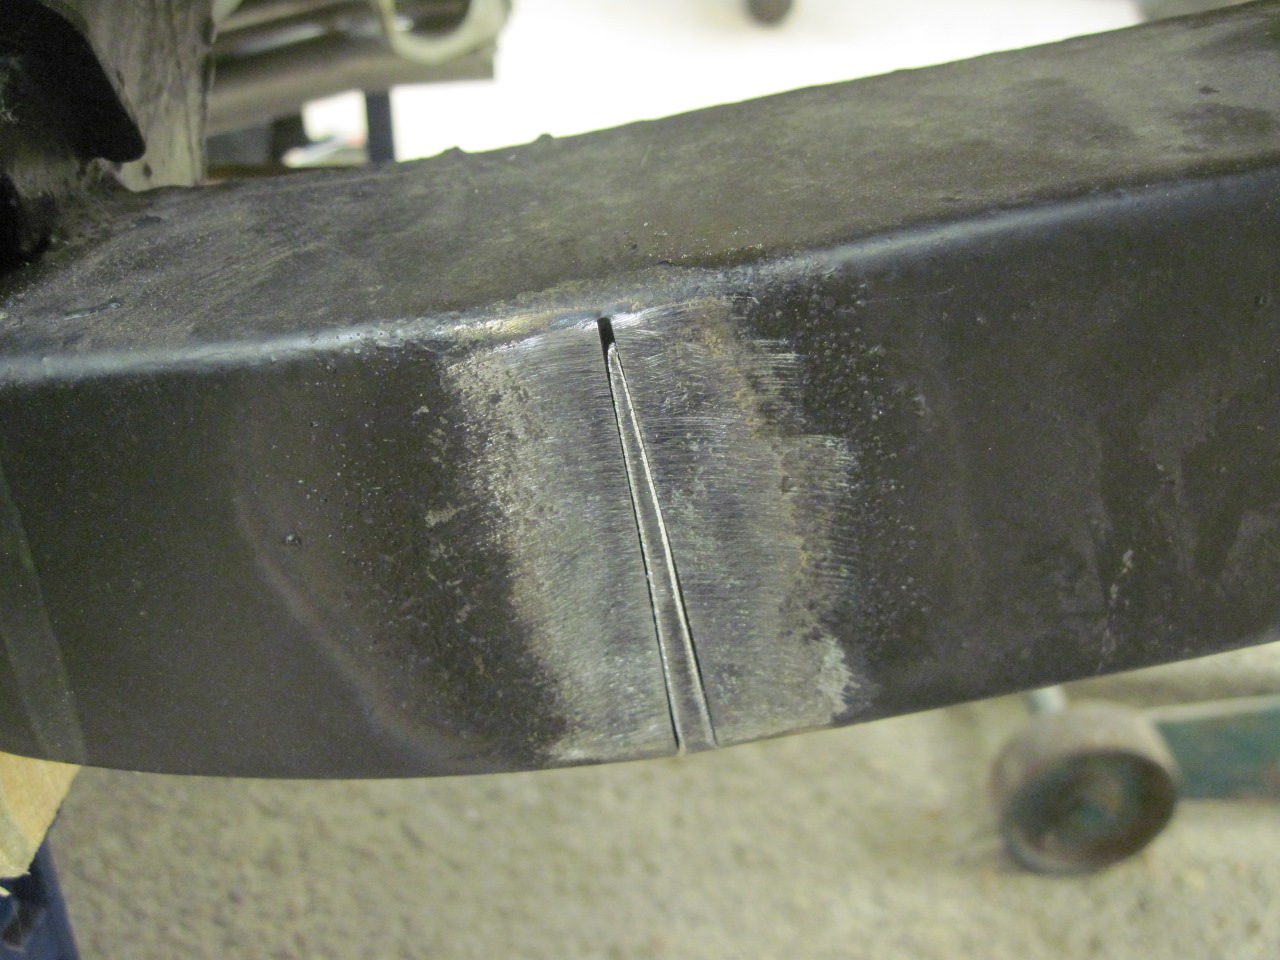
I then cut the bottom and sides of the frame rails just where they straighten out to be parallel with the centerline of the car.
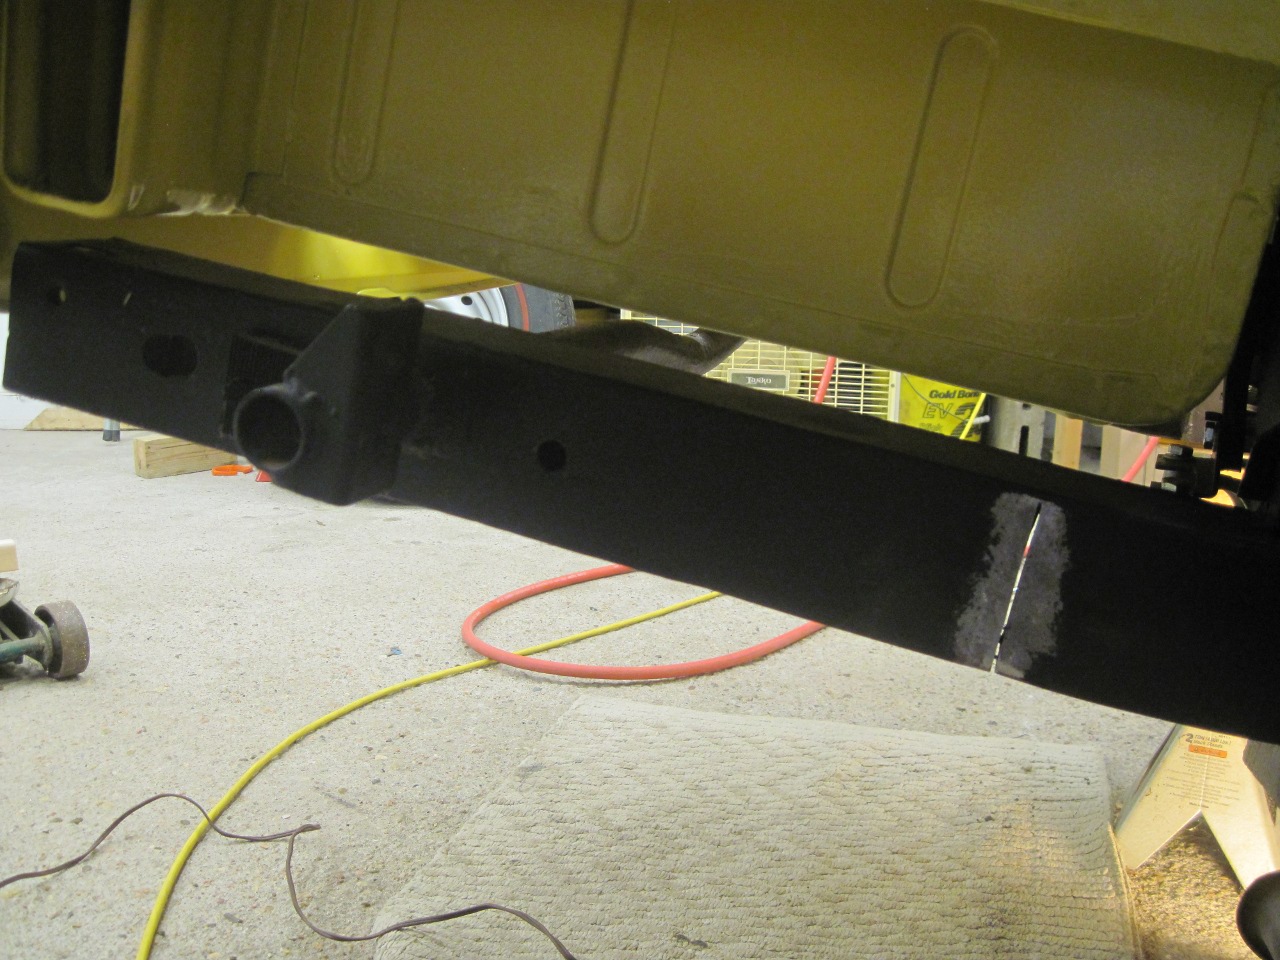
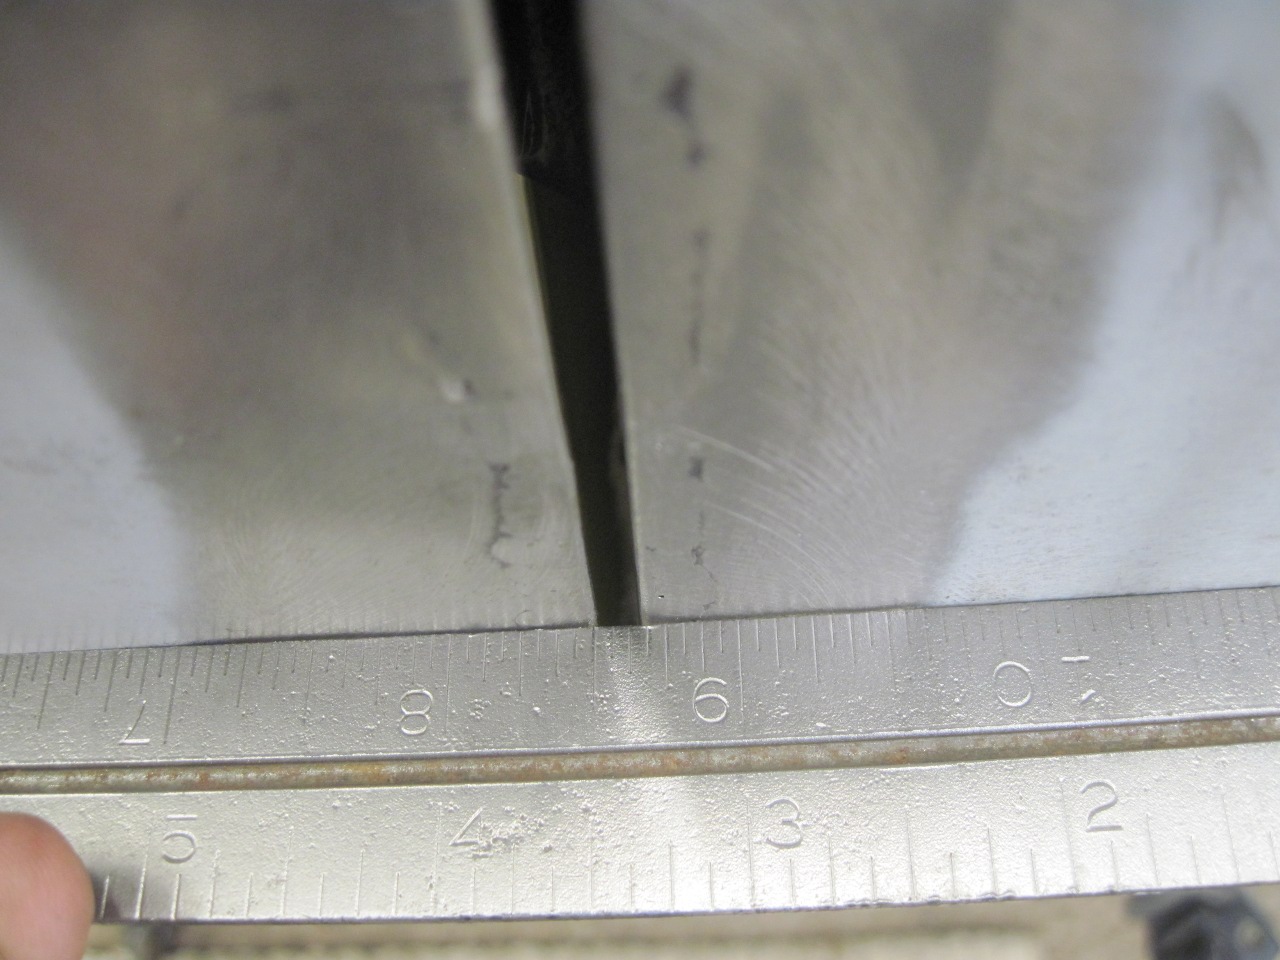
Then jacked up the extreme ends of the rails by 1-1/8 inches.
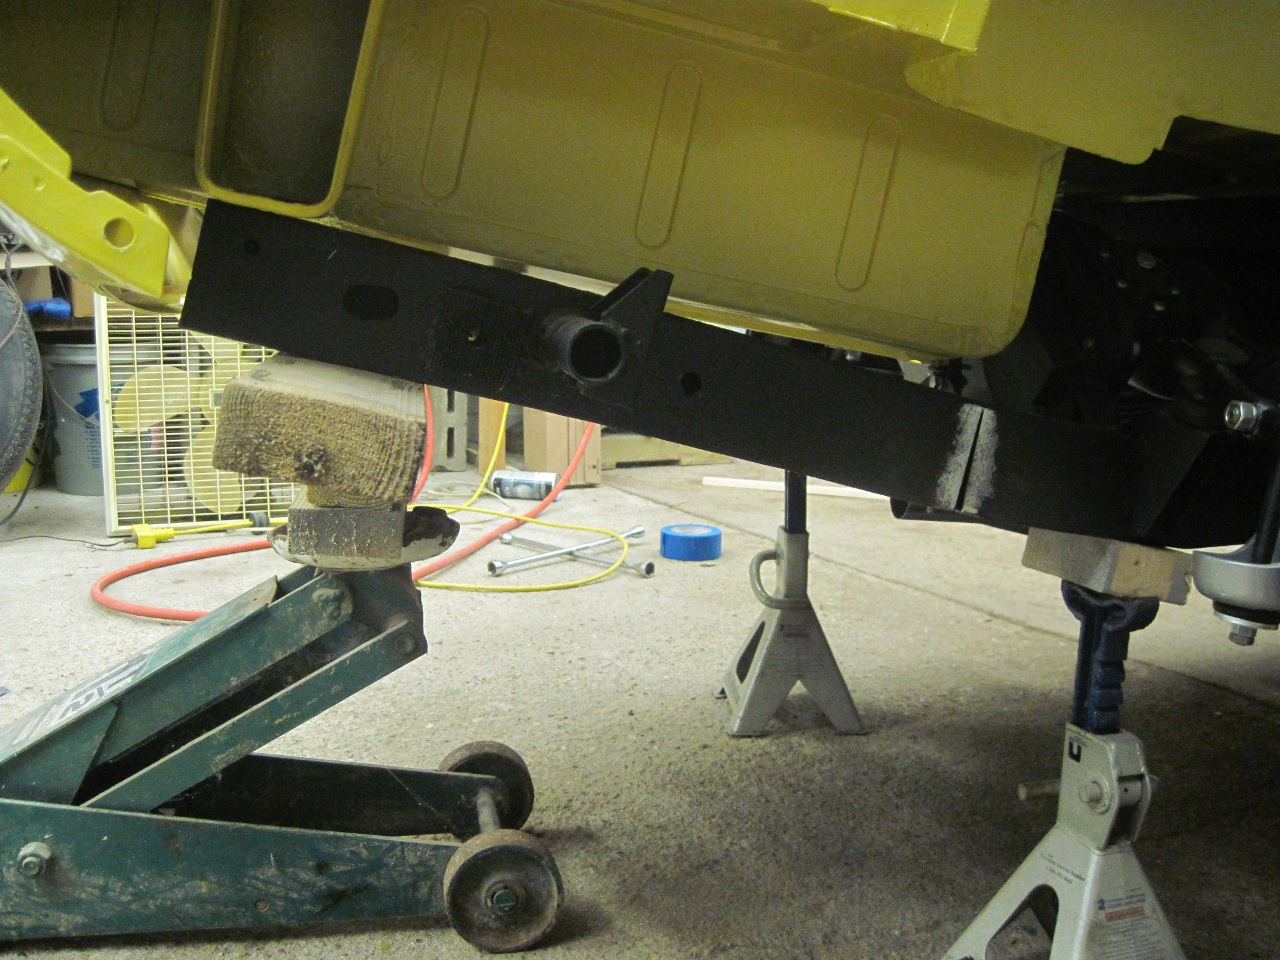
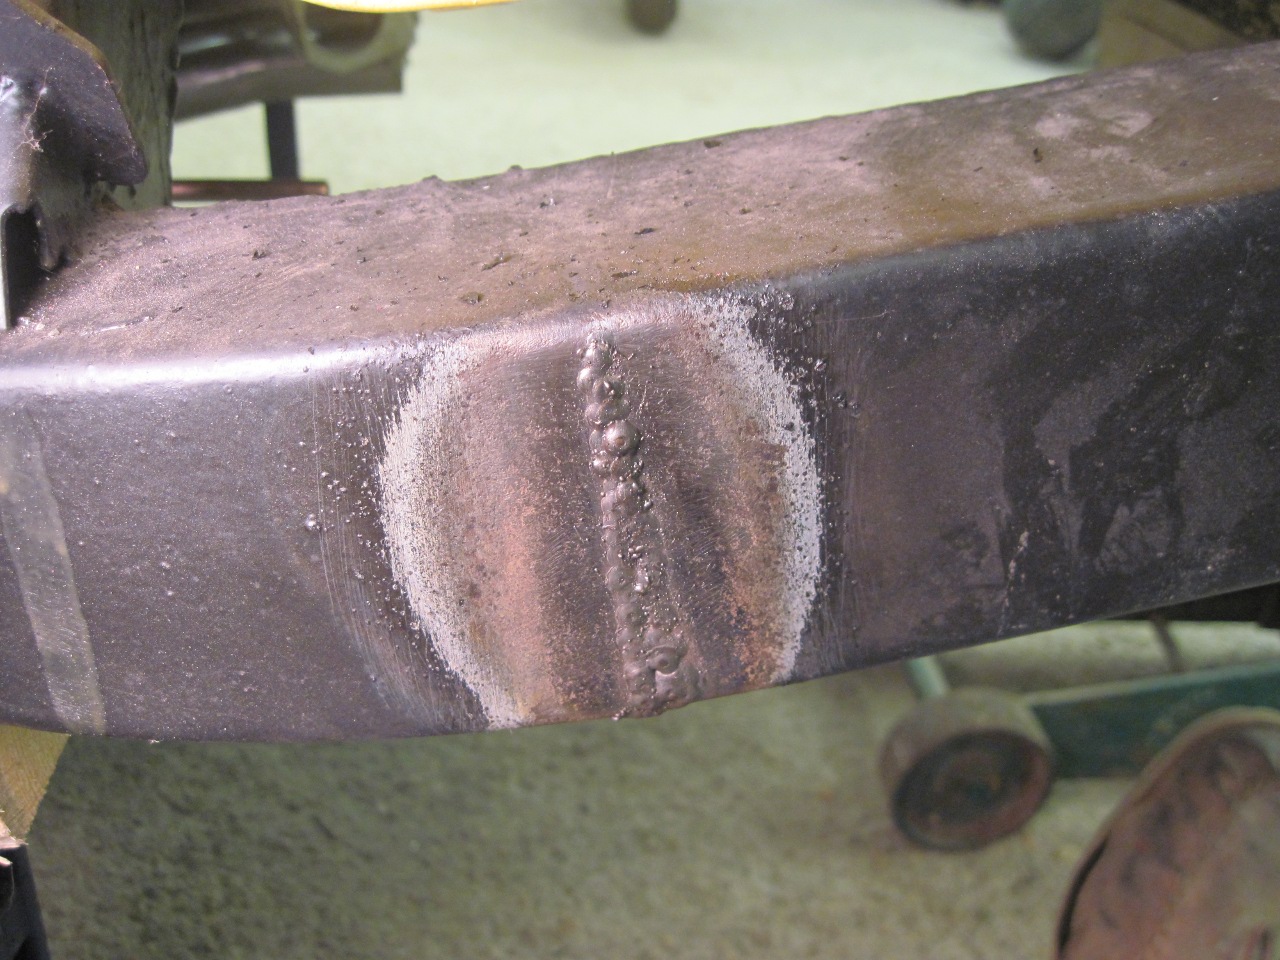
Inserted a filler piece of 14 gauge steel, welded 'er up, and patched the paint.
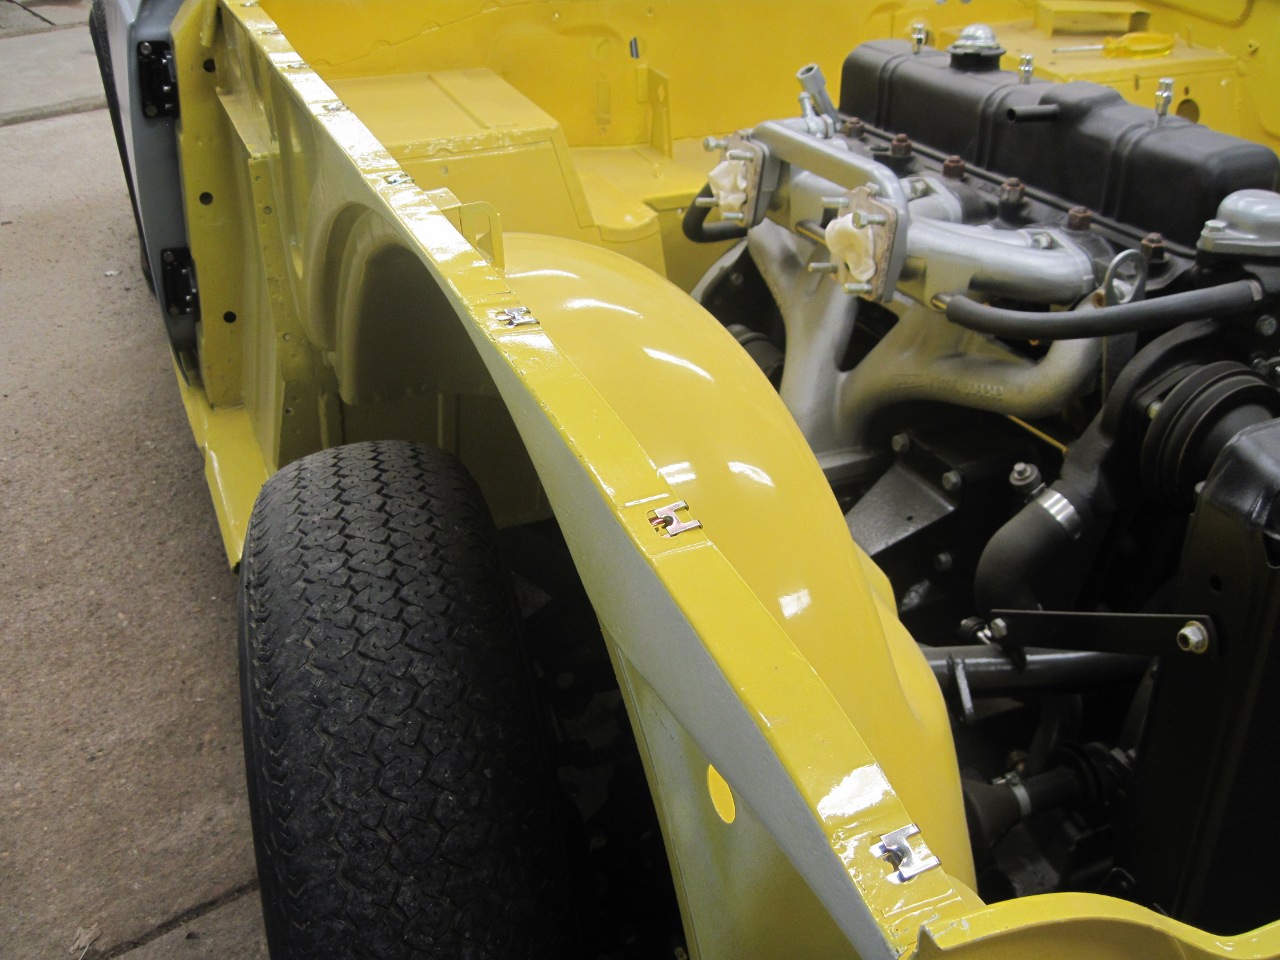
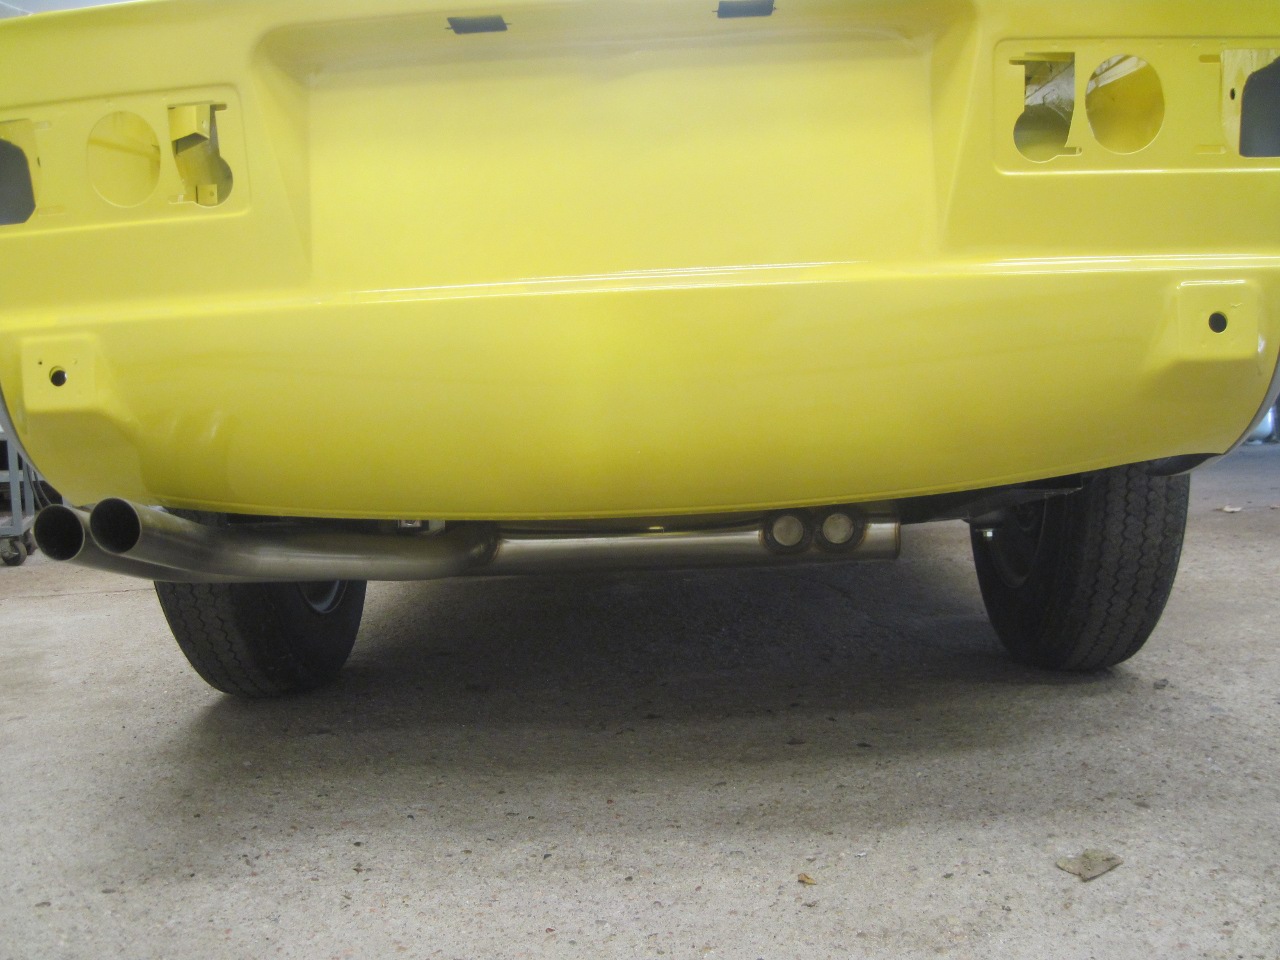
Back on its wheels, the frame rails are barely visible, and the exhaust pipes hug the valance.
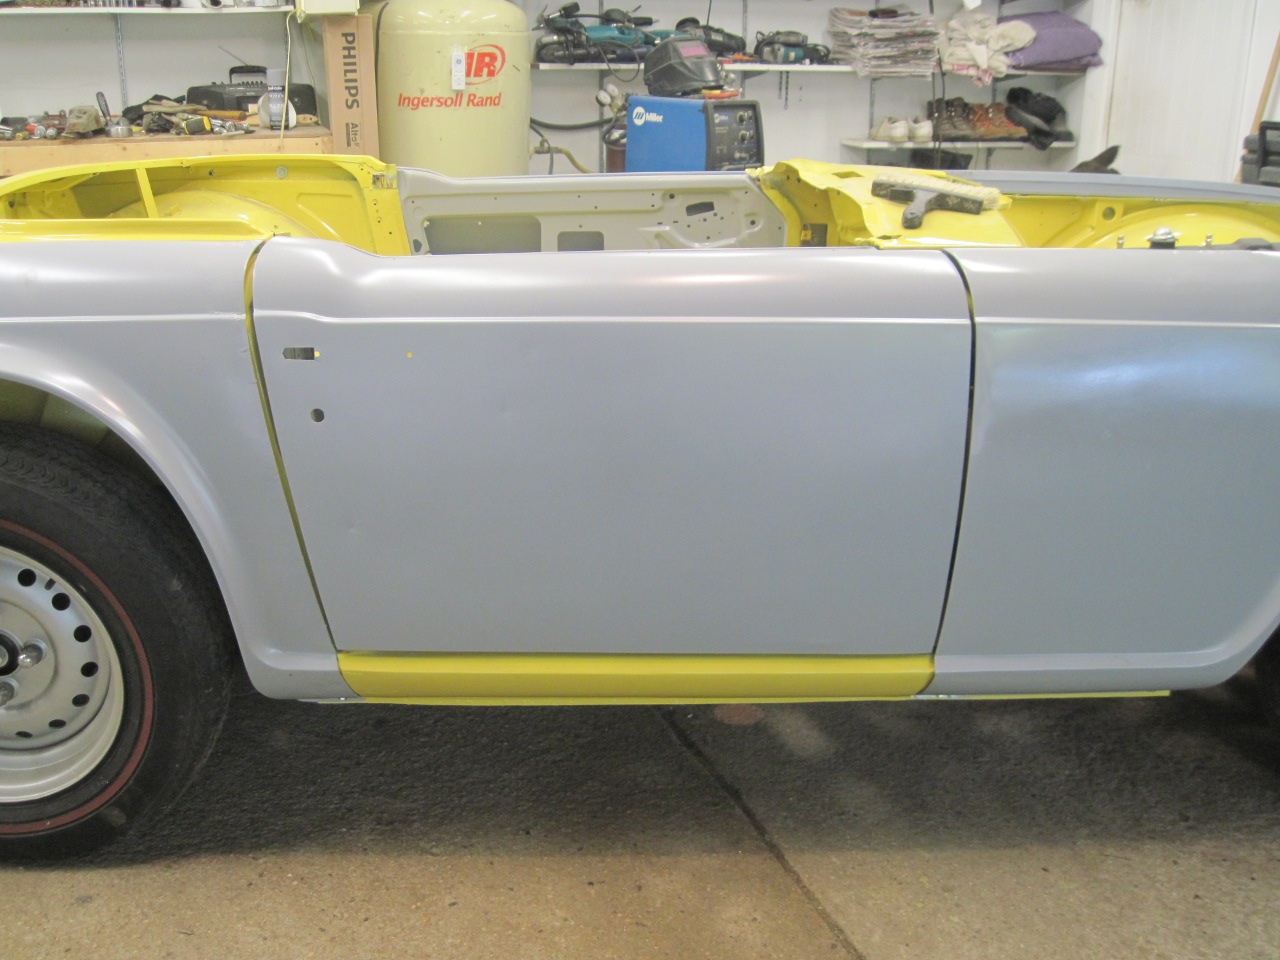
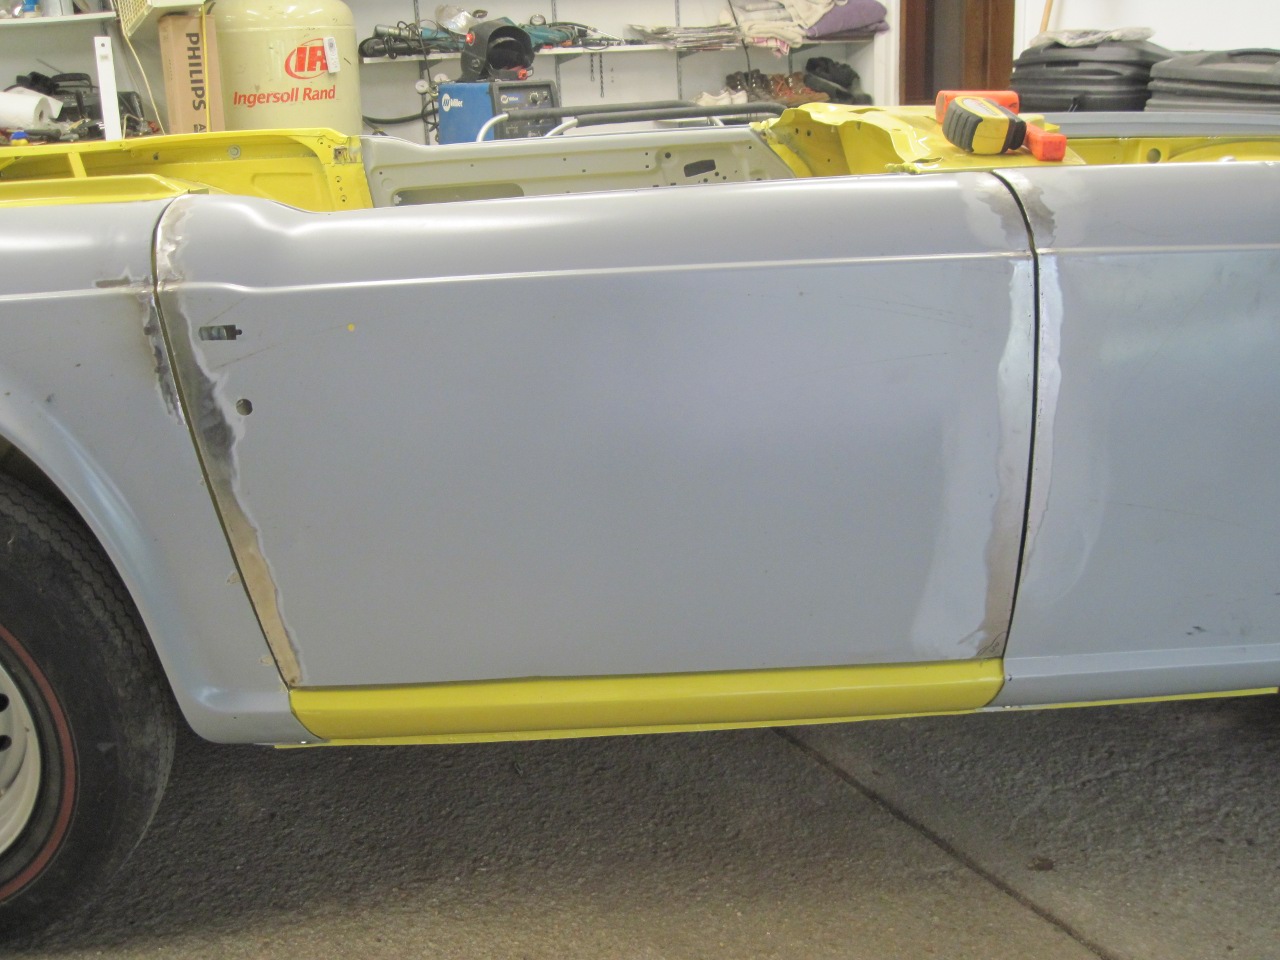
Put in the nominal spacers on the rear mounts, and the gaps came out darn close to parallel on both sides.

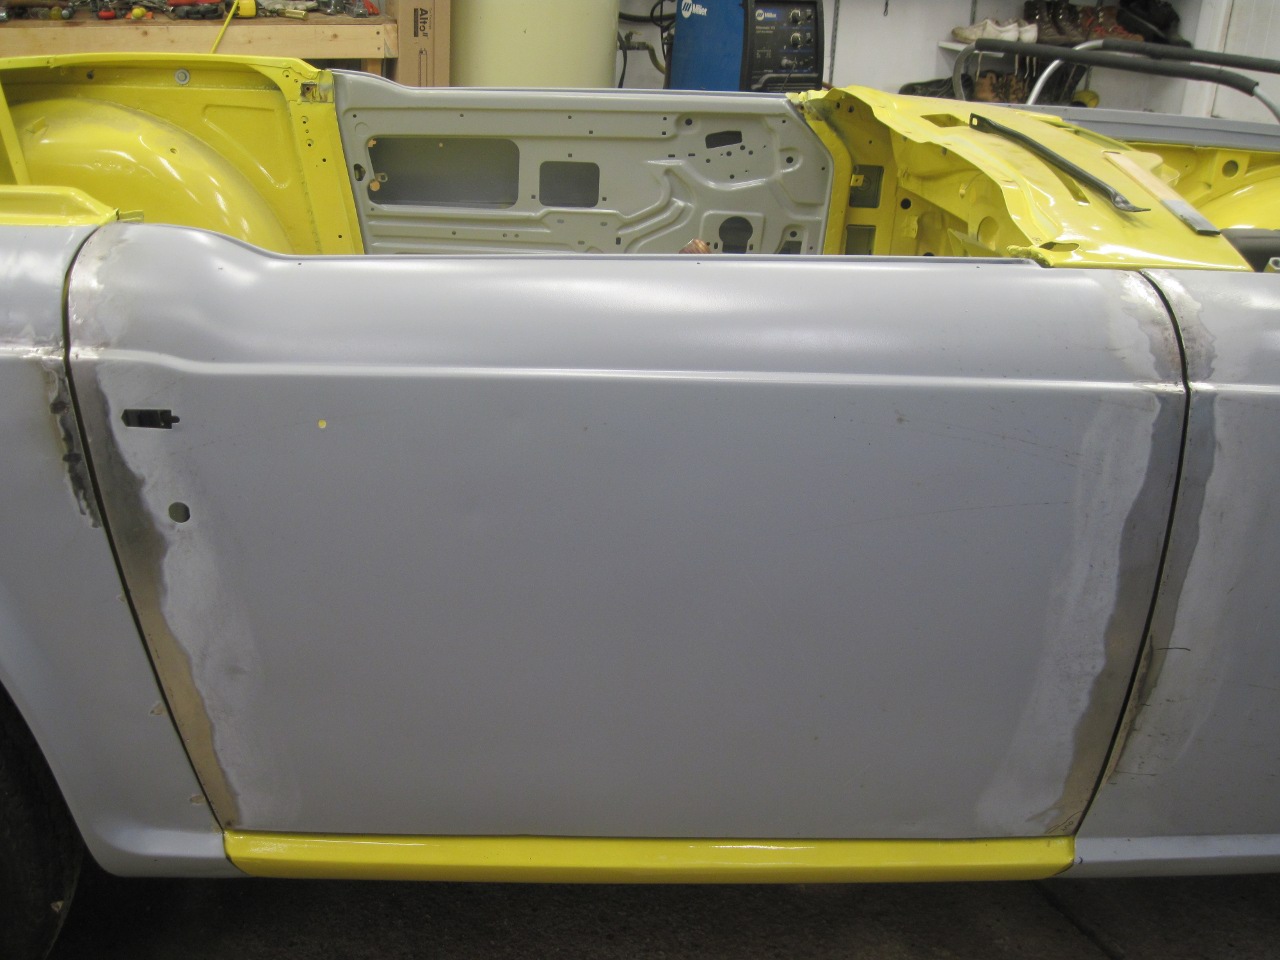
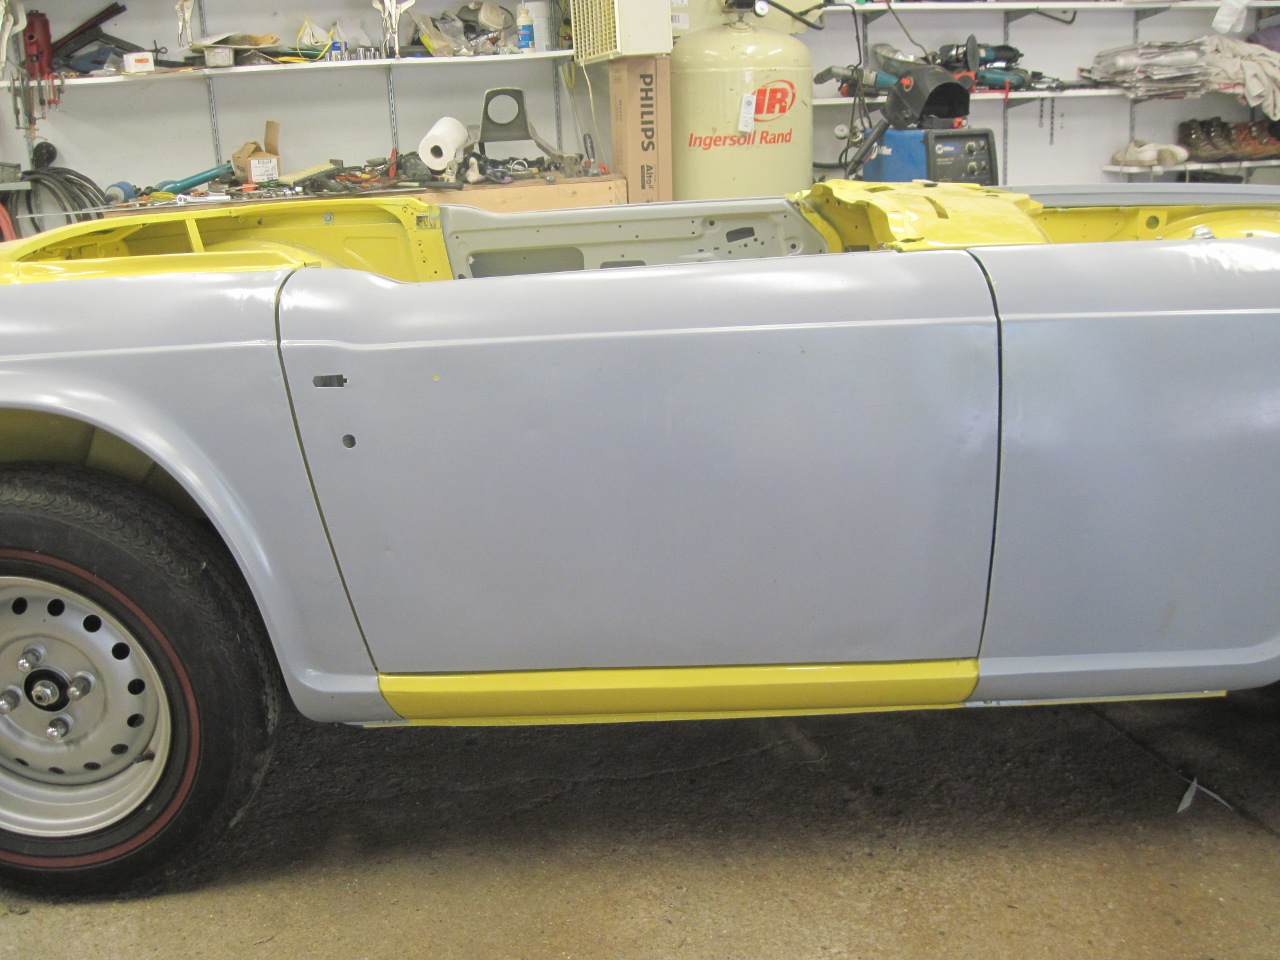
Though
the gaps were pretty even from top to bottom, they were too wide.
It looked worse in person than in the pic above. There is
only so much you can do by shifting fenders, since they have to line up
with their respective valances. Even moving the fenders in
towards the doors as much as I dared, the gaps remained too wide.
After
trying everything I could think of with no relief, and coming up empty
on my Google search for door stretchers, I finally fell back to an old
body trick to reduce gaps--welding a 1/8" rod to the edge of one of the
panels. I chose to do this to the doors.
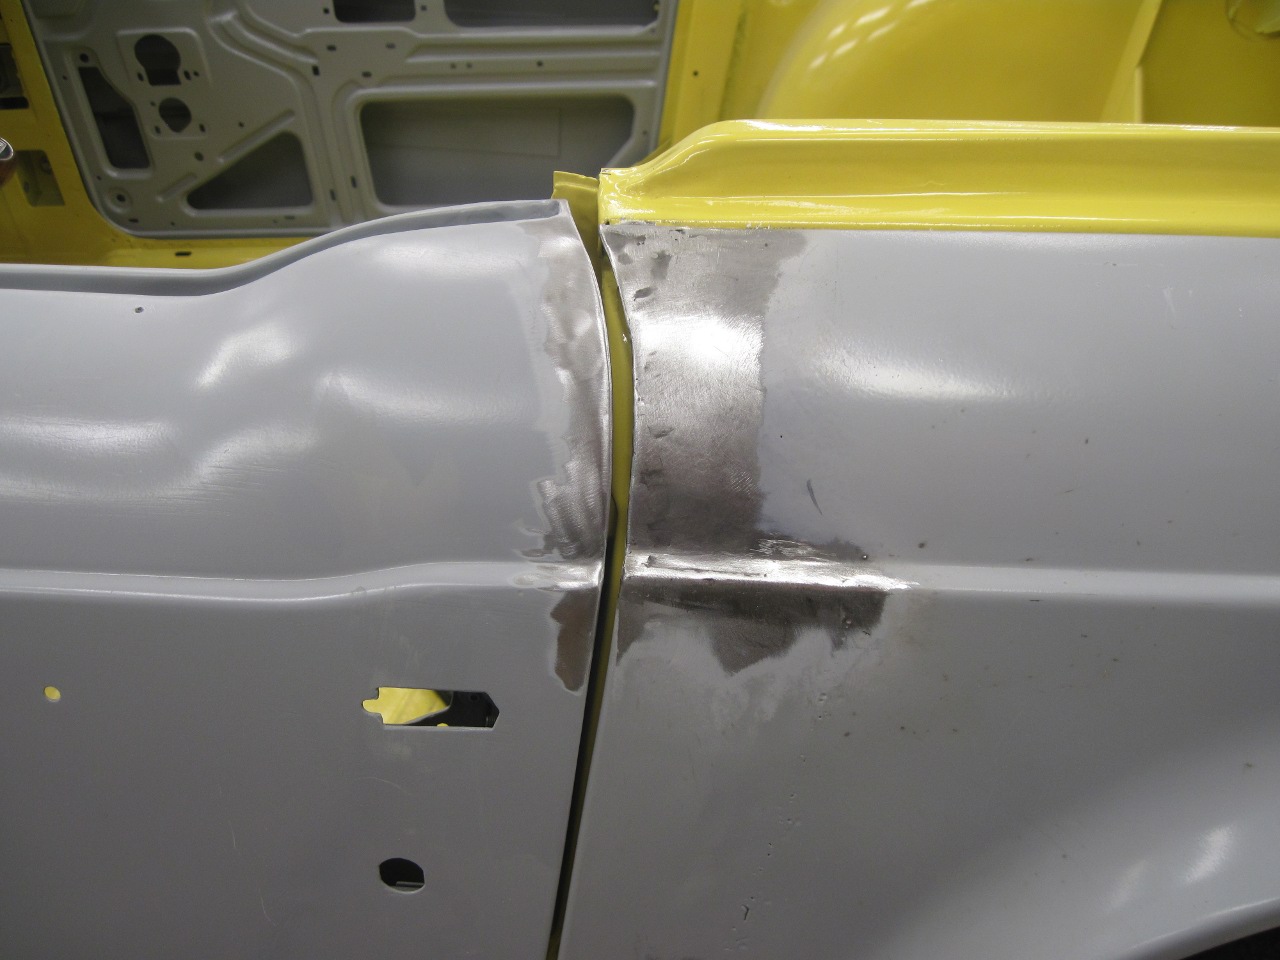
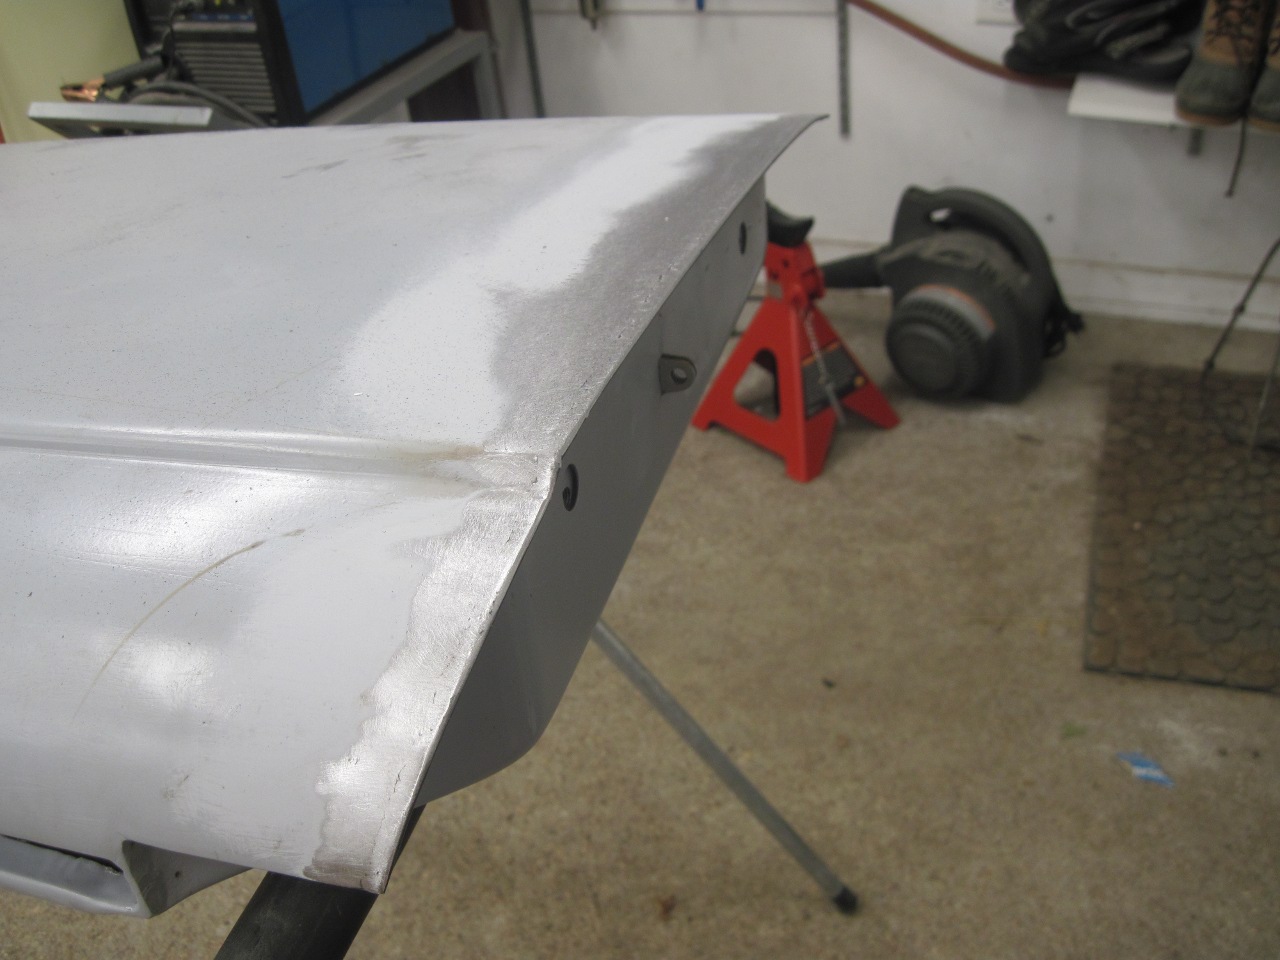
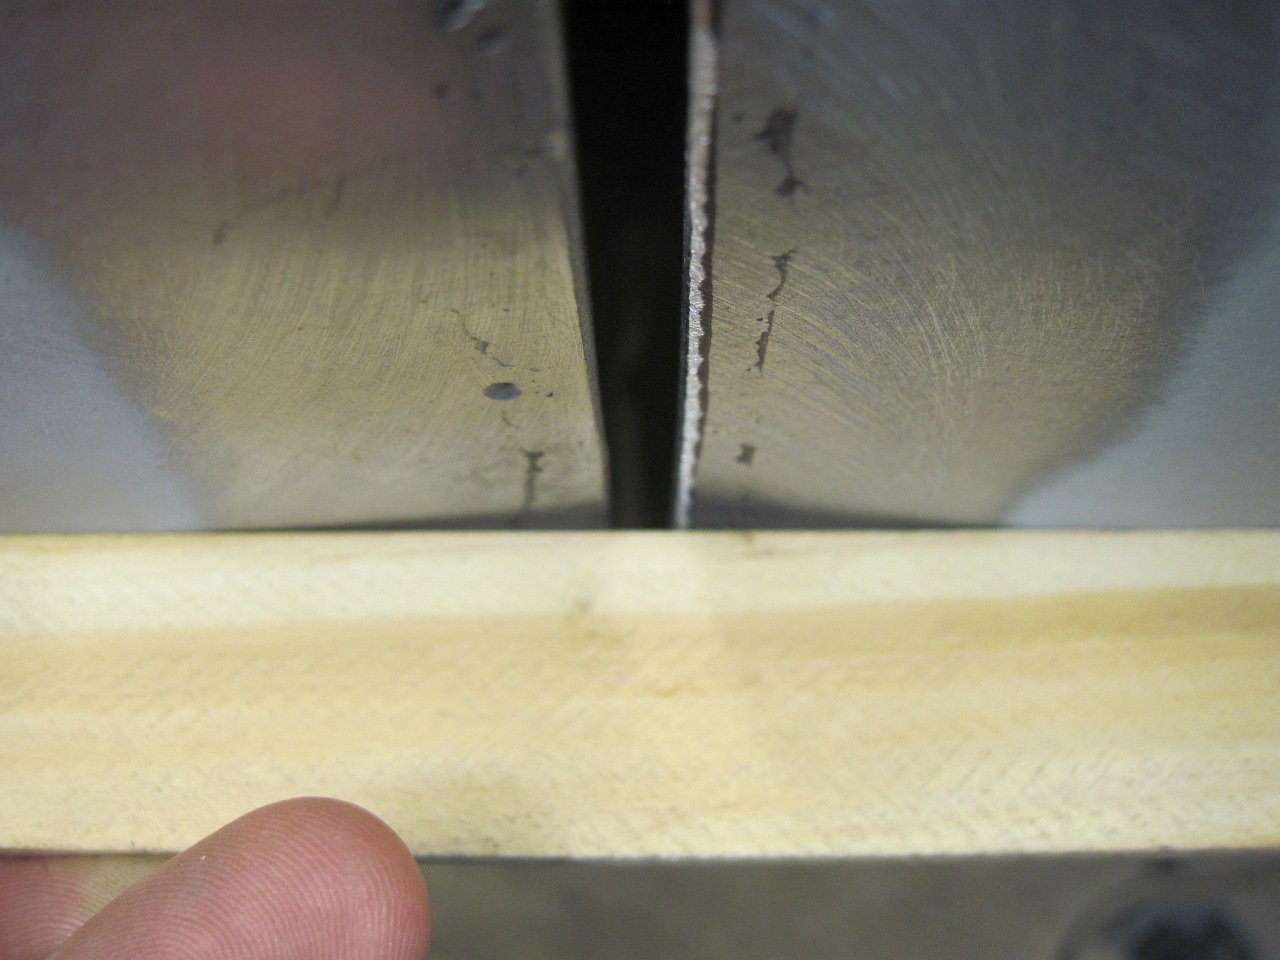
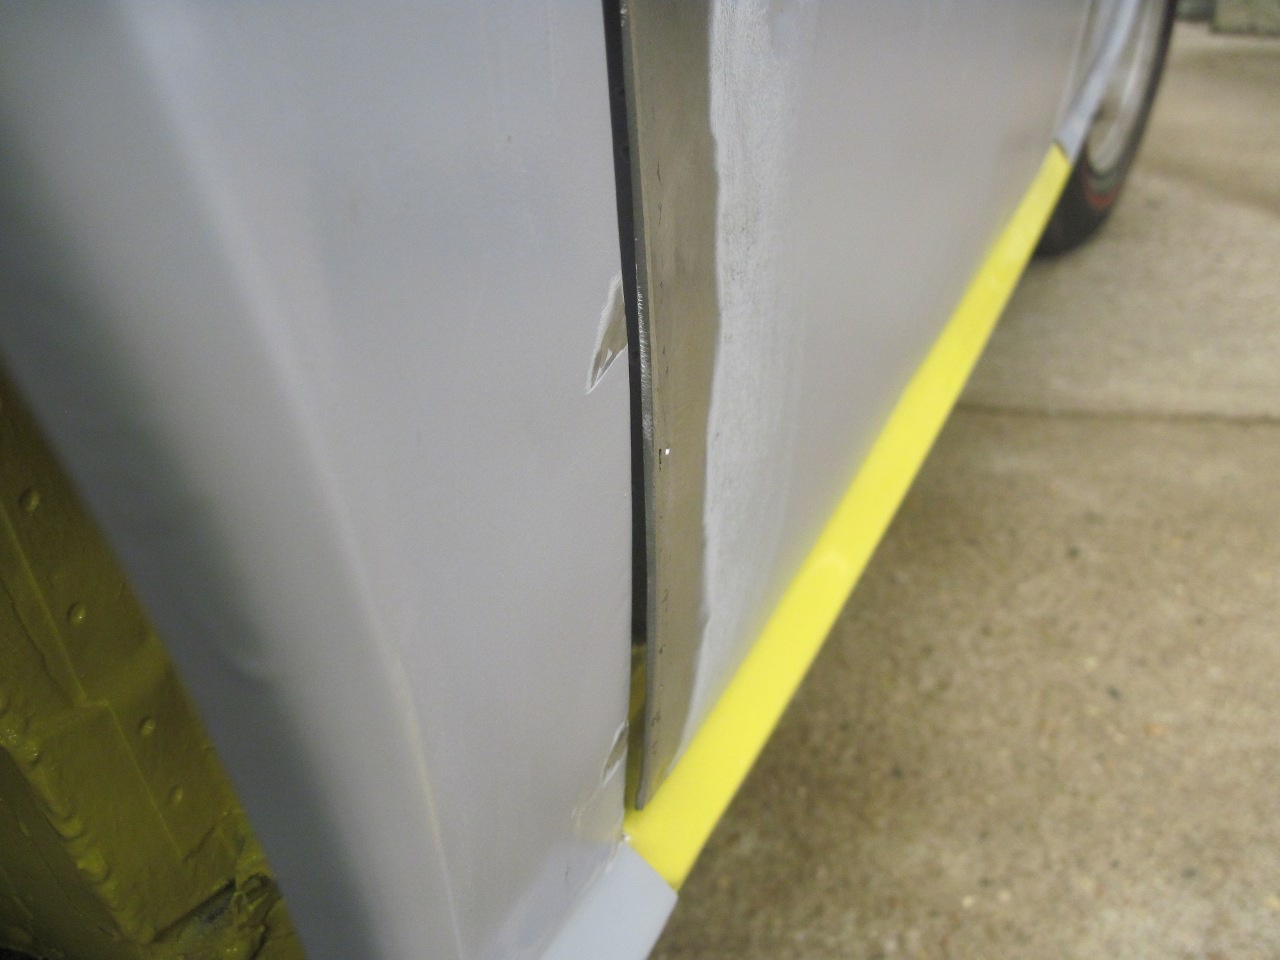
After grinding away the primer from both sides, I shaped a piece of rod to the right curve for the top of the door.
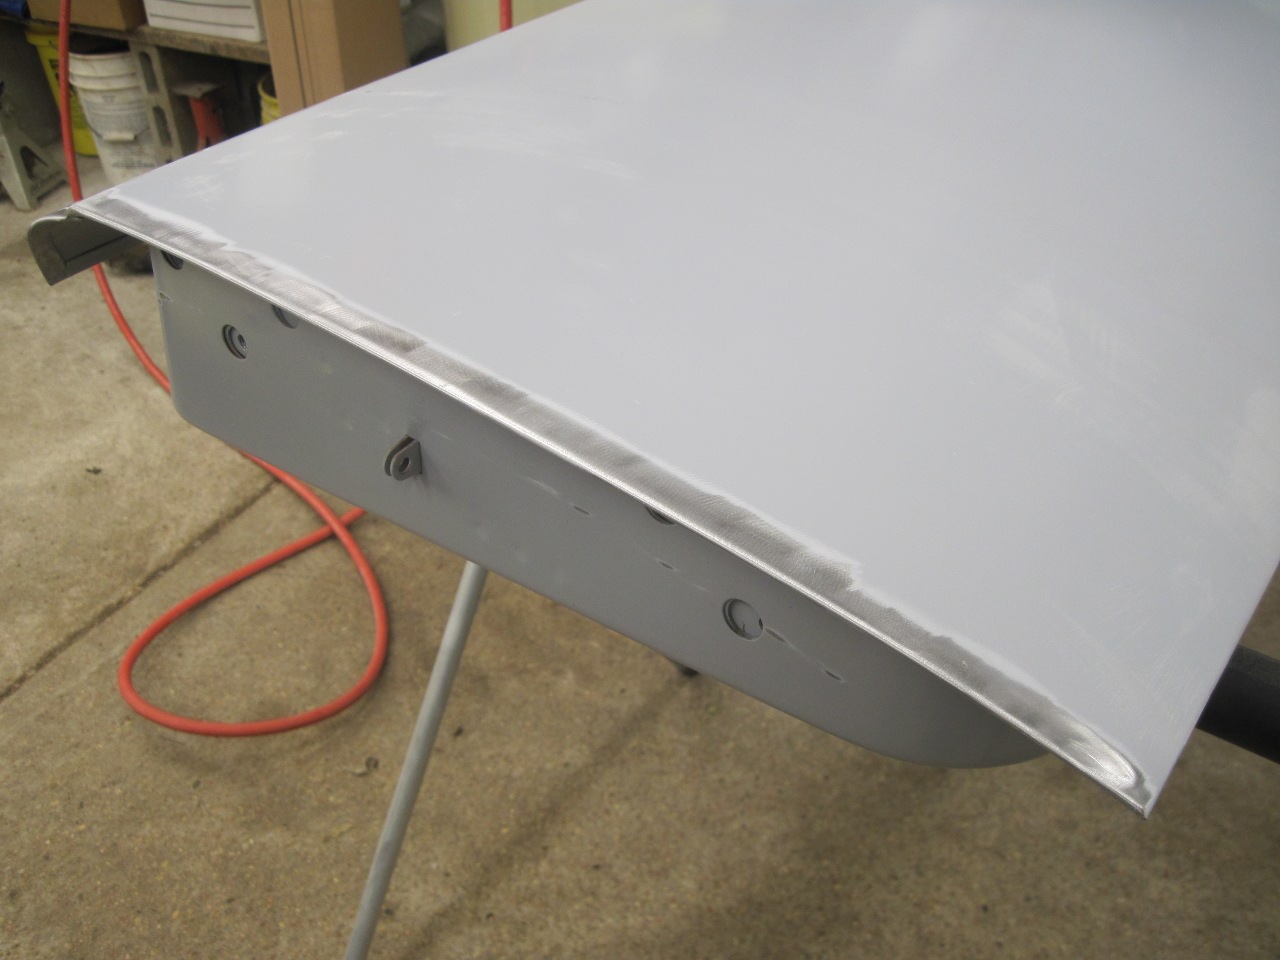

Tacked the rod in, then added rod to the rest of the door edge.

Then a test fit to see if it was going to work.
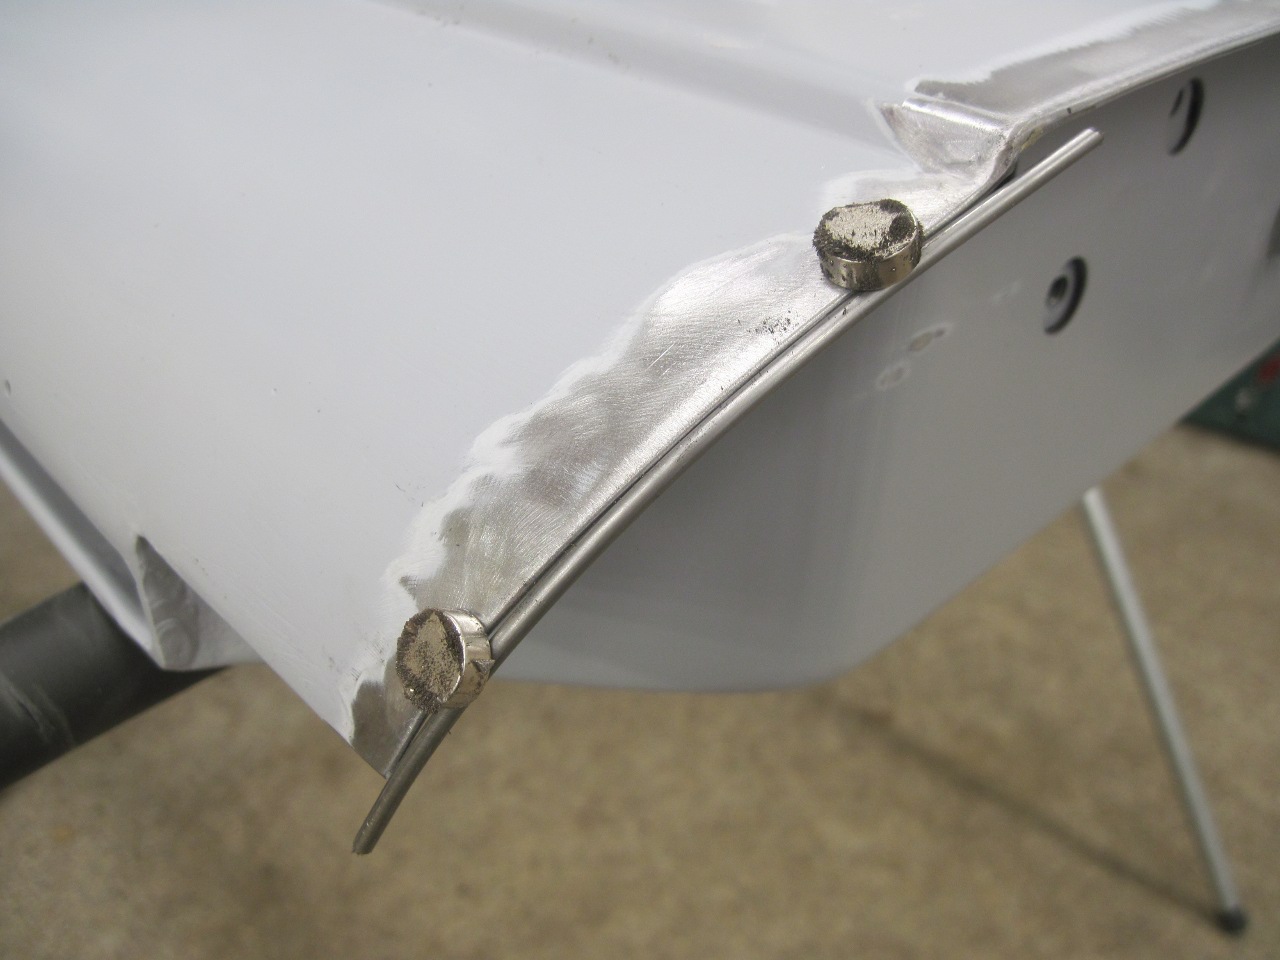
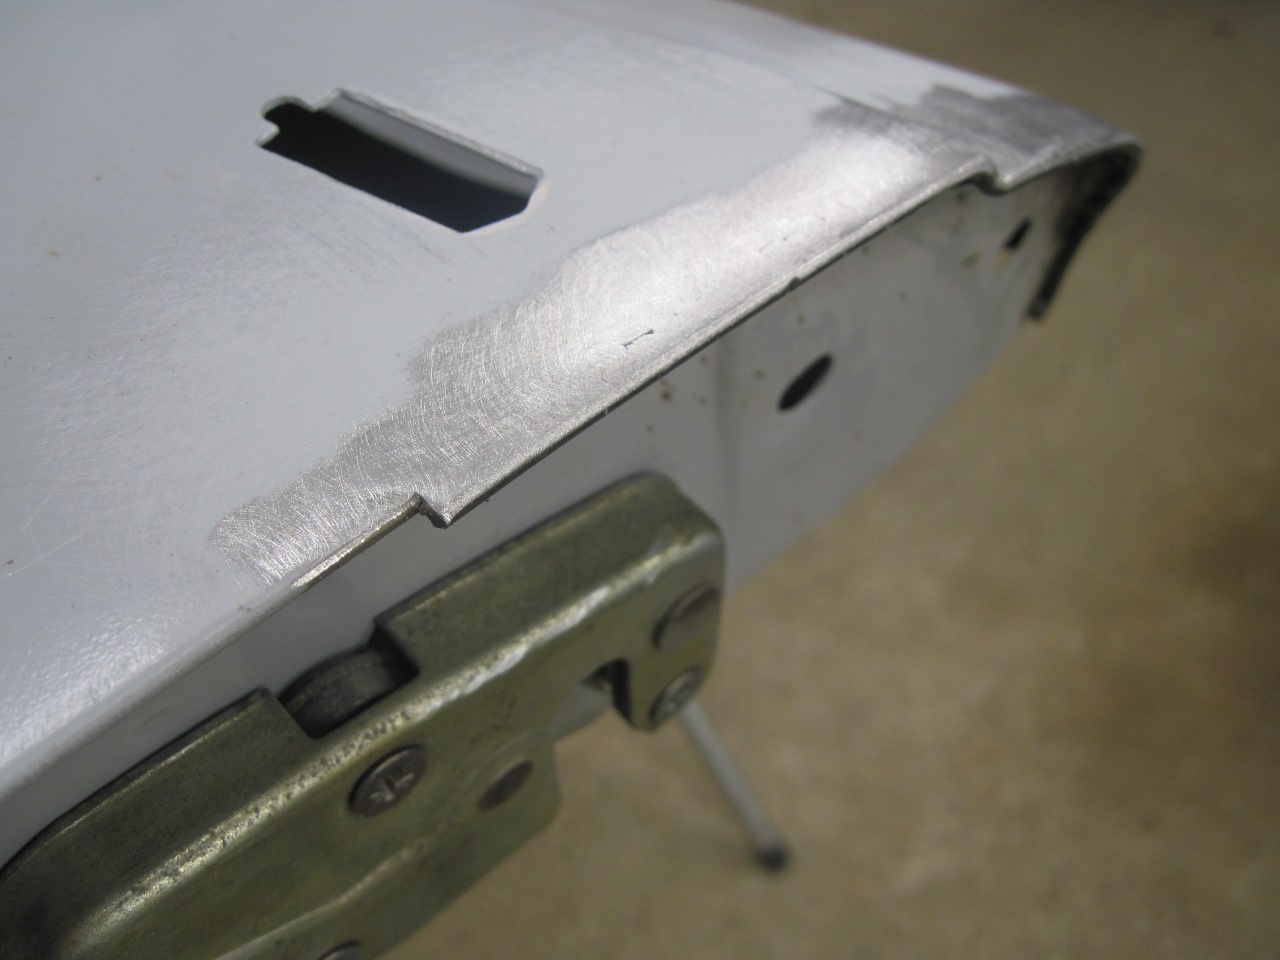
It
helped a lot, but there was still a wide gap at the very top of the
rear of the door. I welded a shorter piece of rod there.
The lower part of the rod would later be tapered down to nothing.

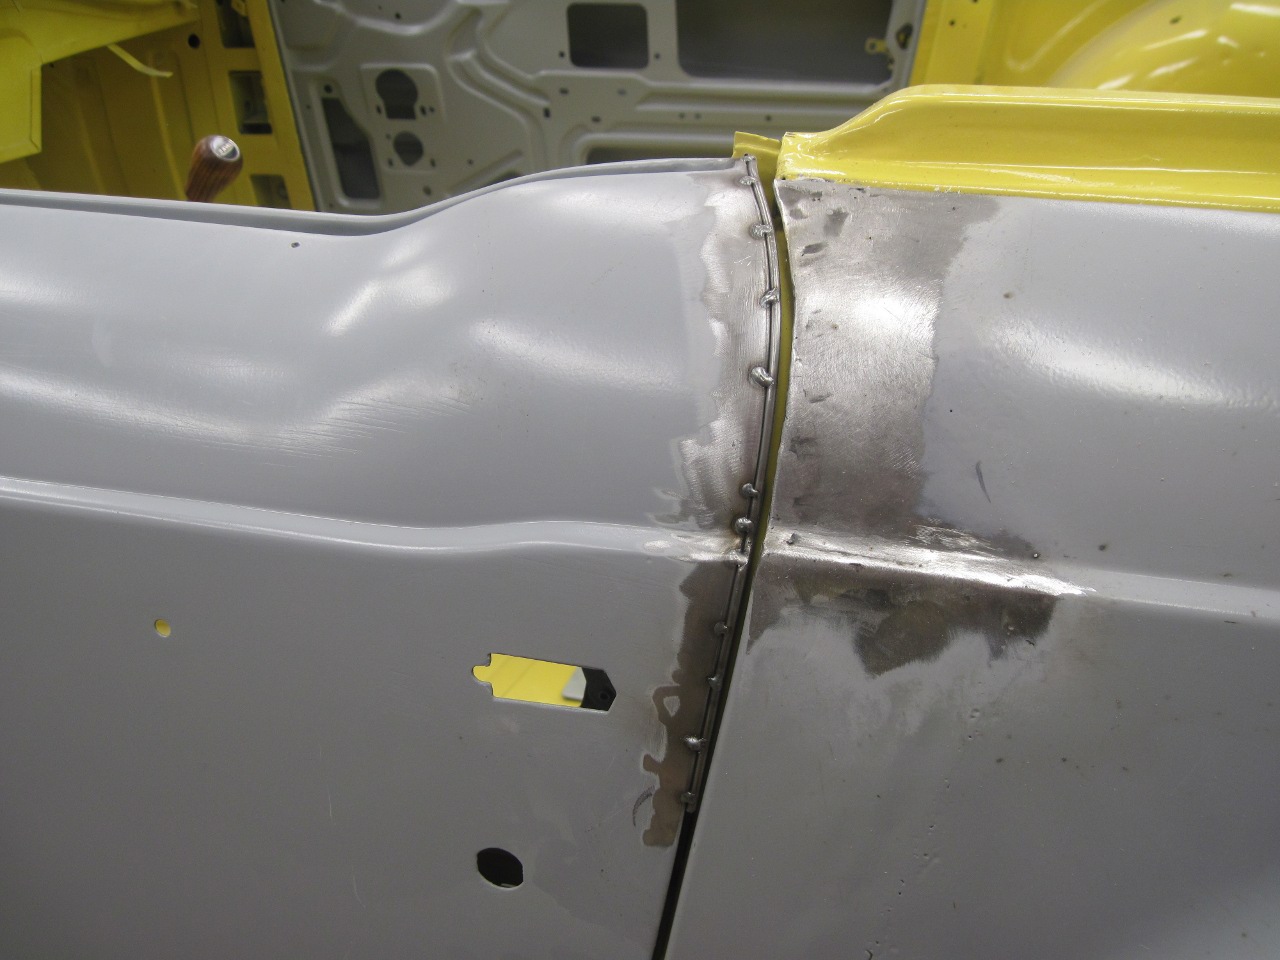
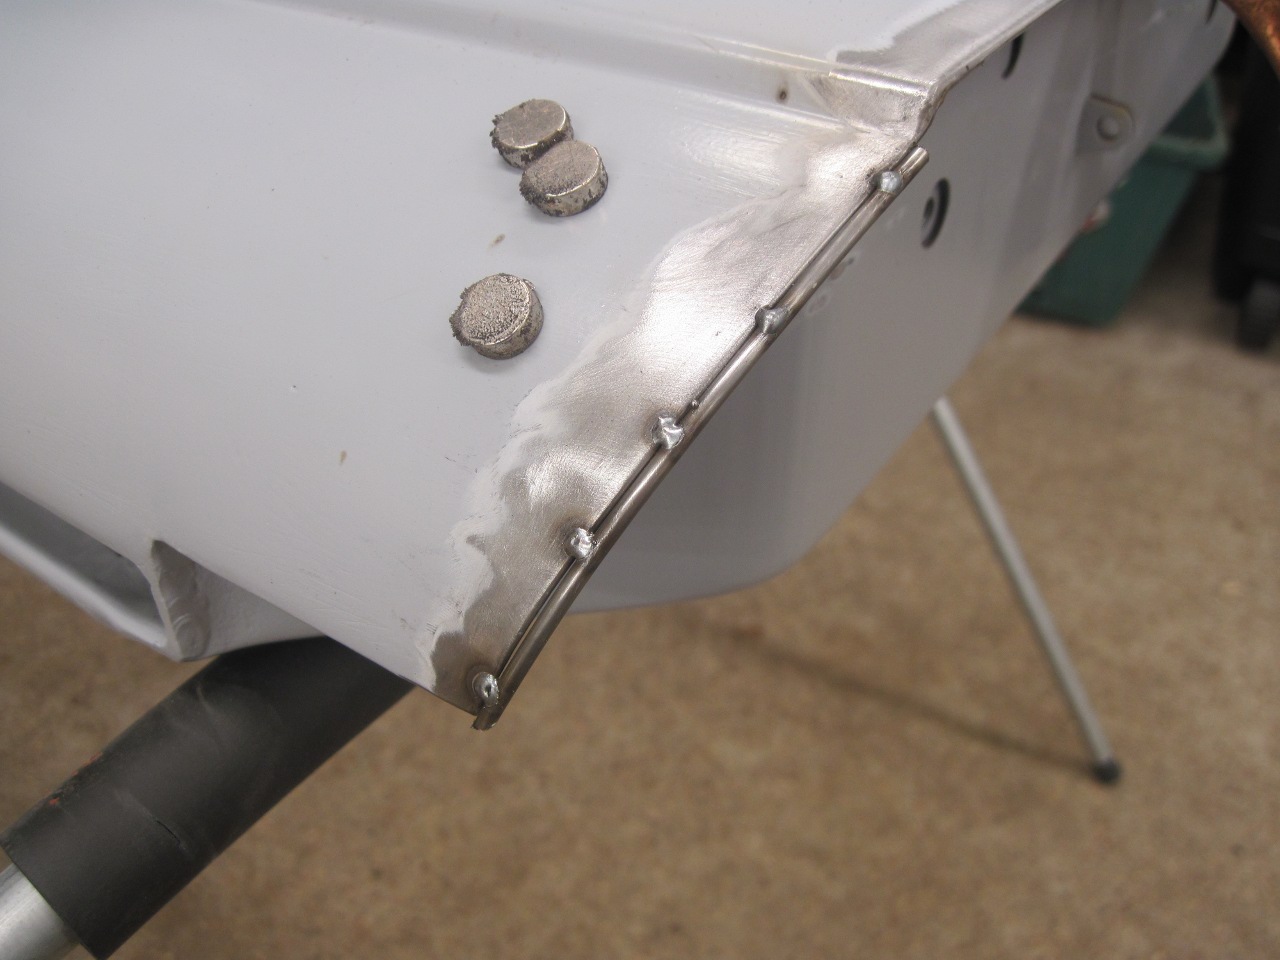
It looked like this would do the trick, so I welded up both edges of the door.
But just tacked the back side to try to limit the amount of heat.
Then ground the outside smooth.
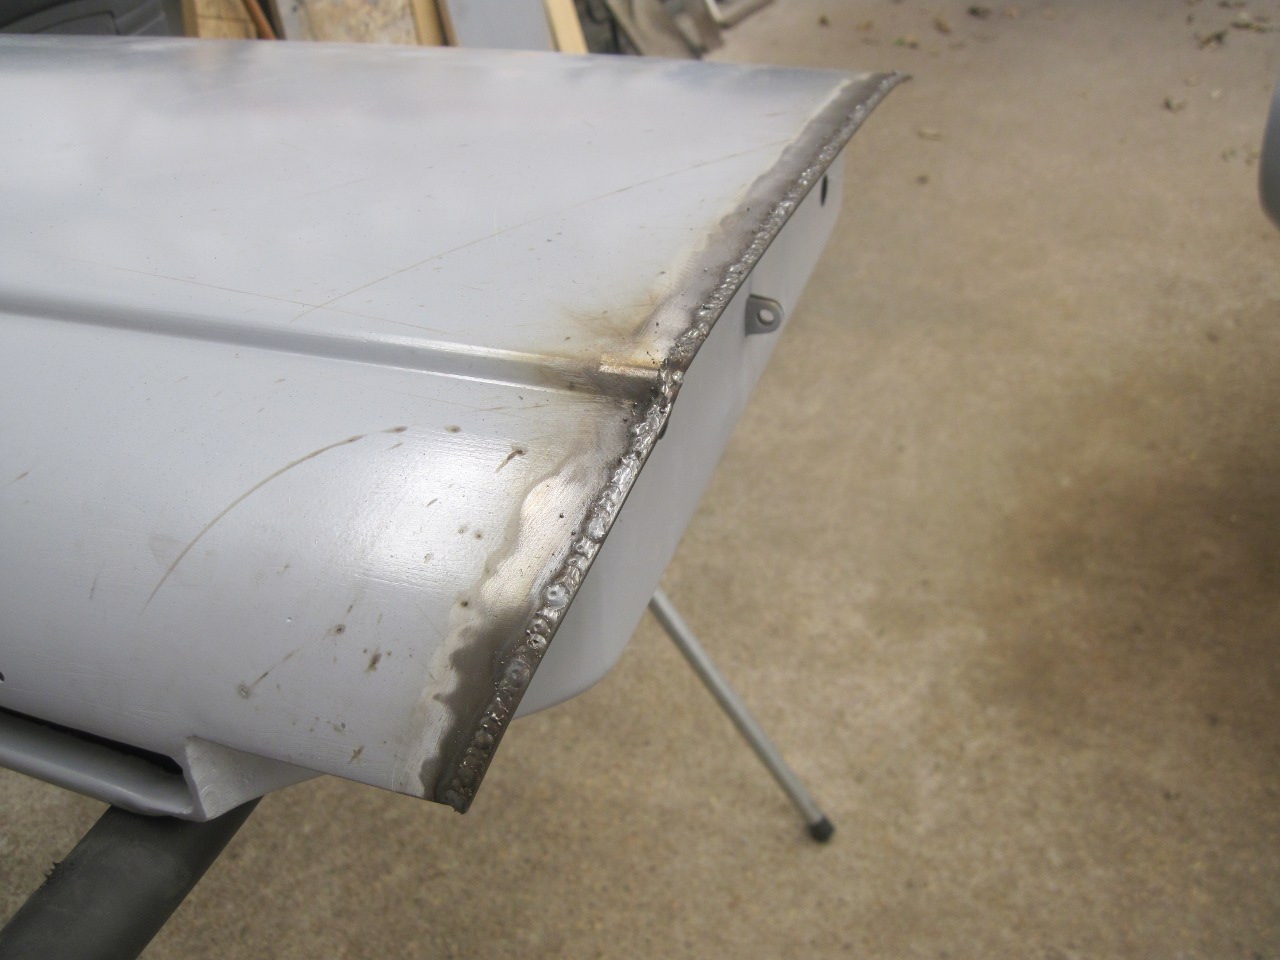
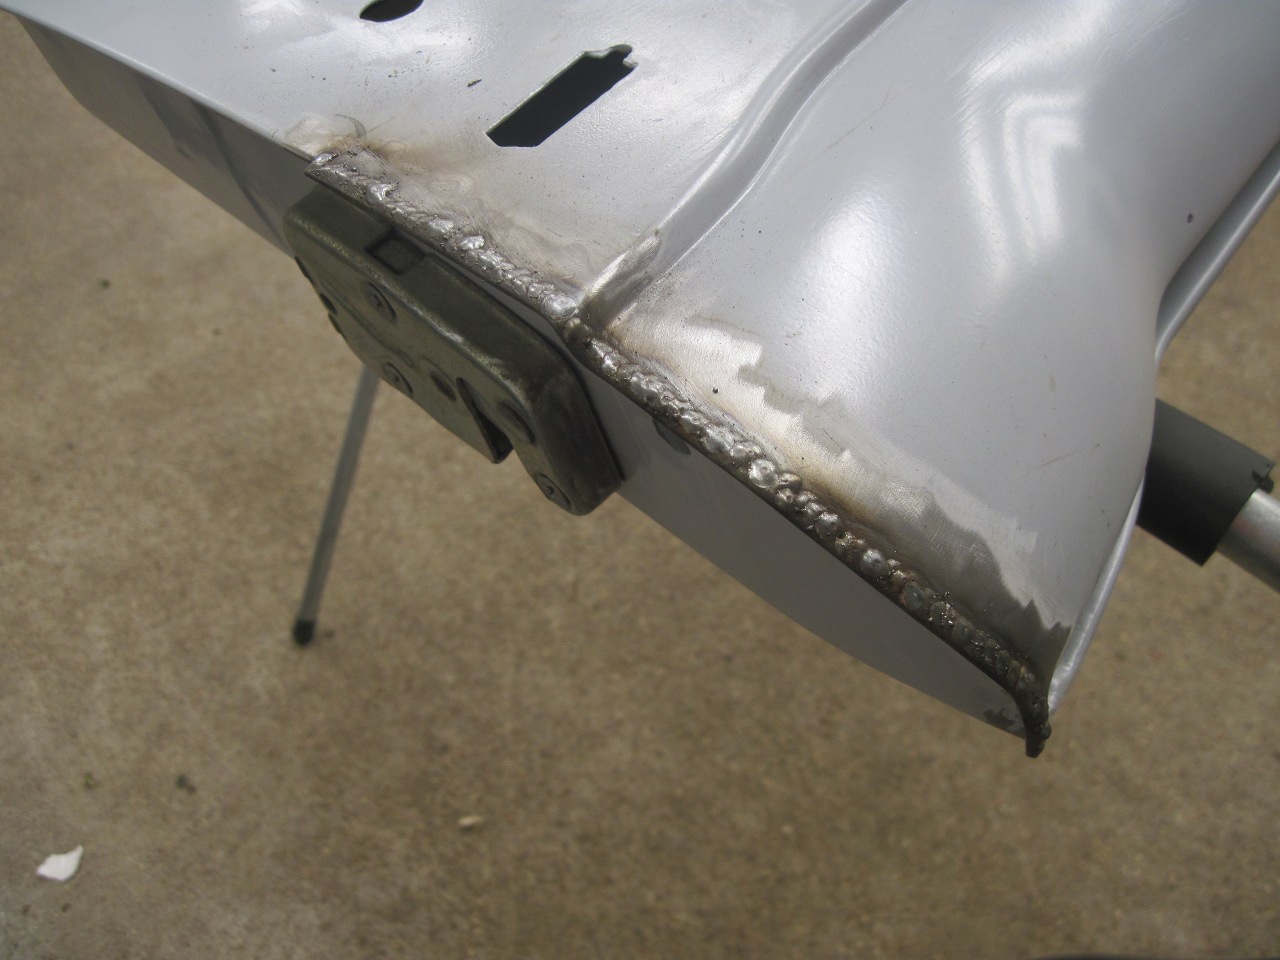
The
other side went through its own similar process. The gaps can be
fine tuned later. They might be a hair tight in places, but there
is now plenty of meat on the edge to work with without risking breaking
through the skin.

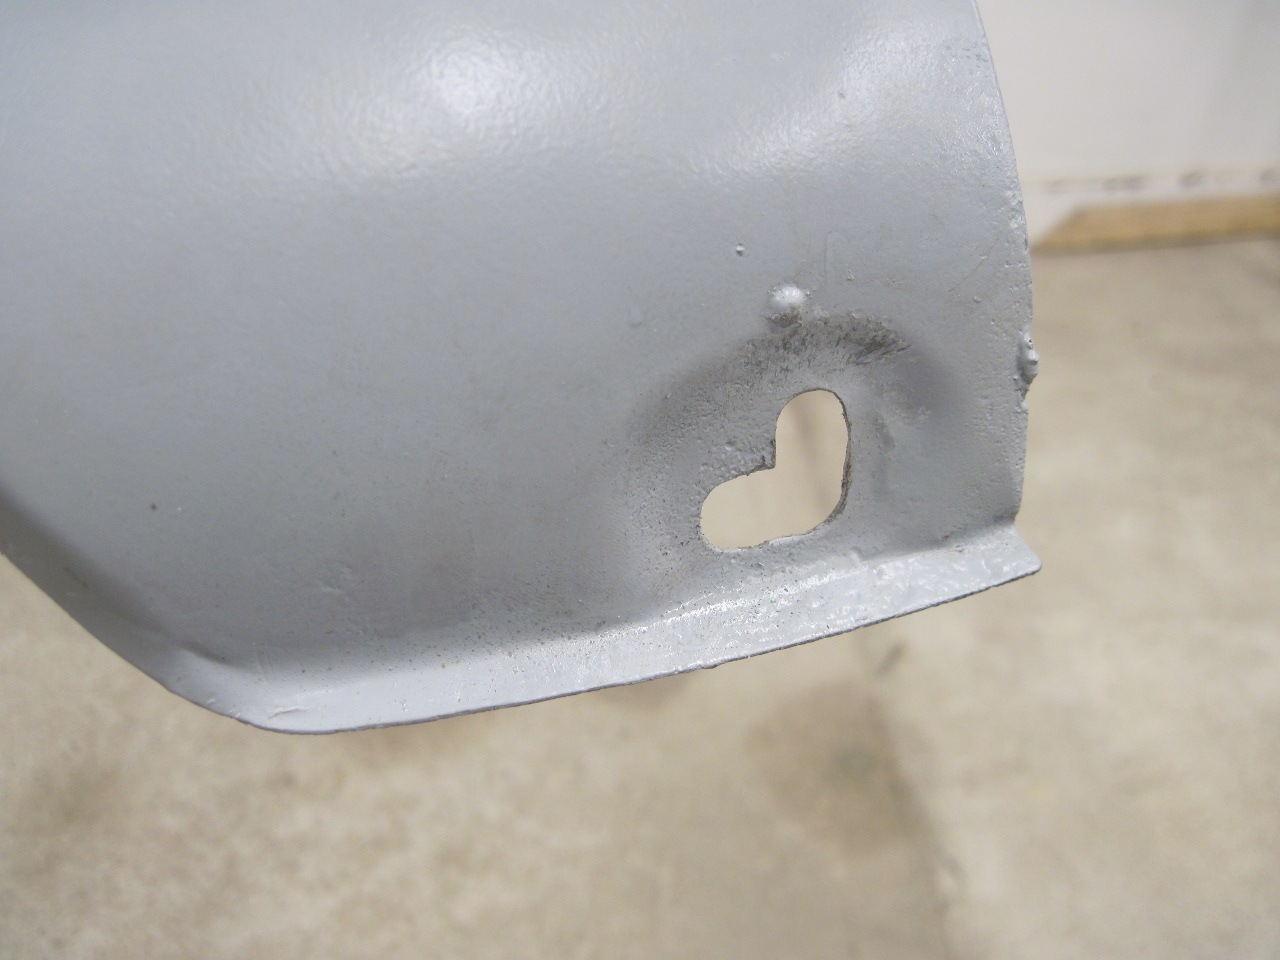
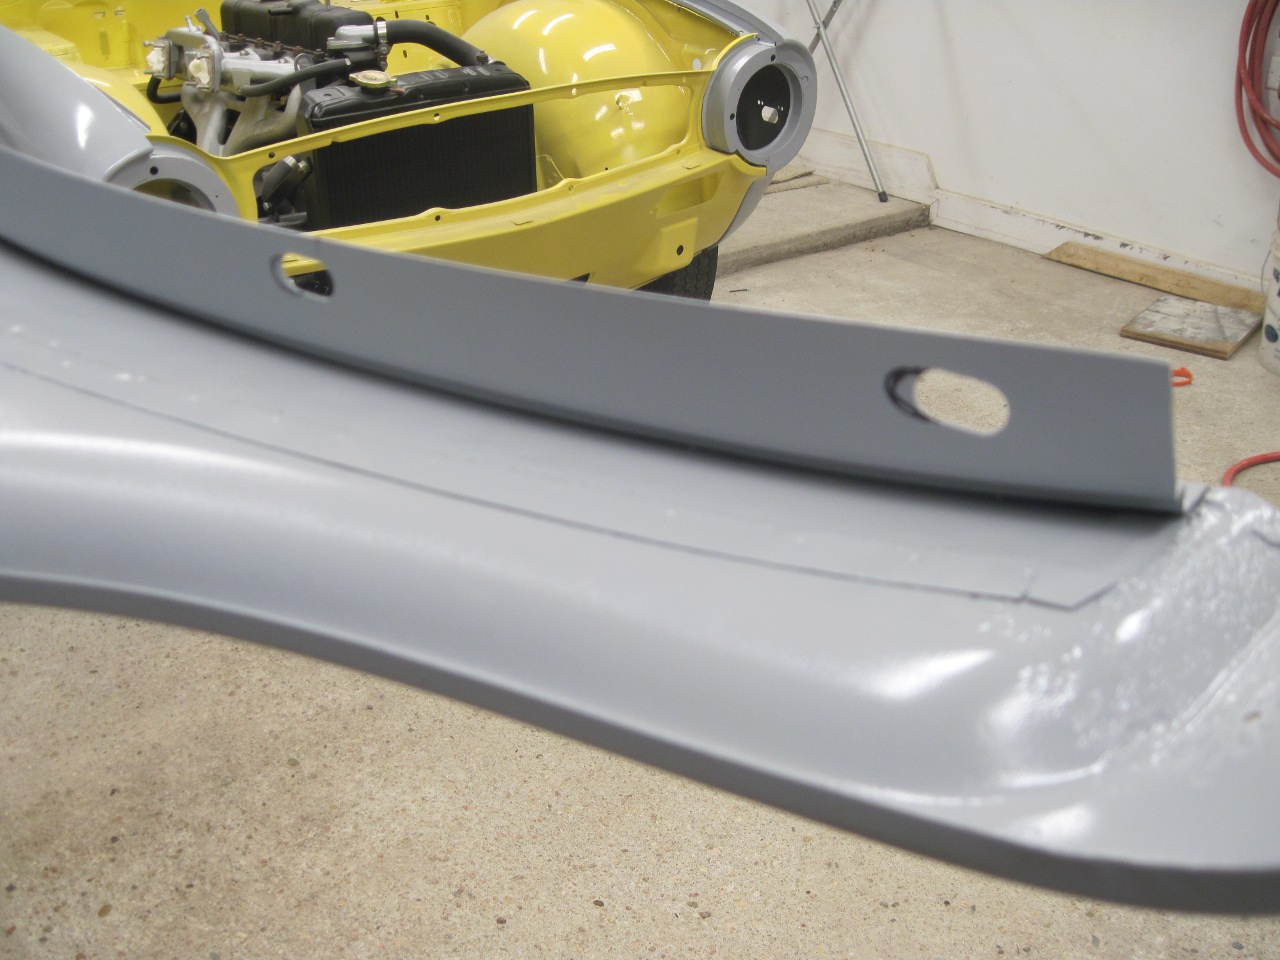
One
other thing to address is the "dive" often found on panel edges.
Dive is a deformation at the edge of a panel where it is crimped
back on itself or onto some kind of support. The dive was present
on the factory panels, but the welding certainly didn't help it any.

The
dive is a subtle thing, but it can interrupt an otherwise razor
straight reflection along the side of a car. A little hammer and
dolly work around all the edges of the doors and fenders
brought the lips back into line.
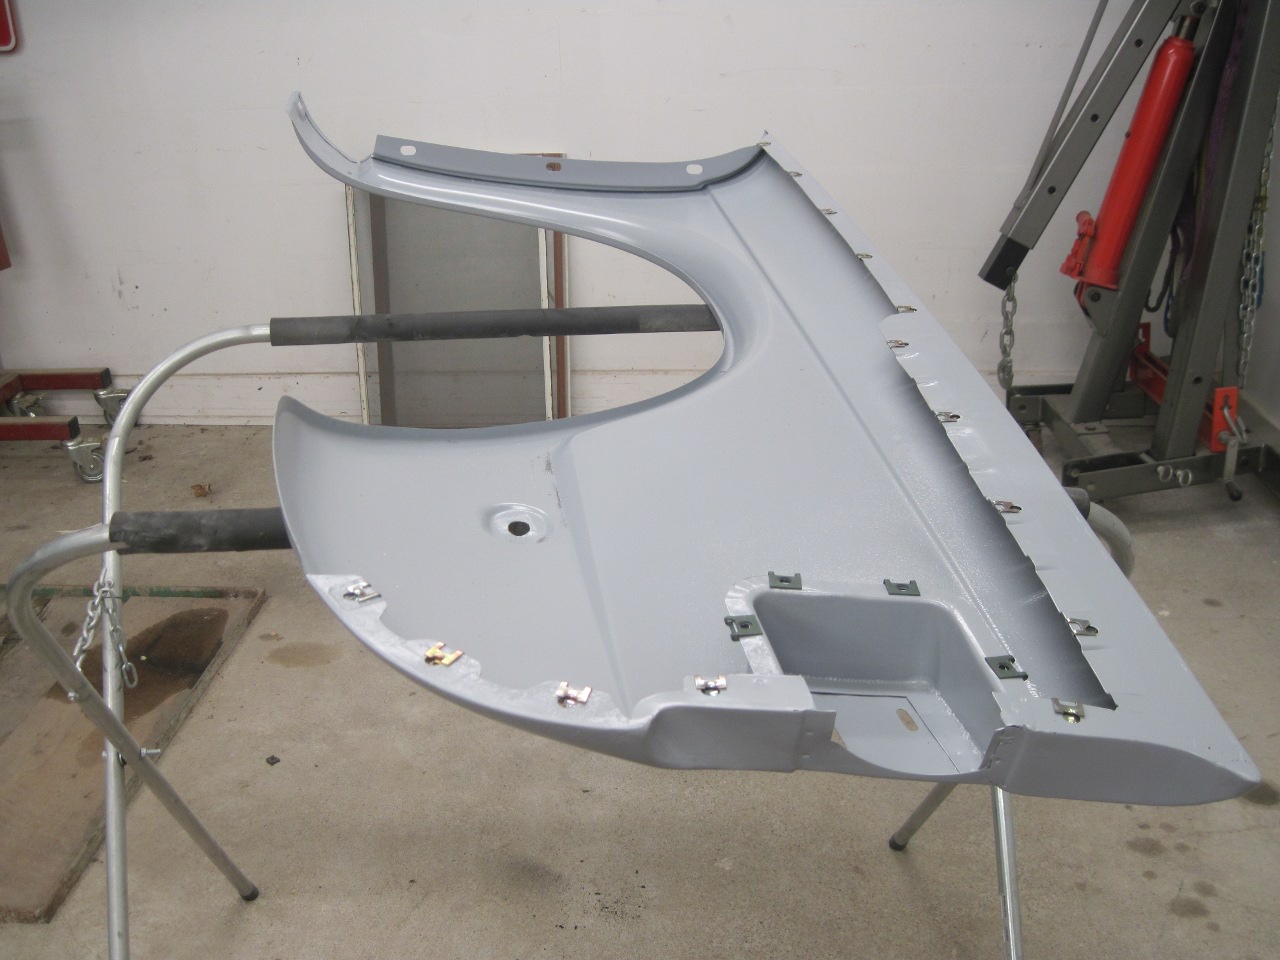
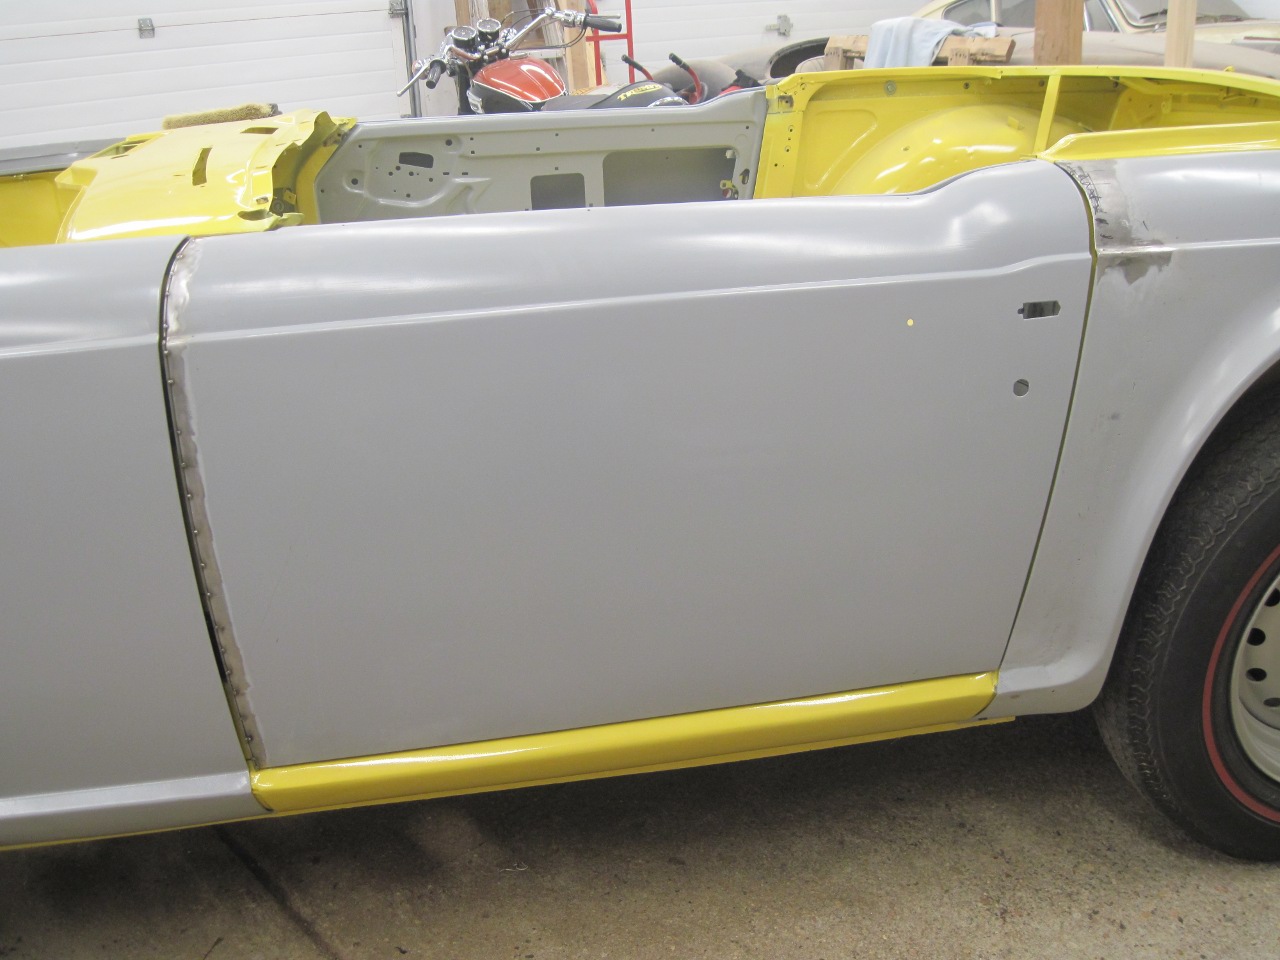
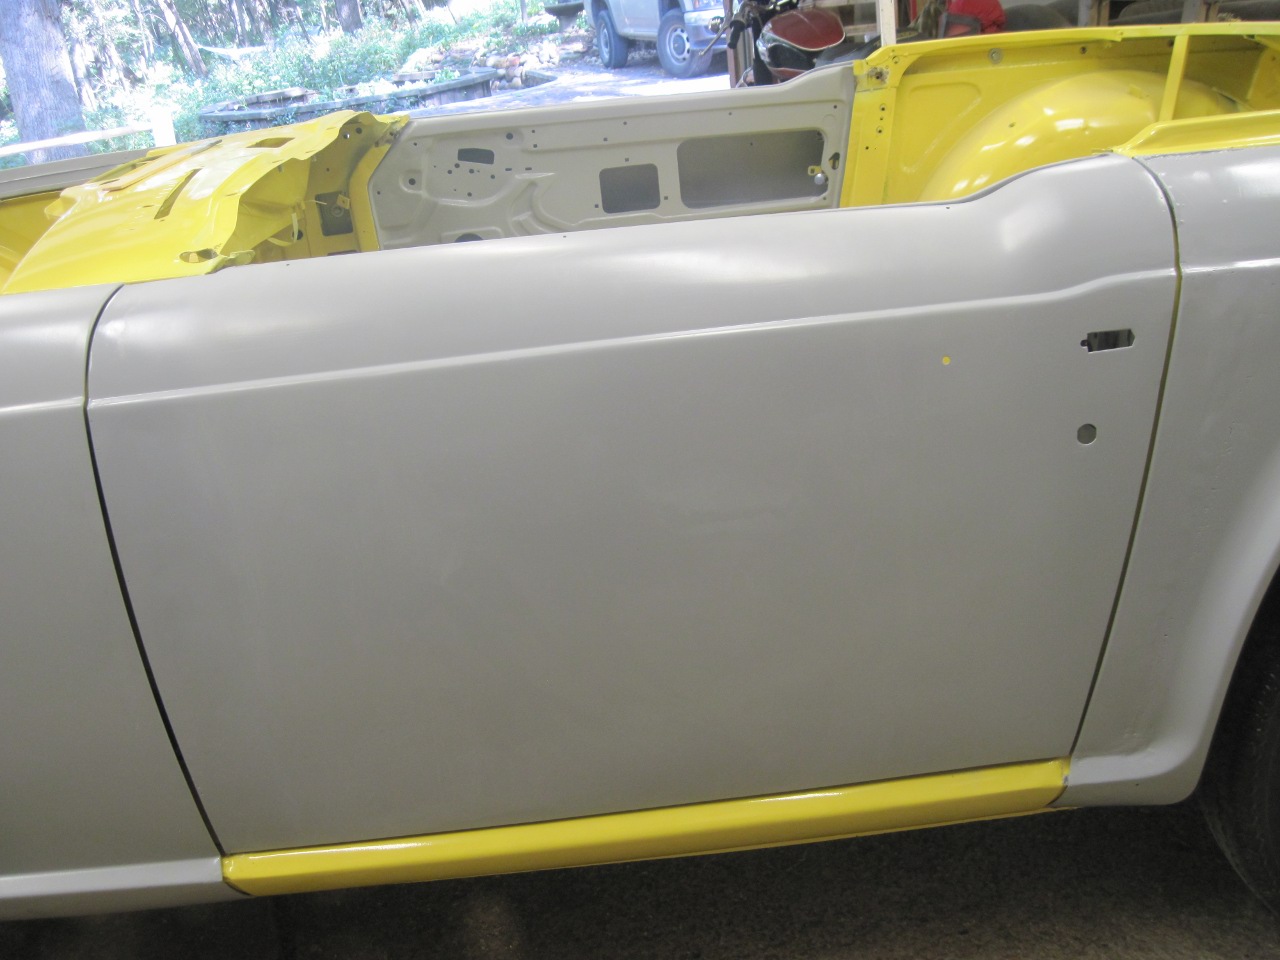
Looking pretty decent from this angle.
But
there is still one fly in the ointment. Though the gaps look
promising, the passenger side door's lower rear corner was sticking out
by about 1/4".
I
messed with this a lot--shifting hinges, trying to twist the door--all
to no avail. One thing I did notice is that if I leaned on the
top of the B post, pushing it in slightly, the gap at the lower corner
got smaller. So it appeared that the B post was leaning a little
outward. I pushed as hard as I could, but the B post would just
spring back to its wayward position. I needed some mechanical
muscle.
I
fashioned this plate out of scrap. The holes were drilled to
match the soft top frame mounting holes at the top of the B post.
The bent bracket was bolted to the seat belt anchor point at the
base of the opposite B post.
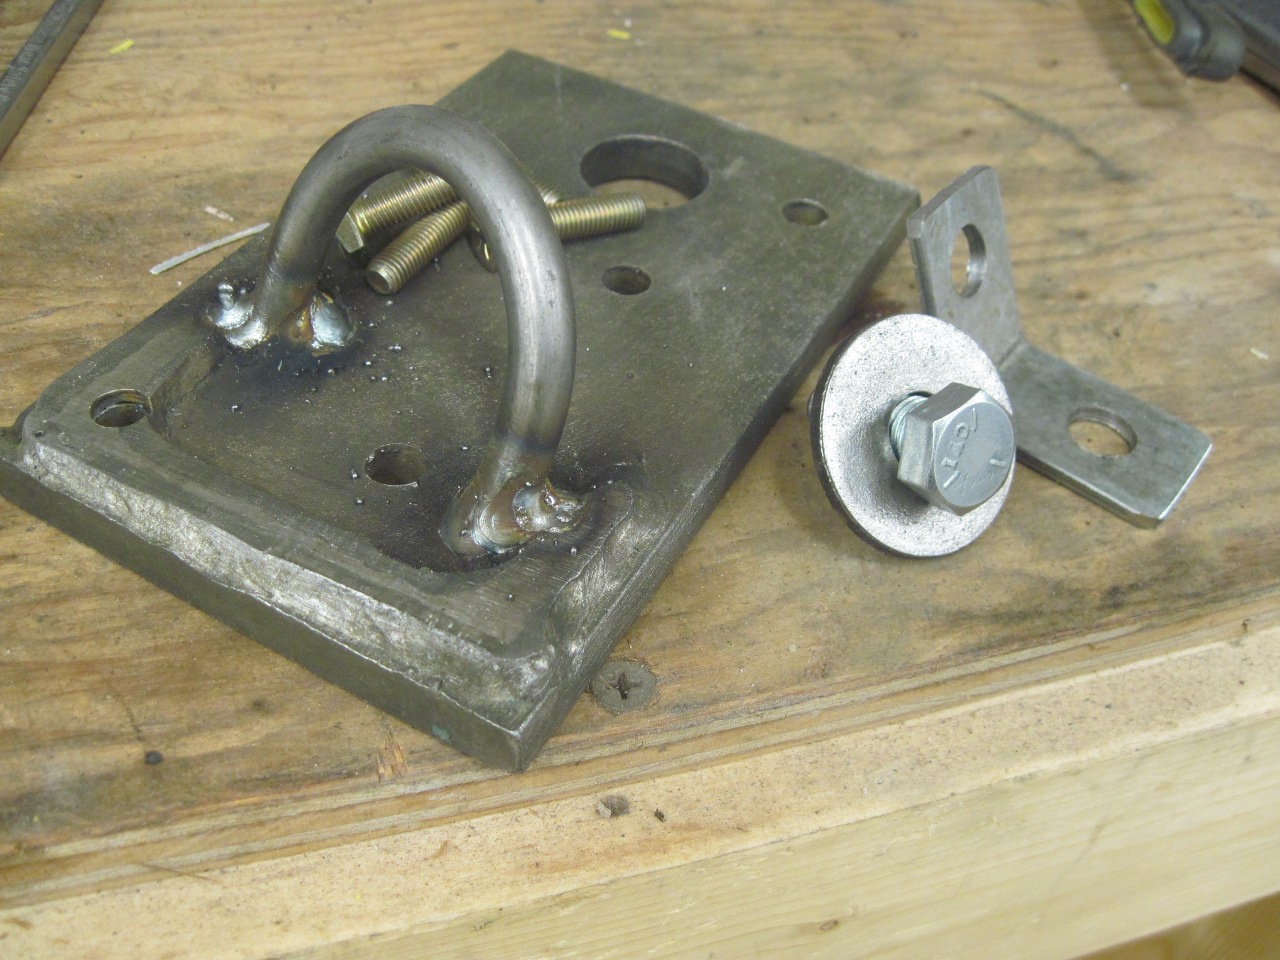
I attached the plate and bracket and hooked up a come-a-long between them.

Before doing any coaxing, I noted the distance between the inside surfaces of the B posts as a baseline.
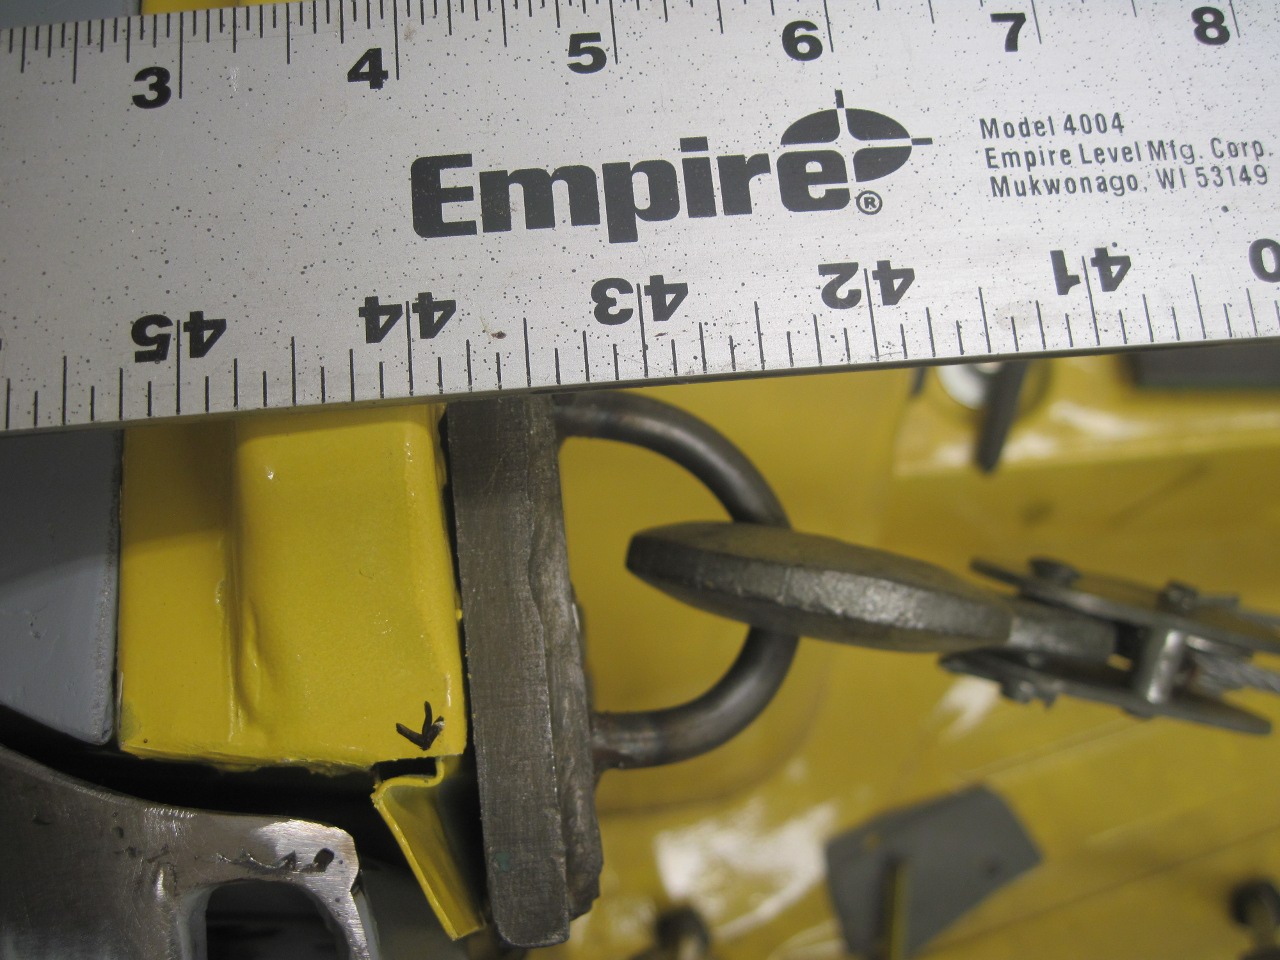
This
is all the movement it took--less than 1/4". Of course, I had to
pull the post nearly double that to have it spring back to this point.


I
re-primed the panels to hide any evidence that any work had been done,
and hung them back on the car. They seem to go back on a little
different every time, but I'm confident that in the end, I'll be
able to get them to my liking.
Now, on to the actual body work on the panels--fixing dings and dents, and the distortion from all the patch welding.
Comments to Ed at elhollin1@yahoo.com
To my other TR6 pages