To my other TR6 pages
May 29, 2016
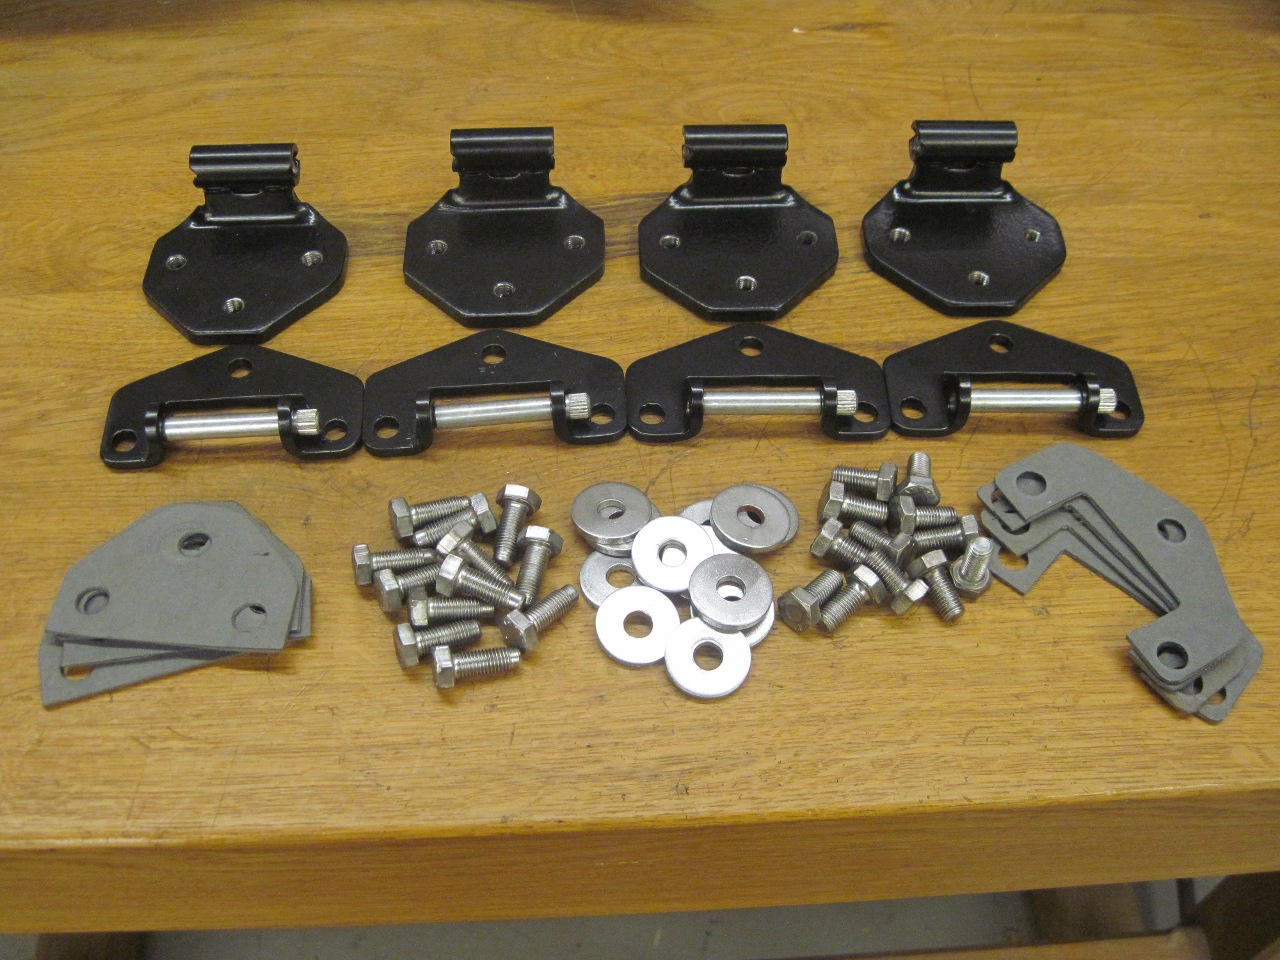
Door Hinges
[Click the pics for a larger view]
With
the tub freshly on the chassis, I wanted to check out whether the door
gaps were going to be a problem later. So I fetched the doors and
wings from the shed and set about hanging them on the tub. Ther
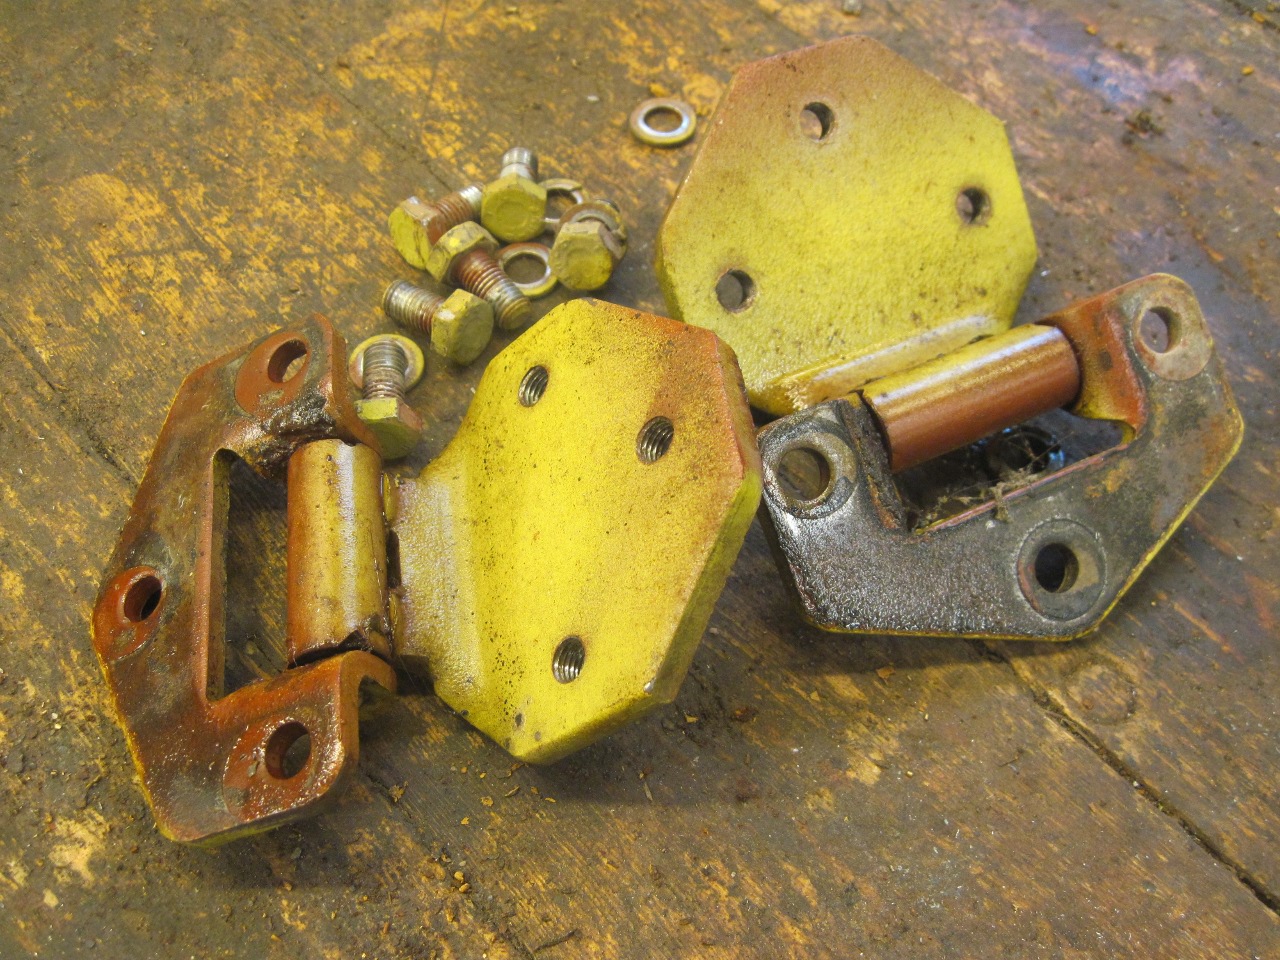
first snag I hit was that a couple of the door hinges were all but
seized, and another one was very loose and floppy. It seemed that
they would need some attention before I could mount the doors.
The
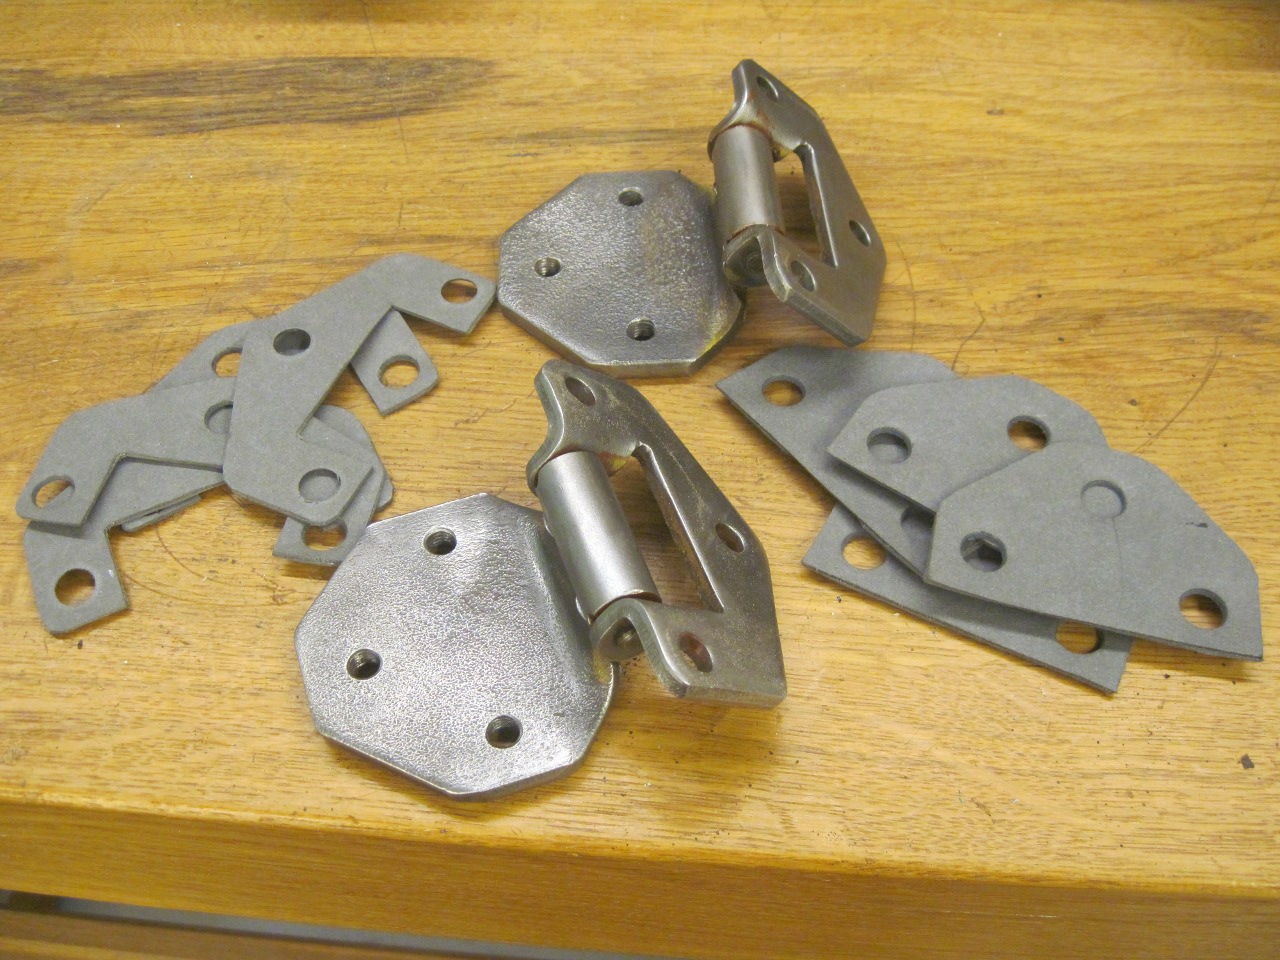
first thing I did was clean the hinges up for a better inspection.
In preparation for the door gap fitting, I made some of the fiber
pads that the catalogs show, though my car didn't have any when I took
it apart.
I
soaked the stuck hinges in penetrating oil, and when they finally
loosened up, I didn't really like how loose they were. I
decided I didn't want to use them in this condition. It looked
like a set of new hinges was going to set me back nearly $100, and
there is of course the crap-shoot concerning the quality of what you
get with after market parts.
The other option was to
rebuild the original parts. A hinge is pretty simple, and it
appeared there wasn't much of a downside to at least attempting to
repair the hinges I had.
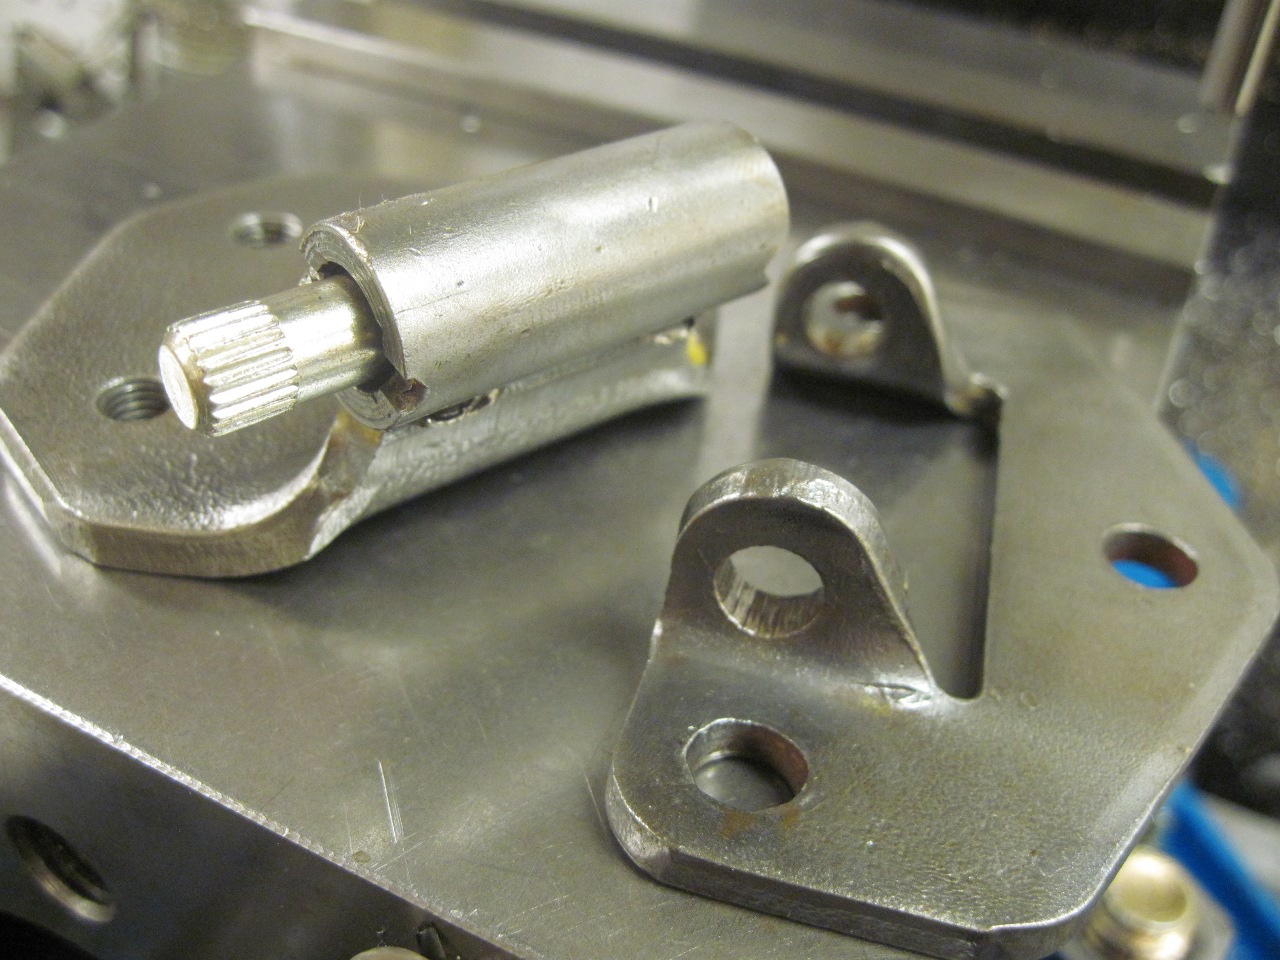
The hinge pins are held in the door
side of the hinge by a pressed in spline. They didn't come out
willingly, but only with generous amounts of heat and violence.
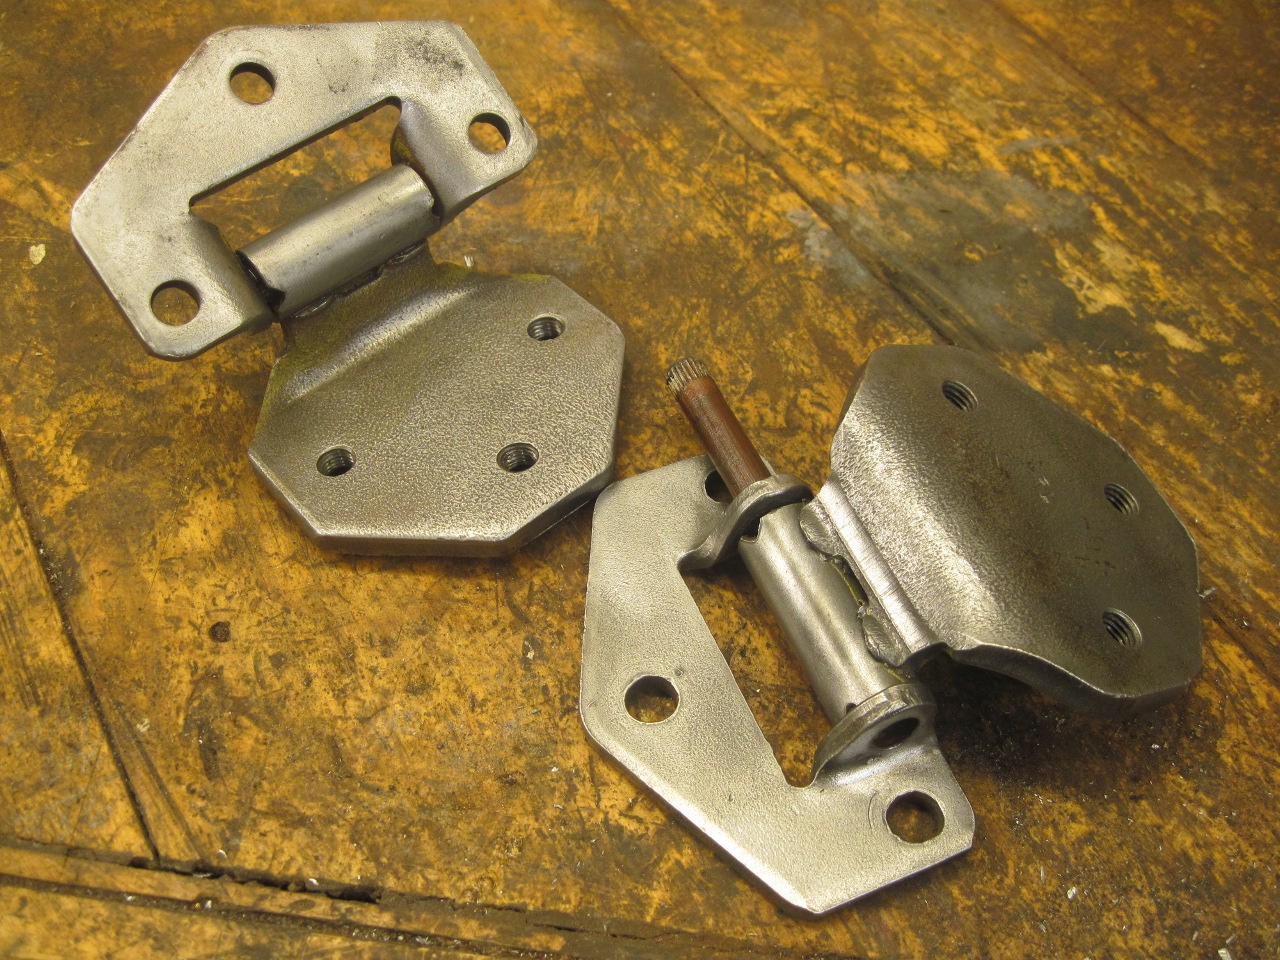
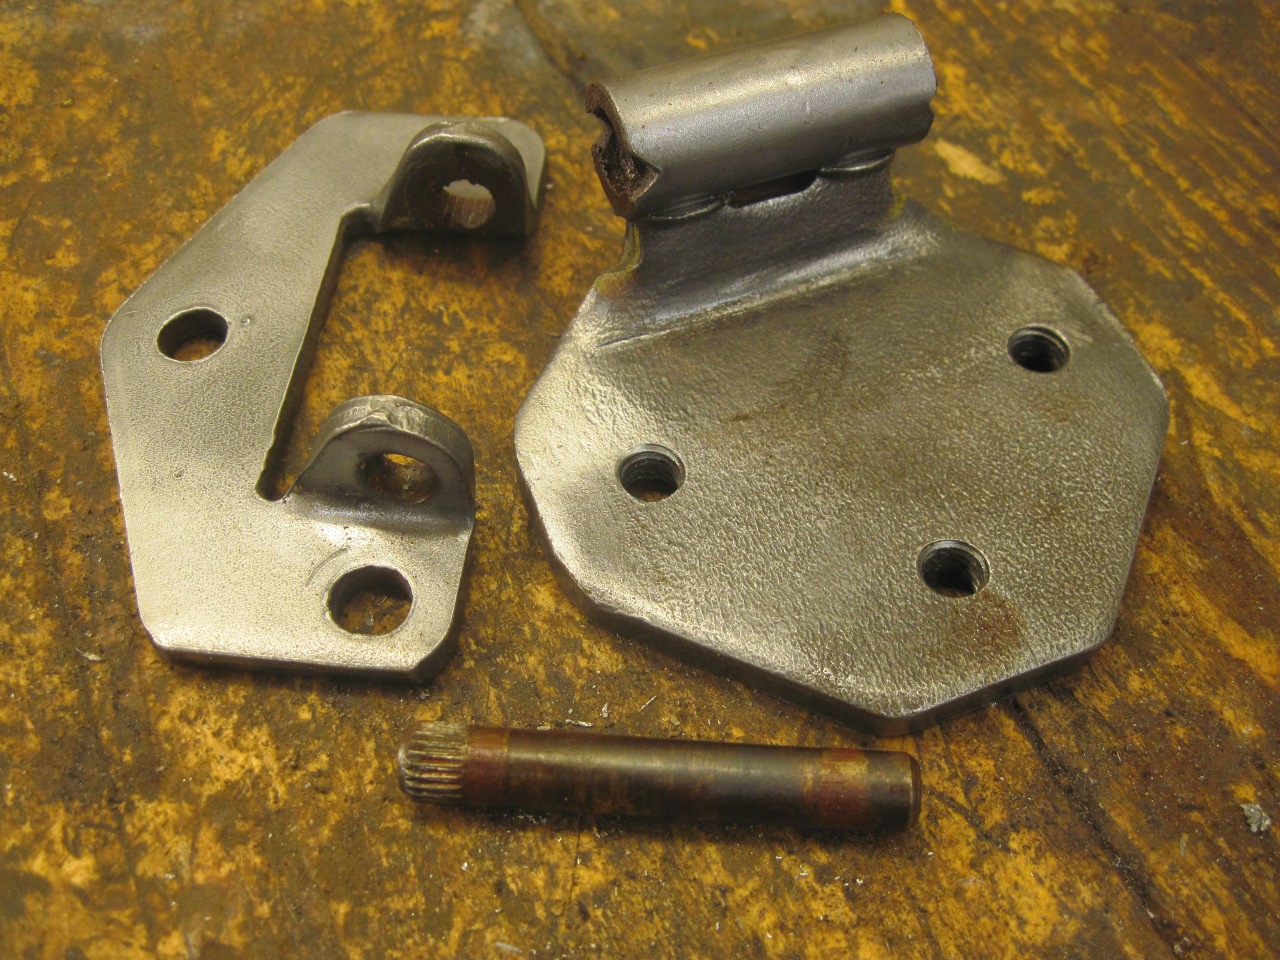
I
also discovered why one of the hinges was especially floppy. The
hinge pin was broken just below the splined section. I couldn't
drive it out because the larger part of the pin wouldn't stay aligned
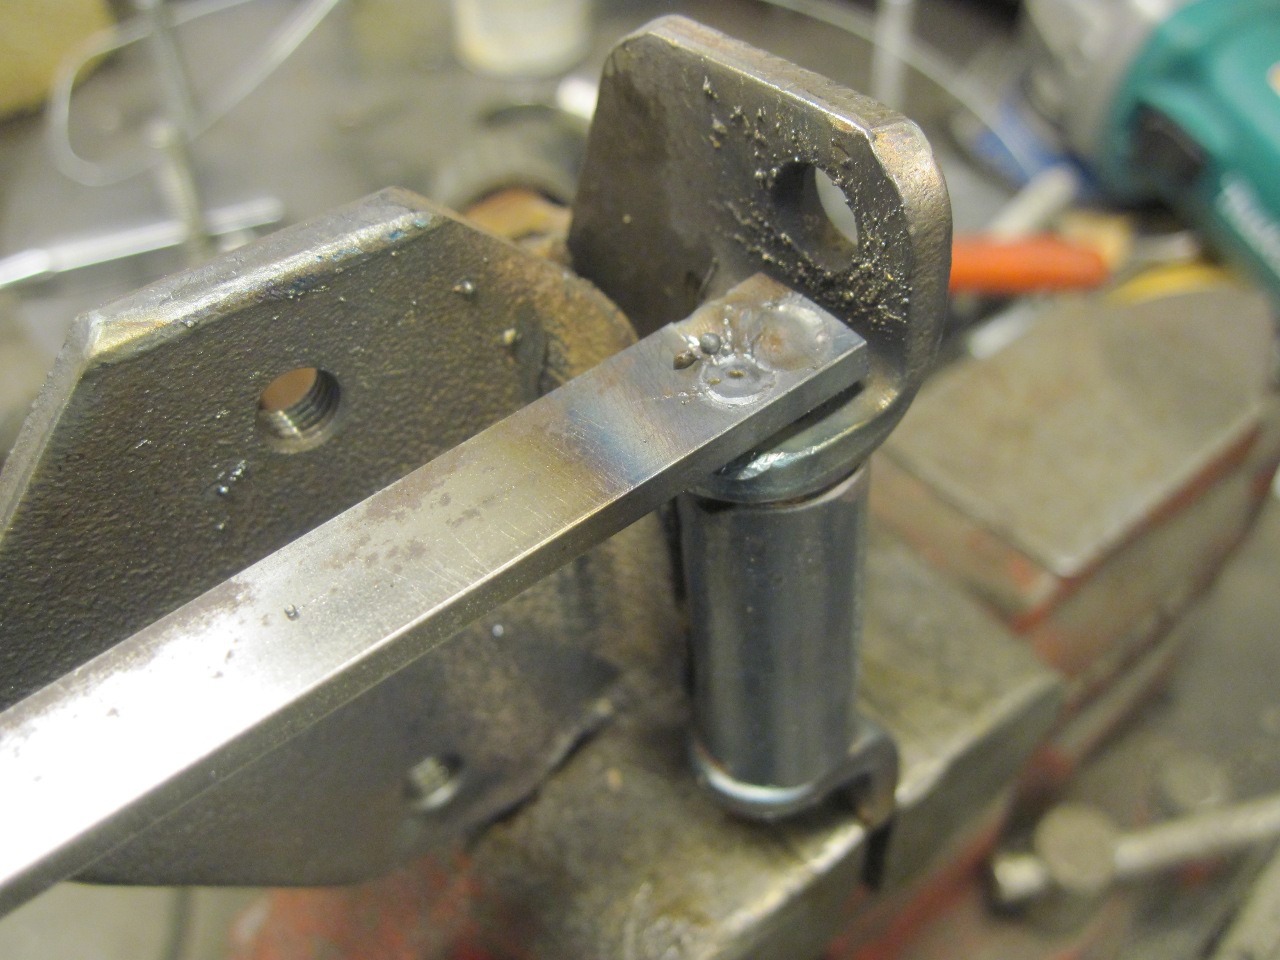
with the broken part. I ended up welding a small bar to the top
of the splined part so I could extract it. The rest of the pin
then came out easily.


I
couldn't find any replacement hinge pins in the US, but they seem to be
readily available in the UK, so I ordered some from there. The
pins, being aftermarket items, had some issues. First, they were
slightly oversized. I don't think the description of the pins
said they were oversized, but this ended up working in my favor.
The original pins still measured very close to 0.3125",
which is probably what they were when new (5/16" pins). But now
they were a little loose in their worn bores. The pins were very
hard, which explains both their durability and their brittleness.
I was prepared to sleeve the hinges to restore the nominal
5/16" bore, but the oversized pins made that unecessary.
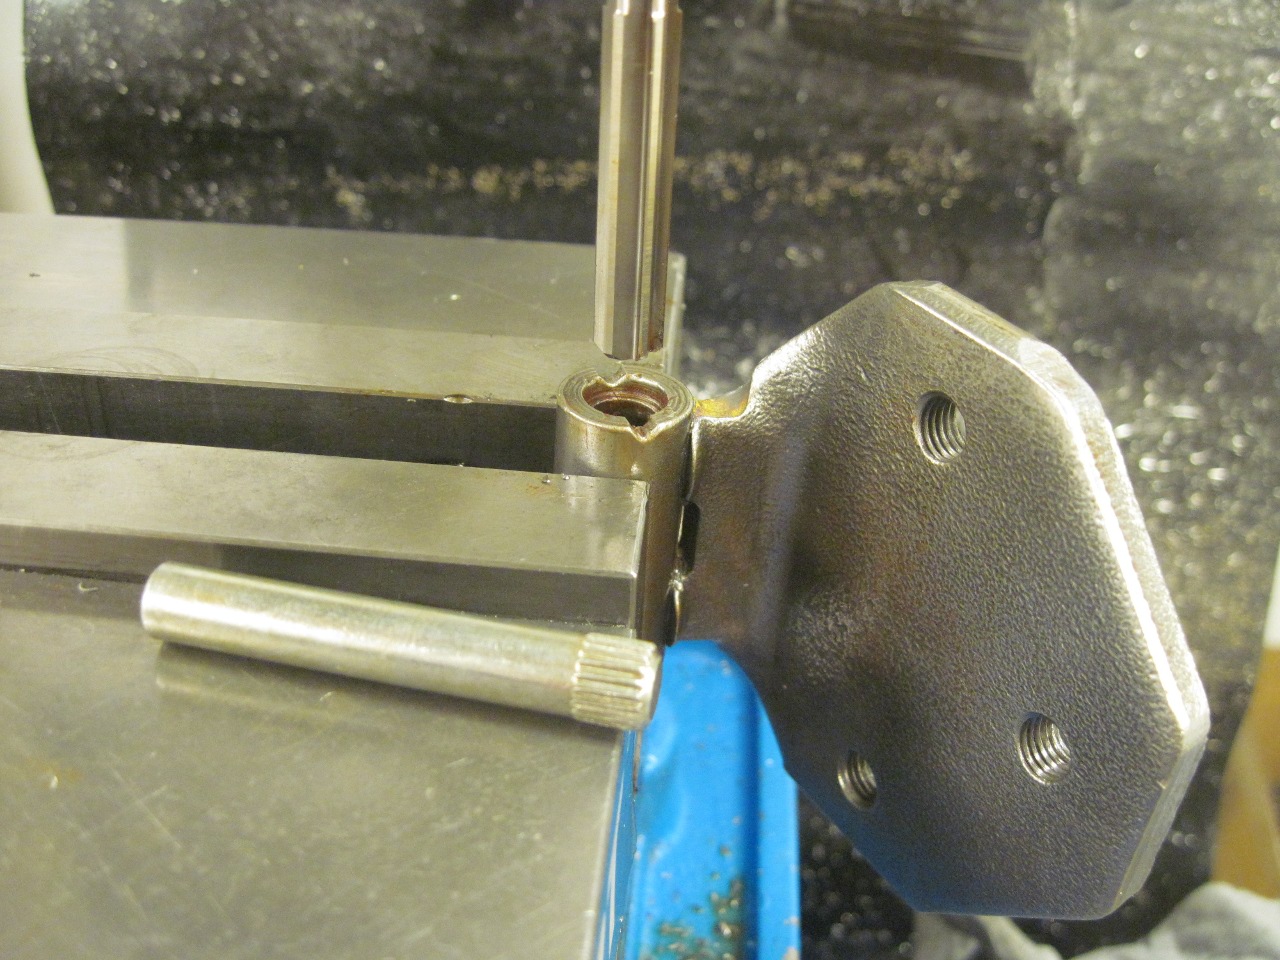
The
second issue with the new pins is that they varied a little in
diameter, between about 0.315" and 0.316", but none of them would slide
into the hinge bores. That meant I could just ream the hinges to
accommodate the new pins. I bought both a 0.316" and a 0.317"
reamer, and hand fitted the pins to the reamed holes with the minimum
clearance to give smooth operation.
I also noticed that the new
pins were hard, but not as hard as the originals. This might be a
good thing, too, considering the broken original pin.
I
was able to adjust the ears on the door half of the hinge to minimize
up and down play by just squeezing them together in a vice. I
then ran the reamer down through the two ears to make sure the holes
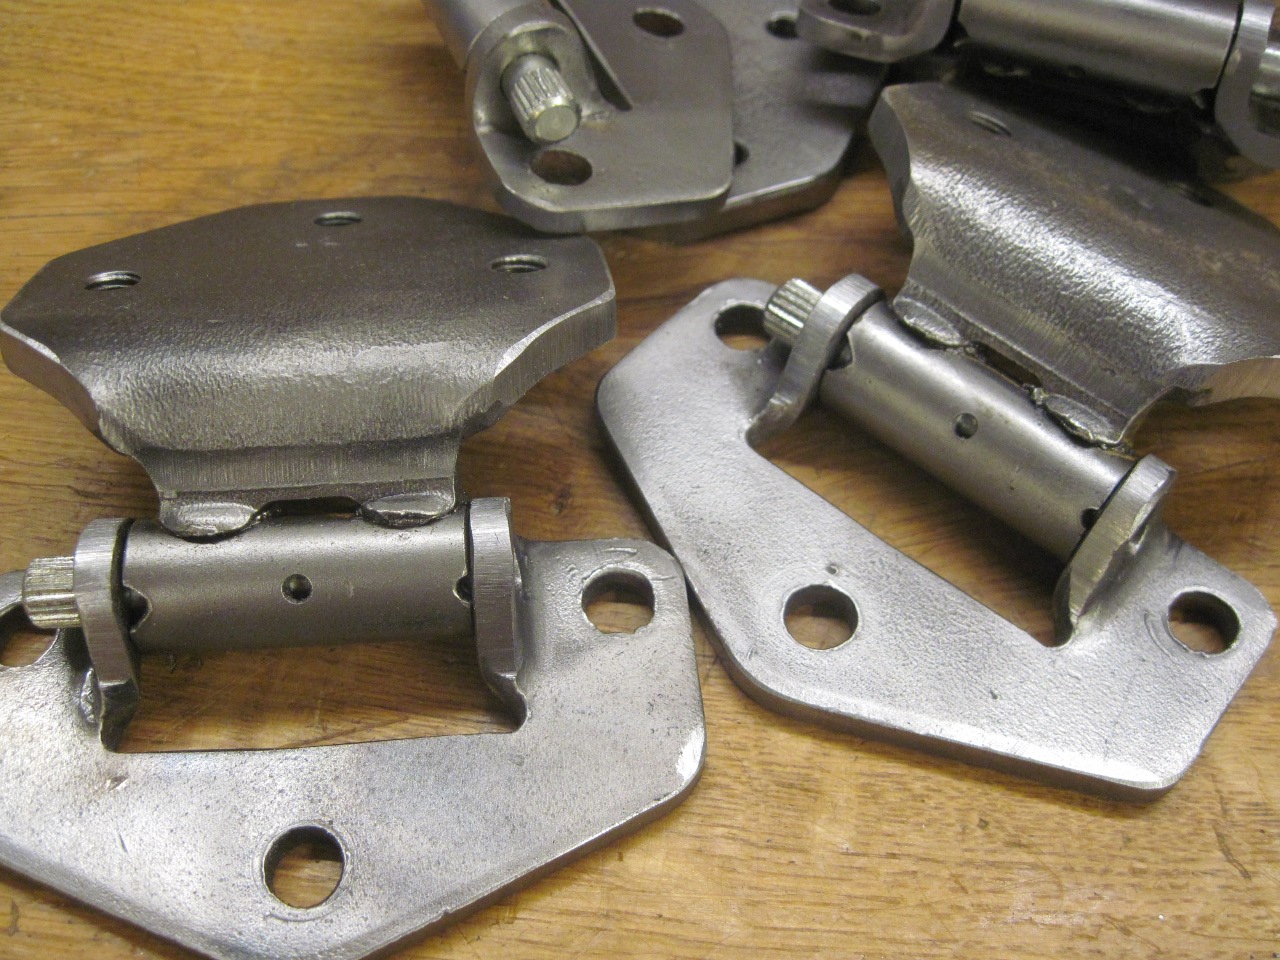
were still colinear. I then drilled a 1/8" hole in each hinge
barrel as an additional lubrication point, then powder coated the hinge
bodies. This will be primed and overcoated with body color later.
The original hardware was still in excellent shape.
A favorite lube for things like this is a mix of STP and a moly loaded lithium grease.

Then pressed in the pins, and these dudes are ready for prime time.

The
pins and reamers came to a little over half what new hinges would have
cost, so I didn't save a lot of money on this job, but it was sort of
fun, and it keeps the car that much more original.
Comments to Ed at elhollin1@yahoo.com
To my other TR6 pages