To my other TR6 pages
July 28, 2016
Front Wings
[Click the pics for a better view]
Skip ahead to repair of the lower rear area.
On
rust repair, I saved the best for last. Hoping my skills would
have developed a little on the tub and rear fenders, I finally tackled
the front wings. The pattern of rust damage on the two fenders was
similar, but the right side was worse. I'll outline how I
approached the right fender (having already finished the left one).
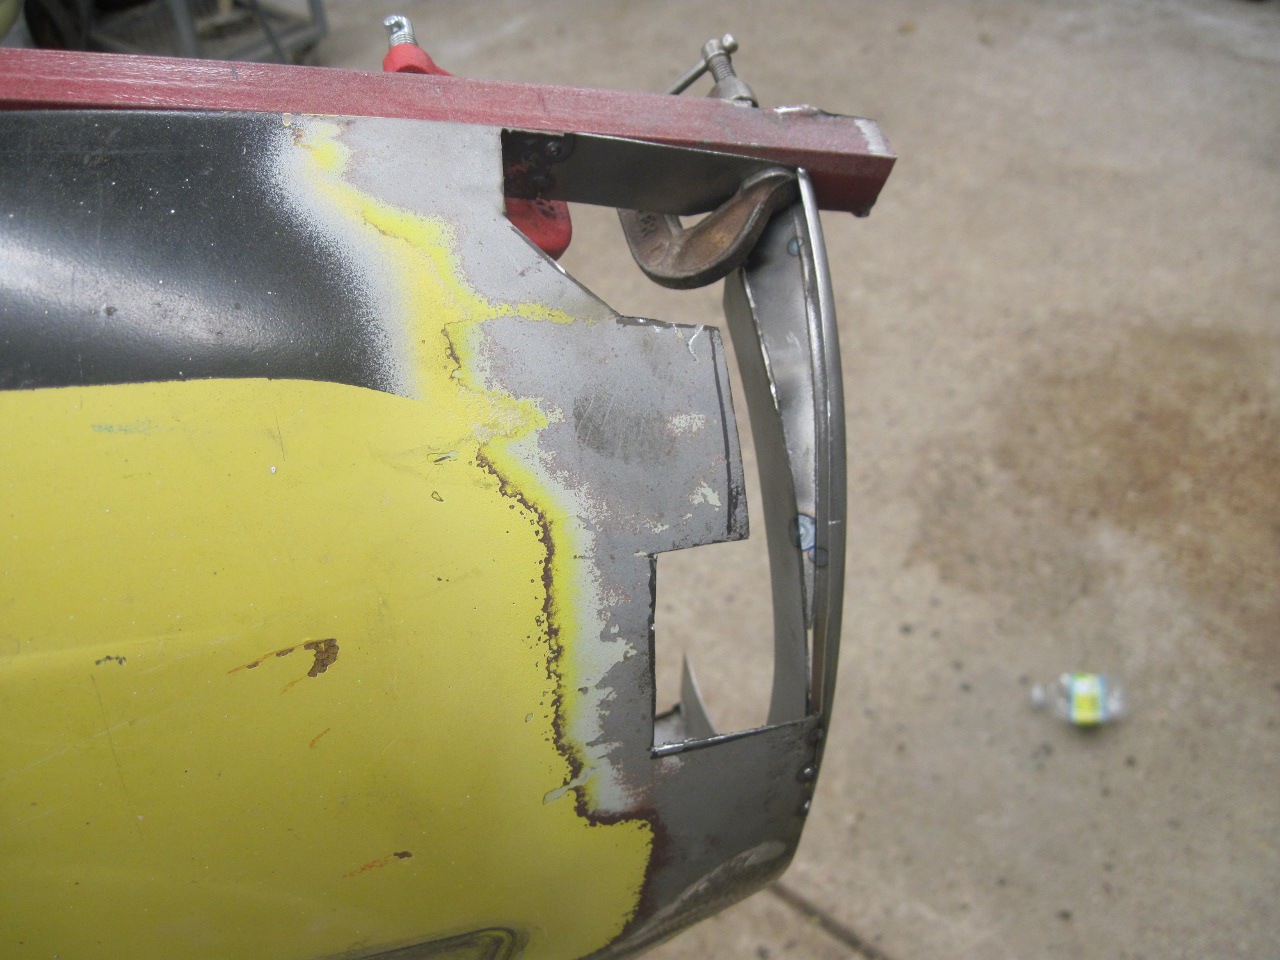
The
most challenging area of damage was the eyebrow above the headlight.
The brow was essentially gone. The tight compound curves
were scaring me.
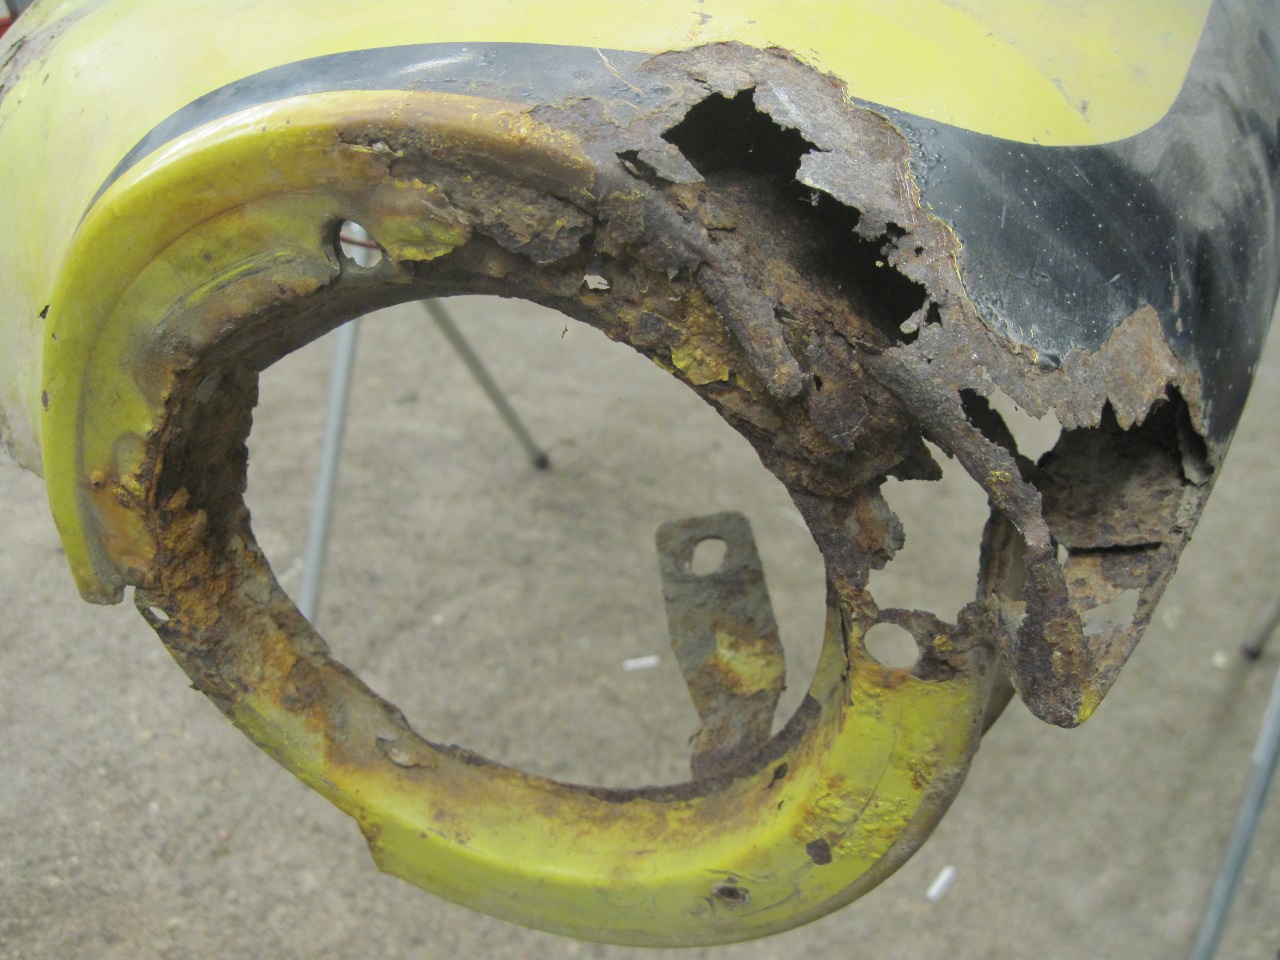
Blasting the area free of paint and rust didn't make me feel any better.

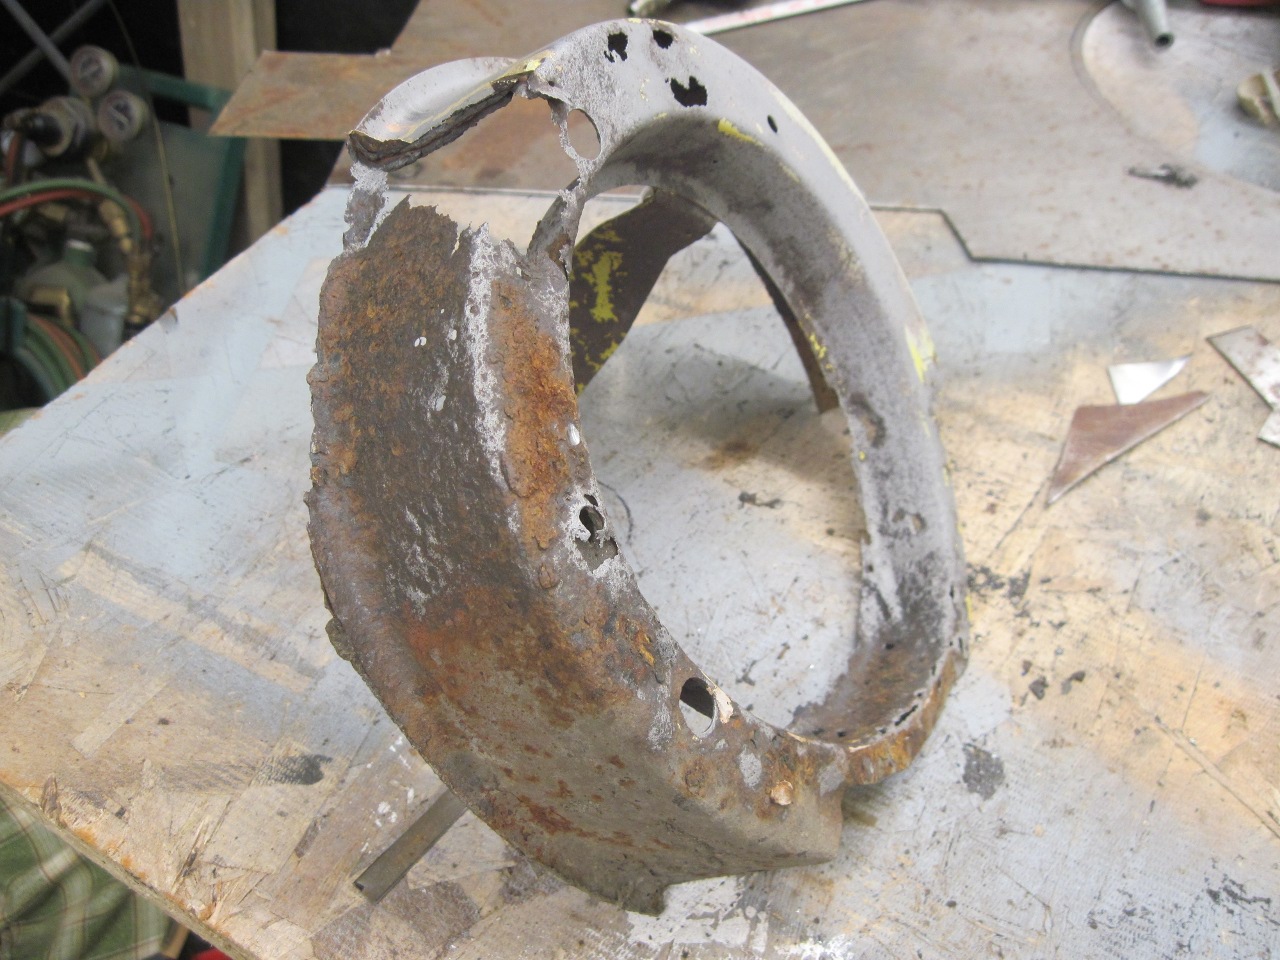
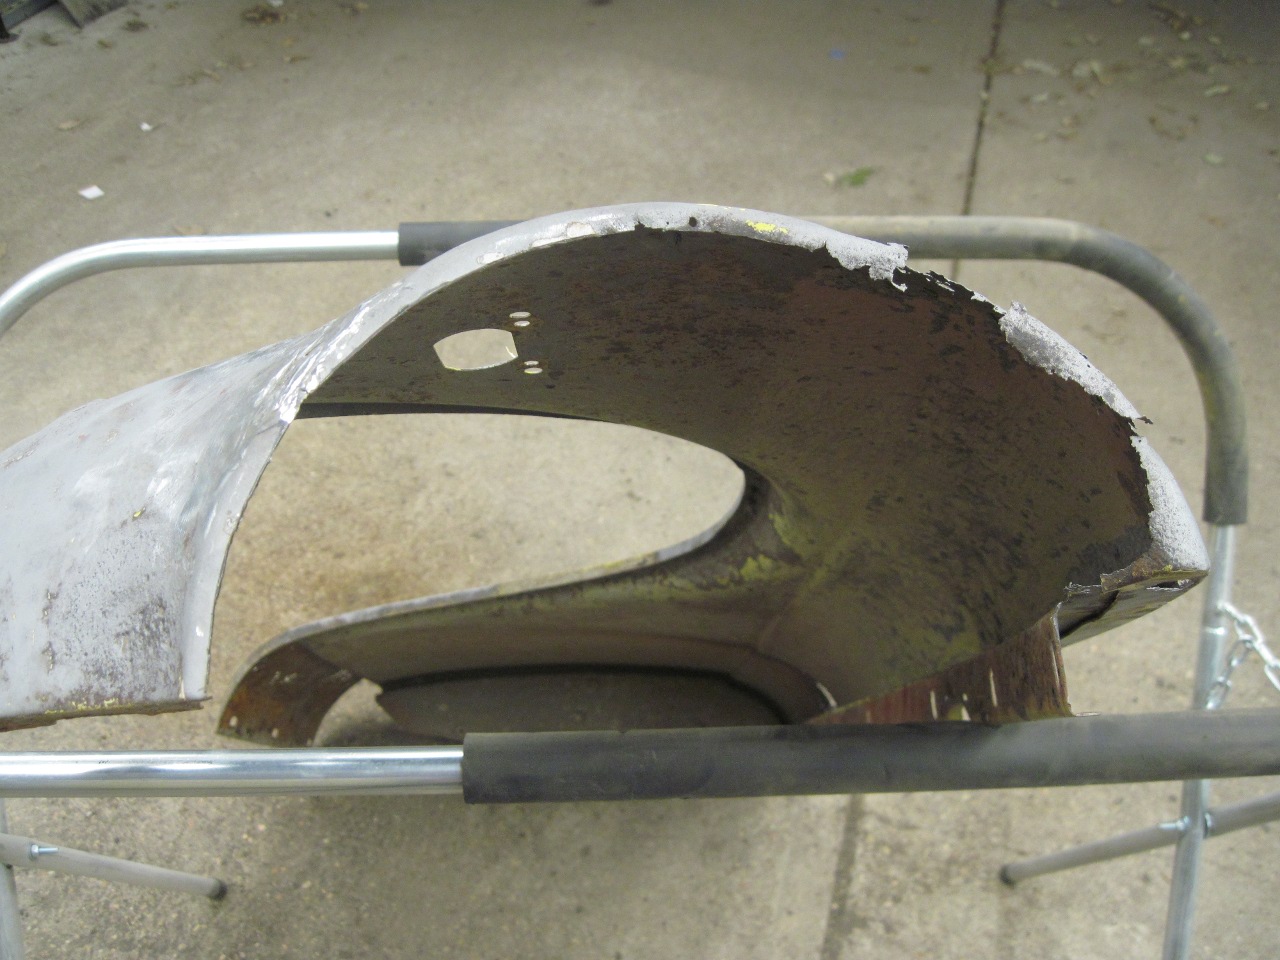
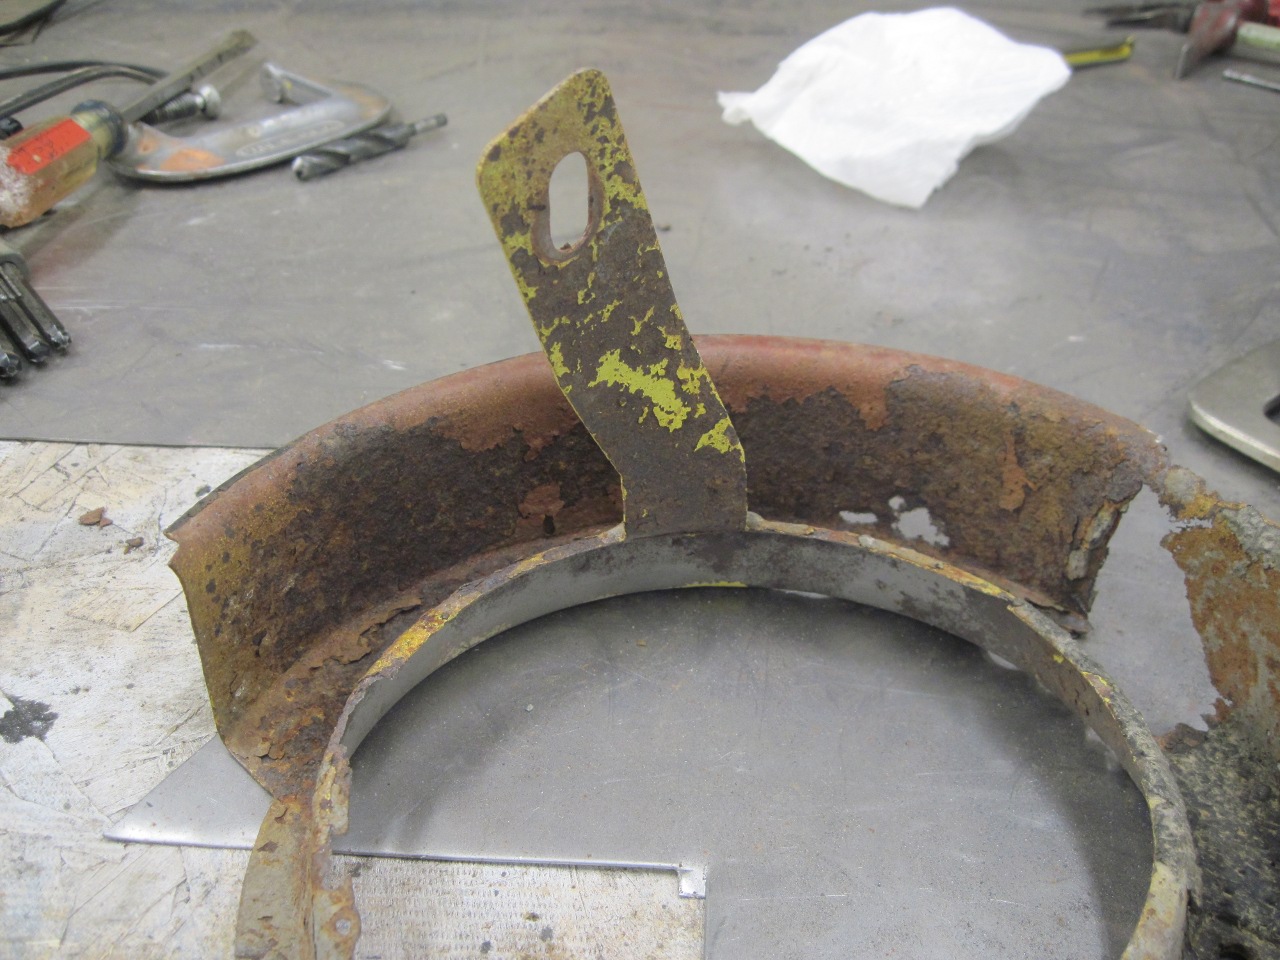
The
formed ring that holds the headlight assembly is spot welded to the
actual fender. Removing it showed what bad shape it was in,
but gave a little simpler picture of the eyebrow area of the fender.
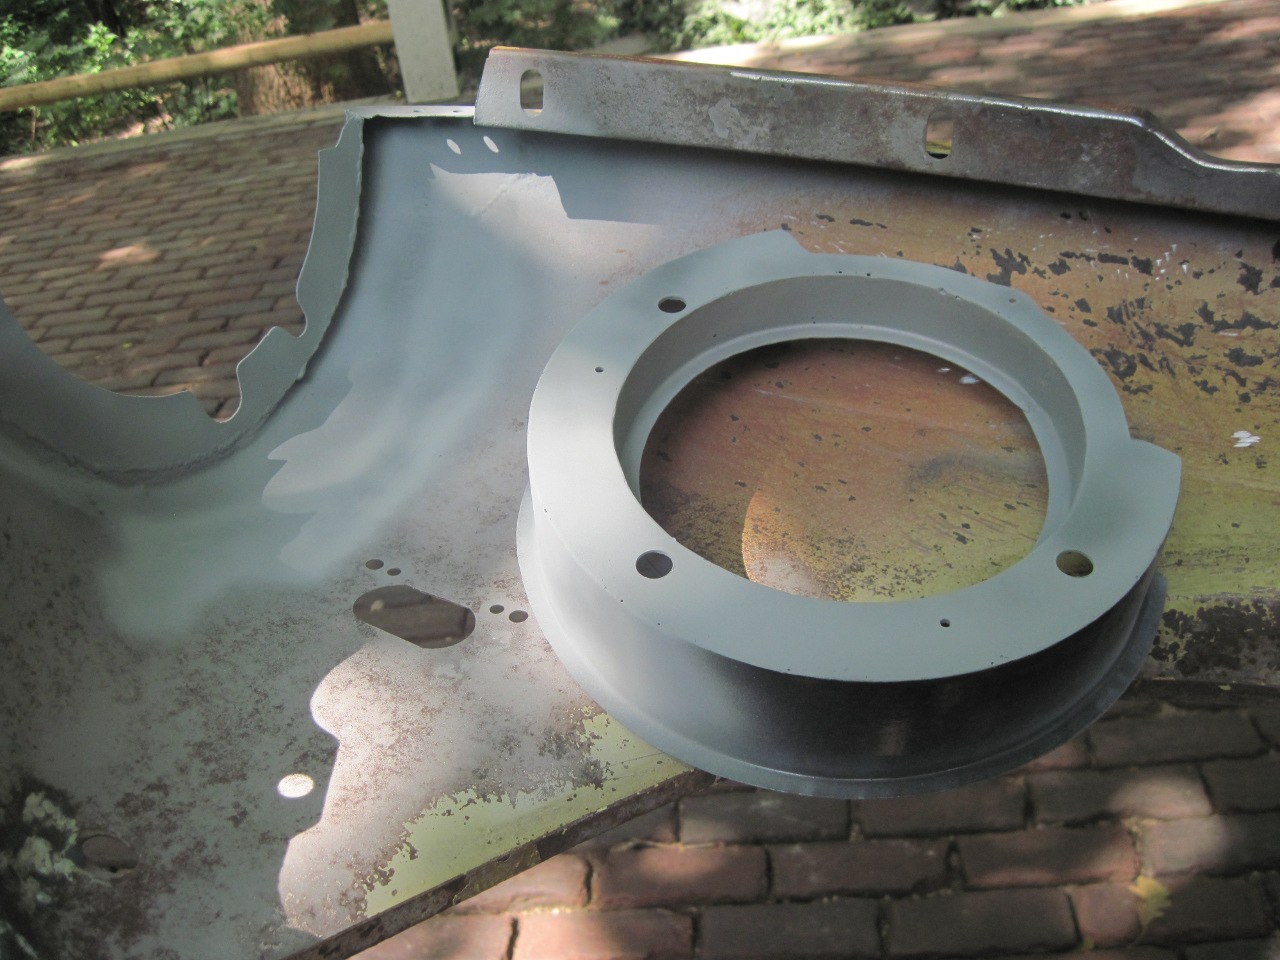
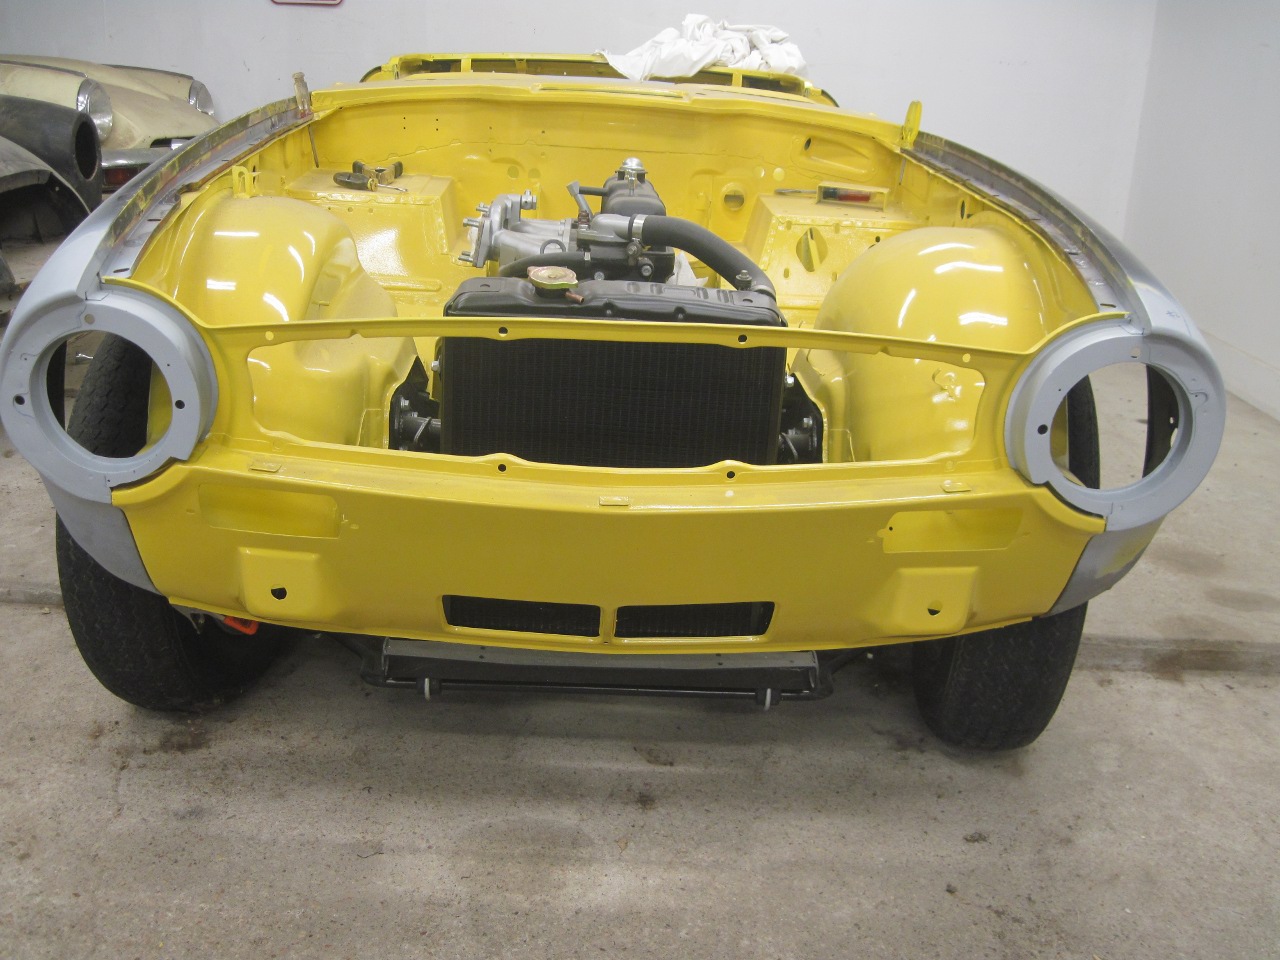
Hanging the fender on the car without the headlight ring helped to show what the contours should look like.
It seemed like the place to start was to make a new flange for the headlight ring to mount to.
I trimmed back the rotted metal to where it was good enough to weld to.

Then fit and tacked in the new flange.
I
lost a lot of sleep over how to do the actual crest of the eyebrow.
I didn't have high enough confidence in my metal shaping ability
to think I could form that sharply curved ridge from flat stock.
I could tell from the fender on the other side, which was in a
little better shape, that the cross section of the very front edge of
the brow was a semi-circle with a radius of about 7/32".
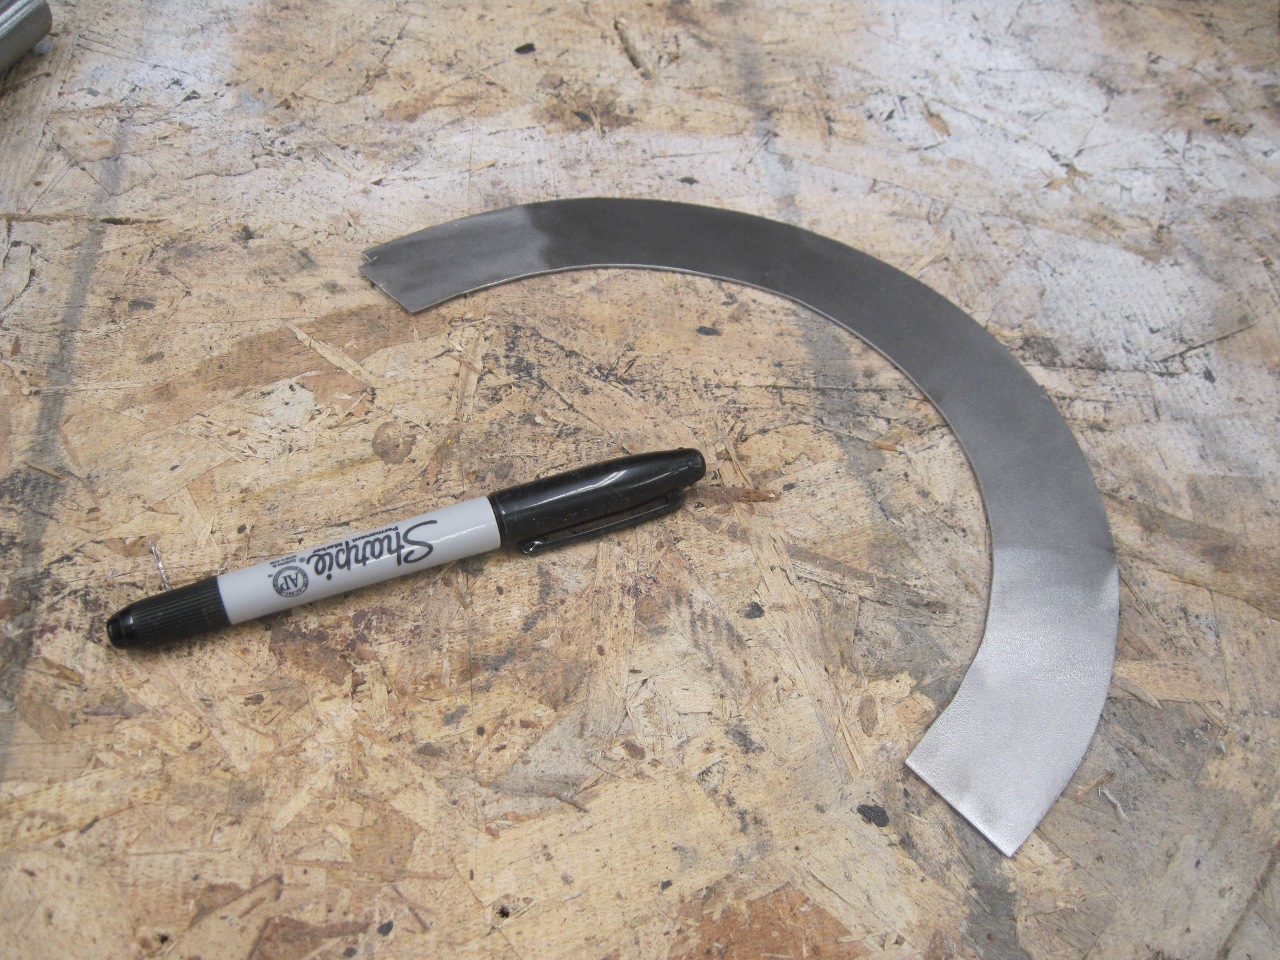
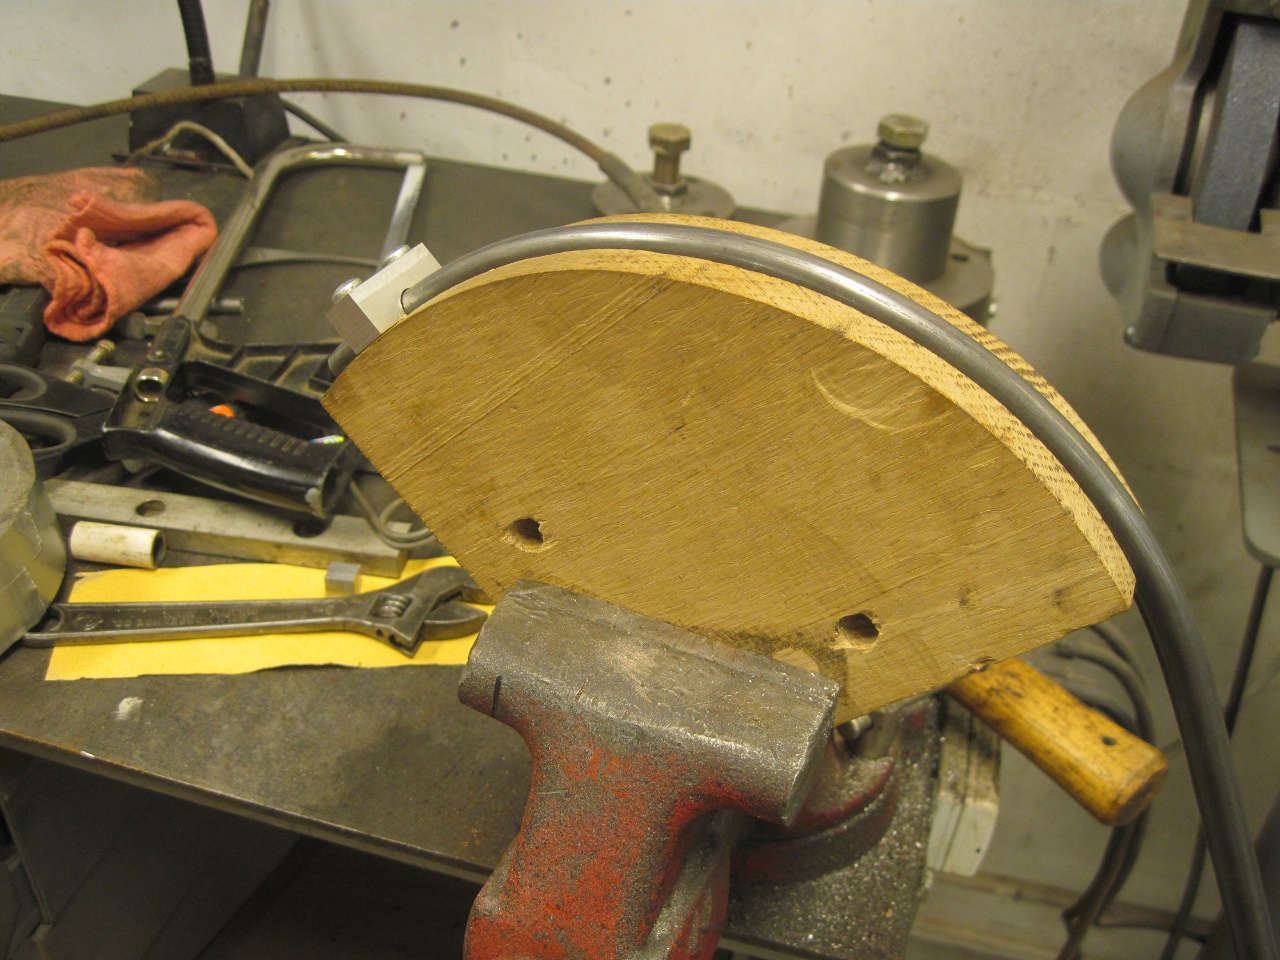
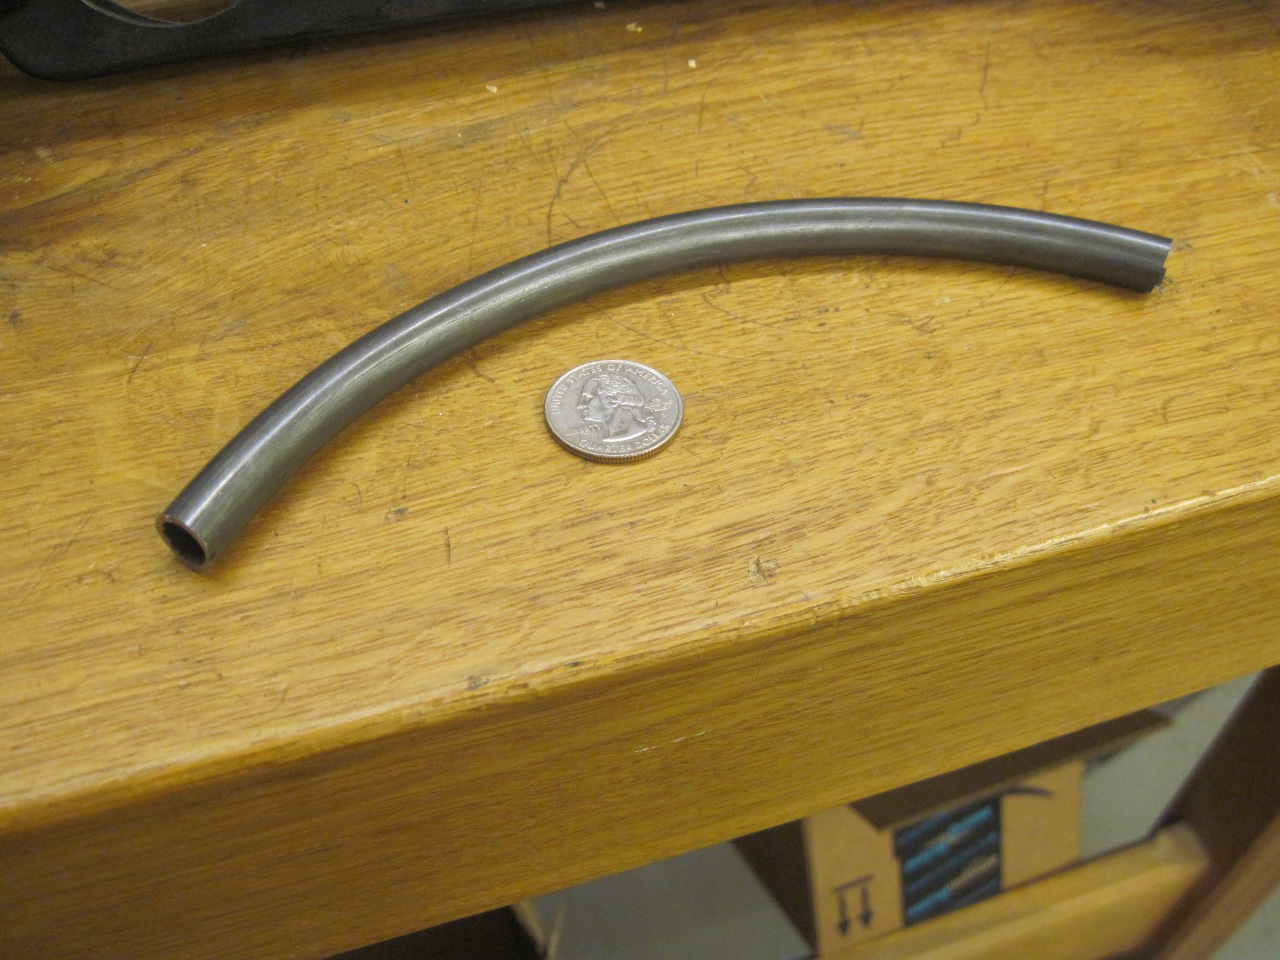
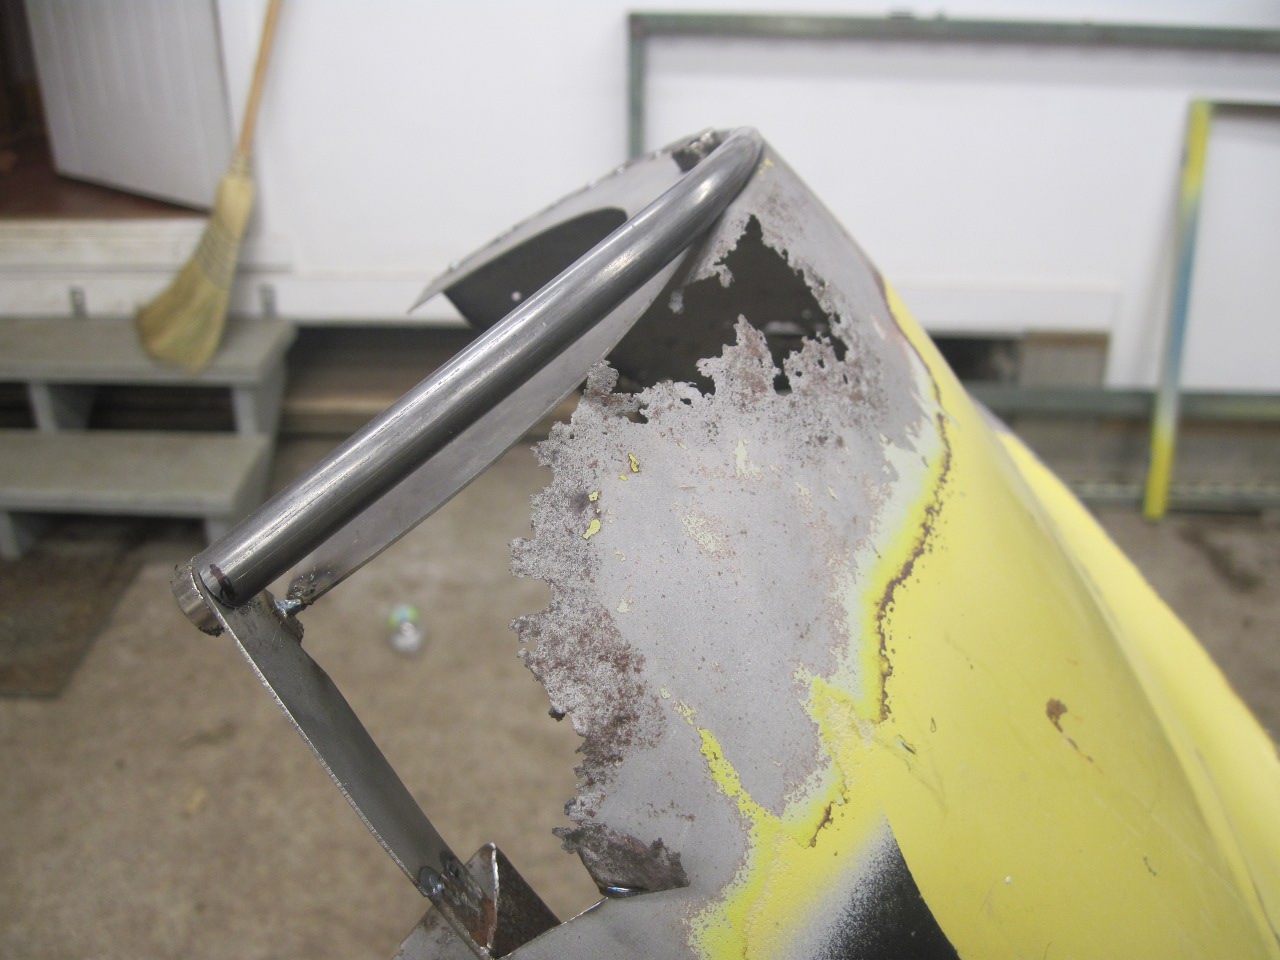
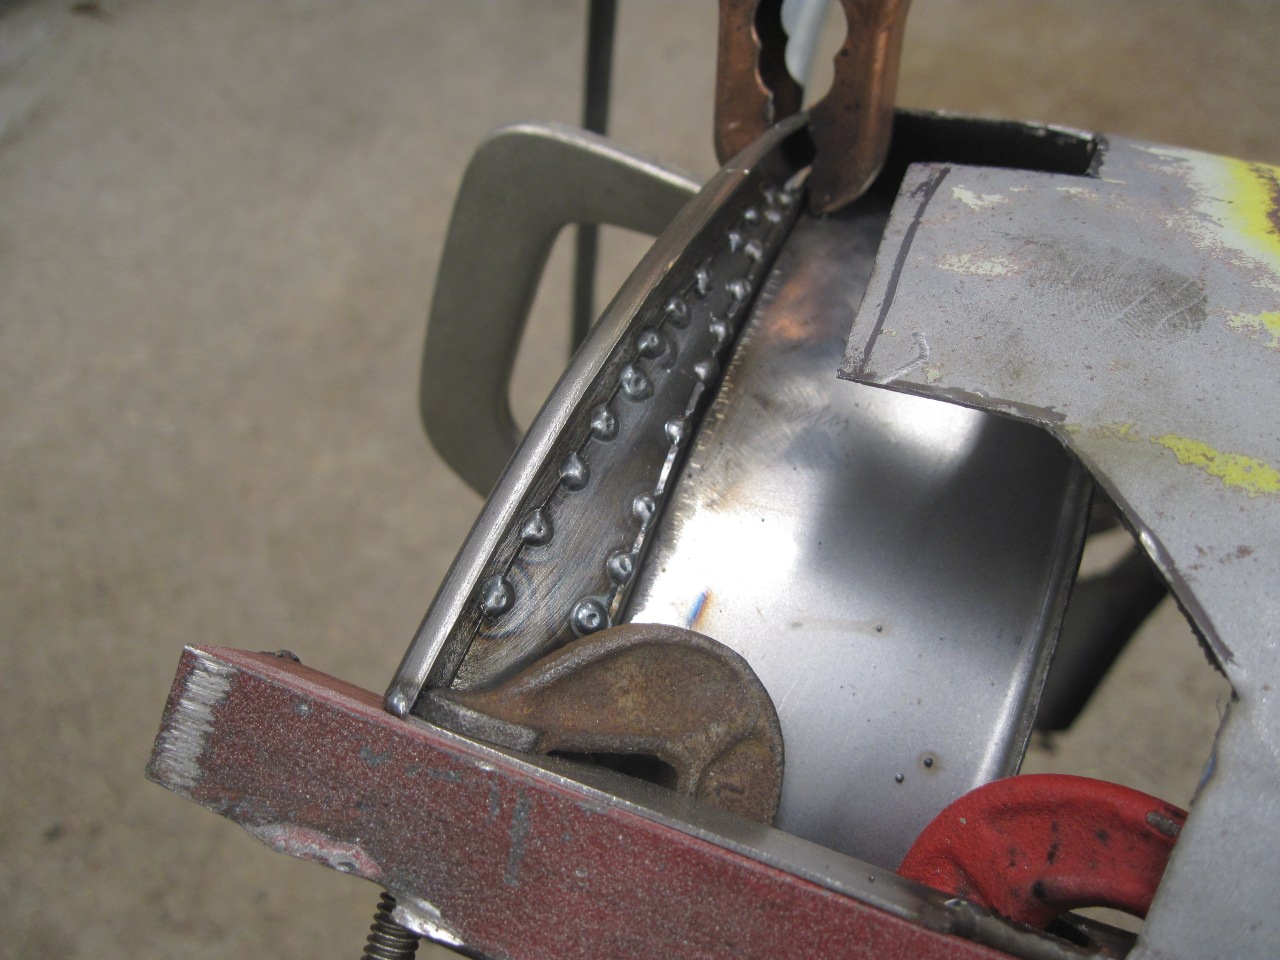
After
a lot of thought, I decided to try to use a piece of 7/16" steel tubing
to form the leading edge of the brow. I made a bending form from
a stout piece of oak, and bent the tubing to the 5" radius measured
from the other side of the car. This is a bit of an odd size for
tubing, and I didn't have a lot of choices for material. This is
a pretty hi-spec steel, which is good, except when you try to bend it.
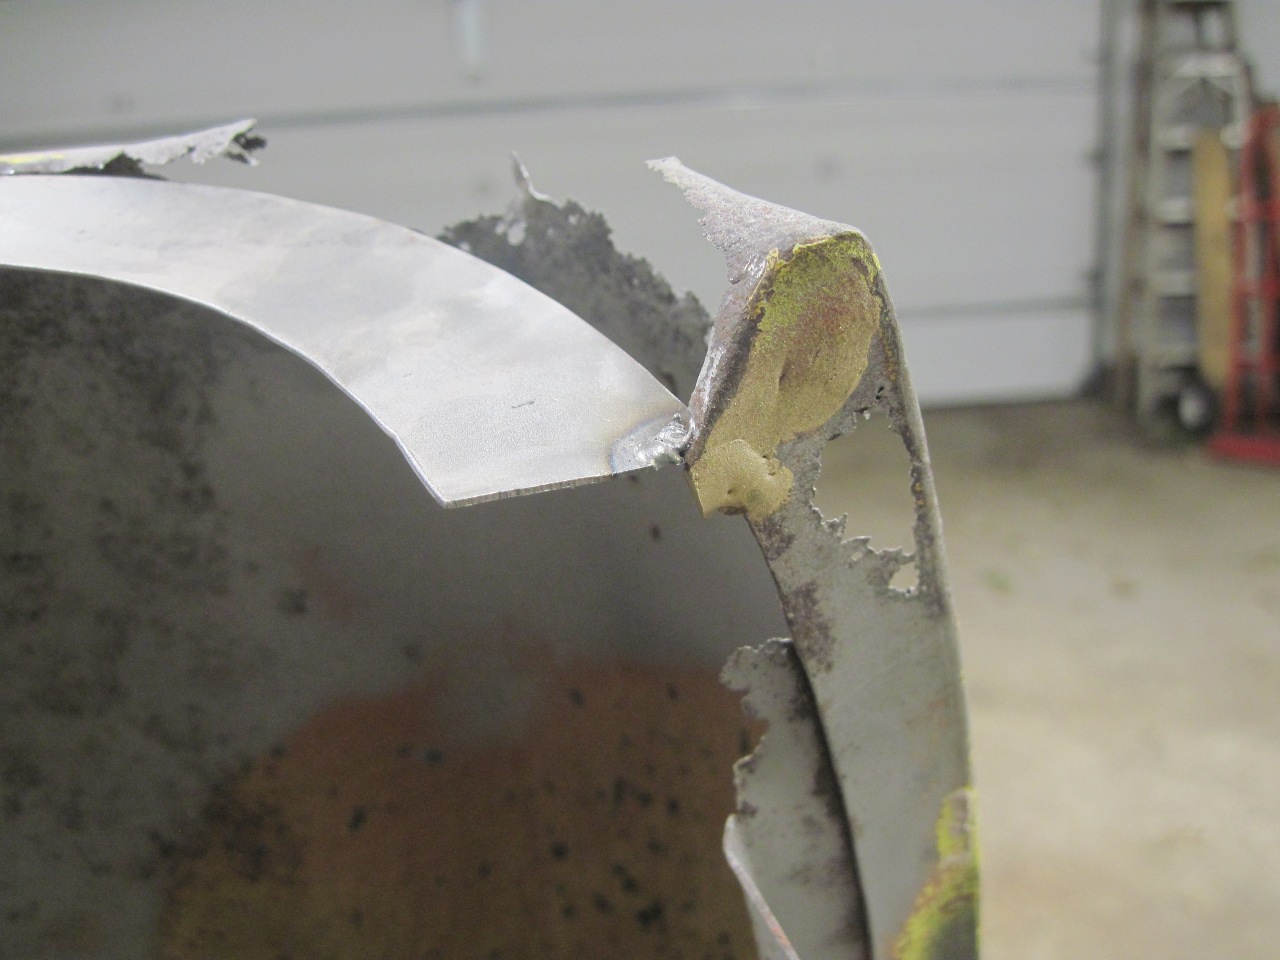
Before
I could start fitting the brow, I had to rebuild the flange where it
would terminate next to the bonnet. That joint was brazed from
the factory, and the brass will interfere with welding.
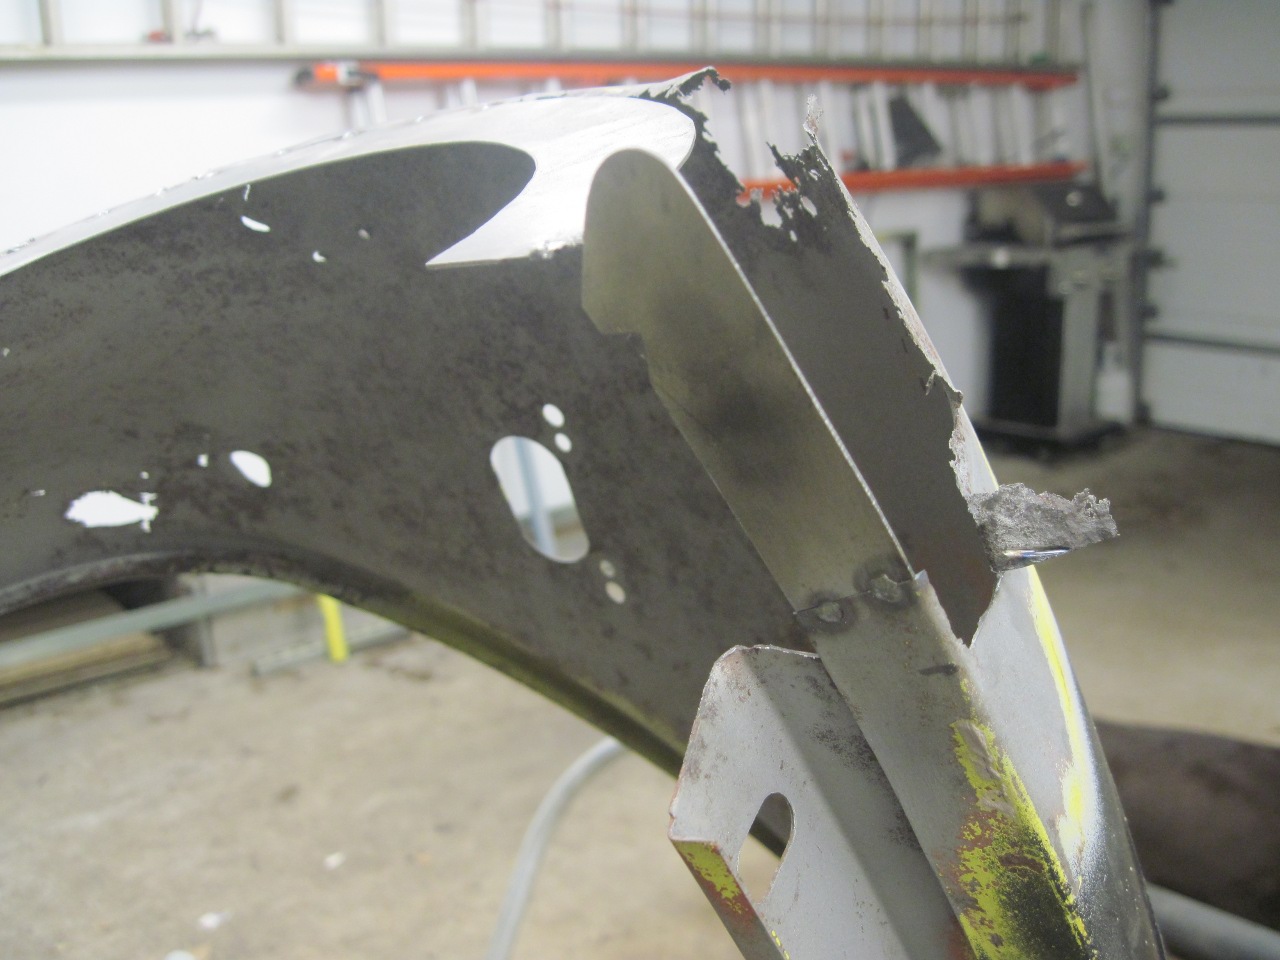
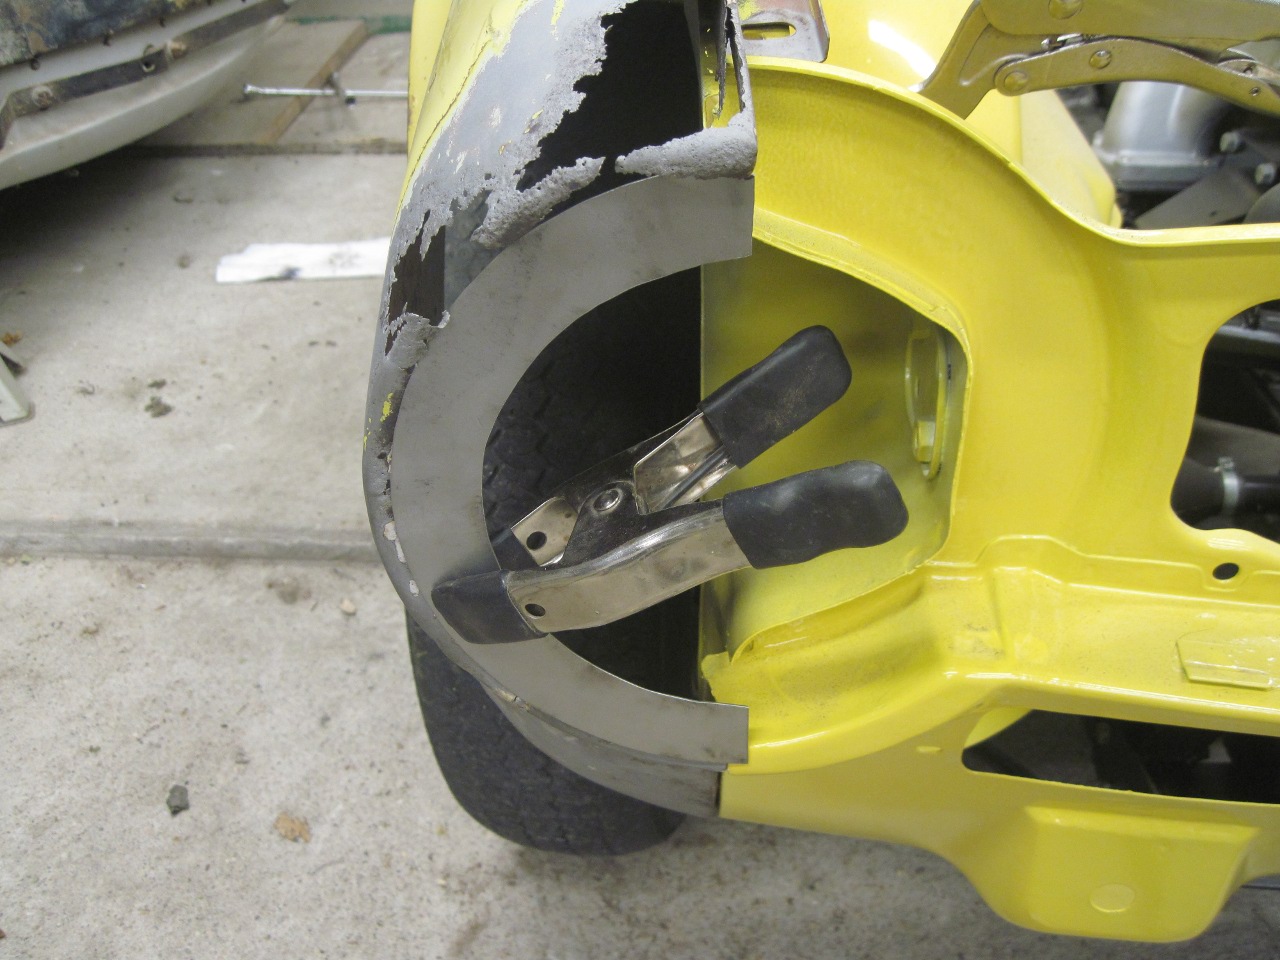
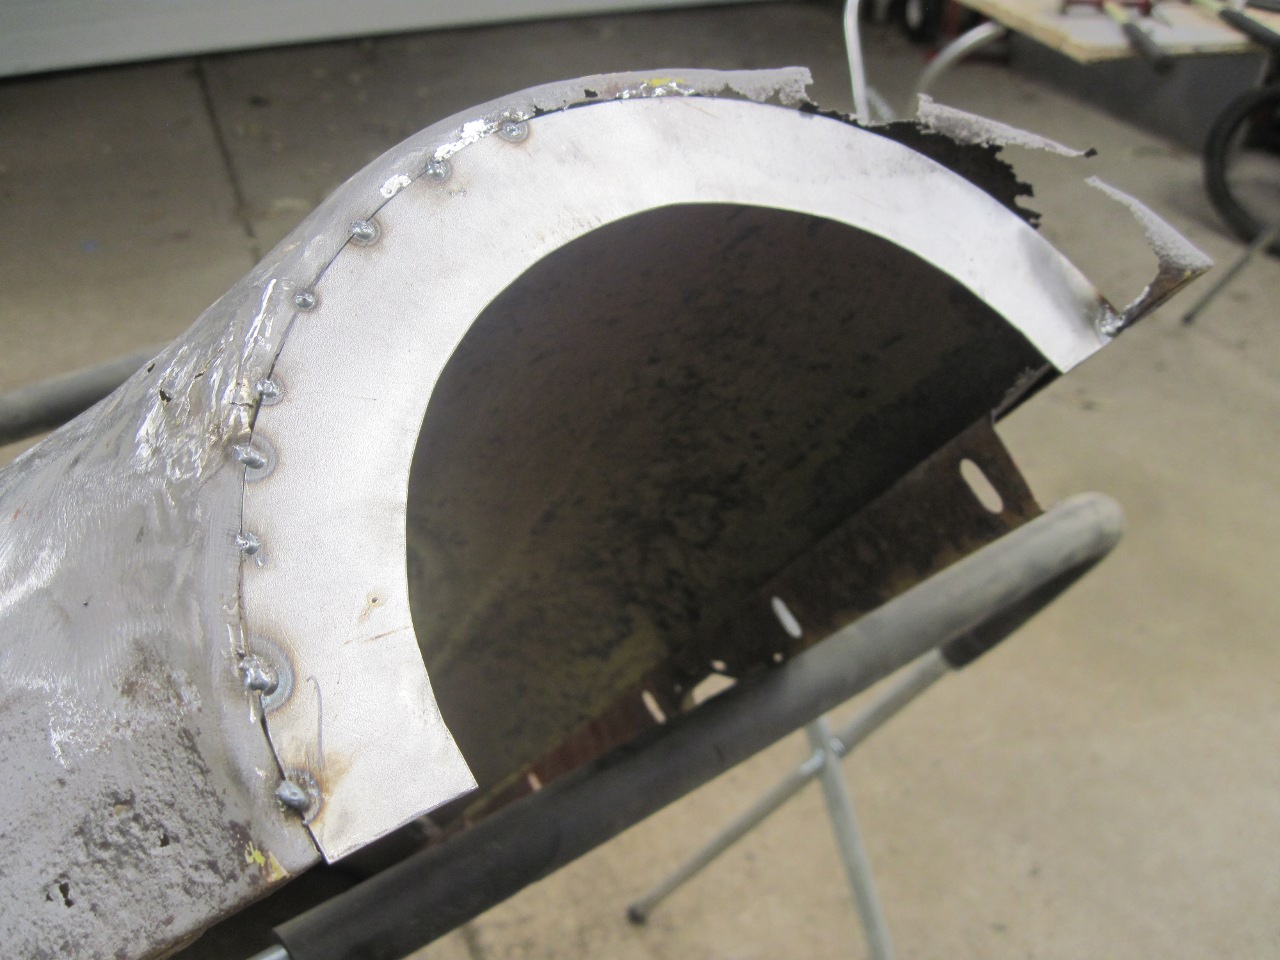
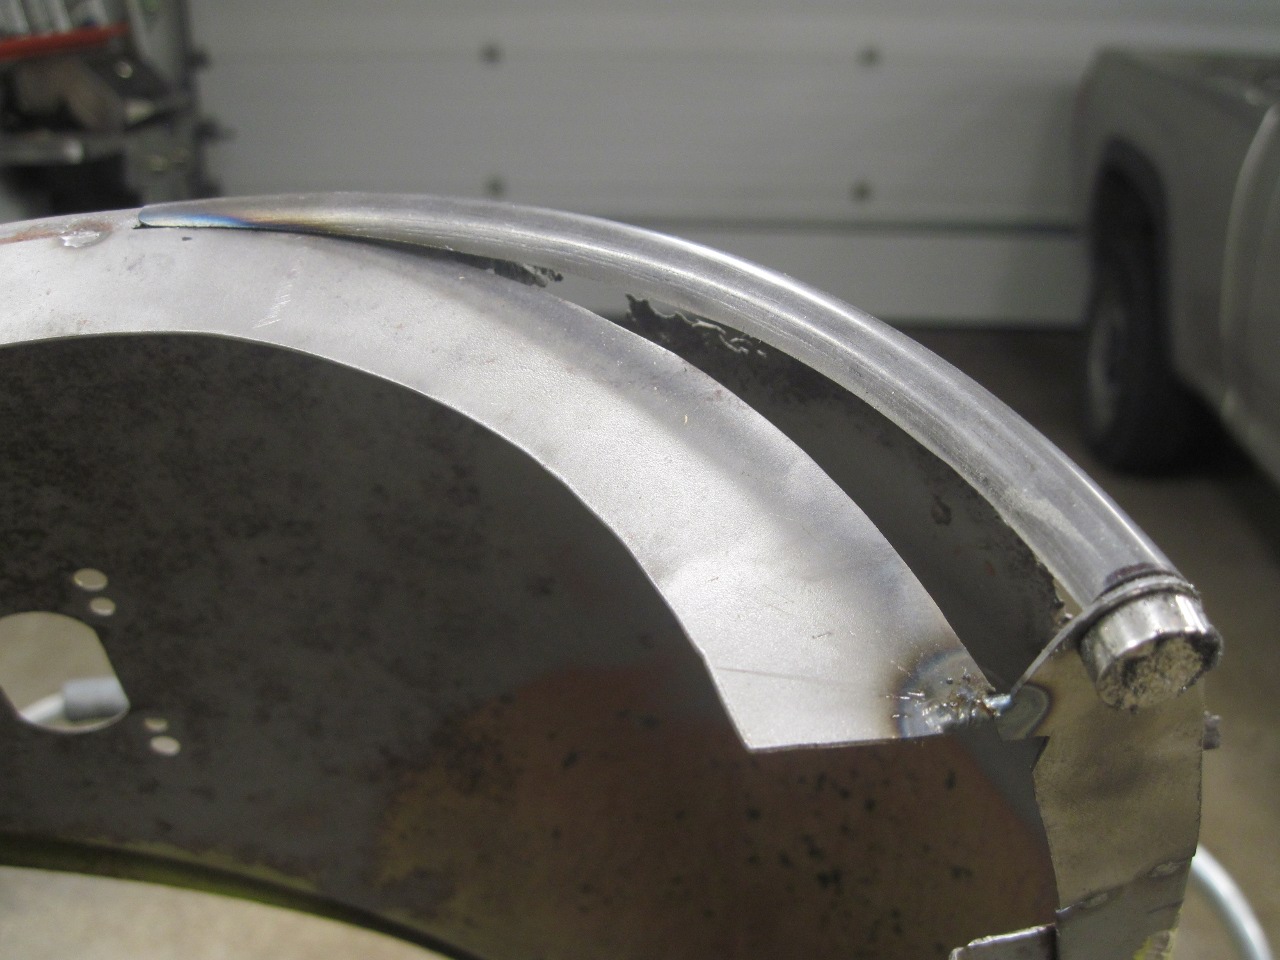
Now,
to fitting the new brow piece. The brow only sticks out on the
top half of the circumference of the headlight. The protrusion
gradually reduces to nothing at the side of the fender. This
meant that the brow piece had to be tapered.
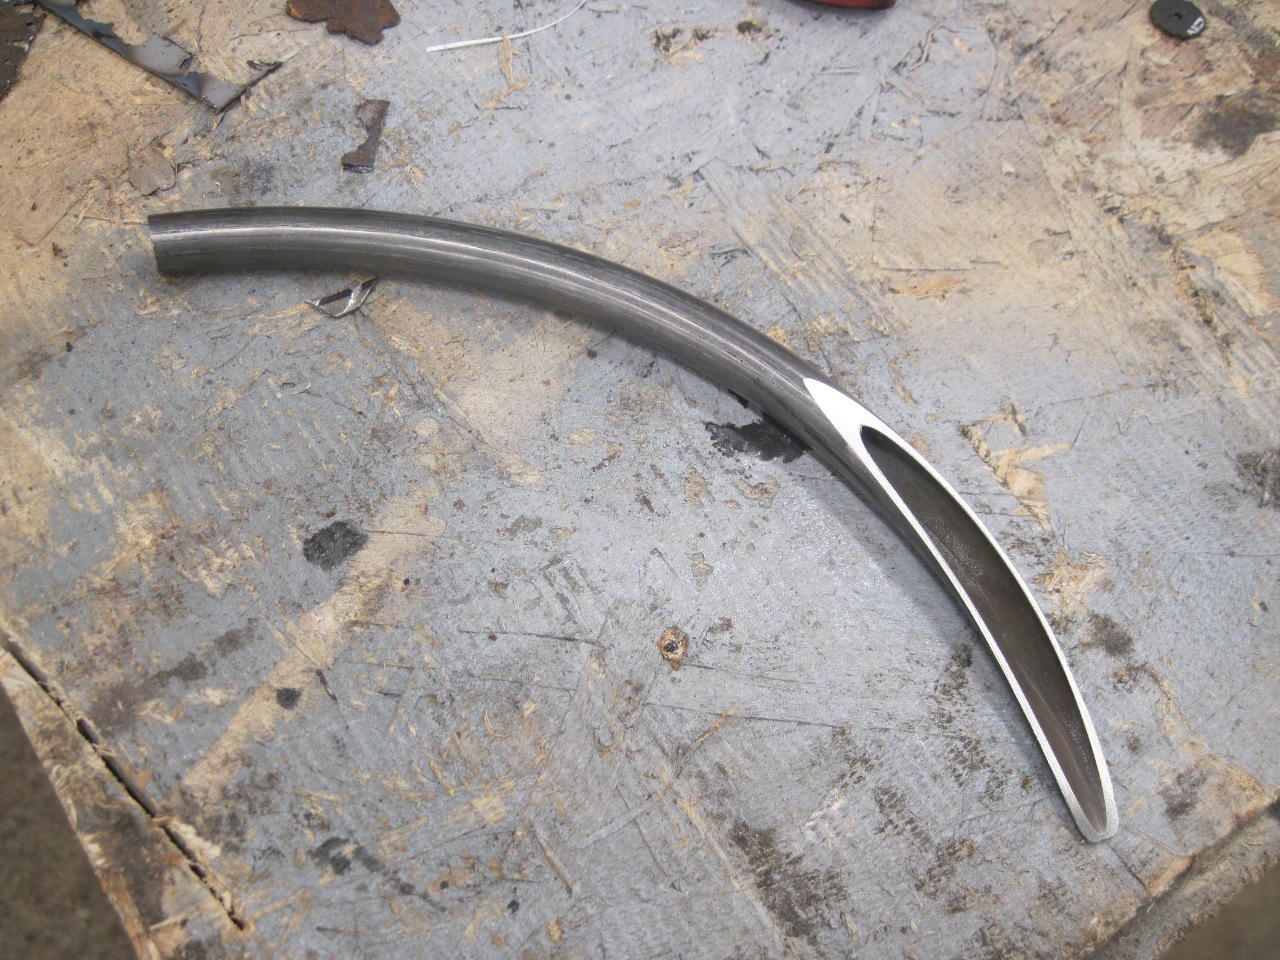

Then the piece was sliced in half so that only the forward-most side remained. This would make welding to it easier.

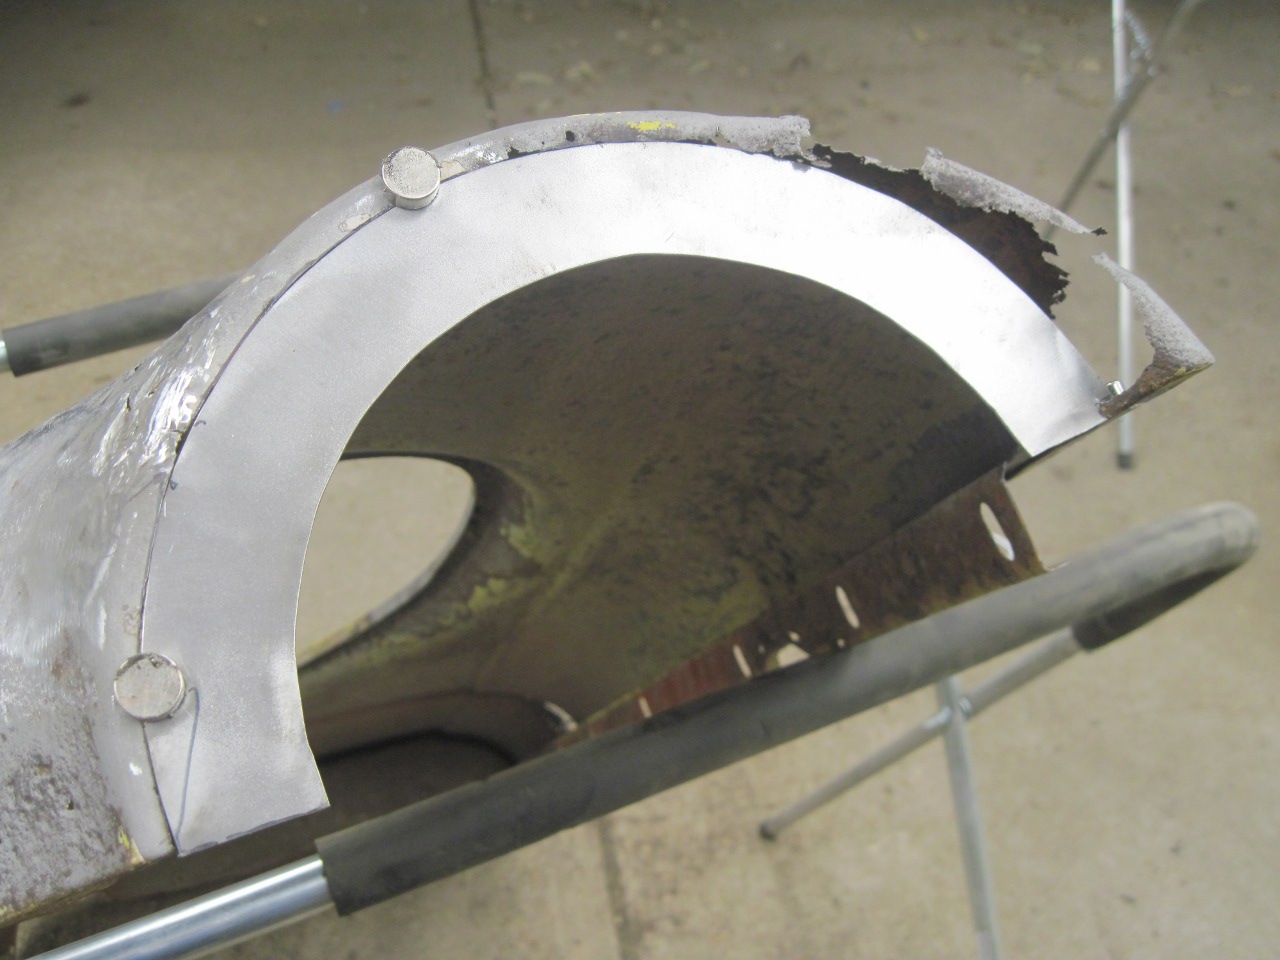
Then
added the little piece under the eyebrow. I clamped a piece of
angle iron to the flange that runs next to the bonnet to make sure it
stayed straight during the upcoming welding. I welded the little
wedge on the inside so cleanup on the outside would be easier.

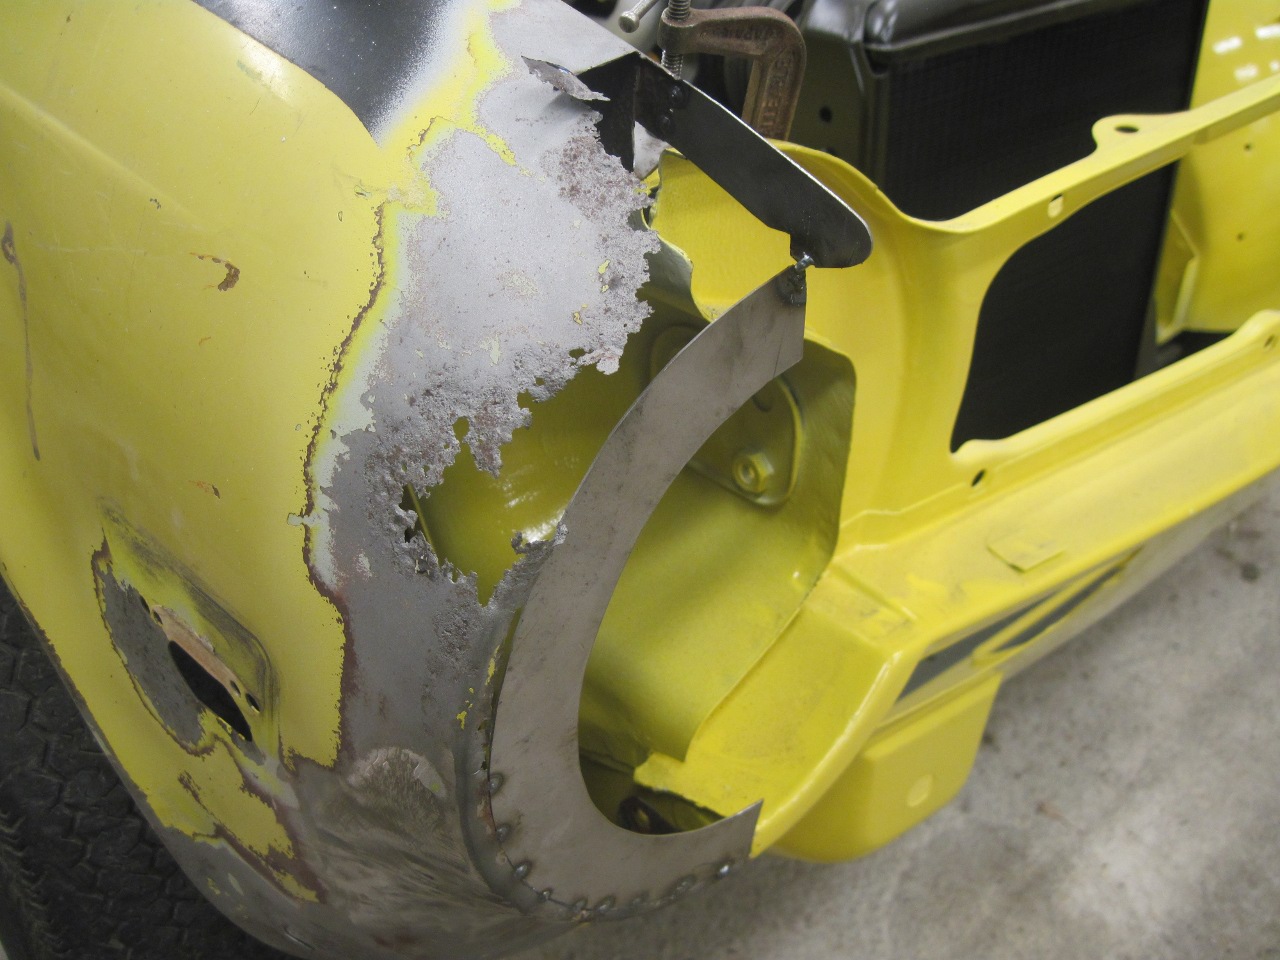
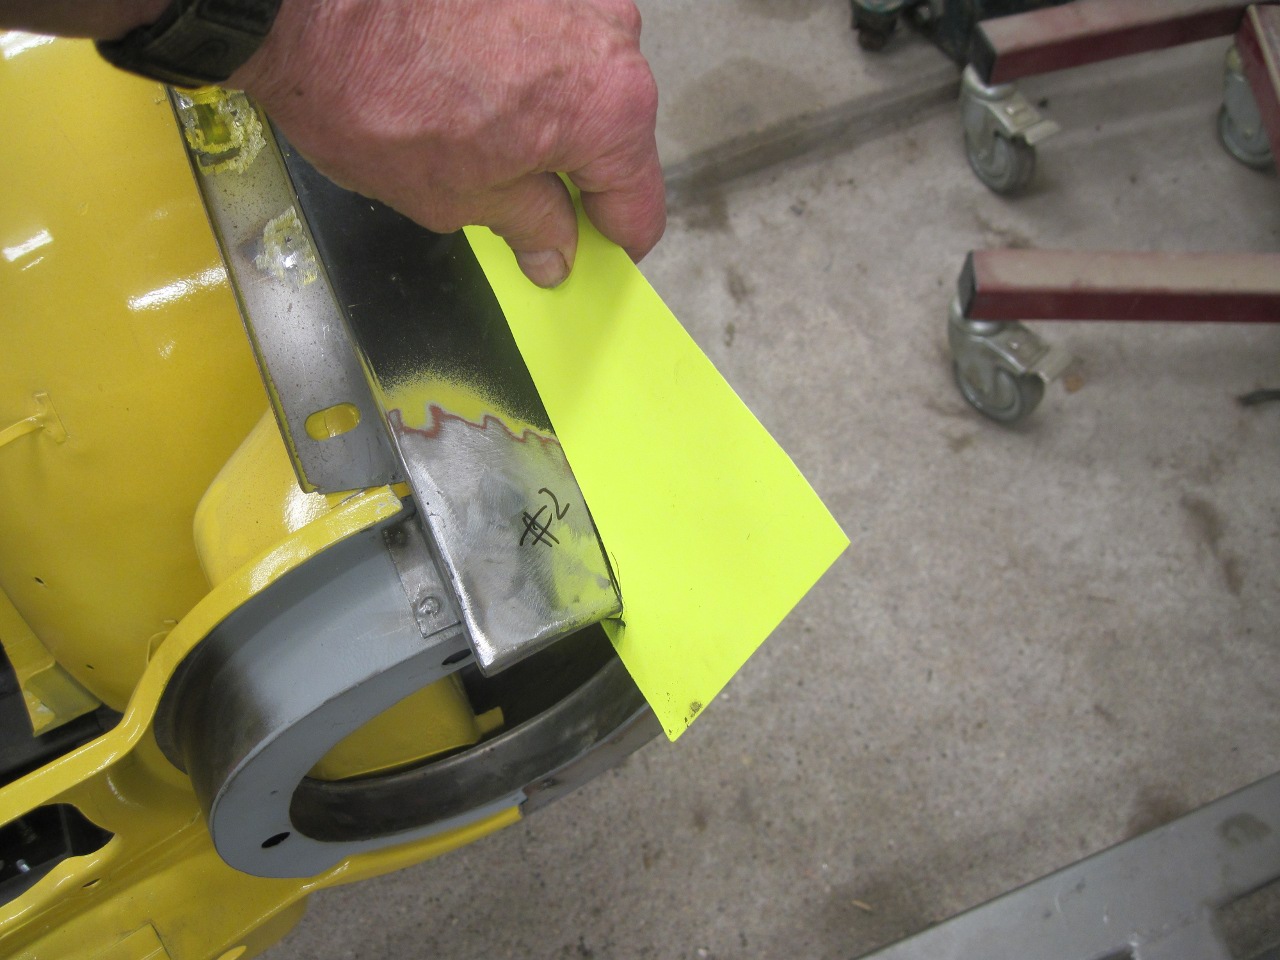
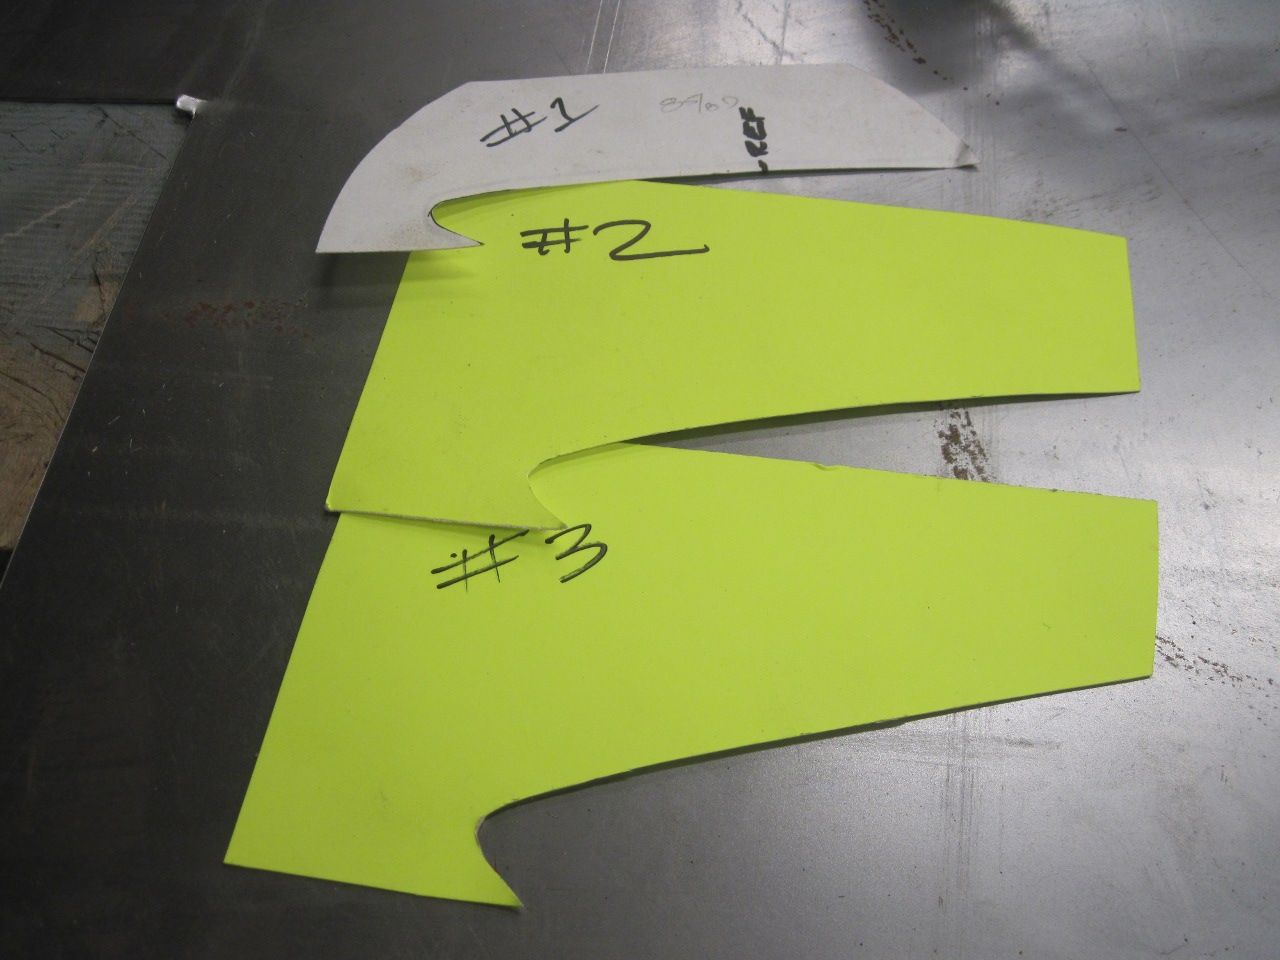
Now,
with something to weld to at the front edge, I could start replacing
sheet metal. I made some templates from the other fender to make
sure the contours matched.
Tacked in some patches. I'm not good enough at this to do it with one piece.
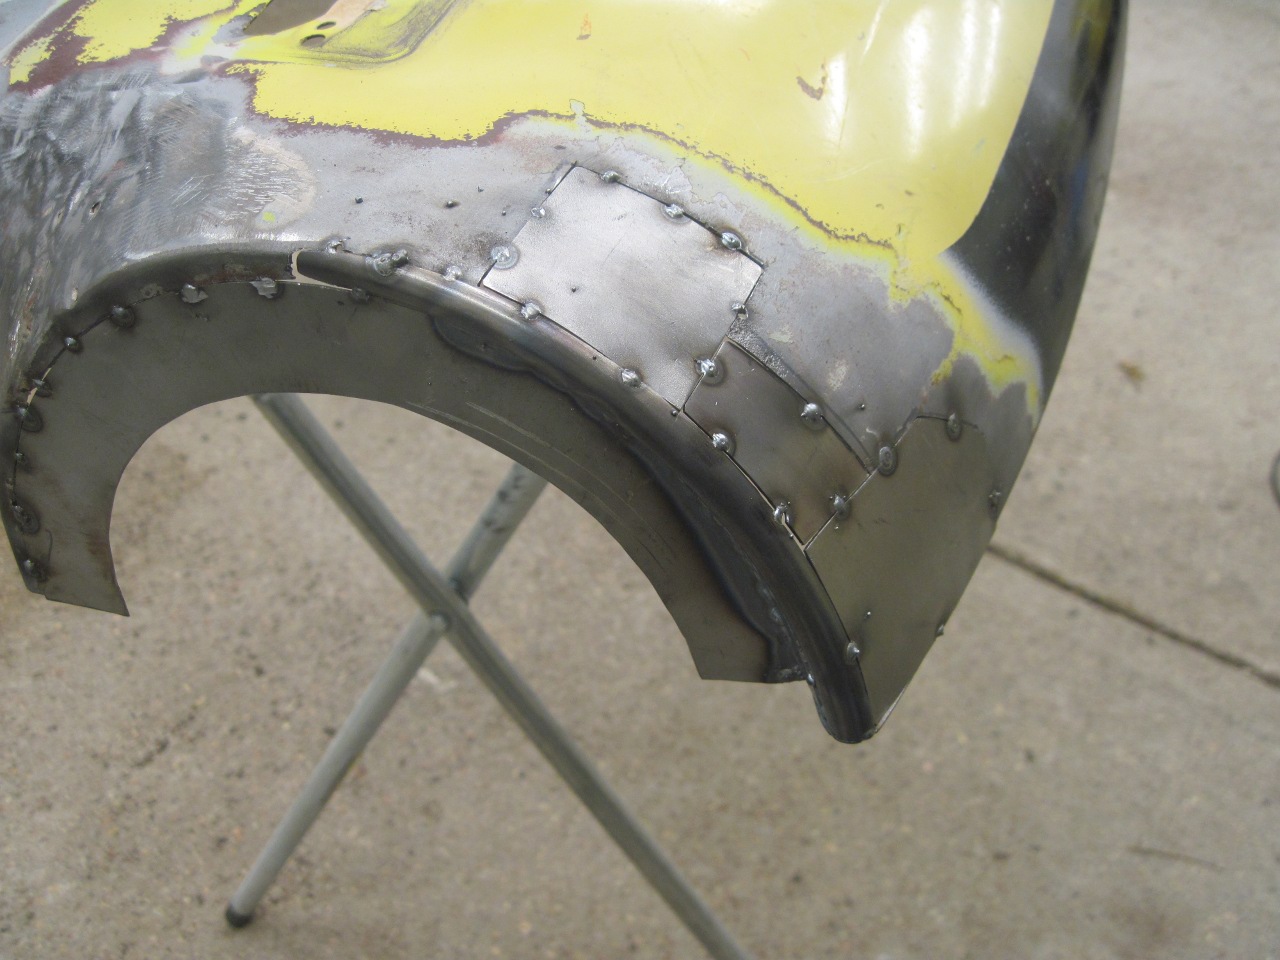
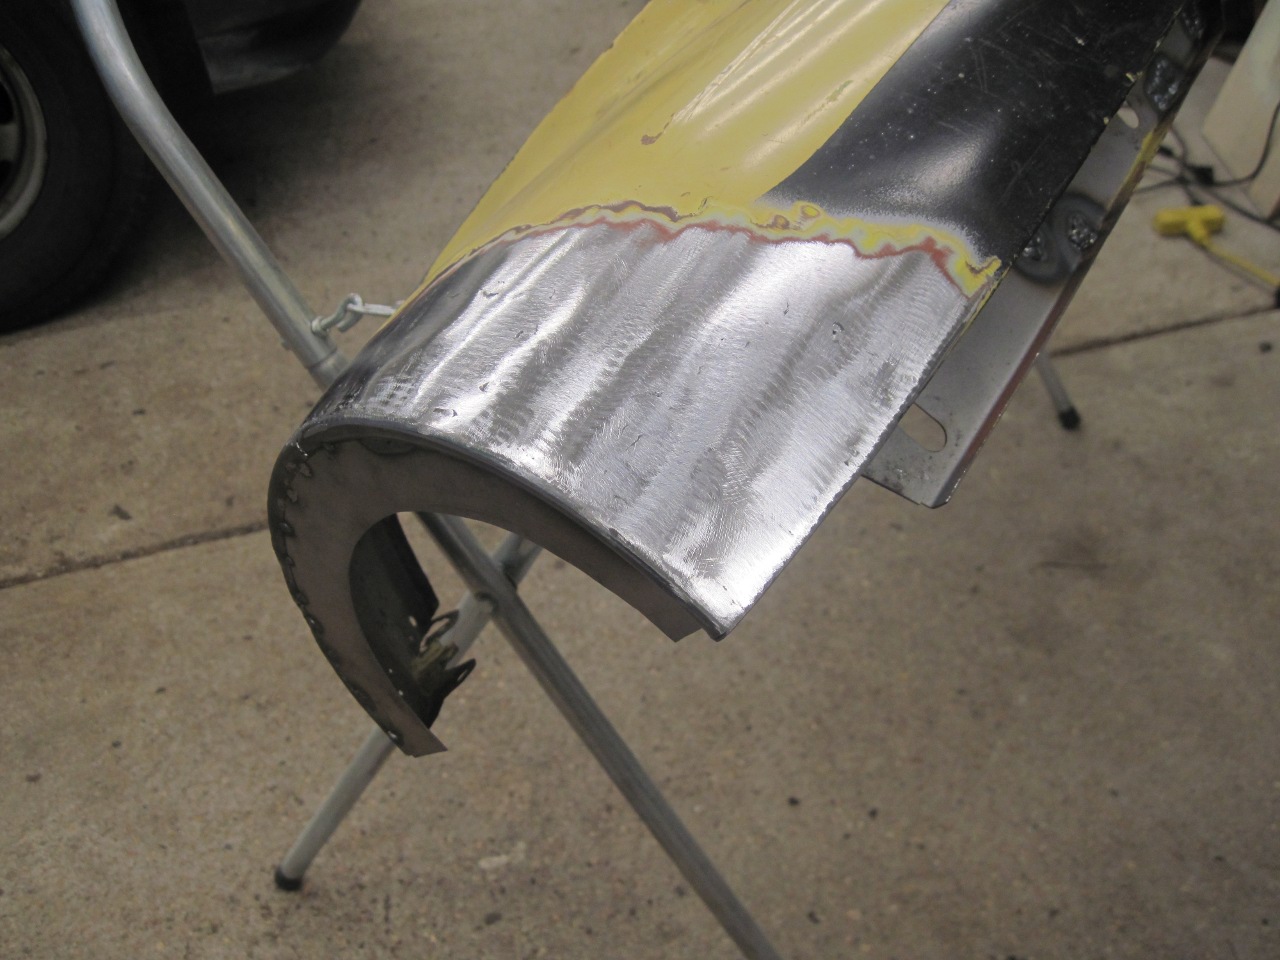
Welded,
and ground the welds down to the surface. The welding distortion
will still require a little filler, but not much. Some rust is
already visible in places from our wonderful Nebraska humidity.
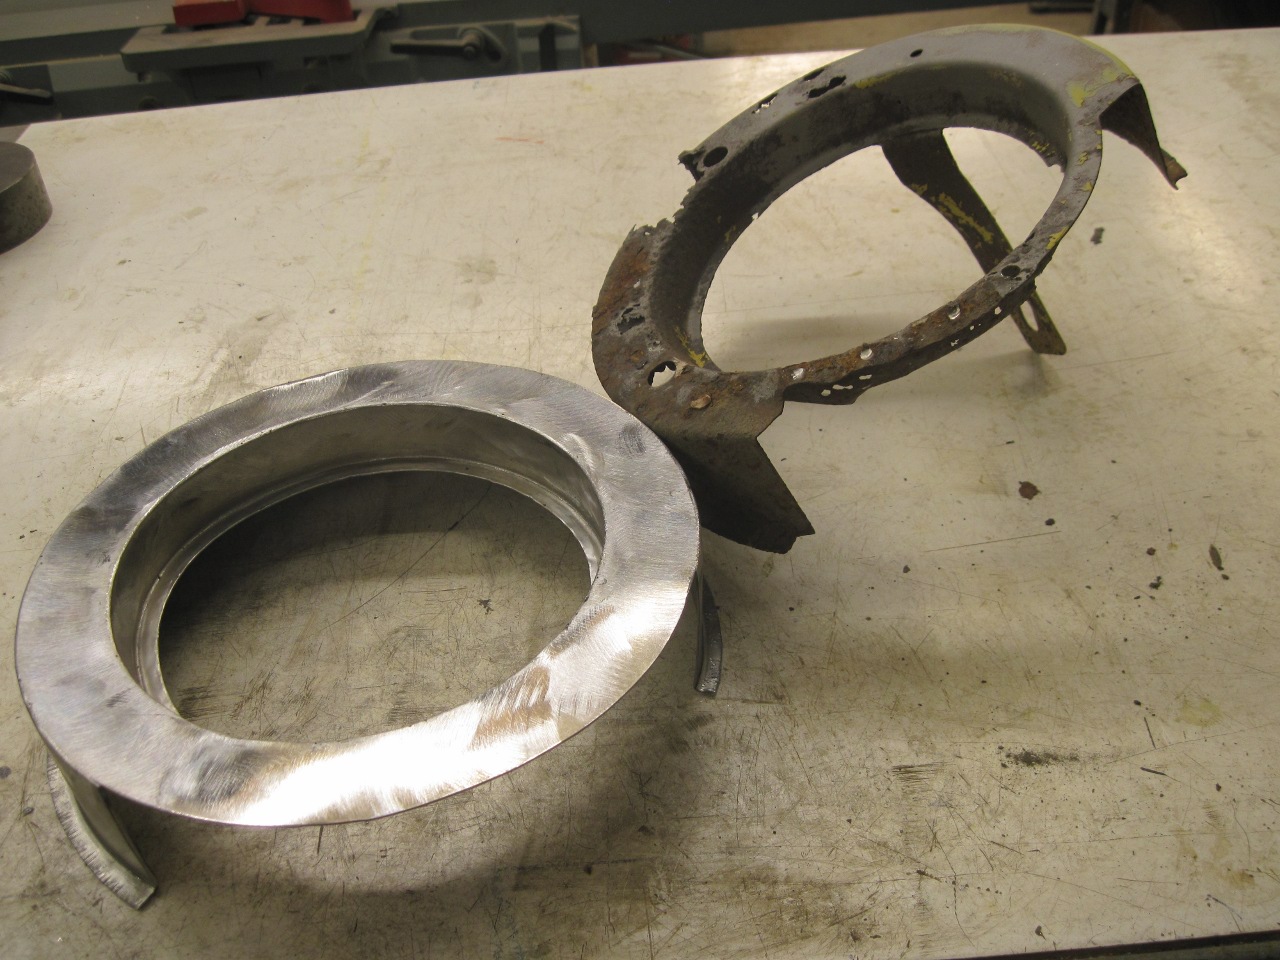
Now
for the headlight ring. This is another item that it would be
nice to just buy somewhere, but as far as I can tell, no one offers
them. I decided it was probably less work to build the rings from
scratch than to fix the originals. I had to make the rings for both
fenders.
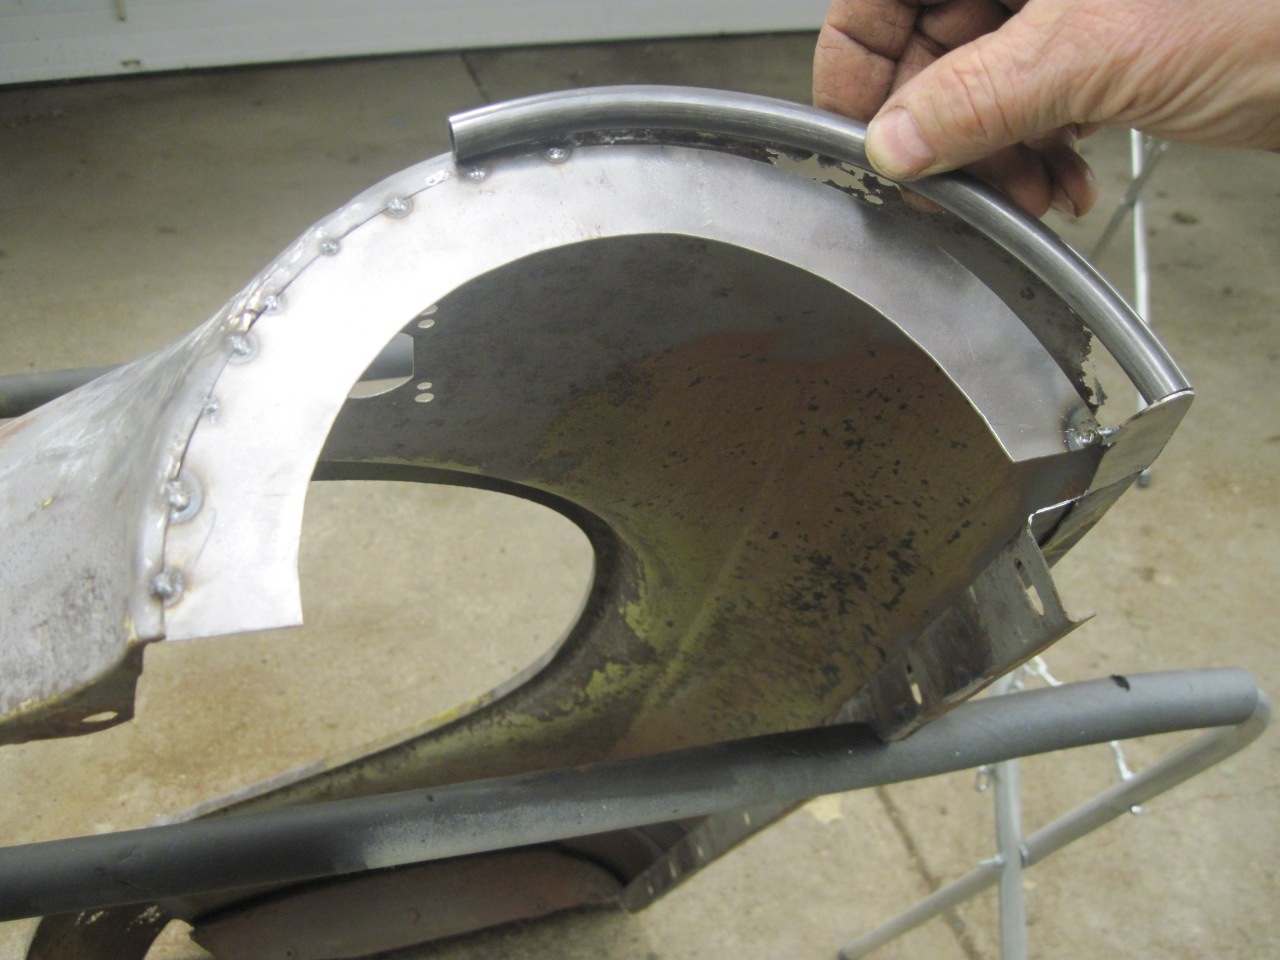
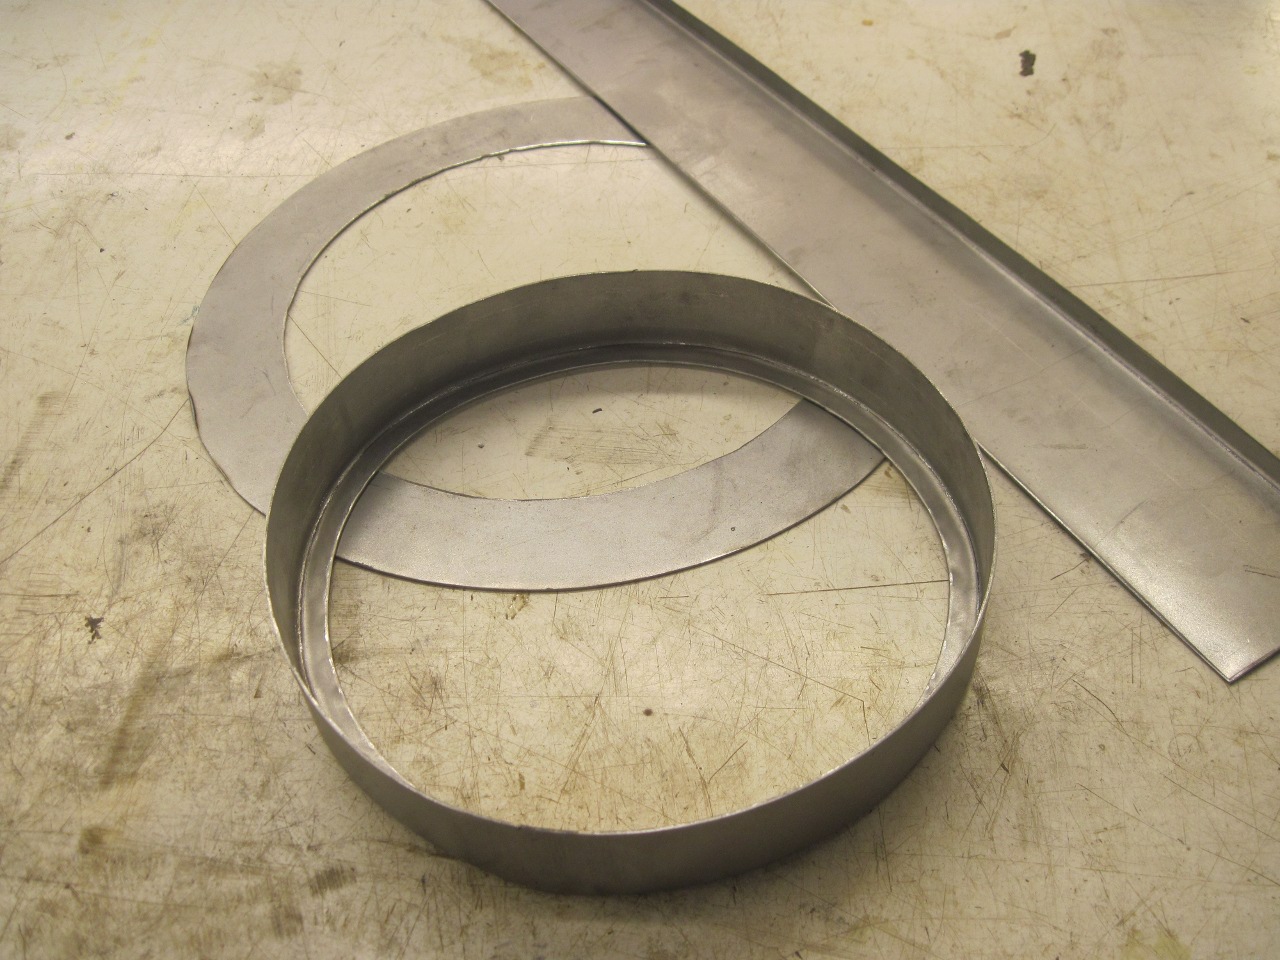
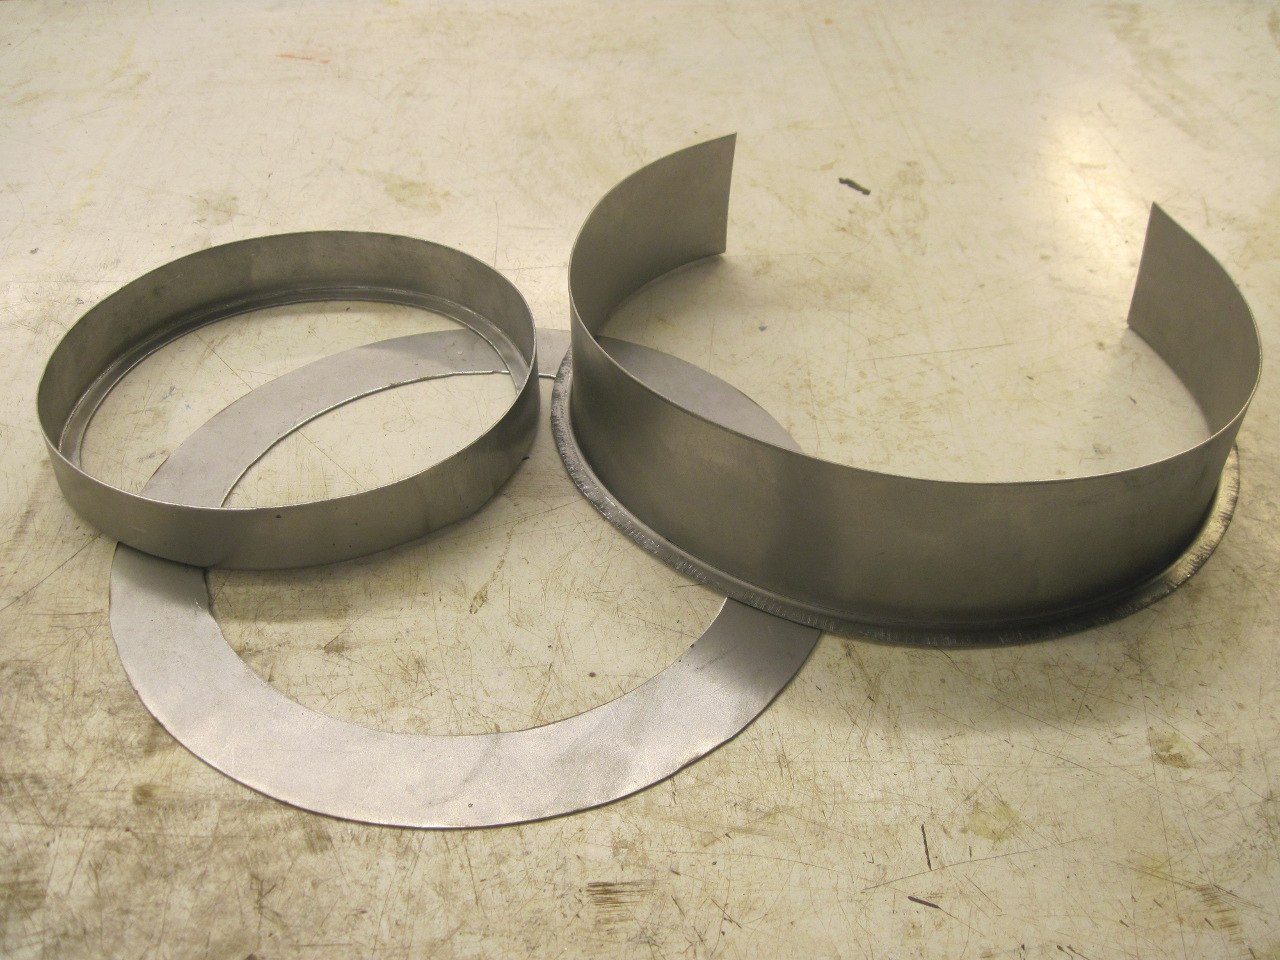
First,
the pieces are cut from 20 gauge stock. There is the face ring, a
shallow inside cylinder, and a deeper outside cylinder that doesn't
wrap around the entire circimference.


The inturned lip on the inner cylinder was formed by tapping on a improvised jig.

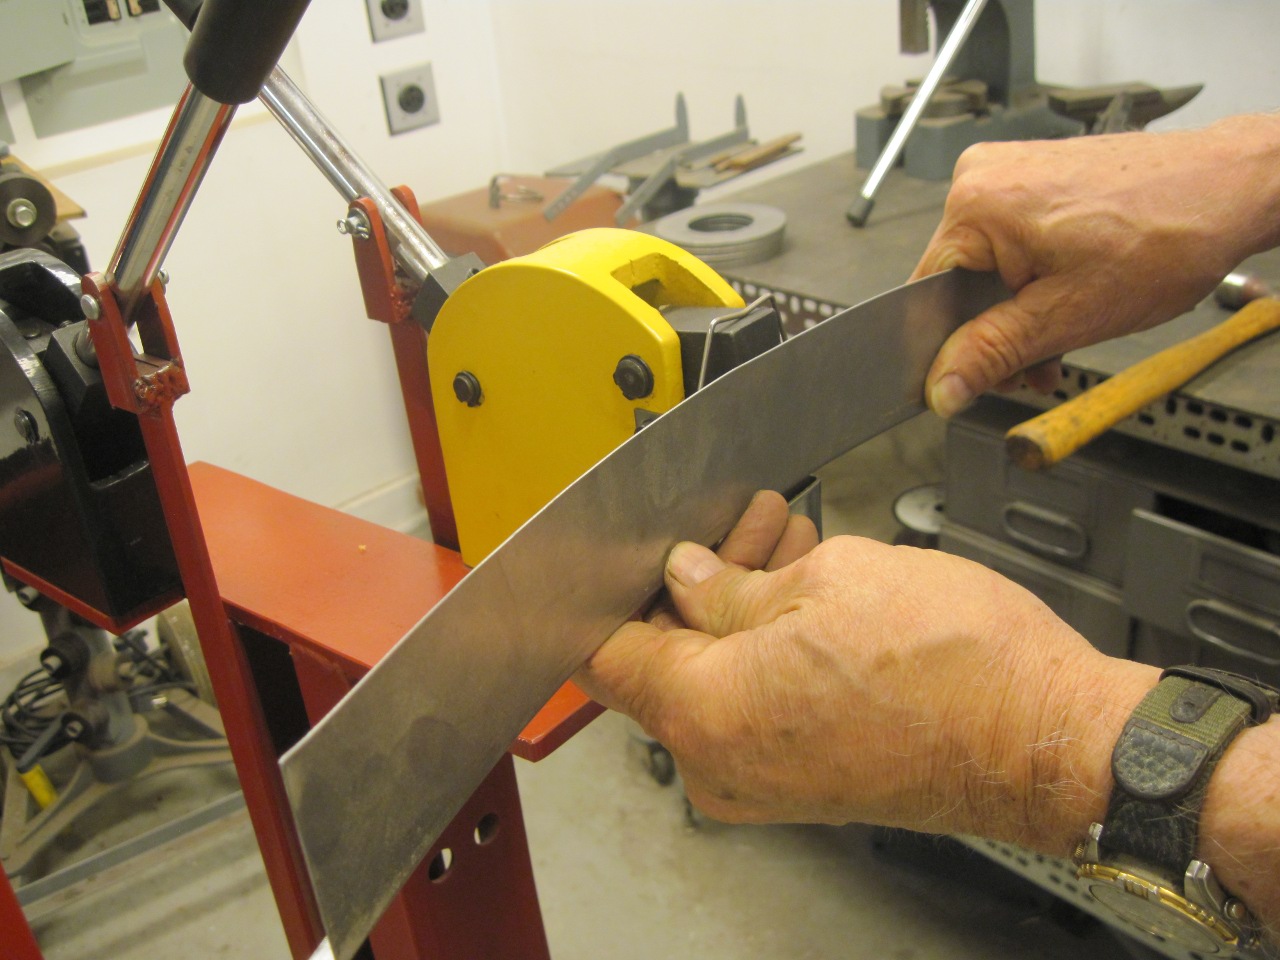
The
out-turned lip on the outer cylinder was bent first, then I used my
cheapie Harbor Freight stretcher to form the curve. It's like
magic.
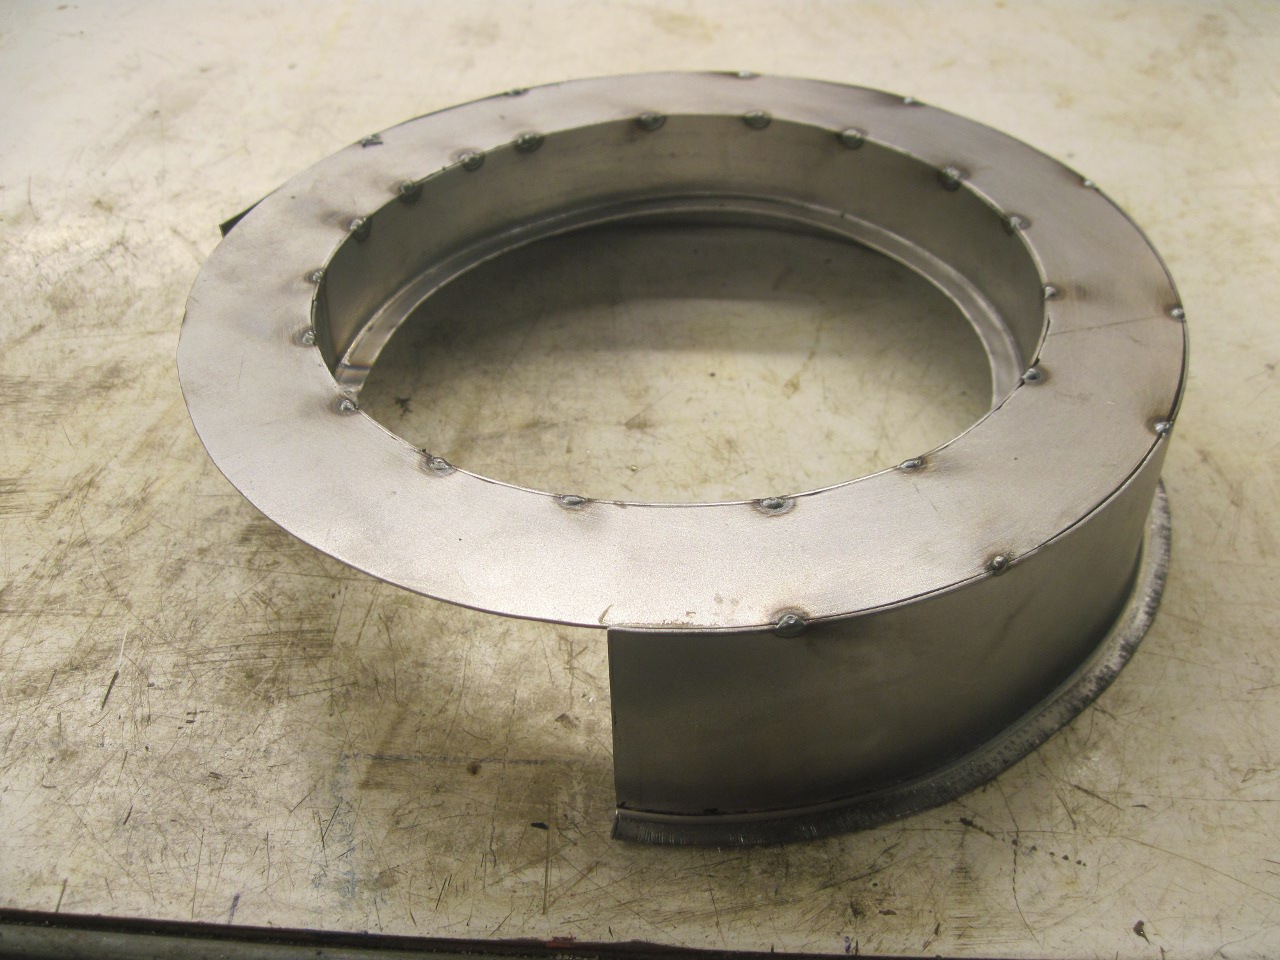
Test fitted the pieces, tacked, welded, and dressed.

Before
attaching the headlight ring to the wing, I realized that with the ring
in place, the whole eyebrow area would be inaccessible, with no good
way to get primer or paint in there. Maybe this is why these
areas were so prone to rust.
I
brushed two coats of POR15 onto the areas of the wing and the
headlight ring that would be hard to reach after assembly. When
that was set, I applied a weld-through zinc promer to the mating
surfaces of the ring and the fender.
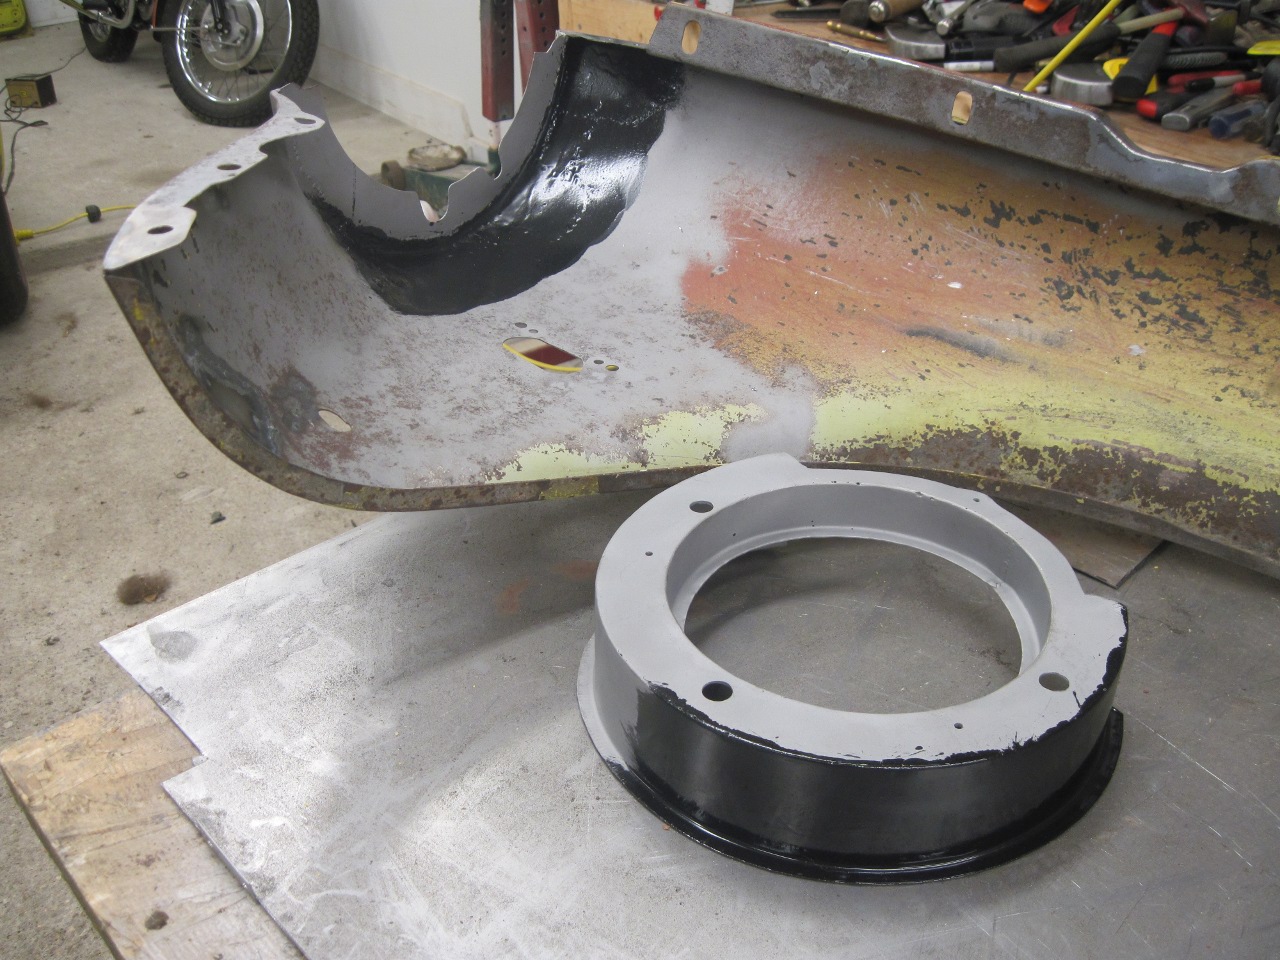
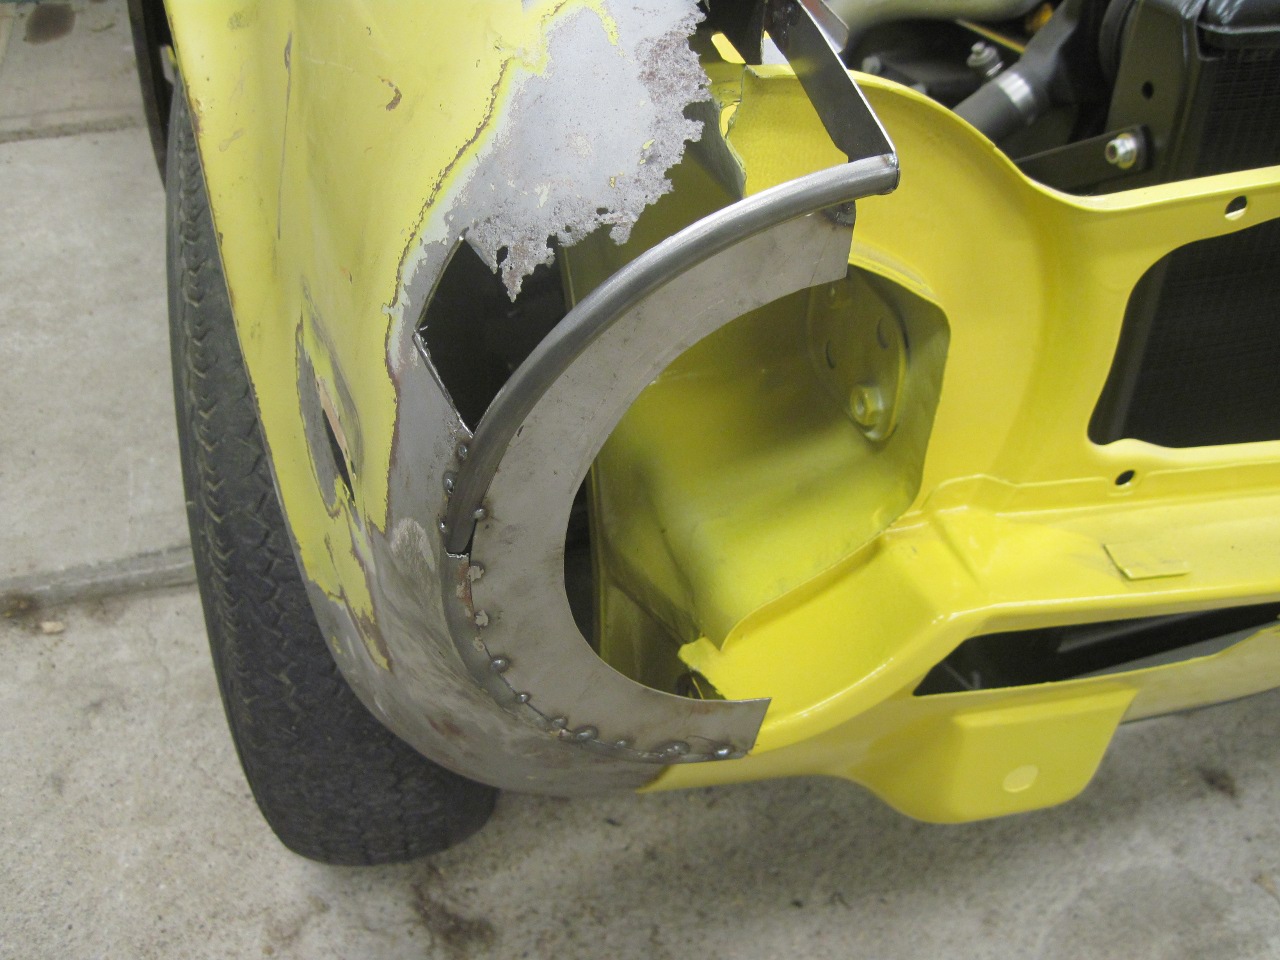
Fitted the ring, and, hanging the spot welder from a skyhook, welded it in place.
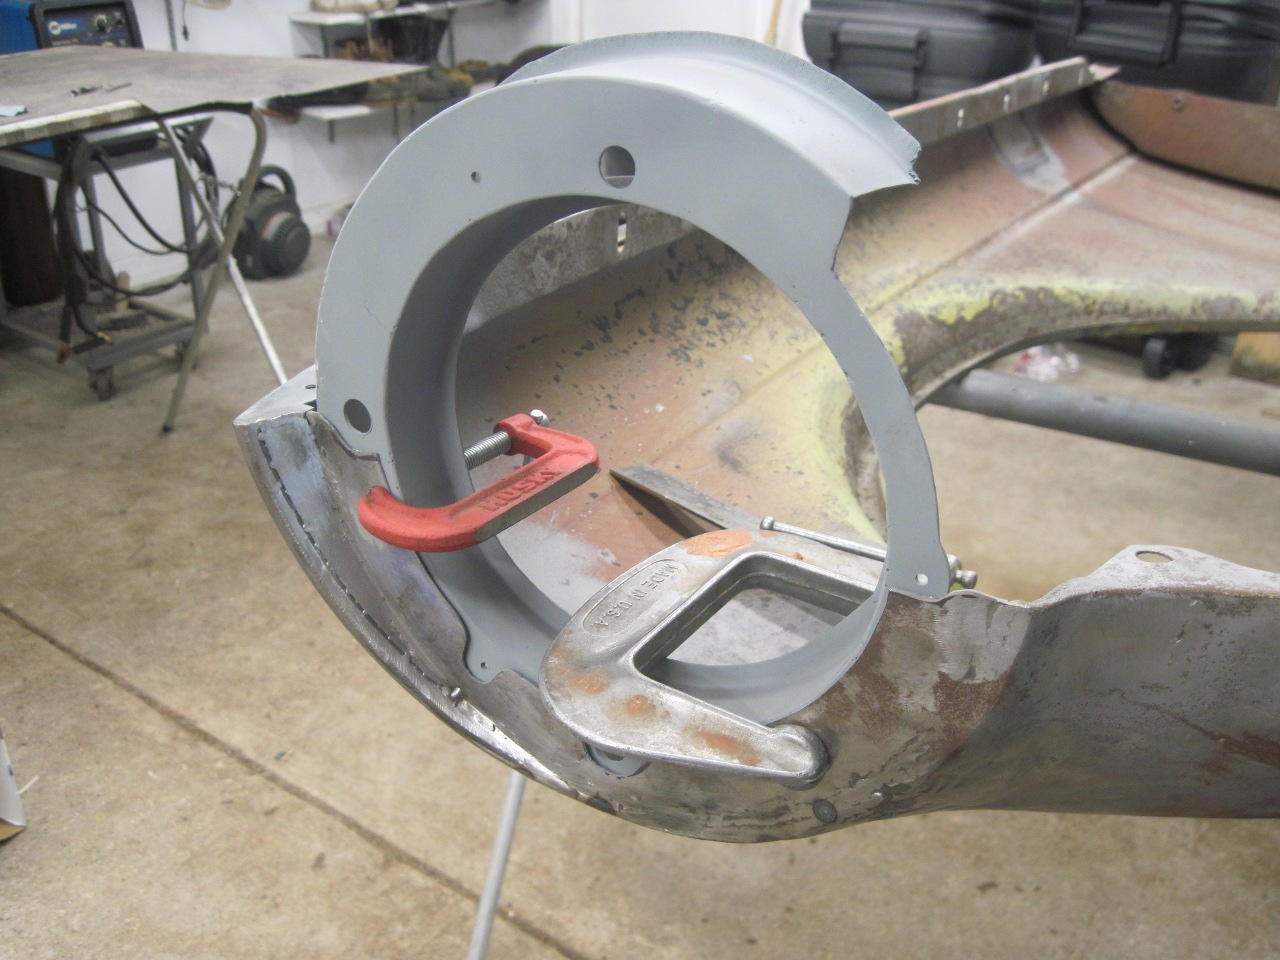
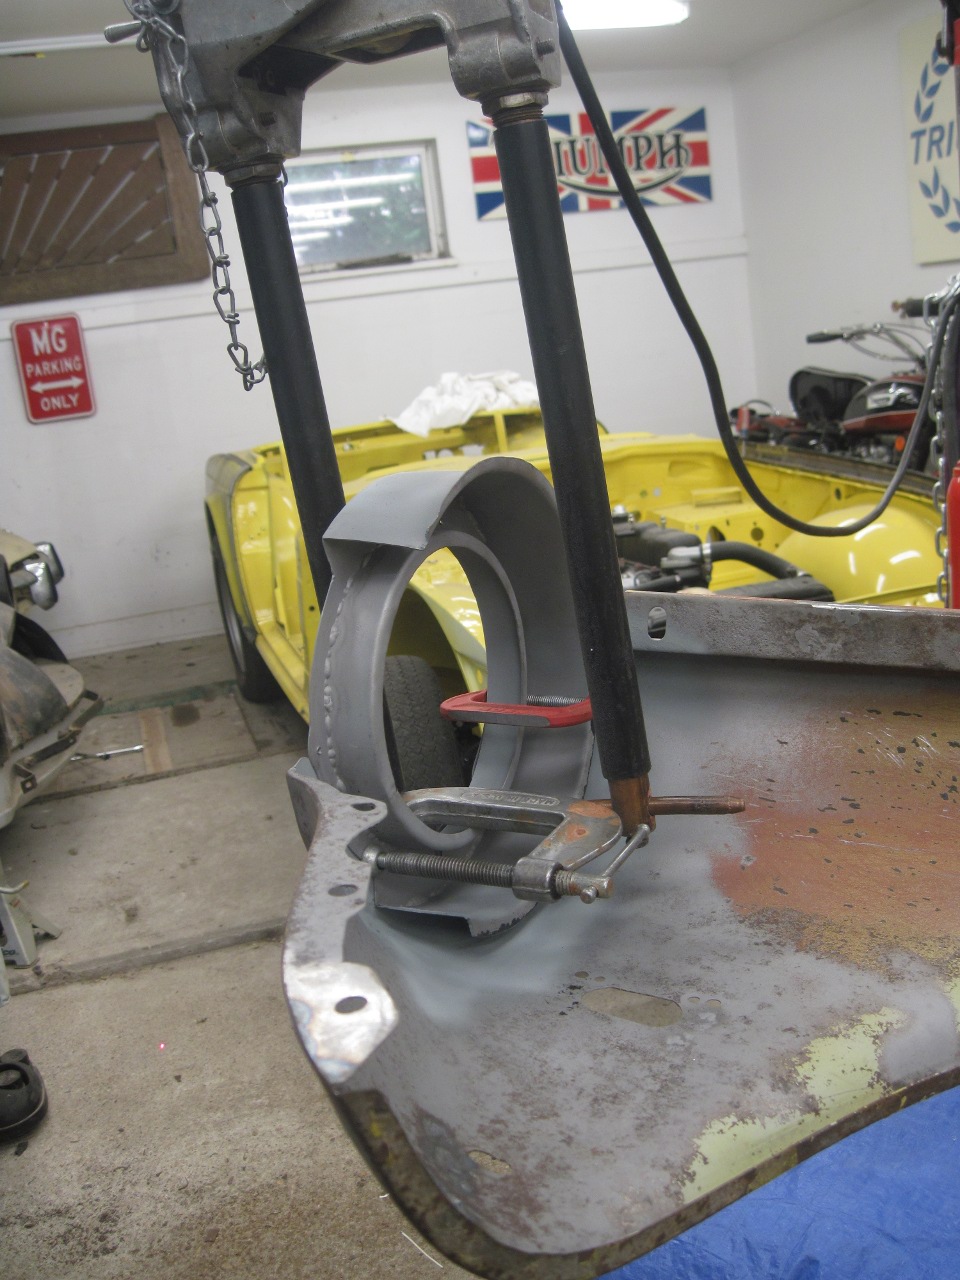

A little bracket braces the ring from the top.

There
is also a brace welded to the inboard side of the ring that attaches to
the tub. I removed the original, cleaned it up, and reused it.


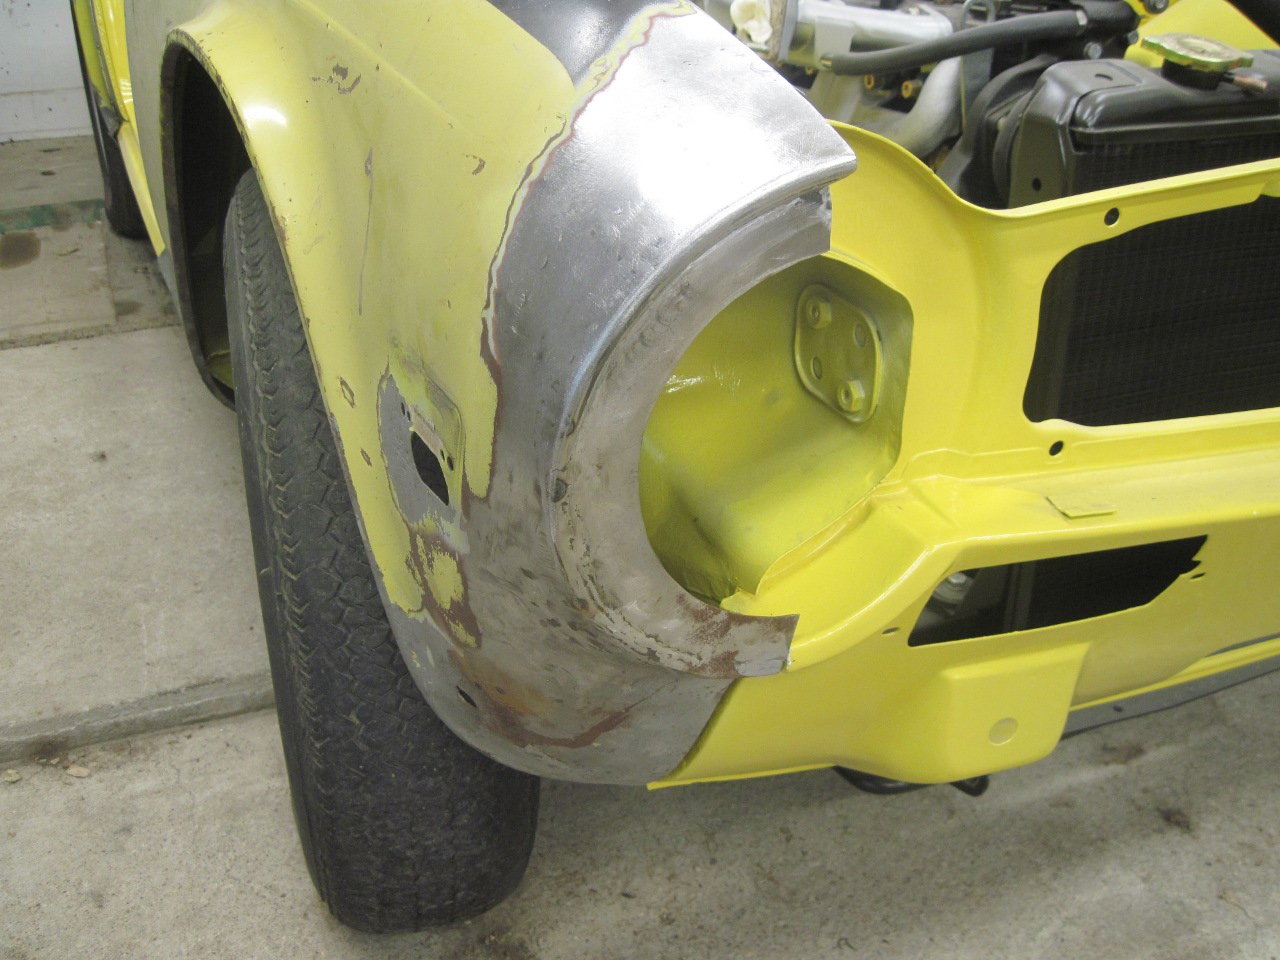
Front end is looking a lot more respectable now.
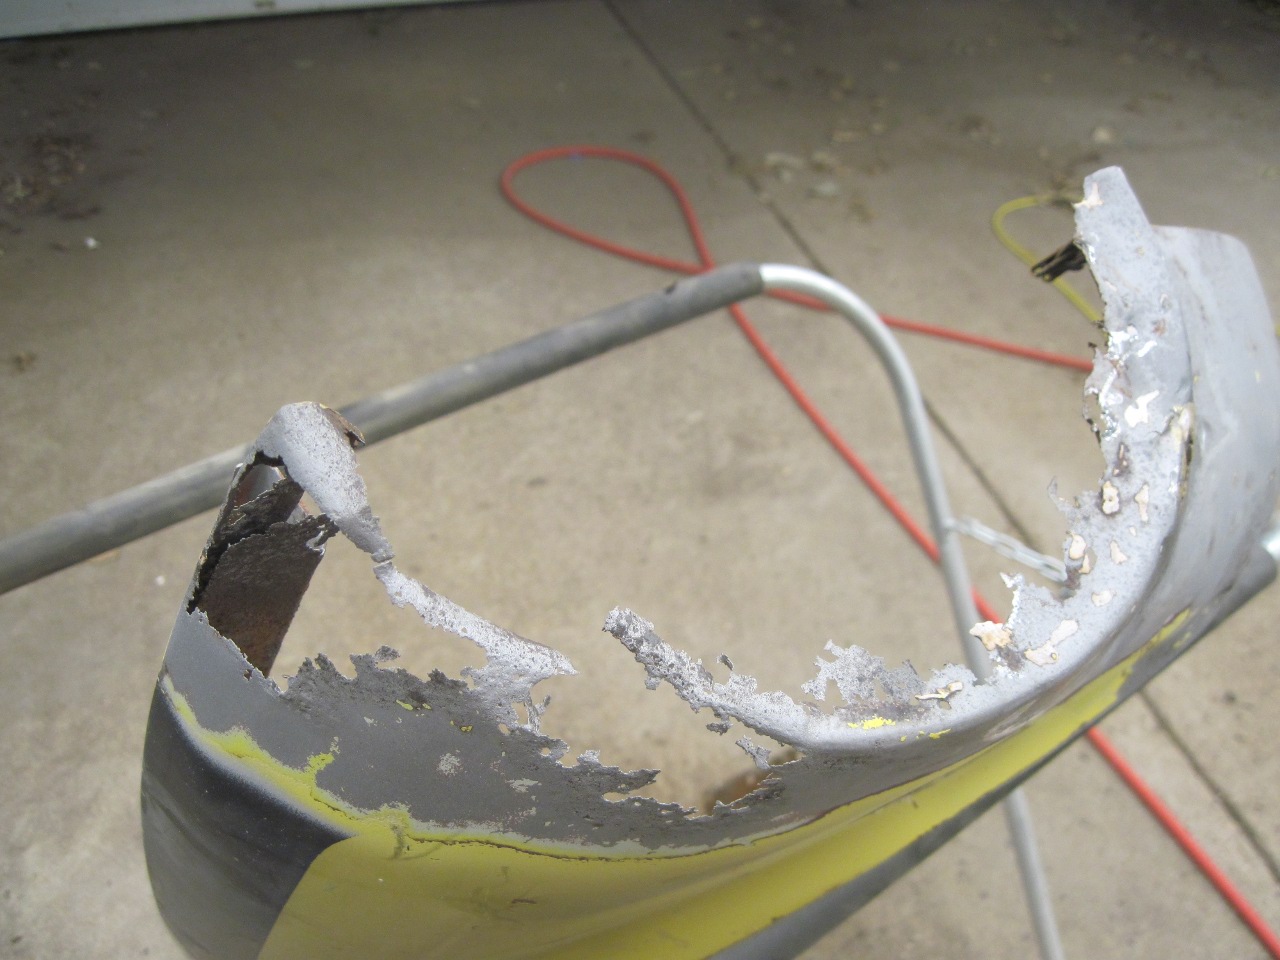
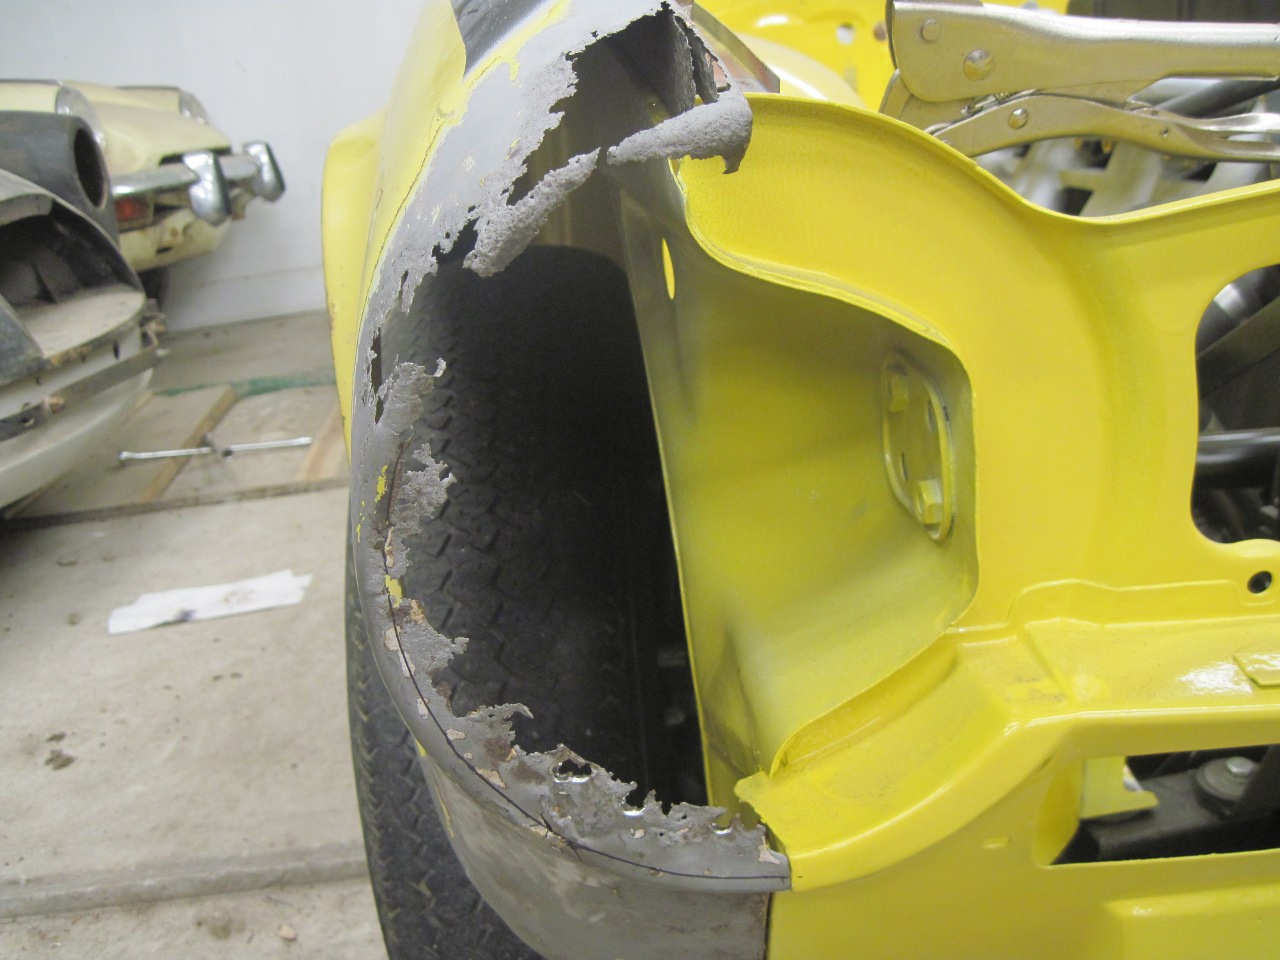
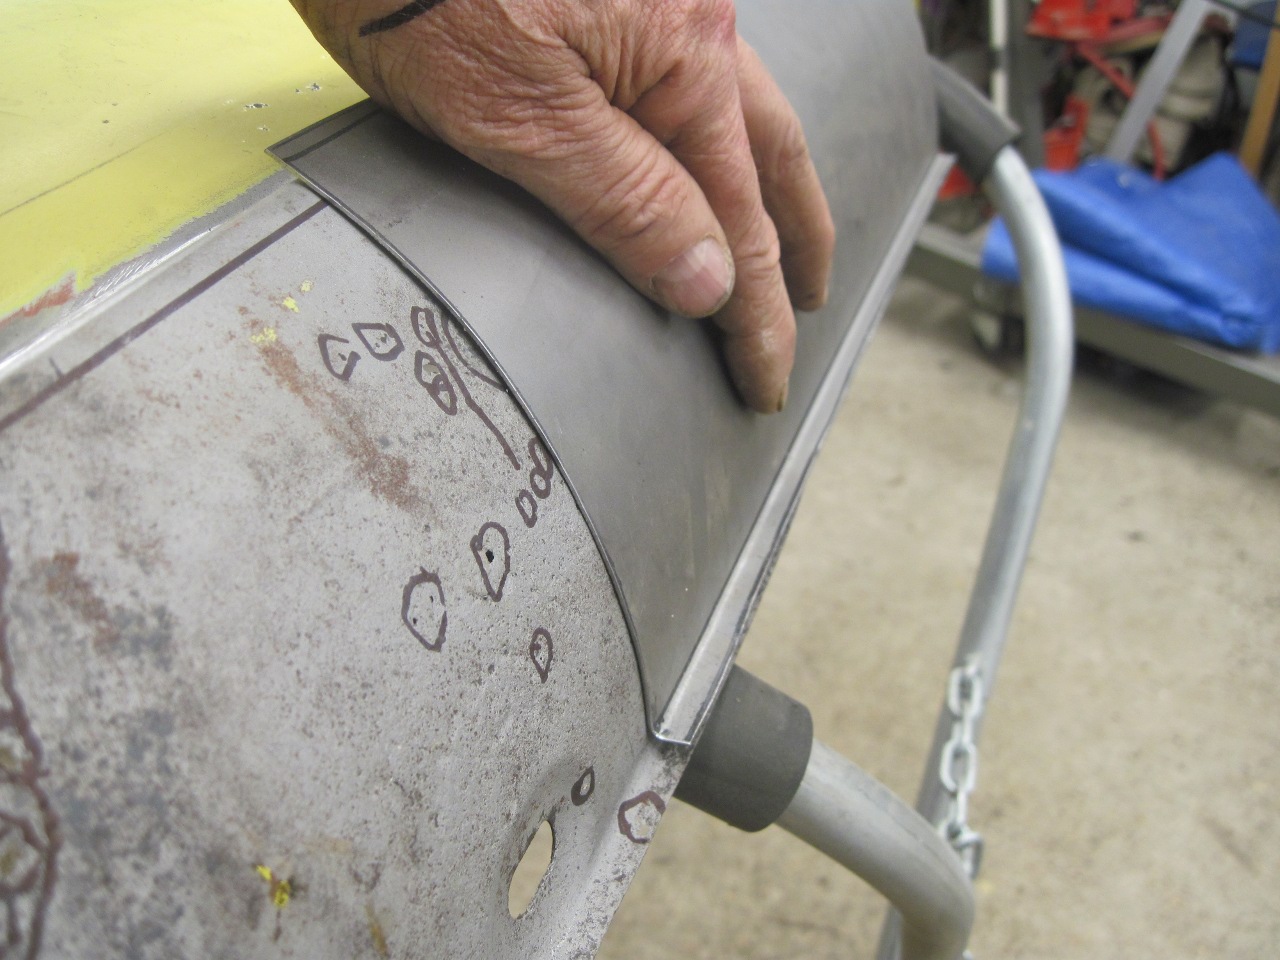
The next major area on the front wing was the lower rear area where it wraps under the sill. Mine looked like lace.
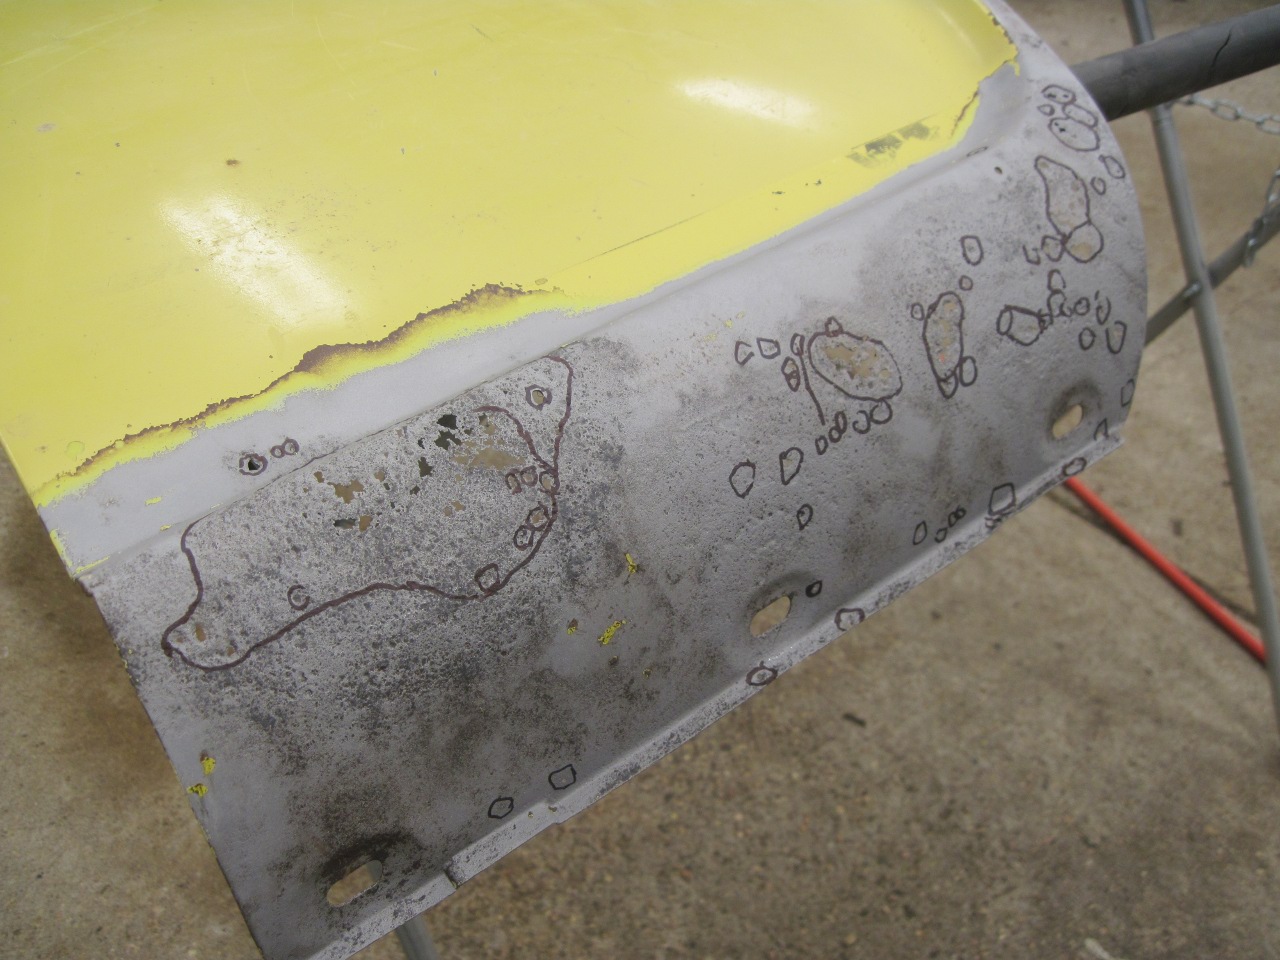
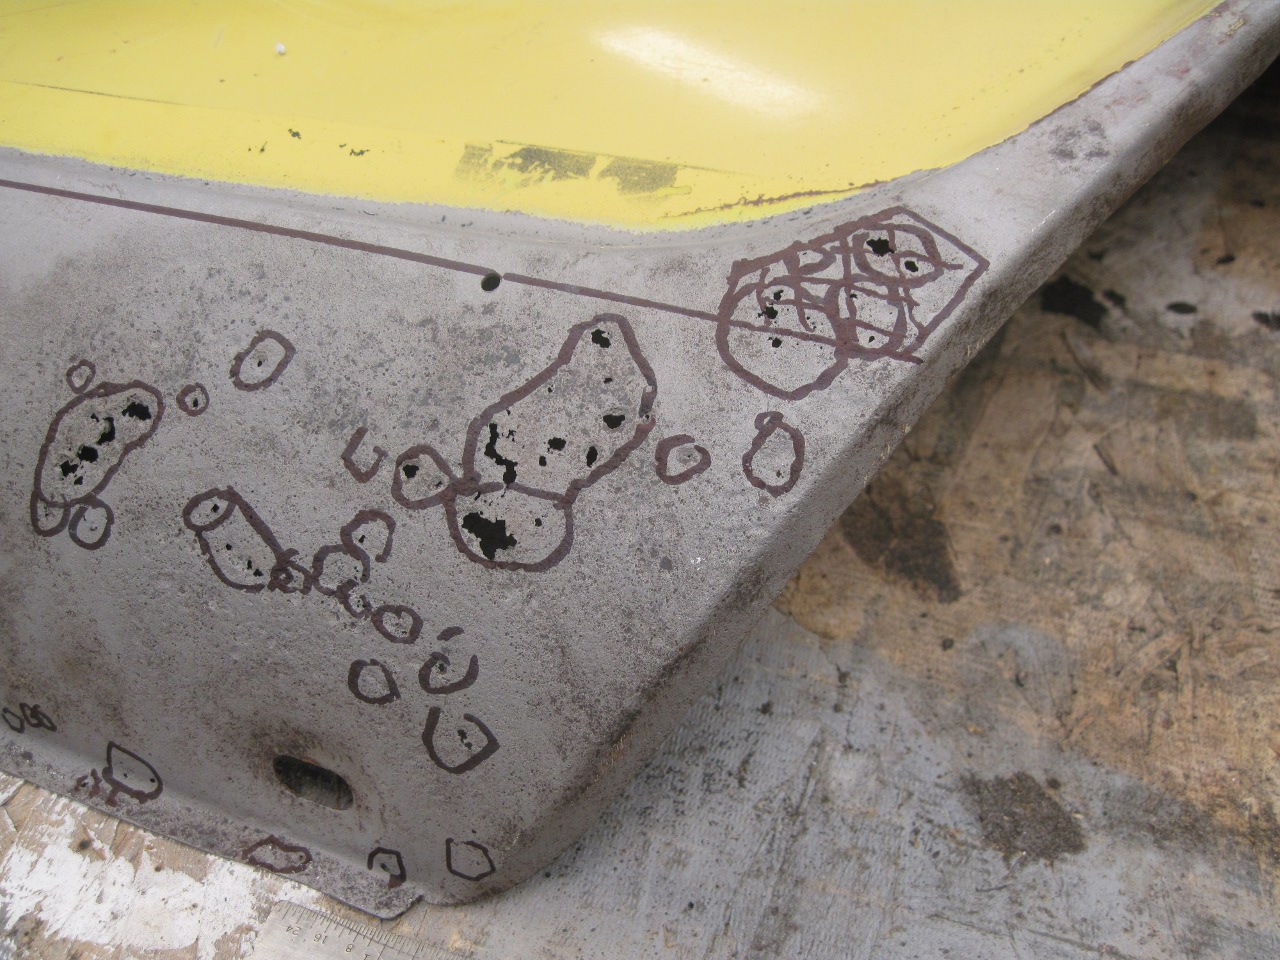
Almost
all the damage was on the curved part of the panel below the horizontal
style line. There are patch panels available for this area, but I
consider them kind of expensive. Also, I liked the idea of trying
my hand at making one from scratch. I decided to make a panel
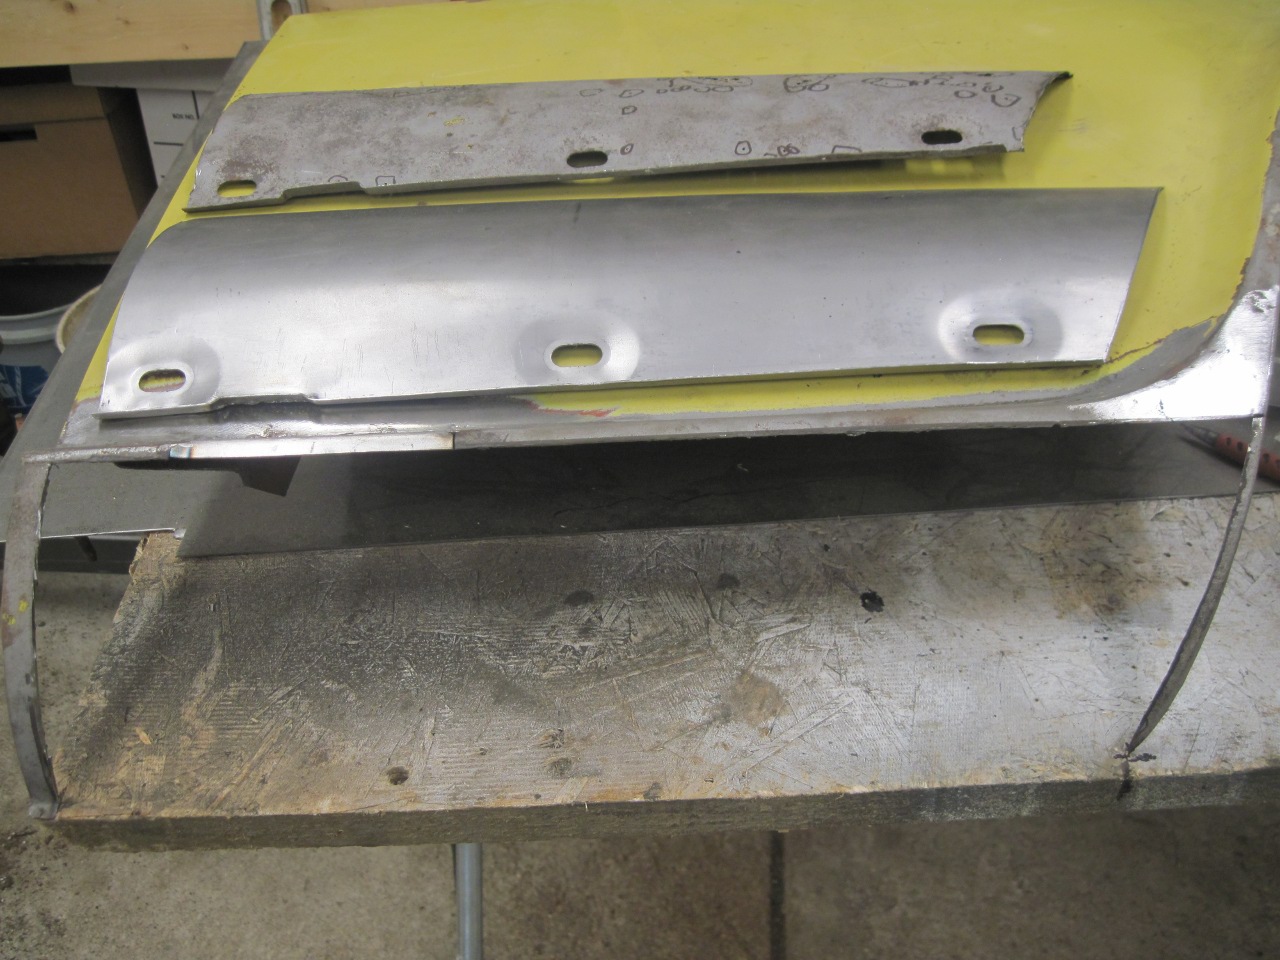
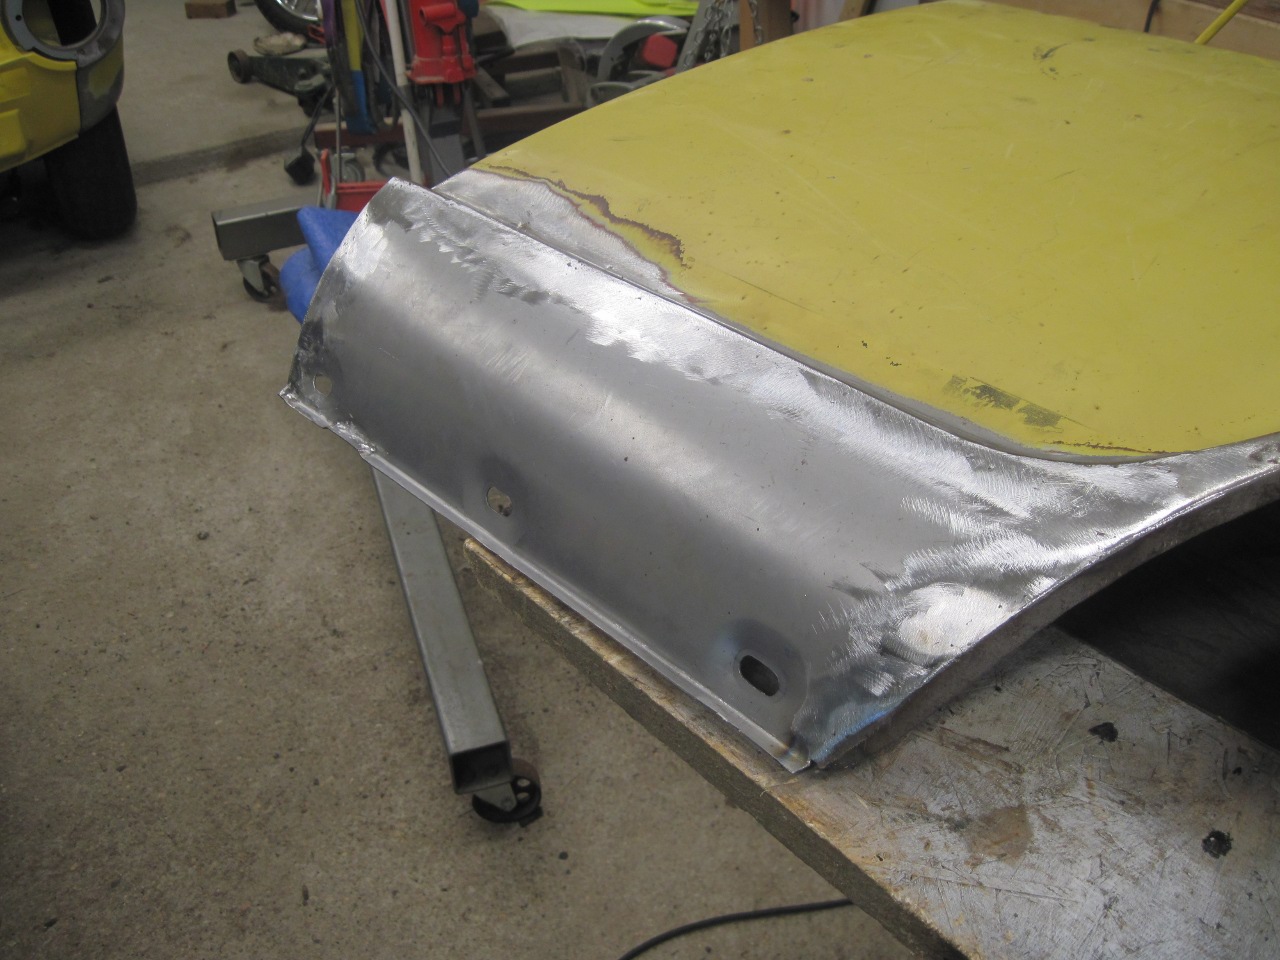
that would fit just below the style line.
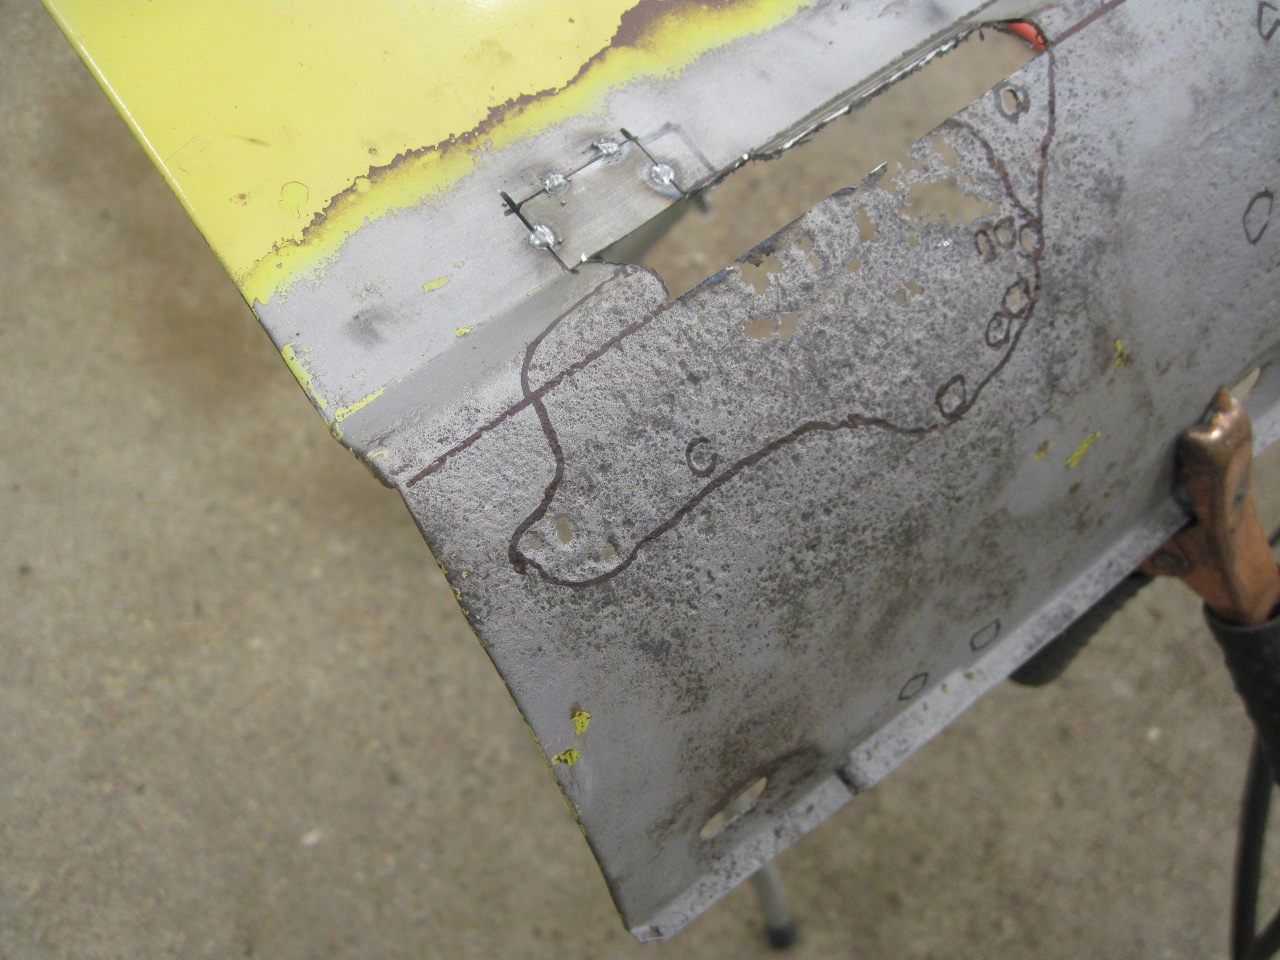
First, there were a few areas above the line that had to be fixed.


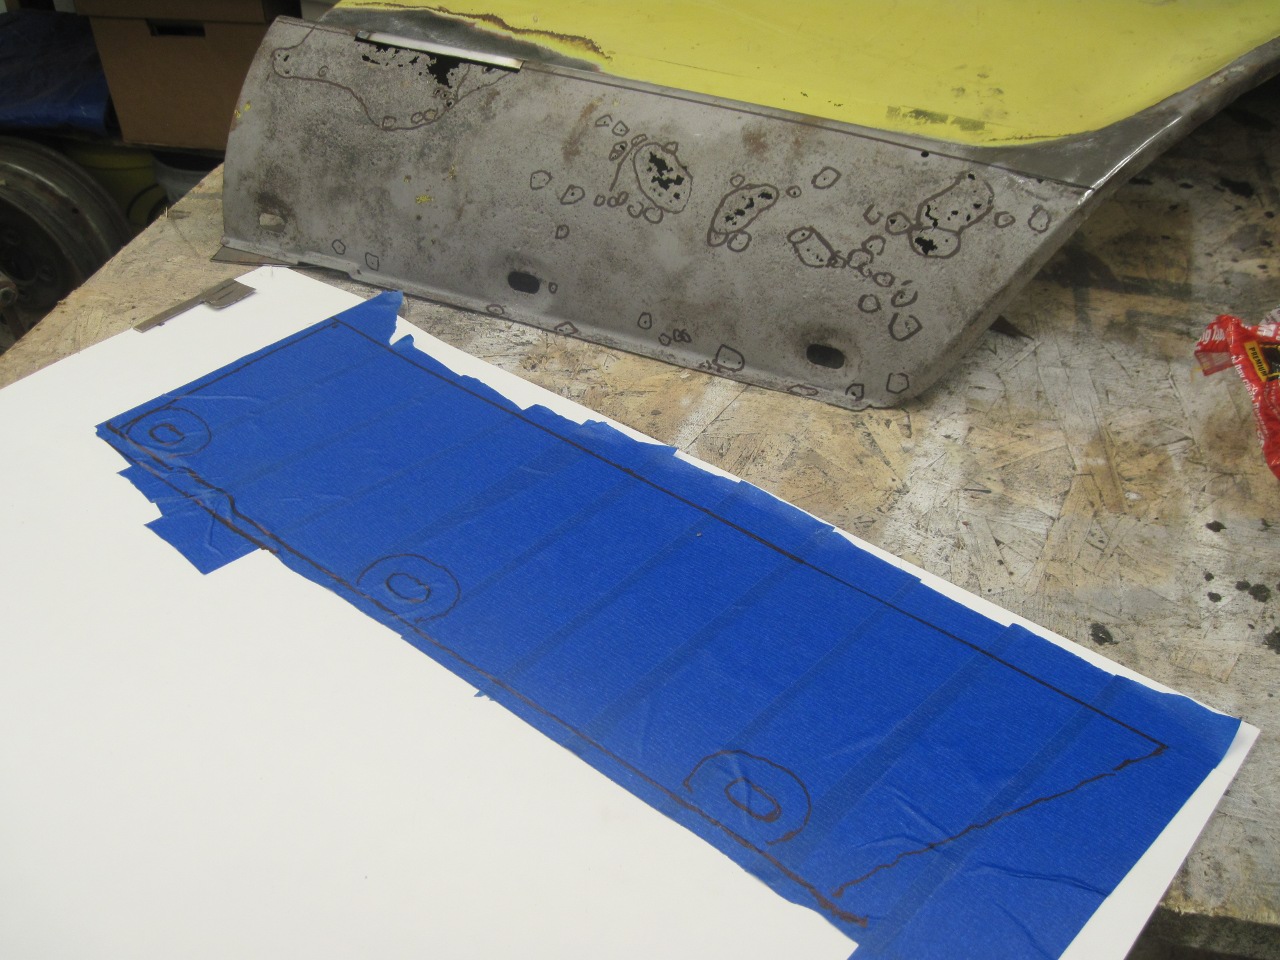
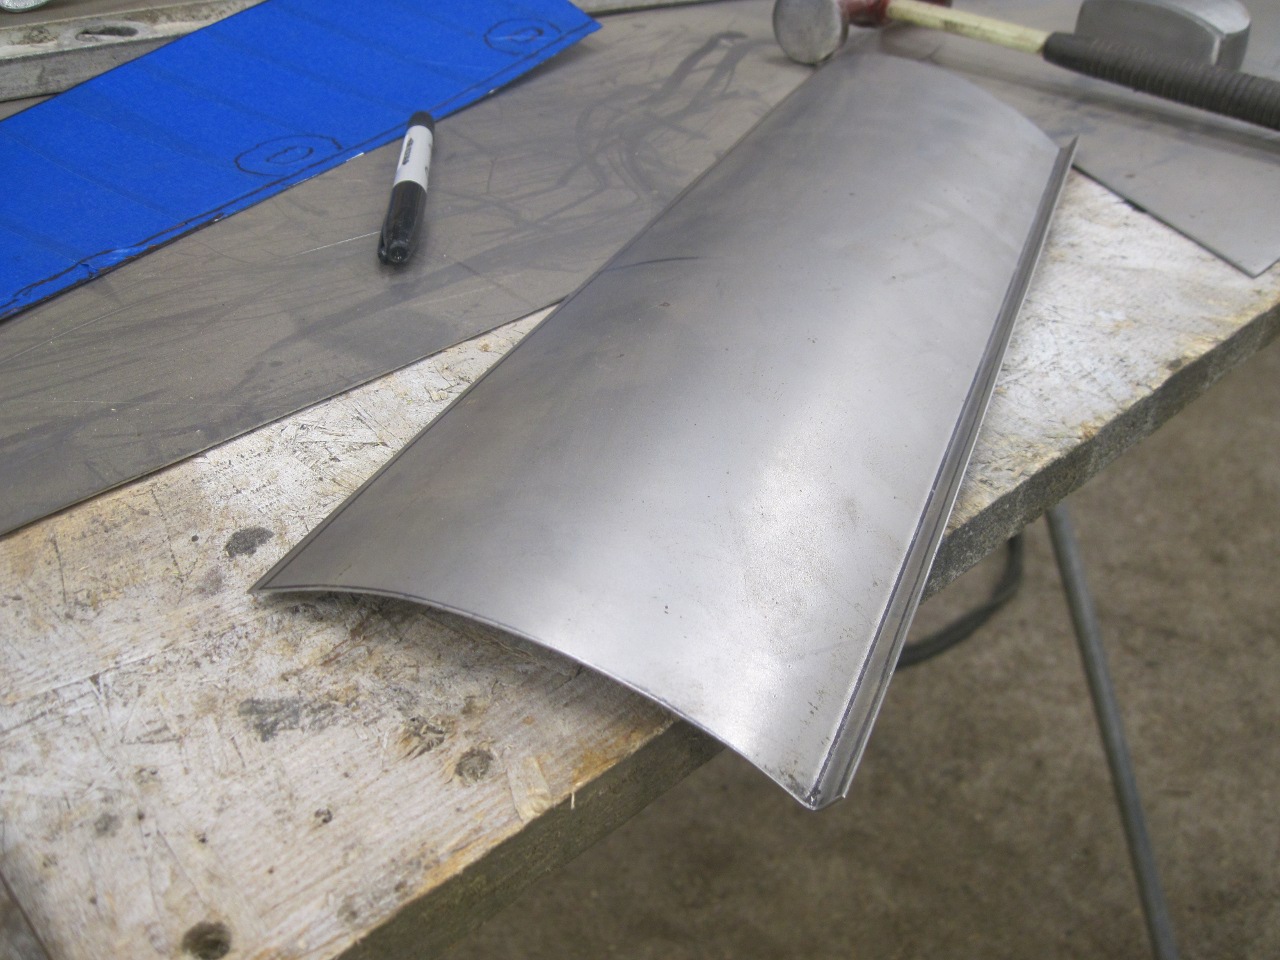
Then I made a pattern from masking tape, and cut a piece of metal.

Bent the lower lip, and formed the curve by hand.
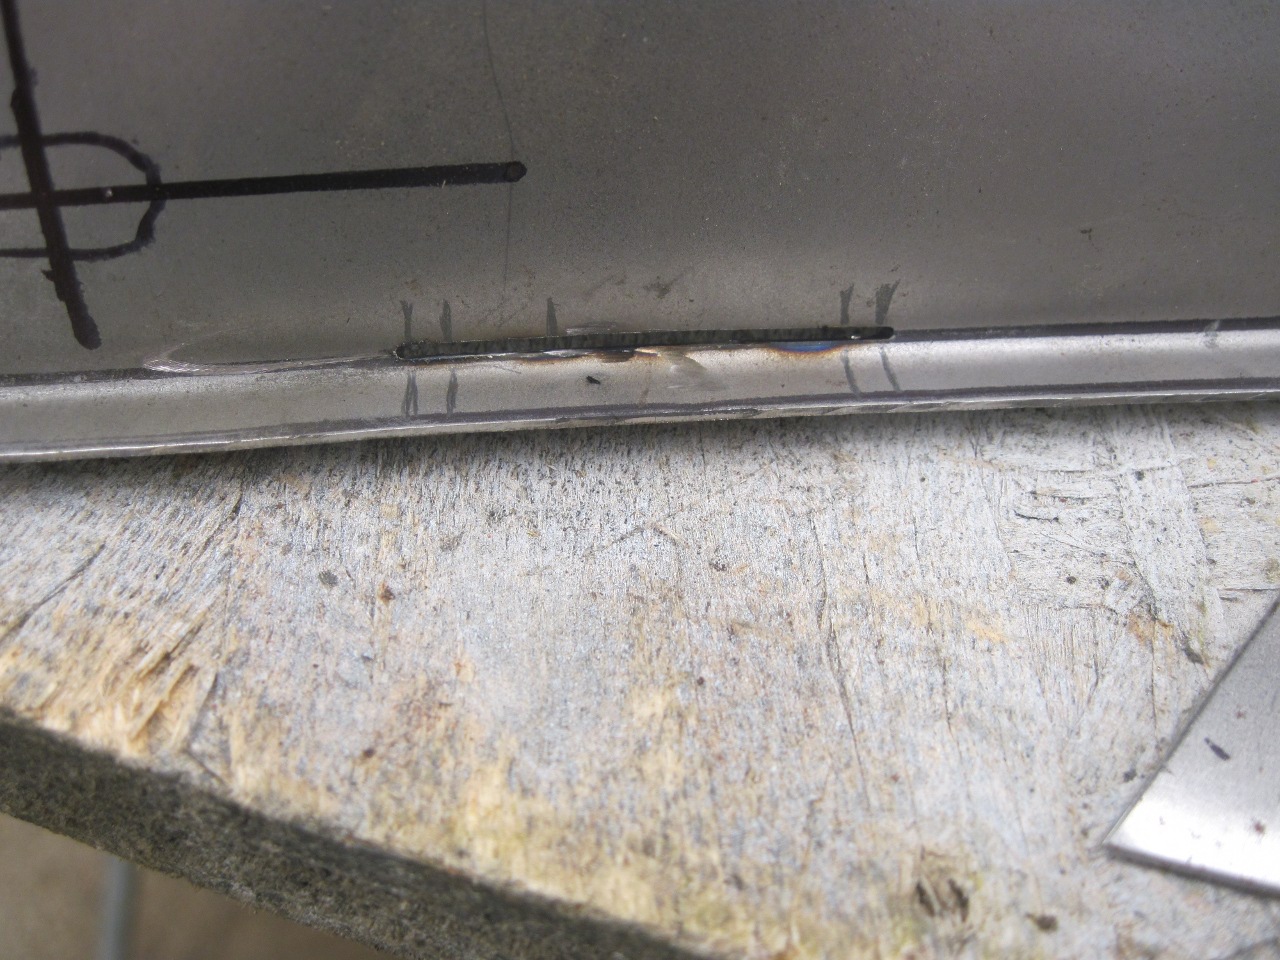
There
is this little feature on the bottom flange--a drain, I'm guessing, for
all the water dumped behind the fender from the cowl and bonnet gutter.
To form this, I cut a slit in the right place, stretched the lip to the right shape, and welded it up from the inside.


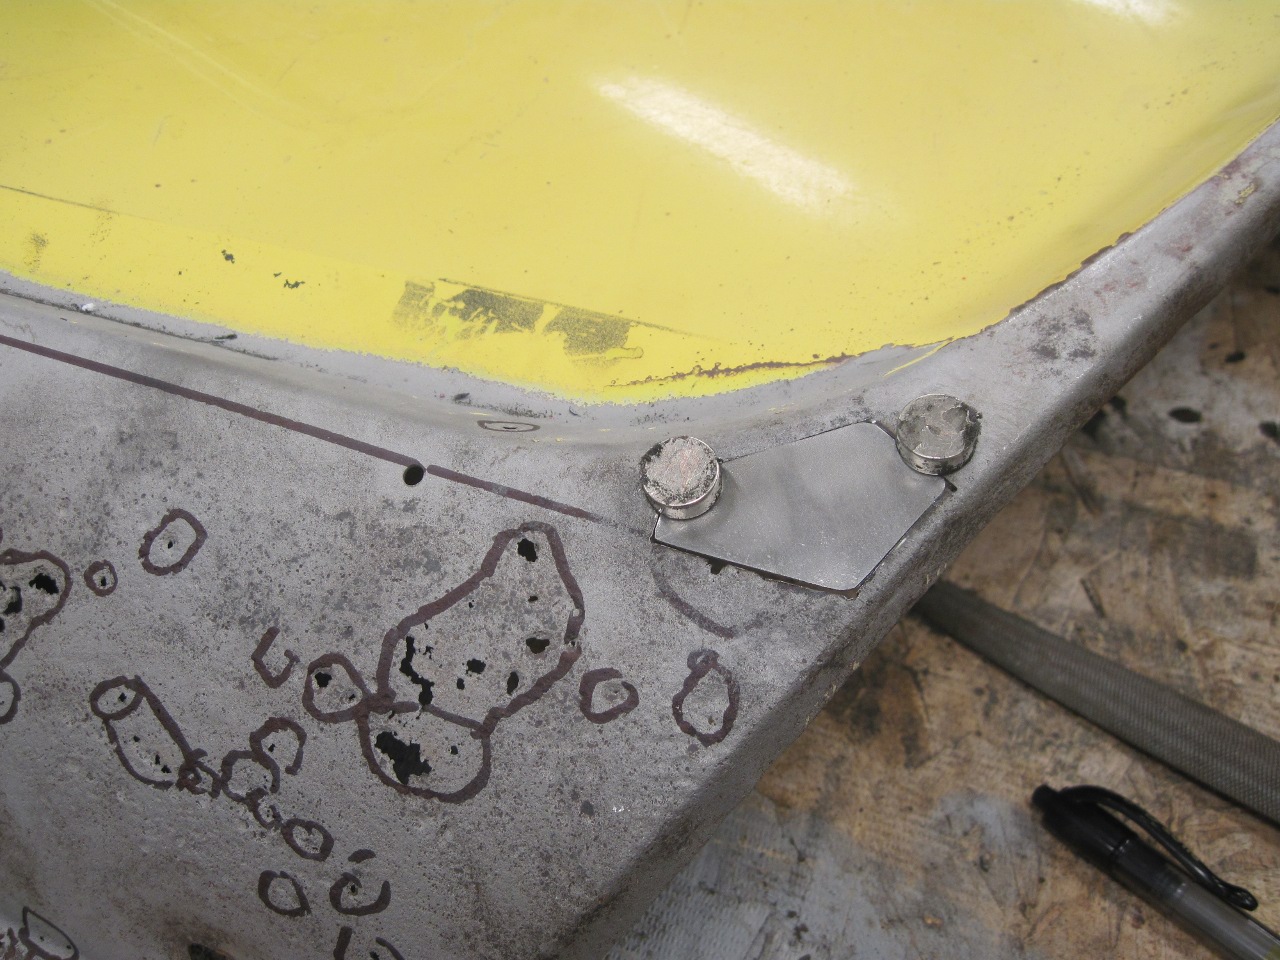
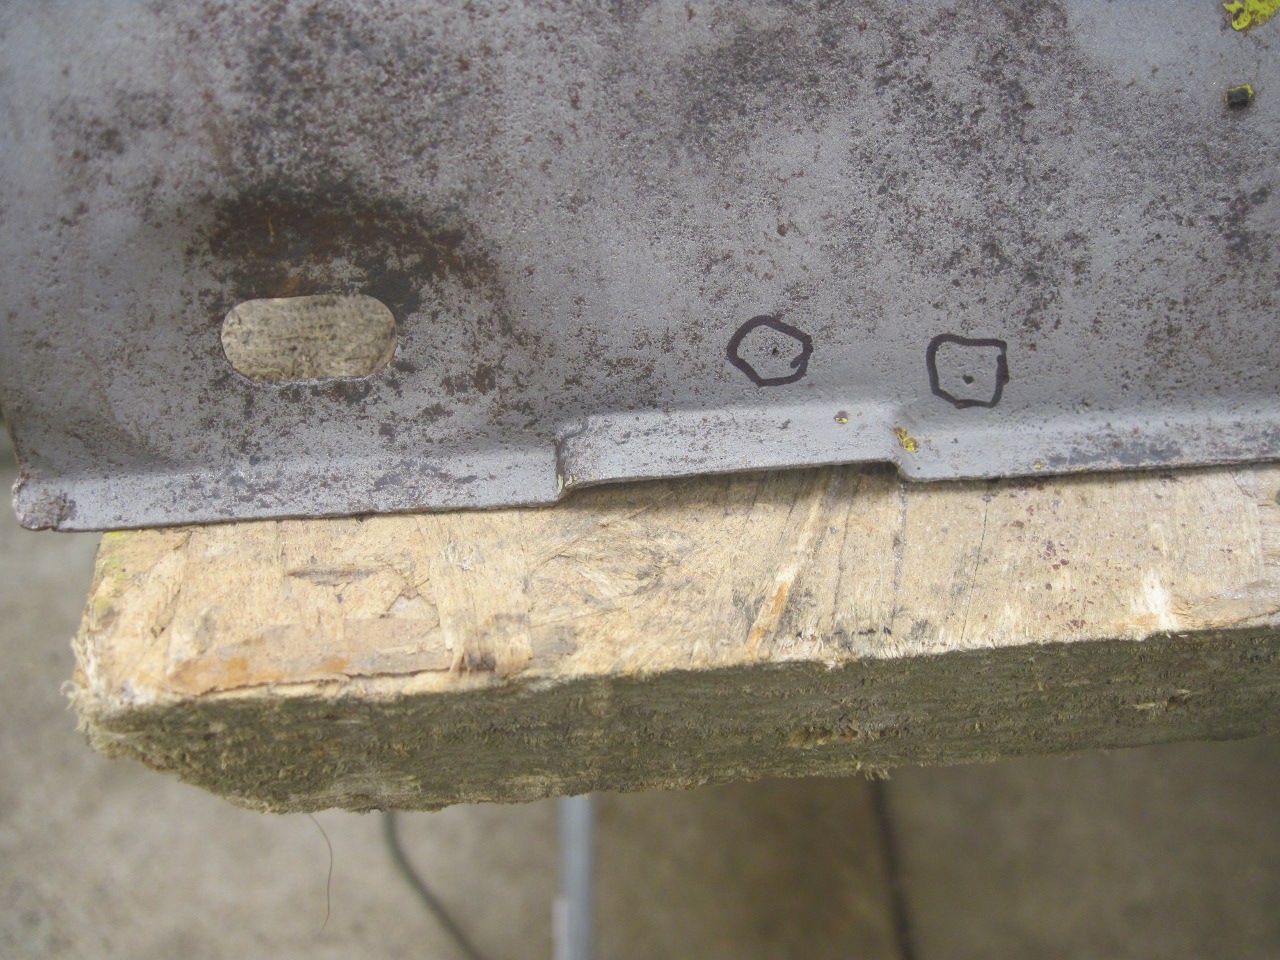
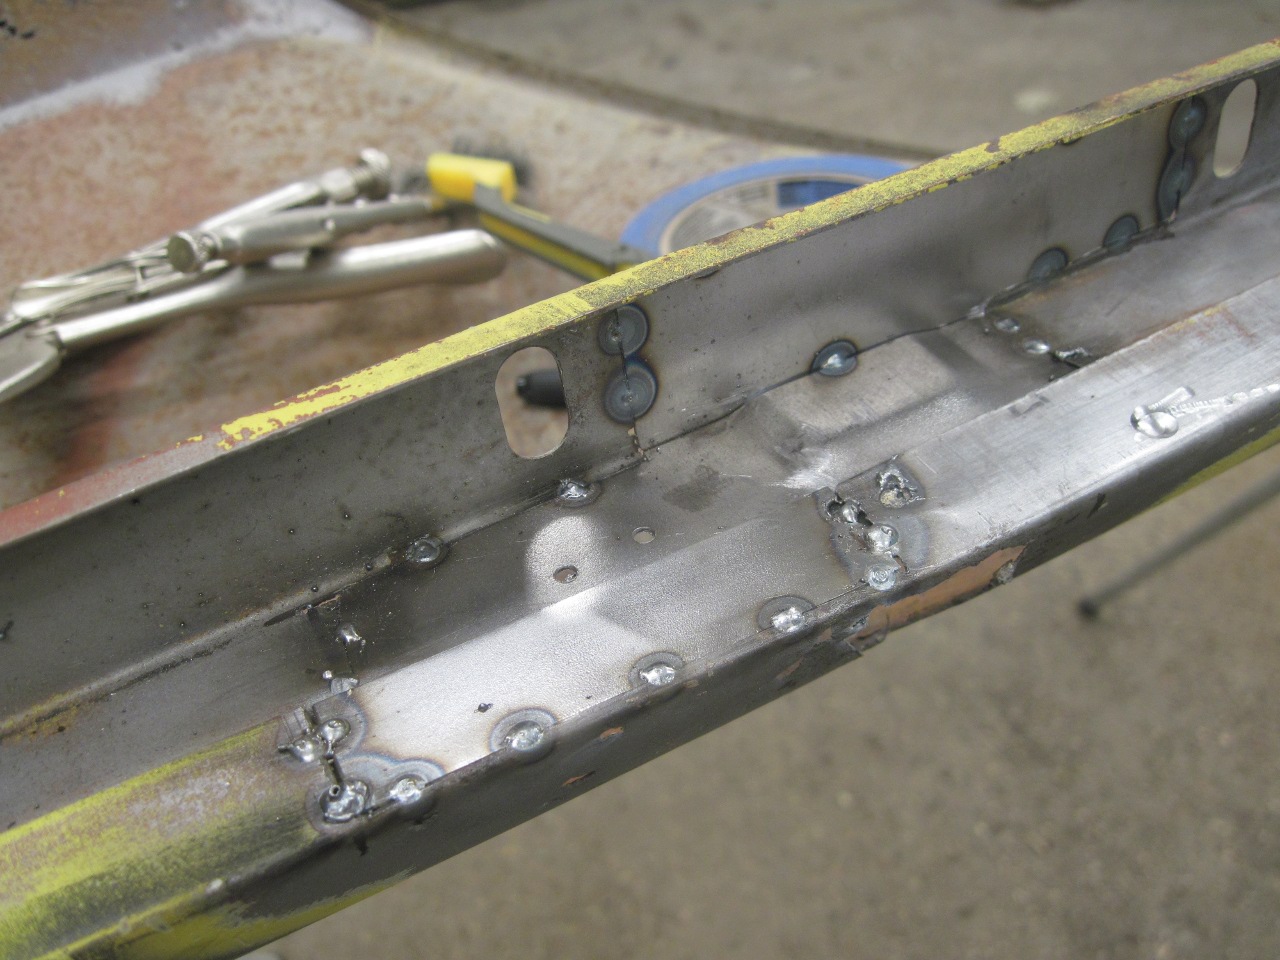
The
depressions for the fasteners along the lower edge of the wing were
formed by this little dedicated tool fashioned from a cheap pair of
vicegrips.


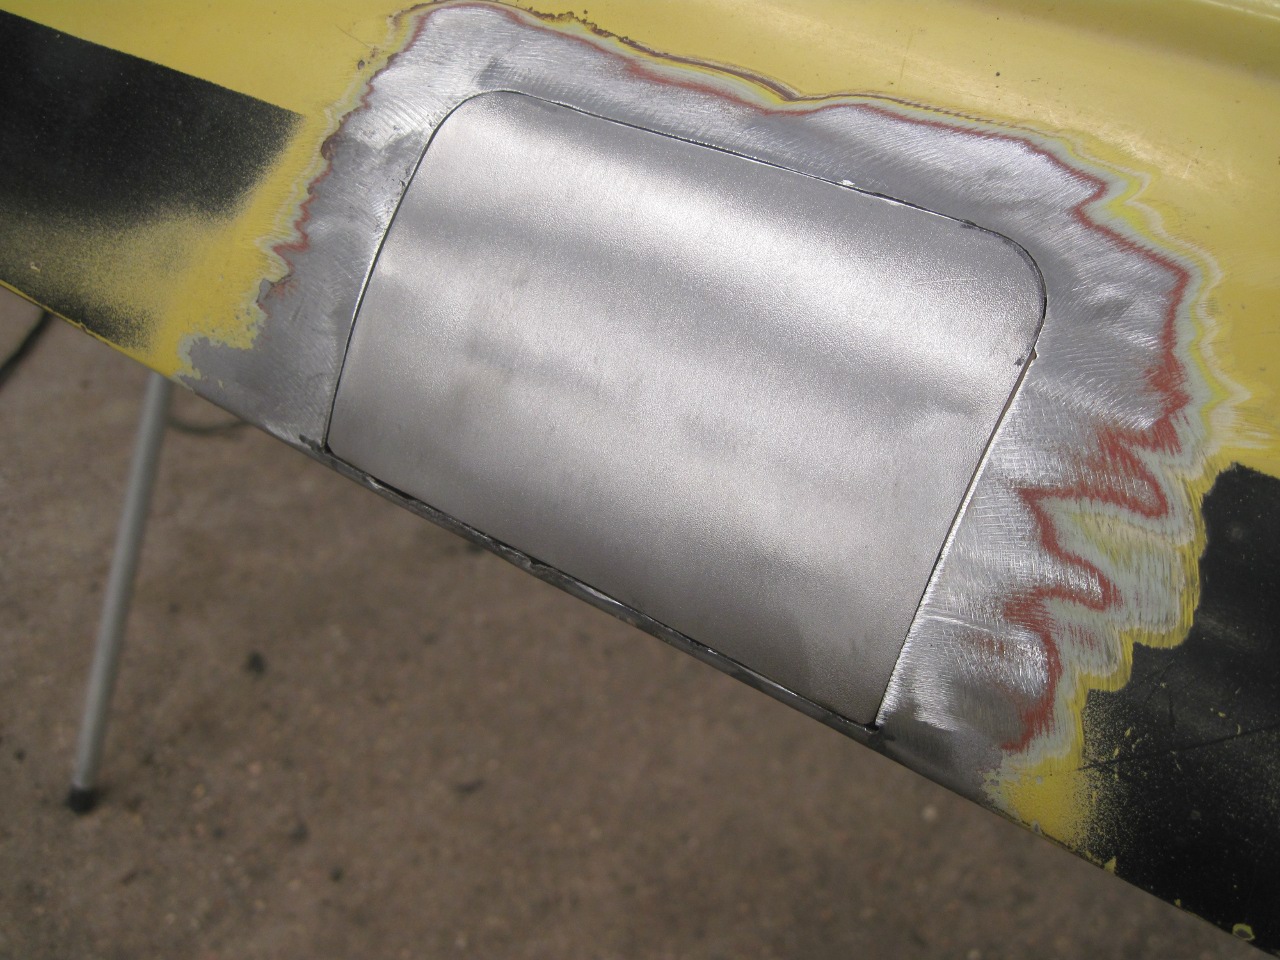
I cut out the old damaged section and then fitted and tacked in the new one.
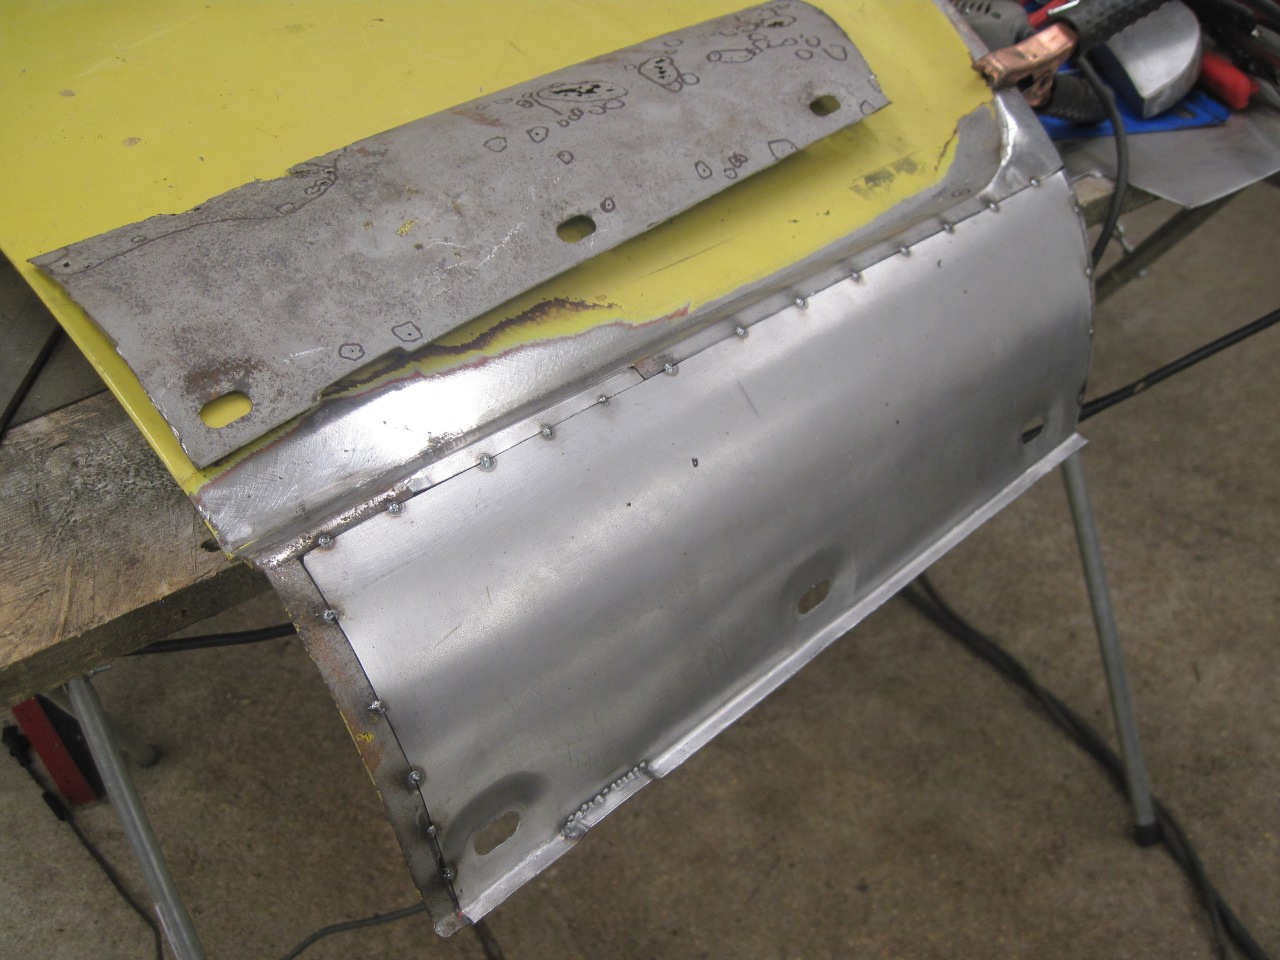
Welded and dressed. It will still take a small amount of filler along the weld lines.
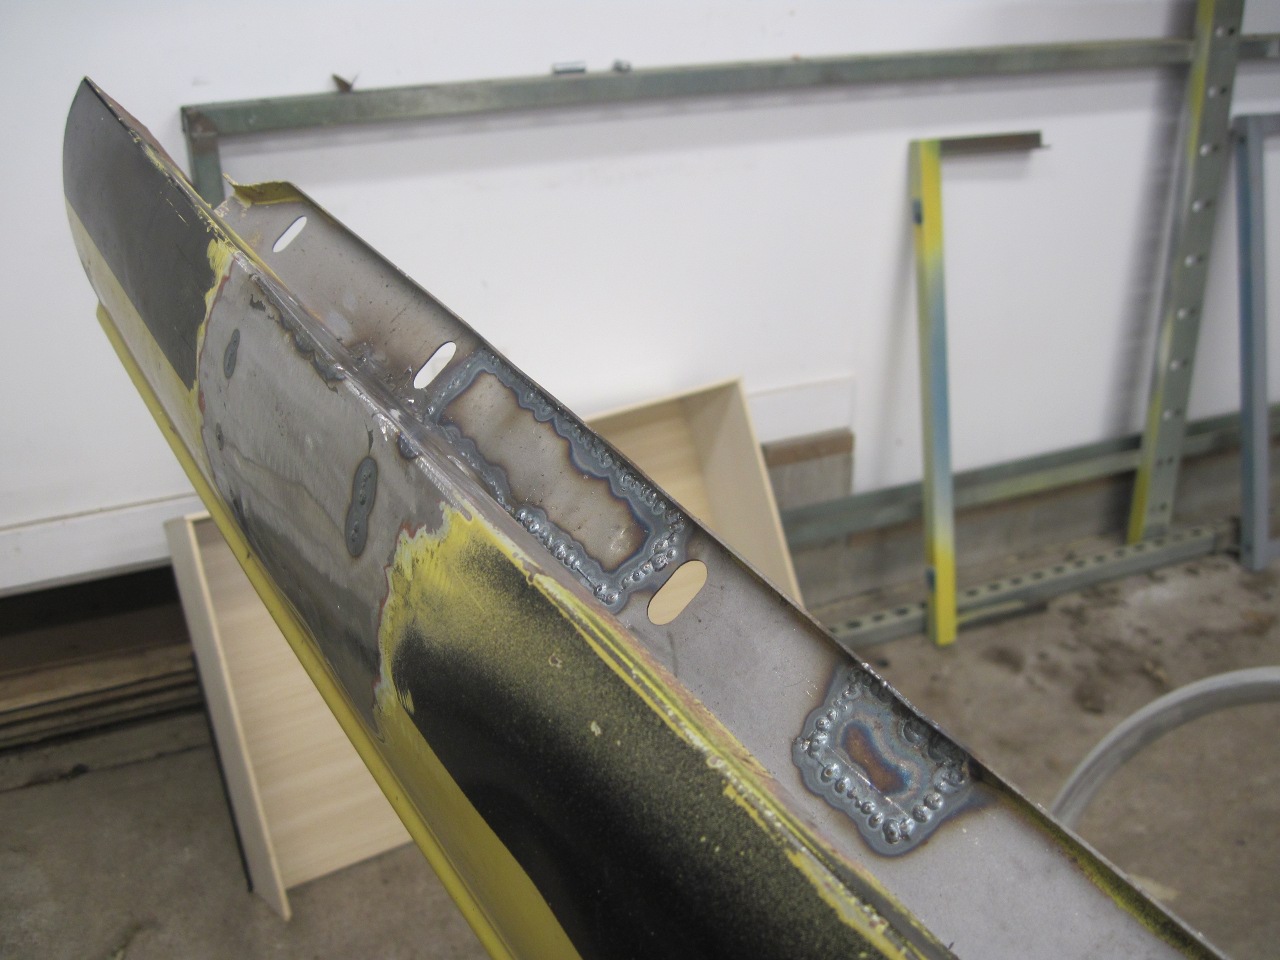
Attention
was also needed in some other areas of the wing. The mounting
flange had a few rusted through areas, and there was a hole near the
top of the wheel well splash plate.
Rust
repair on these rear wings was an interesting challenge for me.
In exchange for the considerable time it took, I got a little
better at it. Cash cost was next to nothing.
Comments to Ed at: elhollin1@yahoo.com
To my other TR6 pages