To my other TR6 pages
June 20, 2016
Rear Wing Rust Repair
[Click the pics for a larger view]
With
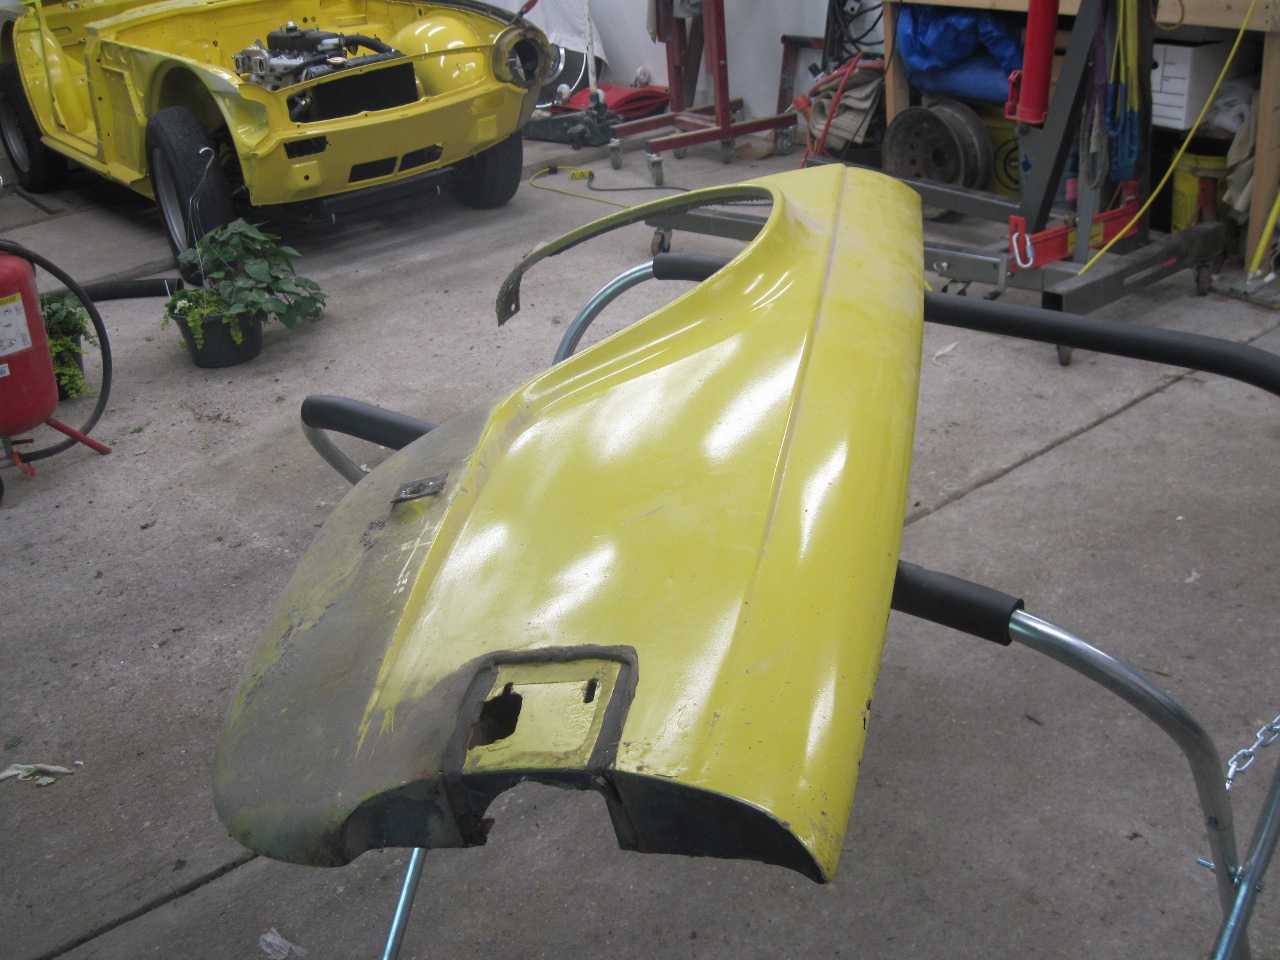
the tub provisionally mounted on the frame, I turned to the outer skin
panels of the car. First up were the rear wings (fenders).
Most of the pictures that follow will be of the left wing, but
operations on the right one were very similar since the pattern of rust
damage was almost identical.
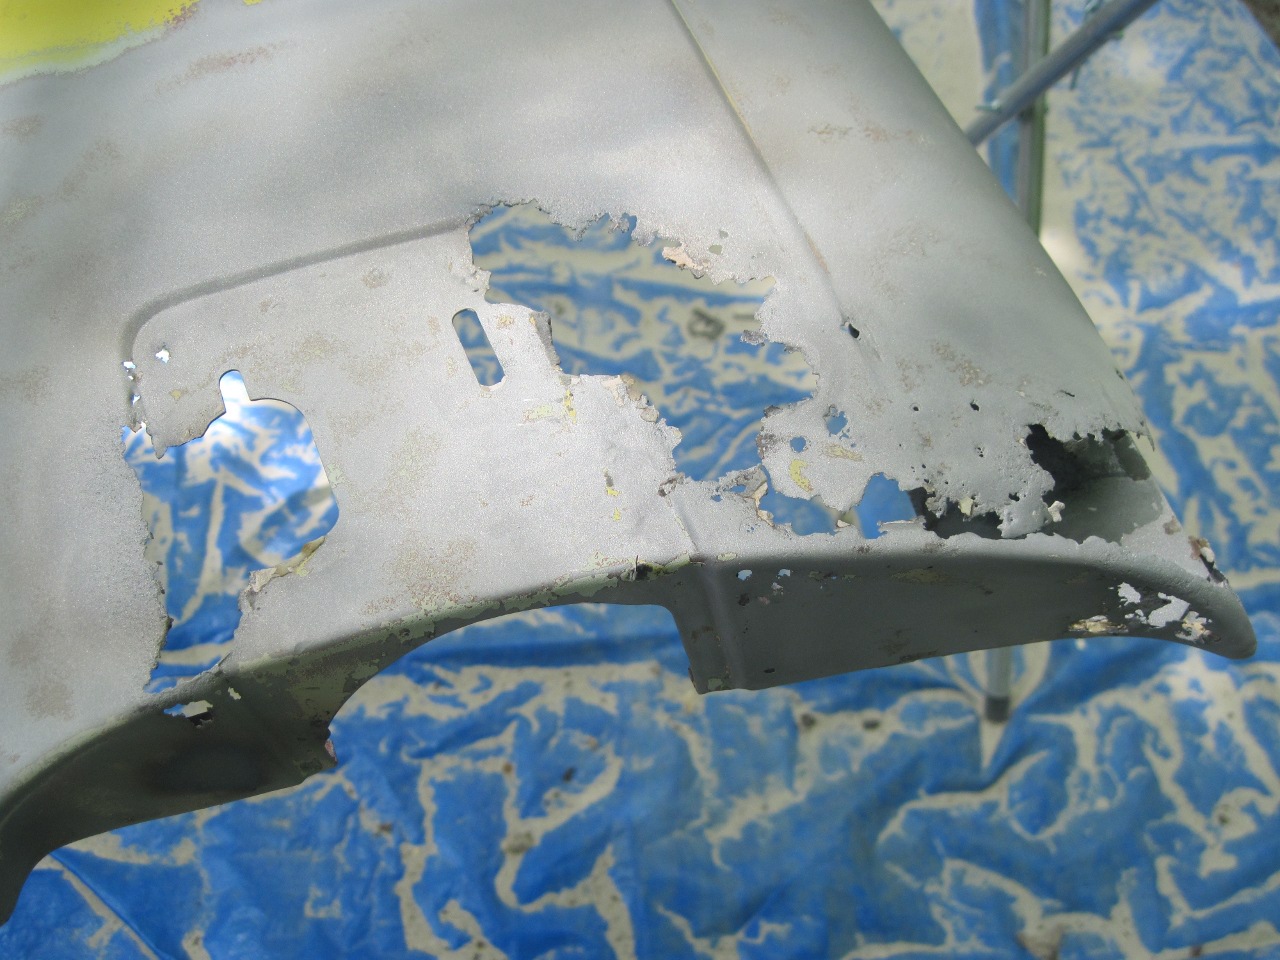
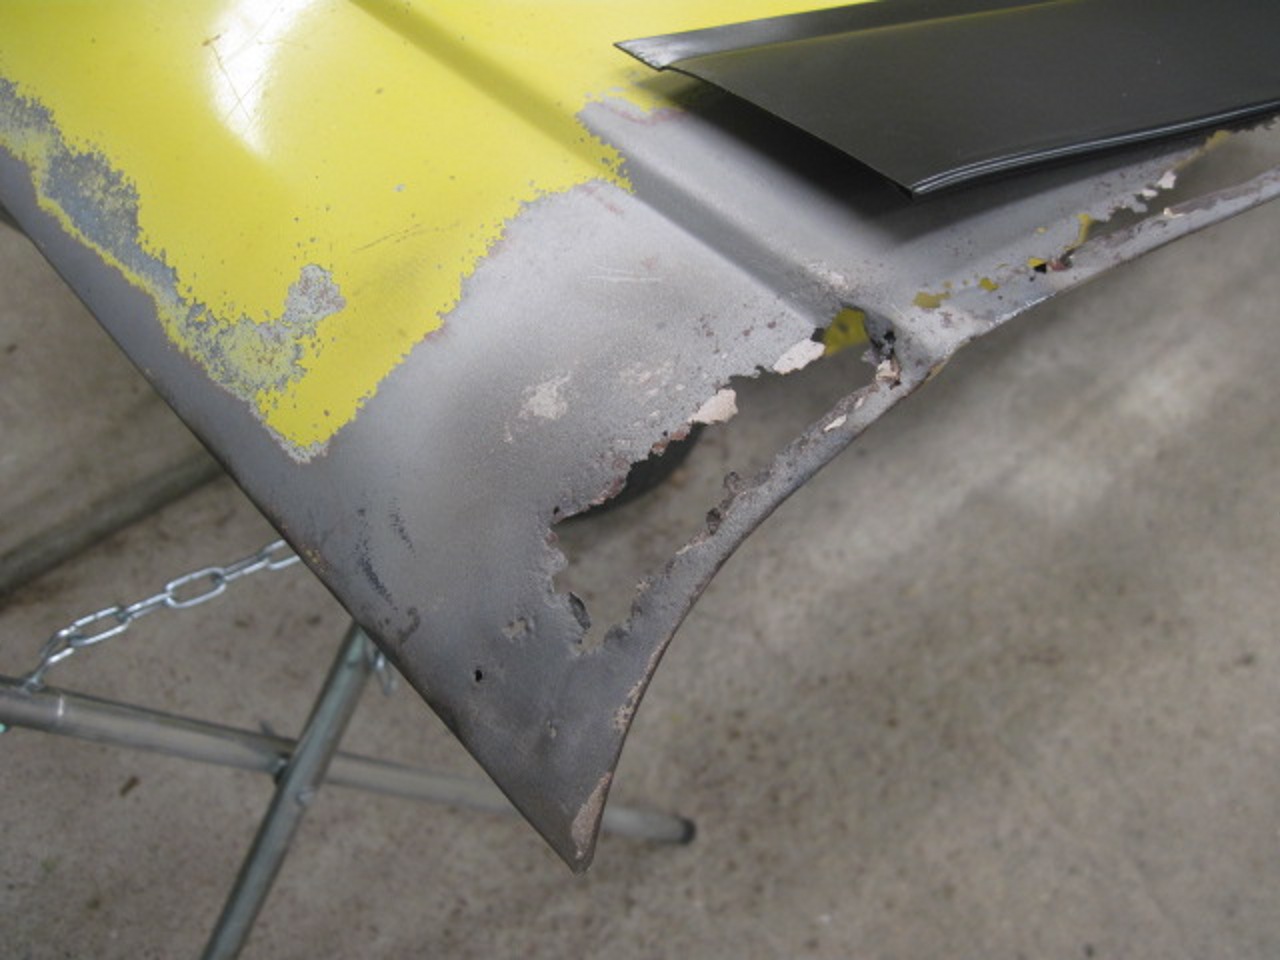
At first look, the wing looks pretty solid, but I had some personal knowledge of its history.

Even after removing all of the undercoating, the metal still looked mostly OK.

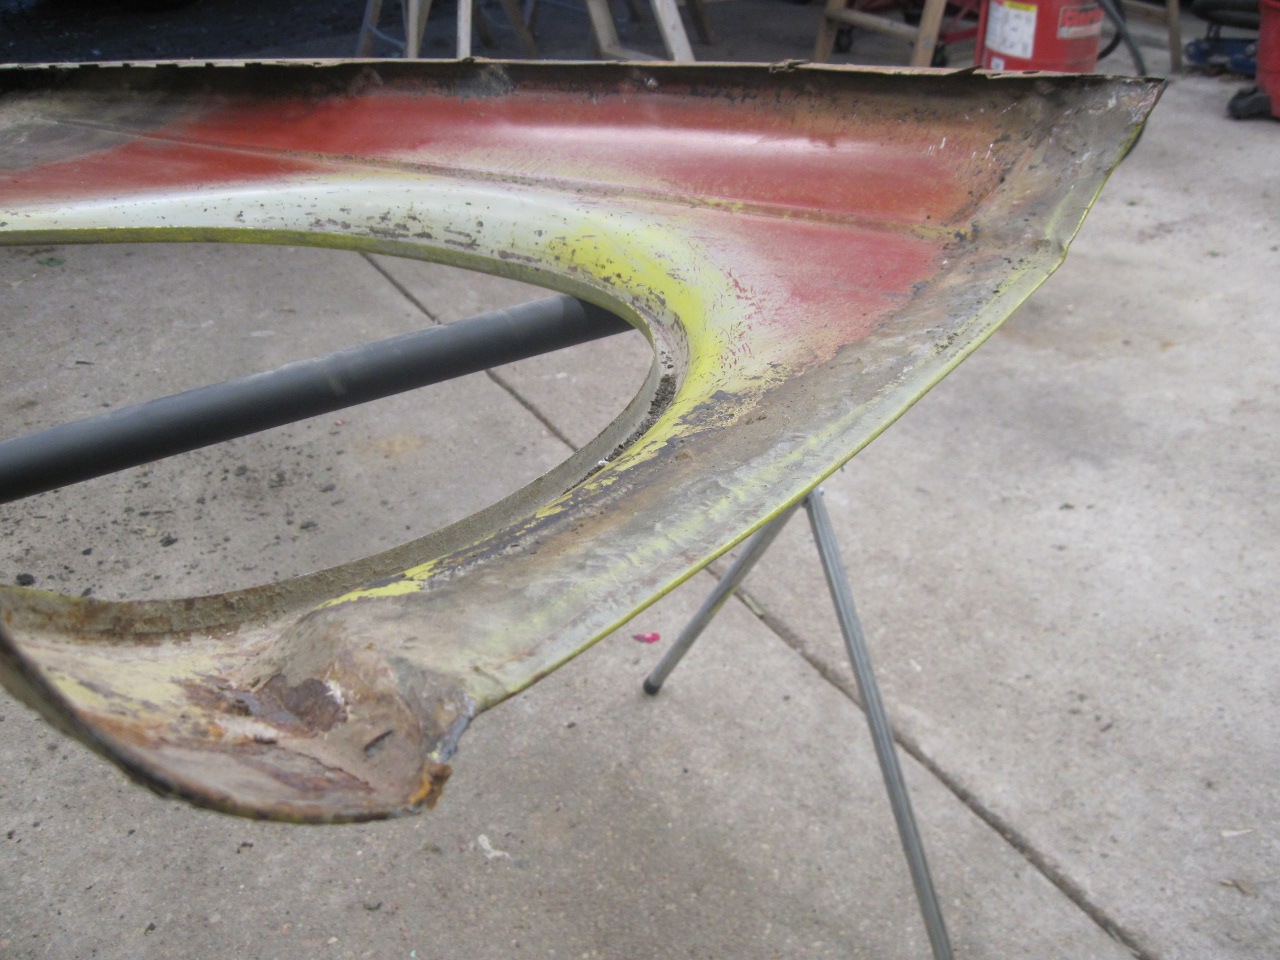
Looking
closer, though, I could tell there was some heartache ahead. The
leading edge of the wing was coated with fiberglass on the inside, and
the box that surrounds the tail light assembly didn't look right.
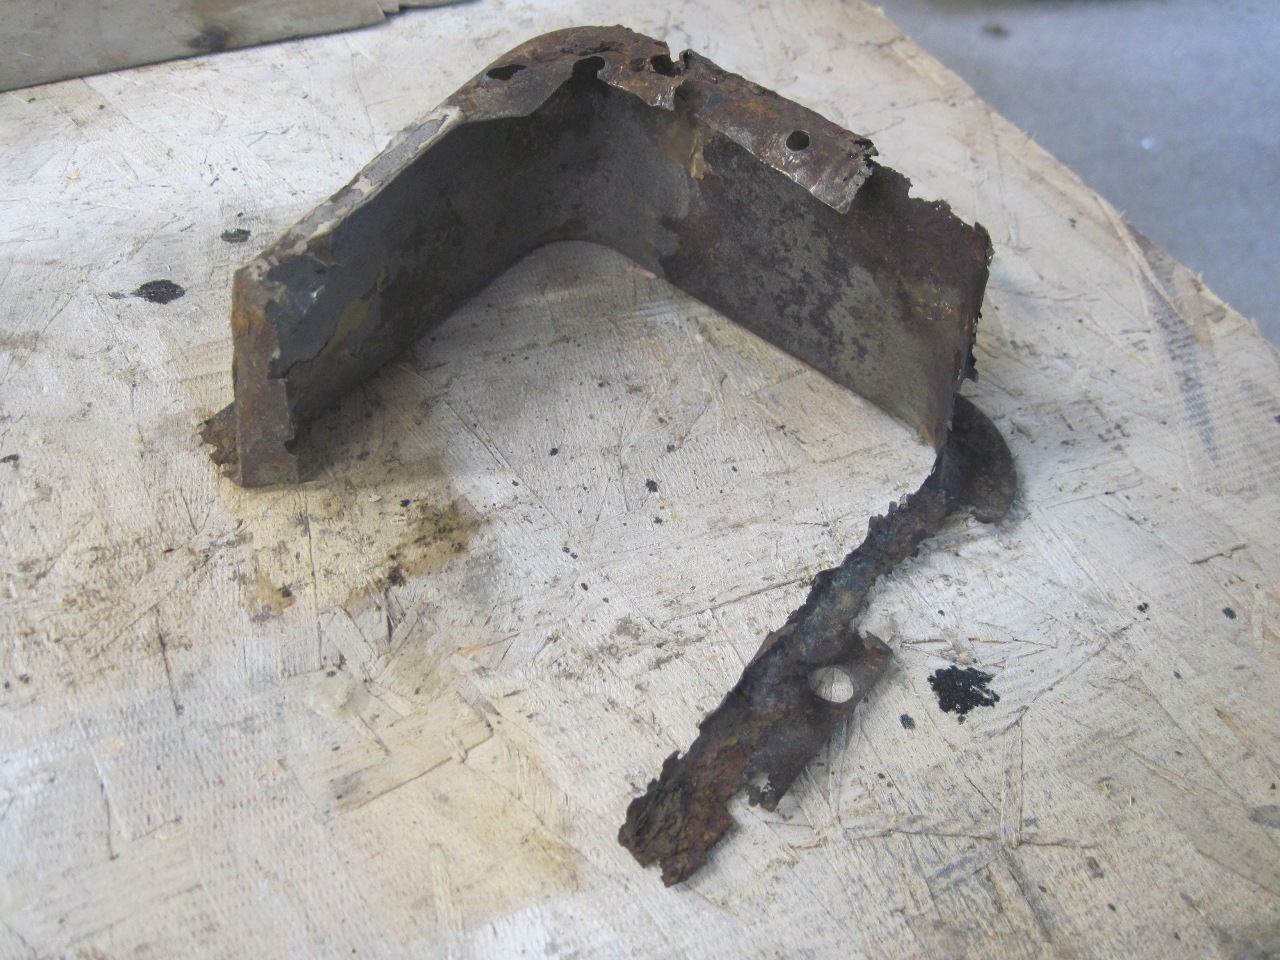
Also, and I almost missed it, the flange that attaches the front
of the wing to the B post was missing entirely.
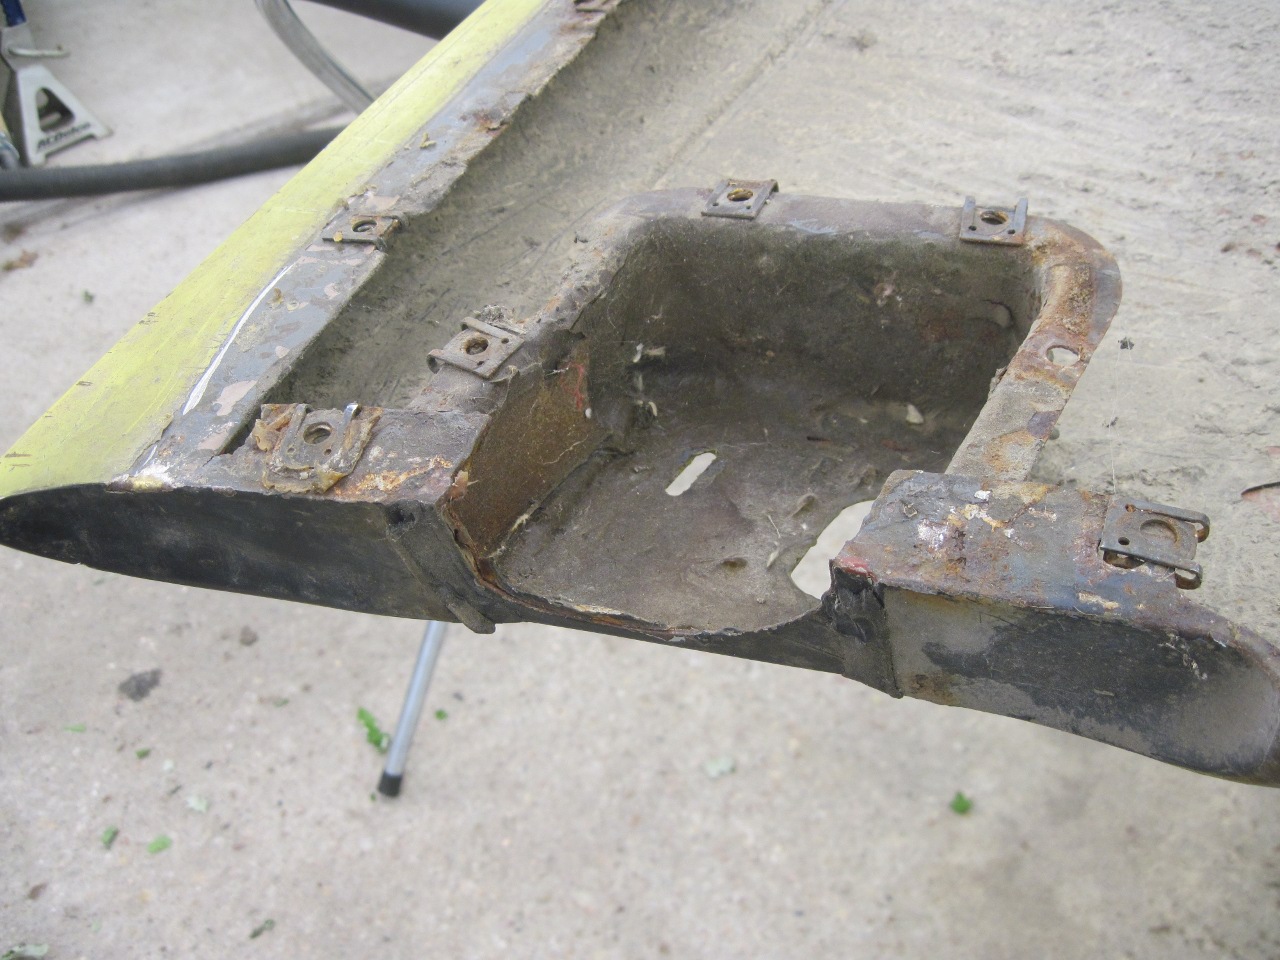
I started at the rear, with the light box. I decided to remove it and discovered it was slathered with fiberglass.
This
is the point at which I would normally cast some nasty dispersion on
the infamous DPO (Dreaded Previous Owner). Well, in the
interest of full disclosure, in this case the DPO was me. A
decades younger version of me who, in his defense, didn't have the
tools, money, or experience I have now.
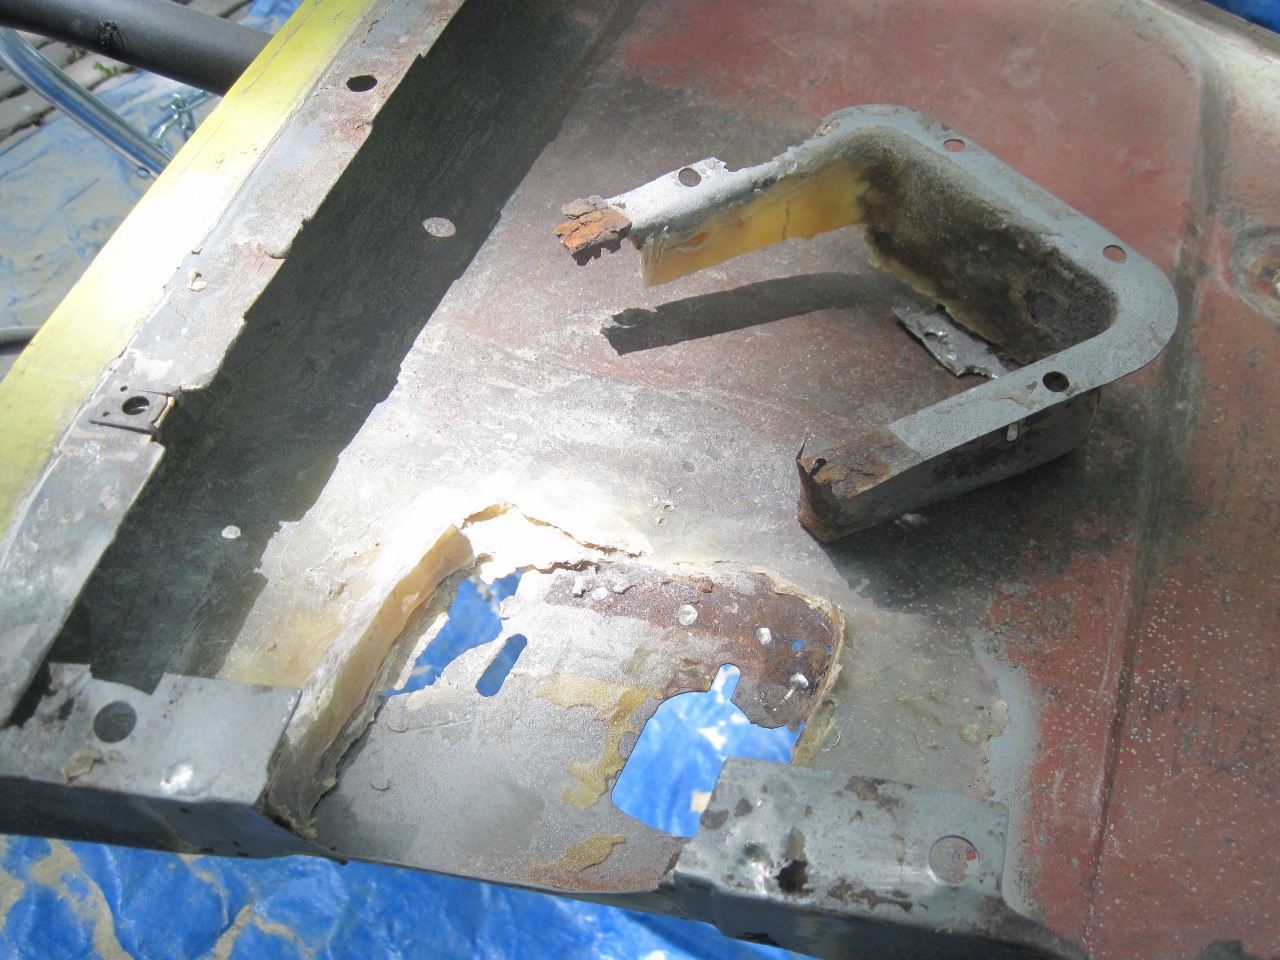
With the light box removed, I blasted the area to see what was what. I didn't much like what was what.
Having
to start somewhere, I first removed a brazed-in DPO patch at the rear
of the top mounting flange. I might have left it since it was
still solid, but it lacked the original forming on its lower edge.
Also, the braze doesn't play nicely with welding.

The rear of the tail fin (?) got a couple of patches.

In
most cases, I was able to preserve the contour edges since they seem to
be the last to succomb to rust. They can be a little delicate,
though, and the inevitable heat distortion from welding doesn't help.
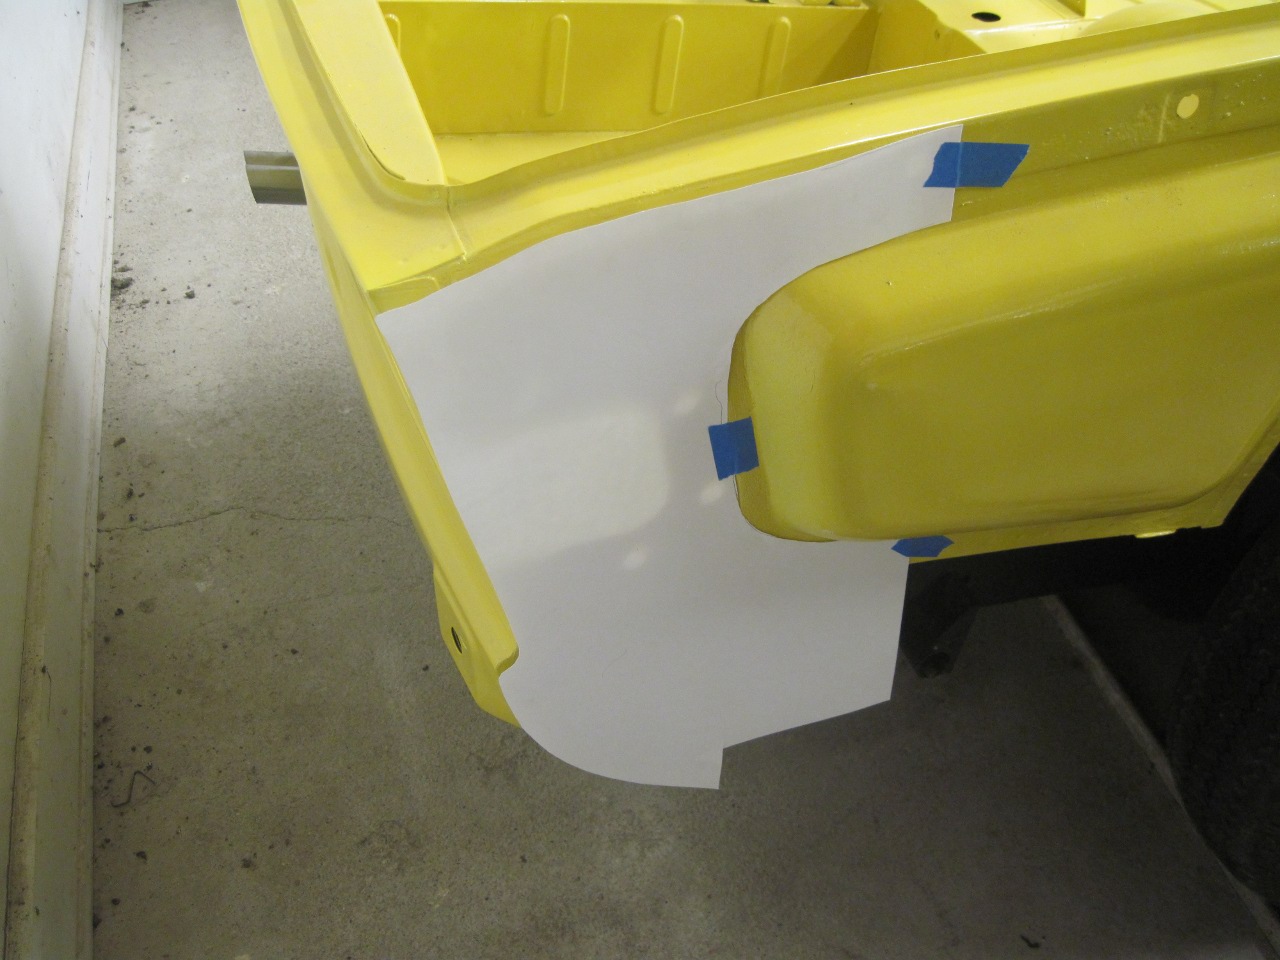
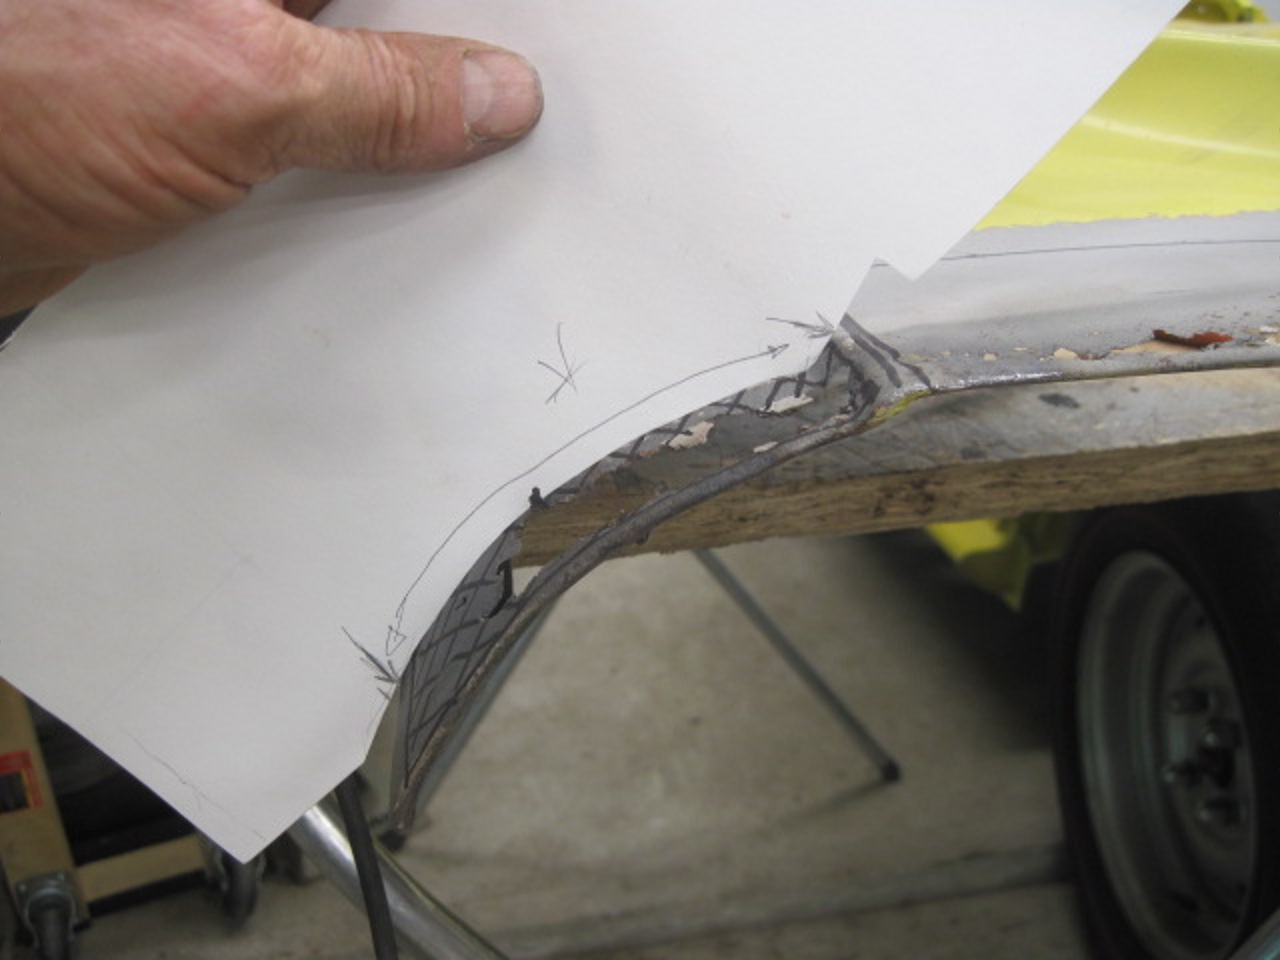
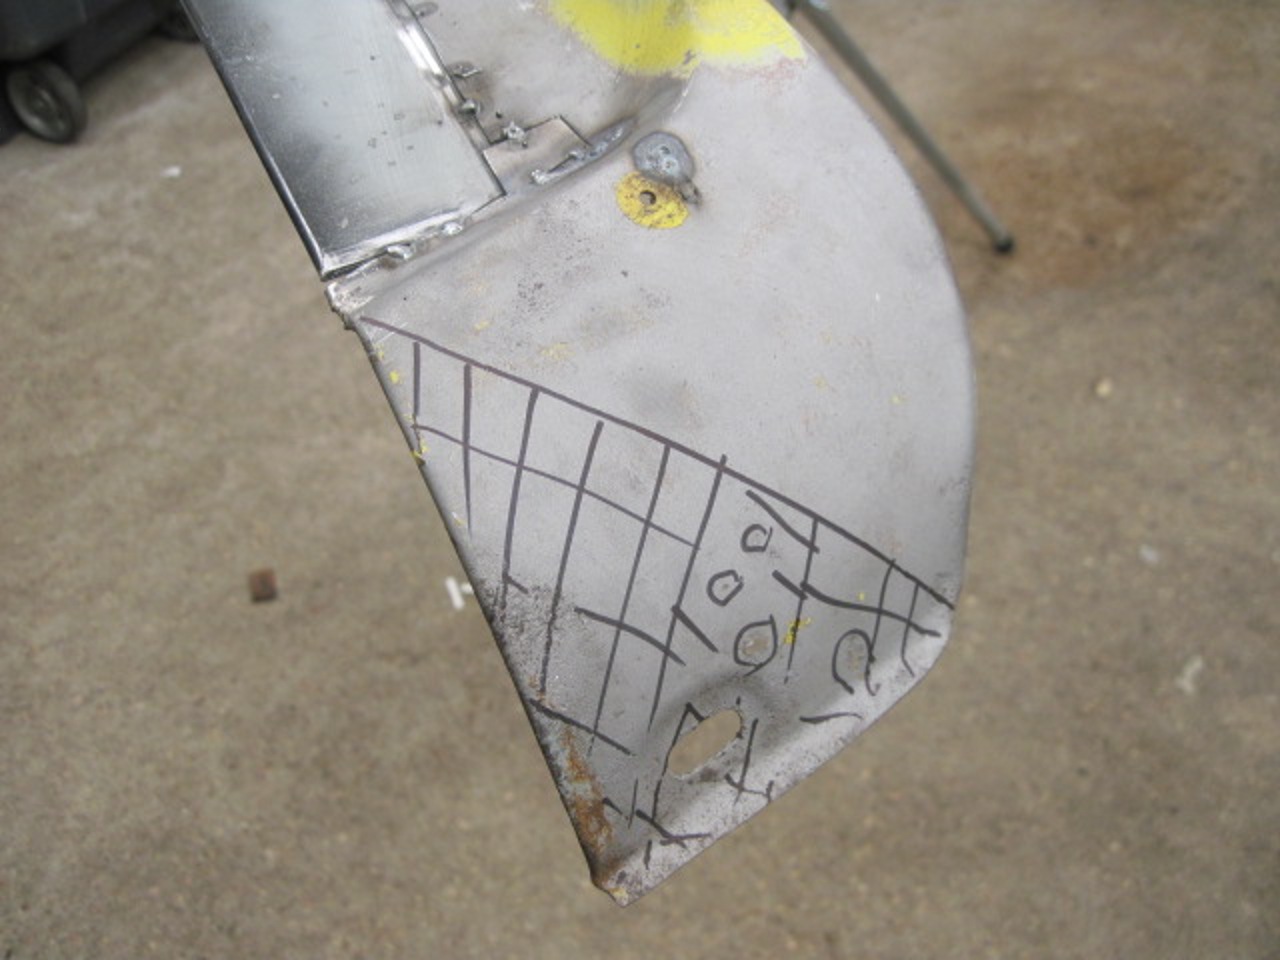
To try to make sure the contours will still match up with the
tub, I made a template from the tub to check the rear of the wing
against.
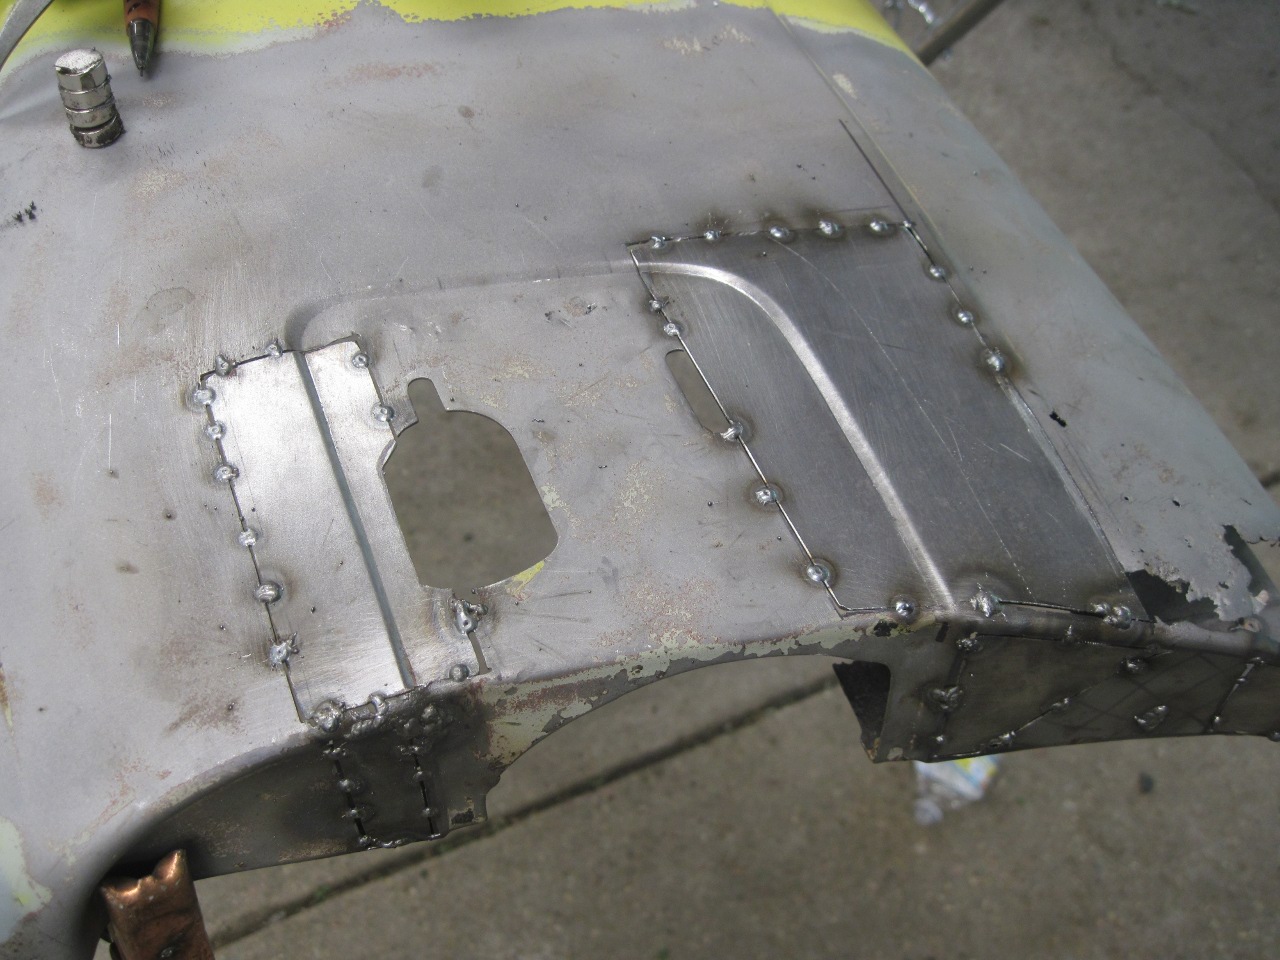
Then
the area around the light box. It gave me a chance to use my
cheapie bead roller that I've had for a few years and not really used.
There was some trial and error. Mostly error at first.
Then the outside surface of the tail fin.
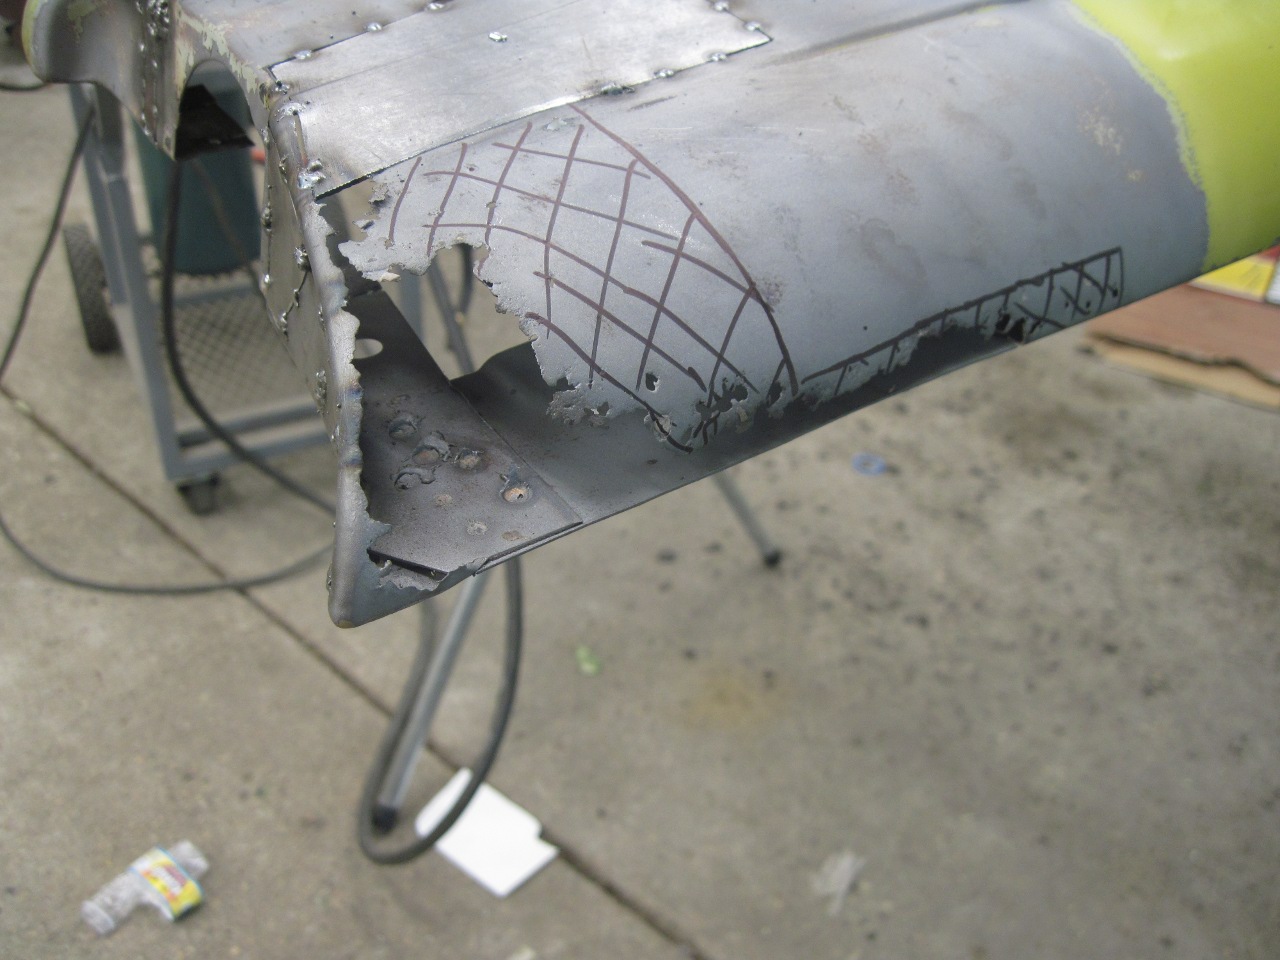

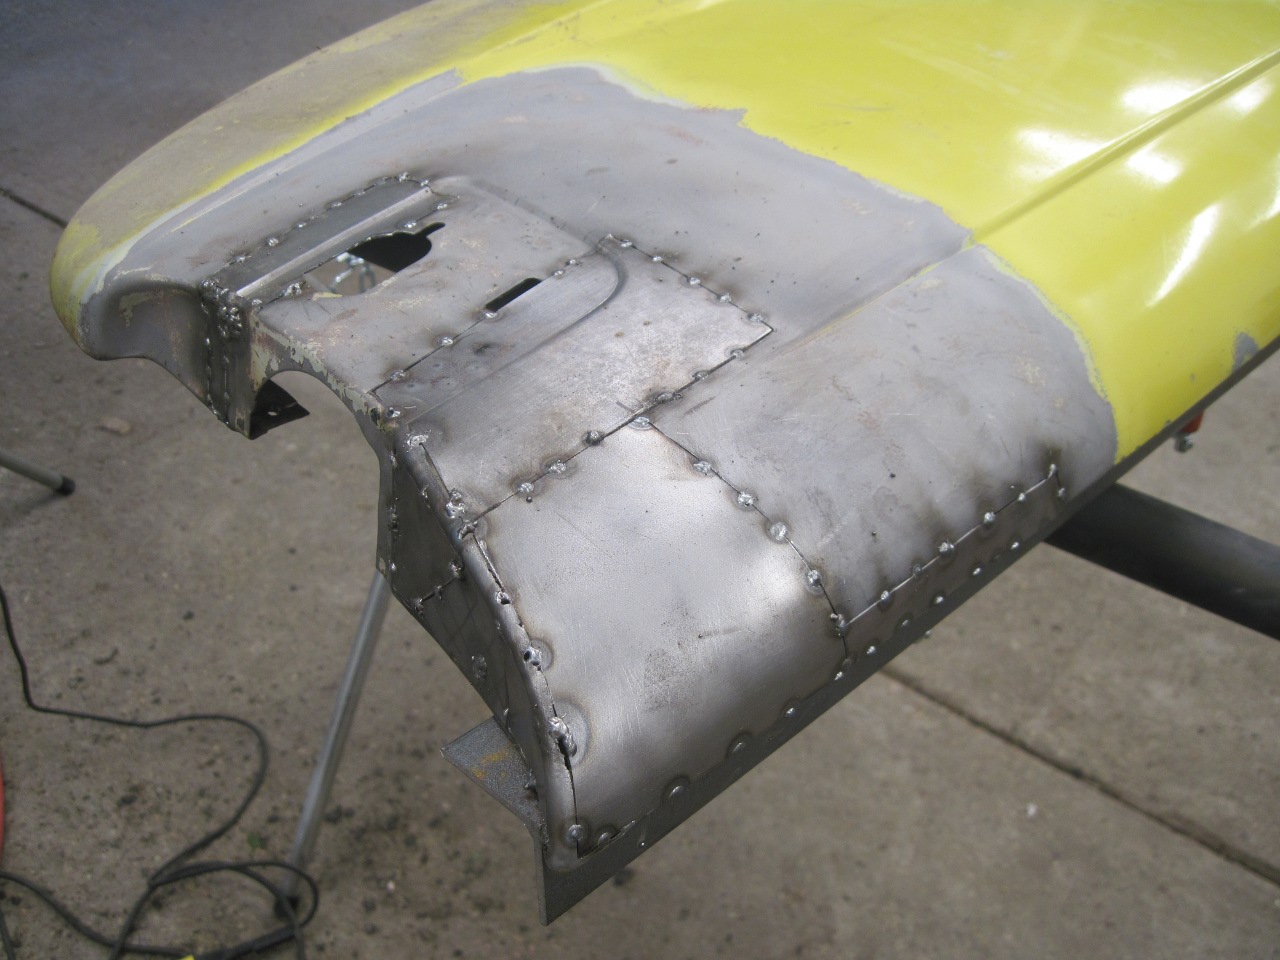
After relieving the light box assembly of the rest of the fiberglass, there wasn't much left.
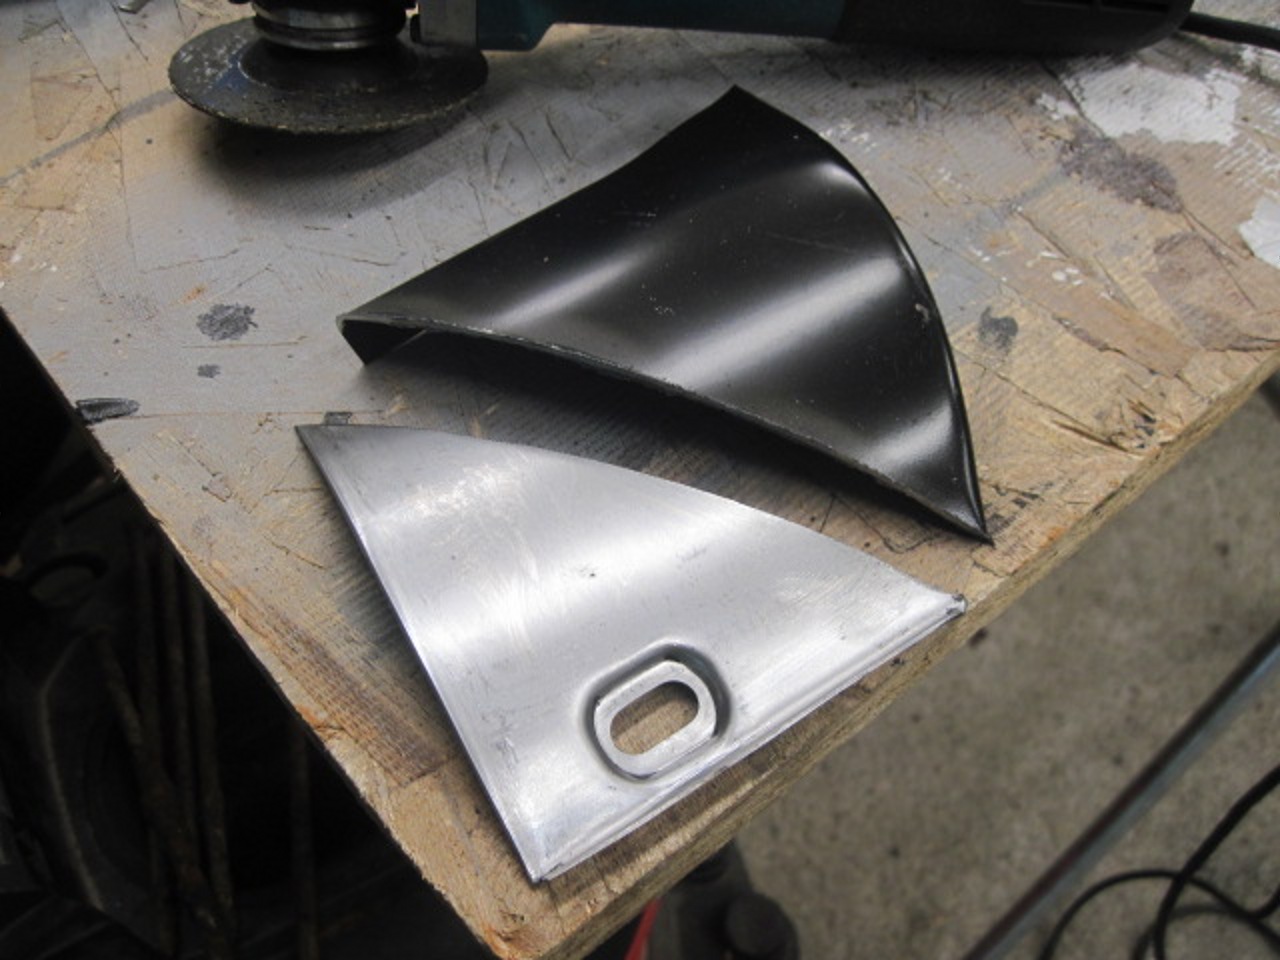
Though
it seems a TR6 rear light box would be an excellent assembly to be able
to buy, apparently no supplier thinks so, at least not that I could
find. I deemed the one I had as too far gone for repair, so I
decided to attempt fabricating one. Once I got into it, it was
easier than I feared. I'll mark and drill the holes later.


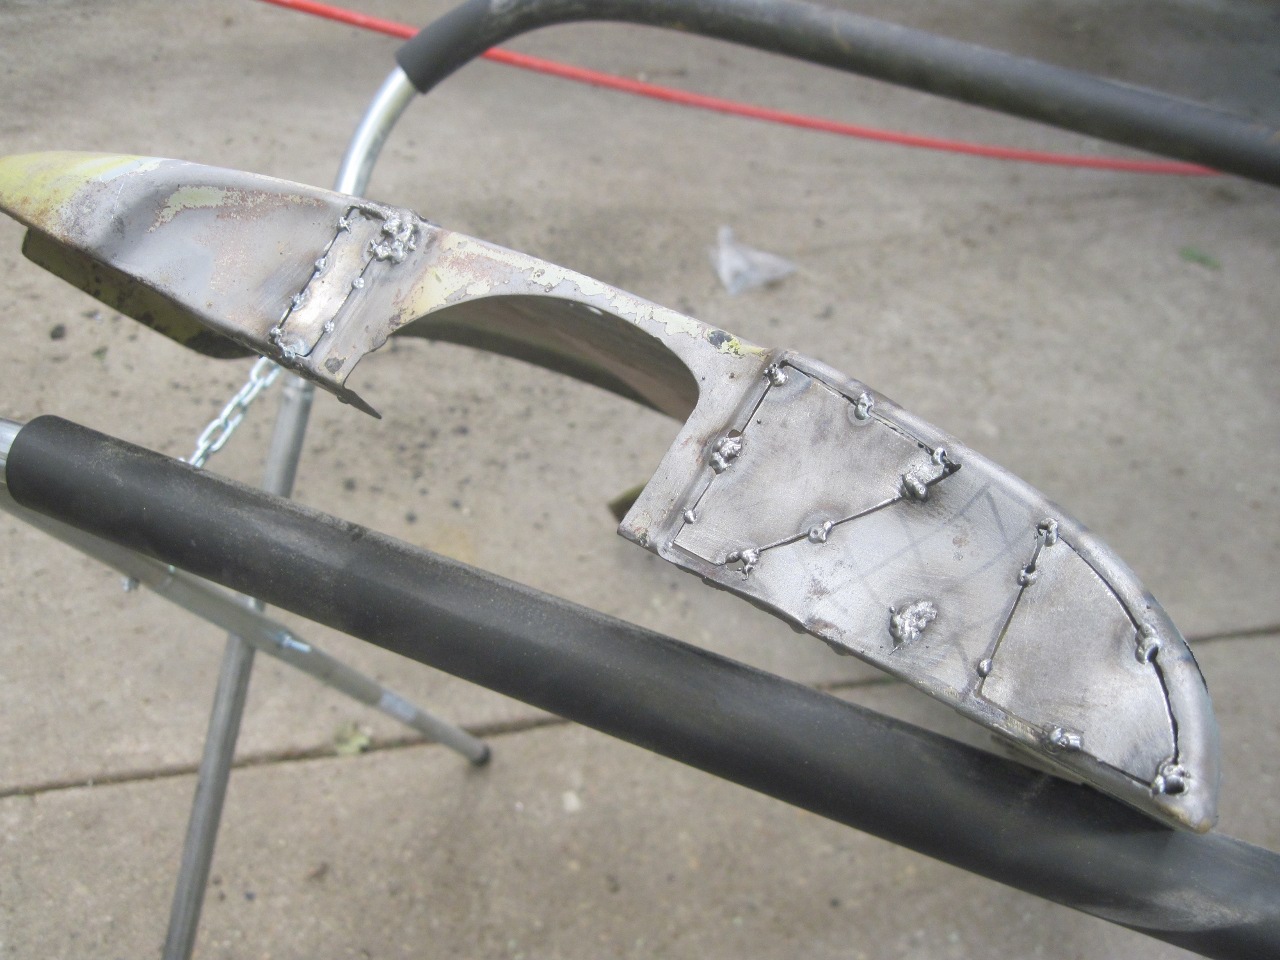
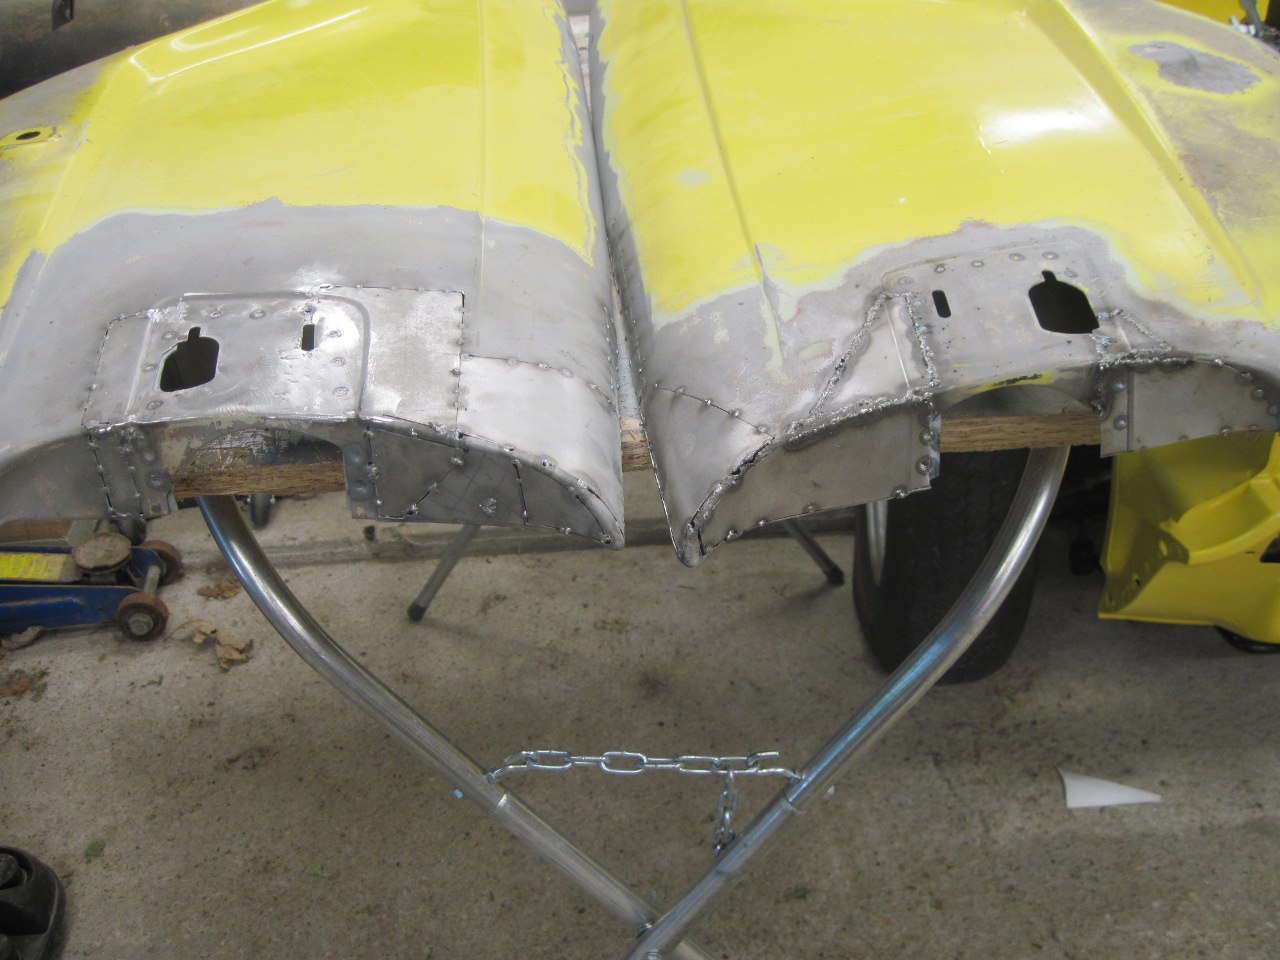
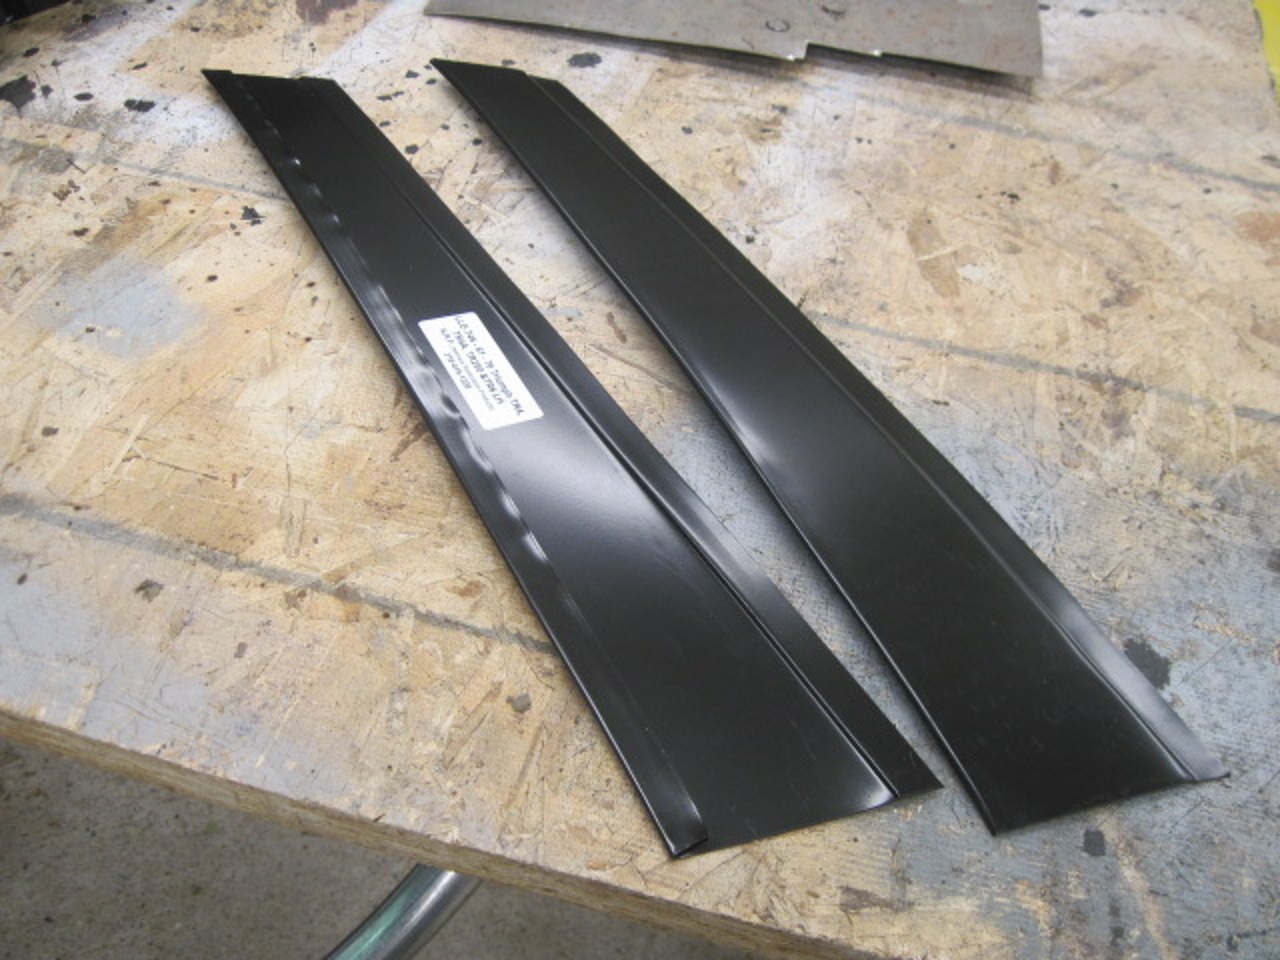
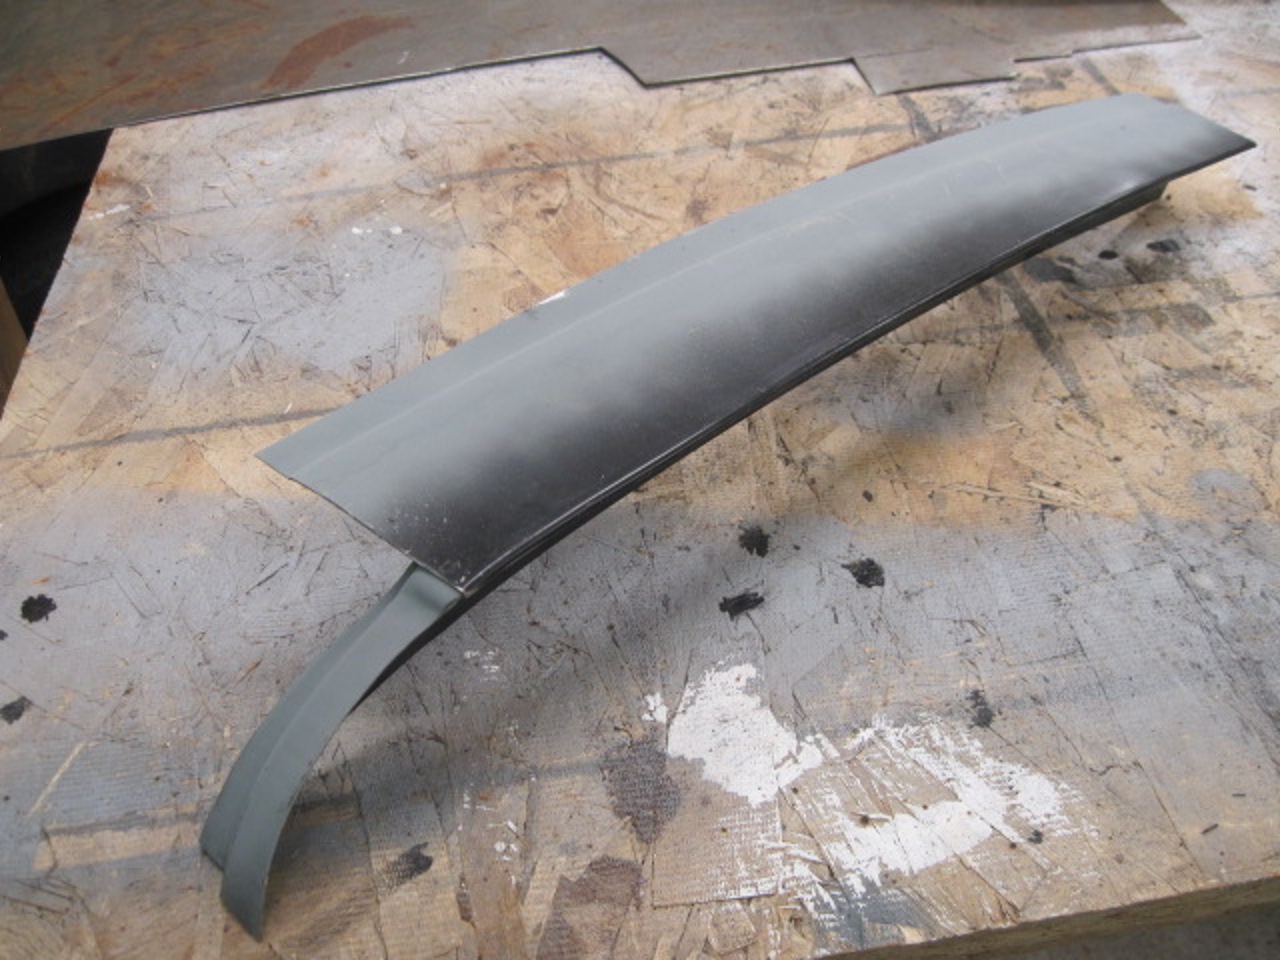
This shows the two rear wings before final welding, and one of them after welding and dressing.

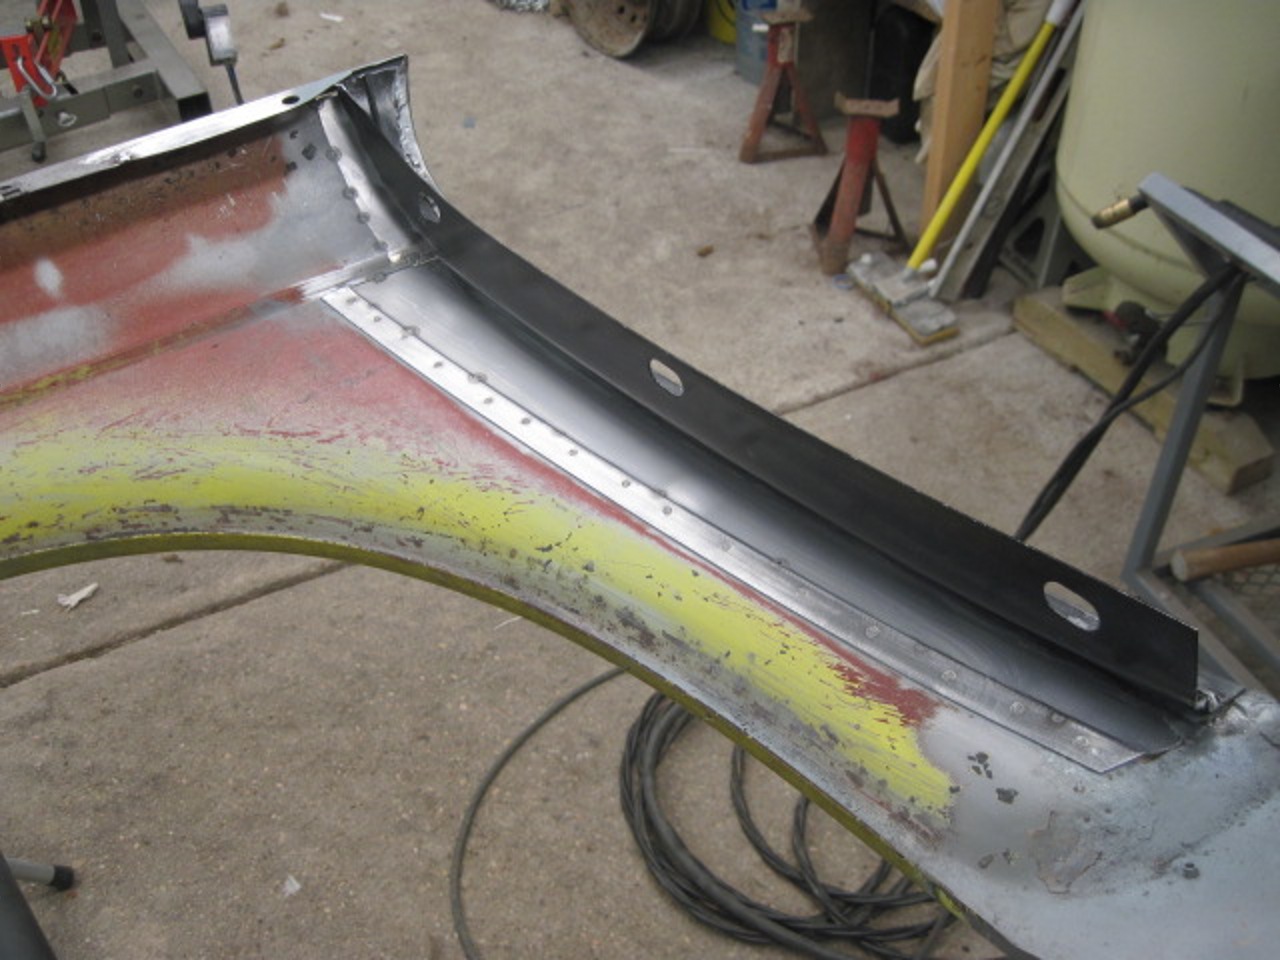
Next was repair of the upper mounting flanges. Most of the damage was near the fastener holes.
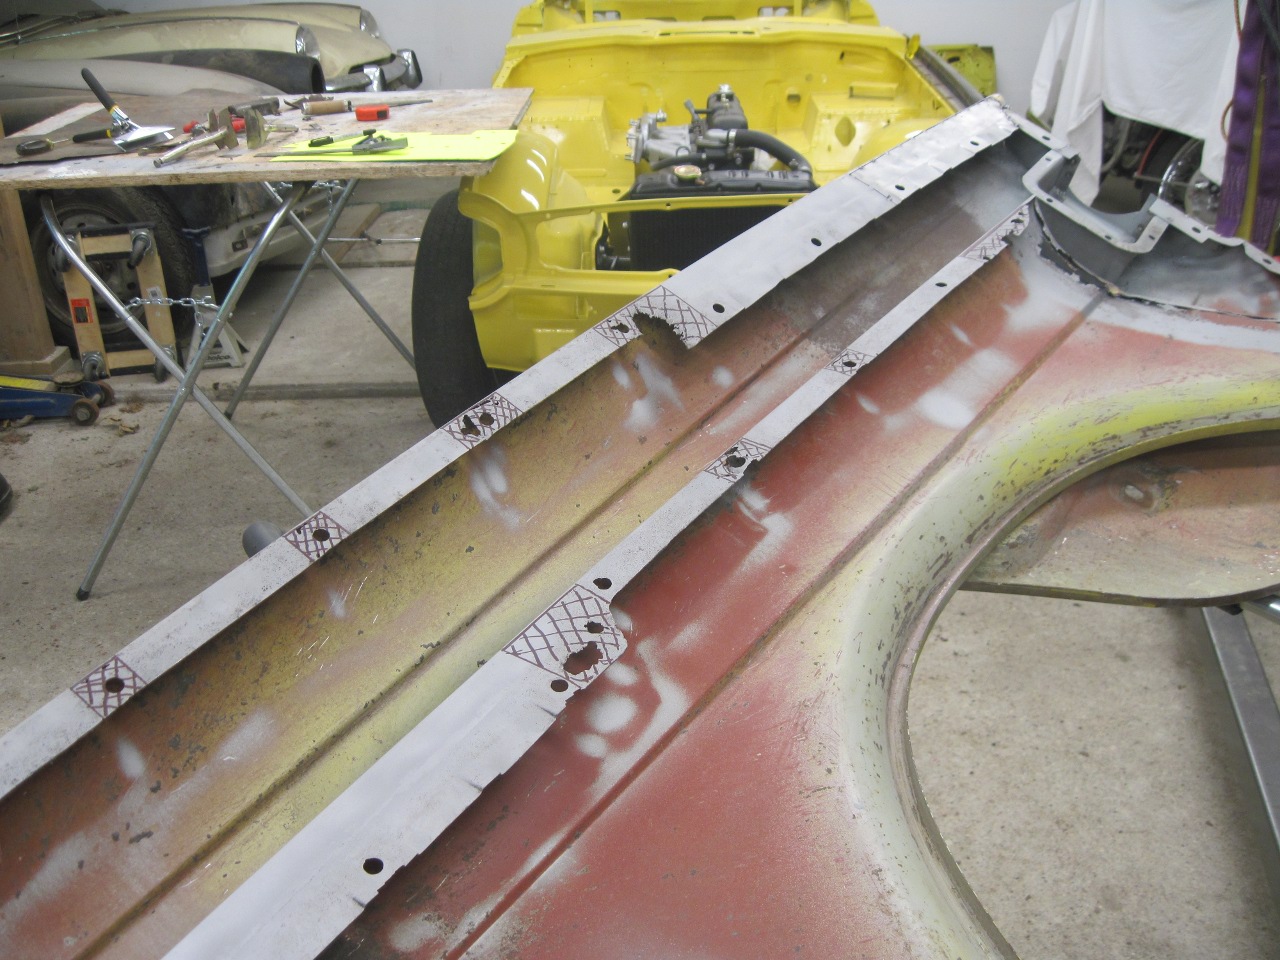
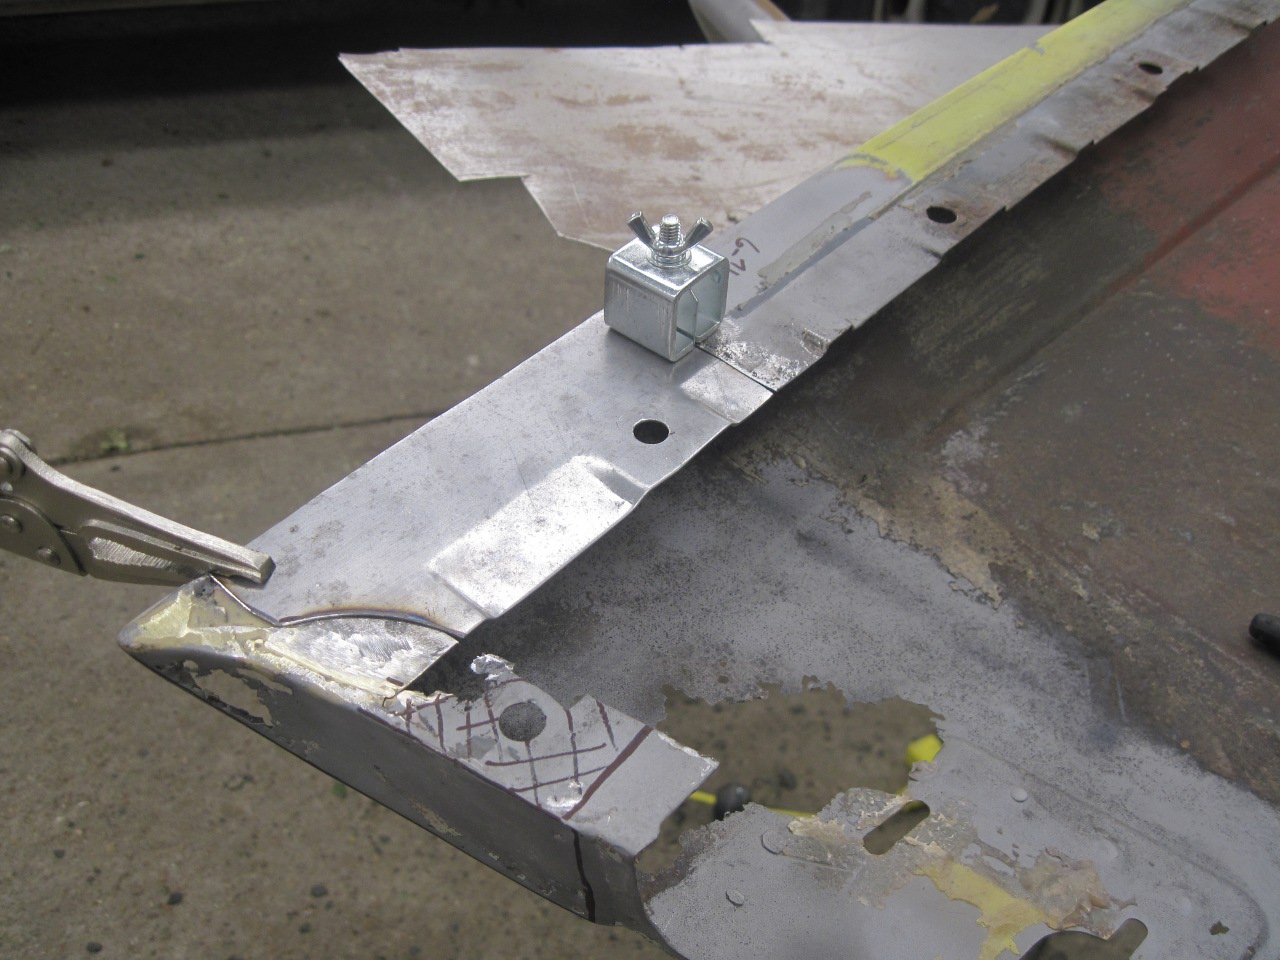
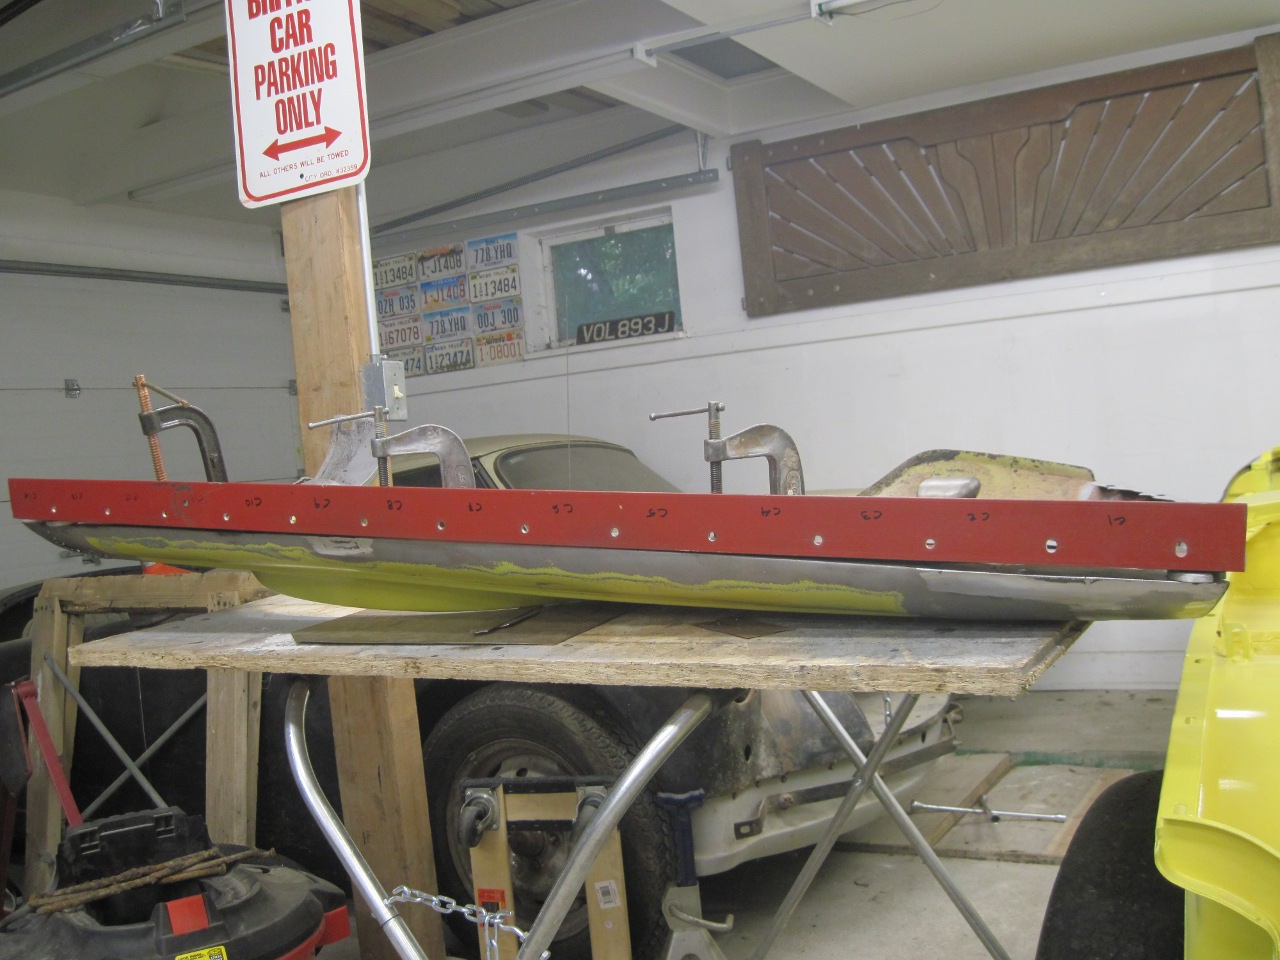
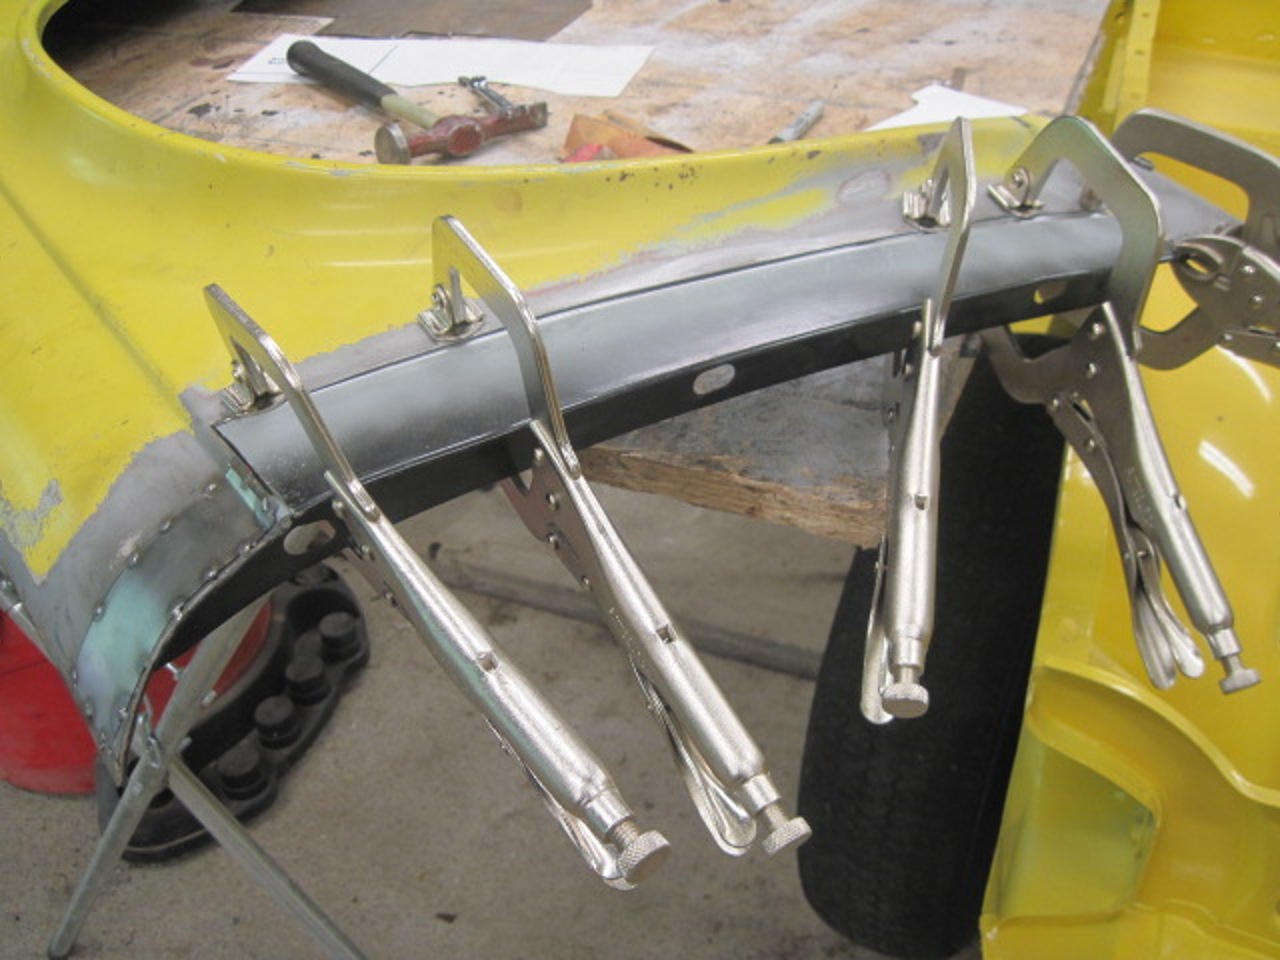
On
testing the fit of the wing on the tub, I found that the welding on the
flange had warped the wing such that with the front and rear extremes
touching the tub, there was over 1/2" gap in the middle. While
not too surprising, it was still a bummer. I clamped the wing
against a stout piece of angle with spacers such that it was bent the
opposite way. The next morning the center gap was under 1/4", and
I think this will be manageable.
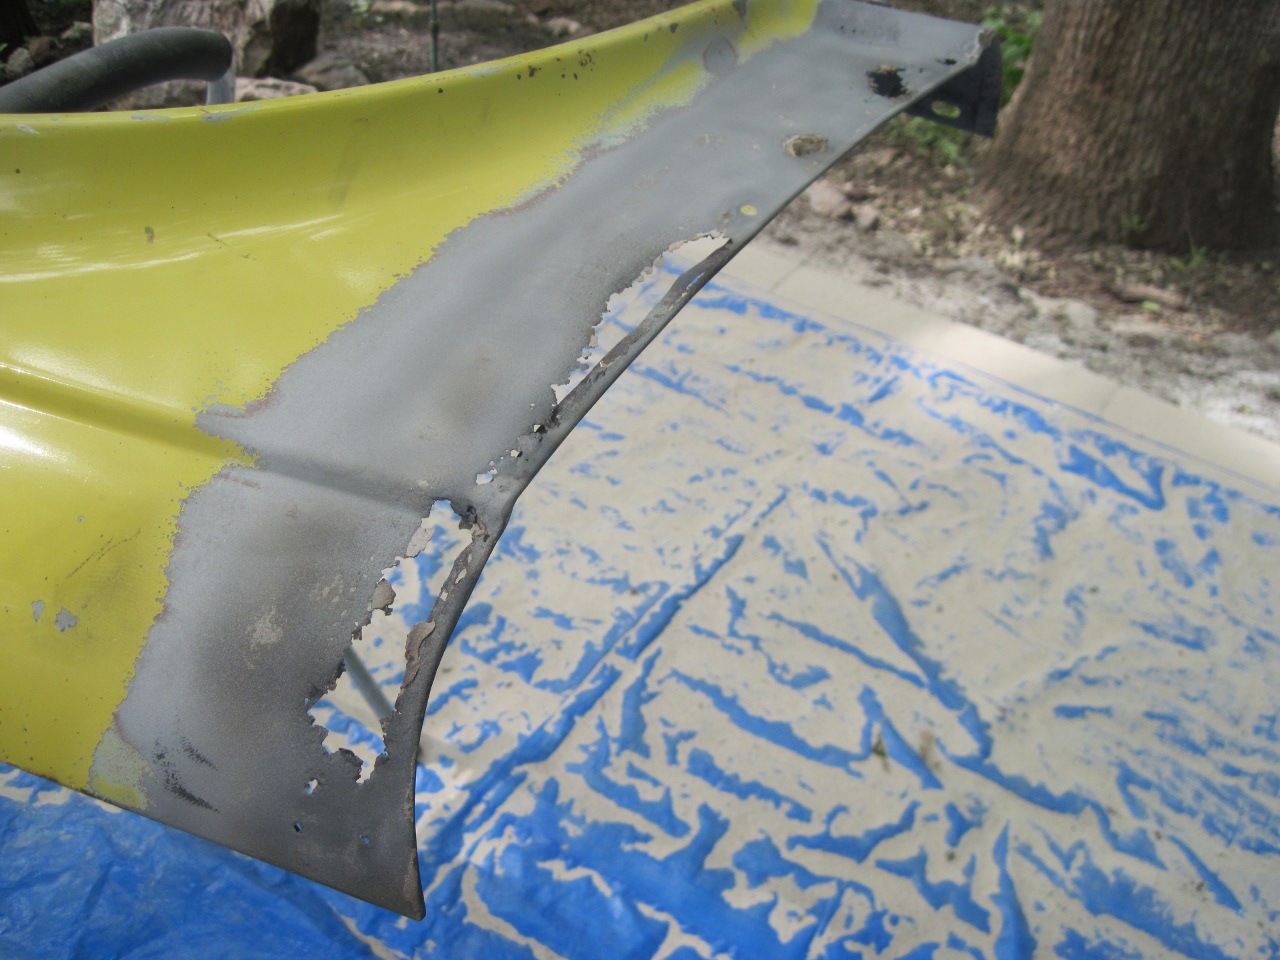
Moving
on to the front of the wing, a little heat dispatched the DPO's pretty
good fiberglass and Bondo repair, which made things look a lot worse.
I
ordered patch panels for the leading edge of the wings, but my search
for the flanges that attach to the B post was fruitless from my usual
suppliers. This seems odd, especially since they are easily
available from UK suppliers, which is where I got them (they call them
"baffles"). I also ordered the lower repair patches.

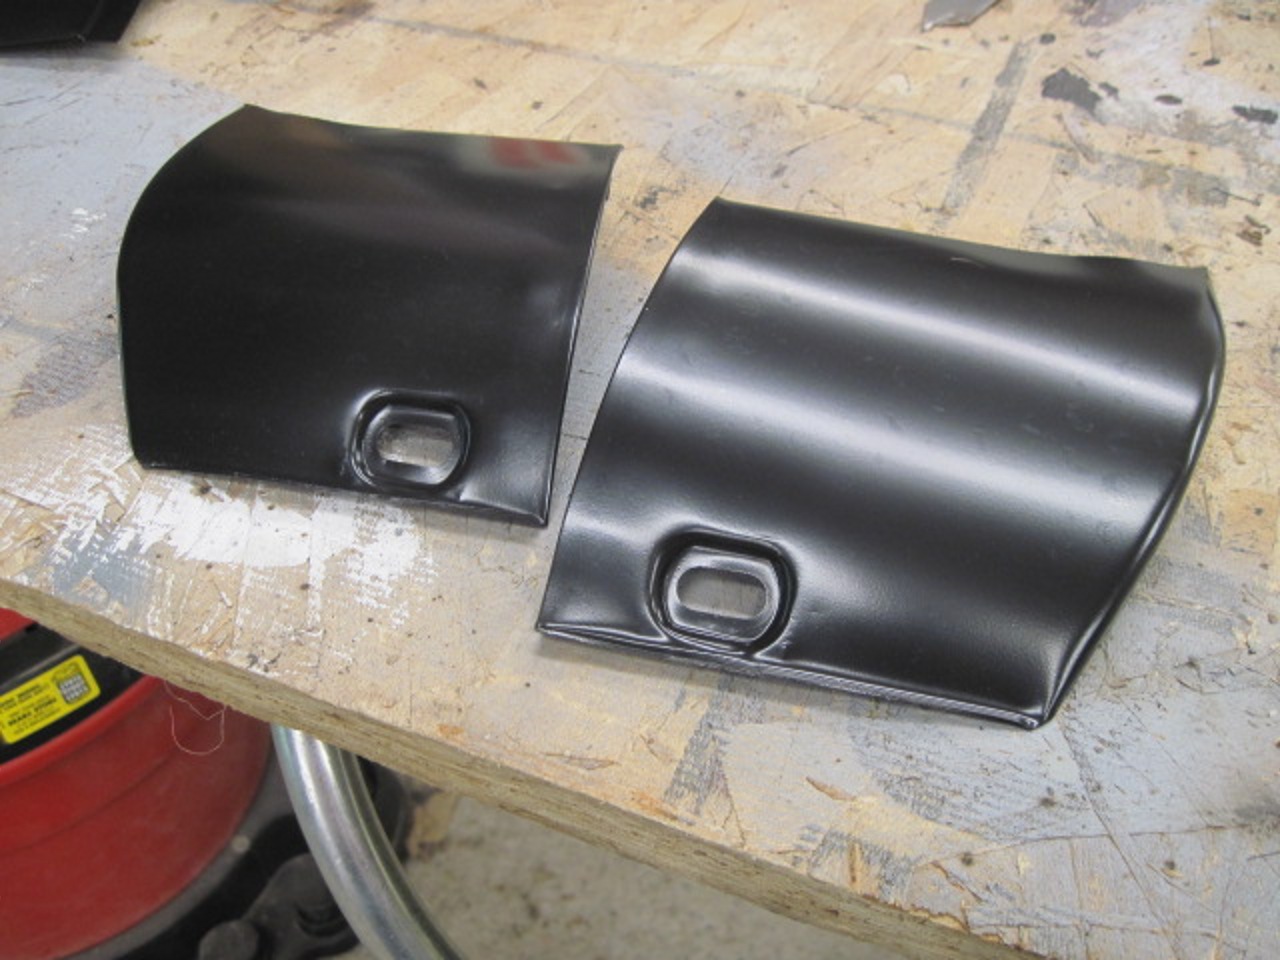
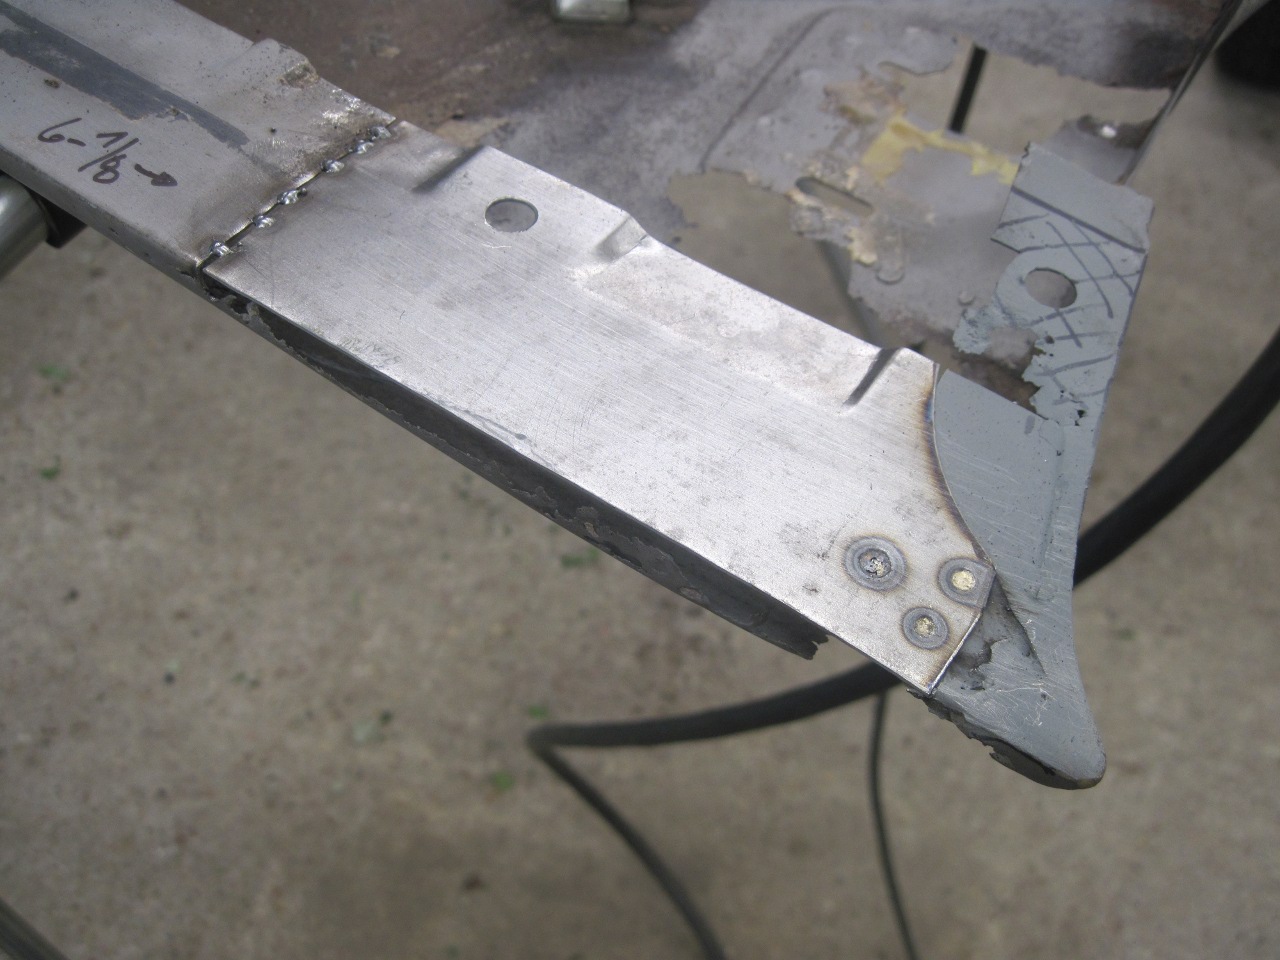
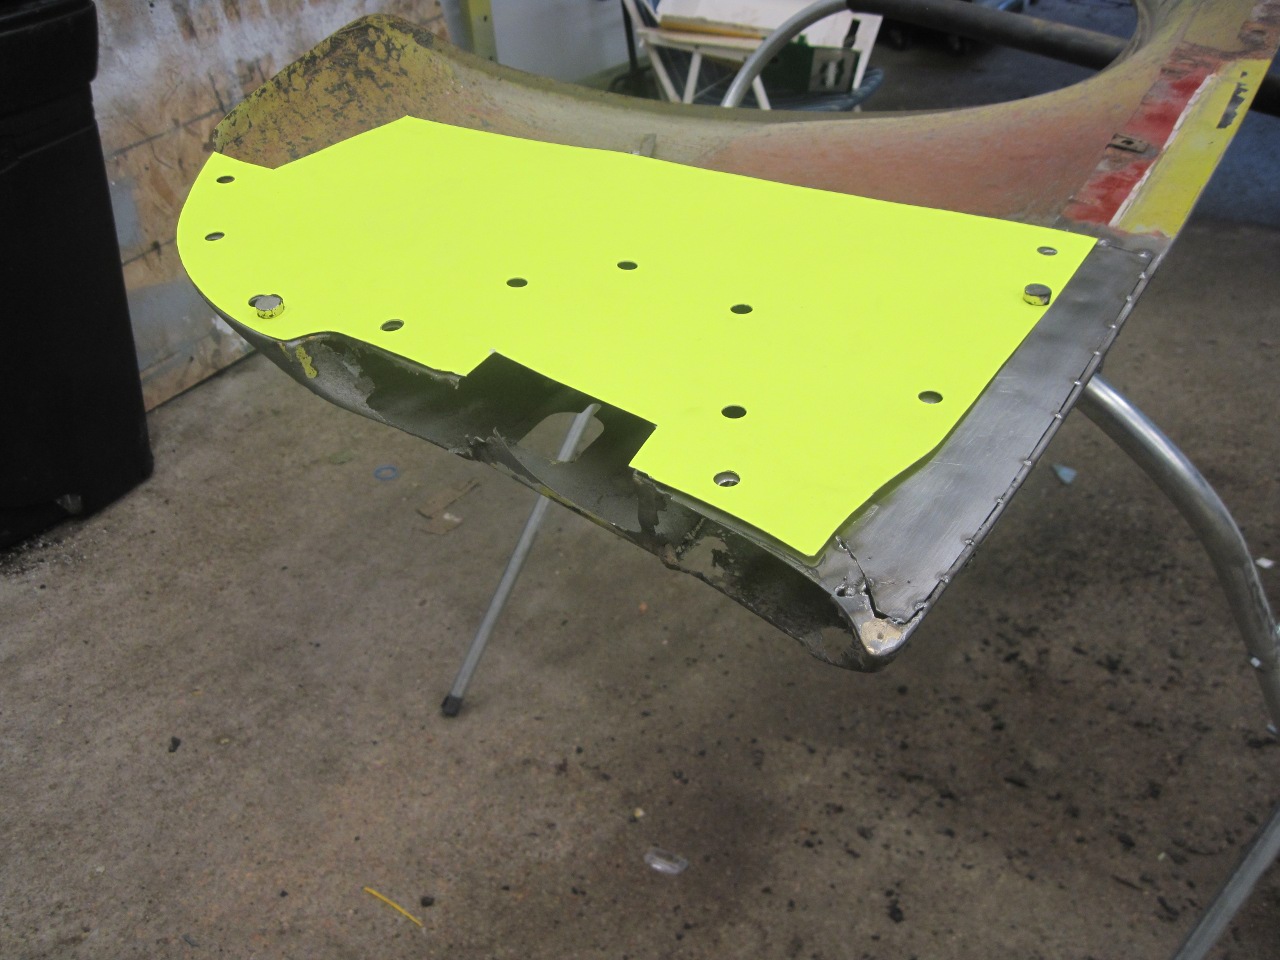
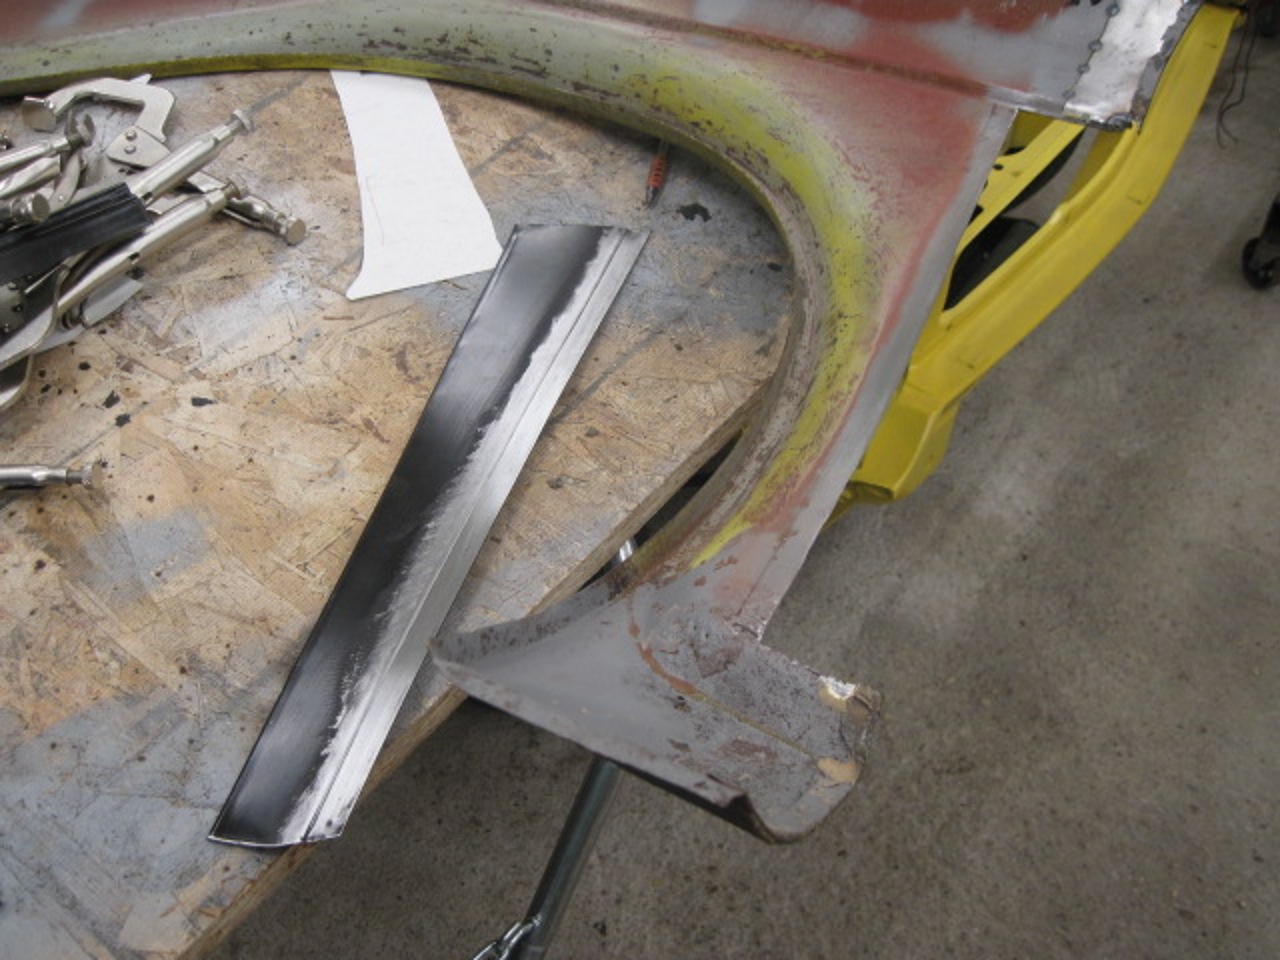
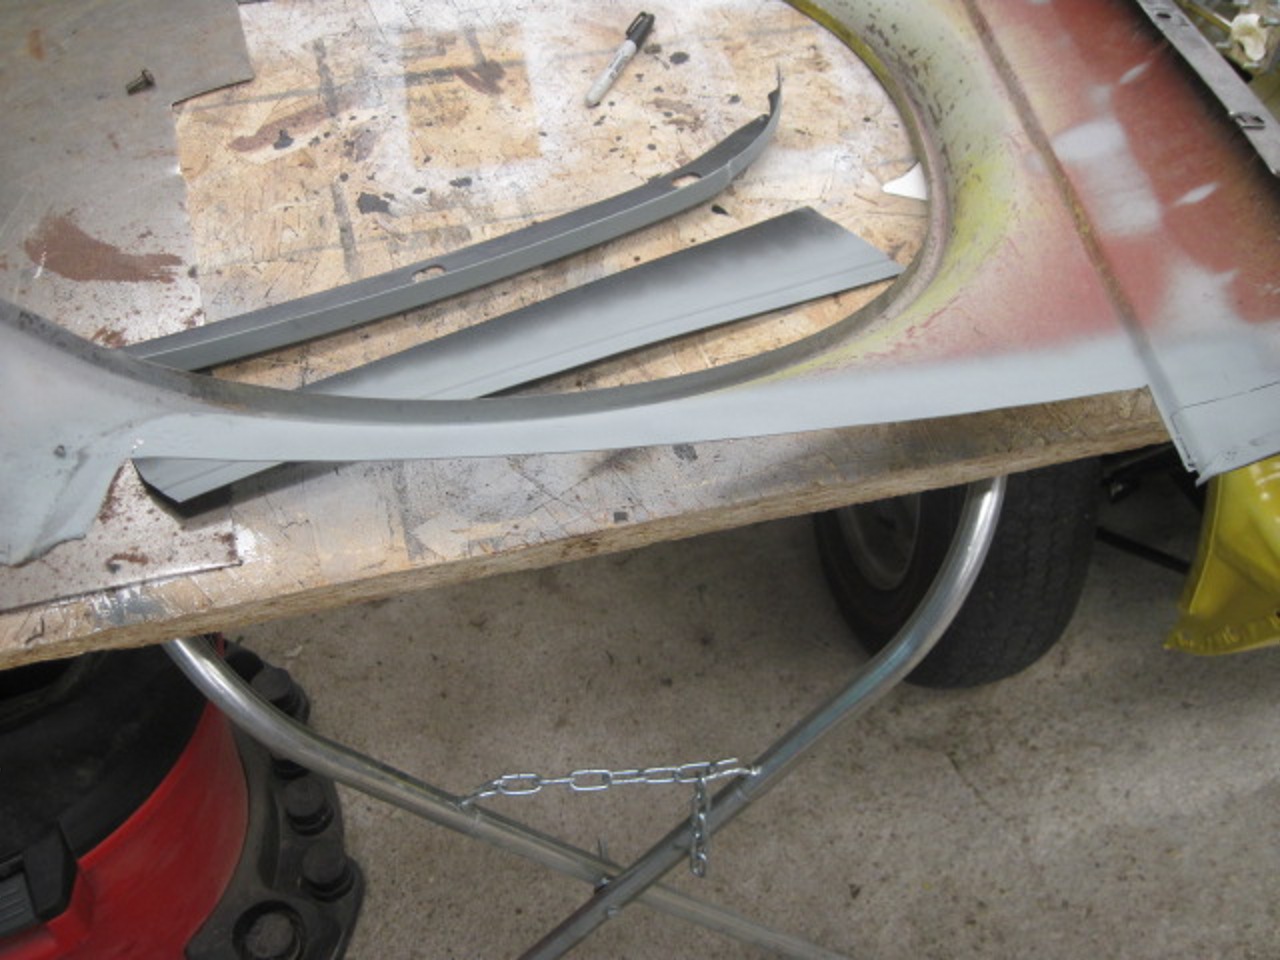
I
was disappointed to find that the leading edge panels didn't extend to
the top part of the wing, so I had to do that patch on my own.
Anticipating that the welding would alter the contour of that
area, I made a template so I could get it back into line afterwards.
All
of the patches I've done to date on this project have been butt welded,
but the leading edge patch comes with a dropped flange for lap welding.
I considered cutting off the flange so as not to wander too far
away from my comfort zone, but my sense of adventure kicked in and I
dedcided to try my first lap joint. It went OK, I guess, but when
I did the other wing, I went back to butt joints. The double
thickness of metal makes the joint area a lot stiffer, so I think heat
distortion may be harder to control and correct.

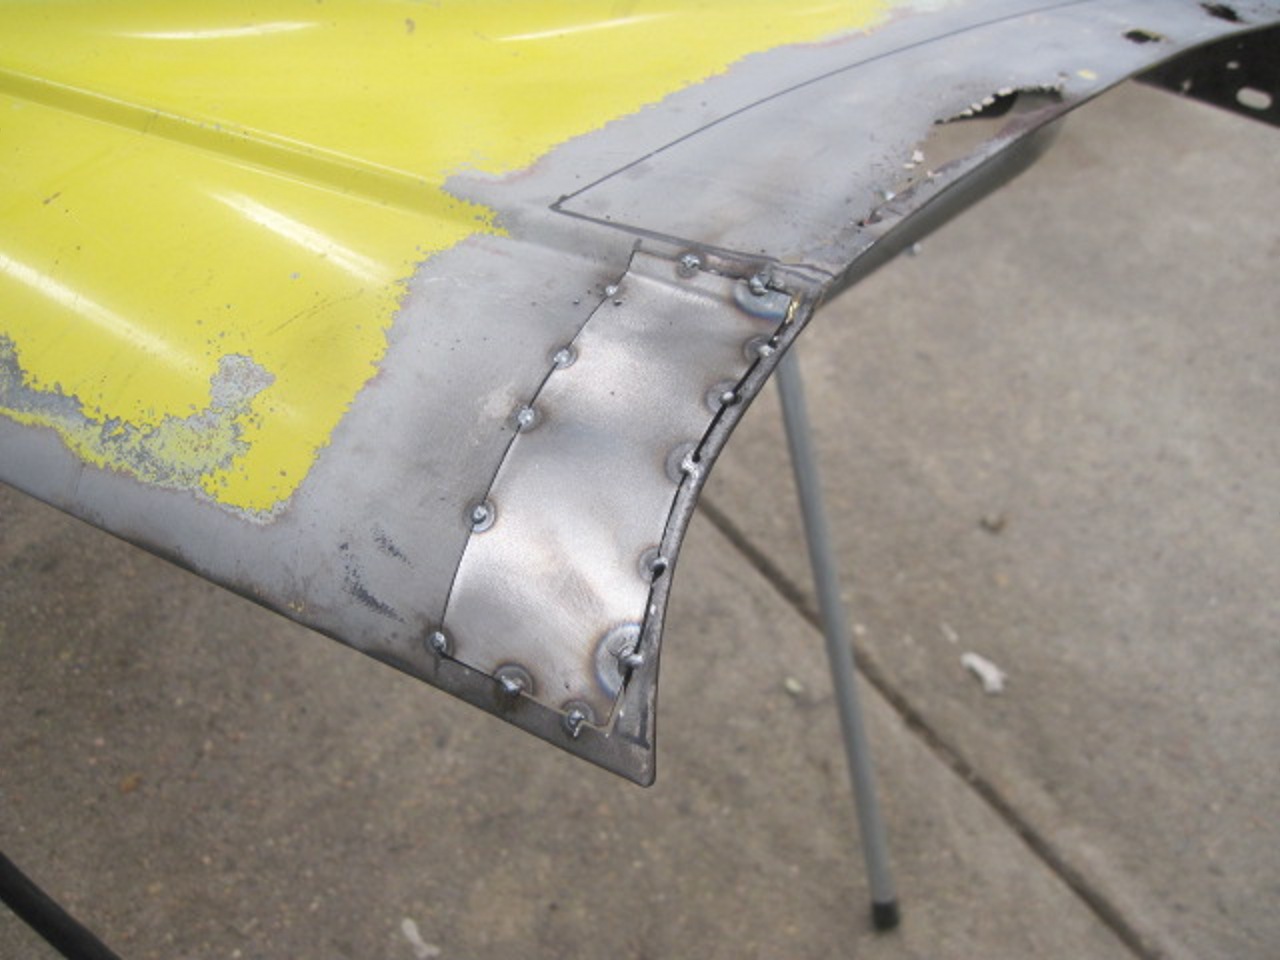
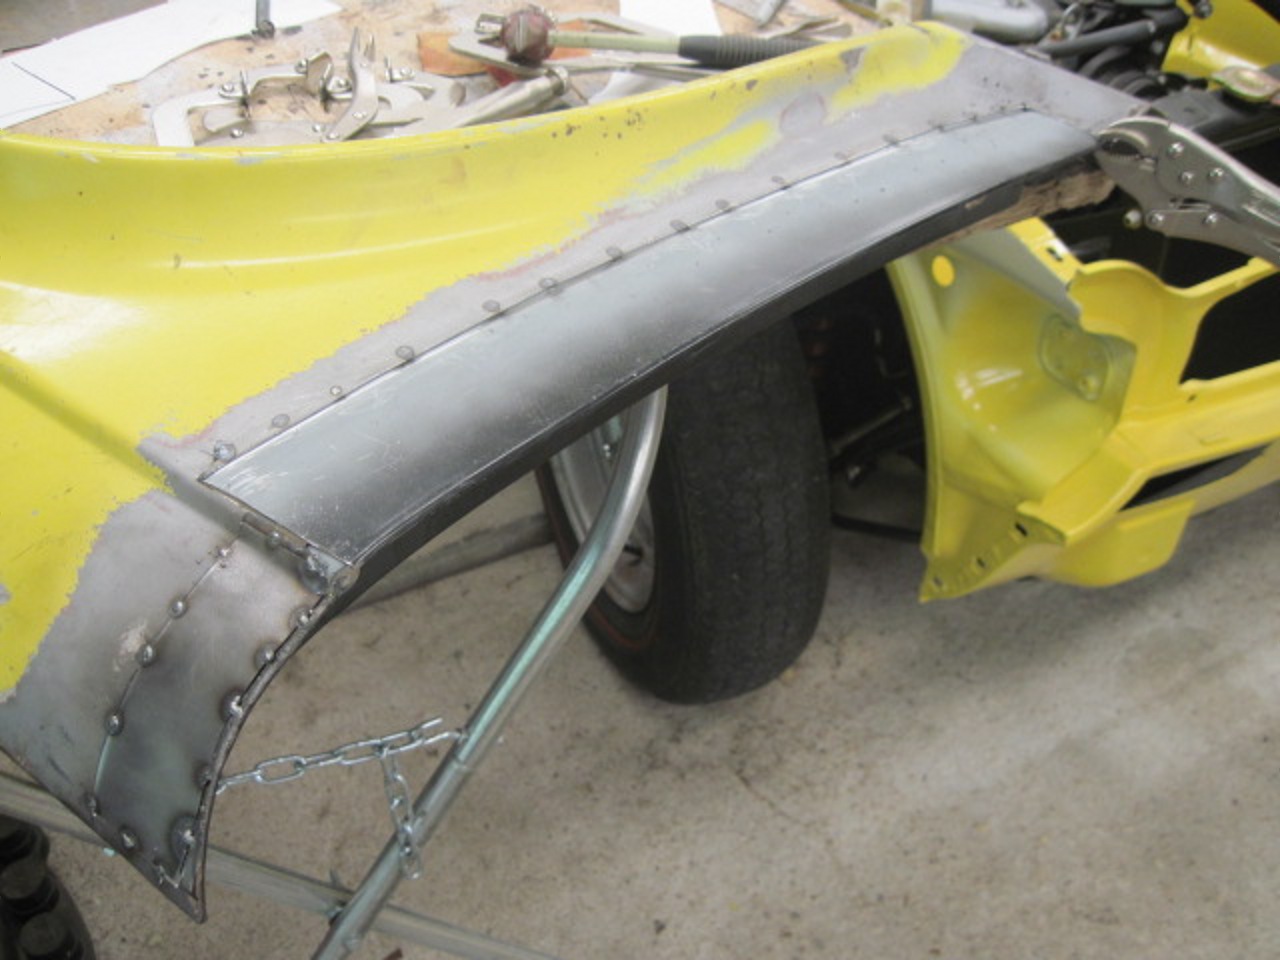
The
"baffle" slips into the folded front edge of the patch, forming it
to the cright curve. I sprayed weld-through primer on the areas
that would be inside the joint, clamped the patch in place,
and tacked it down with spot welds
I didn't feel I needed all of the bottom patch panel, so I just used what I needed.

This concludes the rust repair on the rear wings. Final finishing work will be a future undertaking.
This
kind of work is of course very time consuming. These wings could
have been just replaced, and maybe should have been. On the other
hand, I'm trying really hard not to get upside down on this project,
and a couple of hundred dollars for patch panels rather than well over
a thousand for new parts really helps. If I can keep the cost
under control, I can brag that I get to practice my hobby for free!
Comments to Ed at elhollin1@yahoo.com
To my other TR6 pages