To my other GT6 pages
June 13, 2023
Behind the Dash II
Of all of the places I've been in the world, the most disagreeable one is behind the dash of a little British sports car.
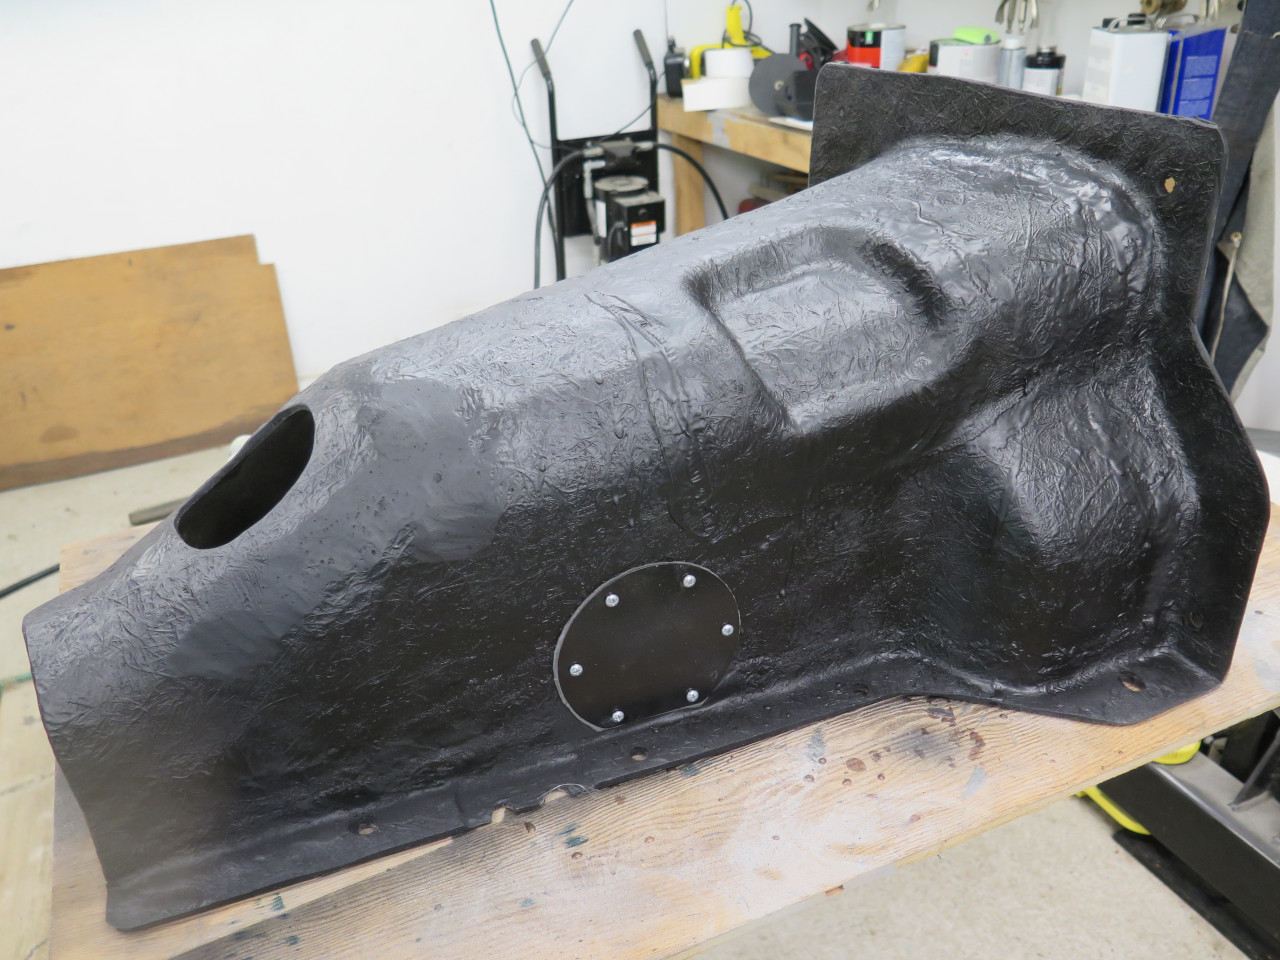
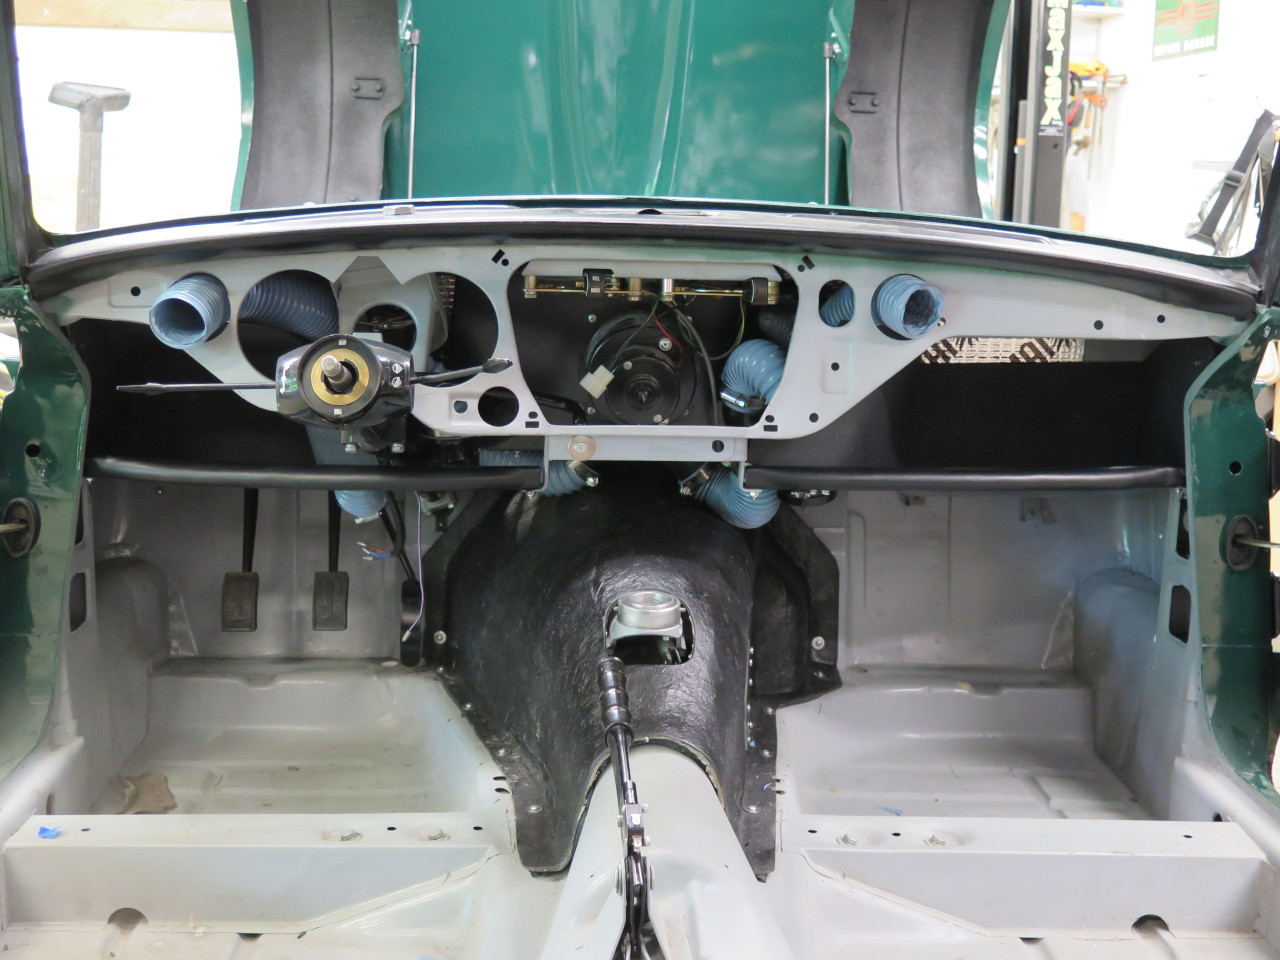
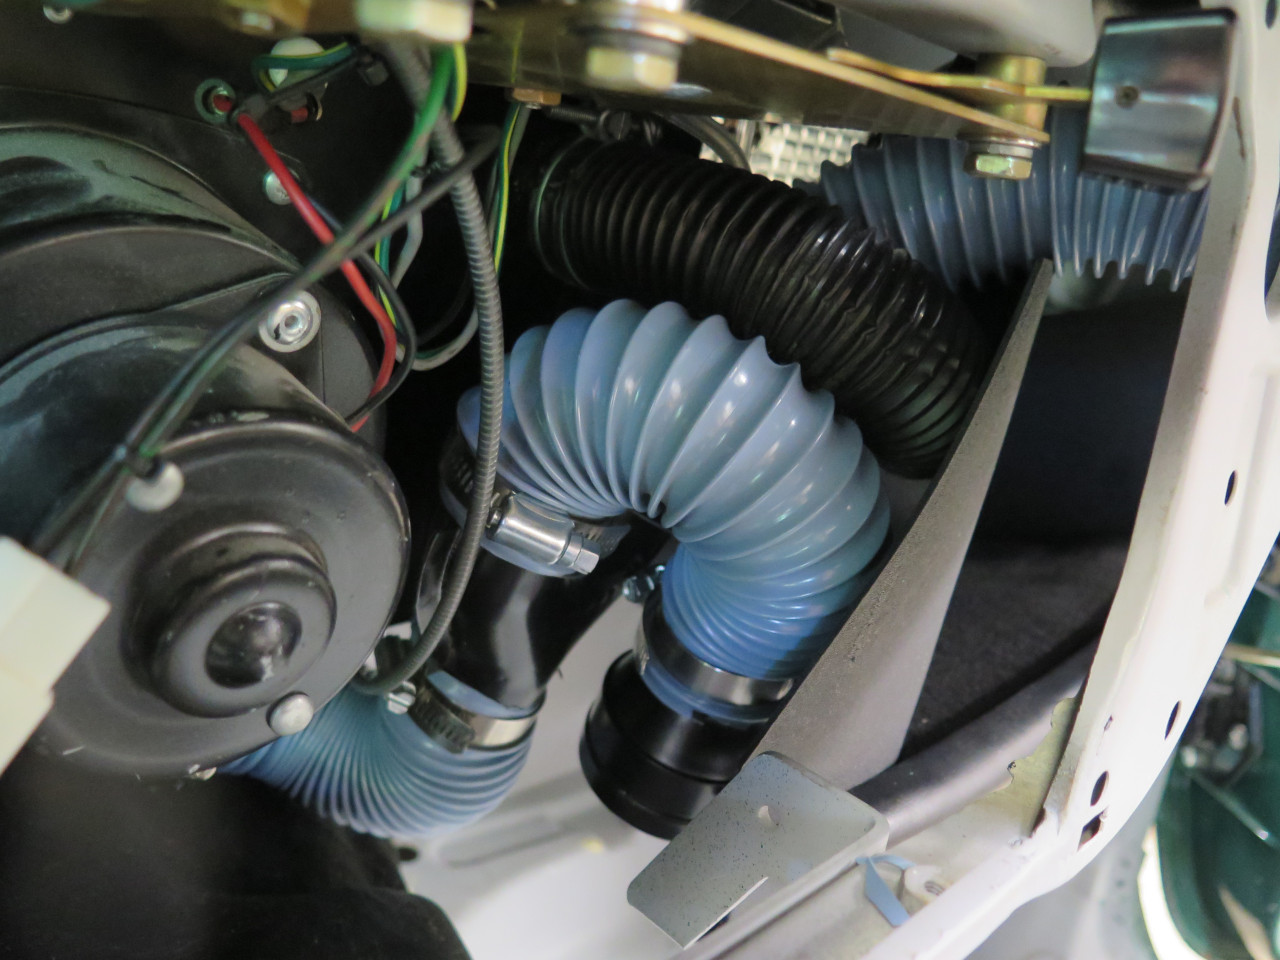
There is a lot going on back there, but the bulk of the space is
occupied by the air ducts for the heater and defrosters. The
heater has four air ports--one for each of the two defrost (demist)
outlets, and one for each side of the cabin. Each of the cabin
port ducts is split to feed eyeball outlets in the dash and under the
parcel trays. The cabin outlets are for fresh outside air.
Heated air can be routed to the defrosters or dumped into the footwells
directly from the ends of the heater box.
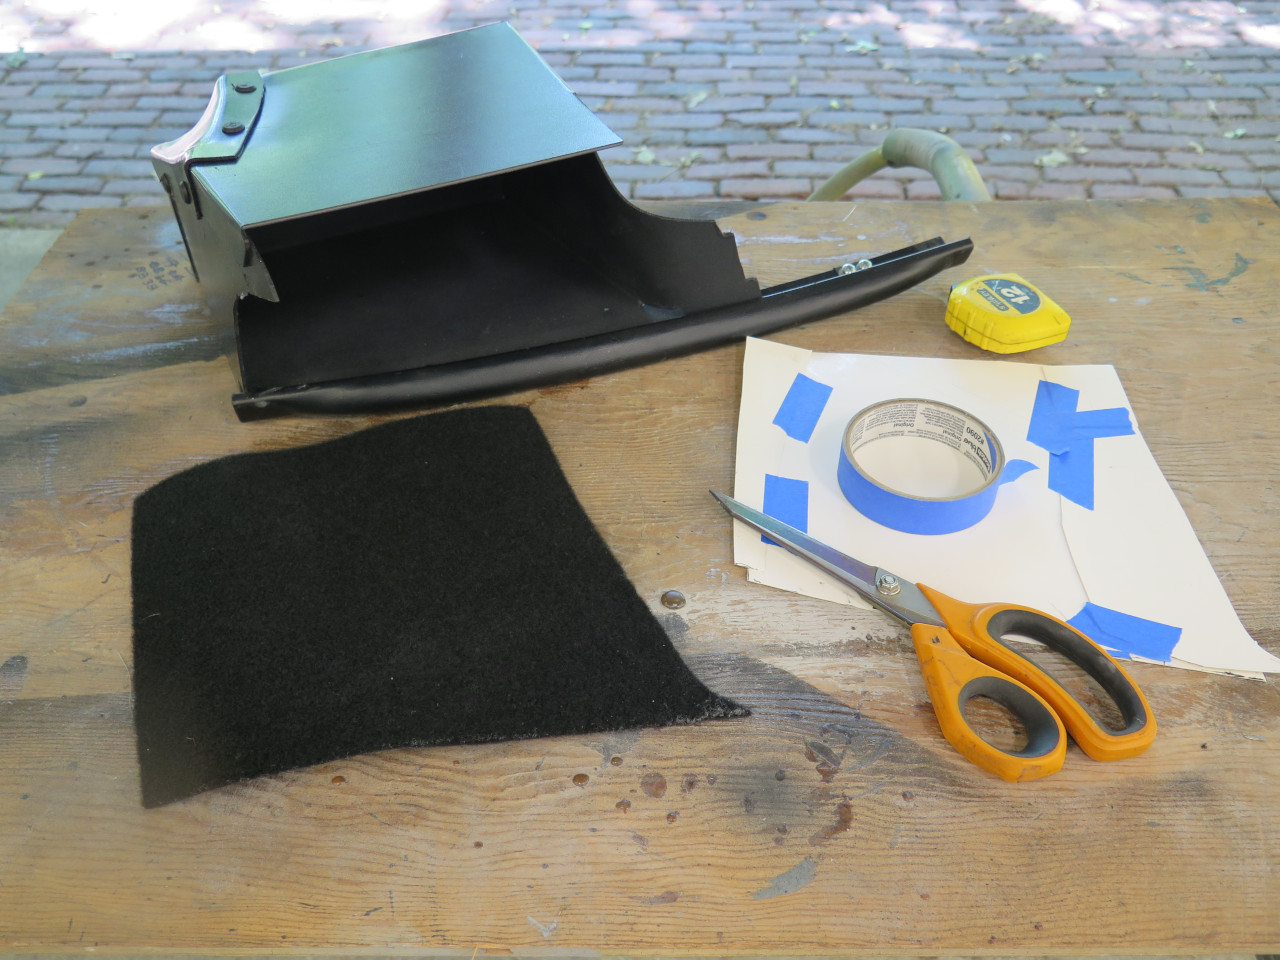
I began by taking inventory of what I had to work with. I had
carefully preserved the original ducts. The fresh air ducts were
in pretty bad shape.

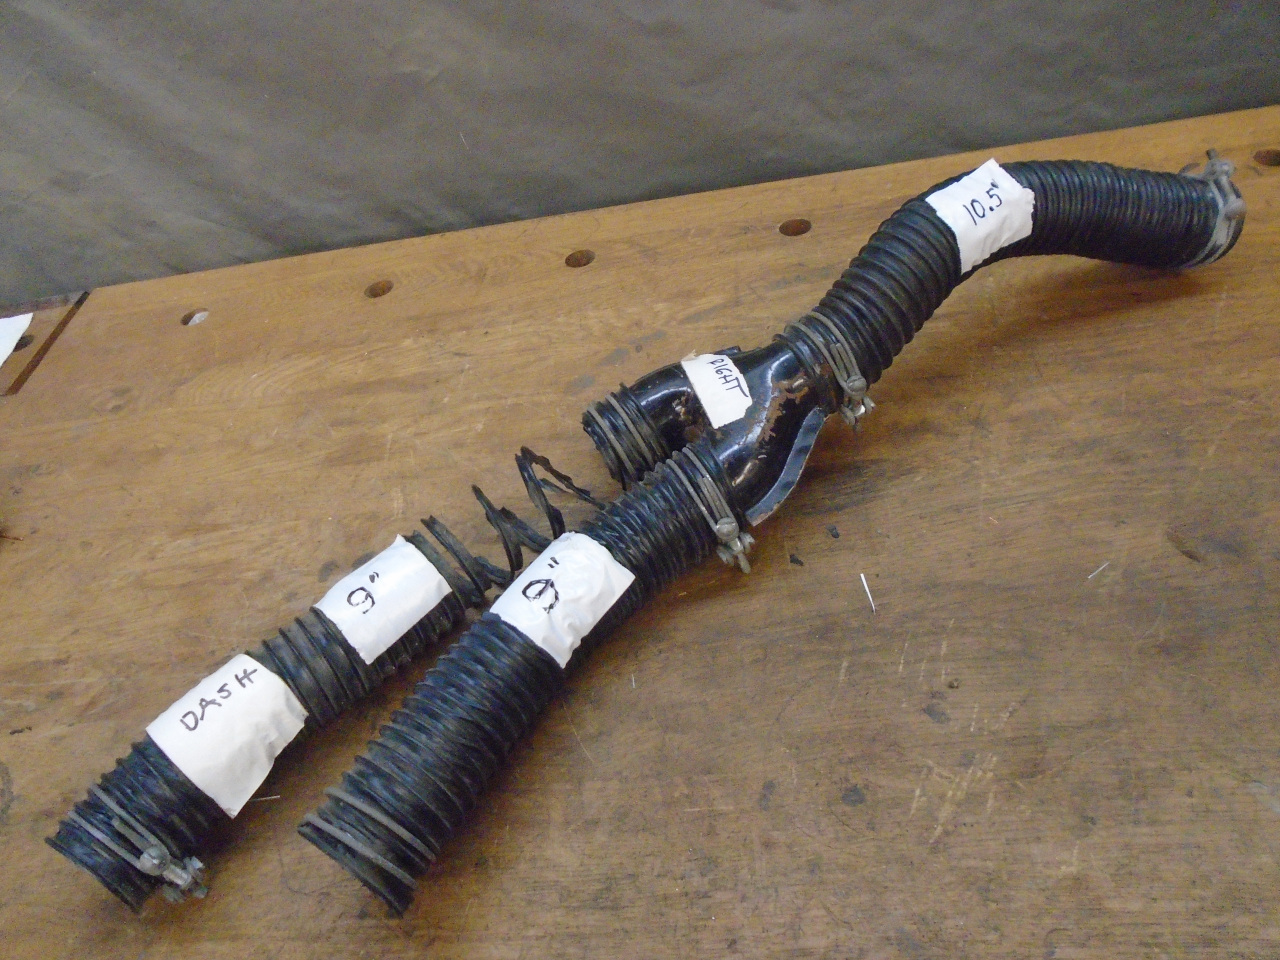

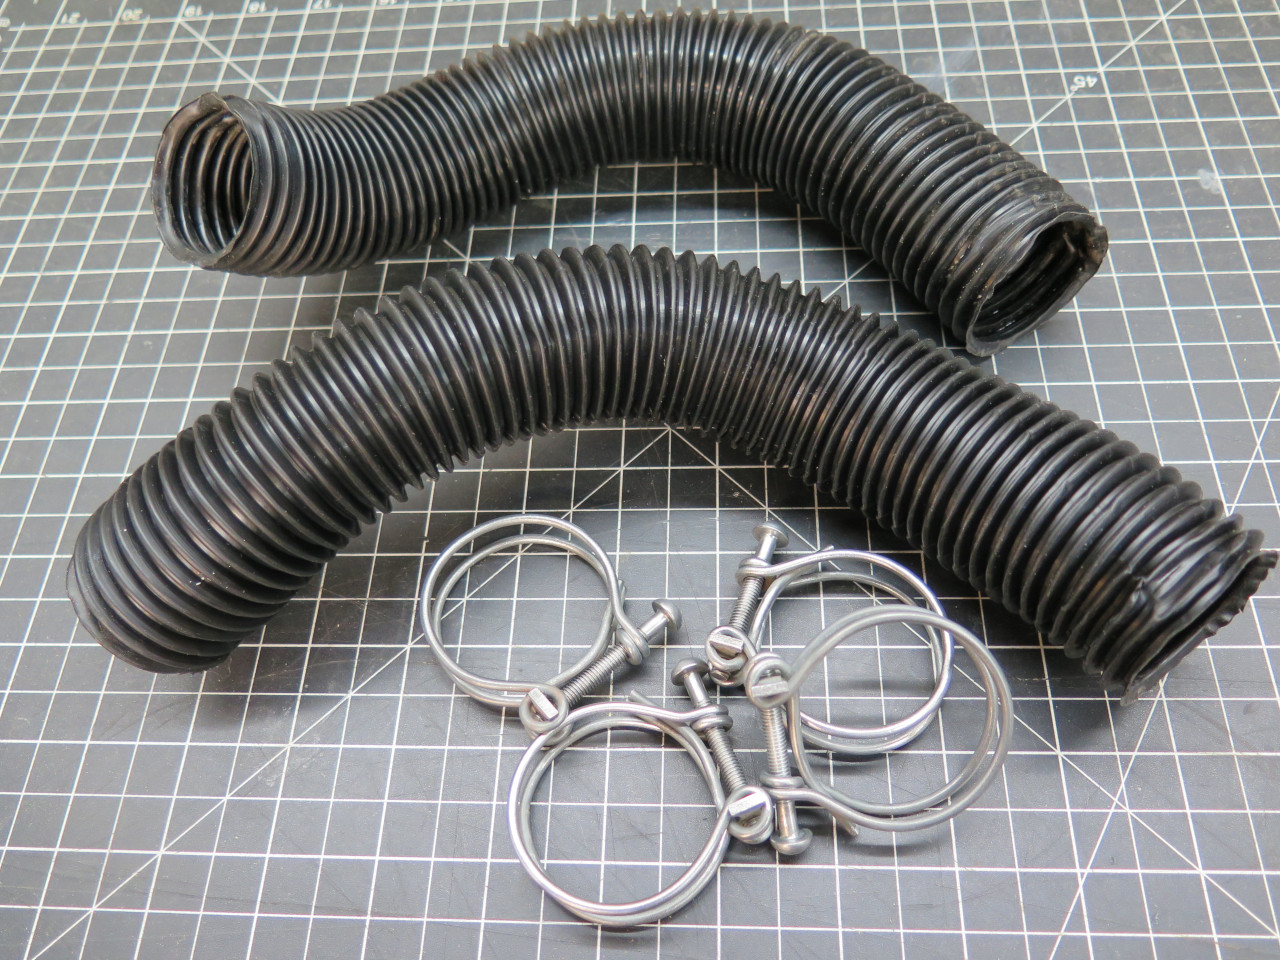
The defrost ducts on the other hand, were still usable, as were the
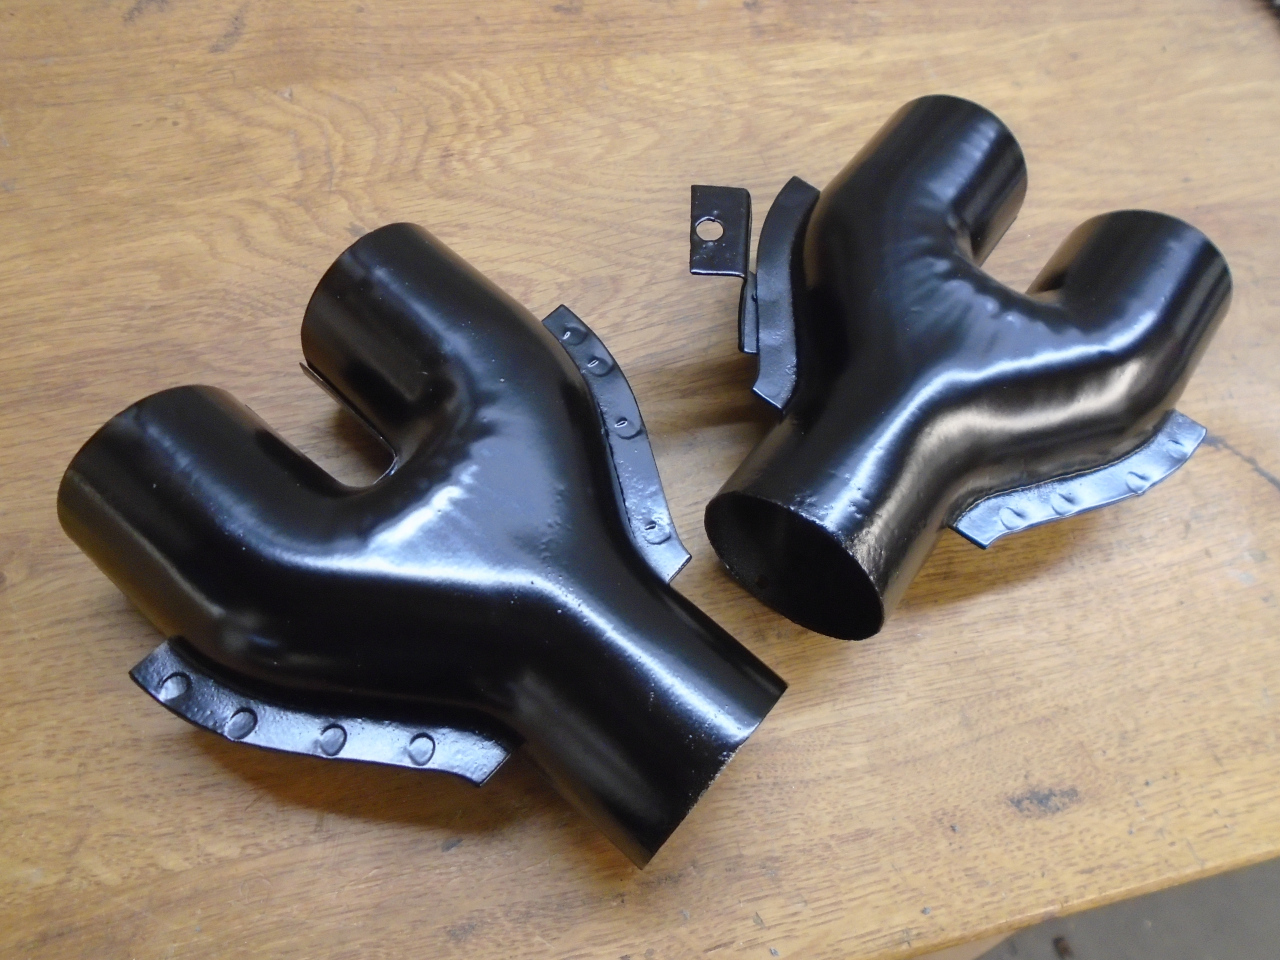
fresh air duct "Y" splitters, which got blasted and powder coated.
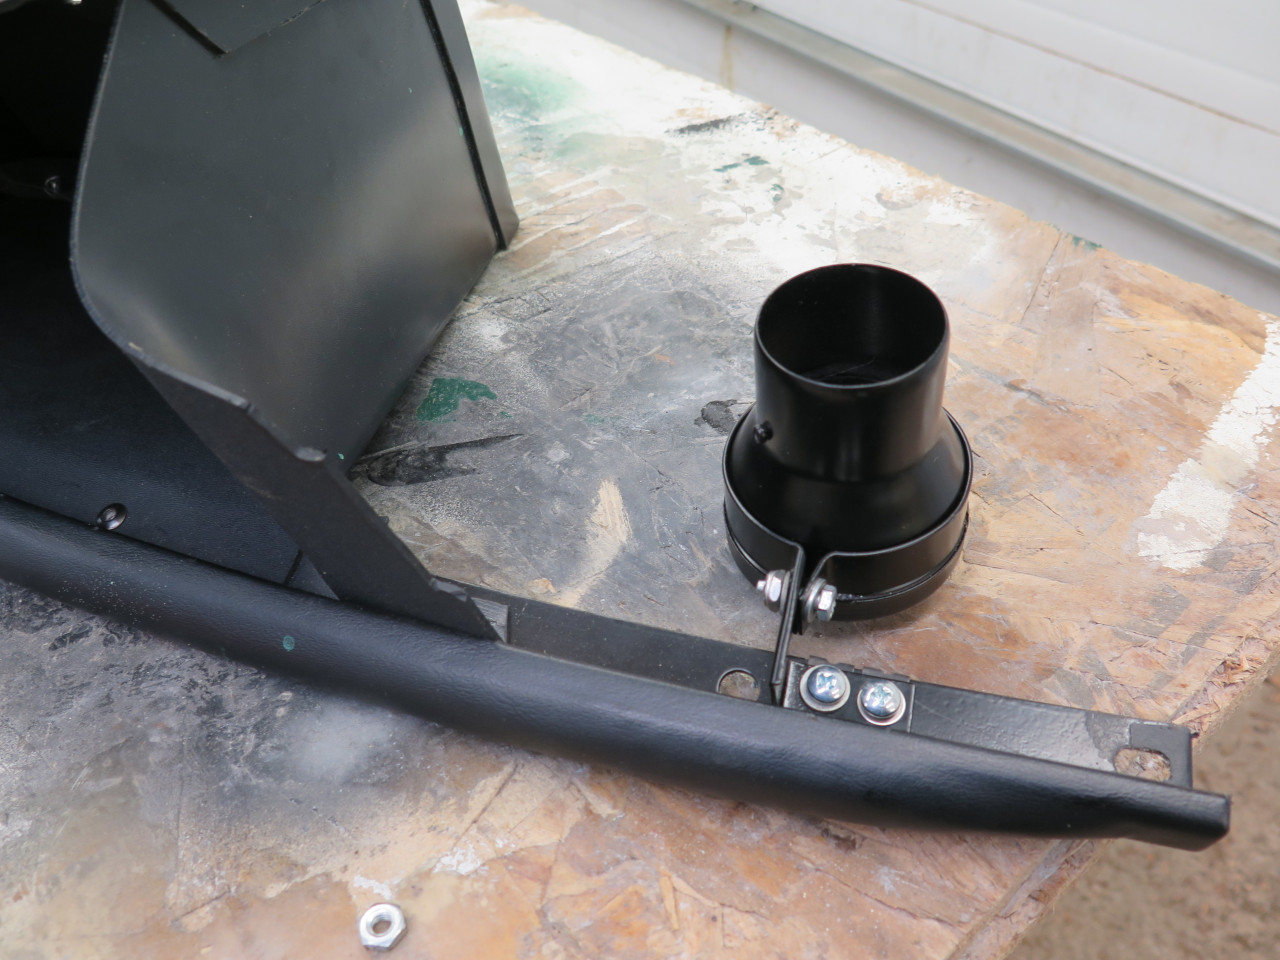
The right side splitter has a bracket that fixes to the heater box.
So, it was time to install the refurbed dash-top crash pad along with its defrost outlets.

The defrost ducts went home easily, though I don't seem to have a picture of them in place.
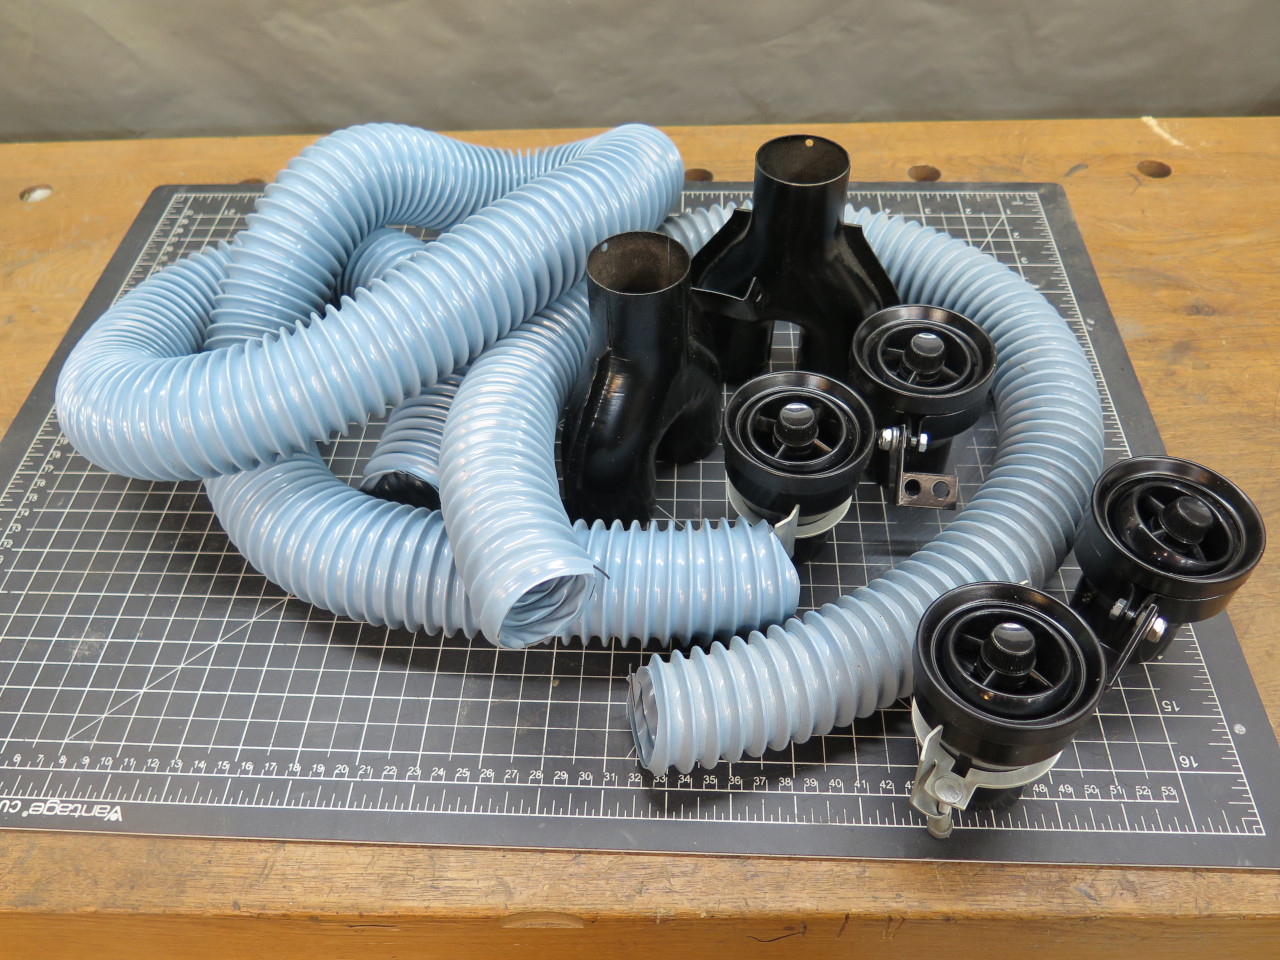
I gathered the components of the fresh air ducting system. The
replacement duct I bought is very flexible, and can be easily bent into a
compact "U" shape. This came in very handy, but it isn't black
like the original ducts. Considering where it lives, I don't see
this as a problem.
Then, tragedy struck. I hadn't noticed it before, but the clearance between the right side port and my trick gearbox tunnel was
too small. My tunnel in general is smaller than the original, but
apparently not in this location. After passing through most of
the stages of grief, I finally realized the tunnel had to come out for
some corrective surgery.

A day or two later:

Before running the ducts, I thought it wise to install the heater controls with their cables. I was able to clean up both Bowden cables, and a little graphite inside made them smooth as silk.

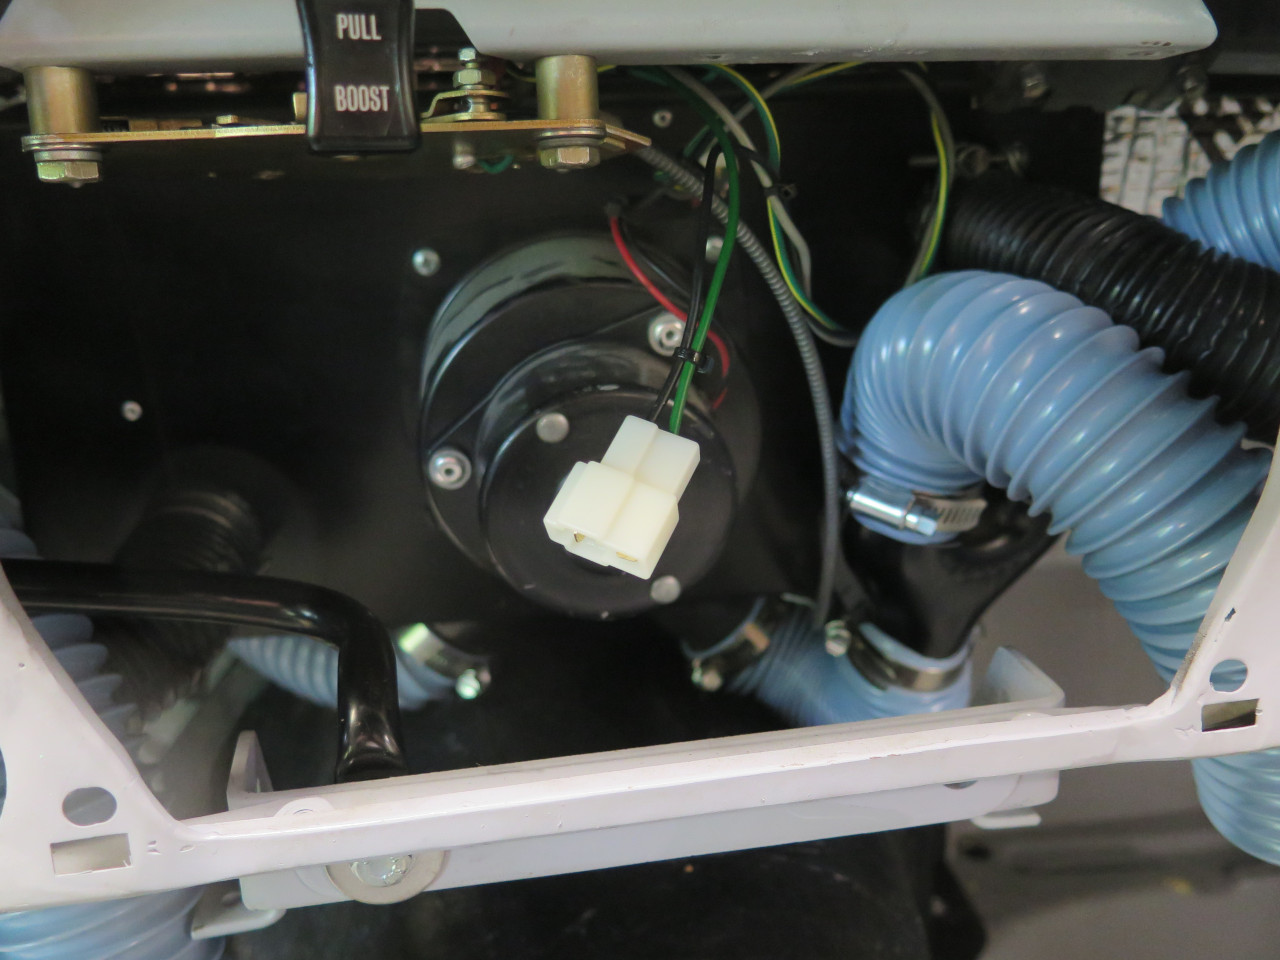
Part way through the duct install, I realized there was a little wiring
to do between the modified heater control and the heater. The
white connector is power for the heater fan.
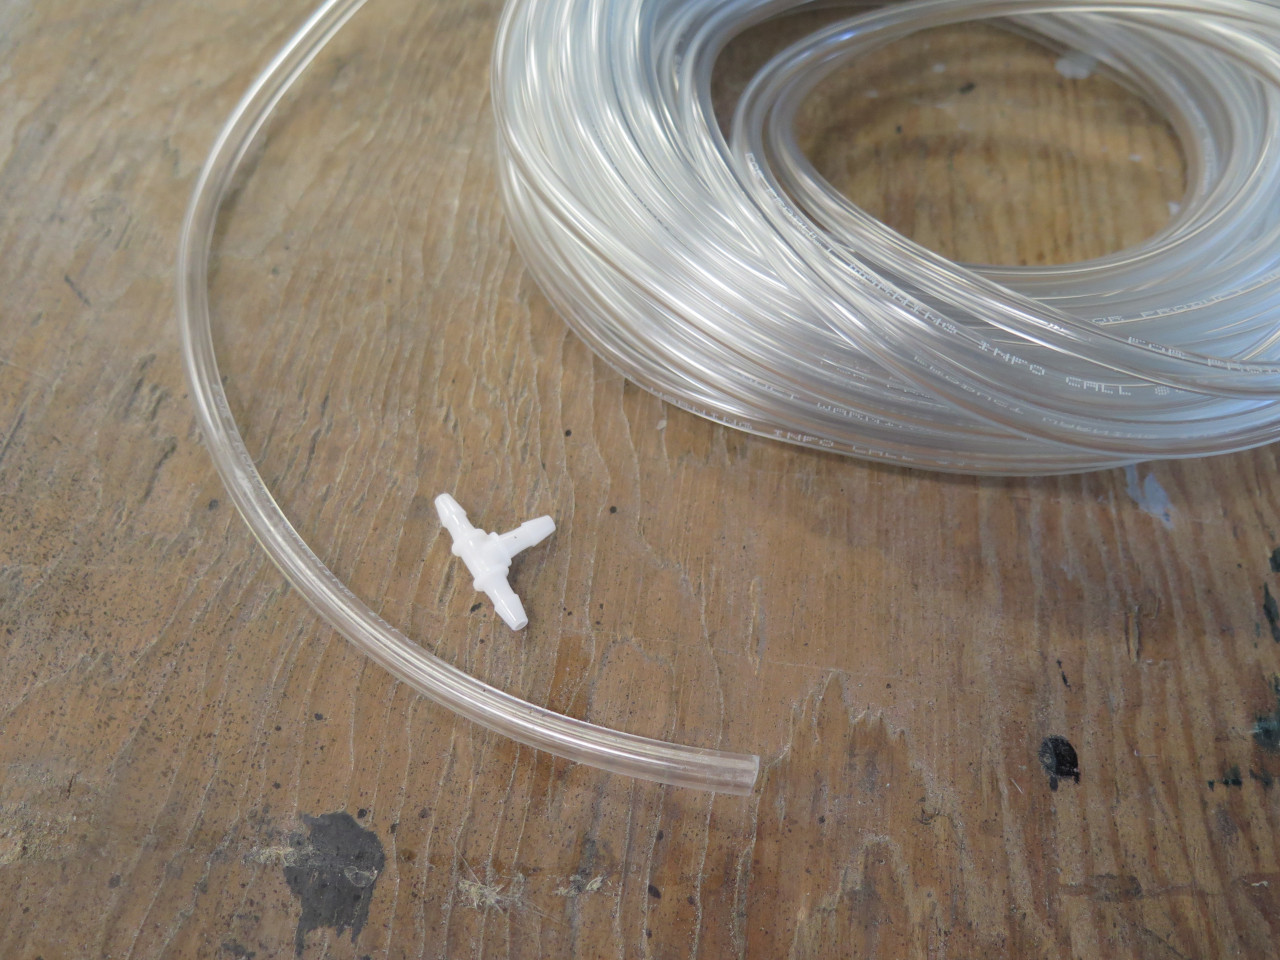
Oops. Should have run the screen washer tubing a little earlier.
When just starting this work, it becomes very clear that there is no
earthly way that all of that duct will fit behind the dash, while
leaving room for the two new parcel trays.

Speaking of the parcel trays, there was another small fly in the
ointment. I'm making some pretty substantial changes to the wiring
in this car, and I need a main cable to pass through the firewall just
behind the drivers side parcel tray, but the tray blocks the
opening. More surgery.


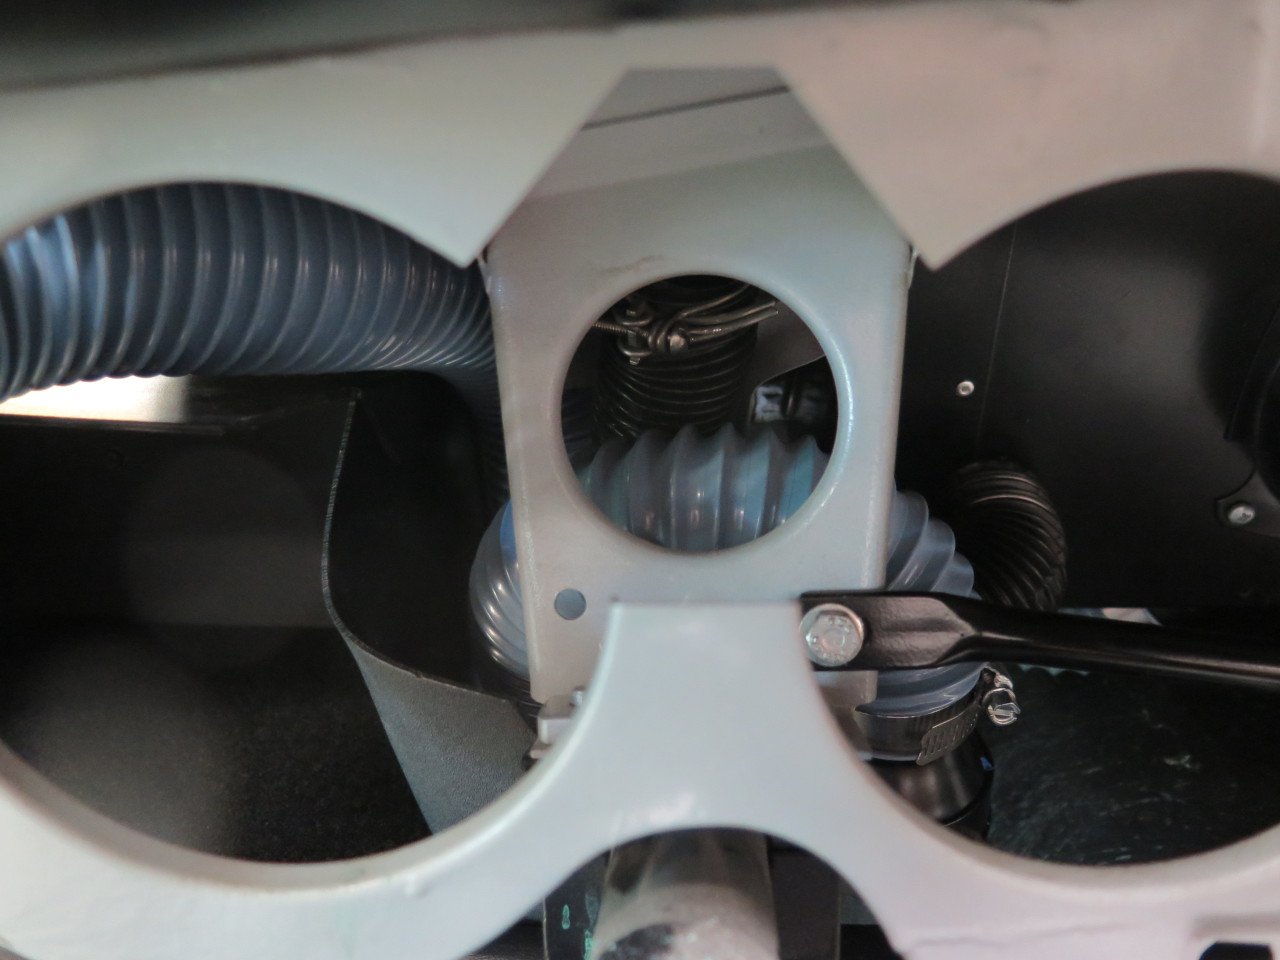
Then, the under-dash eyeball outlets
were fastened to the parcel tray struts. I'm not sure if the
vents were originally fastened to the top or bottom side of the struts,
but this seemed to work for me.

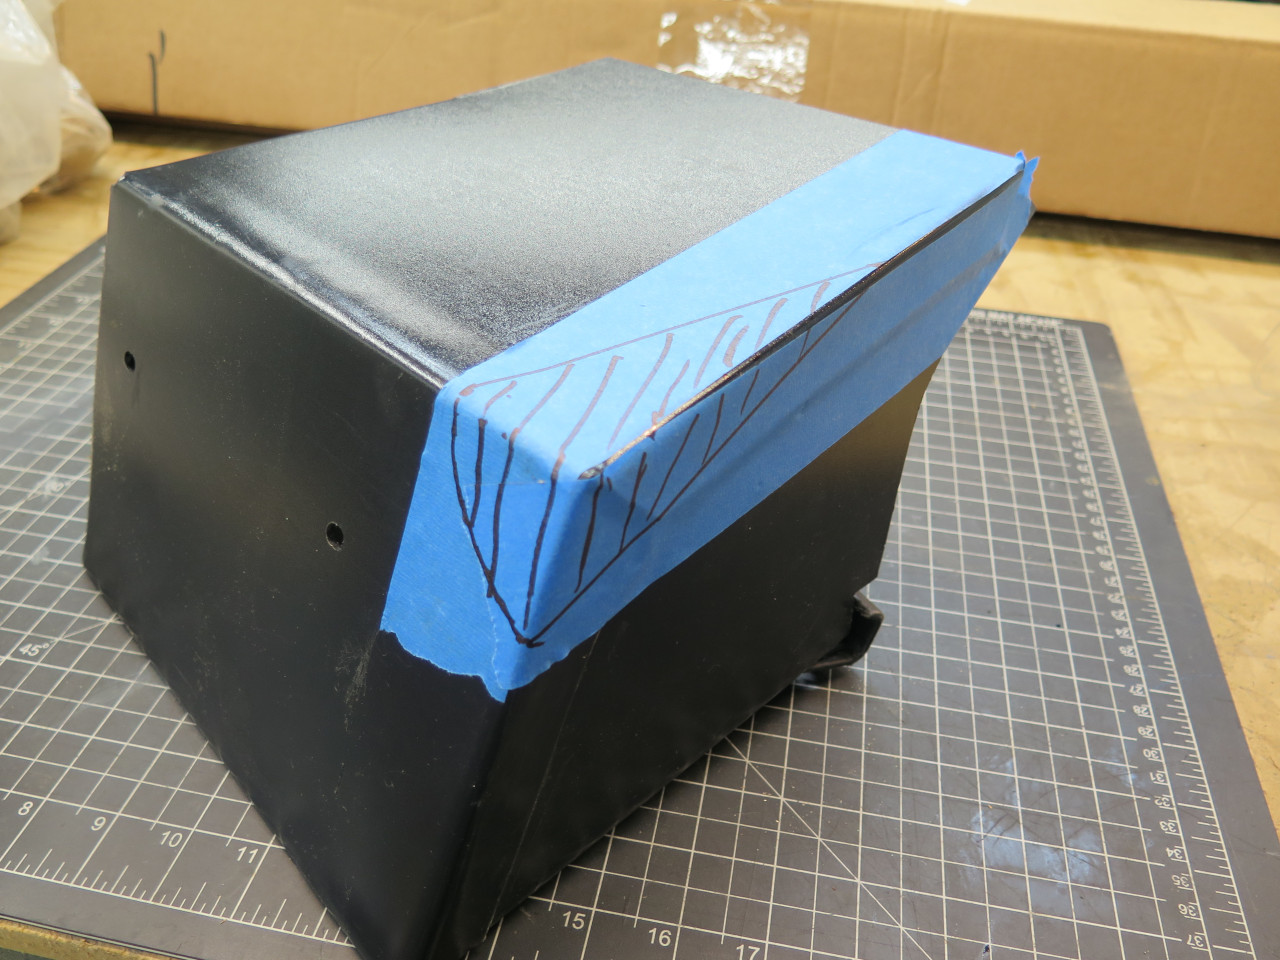
While the trays were out, I took the opportunity to put some thin
carpet-like material on their floors, to preserve the peace and quiet
inside the car.

Trays back in. Somehow.
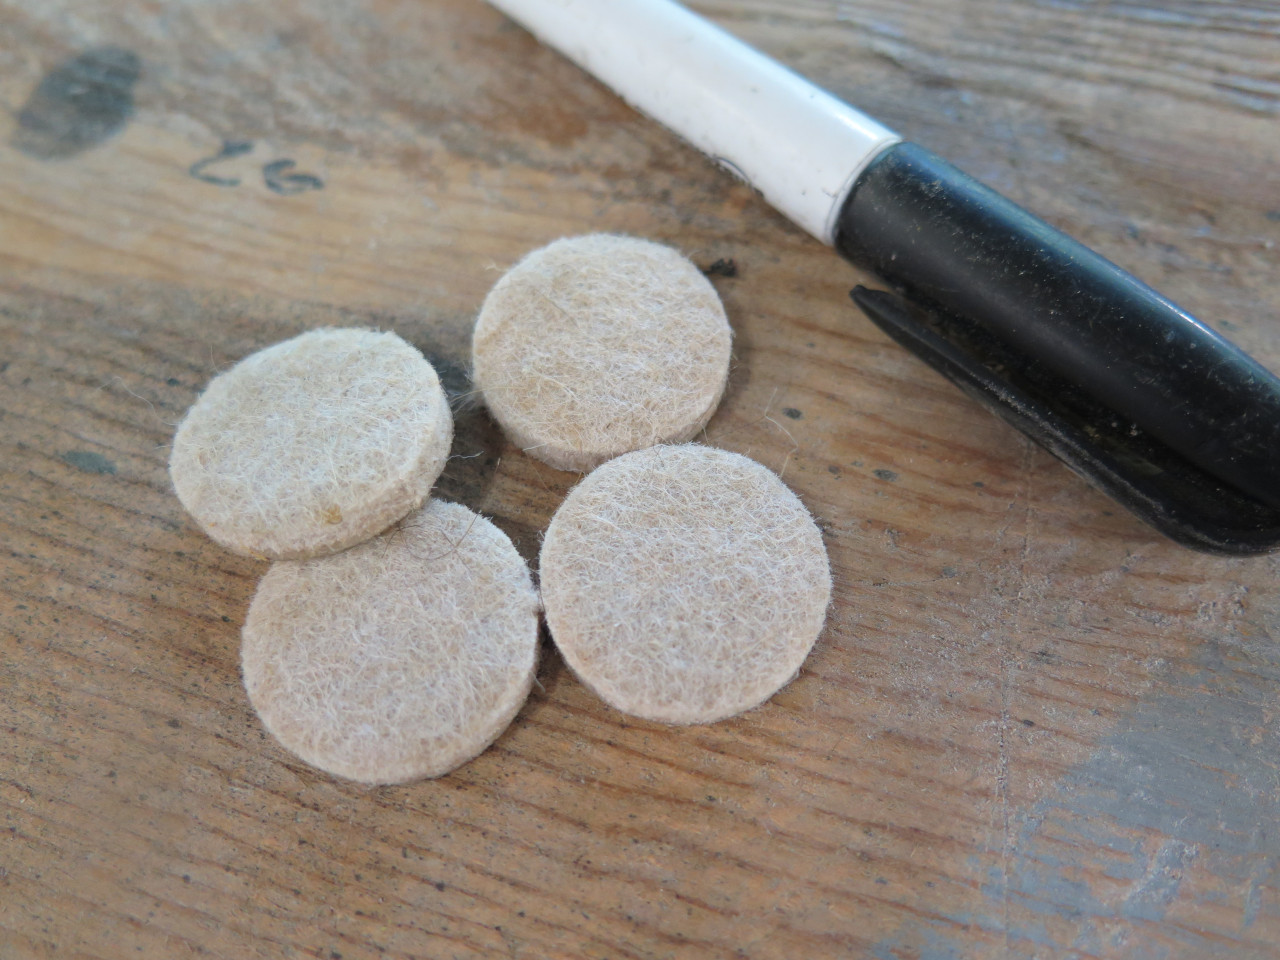
At this point, I spent some quality time under the dash thumping and
prodding, to find what was loose and could rattle against something
else. When I found something, I used a combination of zip ties and
these little felt stick-on pads to tighten everything up.
One last loose end to take care of--the connection of the temperature control cable to the "Four Seasons" heater valve.


This is one job that I'm glad is over. Cost was pretty low at around $50, mostly for the duct.
Comments to Ed at elhollin1@yahoo.com
To my other GT6 pages