To my other GT6 pages.
October 26, 2021
Dash Pad
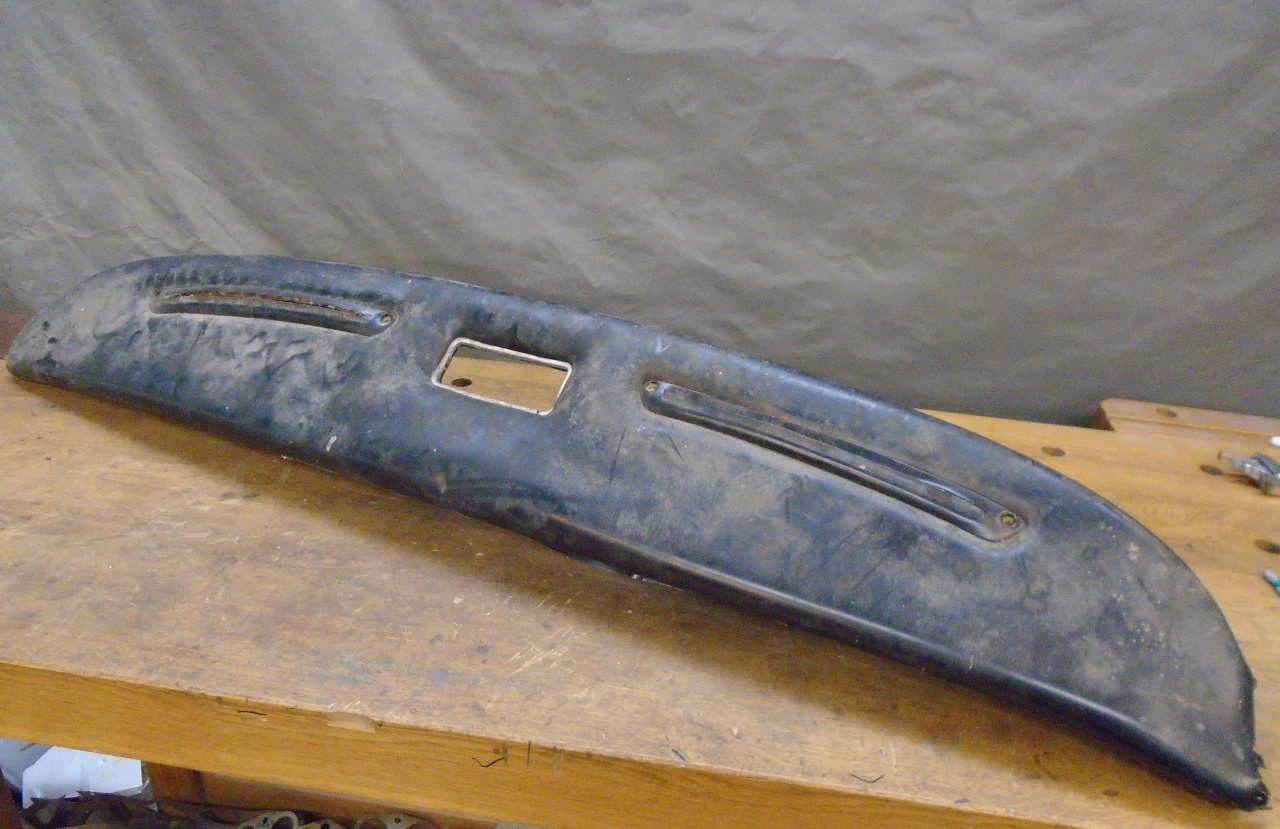
GT6 cars came with a padded topper for the dashboard. This might actually have been required by U.S. safety standards.
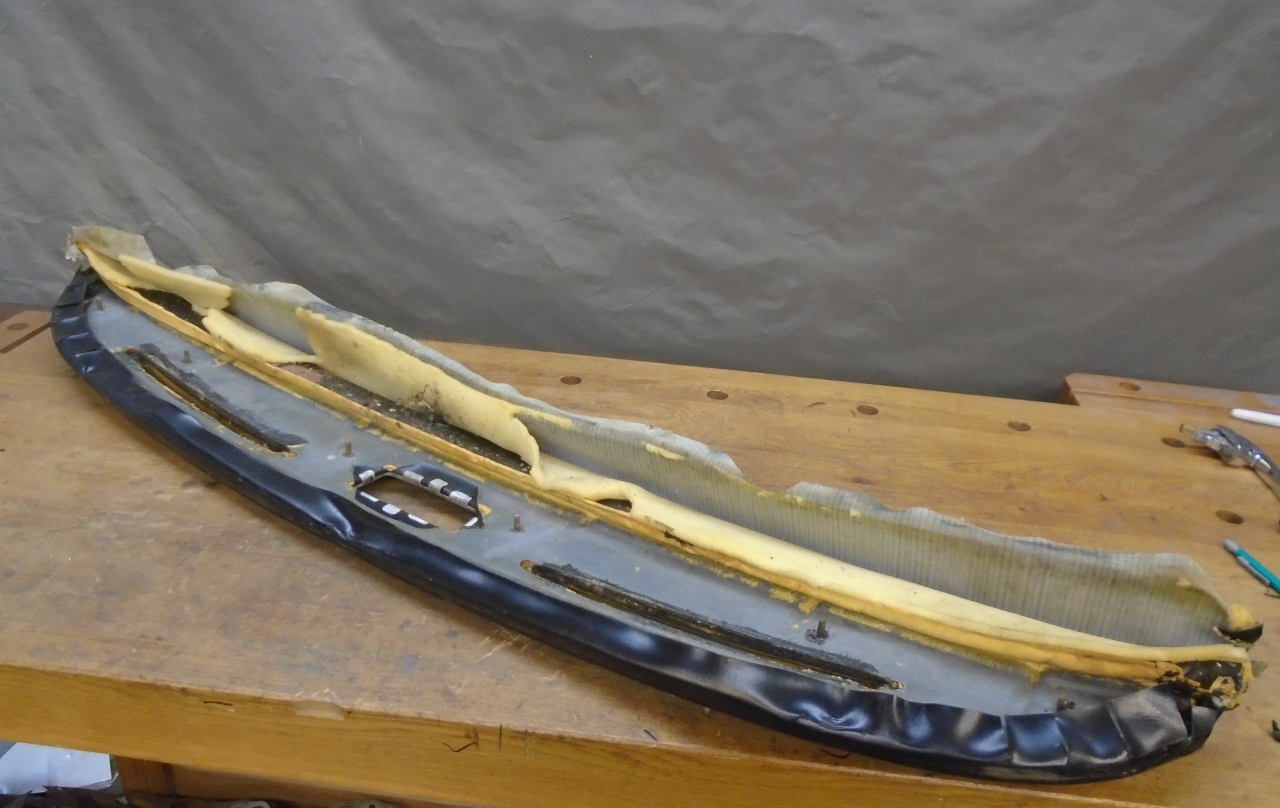
The pad consisted of a metal pan, covered with a molded foam layer,
which was in turn covered with a thin, grained vinyl surface. The
vinyl often didn't fare well over the years, being cooked in the hot
sun, and would get brittle and crack. This exposed the foam, which
was even more vulnerable to the elements.
When I pulled the dash pad out of the storage shed, I remembered right
away that I had recovered it way back in the 80s. To hide the
knackered original surface, I had filled the cracks with Bondo,
applied layer of soft 1/4" foam sheet, and then new vinyl. Even
now, 40 years later, it didn't look that bad, other than being dirty,
but I decided to re-do it anyway. The vinyl I used didn't have any
grain to speak of, and the foam made it look a little too "puffy".
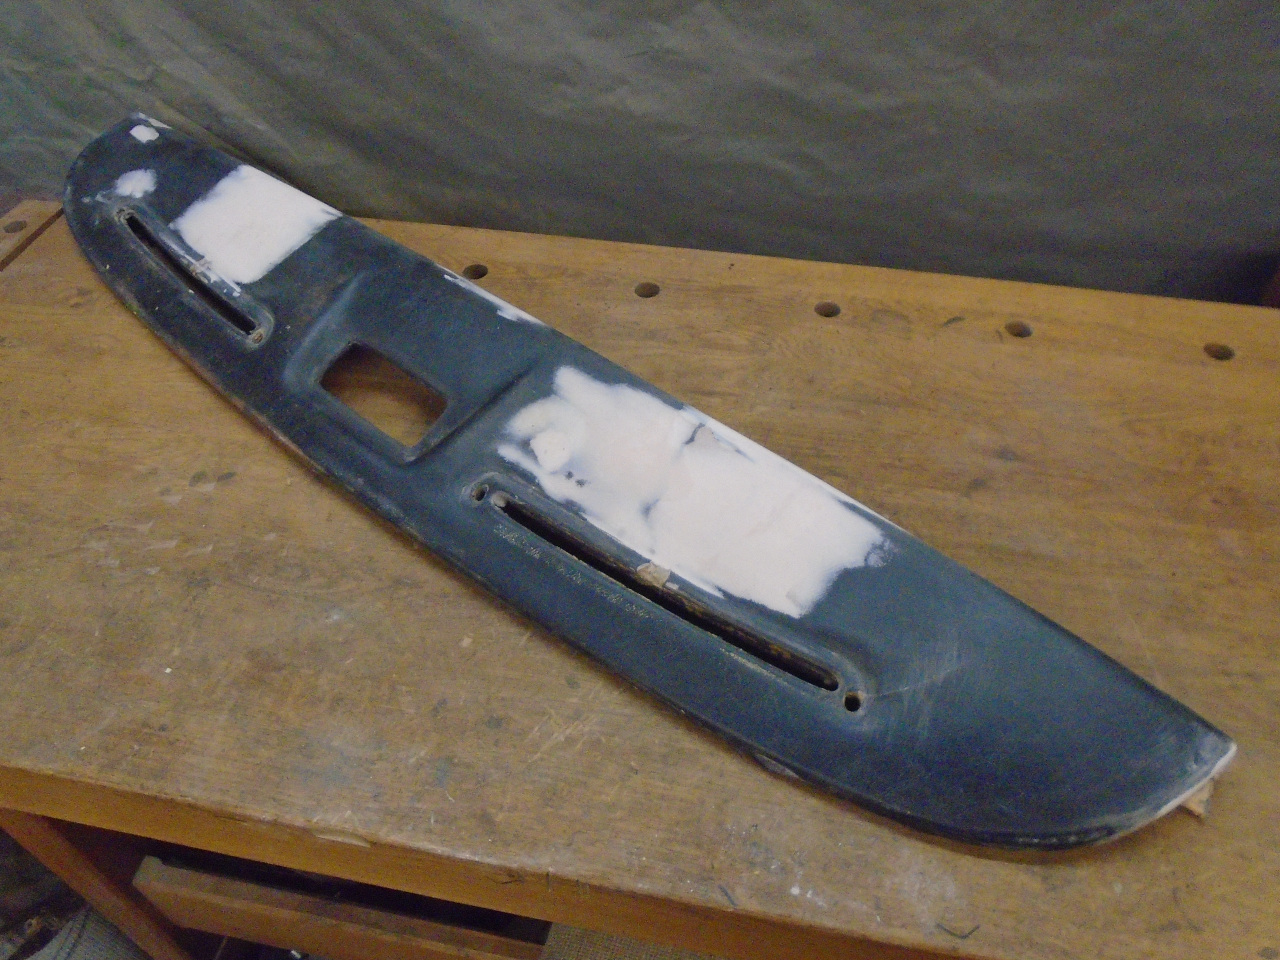
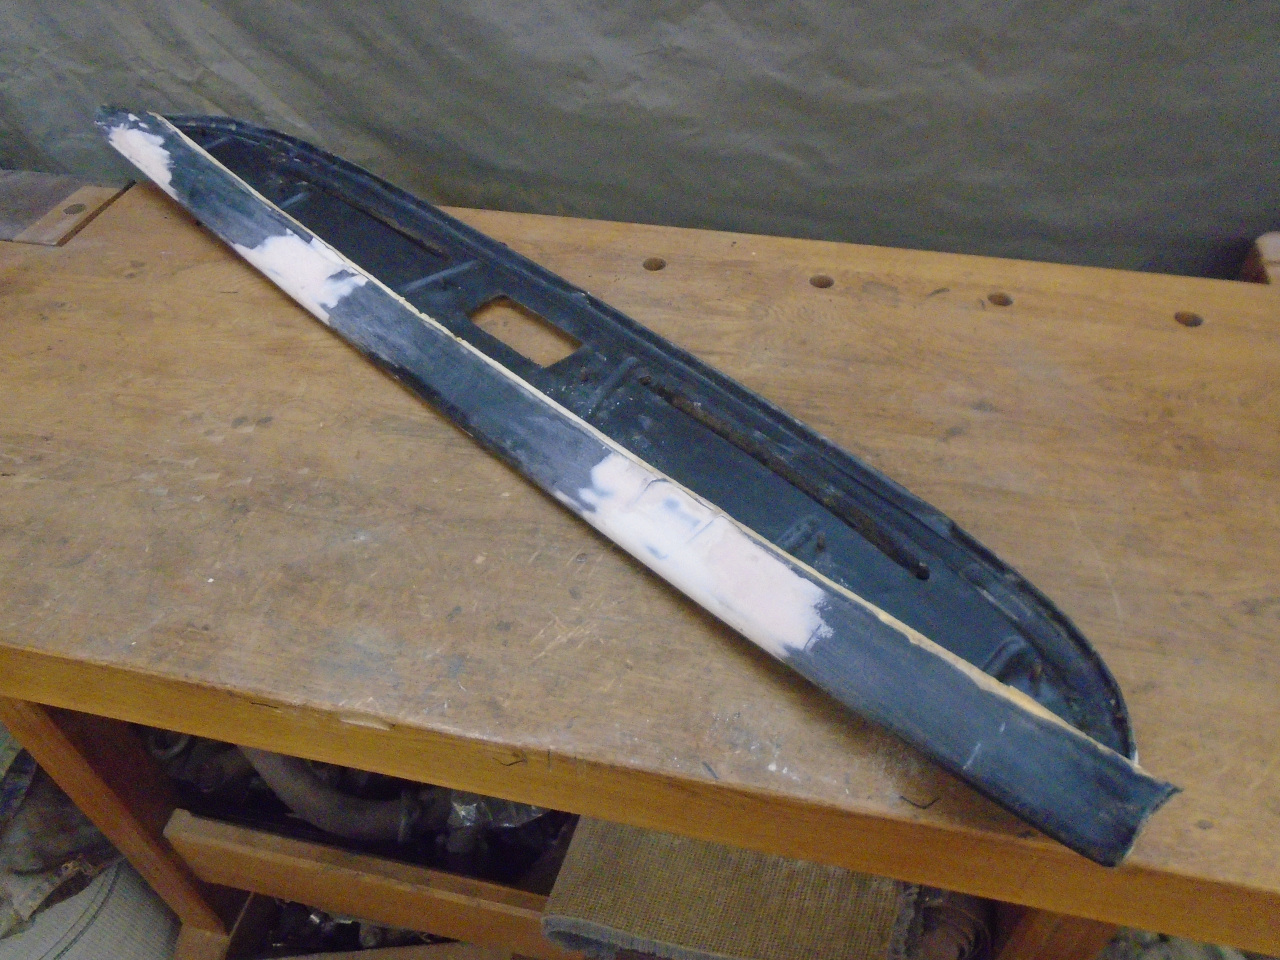
It appears that I didn't take a picture of the damage on the original
pad, but it was basically large cracks with missing vinyl that extended
from the de-mister vents all the way to the edge of the pad. My
Bondo repair was sort of holding, bit it was separated a little at the
edges of the cracks. I couldn't think of anything that would
likely work better than the Bondo, so I put some more on, this time
lapping well onto the intact vinyl.
For the new covering, I decided to use one of the vinyl wrap
products. These are sheets of thin, un-backed, self-adhesive
vinyl. They come in a wide range of colors and textures.
They are stable in outdoor environments, and there is even an industry
using it to cover the exterior of entire cars.
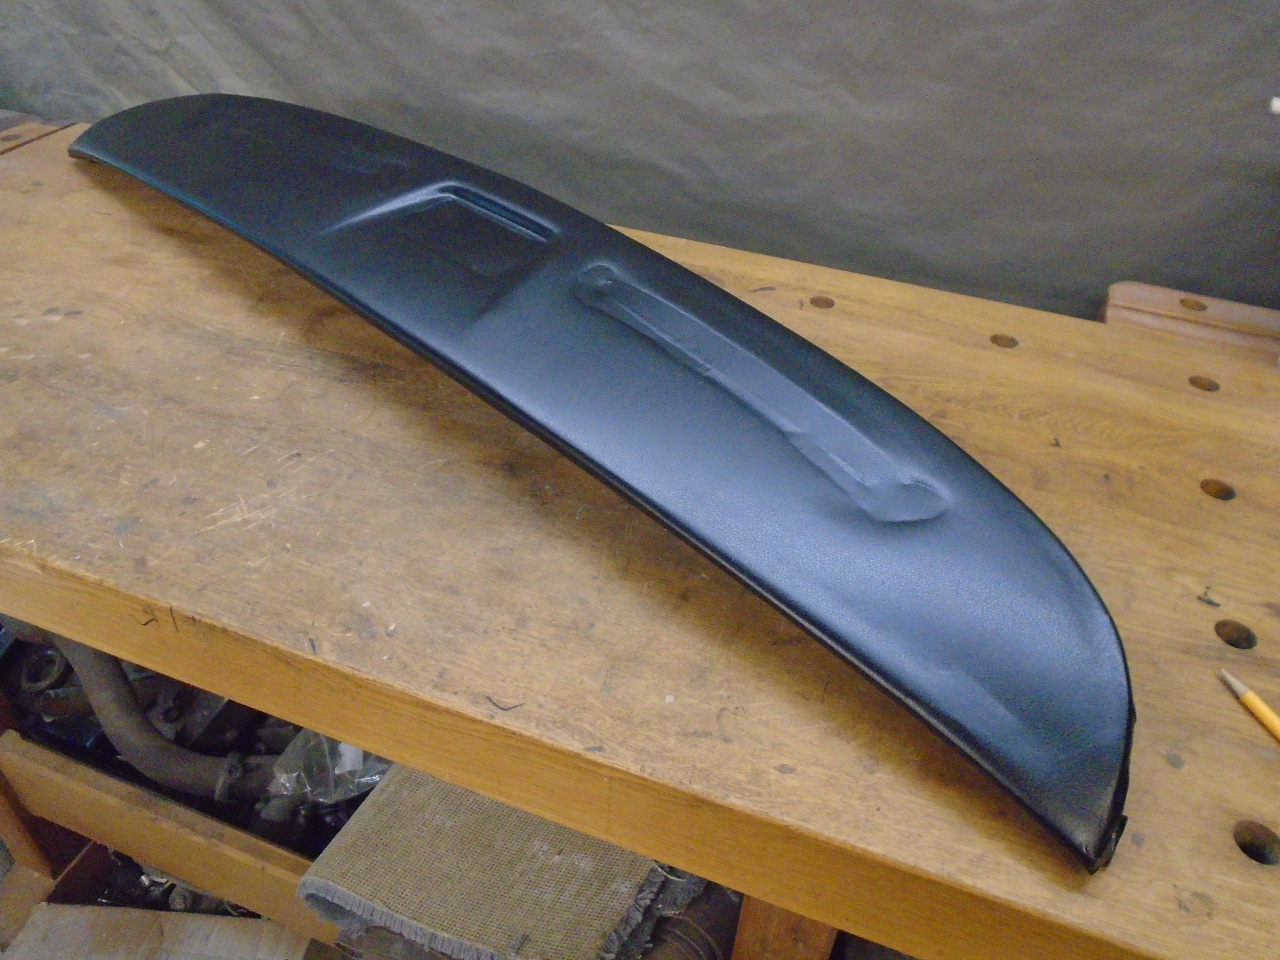
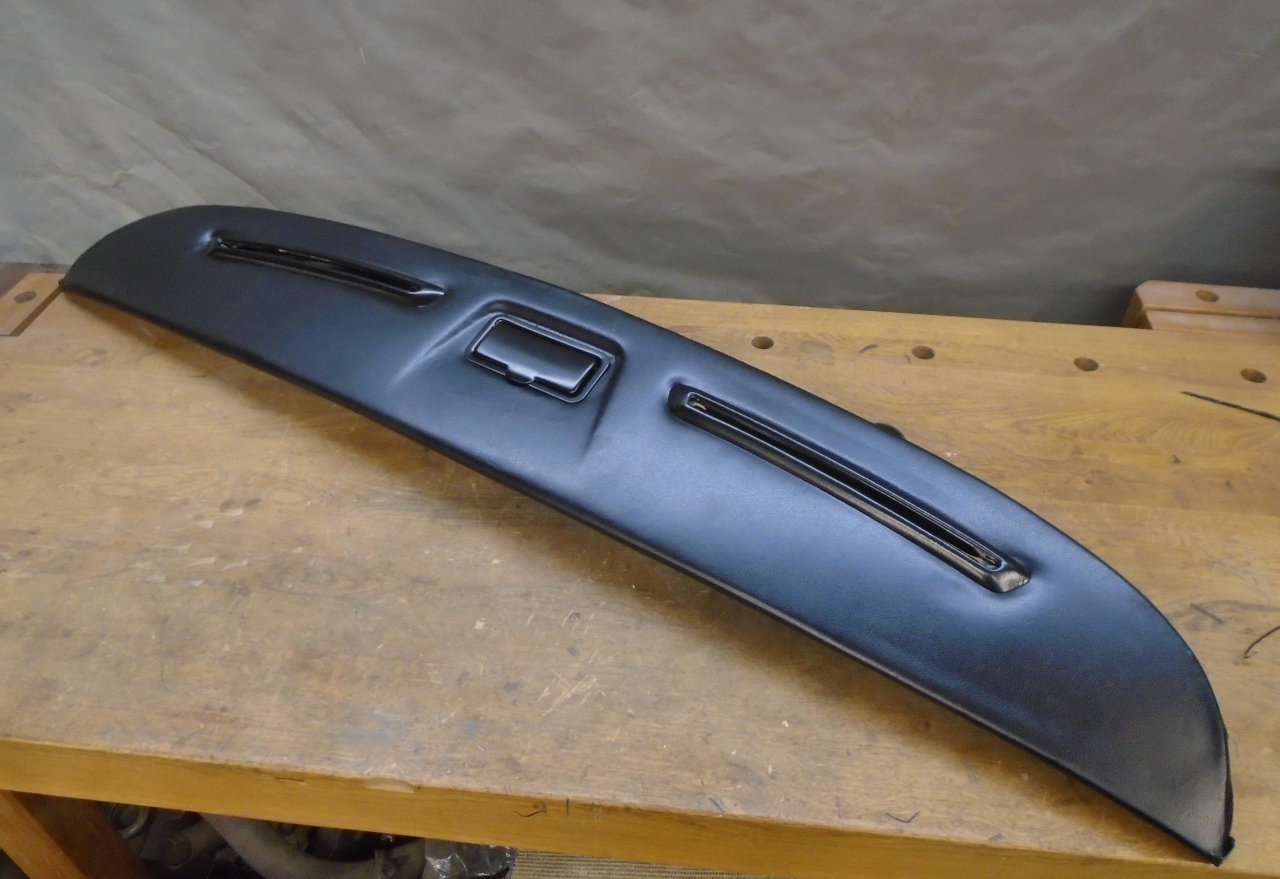
This is after applying the wrap, but before cutting any of the
openings. The material is pretty stretchy, especially when
heated. It conforms and sticks to fairly complex shapes.
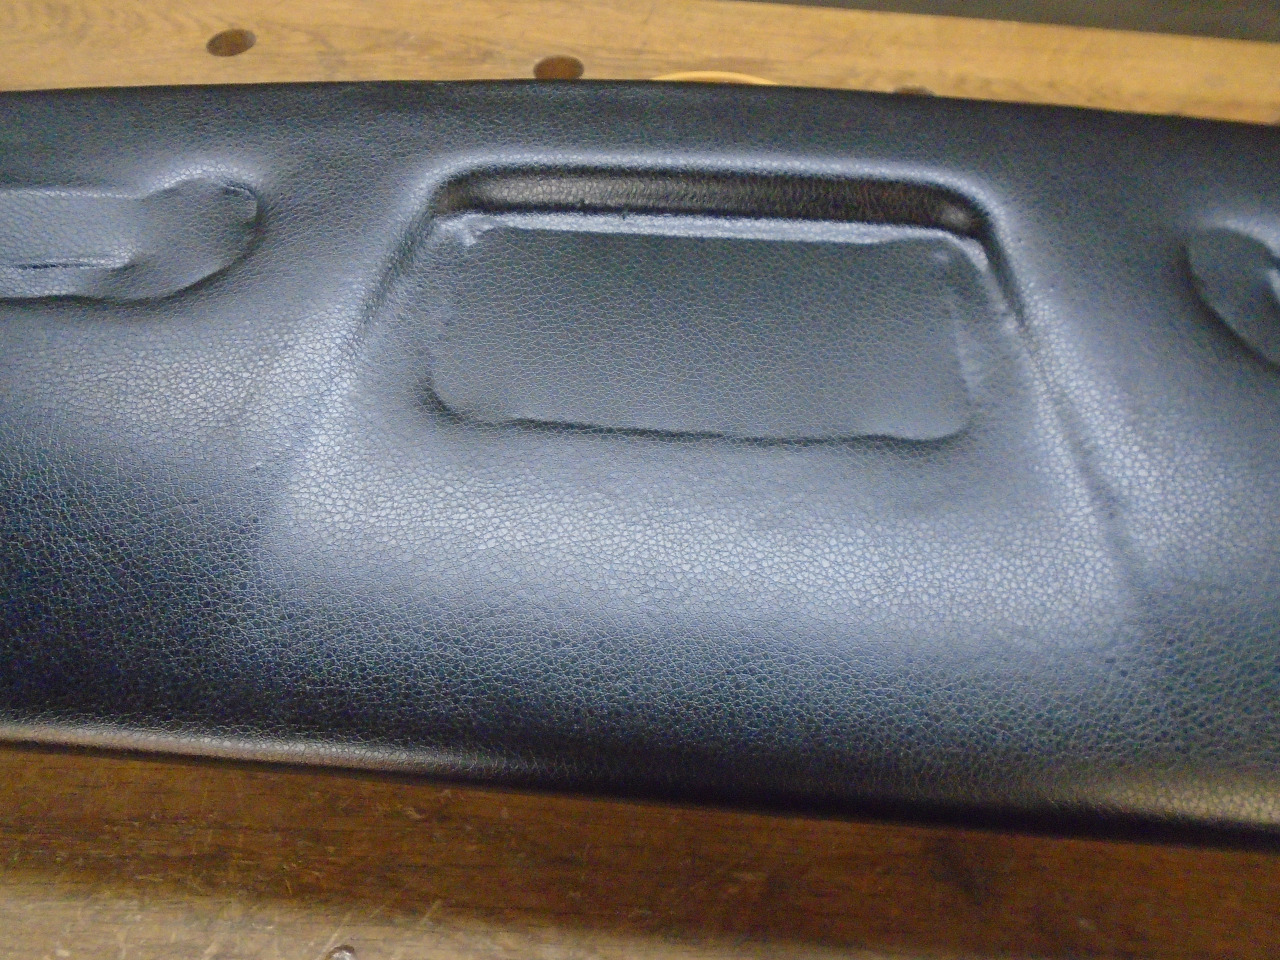
However, because it's so thin and conforms to surfaces so well, the
surface has to be near perfect. There is a slight crease in the
lower part of the pad in the first picture below. This was in the
original part, but I couldn't see it until the wrap was on. I'm
calling it character.
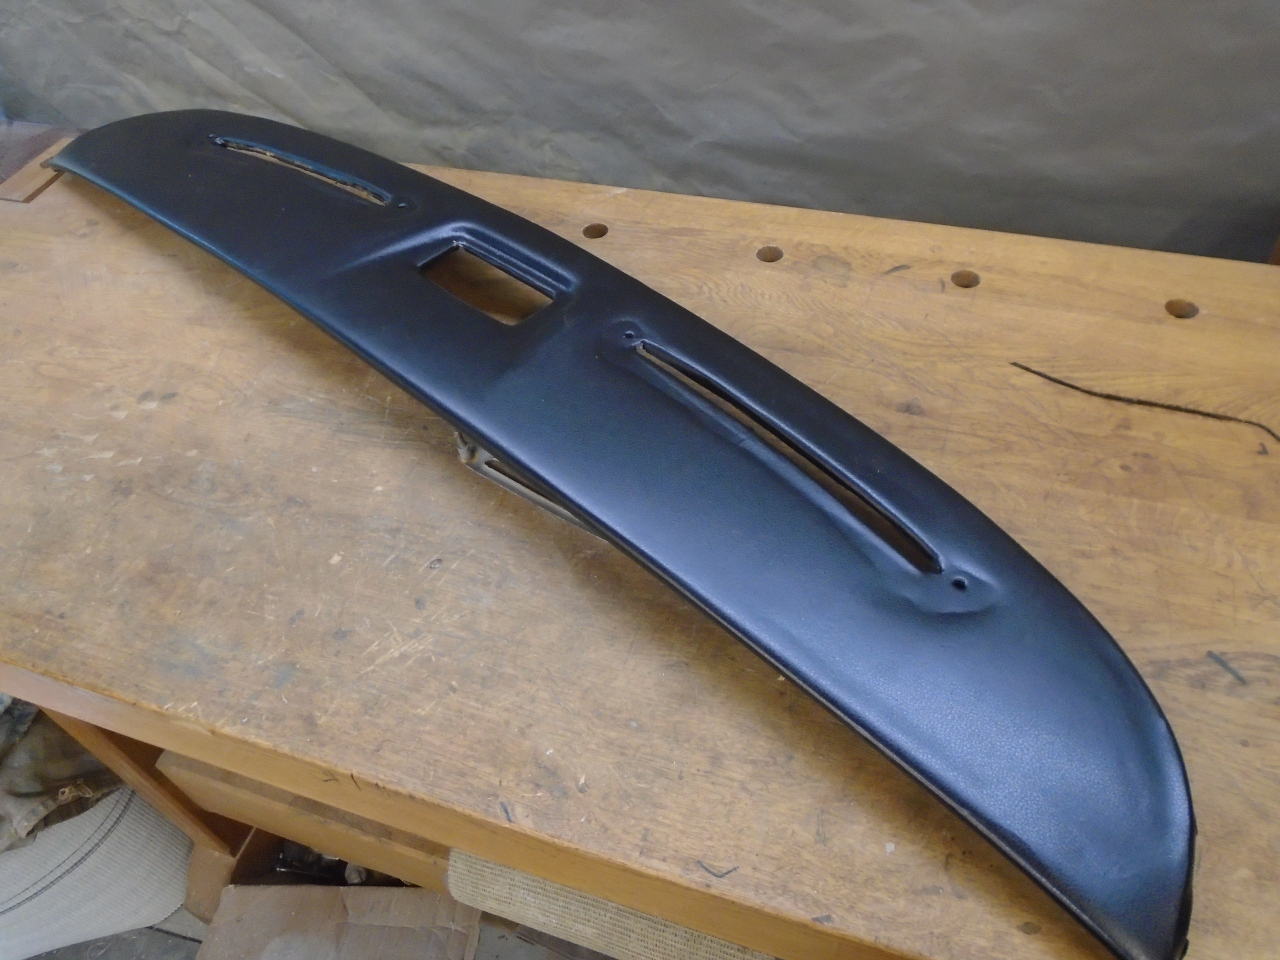
After cutting the penetrations.
I felt I was on a roll with this project, so I decided to stick with it
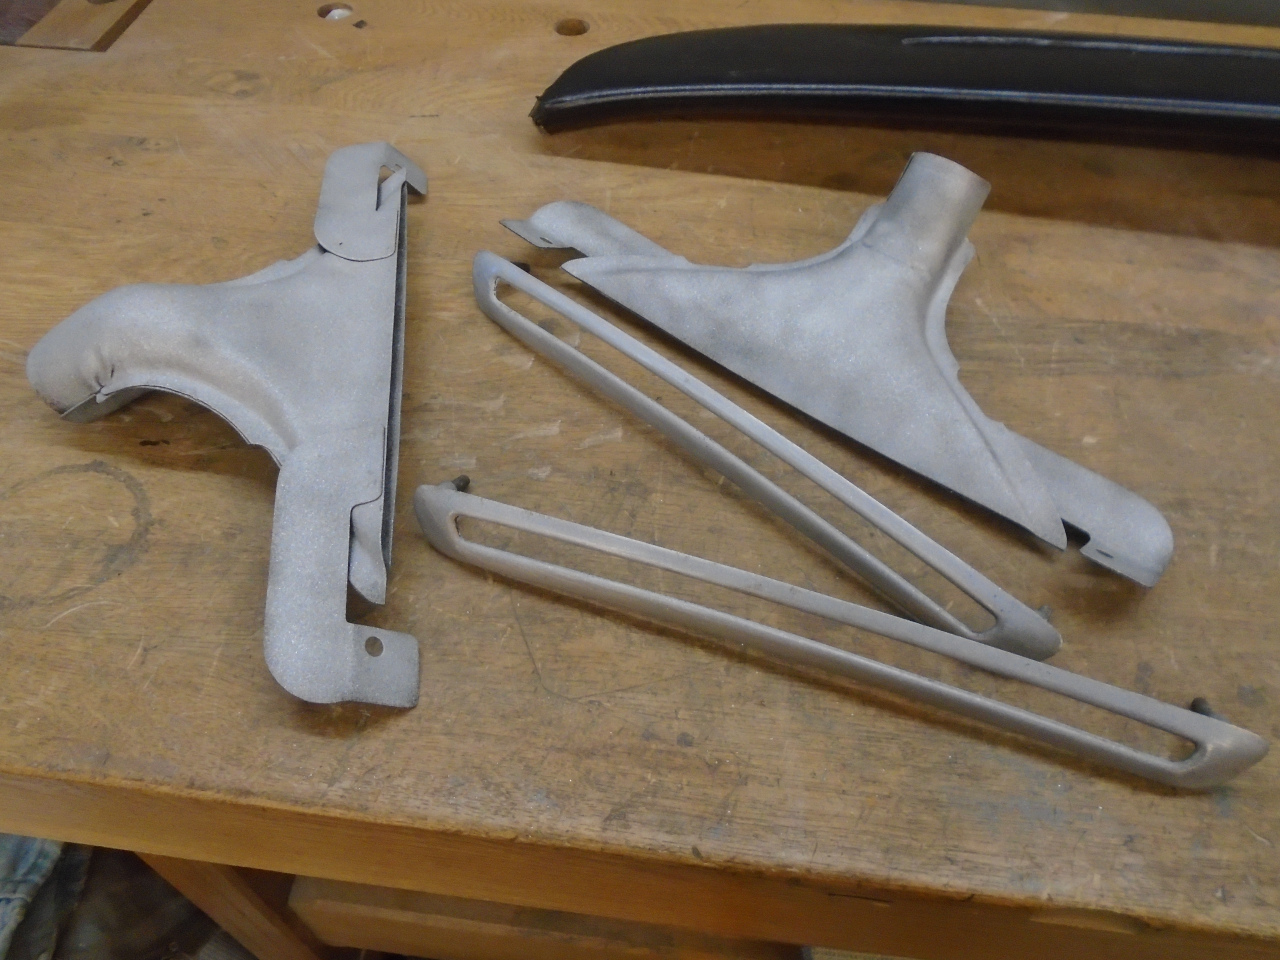
and address some of the bits and pieces that go into the pad.
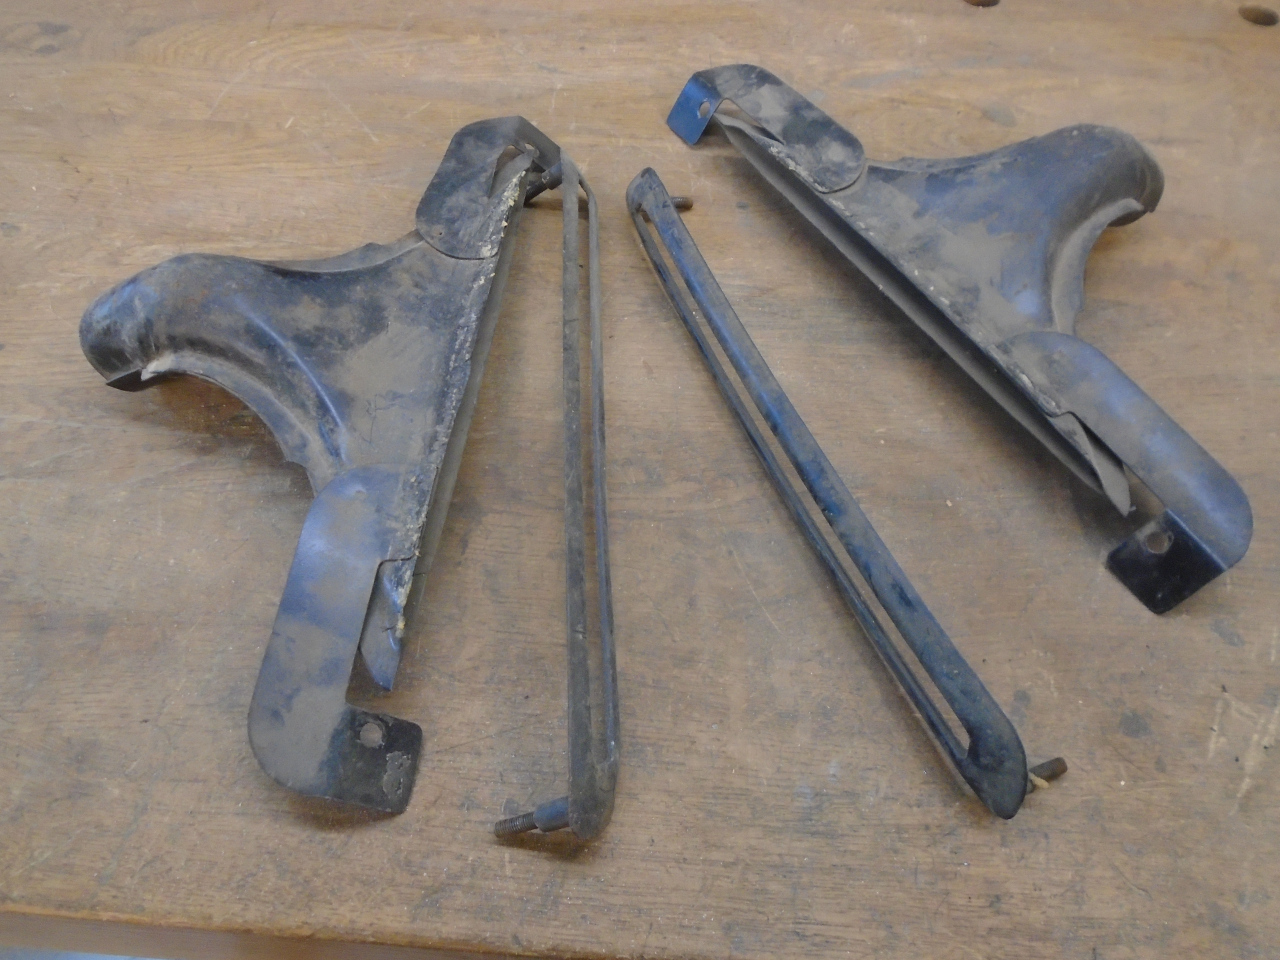
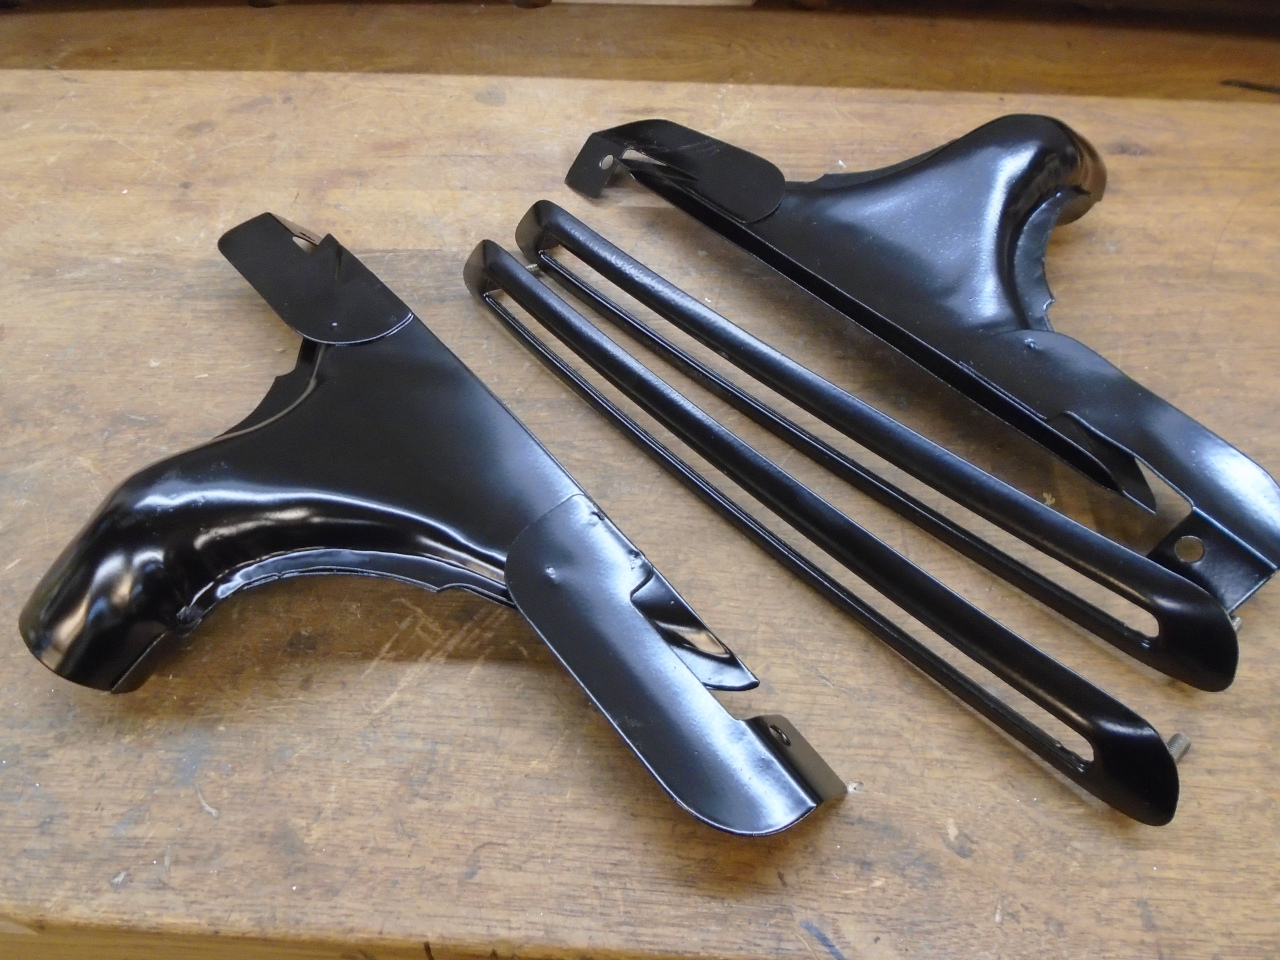
These are the demister vents (defroster for Yanks). A quick sand
blast and some powder coat made them more presentable.
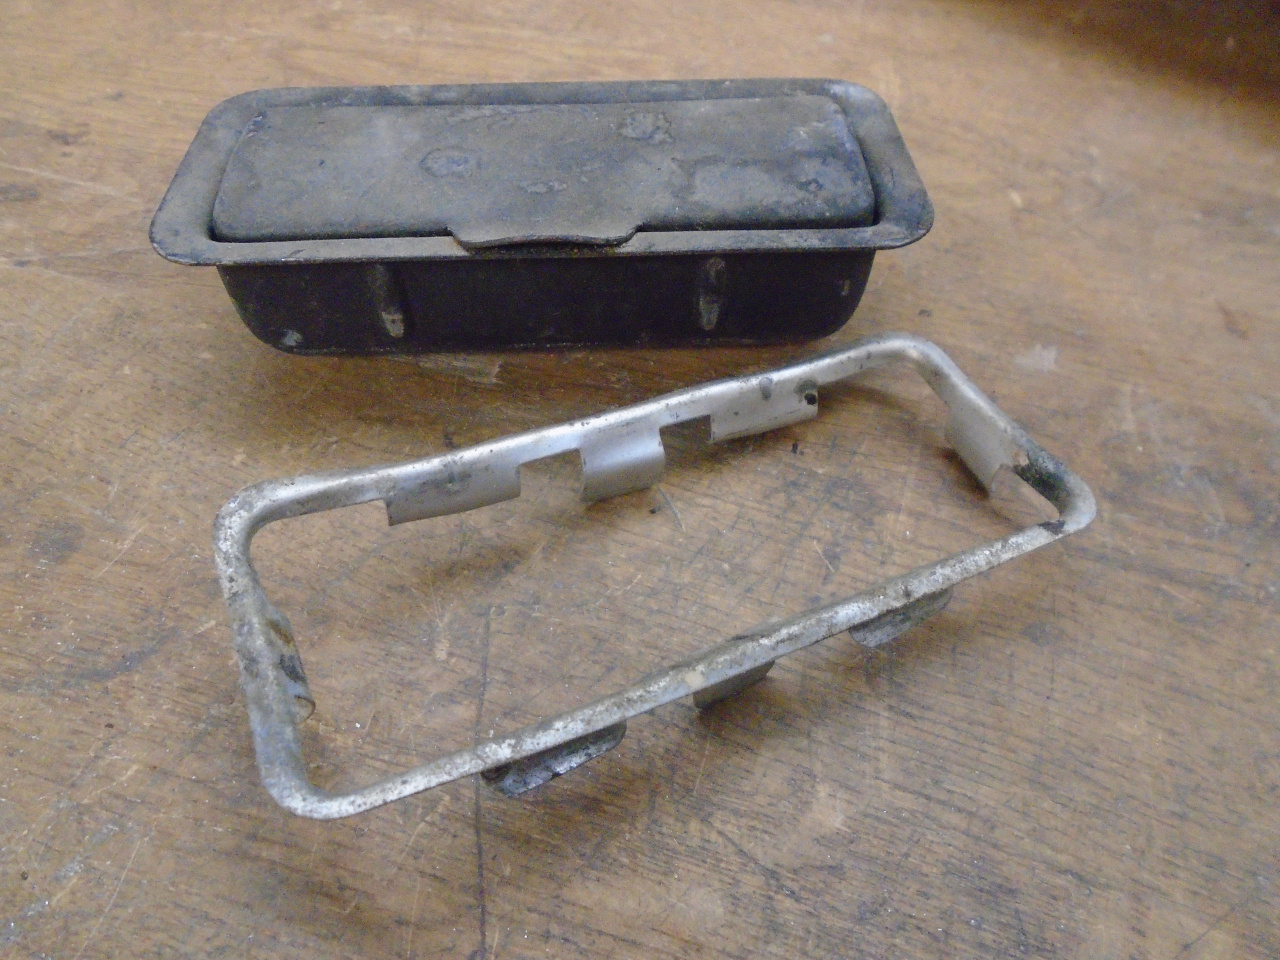
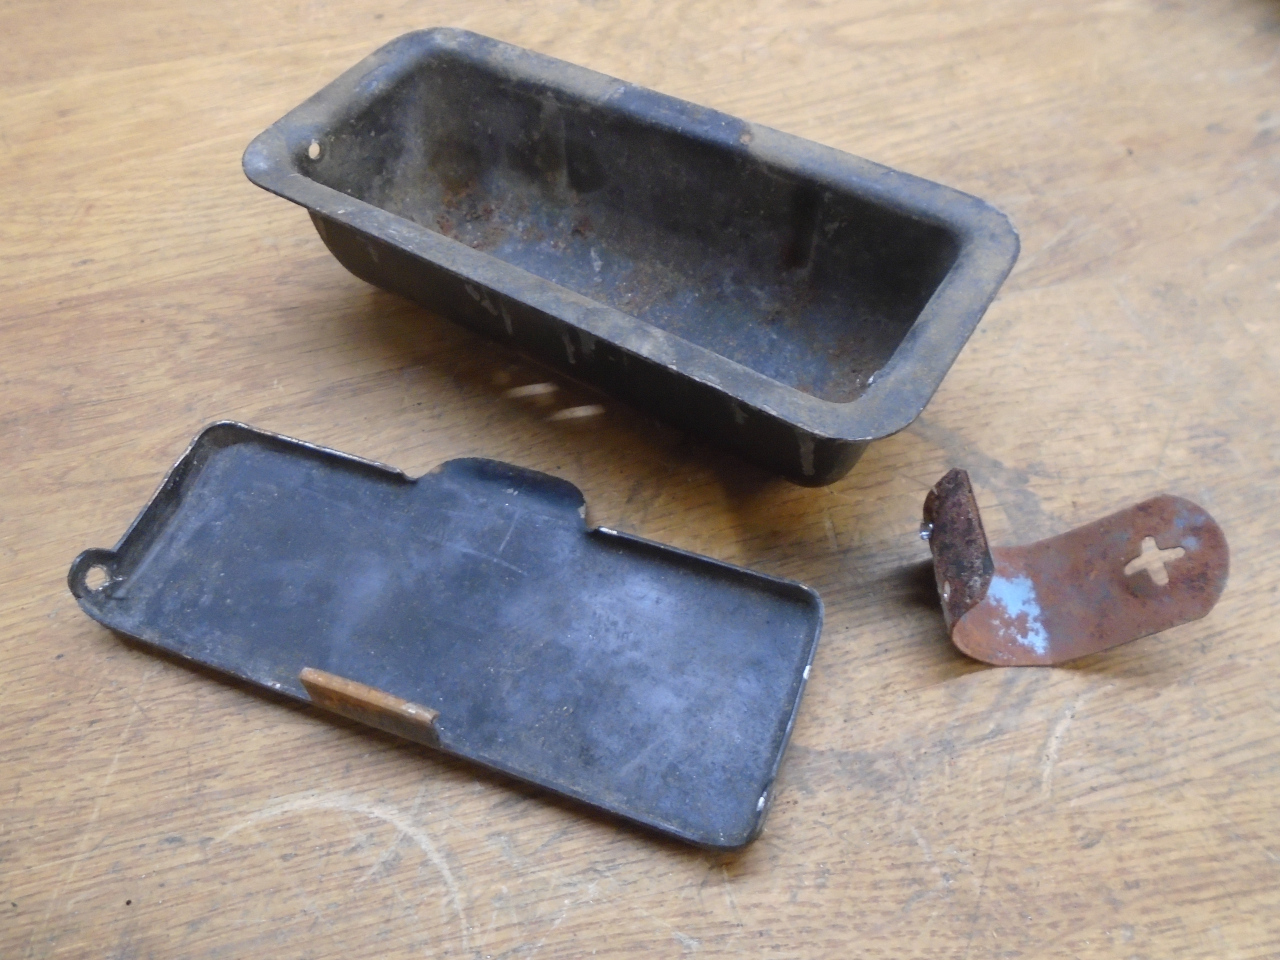
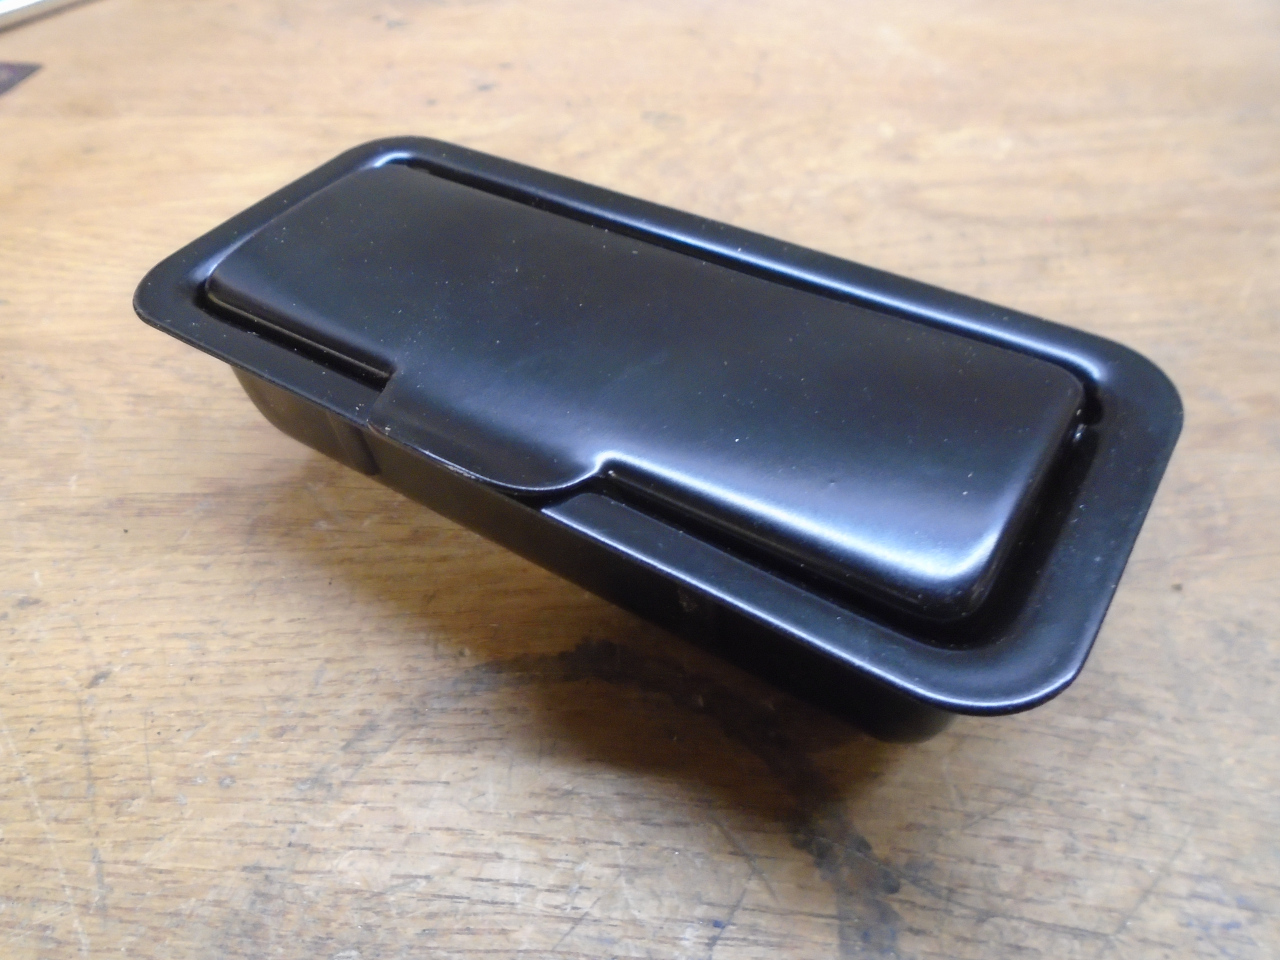
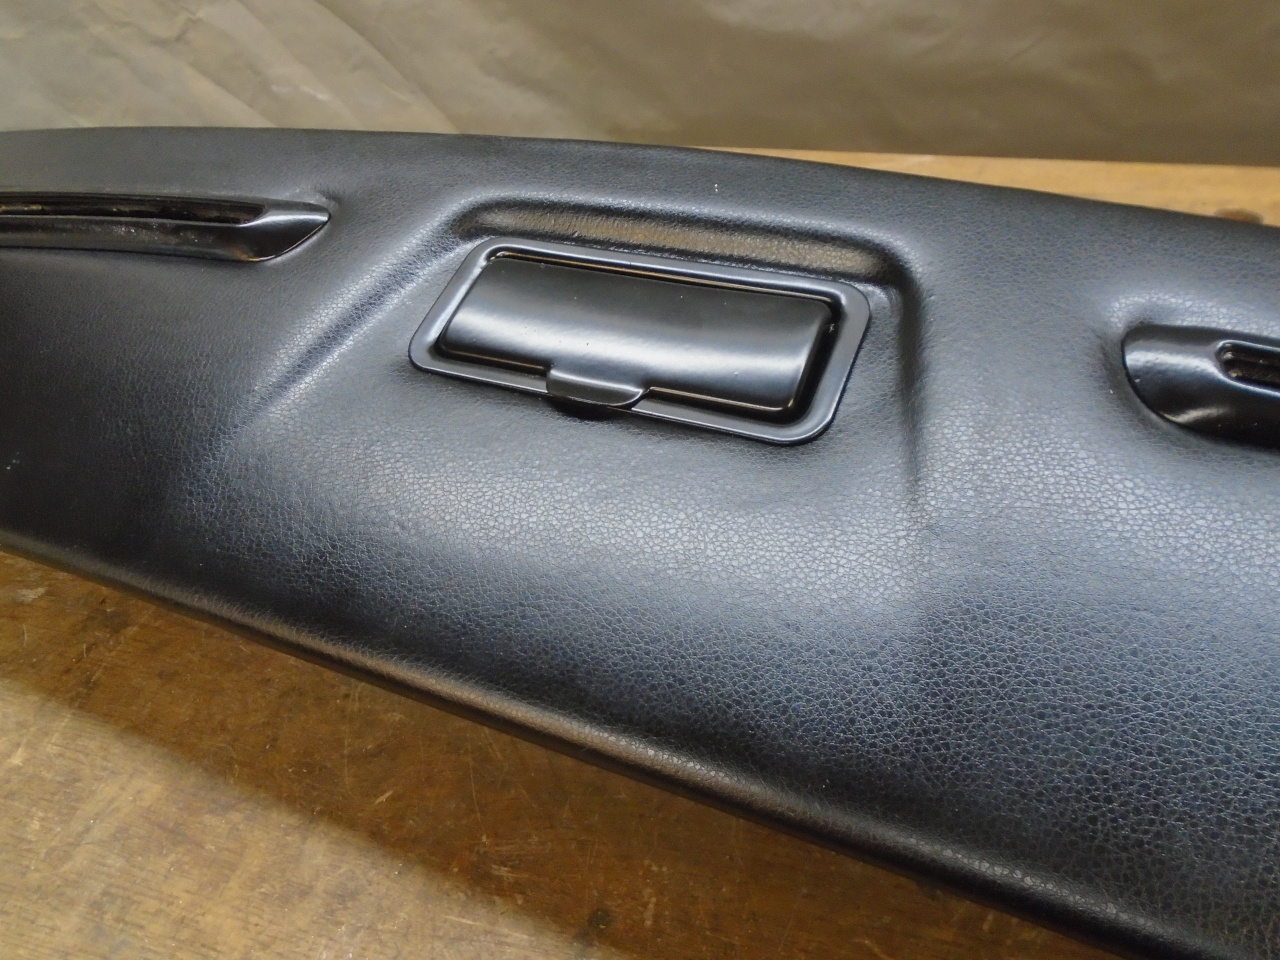
Then, there was the ashtray.
Now these days, a small British roadster without an ashtray is a little
like a fish without a bicycle. I didn't need it, I didn't want it,
but there it was. Eliminating it seemed like a lot of work.
Some folks have re-purposed the ashtray for other jobs, like a place
for USB or power ports. I think this is a great idea, but I have
other plans for those features. I decided to retain the part, and
make it look nice, but it won't be an ashtray any longer. I'll
call it a loose change cubby for tolls or parking meters.
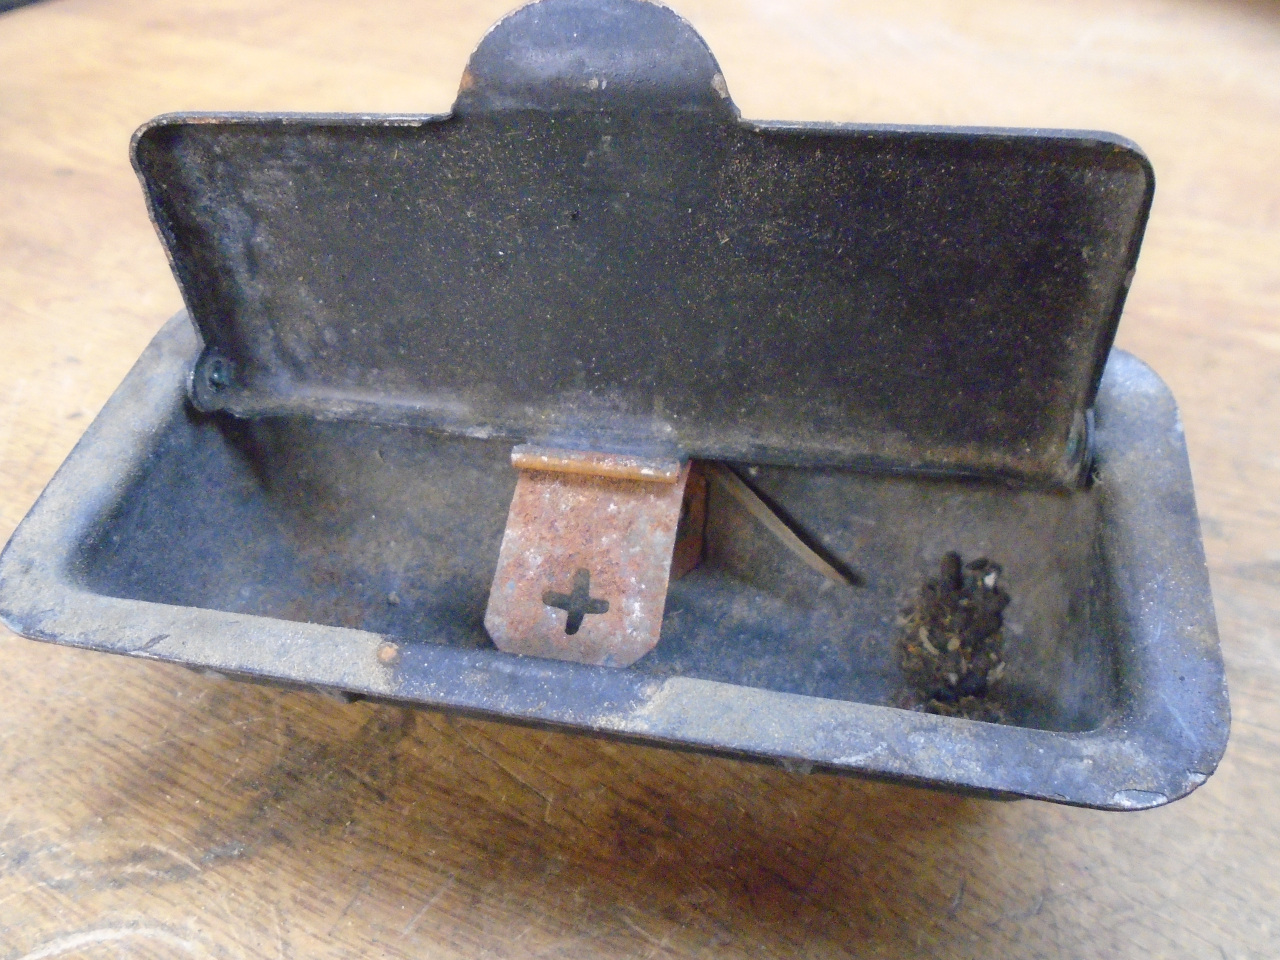
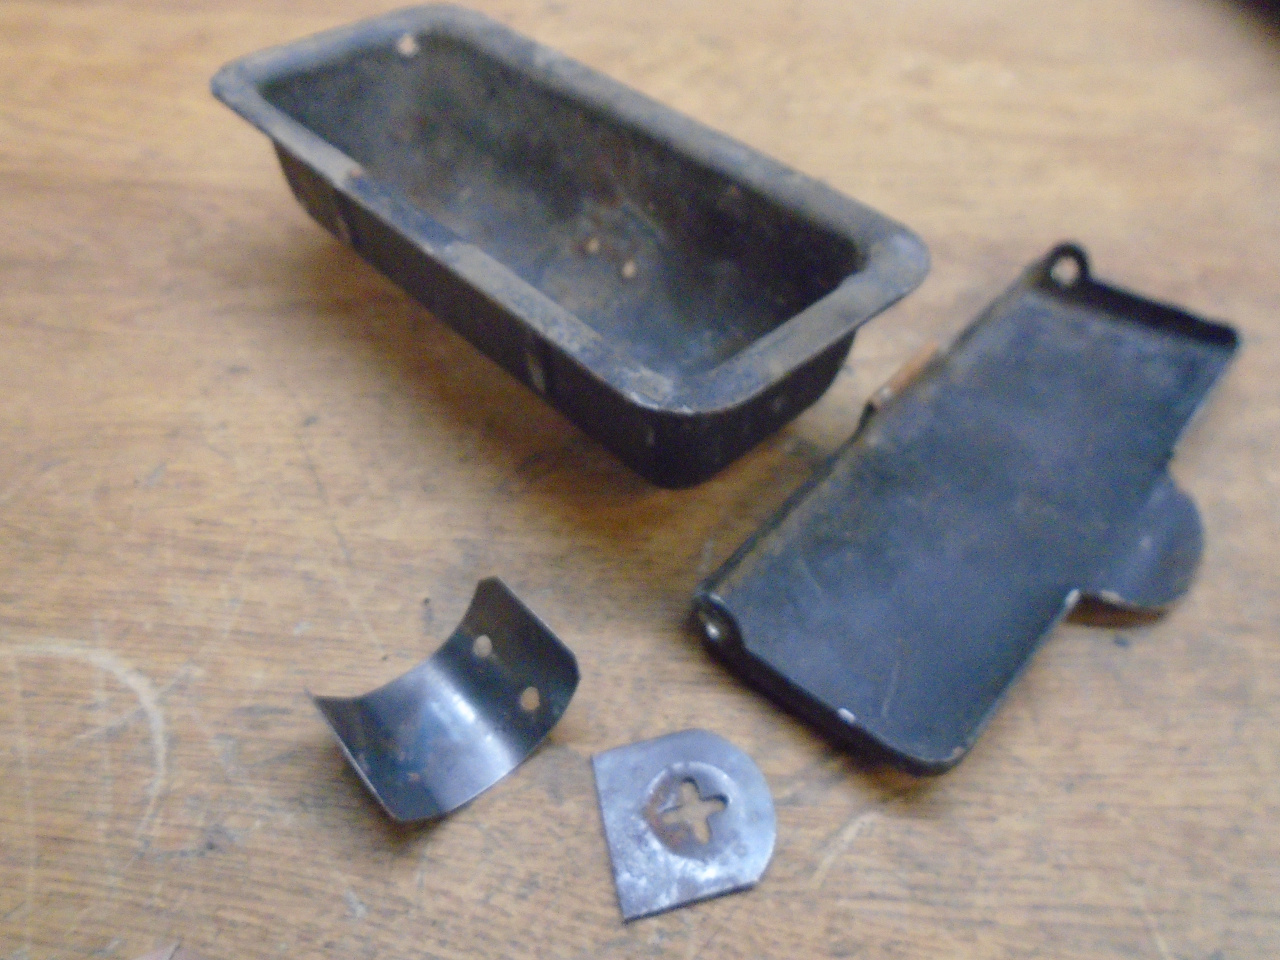
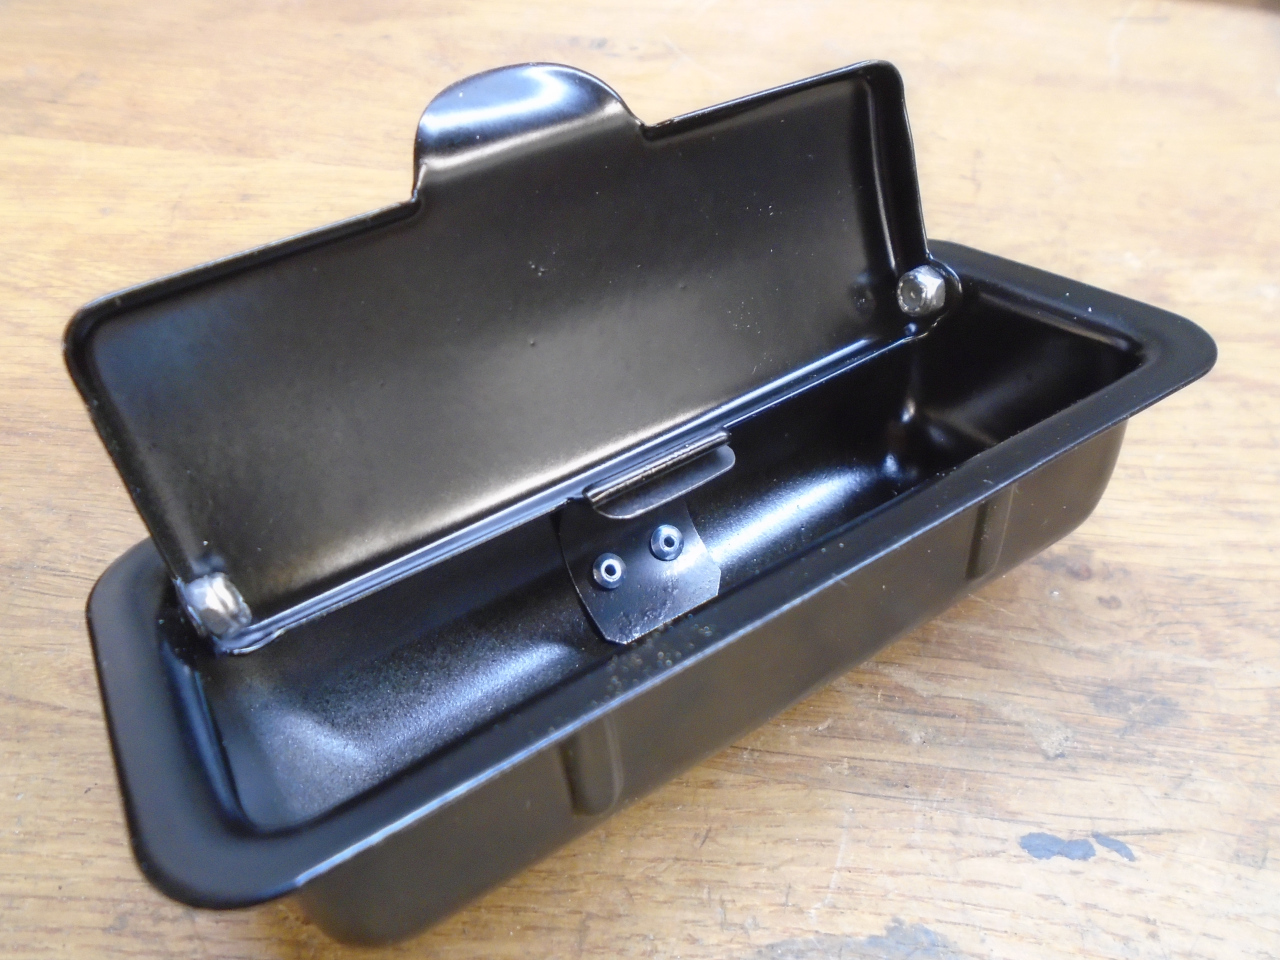
Drilling a few rivets gets the thing apart. The little metal
protrusion that was used to extinguish cigarettes had to go, but it also
served as the detent spring for the lid. I cut it so just the
spring function remained.
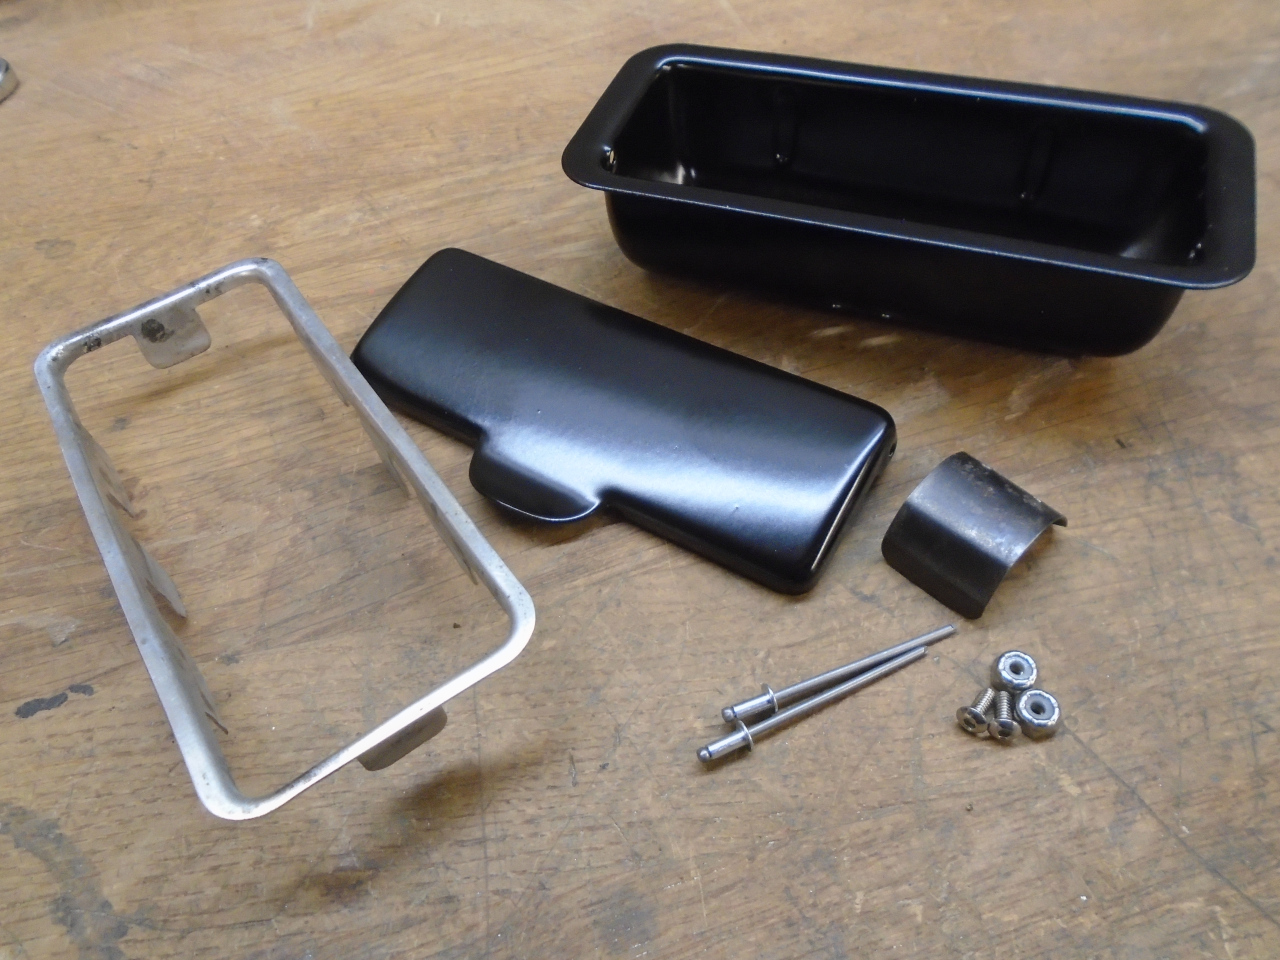
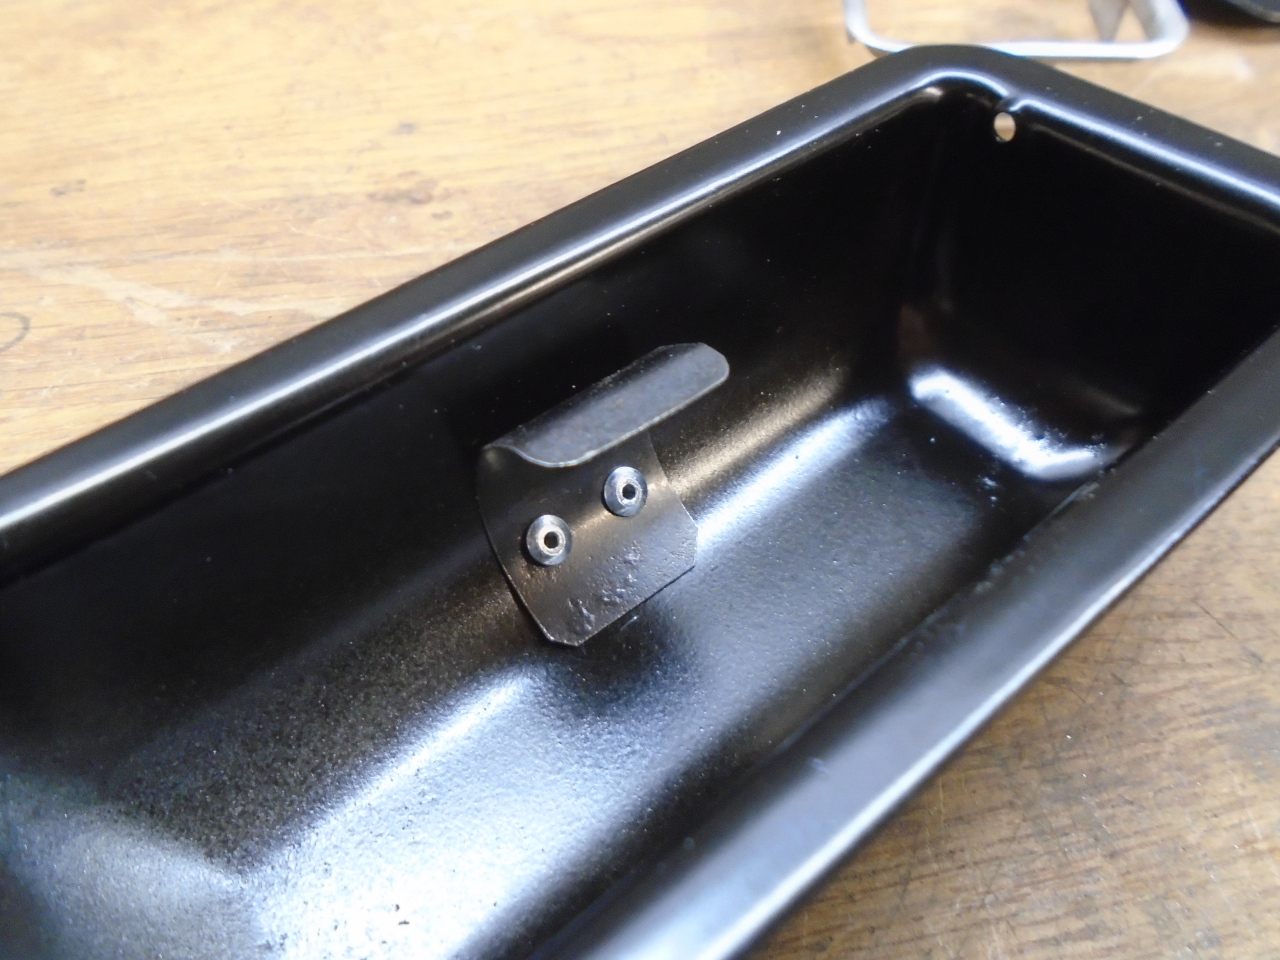
A little blast, and some powder coat, and it was ready to
reassemble. The lid is now held on with some tiny screws and
locknuts instead of rivets.That skinny little bezel for the opening in
the pad also offers a friction fit for the tray. The original lid
actually had a "crinkle" finish. I might topcoat it with that, but
maybe not.
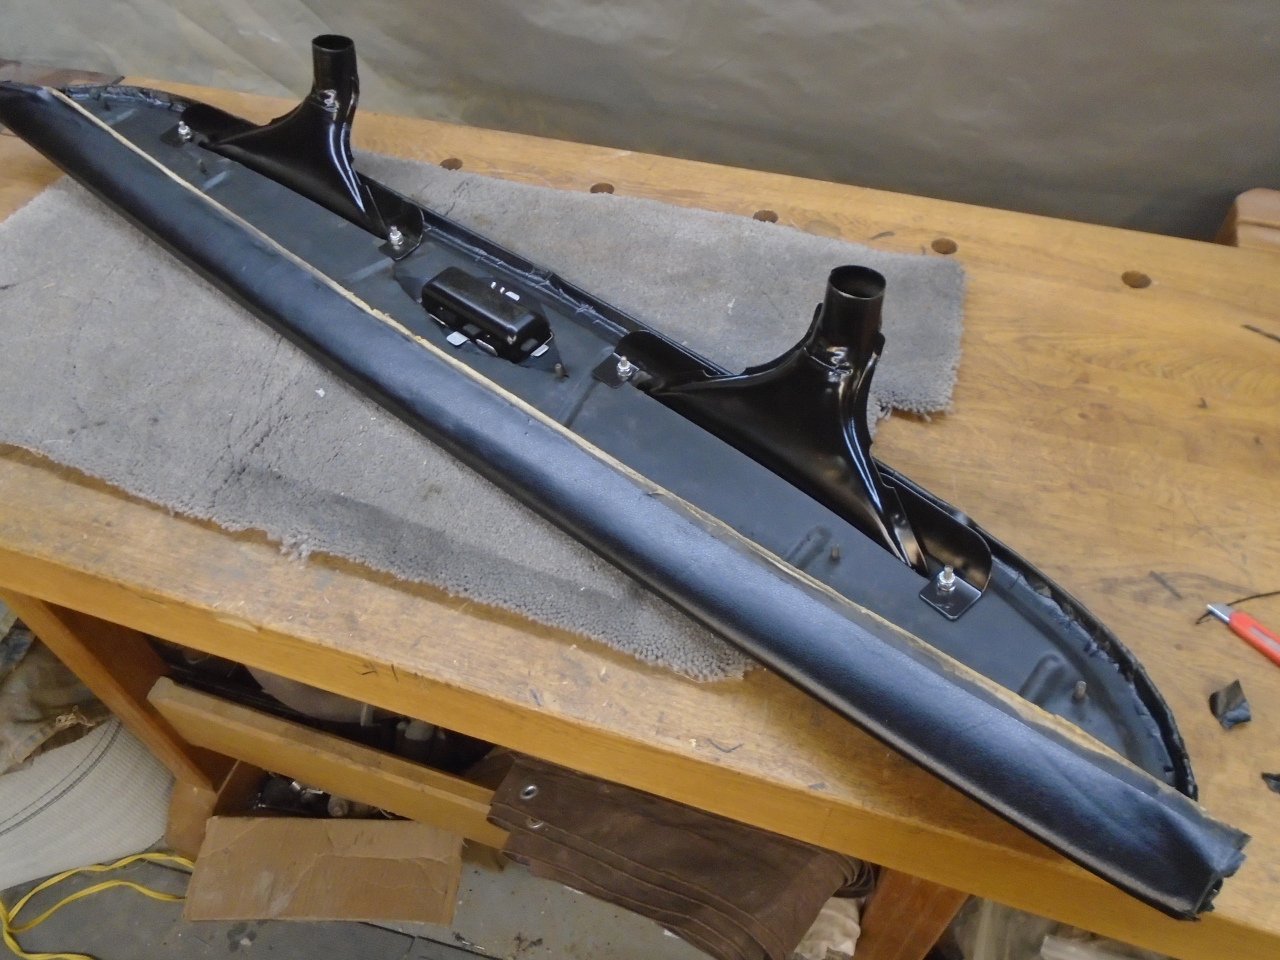
Everything installed.
This was a quick one. Only about a day, all together. Cost was around $15 for the wrap.
Comments to Ed at elhollin1@yahoo.com
To my other GT6 pages.