To my other GT6 pages
February 19. 2022
Heater Controls
Most later GT6 and Spitfire cars had similar heater controls. There are
two control levers: One controls the hot water valve, so that the
temperature of the heater air can be varied. The other control
sets how the air is distributed between the cabin and the defrost
vents. This control also has a "boost" provision for energizing
the heater fan motor on a fast or slow speed. Side-to-side motion
of the controls activate their functions through short Bowden
cables. In-out motion of the boost control moves an electrical
contact from an "off" position to one of two arc-shaped copper
tracks. The tracks are shaped that way so that the arm maintains
electrical contact as the control is moved side-to-side.
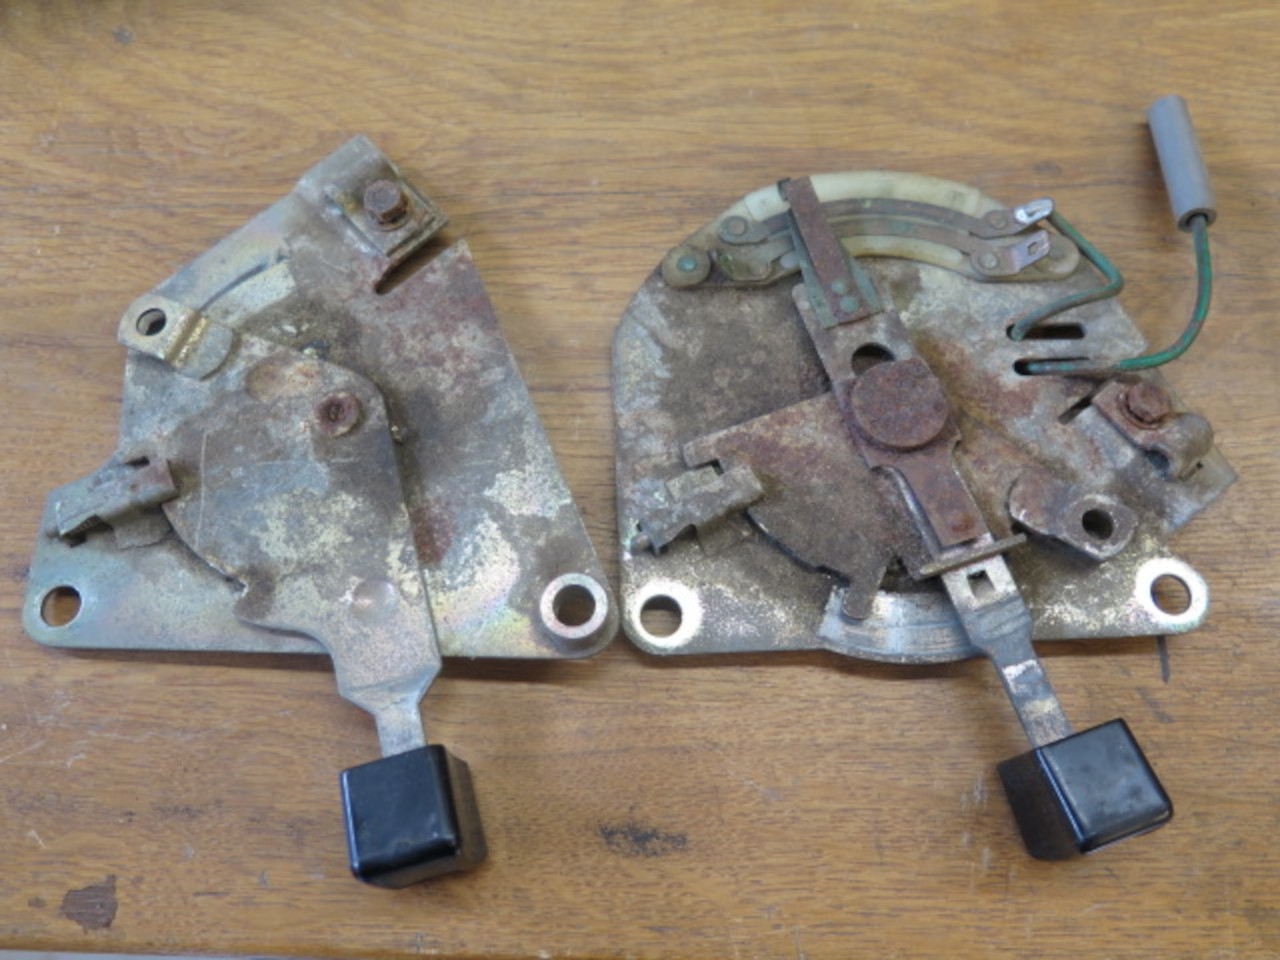
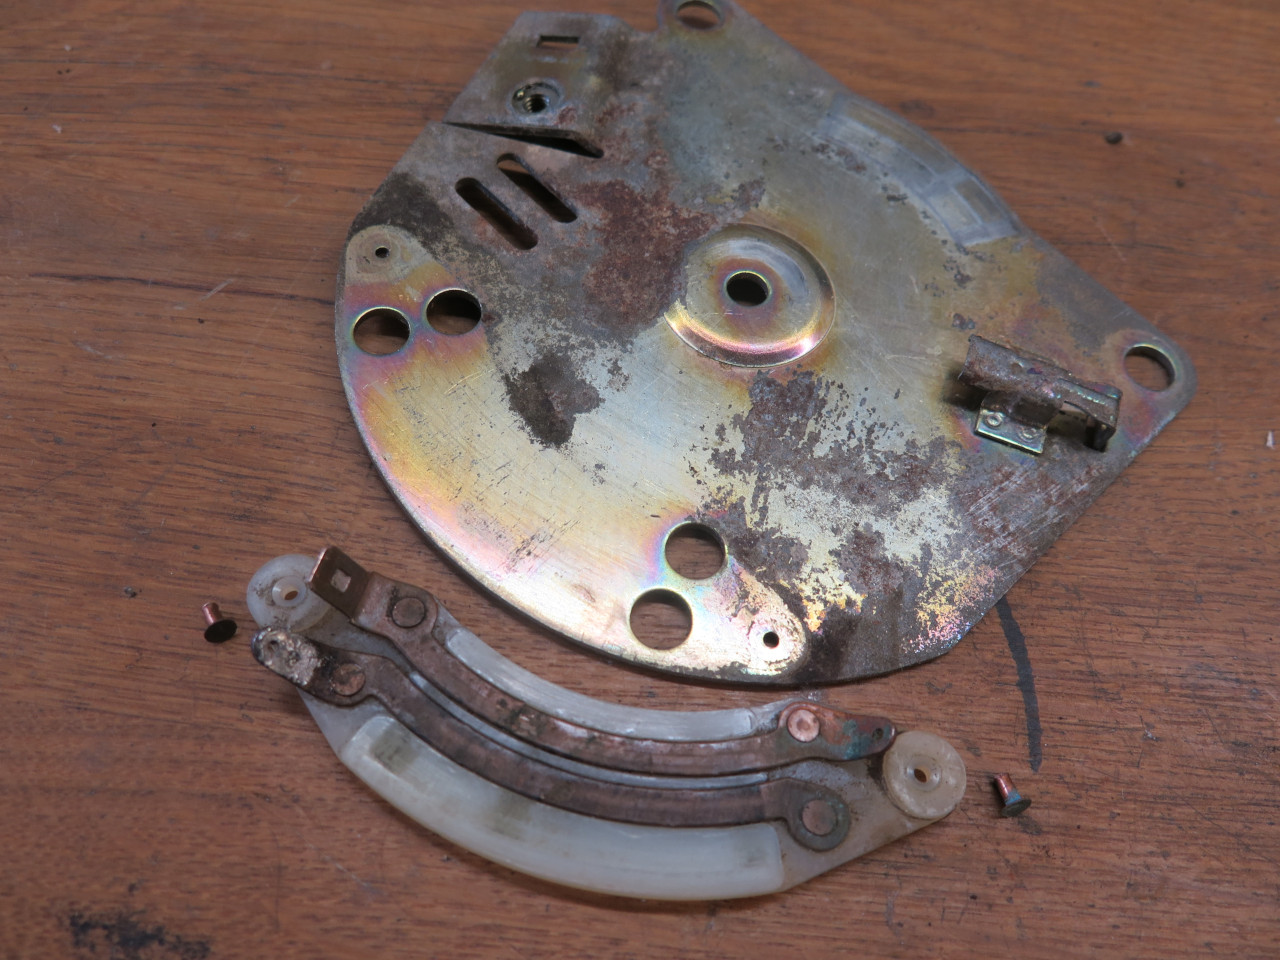
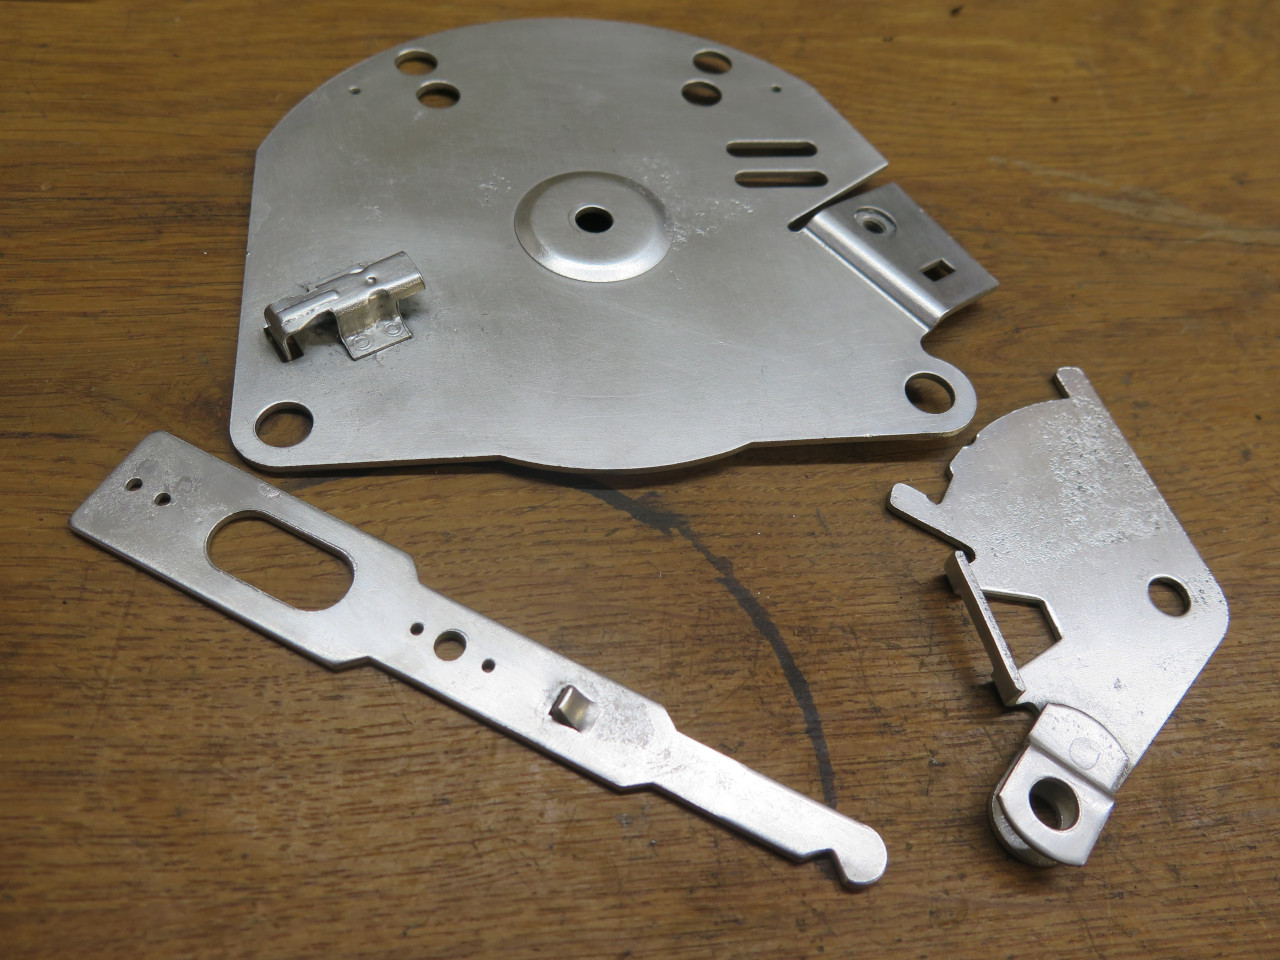
My controls were pretty rusty. The knobs on both would move
grudgingly from side to side, but the boost control was seized
solid. Temp controller is on the left in the pic, distribution
control on the right. This is the reverse of the way they are in
the car.
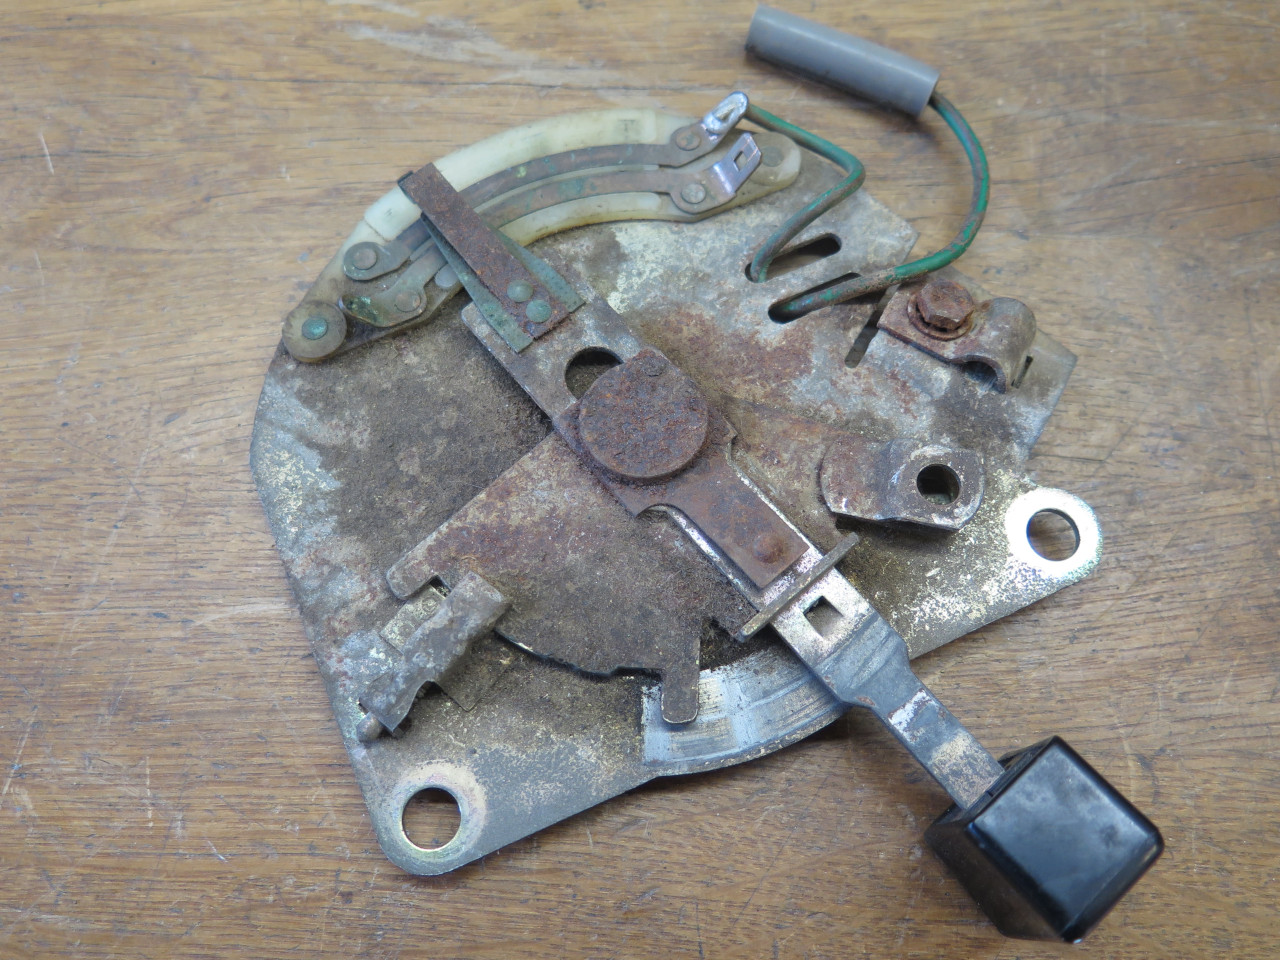
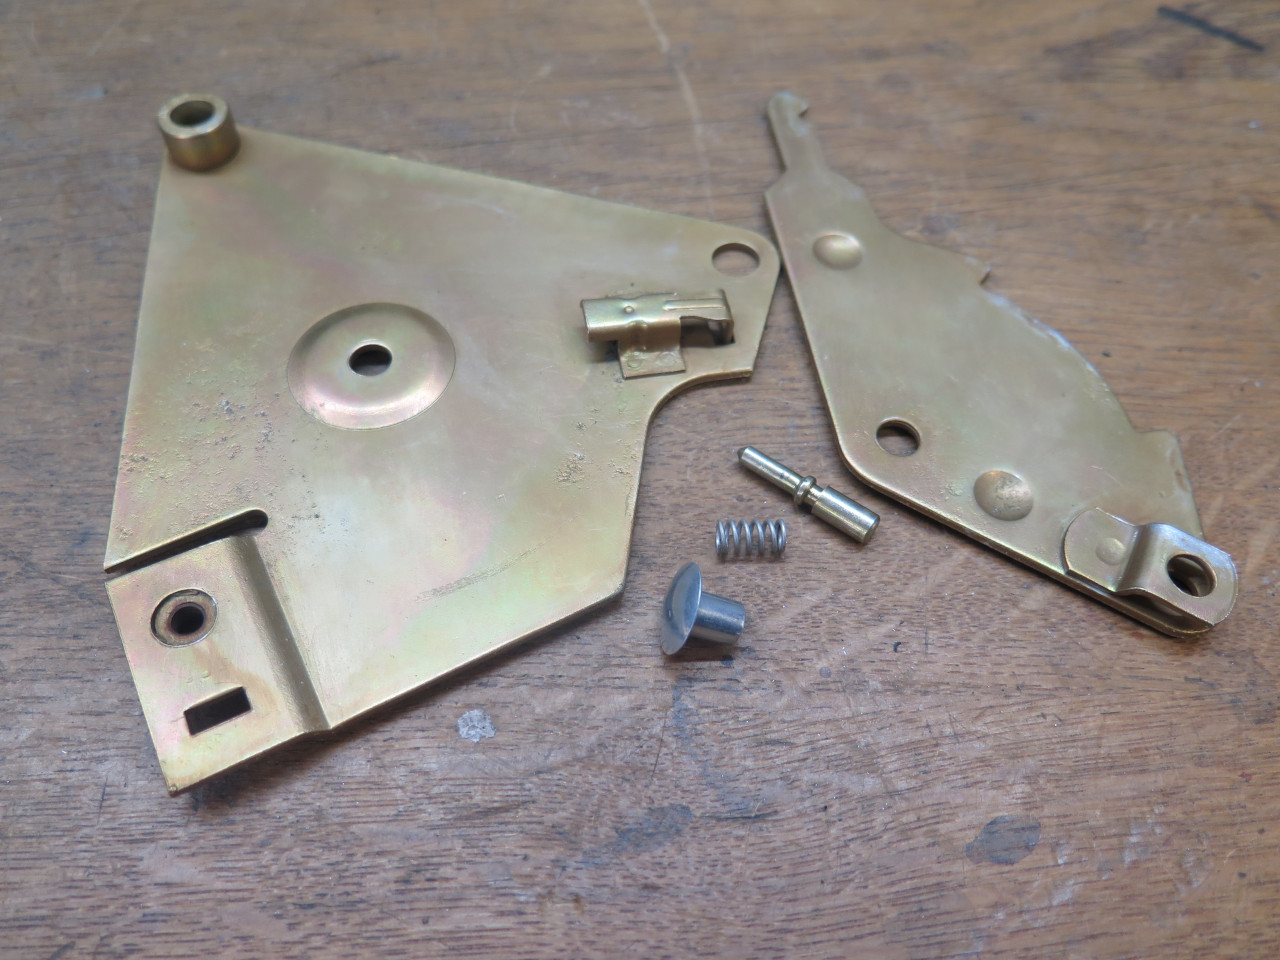
The distribution control is the most complex, so I addressed it
first. The control consists of a fixed plate and a moving plate,
joined by a rivet pivot. The moving plate has a sector that rides
on a spring loaded detent plunger on the fixed plate, giving a couple of
positive positions. On the moving plate is an arm that holds the
user knob at one end, and an electrical brush contact at the
other. This arm can slide forward and backward to set fan
speed.
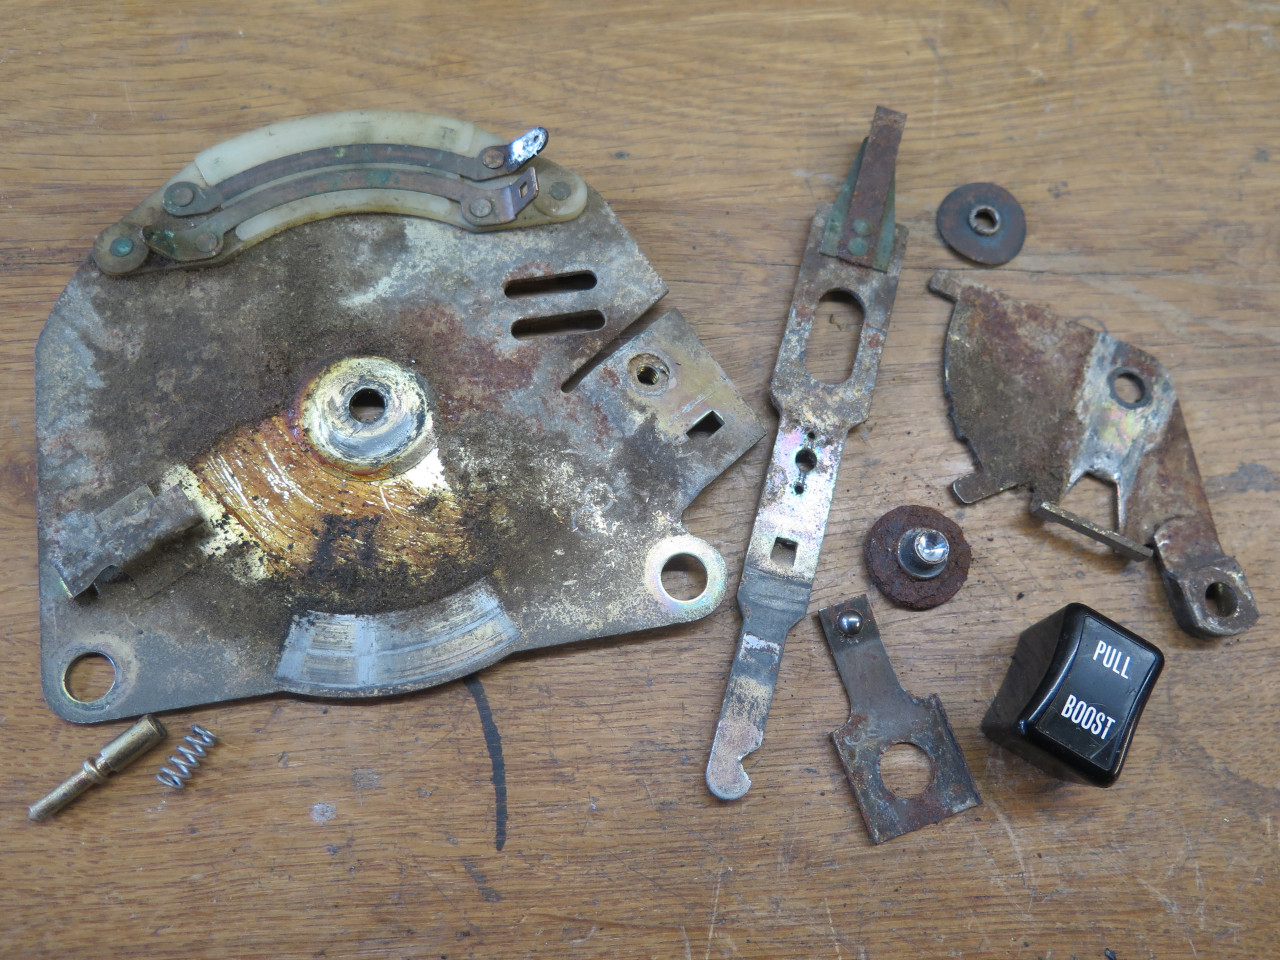
Since the control arm on my control was frozen solid, it needed some
attention. I also wanted to properly treat the rust, so I decided
to take the whole assembly apart by drilling out the large rivet at the
center.
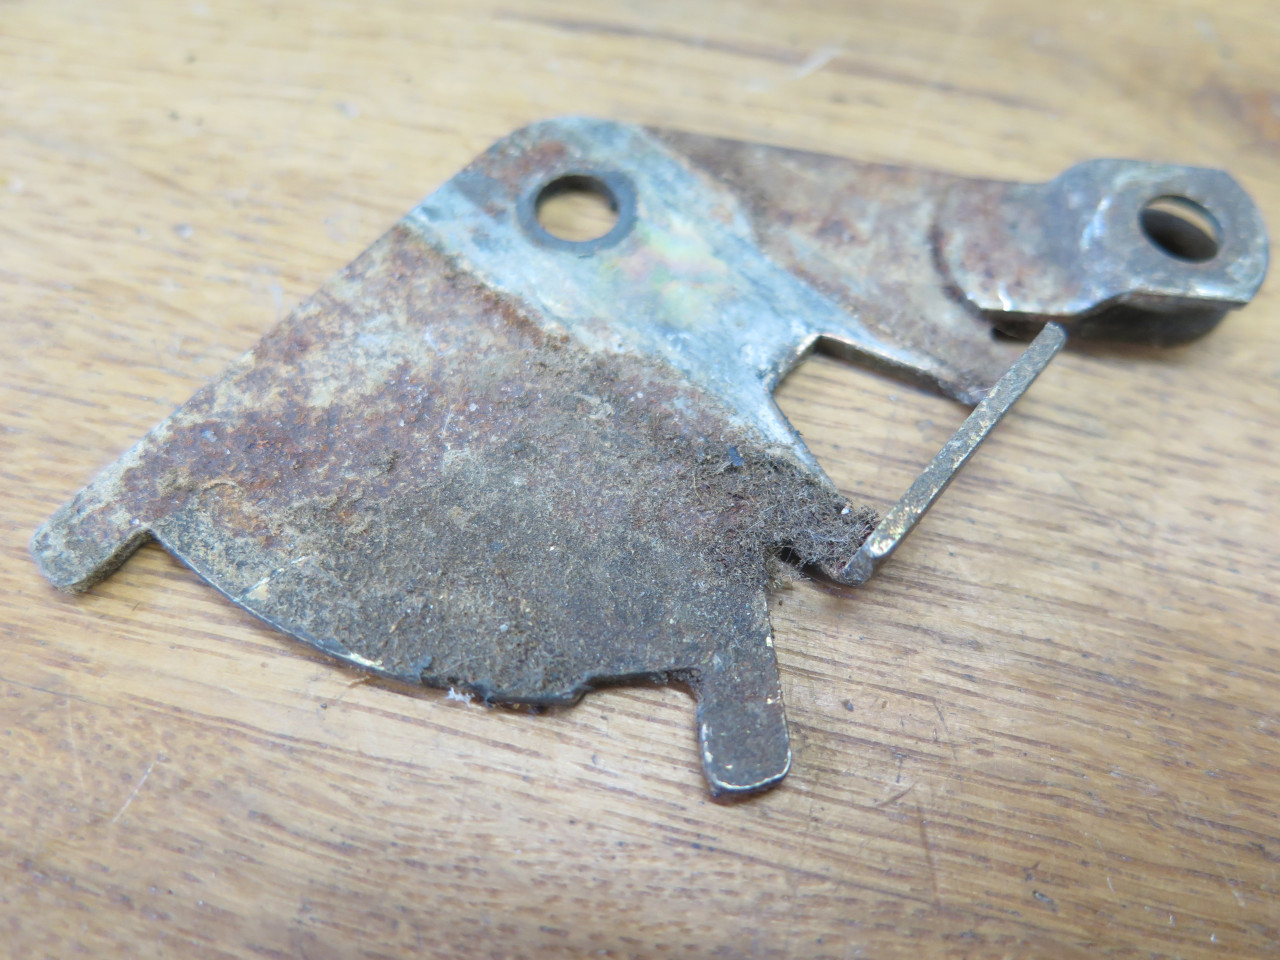
Even after cleaning off the dried grease and loose dirt and rust, he base plate was pretty bad.
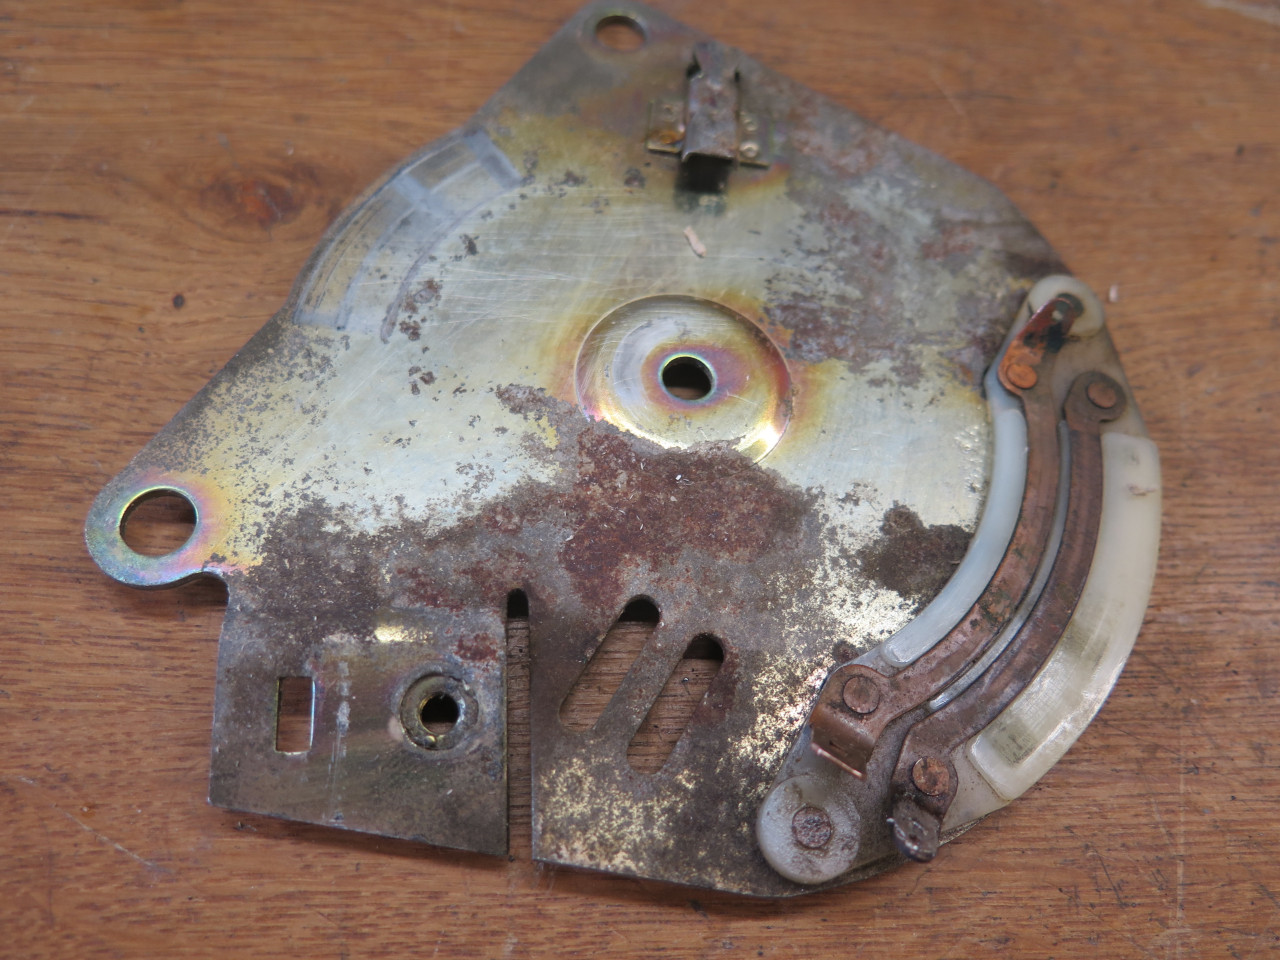
I also took off the plastic contact assembly so it wouldn't get beat up in the cleaning steps.
The moving plate wasn't much better.
After chemically ditching the rust. There was some pitting, but it wasn't severe.
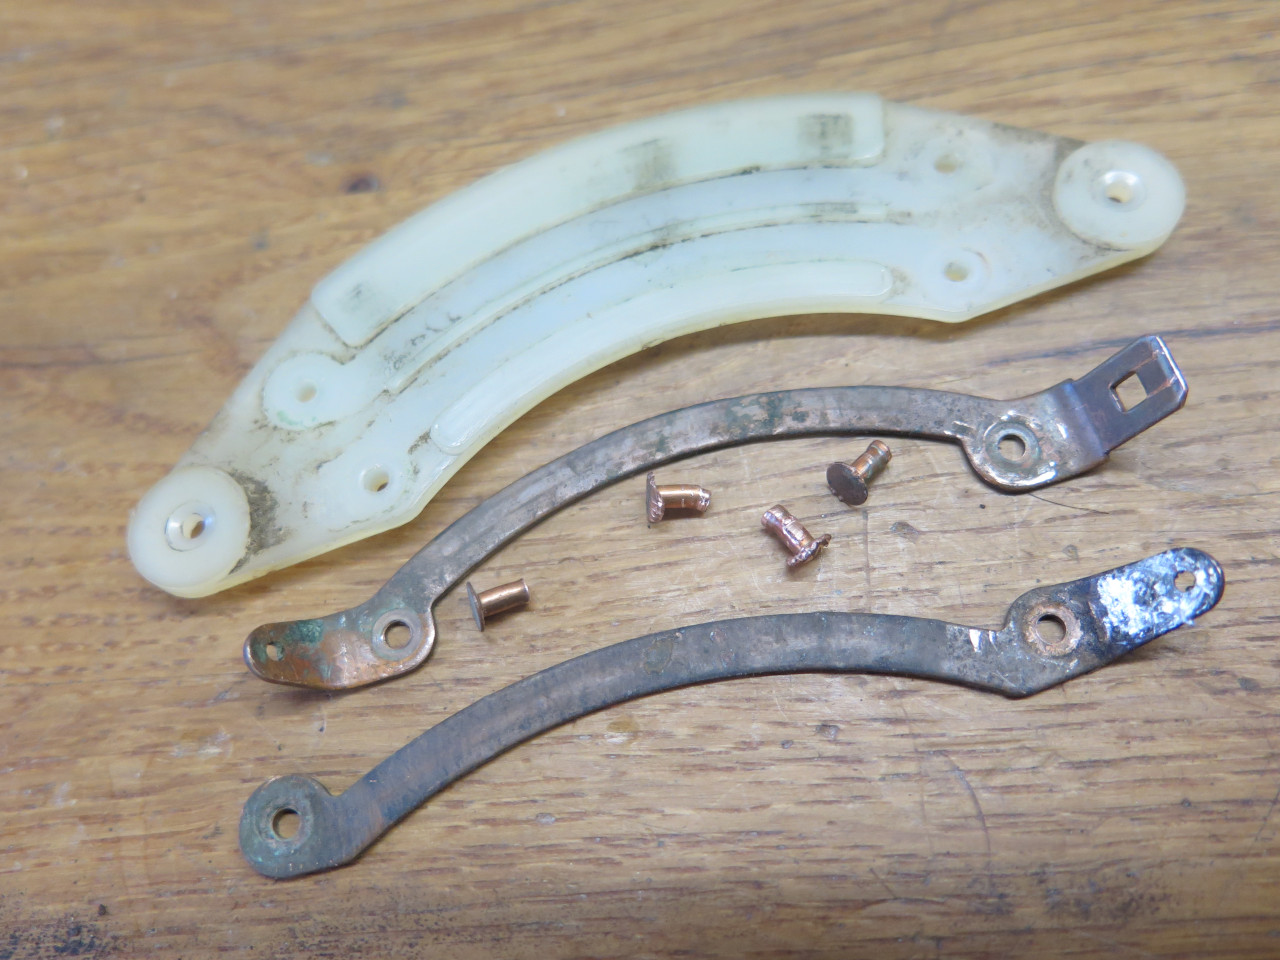
The control arm also had a lot of corrosion. At the top in the
picture is a spring steel piece that holds a detent ball for the "boost"
positions. It was nearly rusted through in places.
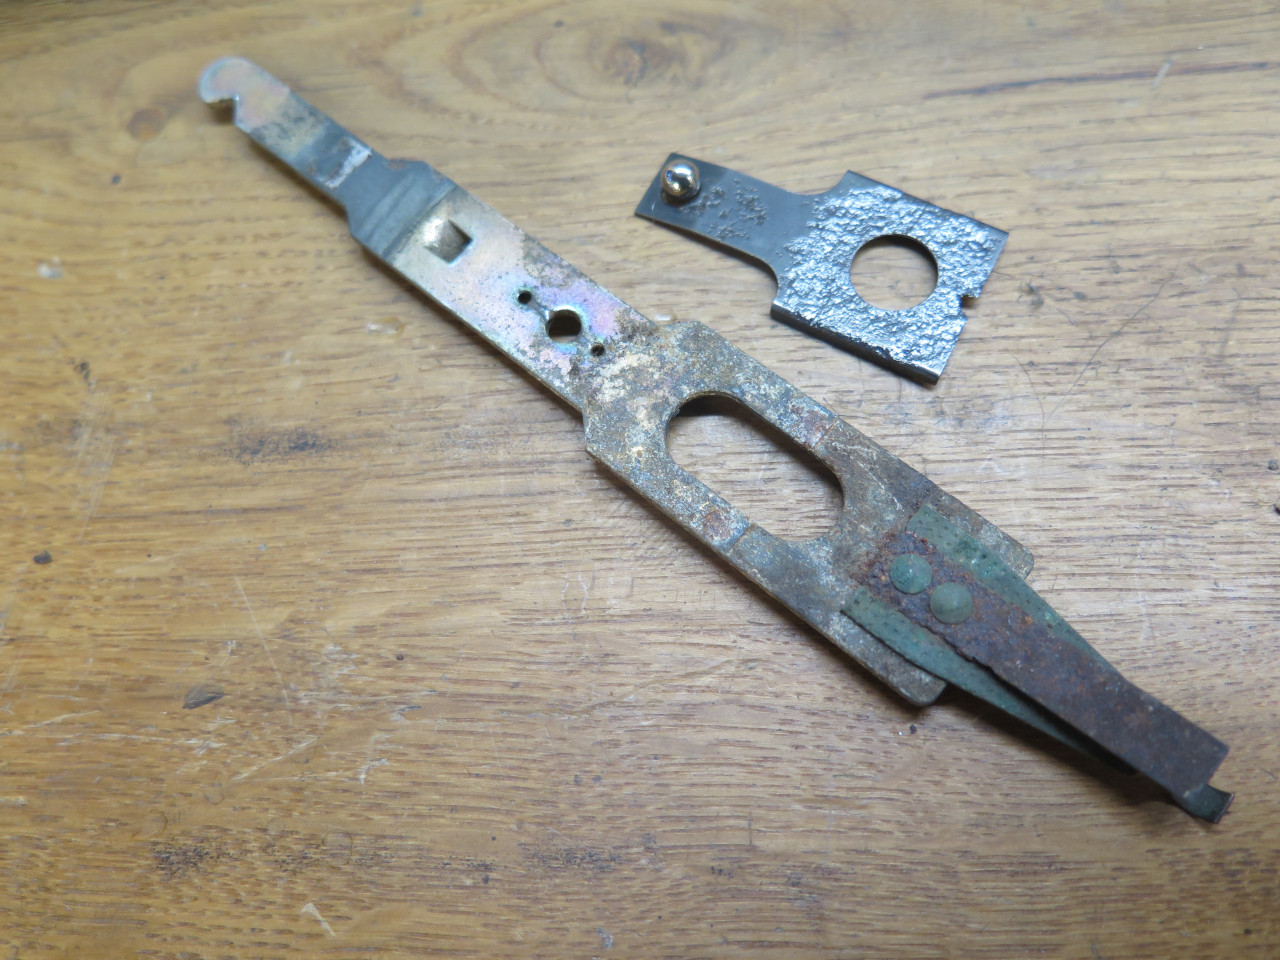
Further disassembly of the control arm. The triangular piece is a
brass or bronze wiper contact, while the smaller rectangular part is a
spring that backs up the contact. It was also very thin in places
due to the rust.

Cleaning and derusting the parts, I decided that the spring steel parts really needed to be replaced.
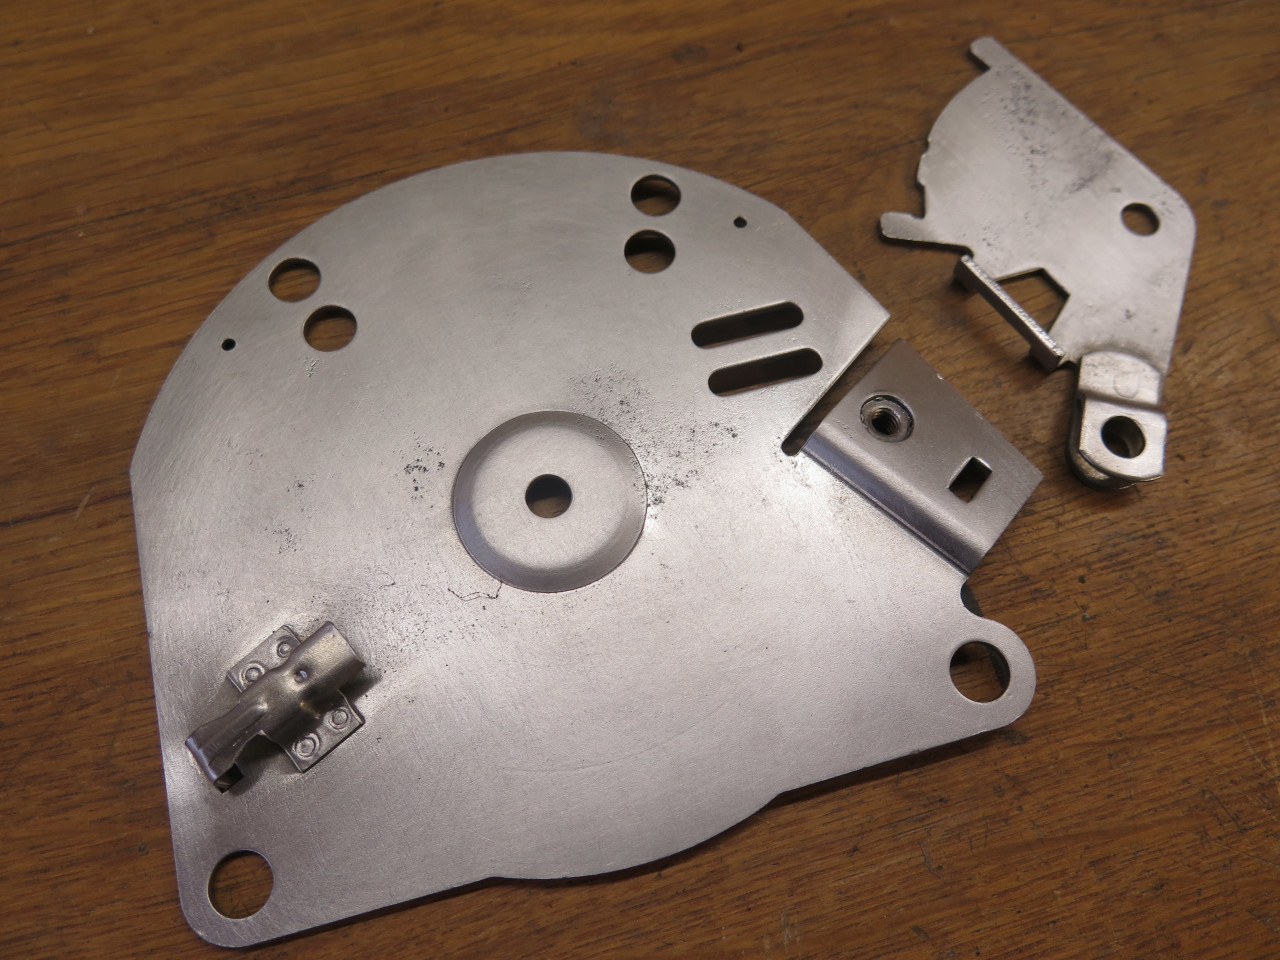
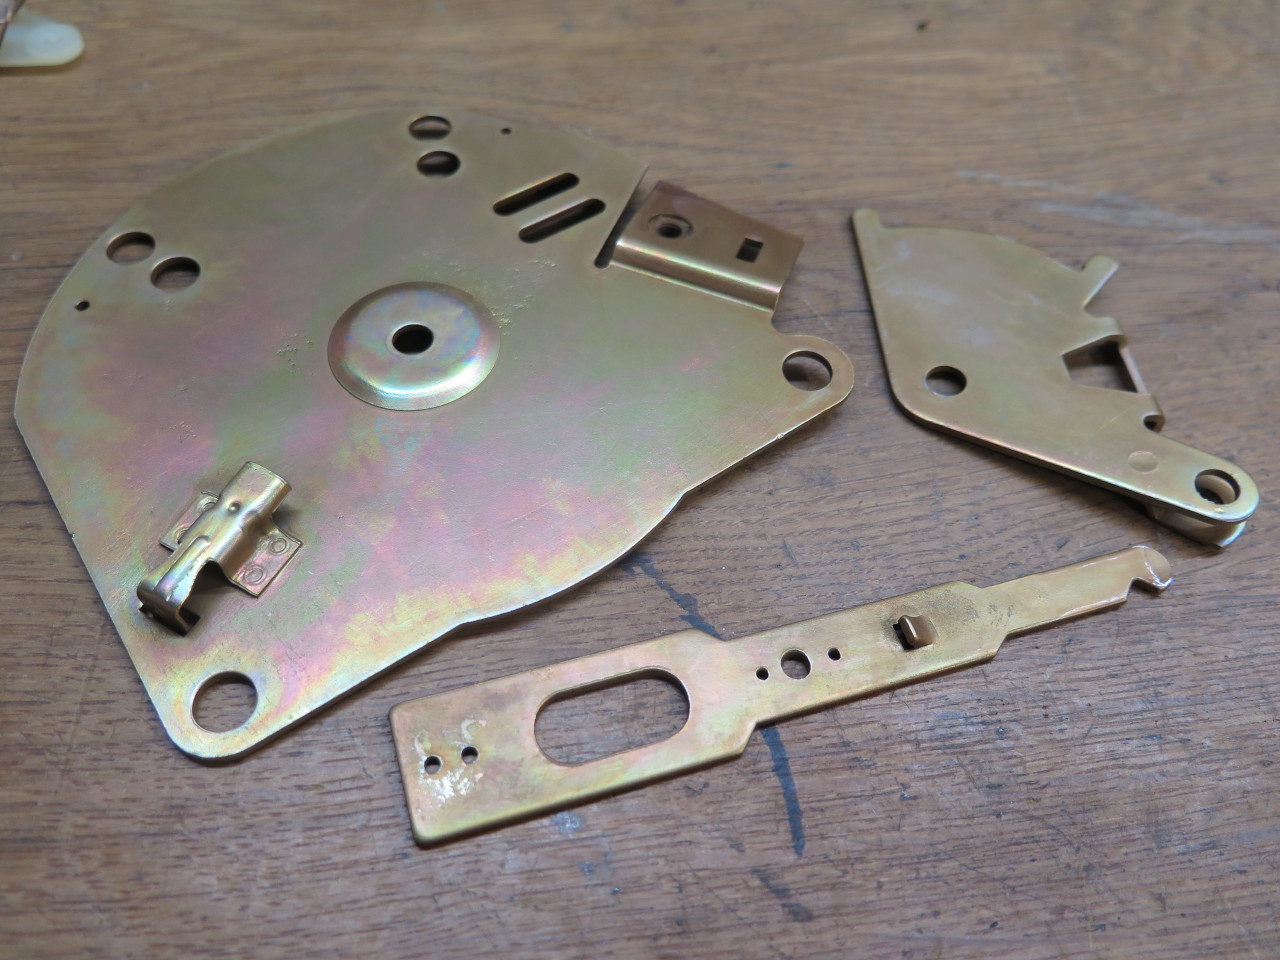
The derusting process also removed any remaining protective zinc plating
on the main steel parts. Given any moisture at all, they would
start rusting again immediately, so they got a nice new coat of zinc,
followed by a chromate coating to make the zinc last longer.
As for the spring parts, I found some scrap of about the right thickness and cobbled some replacements.

The control arm has to be able to slide under this spring with its detent ball.

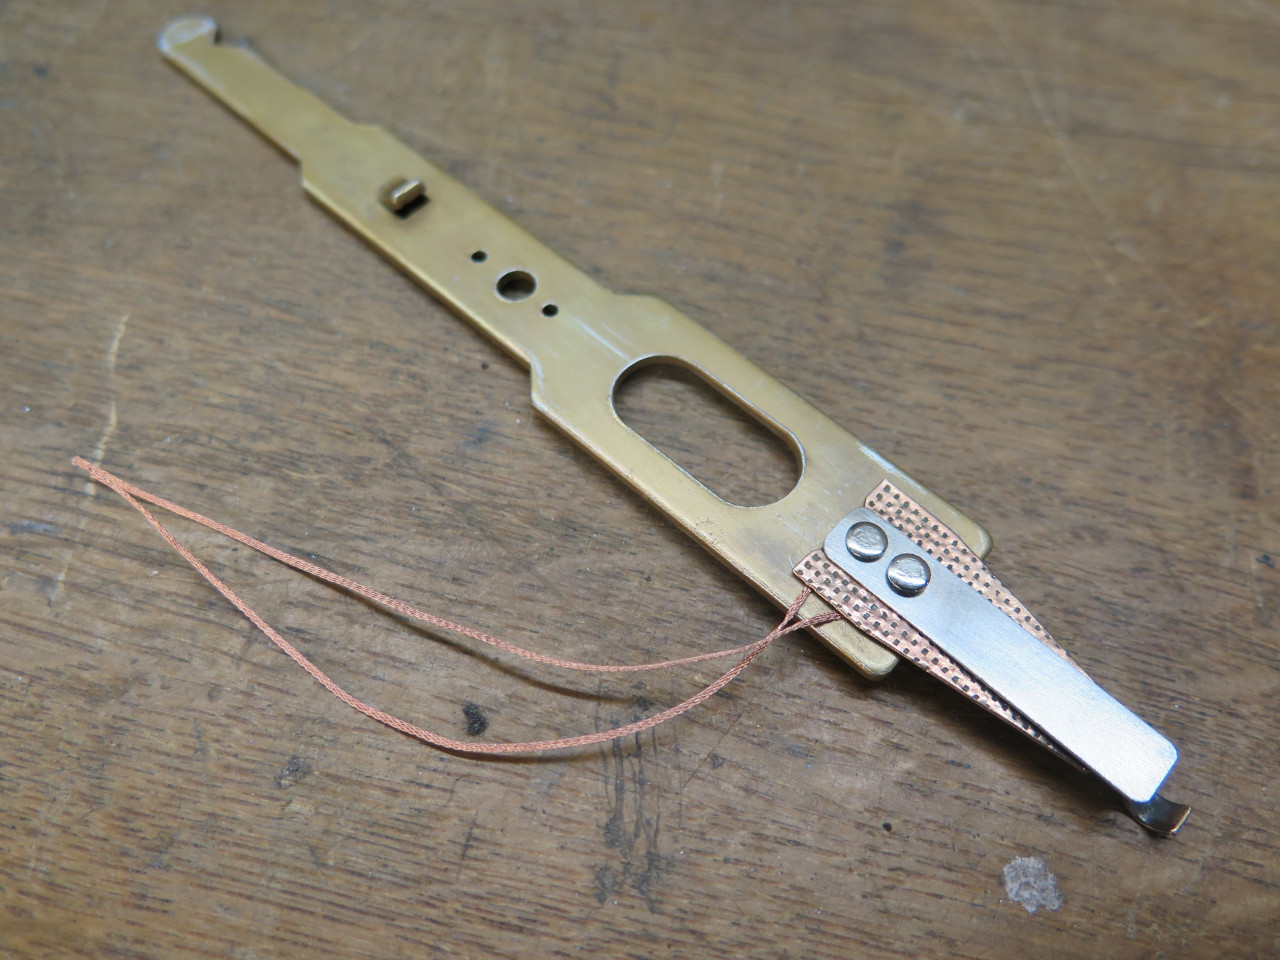
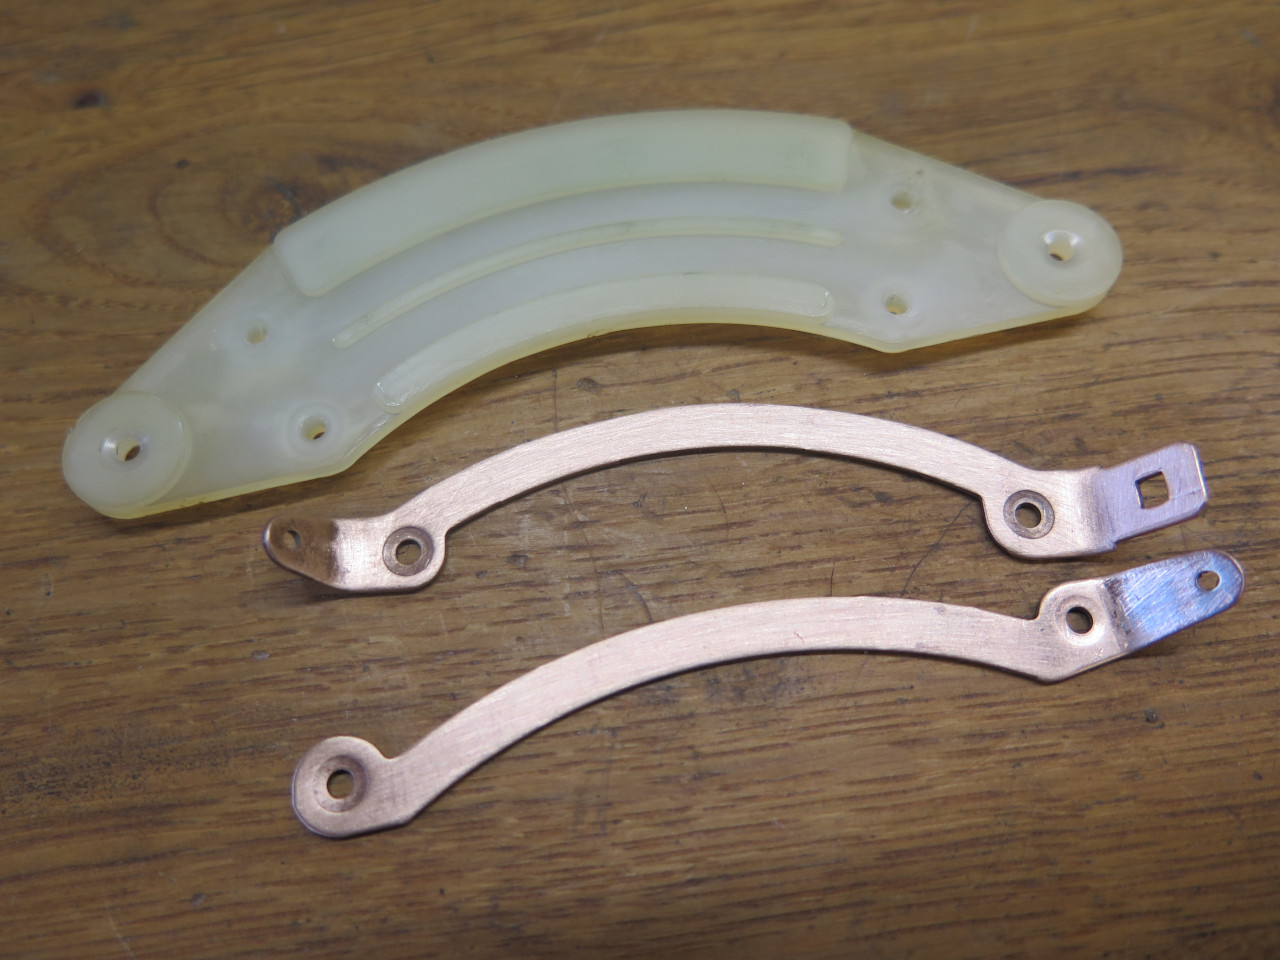
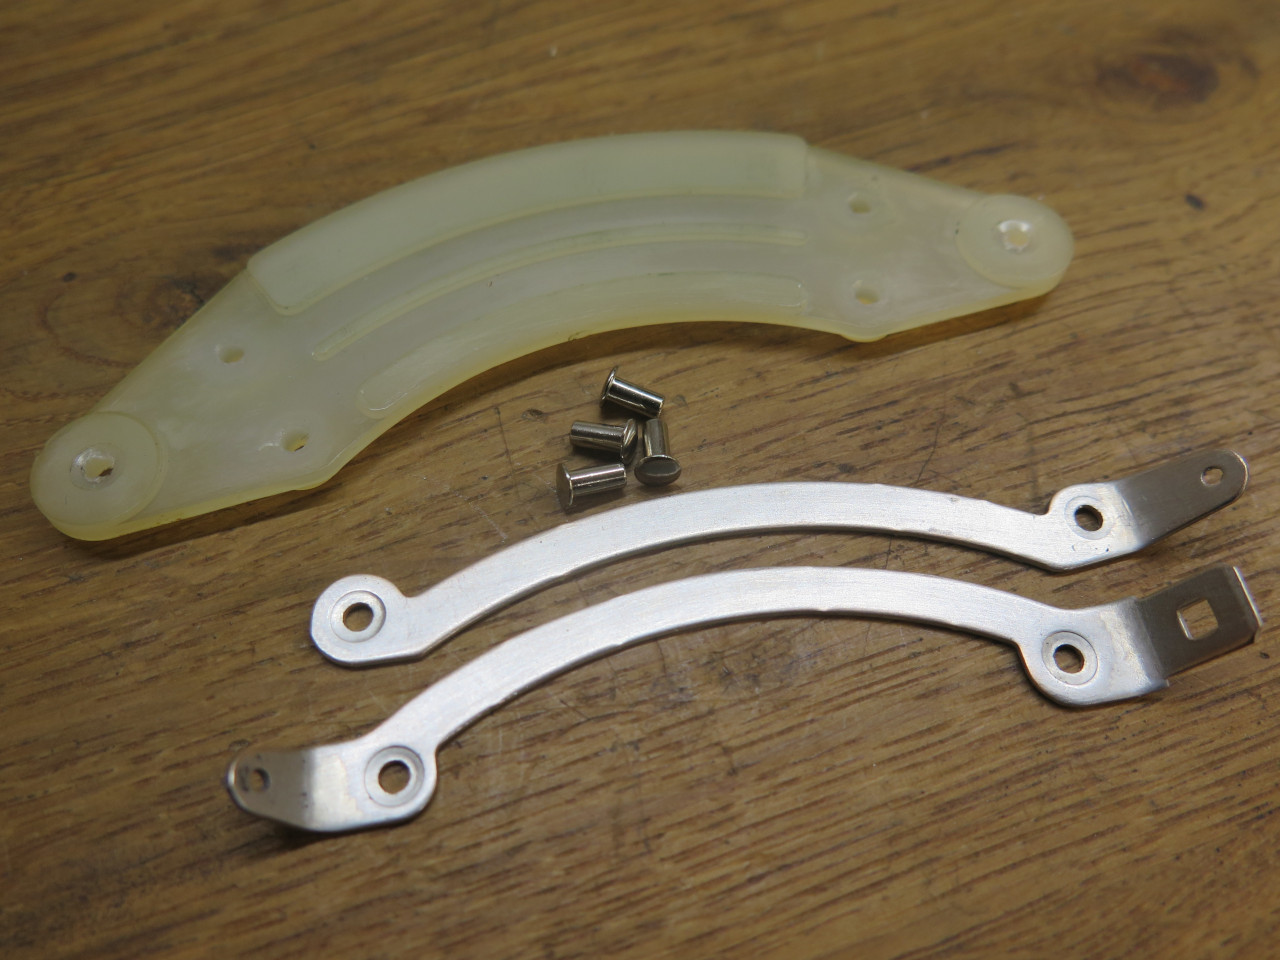
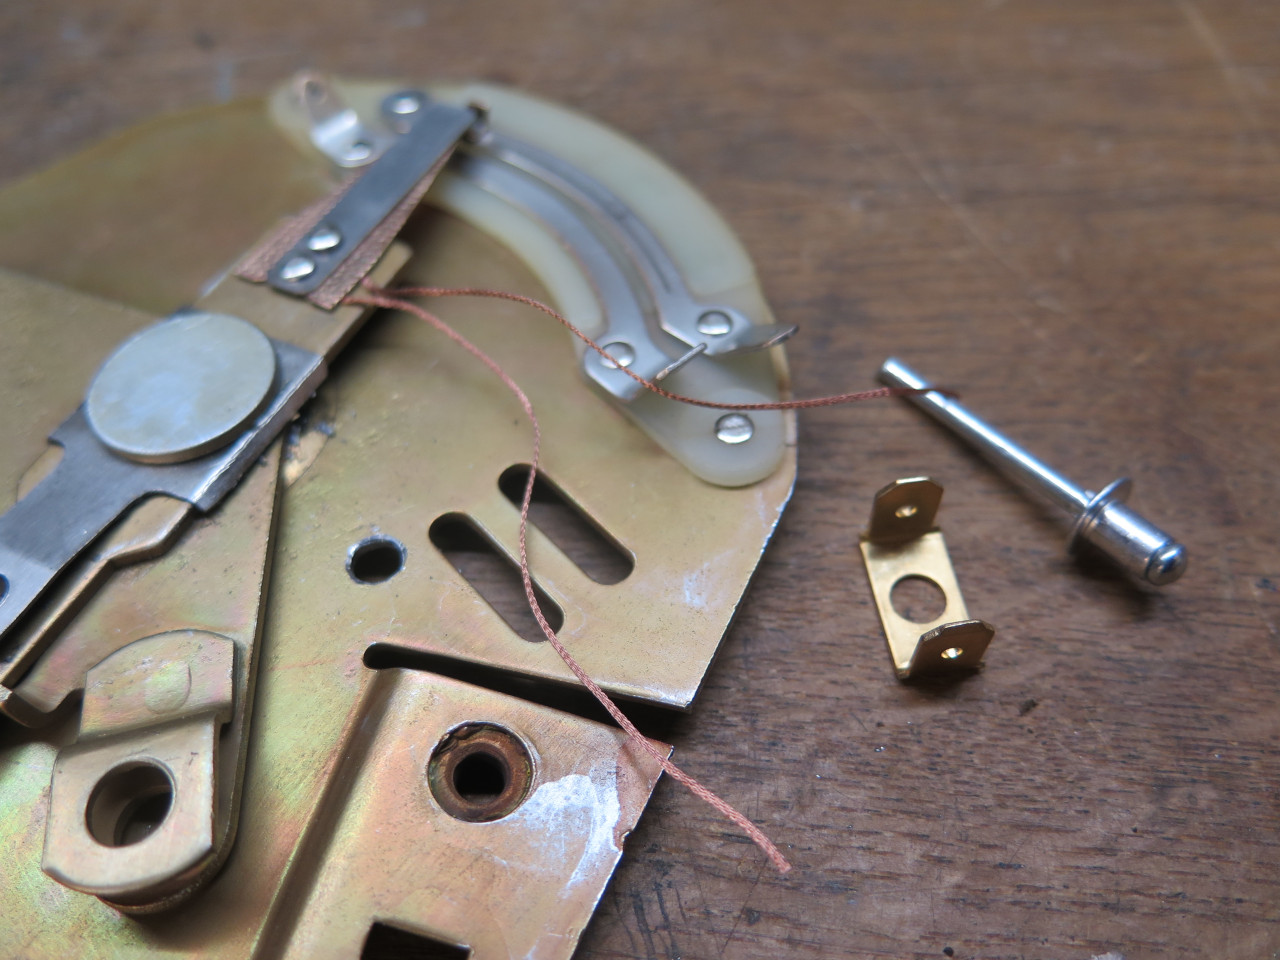
The brush contact and its spring were then added. Original rivets
were apparently nominal 2 mm copper. These are 0.085" nickel
plated copper, so all of the holes had to be enlarged a trifle.
About those wires: The electrical path from that brush contact to
ground passes through sliding or rotating joints, plus a few riveted or
bolted joints to reach the body. I don't consider this a robust
design. I intend to provide a continuous copper return path for
most loads on this car, and this is part of how I accomplish that for
the fan motor.
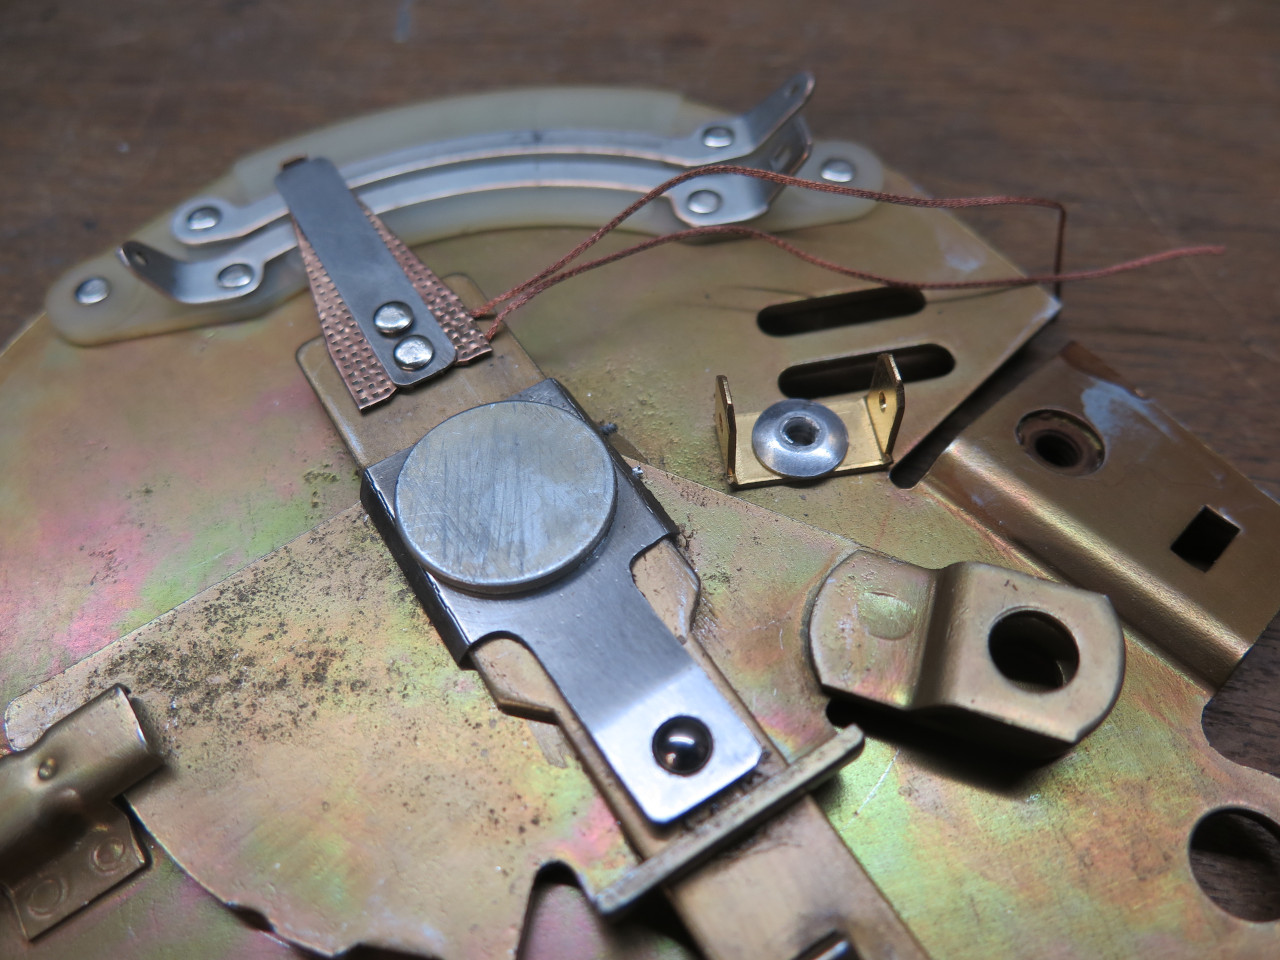
Before the moving parts can be re-mounted onto the base plate,
that electrical contact assembly had to be replaced. I had removed
the copper strips and cleaned everything up.
While apart, it made sense to tin plate the copper to give it some protection from corrosion, and to maker it easier to solder.
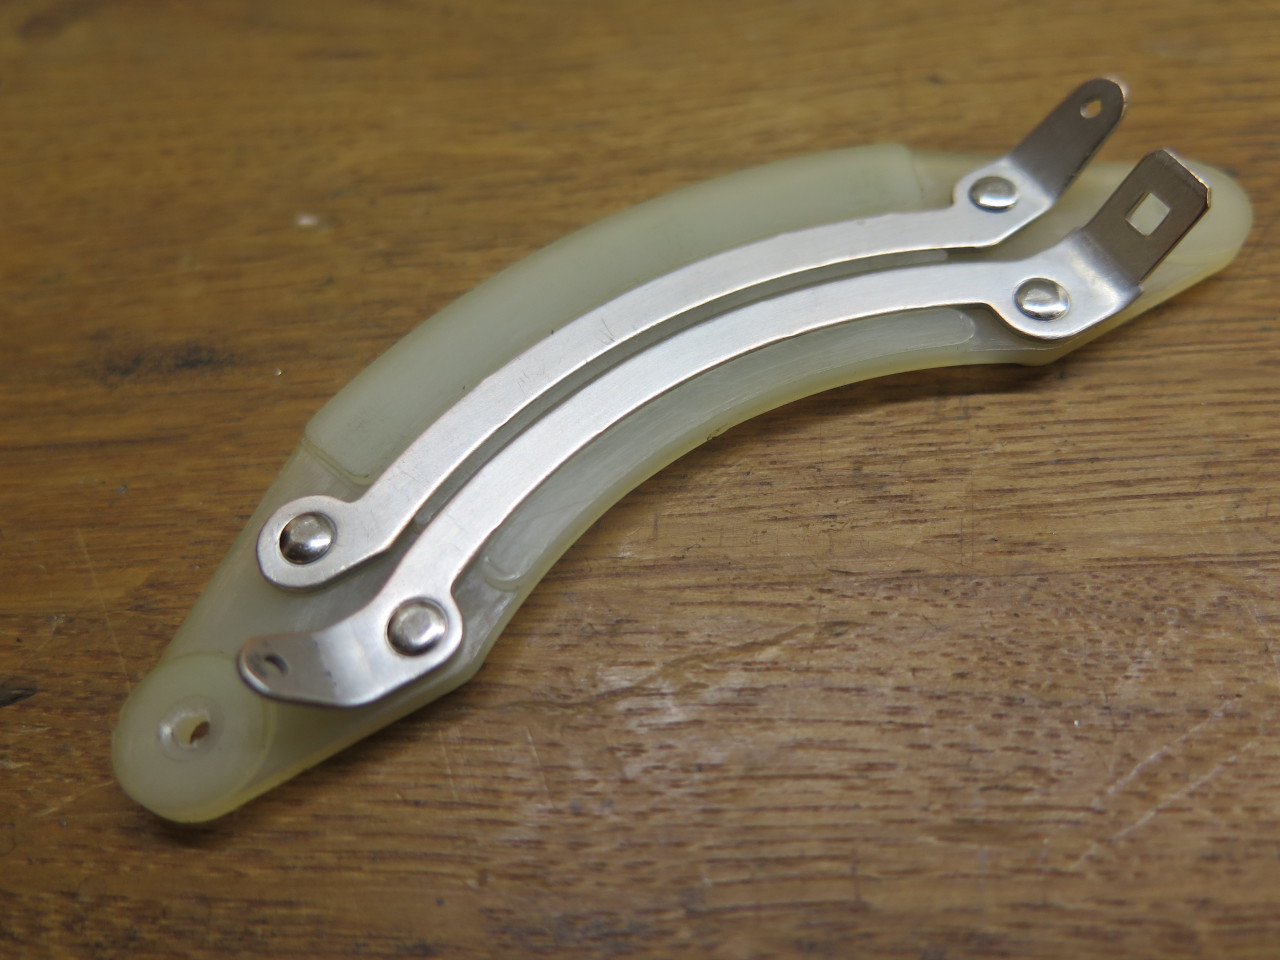
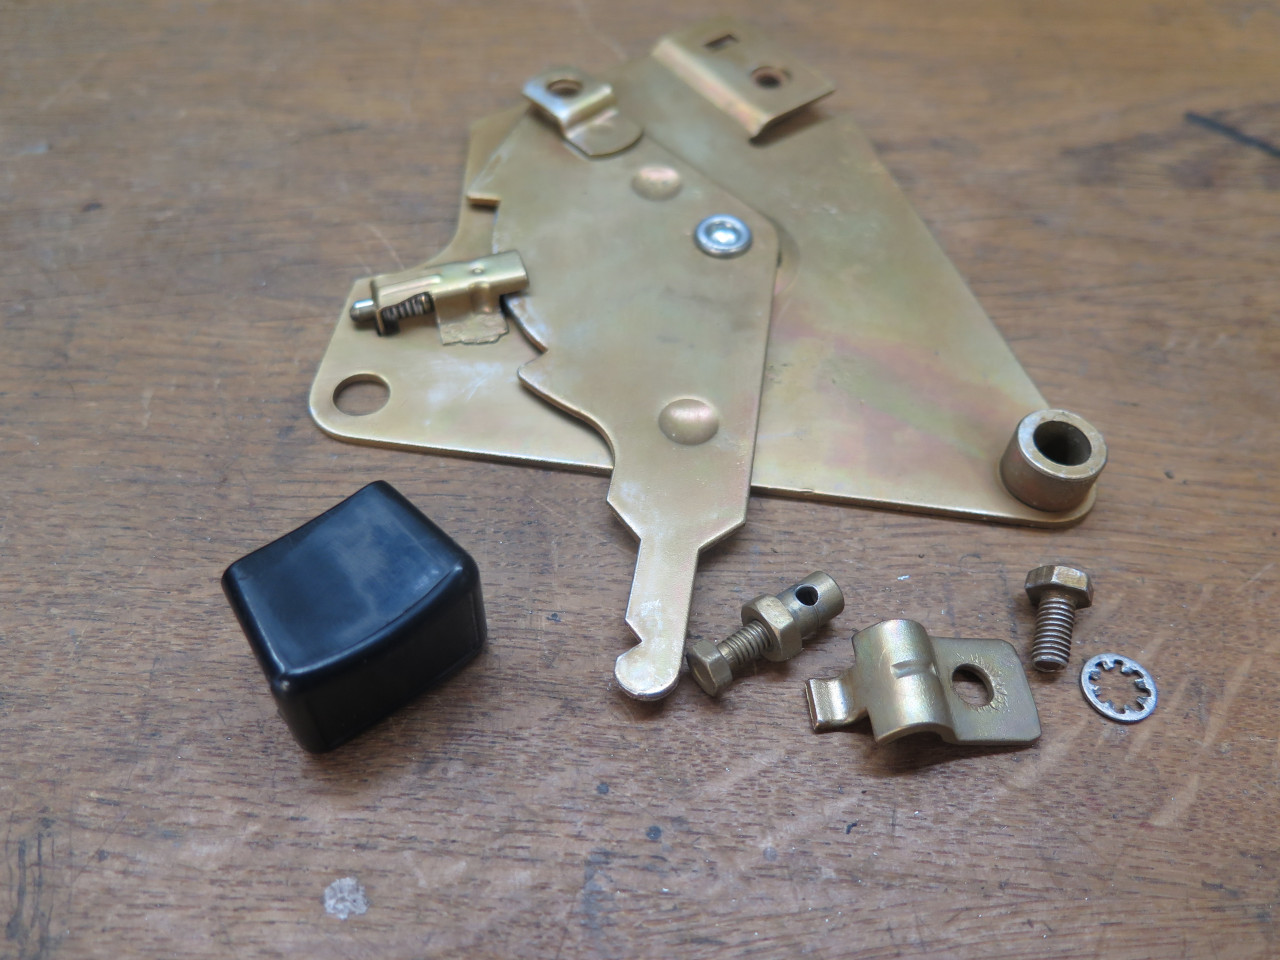
Then it went back on the base plate.
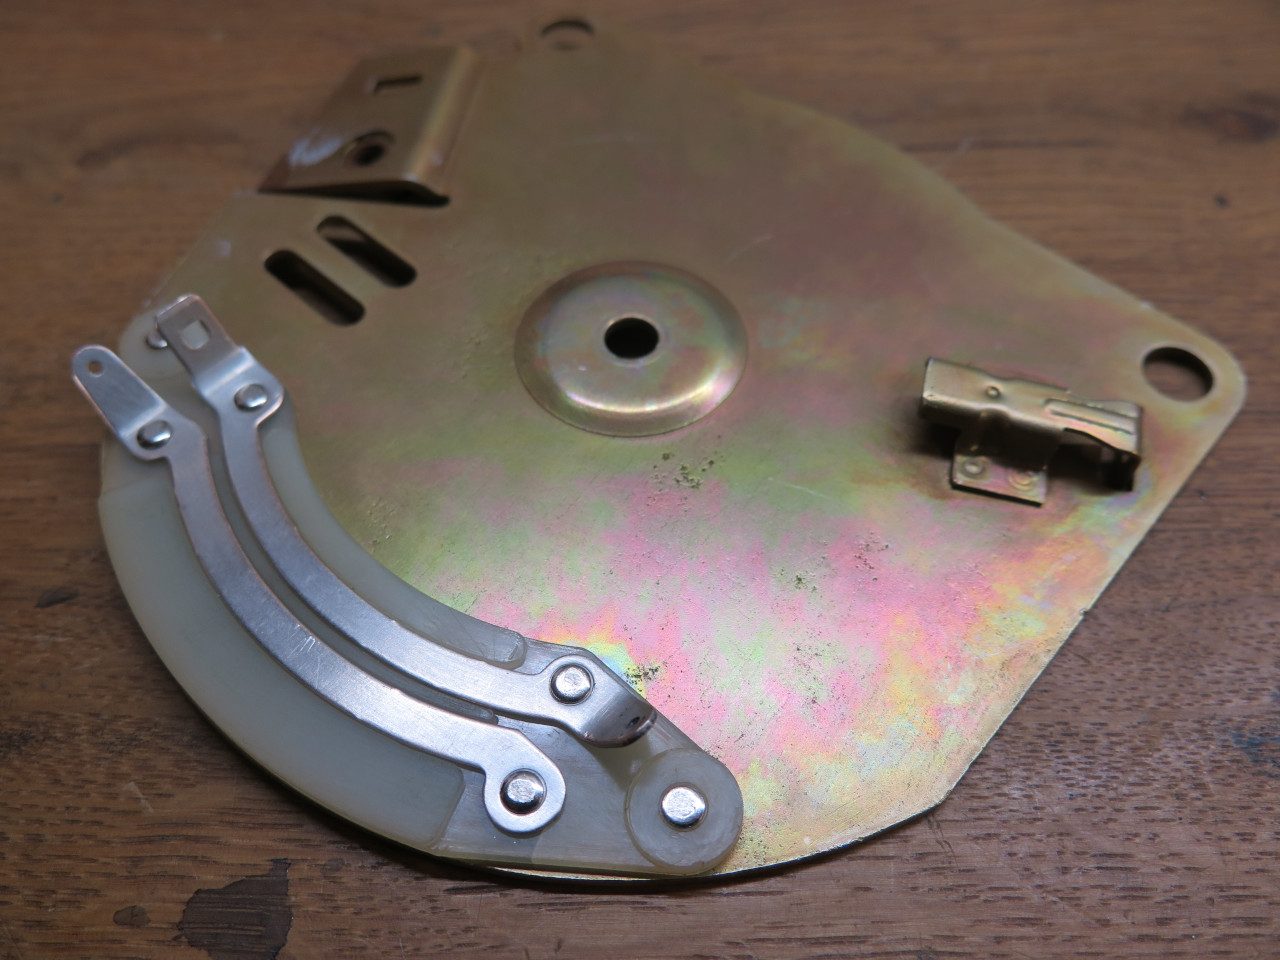
Final assembly could now proceed, except for the pivot rivet I
destroyed. Probably can't buy these, so this is a shop-built
version.
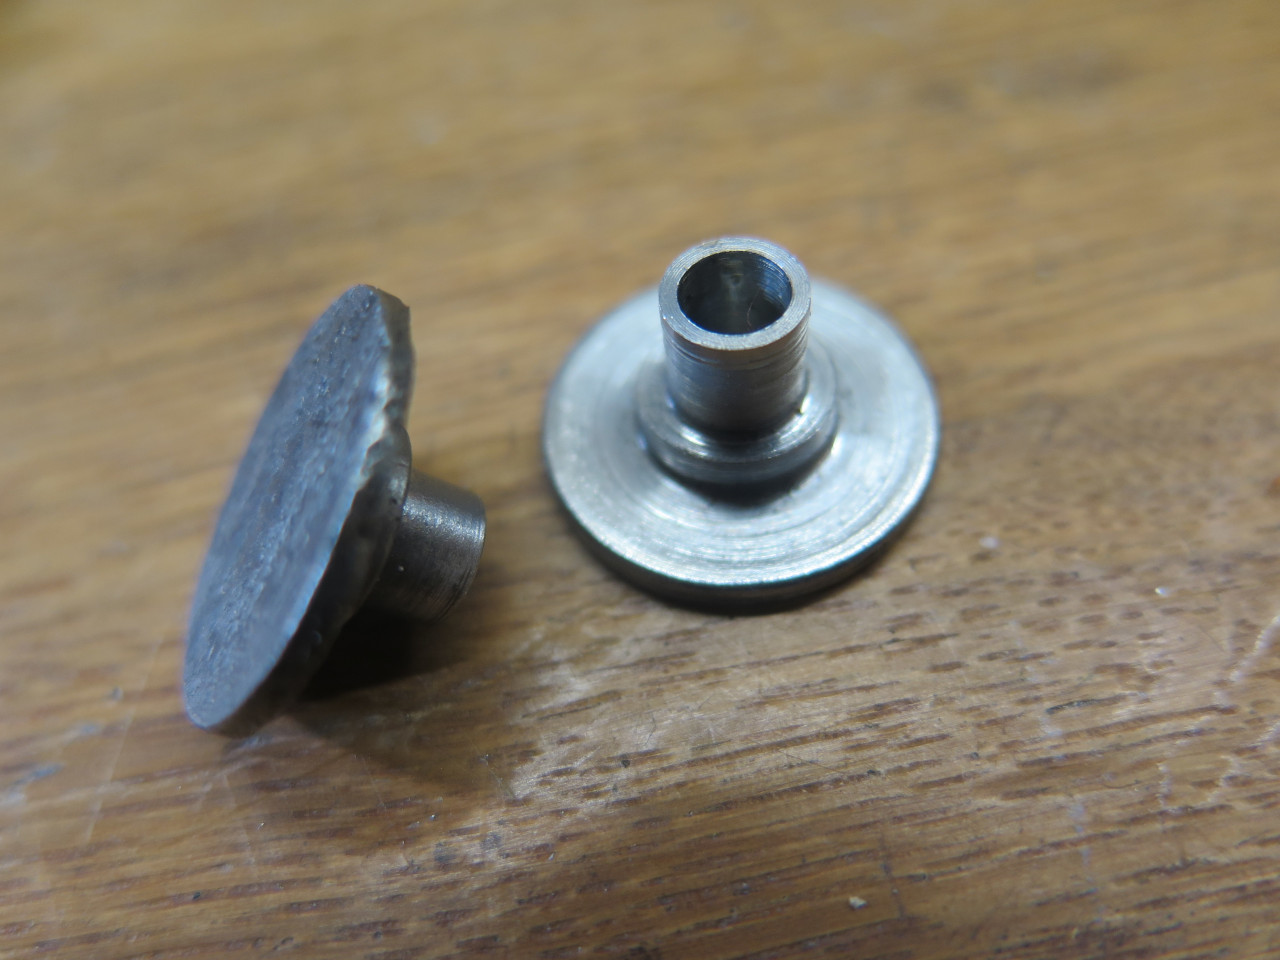
In setting the rivet, there is a curved spring washer on the underside
of the base plate, which I apparently don't have a picture of. It
loads the pivot joint so the rivet doesn't need to be clinched tight.
A little male spade connector to terminate the wires from the
wiper. The wires are braided copper that can take flexing, sort of
like the stuff you find in a distributor for the points.
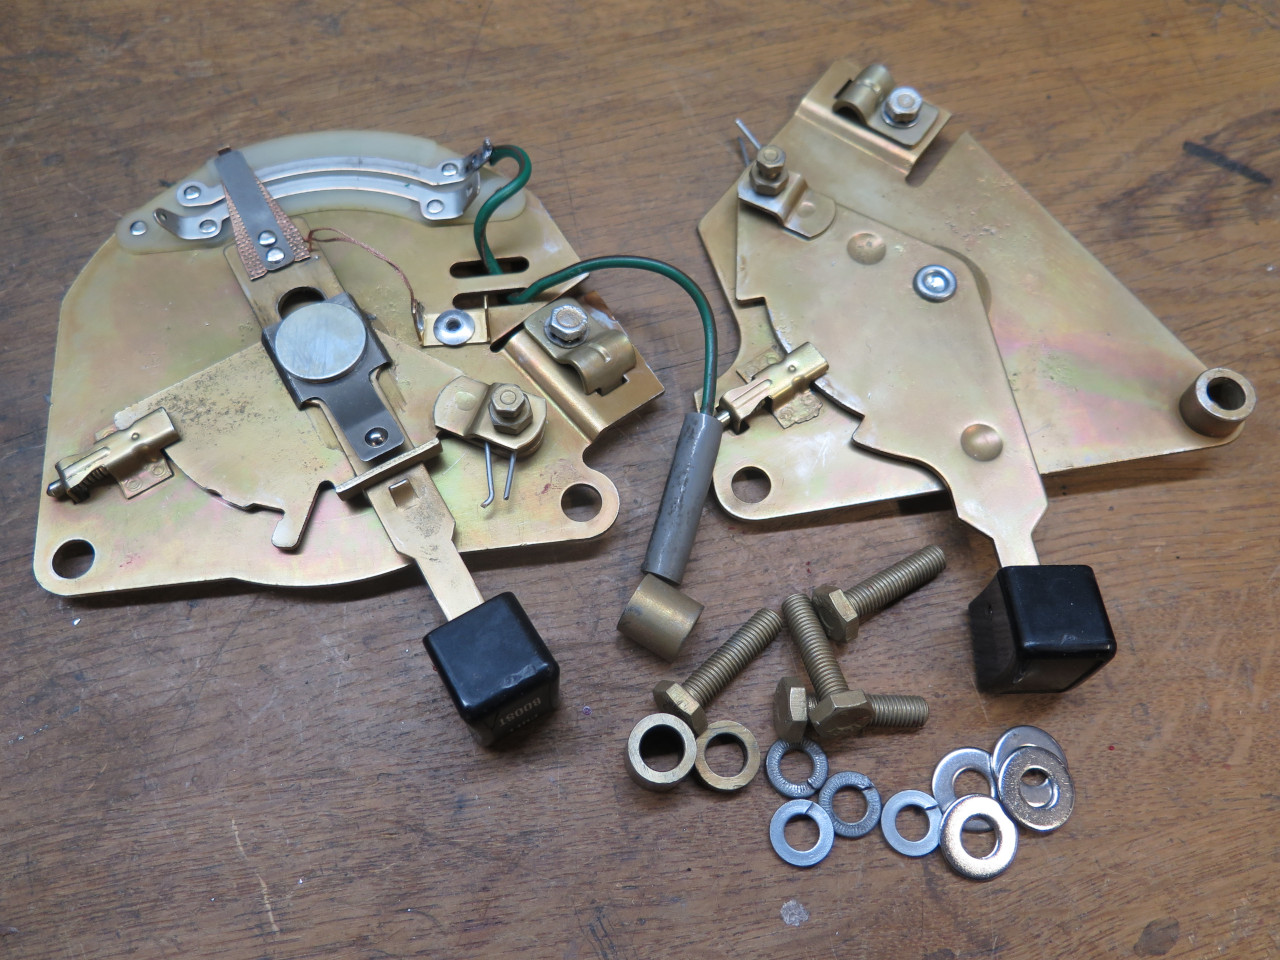
Everything back in place.
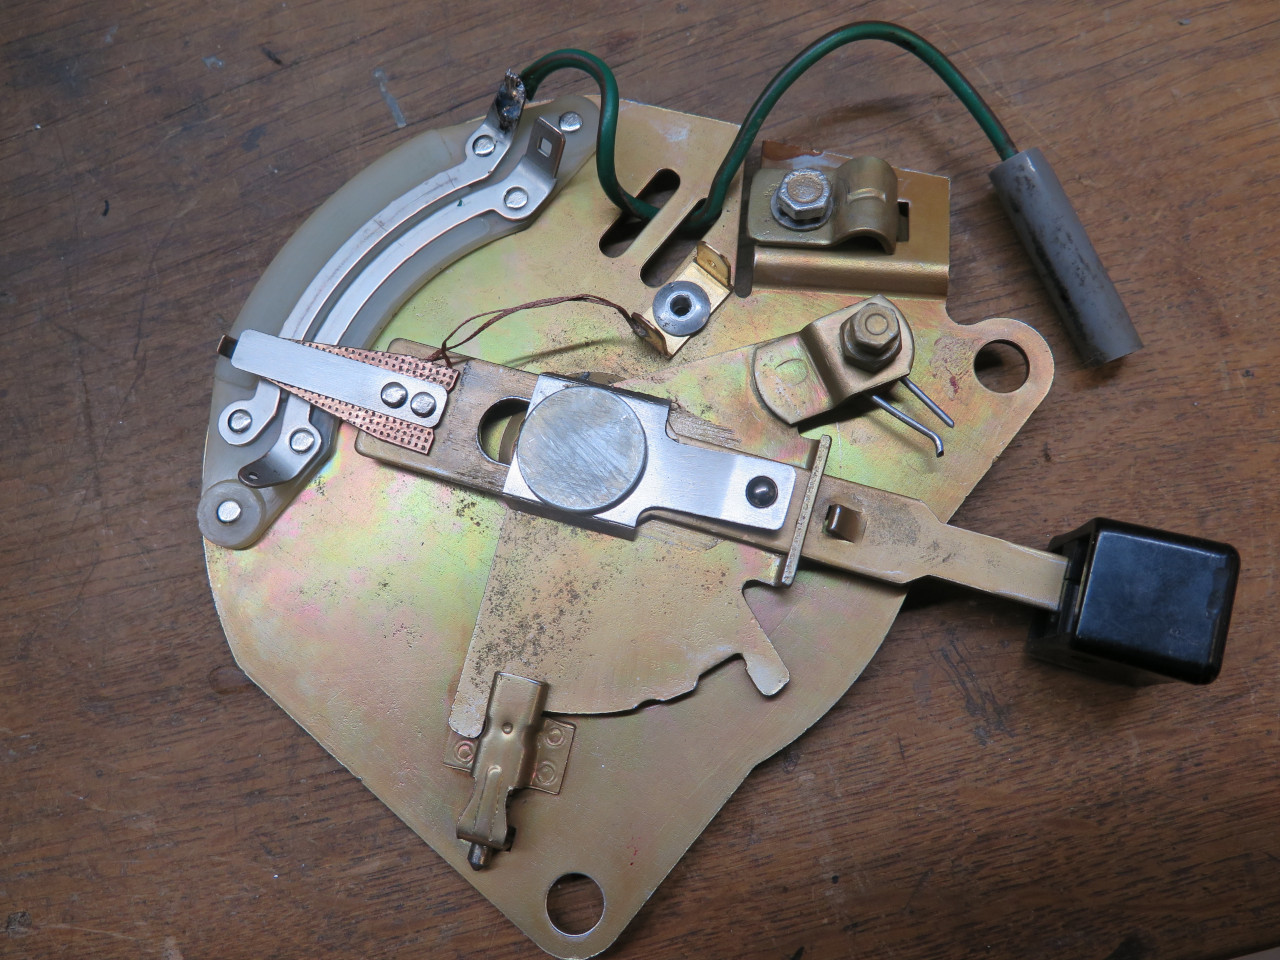
The temp control was very similar, but simpler.
Ready to install...
This was another of those "marking time" projects while waiting for
warmer weather when I can be in hte garage bolting some of these things
to the car. It took some time, but it was all pleasant. Cost
was near zero.
Comments to Ed at elhollin1@yahoo.com
To my other GT6 pages