To other pages
June 30, 2013
Mounting Rear Fender
[Click pictures for a larger view]
Well, I've painted the tank and fenders,
but am stalling on the pinstiping. This doesn't affect the
rear fender, though, so I went ahead and mounted it today. I
remember from doing this once before that it can be frustrating trying
to muscle a large curved piece of sheet metal that is only
approximately the right shape to fit in a constrained space so the
mounting holes line up, all the time making sure you don't scratch or
otherwise damage the fresh, enormously expensive paint job. It
finally did fit, but it didn't want to.
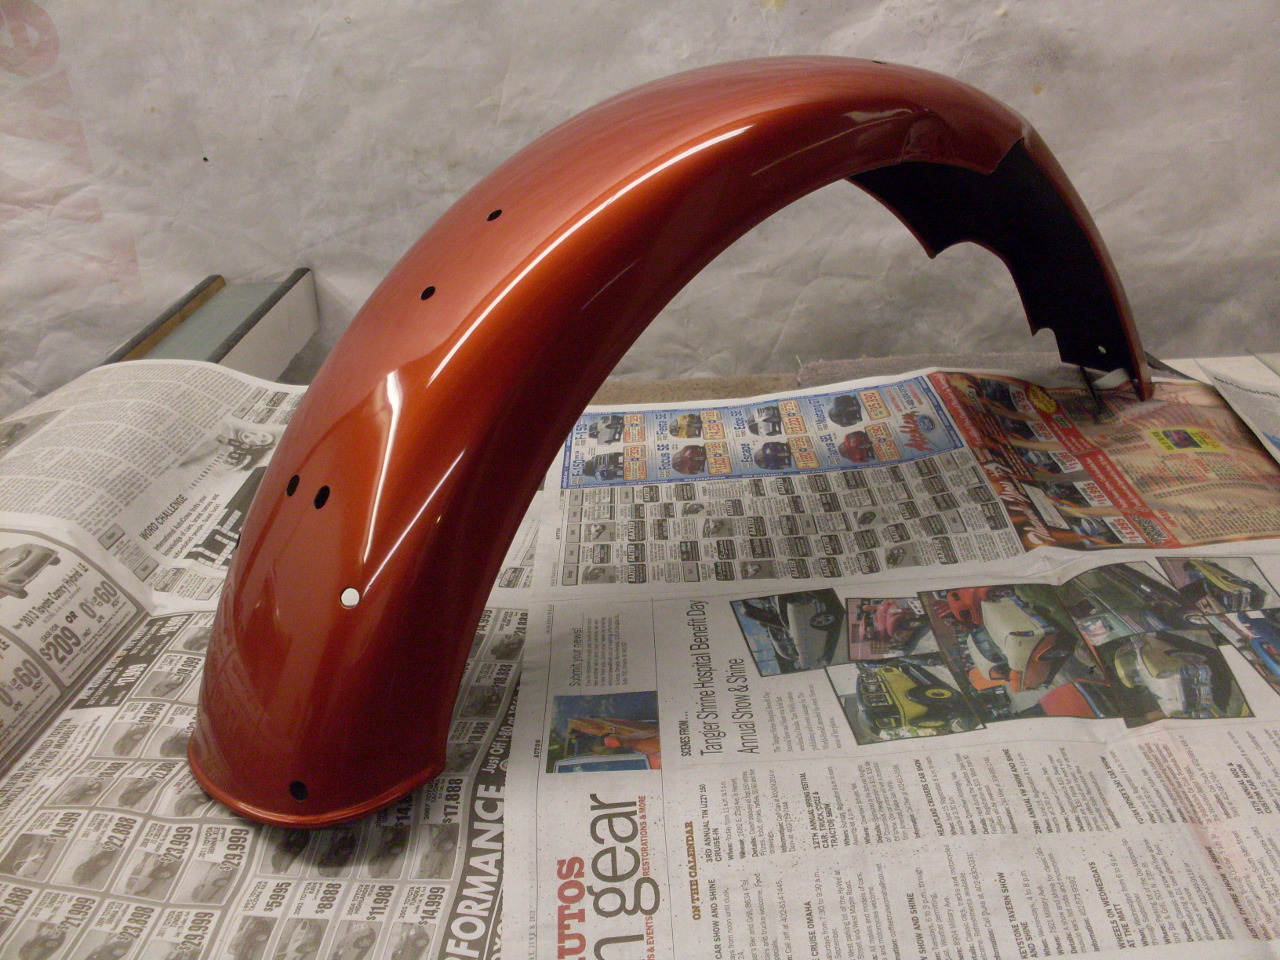
When I painted the
fenders, I didn't make much effort to get complete coverage on the
underside, so other than a pretty good two-part urethane primer,
the paint on the inside of the fender was not continuous.
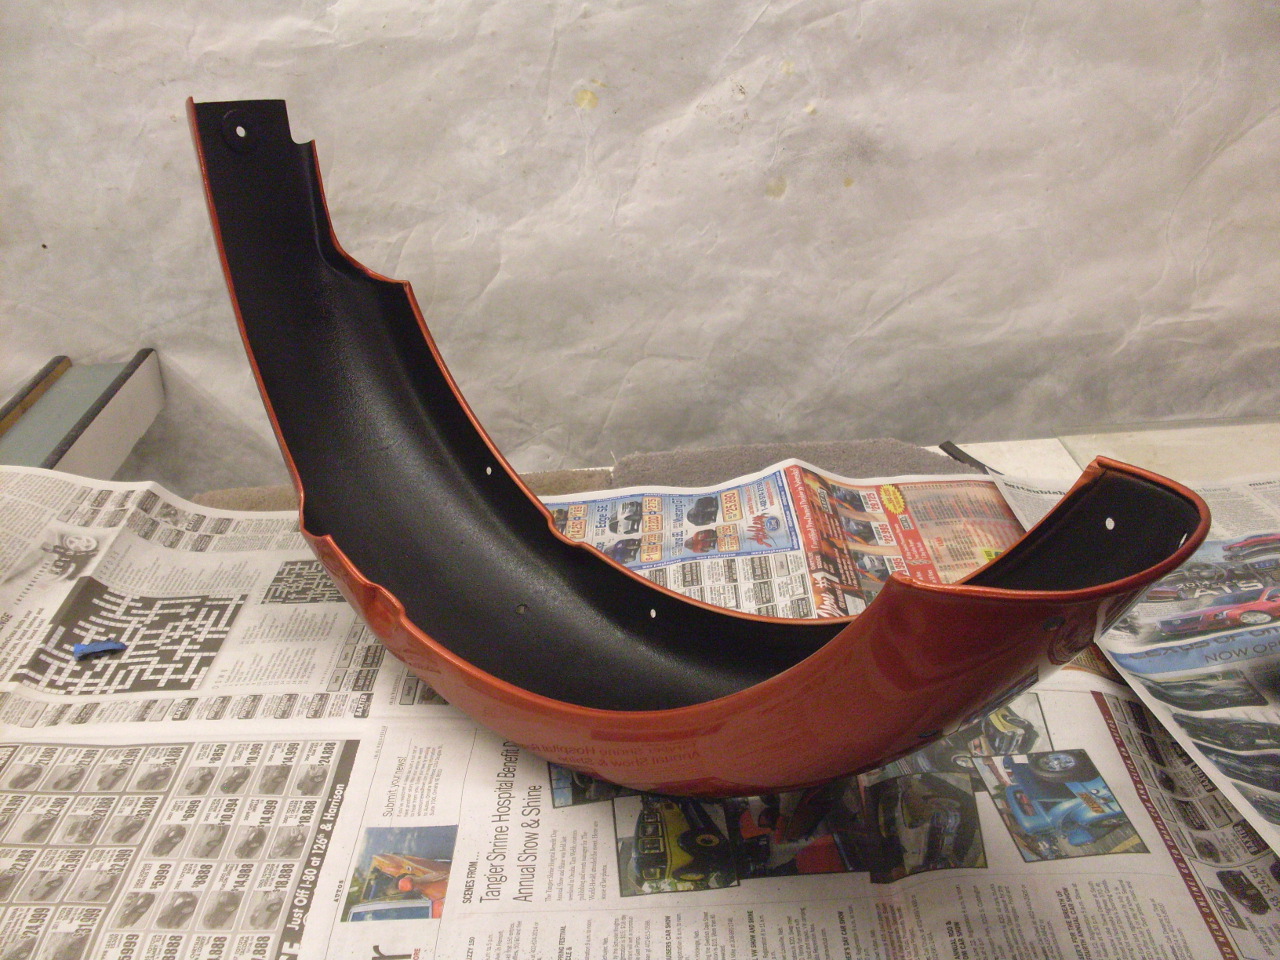
This was OK, since I'd planned to spray the bottom with some
kind of undercoating. I ended up using two heavy coats of a
rattle can truck bed coating. It goes on thick, and has a coarse
texture that is claimed to be tough and abrasion resistant. We'll
see.
Next
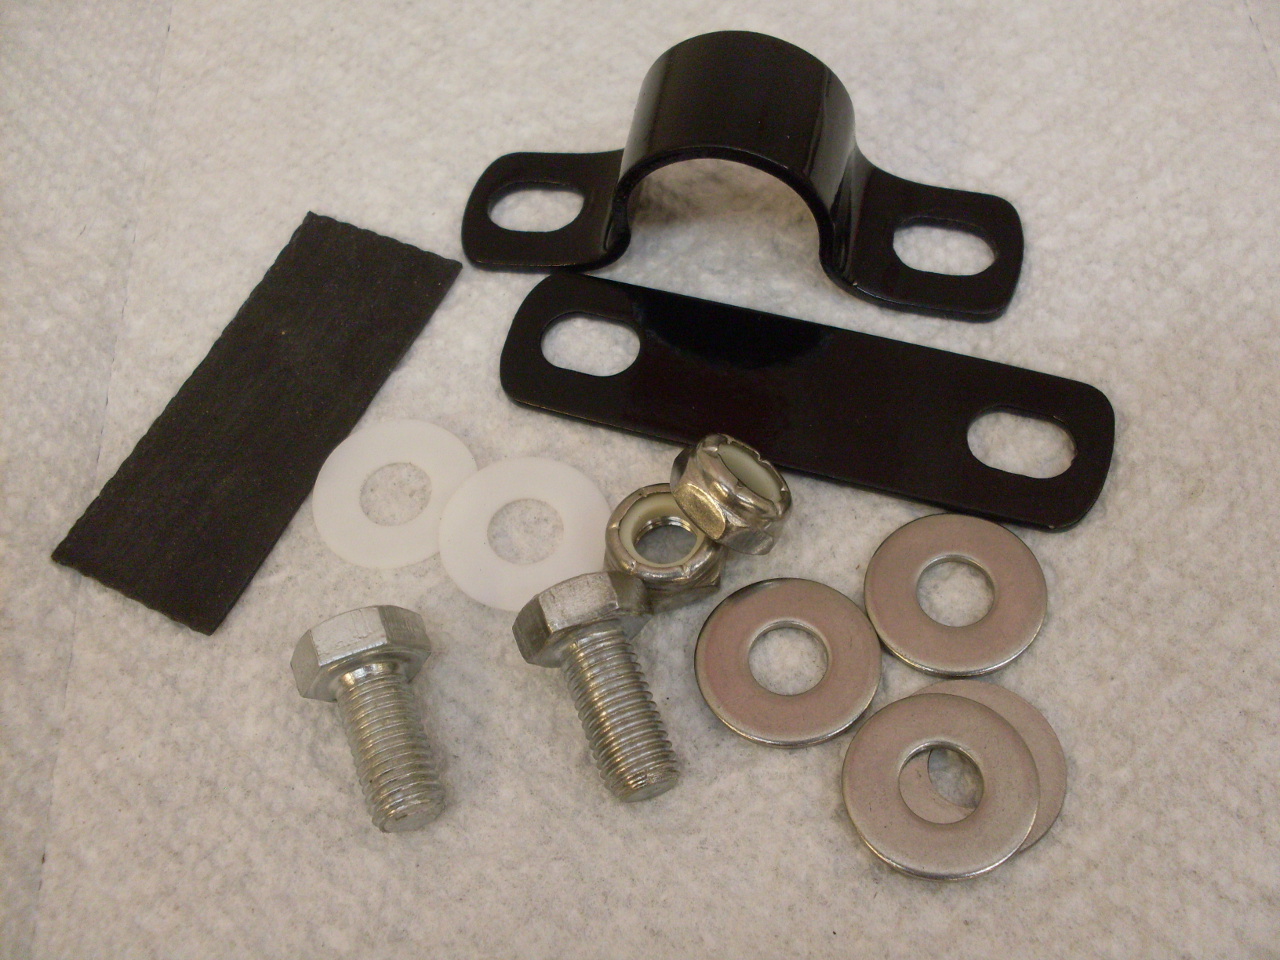
step was to prepare the bracketry and hardware. I reused the
original British bolts for the most part, but many of the washers were
distorted, so I used US parts of similar size, sometimes stainless.
I don't like to use lock nuts more than once or twice, so most of
them were new, too. I did find a source for a low profile lock
nut the same size and shape as the original, but it is the nylon insert
type, and stainless. When the original hardware was reused, it
was freshly zinc plated.
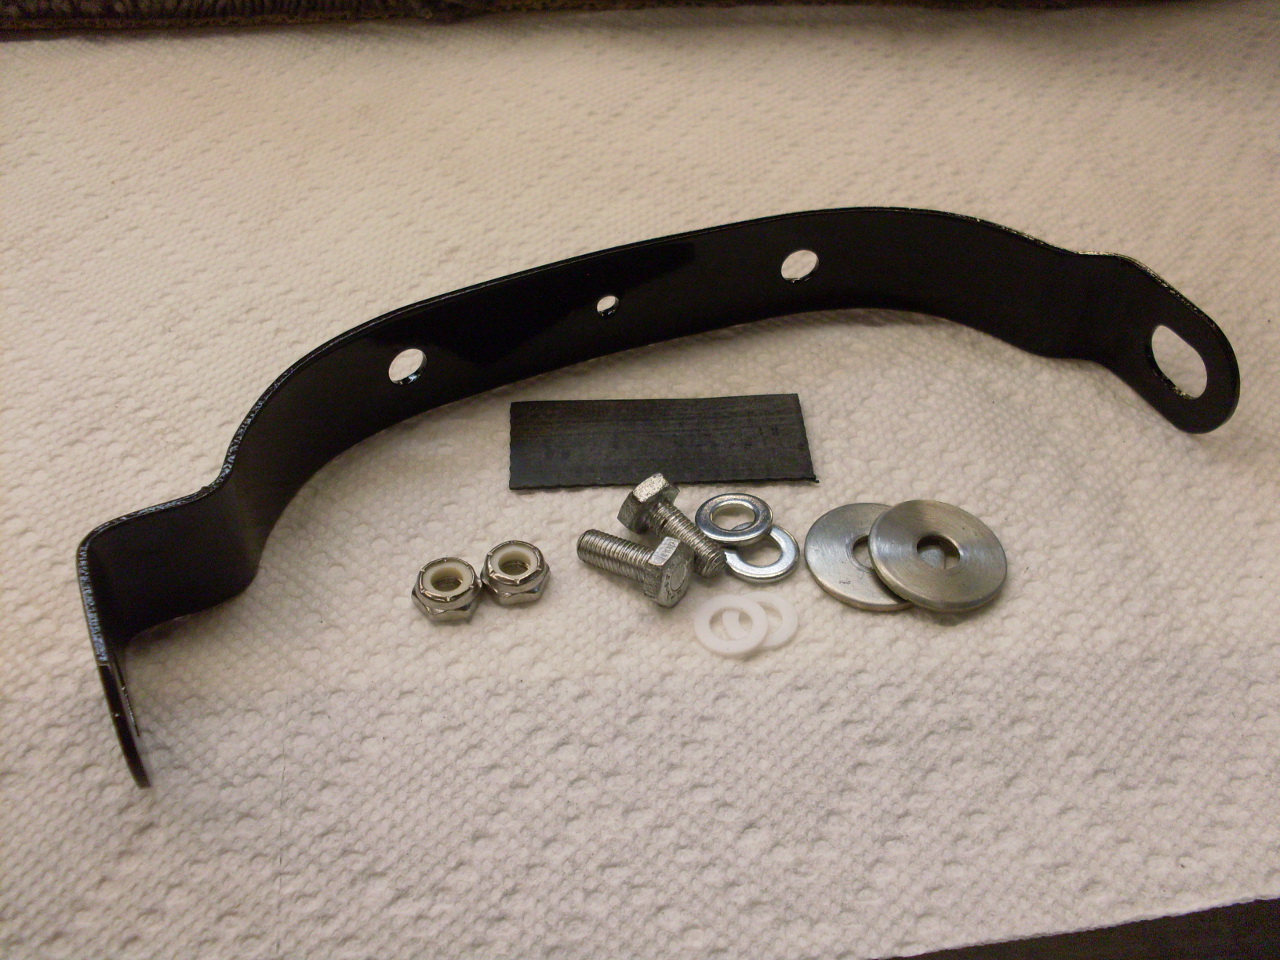
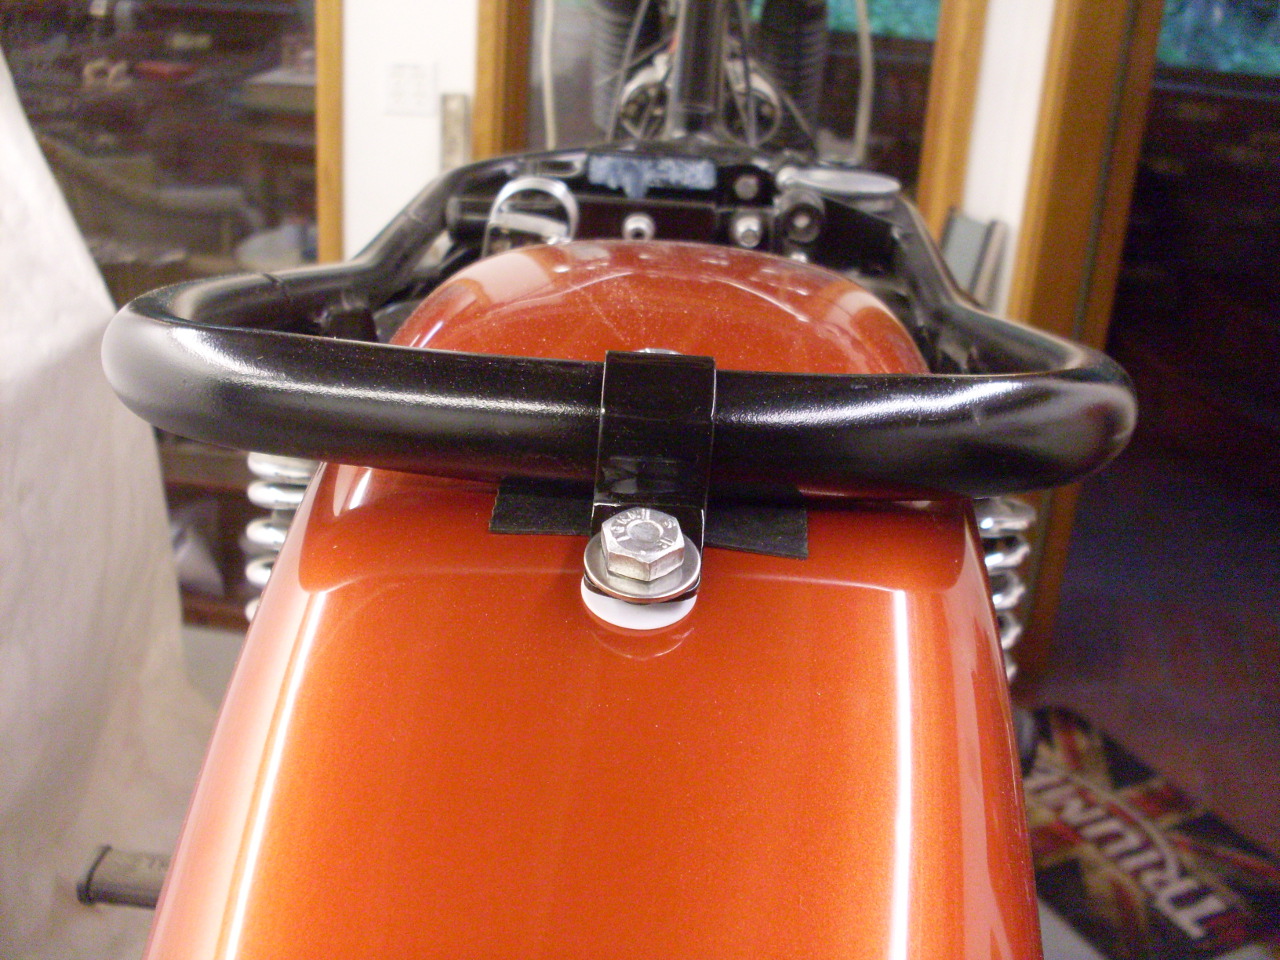
I also got a little anal about
protecting the paint I'd just spent a lot of time on, so I included a
plastic washer next to the painted surface of the fender. Those
are the white washers in the pictures. Also, where there was a
chance of a structural part coming in contact with the paint, I put in
a little strip of 0.030" rubber. The "backing plate" (the
flat piece in the right picture) had somehow gone AWOL, so the
one in the picture is a freshly fabbed one.
First
I put the "bridge" bracket on the fender. The bracket is
asymmetrical because the rear wheel is biased to one side, and of
course, I got it the wrong way round on the first try.

First
trial fit up. This is where I realized that the "lifting handle"
assembly had to go in, too, since it is fastened by the same upper
shock bolts that hold the fender bridge bracket. Luckily, I'd already
done the lifting handle, and it was sitting on the shelf.
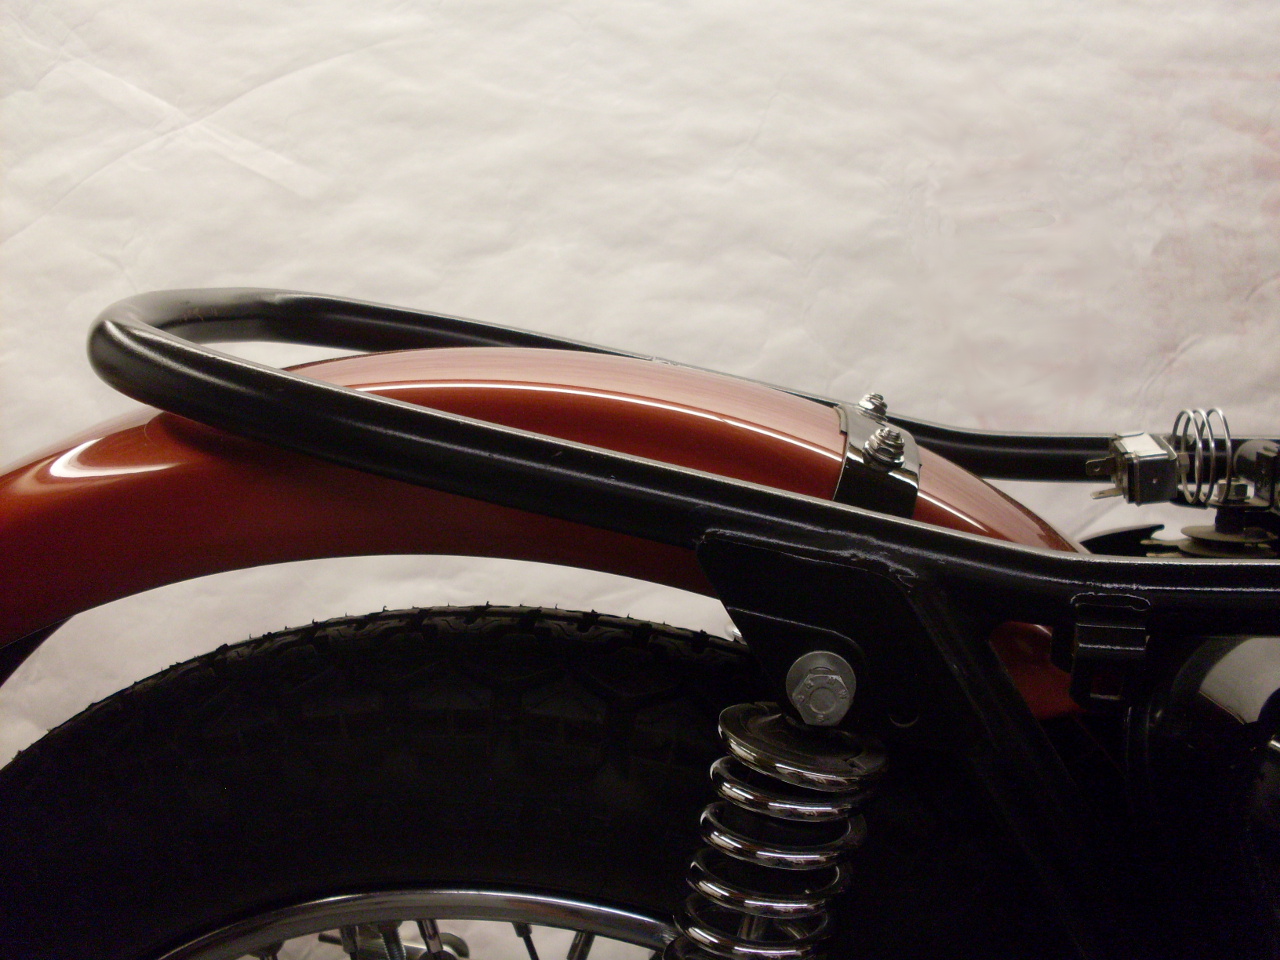
This
is the frame clip. After I had it tightened down, I realized that
the rear fastener is actually a stud on the tail light assembly.
Notice the strip of protective rubber.
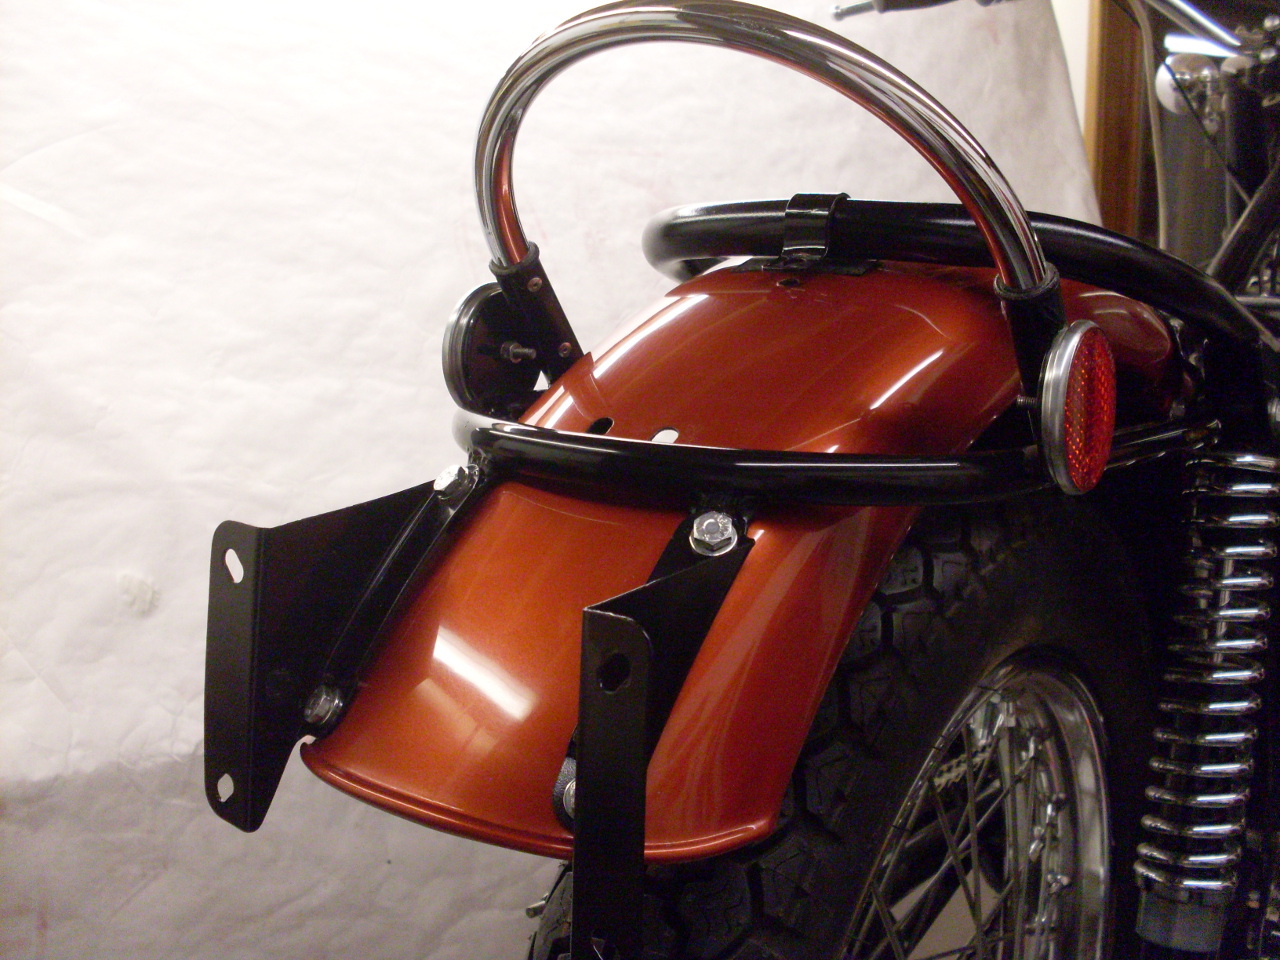
See
how far the holes are off between the fender and the lifting handle
assembly? It helps to loosen everything else, but it still takes
copius amounts of patience, muscle, and swearing.
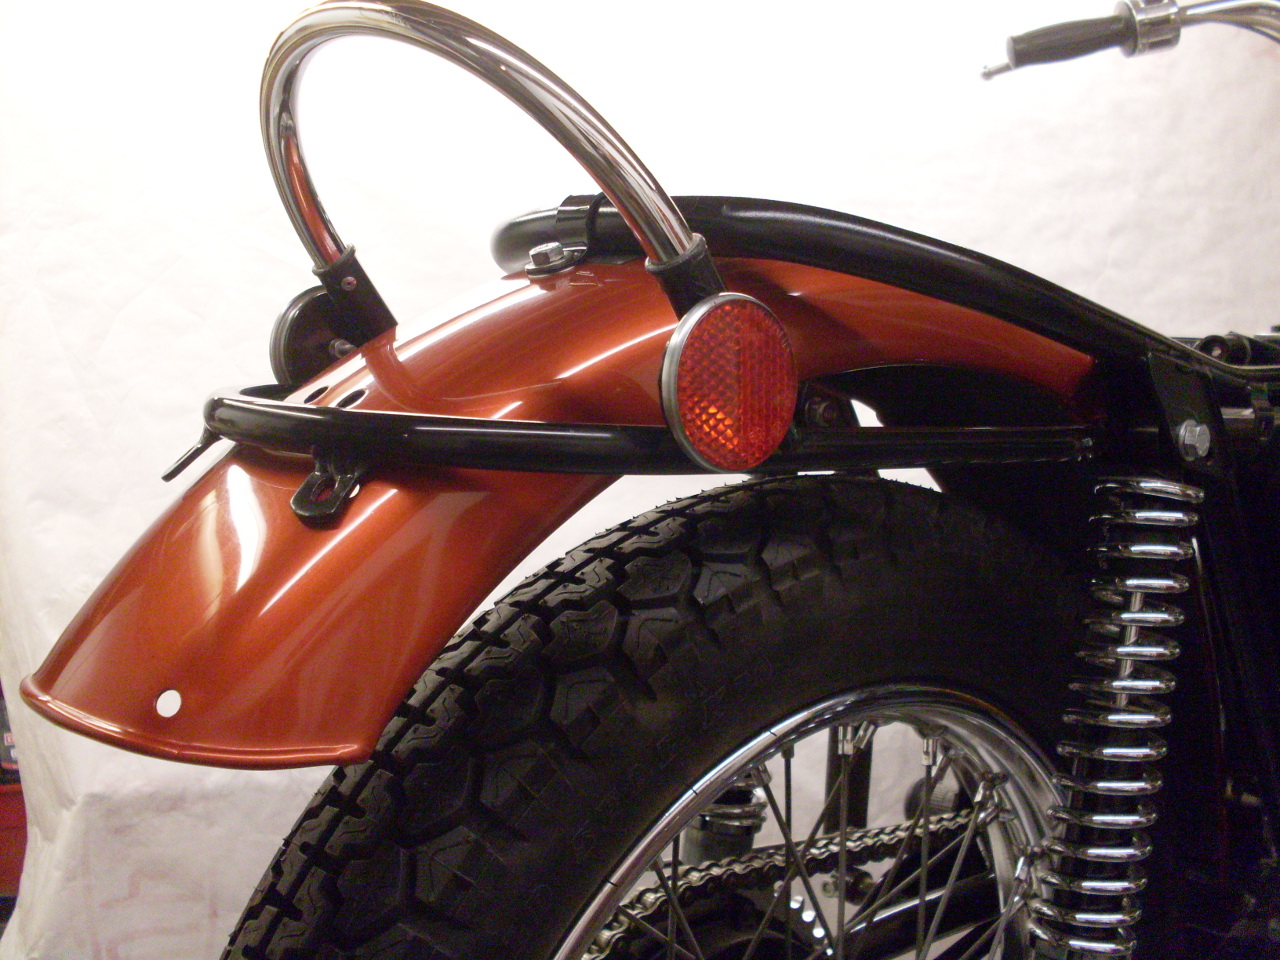
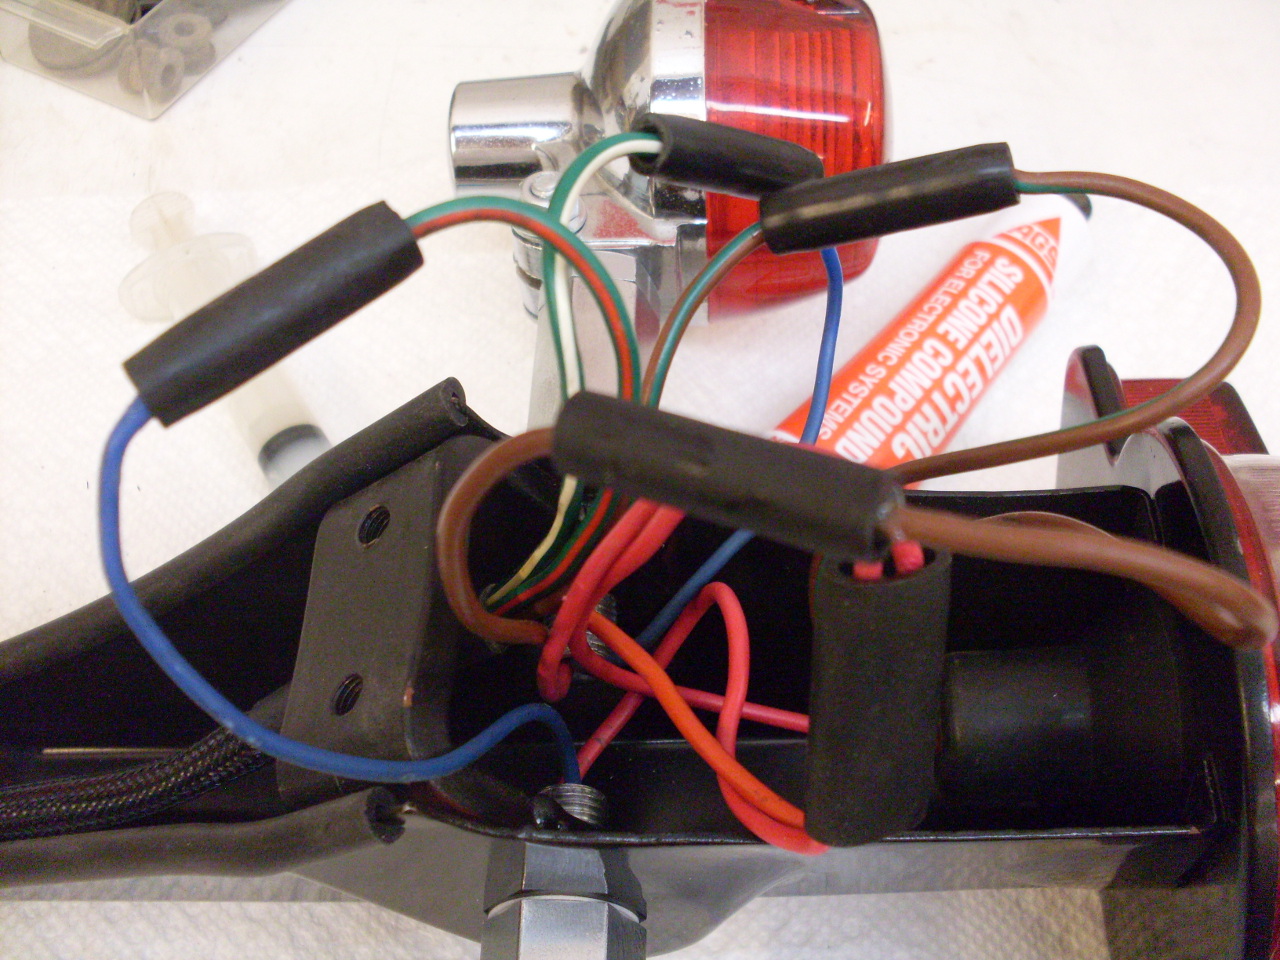
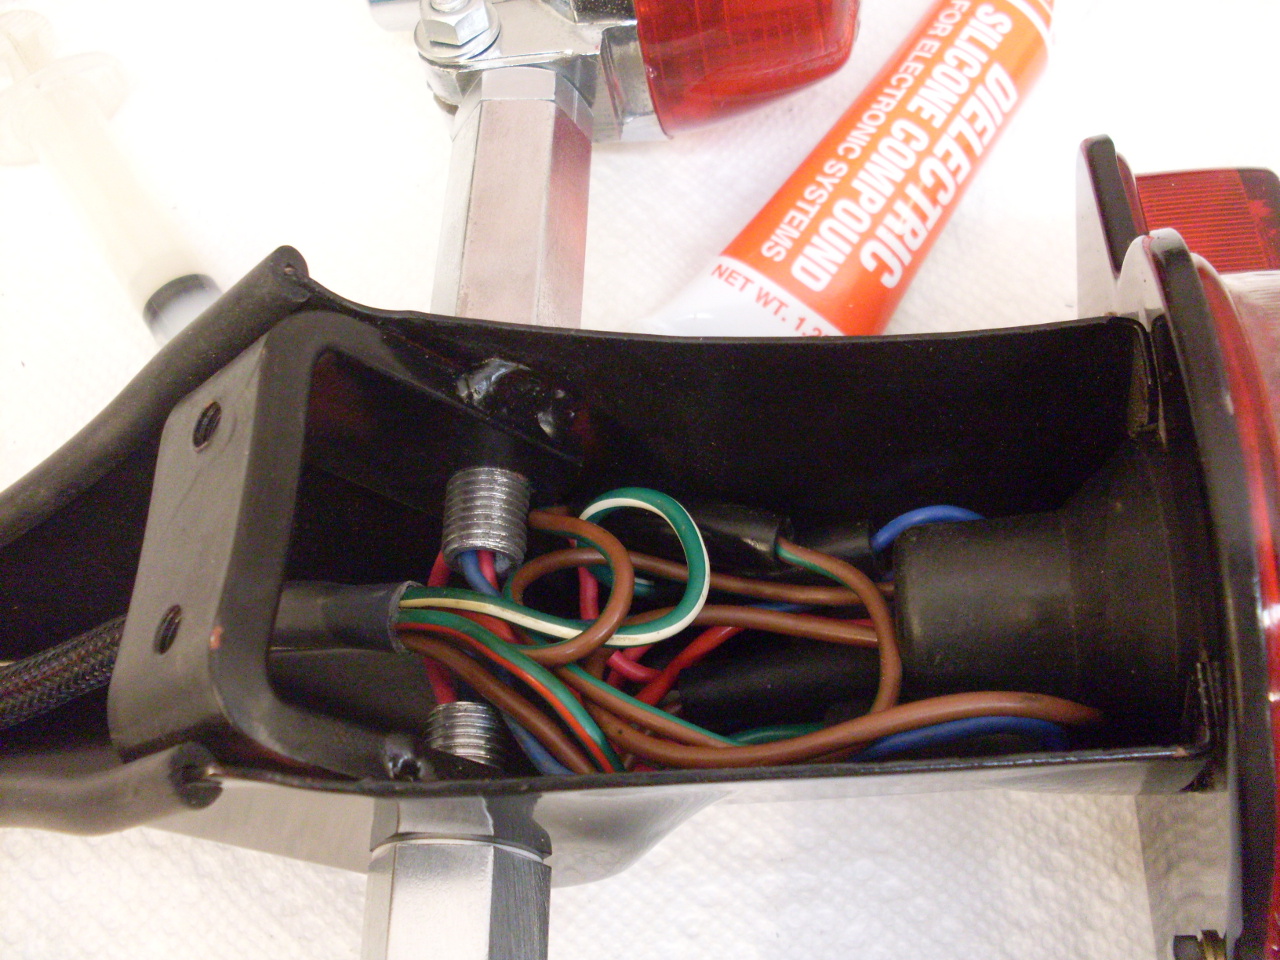
The tail light assembly (previously refurbished and upgraded) then had to be wired up to the rear wiring harness.
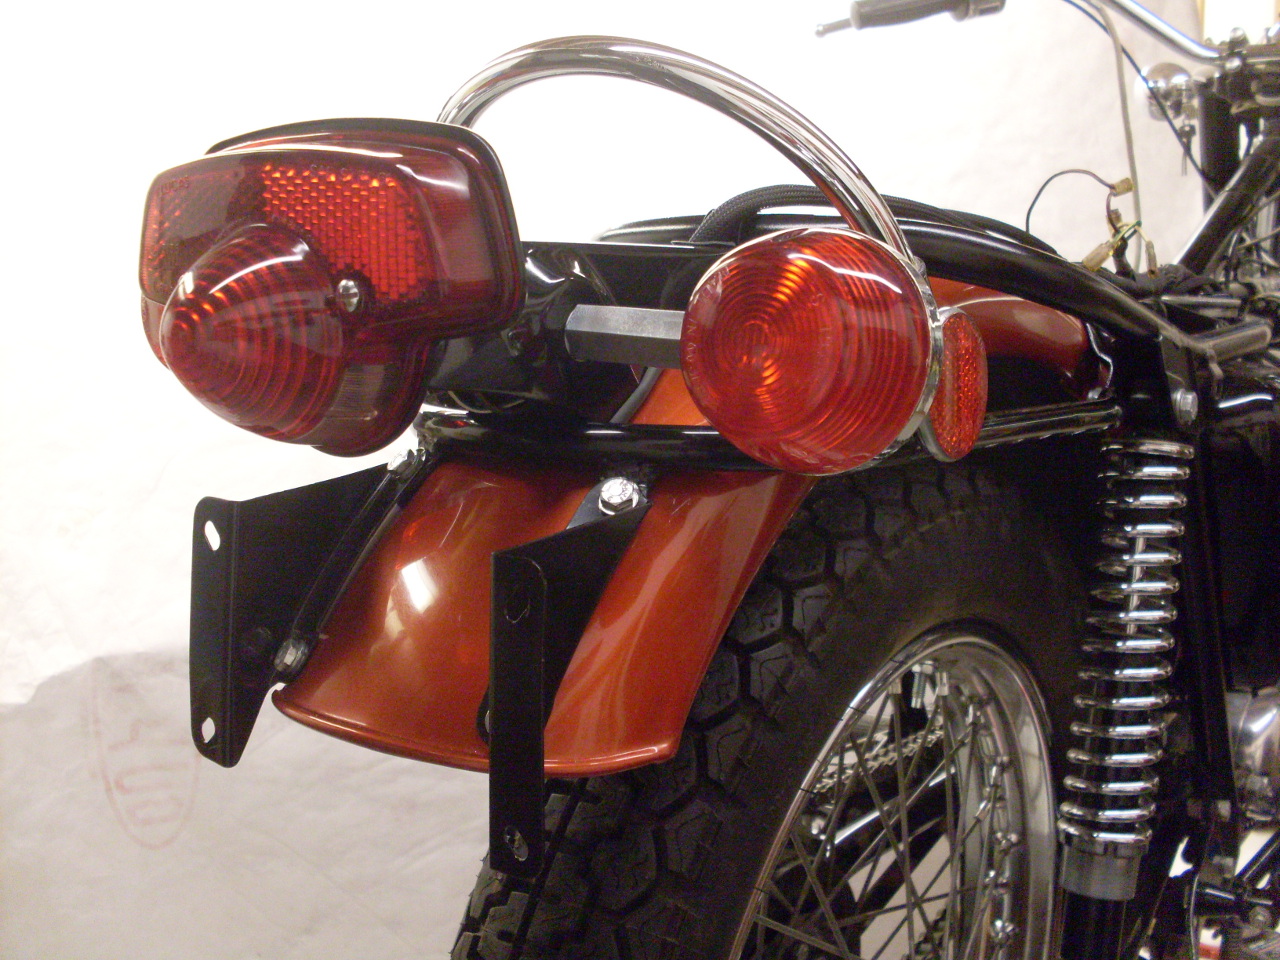
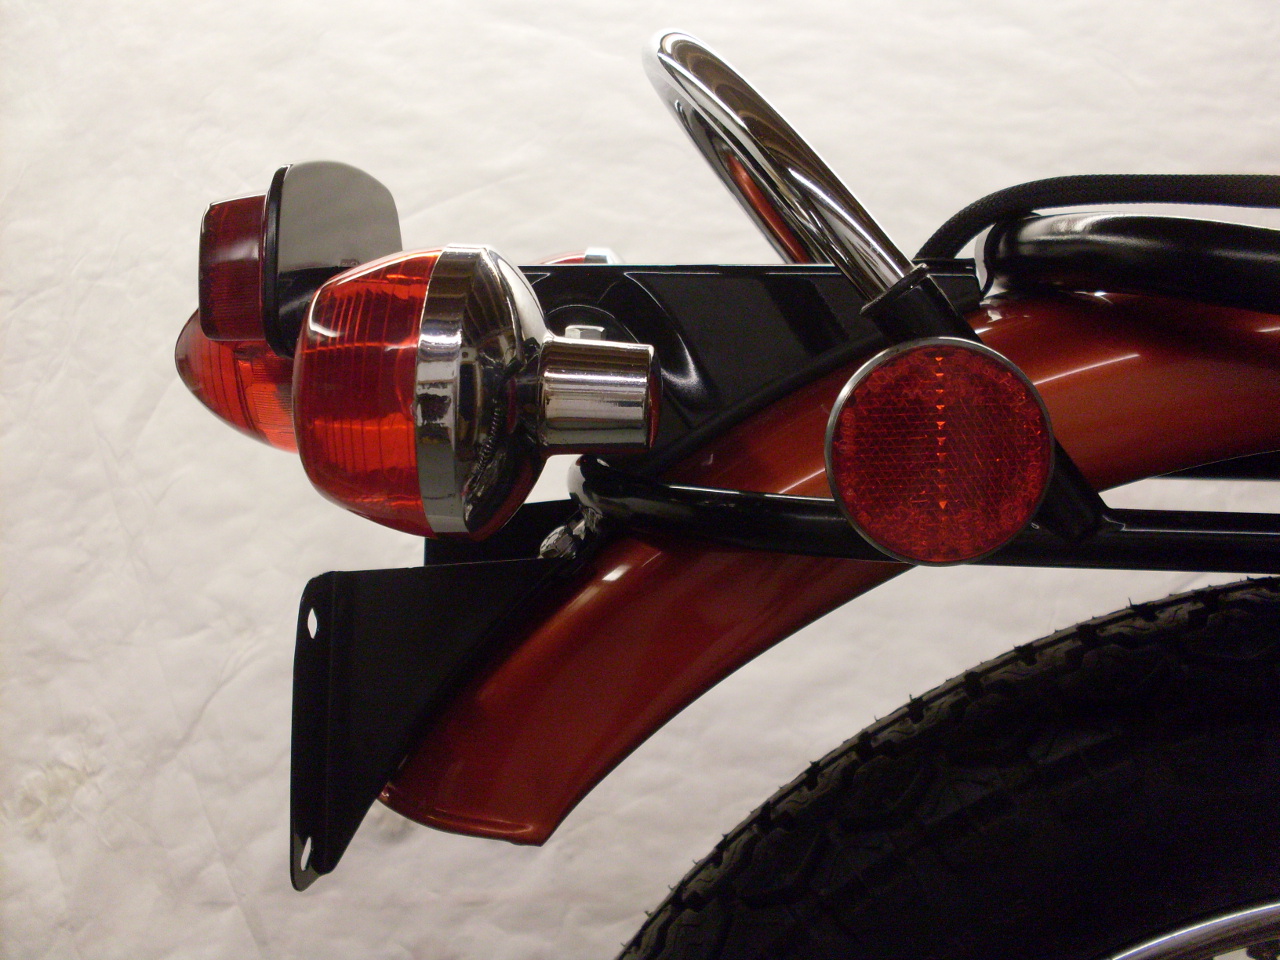
Starting to look like a proper bike--at least at this end.
Comments to: elhollin1@yahoo.com
To other pages