To other pages
June 26, 2013
Tail Light Assembly
[Click pictures for a larger view]
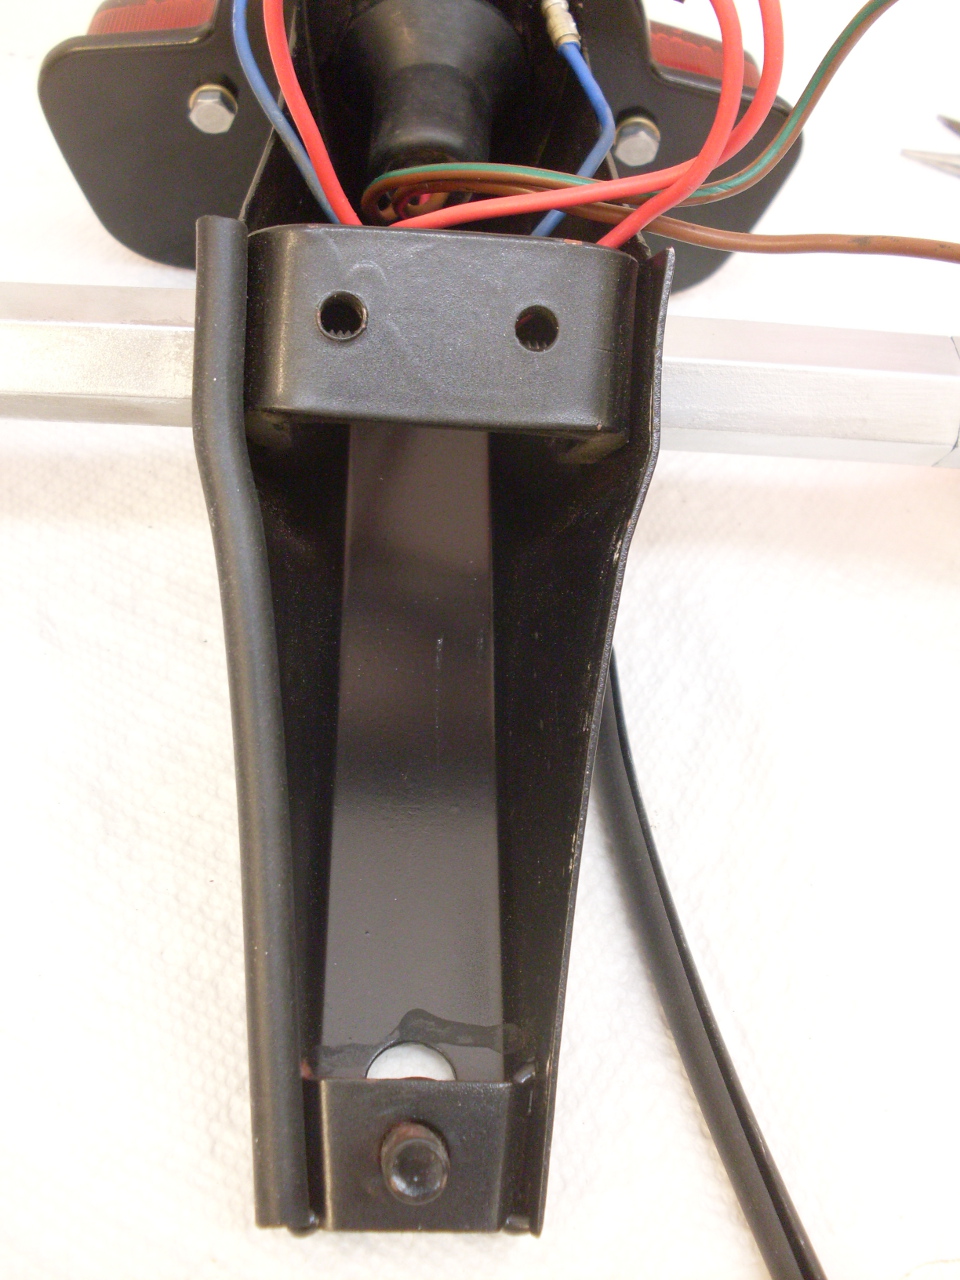
Here
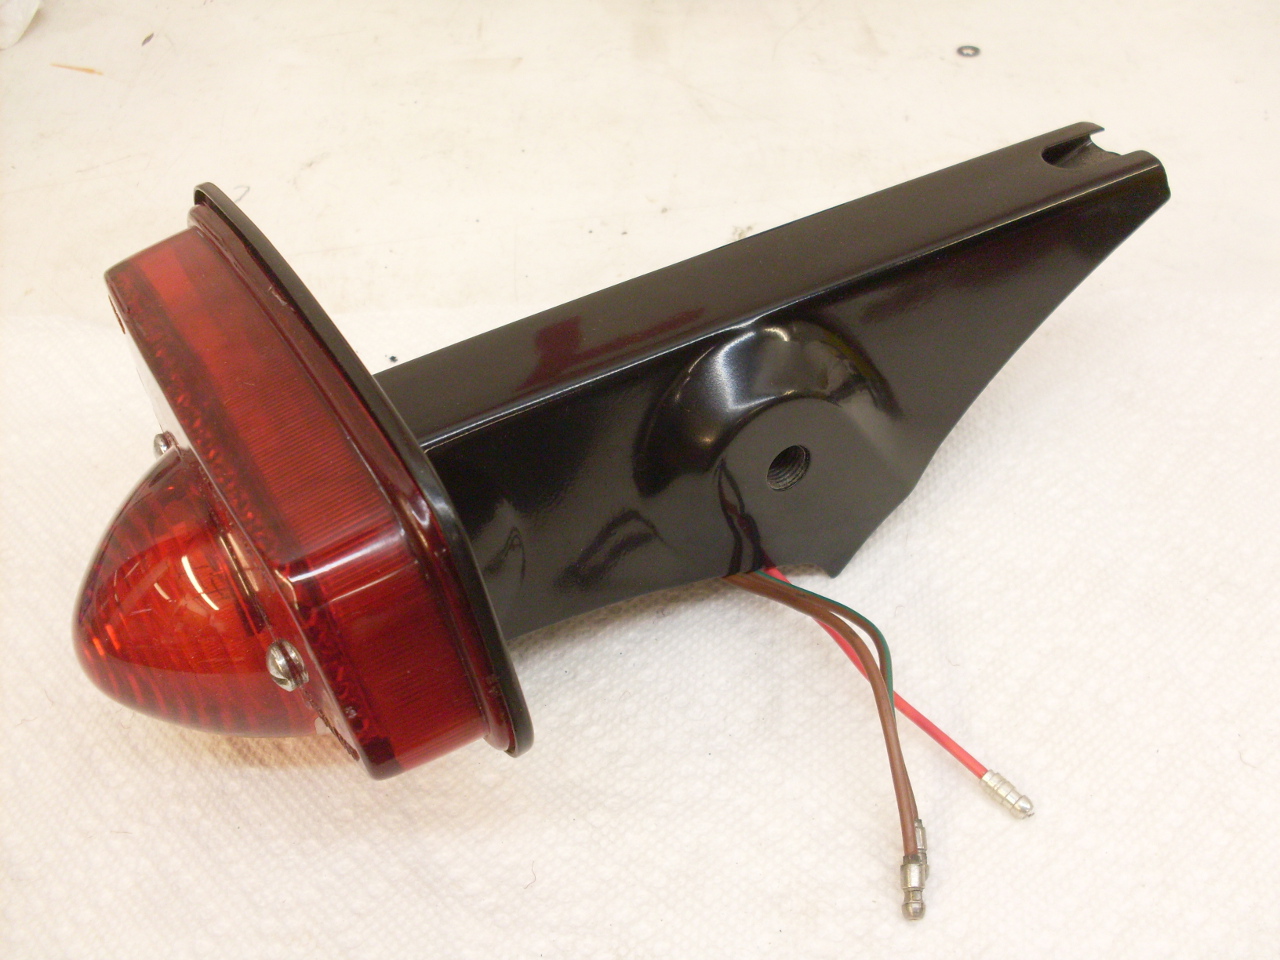
is the tail light assembly housing after I had already stripped and
painted it. I think the original color might have been silver,
but I like it black much better.

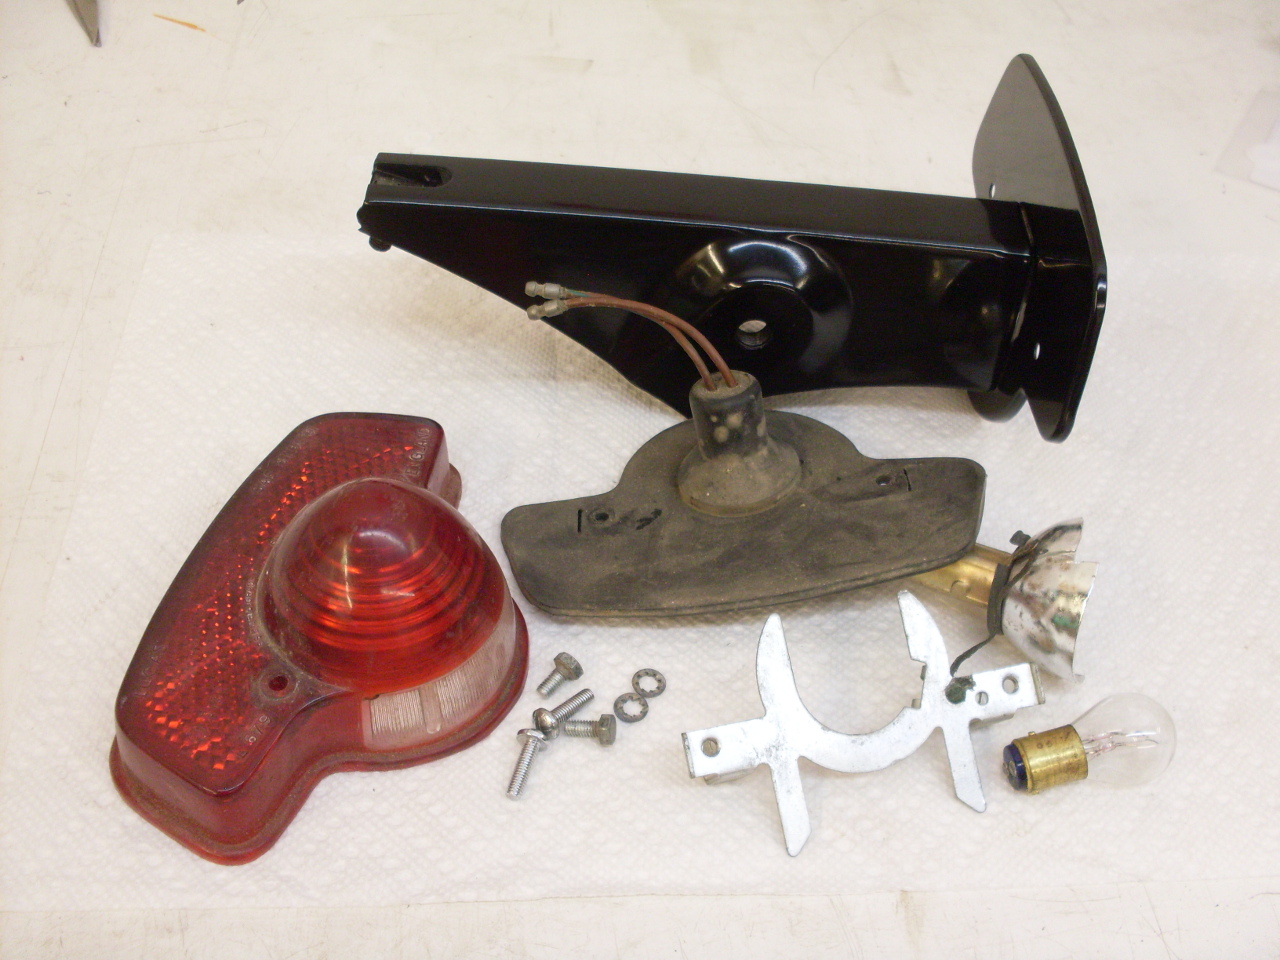
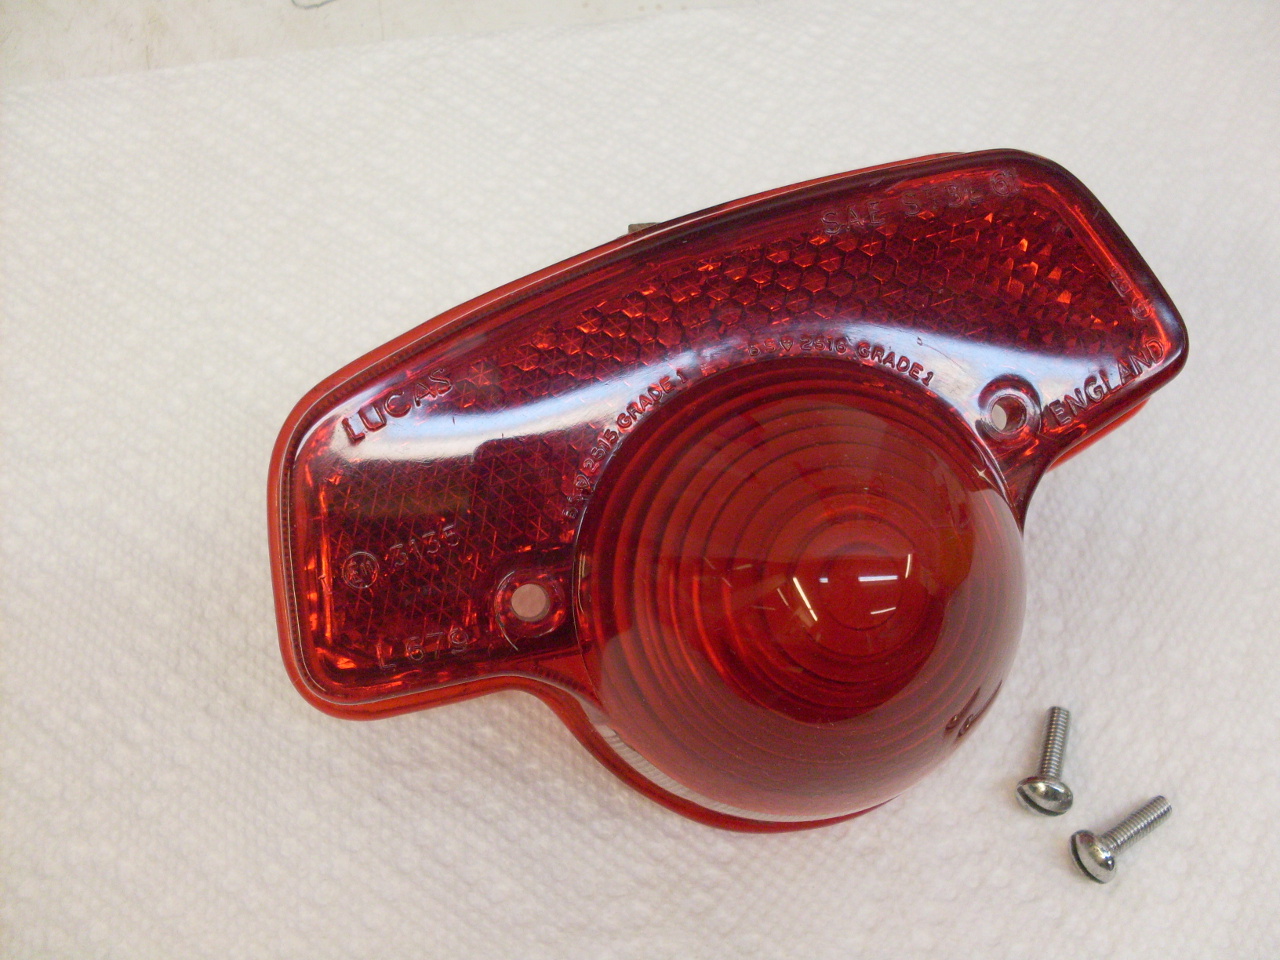
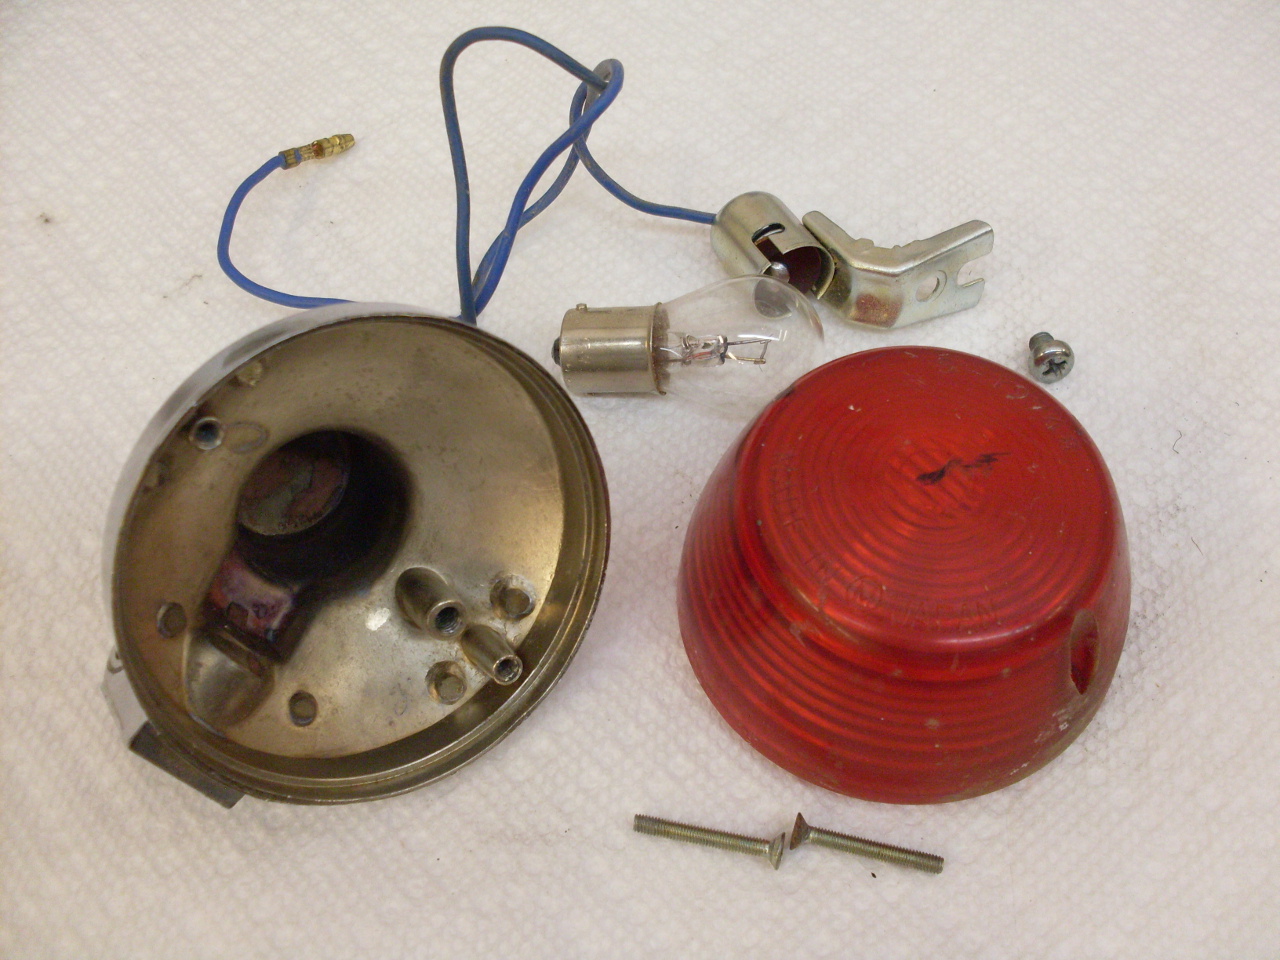
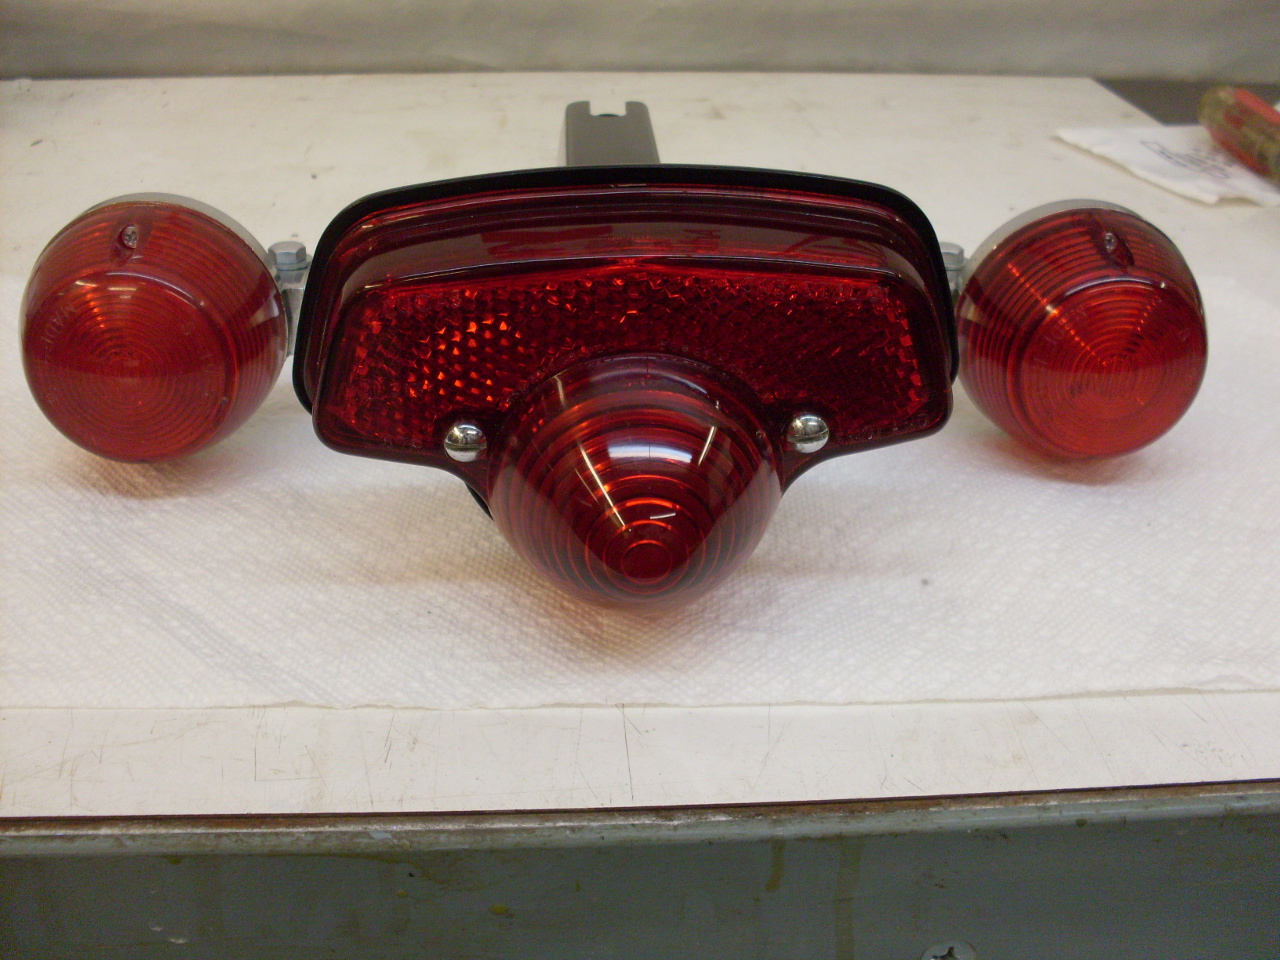
The
components of the tail light. There is a bayonet socket for
a dual filament bulb (tail and brake lights), which is held in a rubber
boot/gasket. A thin aluminum reflector is crimped on the
top of the socket.
A
word about grounding on Triumphs. It was very common on older
bikes (and cars) to use the metal parts of the frame and body as a
return path for electrical circuits. These return paths often
depended on fasteners to provide an electrical bridge from one
frame or body component to another. Many times, these joints were
painted and/or subject to corrosion, either of which could easily
compromise the continuity of the electrical circuit, especially as the
vehicle got older. The faults were notoriously hard to
troubleshoot, since they could sometimes come and go with changes in
temperature, moisture, or mechanical stress. Some time before
this bike was born, Triumph had started including conductors in
the wiring harnesses for these return paths, but in the case of the
tail lights on this bike, the solution was incomplete. True,
there is a return wire in the harness to the rear of the bike, but
it just connects to the metal tail light housing. To get to the
actual tail light bulb, the path goes from the housing to the bulb
holder through two screws (equipped with external star washers to get
through the paint), then on a short braided copper jumper wire to a
copper ring crimped with the reflector on the top of the bulb socket.
While this seemed to work OK when the bike was young, it could be
troublesome later on. On this bike, there was some corrosion
around
the star washers, and the crimp on the bulb socket was very loose,
causing the copper ring to flop around. I decided to finish the
job that Triumph started, and put in real
return wires.


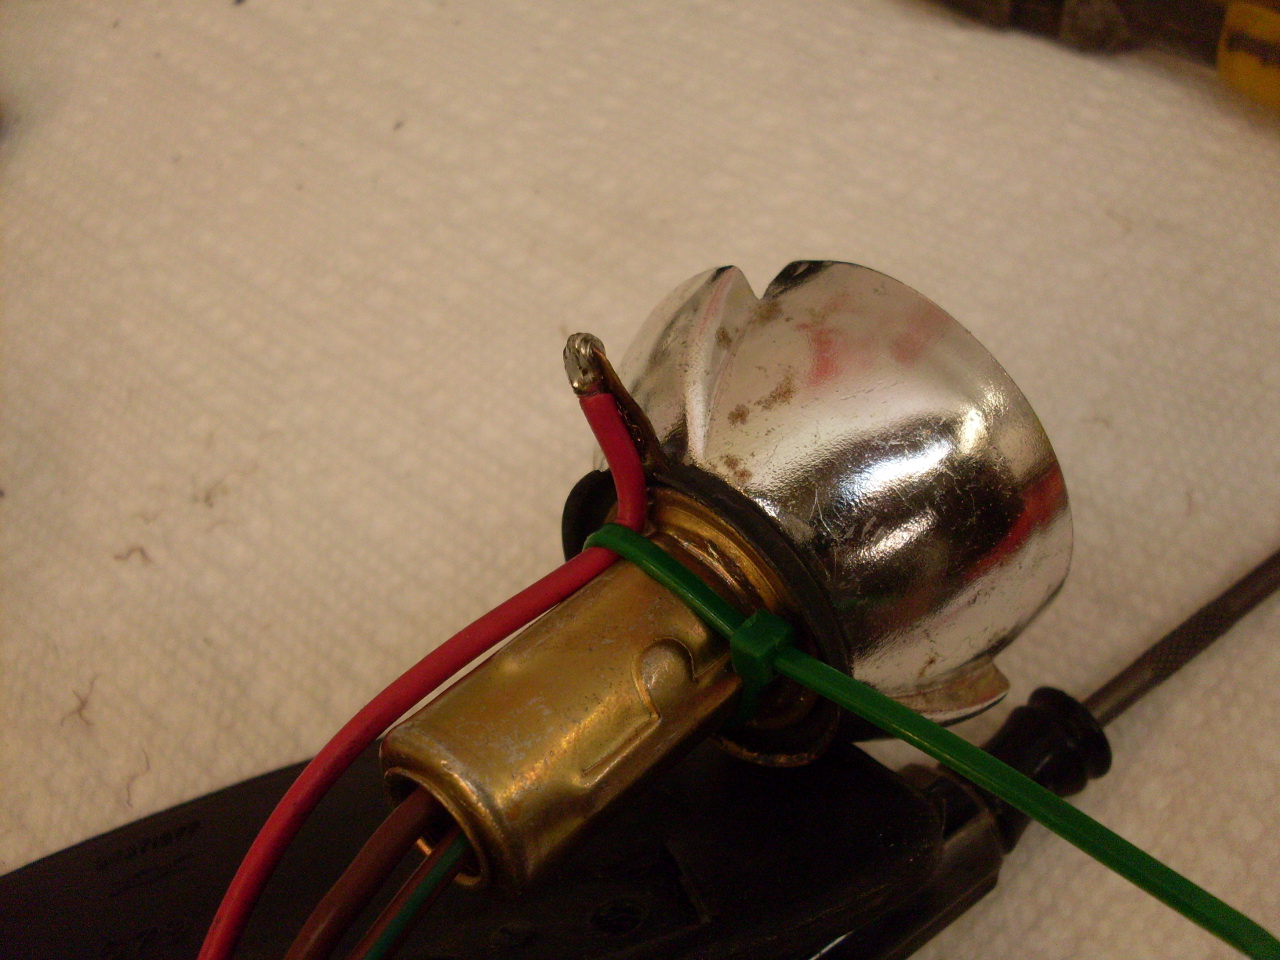
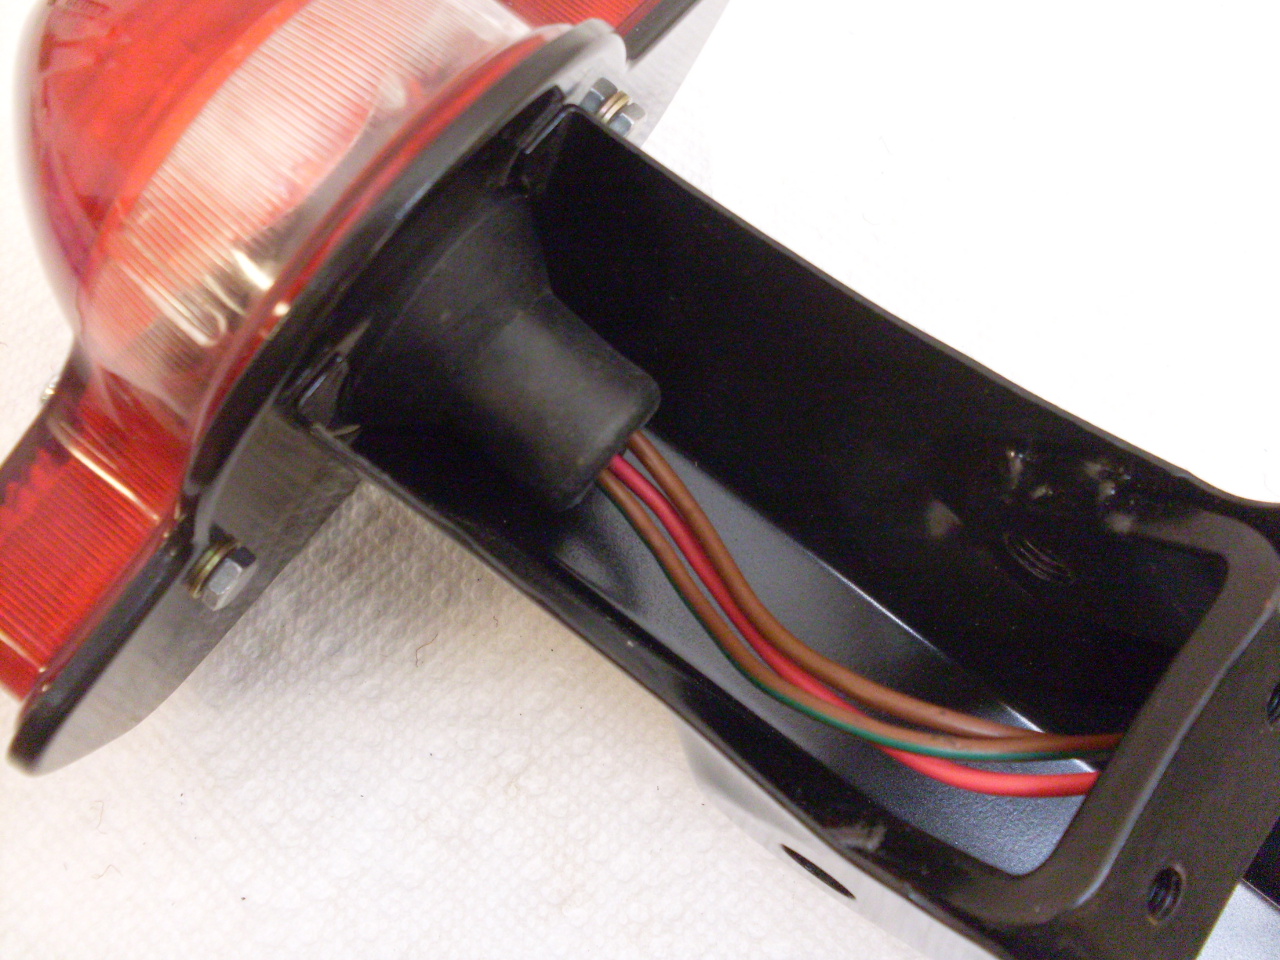
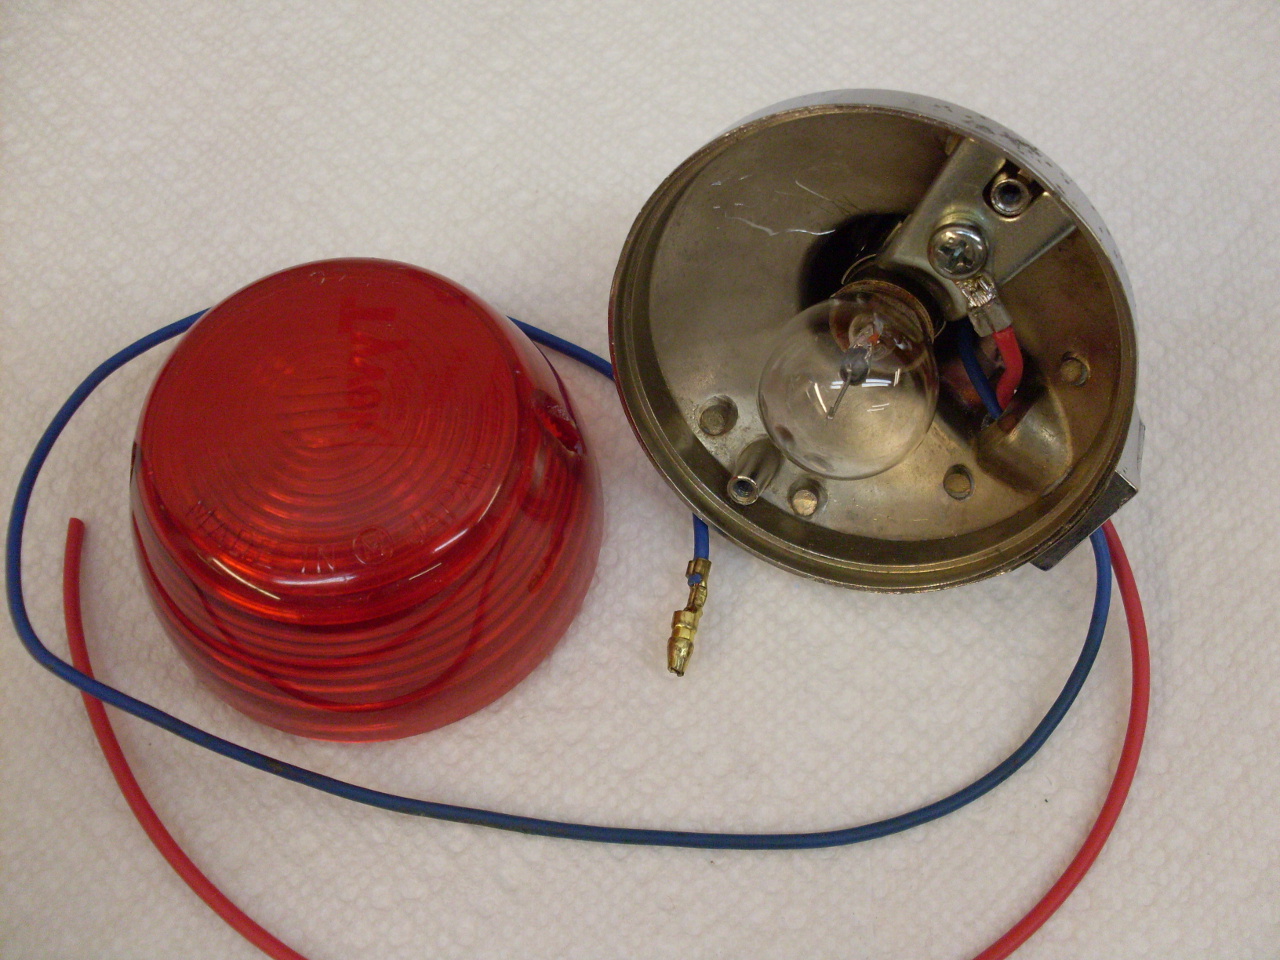
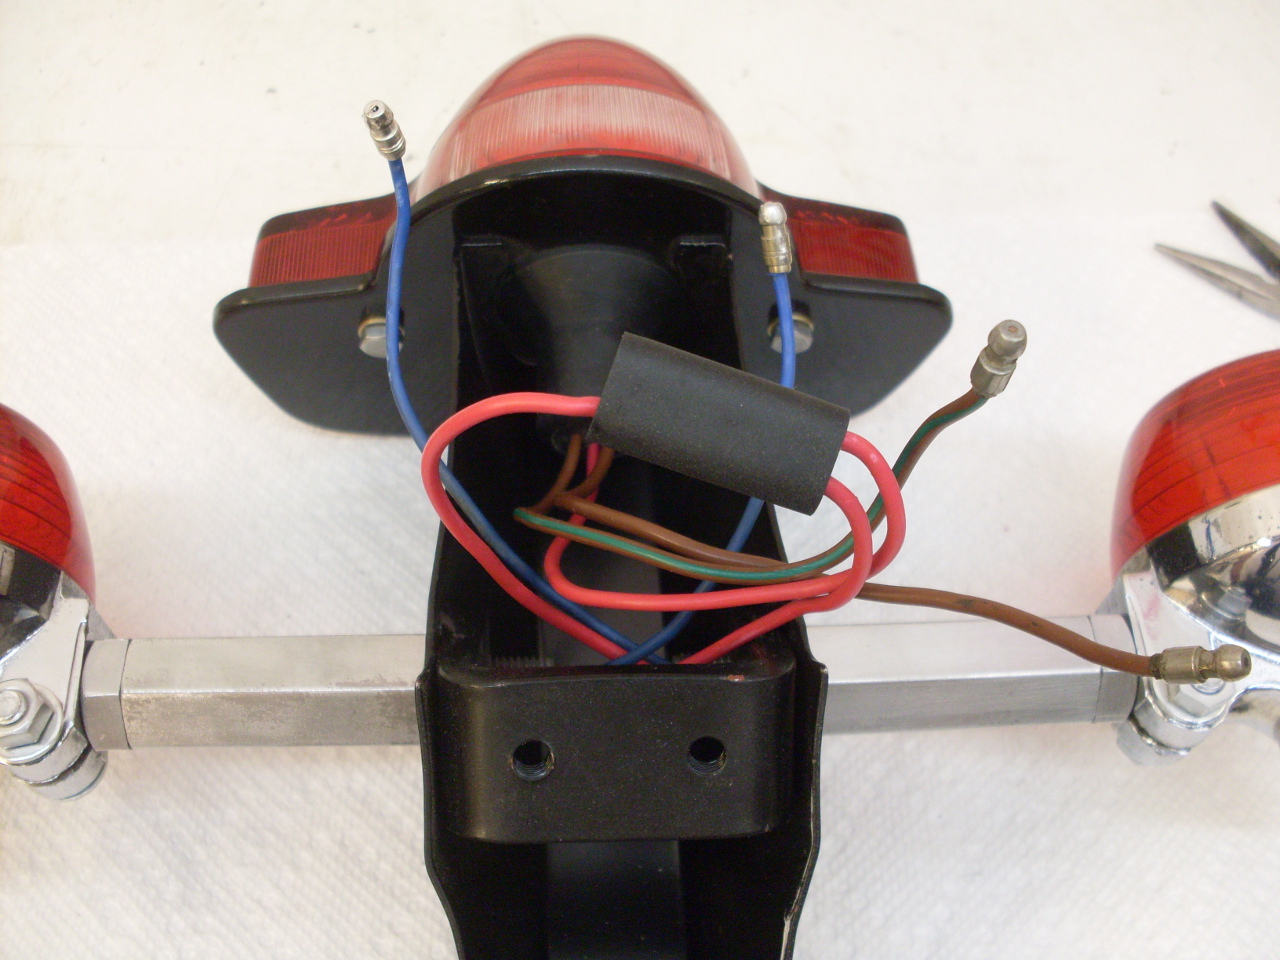
After
tightening up the crimp on the socket,I removed the little braided
jumper and soldered a red wire to the tab on the copper ring. The
wire runs down the side of the socket inside the boot, and comes out a
new hole near the existing two wires.

I
put everything back together, but replaced the star washers with small
flat washers. It looks better, and the paint stays intact.
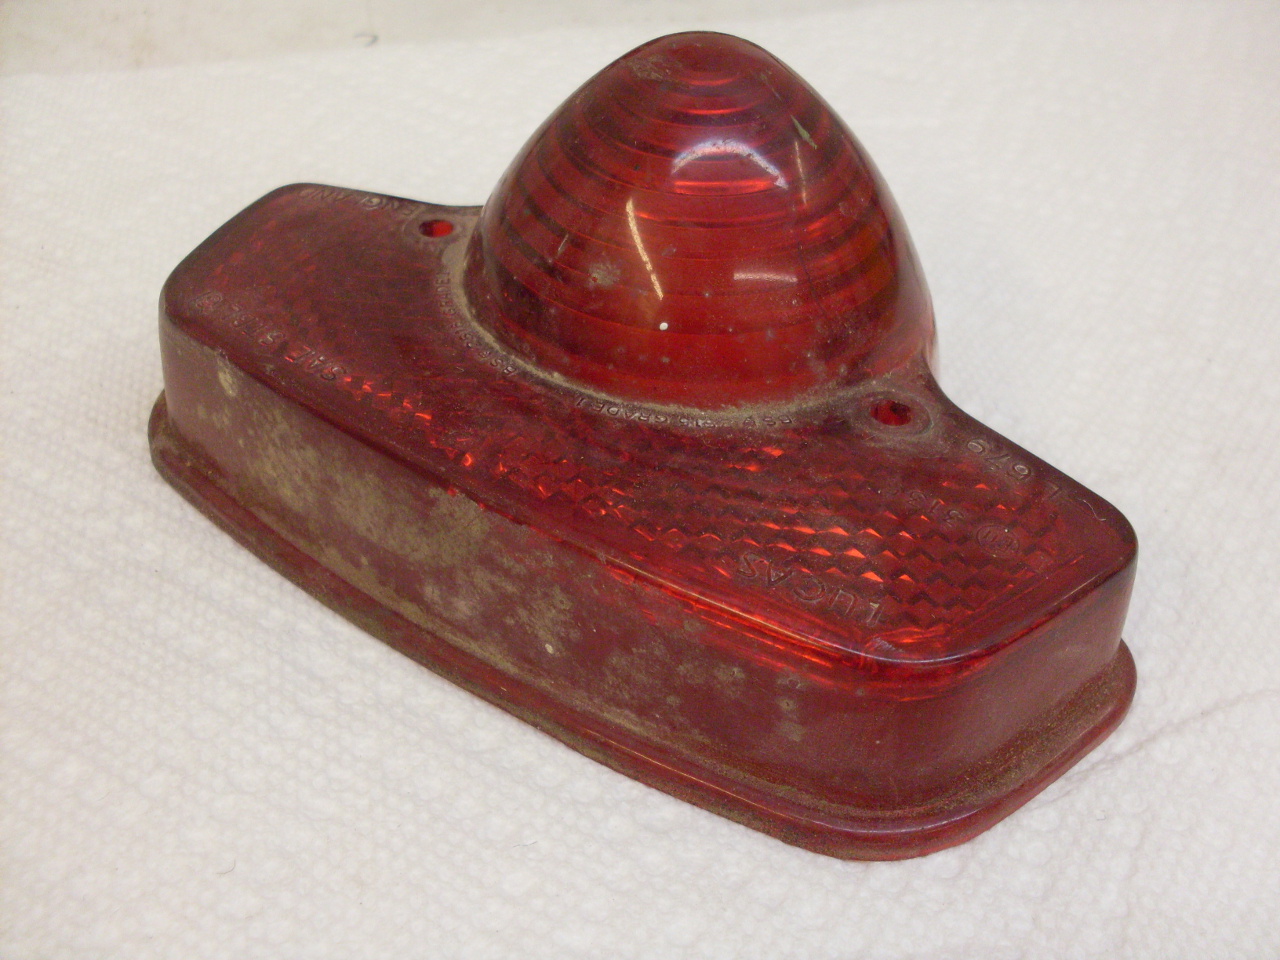
The
last thing to do fot the tail light is see to the lens. It was
dirty, dull, and scratched, but not cracked or broken. It
responded pretty well to some light abrasives and some plastic polish.
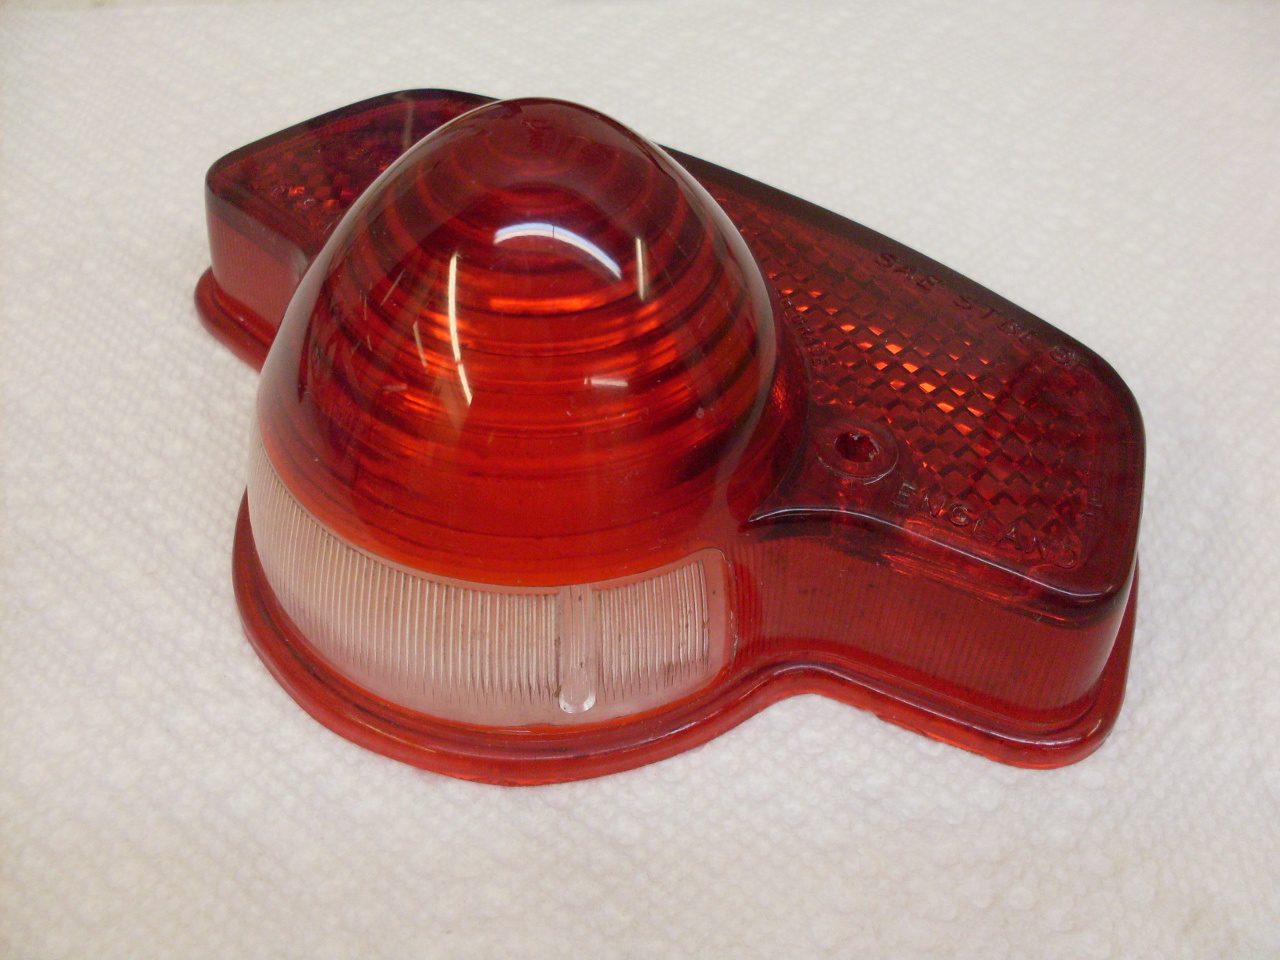
Buttoned everything up...
Now
to the turn signals. As with the front signals, these were
Japanese aftermarket units bougjht in the mid-late 70s, probably after
some mishap that broke one or more of the rather fragile Lucas units.
The Japanese lights were still in decernt shape, and had been on
the bike nearly all of its life, so I decided to keep them. One
thing I didn't like, though, was the "universal" mounting brackets.
They looked kludgy, and routed the wire for the light out in the
open. Also, they didn't have real return wires either. That
little red pigtail was where the return wire from the harness connected
to the housing. I decided to fix both of these problems while I
was at it.

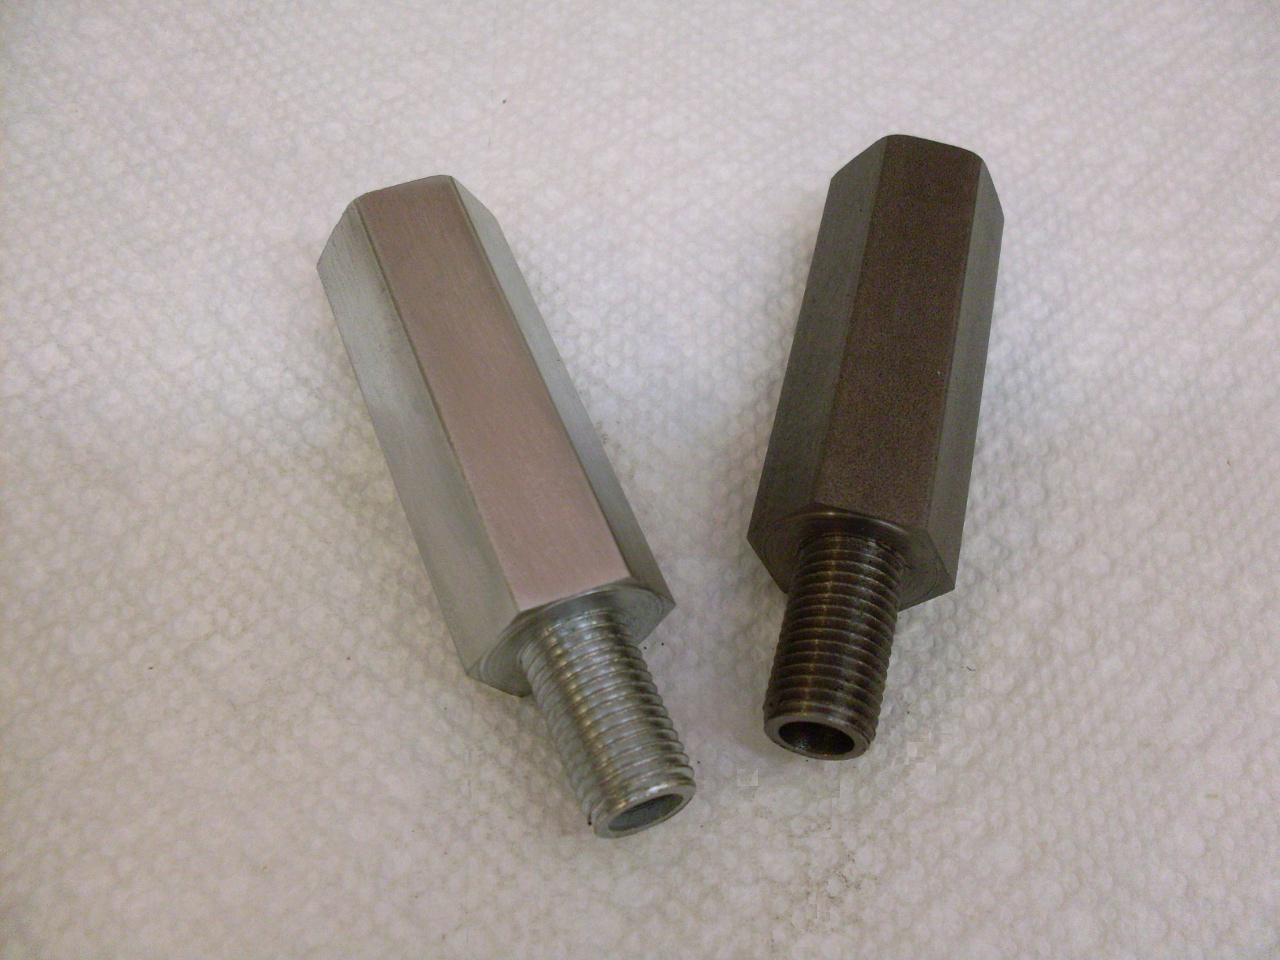
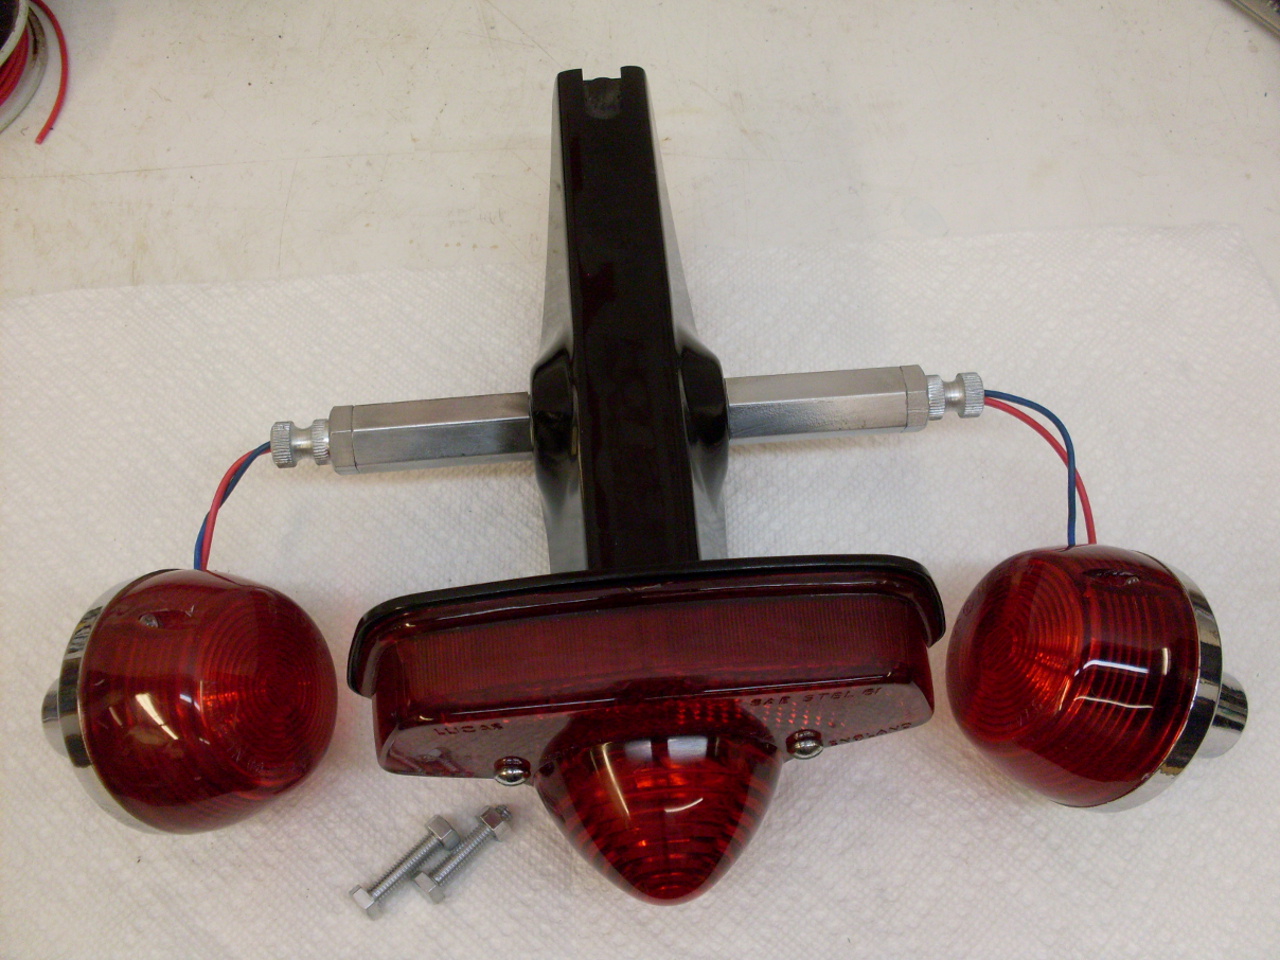
I
made a couple of "stalks" just like the ones on the front. The
stalks would screw into the tail light housing with its 7/16-20 thread
on one end, and accept the turn signal's fitting with its M10 x 1.25
metric thread. The stalks are drilled through ao the wires are
not exposed. The piece on the right hadn't been zinc plated yet.
The
signal lamps are very simple, and it was easy to add the return wire to
the existing screw that held the socket in the shell. I swapped
out the fake bullet terminals for real ones. Also spruced up the
lenses just like for the tail light.
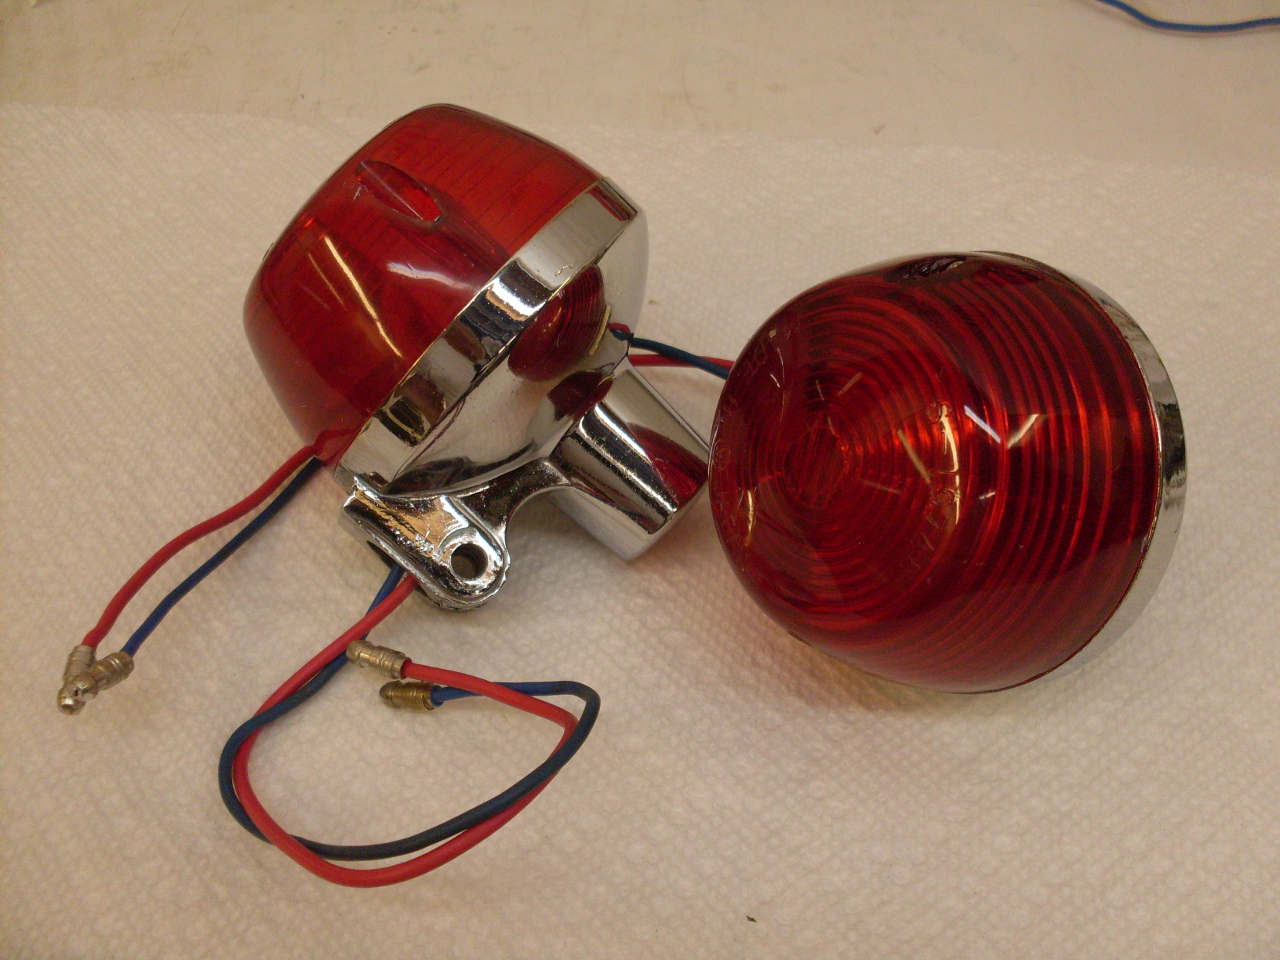
So here are all the pieces to mount the signals--all original except for the new stalks, but all freshly zinc plated.

Putting it all together...
The new return wires will require a new 4-way connector inside the housing.
Lastly,
there are little rubber strips on the bottom edge of the tail light
housing where it rests on the rear fender. Thes protect the
fender paint, but don't appear to be in my parts book. I found
some linear grommet material that is almost an exact replacement, so
replaced the old crumbling ones.
Comments to: elhollin1@yahoo.com
To other pages