To my other TR6 pages.
July 23, 2014
Front Suspension
[Click the pics for a larger view]
Well, with the frame work now done, it's time to start bolting stuff onto it.
There
are approximately a bazillion parts in the TR6 front suspension.
It seems that way, but in reality, the number is closer to 300 on
both sides, excluding the sway bar, hub, rotor, and caliper.
The
suspension is a classic Short-Long Arm (SLA) design, where upper
and lower A arms connect to the ends of a vertical link which carries
the wheel hub spindle. The connection points between the A
arms and the vertical link provide a swivel action to support steering.
A coil spring over a shock absorber provide a cushion and damping
of the suspension motion.
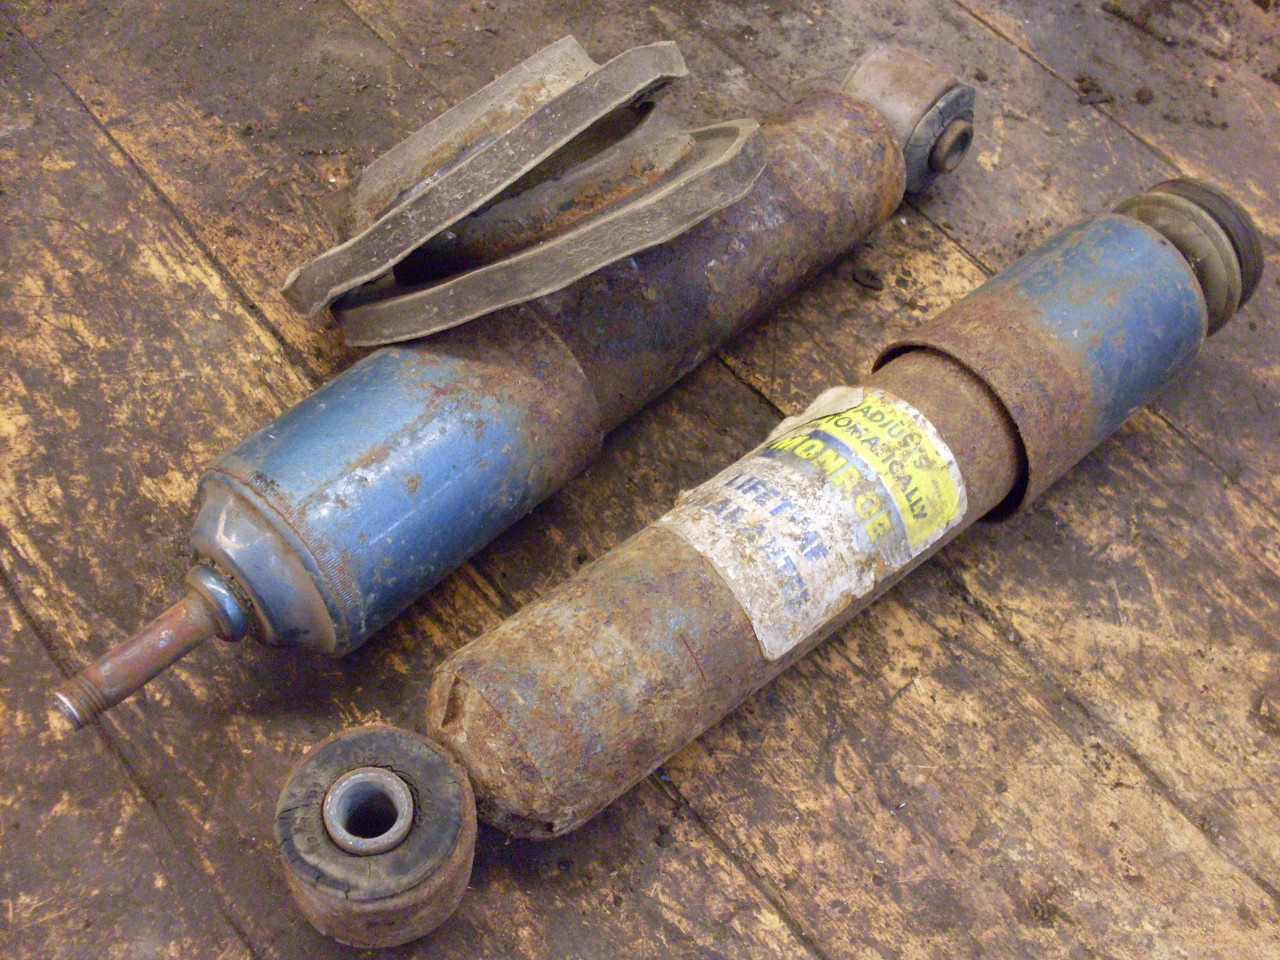
Everything in my suspension,
probably except for the shocks, was original 40 year old parts.
While this is not a big deal for most of the heafty metal pieces,
rubber doesn't age very well, and there are a lot of rubber parts
in this assenbly.
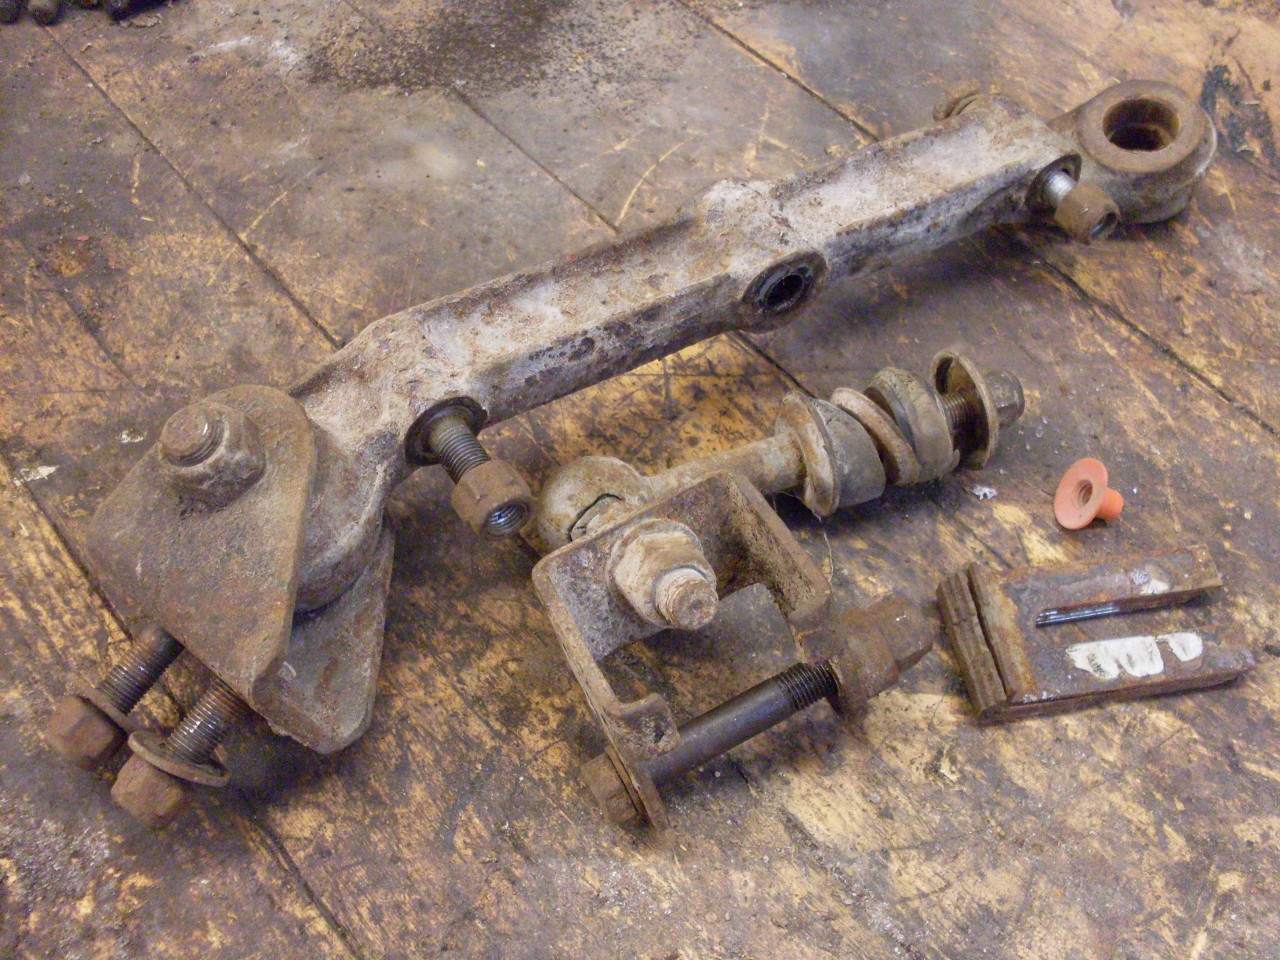
This is one of the upper A arms:
the arms, the fulcrum pin, which attaches the A arm to the frame,
and the rubber bushes.
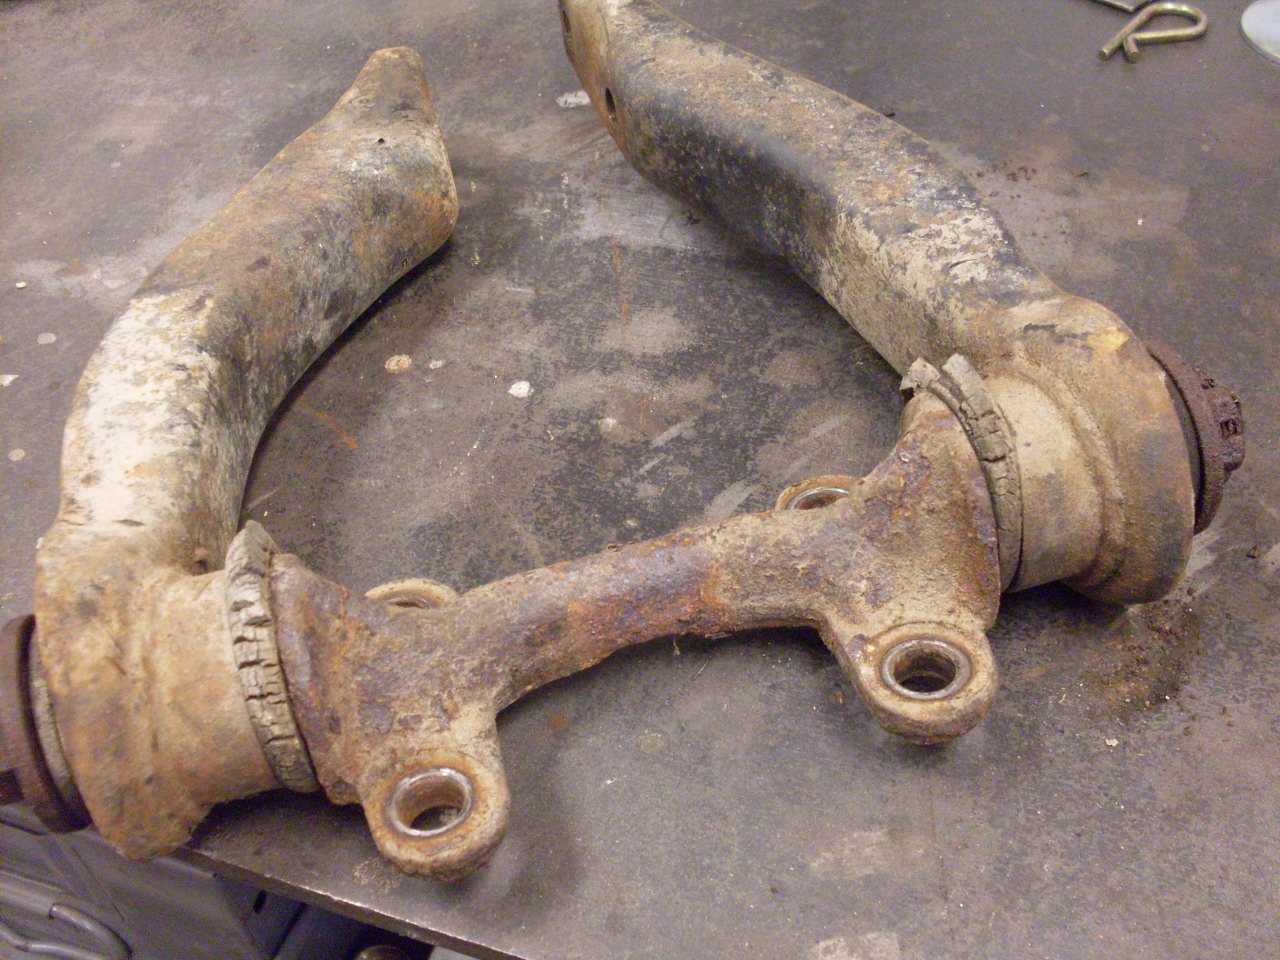
Besides
the rubber bushes, which probably died sometime during the Reagan
Administration, there was some severe deterioration on the fulcrum
pins. My first thought, since there were nice center drill holes
in each end of the fulcrum, was to just turn down the pins and push
sleeves on. My concern that this would weaken the pins, along
with a pretty good sale price on the parts changed my mind, so I bought
new ones.
The
lower arms were crusty and rusty, but otherwise in decent shape.
One concern was some scaly rust in the outboard bores. I
was prepared to bore and sleeve them, but after cleaning out the rust,
the new bushes were still a good fit, so I left well enough alone.
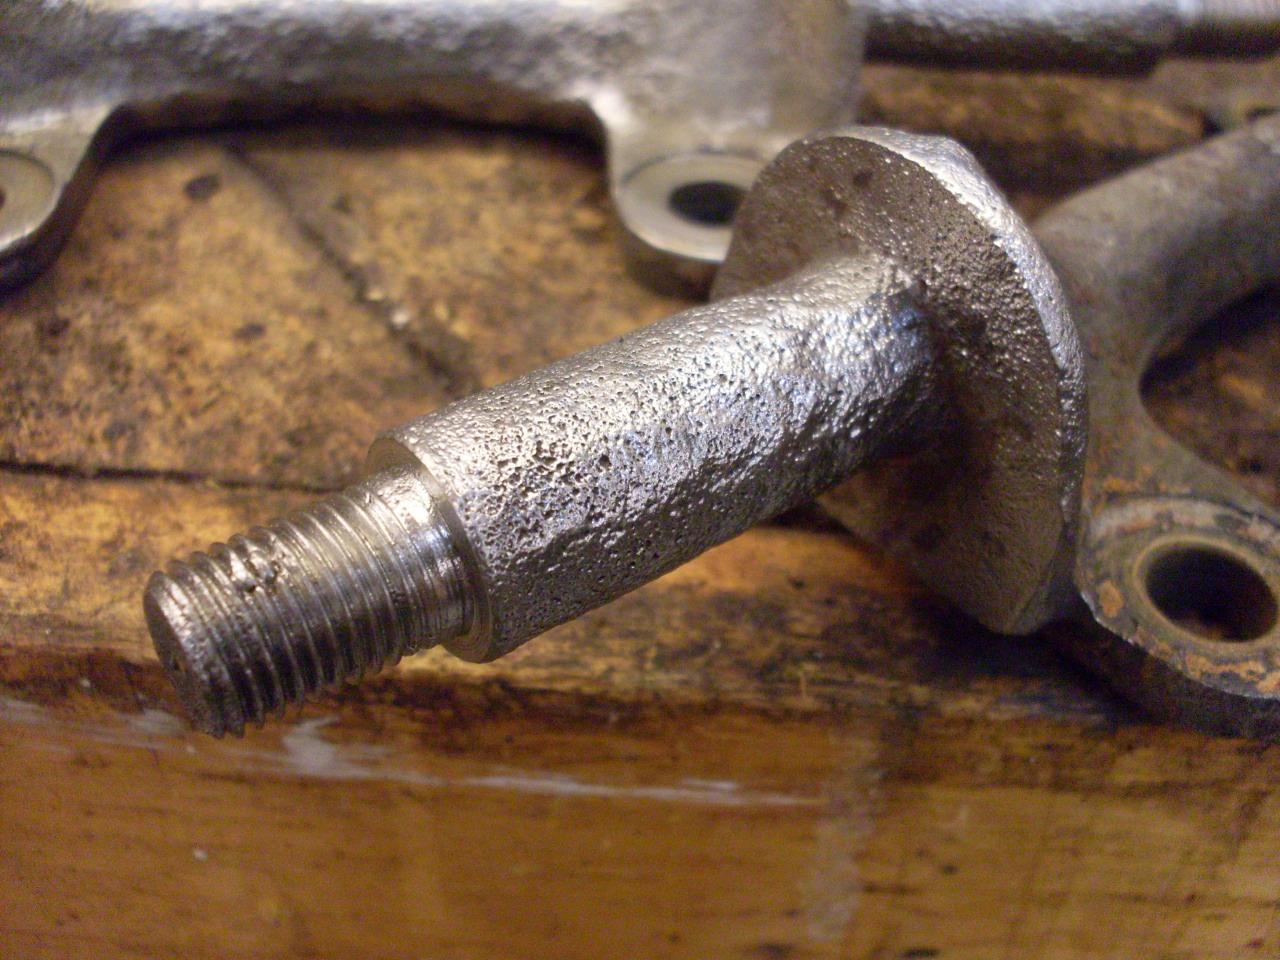
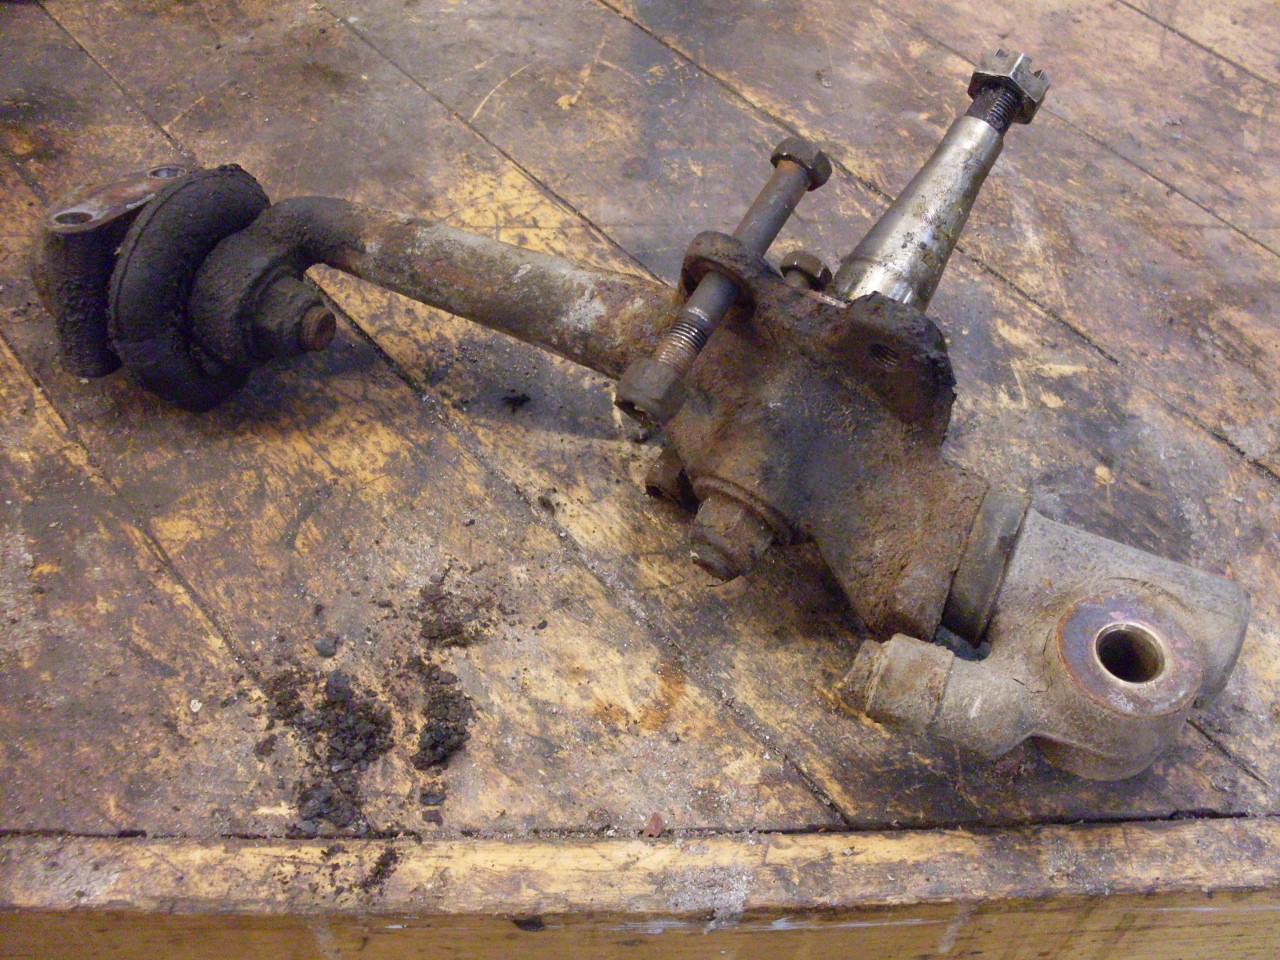
Where
I had most of my trouble on disassembly was with one of the vertical
links. The trunnion was siezed and would not turn. Once I finally
got the trunnion off, it was obvious that the problem was some pretty
severe internal corrosion of the lower part of the vertical link.
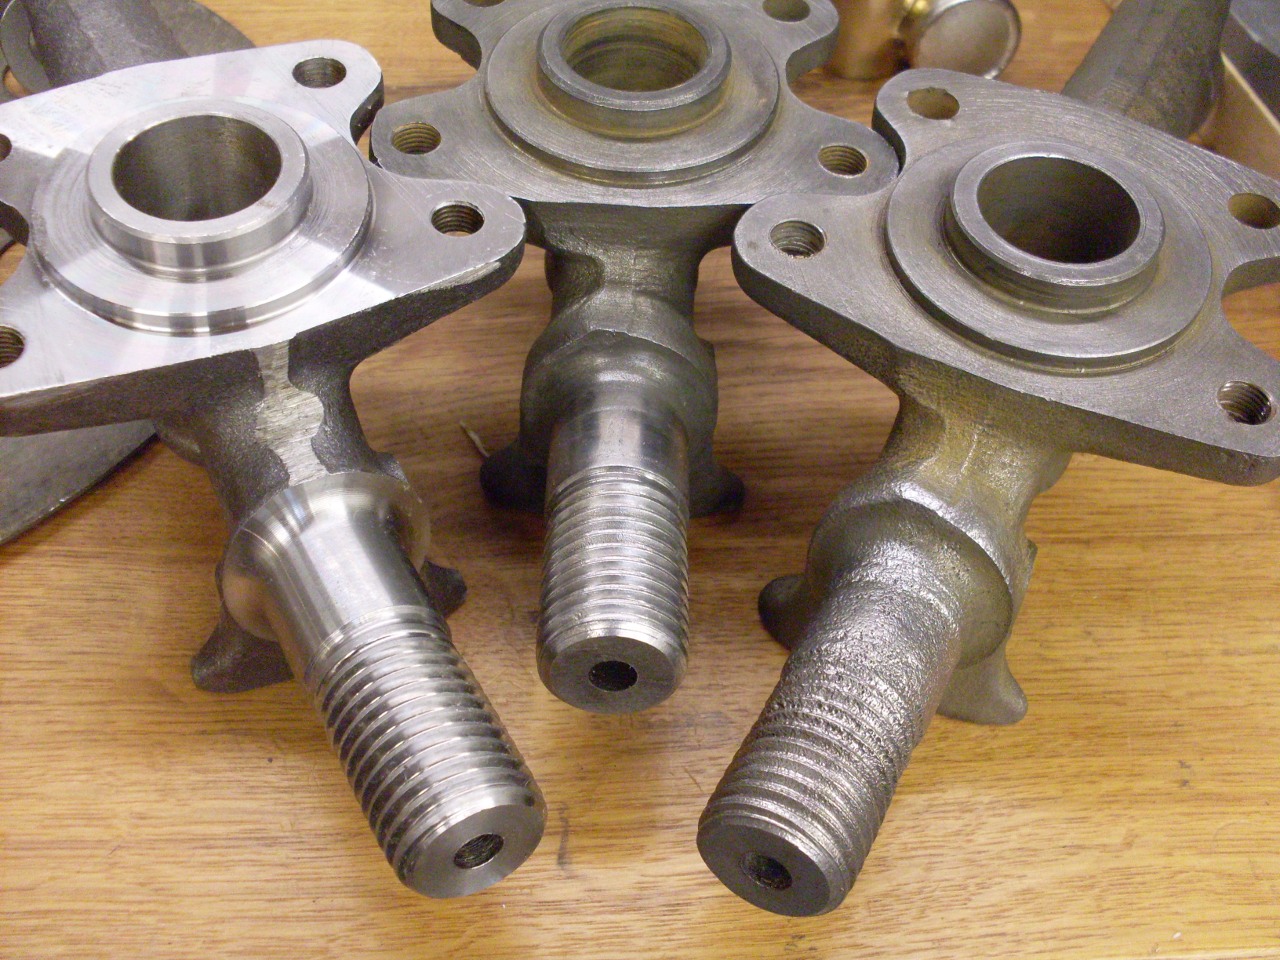
I bit the bullet and bought a new vertical link. In the
right picture below, the new link is on the left, the bad one is on the
right, and in the middle is the other original link. I breathed a
sigh of relief when the old trunnion was a nice fit on the new link.
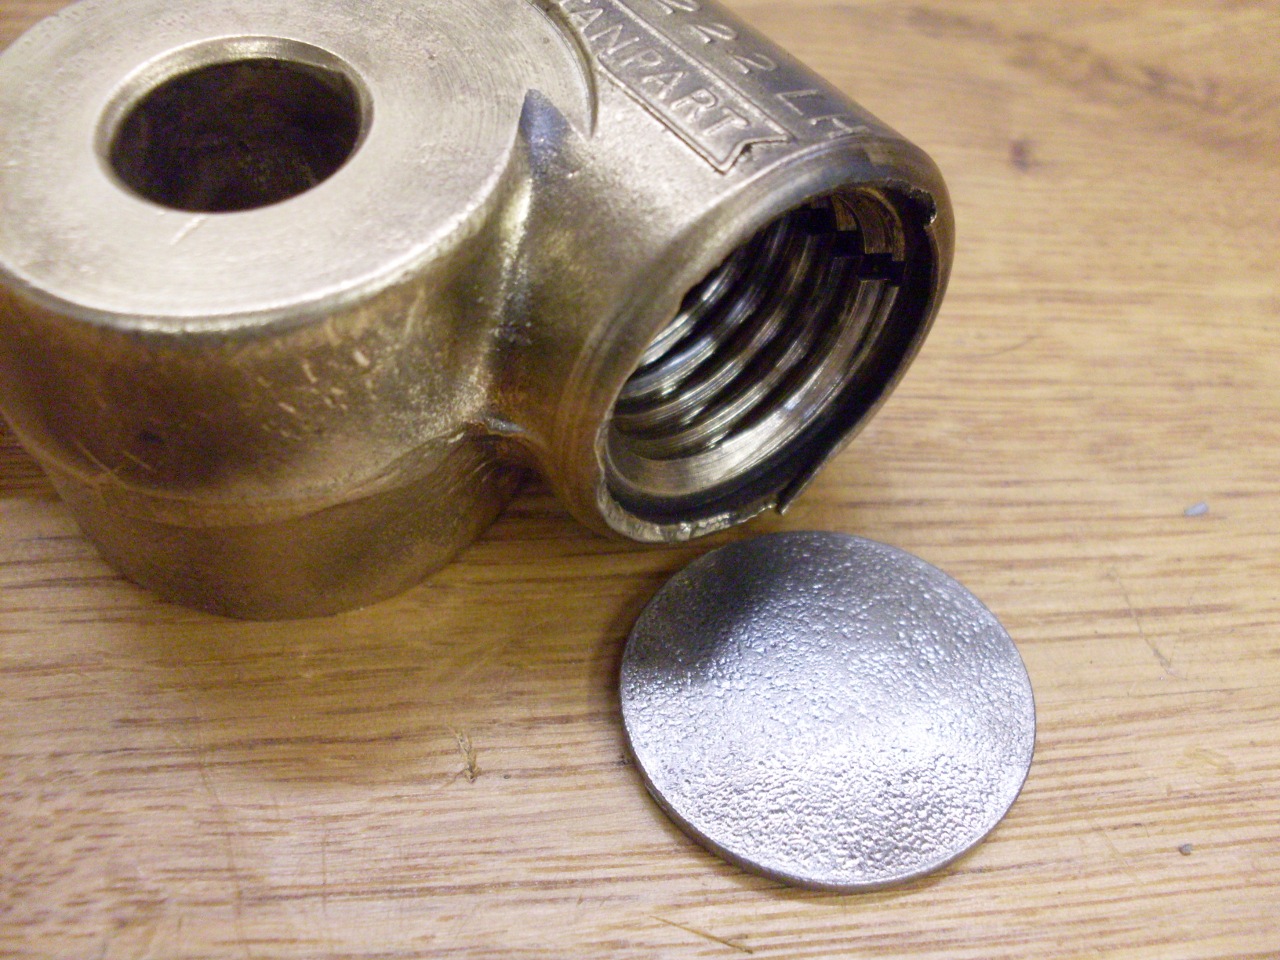
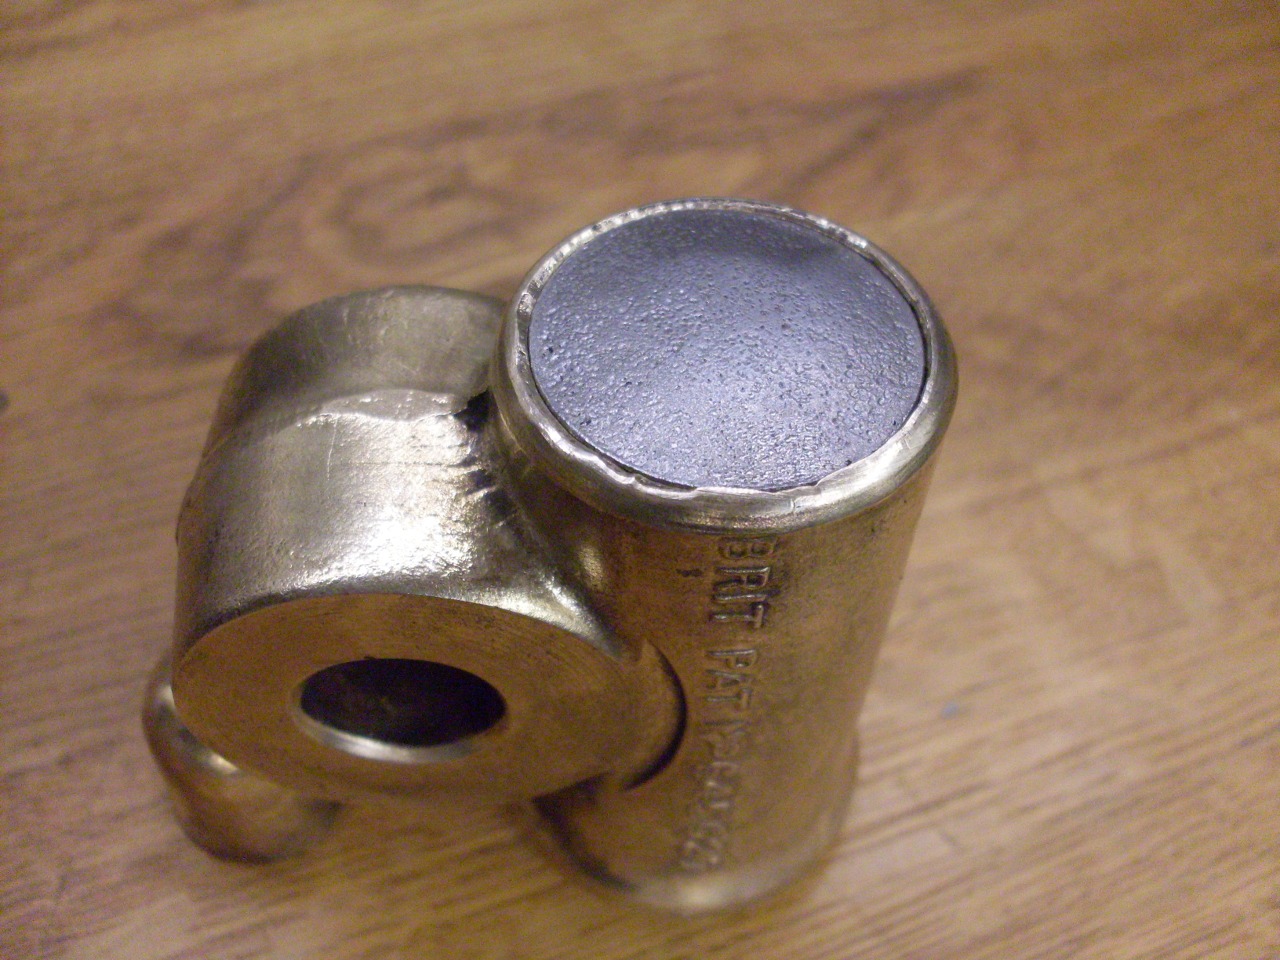
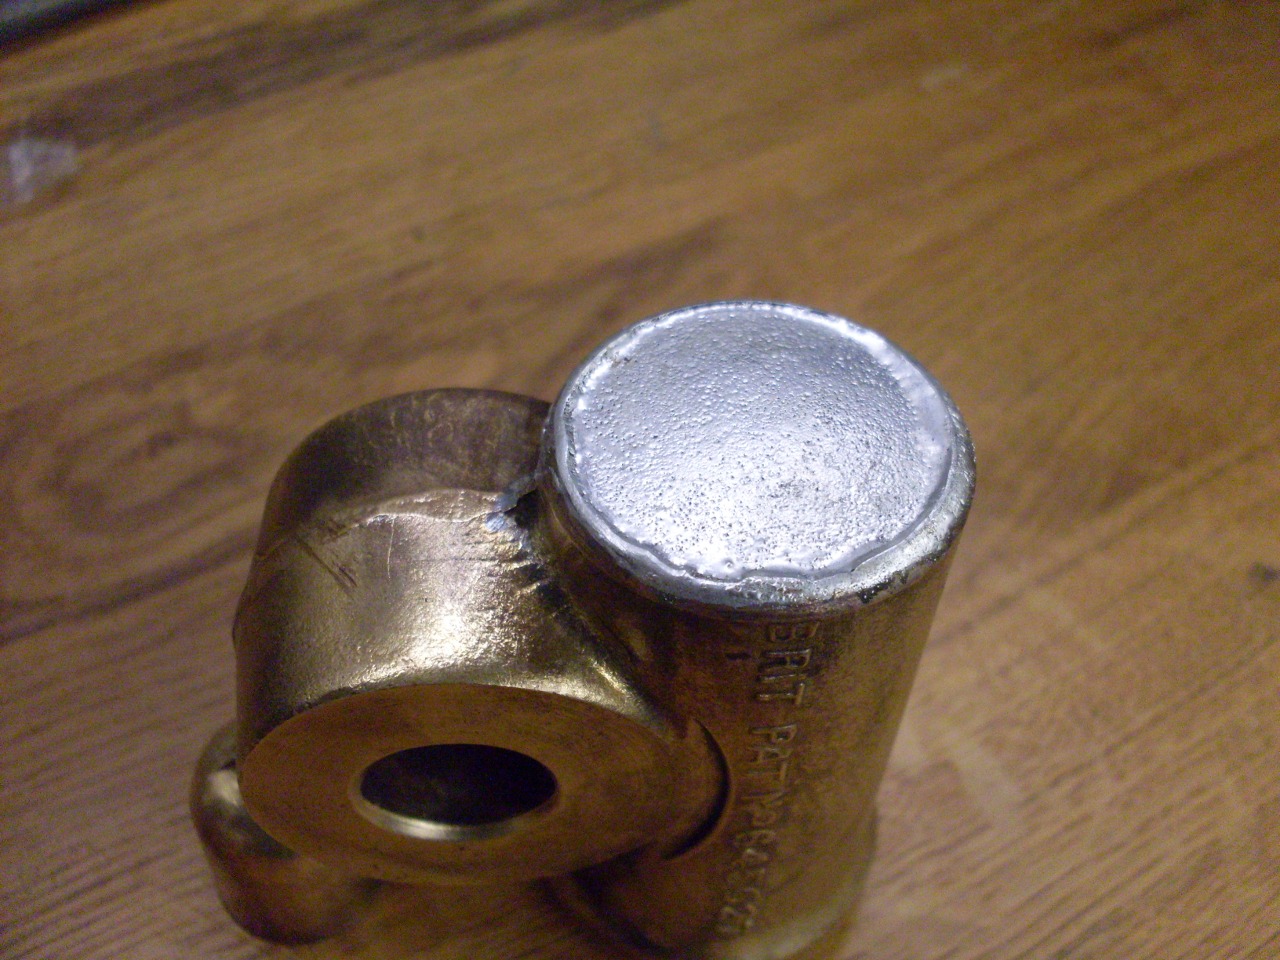
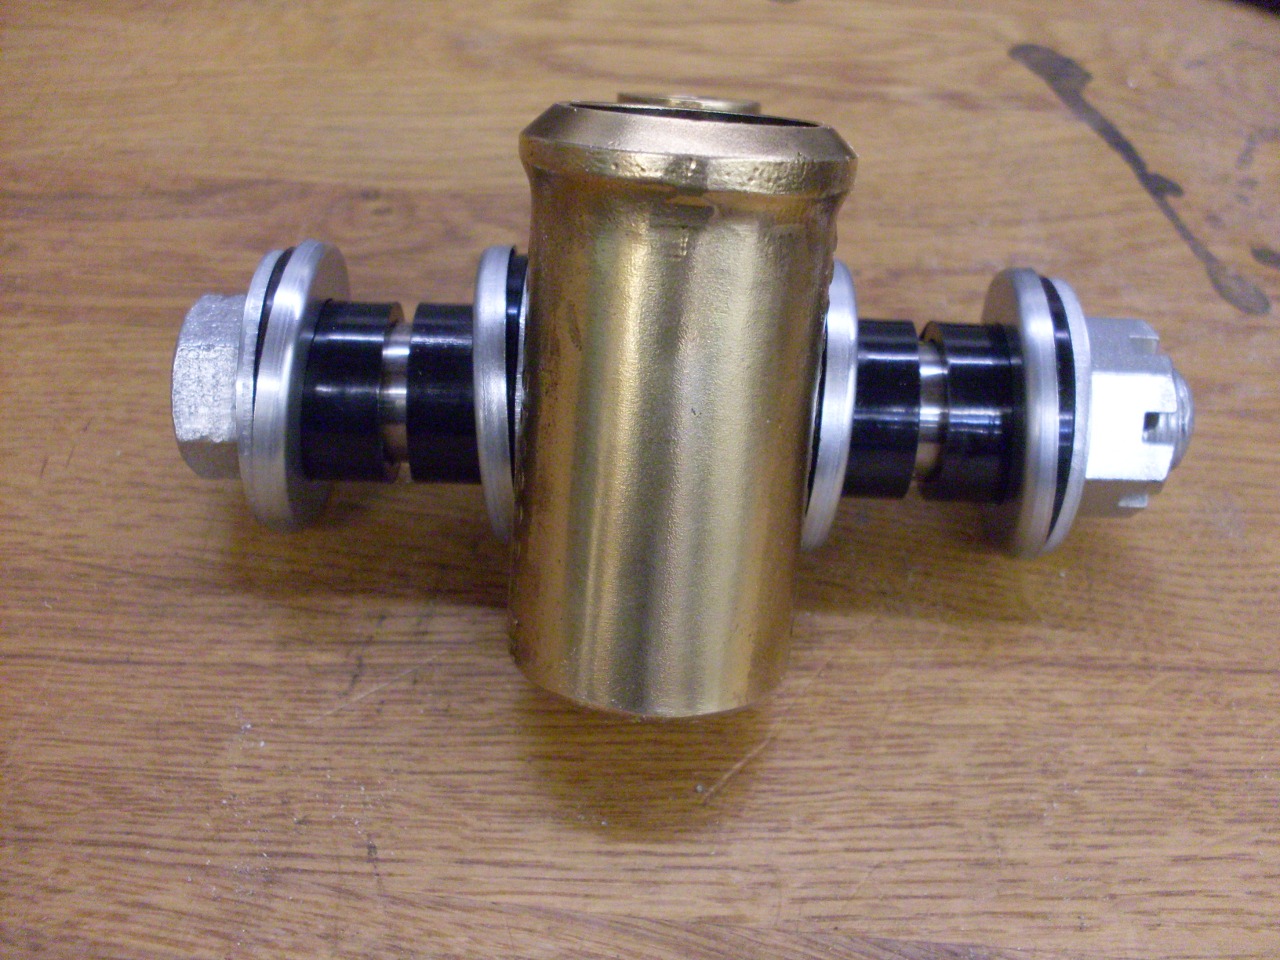
In
the process of trying to force lubrication into the trunnion, I managed
to blow off the bottom cap--a testament to the power of hydraulic
pressure. It was easily soldered back on, though. Actually,
having the cap off really made it easy to clean and inspect the
internal threads.
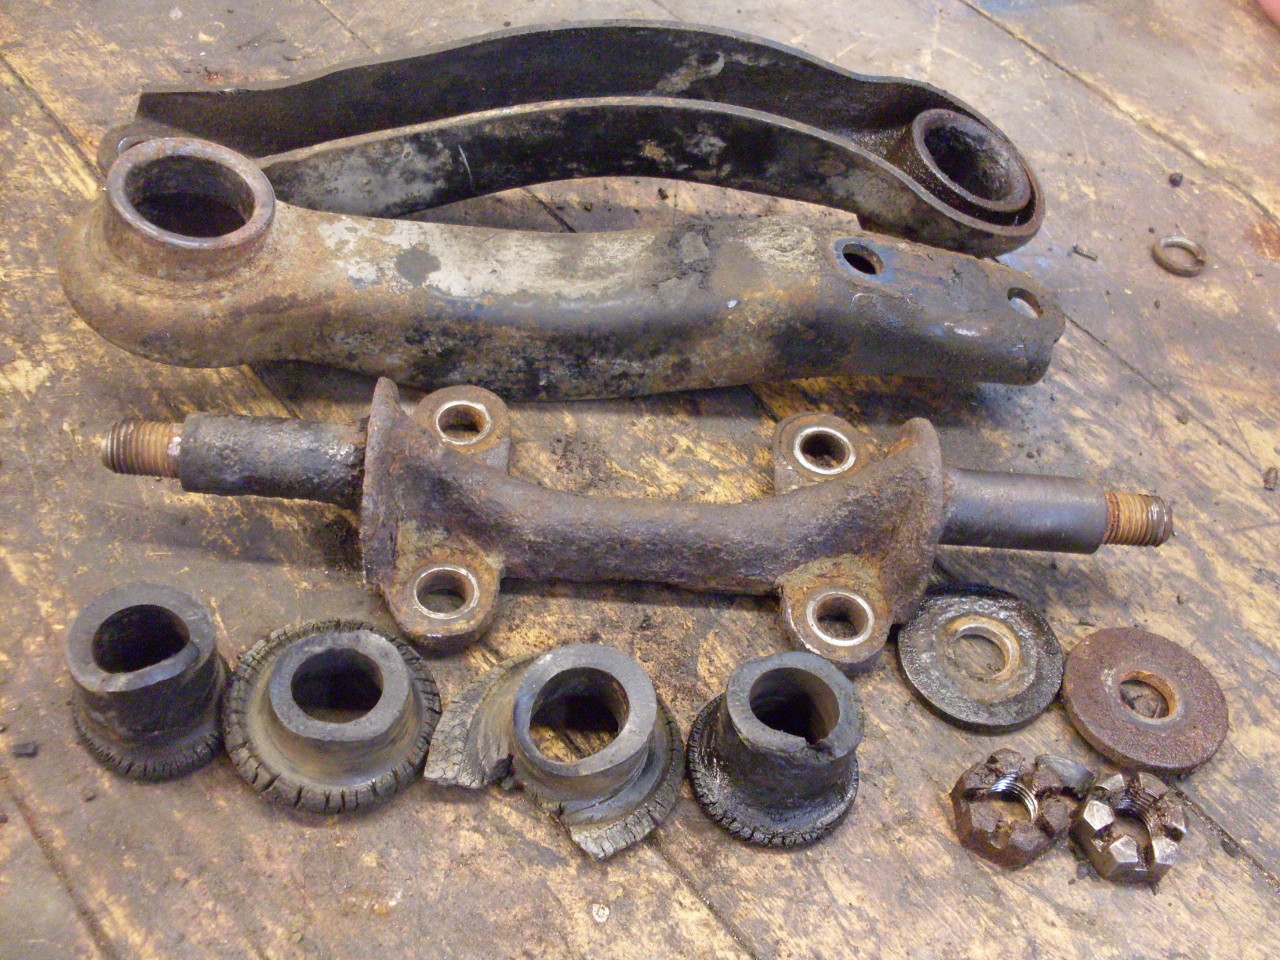
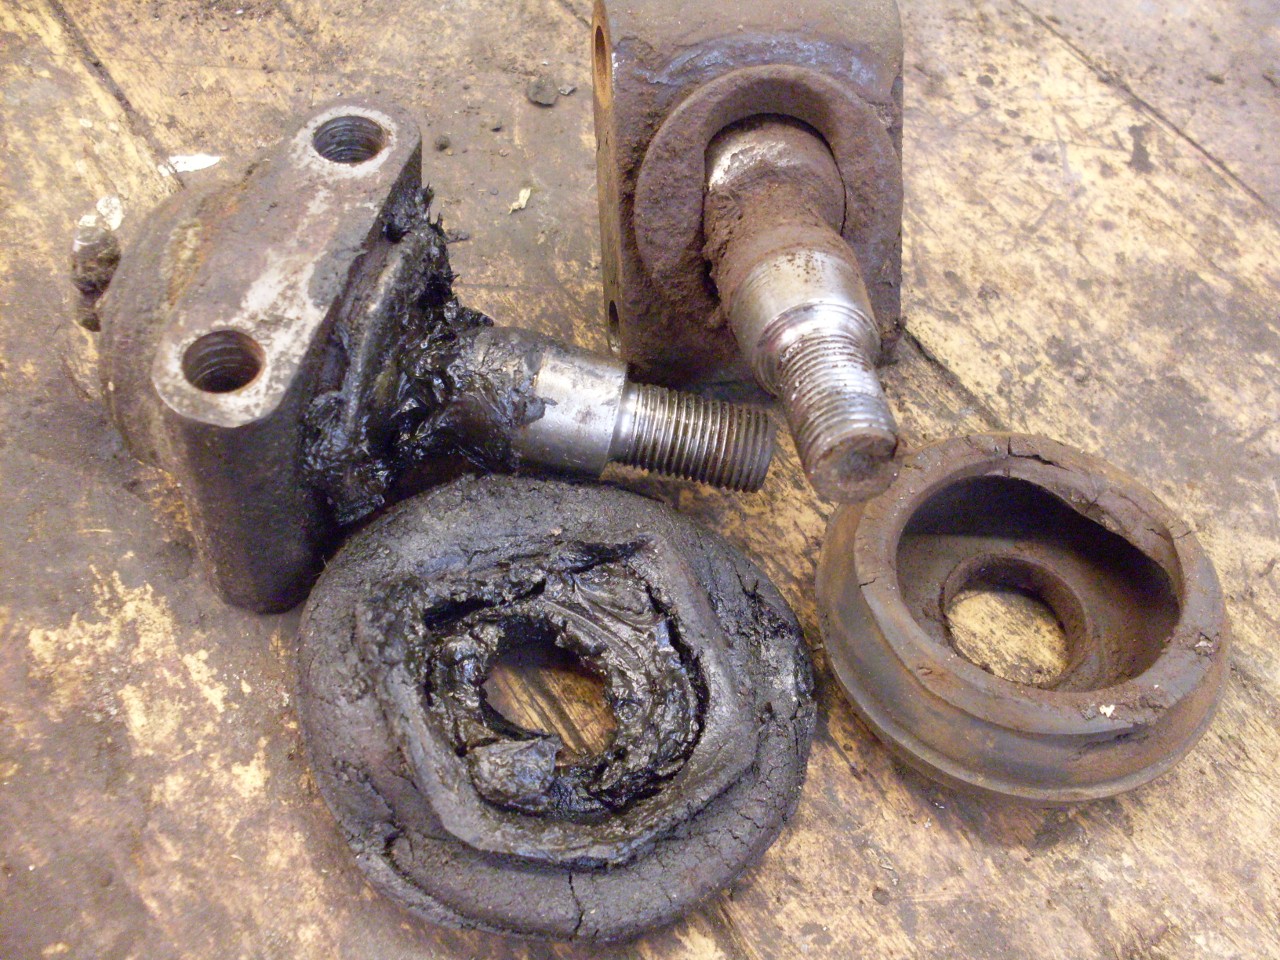
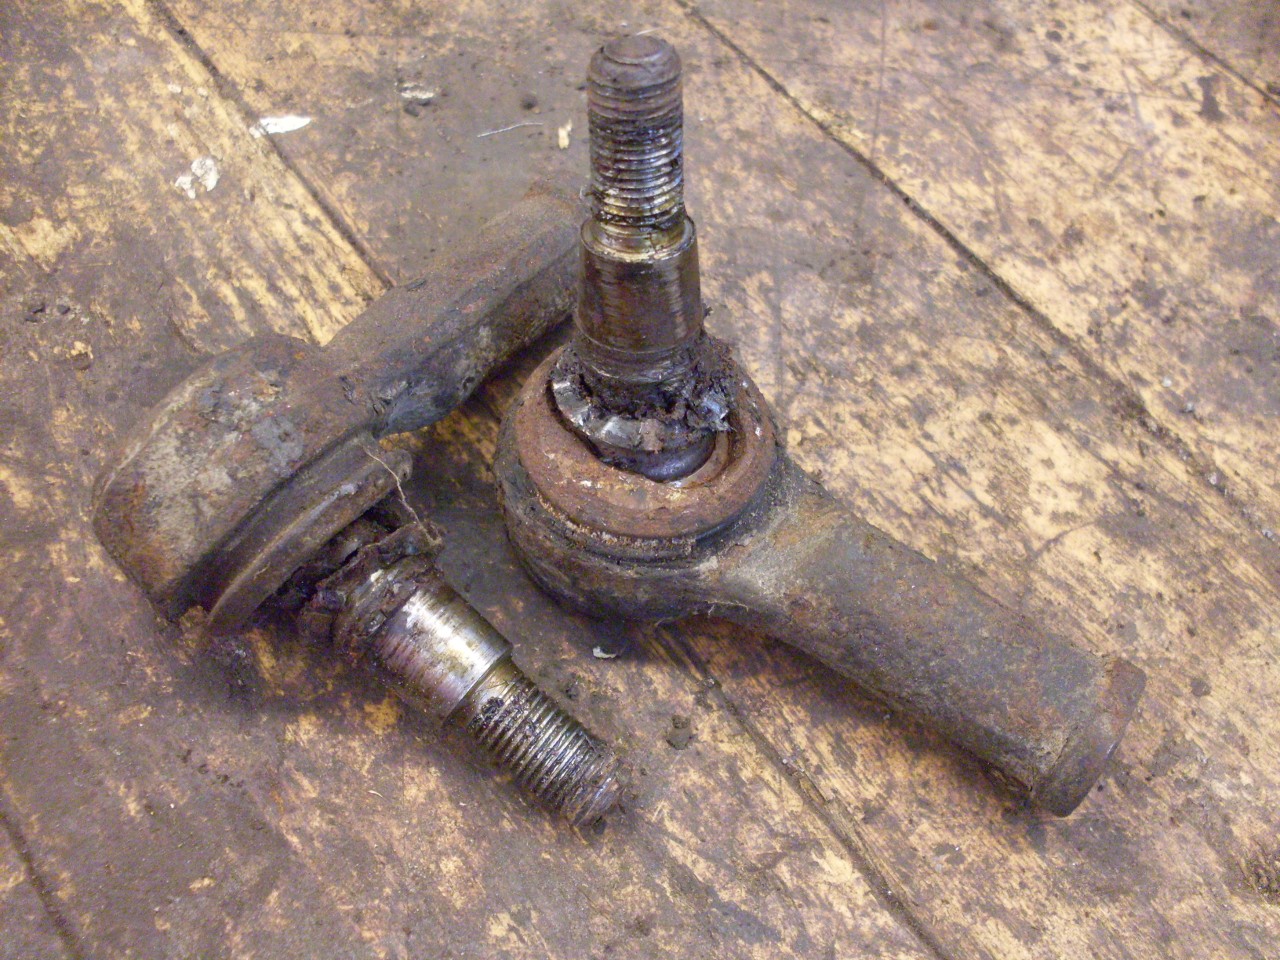
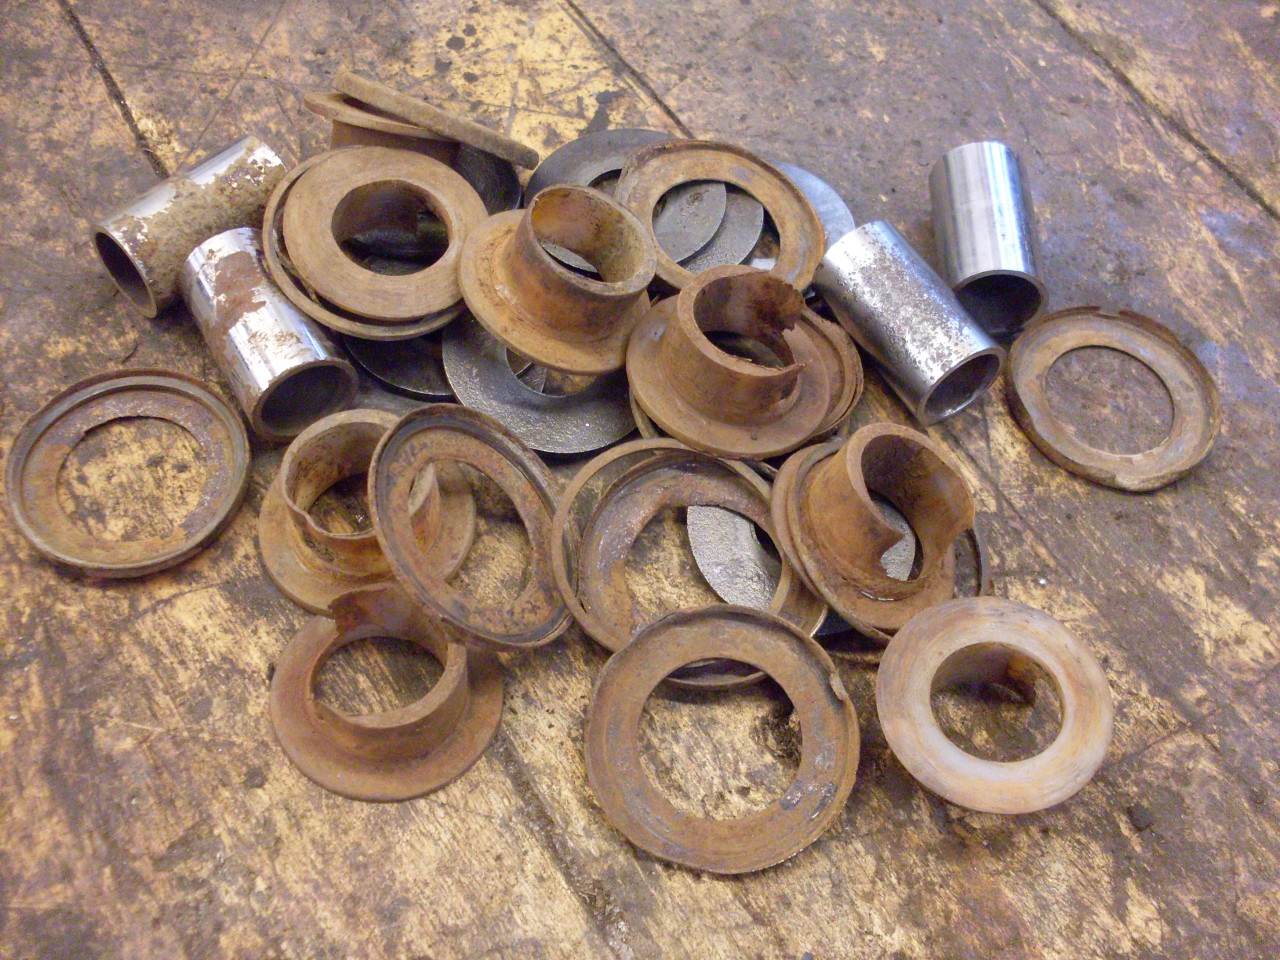
Here
the remnants of some of the other original parts in the suspension:
ball joints, tie rod ends, trunnion bushings, shocks, and a pile of
locknuts. I try to reuse original bolts, but normally use new
locknuts and washers.

After
taking stock of everything I'd need to rebuild the suspension, I had to
decide on what kind of bushes to use. The original system used
rubber bushes at most flexible joints inthe suspension. Rubber is
very resilient, but not very durable, especially in the presence of
grease or oil. Also, some drivers think that the rubber may be a
little too "soft". The popular alternative these days is
polyurethane bushings. They have the reputation for being longer
lived, but usually provide a stiffer (some say "harsher") ride.
I'm not necessarily looking for a sportier ride (I thought the
TR6 was pretty sporty the way it was), but I am really interested
in longer service, so I opted for poly bushings. I stayed away
from some of the big-name brands, though, with their inflated
promises, advertising, and prices.
One other consequence of
moving to poly bushings comes from the fact thet they work differently
than rubber bushings. Rubber bushings are not normally designed
to rotate within their housing or around their internal spacer.
Rather, the inside and outside surfaces of the bushings move with
their respective metal parts, and the motion is talken up by distortion
in the bulk of the rubber. Poly bushing, on the other hand, act
more like conventional bearings in that they are designed to slide
either on their internal or external circumferences, or both. This, of
course, implies the need for lubrication. Lack of
adequate lubrication of poly bushings leads to premature wear, and
to familiar suspension squeaks and groans.
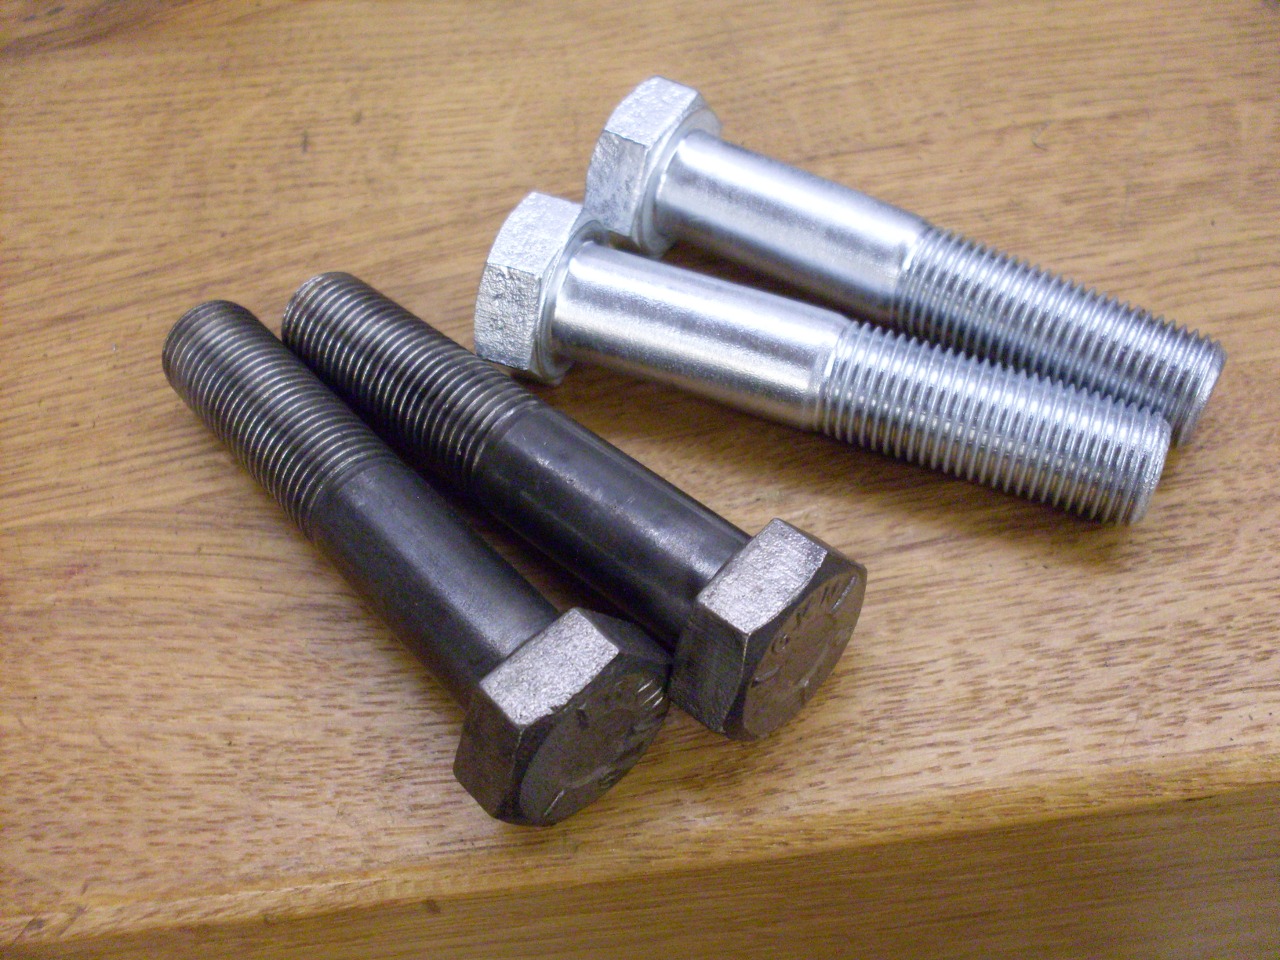
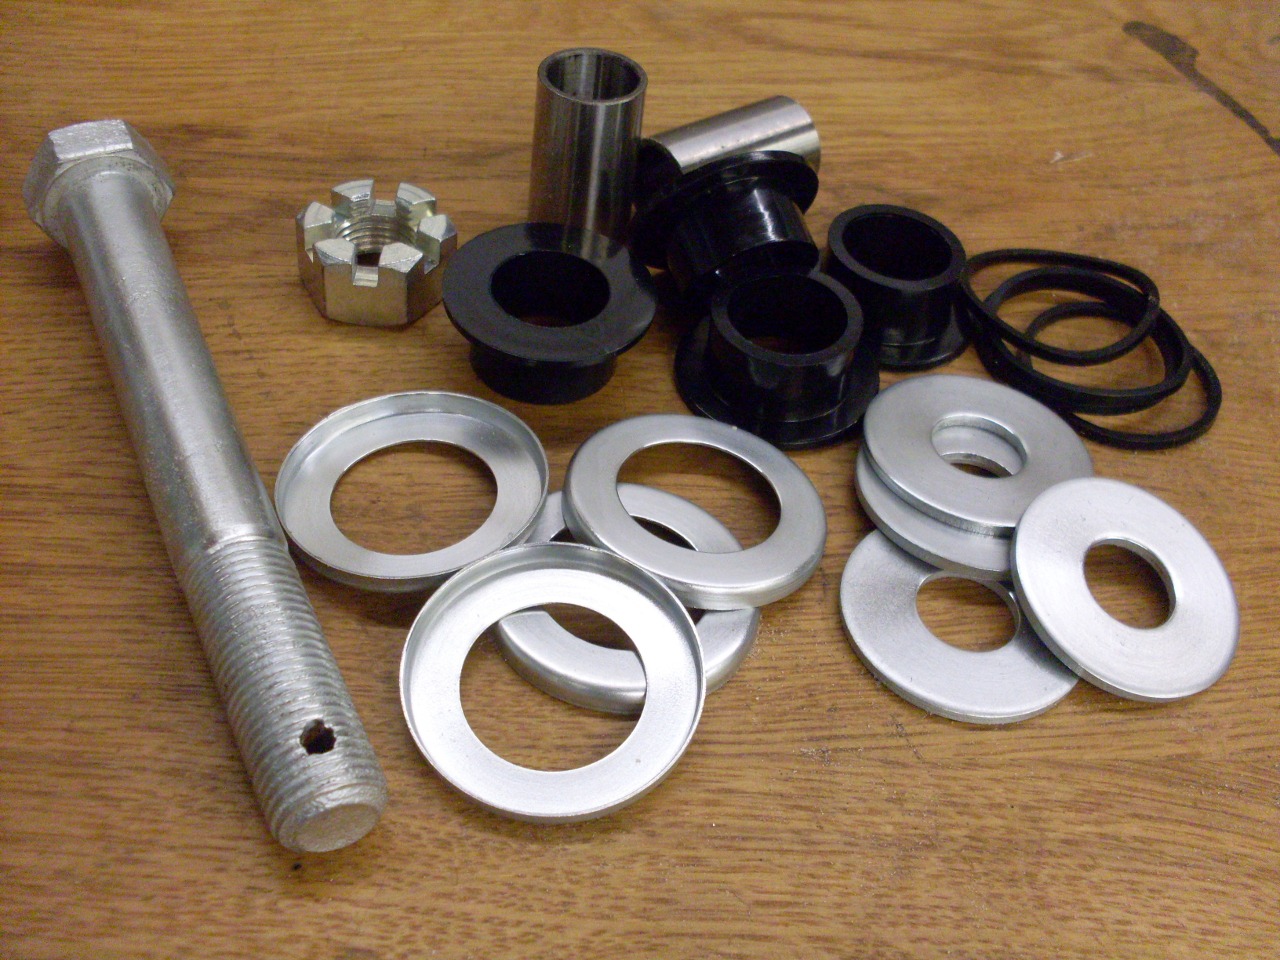
While waiting
for parts, I spent time cleaning up some of the hardware. I was
able to revive all of the many bolts in the suspension except for two,
which were damaged in disassembly. Most of the bolts in the
suspension are tensile strength Grade S, but a few are Grade T,
and even Grade U, so it's probably not a place to be using hardware
store bolts. I finish up the hardware with a heavy-ish zinc
plate. The high tensile hardware gets a baking step after plating
to guard against embrittlement.
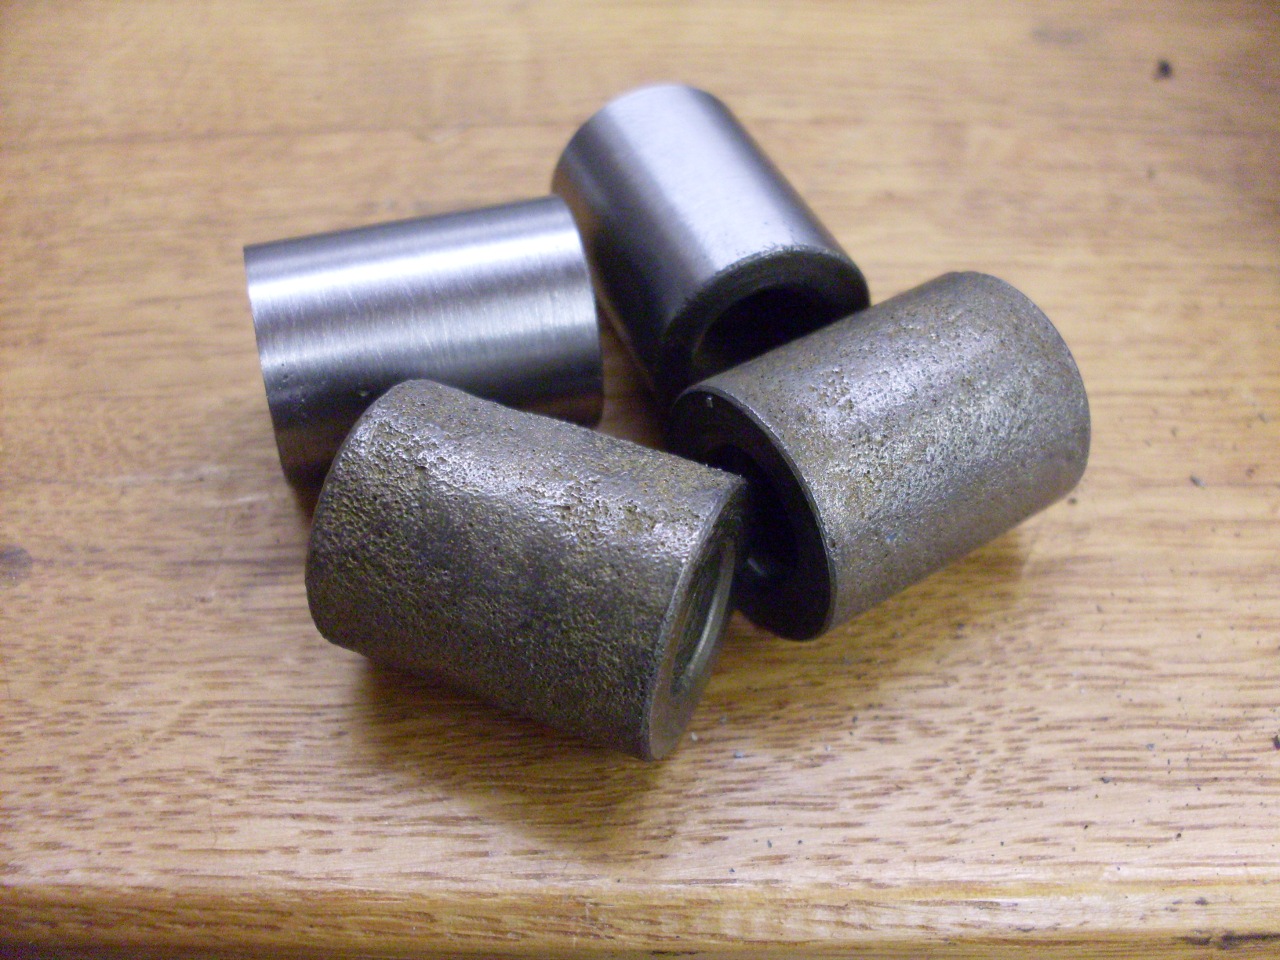
When
I got the parts for the trunnion bushes, I was a little
disappointed. The bushes themselves are fine, but the metal parts
came with a black finish which I asume to be some kind of phosphate
coating. While this kind of finish does offer a little rust
resistance, it's probably better at keeping the parts from rusting on
the shelf than in service. The black coating comes off in seconds
when exposedto a mild acid. I felt much better with a good layer
of zinc on these parts.

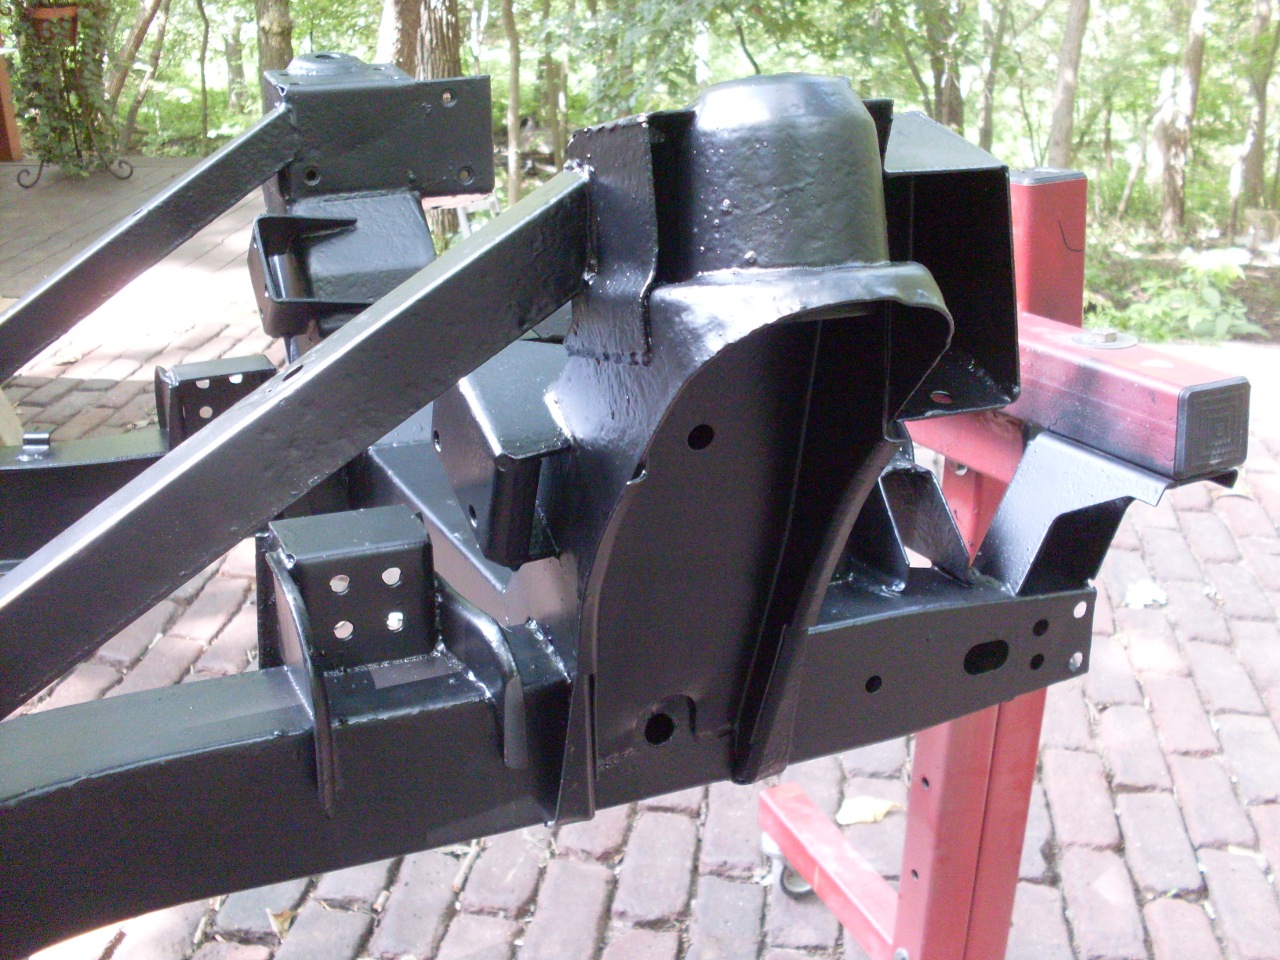
So here is the starting point on the frame.
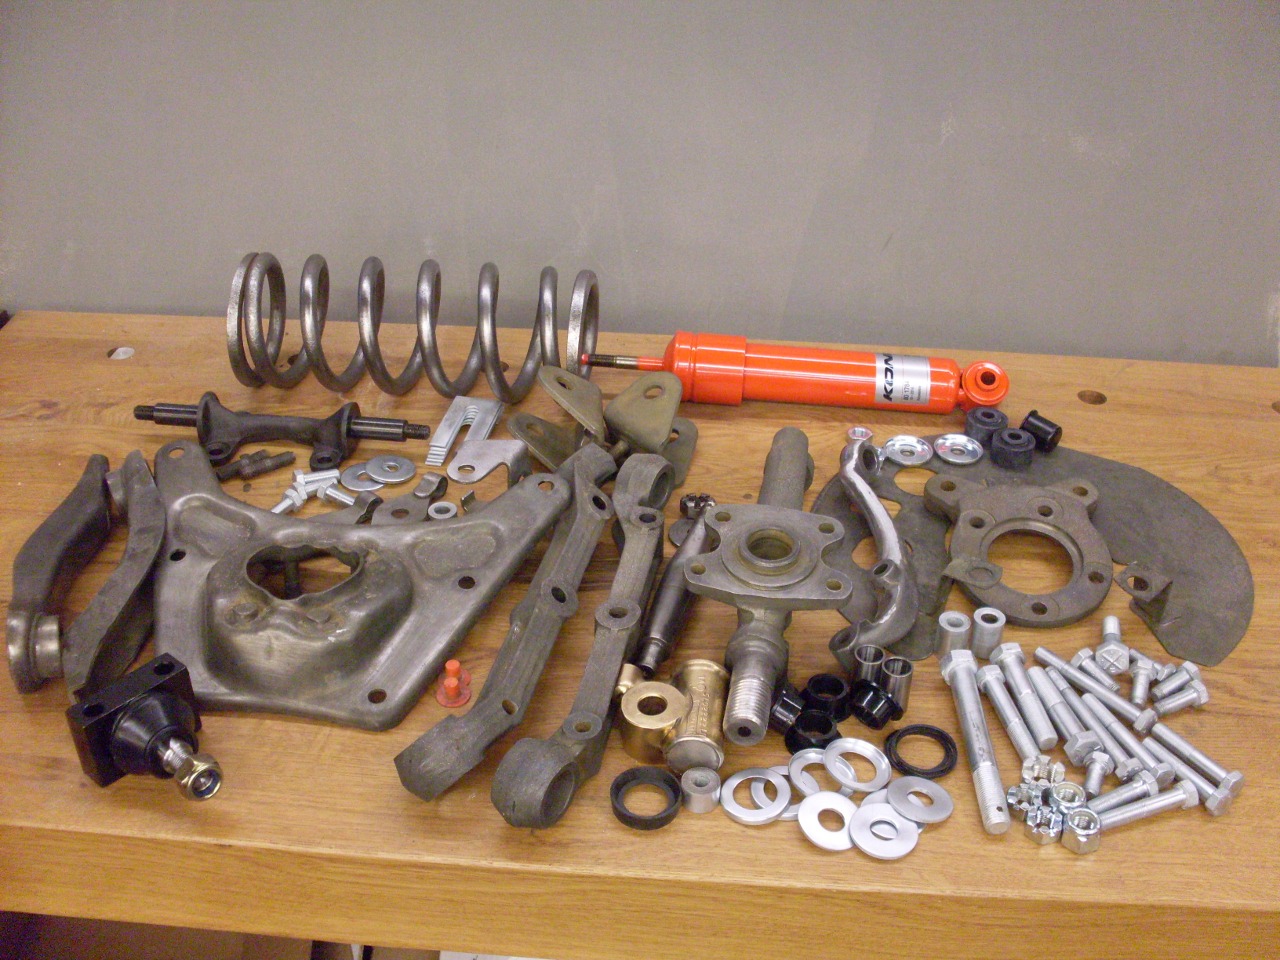
Here
are most of the parts for one side of the front suspension. The
hardware is replated original, the gray color of the metal parts is
what is left from the phosphoric acid derusting bath.
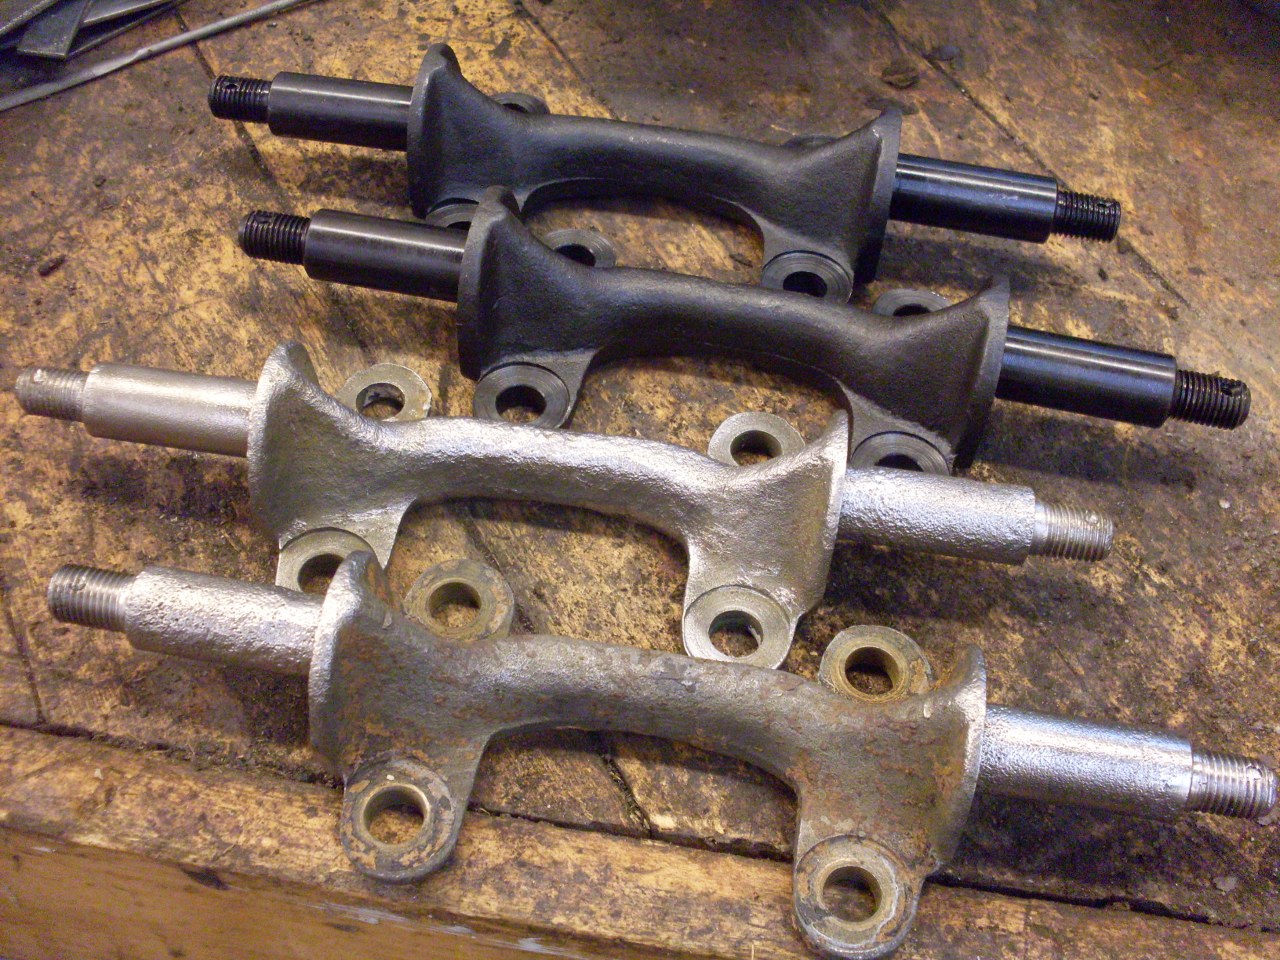
I've wanted for years to mess with powder coating, and this seemed as good a time as any, so I built a small powdercoat oven. This is the result ot the maiden voyage of the oven:

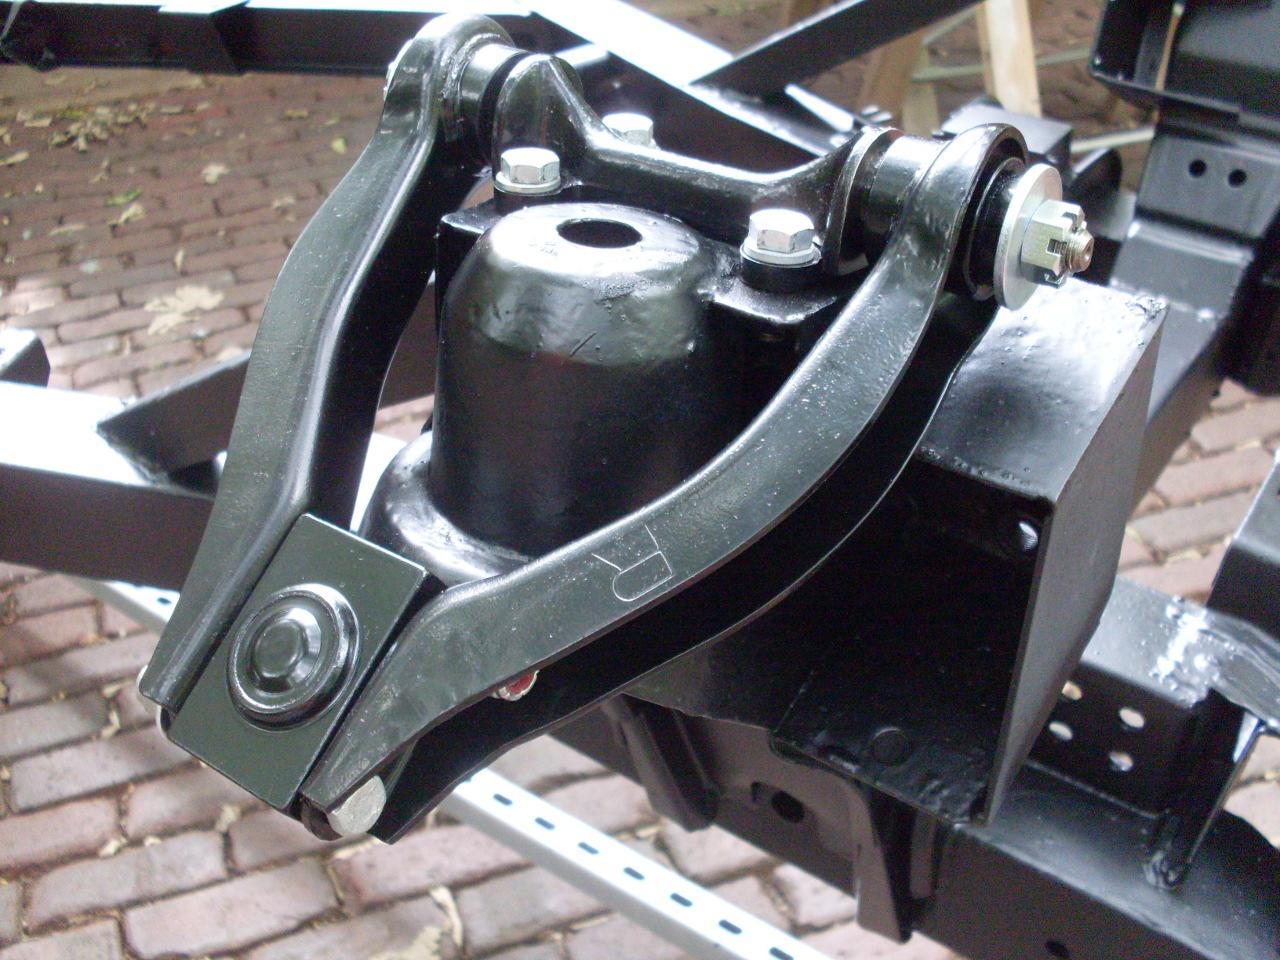
Upper wishbone was first.
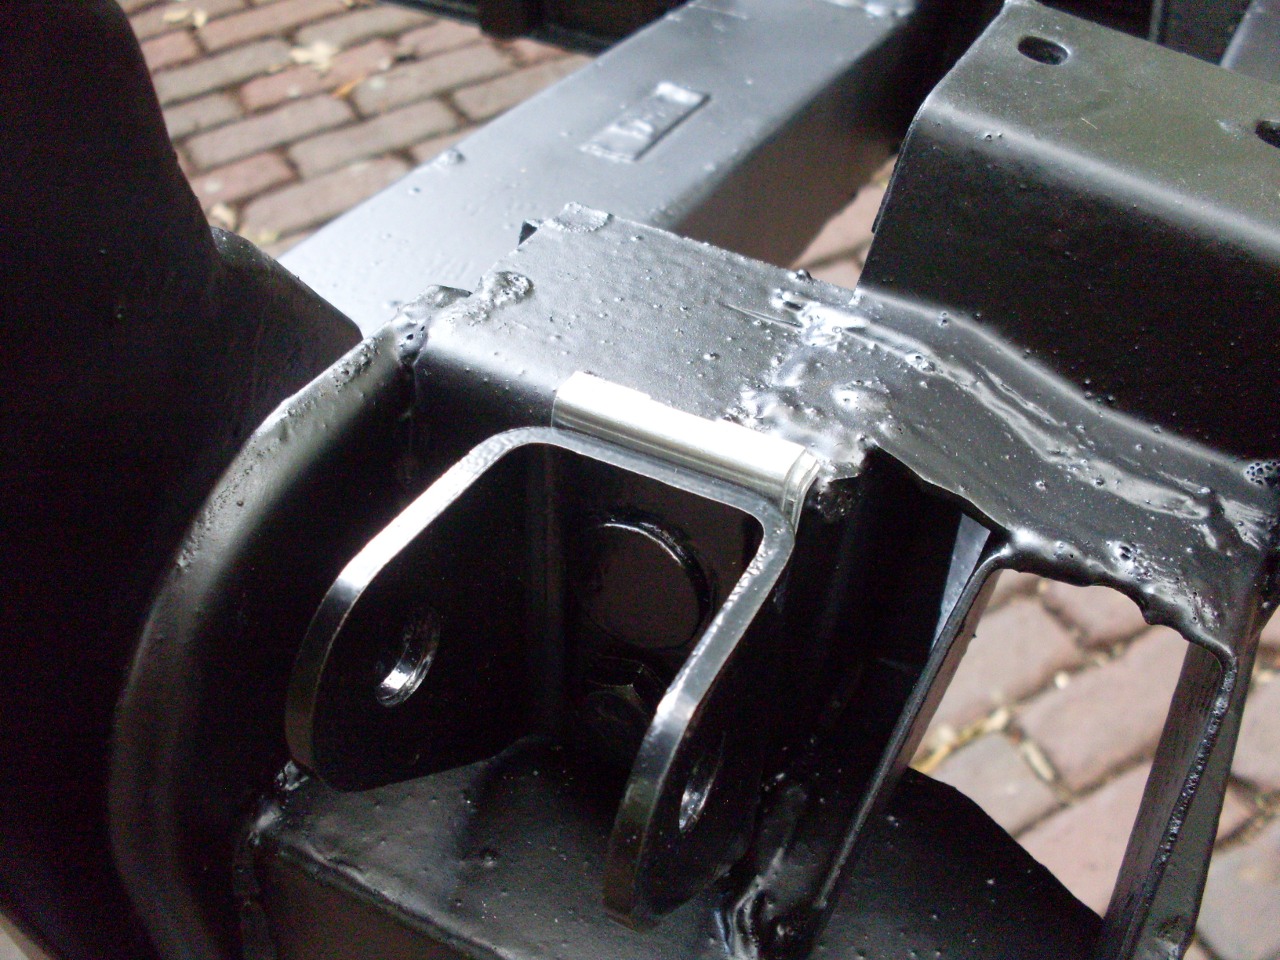
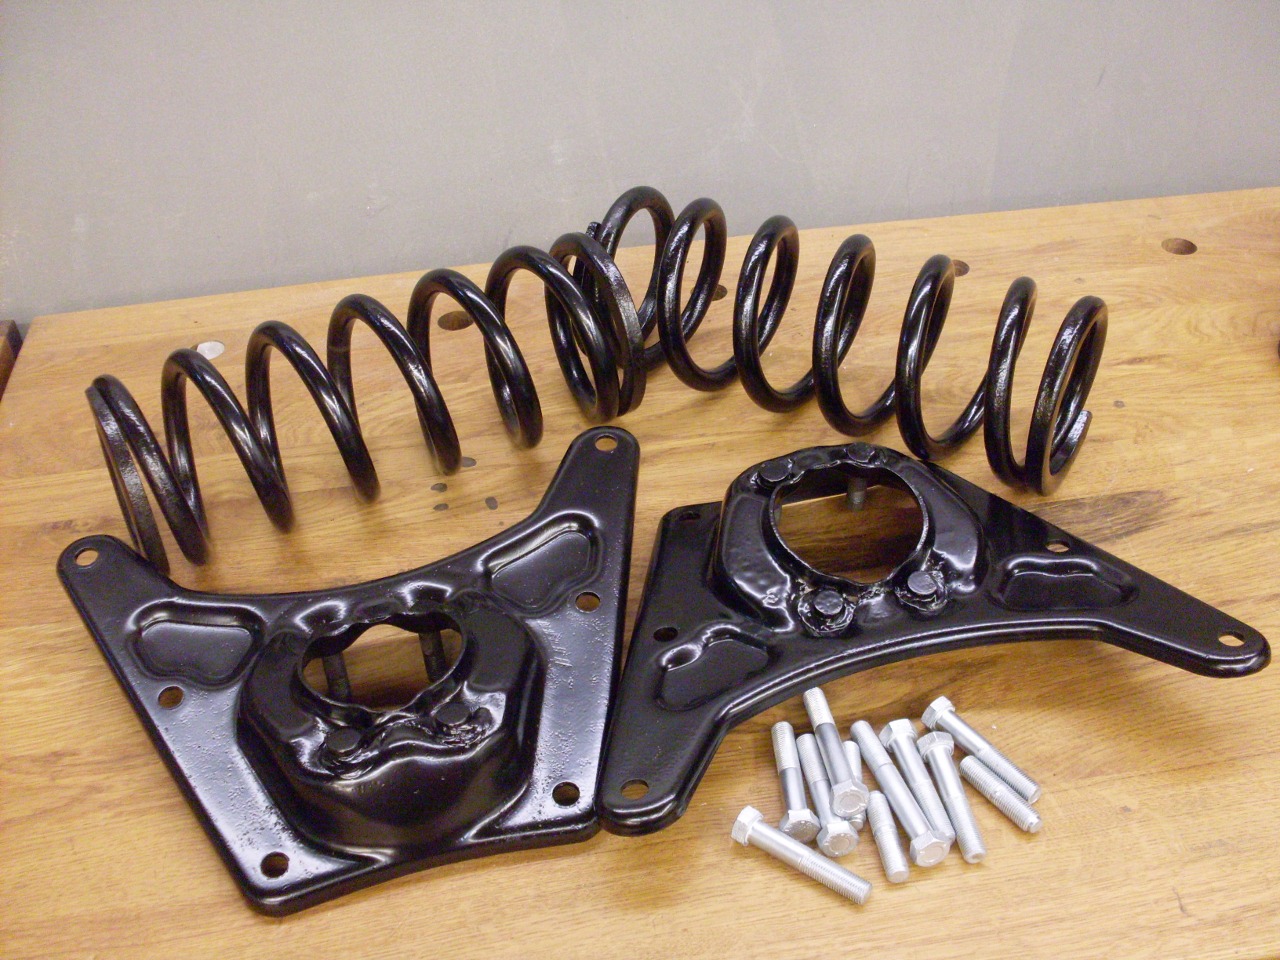
Then
the lower one. Those flat plates are shop built reinforcements
for the frame mounting brackets. The grease I used for the poly
bushes is sold for the purpose by Energy Suspensions. It is the
stickiest, most tenacious stuff I've ever seen. It's actually
hard to clean it off a surface once it's on there.


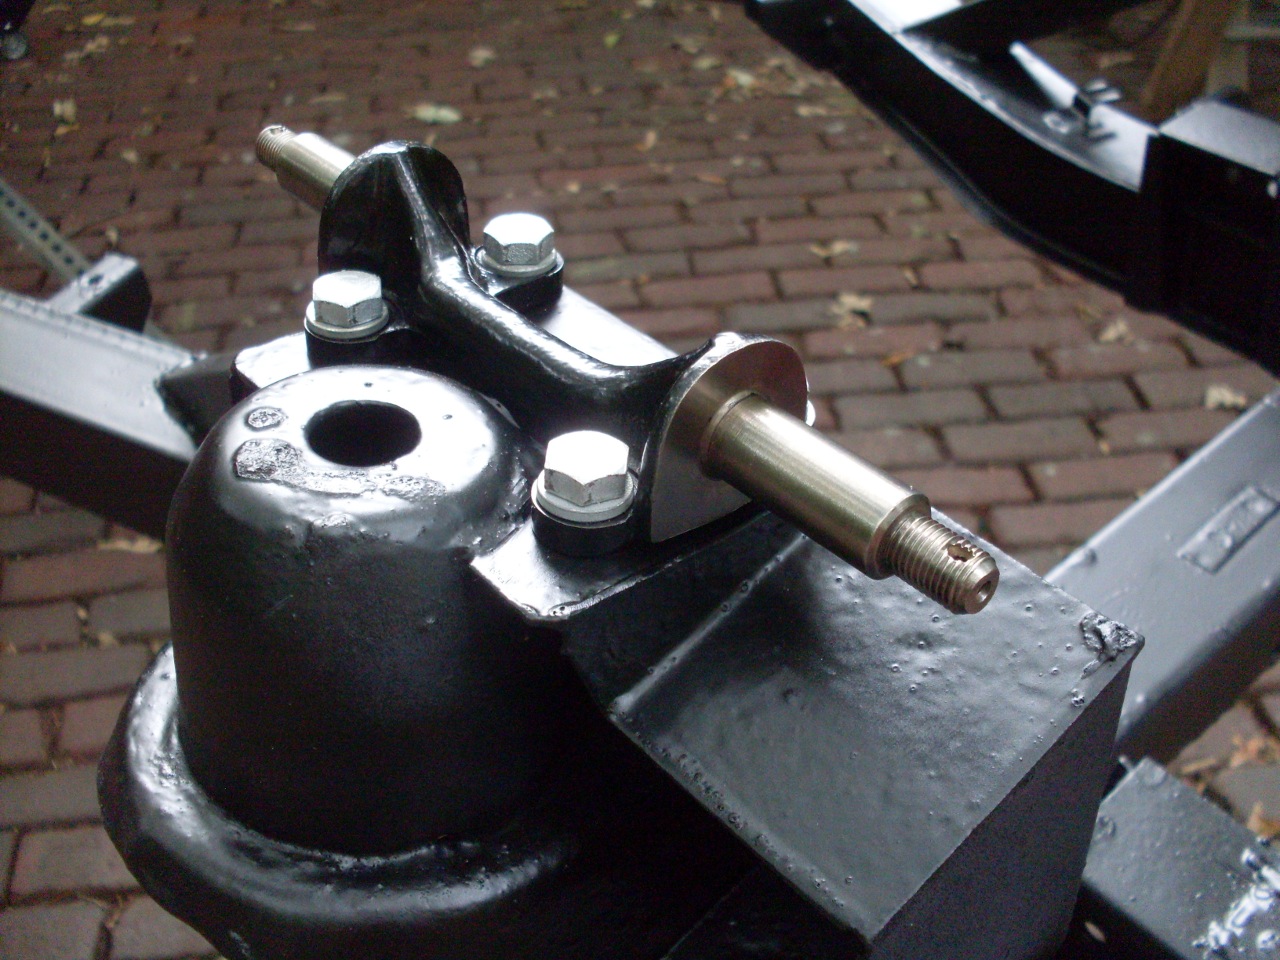
Then the vertical link with its twenty-odd parts.
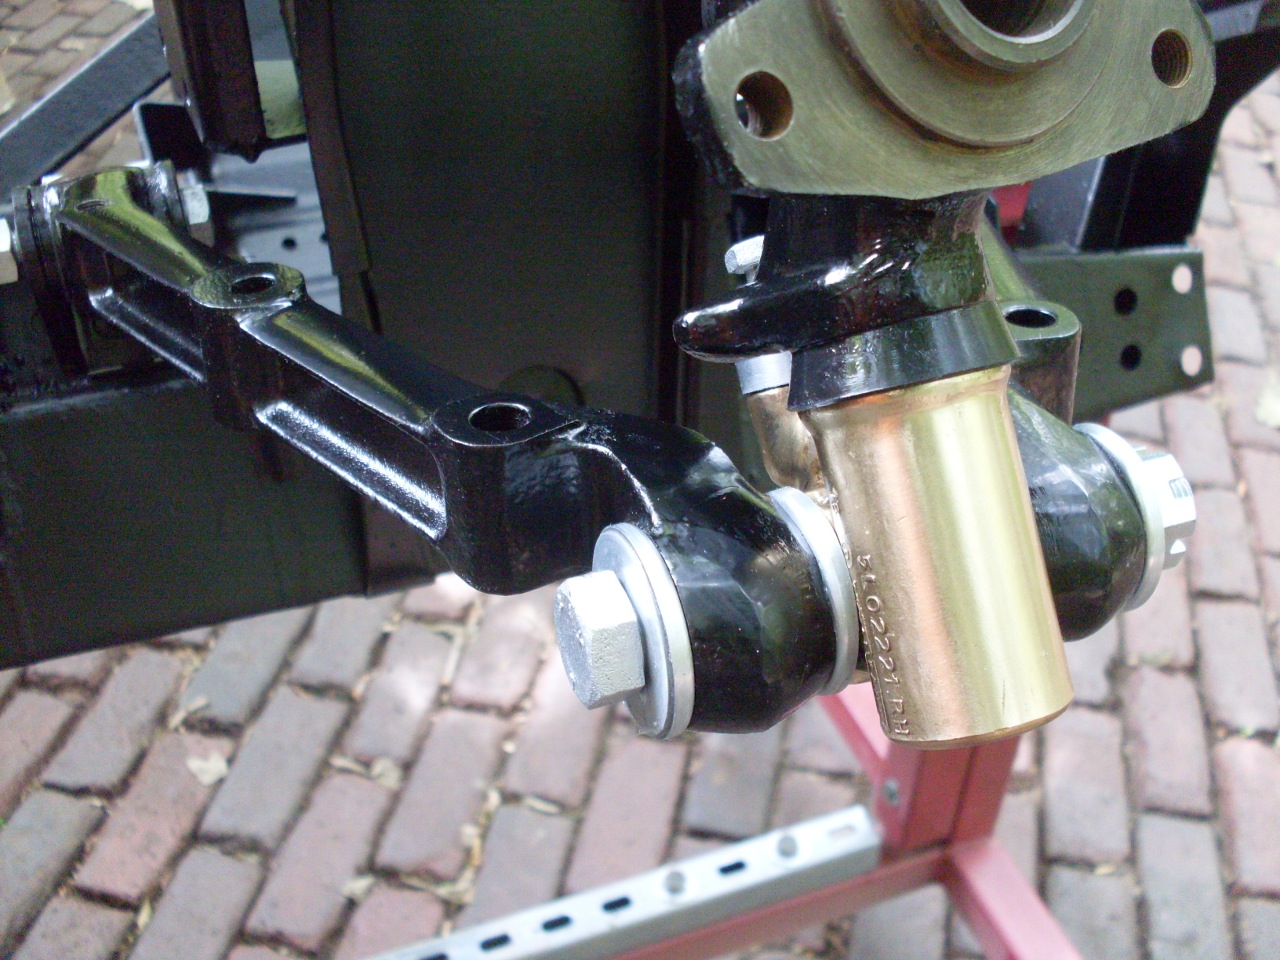
So far, so good.
Next, the springs. The compressor is made from scrap.
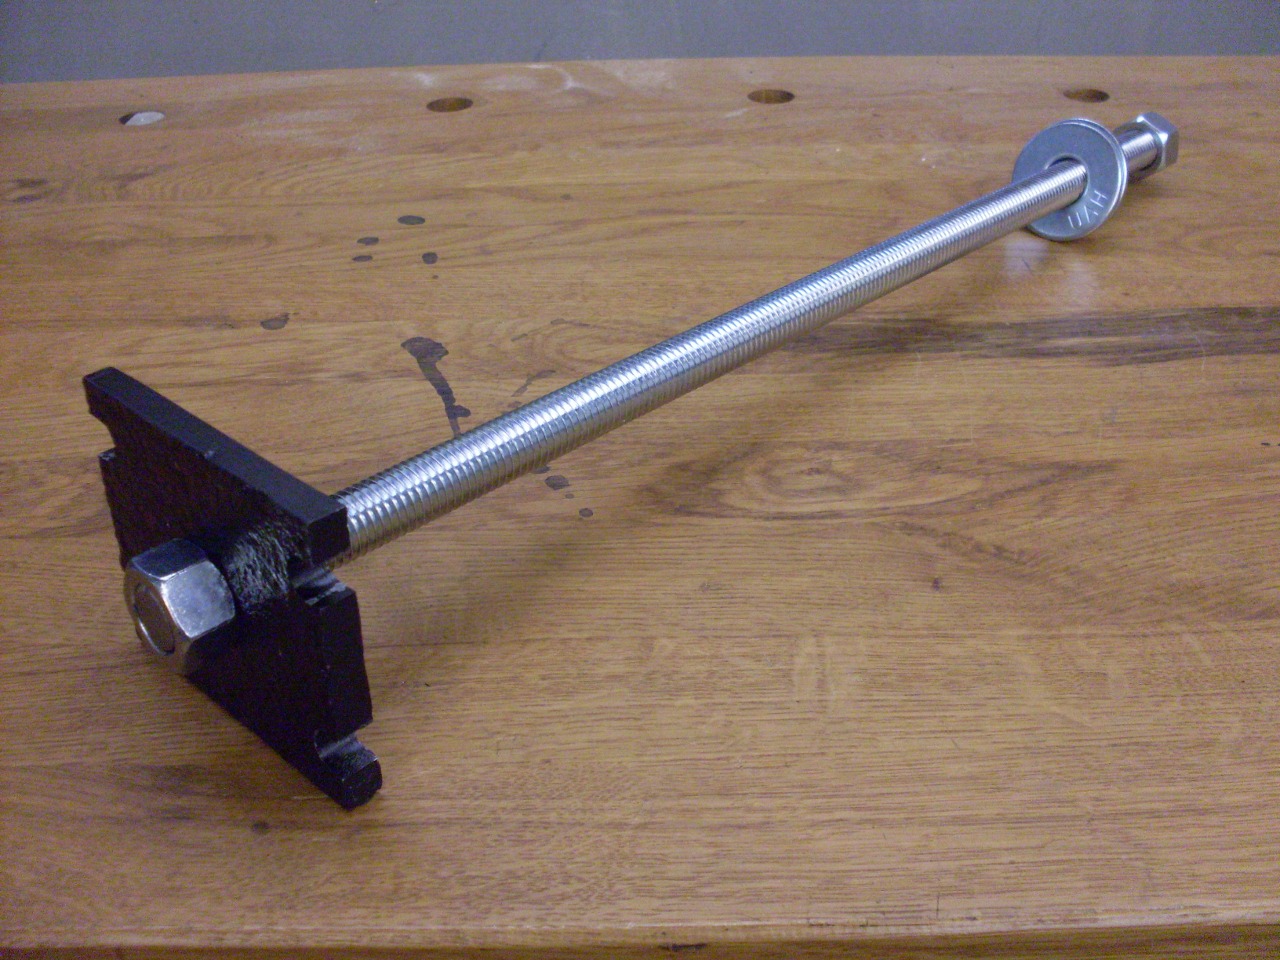
Little by little...
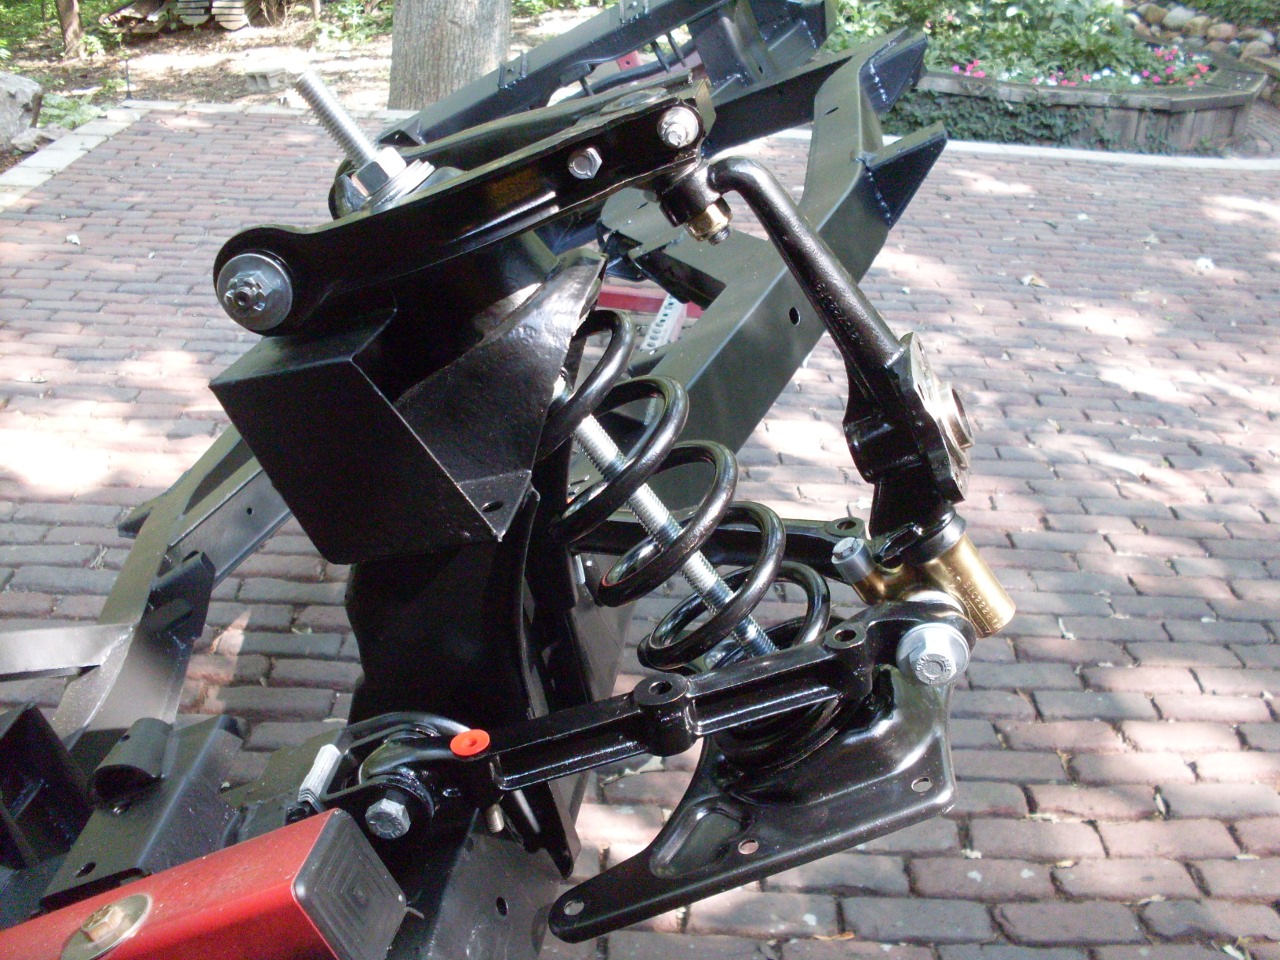
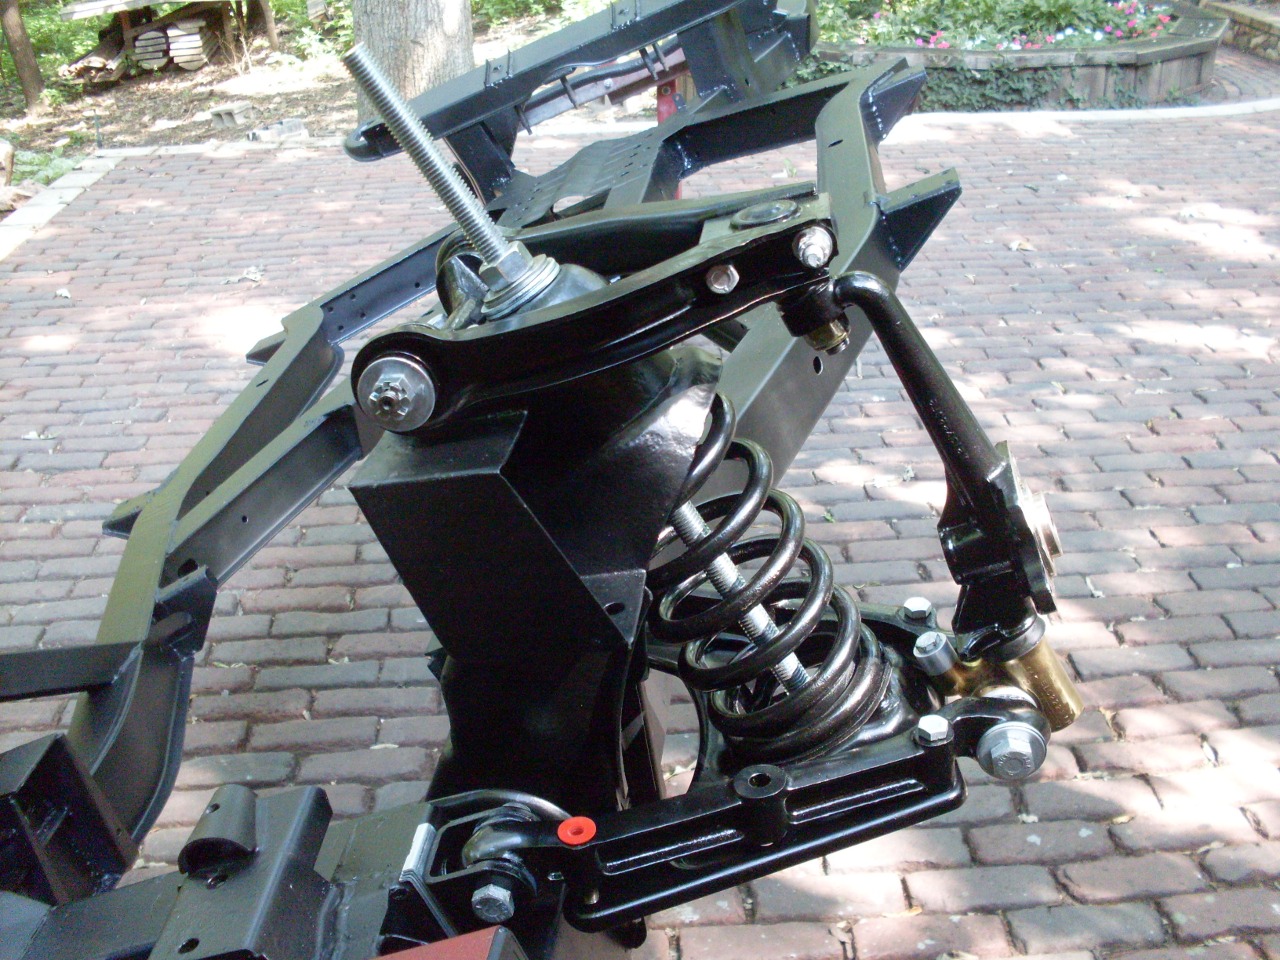
The shocks actually have to wait. With the suspension in this unnatural unloaded position, the shocks foul the springs.

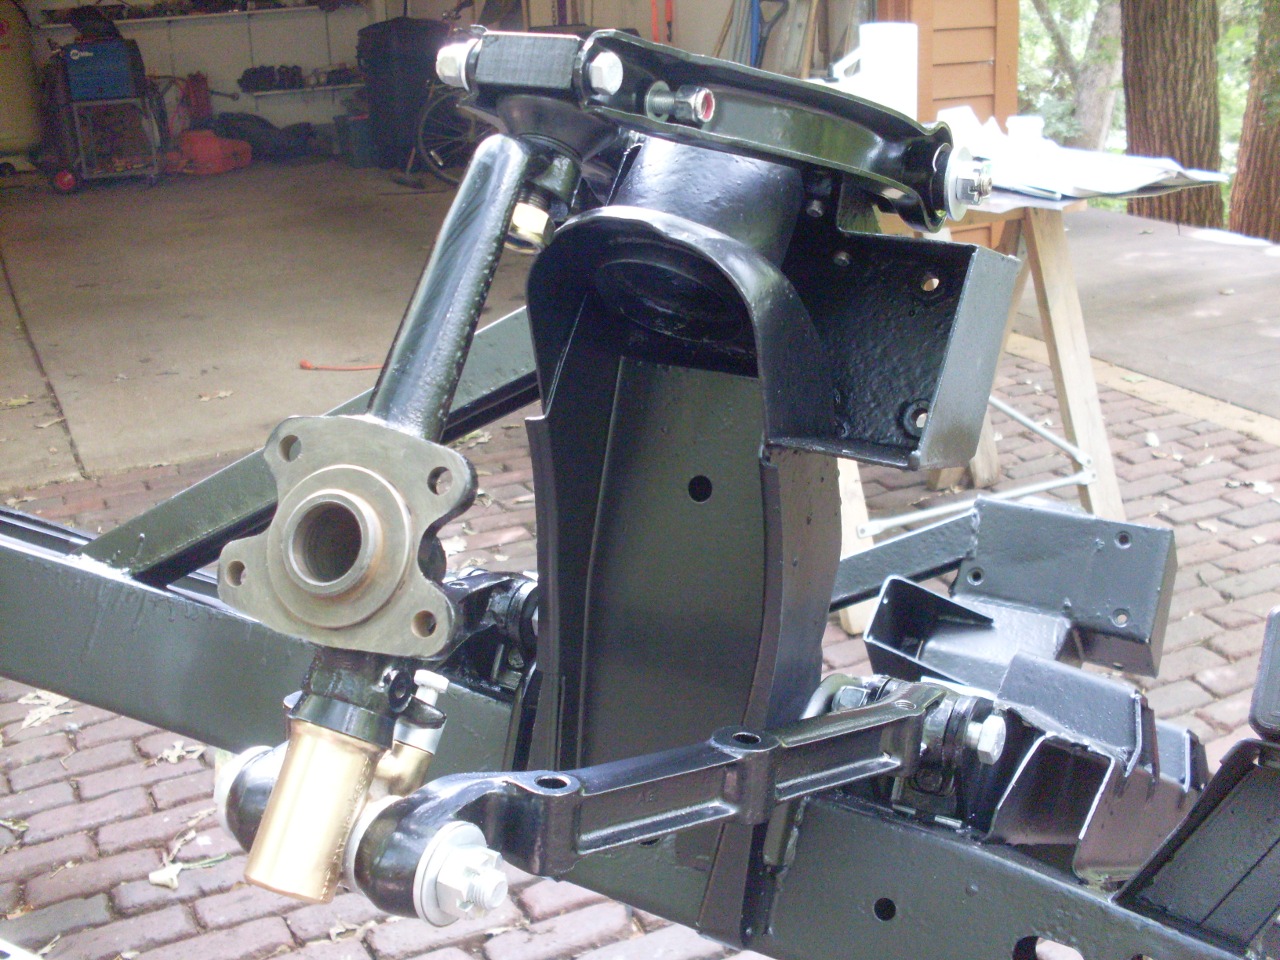
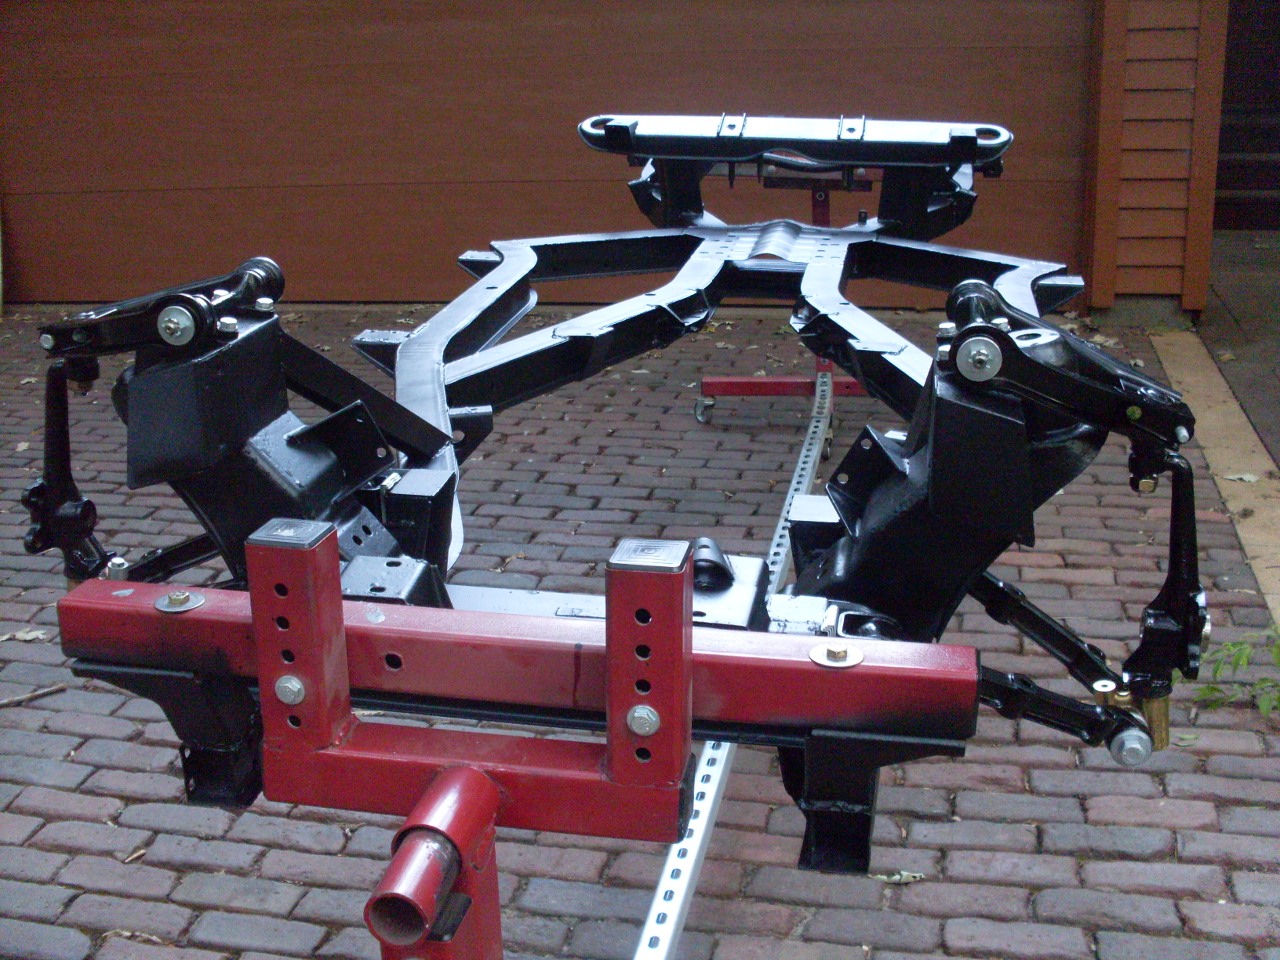
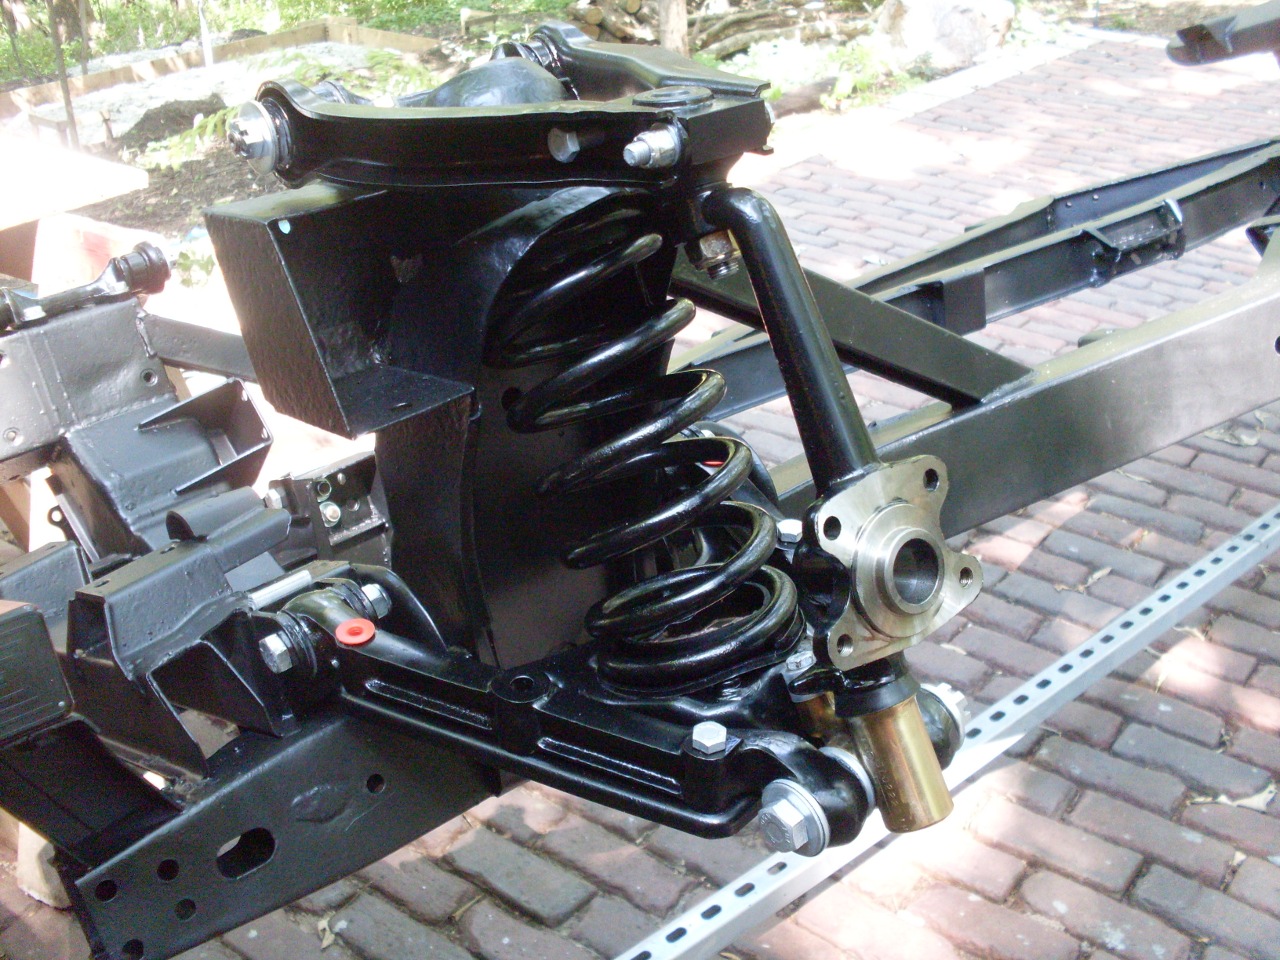
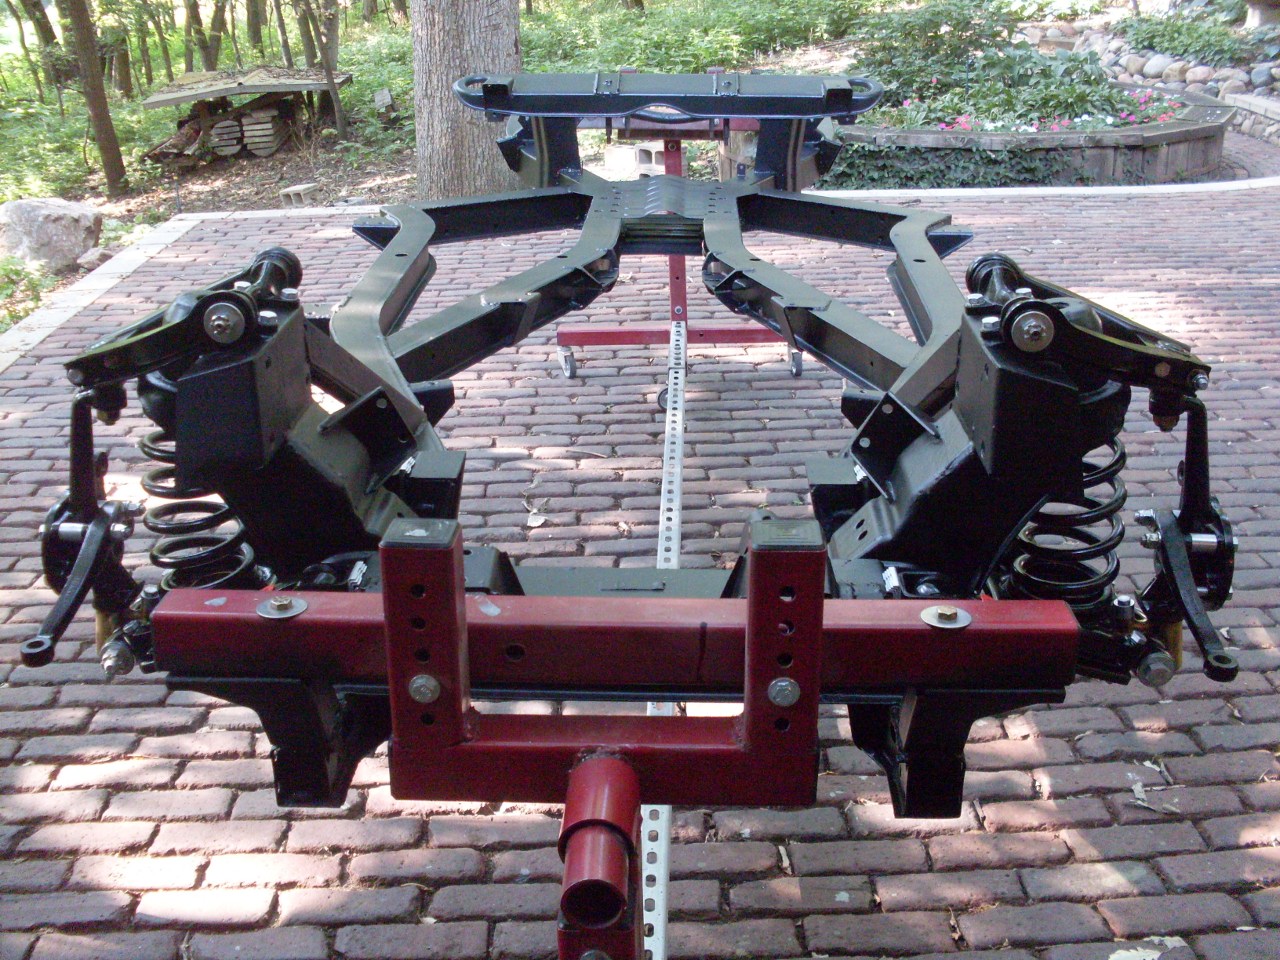
Steering arms and caliper brackets.

Starting to look like something...

Comments to: elhollin1@yahoo.com
To my other TR6 pages.
