July 18, 2014
Powder Coat Oven
So
I'm working on rebuilding the suspension on this '70s Triumph TR6, and
decided I'd like to have some of the parts powder coated. While
this isn't all that expensive, it's a hassle to bundle the parts up,
haul them to the coater, wait for a week or two, and haul them home
again, only to possibly be disappointed in the quality. So, in
the spirit of the rest of the car project, I decided to try my hand at
powder coating in my shop. I already had a powder gun I'd bought
a couple of years ago in anticipation of this eventual decision, but I
still lacked a suitable oven.
My first thought was to try to
find a used kitchen oven I could use. If I had found one right
away, I probably would have gone that route, but I was a little
concerned about the floor space it would take. I'd seen videos of
folks doing powdercoating in toaster ovens, but most of them seemed too
small for some of the parts I had in mind. A benchtop oven was
more workable for me, but I needed something bigger.
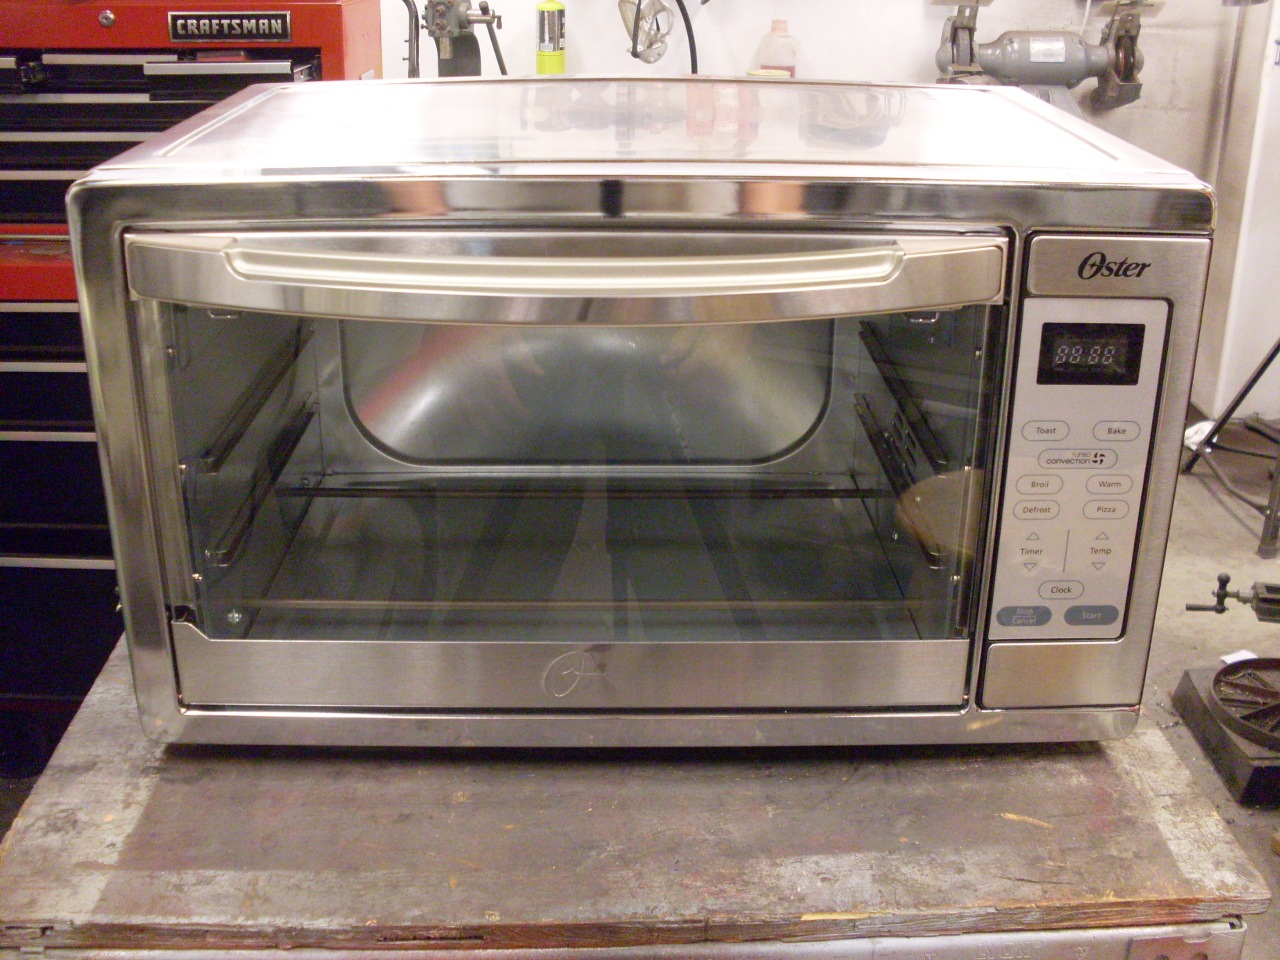
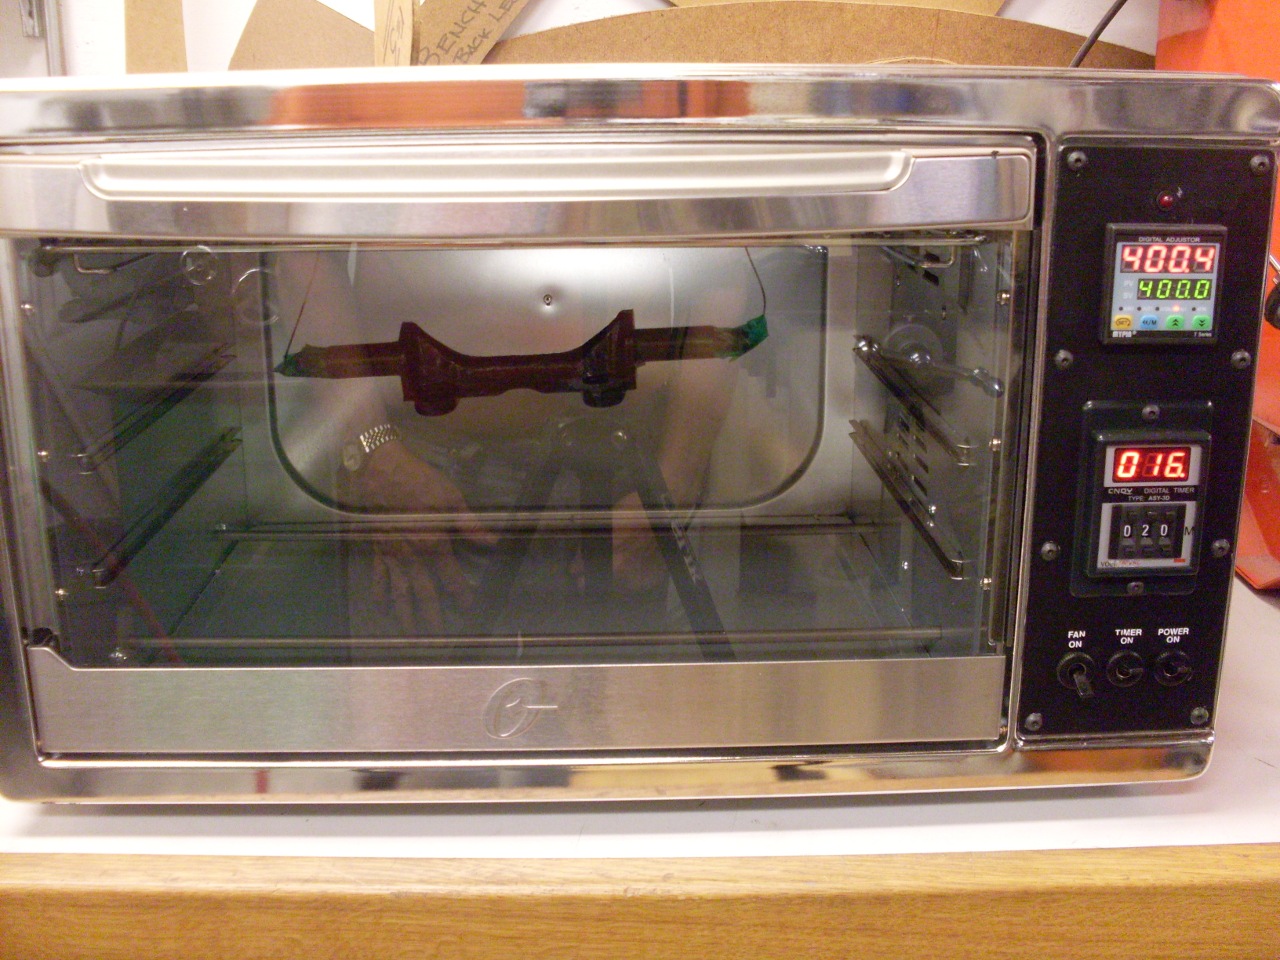
I searched
for larger toaster ovens, and the biggest one I found was carried at
Walmart. It is an Oster, and it brags about being able to handle
two 16-inch pizzas. This would handle all of the parts for the
suspension project. It had an adjustable temperature setting, and
a timer, both necessary for powdercoating. It also had a
"convection" button, which turned on a circulation fan. I wasn't
sure if this would be useful or not. I got the oven for a little
under $100.
When
I got the oven home, I discovered a few problems. First, the
temperature was settable only in 25 degree intervals. While this
might not be a huge problem, I put a thermometer inside to see how
accurate the temperature was. The temp control on the oven was
probably just a simple on/off based on hysteresis around the set
point. As the oven stabilized, its temp swings were
still pretty wide, and even the average temp was as much as 20
degrees off from the set temp. I'm still not sure that this still
wouldn't have been OK for powdercoating, but I was disillusioned enough
to begin thinking of ways to improve the performance of the oven.
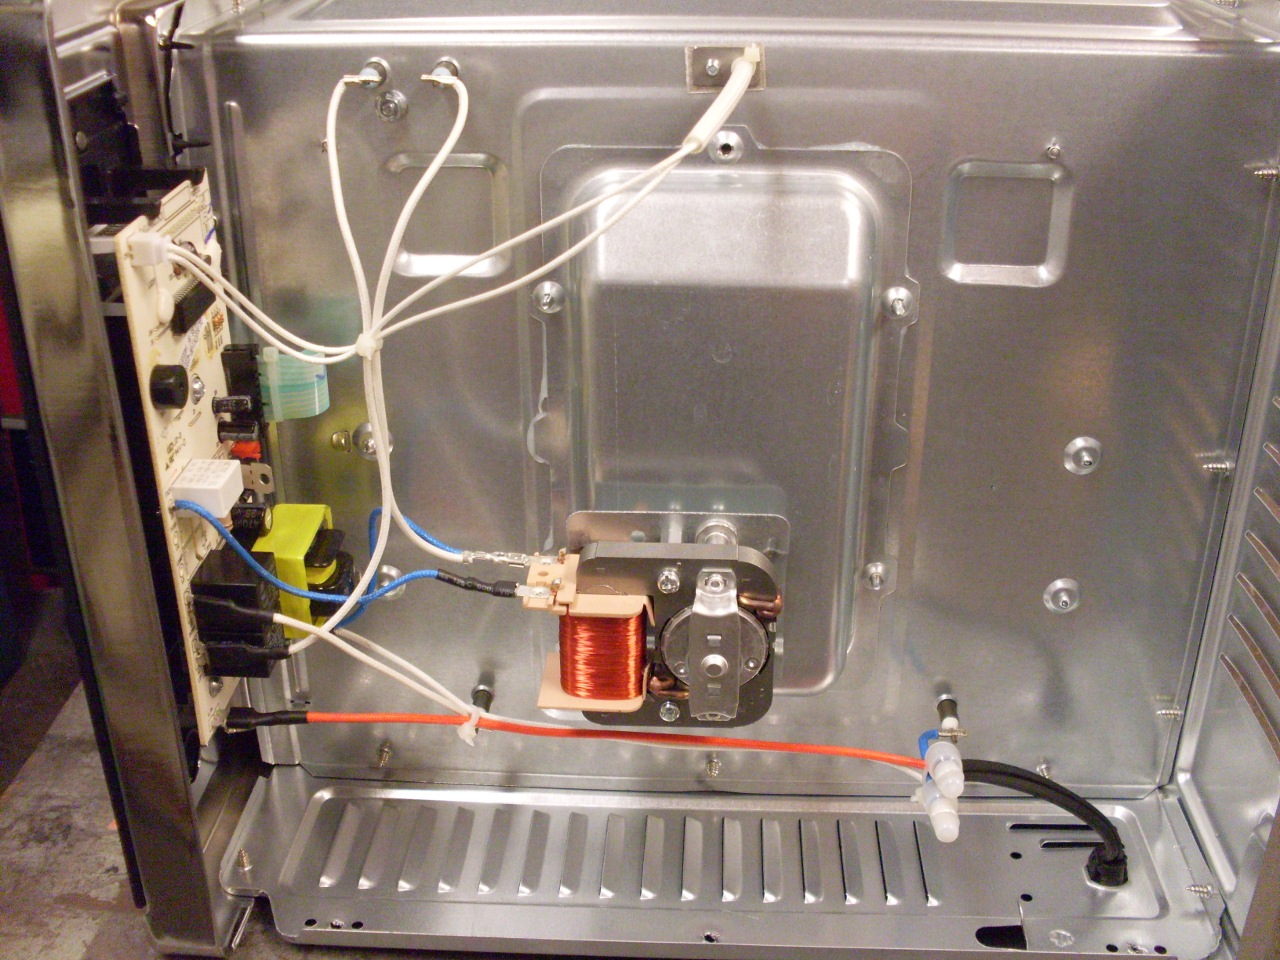
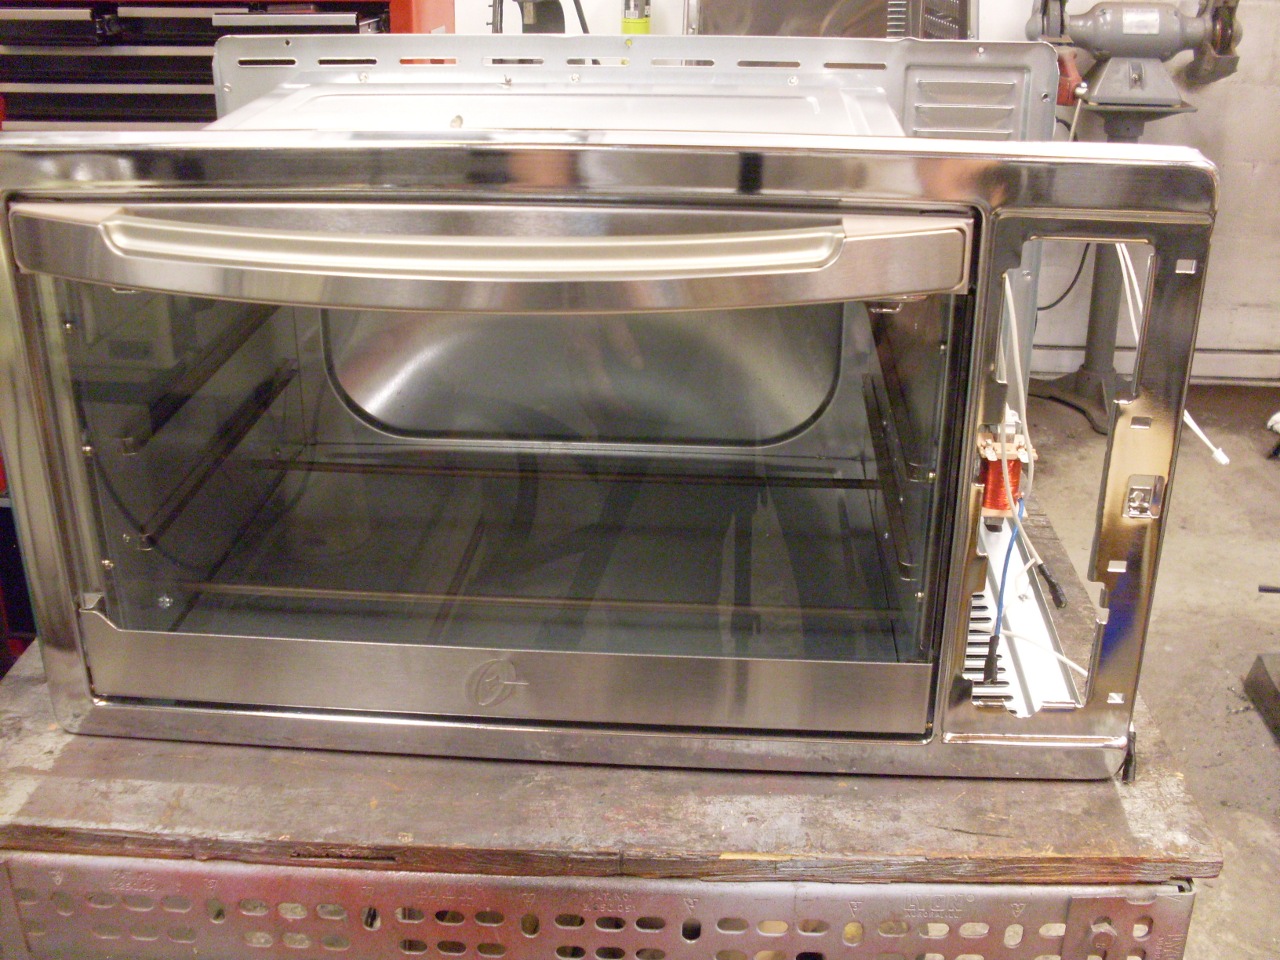
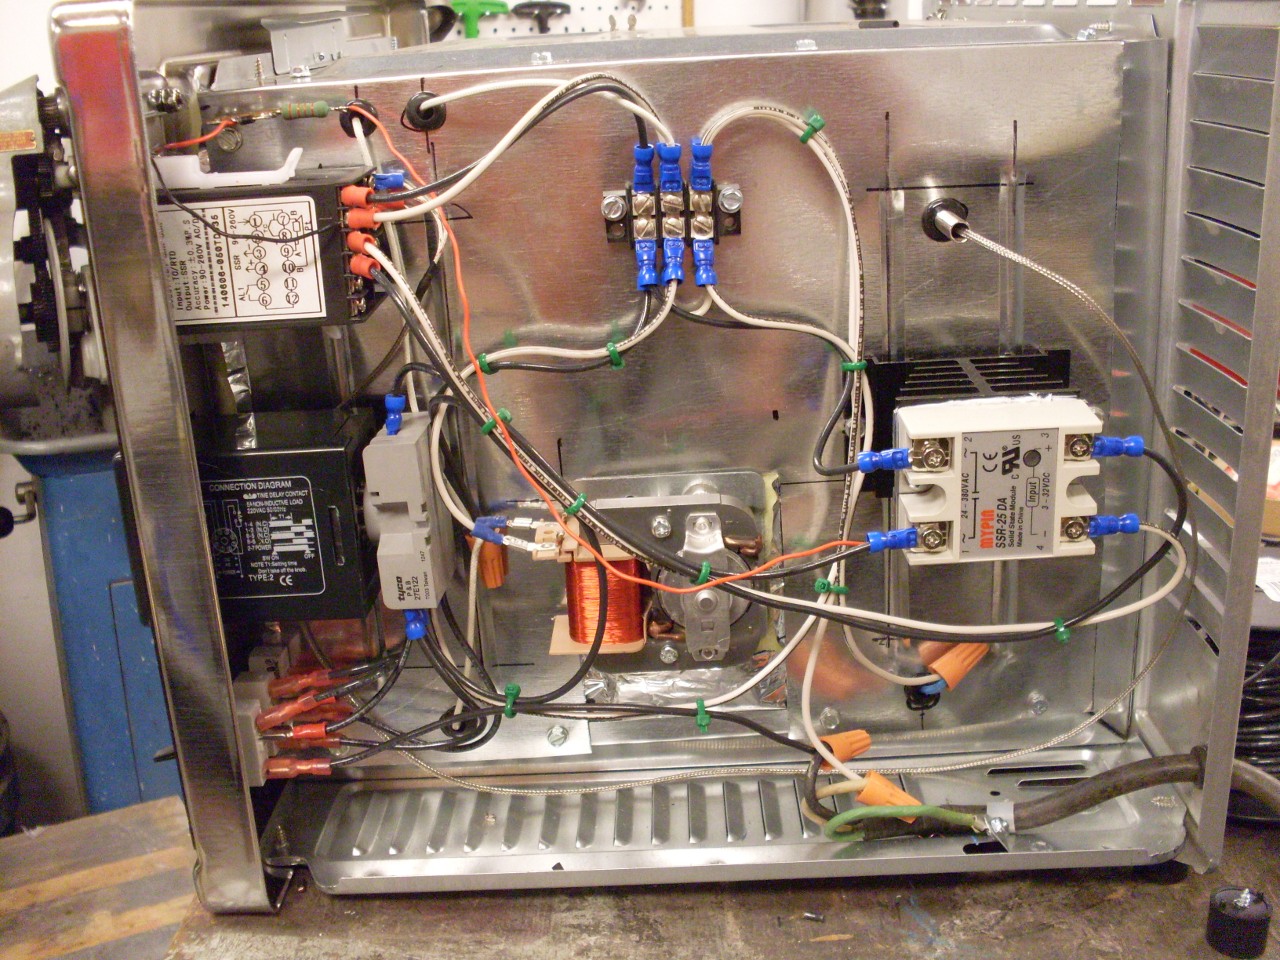
I
opened her up to find just a controller card connected to the top and
bottom heating elements, and to a temperature sensor of some kind.
There was also a small motor to turn the convection fan.
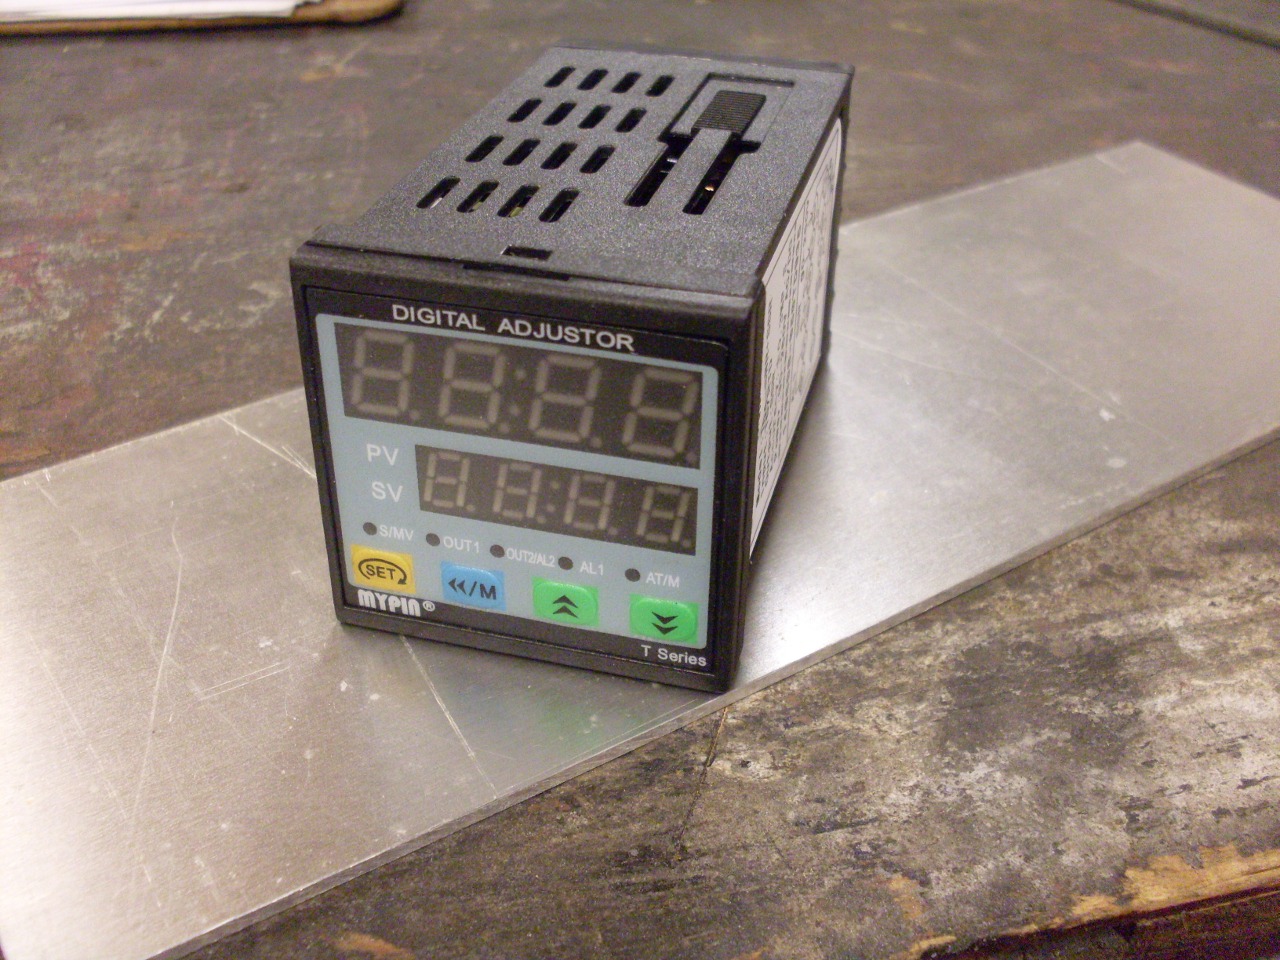
At
some point I resolved to install a better control system in the oven.
Industrial PID type temperature control modules are available on
the internet for under $20, so I ordered one that came with a solid
state relay that would handle the 1500 watts of heating elements in the
oven. I also ordered a type K thermocouple to replace the unknown
existing type.
So out came the oven's front panel with the control card.
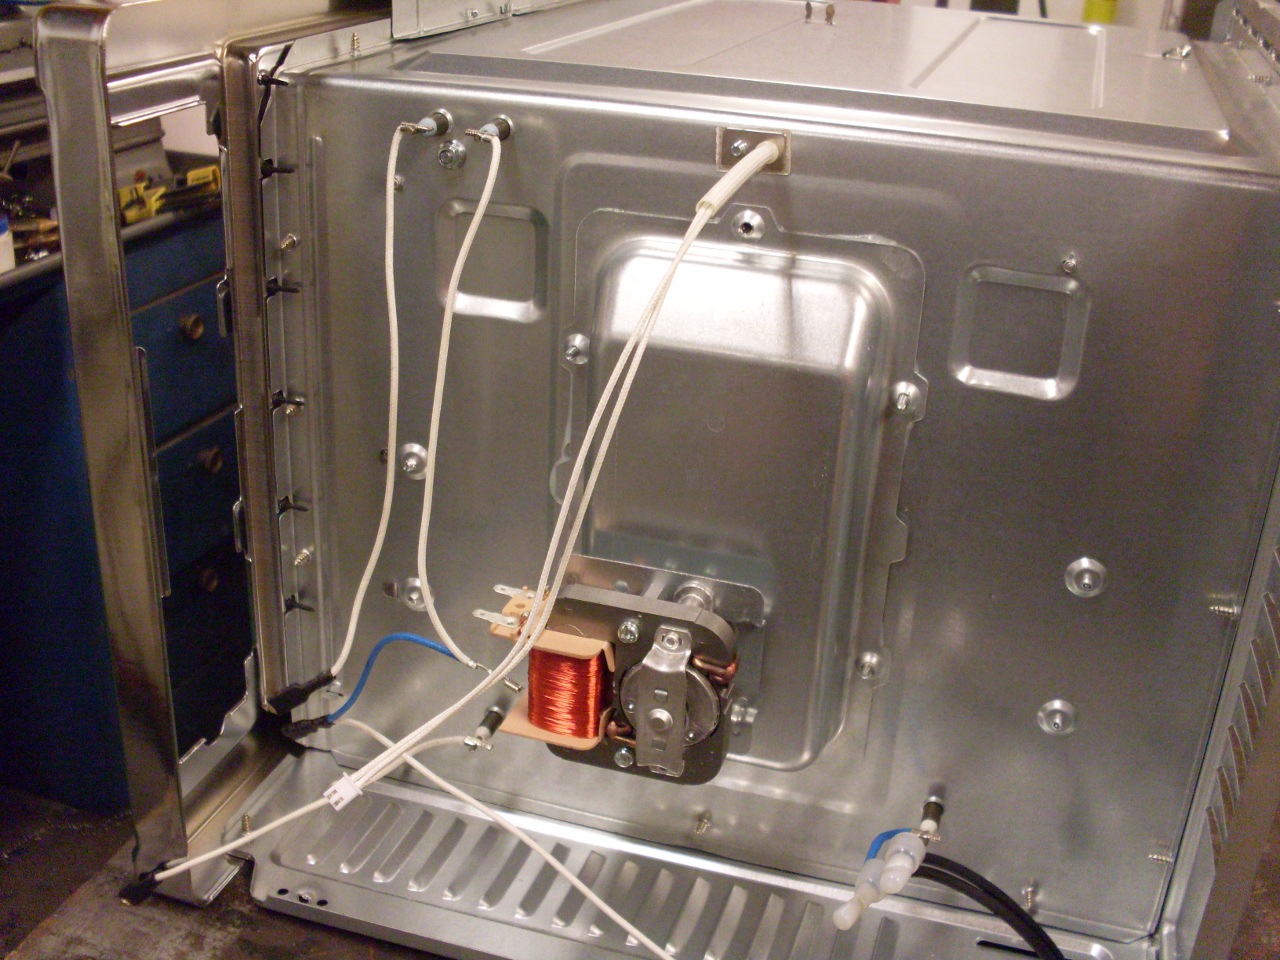
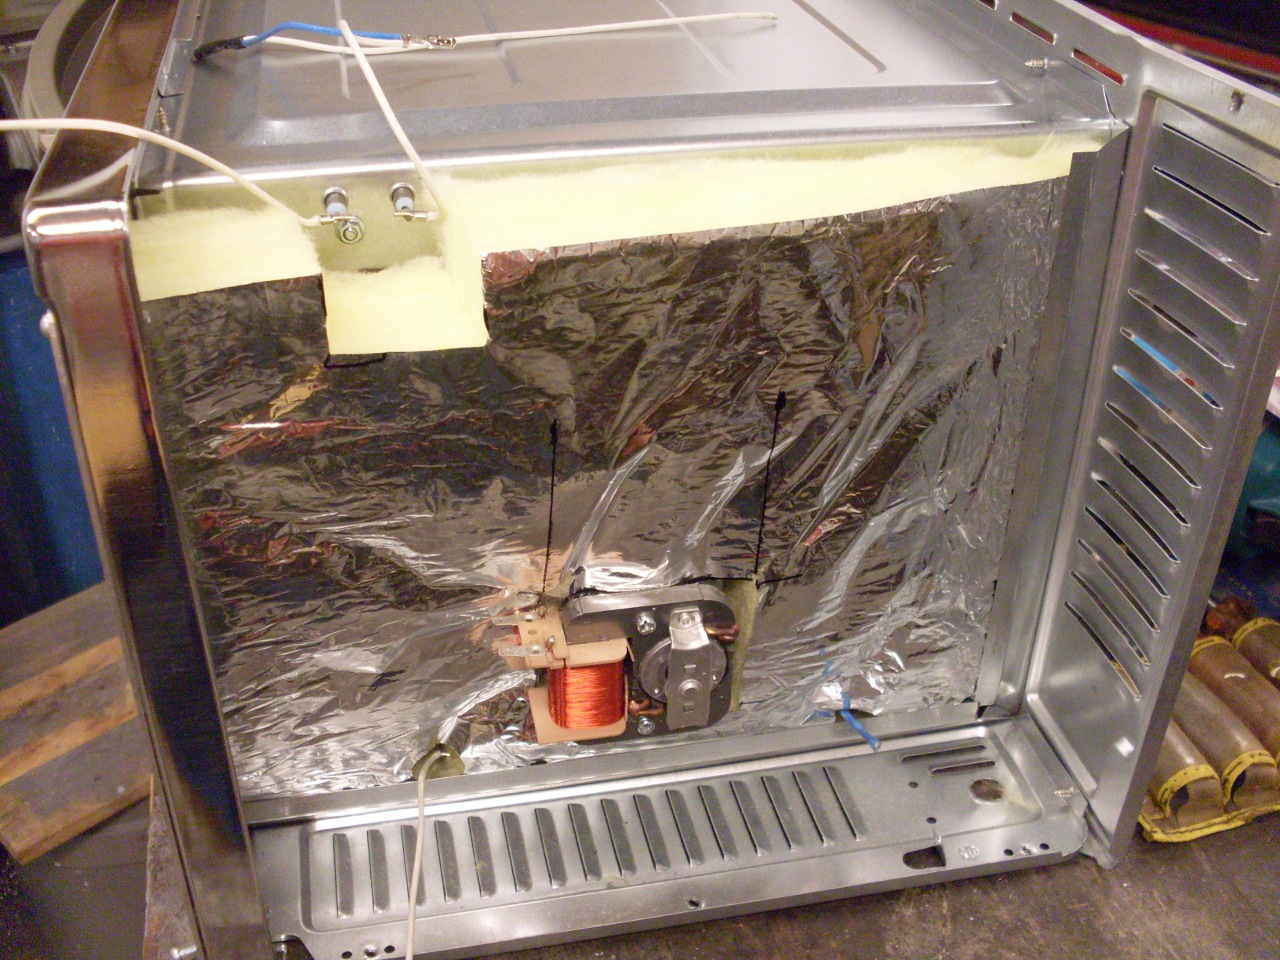
I'd
noticed that the cooking compartment of the oven was not thermally
insulated from the outer cover other than having a ventillated air
space. I was concerned that the cavity where the new electronics
would go was separated fromt he cooking chamber by just a sheet of thin
metal. To try to keep temps under control in this space, I added
a couple of inches of fiberglass insulation covered with a second sheet
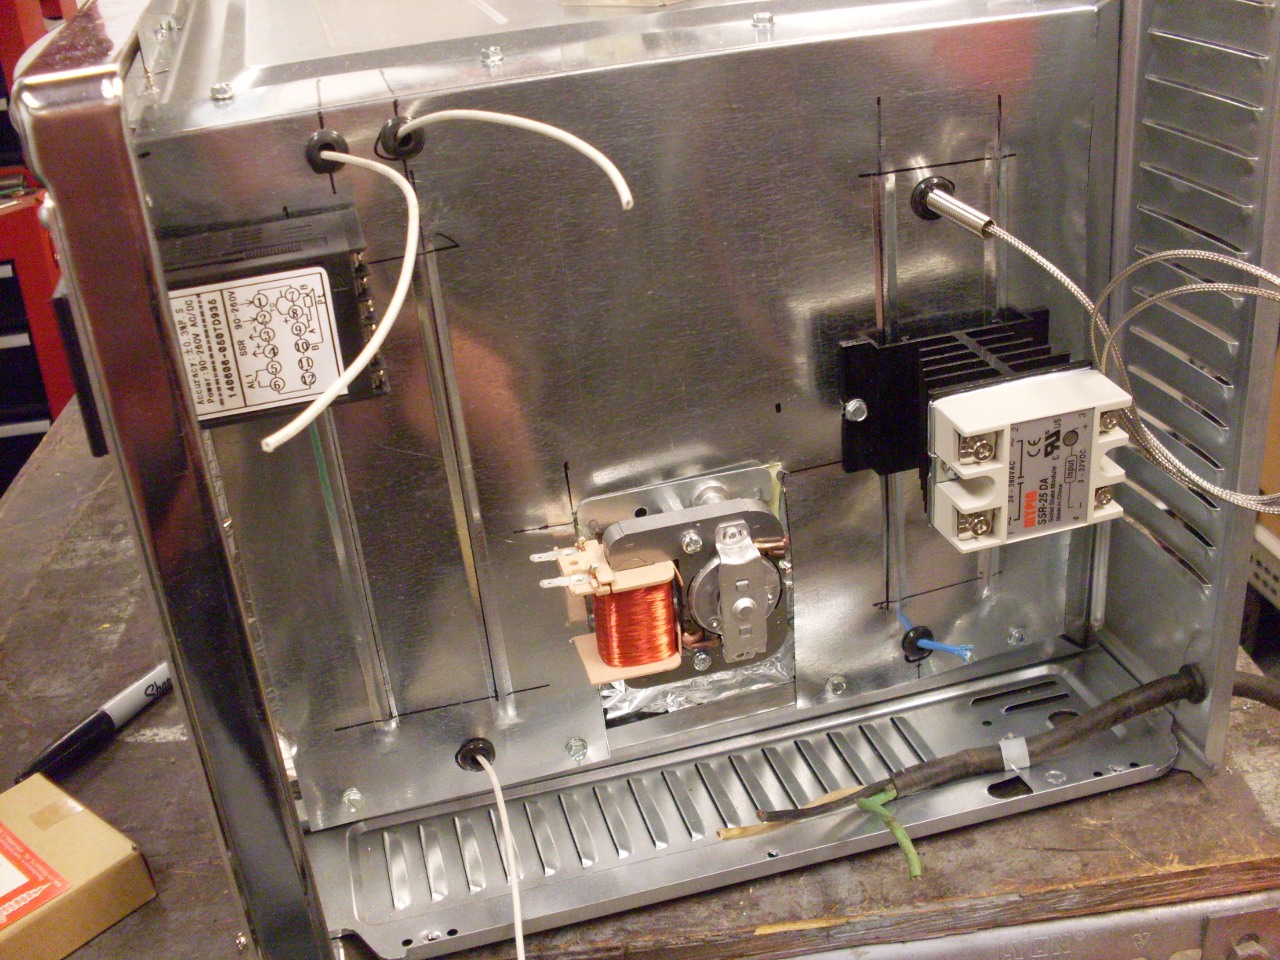
metal panel. The convection motor was on standoffs, so it didn't
have to be moved. The solid state relay with its heat sink is
mounted to the new panel. This electronics compartment is
ventillated with louvers on four sides.
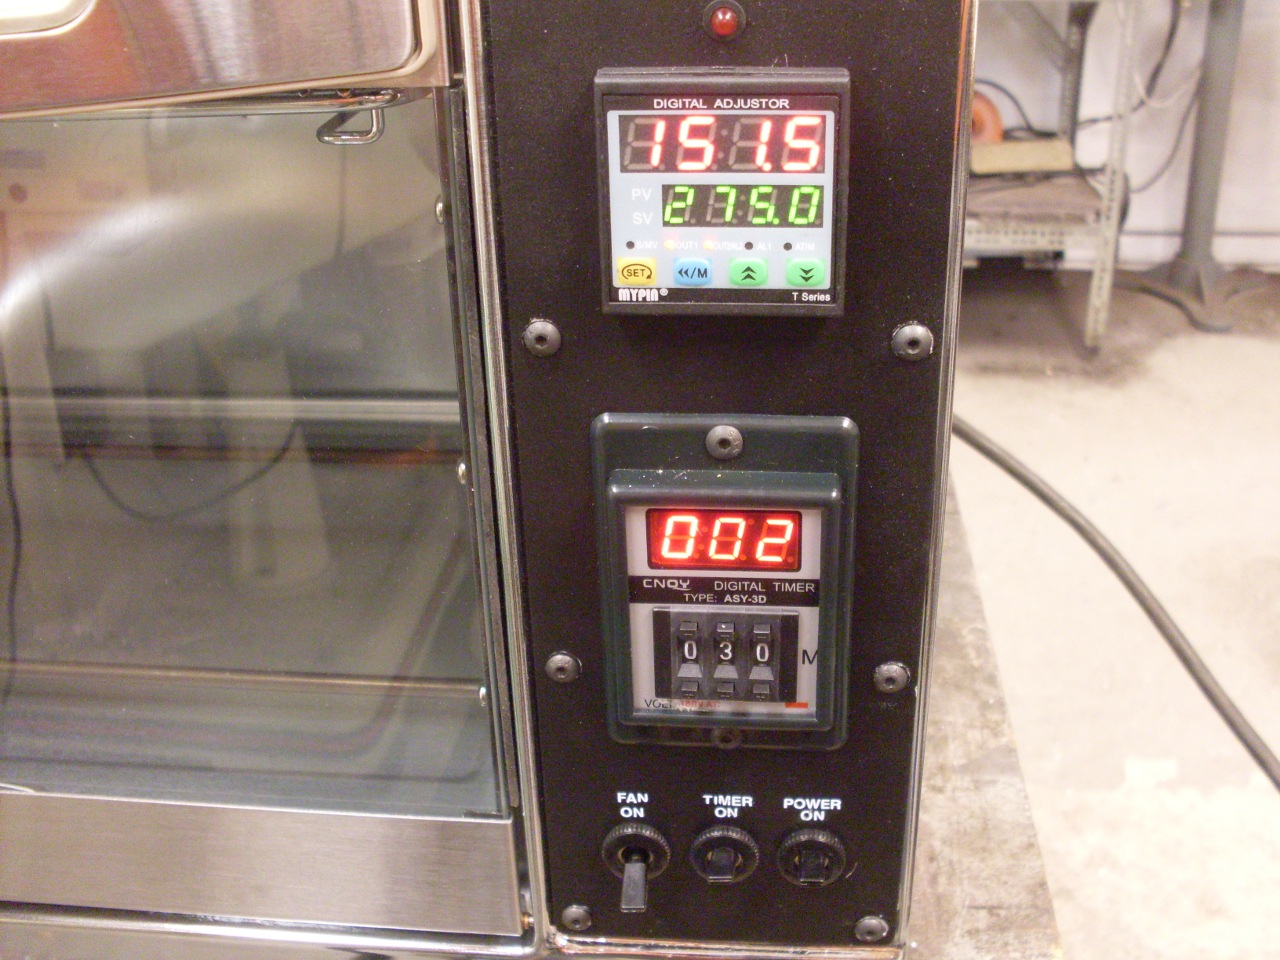
I added a panel mount time delay module, and some switches to the new front panel.
The
insides now look a little more respectable. While I was at it, I
moved the power cord entrance to the back panel from the bottom, and
since I'd been mucking around inside, I thought it prudent to make it a
grounded three-prong instead of the original ungrounded cord. I
also made the cord a more useful length instead of the silly little two
foot cord that came with the oven.
The
last thiong I had to do was to add a bracket on either side of the
cooking chamber near the top. These would support one of the
included cooking racks that would now be used as a rack to hang parts
from. Here is the first suspension part being cured in the oven:
Comments to:
elhollin1@yahoo.com