To my other TR6 pages
September 21, 2018
Front Wings and Other Front Stuff
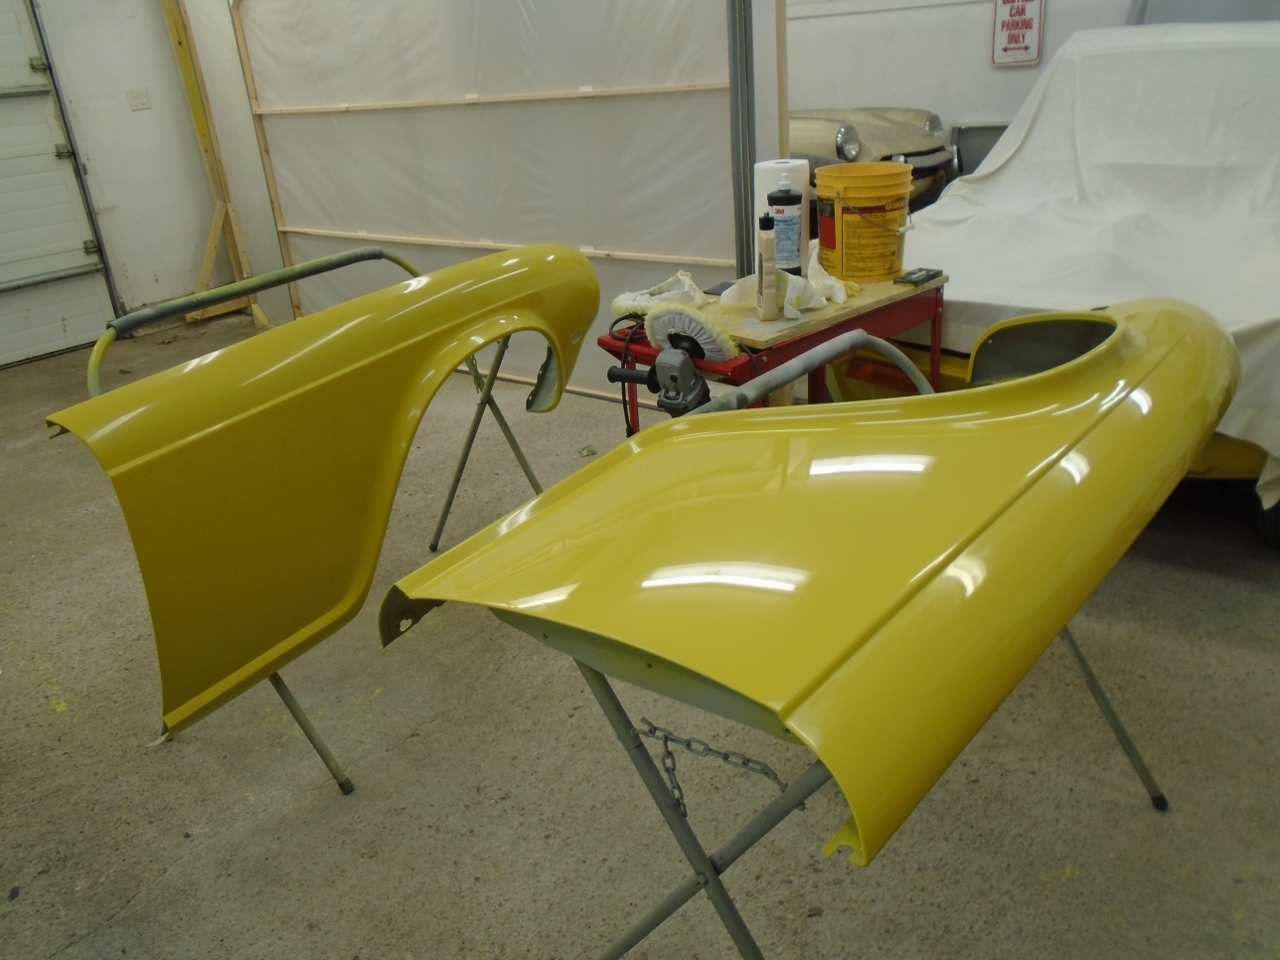
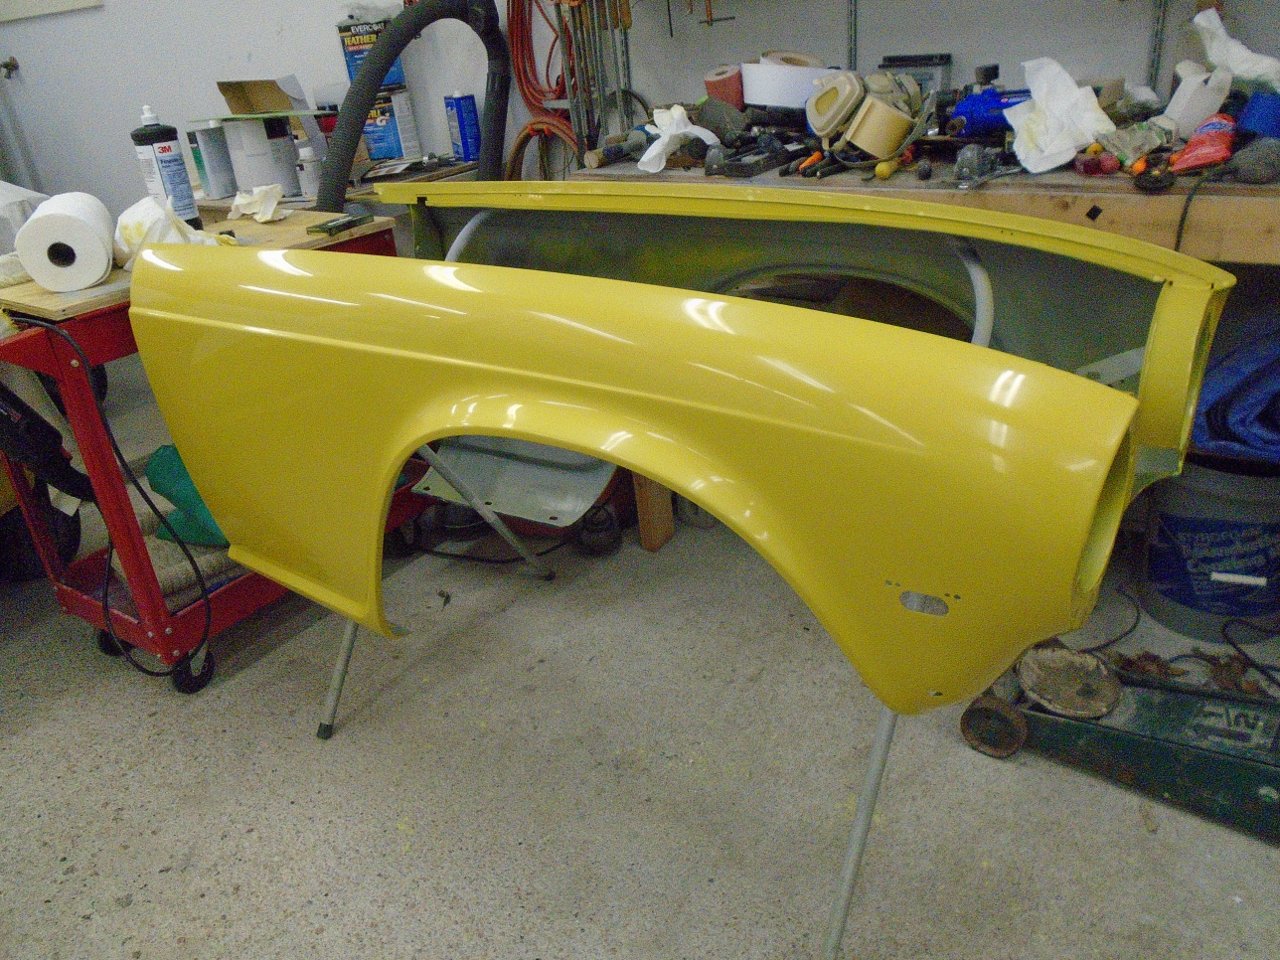
With the doors finally in place, I moved on to the front wings. I had previously done all the rust repair,
and some gross body work, but now had to do the final prep for paint.
I first mounted the wings on the car to make sure I could still
achieve good gaps at the door. The gaps were OK, but I thought
the gap on the passenger side needed a little adjustment at the
top. The overall gap is wide here, which I can fix later, but I
was really looking more for a consistent gap from top to bottom.
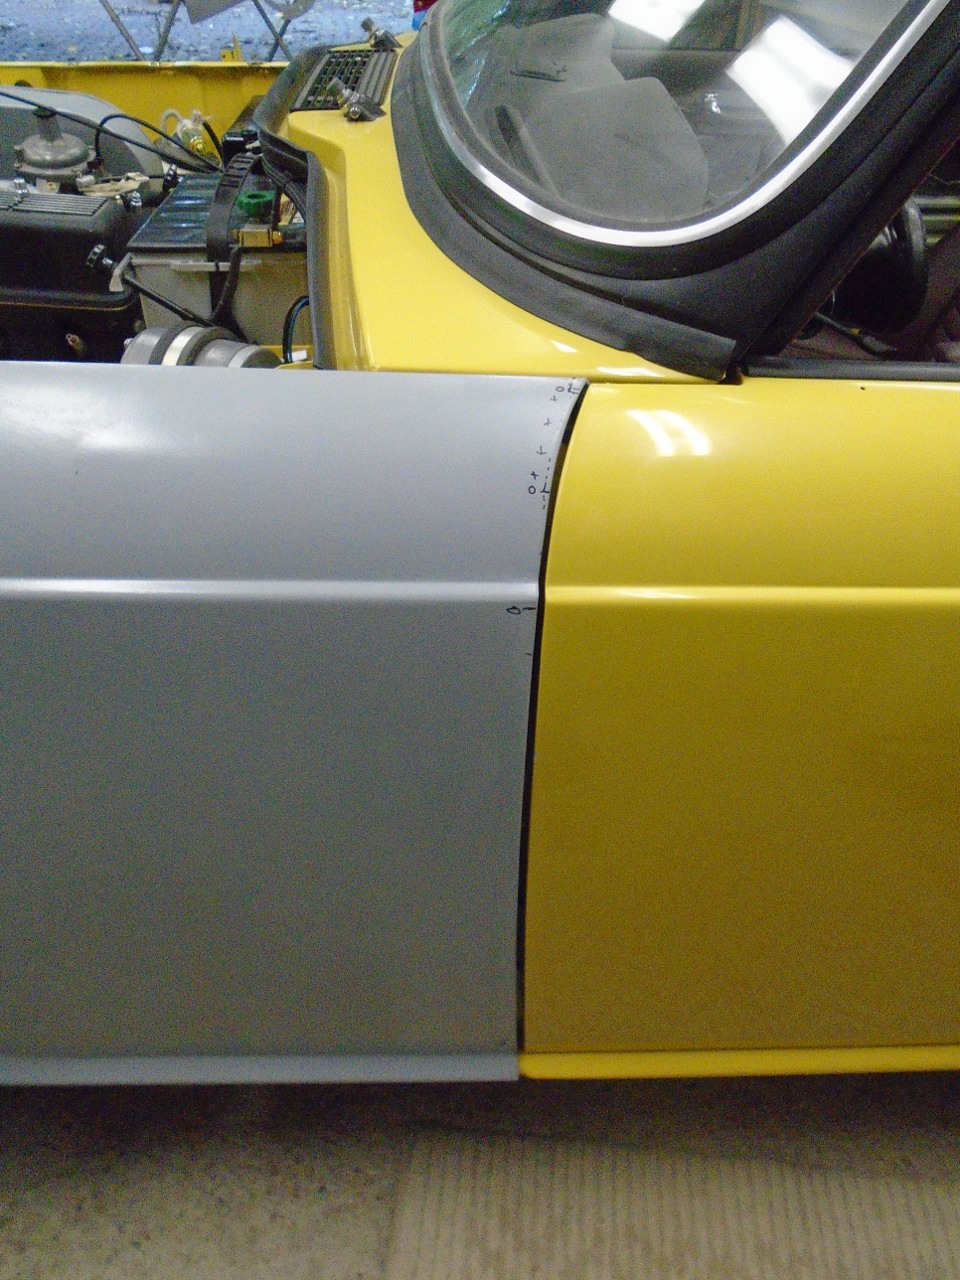
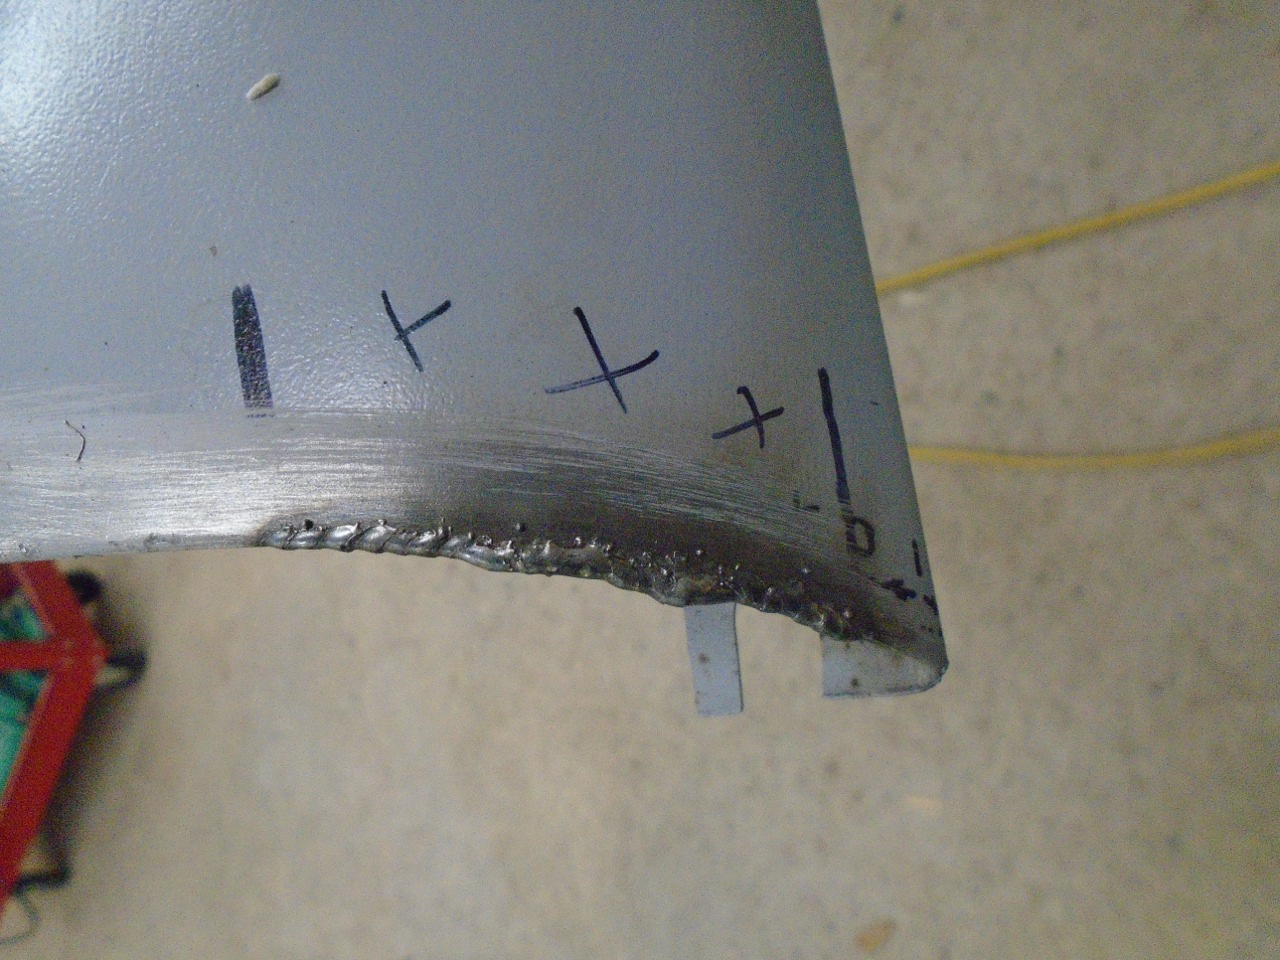
A
row or two of MIG tacks and some grinding fixed that right up.
The added metal was probably only about 1/16", but it made a
visible difference.

Then
a little filler. The filler towards the rear of the panel was due
to the extensive rust repair there, but the area near the lower style
line and closer to the wheel well had no rust or accident damage, so I
believe that it must have left the factory with much of this
imperfection.
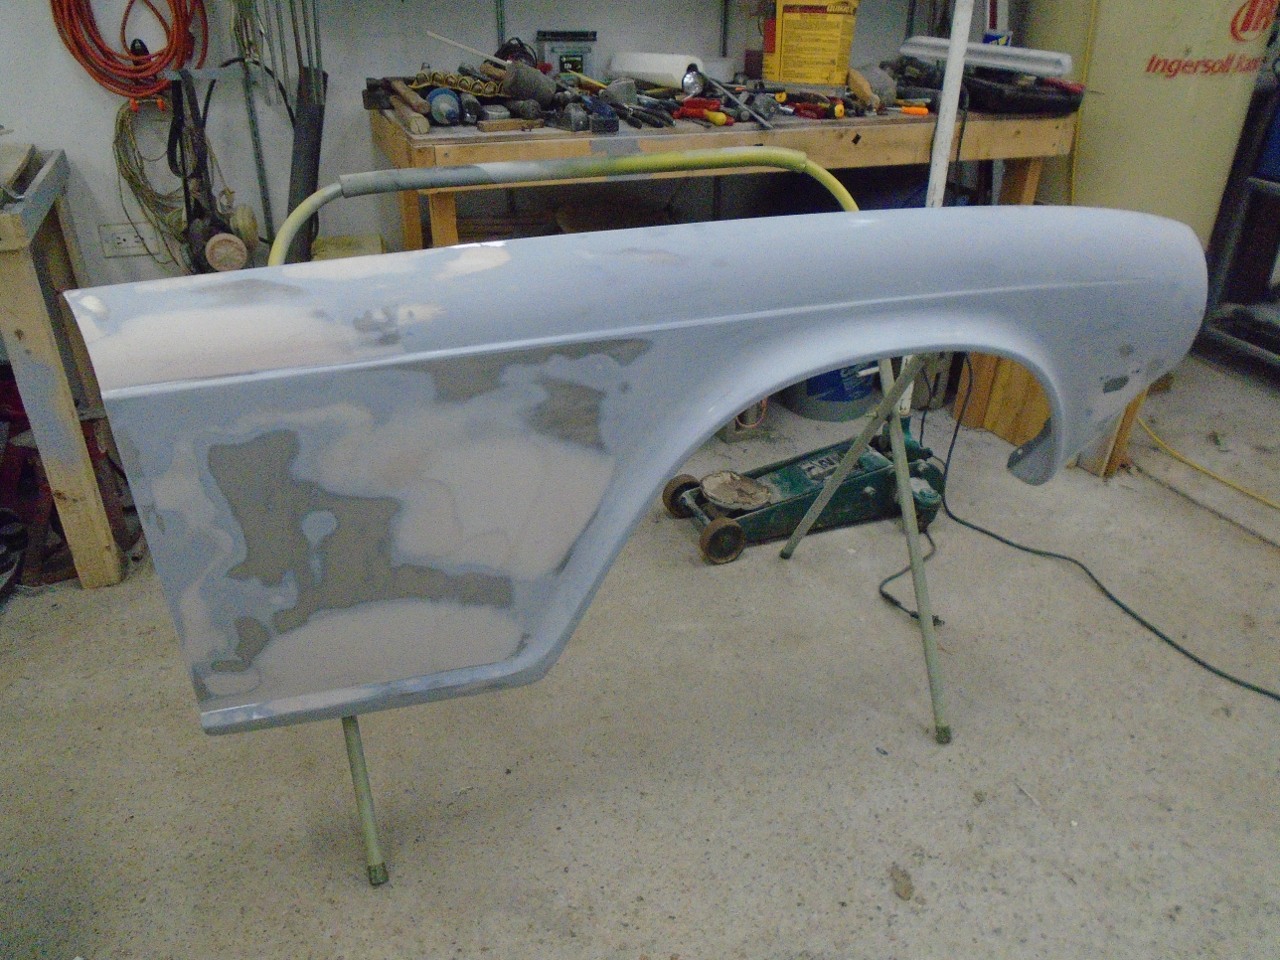
Then
another coat of epoxy primer, and a couple of rounds of surfacer primer
and block sanding. And when the block sanding finally showed no
more low spots, color.
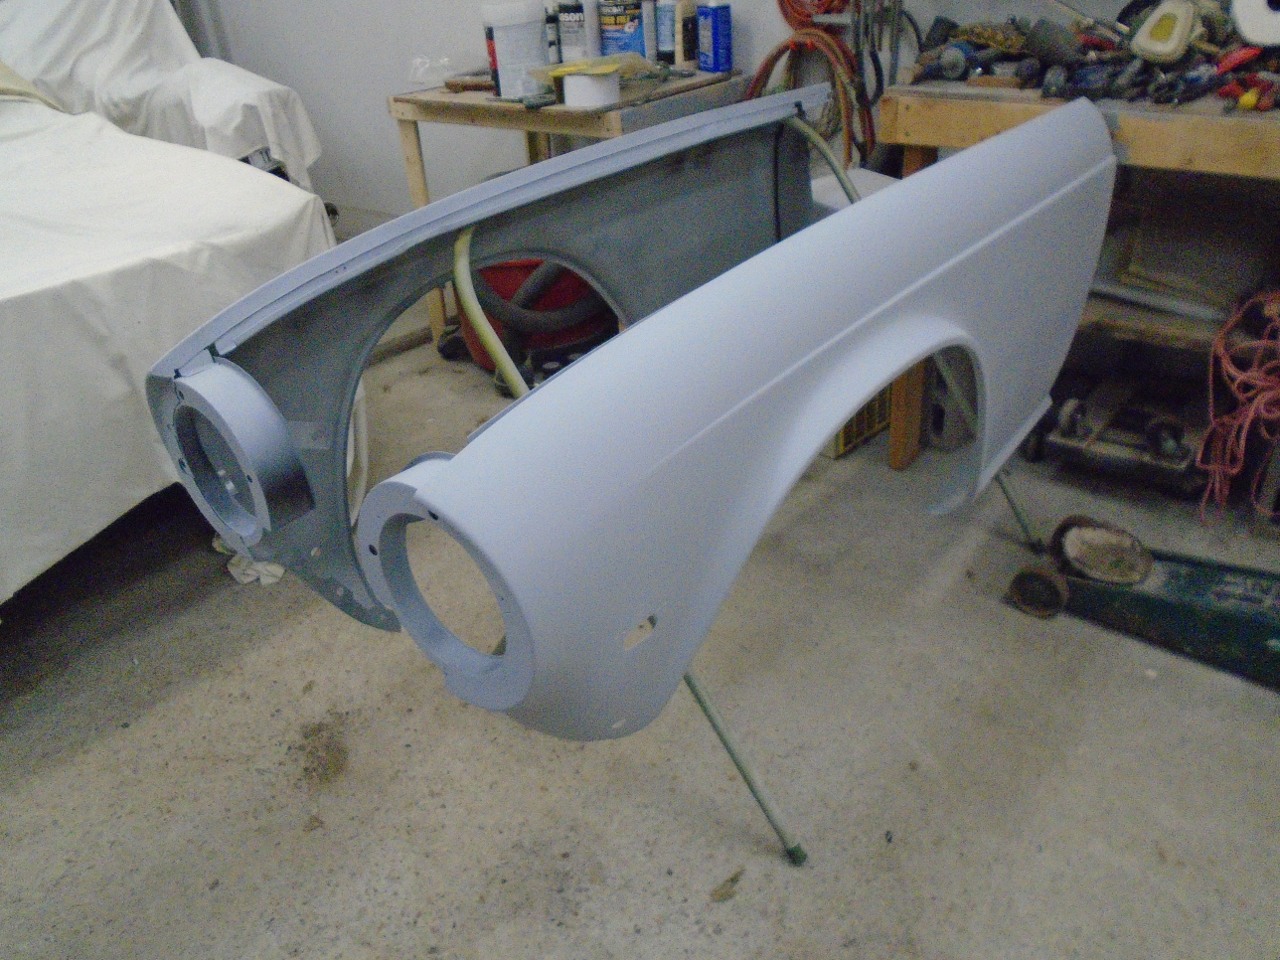
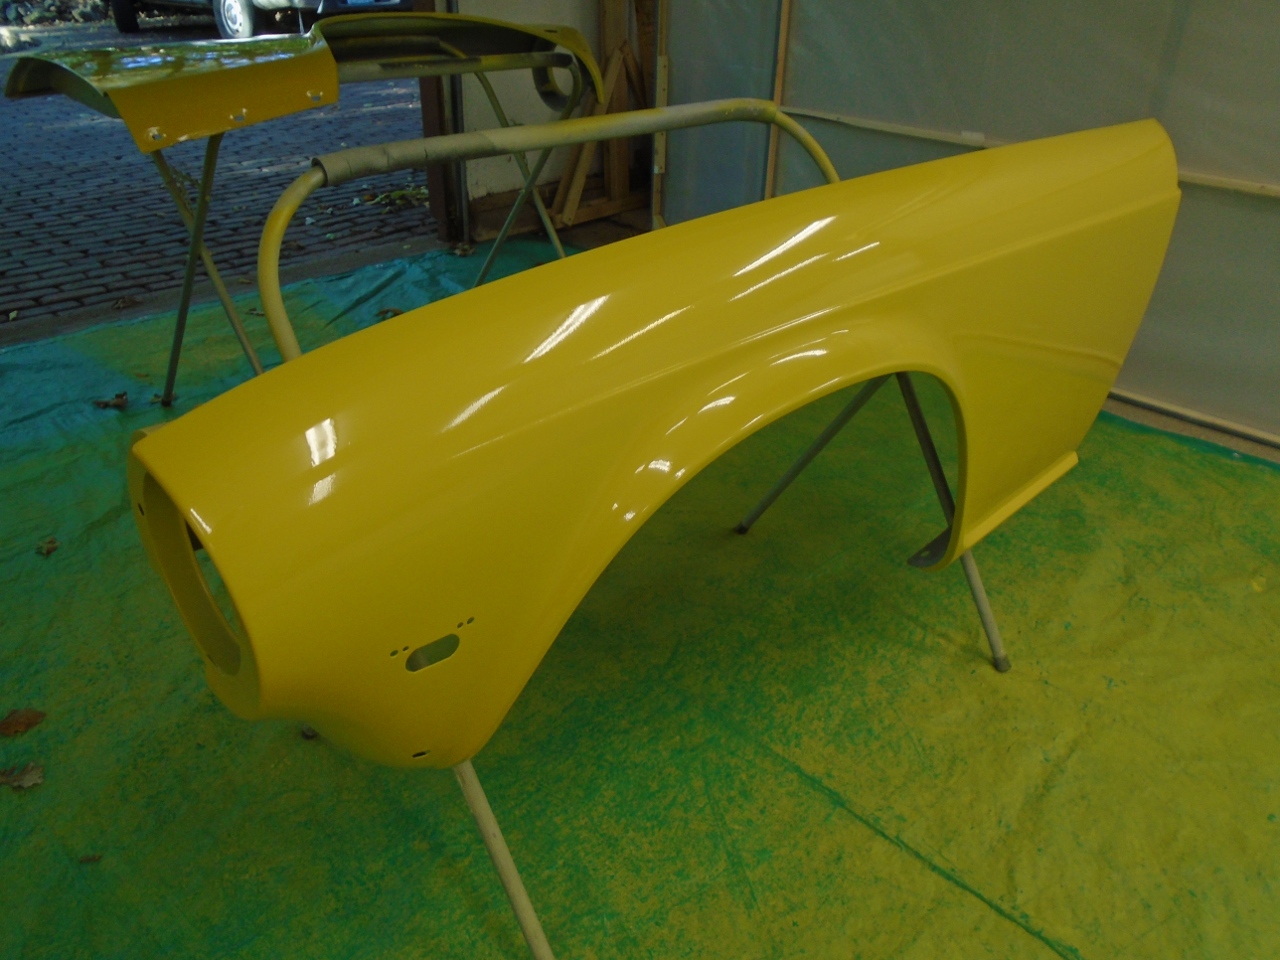
Then some color wet sanding and buffing. Final buffing will be after all panels are on the car.
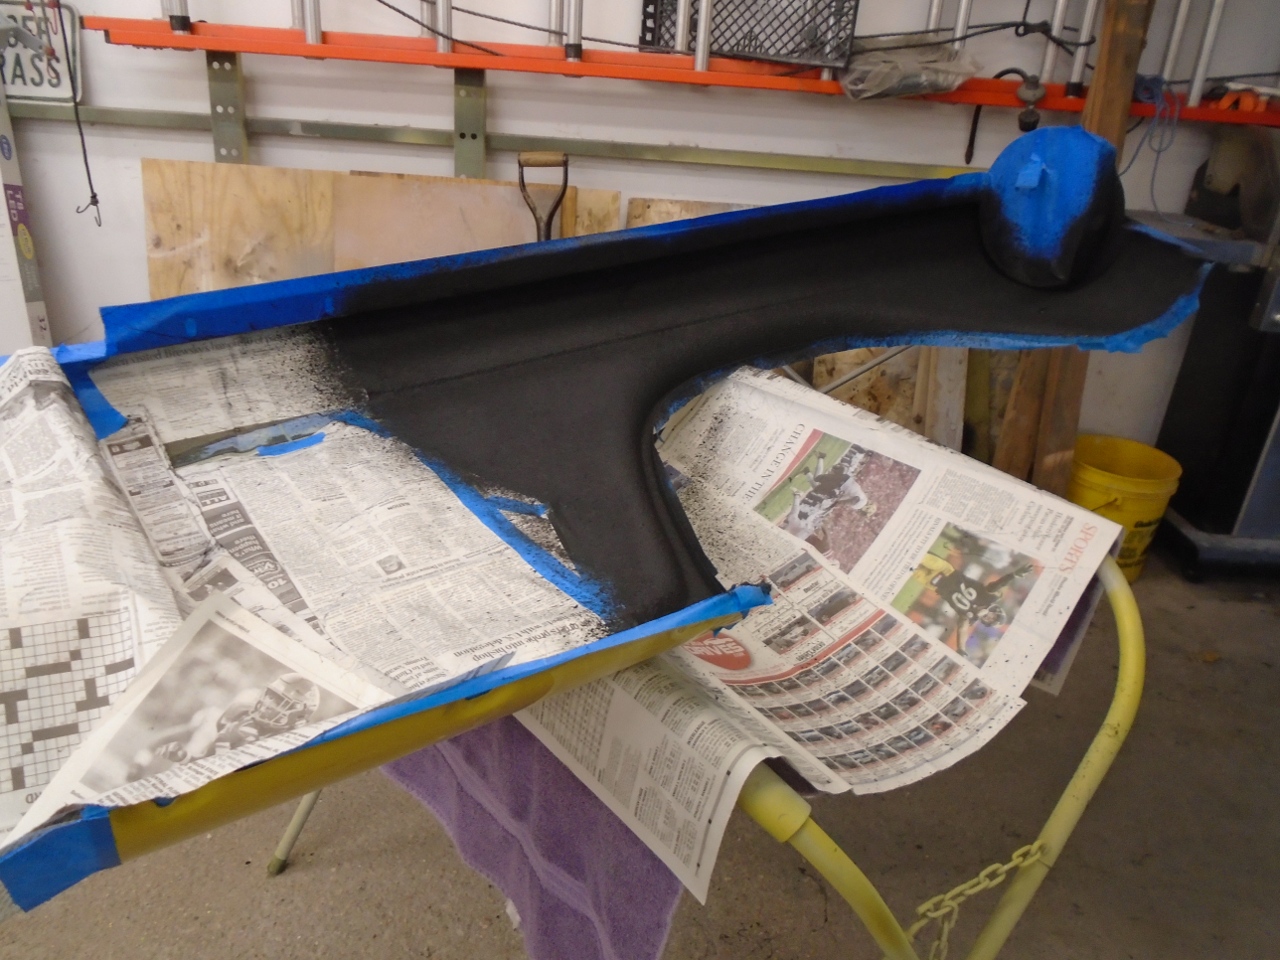
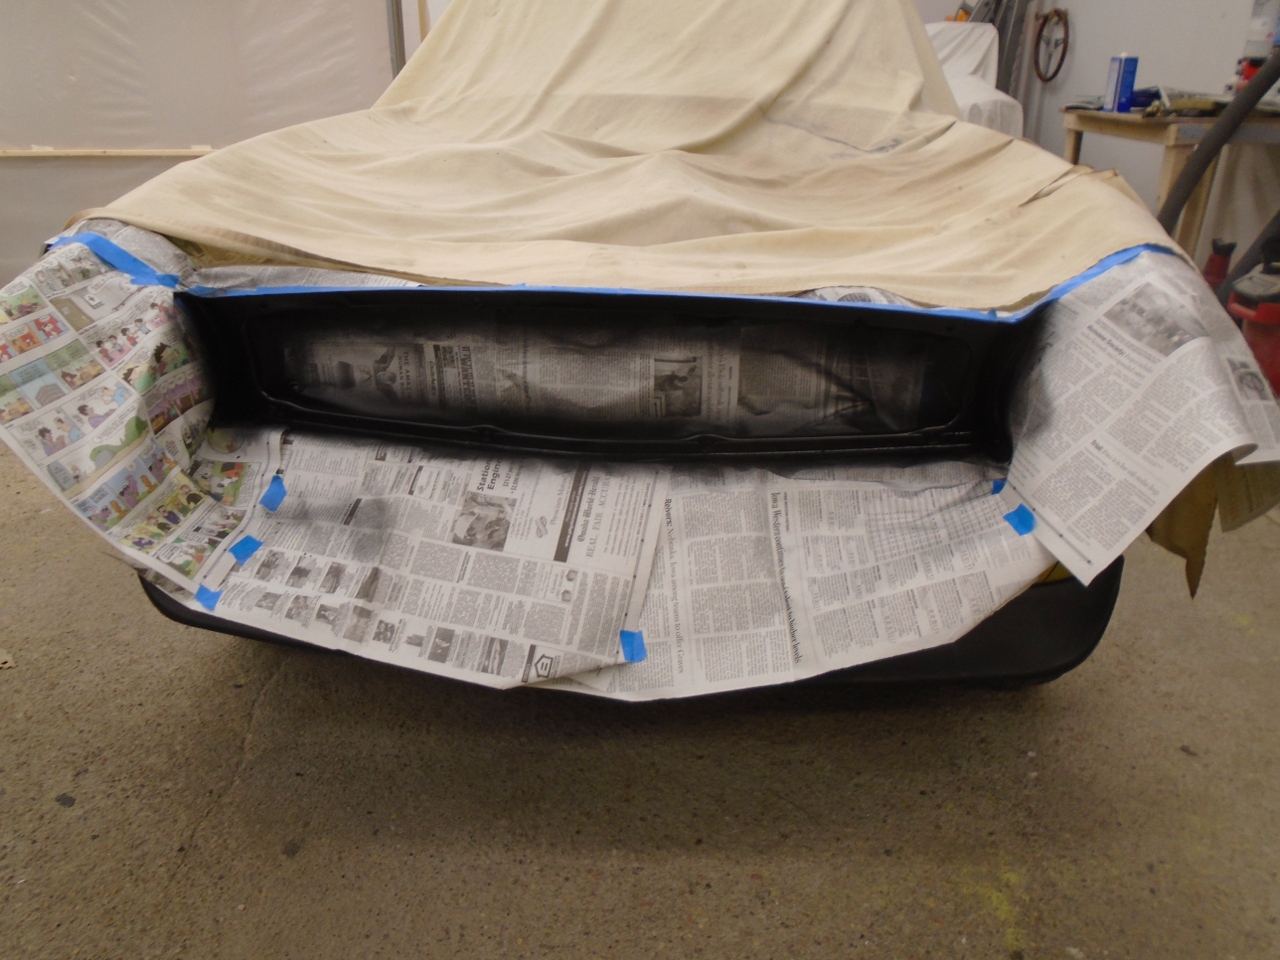
Before
mounting the wings, I applied the Schutz undercoating. I
installed the rubber seal on the splash guard, then masked the areas
that won't get undercoating.
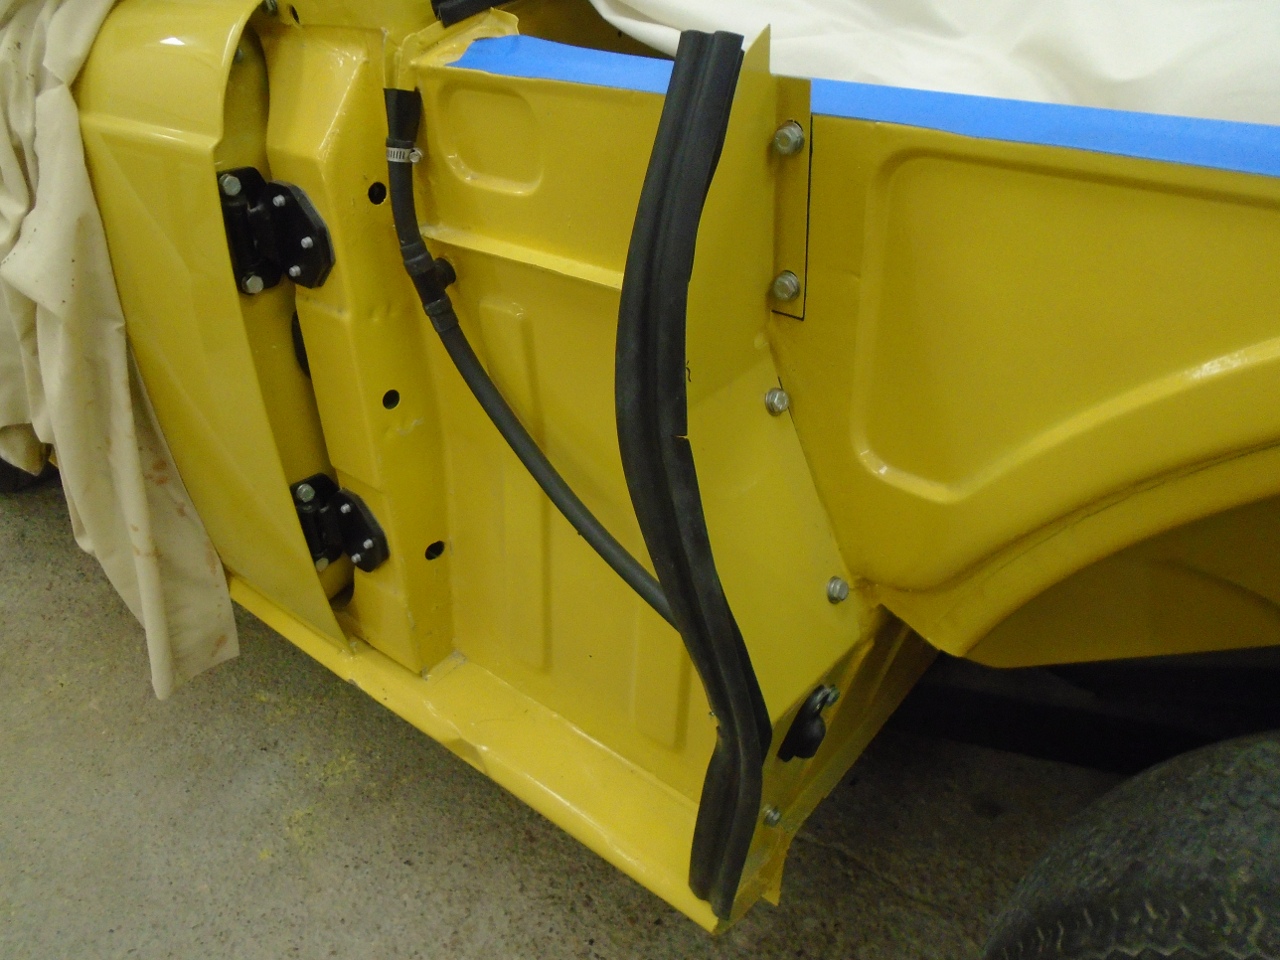
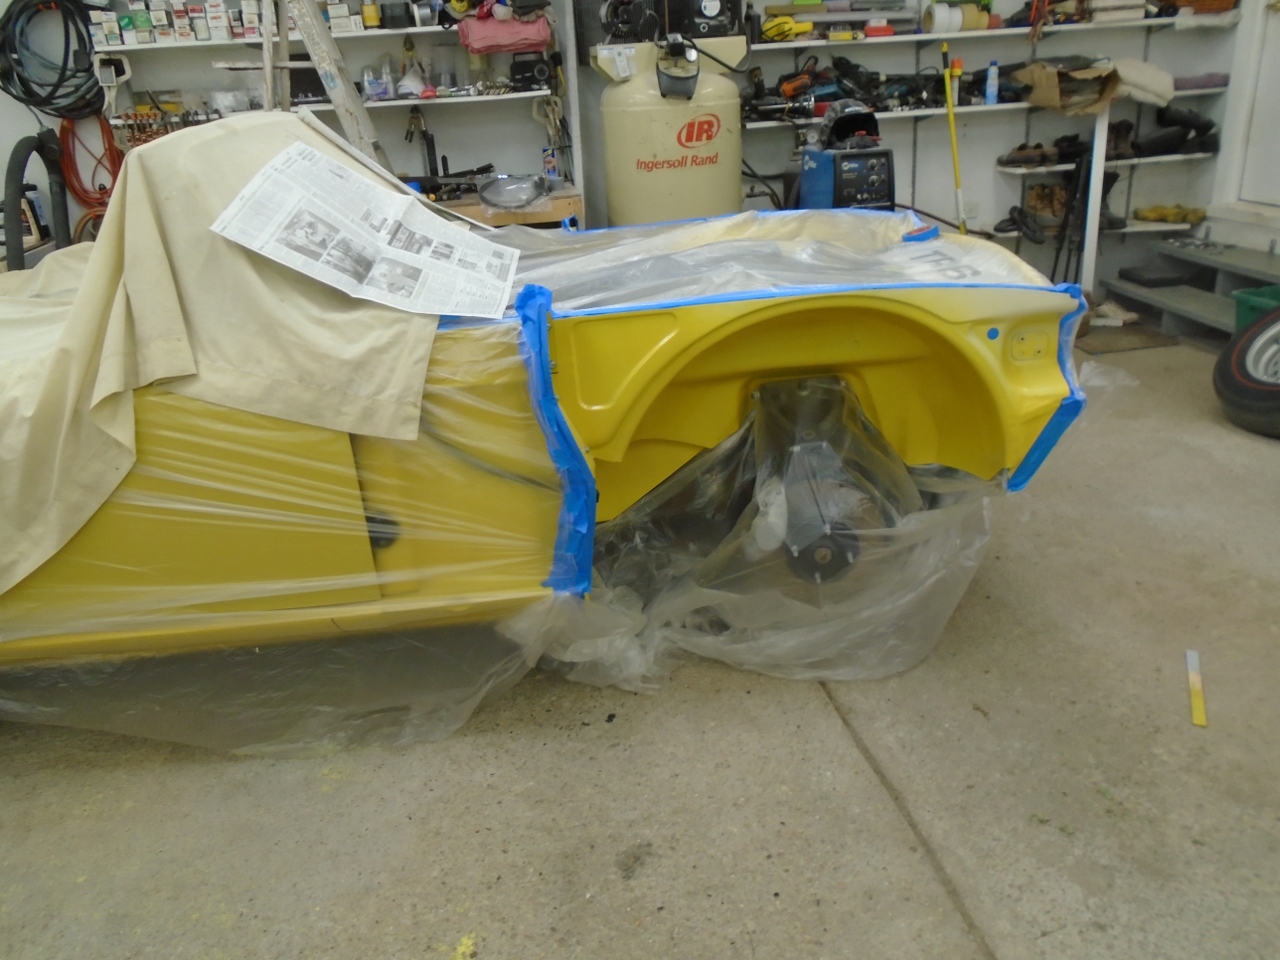
Then applied the Schutz.
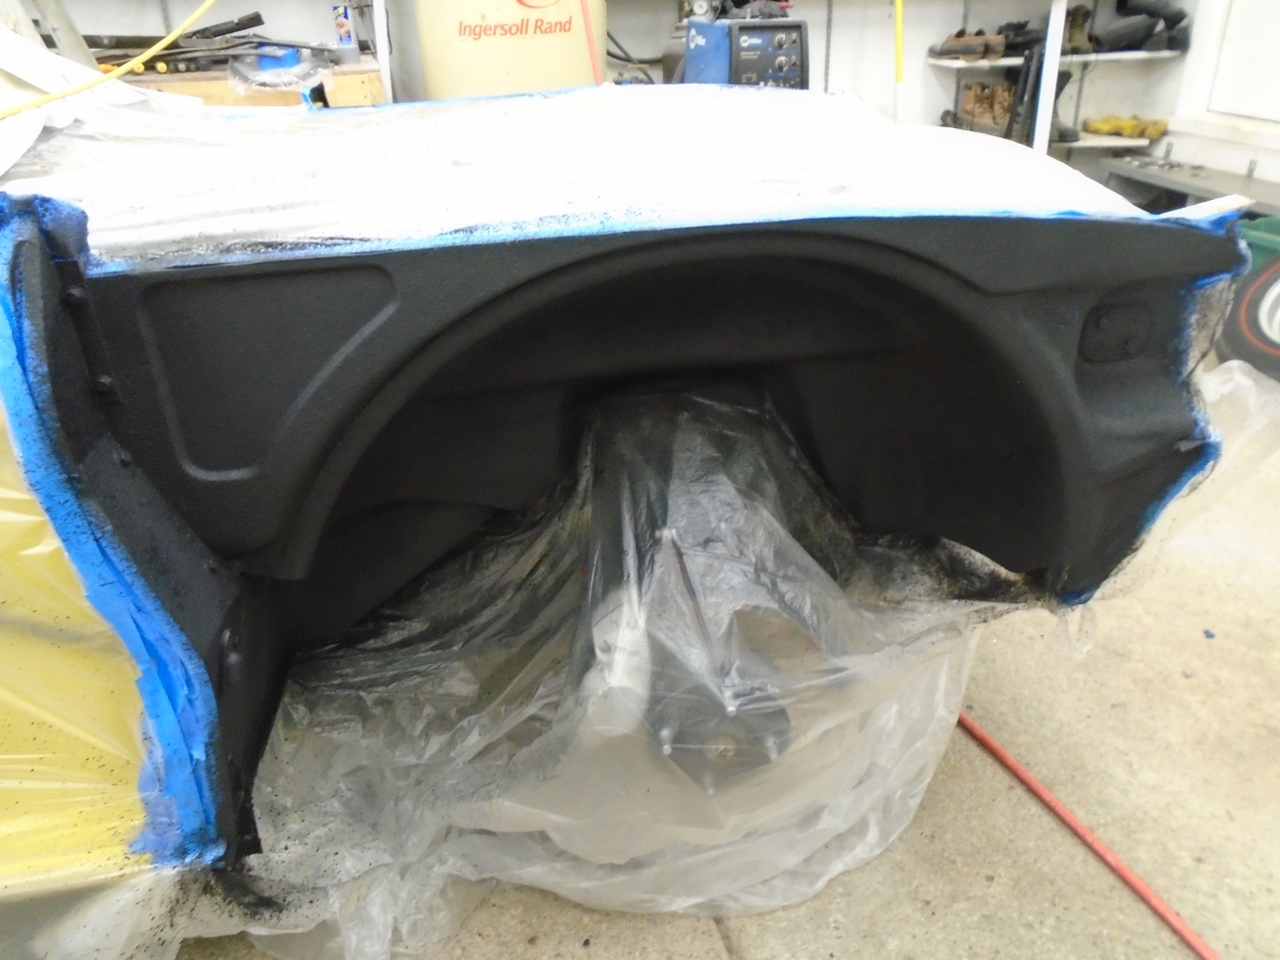
Ditto
for the inside of the wing. Doing the undercoating before
mounting the wing ensures good coverage up around the headlight area, a
place the factory neglected, hence the tendency for these cars to rust
there. After the wings and everything else attached to them is installed, I'll go back and spray all the joints with Schutz.
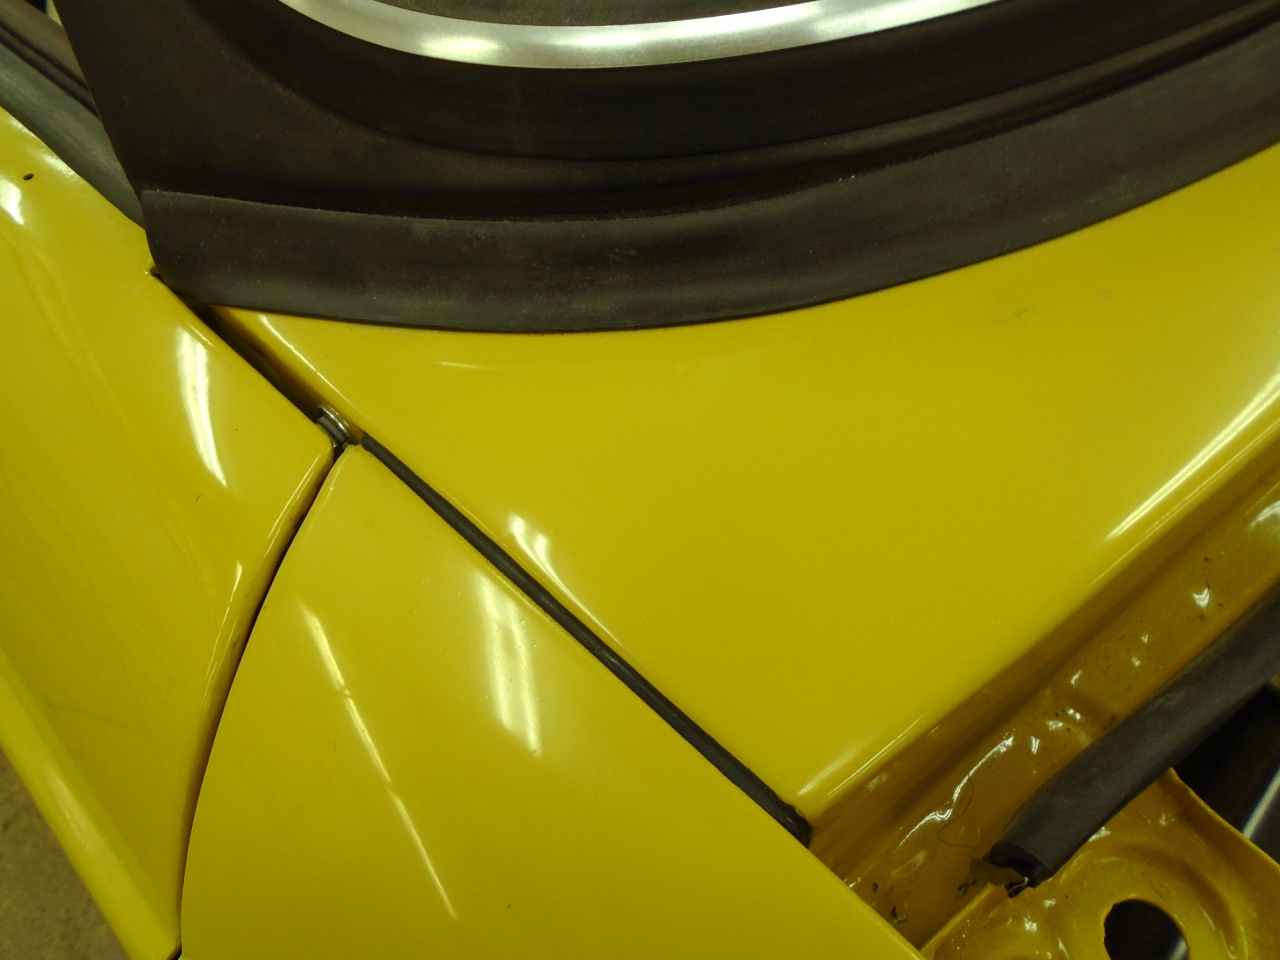
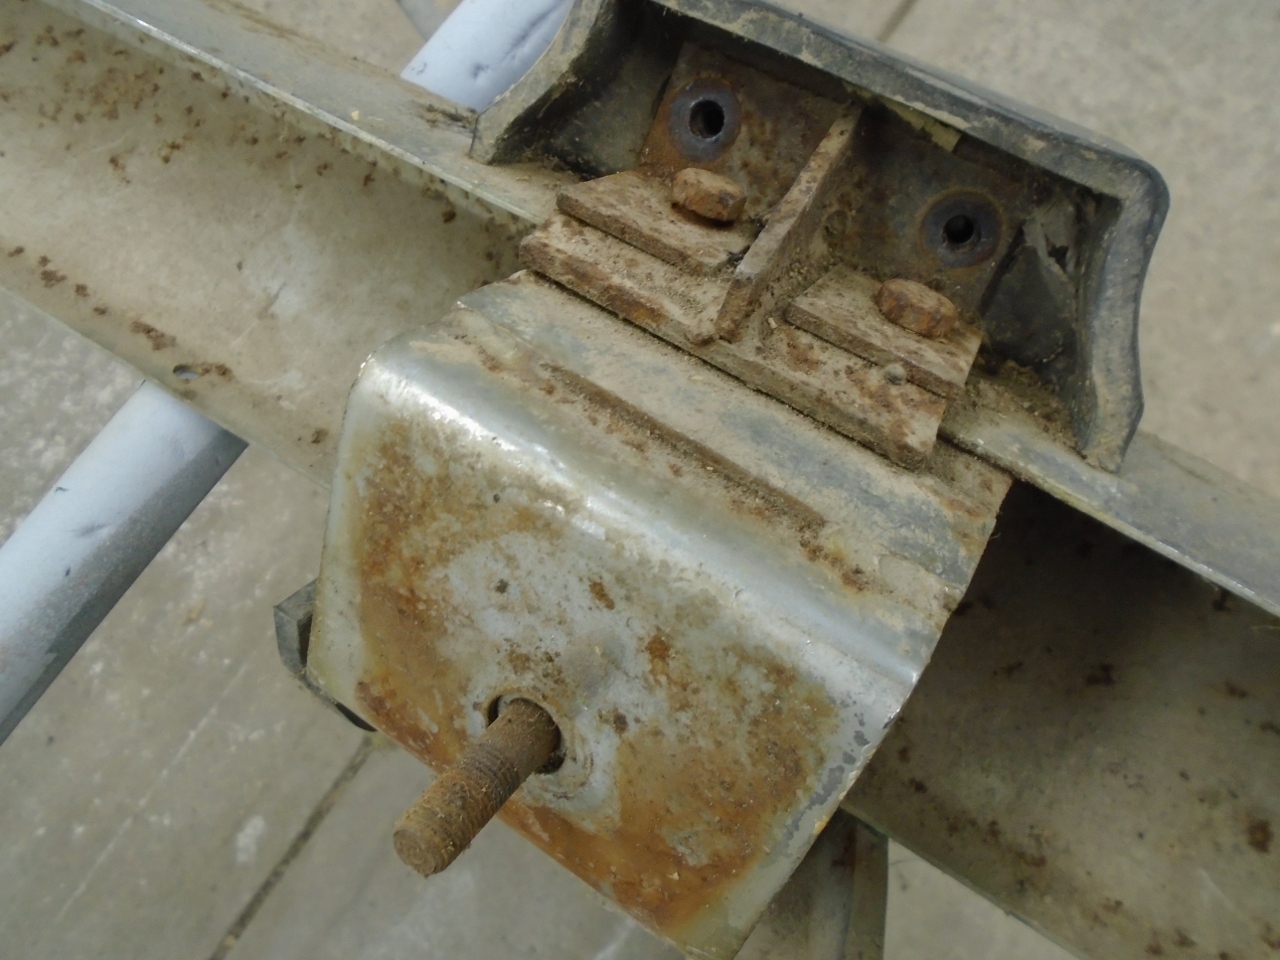
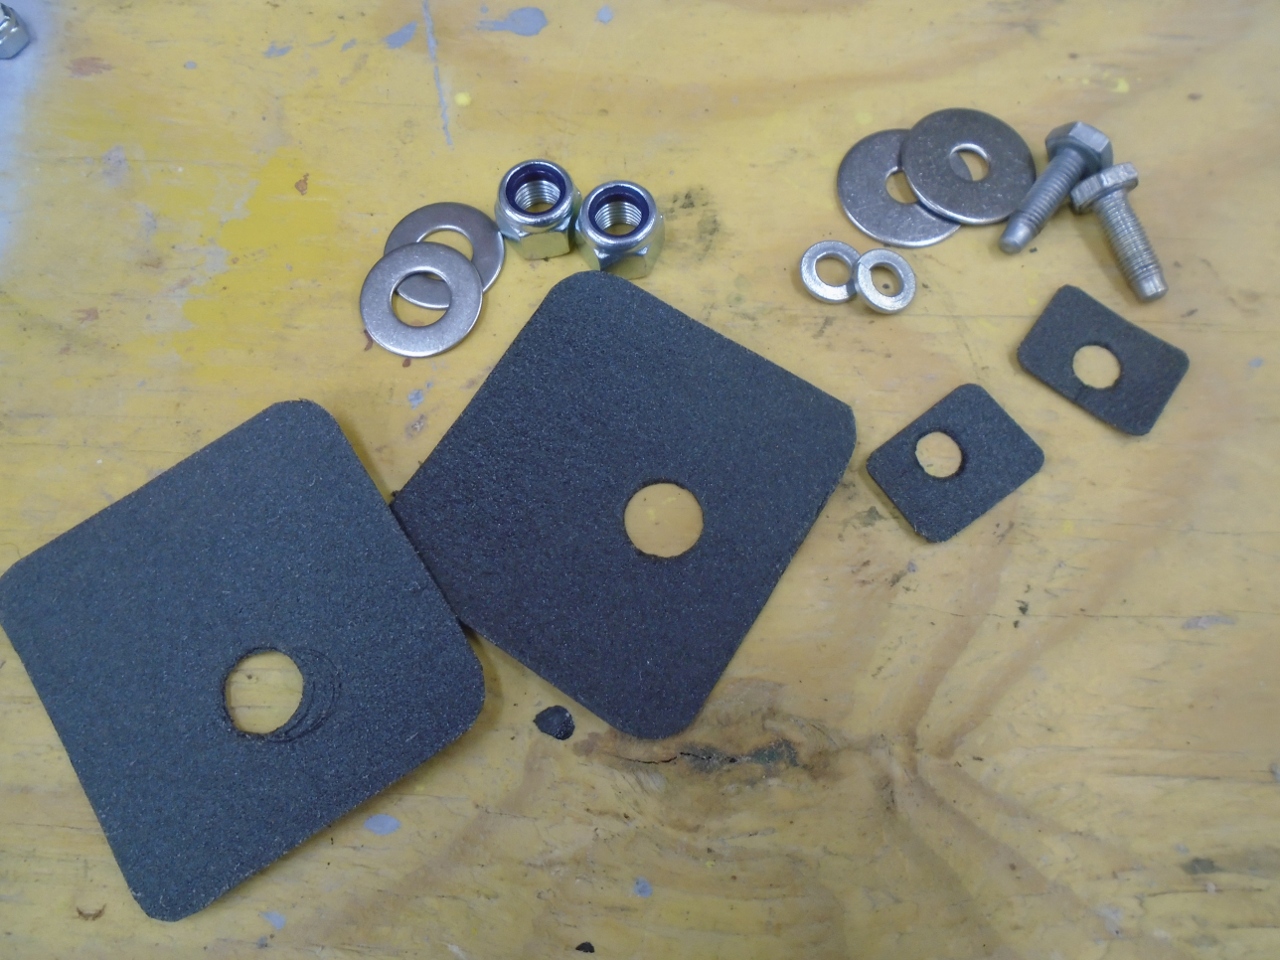
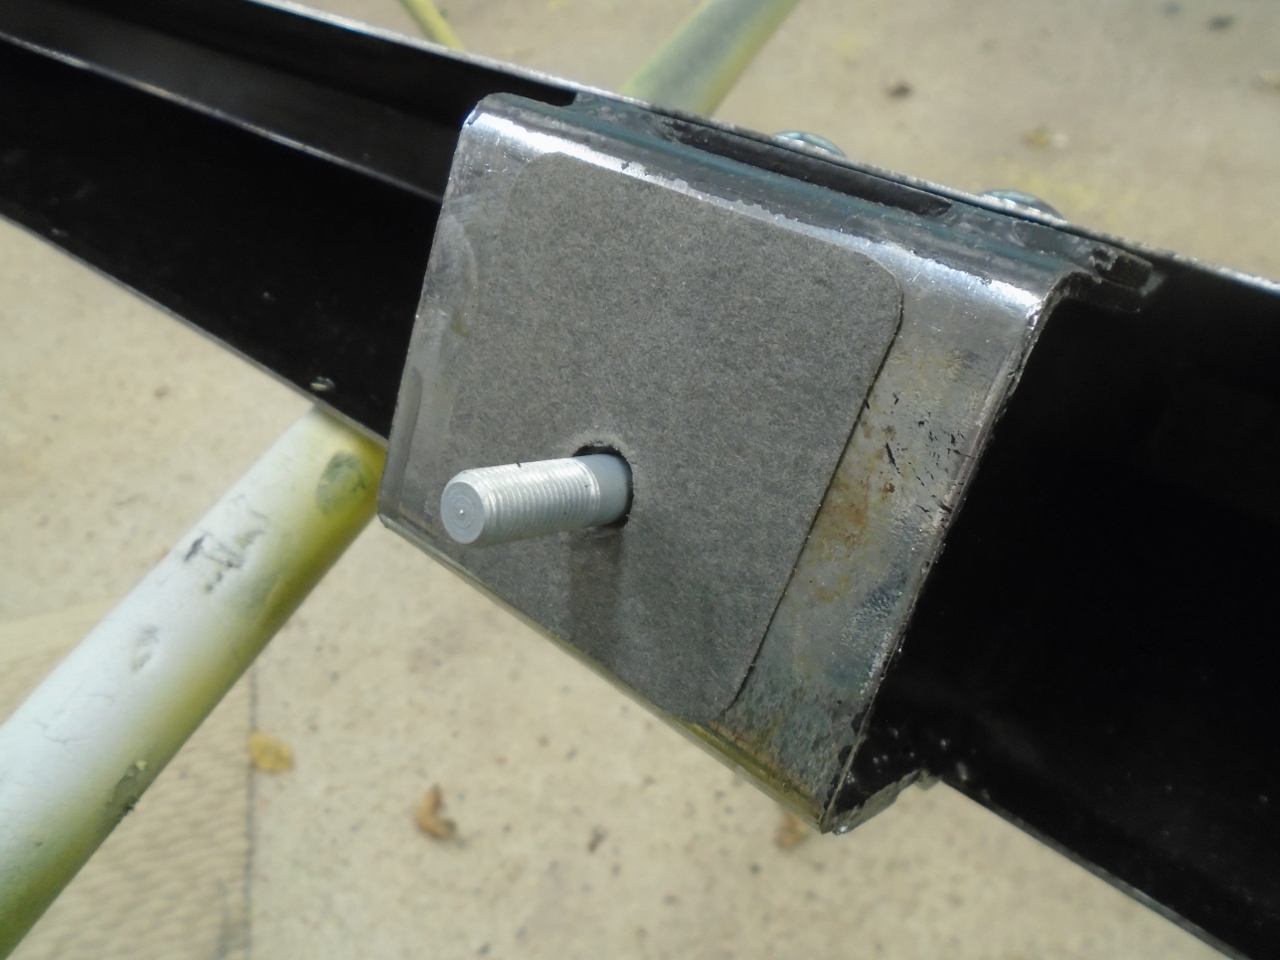
I
noticed one little trifle while preparing to mount the wings.
Where the outer wings mount to the inner wings along either
side of the engine bay, "D" washers are used on the fasteners. I
assume this is to allow maximum side to side adjustment of the wings
with the washer covering the entire adjustment slot in the outer wing.
The D washers supplied are a little different from the original
factory washers. Original on the left:
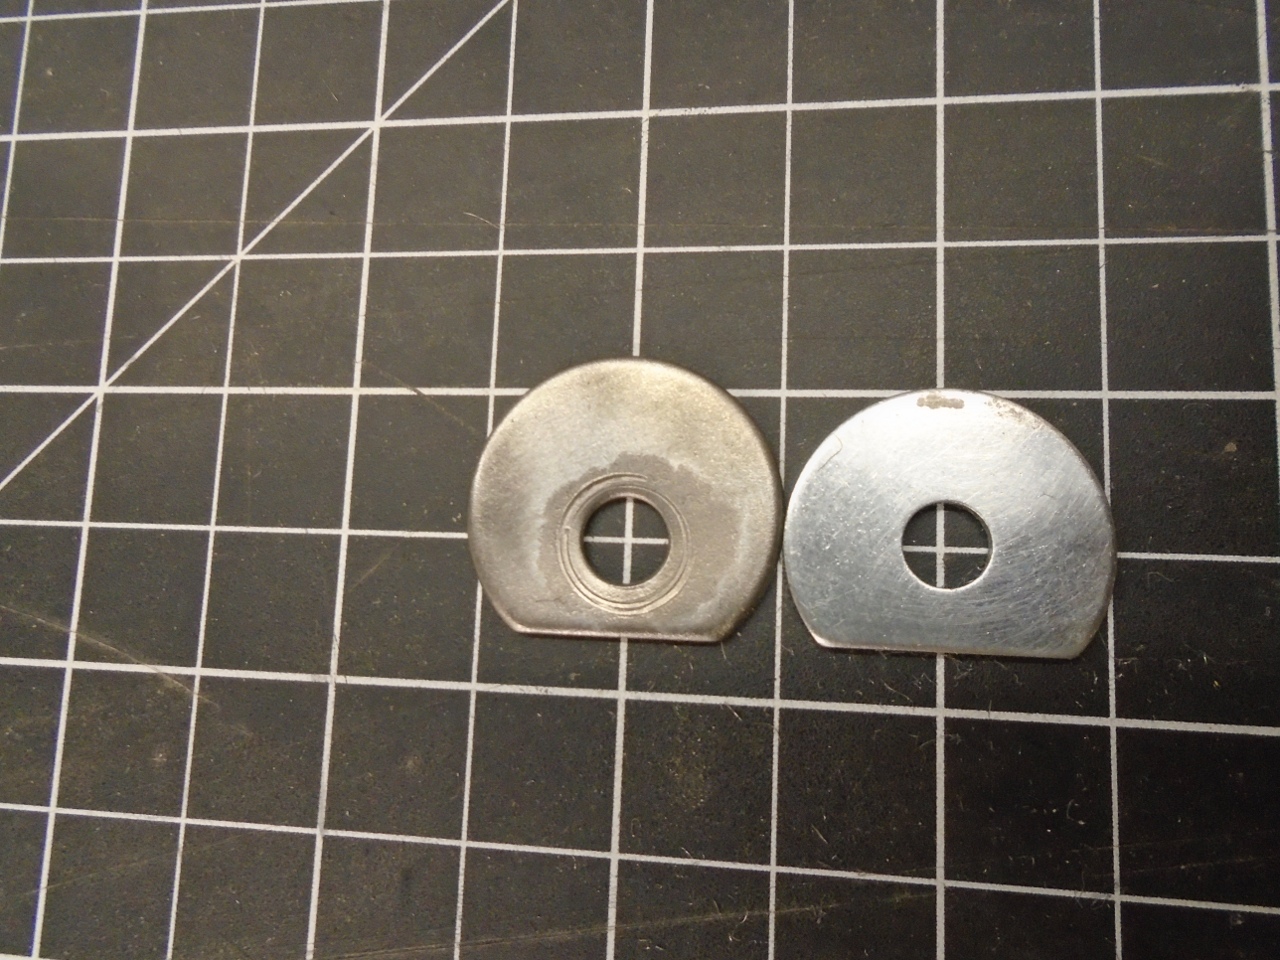
Obviously
the supplied wahsers are just modified standard flat washers, while the
factory parts were bespoke items with an offset hole. The
difference is that, at the adjustment extremes, the supplied washer may
not be able to cover the slotted hole. Sealing that hole seems to
be the whole point of the original offset wahsers and the fiber washer
under it.
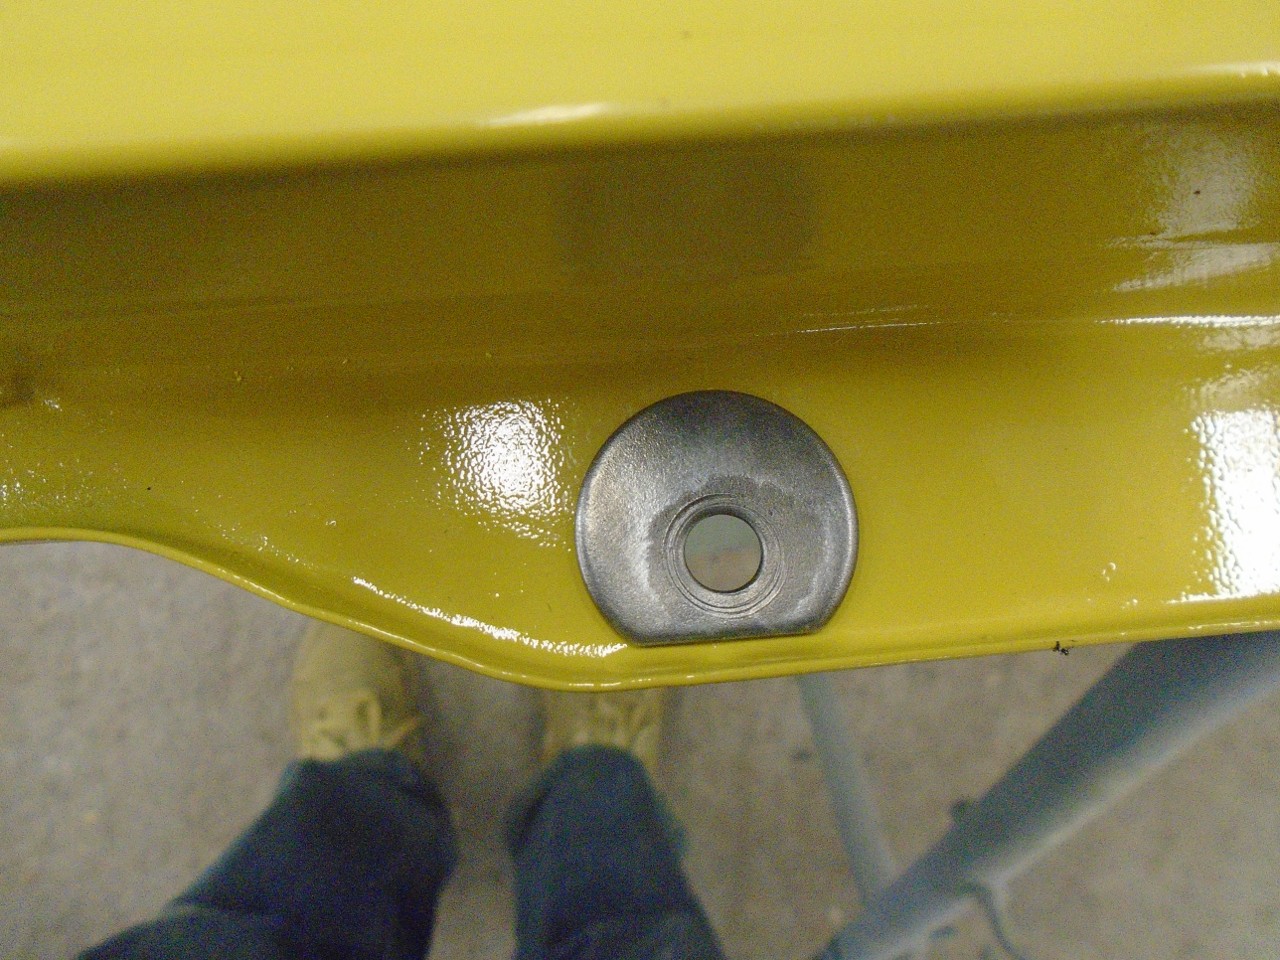
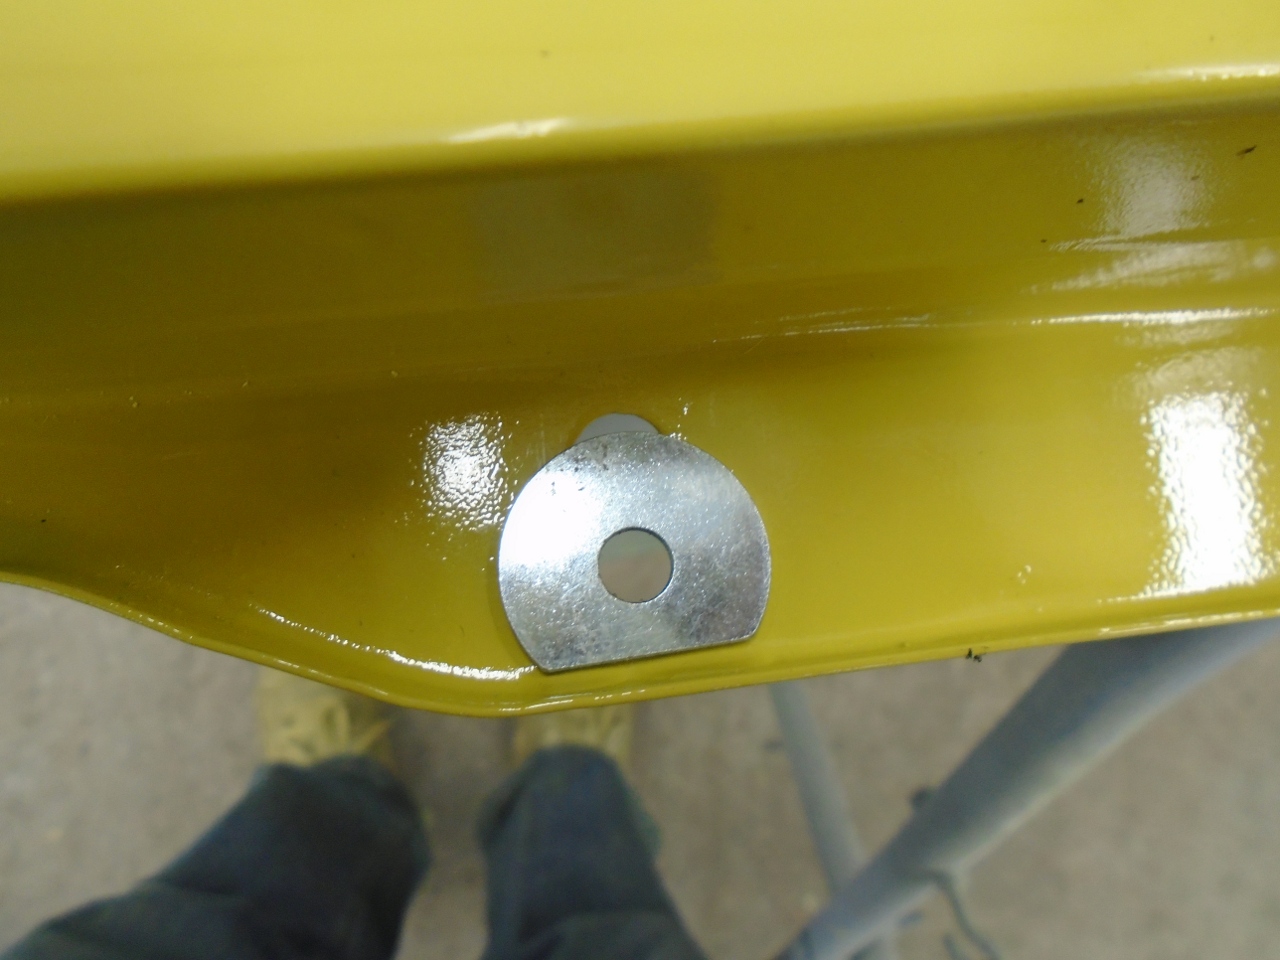
I
decided to use the supplied washers, but to keep the originals so if,
after final adjustment of the wings, any slotted holes weren't fully
sealed, I could clean up and use the originals.
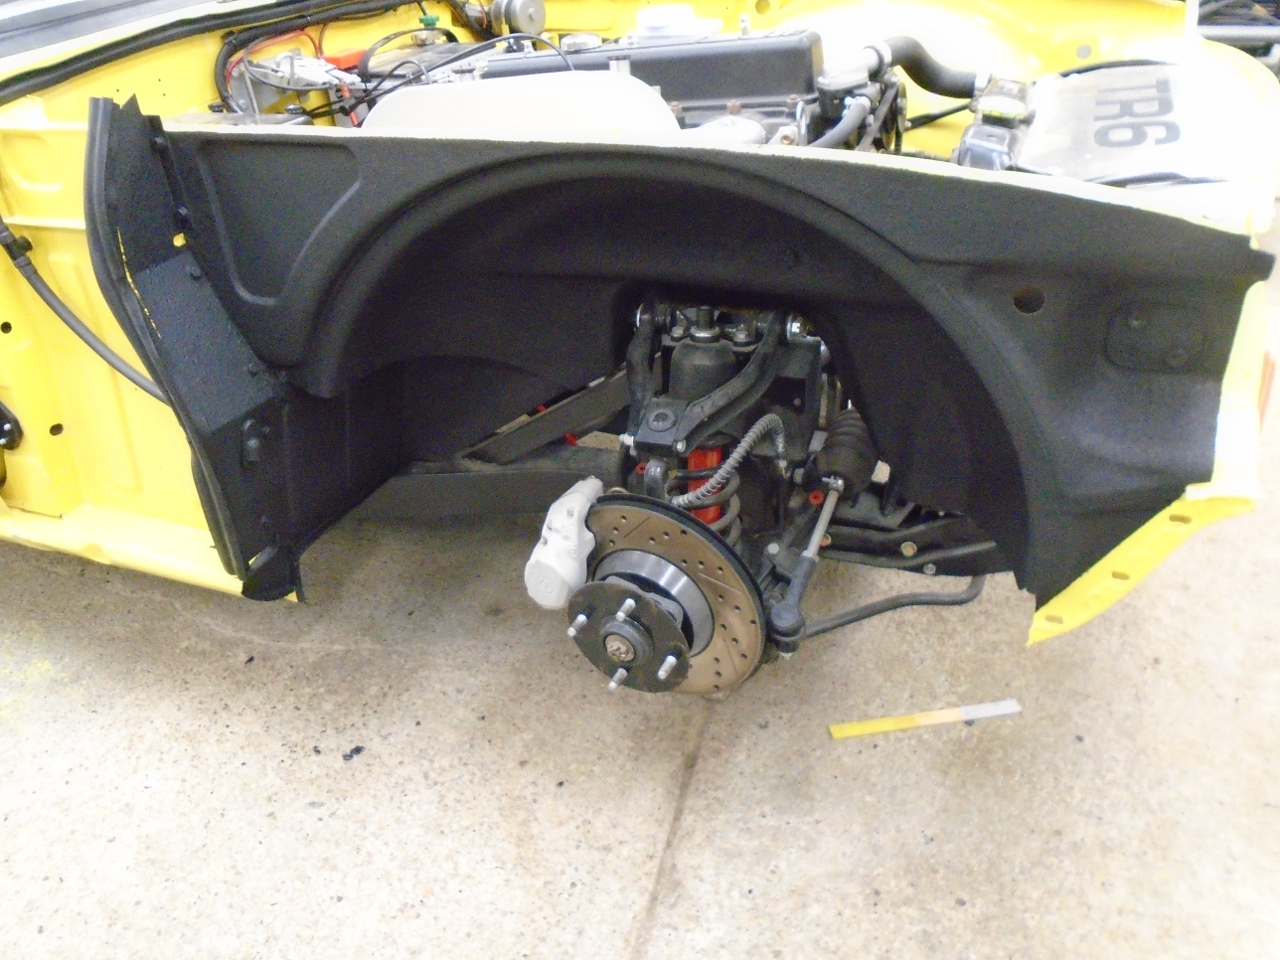
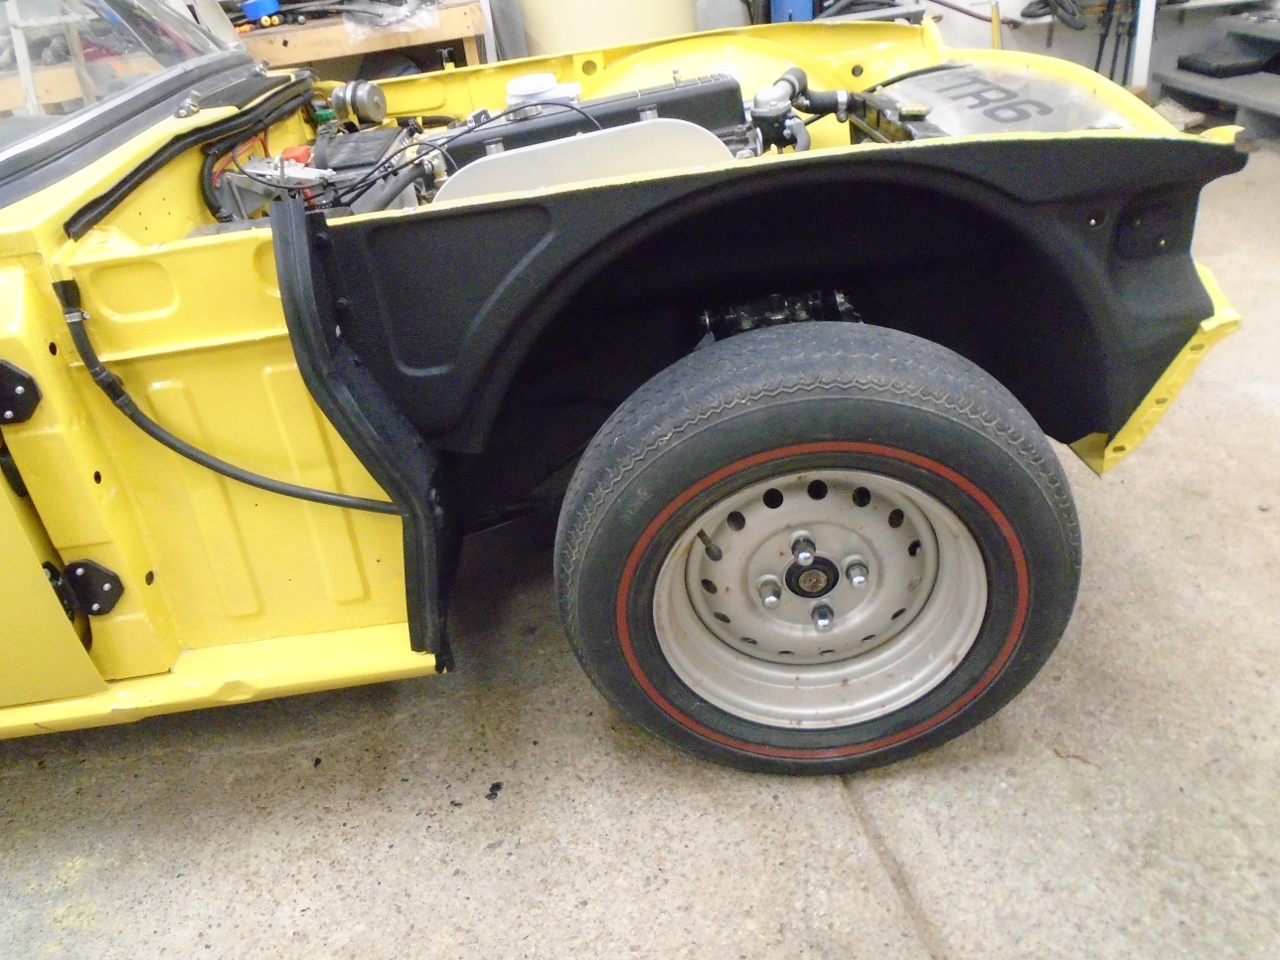
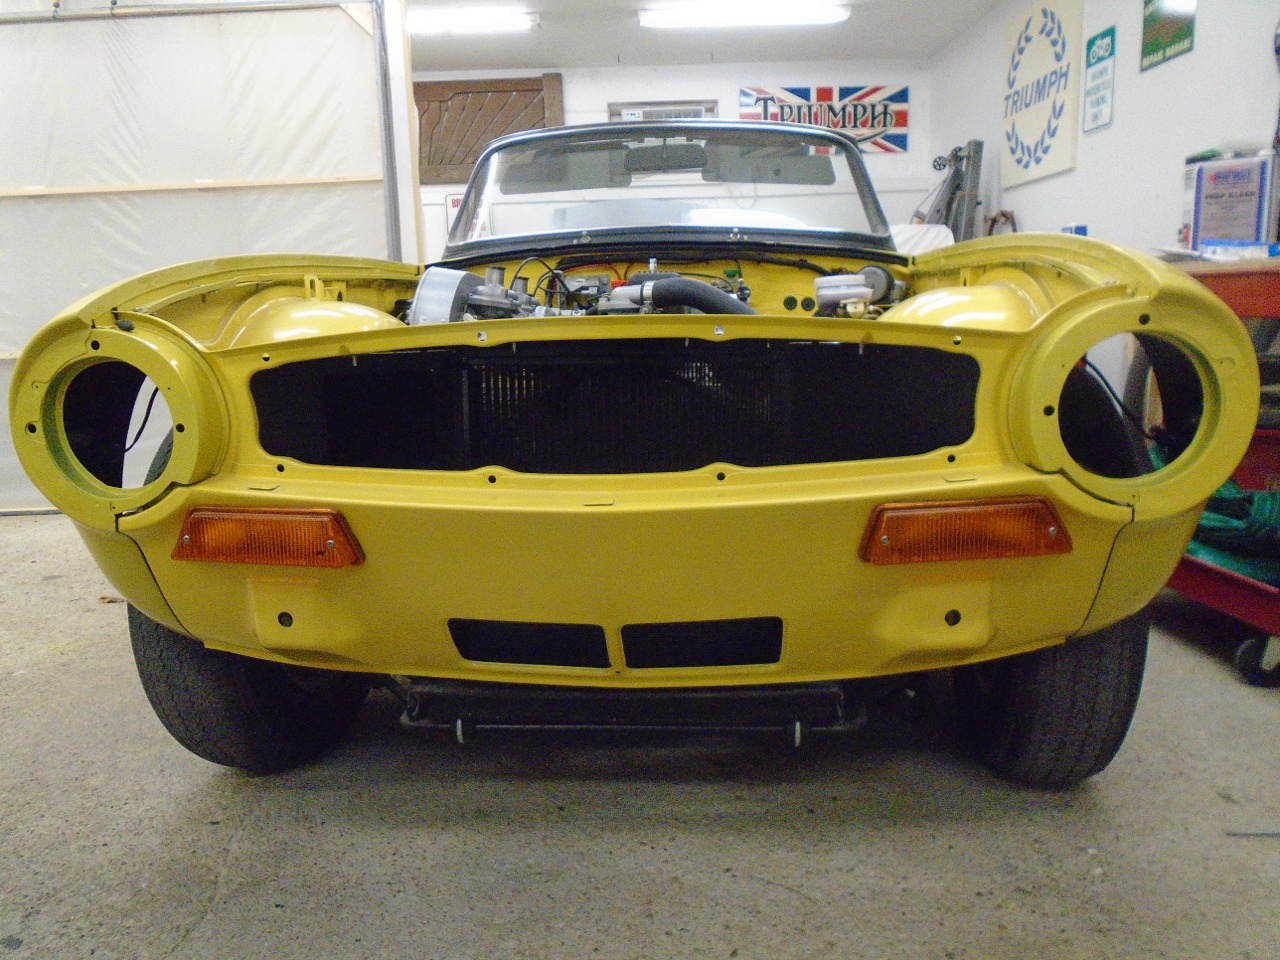
So I could finally mount the wings. After a little fiddling, the gaps look OK
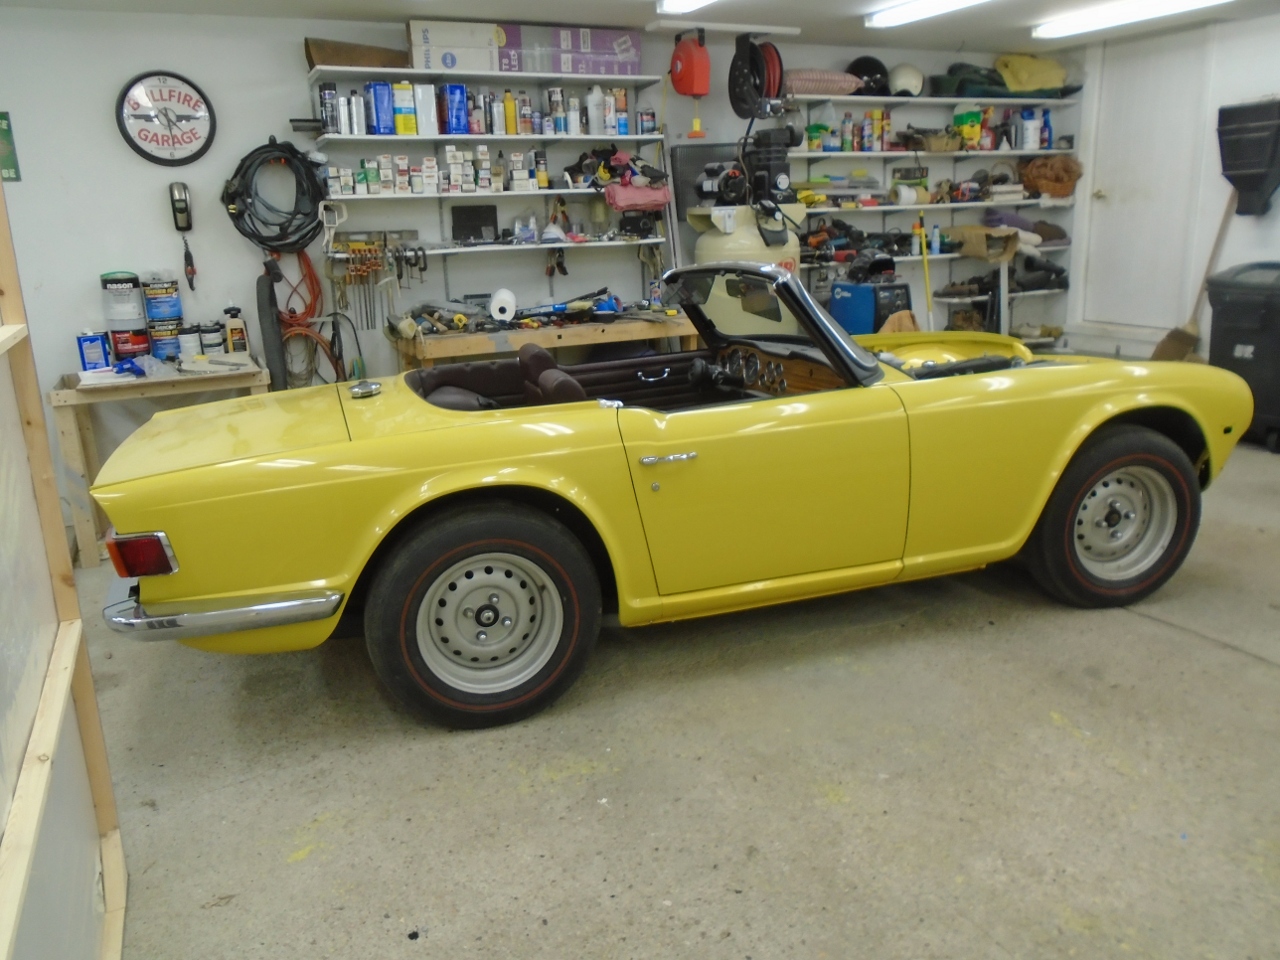
A little "dum-dum" at the seam with the cowl.
Starting to look like a real TR6.
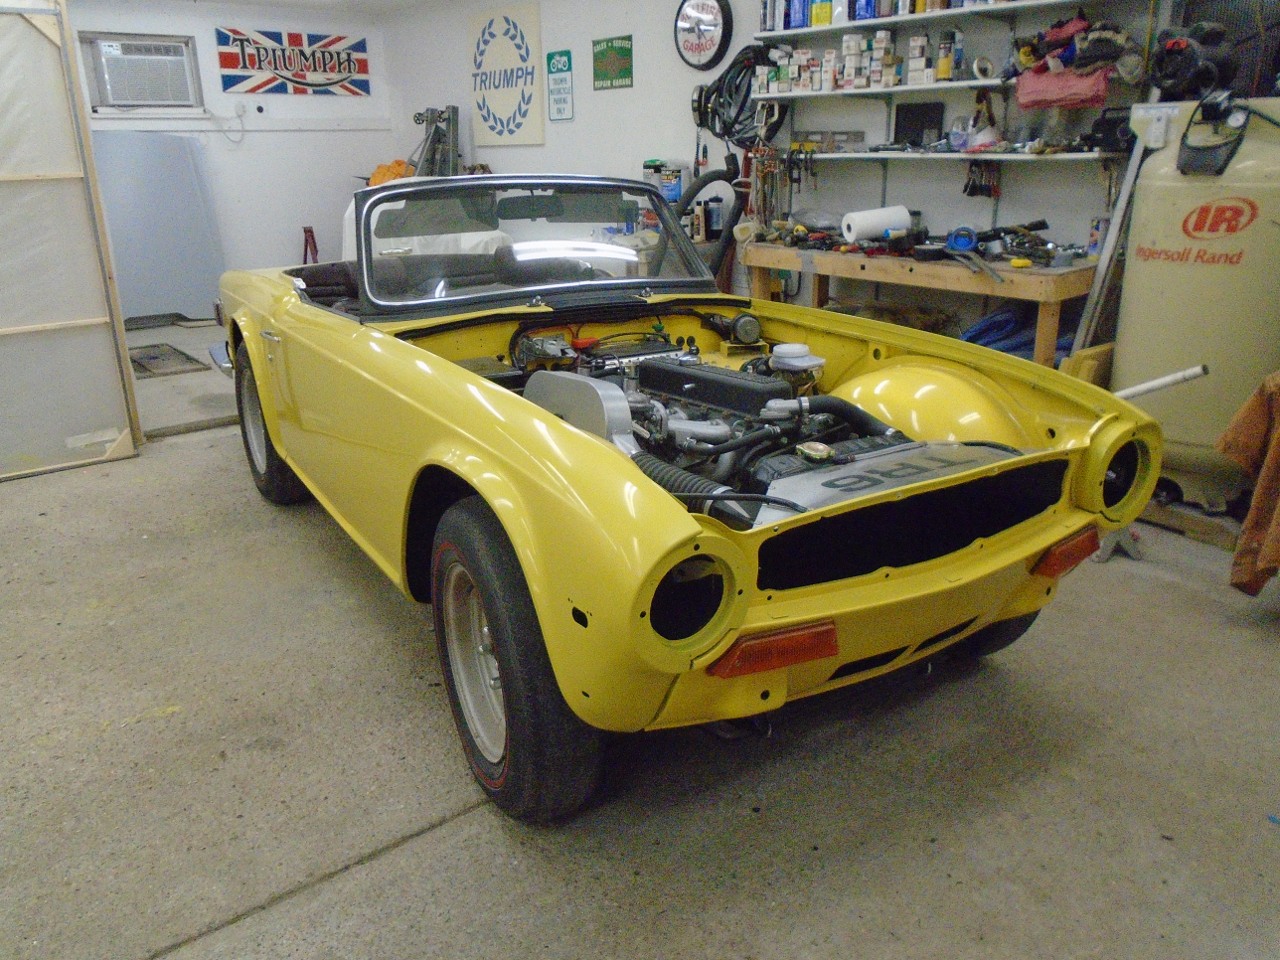
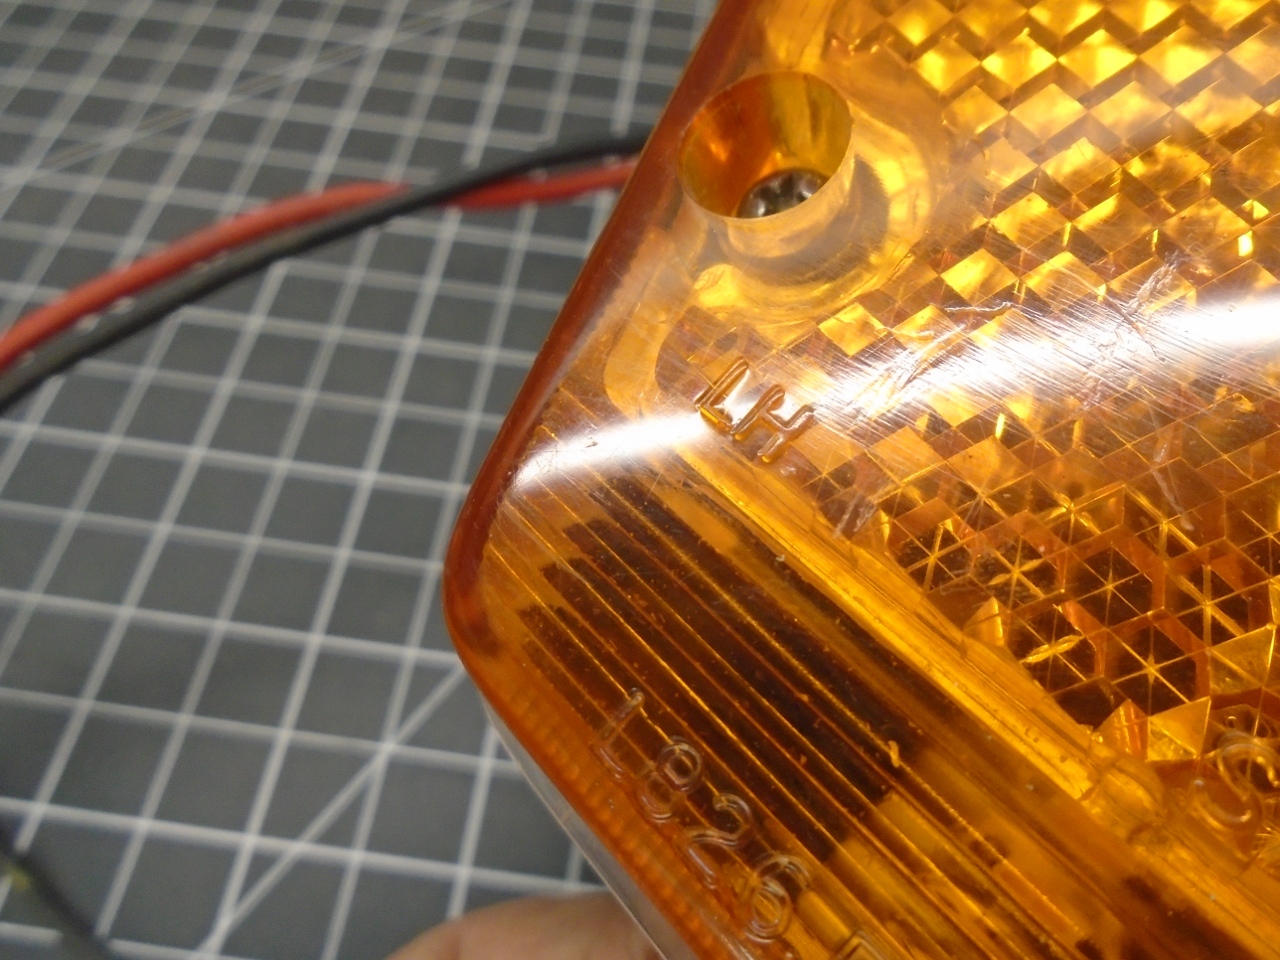
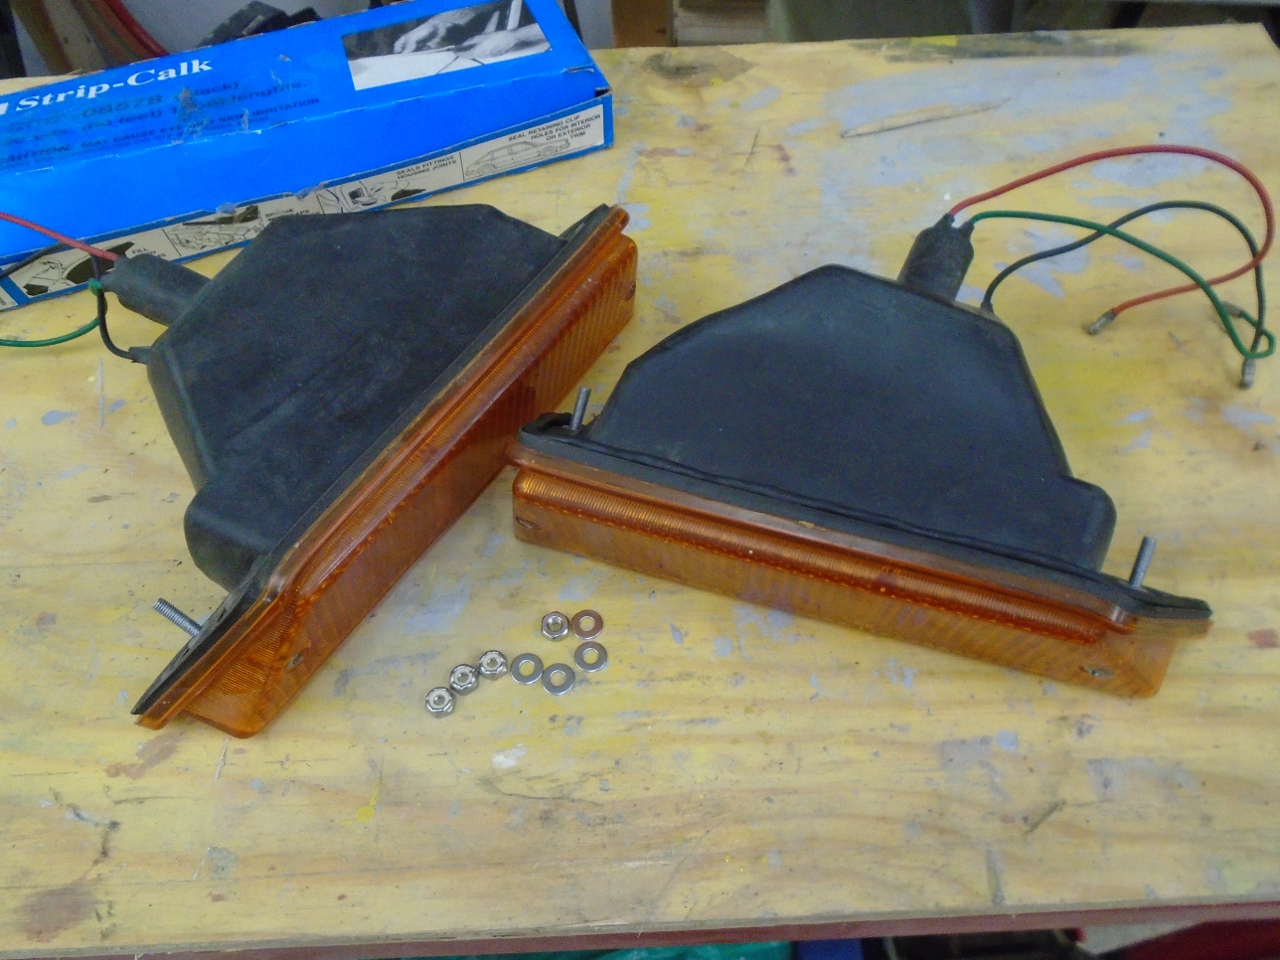
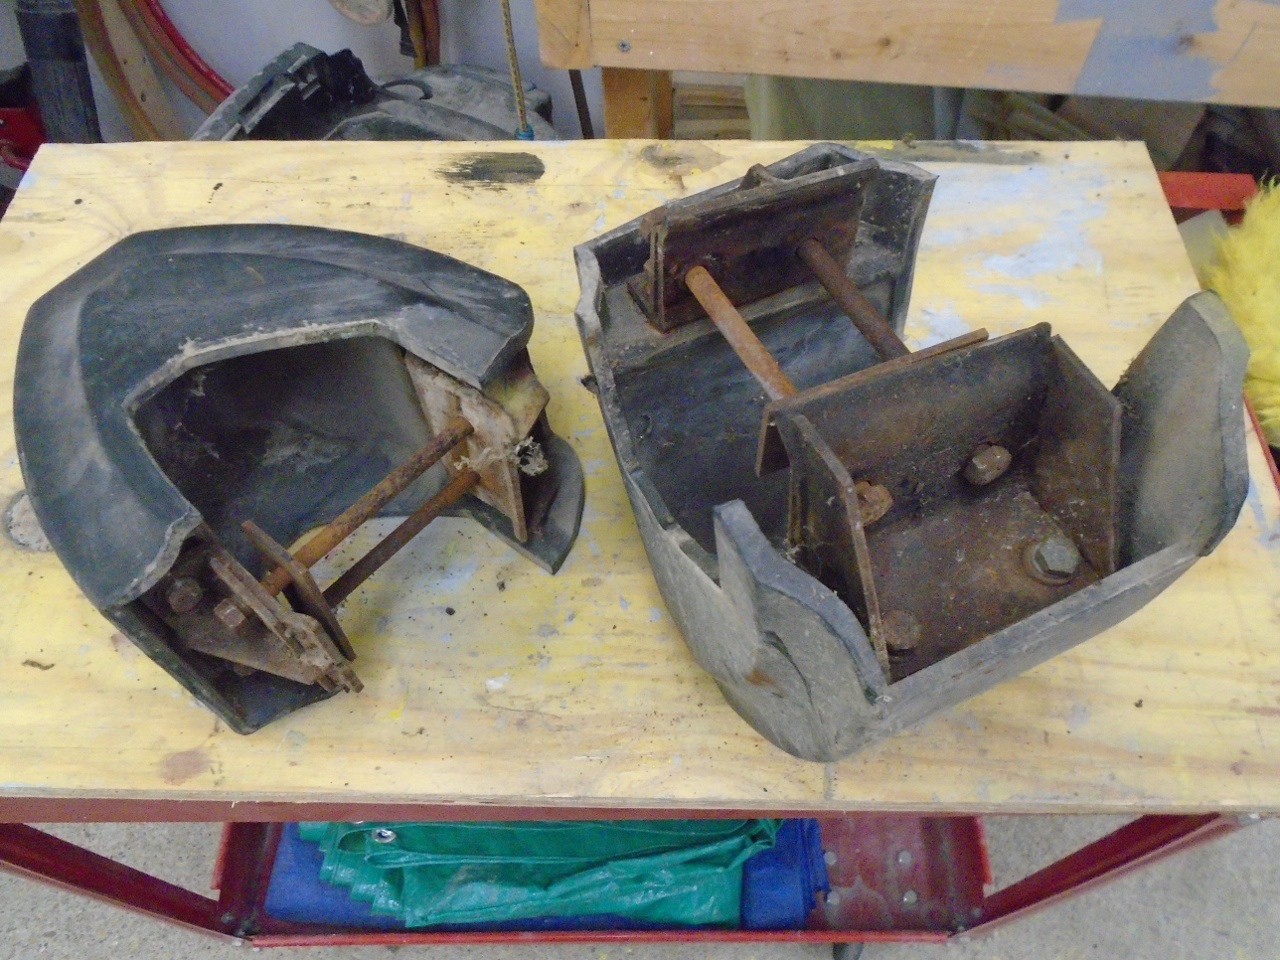
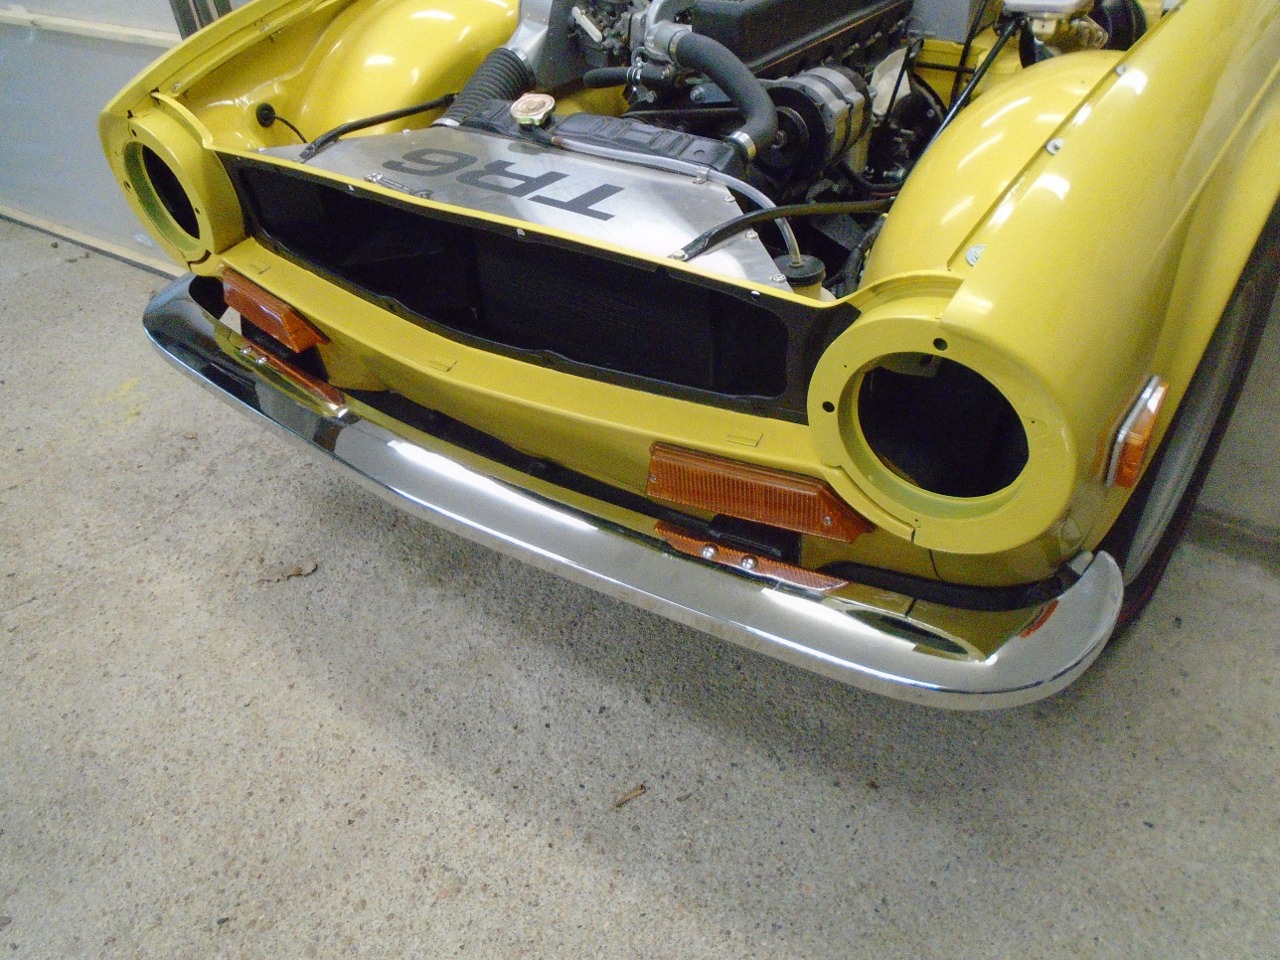
Now to mount stuff in all the holes in the wings. First up were the refurbished side marker lights.
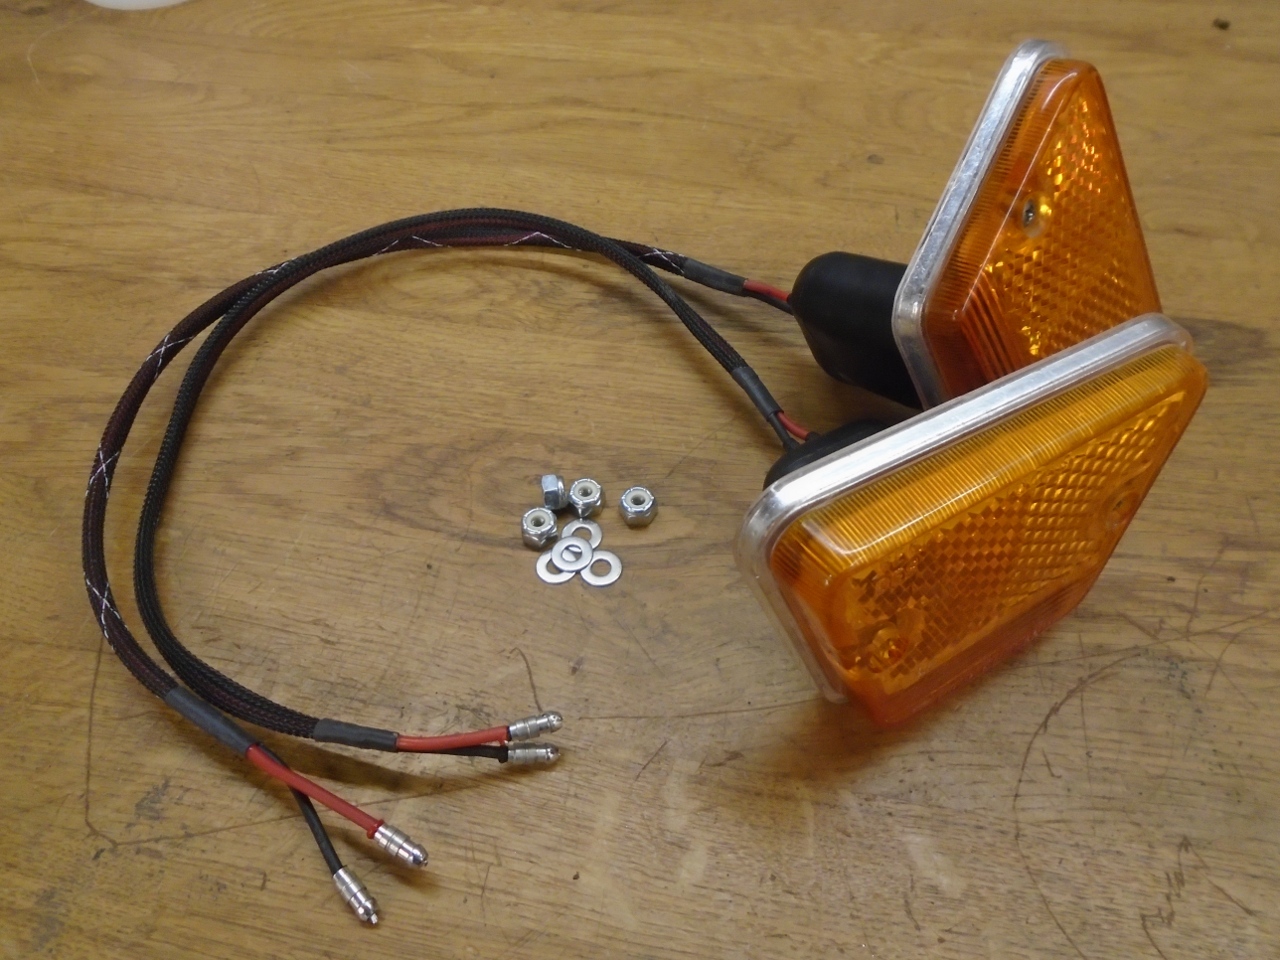
It's easy to miss, but these are handed.
I put a bead of dum-dum around the top and sides of the rubber boot to help the seal...
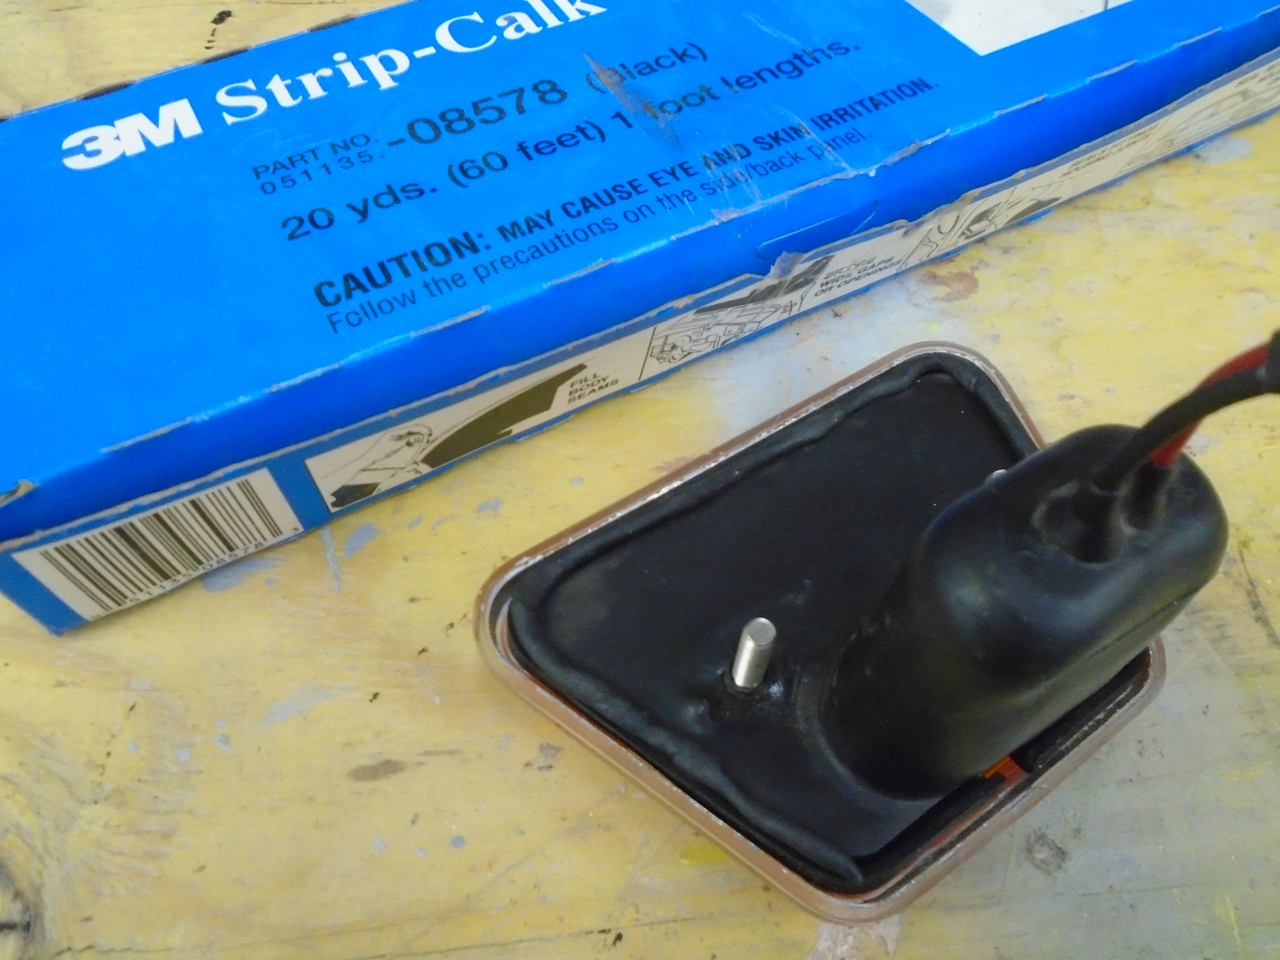
...and home they went.
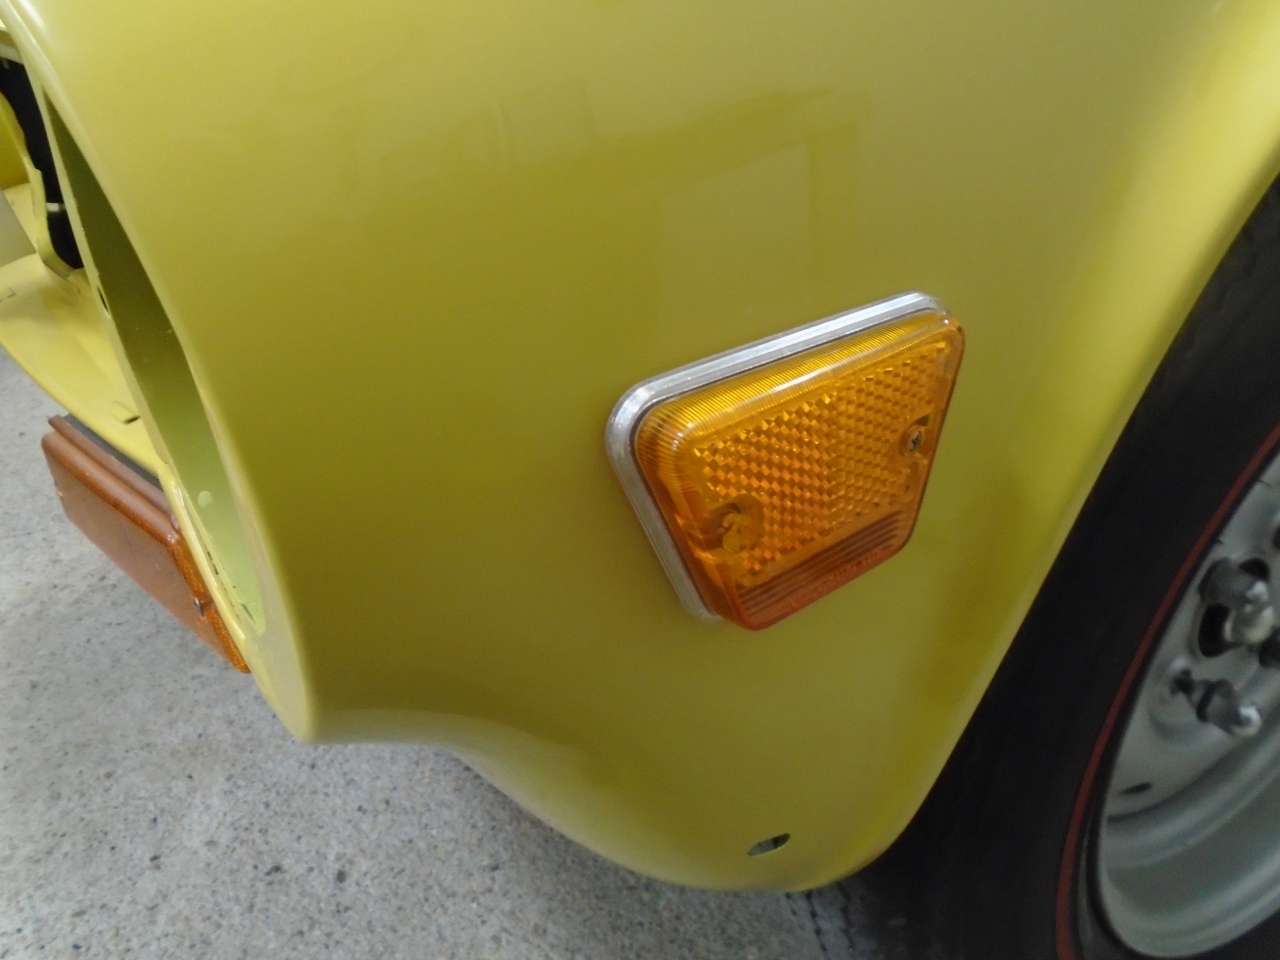
The front signal lights were next, with similar treatment.
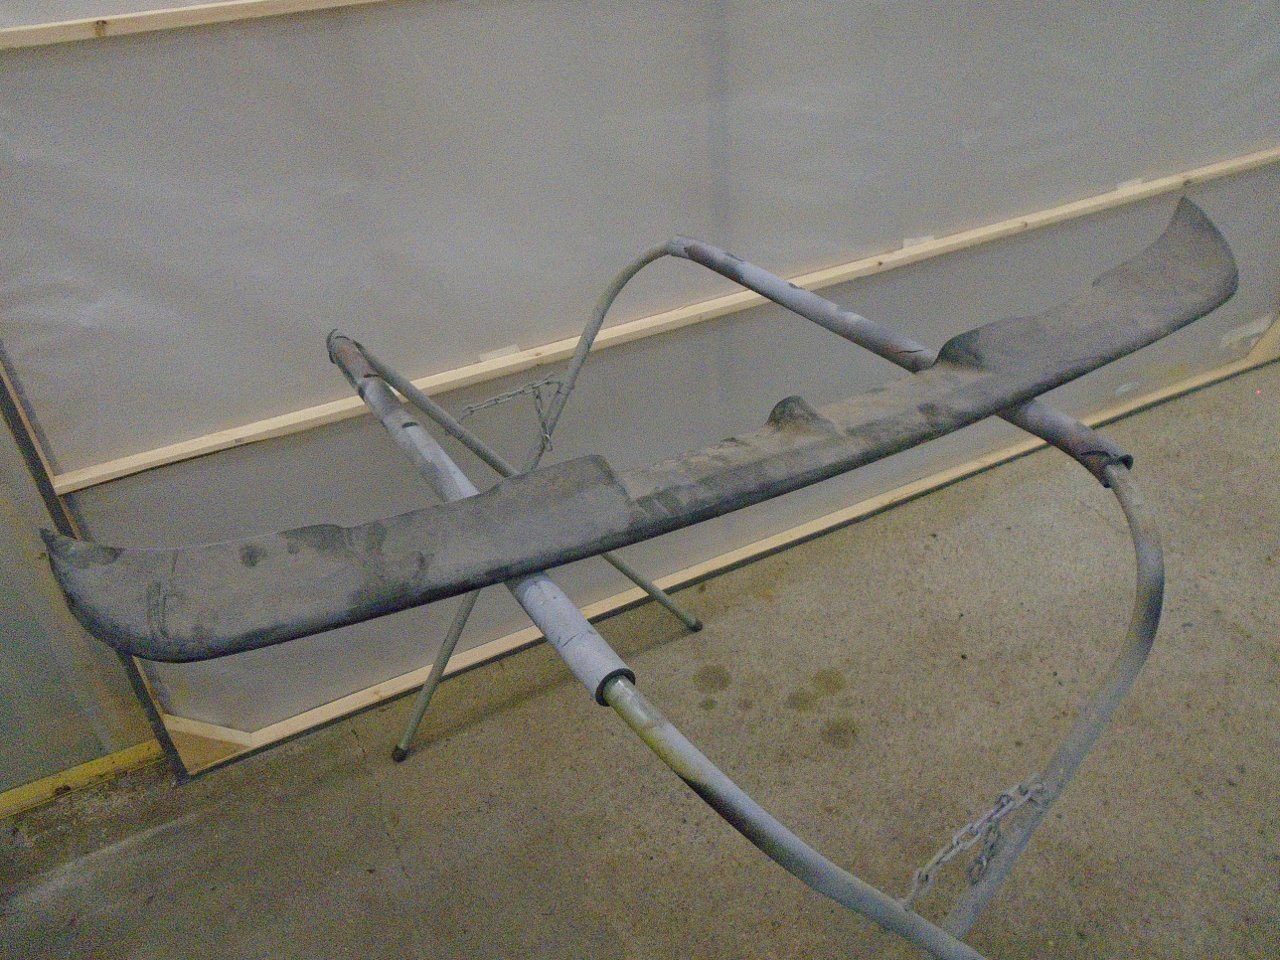
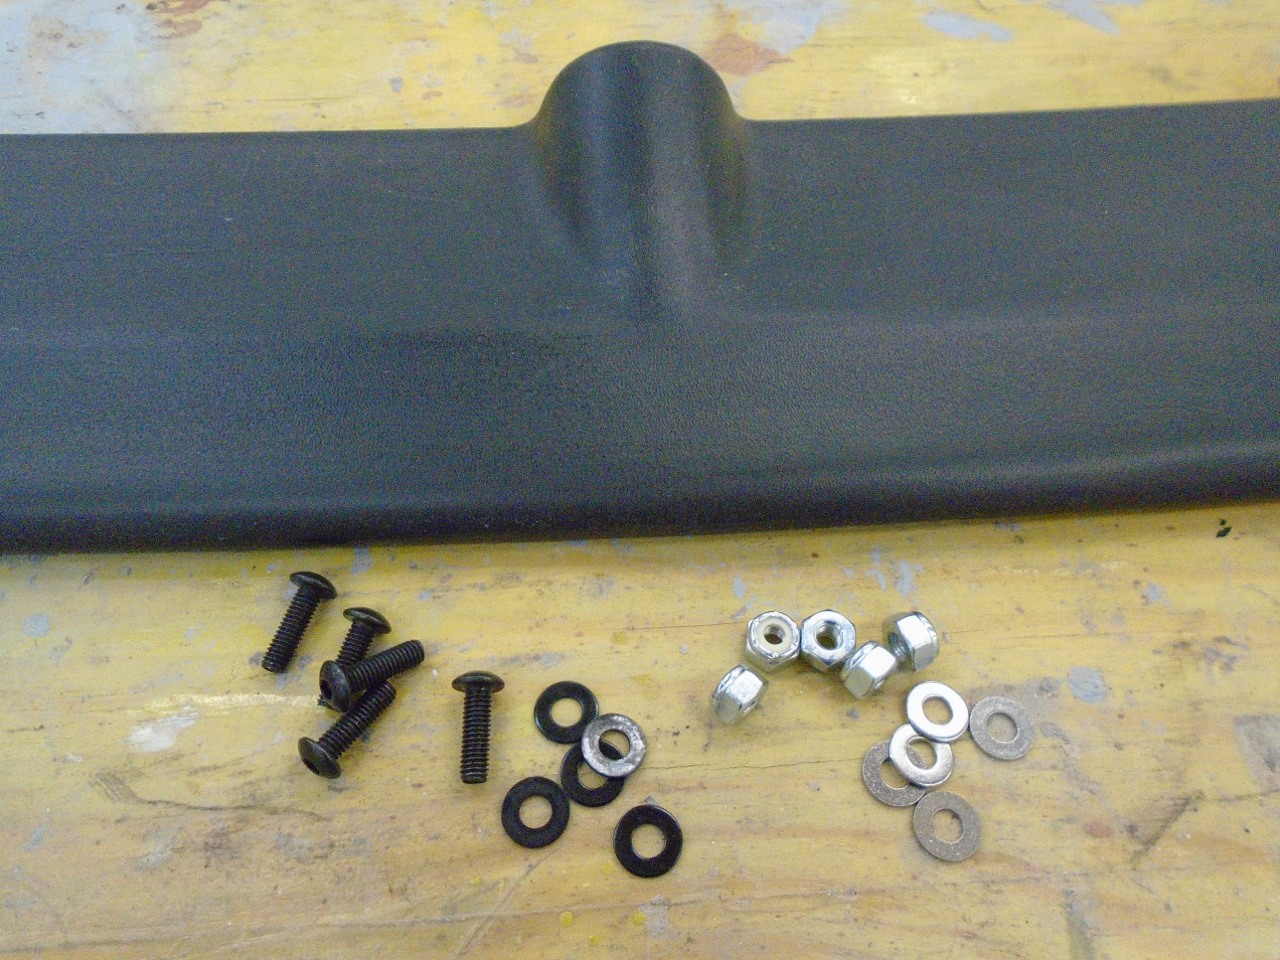
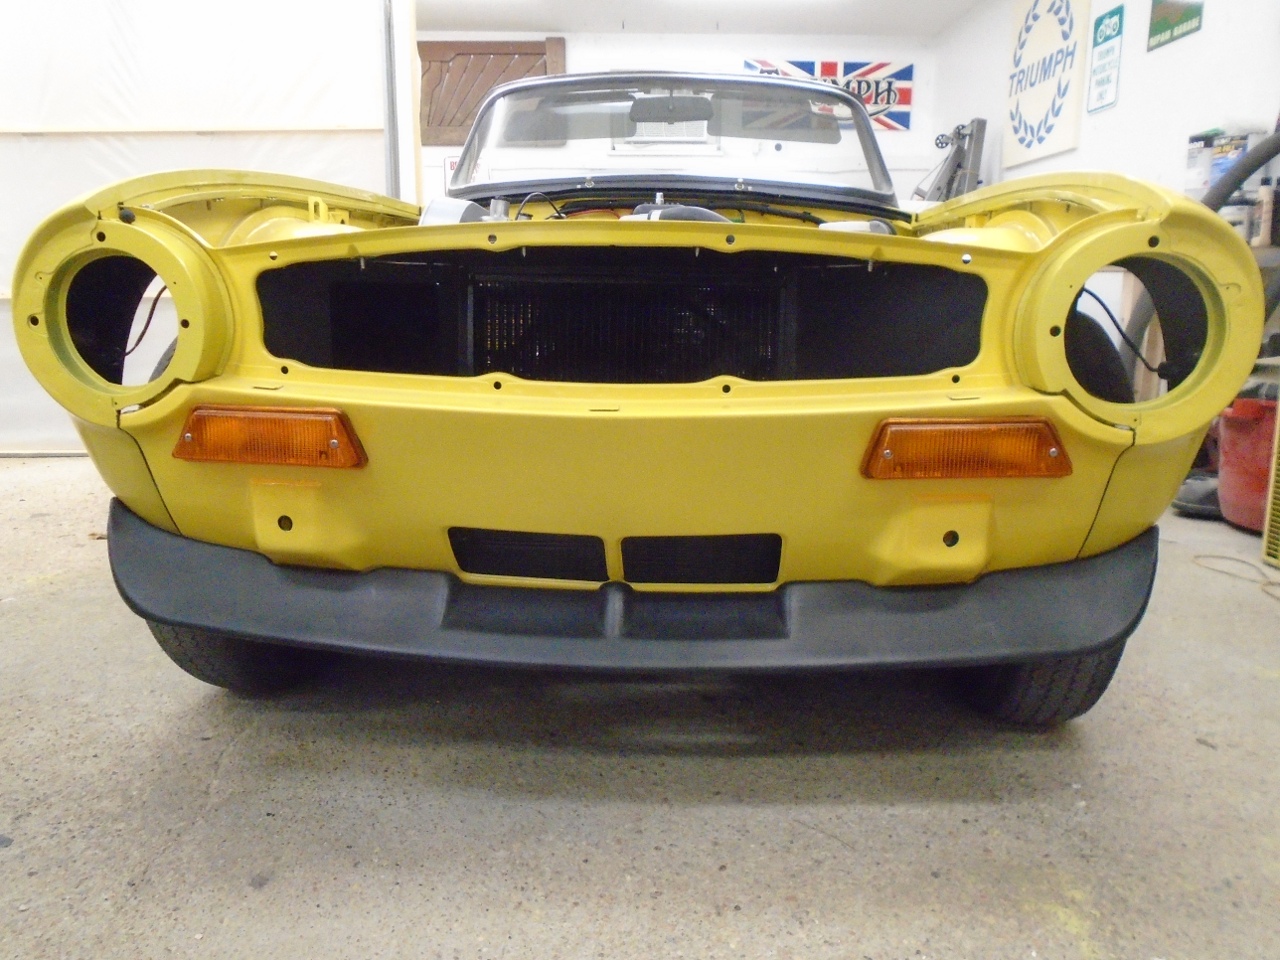
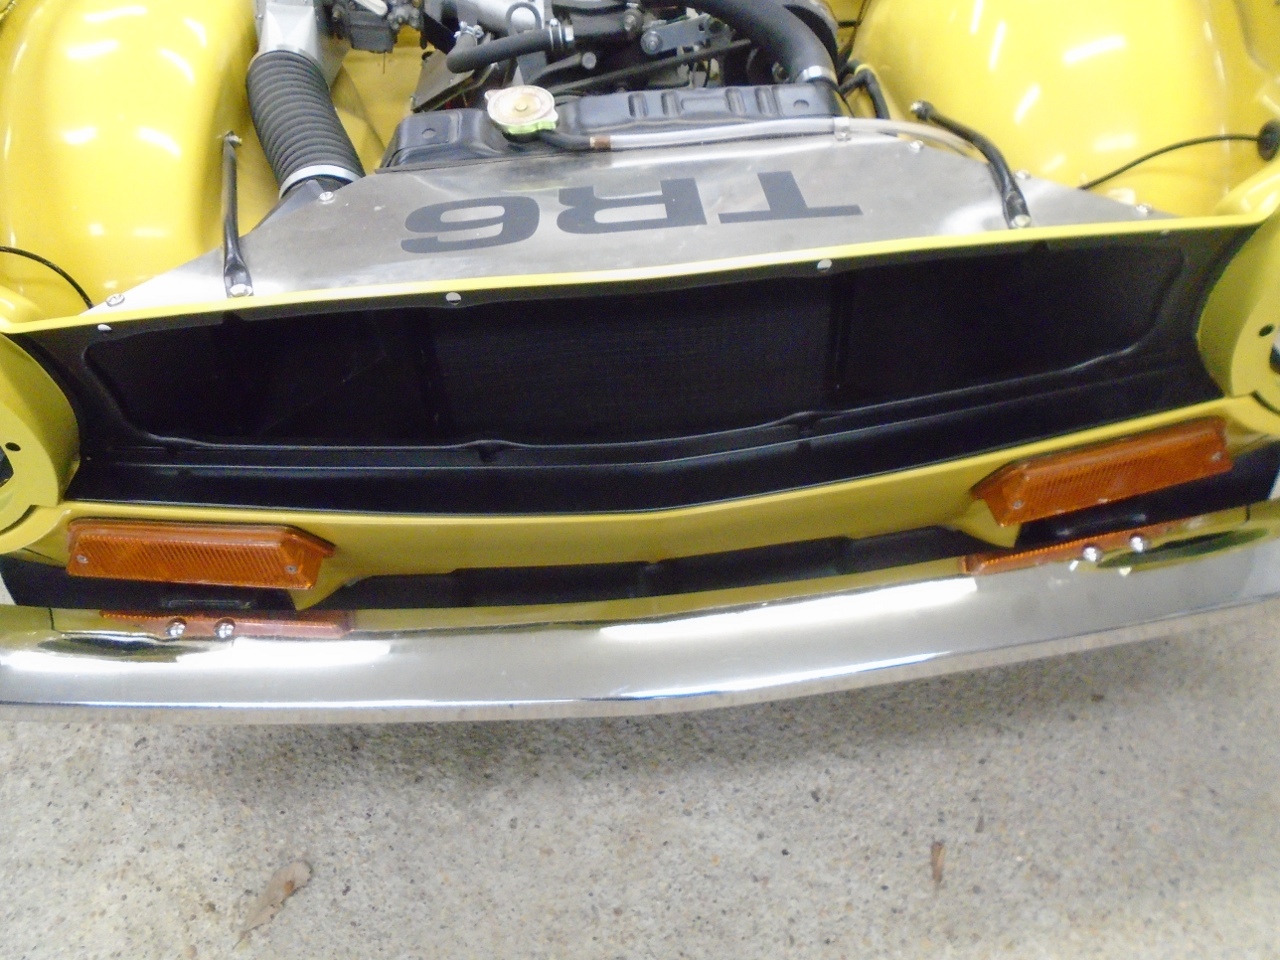
Spoiler
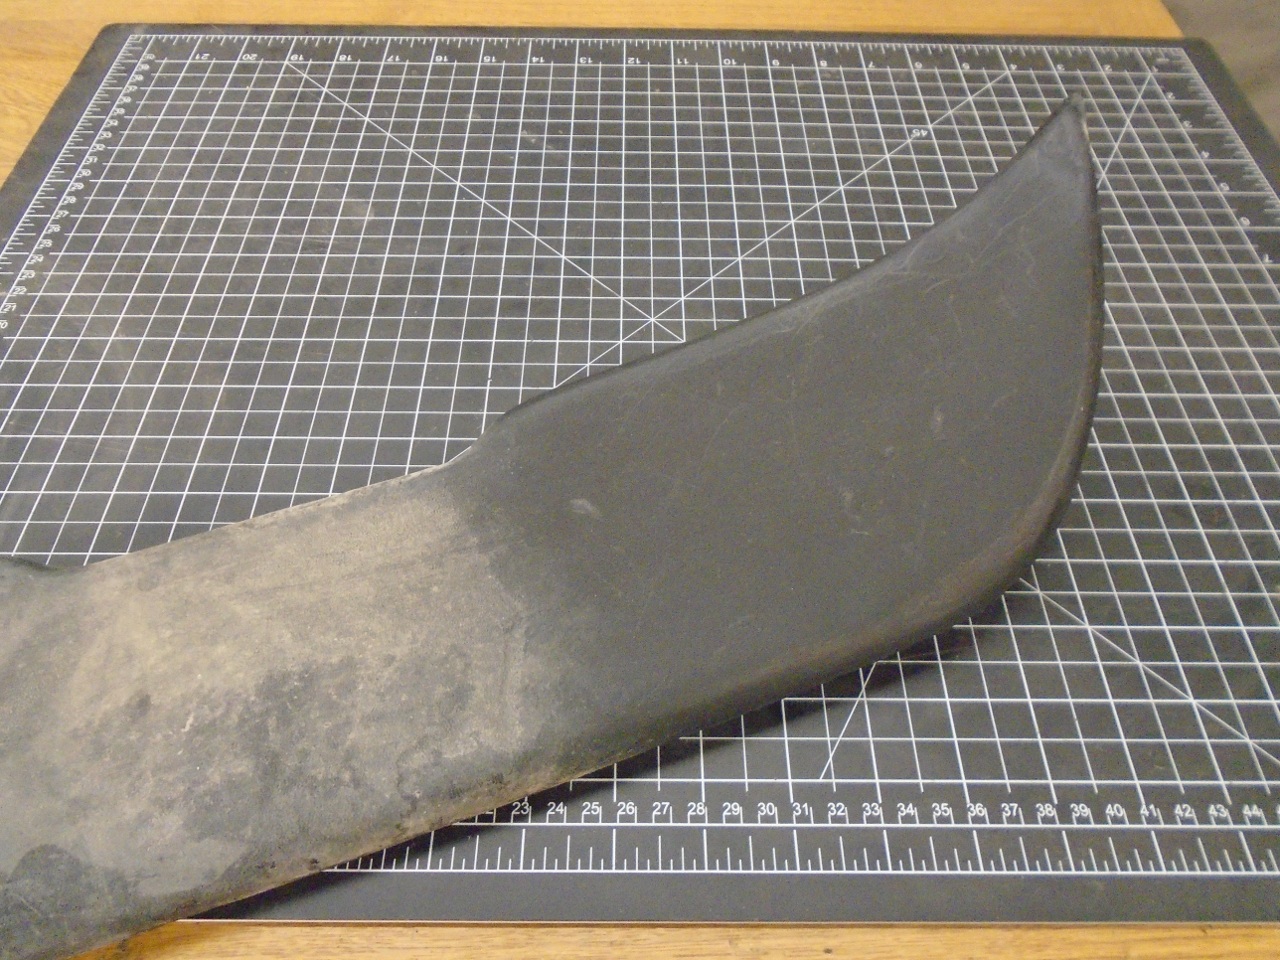
The TR6 had a very cool looking spoiler
mounted to the lower part of the front valance. It appears to be
there to be an air dam and to direct air into the lower openings in
front of the radiator. How functional it is, I don't know, but
it's a shame it is mostly hidden by the bumper. The spoiler is
hollow molded plastic, and mine was really dirty, but intact.
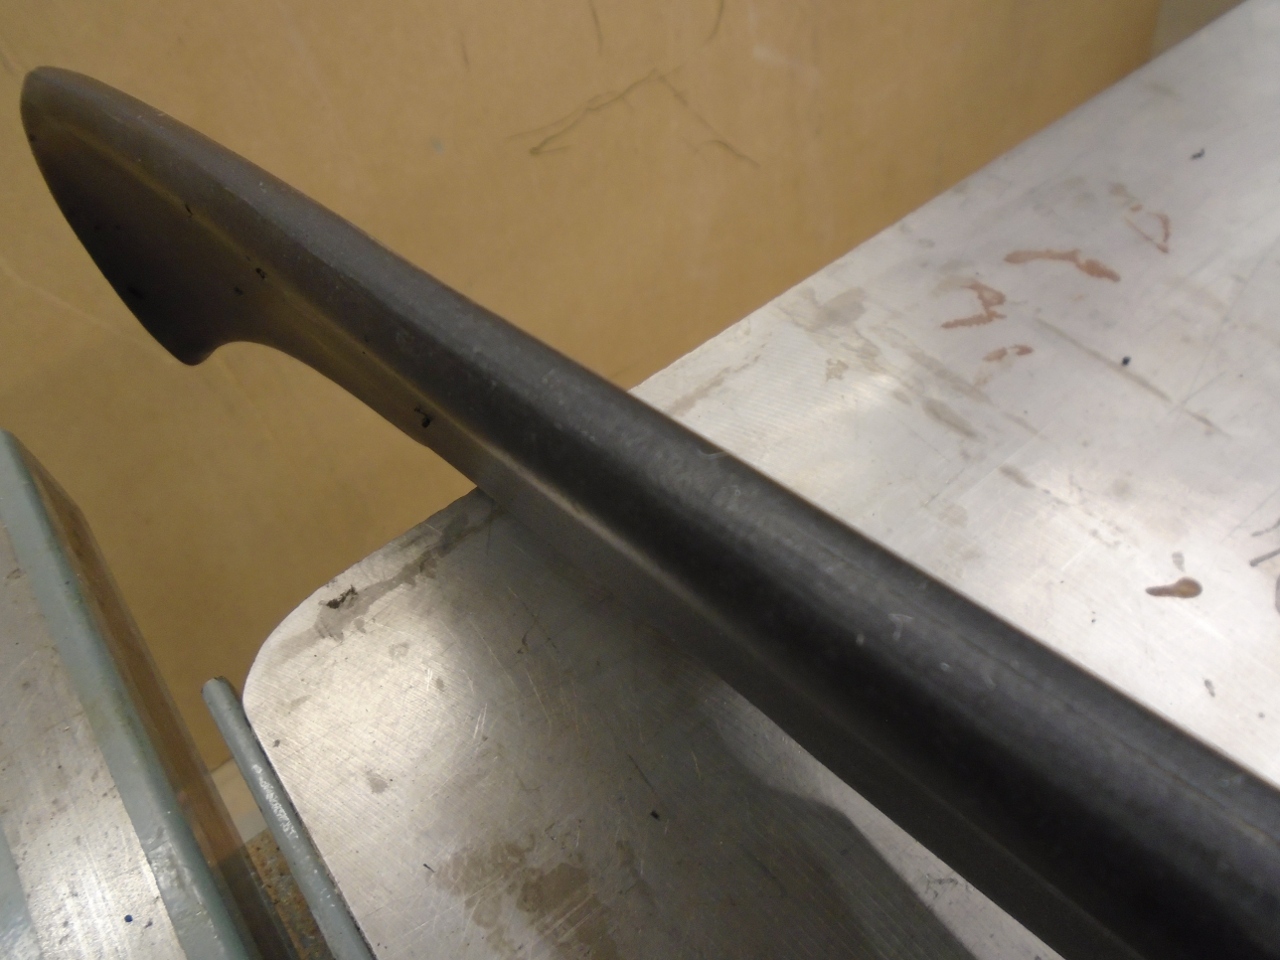
One of the end fasteners had broken out of the wing and was rust-seized. I had to destroy it to get it out.
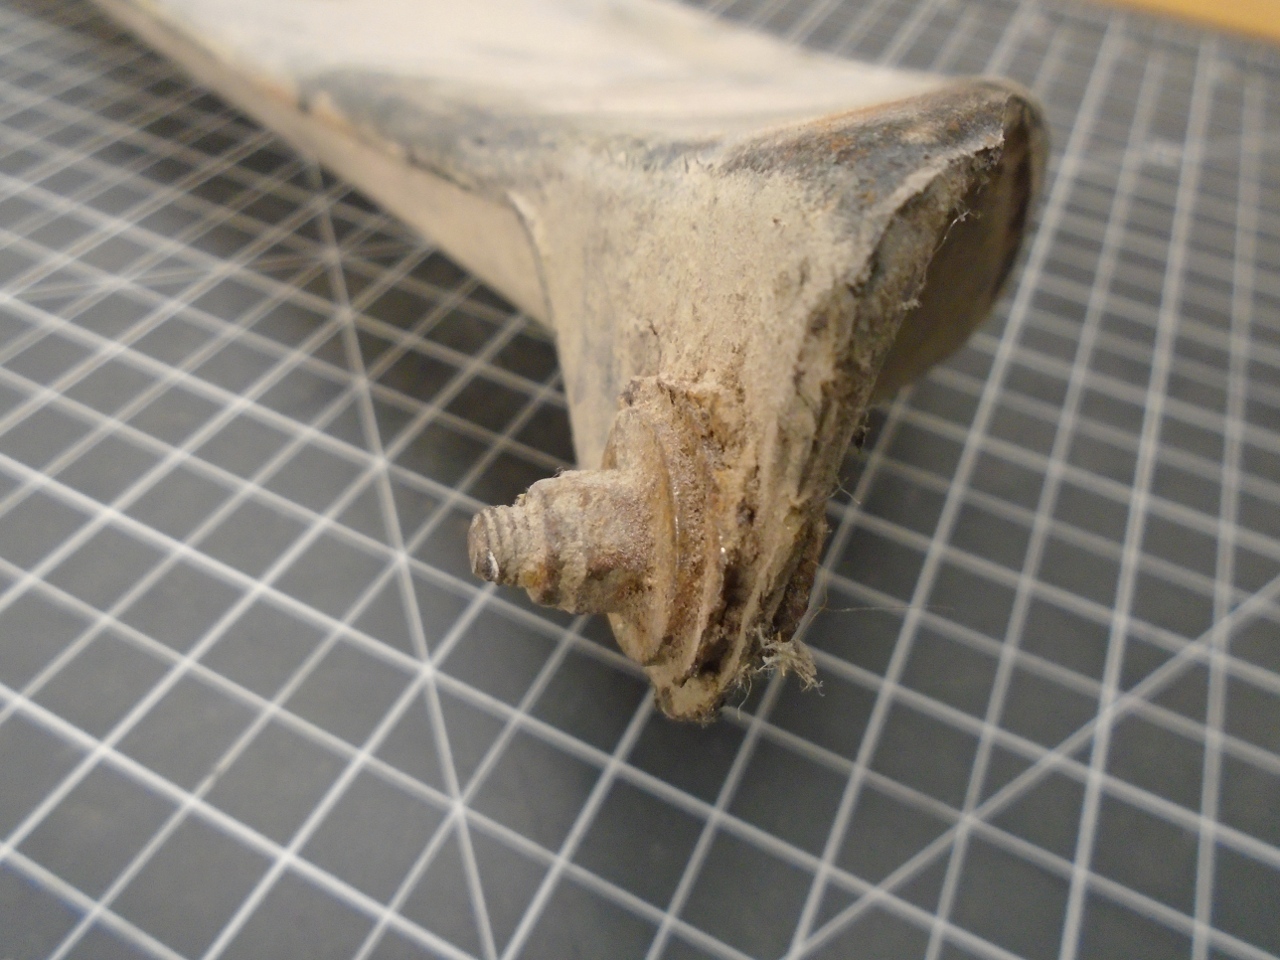
I
thought I'd have to clean the spoiler up and coat it with something to
get it to look decent, but just scrubbing with soap and water made it
look fine. Most of the scuffs came out with some steel wool.
It
looked like the spoiler was made from two halves heat sealed together.
The slightly mismatched seam was easily visible along the leading
edge. a few minutes with a scraper cleaned that up. This
may be a little OCD showing through.
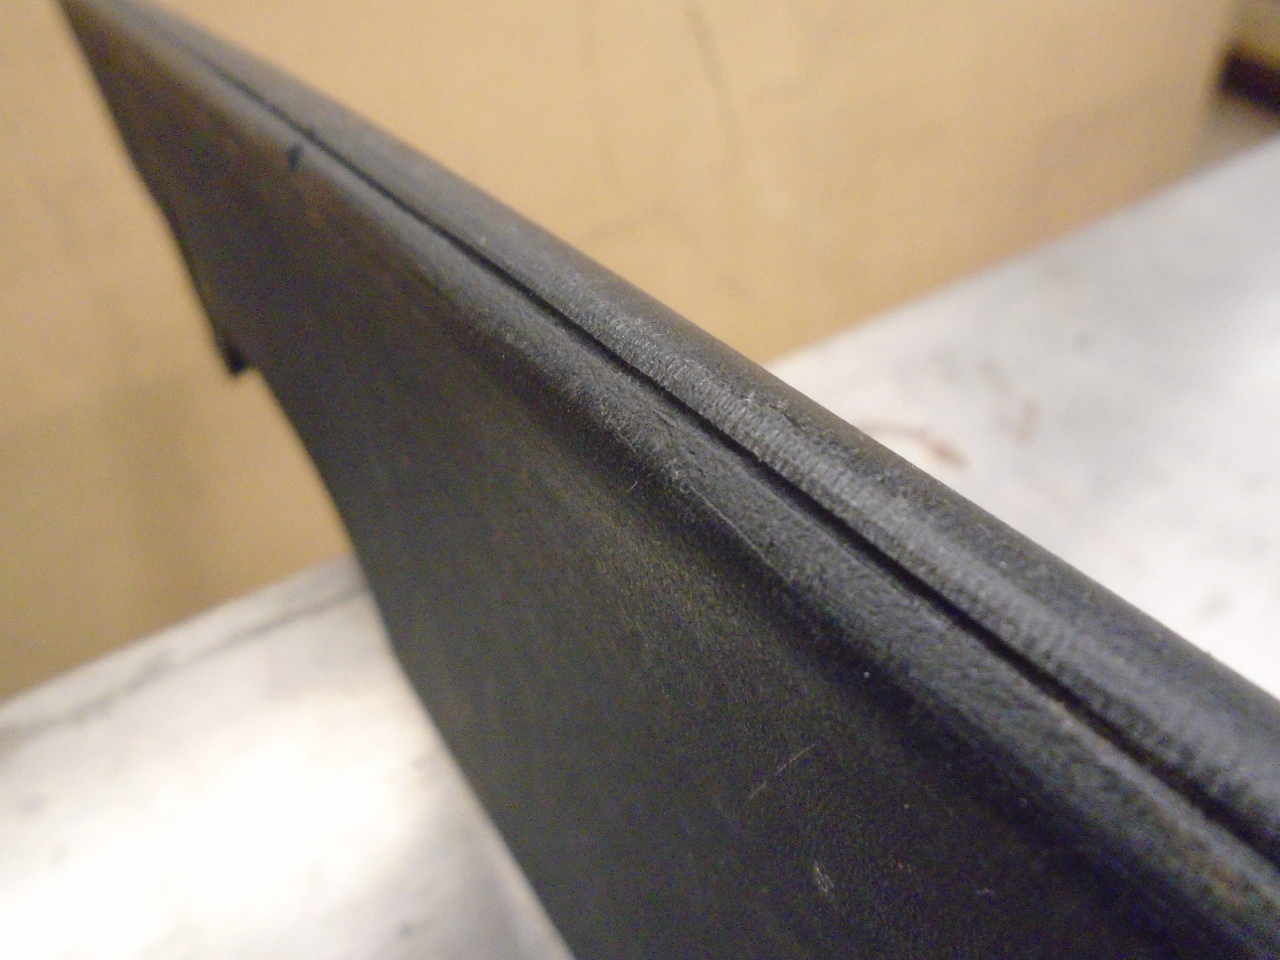
I think this is usable.
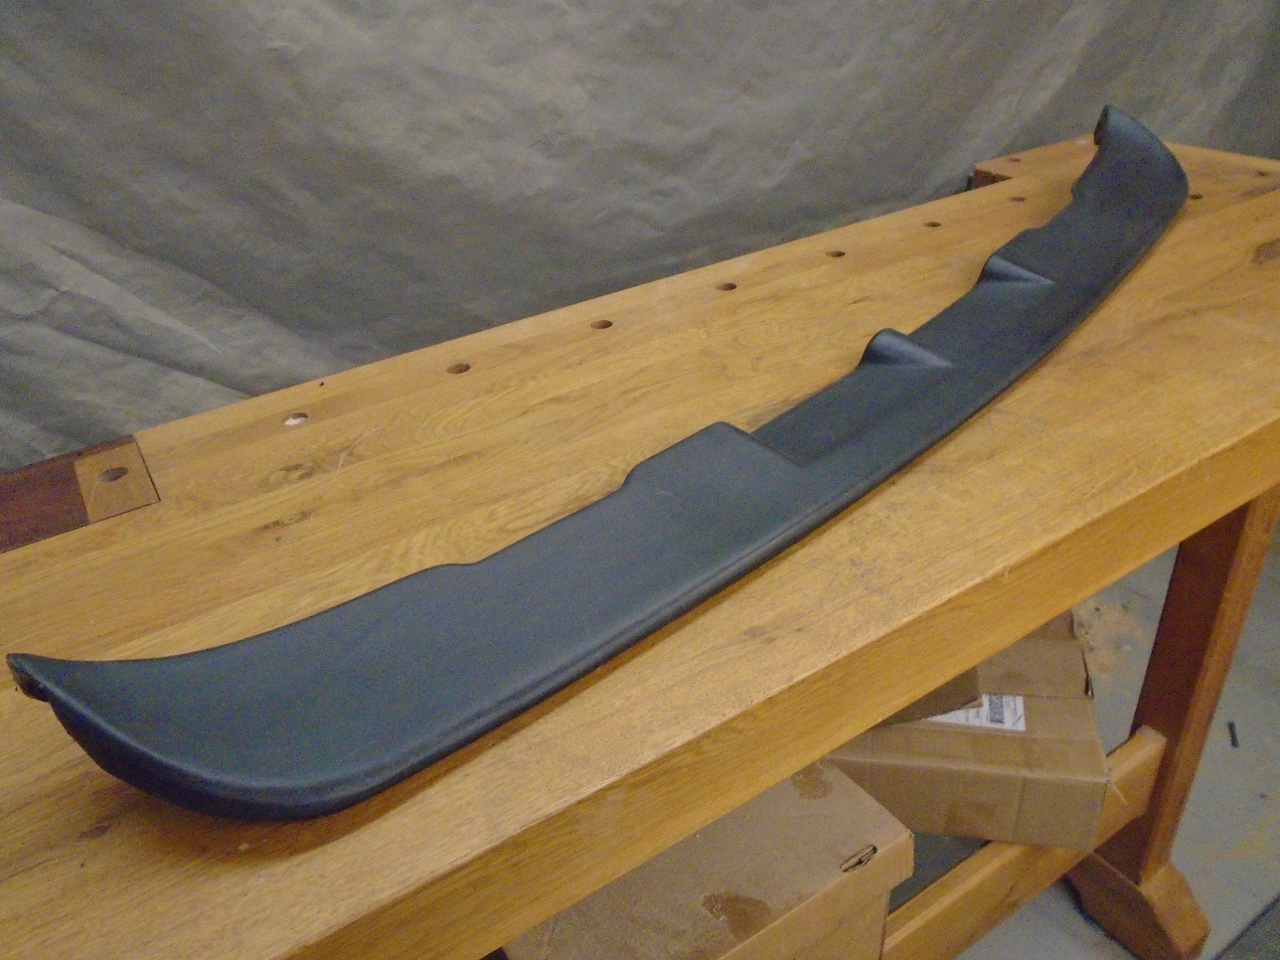
I thought some black fasteners would be a nice touch, but only the end ones are really visible.
Like I said, I wish this were more visible. It's tempting to run without the bumper.
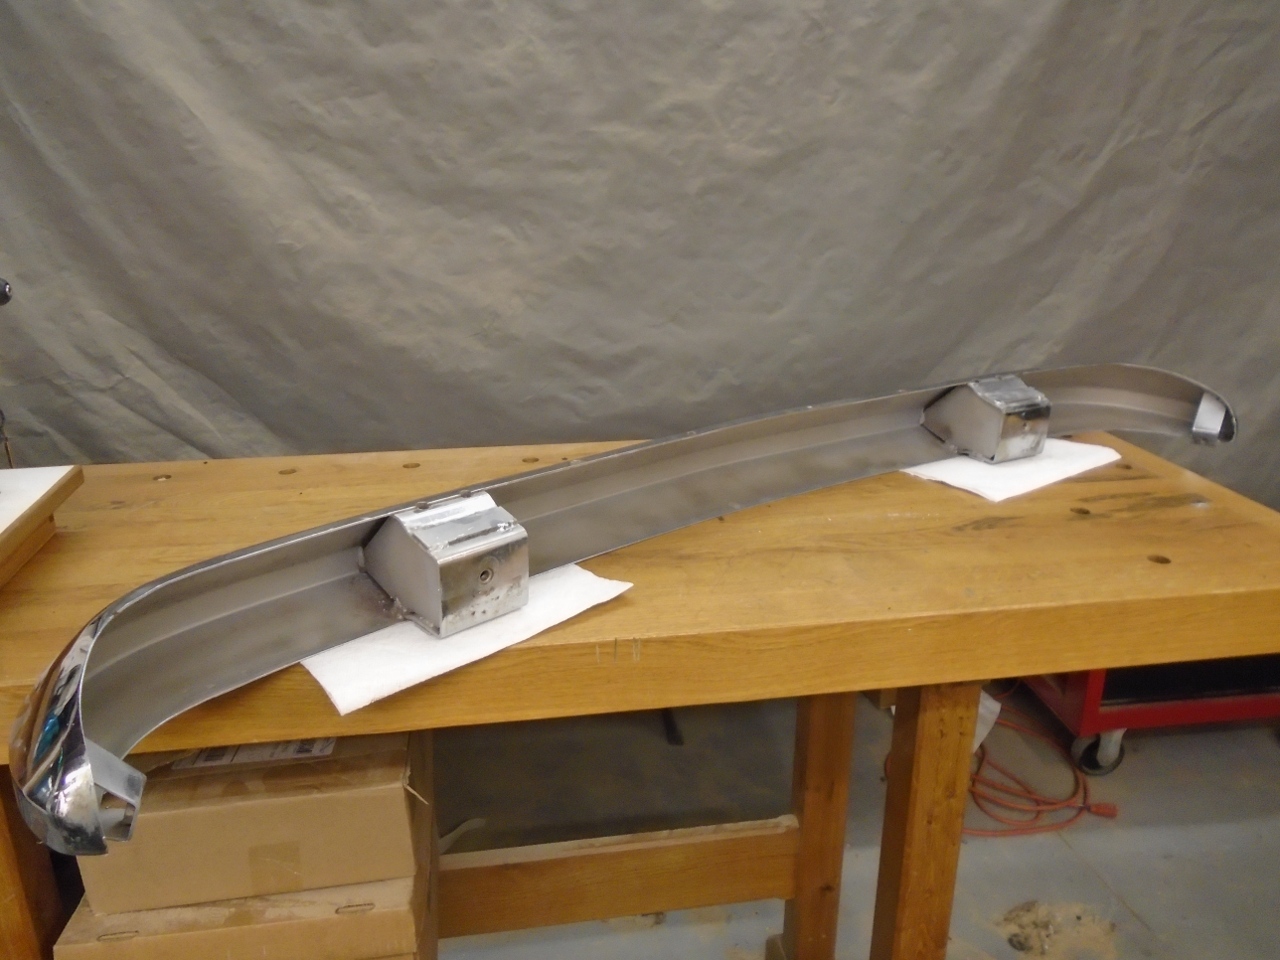
Bumper
Speaking
of the bumper, I just happened to find one in the shed. It was
dirty, but I hoped it would clean up well enough to use.
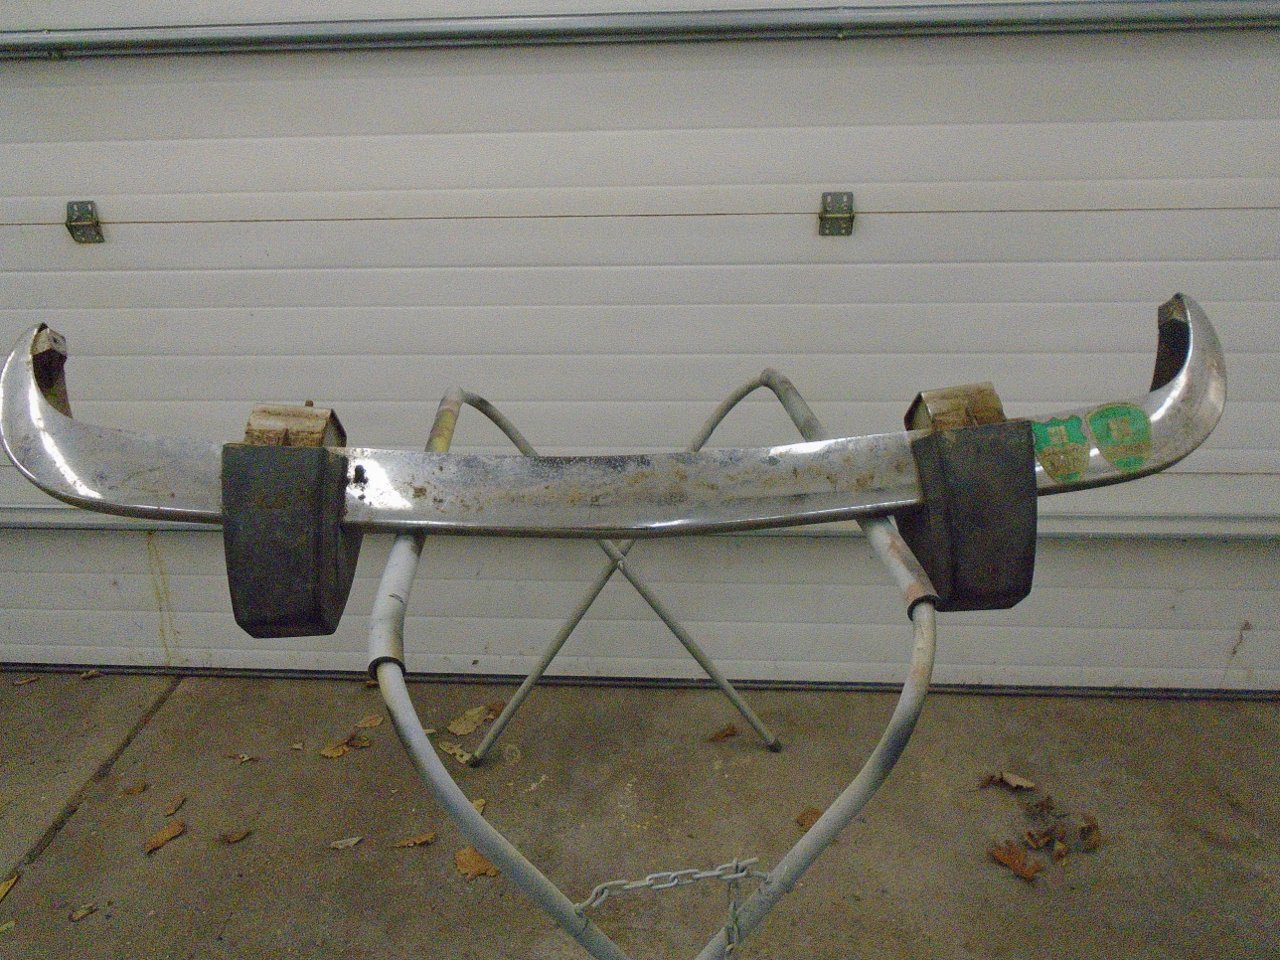
Like
the rear bumper, the front bumper had a pair of those wonderful rubber
protuberances meant to meet US federal crash standards of the time.
Being add-ons, they came off pretty easily. Like the rear,
about half the weight of the bumper assembly is in the rubber warts.
Removing them all around will shave around 30 pounds off hte car.
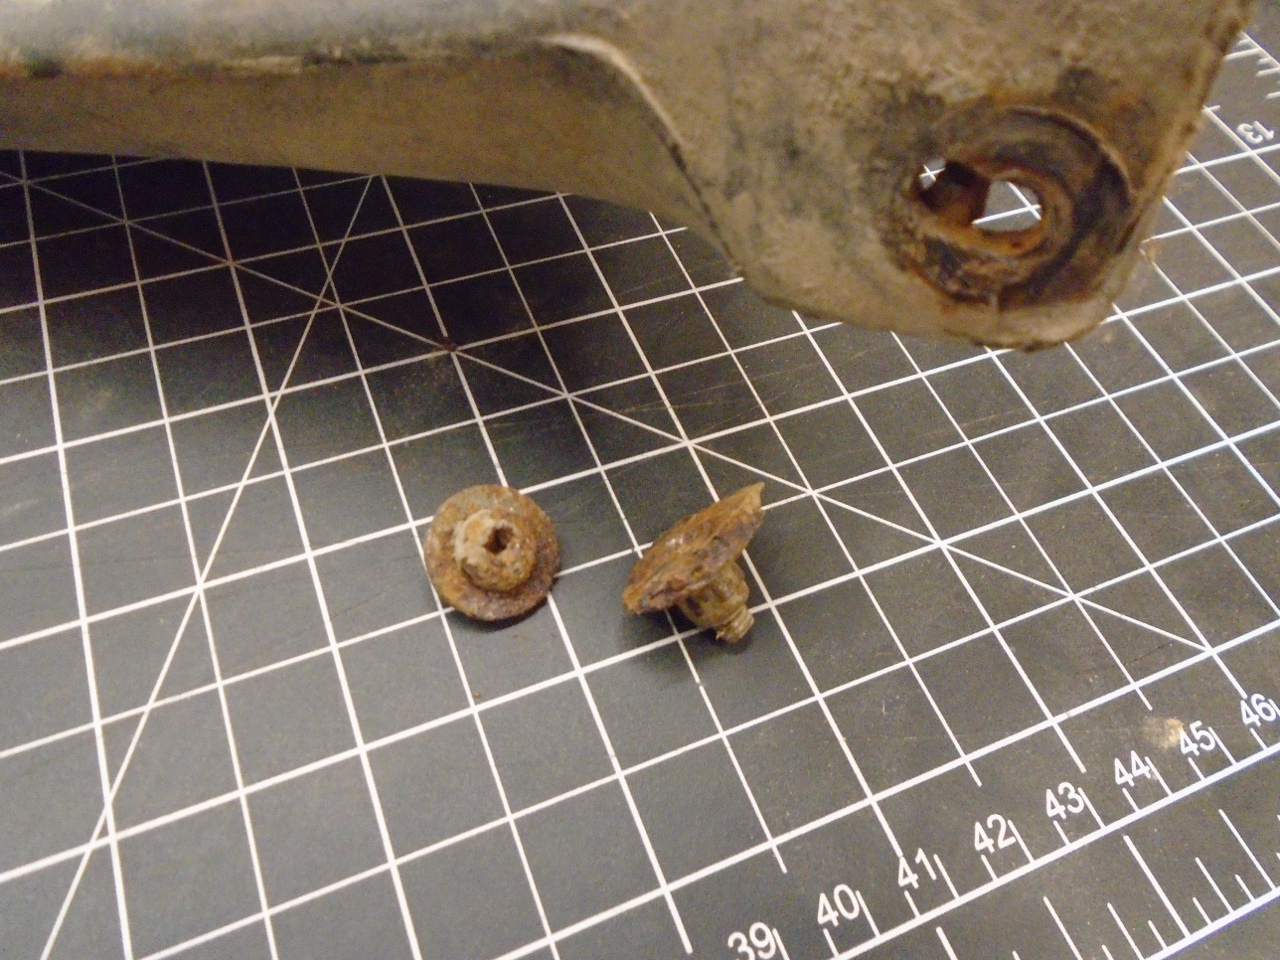
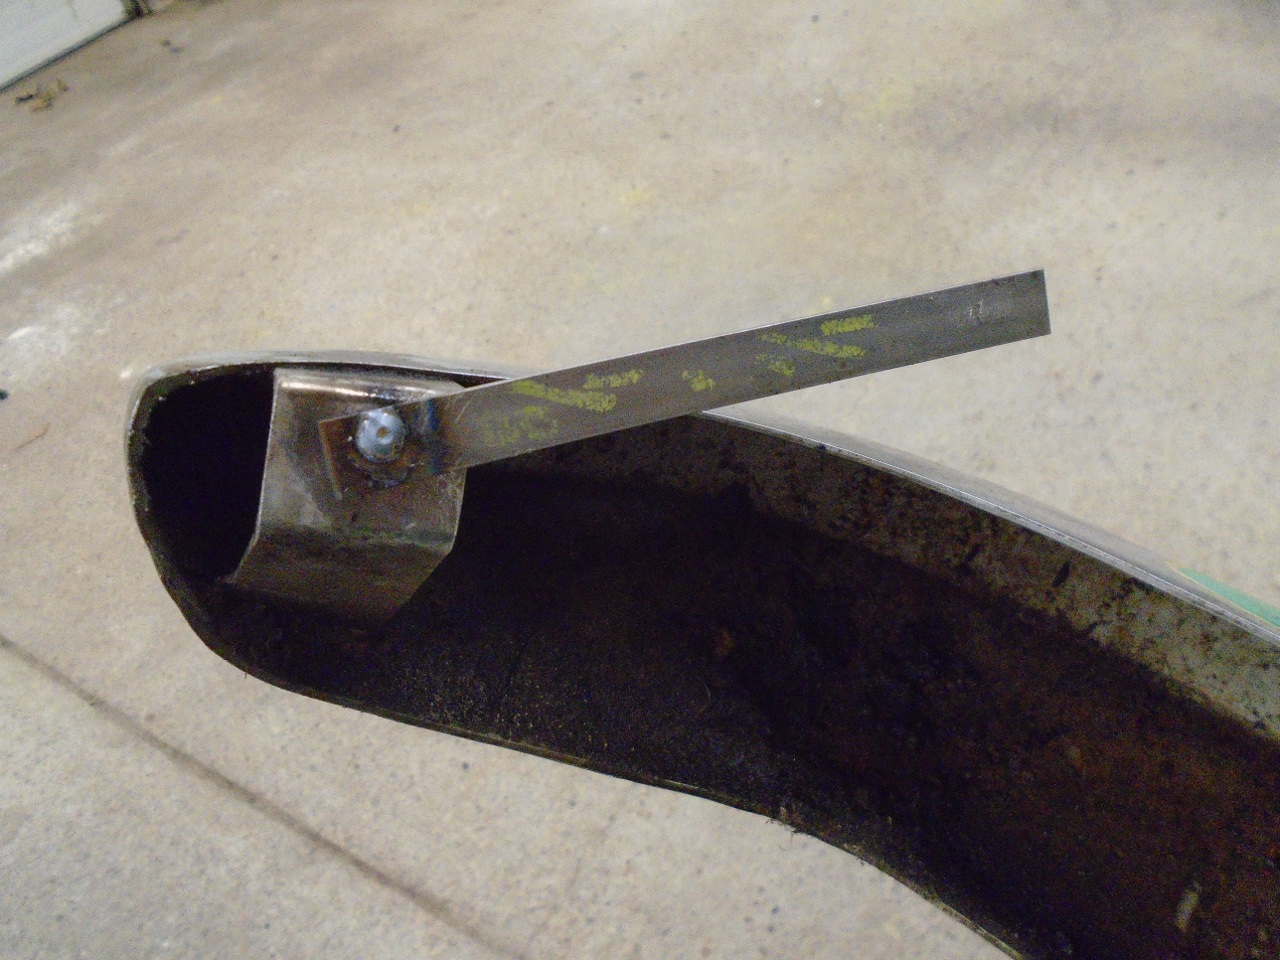
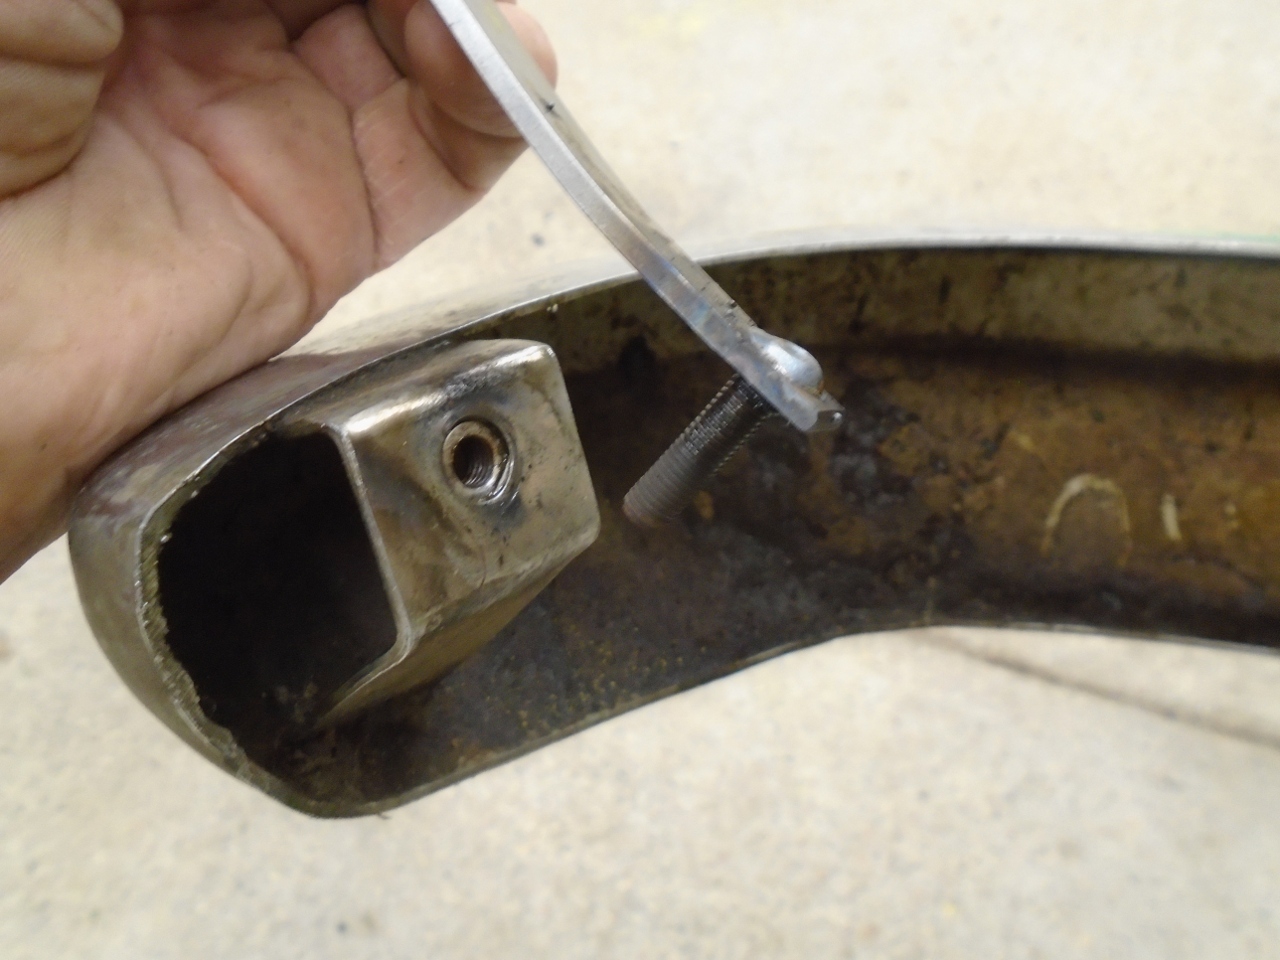
Here was one little inconvenience. One of the end mounting bolts had broken off in its welded-in nut.

Welding on a little scrap of metal provided the purchase to get it out.
The chrome on the bumper cleaned up passably well, but the backside had quite a bit of rust.
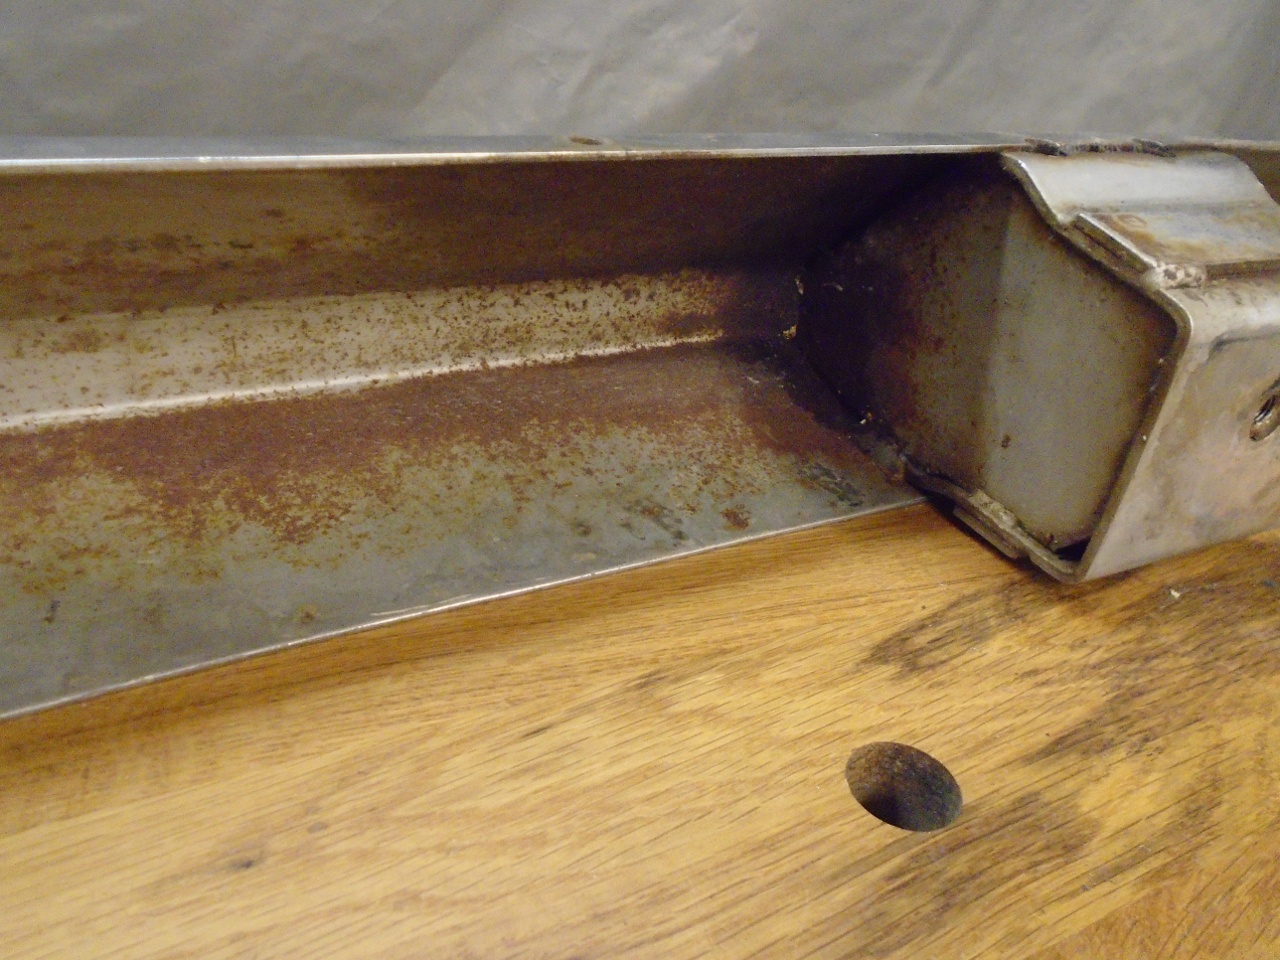
A quick sand blast gave a nice surface for a couple of coats of POR15
paint. I'd rather spray an epoxy primer, but some places were much
easier to get to with a brush.
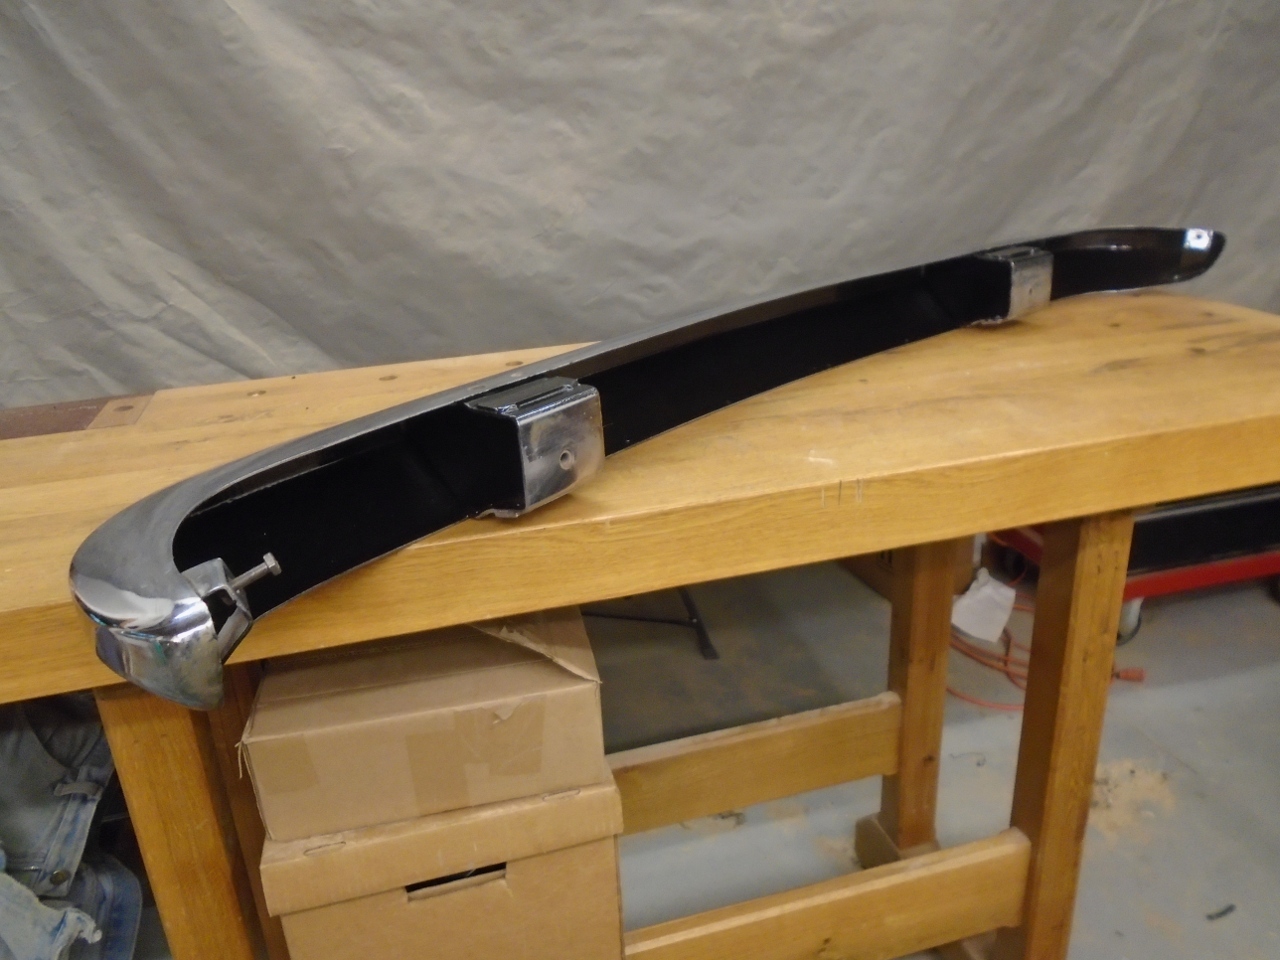
The
bumper was really looking pretty good, but the removal of those ugly
stick-out parts left a couple of pairs of unsightly holes.
I got some suitably sized stainless steel carraige bolts and polished their heads.
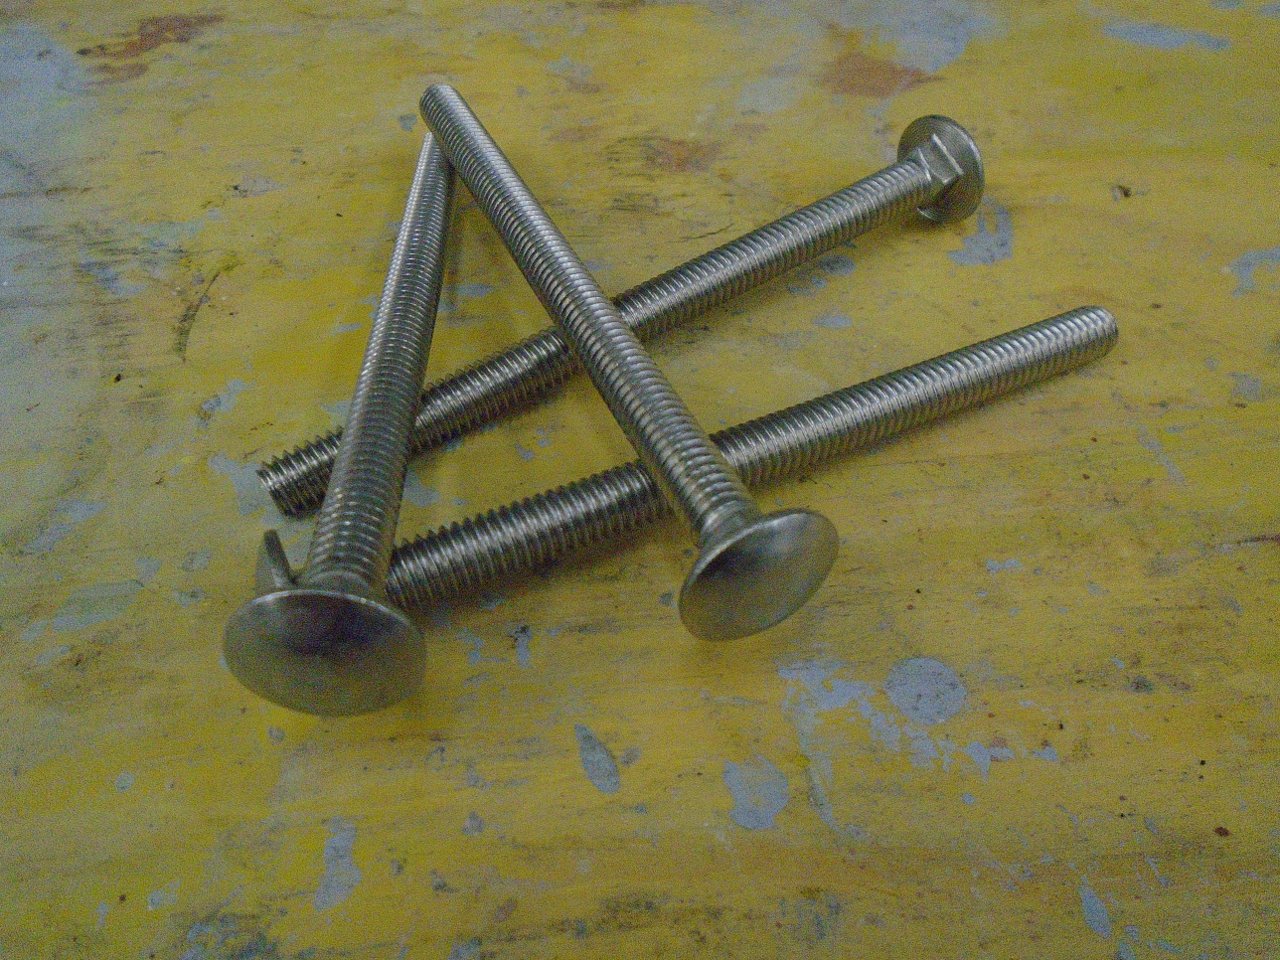
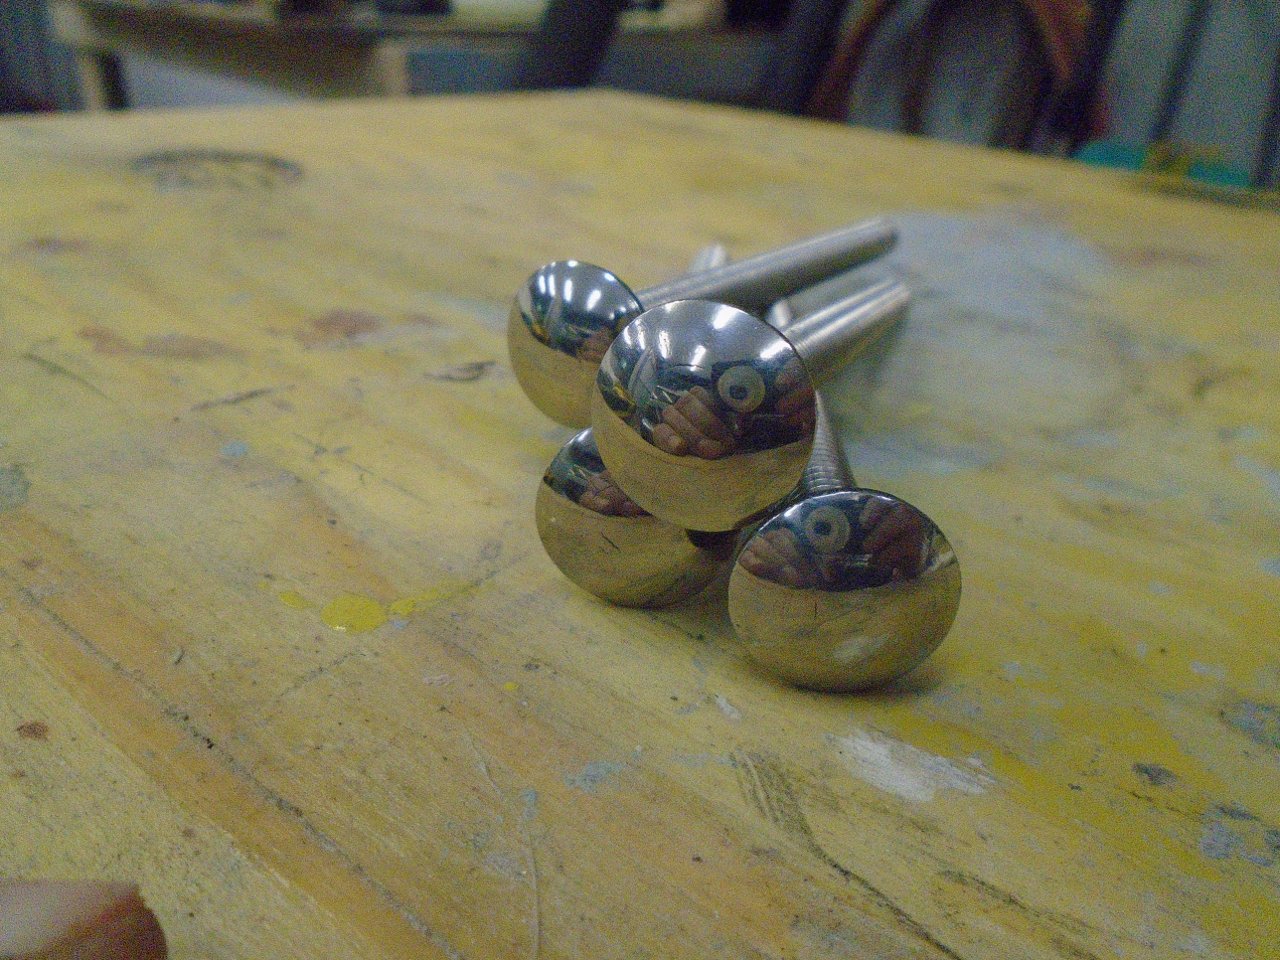
After
grinding down the square shank under the heads so they would seat in
the holes, I sawed a slot in the end of each bolt. This was a
screwdriver slot so I could hold the bolt while the nut was put on.
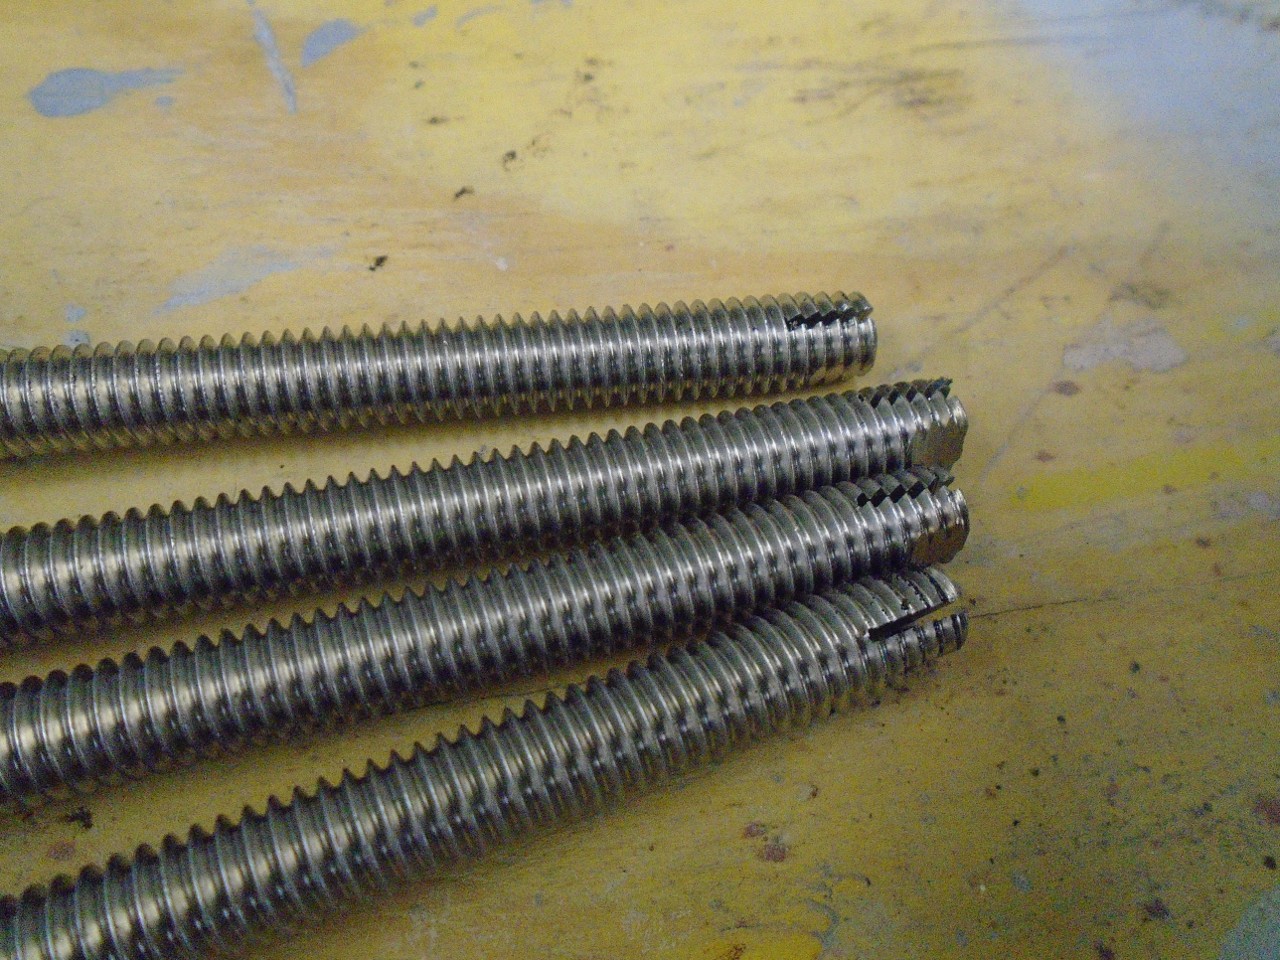
Looks OK, I think. They are cosmetic only of course, since they aren't fastening anything.
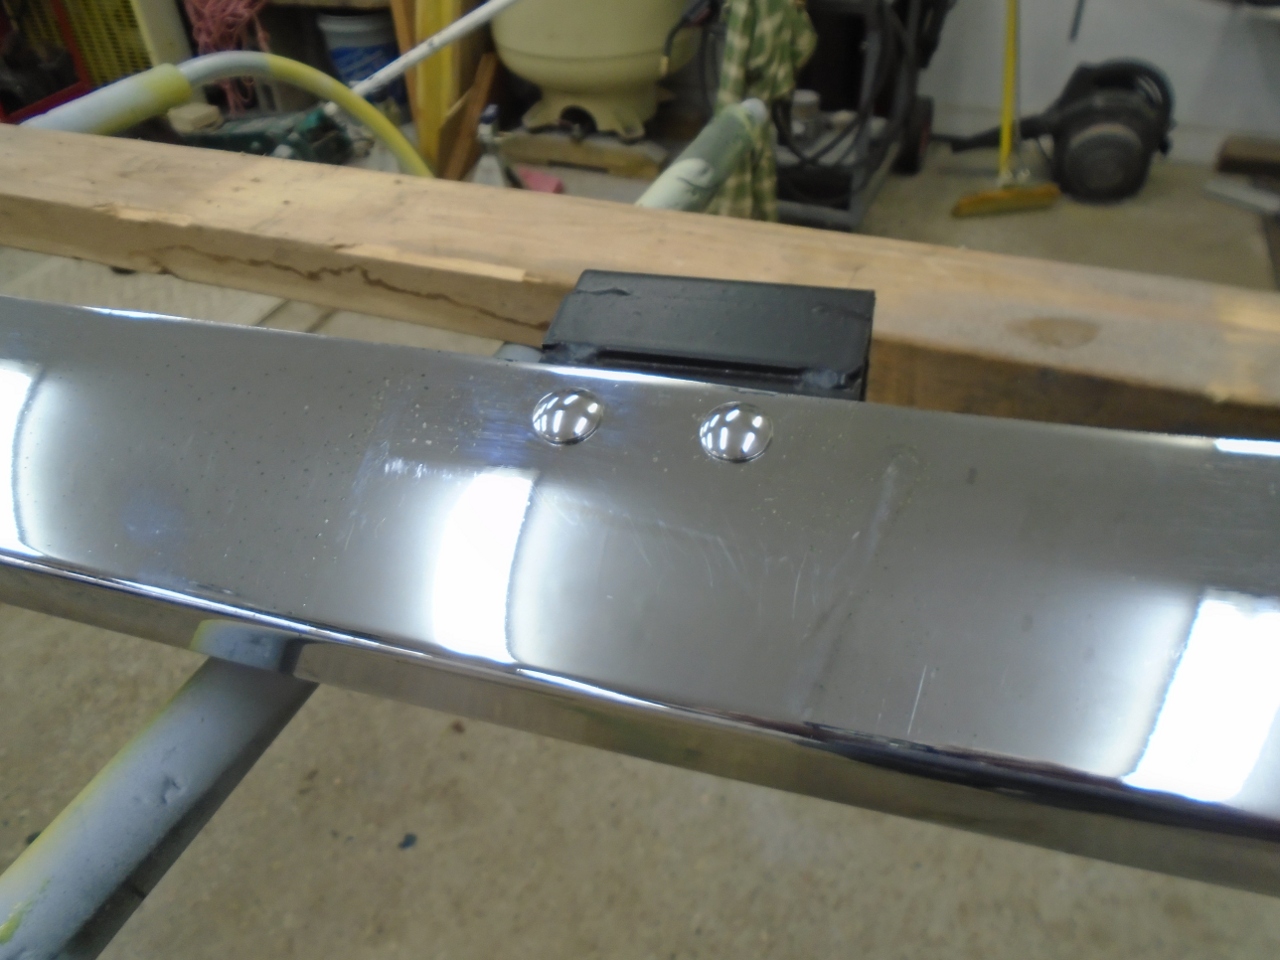
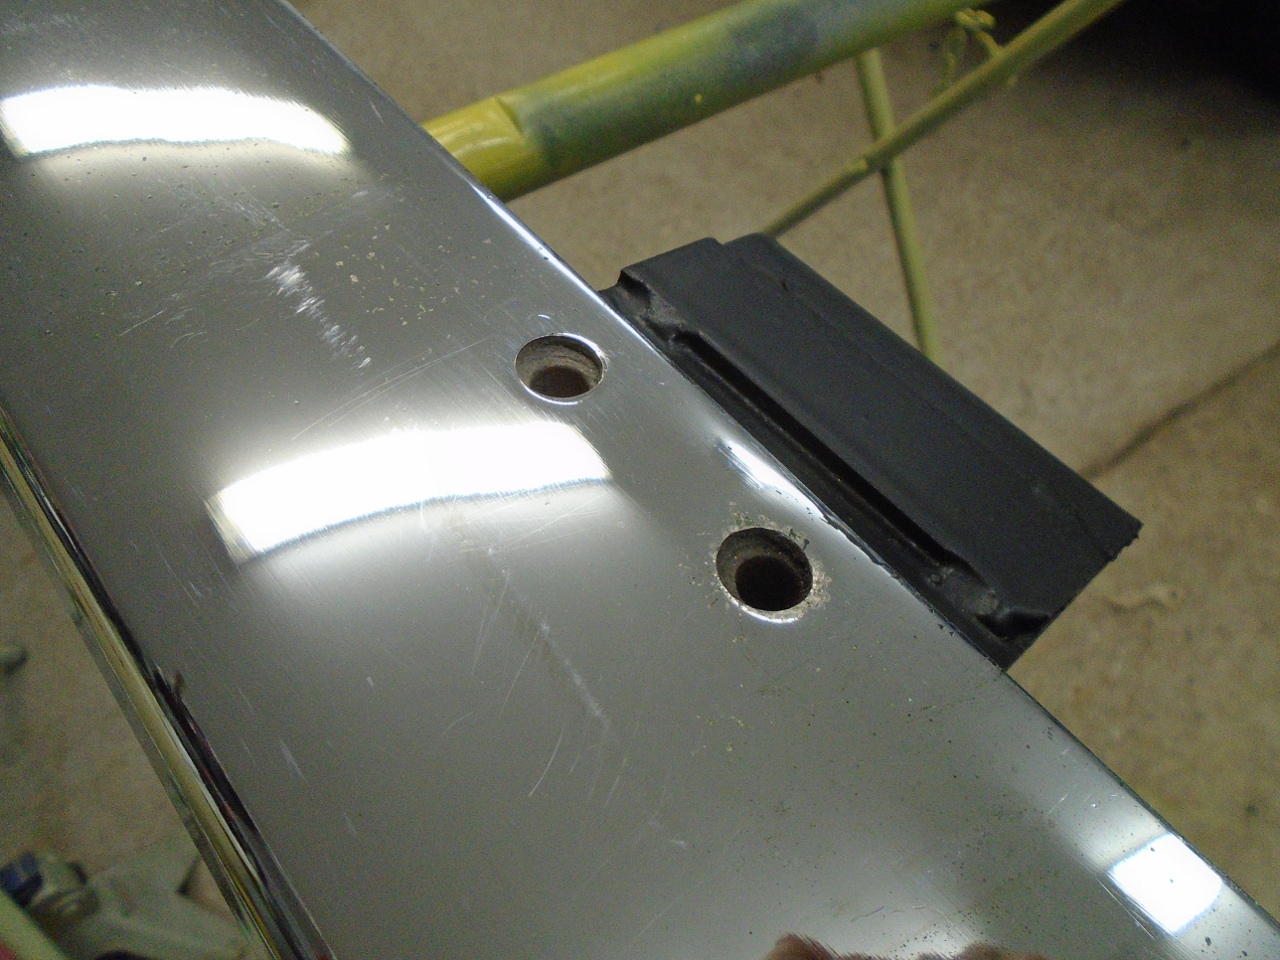
Now ready to mount the bumper. First some fiber pads to protect the paint.

Hides the spoiler nicely.
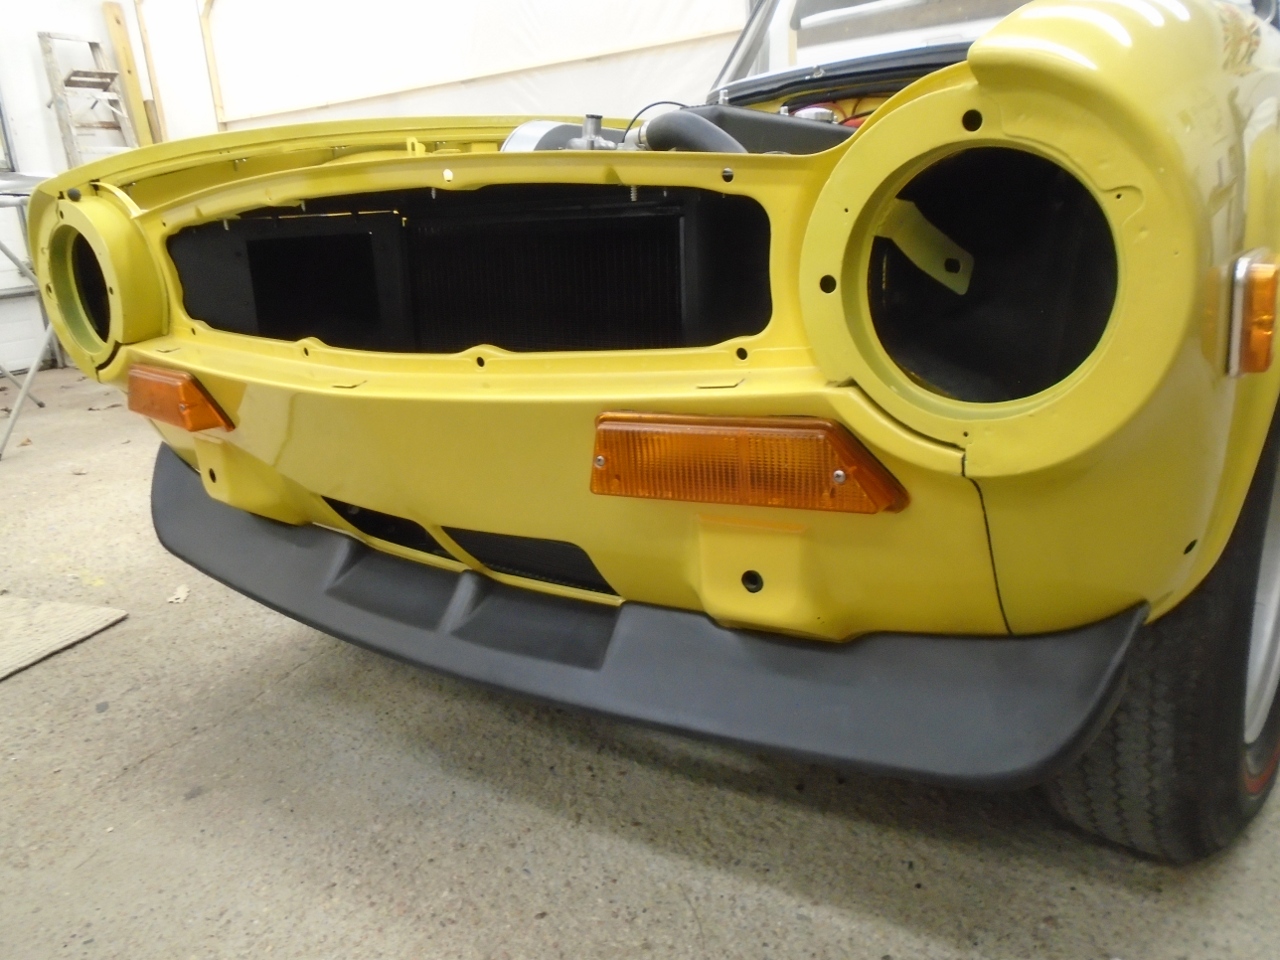
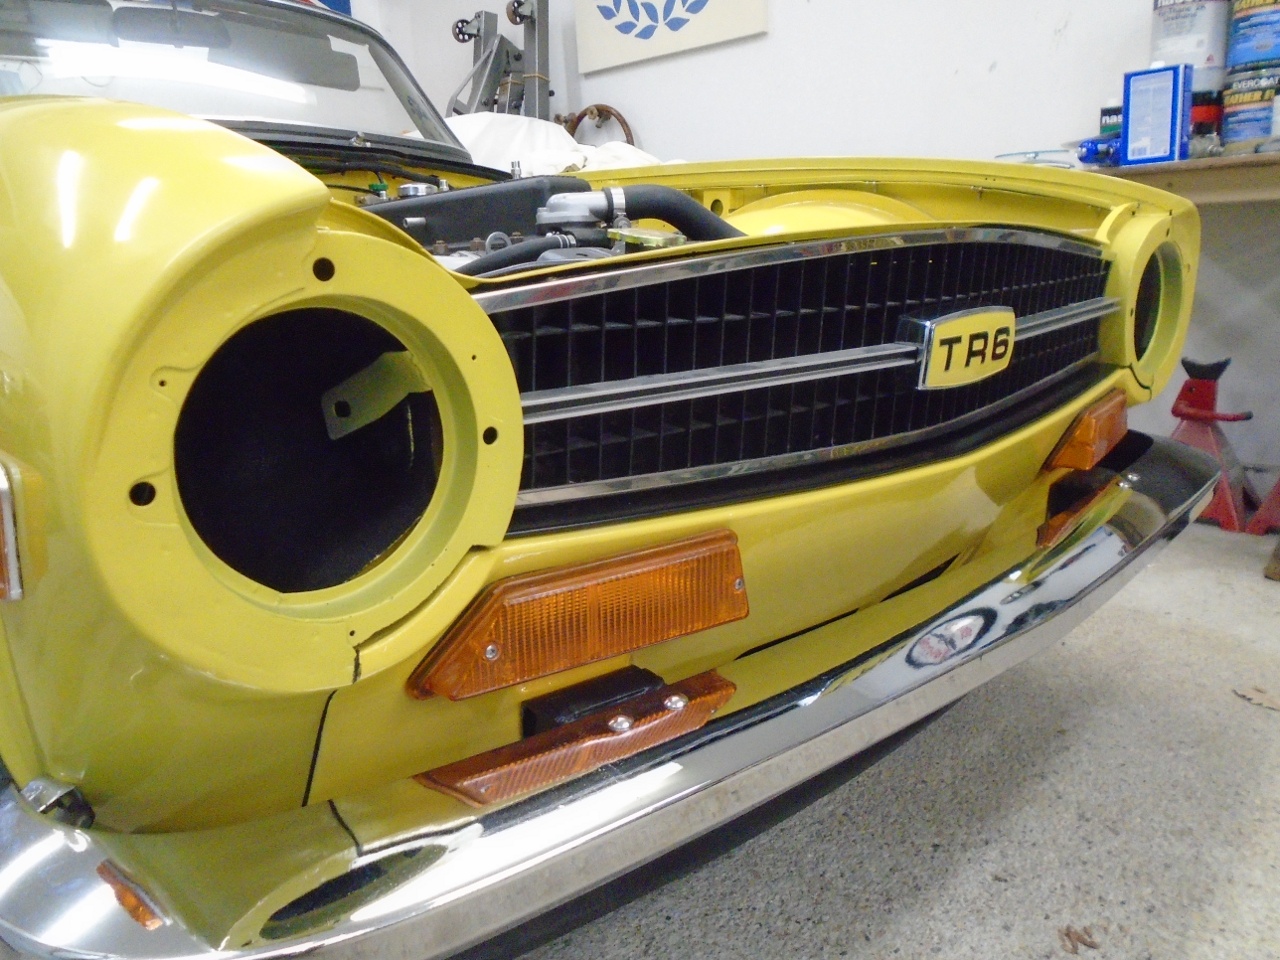
Grille
There
a few design features on the TR6 that are iconic, and I consider the
front grille one of them. The first step in preparing for
mounting the grille is to black out the body color behind it.
This sets off the beautiful grille against a totally black
background. There is evidence that this was done at the factory
by hand with a brush, but I decided to spray it.
To me, the blacked out opening is reminiscent of the intake of a jet aircraft.
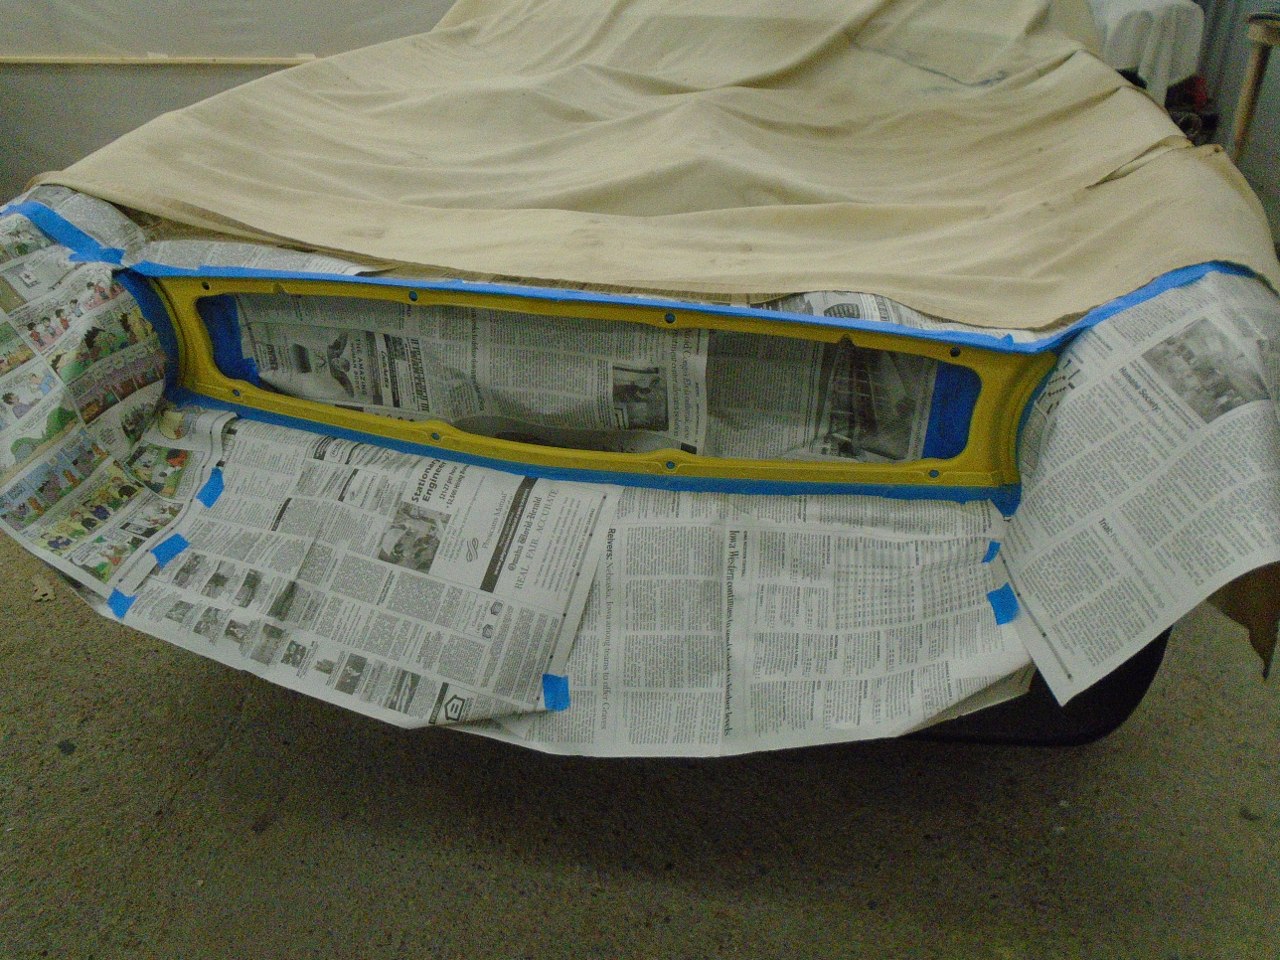

Also, there is a black trim strip that goes under the grille. Mine was nearly rusted away, so I got a new one.

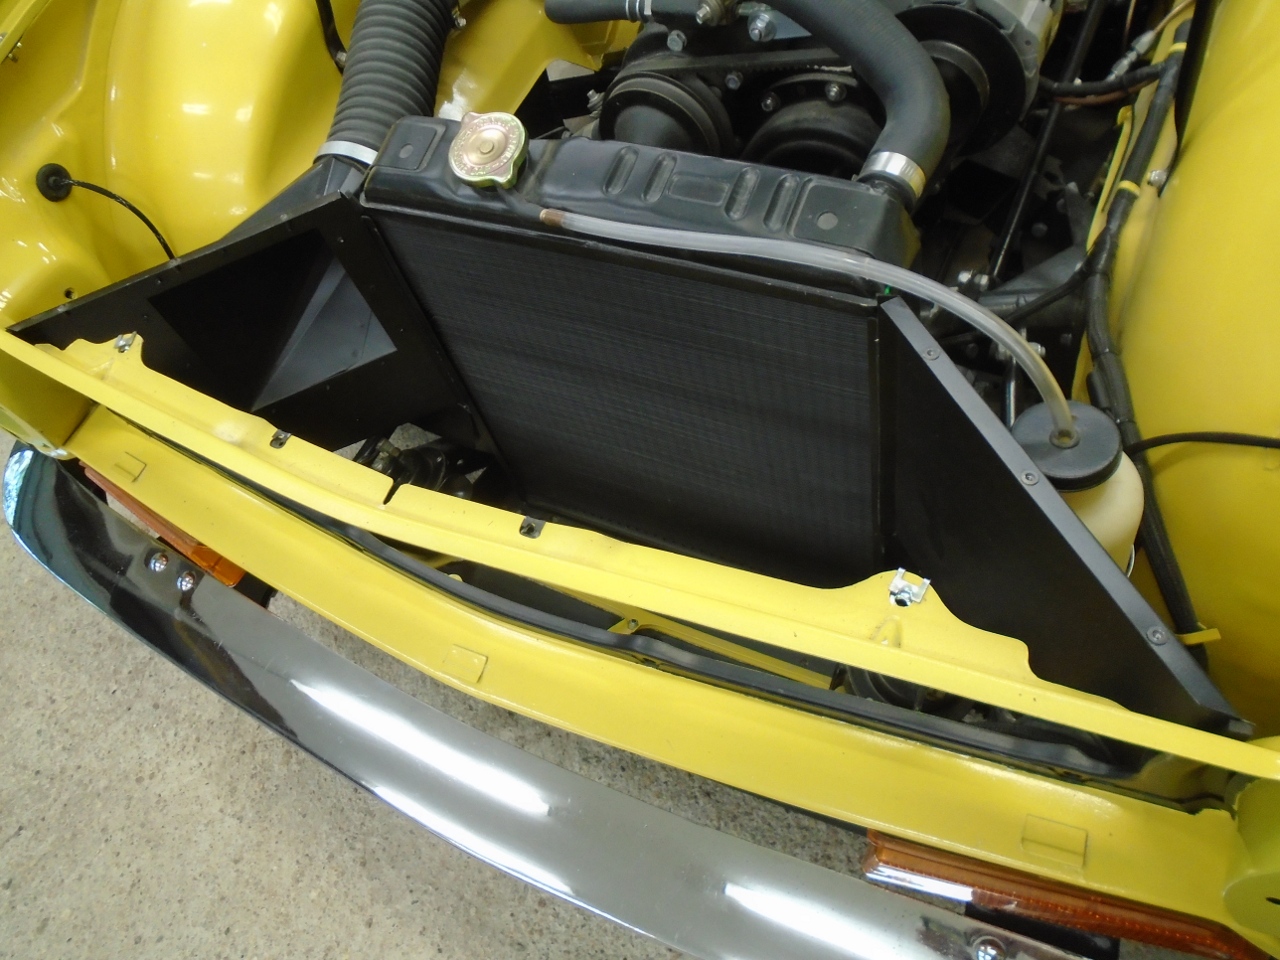
To
attach the grill, I needed access to the back side of the opening.
It's lucky that I made the radiator shroud in three pieces so I
could just remove the top.
I dug out the re-done grille from the store room.
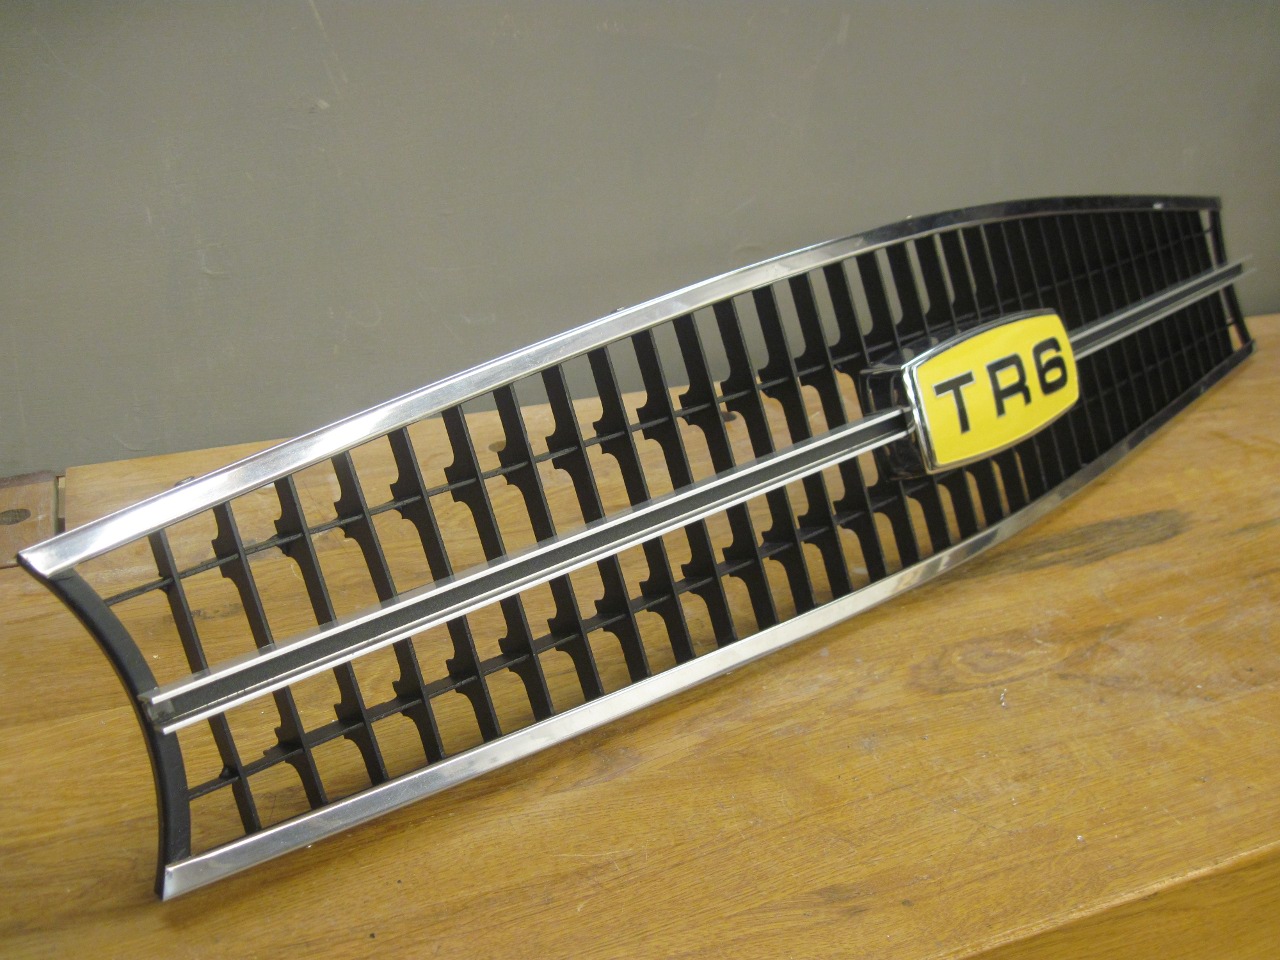
I'm not totally sure I'm in love with the yellow badge. I'll live with it for a while.
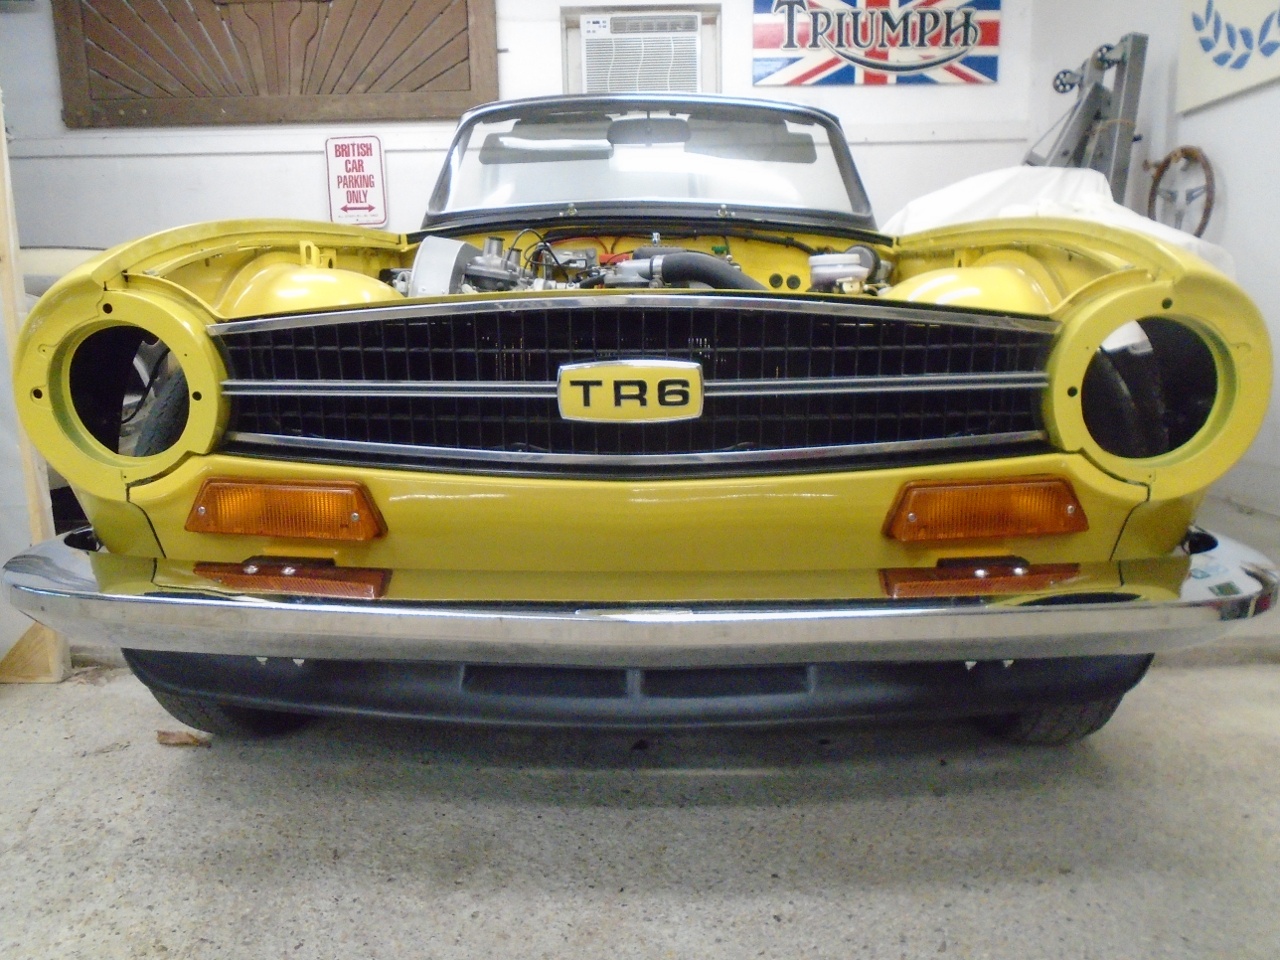
I'd
like to put the headlights in, but they have to wait until the bonnet
hinges are installed, and the hinges aren't painted yet.
This car is getting so close to running I can smell it. Bonnet is next.
Comments to Ed at elhollin1@yahoo.com
To my other TR6 pages