To my other TR6 pages.
April 26, 2018
Carpet & Other Interior
Of
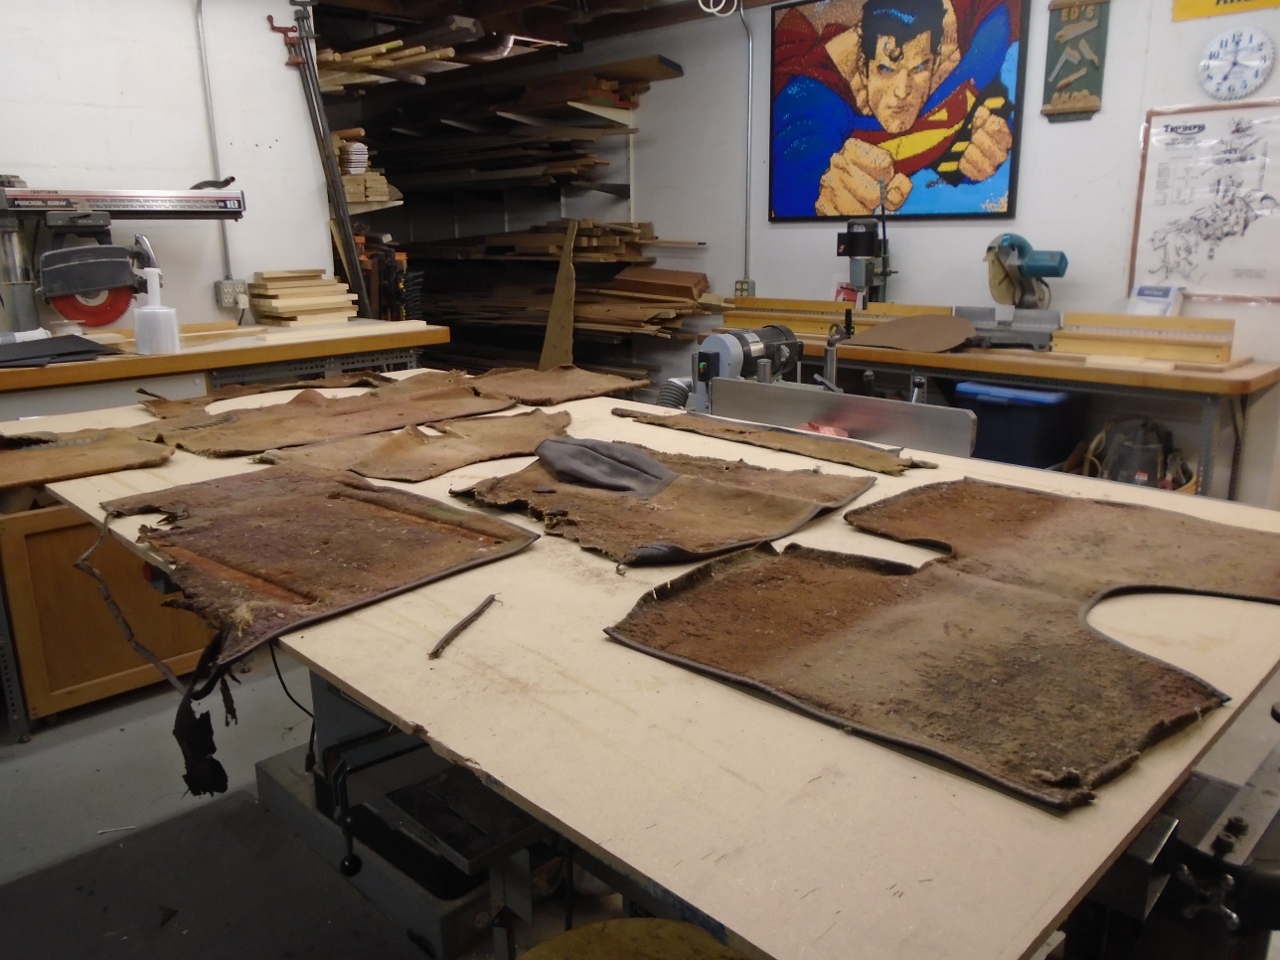
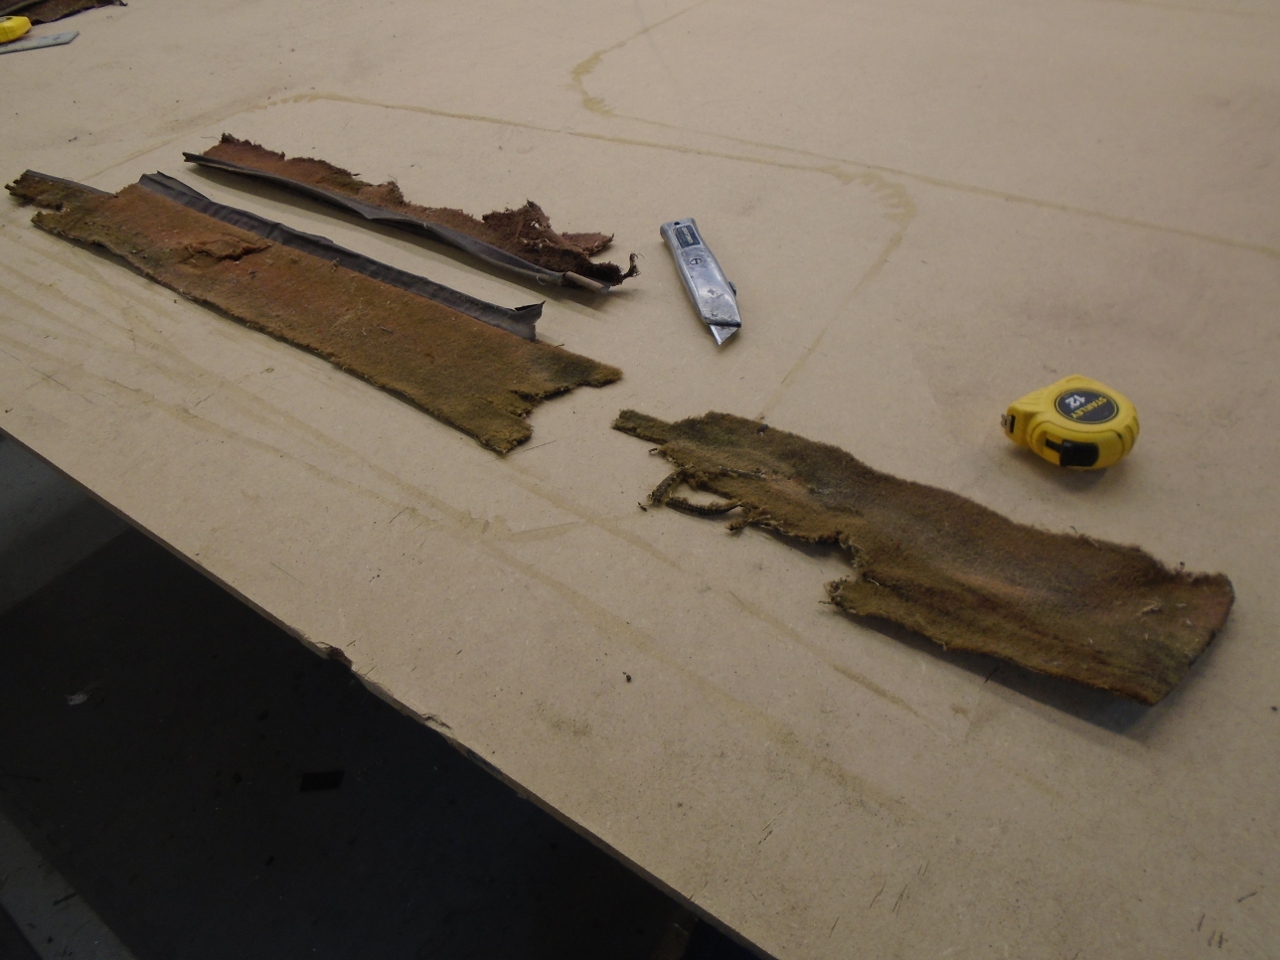
all the beat down, used up, worn out parts of this car, probably
the carpets were the worst. All of that UV radiation, the
occasional soaking, dirt and grime, and just age had reduced the fitted
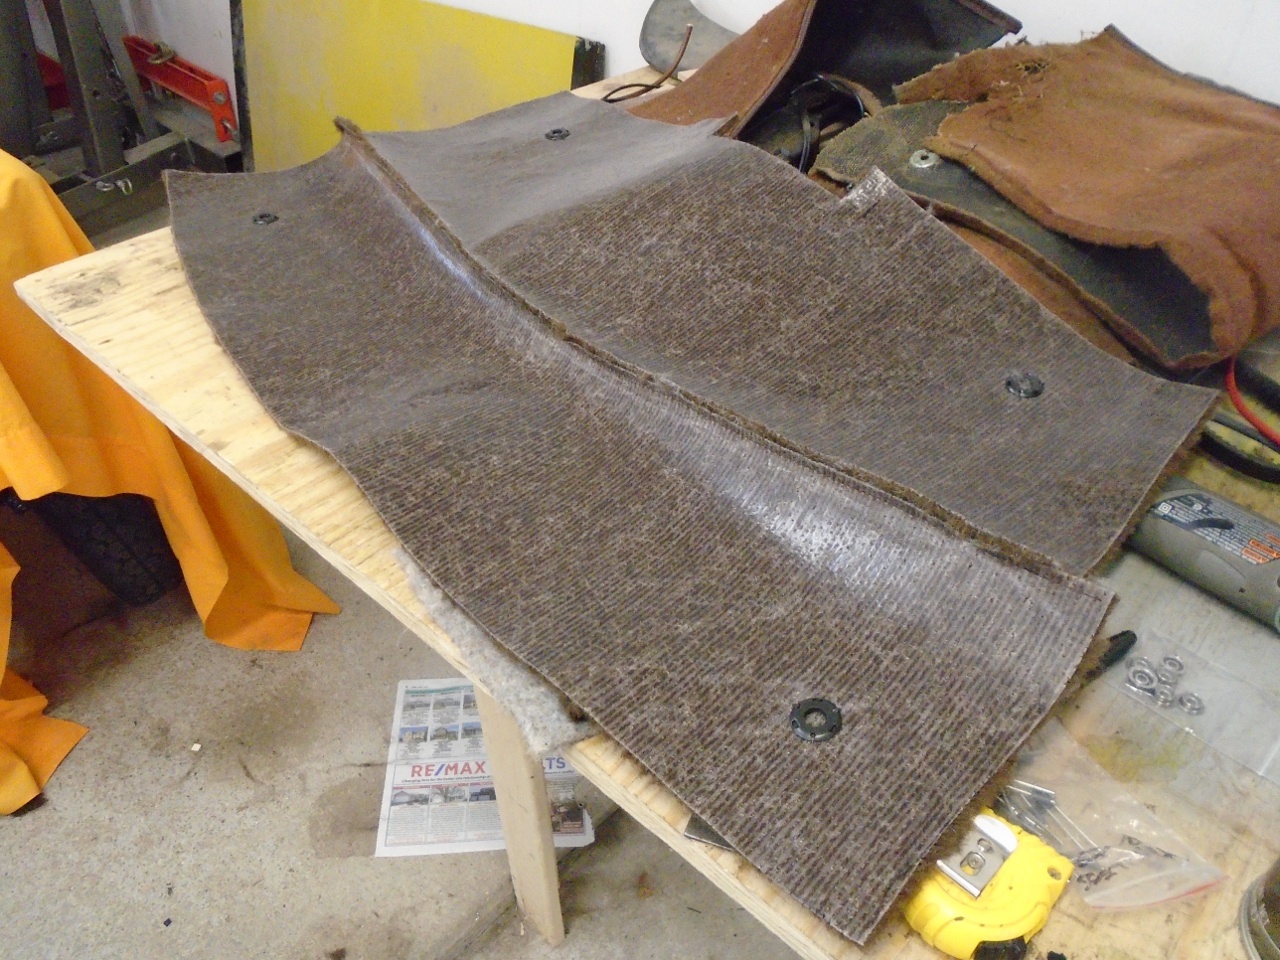
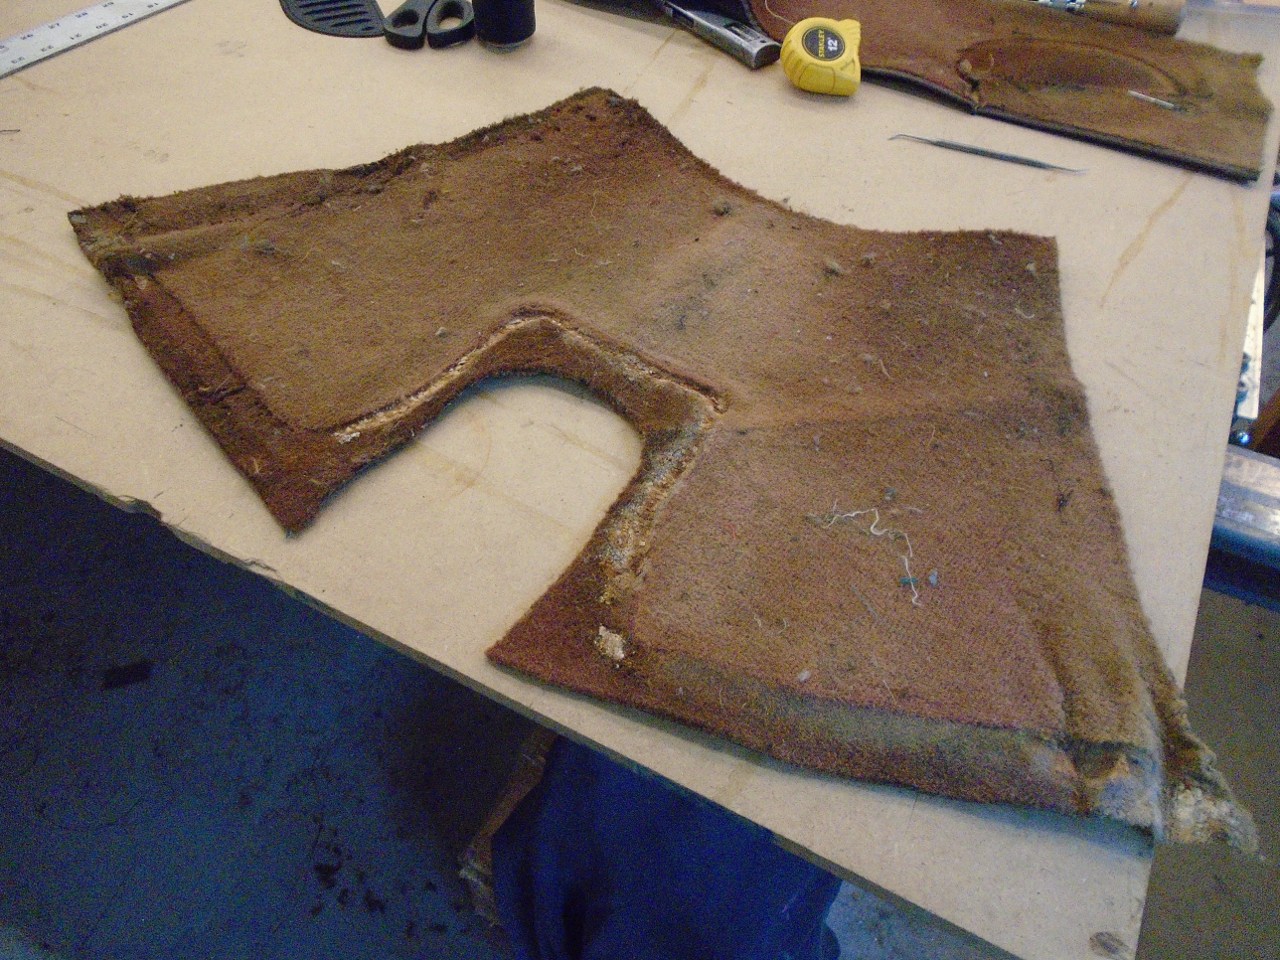
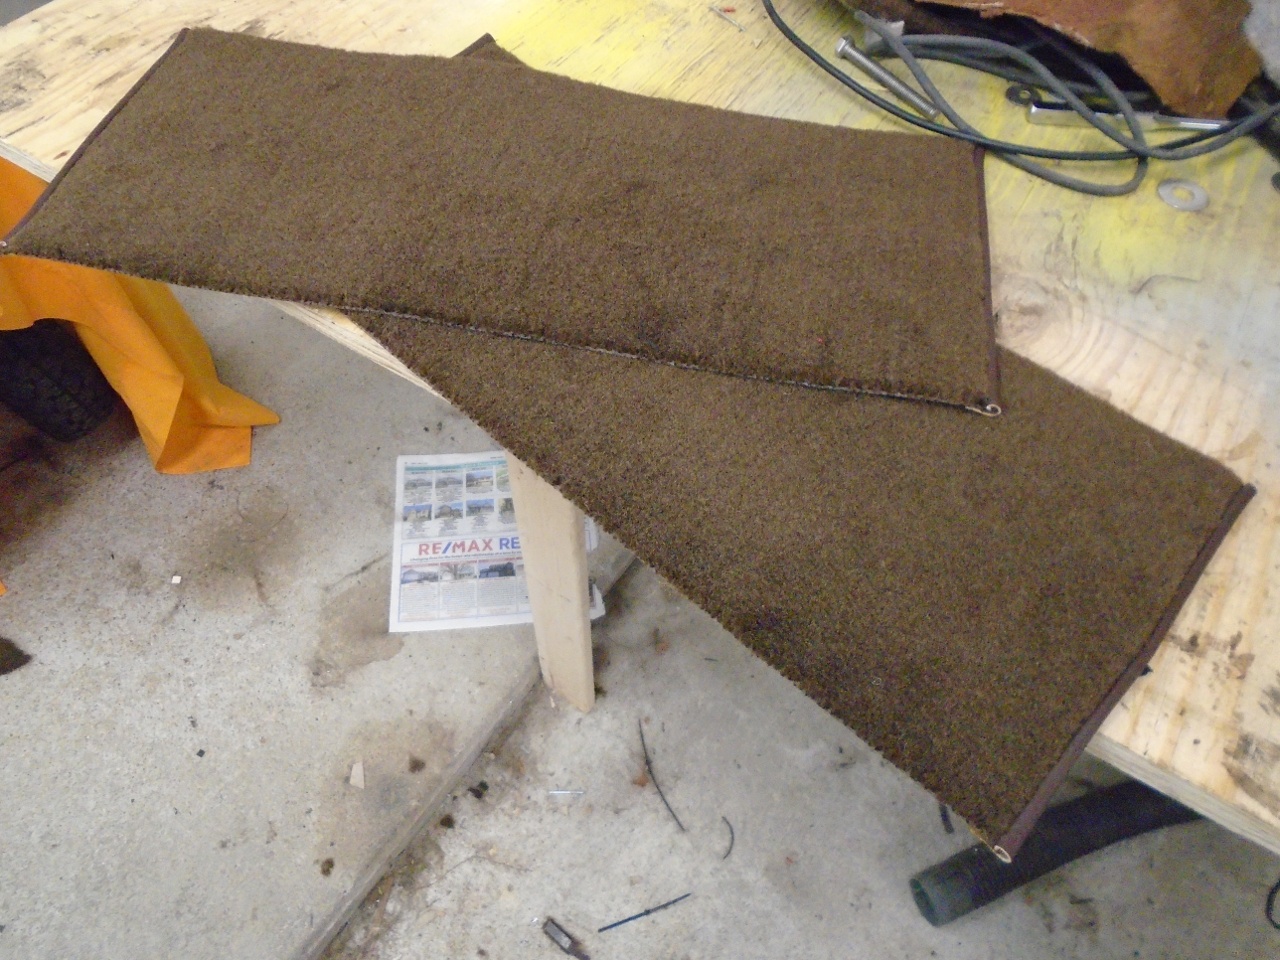
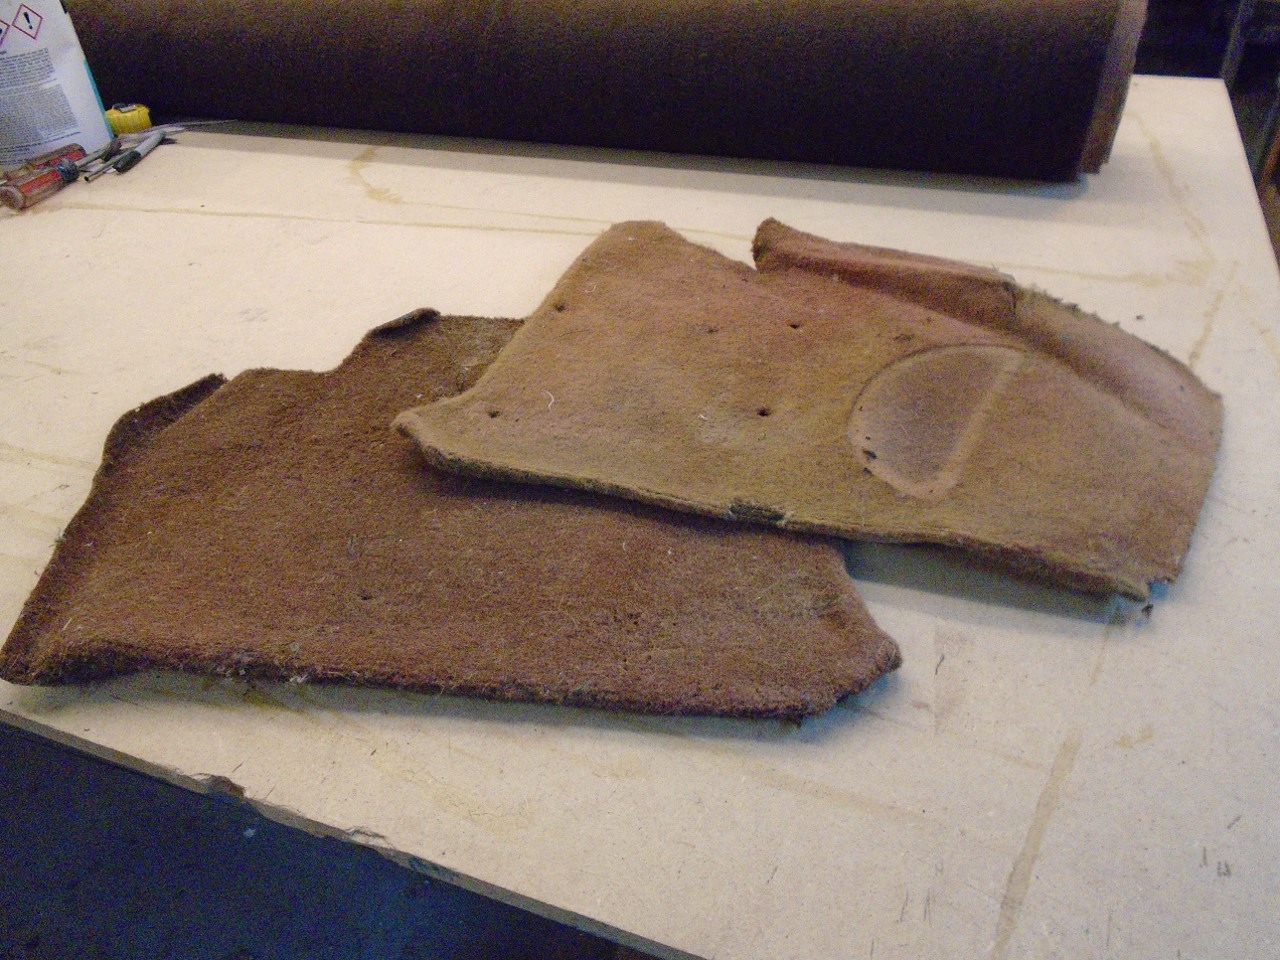
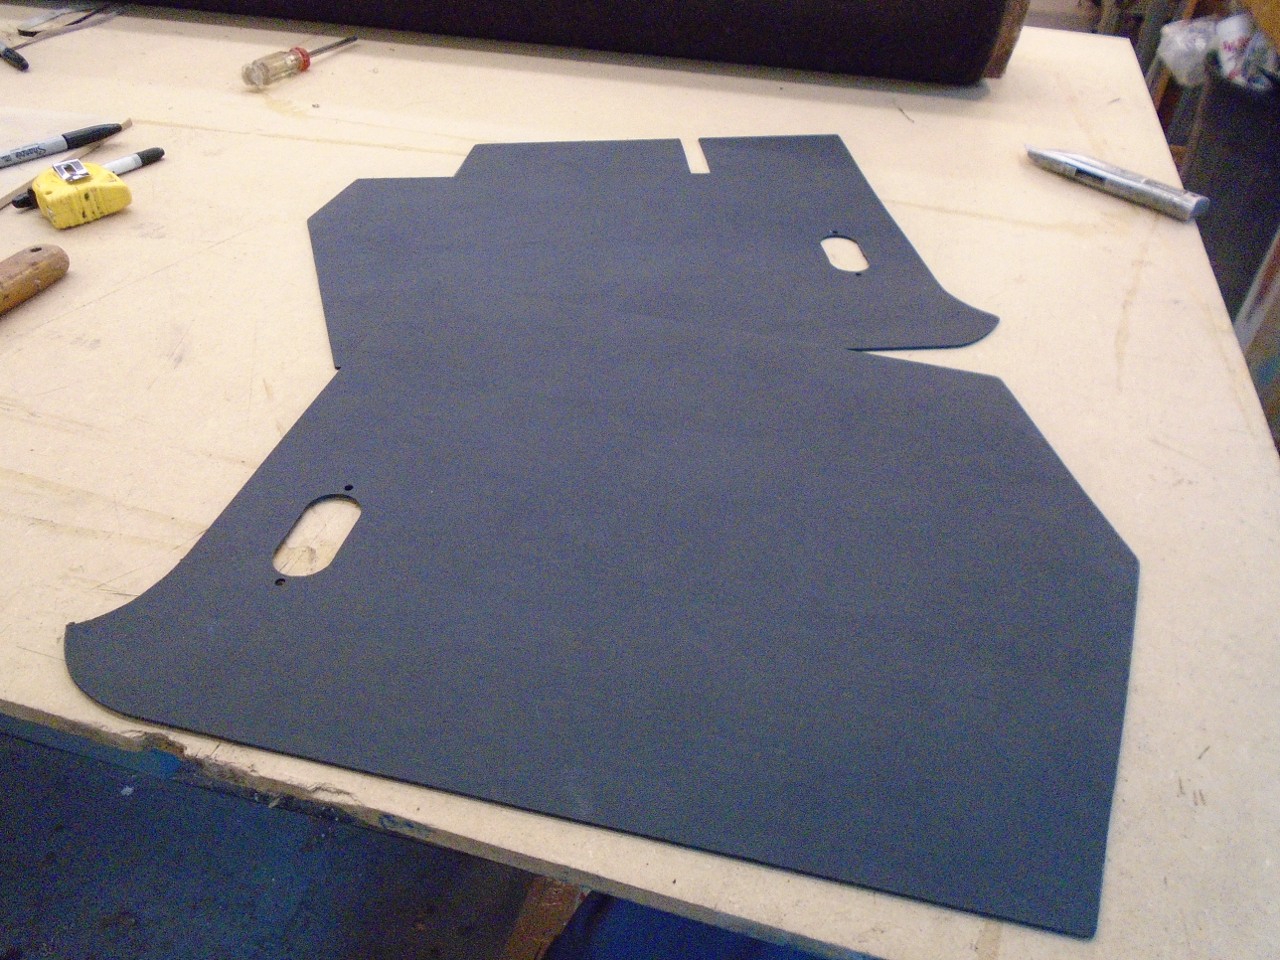
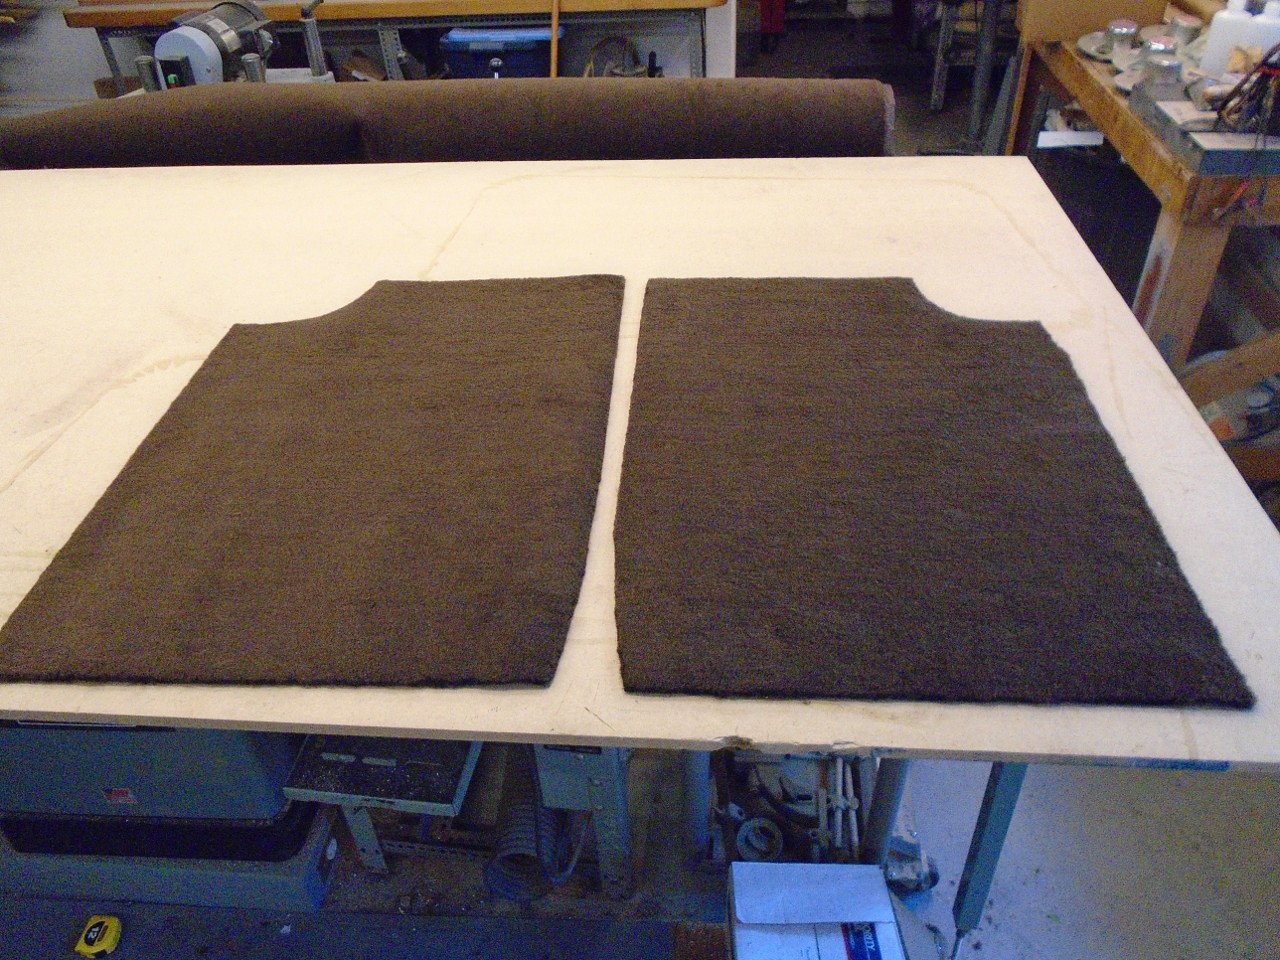
pieces to faded, threadbare rags in some places. I laid out
the remains of the carpet set on my work table to get an idea of how
they once fit together. Some pieces were missing altogether.
Carpet
sets for the TR6 are readily available from multiple vendors in many
colors and qualities, and buying one of them would be a totally
reasonable thing to do. On the other hand, it would be a nice
challenge to try to try to make a set from scratch. That approach
would better fit the spirit of the overall restoration project, and
besides, I had this new sewing machine that I told my wife I'd be using
for all kinds of things. So, before came to my senses and reconsidered, I ordered a
few yards of automotive carpet and some jute pad.
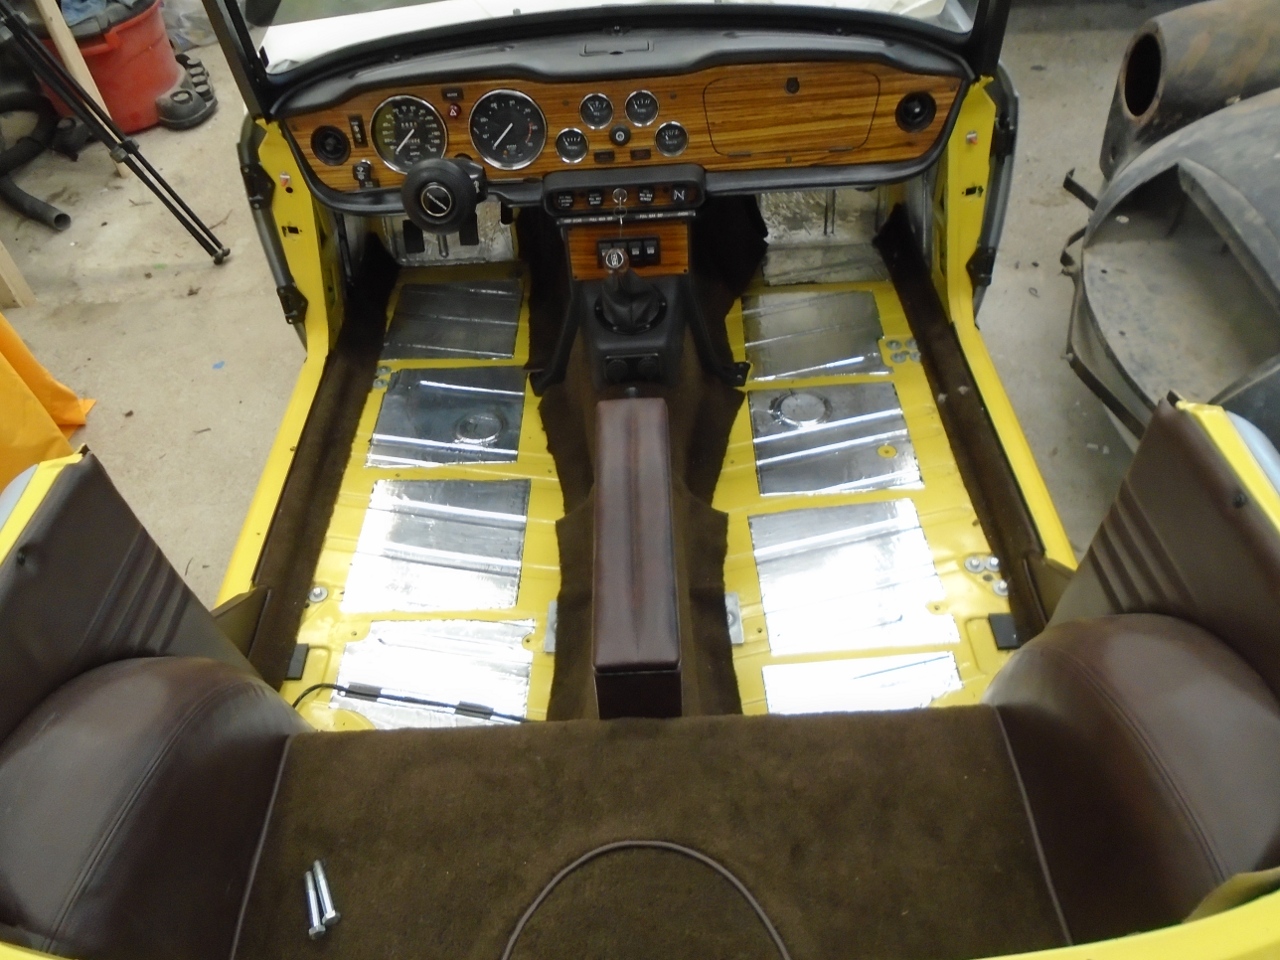
While waiting
for the materials to arrive, I did some prep work. I added some
CLD (Constrained Layer Dampening) pads to some of the larger panels to
reduce vibration noise. CLD is the modern version of the
bituminous pads the factory afixed to the body at key places.
When a flat sheet metal panel has large unsupported areas, it can be
set to vibrating by natural motions of the car. CLD pads work in
two ways: they increase the mass of the panel, which lowers the
resonant frequency, and they damp motion by absorbing mechanical
energy from the vibration. CLD is most effective near the center
of unsupported areas. There isn't much to be gained by applying
it near the edges of a panel where the panel is constrained.
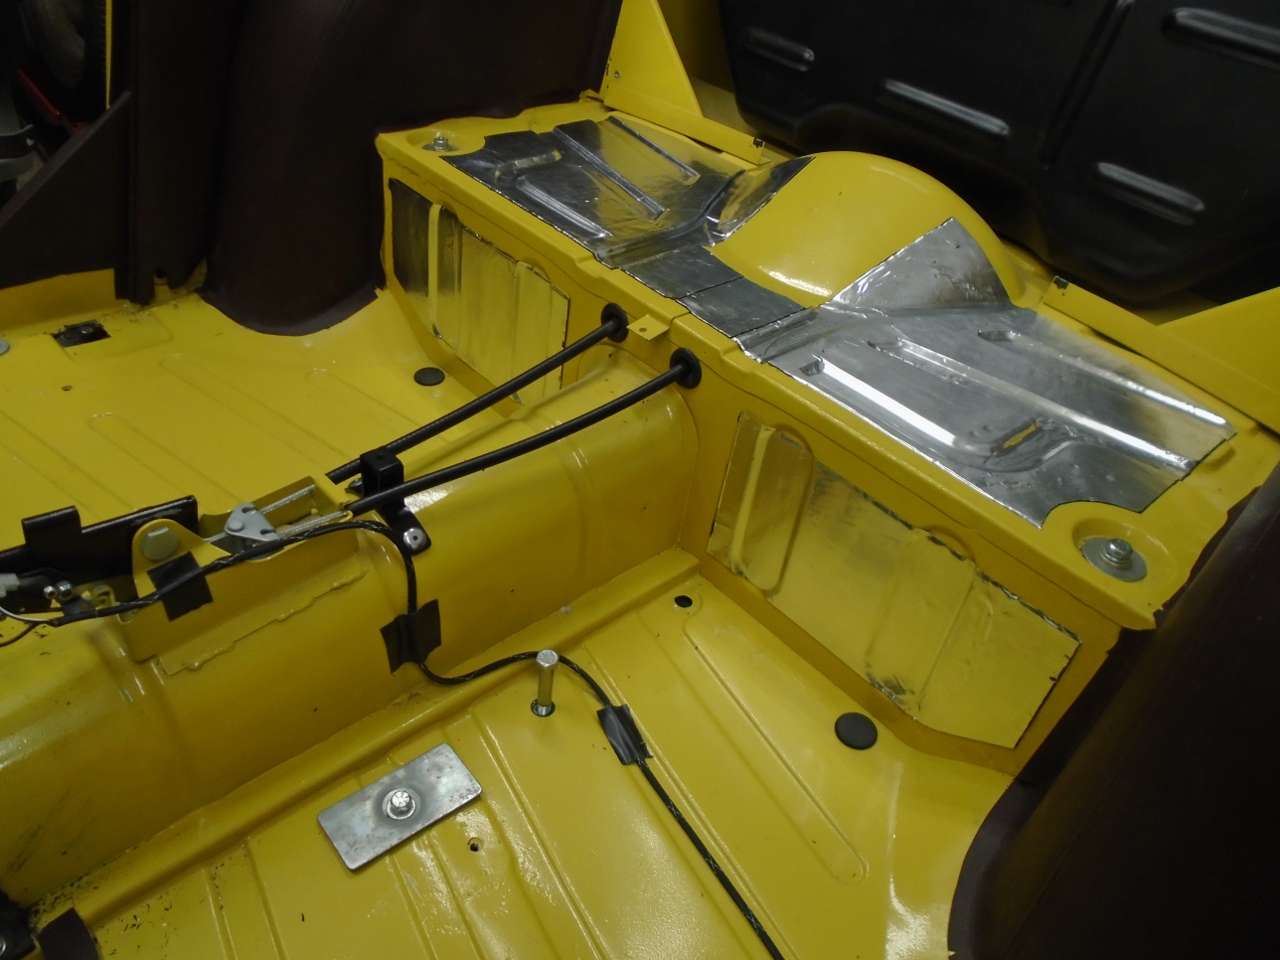
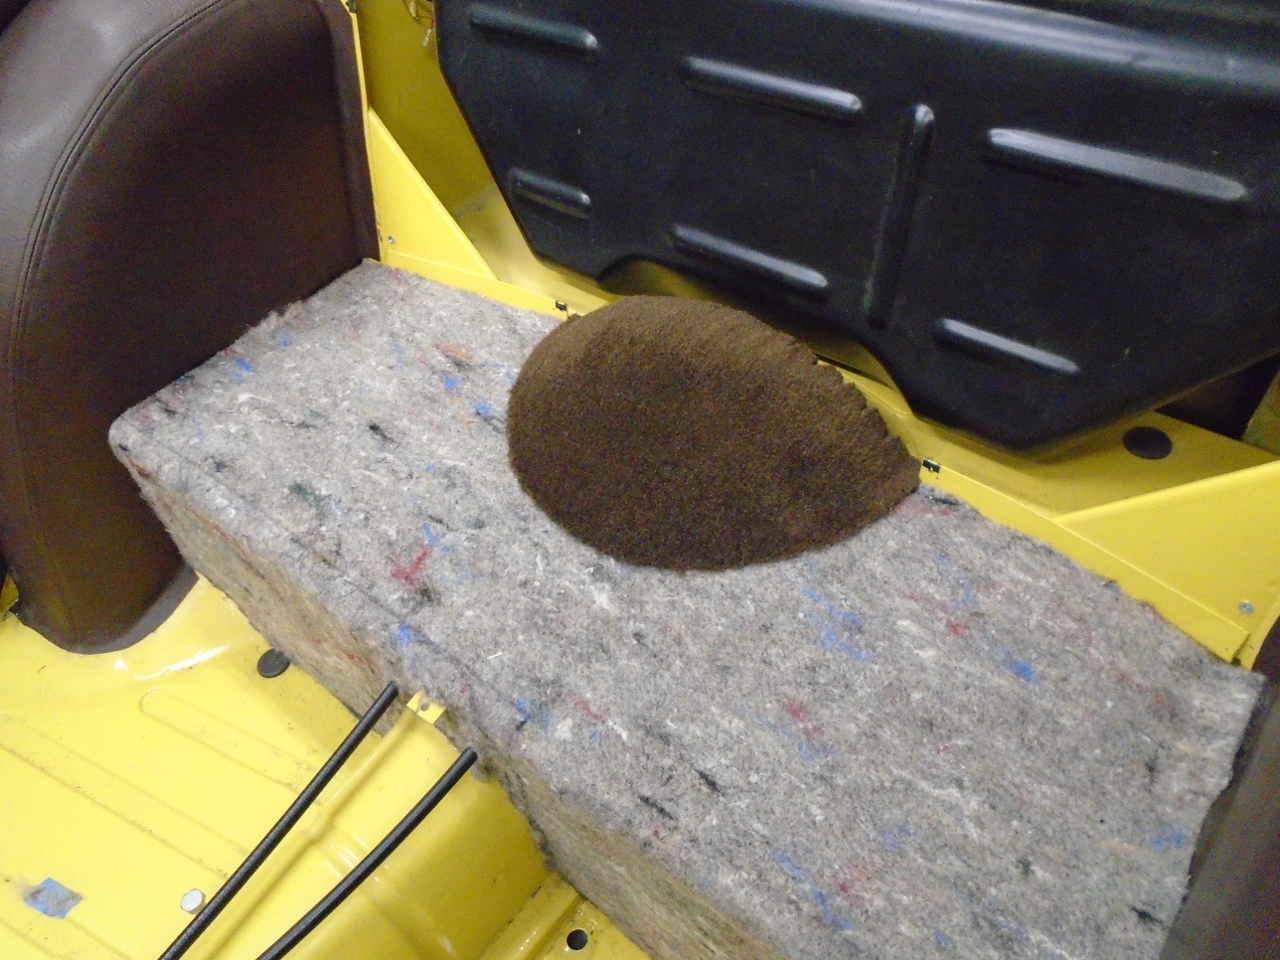
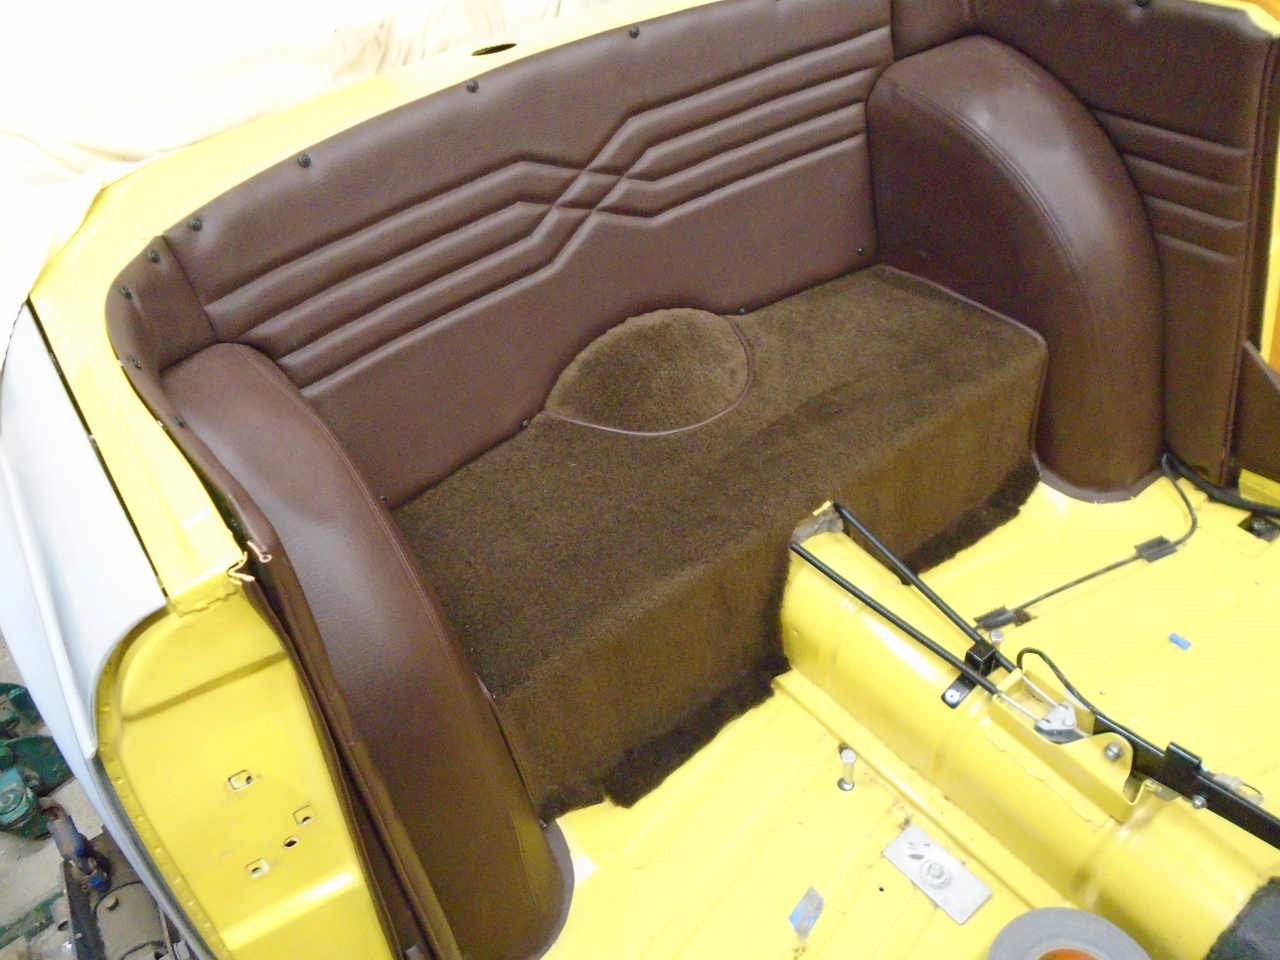
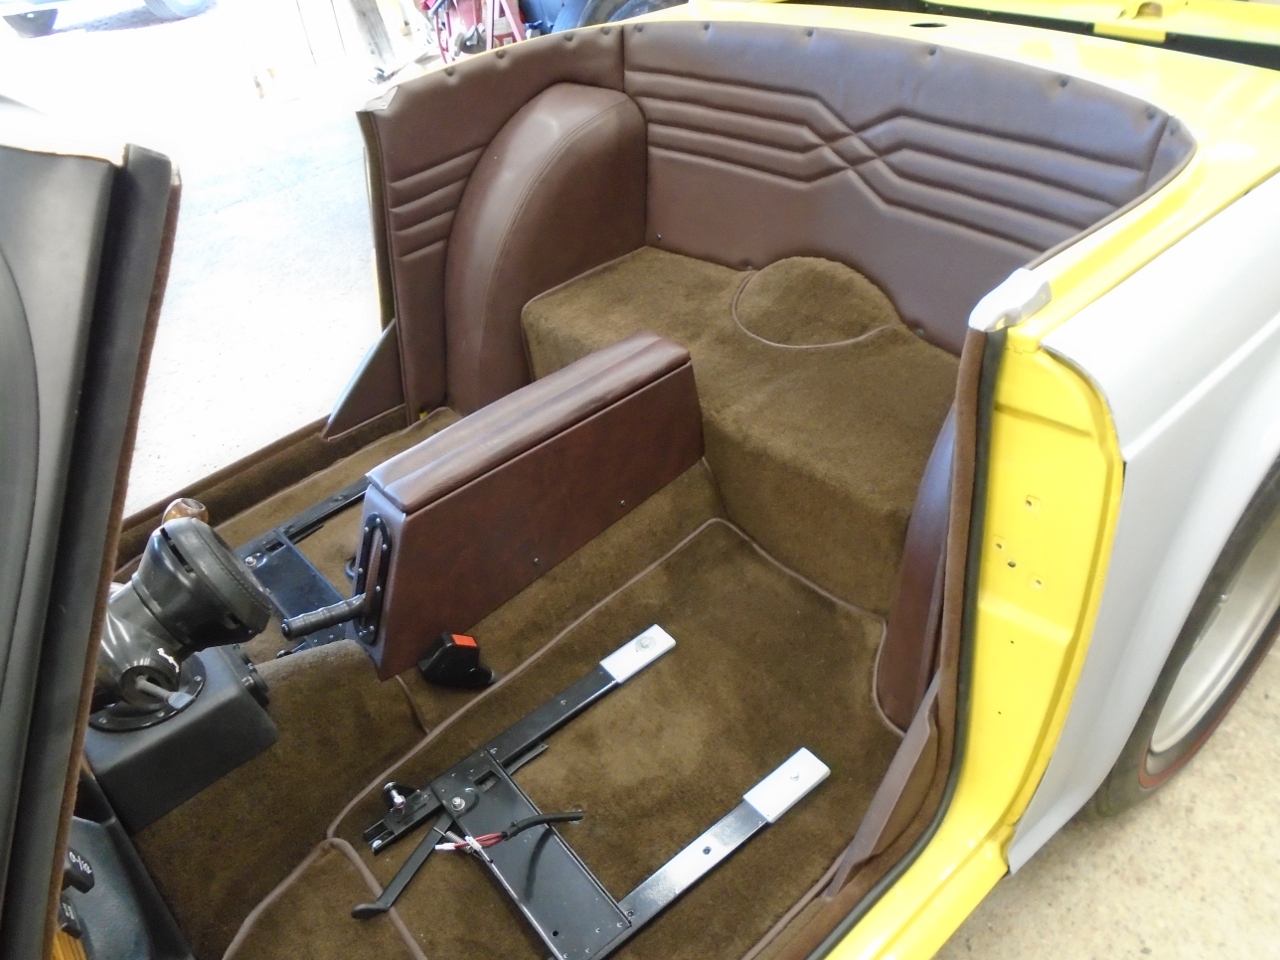
When
the supplies arrived, I decided to start at the rear. I used the
old carpet piece as a pattern for the jute padding to go on the shelf
behind the seats. Then glued the jute down.
This is the little piece that goes on the diff hump.
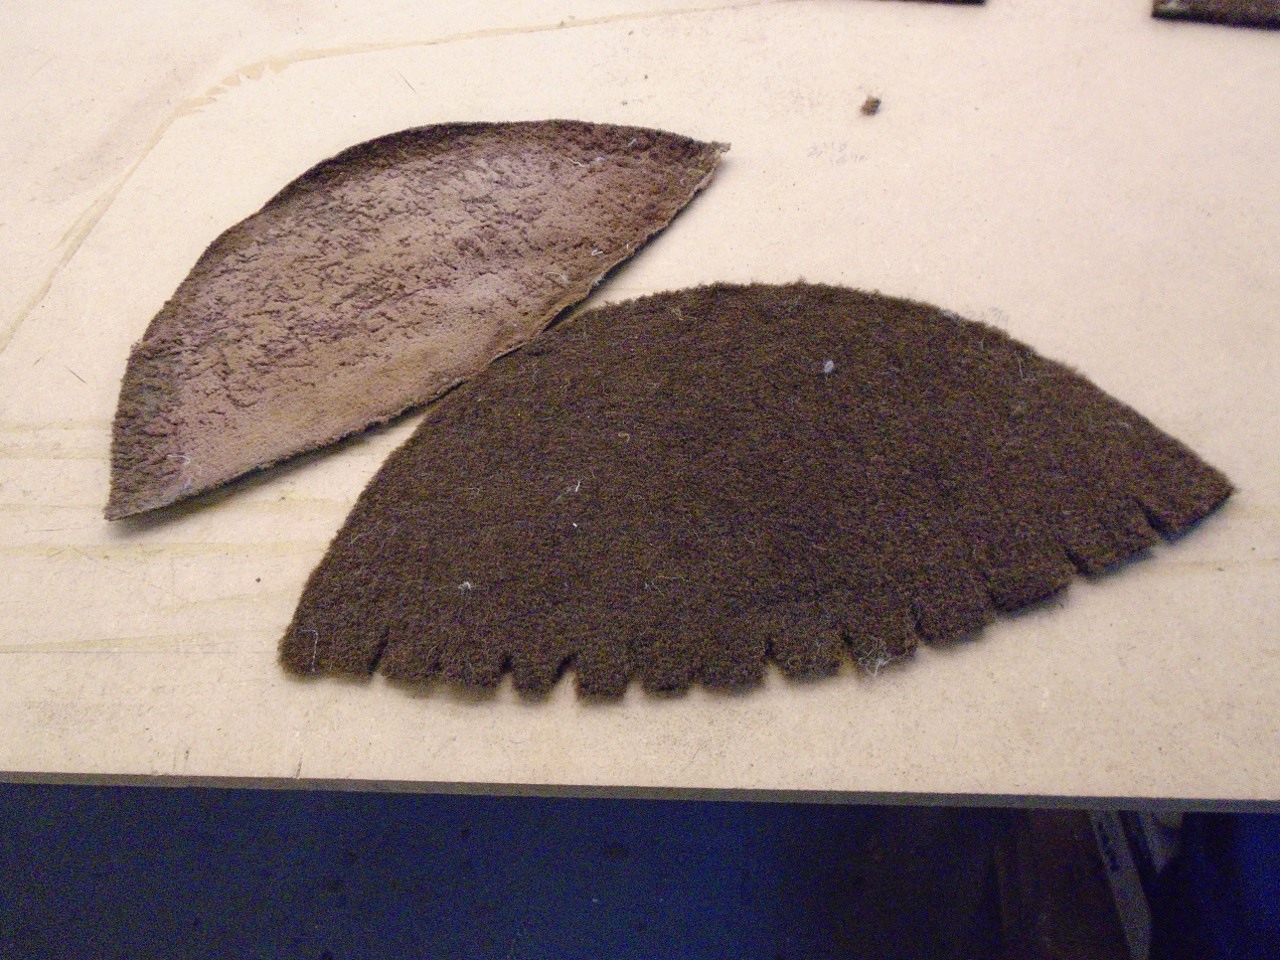
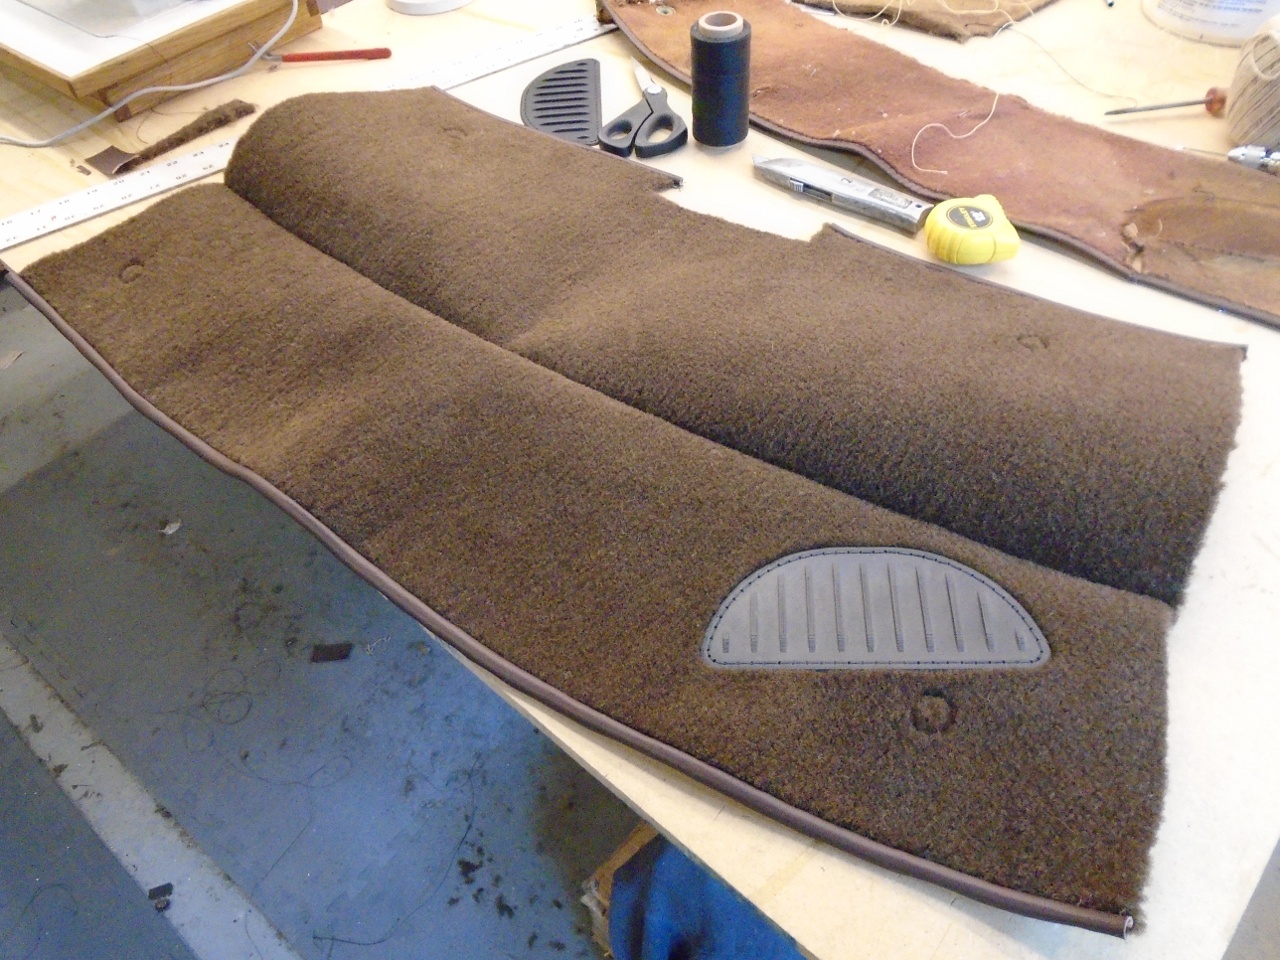
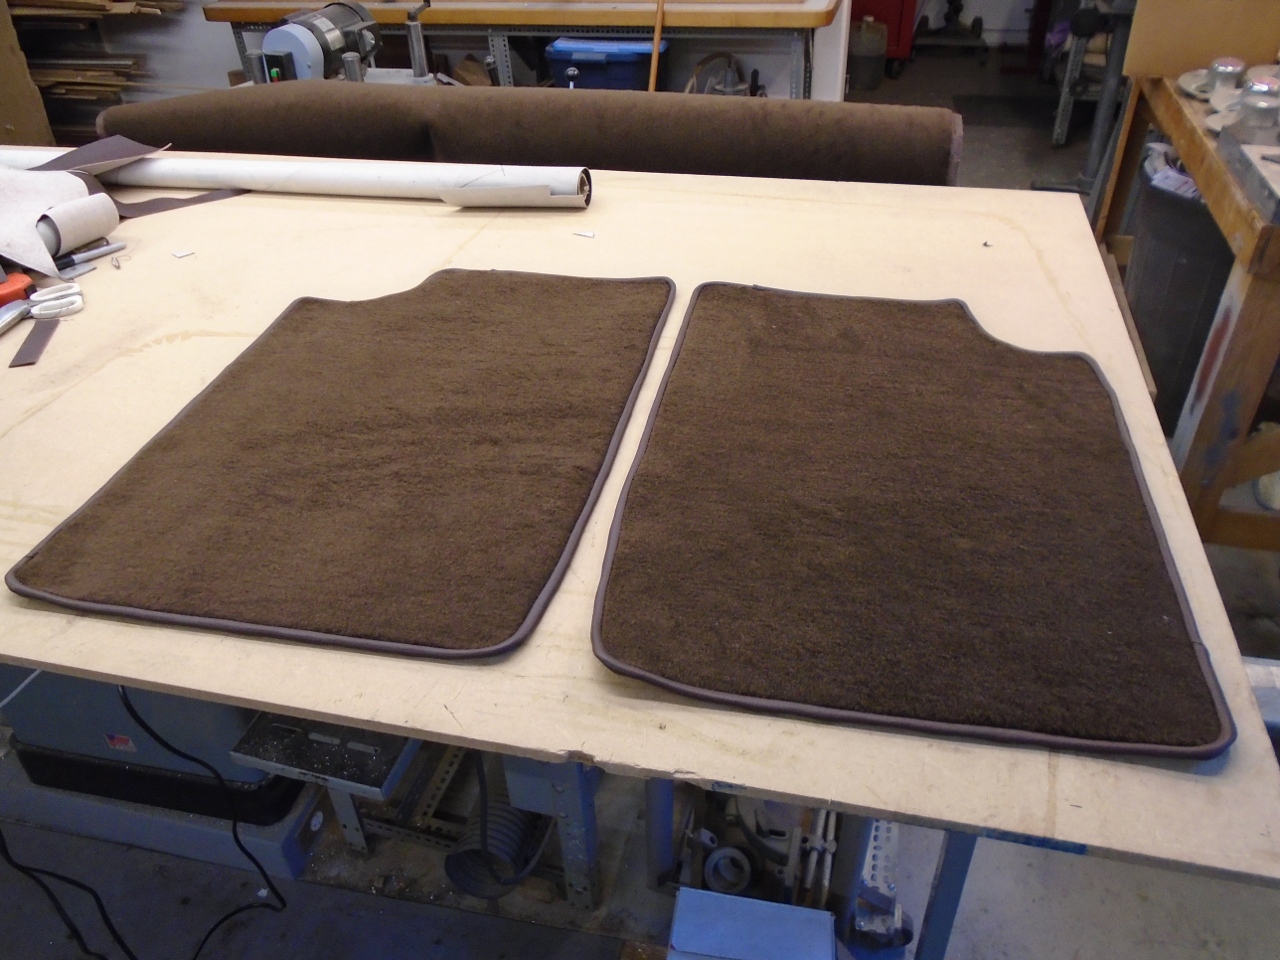
And
the shelf carpet piece, also made from the old carpet pattern. I
thought a long time on how to do the carpet edge binding. The
carpet I used doesn't have a woven backing, so it technically doesn't
need to be bound, but binding gives a much more finished look.
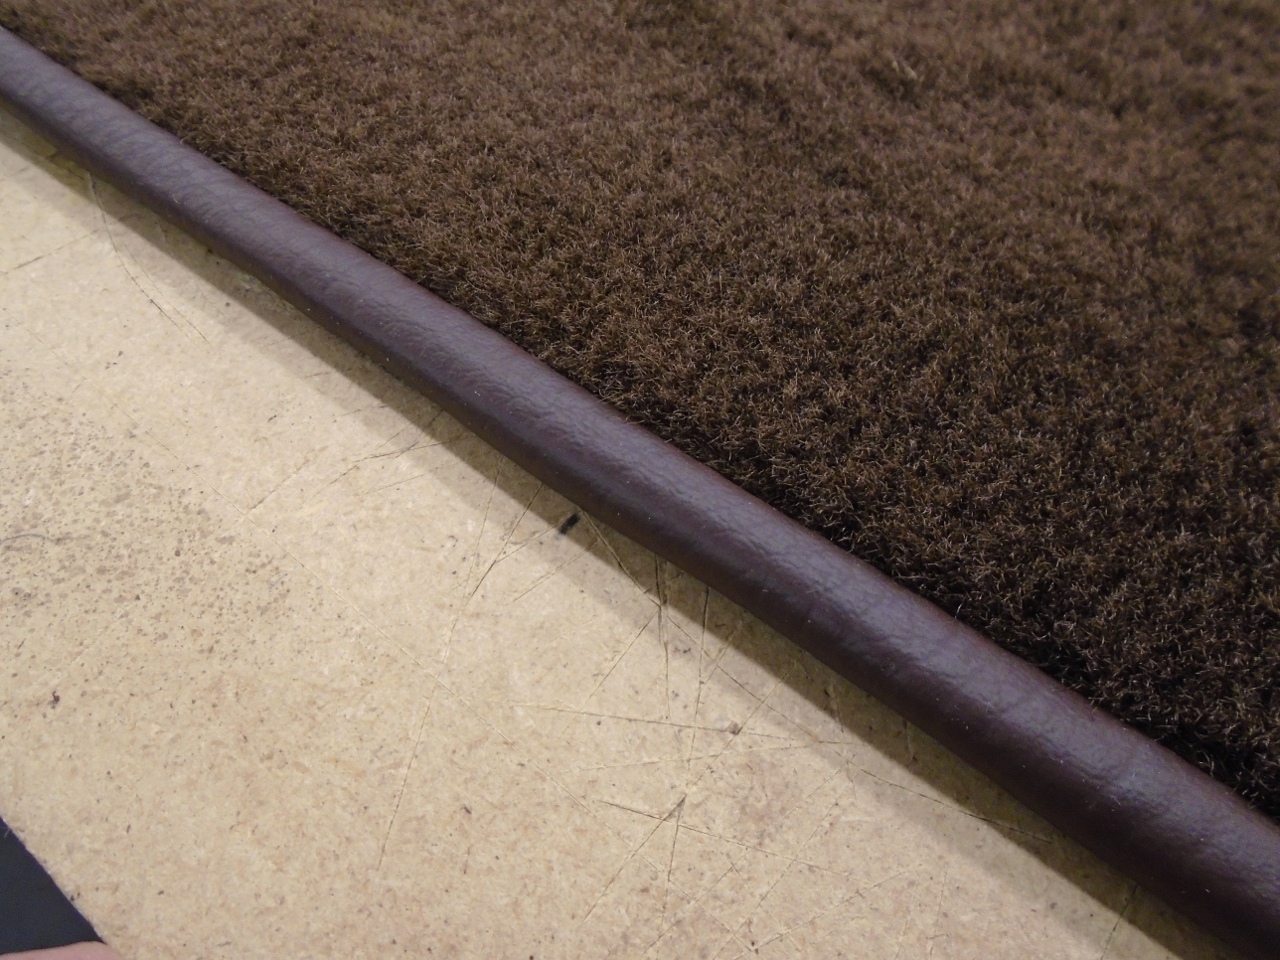
What I ended up doing is using strips of the same vinyl I used
for the interior vertical panels. The vinyl strips were sewn to
the carpet face to face, and then the vinyl was wrapped around the
edge, and glued on the backside of the carpet. This hides the
stitching, which is a good thing, since I'm still a little green on
this sewing thing.
Then glued the carpet pieces down, and added the rear vinyl panel to see how it would look.
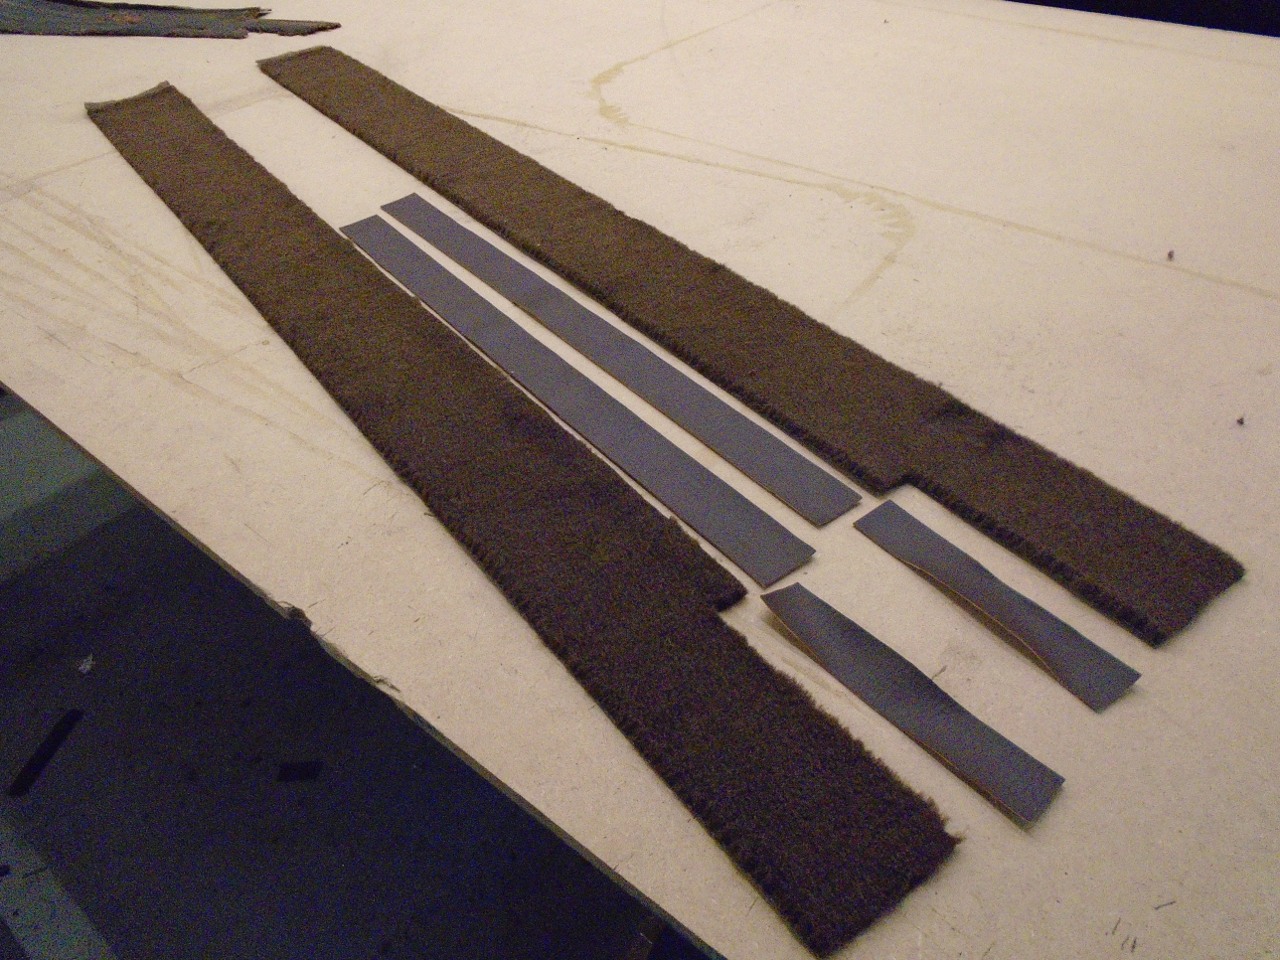
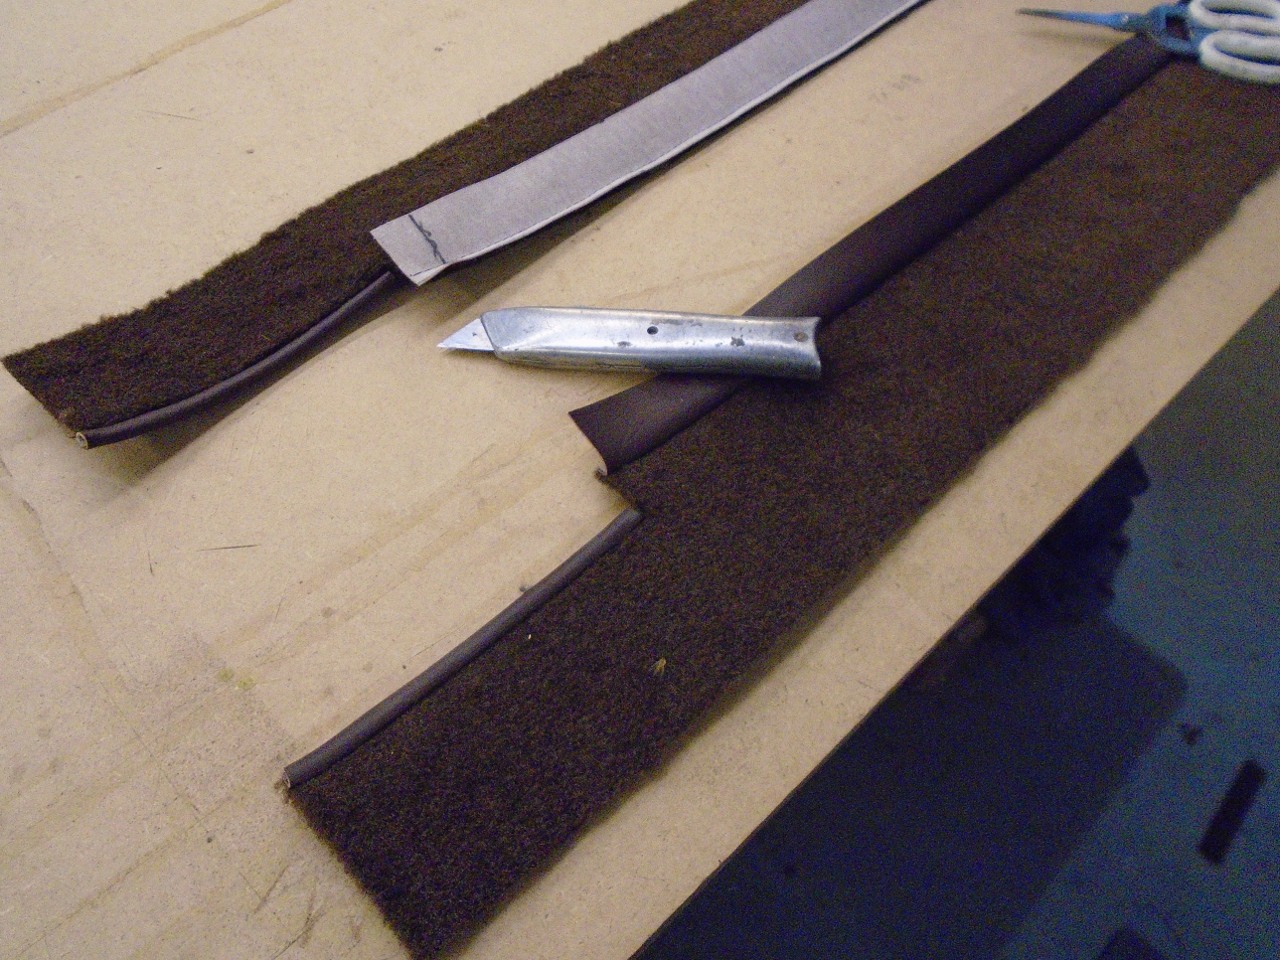
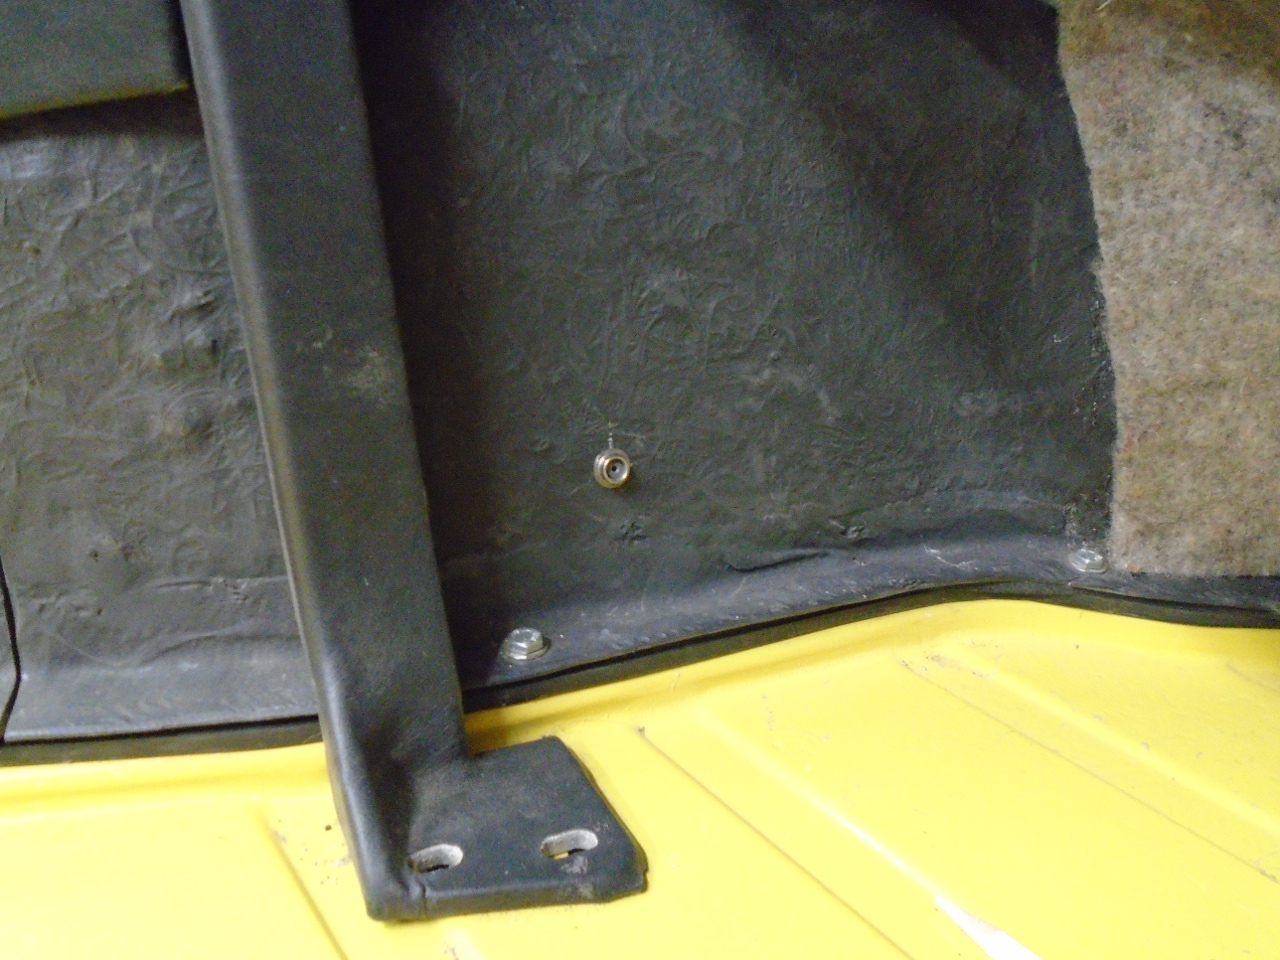
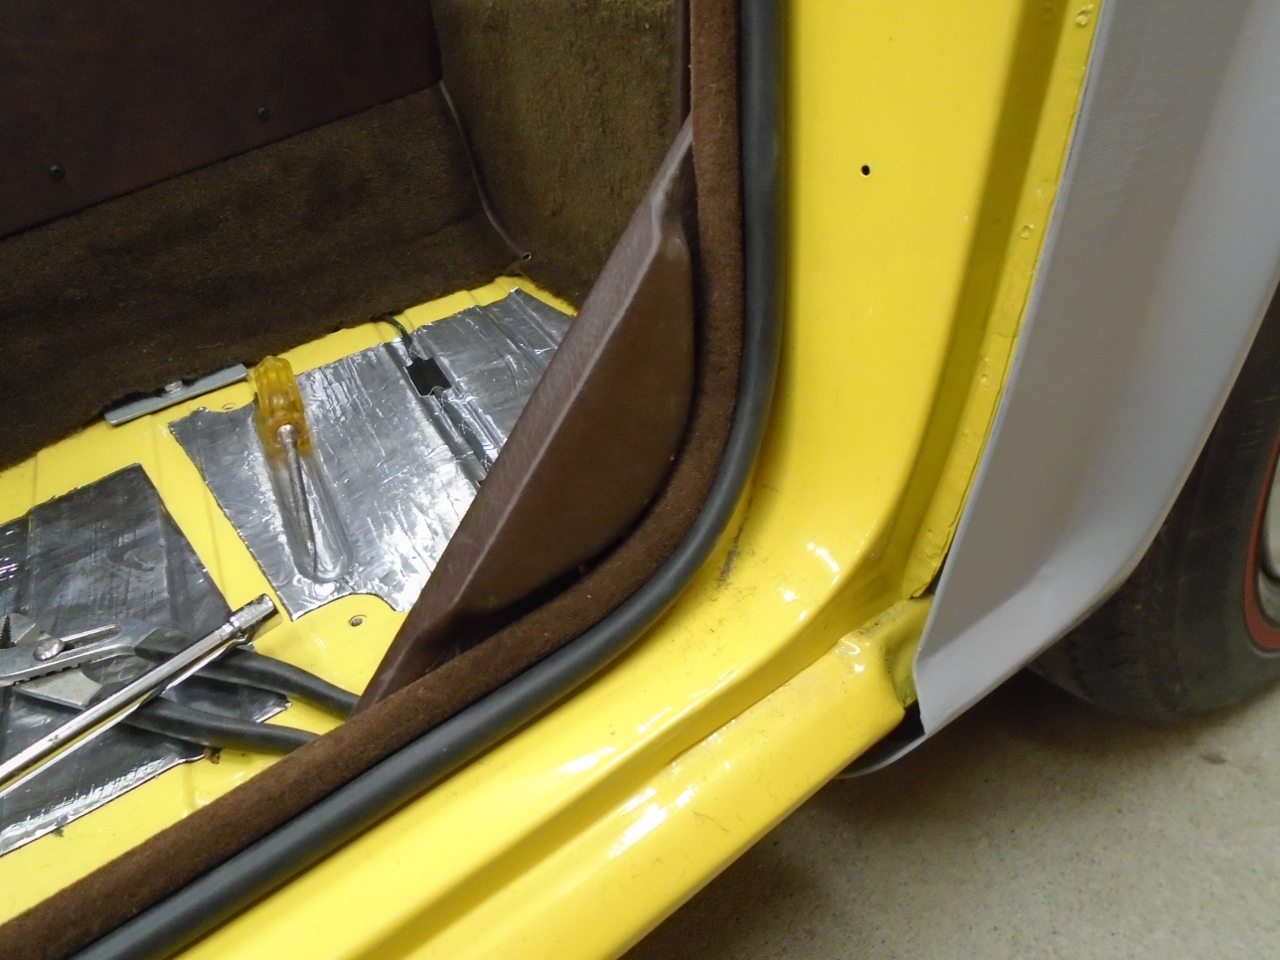
Next
up was the carpet strips along the inner sills. I only had a
couple of shredded remnants to work from, but some catalog pictures
helped. The rear portion of each strip that runs along the door opening gusset is bound normally, but the
center sections have a vinyl strip sewn on that is glued to the flange
joint at the top of the inner sills. That strip gets casptured by the door seal.
Next,
it was back to the front of the cabin to start carpeting the tunnel.
This piece goes on the fire wall around where the gearbox cover
fastens.

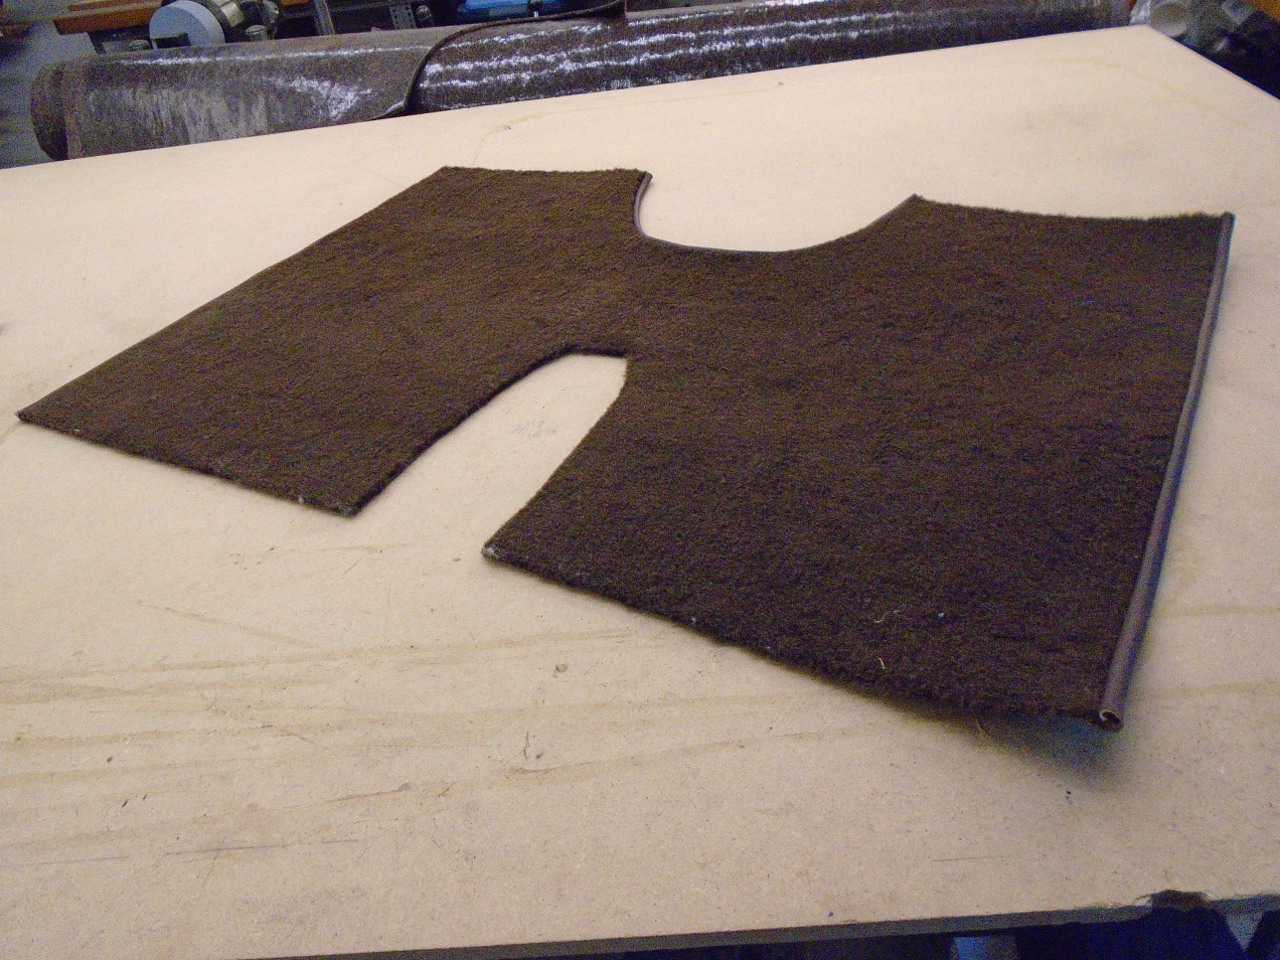
The
compound curve of the front gearbox cover piece is done with two parts
sewn together. I unstitched the original to use the two pieces as
patterns.

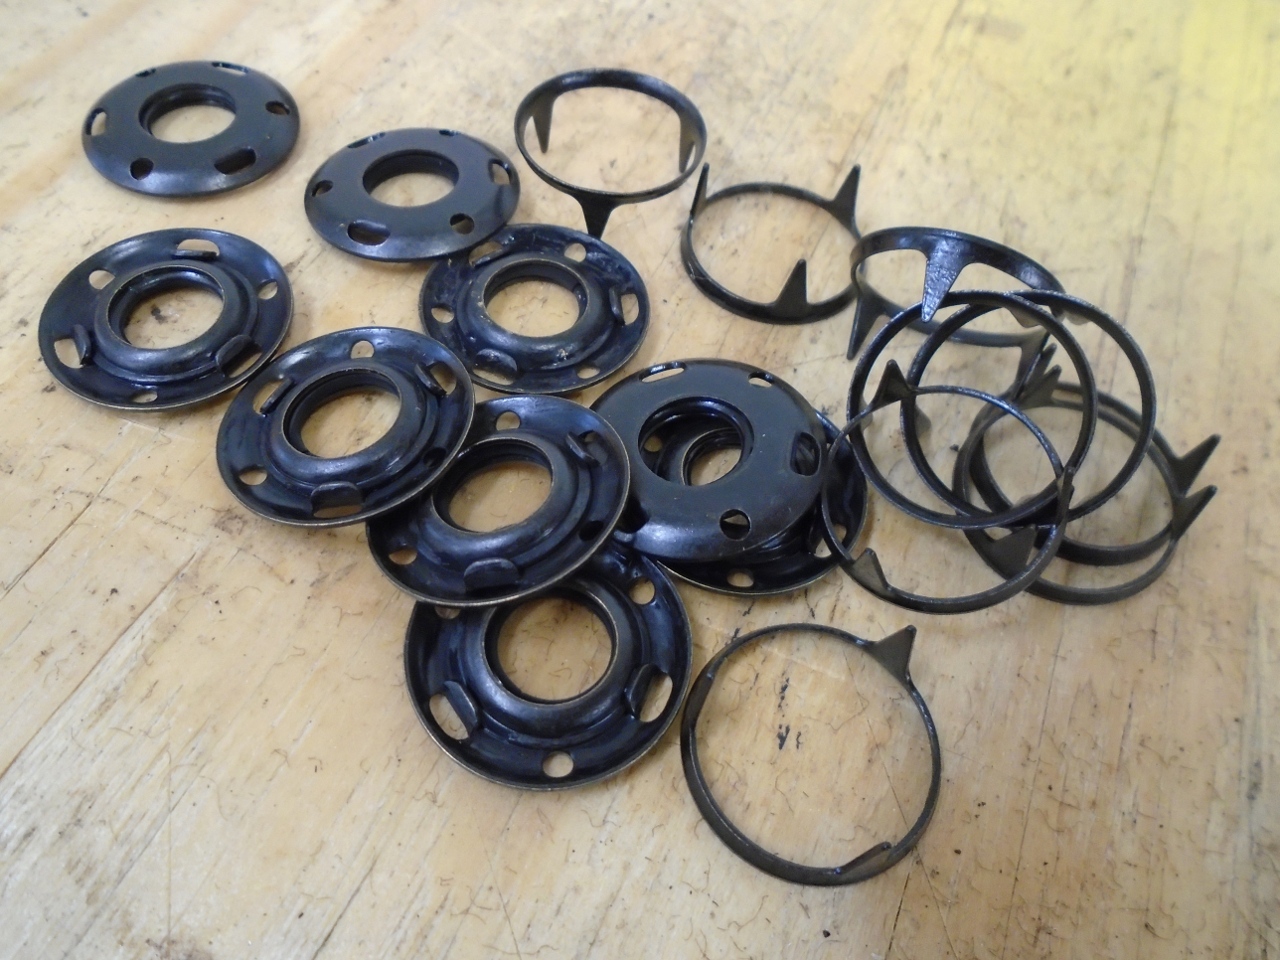
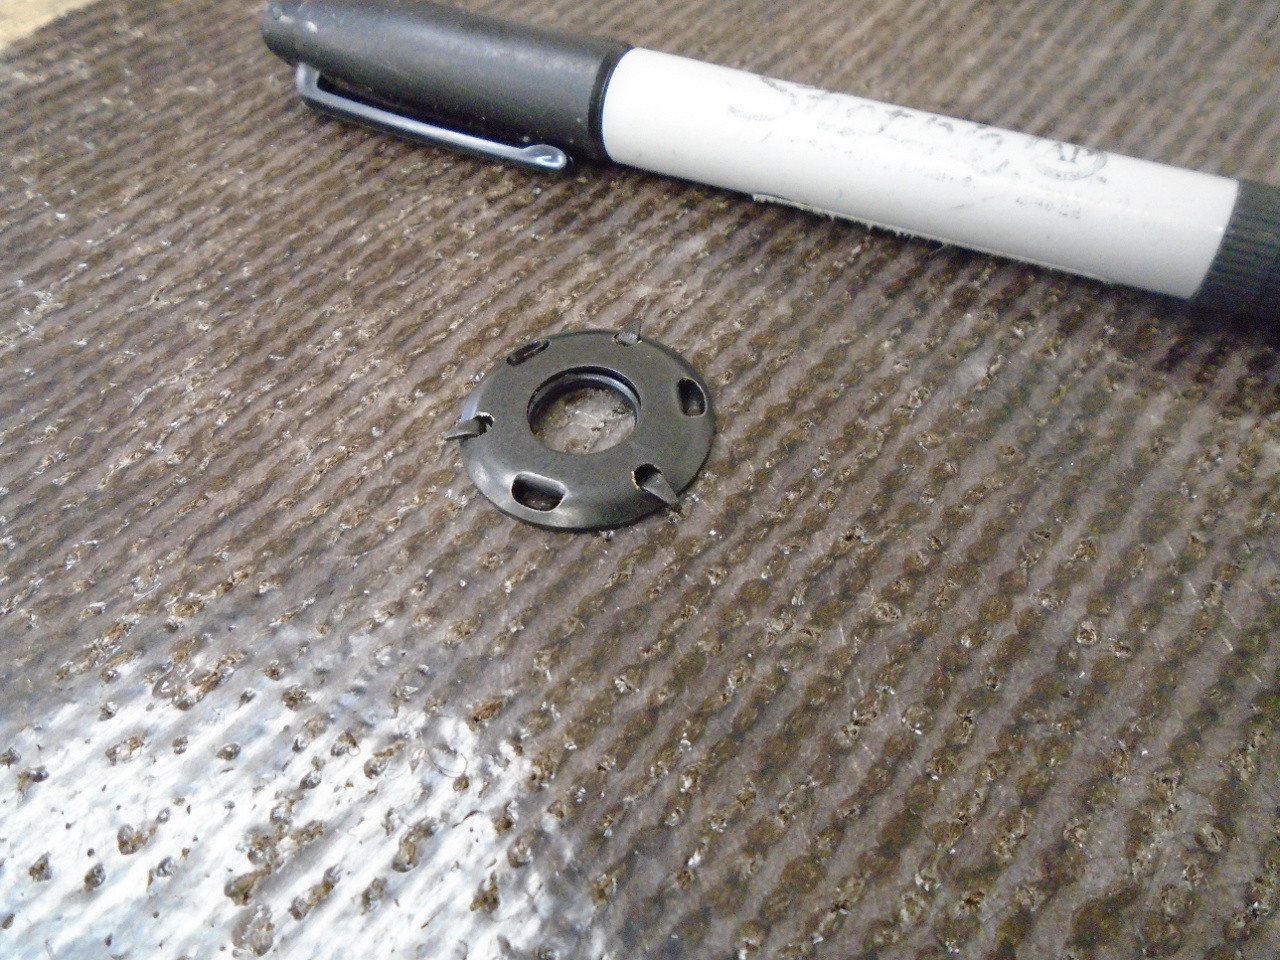
This
piece is held in place by four snaps. The male parts of the snaps
are riveted to the fiberglass tunnel, and clearance holes were cut in
the jute.
The
female snap parts crimp together through the carpet. The backside
of the snap almost disappears in the nap of the carpet.
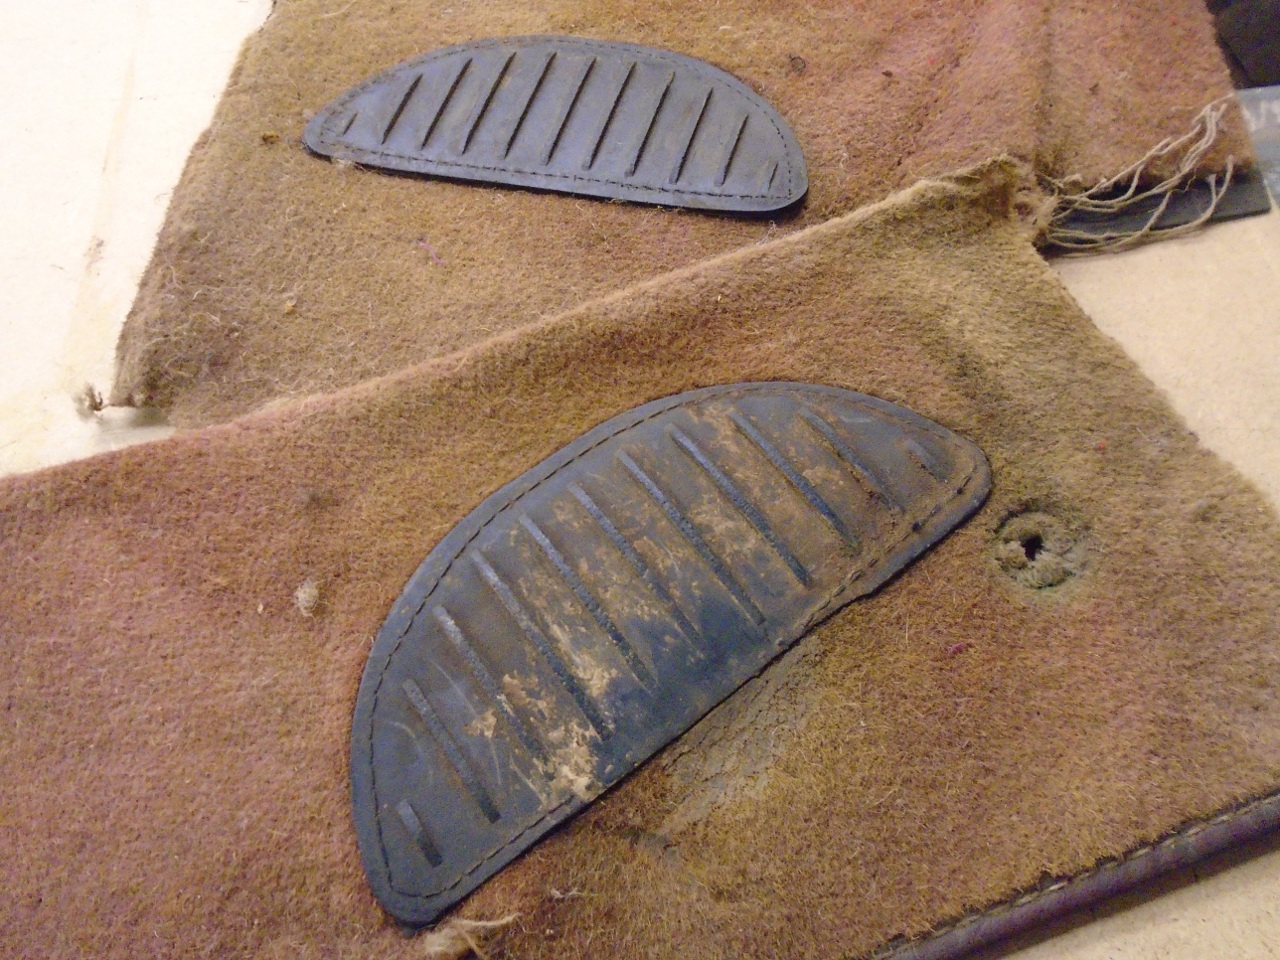
This
tunnel piece also had a rubber protector sewn in next to the throttle pedal.
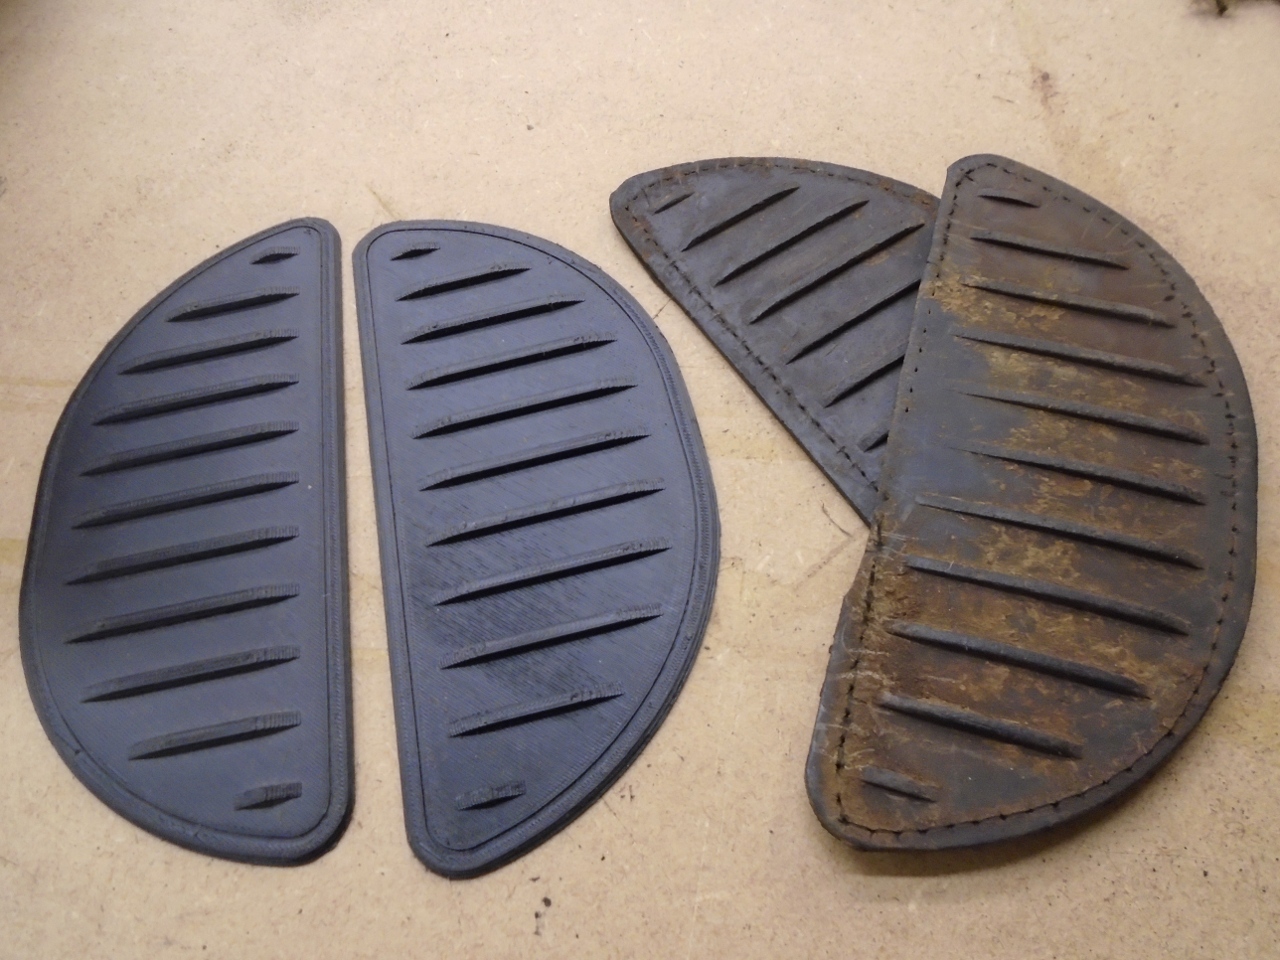
It was apparently working since it was pretty worn. These
can be bought today, but I got them a lot sooner by just 3D
printing a couple. I used ABS, but in this thin section, they are
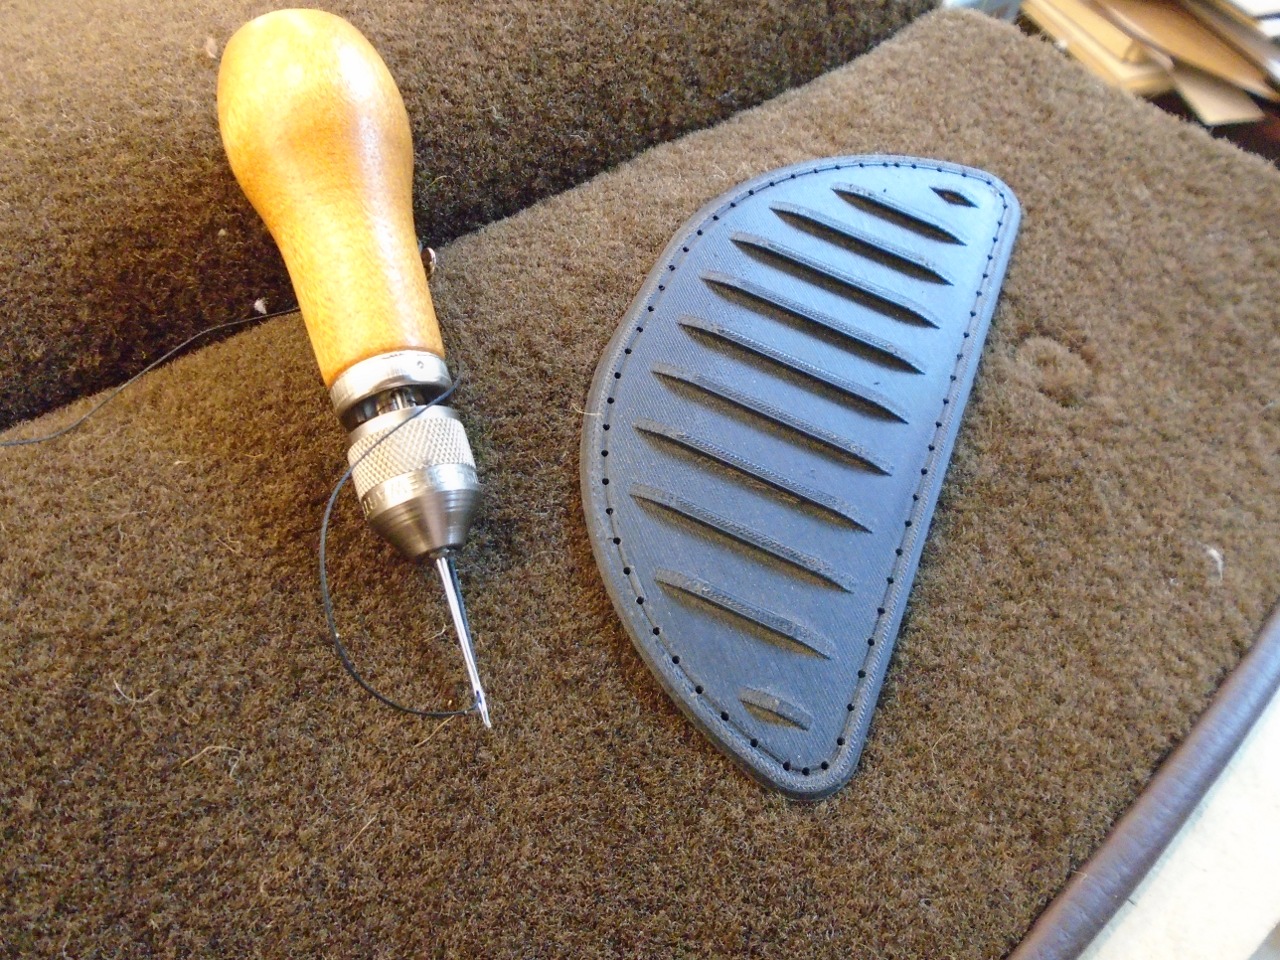
similar in flexibility to the originals.
I wasn't sure if my sewing machine could handle the ABS, so I just pre-drilled and stitched the protectors on by hand.
Moving
rearward along the tunnel, this is the piece that goes around the
shifter. Since my shifter surround can be detached from the H
frame, the H frame didn't need to come out.
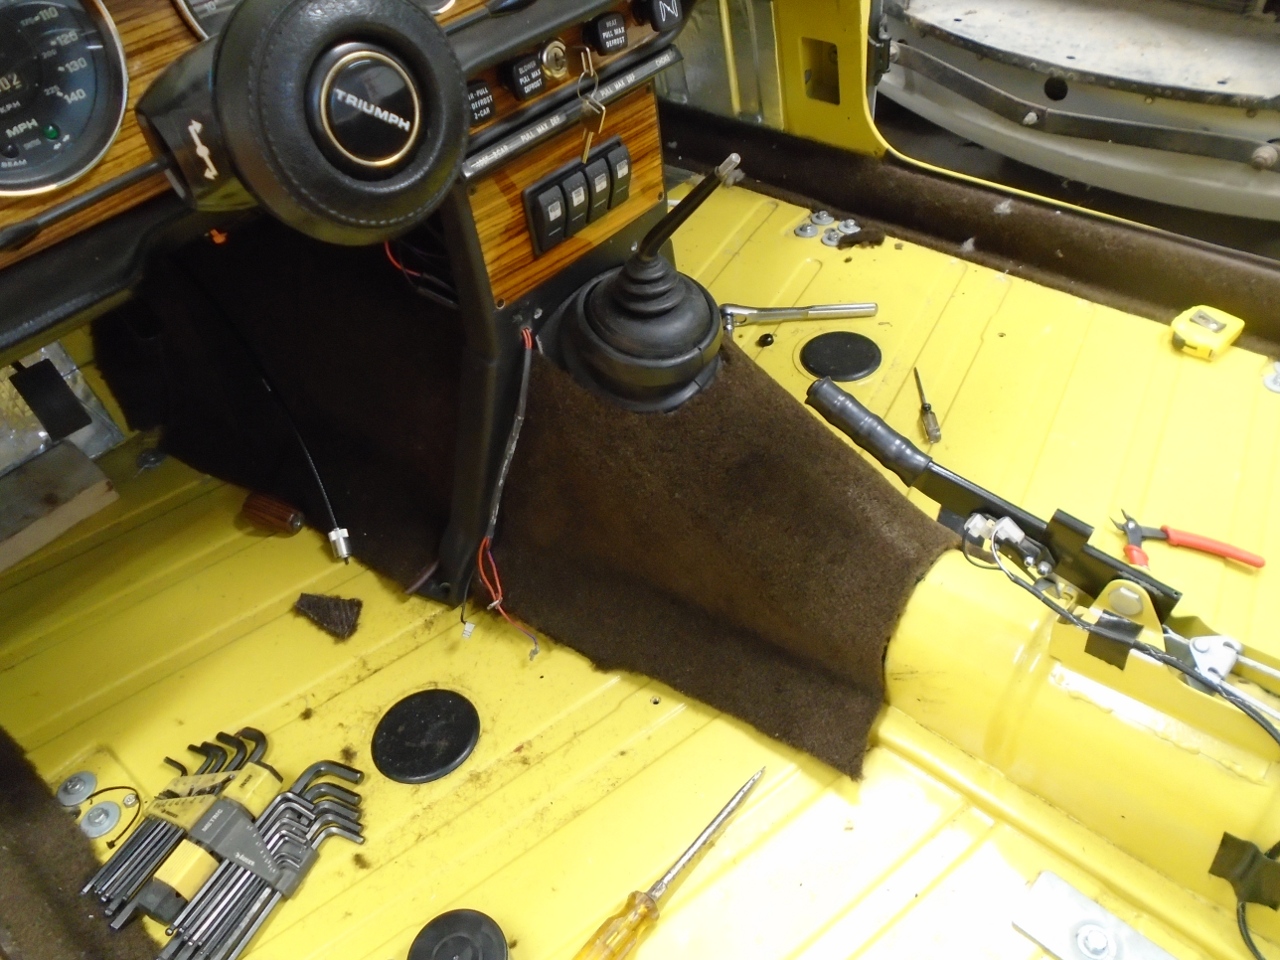
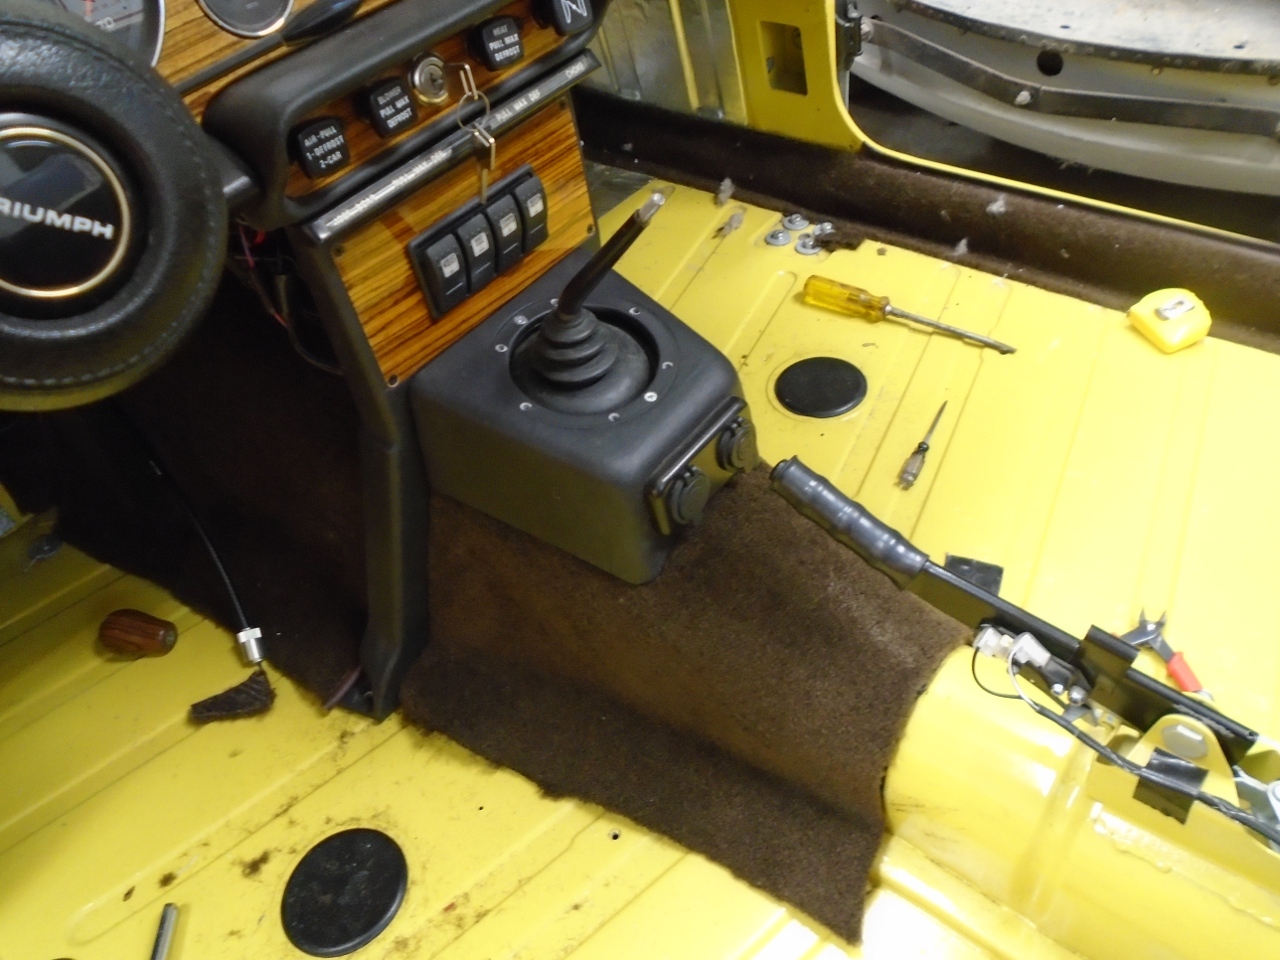
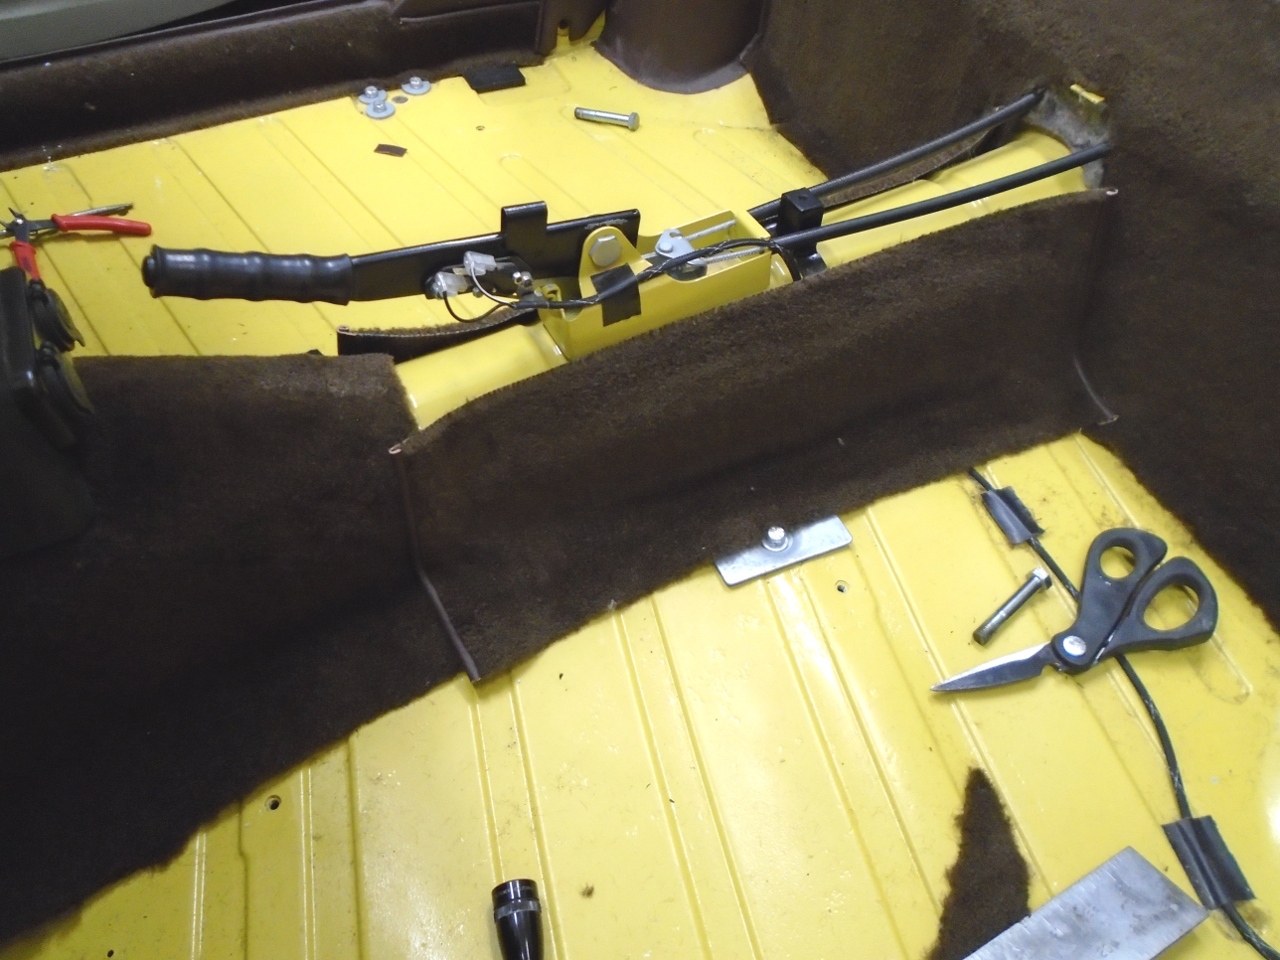
Next
step back is the part of the tunnel that holds the hand brake lever.
Since I'm not using that cardboard cover that goes over the hand
brake cables, but installing a center console instead, this part of the
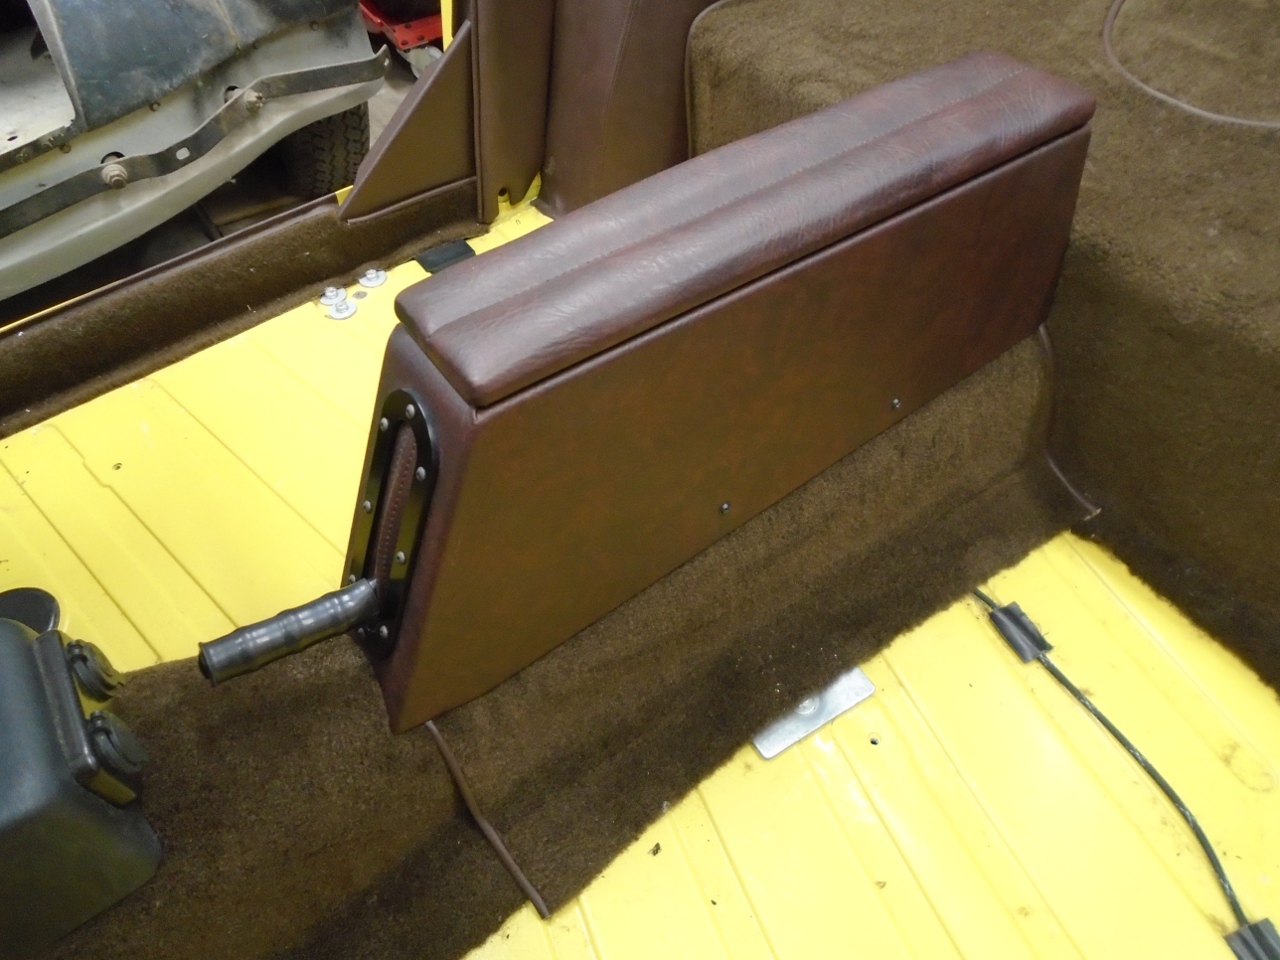
tunnel can just be covered in two pieces, one on each side.
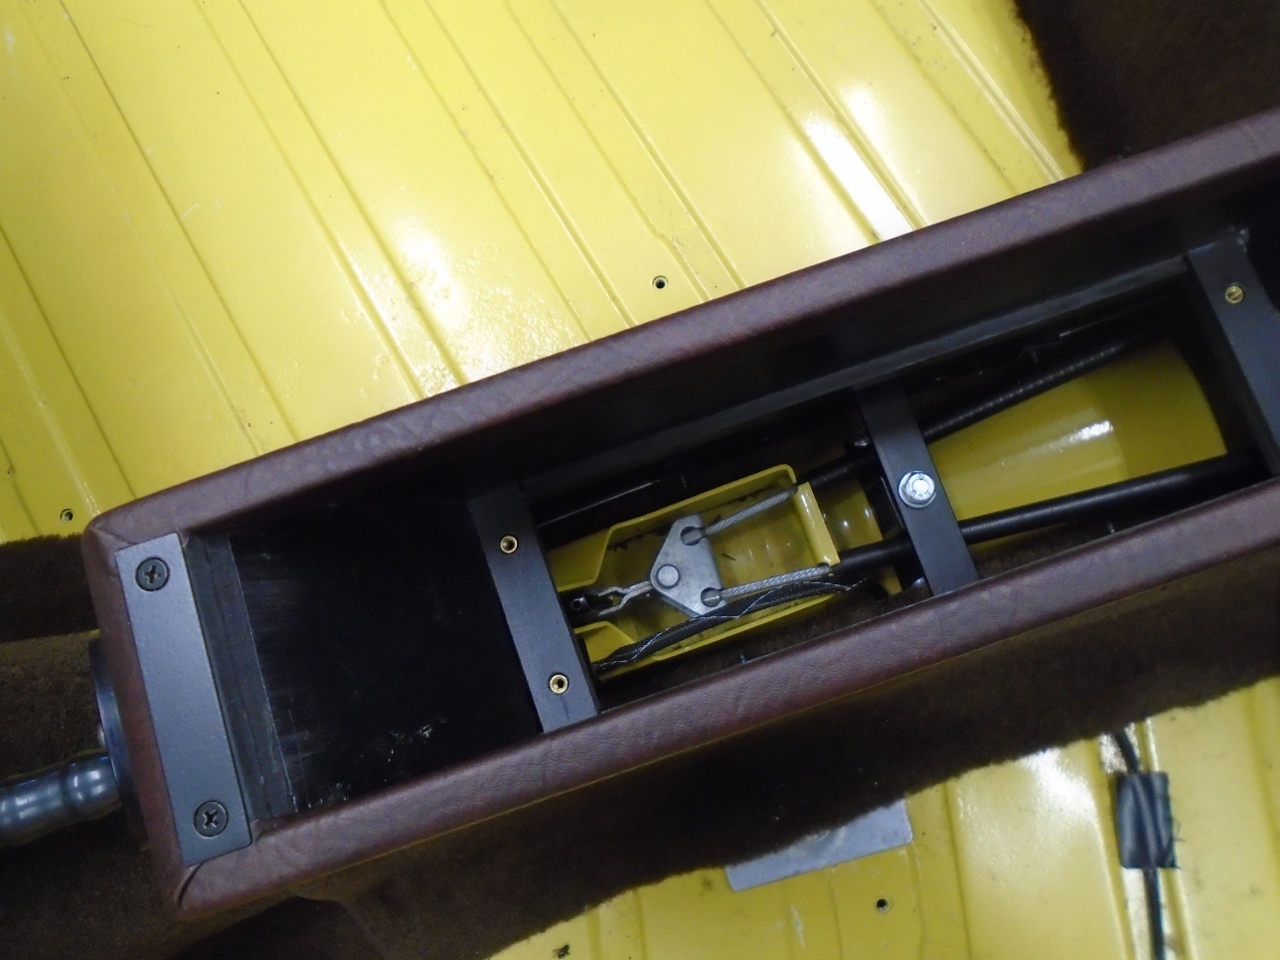
Then the new center console goes on top, using its trick fastening gizmo.
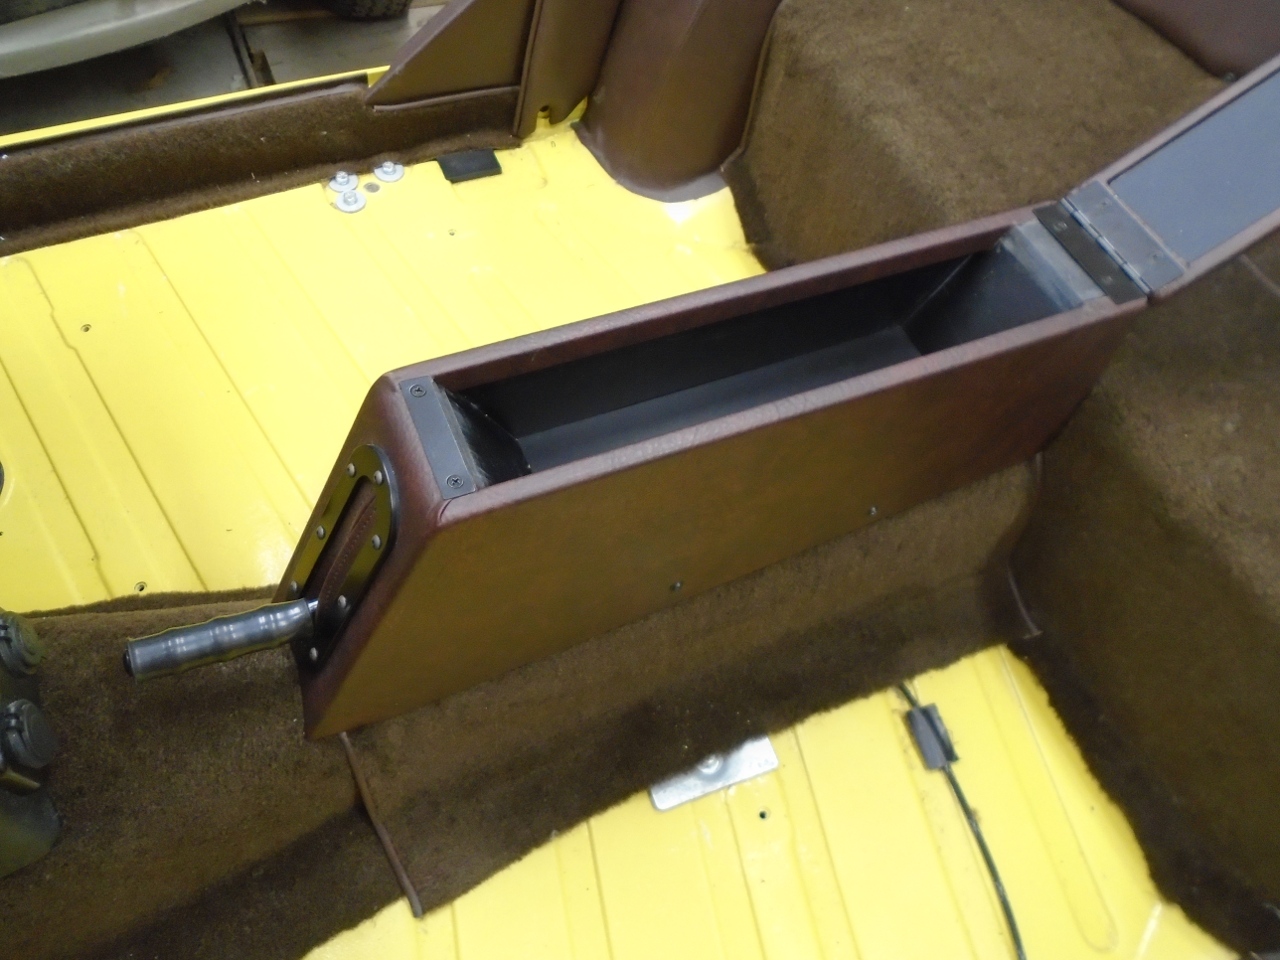
Now
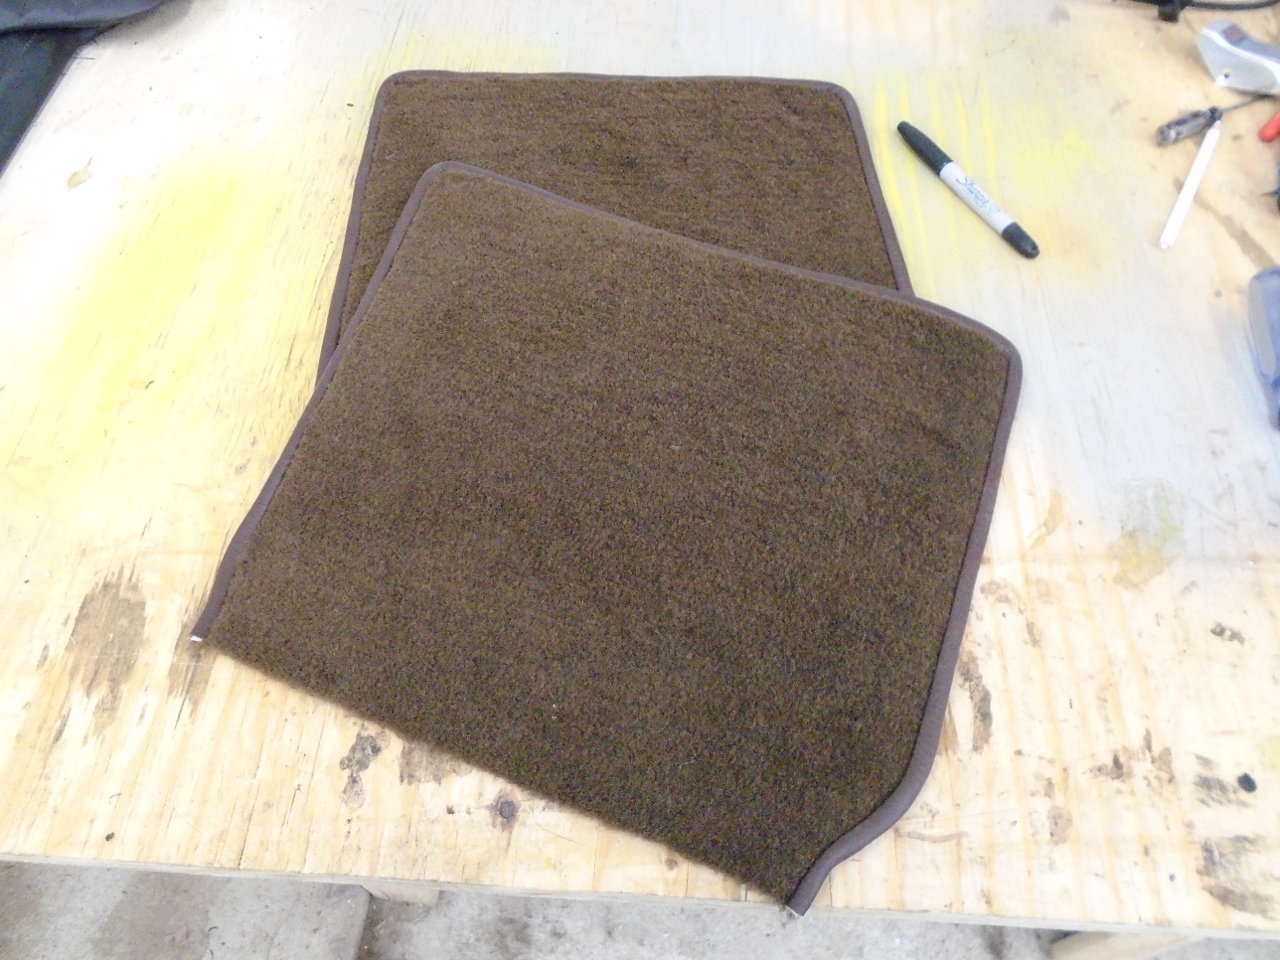
back up front to do the outboard side panels of the foot wells.
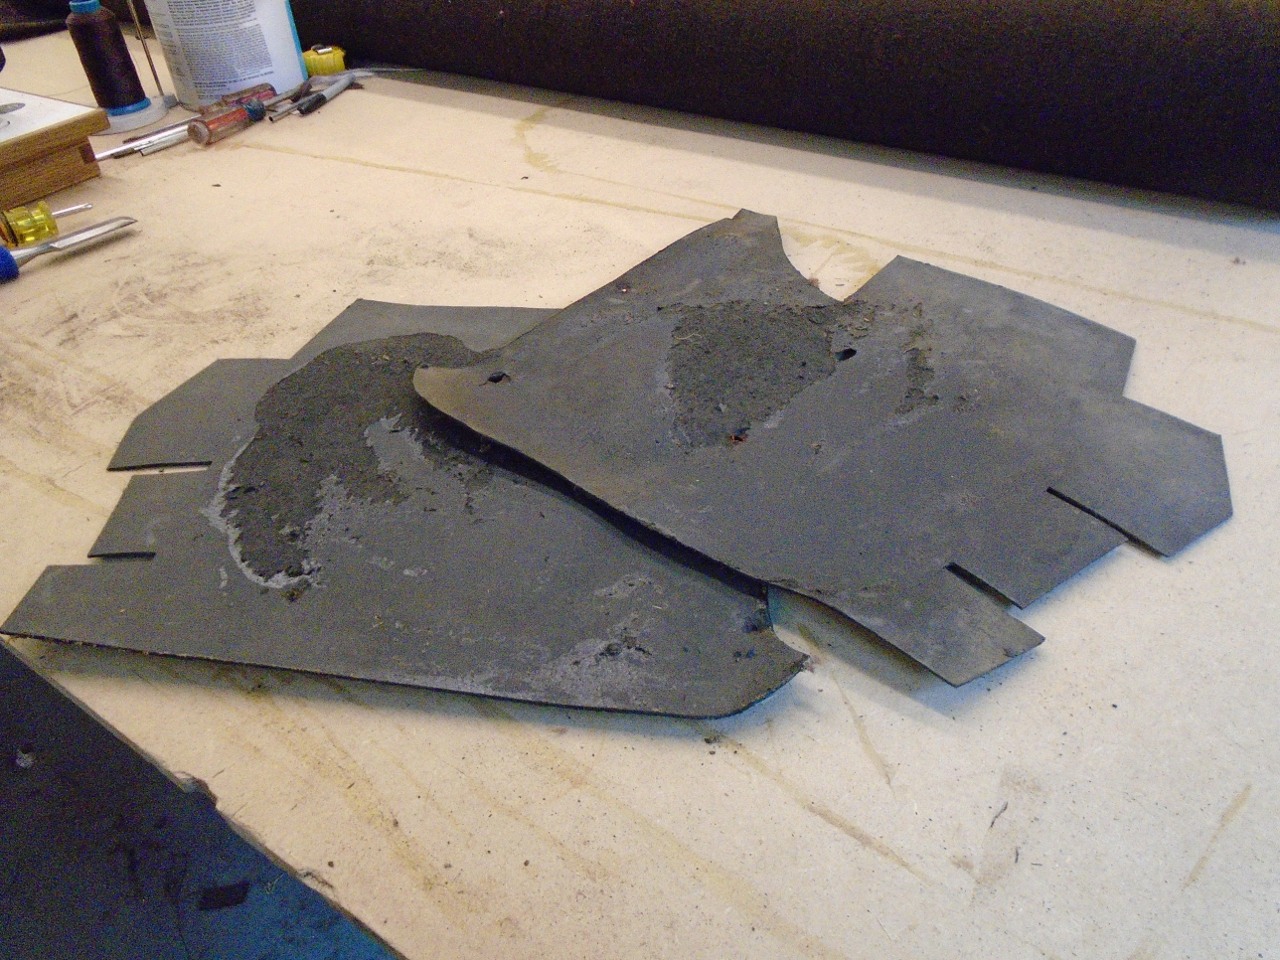
These panels had a backer of some cardboardy substance covered
with carpet. The backer panels were pretty distorted.
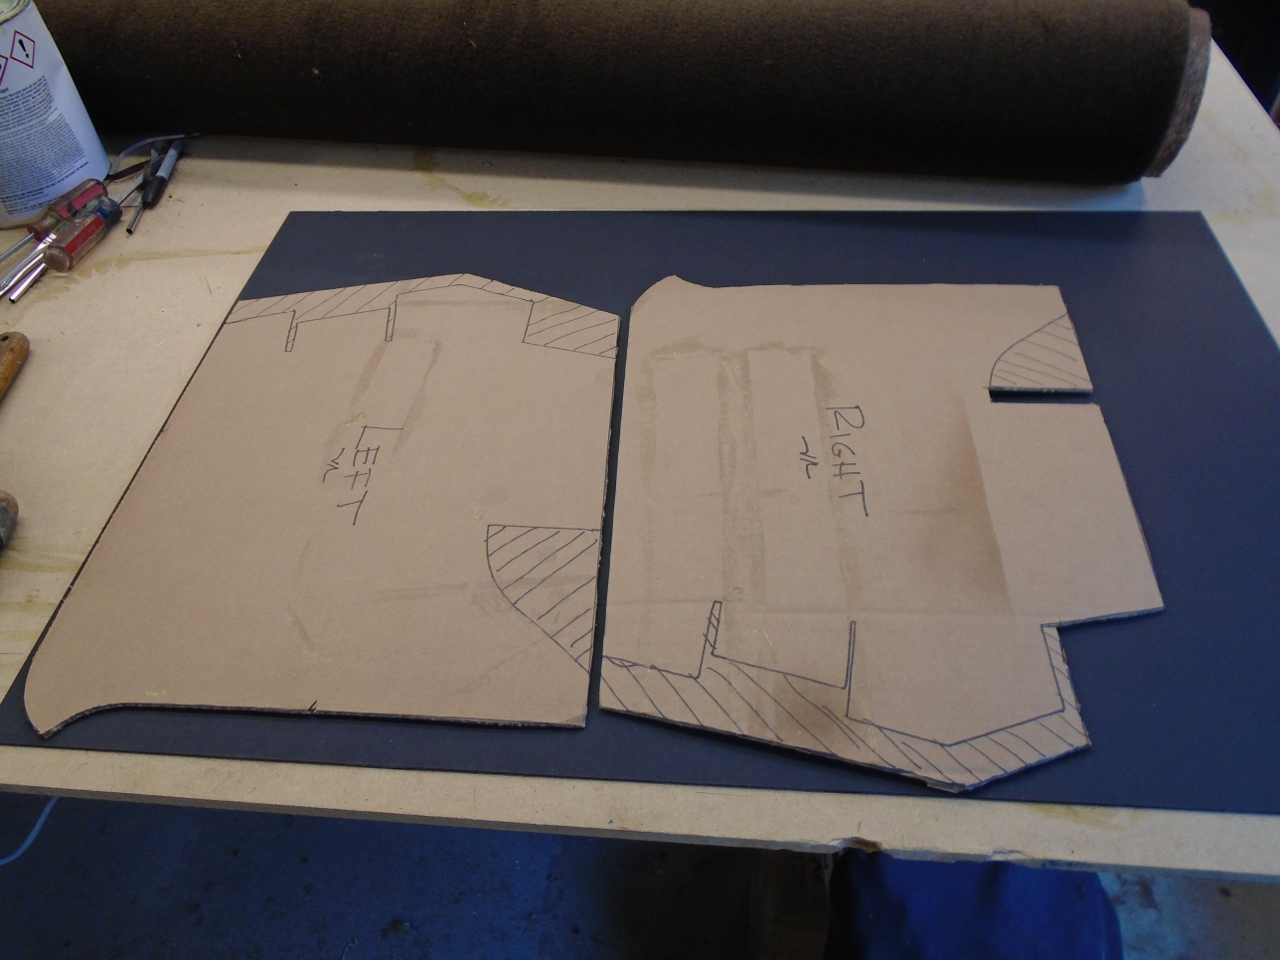
I
made new panels out of Kydex. I couldn't see what some of the
cutouts were for in the original panels, so the new ones are a much
simpler shape, and slightly larger. I decided at the last minute
to move the foot well cabin lights to these panels. The cutouts
are for the same lights used for the boot.

These
panels will screw directly to the tub with self-drilling screws.
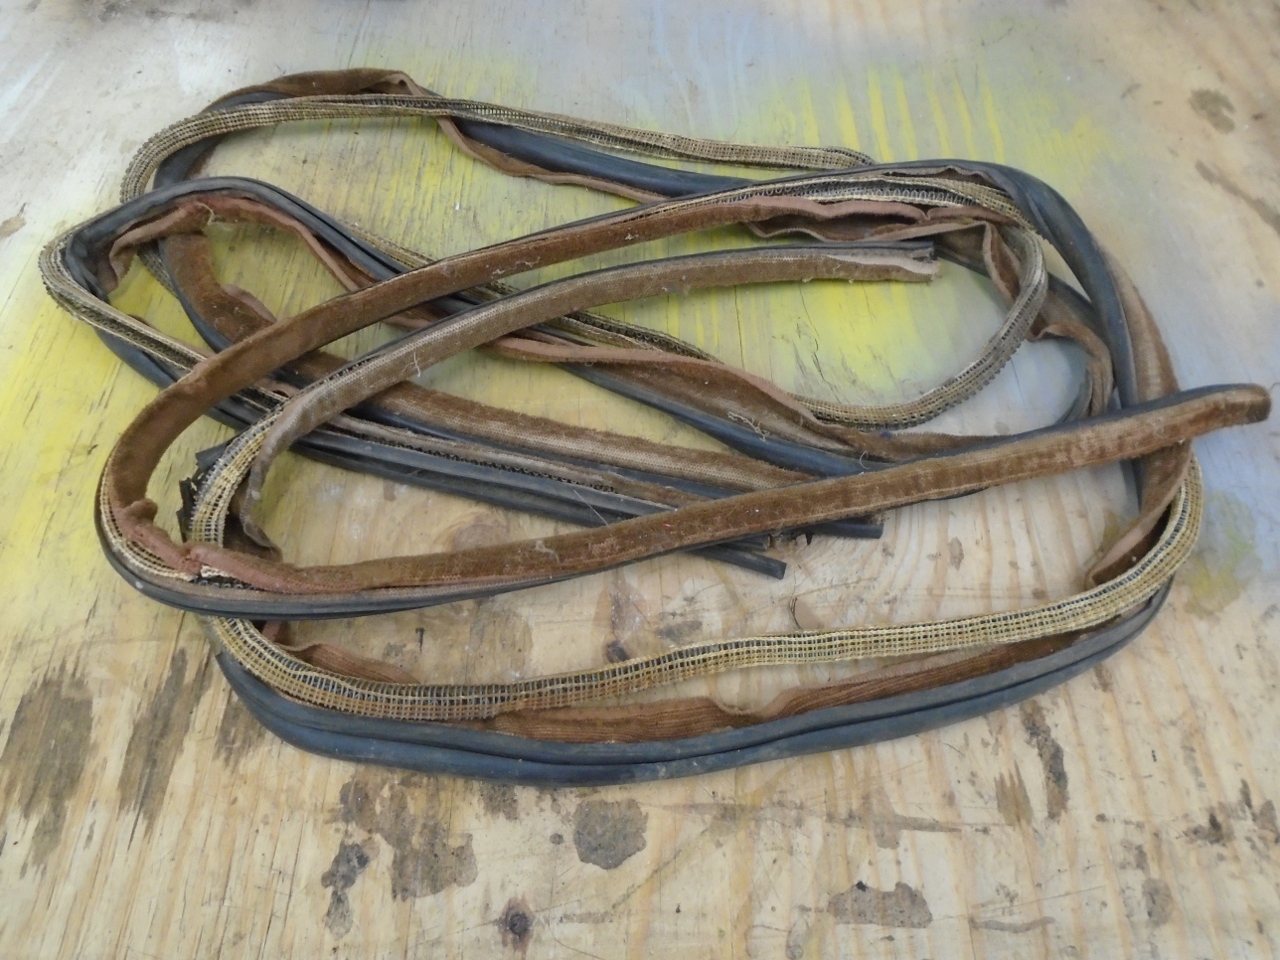
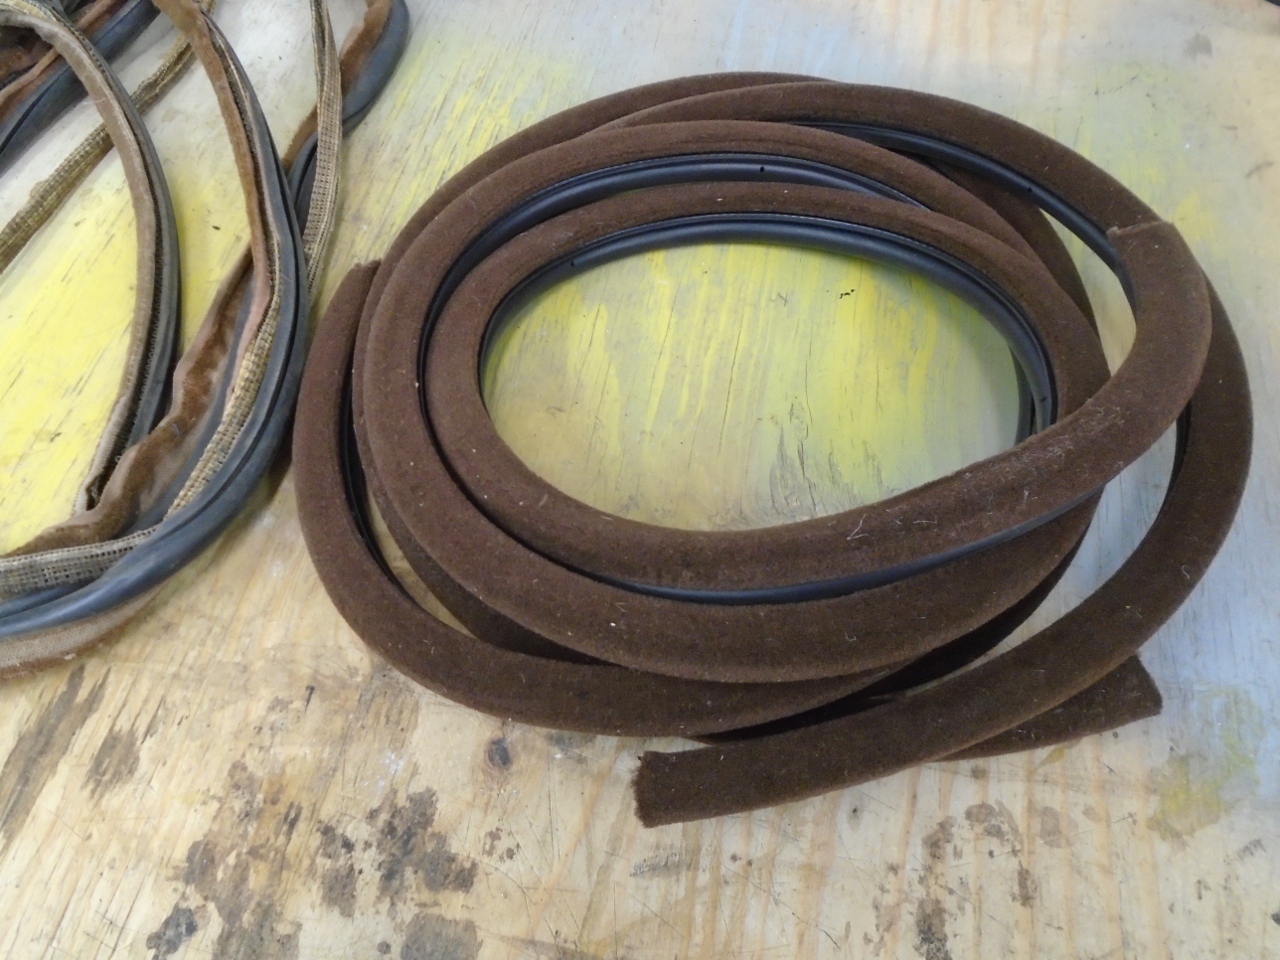
However, their exact fore-aft position depends on the door seals, which
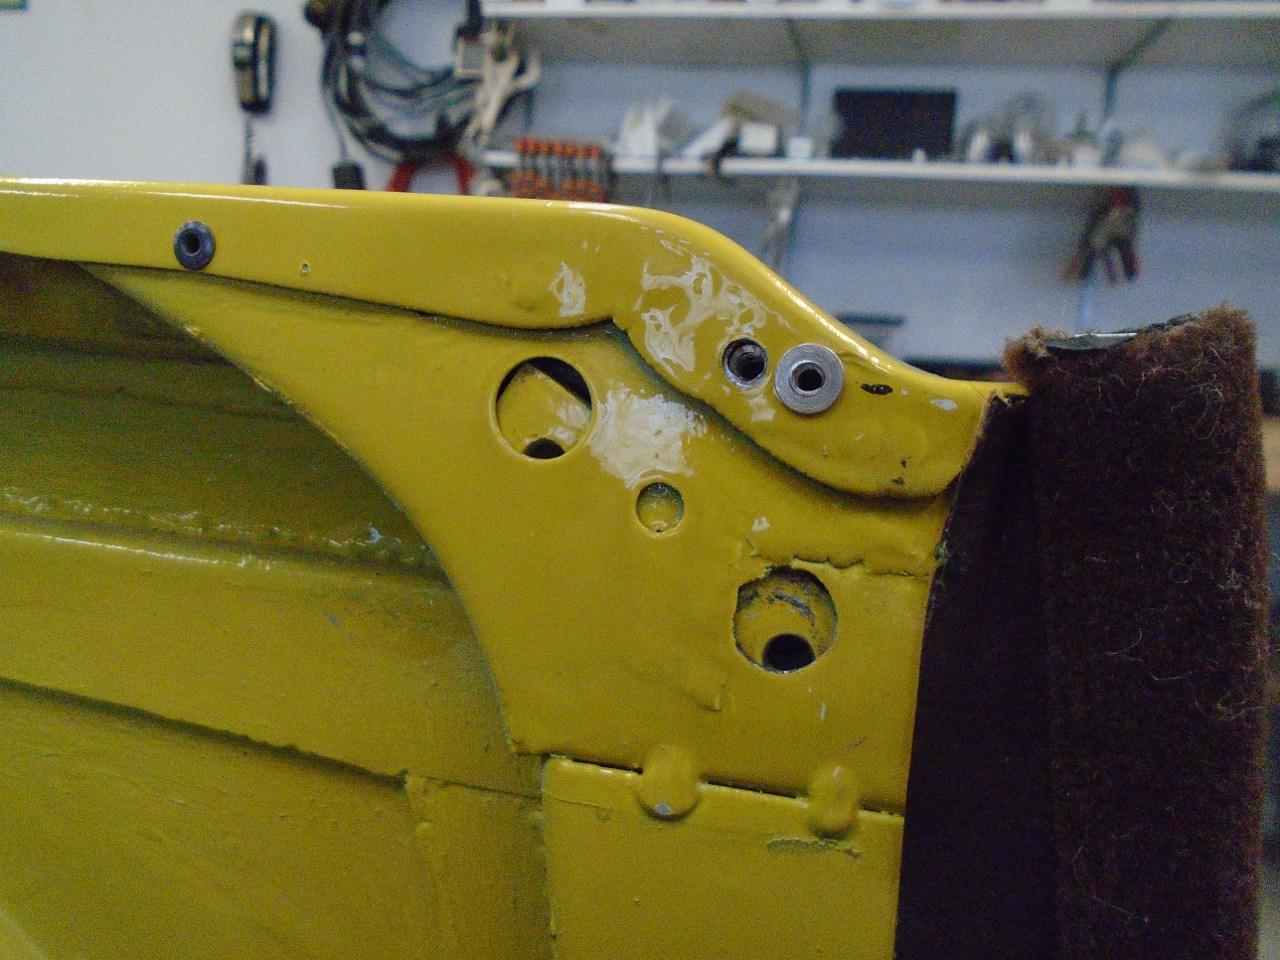
the panels need to snug up to. So off to a little side-trip.
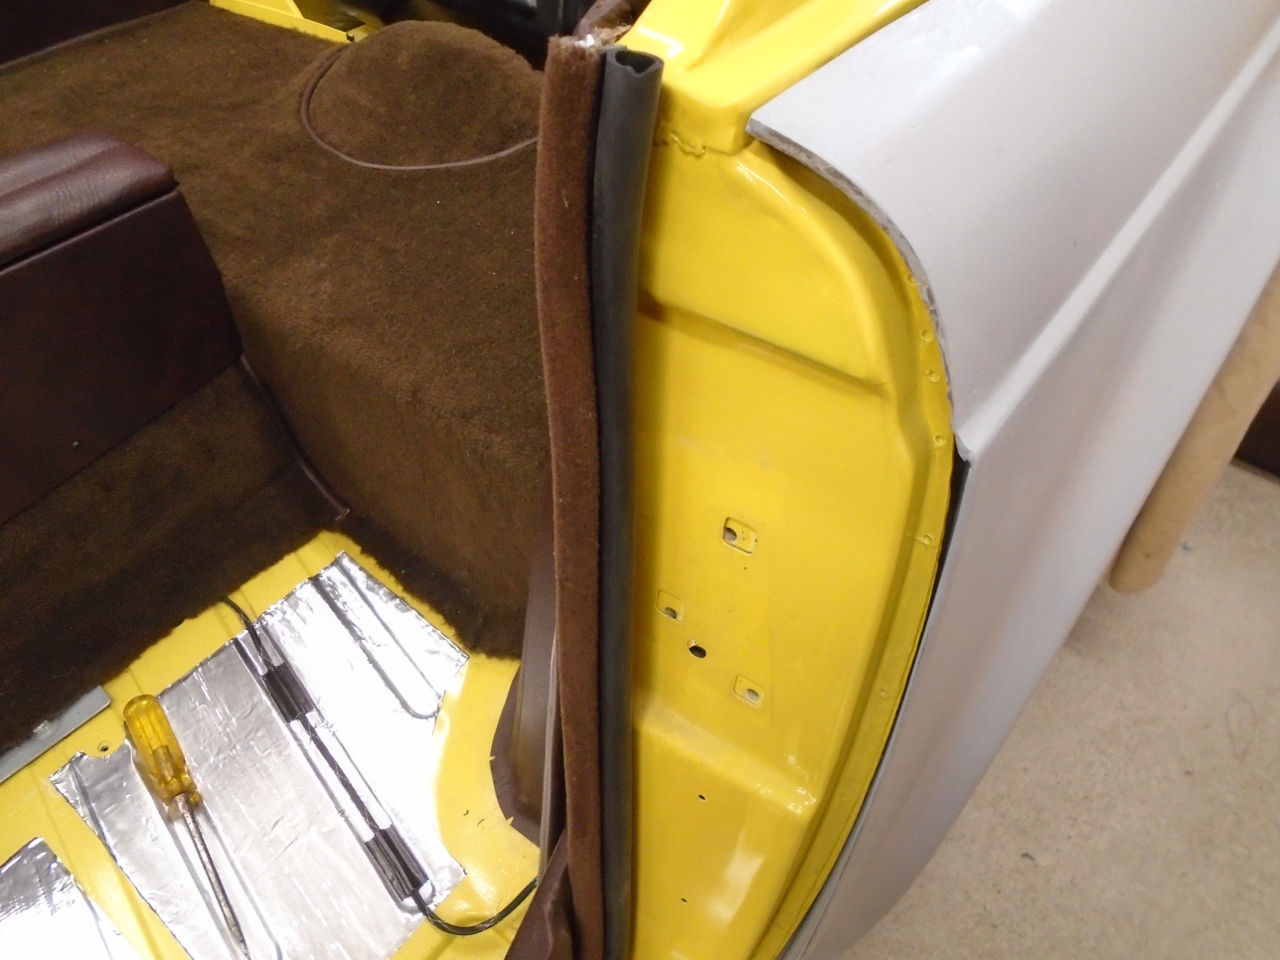
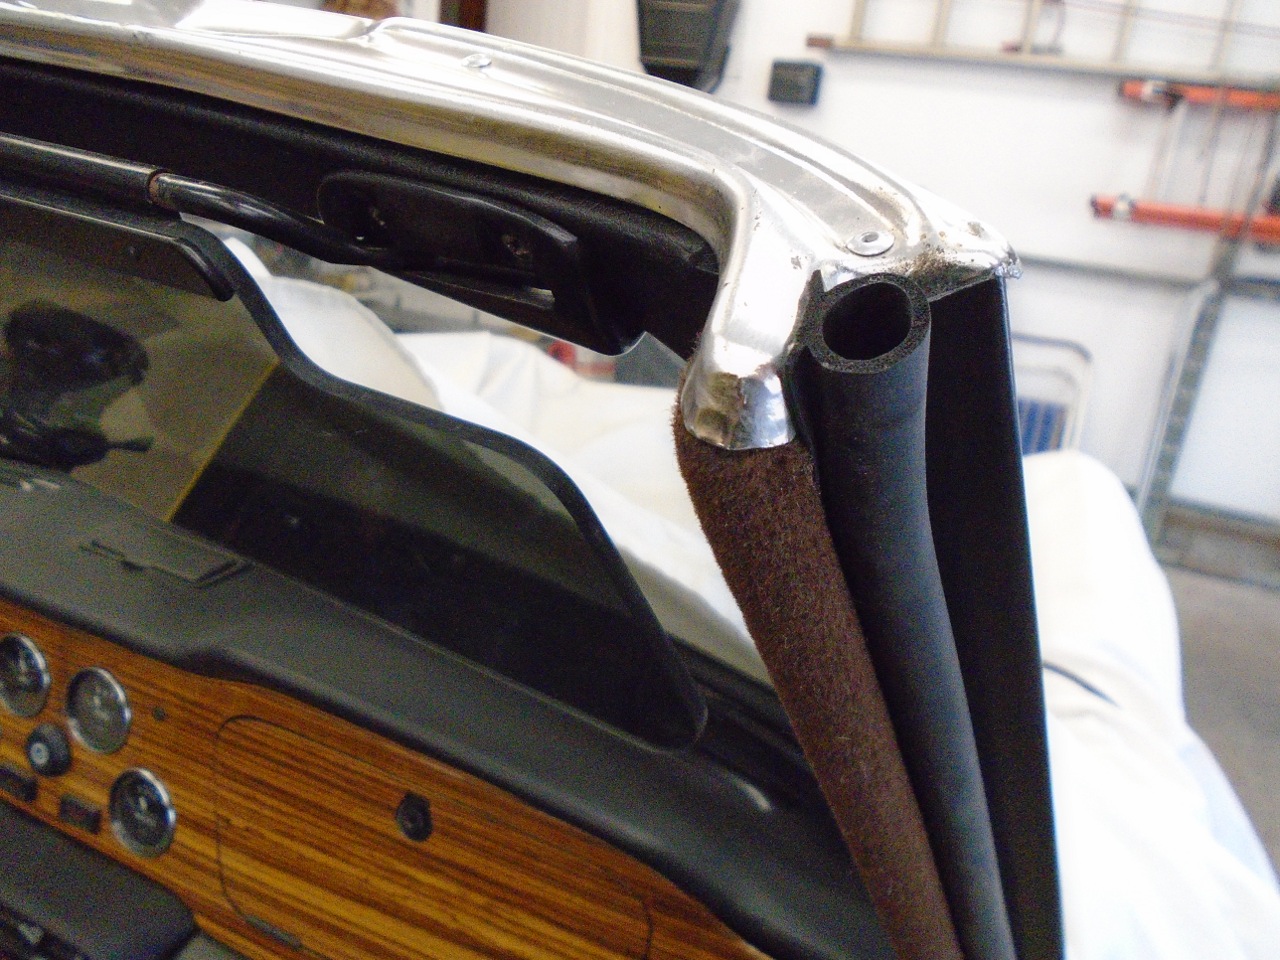
My door seals were in deplorable shape. The new ones are of a little different design, but reportedly work OK.
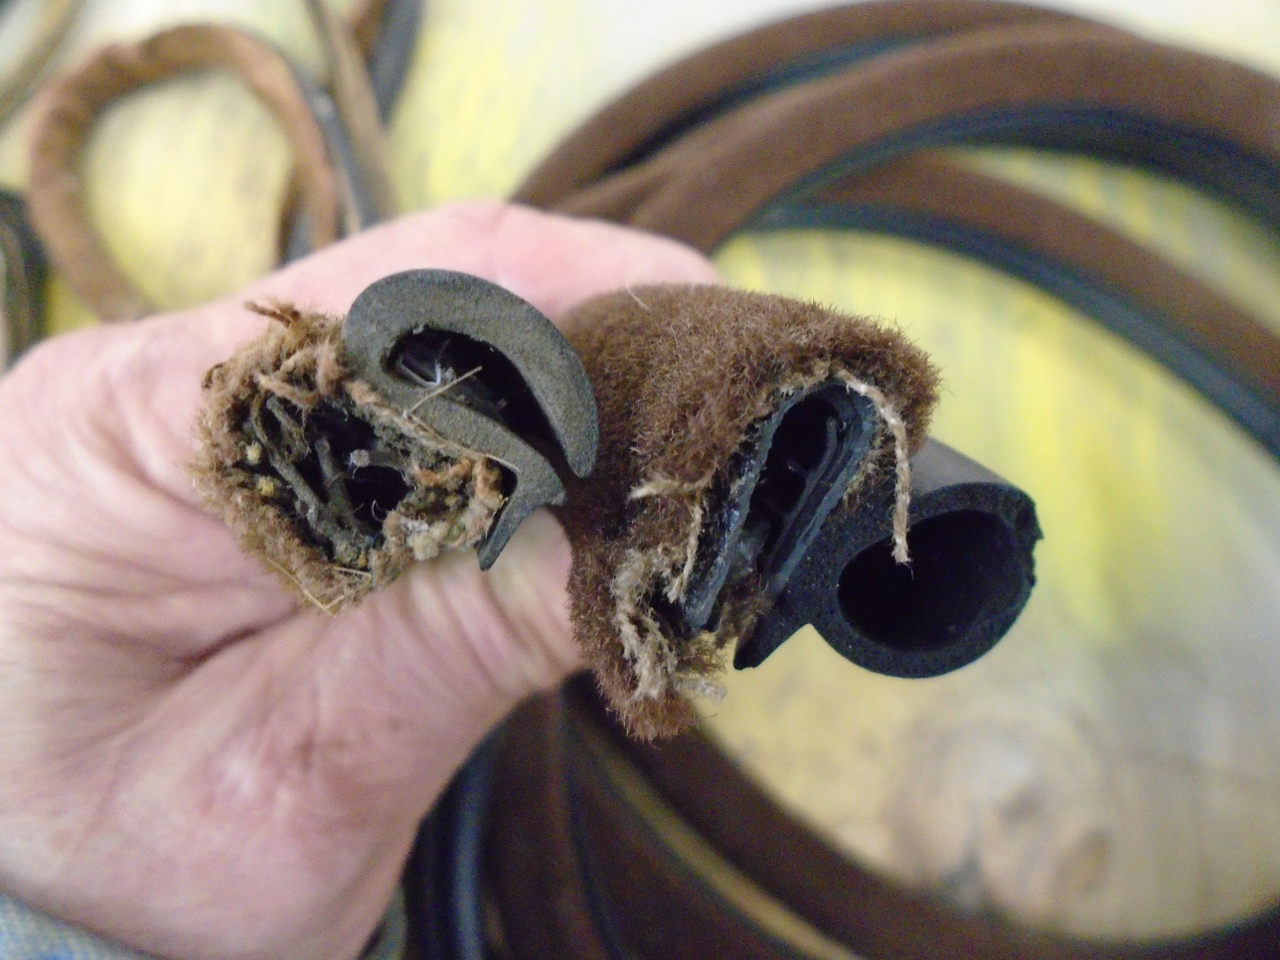
Flipping
a coin, I started at the rear of the door opening. I think it
might have been better the other way. The gusset area was the
trickiest.
This
is why it might have been better to start at the front. That,
or leave off the windscreen cap until the door seal is in.
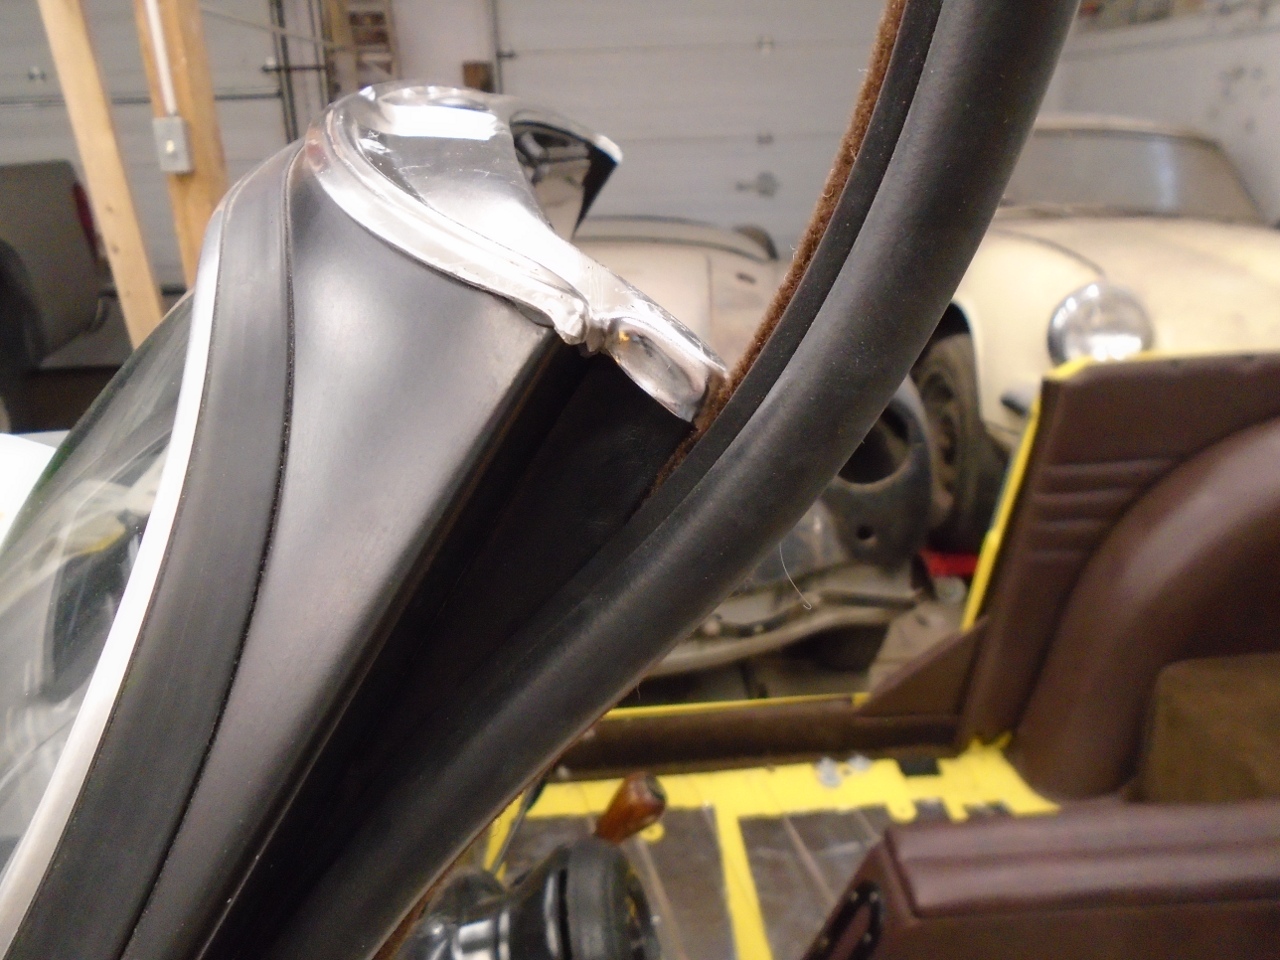
With some careful trimming, I was able to tuck the end of the seal into the pocket in the screen cap.
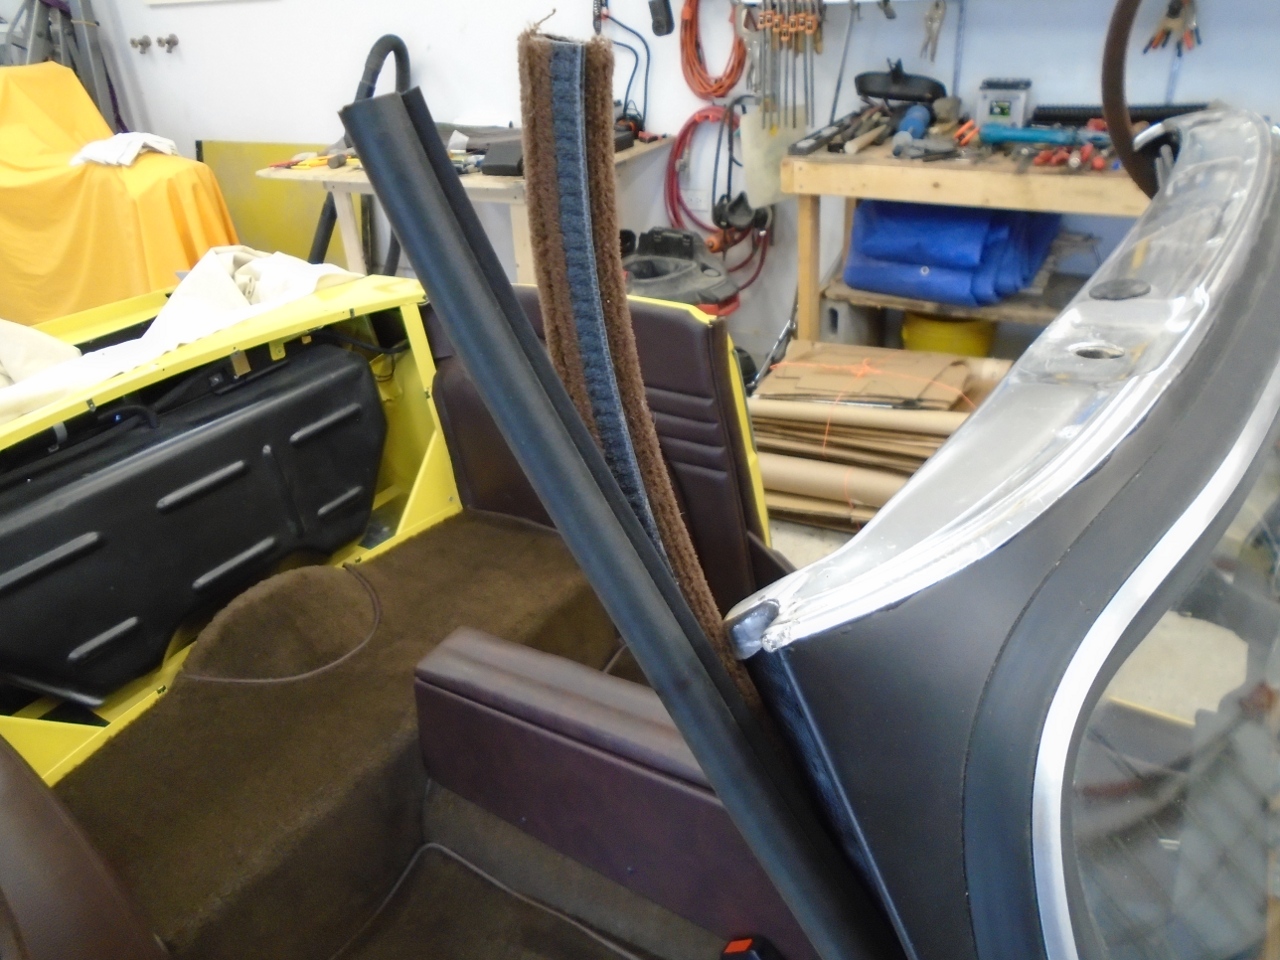

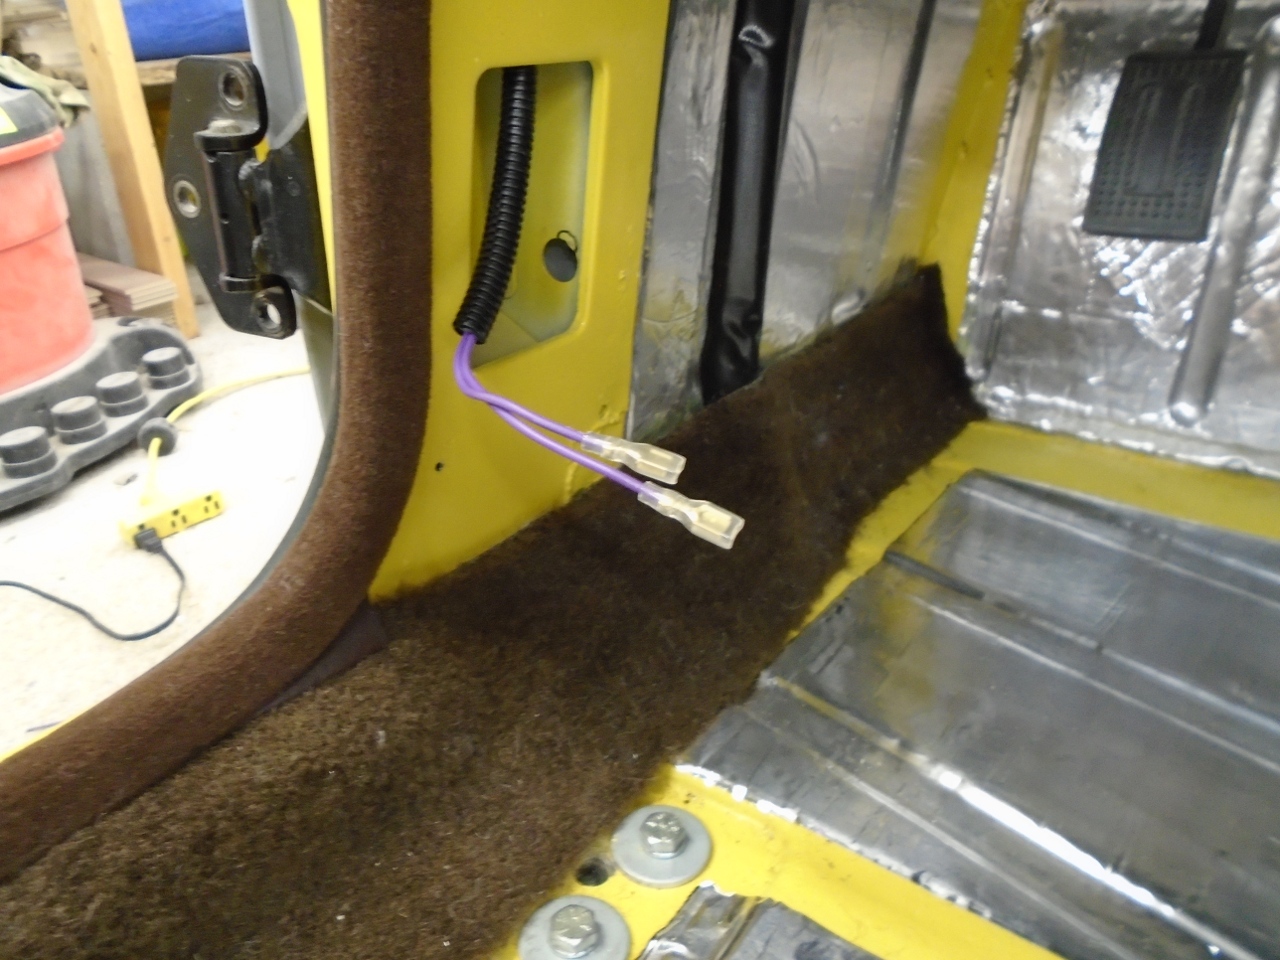
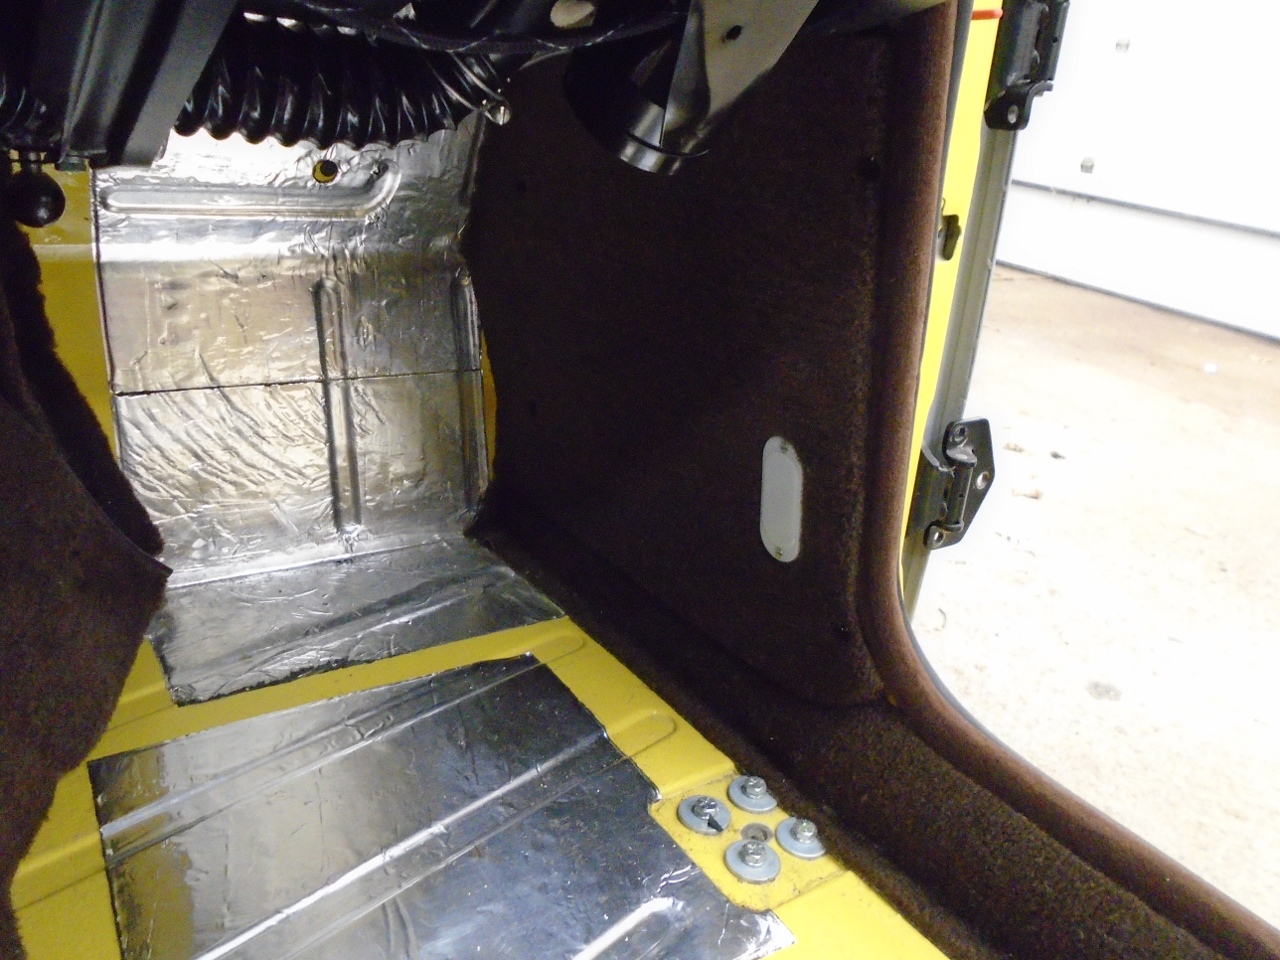
Now back to the carpet. First a little rewiring to bring the cabin light circuit to the A posts.
Then attach the side panels right next to the door seals.
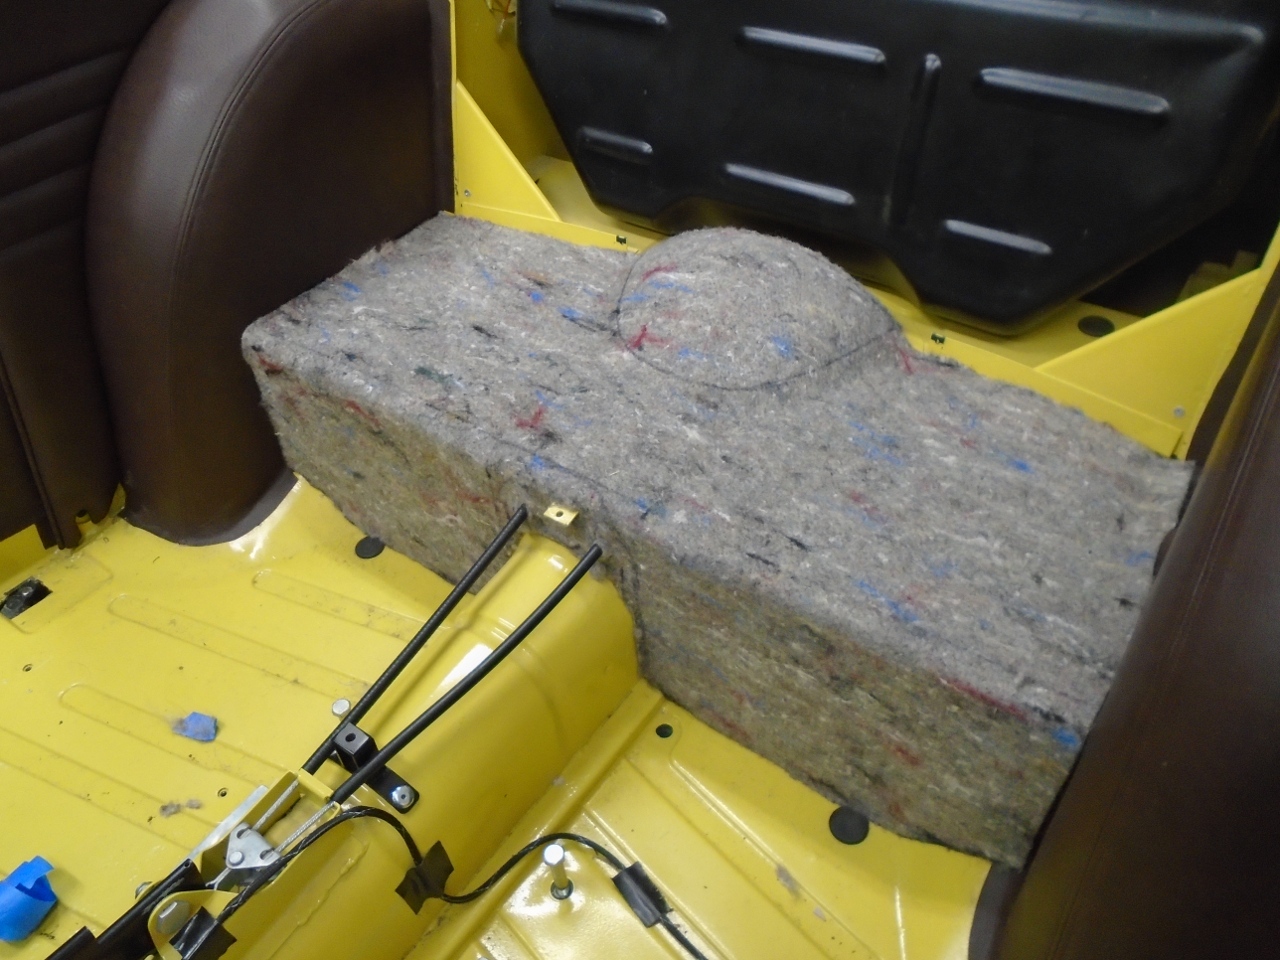
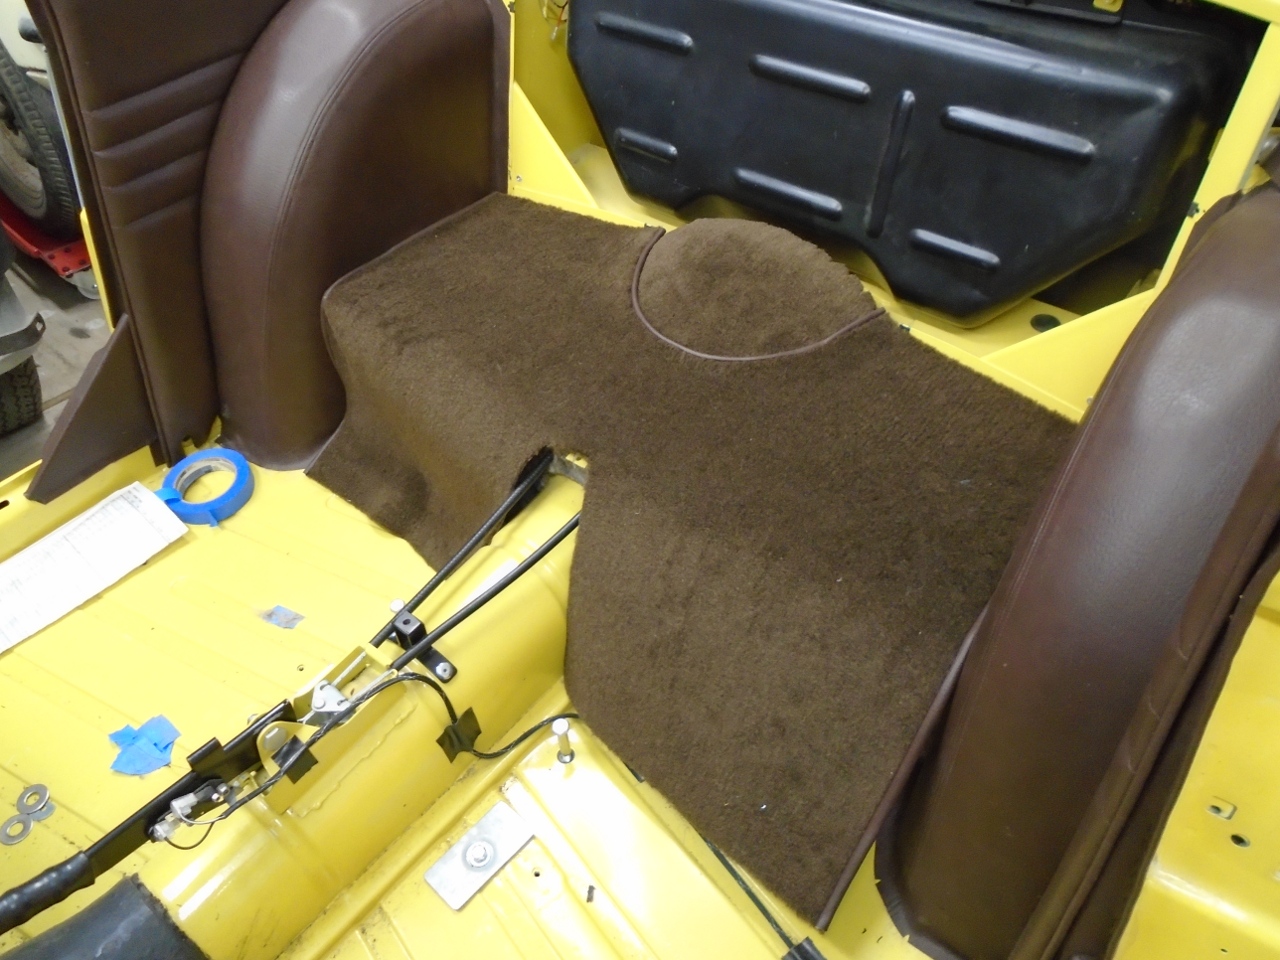
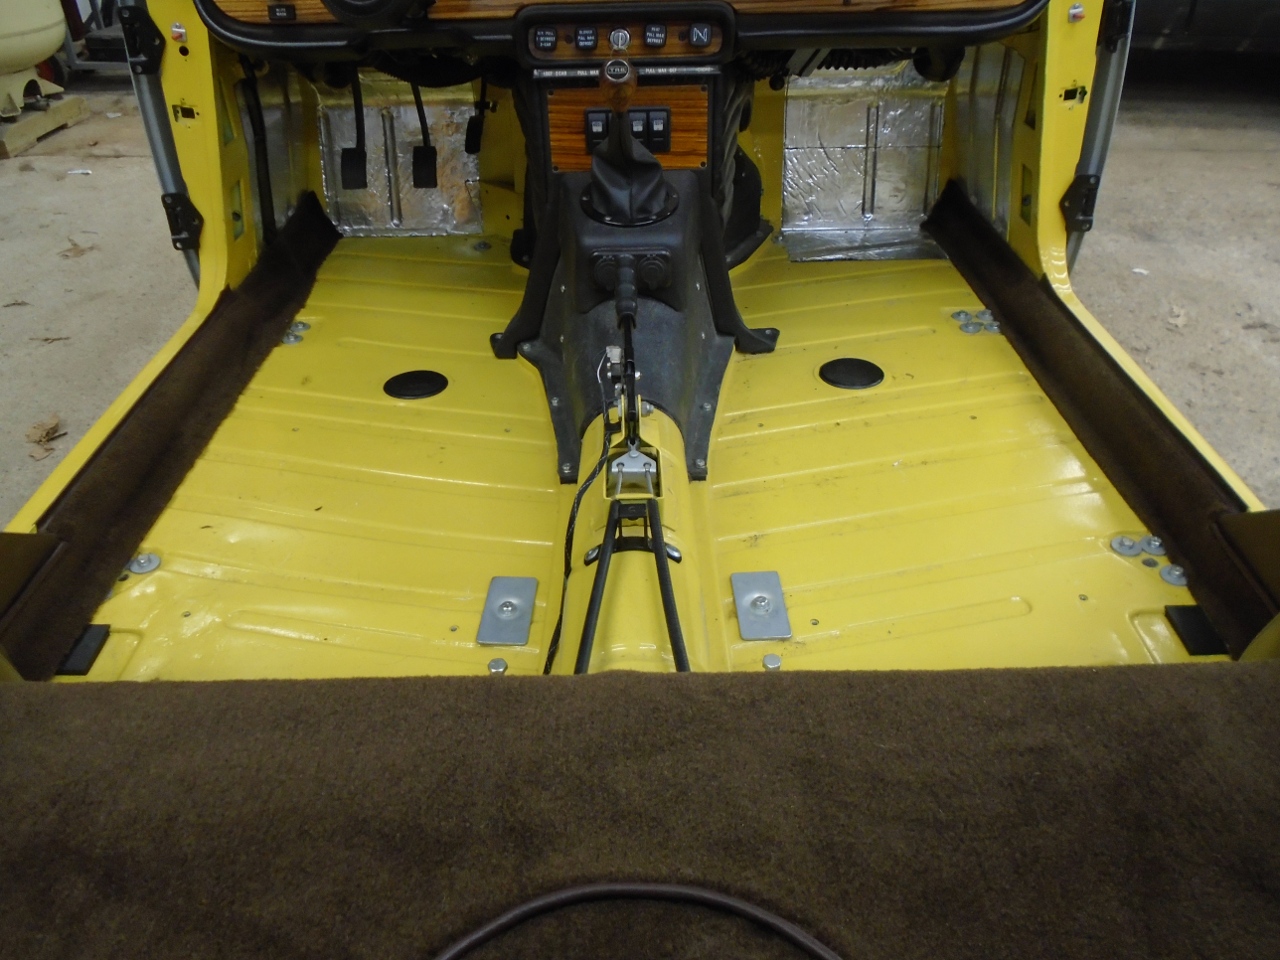
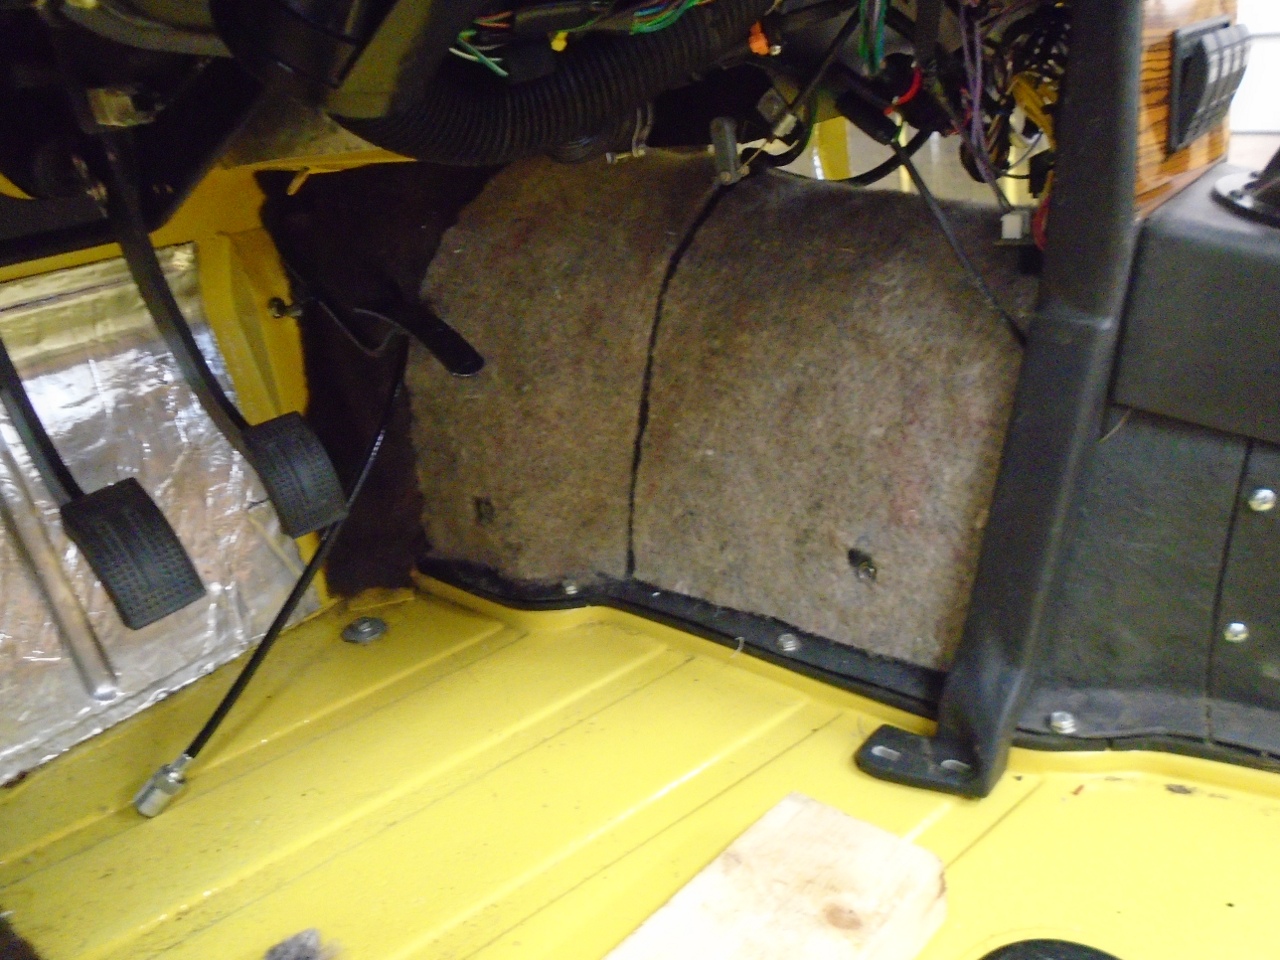
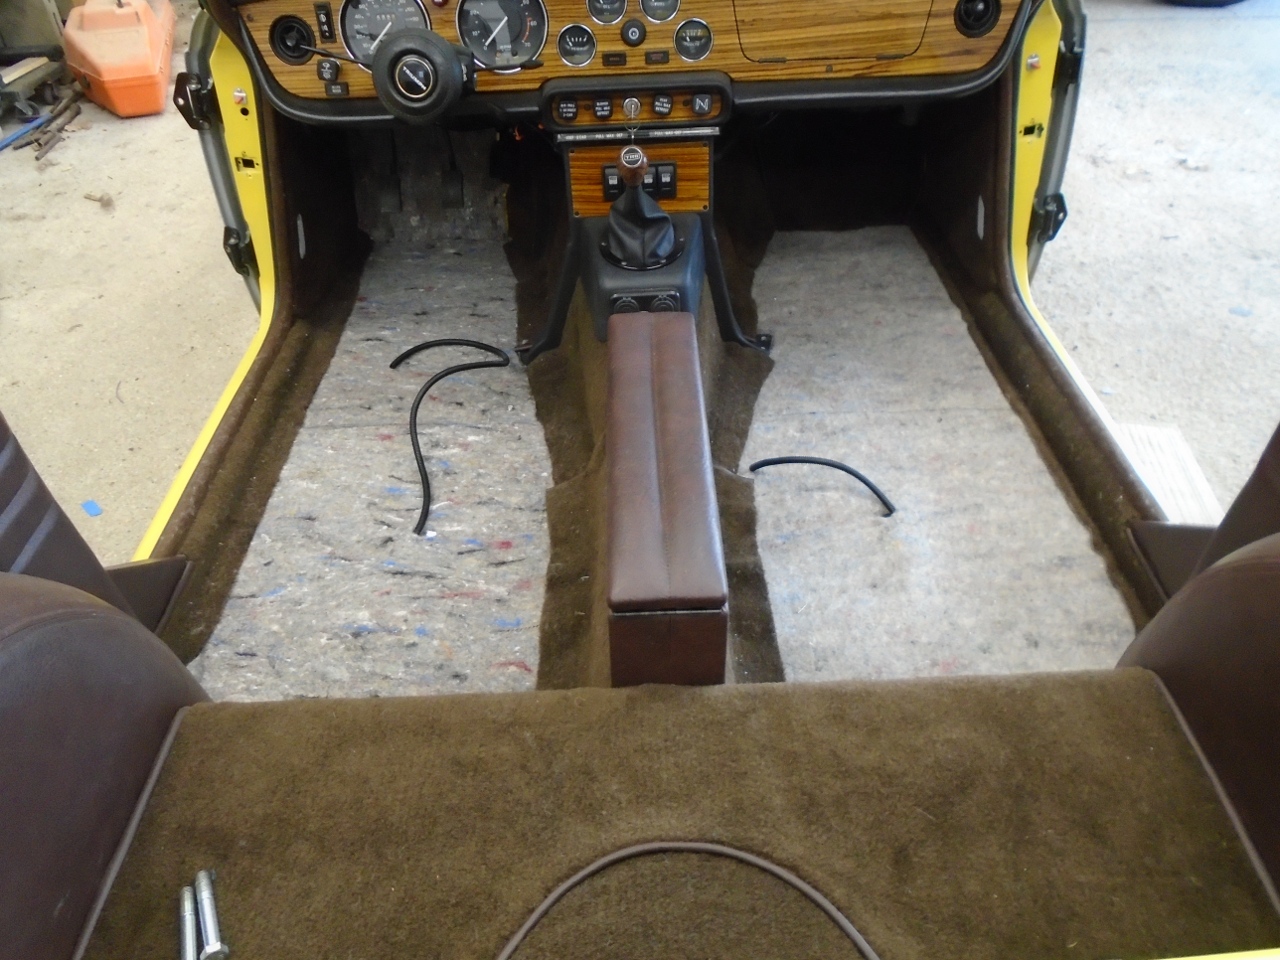
Now
it's just the floors left. In a departure from the original
carpet sets, I opted to make a seperate carpet piece for the toe board
on each side. I glued these in with jute backing, so they are
somewhat more permanent than the flat floor pieces. This makes
the removable piece in front of the seats smaller, simpler, and easier
to install.
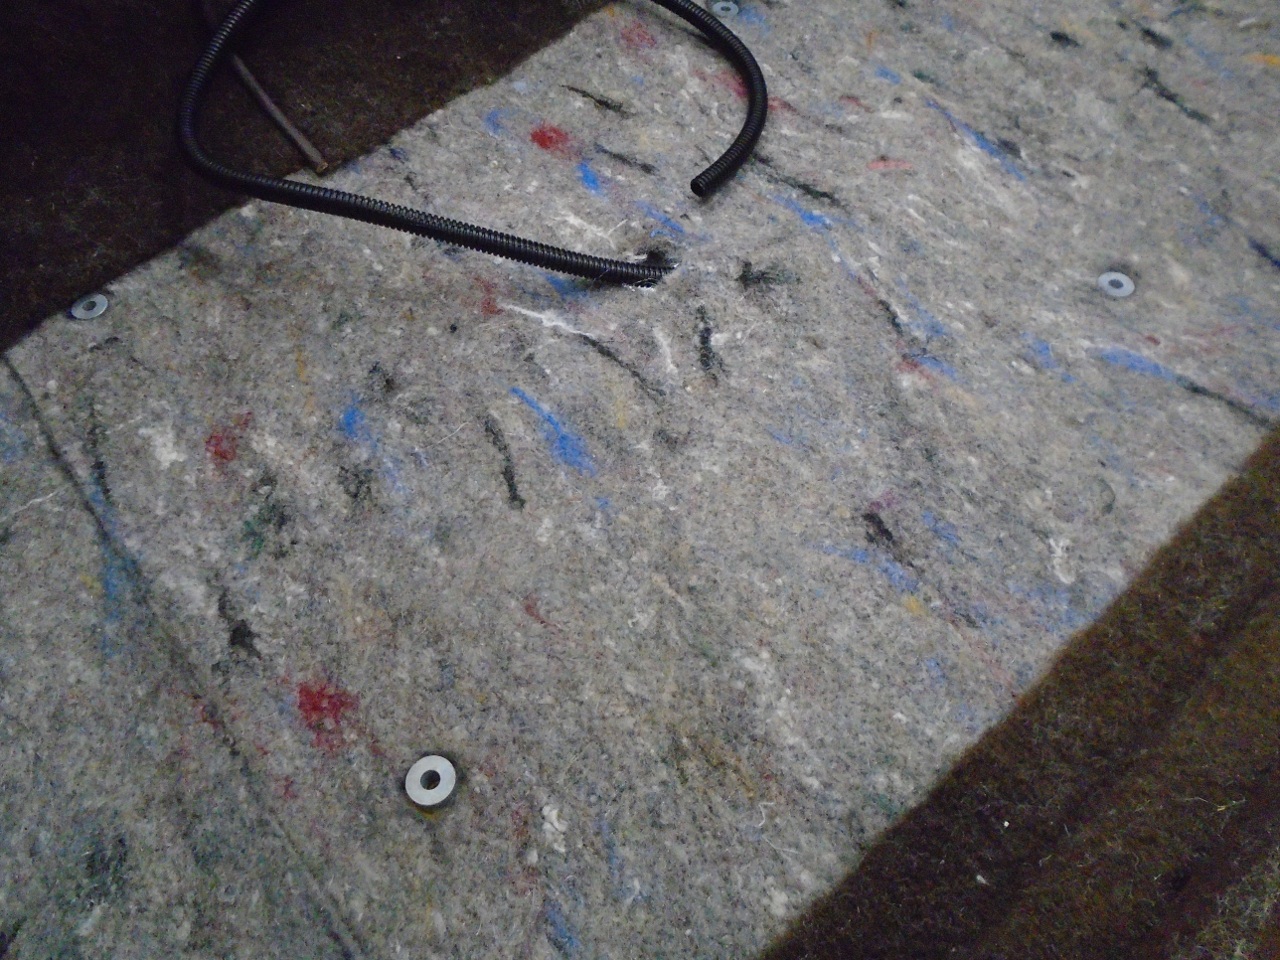
CLD on the floors. Then Jute. The wires are for the seat heaters.
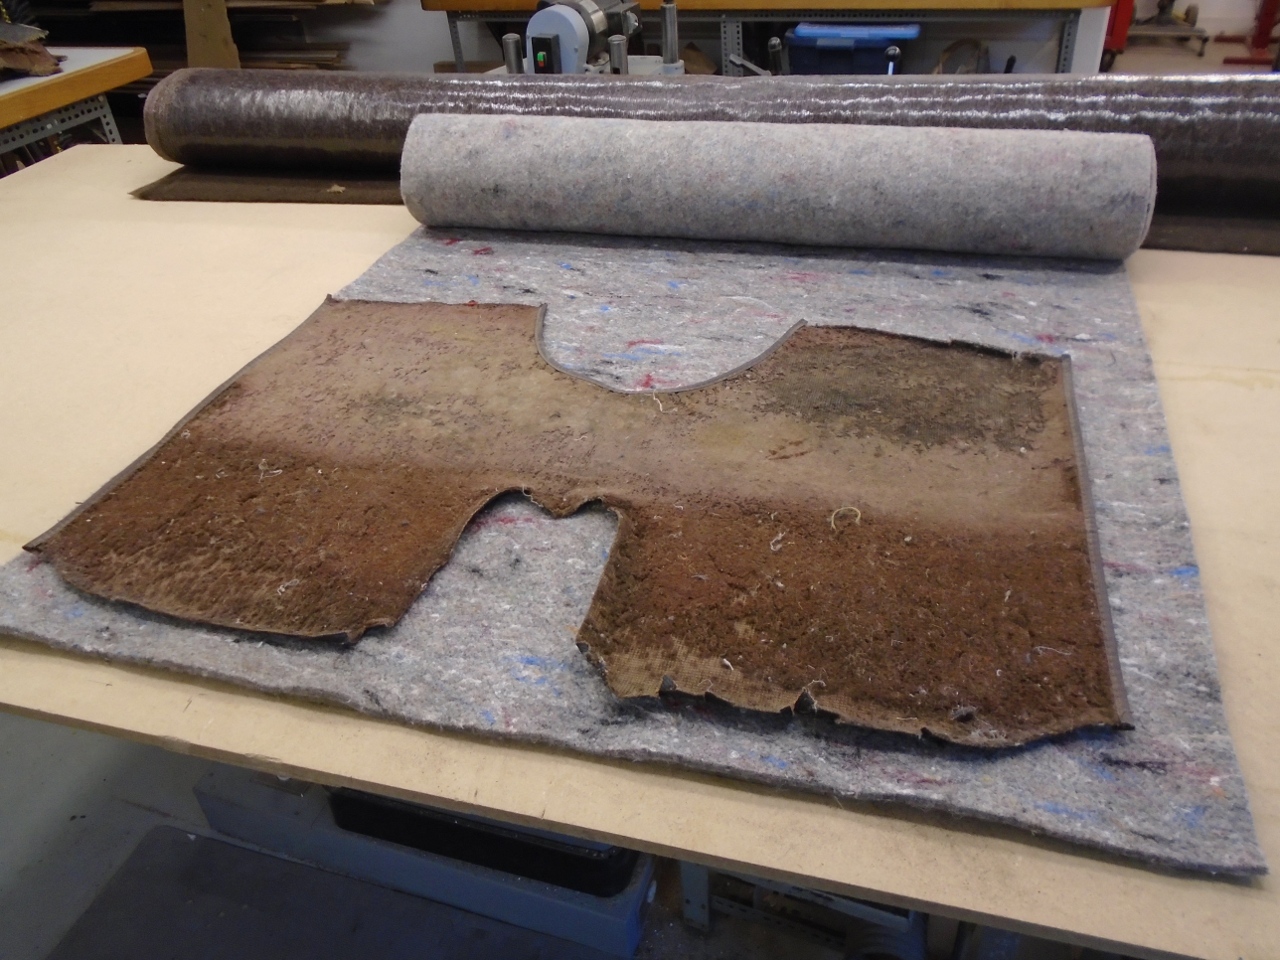
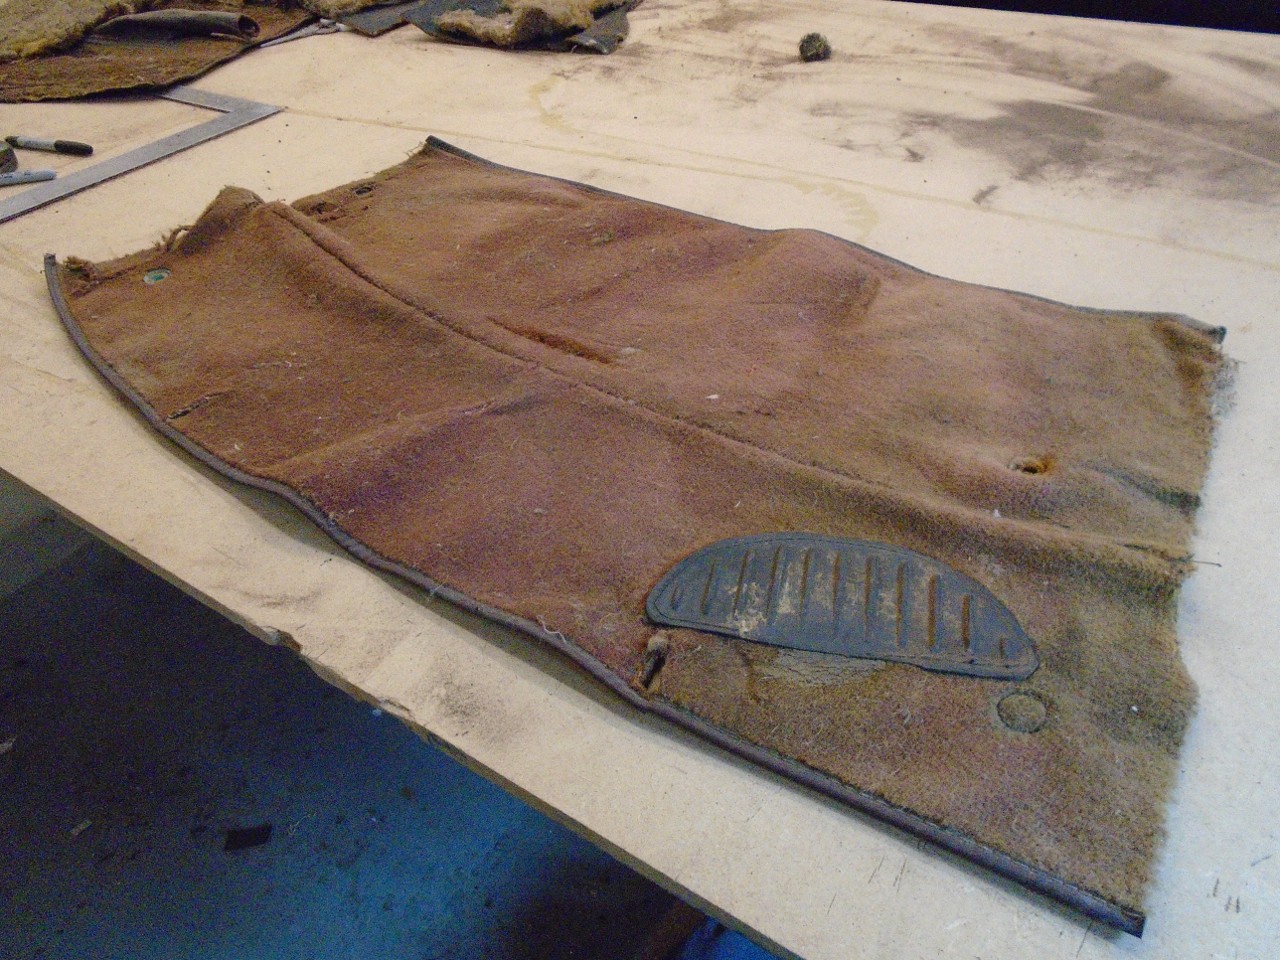
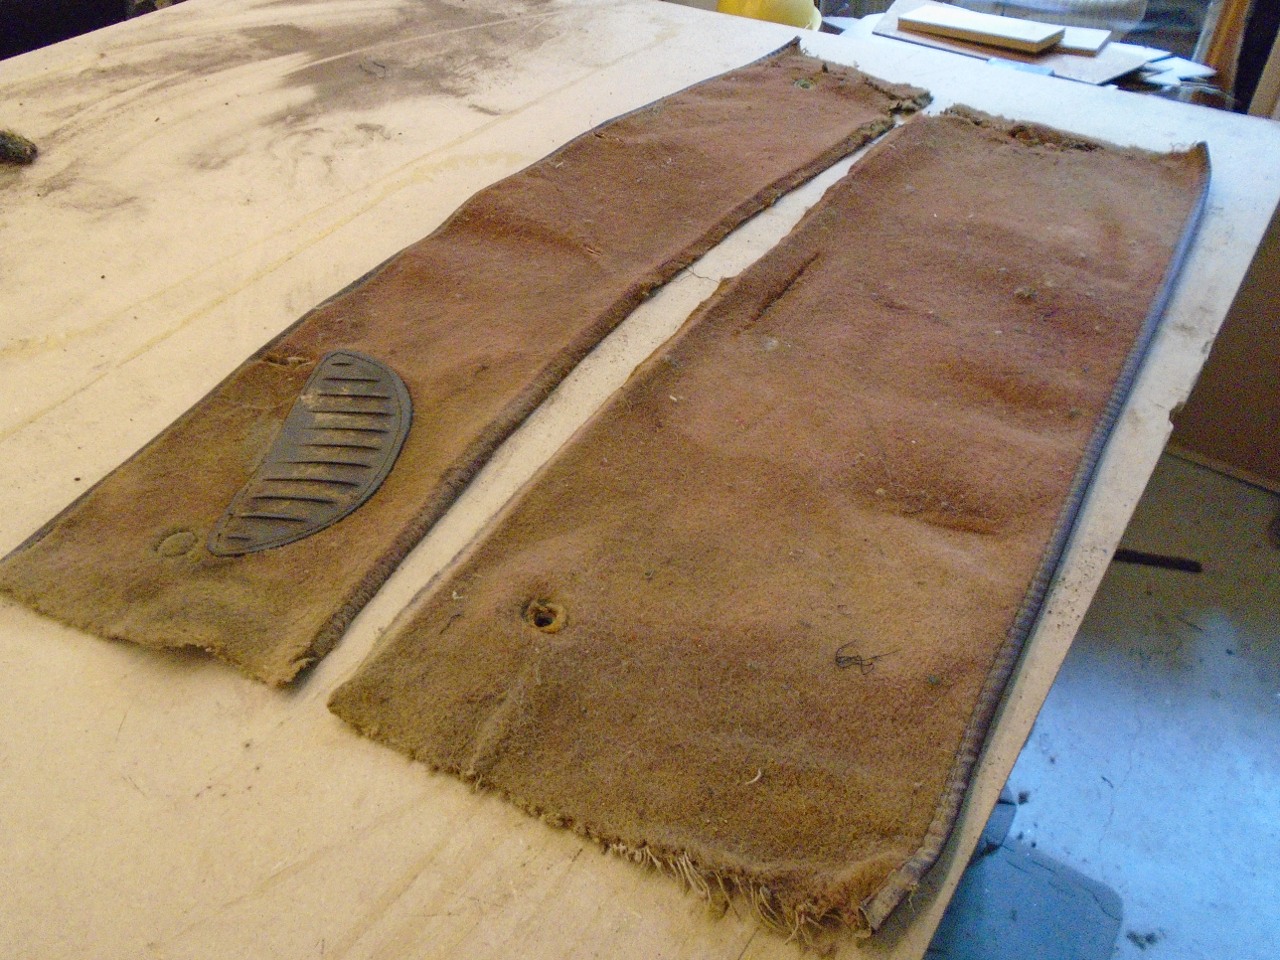
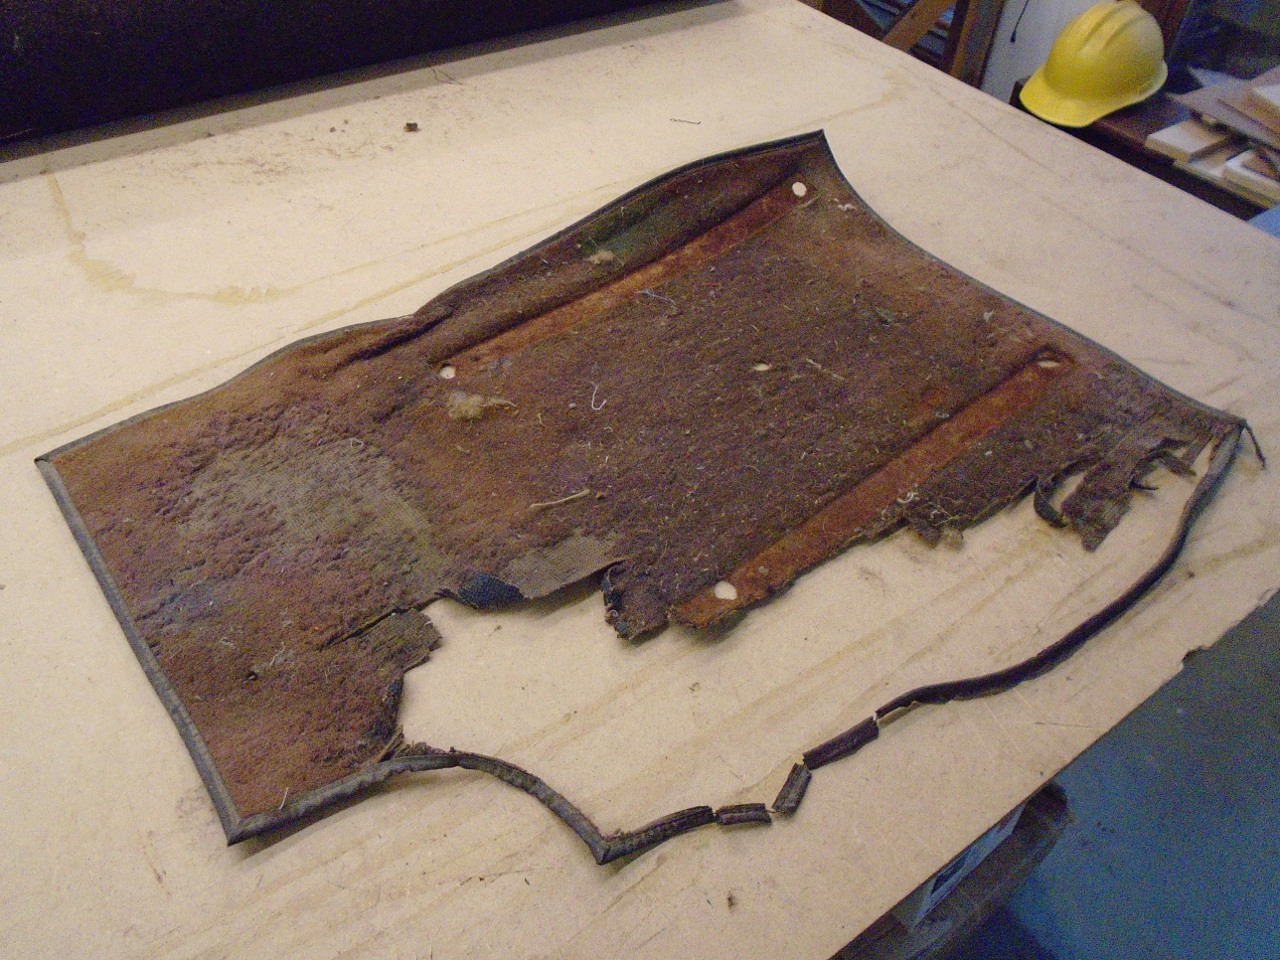
I
only had the shredded remains of one of the rear floor carpets.
The other one was missing completely. Since I couldn't
really rely on them as templates, I made cardboard ones instead.
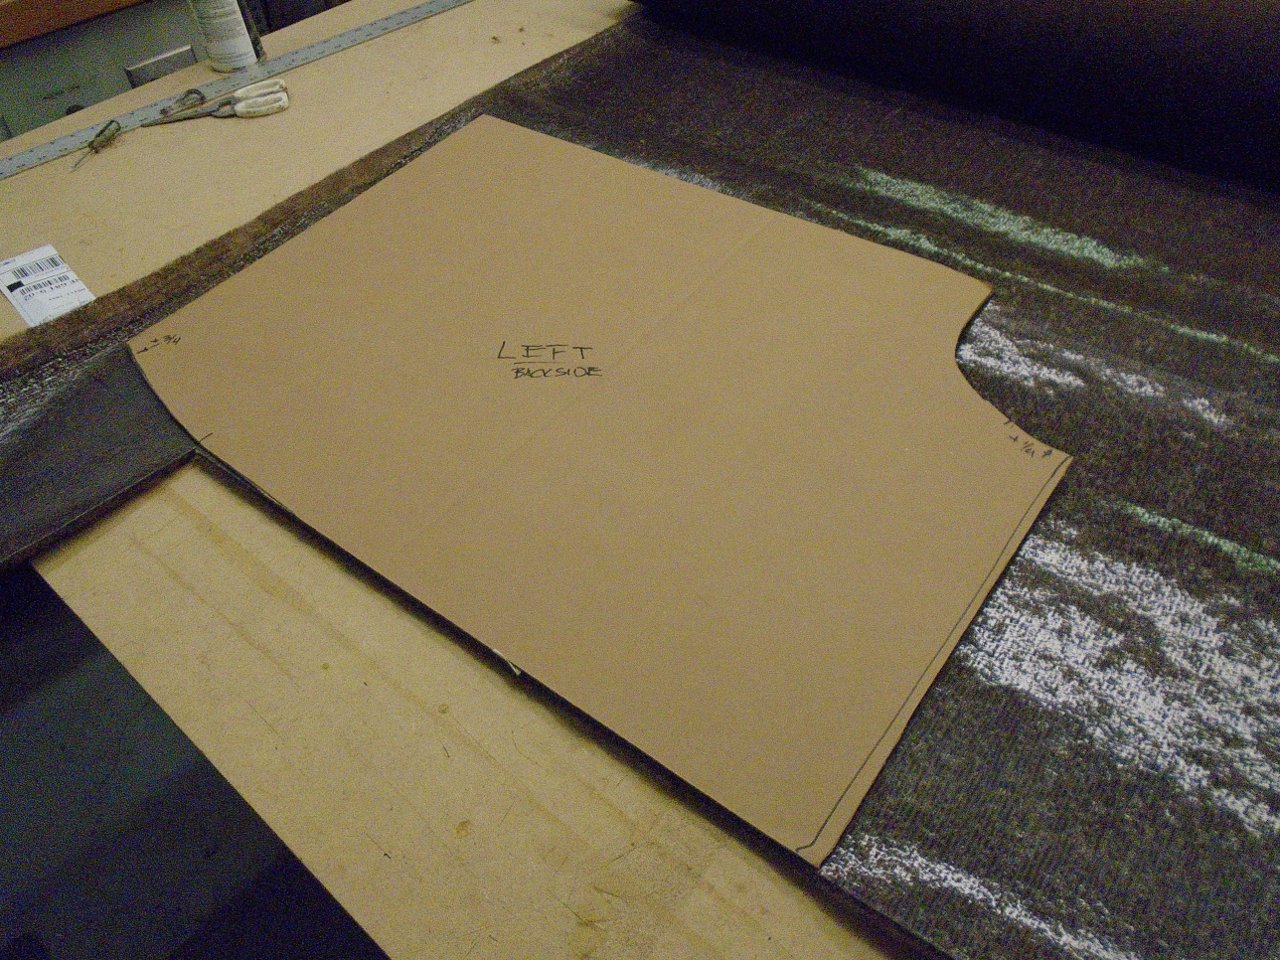
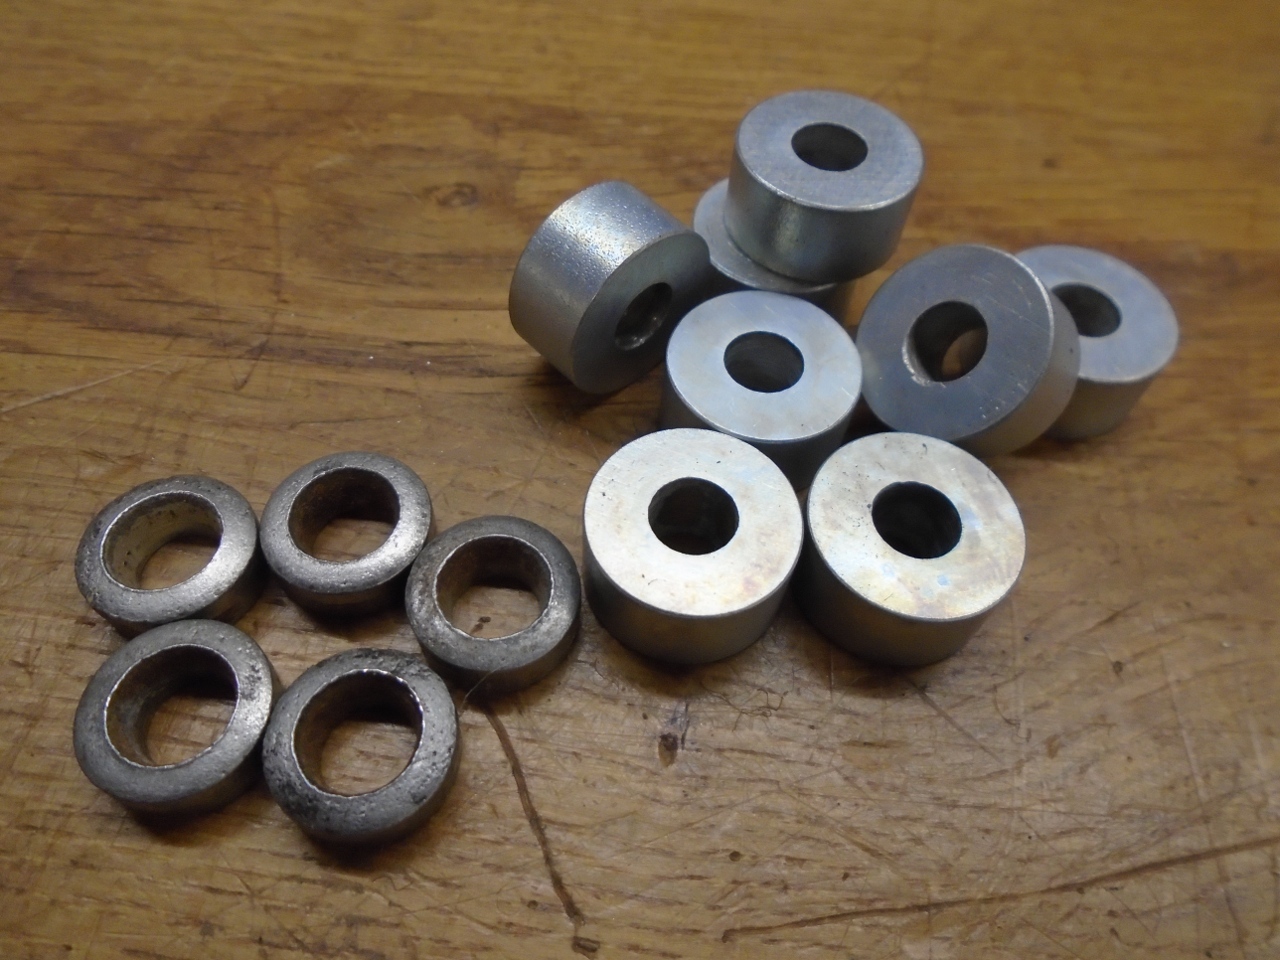
These pieces are where the seat tracks
mount. The tracks are held above the floor by spacers to account for
the compressed thickness of the carpet and padding. I looked in
my marked bags of parts and found the track spacers, but only five of
them. I decided I could probably make new spacers nearly as
quickly as finding them in catalogs and ordering them, so that's what I
set out to do. When measuring the original spacers, I thought
they looked a little wimpy, so I decided to beef them up a little.
They are larger in diameter, but also a little thicker, since my
carpet and jute seem to be a little bulkier than the original
materials.
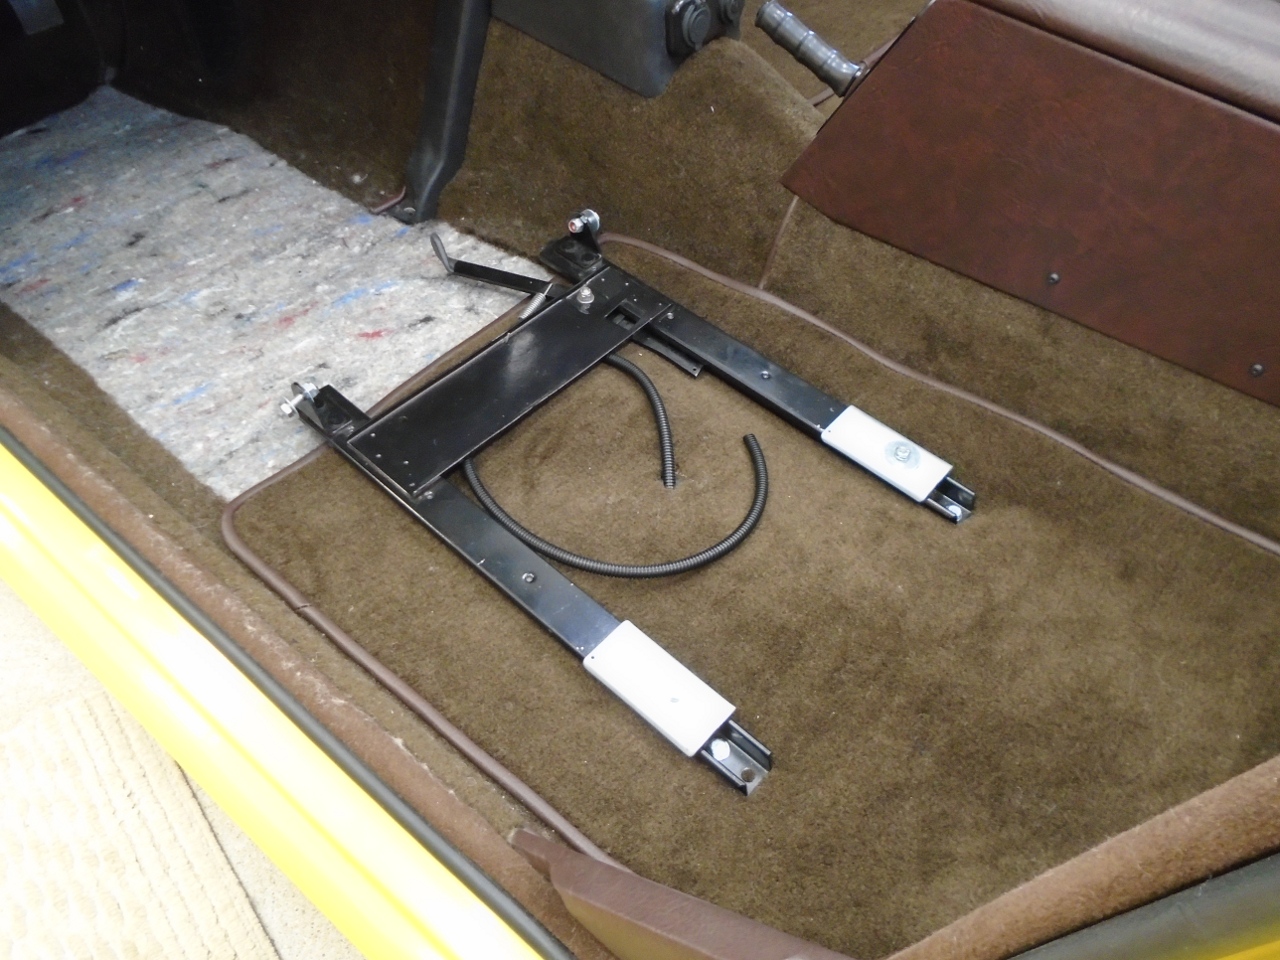
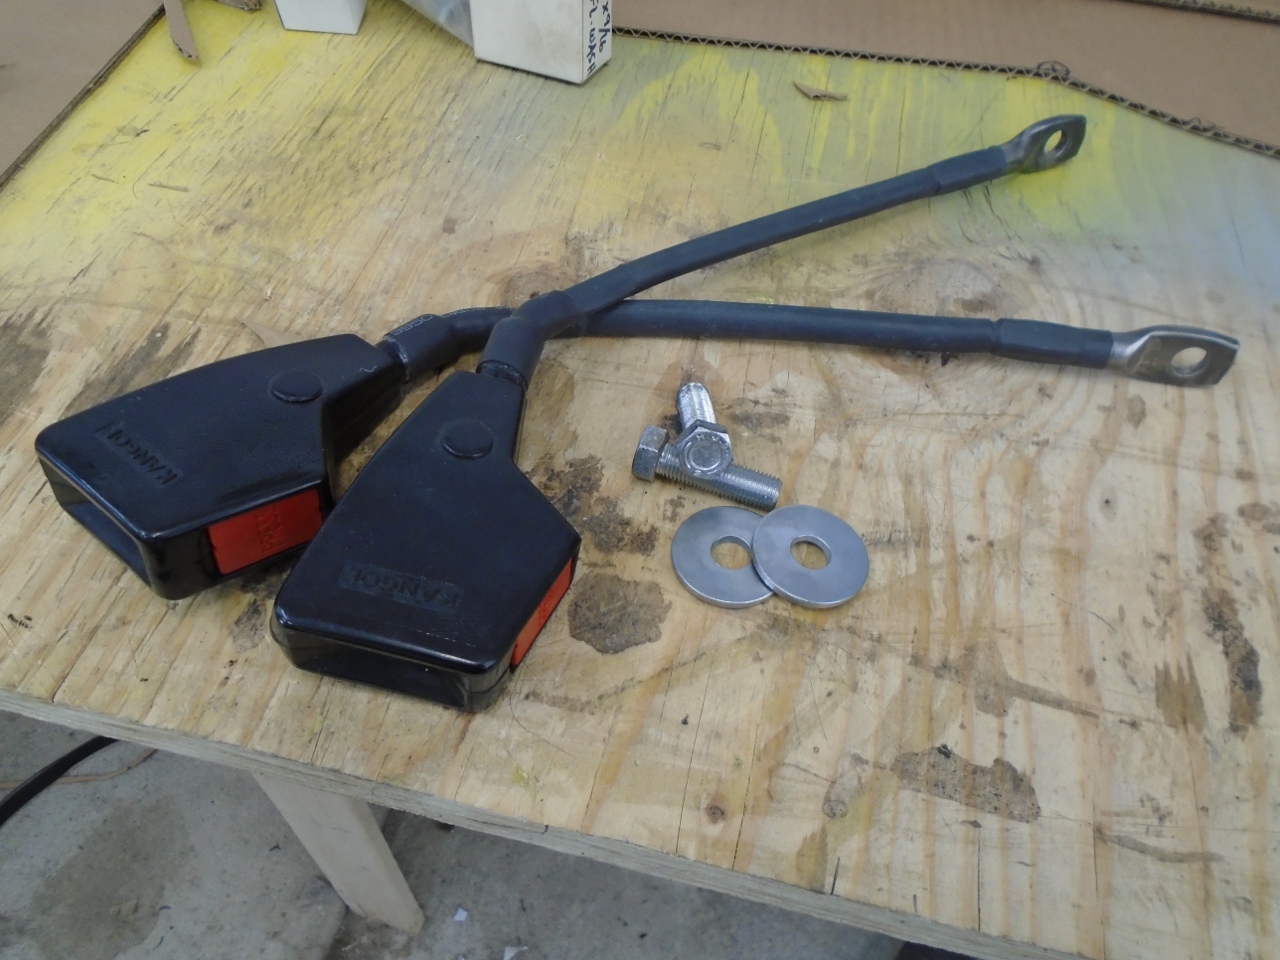
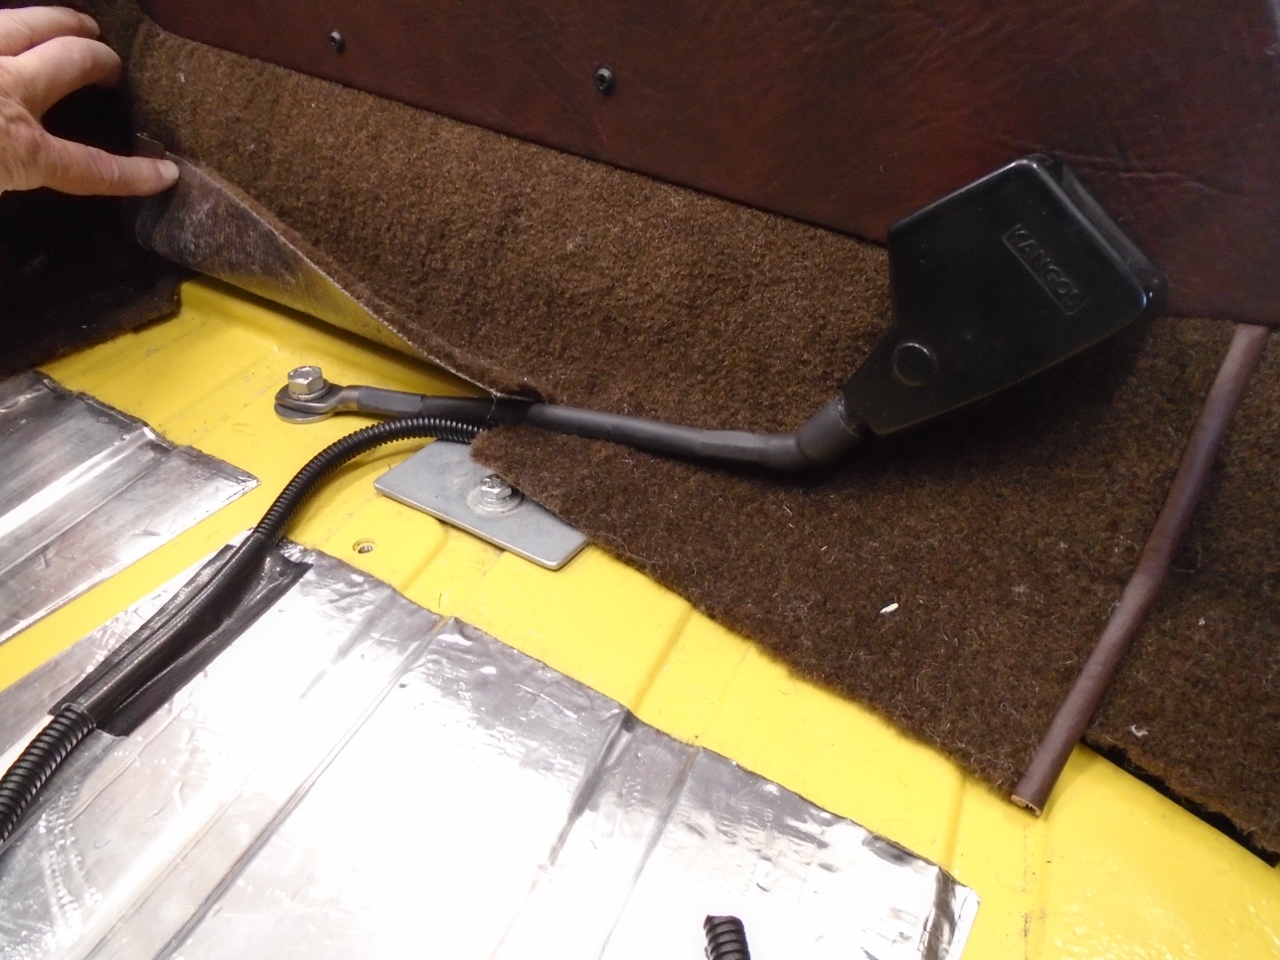
At this point, I also installed the seat belt stalks.
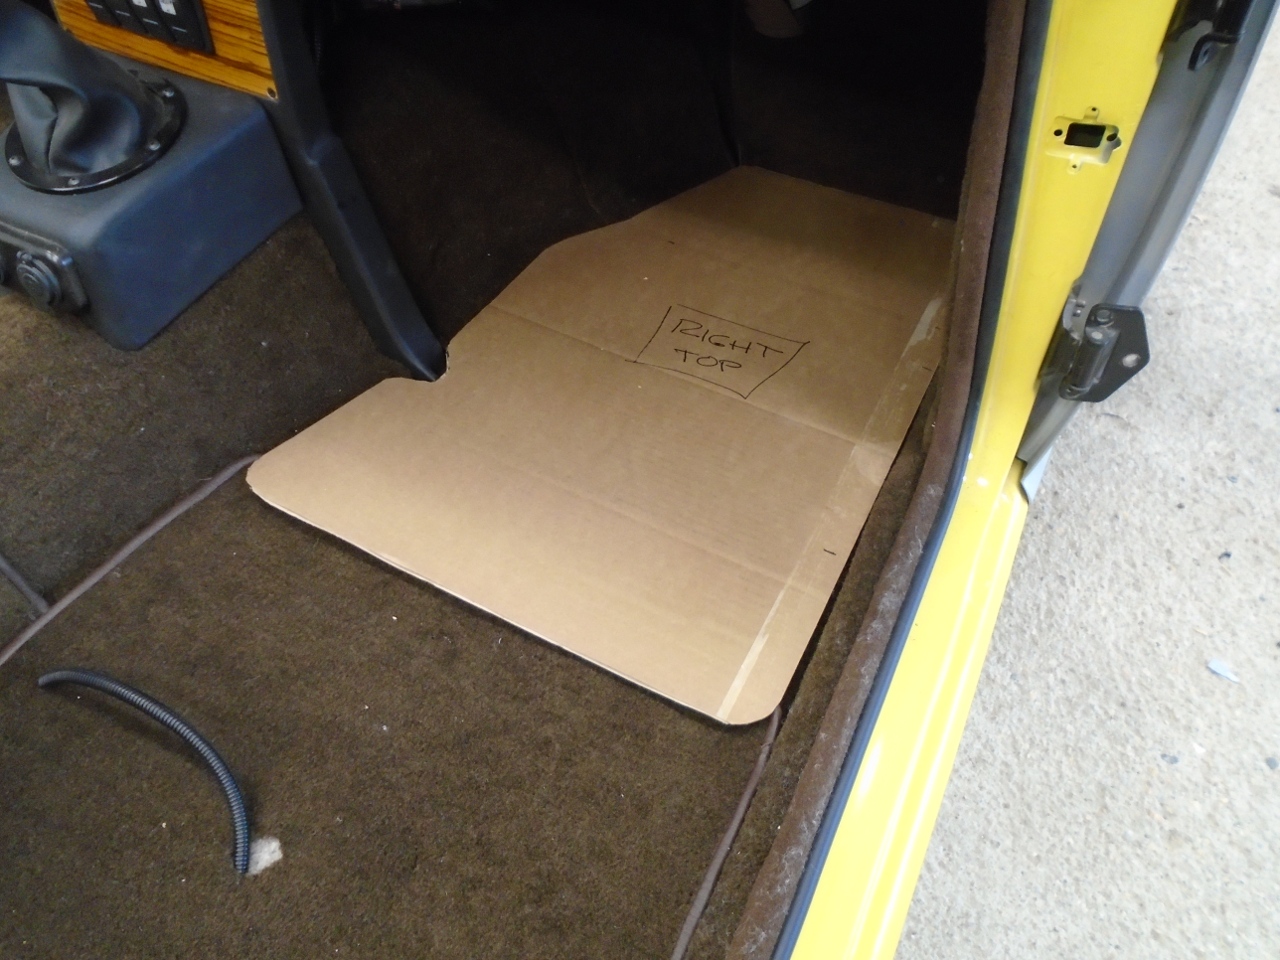
Now for the front floor carpets. My originals were both AWOL, so it was down to winging it with cardboard.

Another
short detour was the little finishing caps at the top of the B post.
I couldn't find my originals, so I bought new ones. They
look fine, but they didn't fit very well. Some trimming fixed
that.
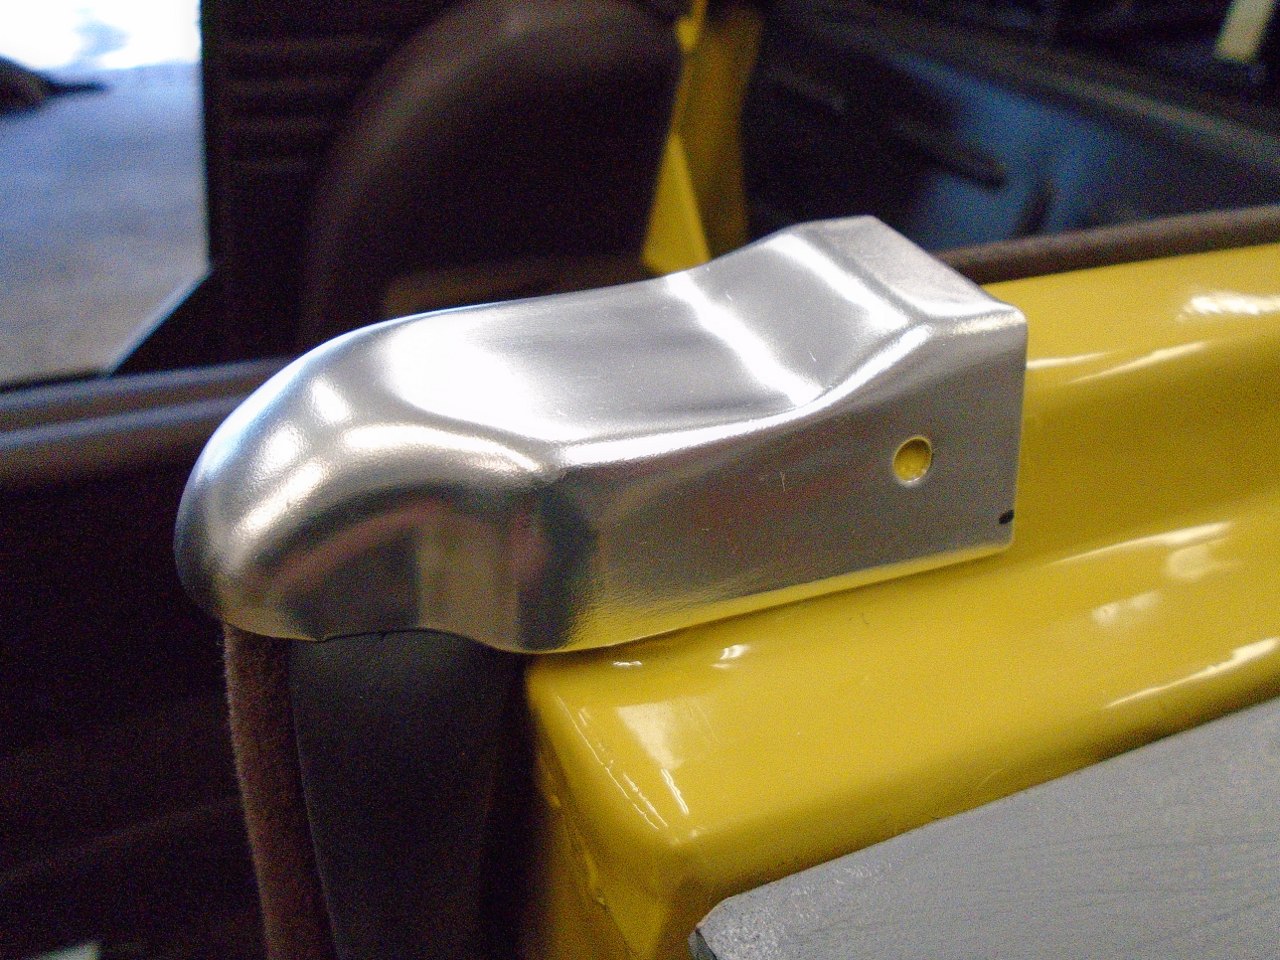

The original caps were held by a sheet metal screw in the inside. I used a rivet nut and machine screw instead.
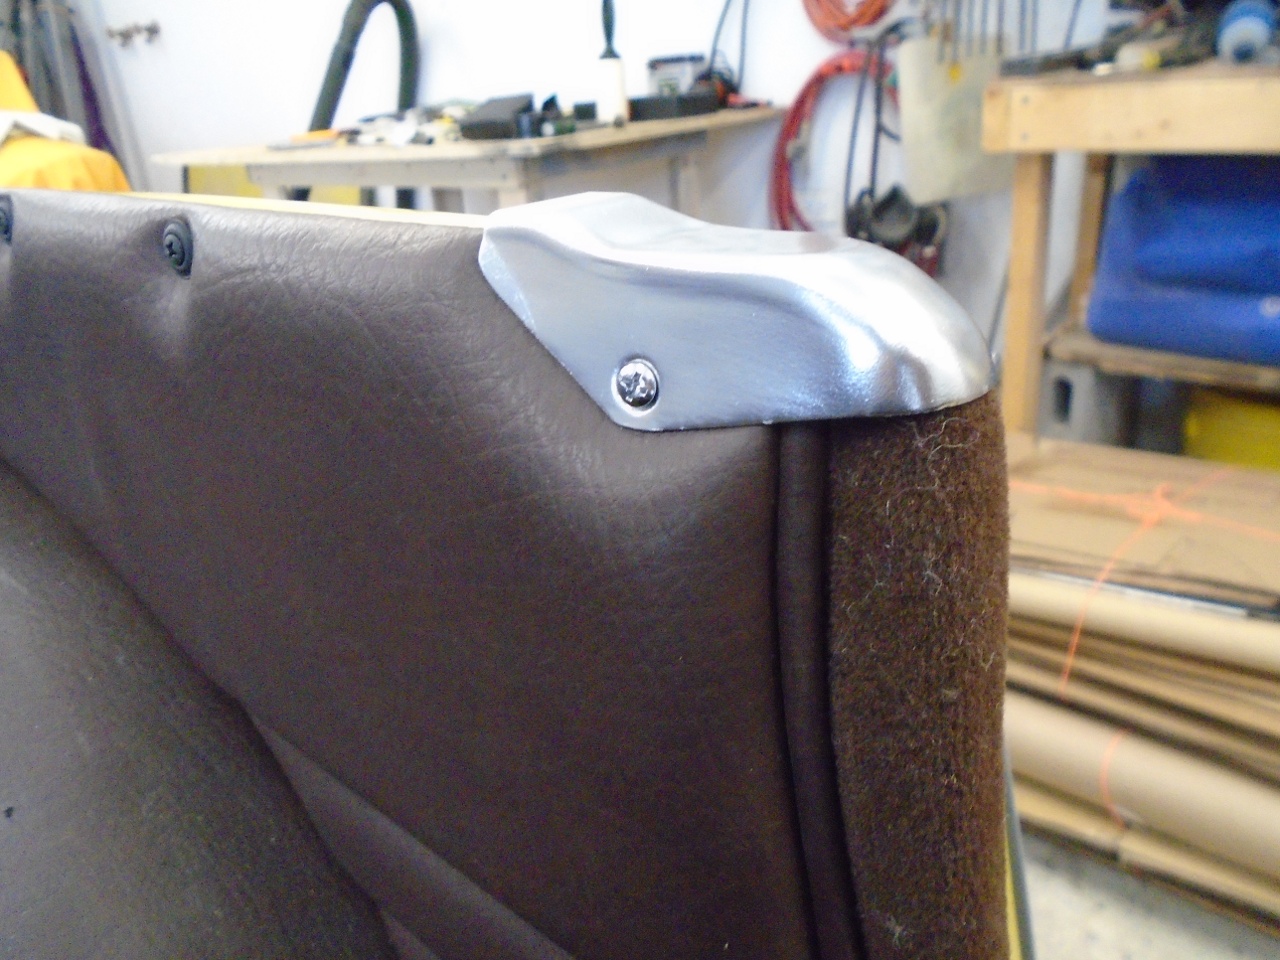
The outside gets a blind rivet, but I'll wait until final assembly to install that.

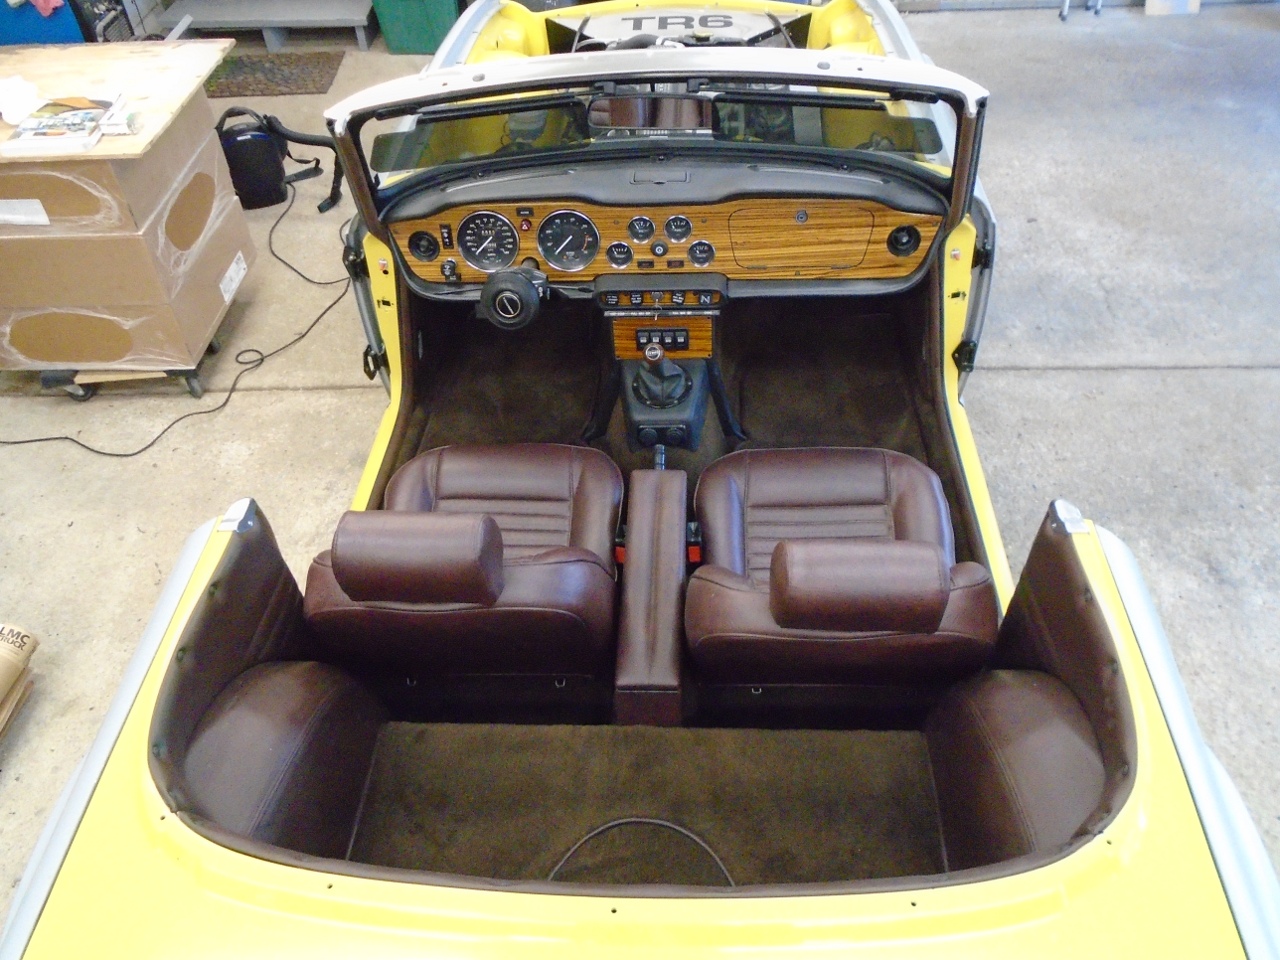
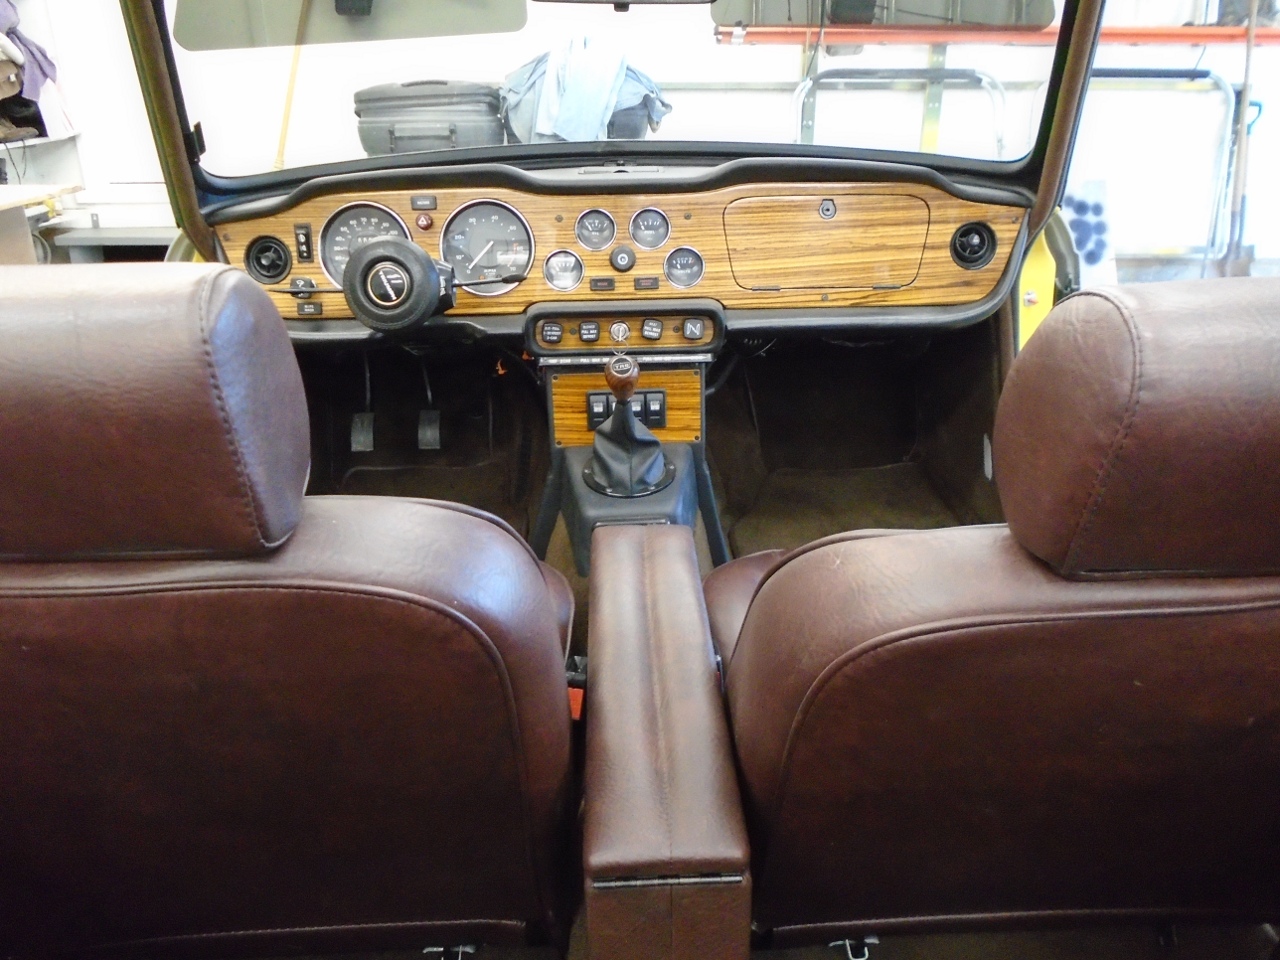
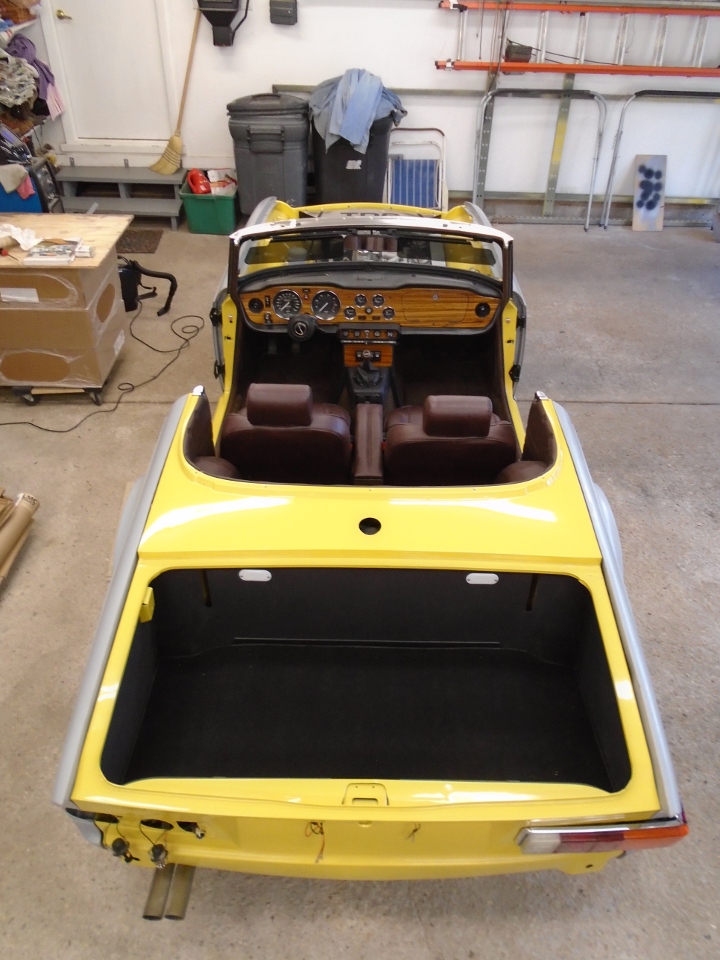
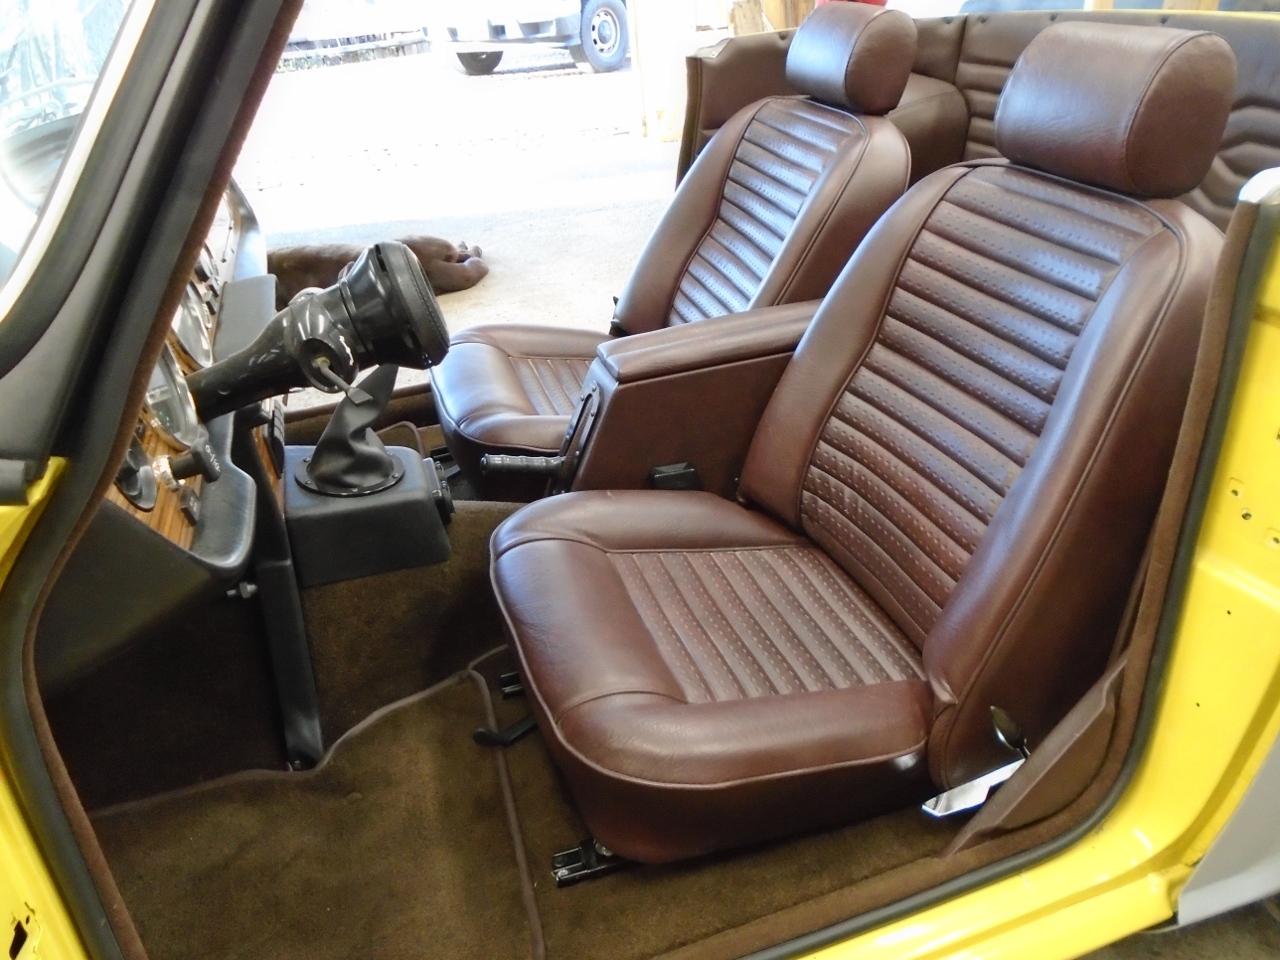
So, looking more comfy every day.
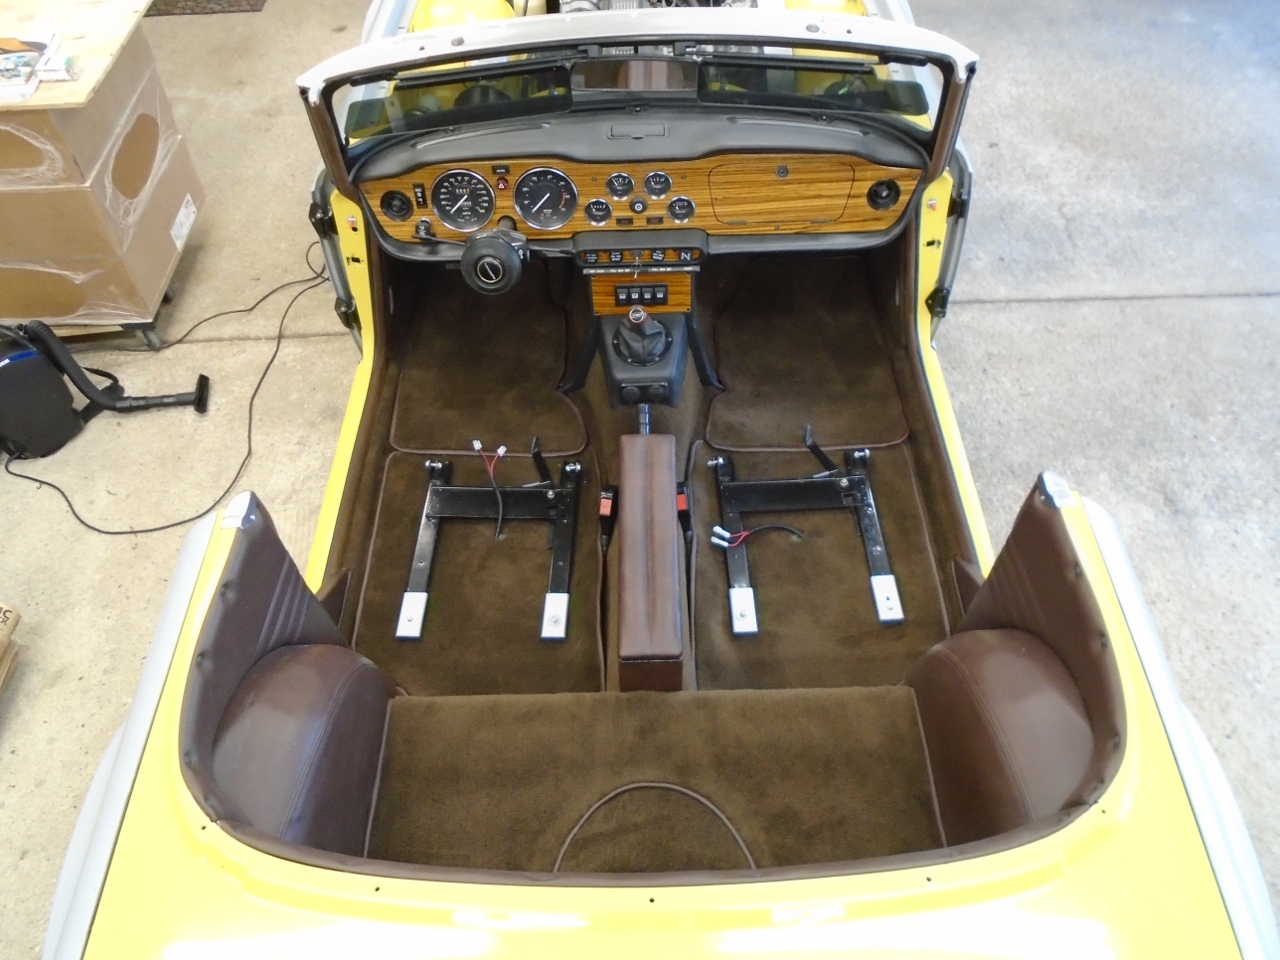
Even more so with the seats.
Making
my own carpet set is a job I probably would not do again. I
probably saved some money, but not a lot, and it took a long time.
I'm not thrilled with the fit in a few places, and the binding in
some of the tight curves could be better. On the other hand, I
guess I can now say "Been there, done that". All I need is
the T shirt.
Comments to Ed at elhollin1@yahoo.com
To my other TR6 pages.