To my other TR6 pages
March 26, 2018
Center Console
TR6
cars didn't come with a center console between the seats. I
always thought this was a glaring omission on the part of the
designers. A car needs a place to stash assorted stuff--wallet,
sunglasses, change, cell phone--stuff like that. The glove box is
more for the passenger's use, or for stuff you need when you aren't
moving. The little side pockets in the doors never worked for me,
and I'm not going to retain them anyway. This is all
important, but the real reason I wanted a console is for a nice soft
place to rest my elbow.
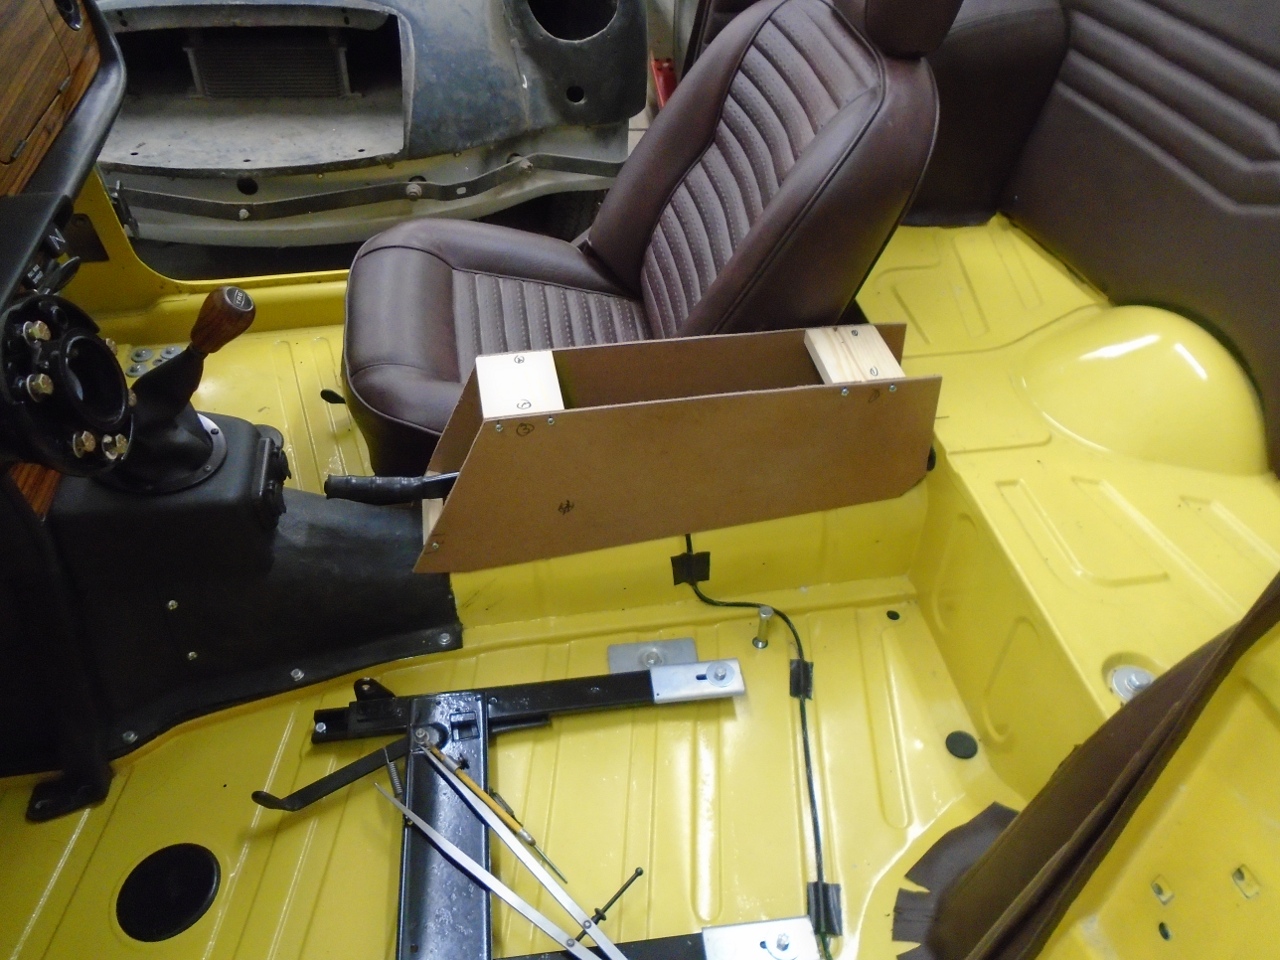
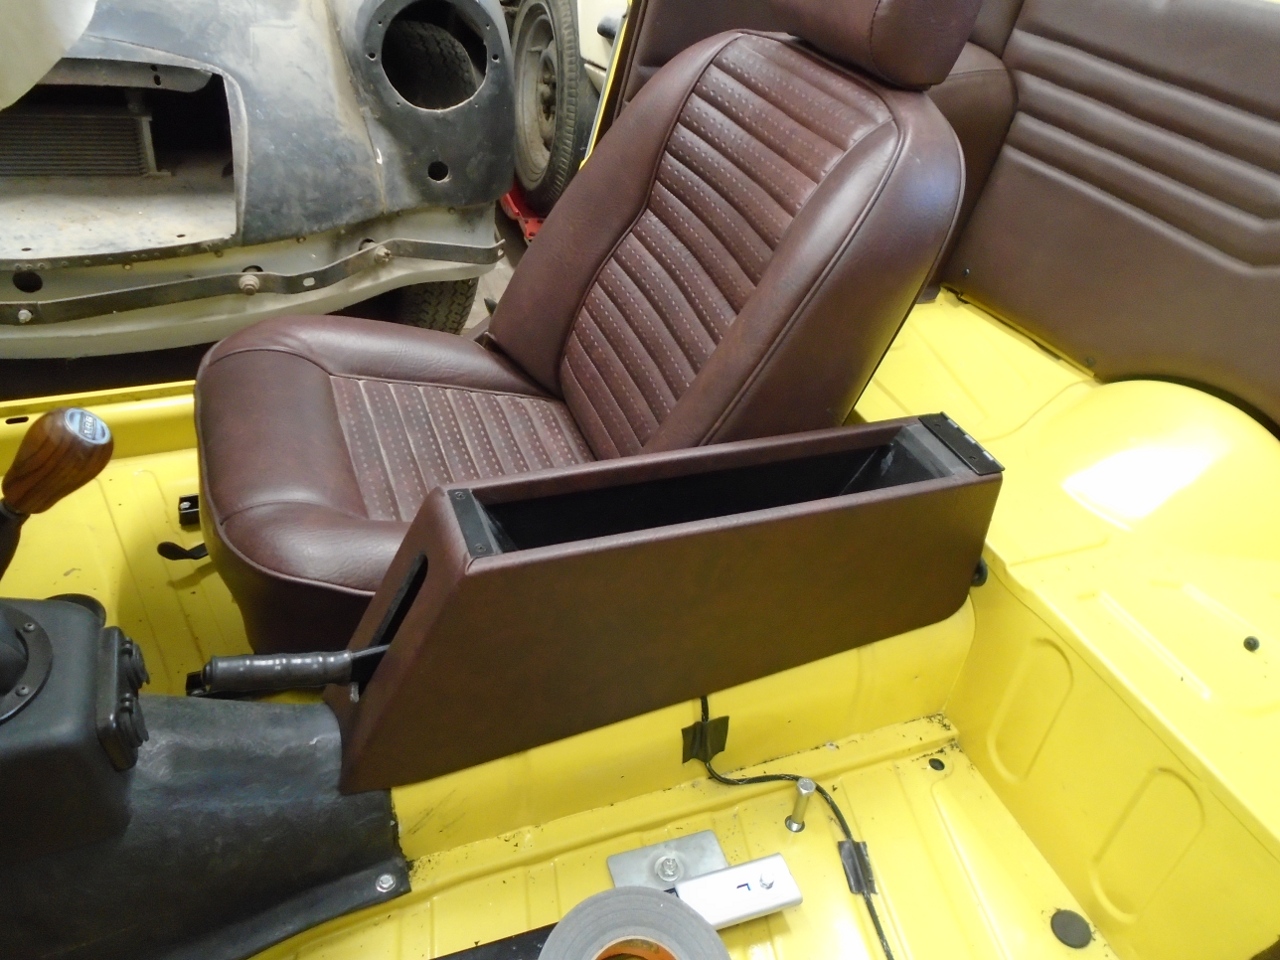
So
I began planning for some kind of center console. The position of
the seats and hand brake sort of limit the general size and shape of
the console. It can't be much wider than four inches or so,
and has to provide unfettered access to the hand brake grip. It
needs to be comfortable elbow height.
I made a mockup with wood, hardboard, and hot melt glue.

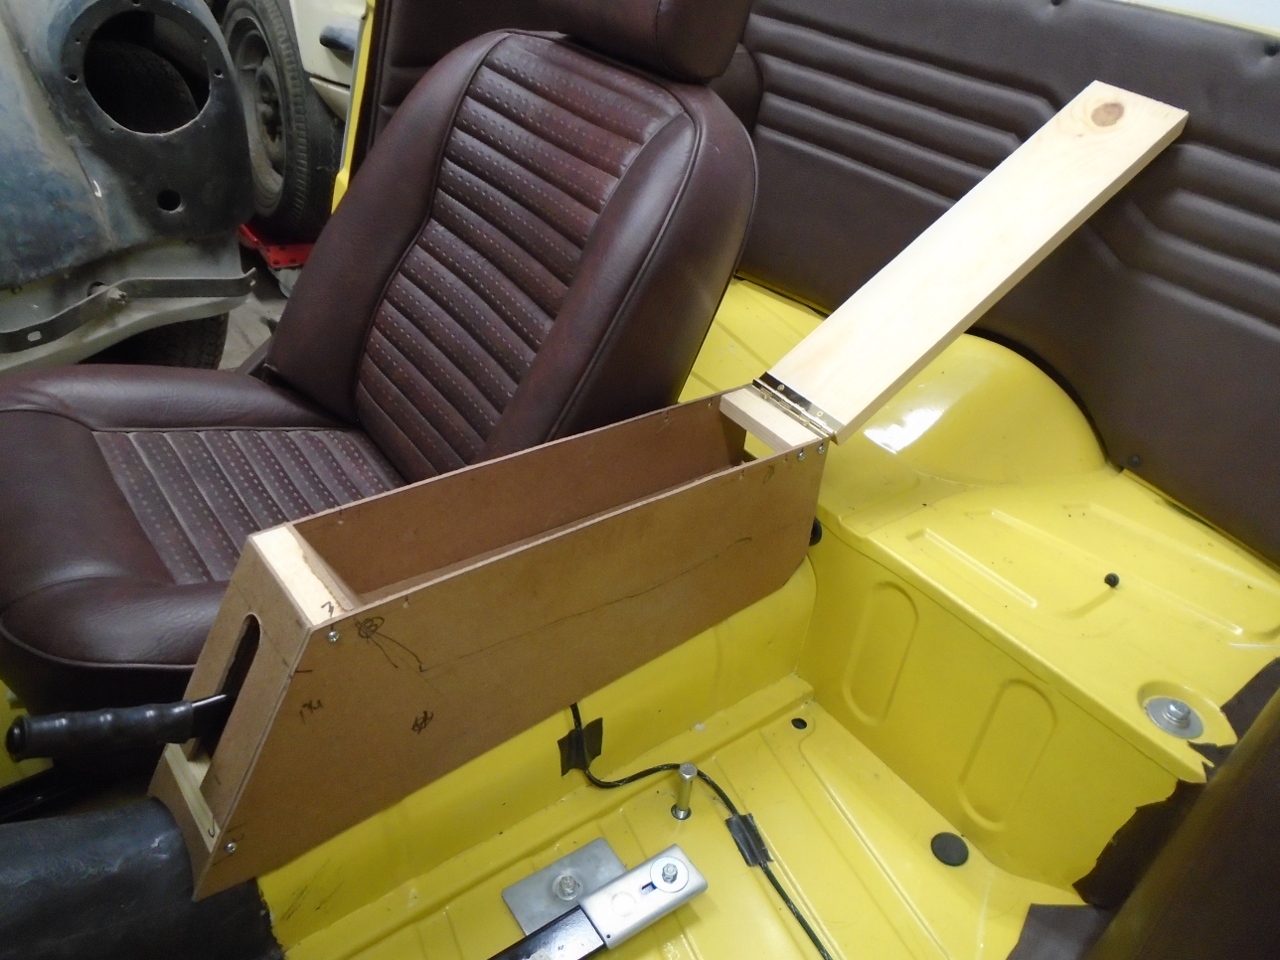
To
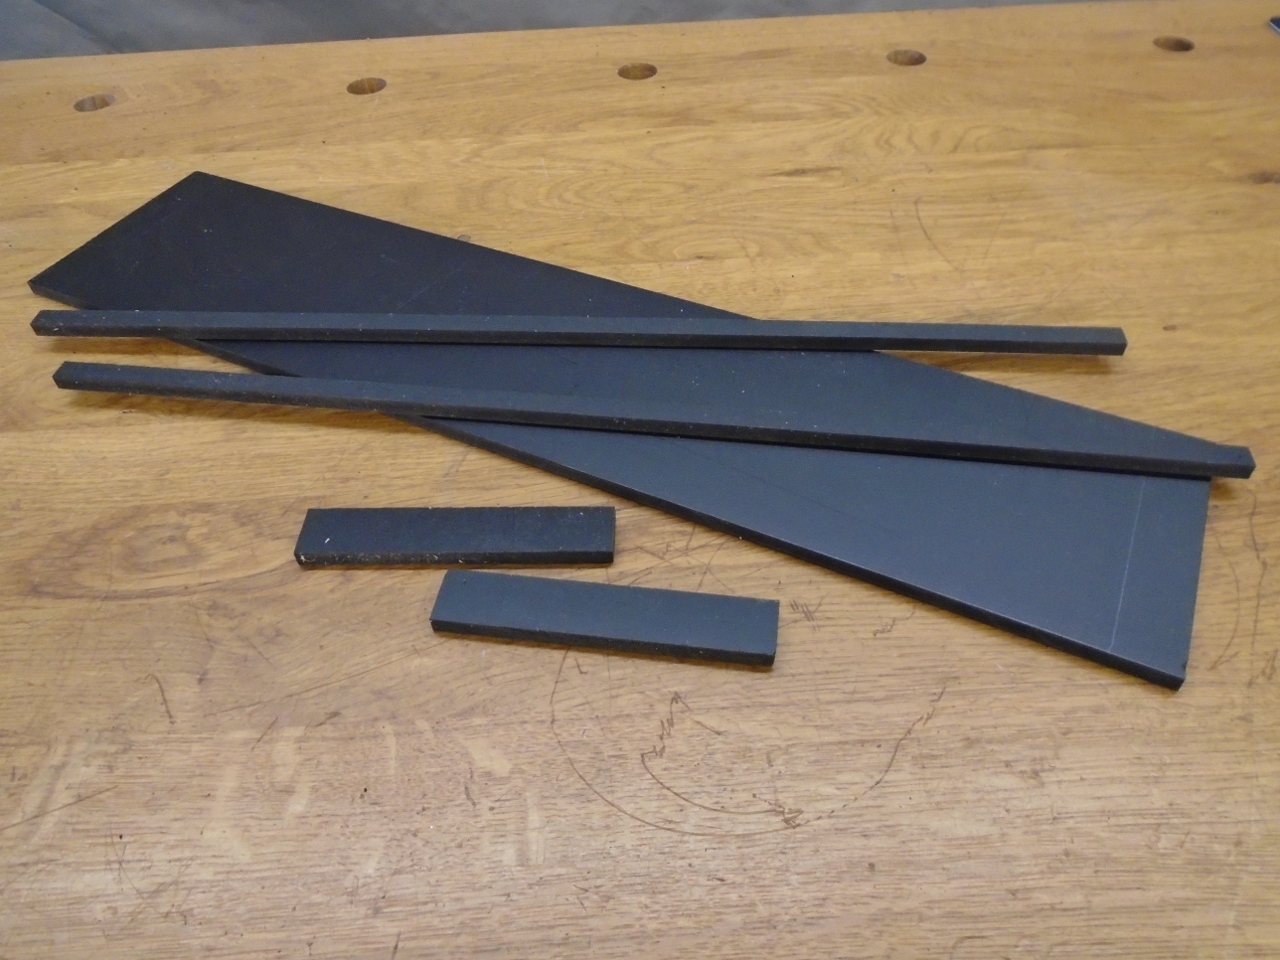
make the actual console, I chose 1/4" foam core PVC board. It is
light weight, strong, rigid, glues well, and can be worked with
woodworking tools. I took my mock-up apart for patterns.
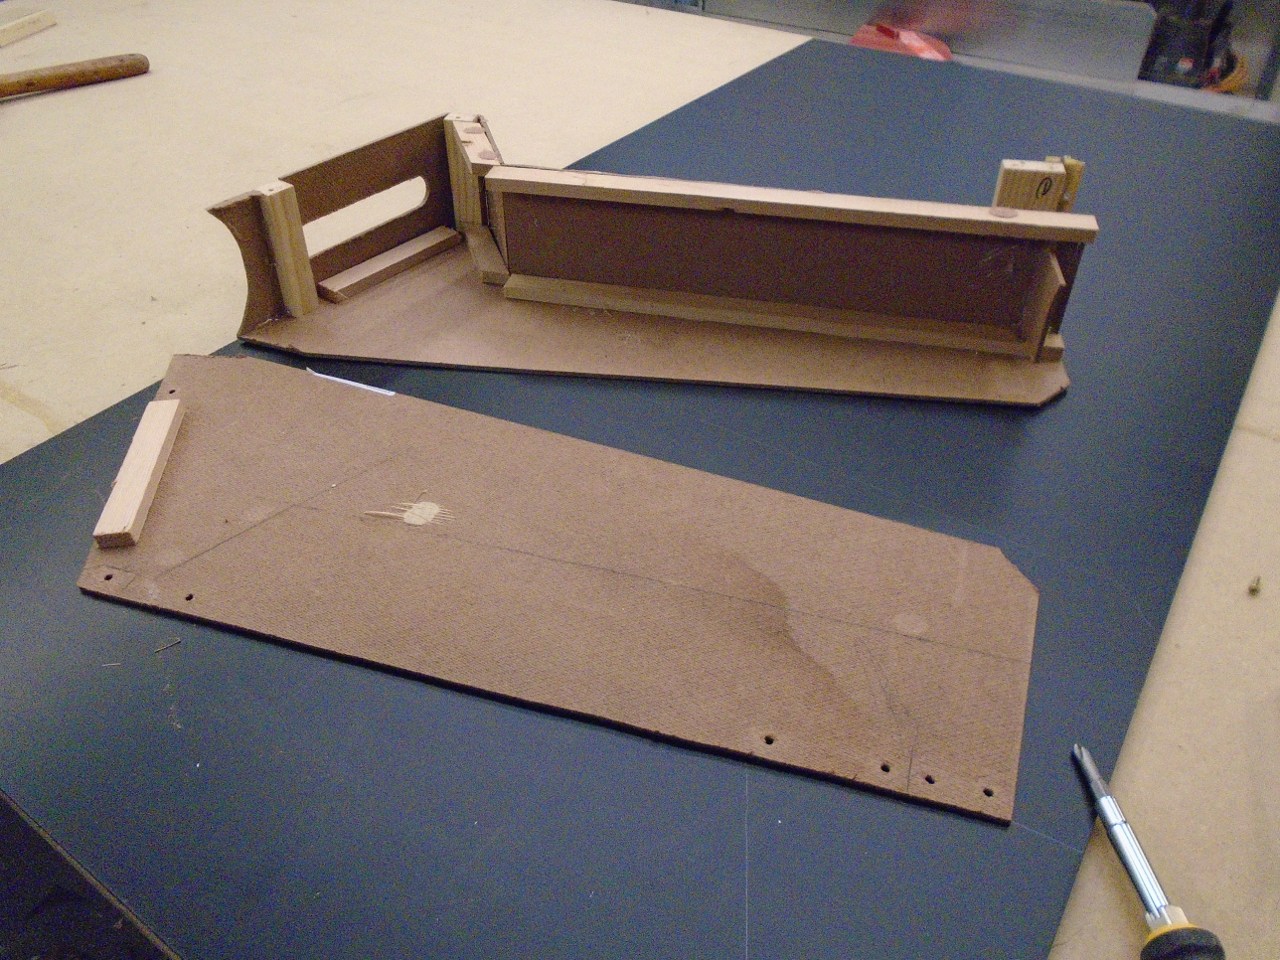
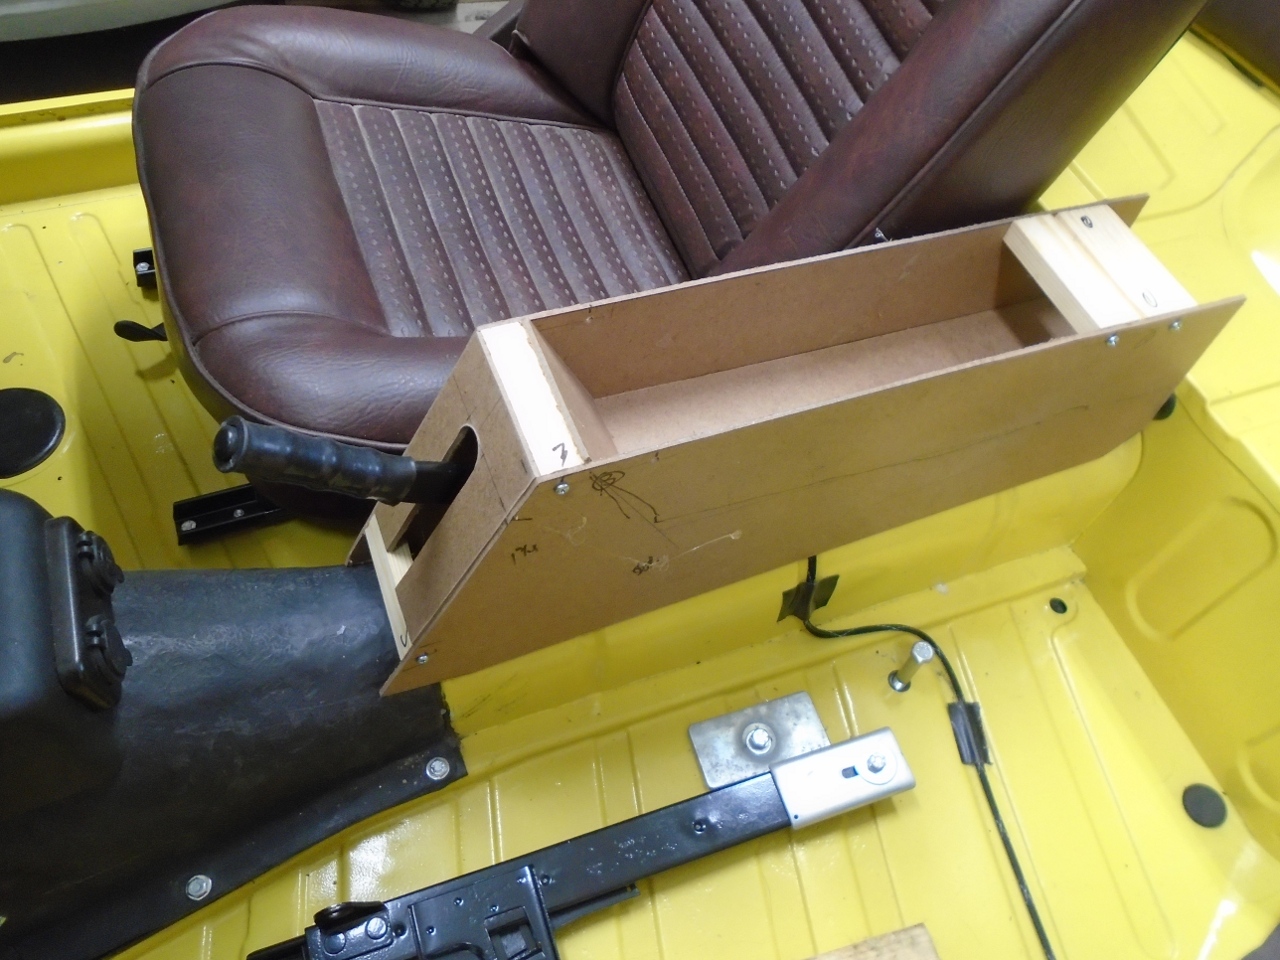
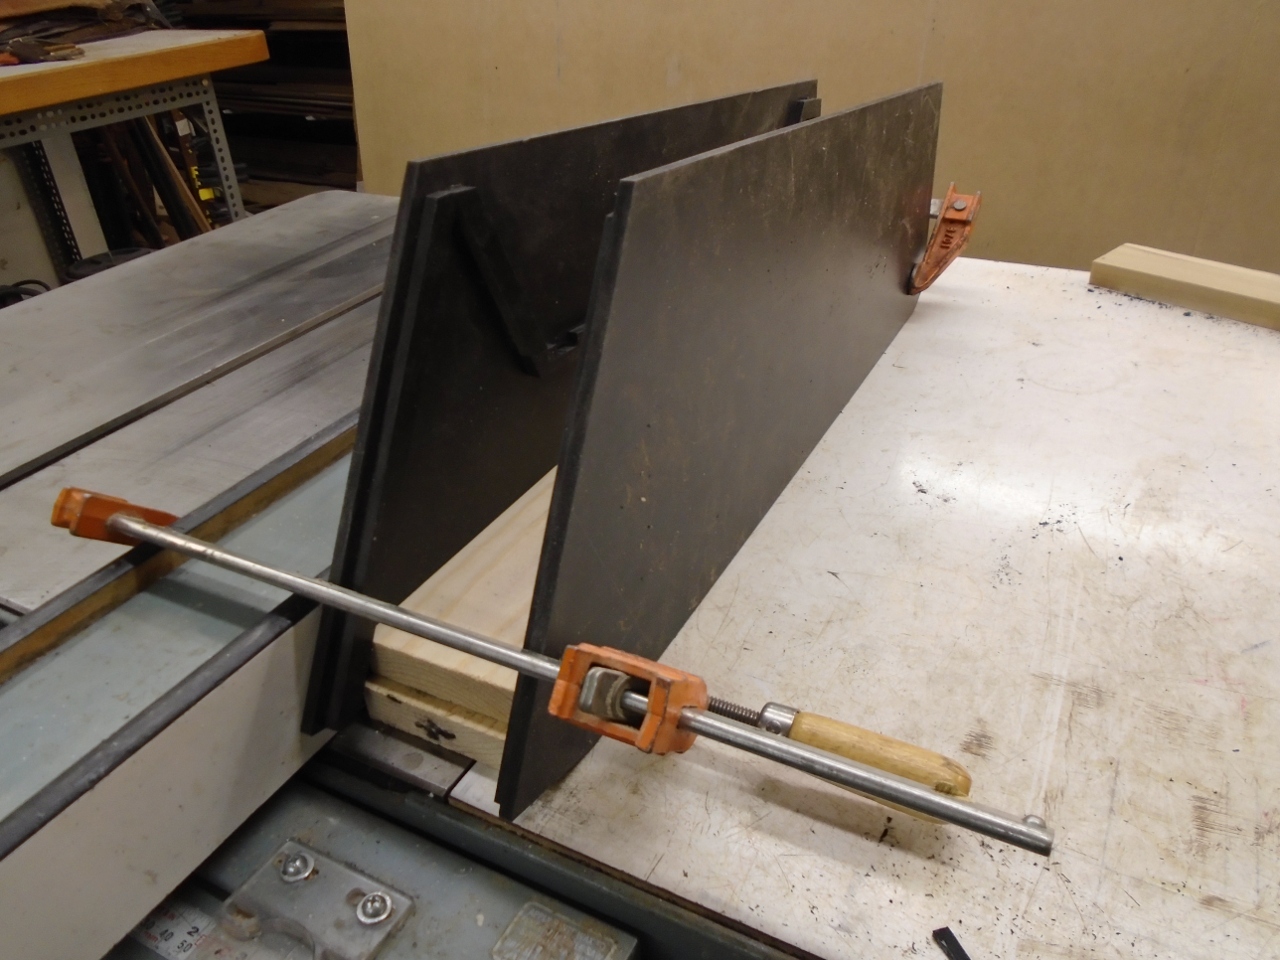
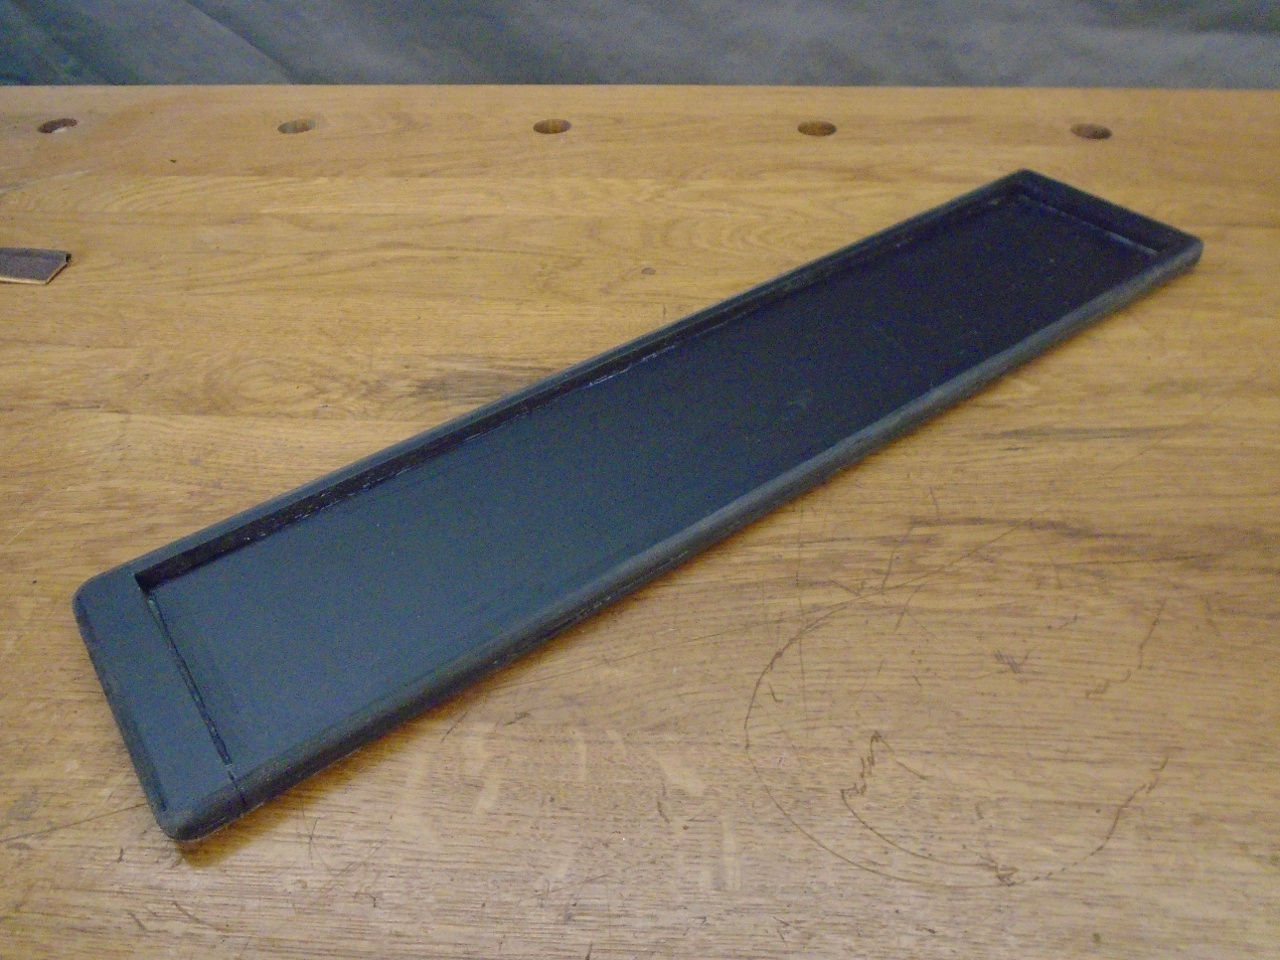
I made the two sides, and glued this strips to support the cross pieces.

Then, with the sides clamped square and parallel, I glued in the pieces that span between them.
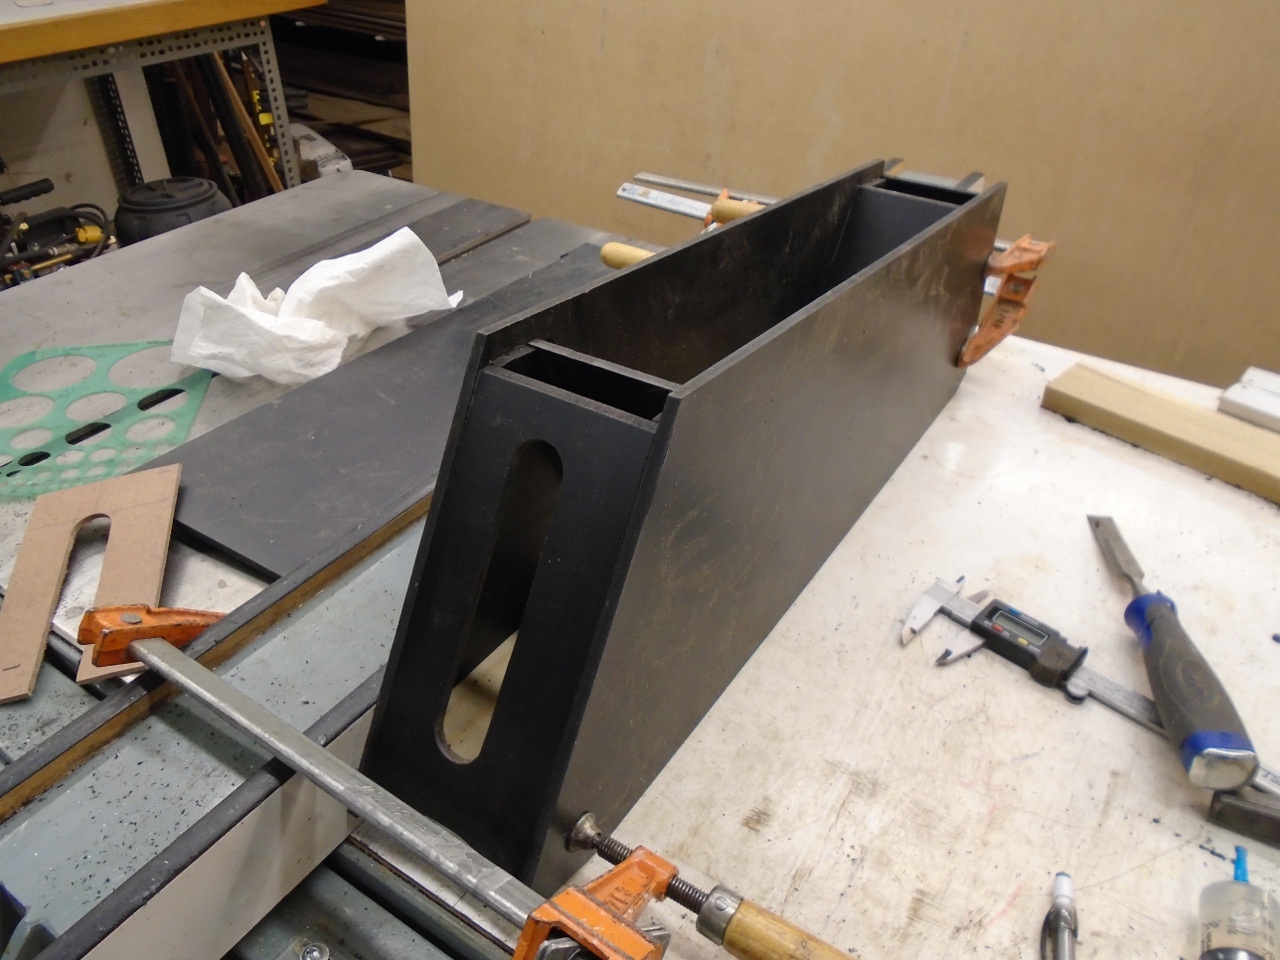

Then rounded some of the sharp angles.
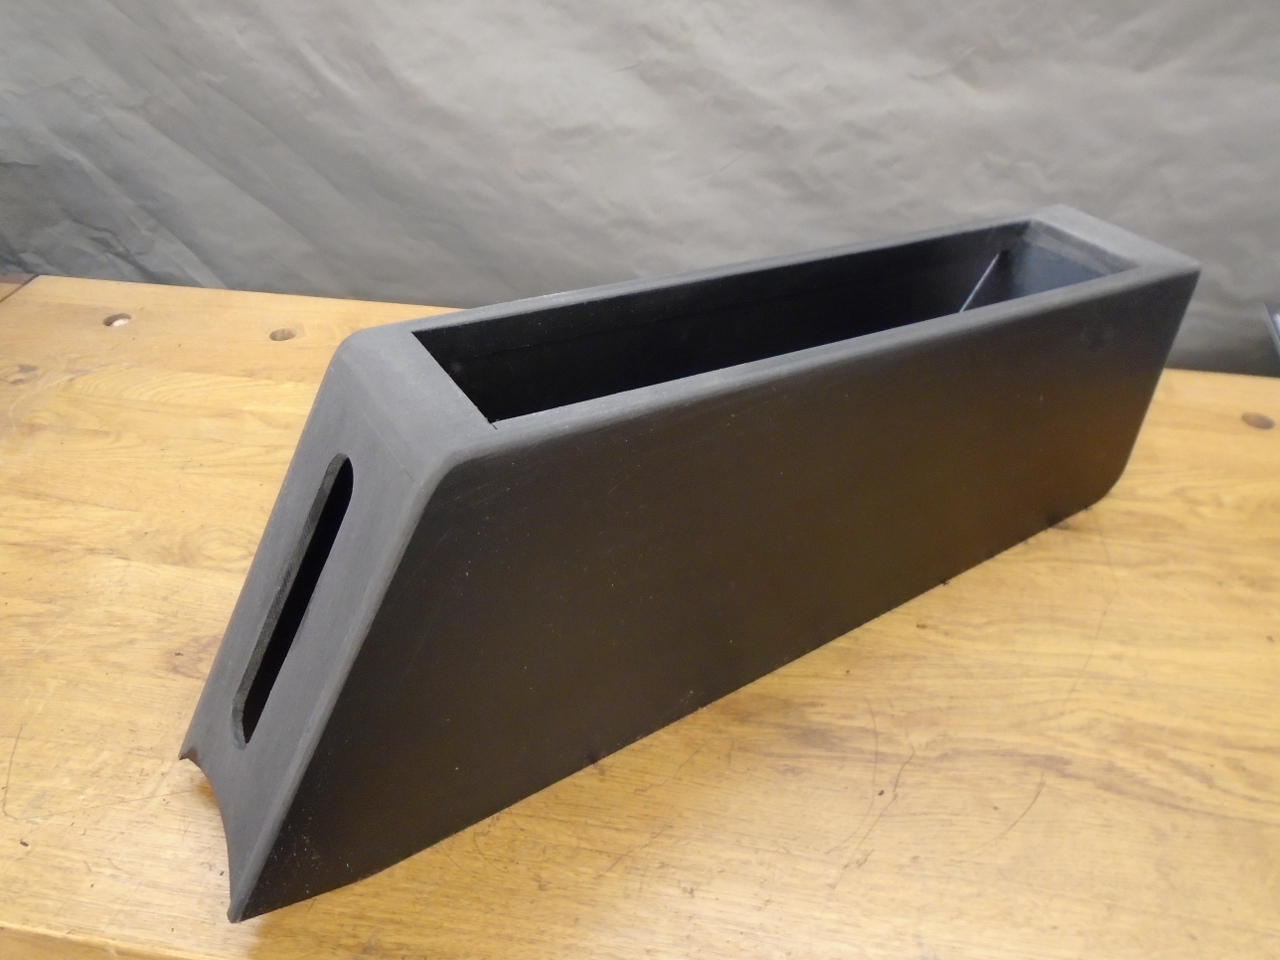
Sanity check 1:
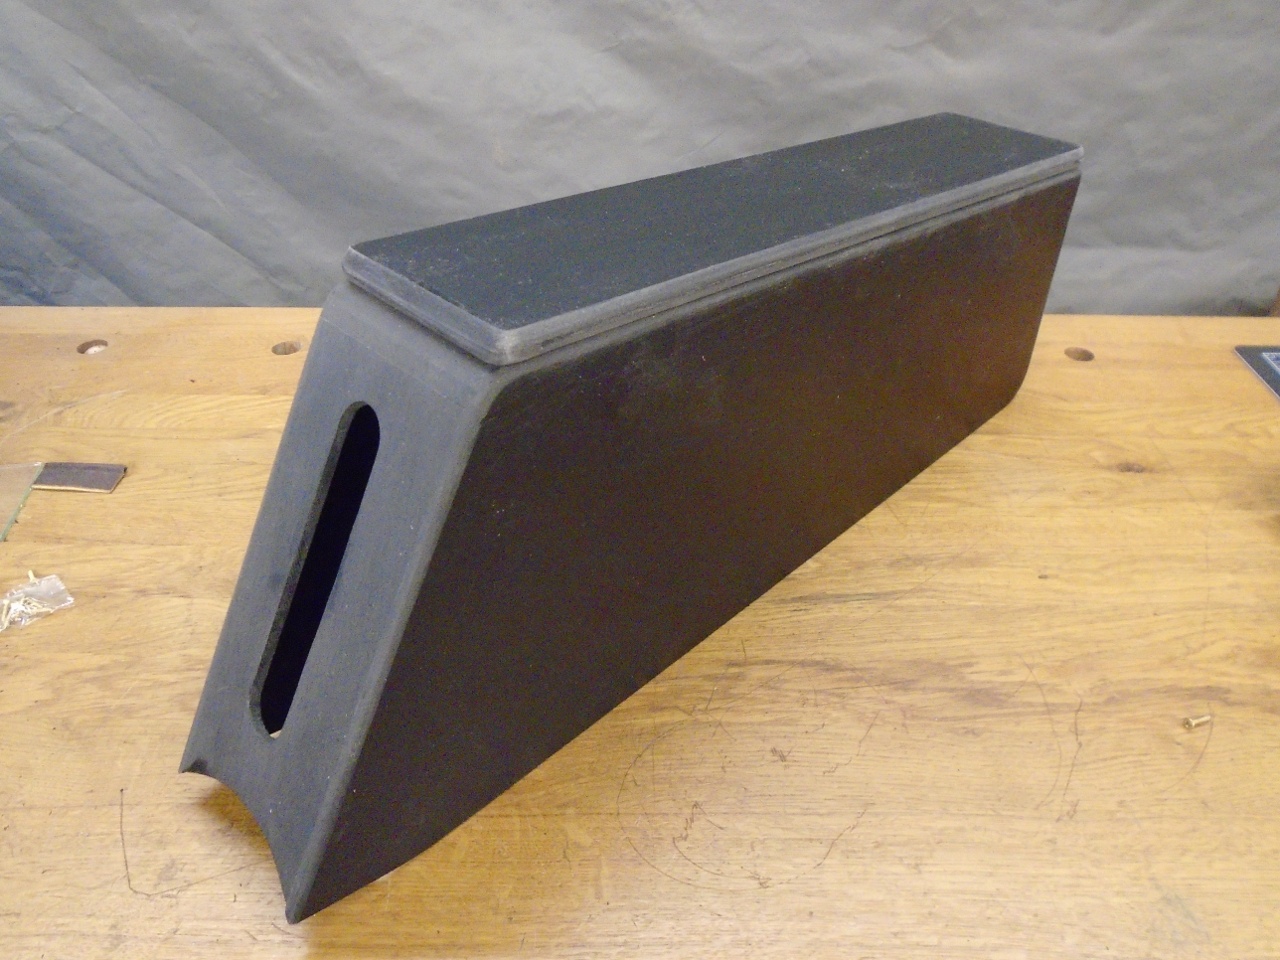
Then made the top. It is only 1/2" thick, but will have 1/2" foam on top.
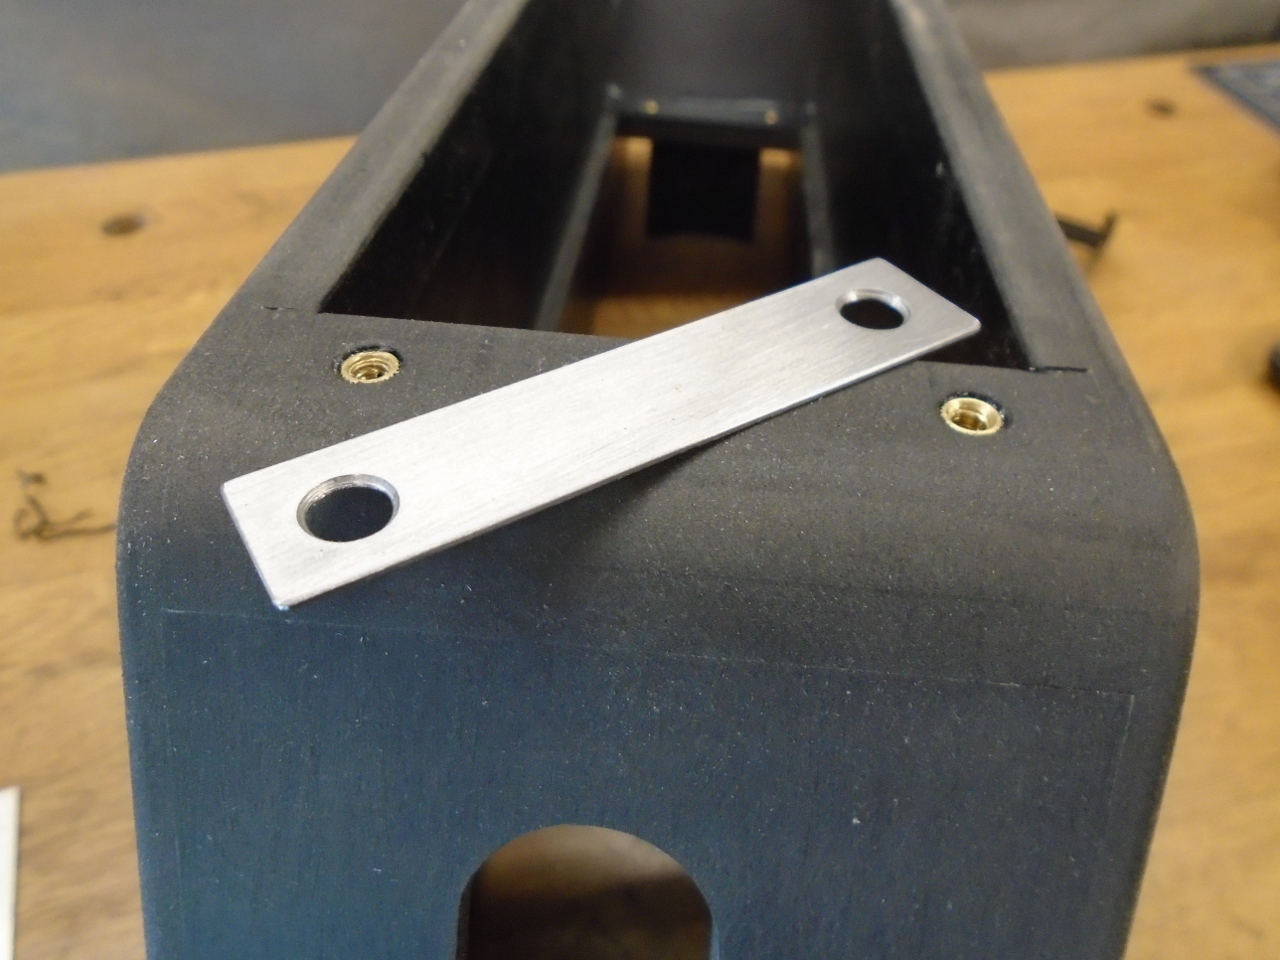
To fasten the console to the tunnel, I made this little saddle bracket. The floor of the console compartment is removable
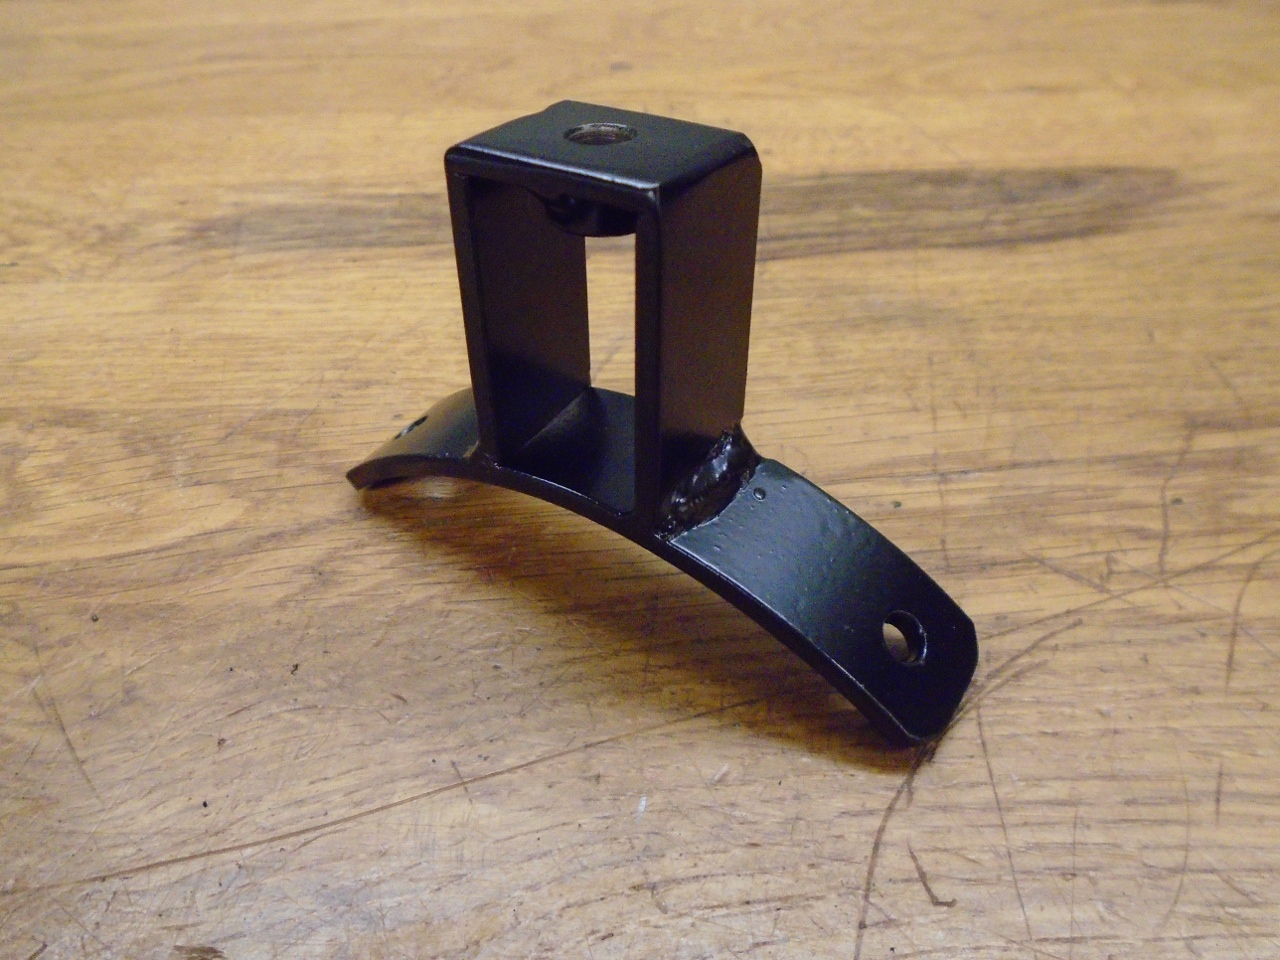
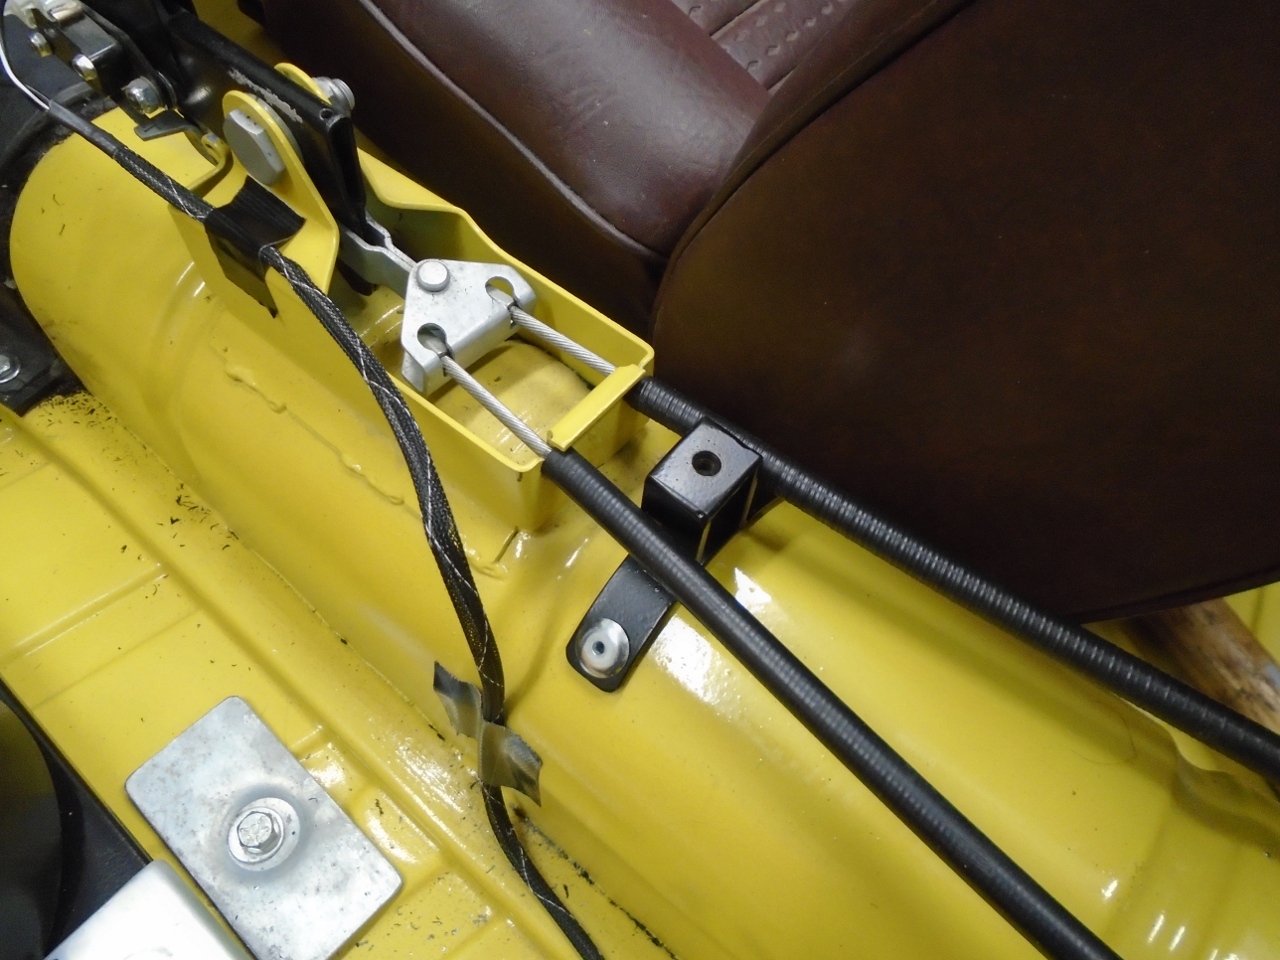
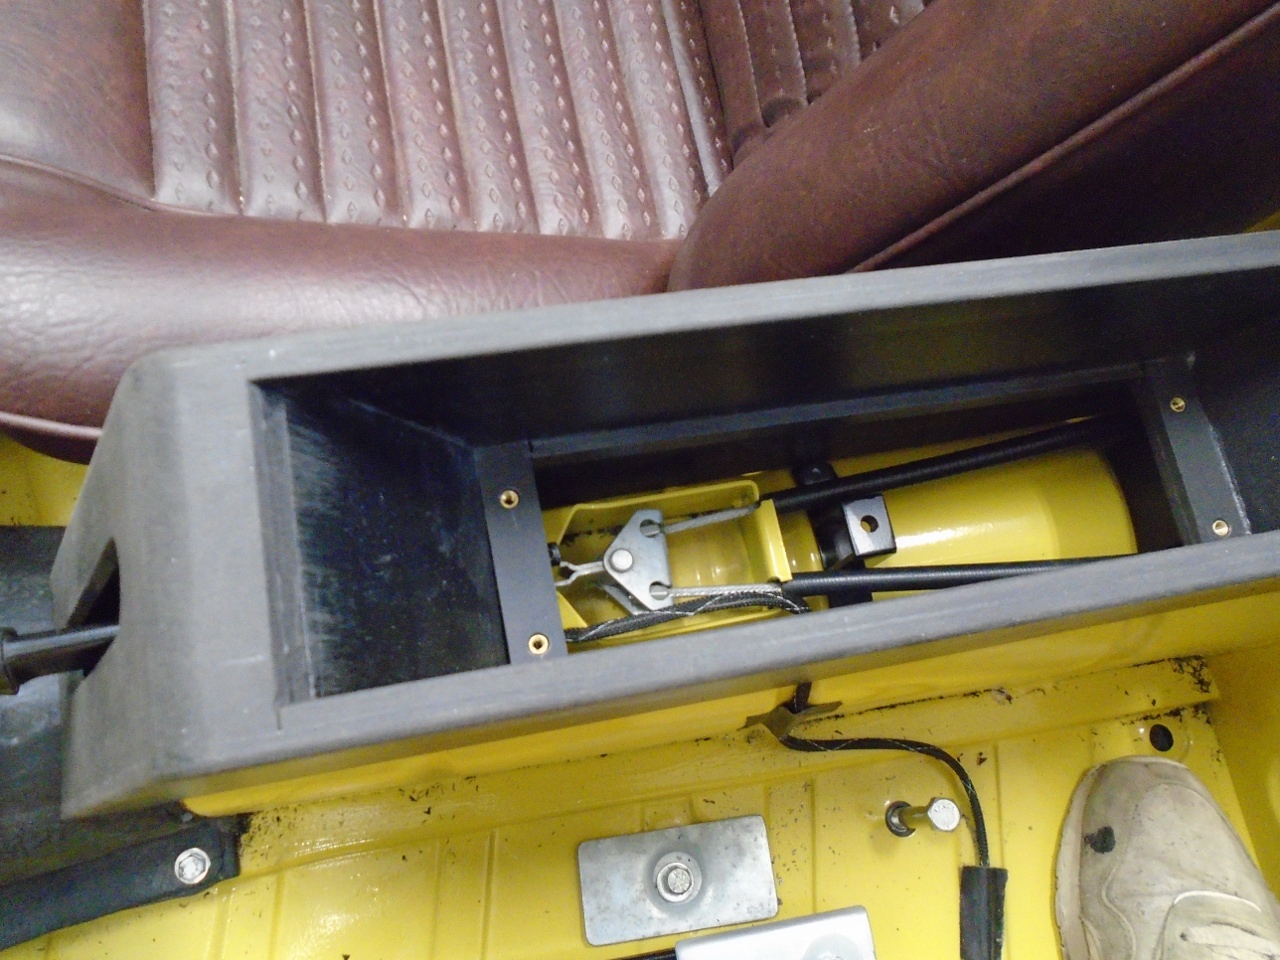
That
tunnel bracket mates with this contraption that fits inside the console
under the compartment. Console is upside down in the right
picture. I don't want to fasten the internal bracket to the
console until I get carpet in place since that will affect how high the
console sits.


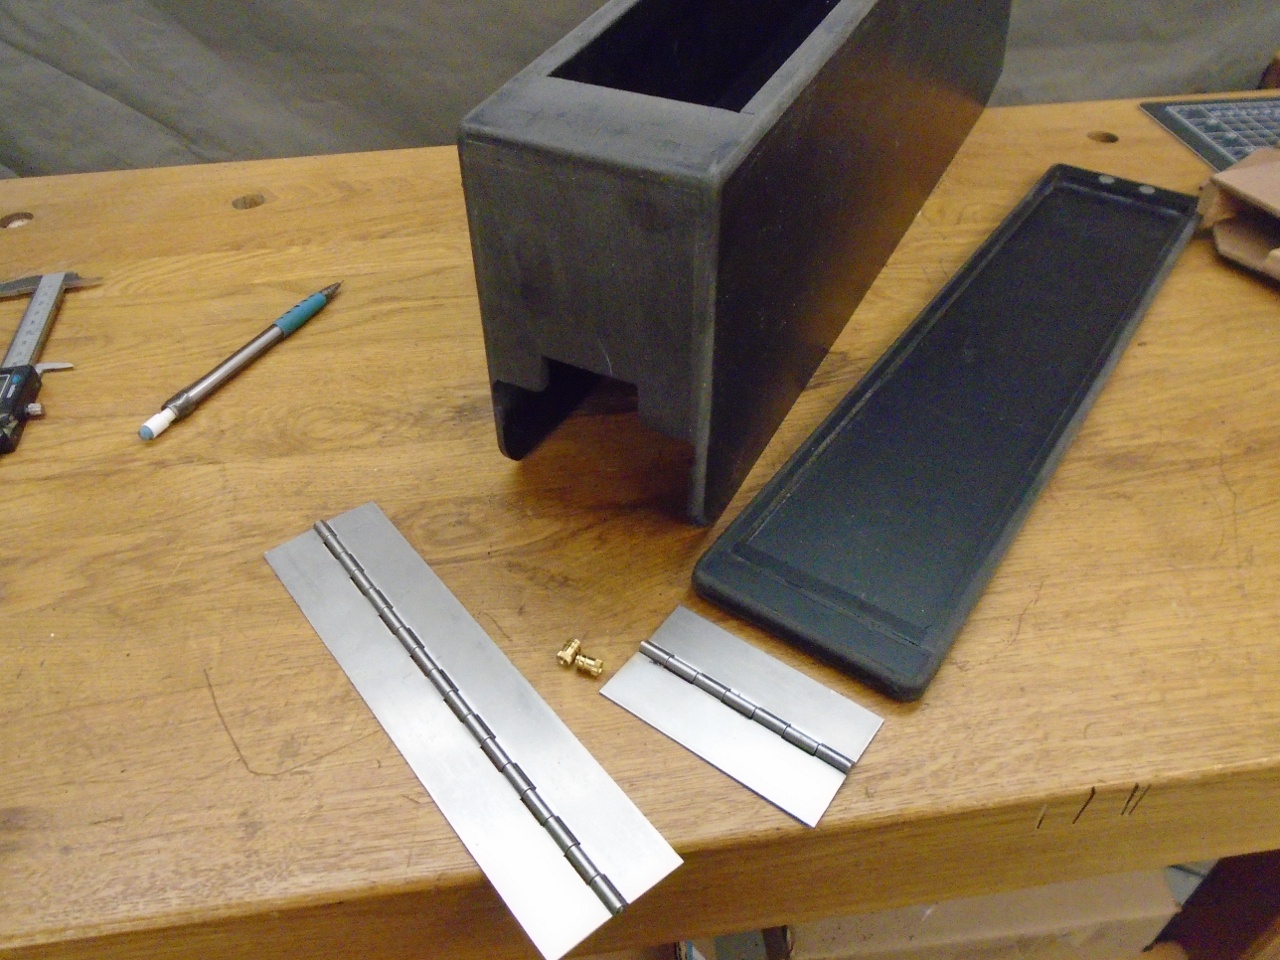
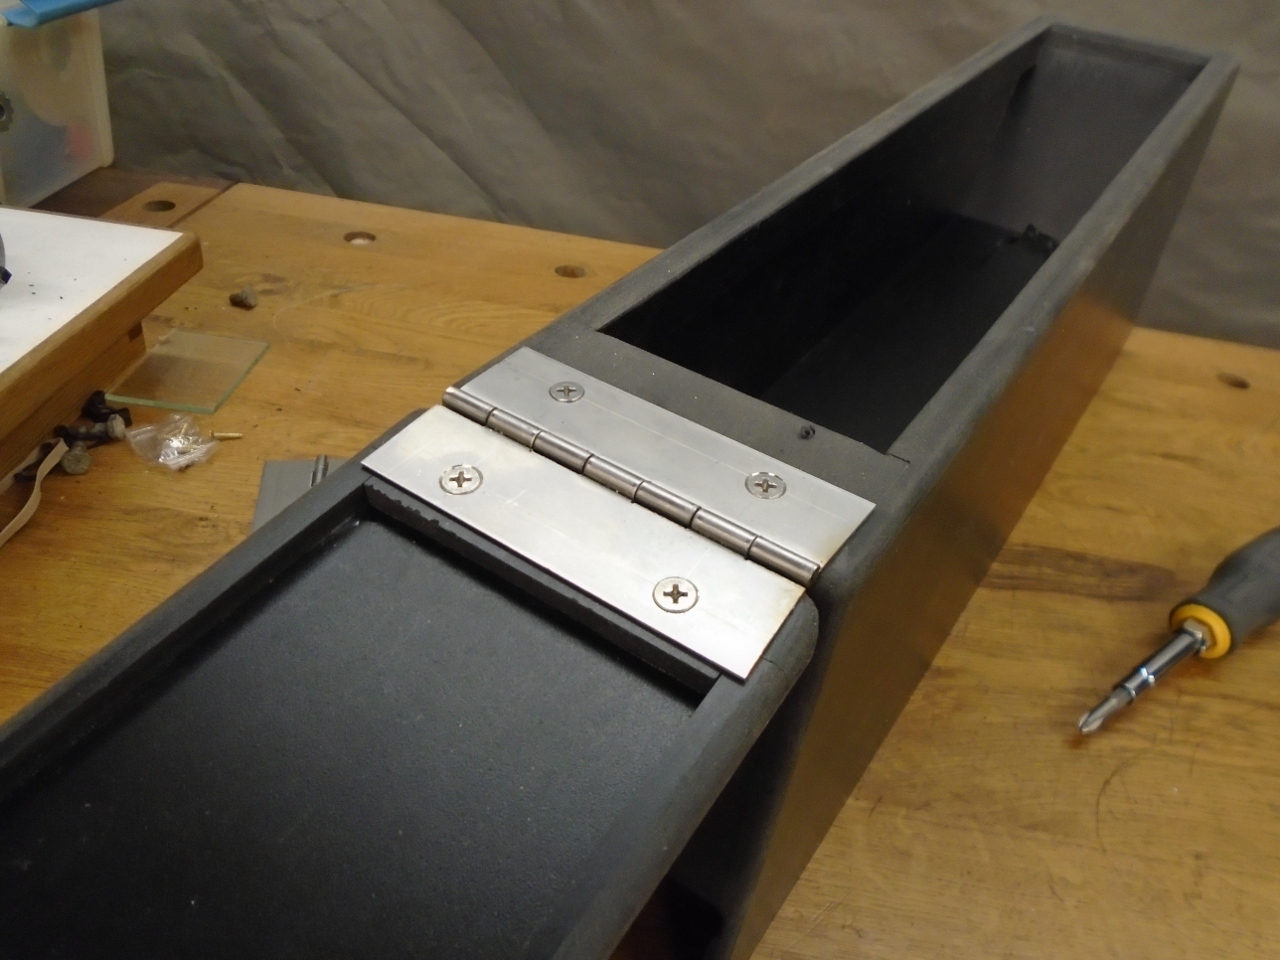
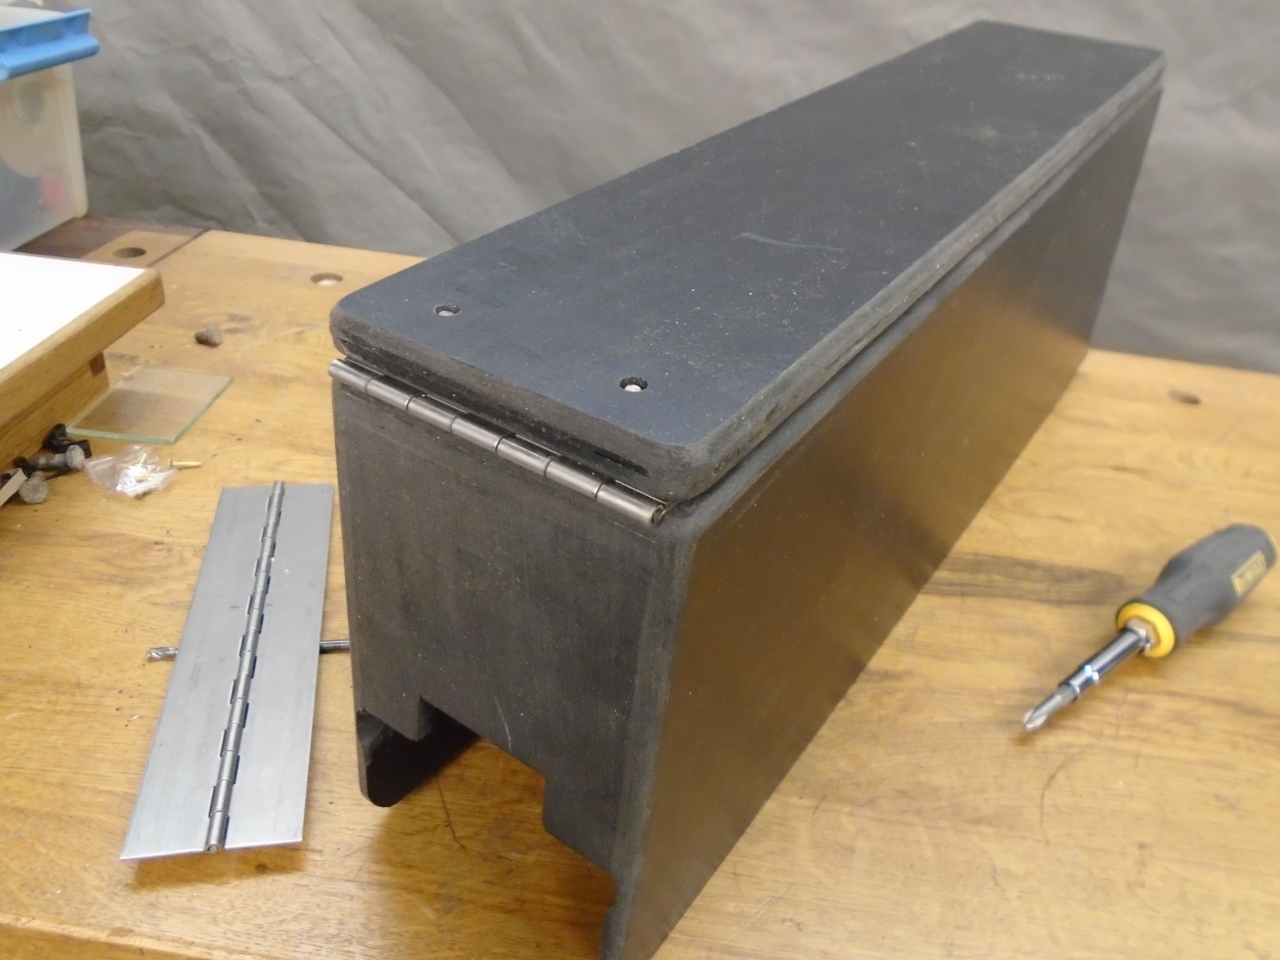
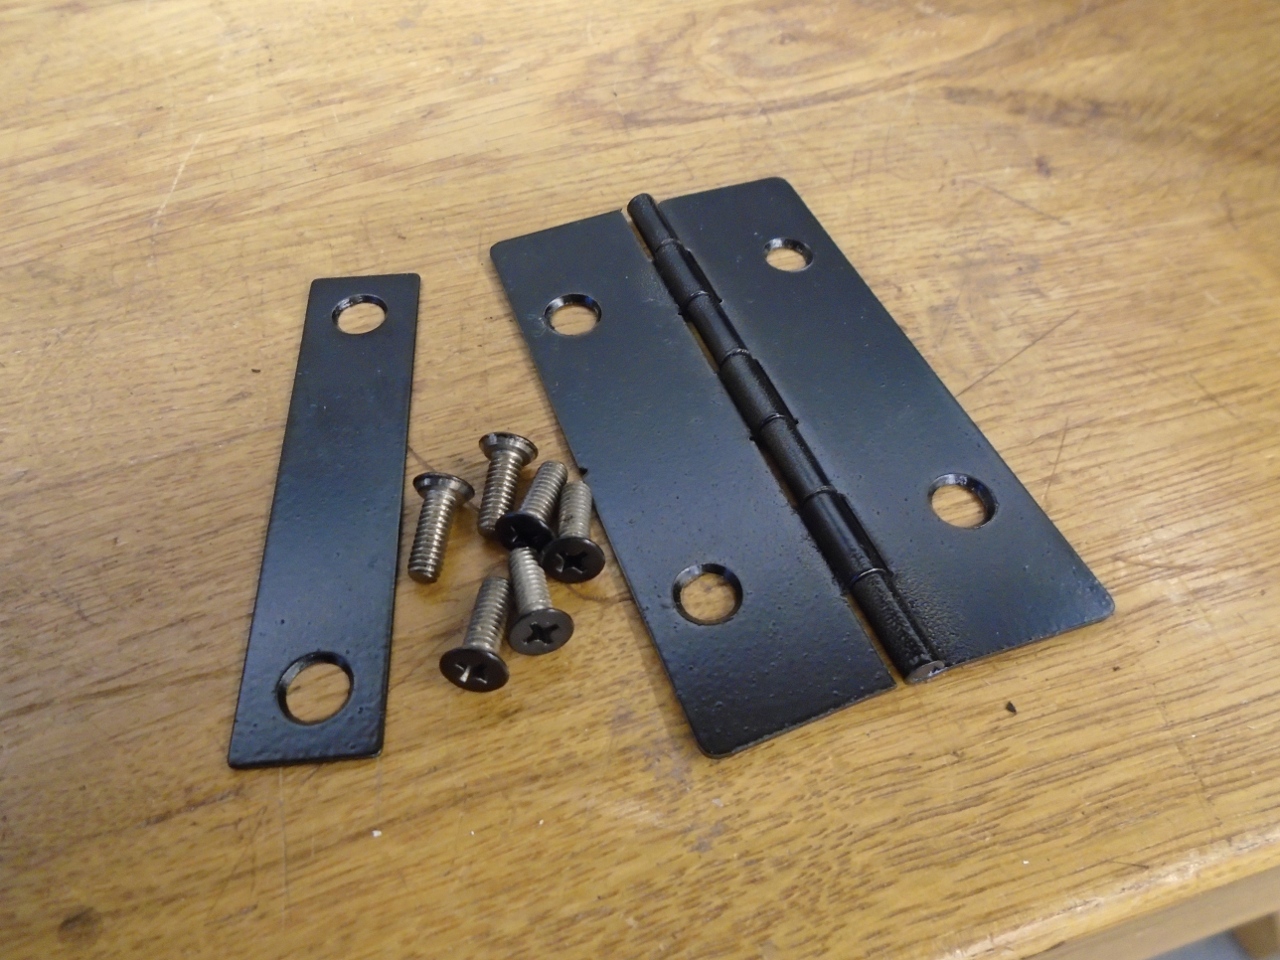
The
hinge for the top will be at the rear, and I bought some of this piano
hinge without holes so I would have more flexibility in where they go.
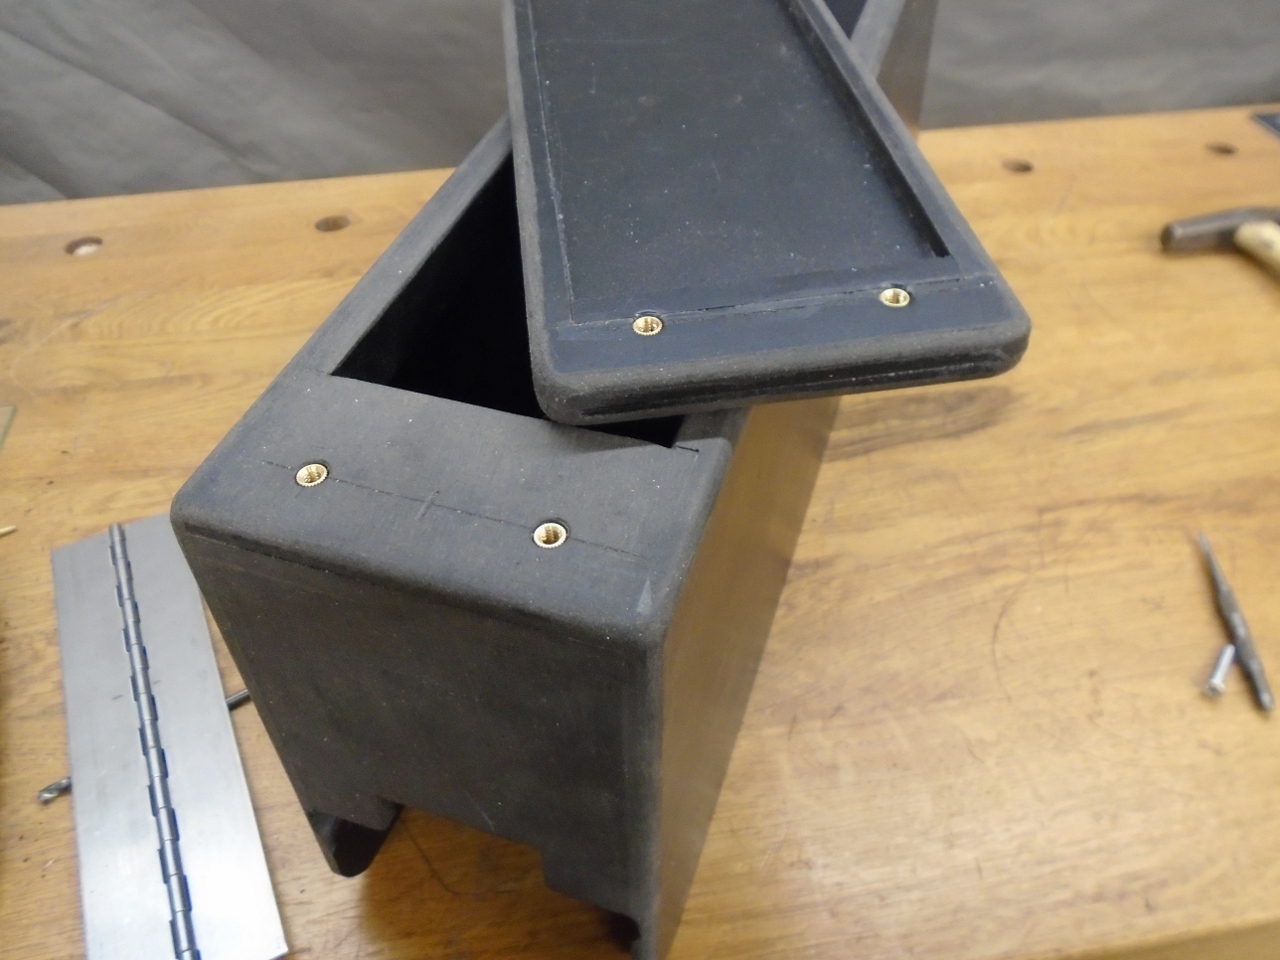
I
had some concerns about the PVC's ability to hold screws, so I used
these press-in inserts for fasteners. I coated them with epoxy
before pressing them in.
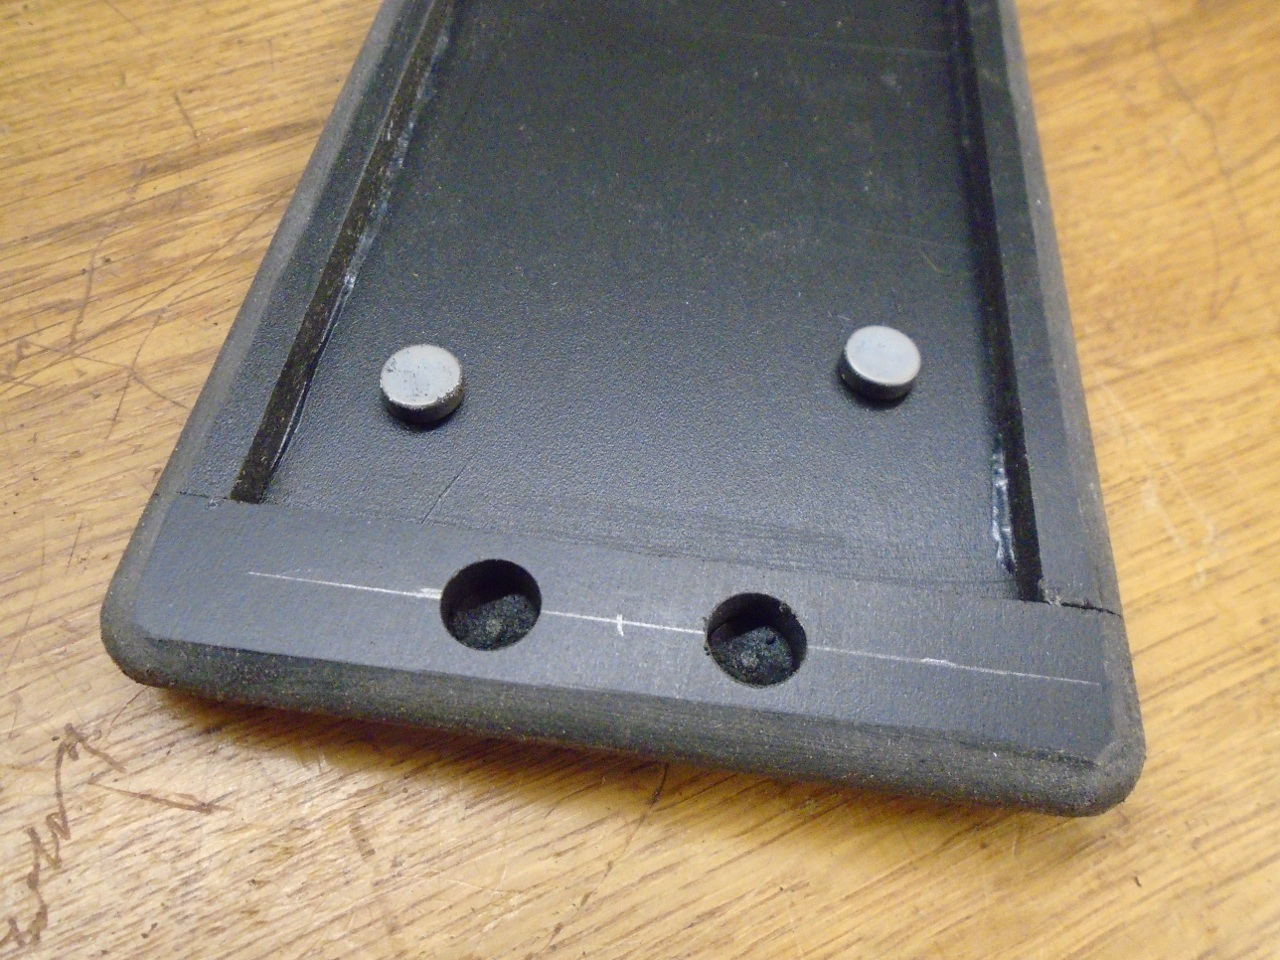
Instead
of a traditional latch, I am using rare earth magnets to hold the top
closed. At right is the striker for the magnets.

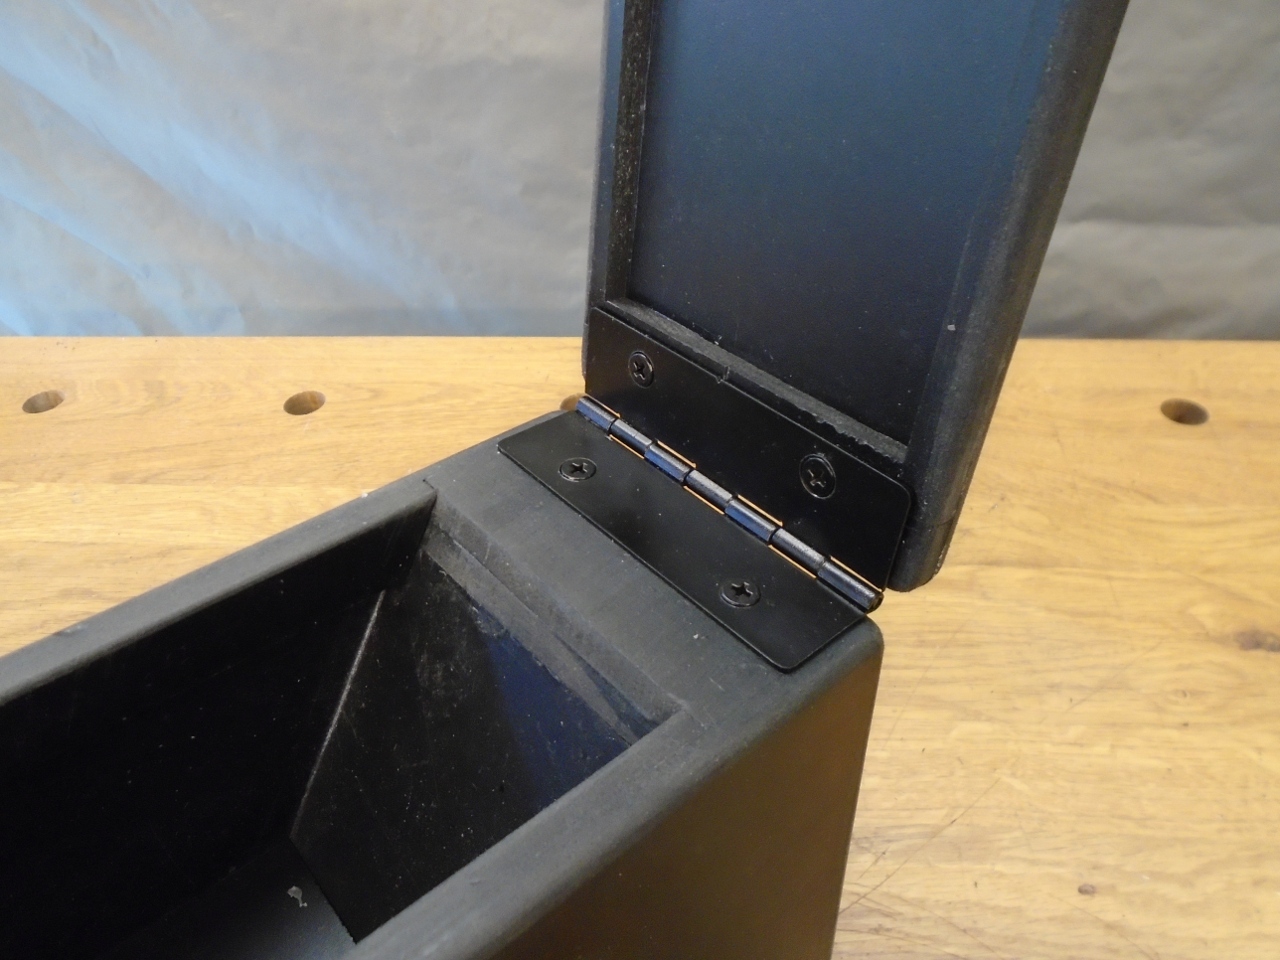
The
hinge and striker got powder coated black before installing them.
They actually go on top of the vinyl, so they had to come off
again.

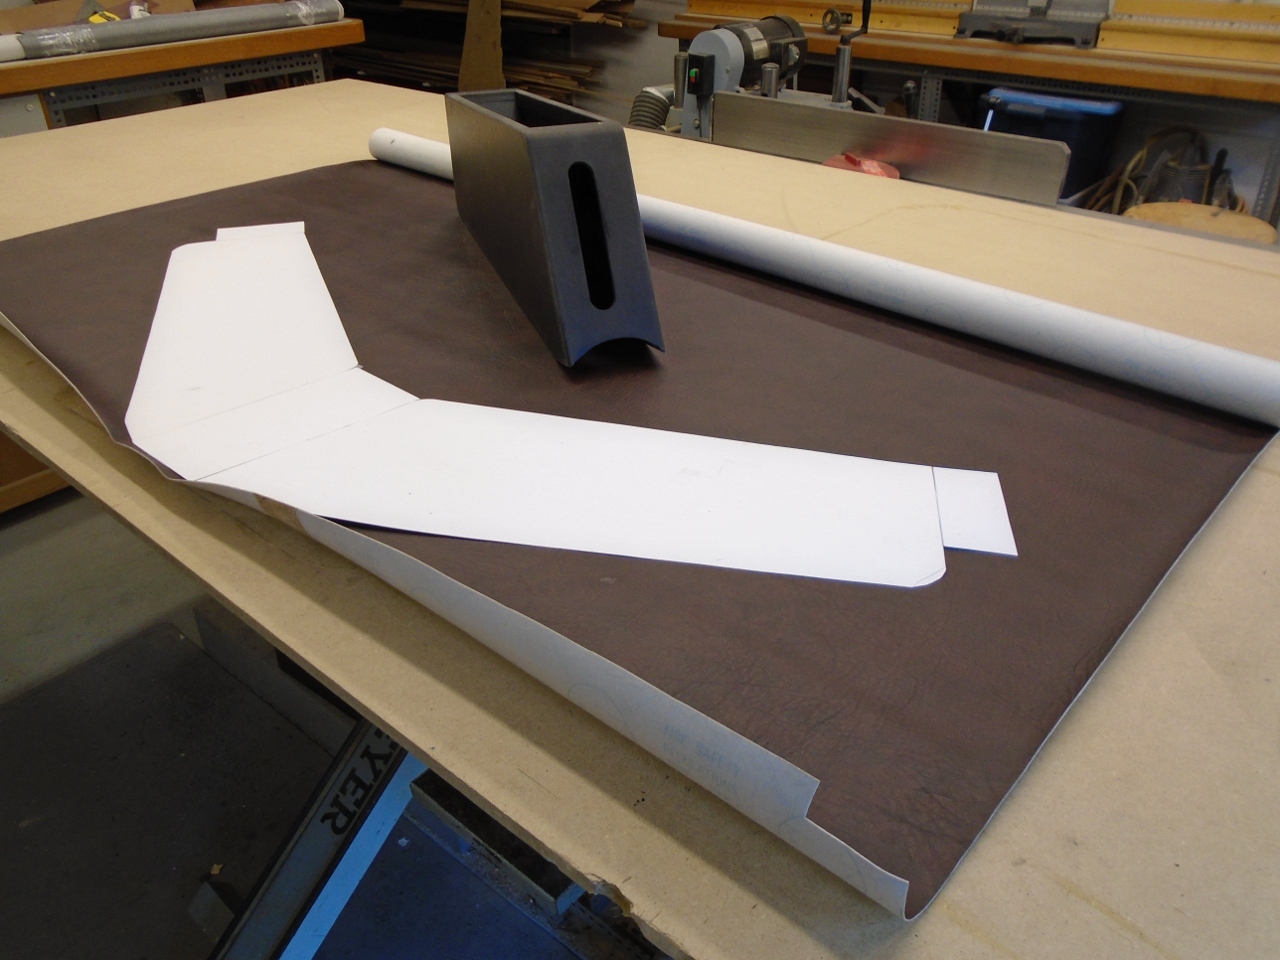
Speaking of vinyl, here is the paper pattern I used to cut the single wrap-around piece.

A finnicky hour or so later...
Sanity check 2:
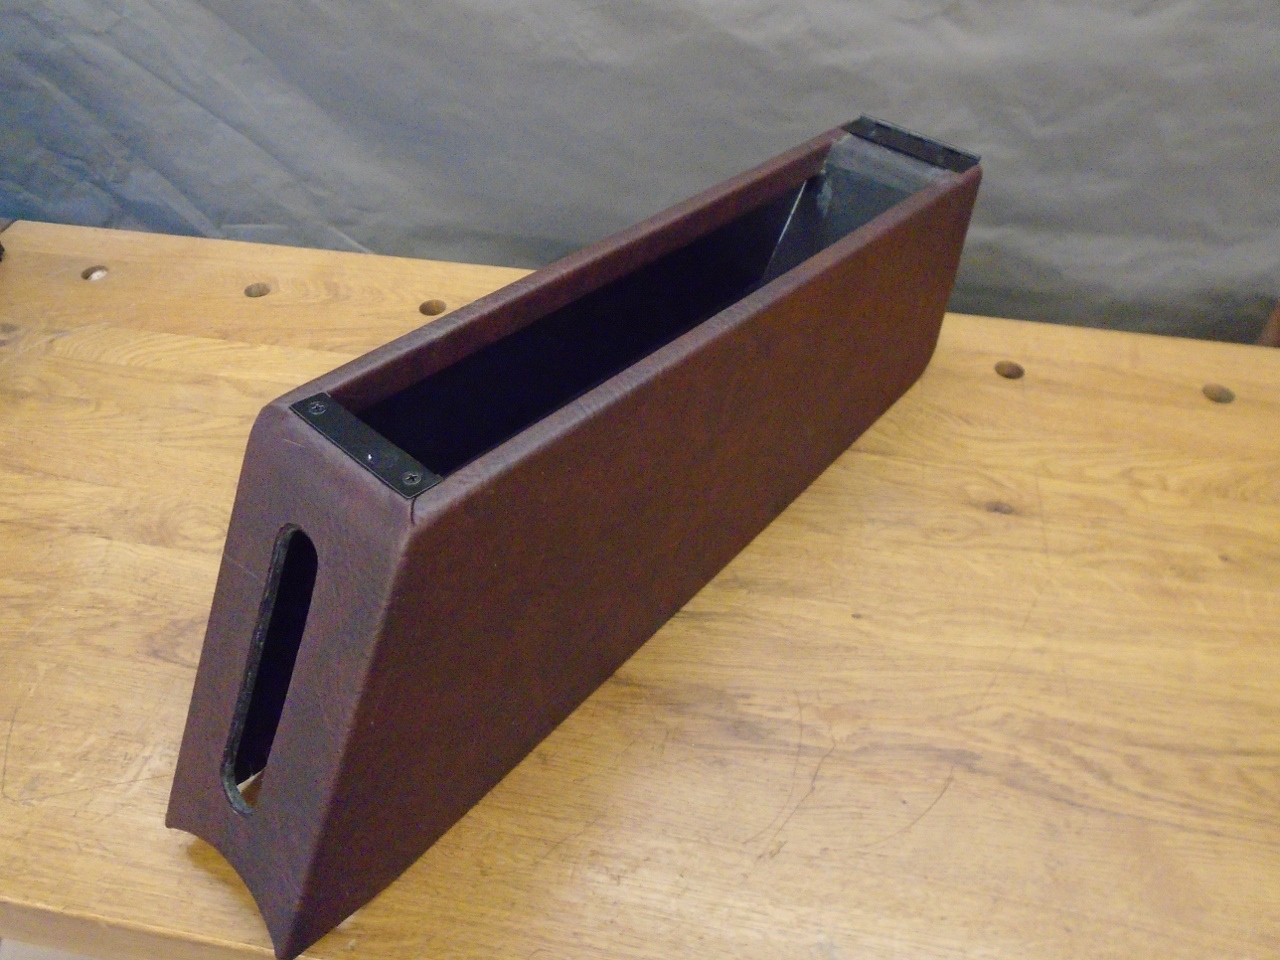
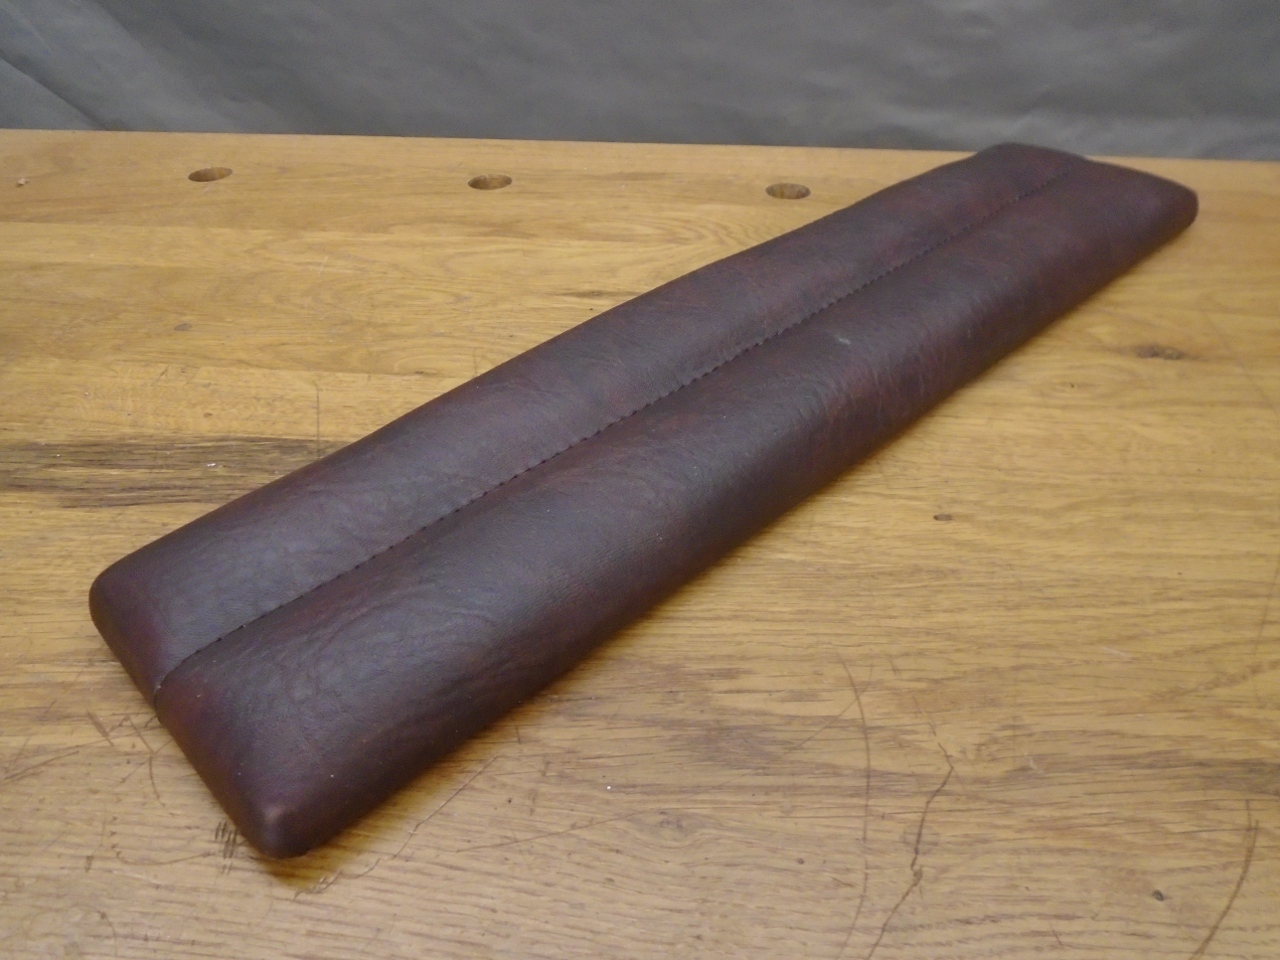
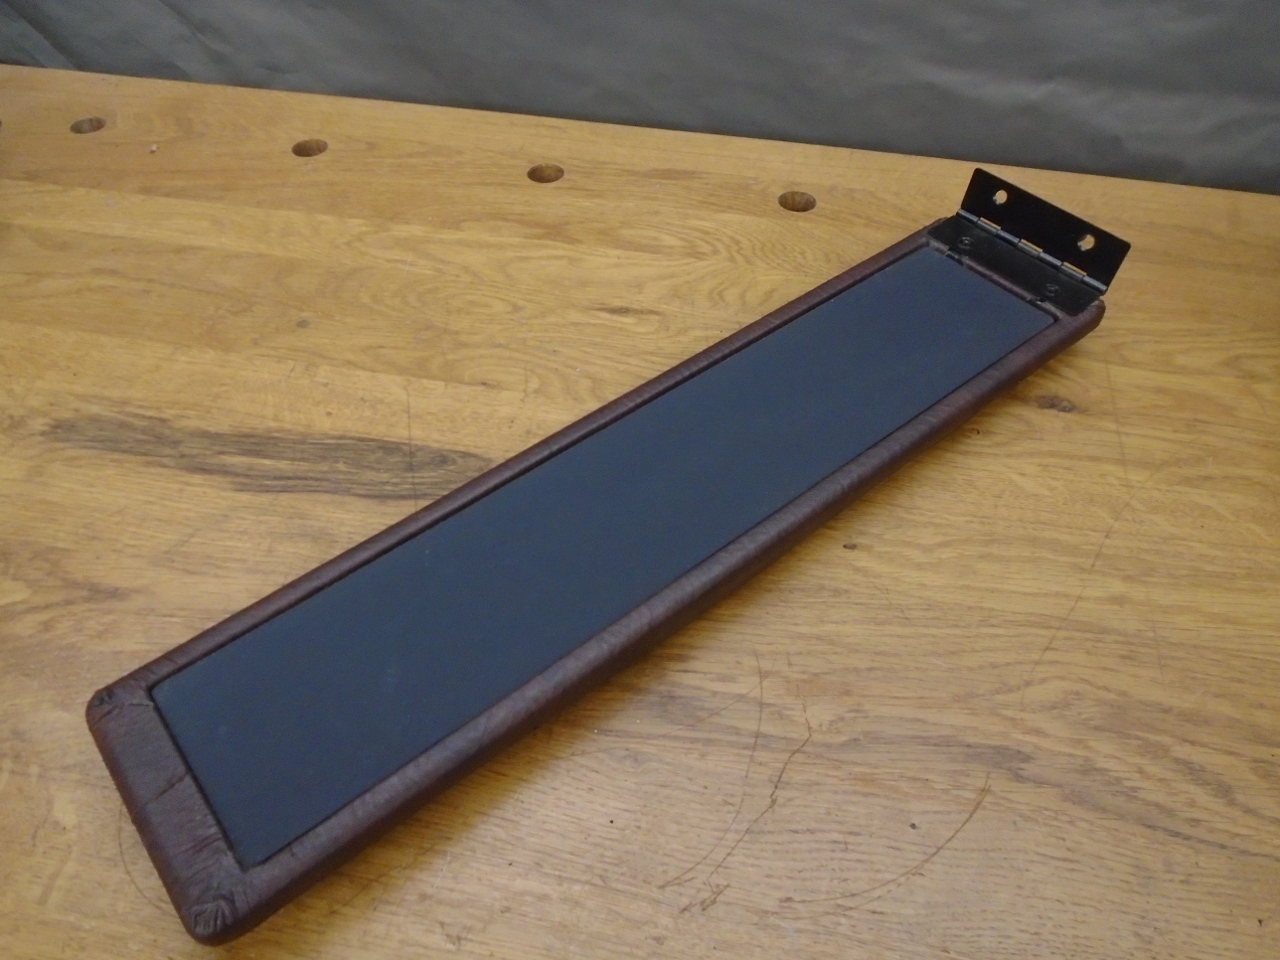
The
top wasd padded with 1/2" foam, and a single pleat was stitched down
the middle. The backside got a Kydex panel glued in to hide the
ugliness where the vinyl edges were glued.
Sanity check 3:

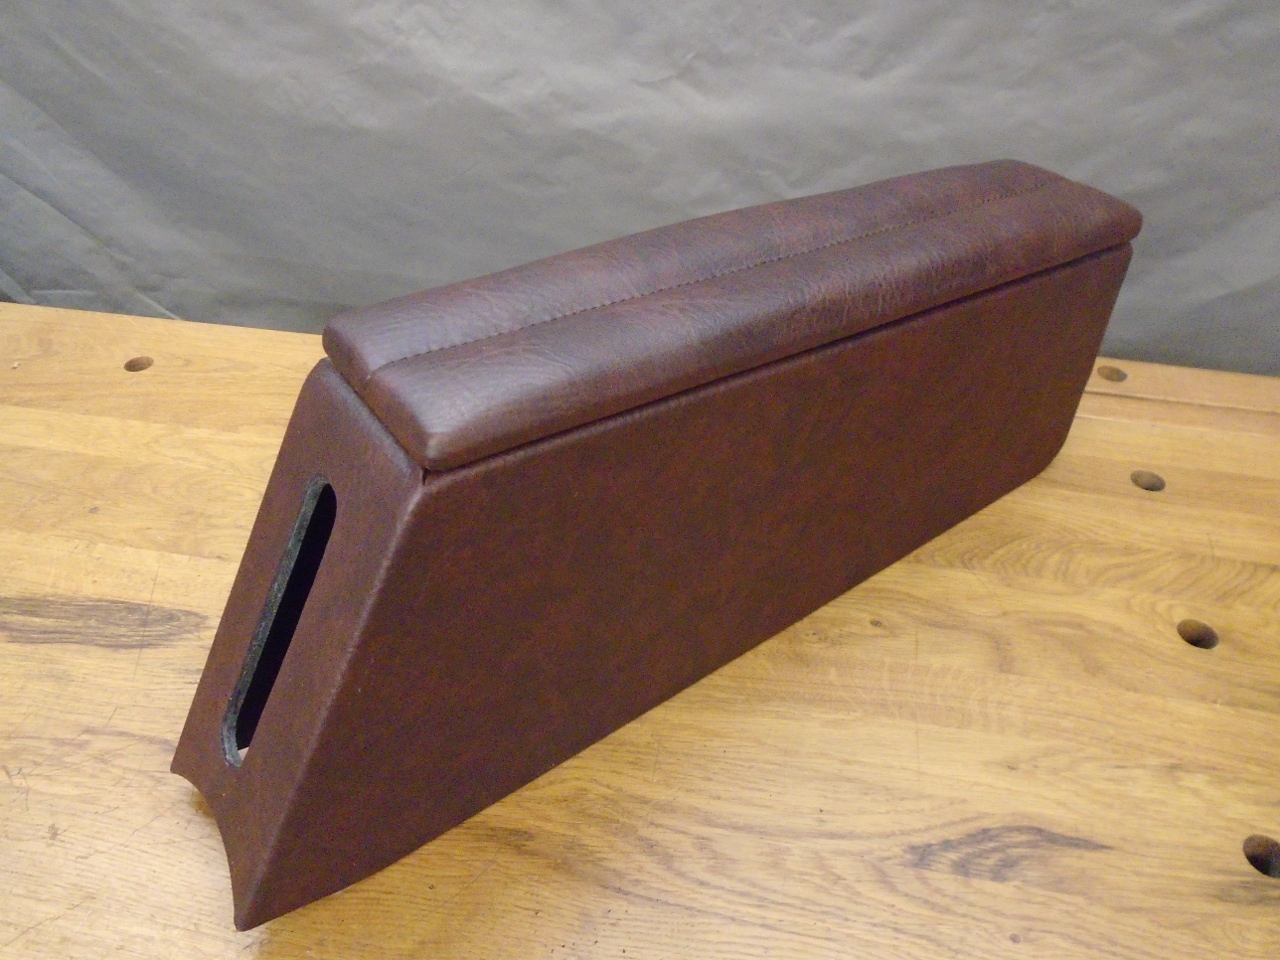
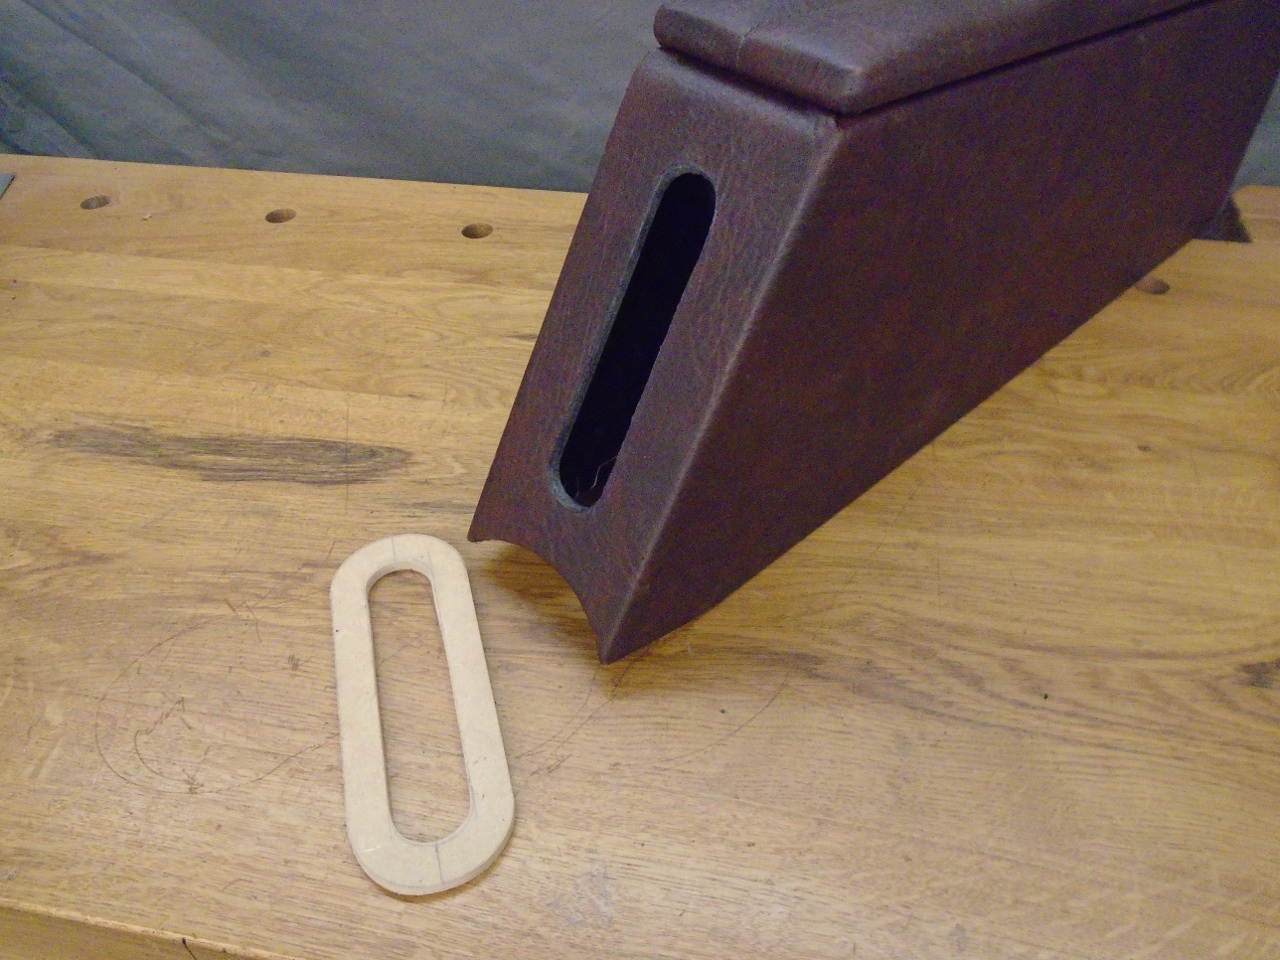
Now,
at this point, I thought the console looked OK, but the gaping slot
where the hand brake lever came through looked a little unfinished to
me. The slot has to be at least one inch wide to clear the lever
grip. I finally decided to give that slot a treatment similar to
that on my gear shift boot--an aluminum finishing ring. I first
made a hardboard pattern.
Then cut it out of 1/4" aluminum, and drilled the hole pattern.

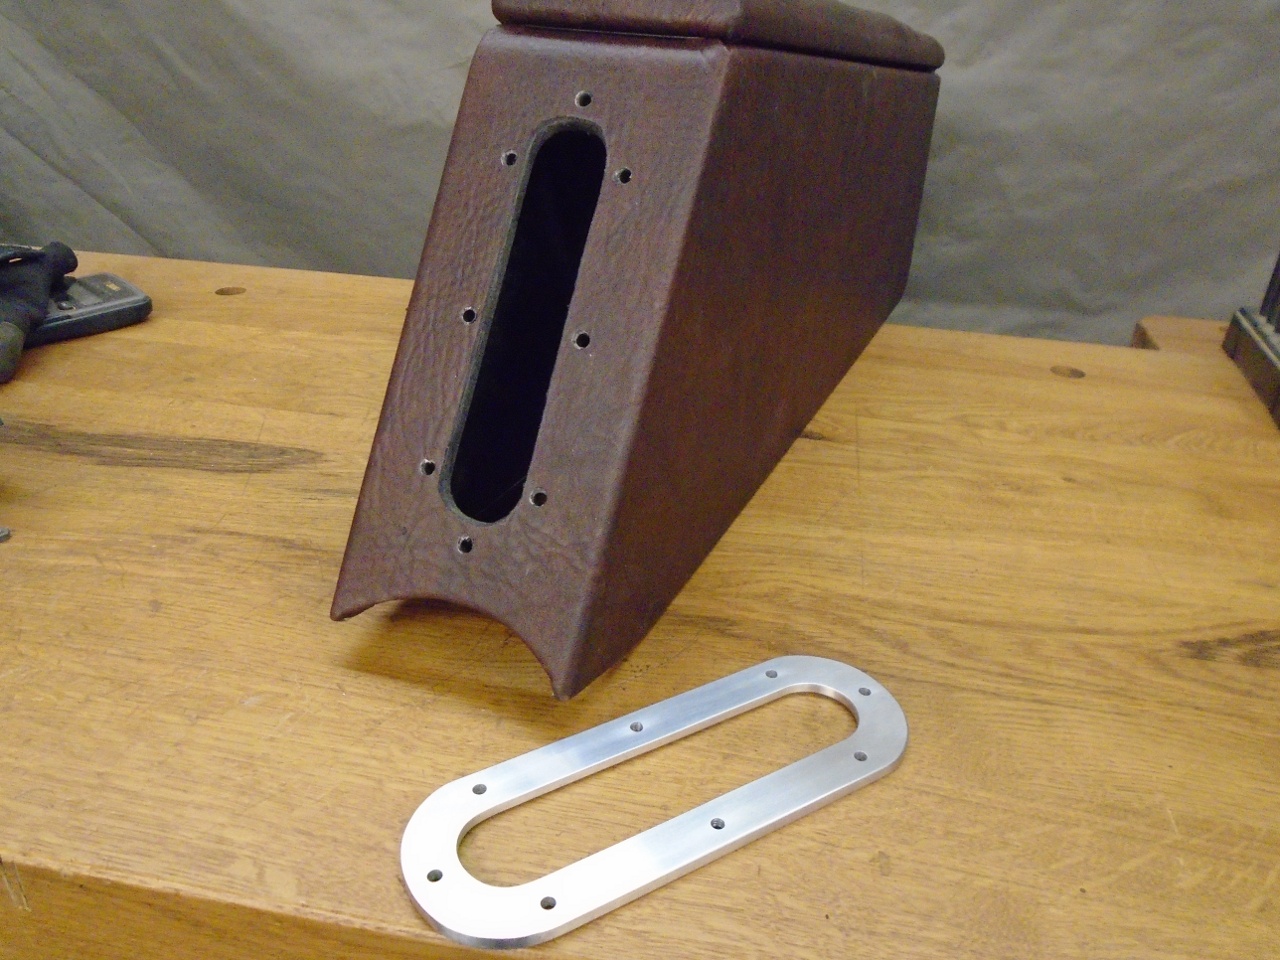

Then anodized it black to match the shifter ring.

Well I liked that better, but it didn't really make the big hole any smaller. Let's try this:
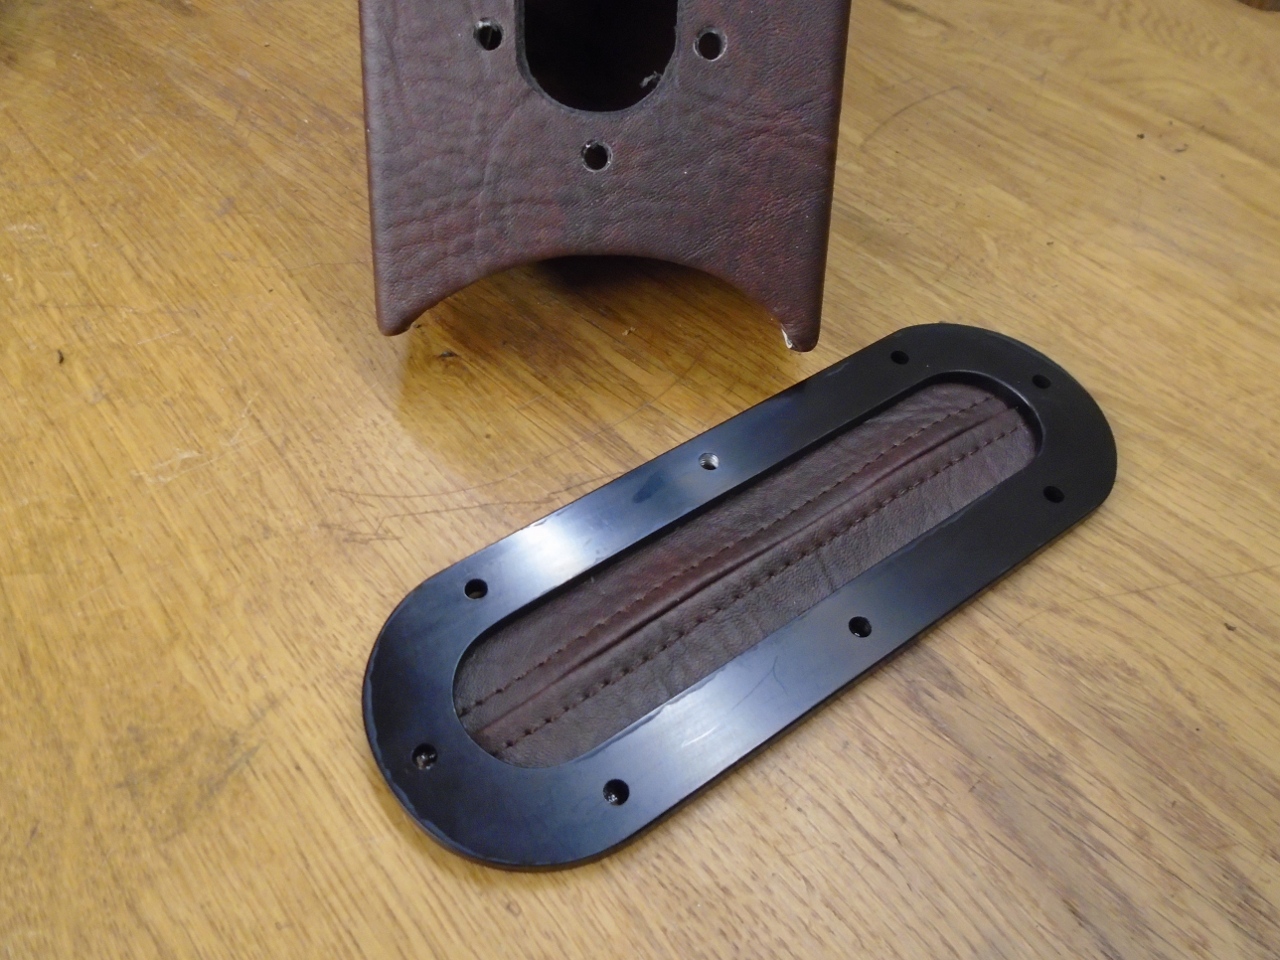
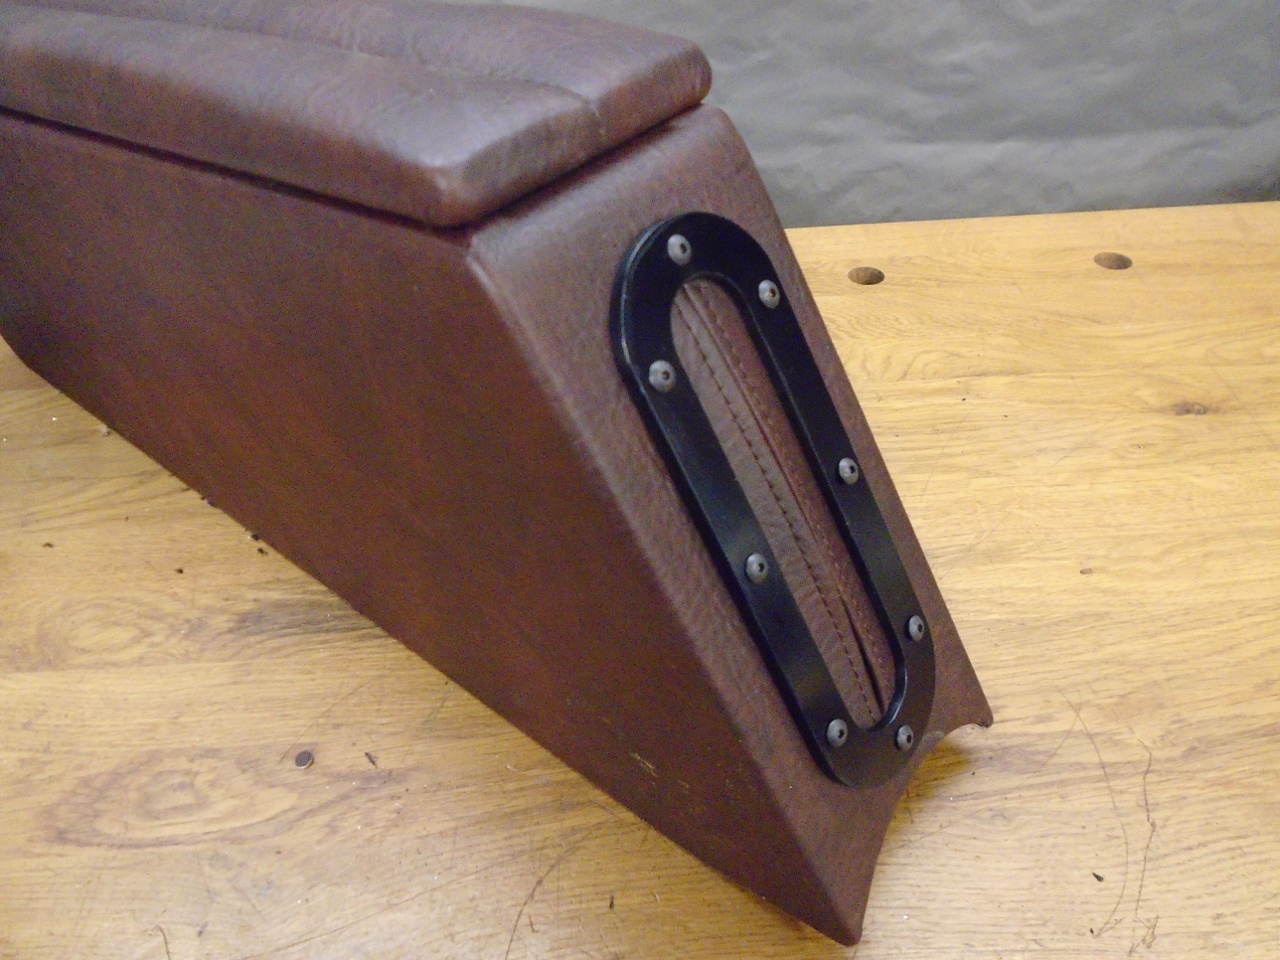
OK. Not bad.
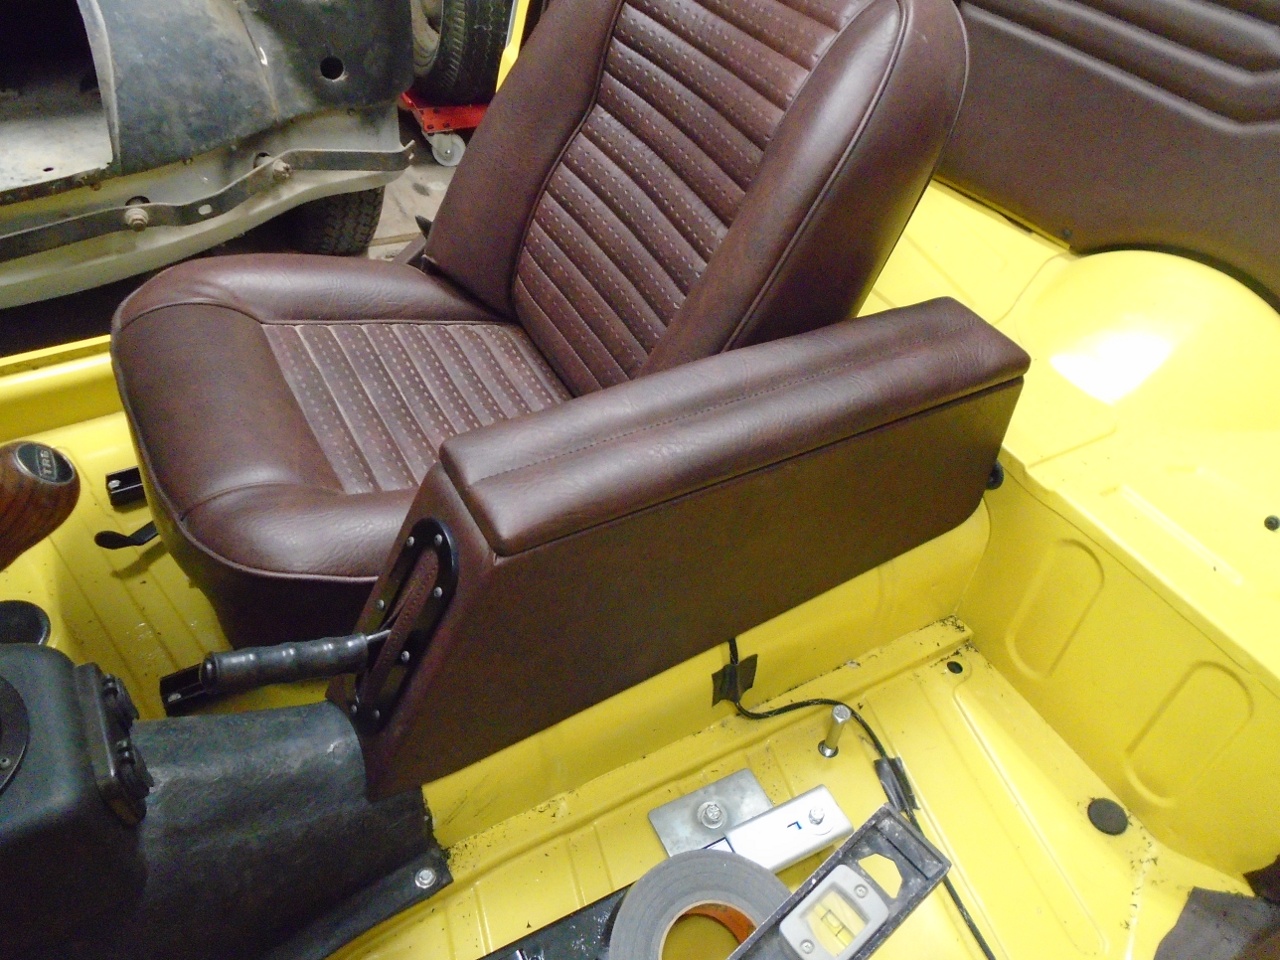
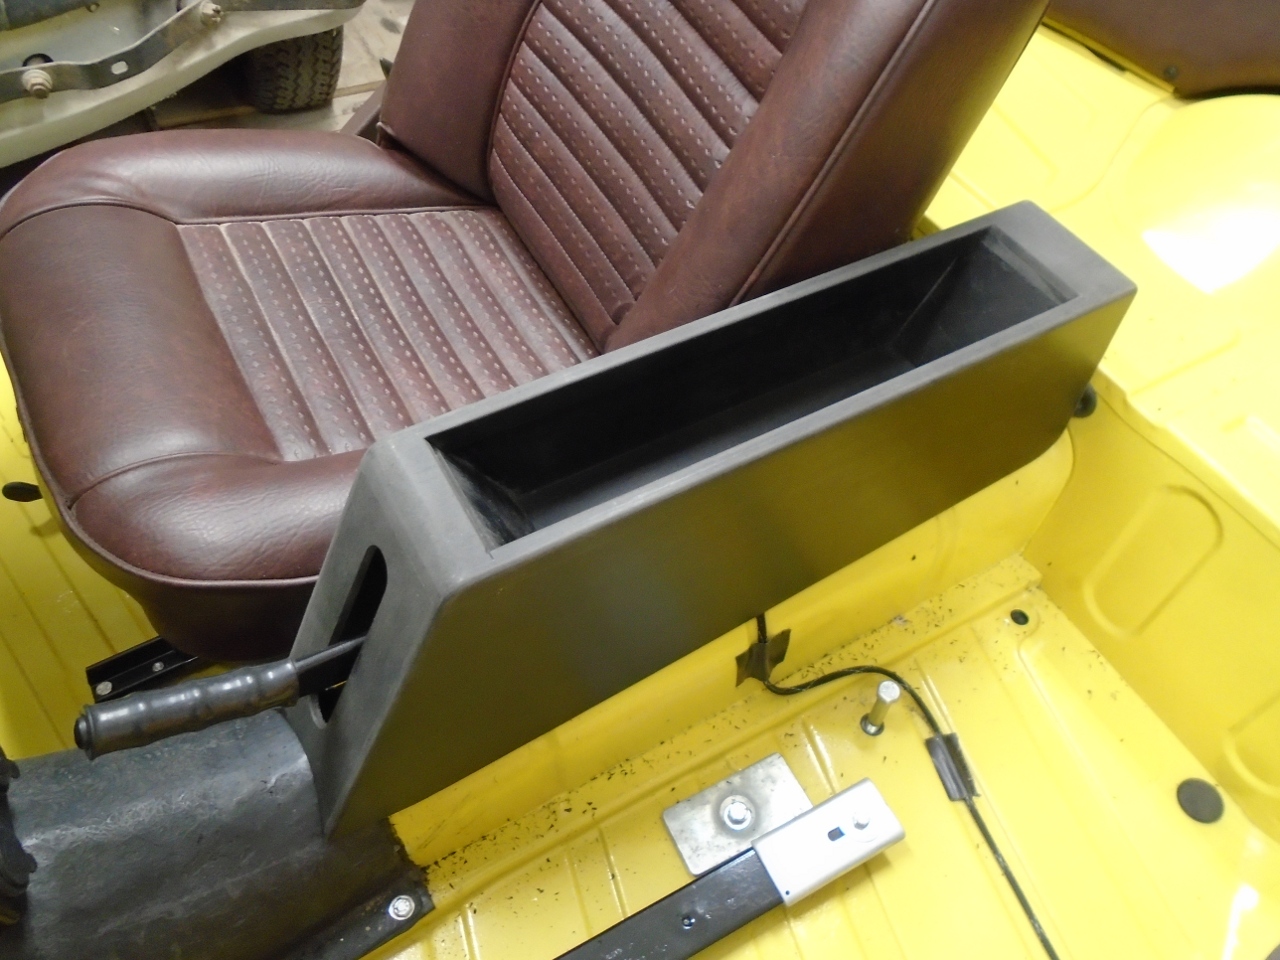
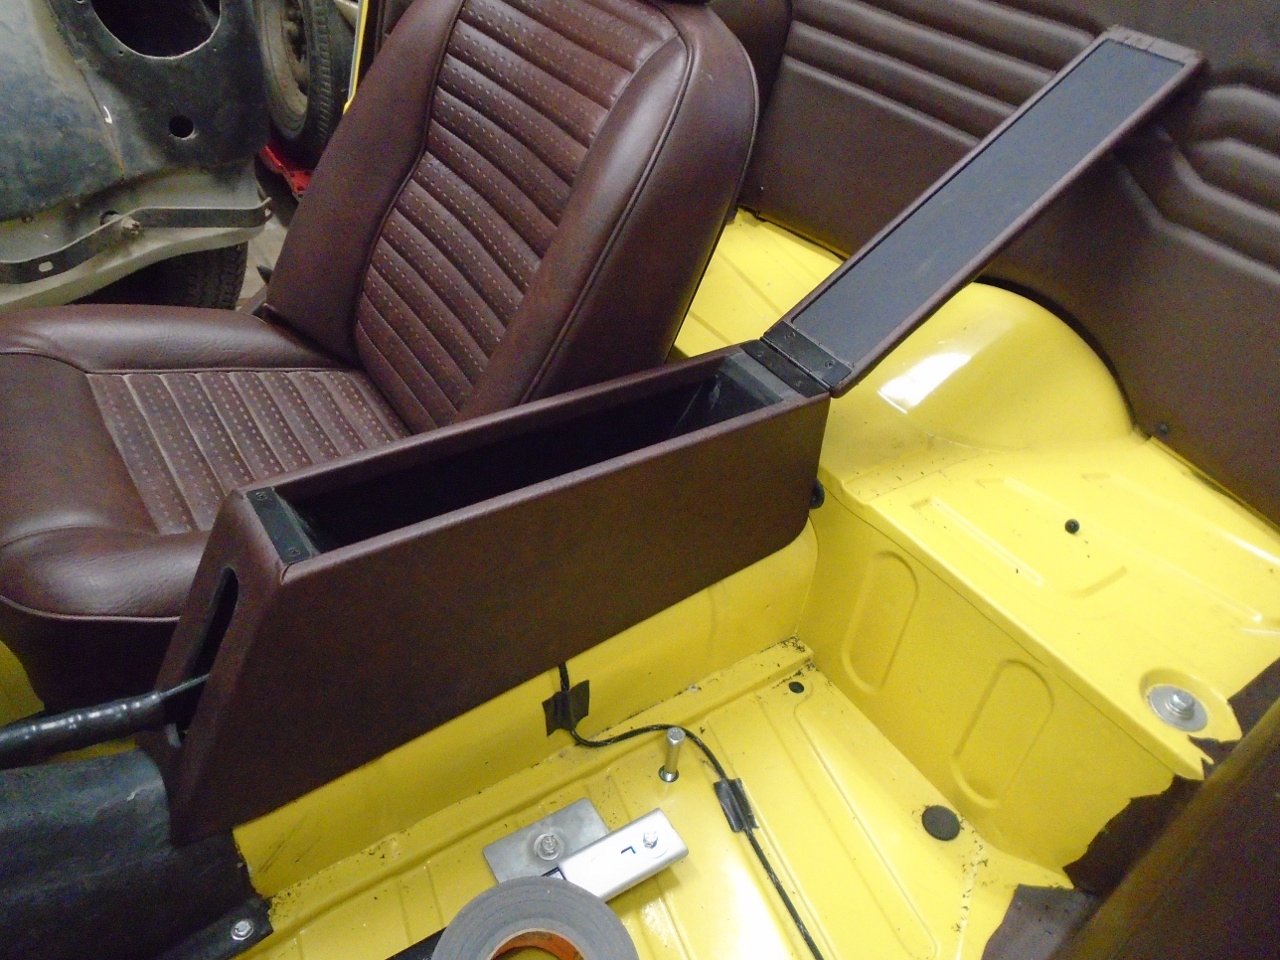
The
console can't be finally fitted until at least the tunnel carpet is in,
but I can rest easier now that I know I'll have a place to put my elbow.
Comments to Ed at elhollin1@yahoo.com
To my other TR6 pages