To my other TR6 pages
January 12, 2016
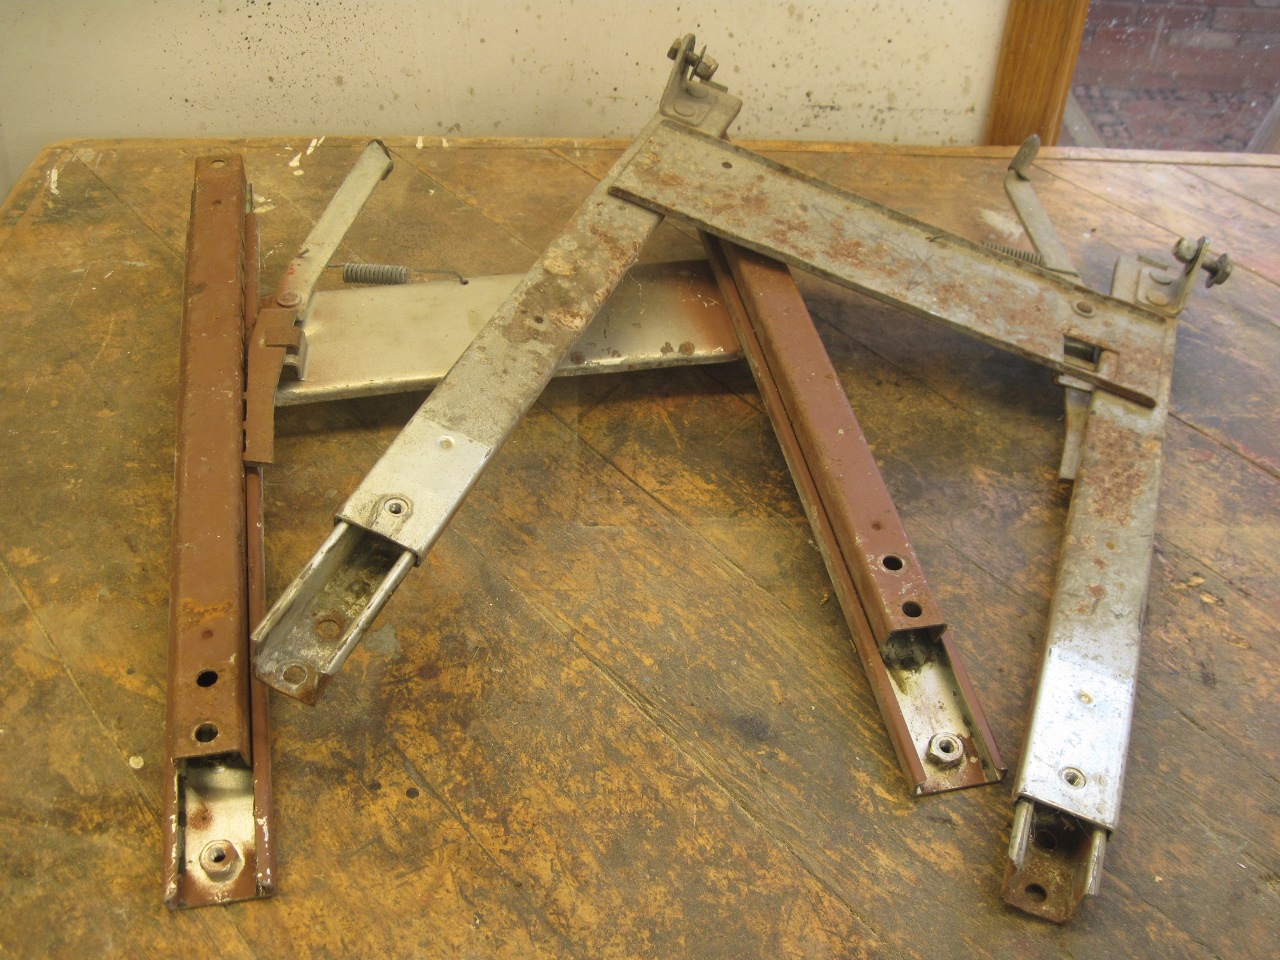
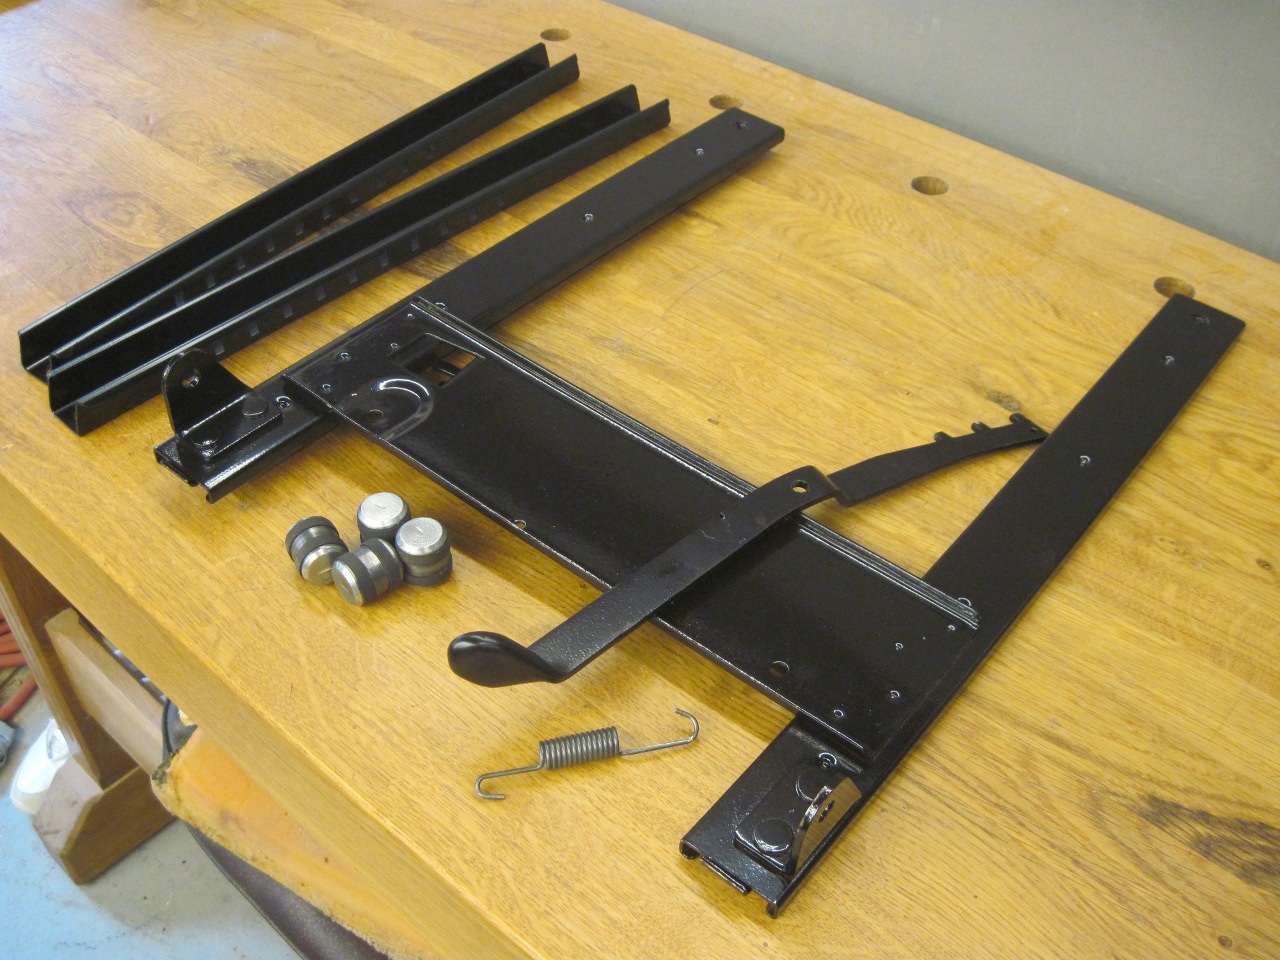
Seat Tracks
[Click the pics for a larger view]
By
modern standards, the seats that came with the TR6 were pretty simple.
The only adustments are a tilting seat back and a sliding track
mechanism that allows the seat about six inches of travel fore and aft.
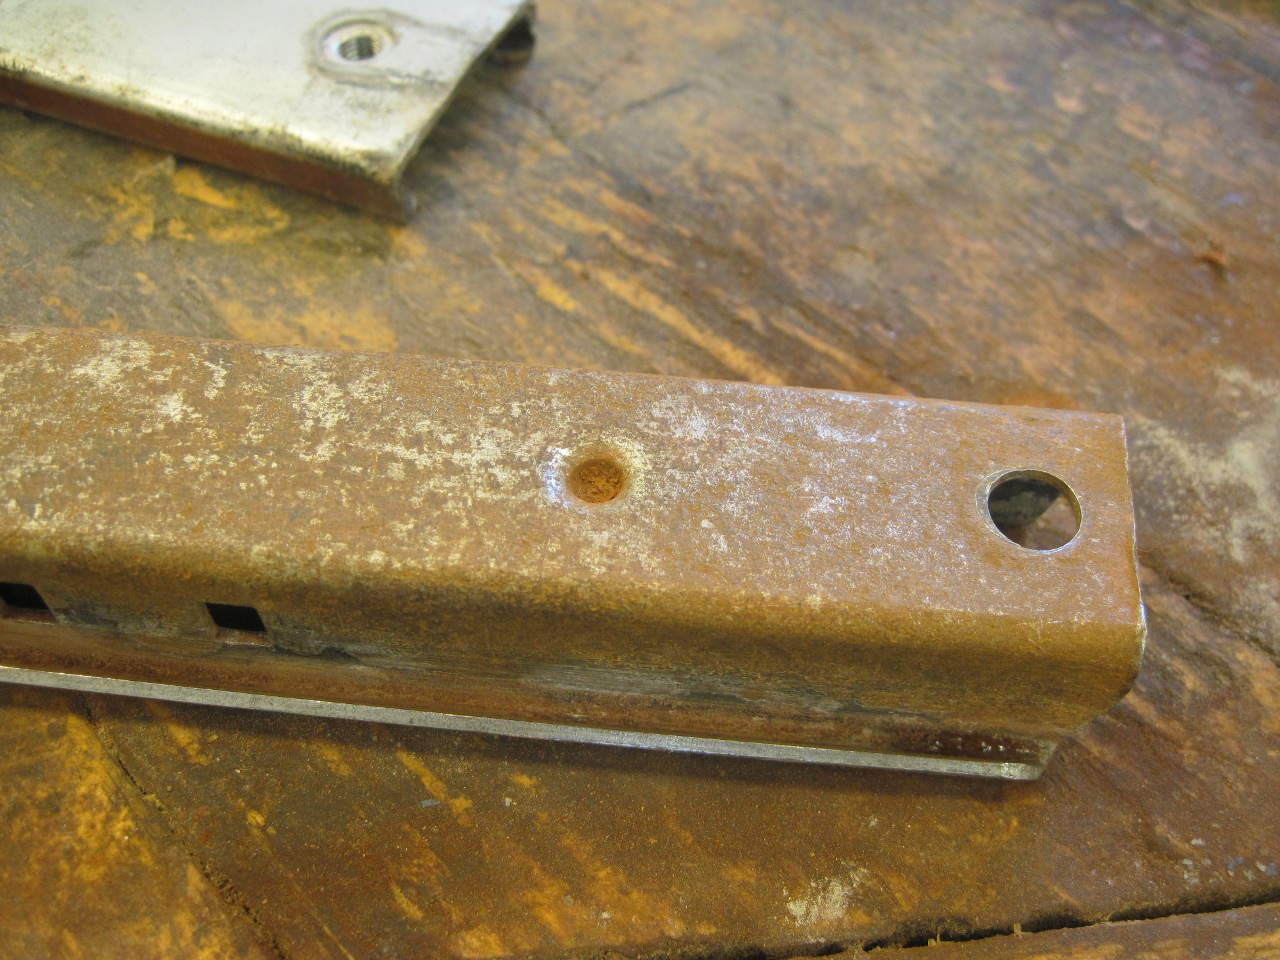
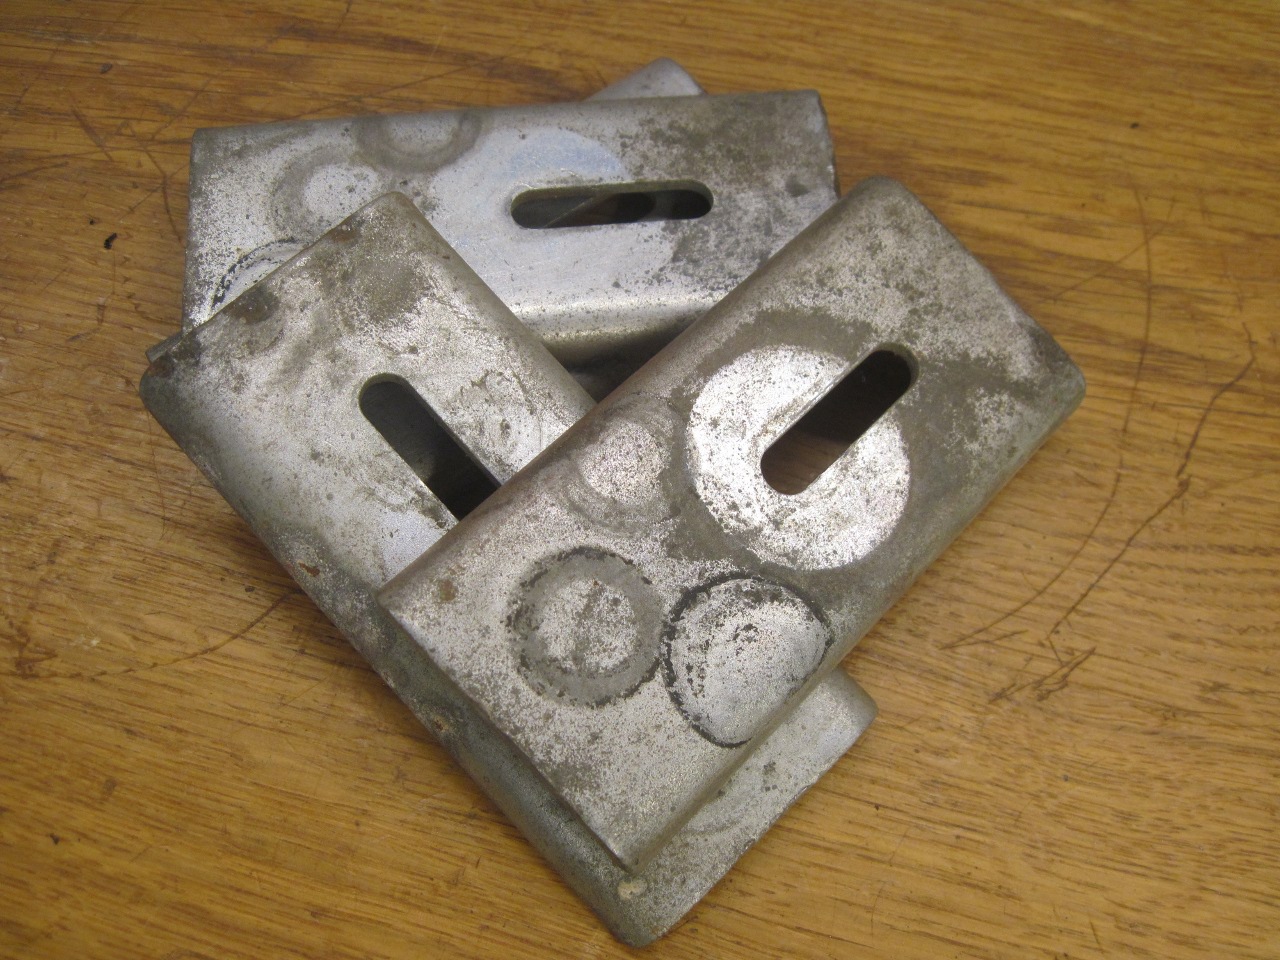
The tracks are made from heavyish sheet metal, with zinc plating
that only delayed the inevitable corrosion from damp carpets.
My
tracks were in decent shape, but pretty much covered with red and white
rust (iron and zinc corrosion, respectively). I had the seats out
once in the '80s, and sprayed the bottom tracks with some red primer
then to try to slow the rusting process. I must have also thought
it was a good idea to force some grease inside the tracks, but it
probably did more harm than good.
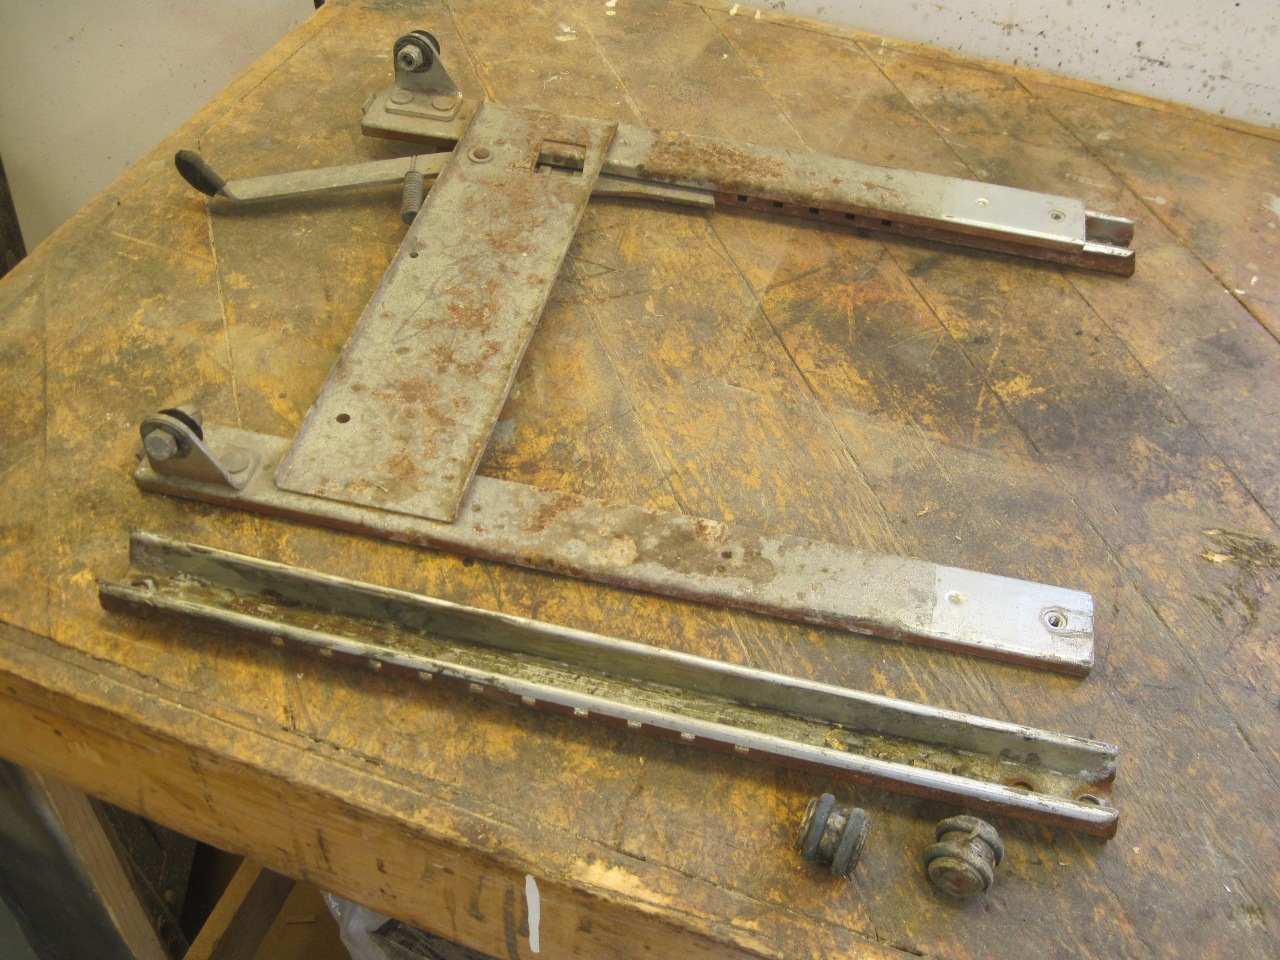
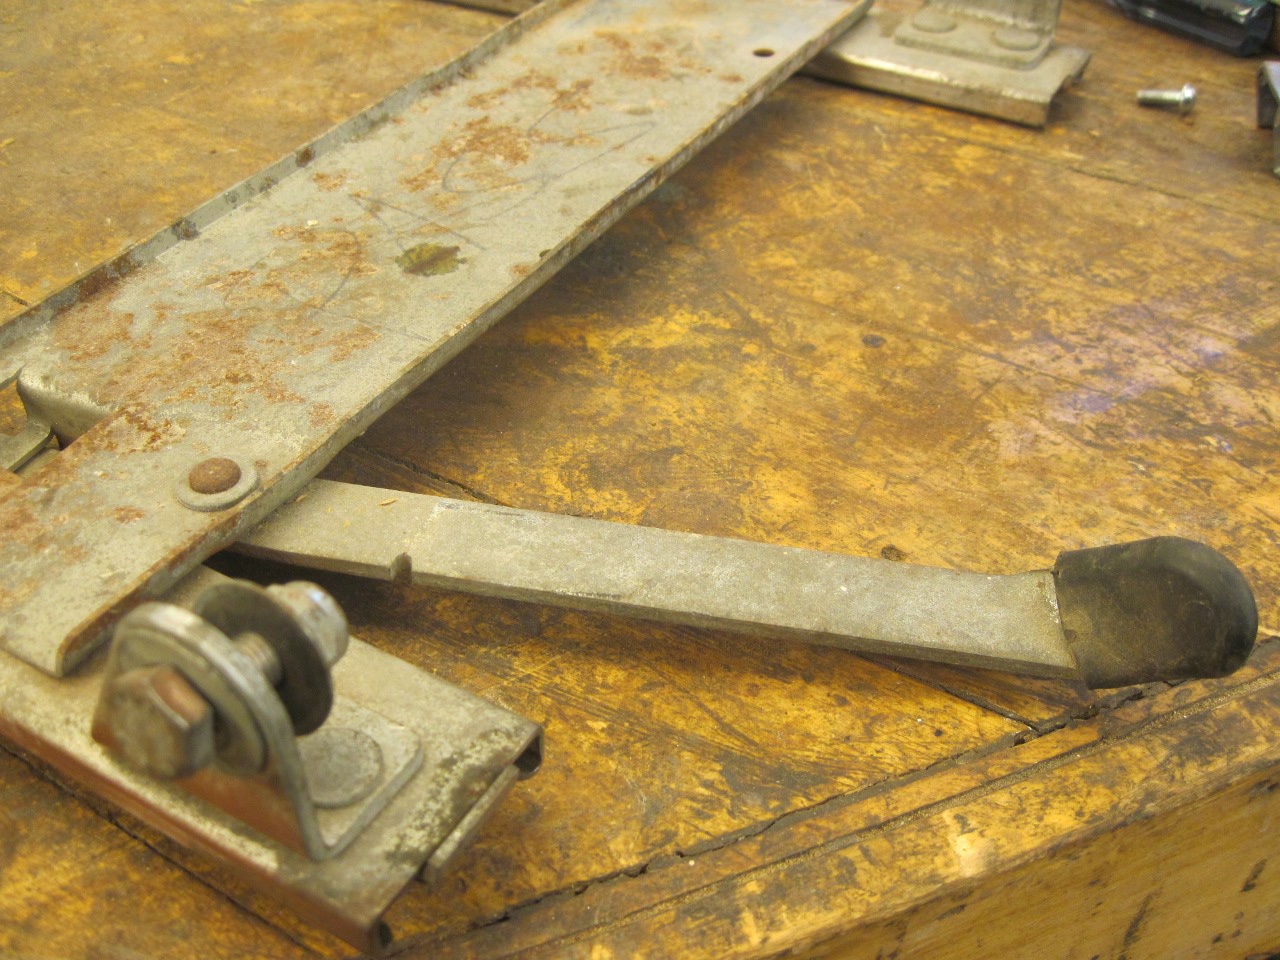
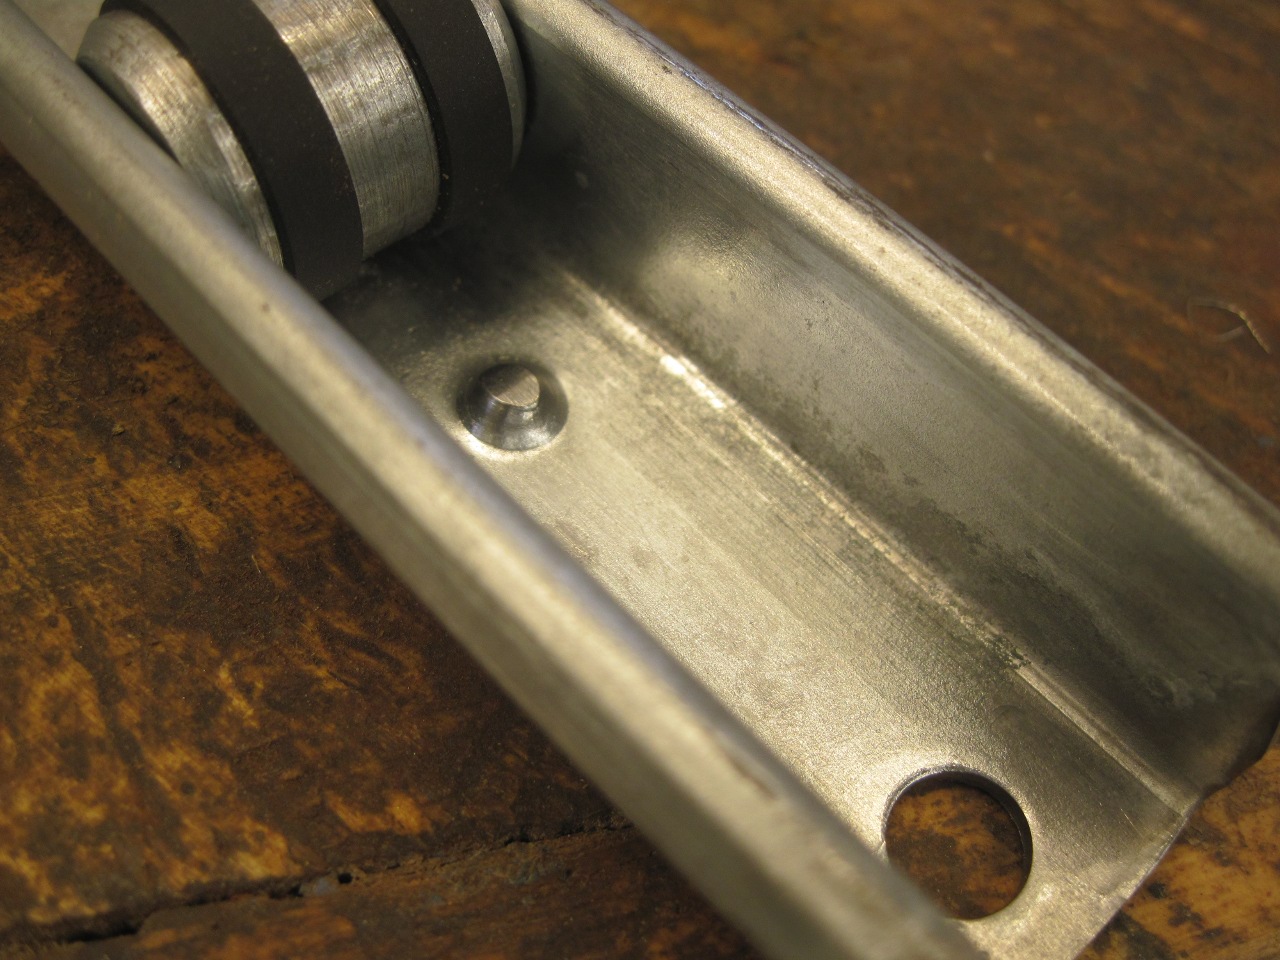
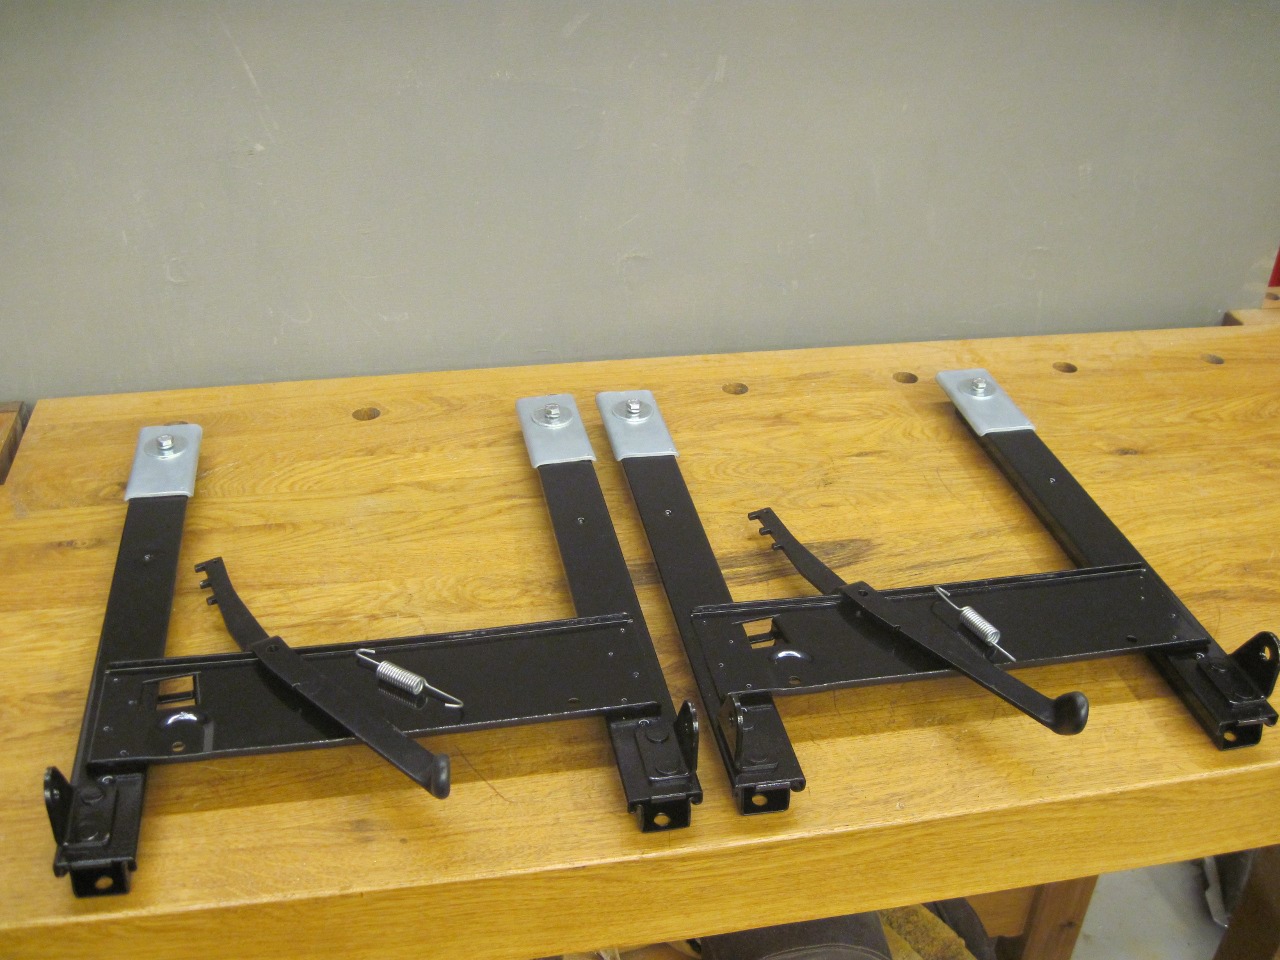
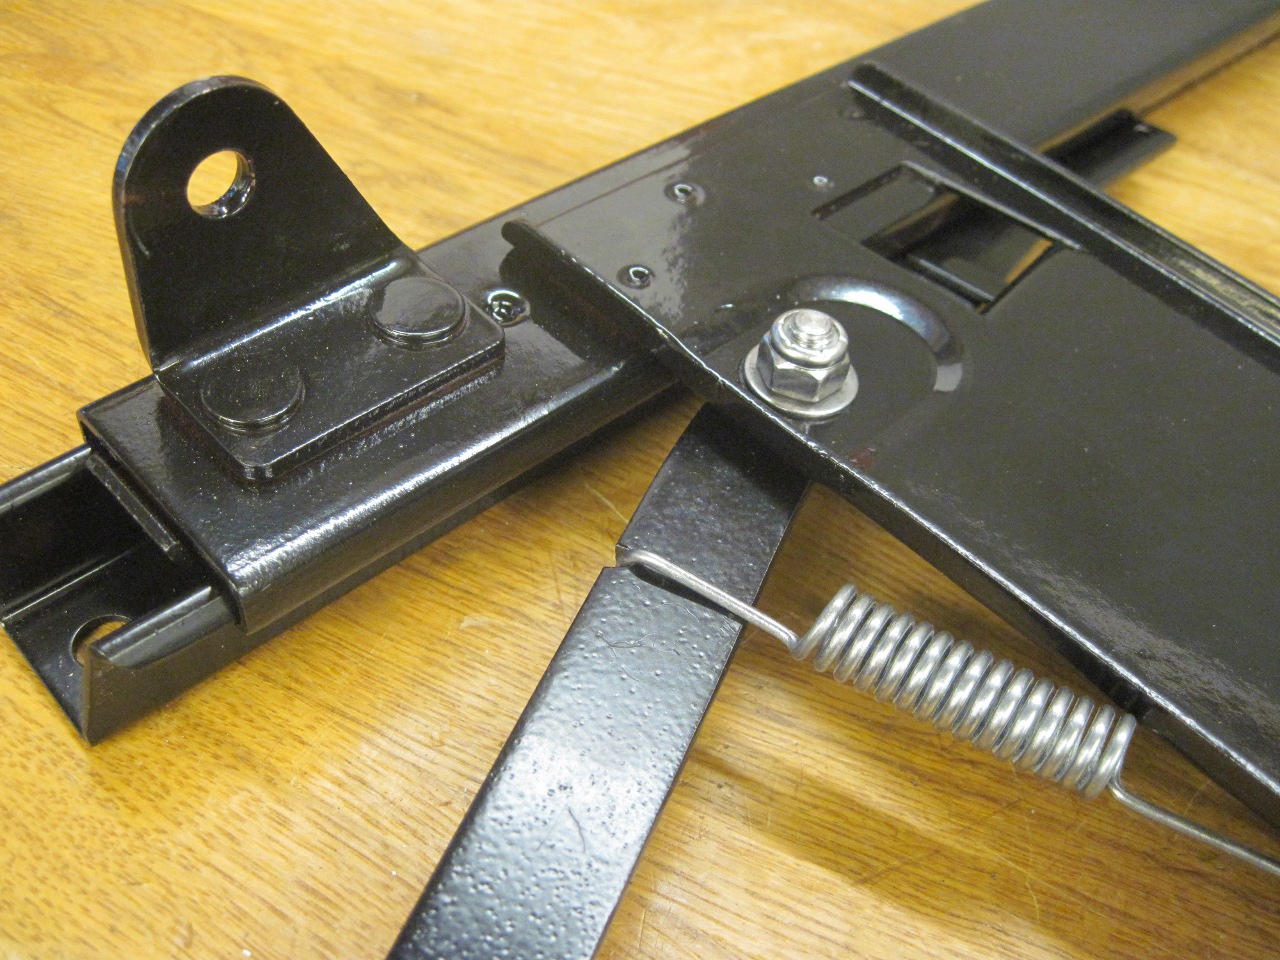
The
upper part of the mechanism which attaches to the seat rides on a pair
of lower tracks that bolt to the car's floor pan. Each seat is
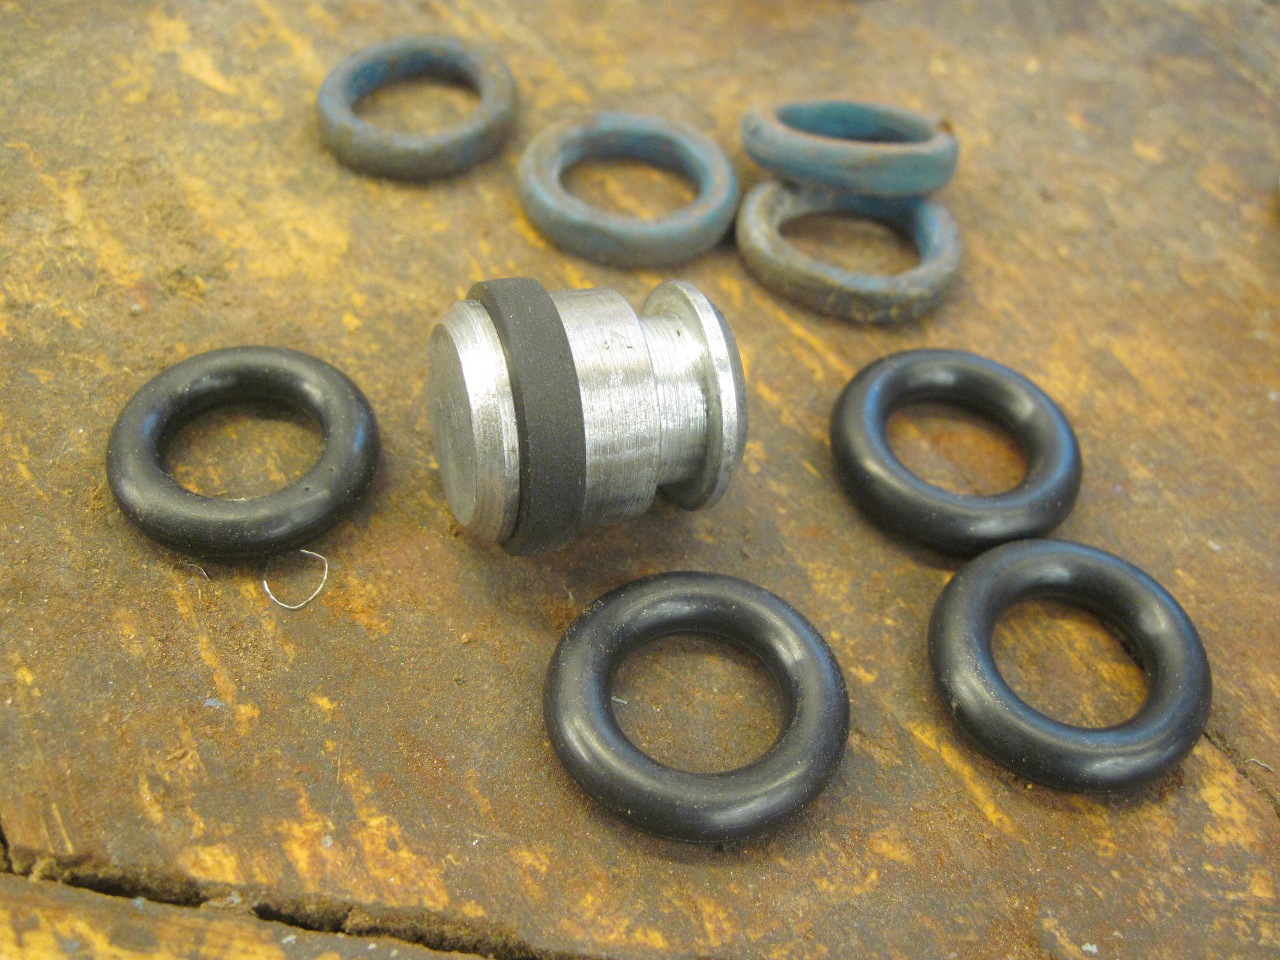
actually supported on four rollers that ride inside the bottom tracks.
Each roller has a pair of rubber tires. The blue tires
probably once resembled O rings, but time had not been kind
to them. They were now distorted, misshapen, and a sloppy fit on
the rollers.

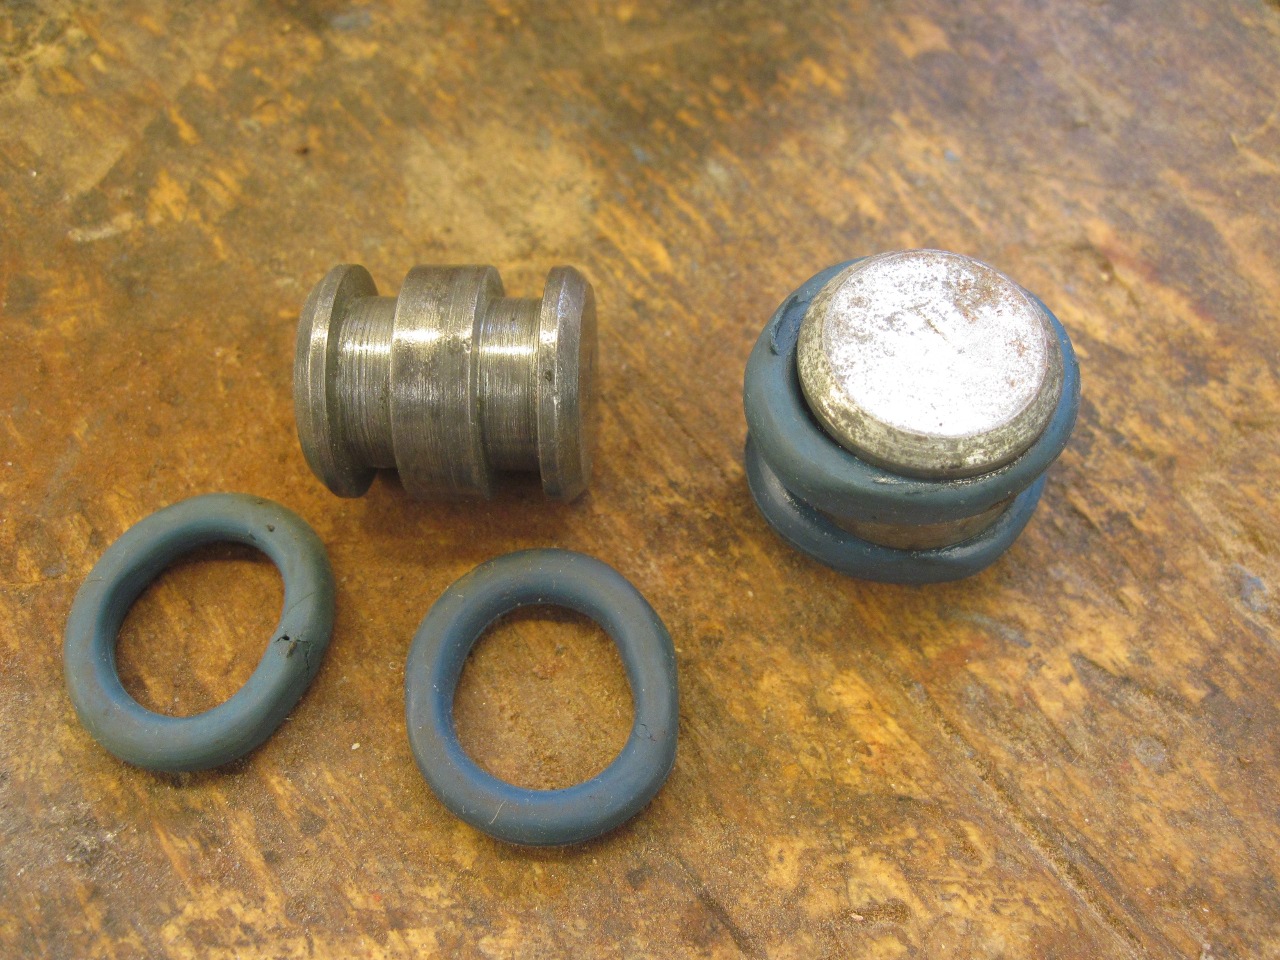
Measuring
the old tires, rollers, and tracks, I was able to surmise the
approximate original dimensions of the rubber parts, but looking
through tables of standard O rings, nothing was very close. The
closest standard part was a -311 O ring, so I ordered a bag. The
9/16 inch ID of the new rings seems to be close to correct for the
rollers, indicating how stretched out the old rings were. The
new rings were too fat though, which made the OD too big when
mounted on the rollers.
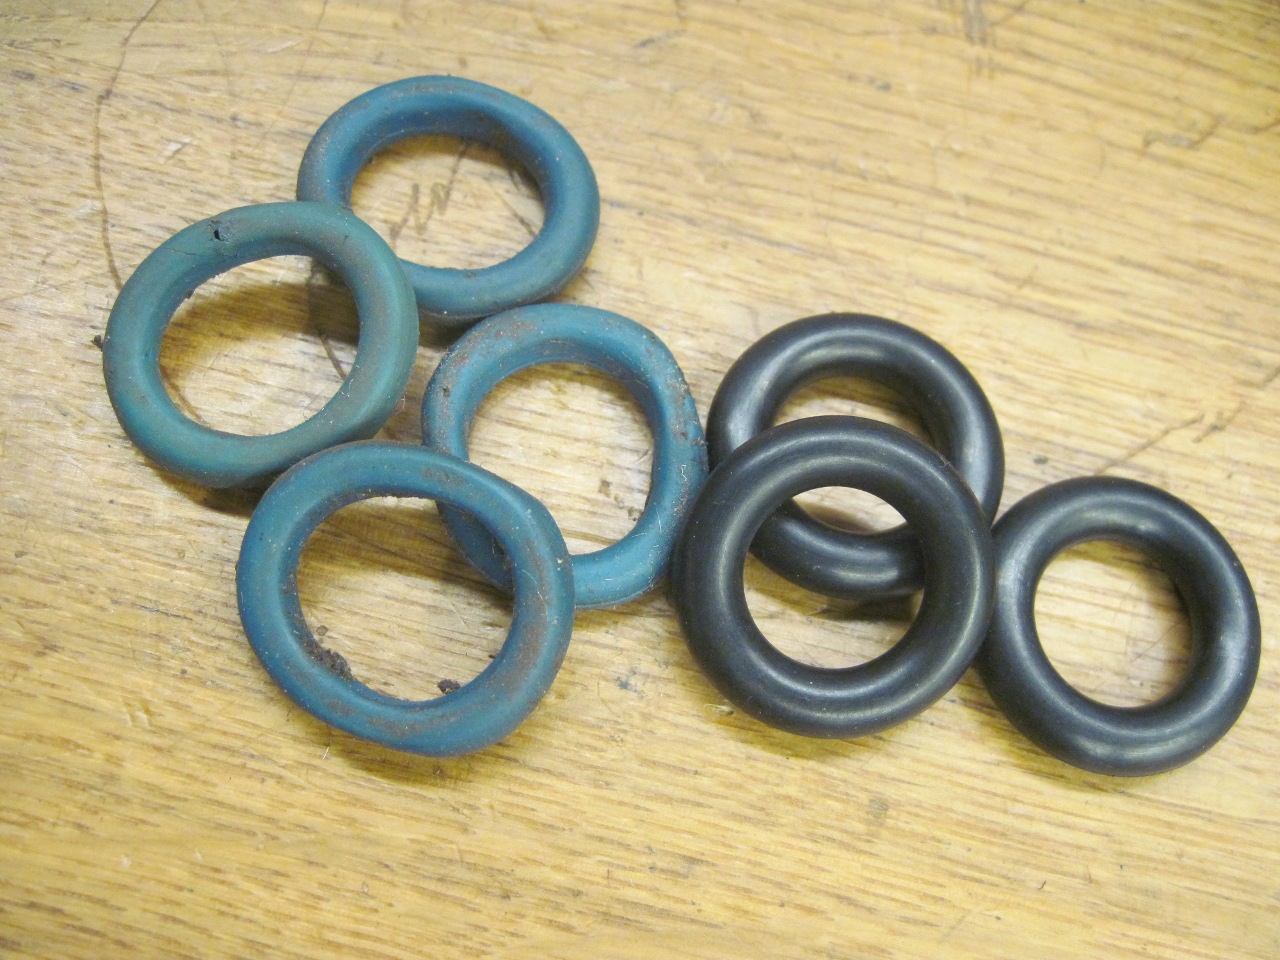
I briefly considered casting some custom O rings in the right size, but decided to try modifying the -311 parts first.
Machining
rubber is tricky. Some try freezing it and using regular lathe
tools, but I thought keeping it cold and hard enough would be a hassle.
Others report that abrading rather than machining works well.
I gave this a try, and finally hit on a method that worked
OK. I spun a ring mounted on a roller, and used either a file or
sandpaper mounted on a hard flat backing to wear away the rubber.
I experimented with final OD dimensions, and settled on 0.850".
Once I got going, each one only took a few minutes.

Next
came cleaning up and derusting the metal parts of the tracks. The
spring loaded slide lock lever is riveted to the assembly, and I didn't
feel I could properly strip or refinish the piece with it in place, so
I removed the rivet.

I
normally derust metal parts with phosphoric or muriatic acid. In
this case though, much of the original zinc plating was intact, and the
acid derusting process would attack the zinc. The parts were too
big for my plating tank, so I needed to preserve what zinc was
left. In this situation, the best method is to use a chelate
deruster. Chelates are harmless to plating, and even most paint,
and pretty much only attack metal oxides, especially rust. The
picture shows a tub with enouth solution to cover the upper track
assembly. The marbles and the big hunk of black plastic are in
there to raise the level of liquid so I didn't need so much. I
used Evaporust, but there are other good products, too.

It's
a slow process, measured in hours, not minutes, but pretty effective.
The slightly darker mottled areas are where the zinc was corroded
away.

Here's
one other piece of education I got from taking the first track apart.
There are little dimples on both the upper and lower tracks to
limit how far the rollers can travel. They also make it a real
challenge to separate the lower and upper tracks. I ended up
drilling out the dimples on the lower tracks, which made disassembly
much easier. I'll replace the dimples with screws later.

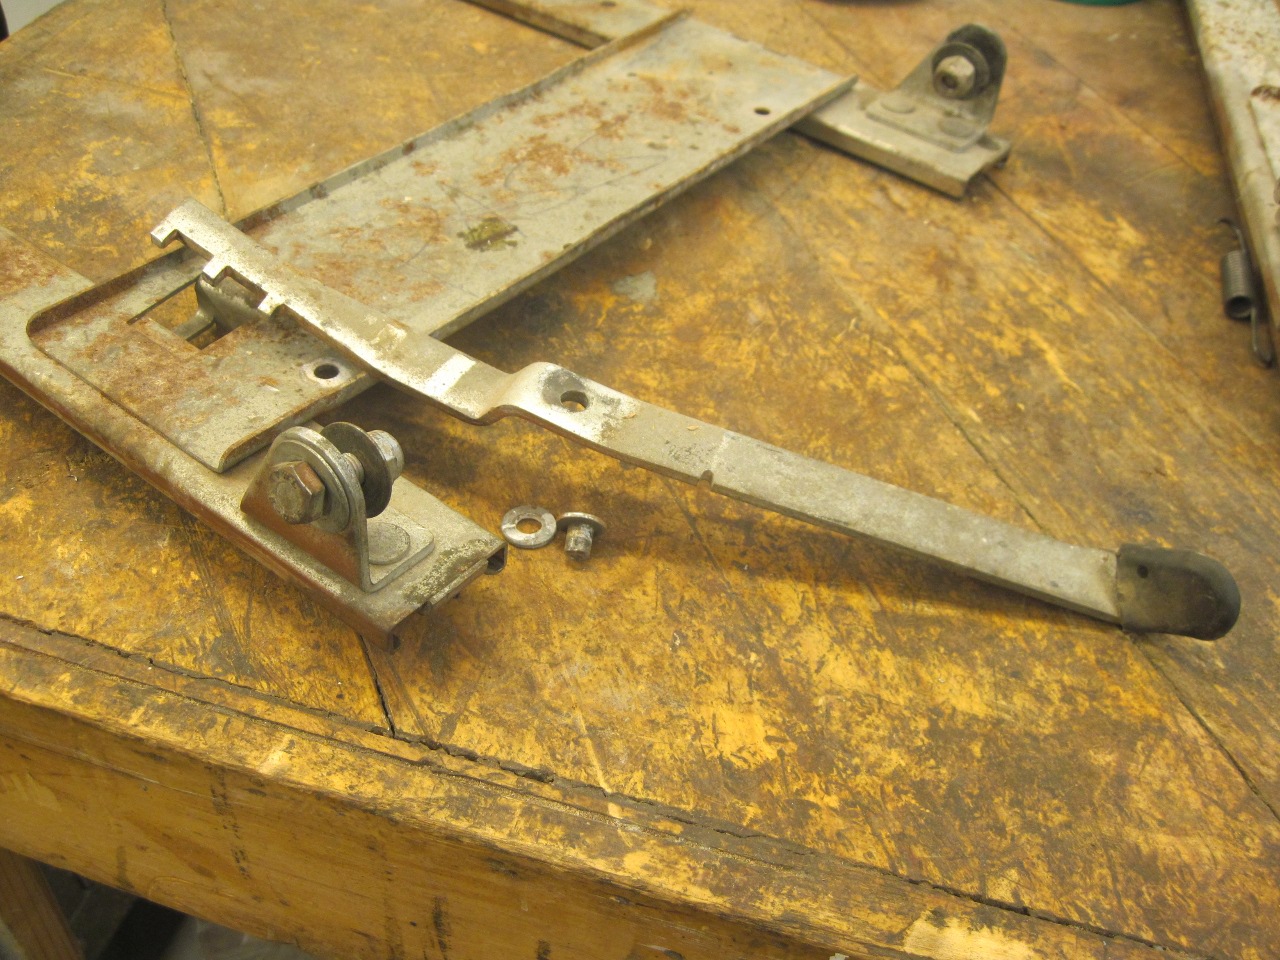
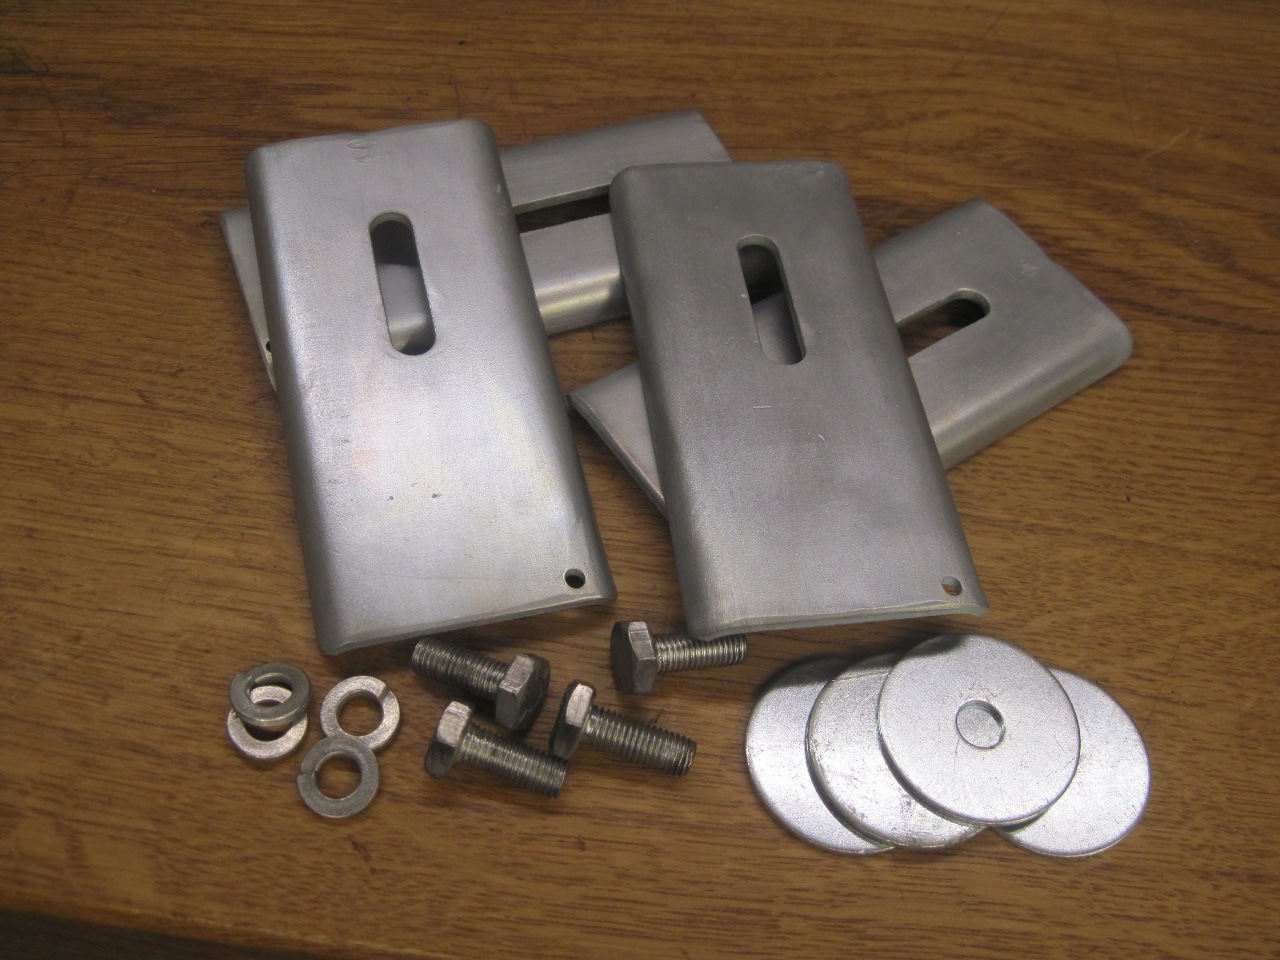
I
really wanted to powder coat all the parts, but the upper track
assembly was too tight a fit in my oven, so it was just primed and
painted. Smaller parts were powder coated. The original
parts were just bare metalic color, but it seemed to me that parts
under the seat really should be blacked out, so I went with black.
Rather
than put these sort of ratty looking plasstic covers on the ends
of the locking levers, I opted for ten or so coats of Plastidip.
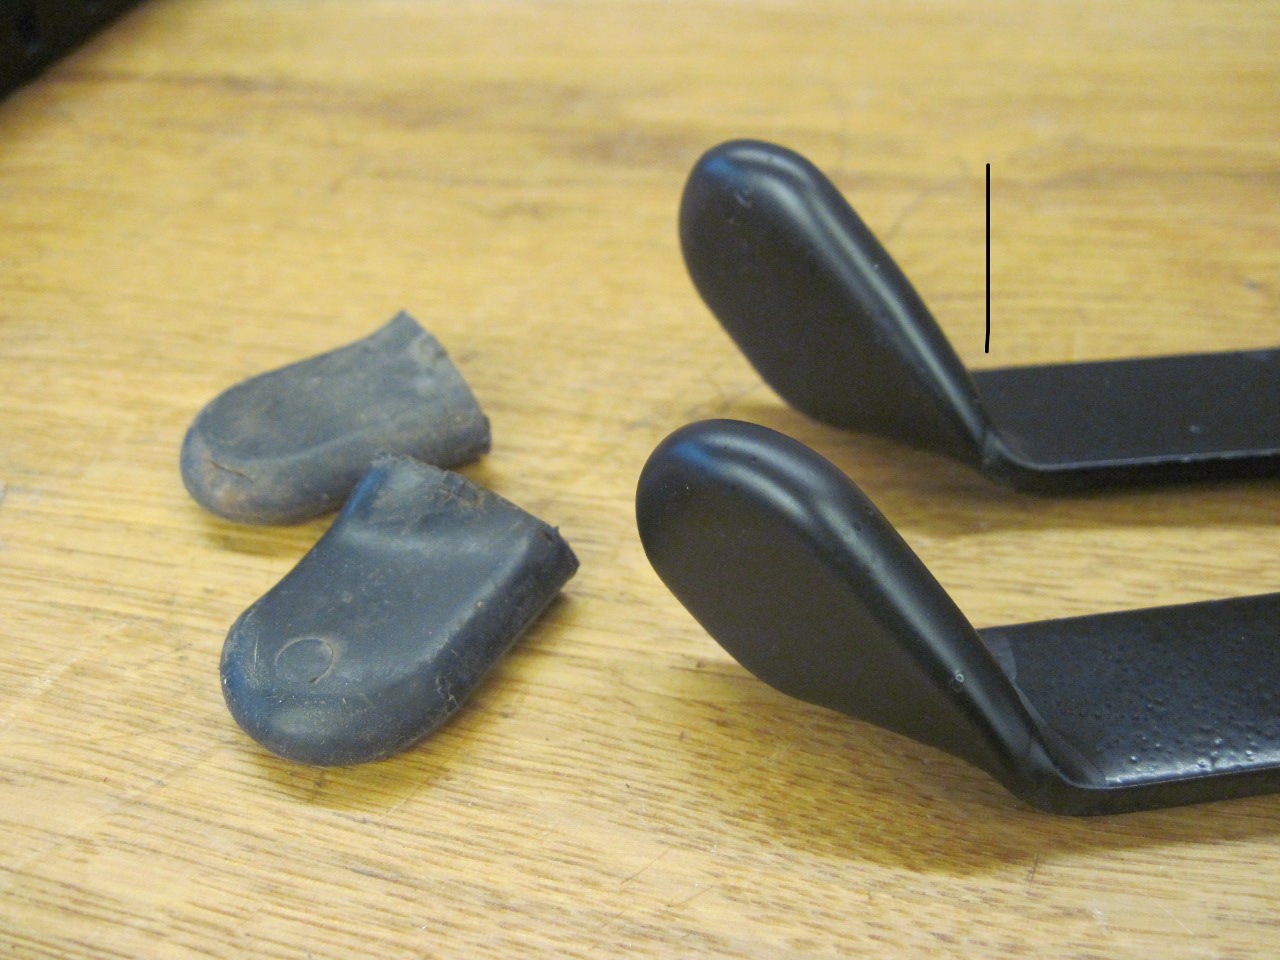
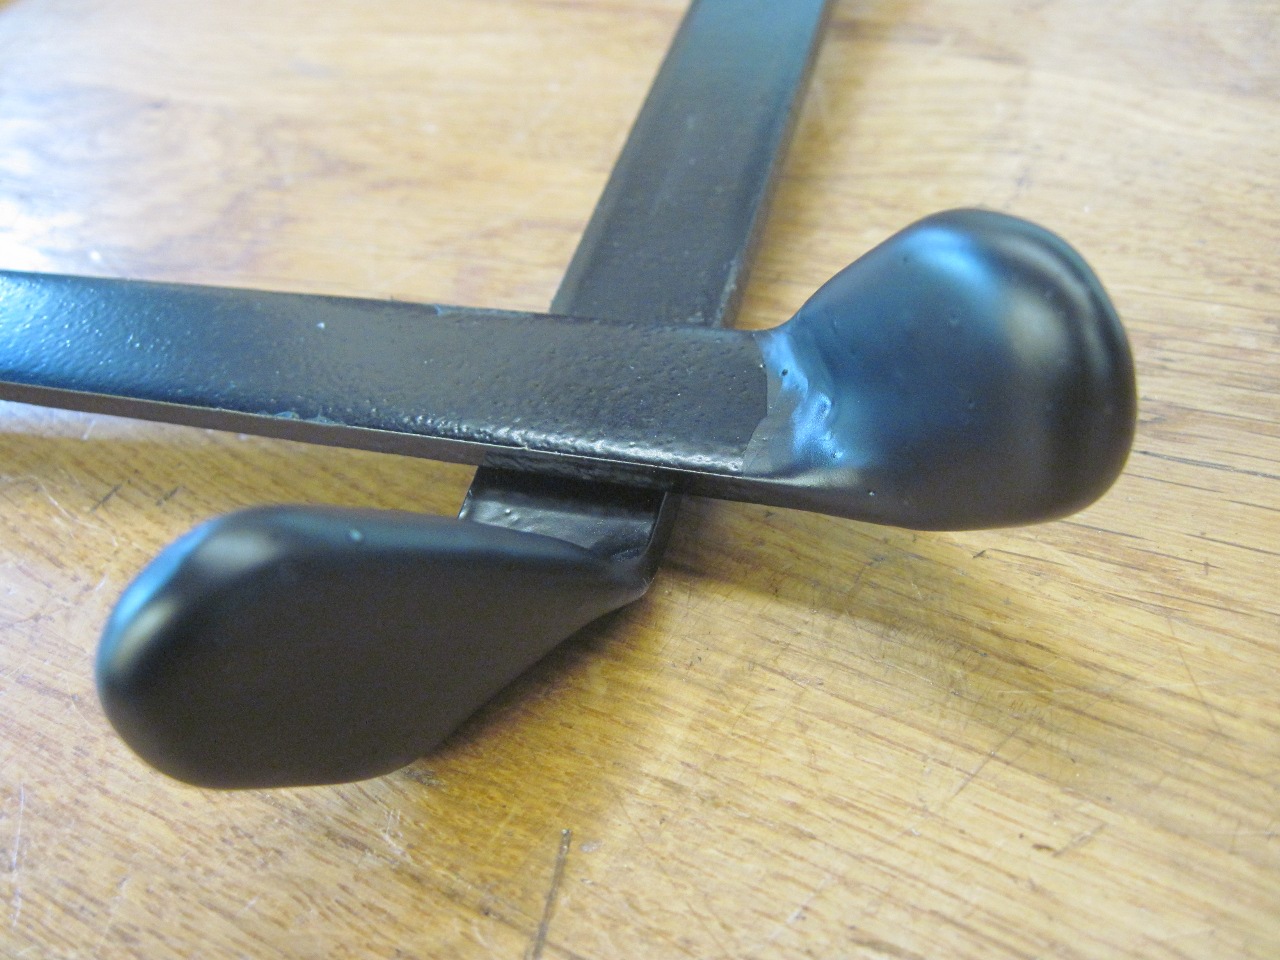
These are the adjustable plates at the rear of the tracks that the seat tilt locks catch on.
Ready
to put the slide lock levers back on. Since I destroyed the
original rivet, I used a shoulder bolt instead.
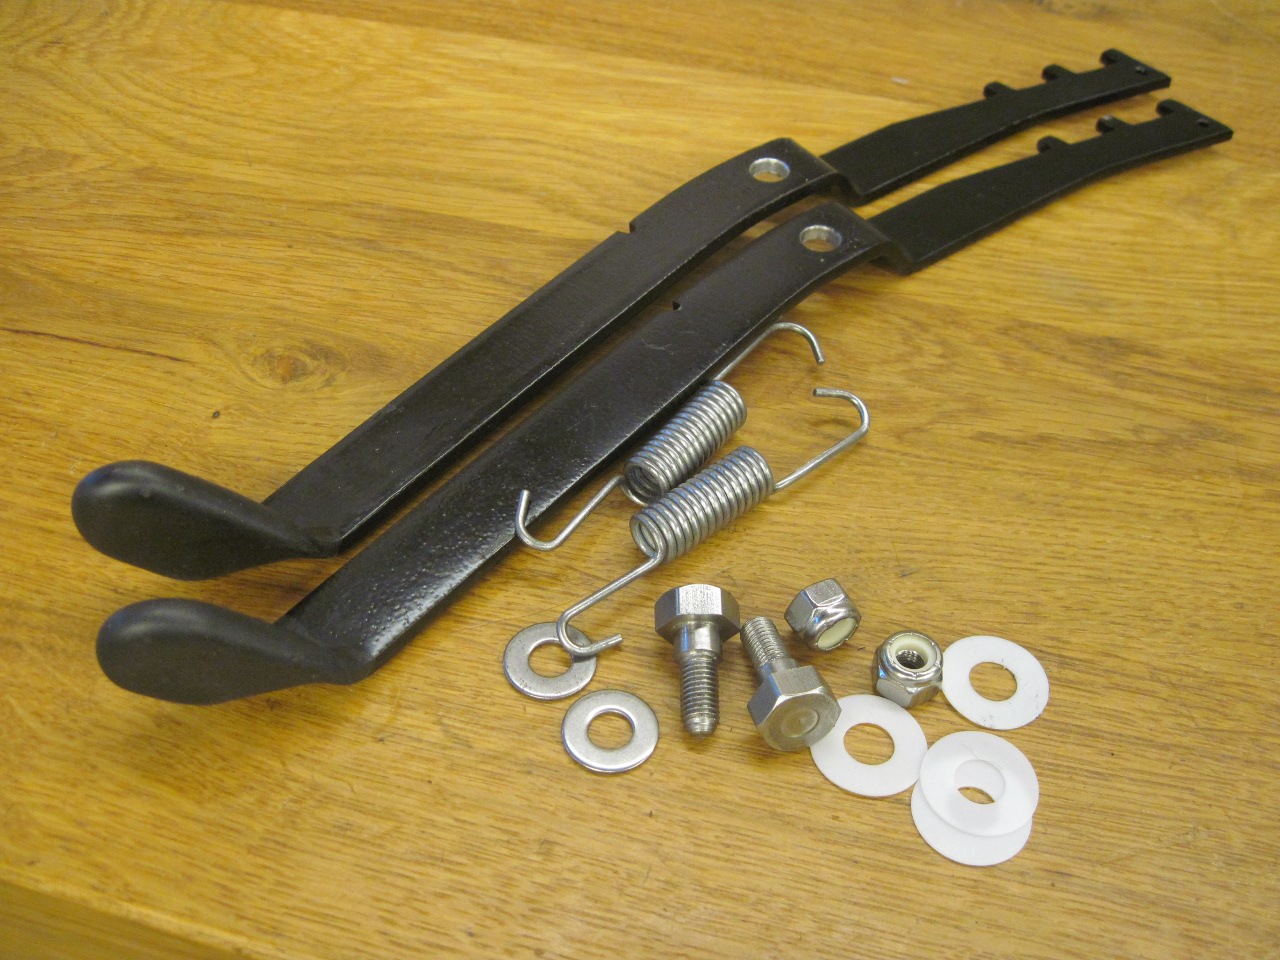
Almost forgot--I had to replace the little limit bumps I drilled out to make disassembly and assembly easier.
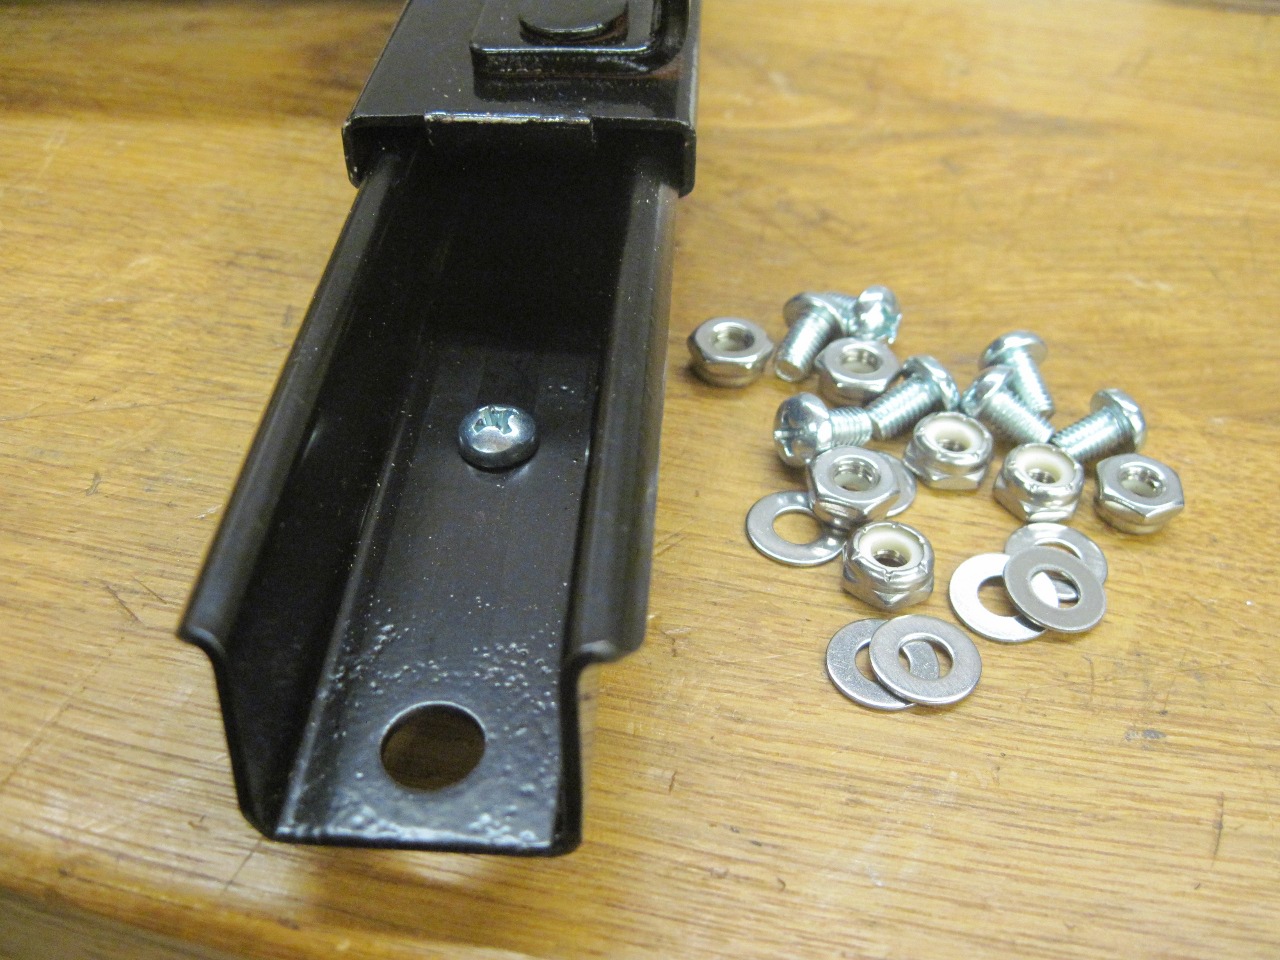
This
was an enjoyable, if pretty involved project. The cost was
minimal--some O rings and some hardware--probably under $15.
Comments to: elhollin1@yahoo.com
To my other TR6 pages