To my other TR6 pages.
March 9, 2018
Interior Panels
Triumph's
version of luxury for the TR6 cockpit was thinly padded, vinyl covered
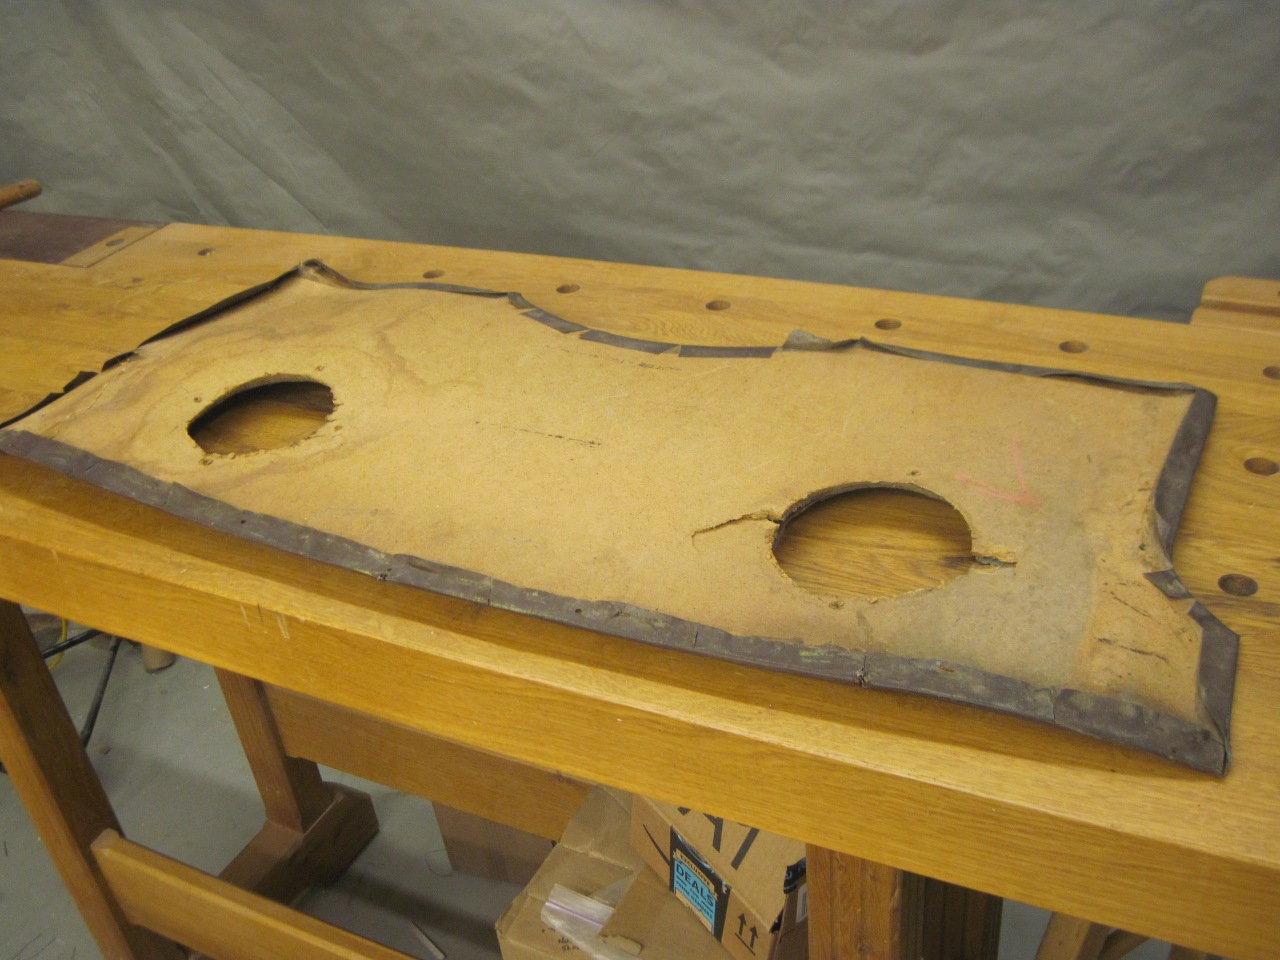
panels on each side and at the rear. The base panels were a
hardboard material that didn't suffer moisture or humidity well.
The vinyl was thin and accumulated UV exposure over the years
made it brittle and weak. All the vinyl in this car was ripe for
replacement.
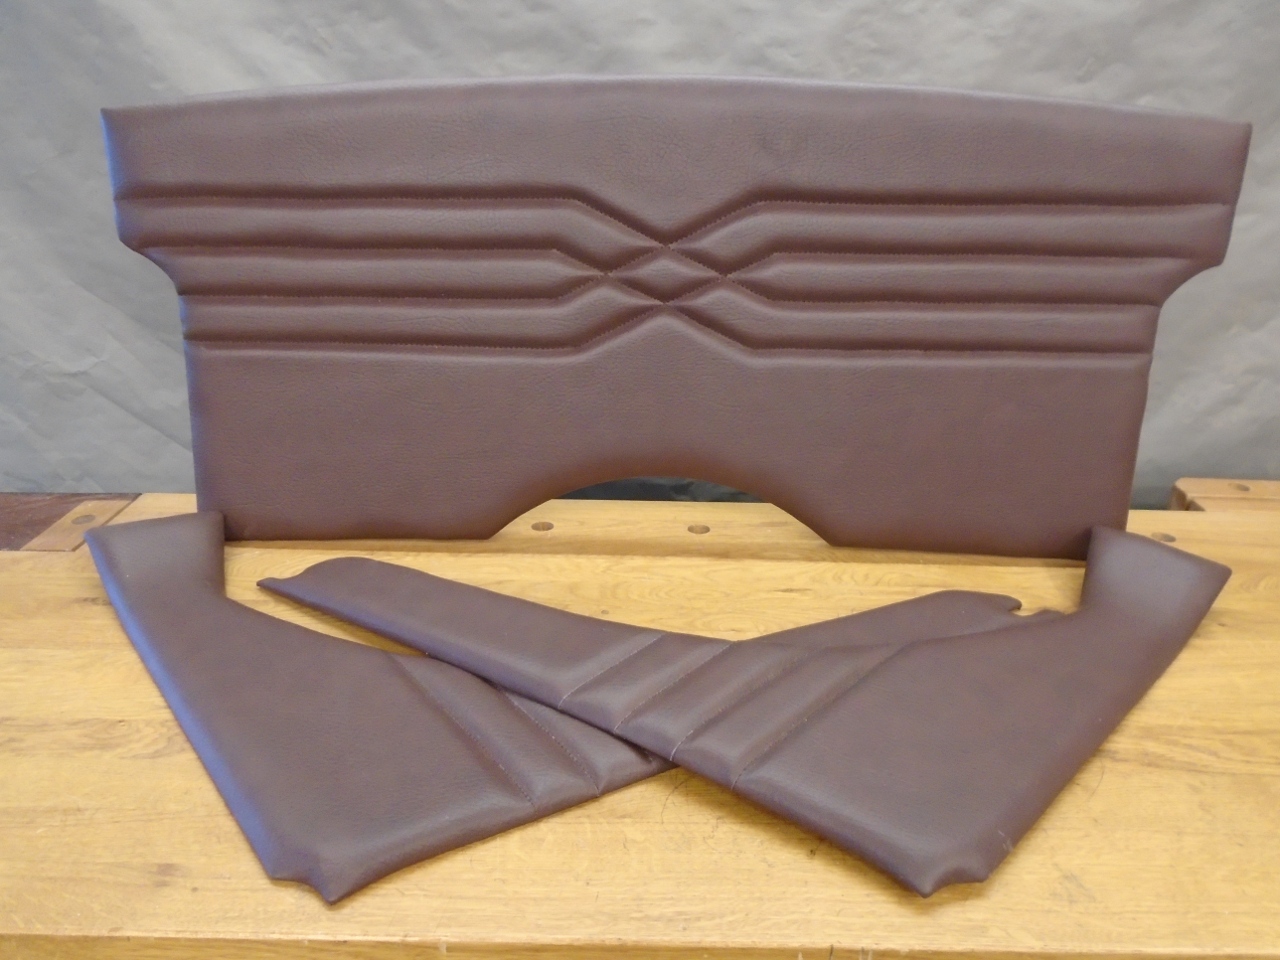
The
rear quarter panels were a dog-leg shape that fit around the rear wheel
well. The 1/4" foam covered nominal 1/8" base panels that
were badly warped and frayed. The vinyl was heat welded to the
base panel to form cosmetic detail lines.
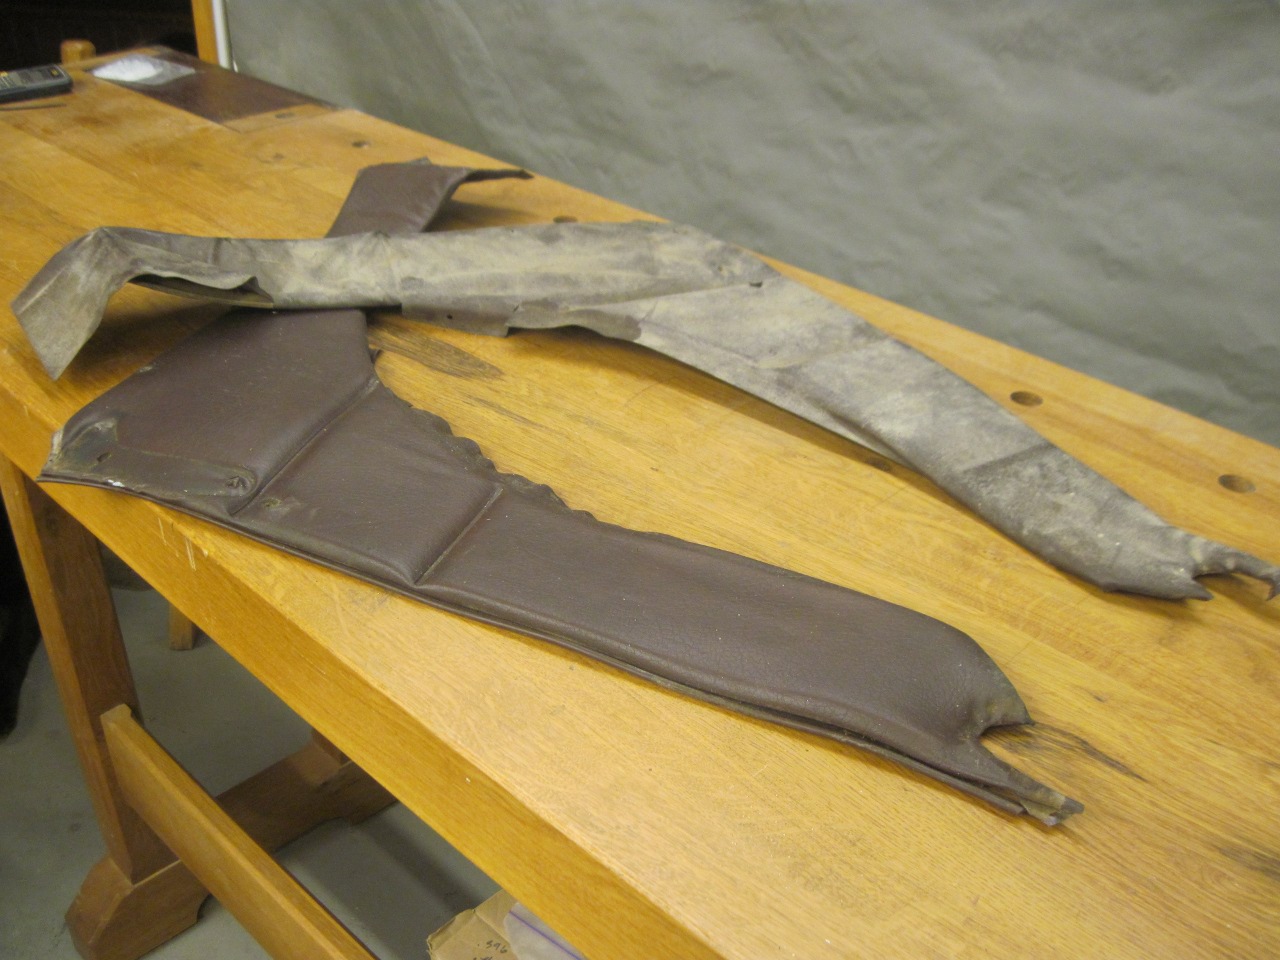
The distorted rear panel had thinner foam--closer to 1/8".
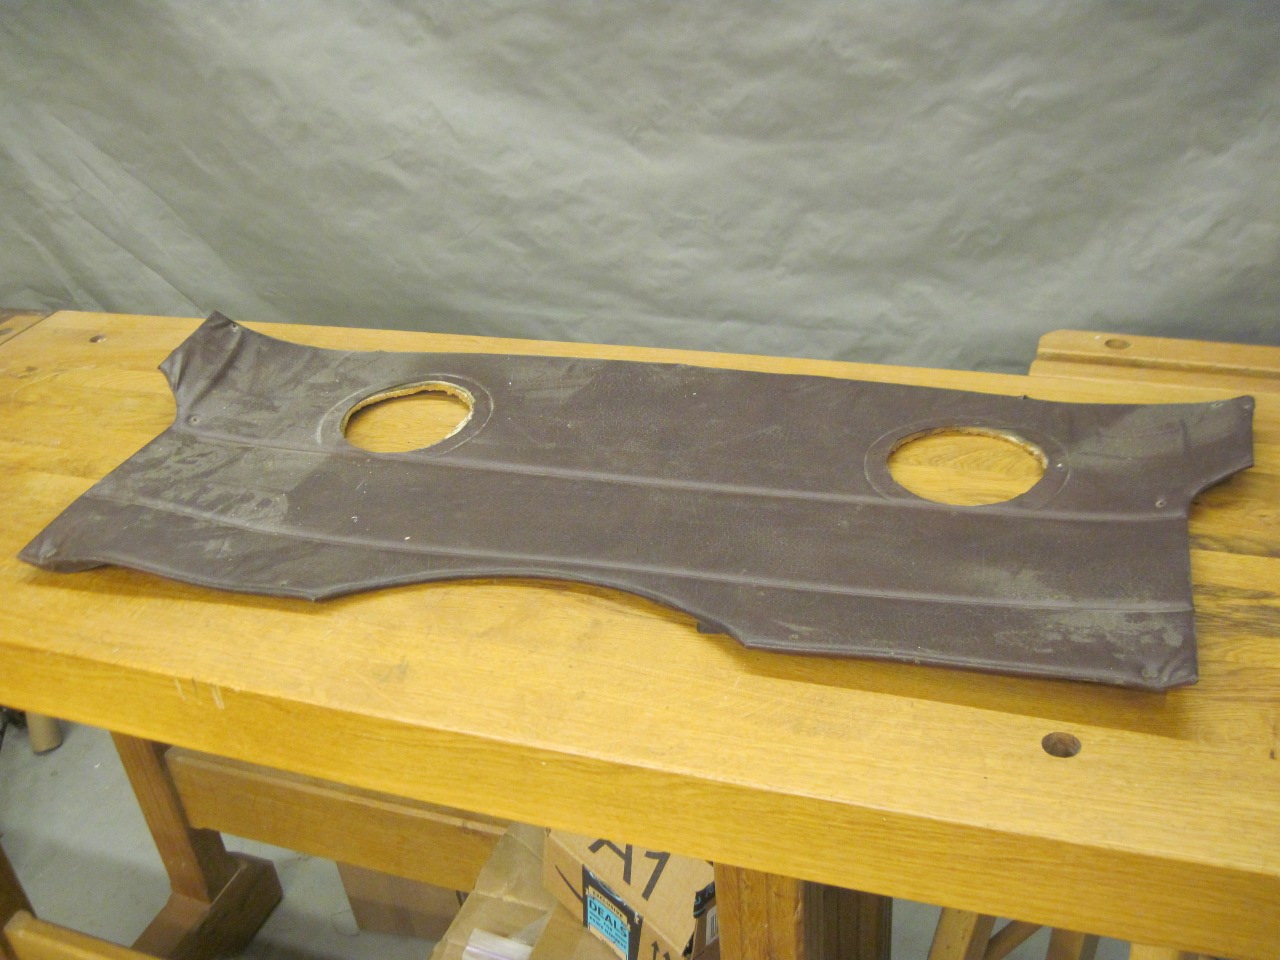
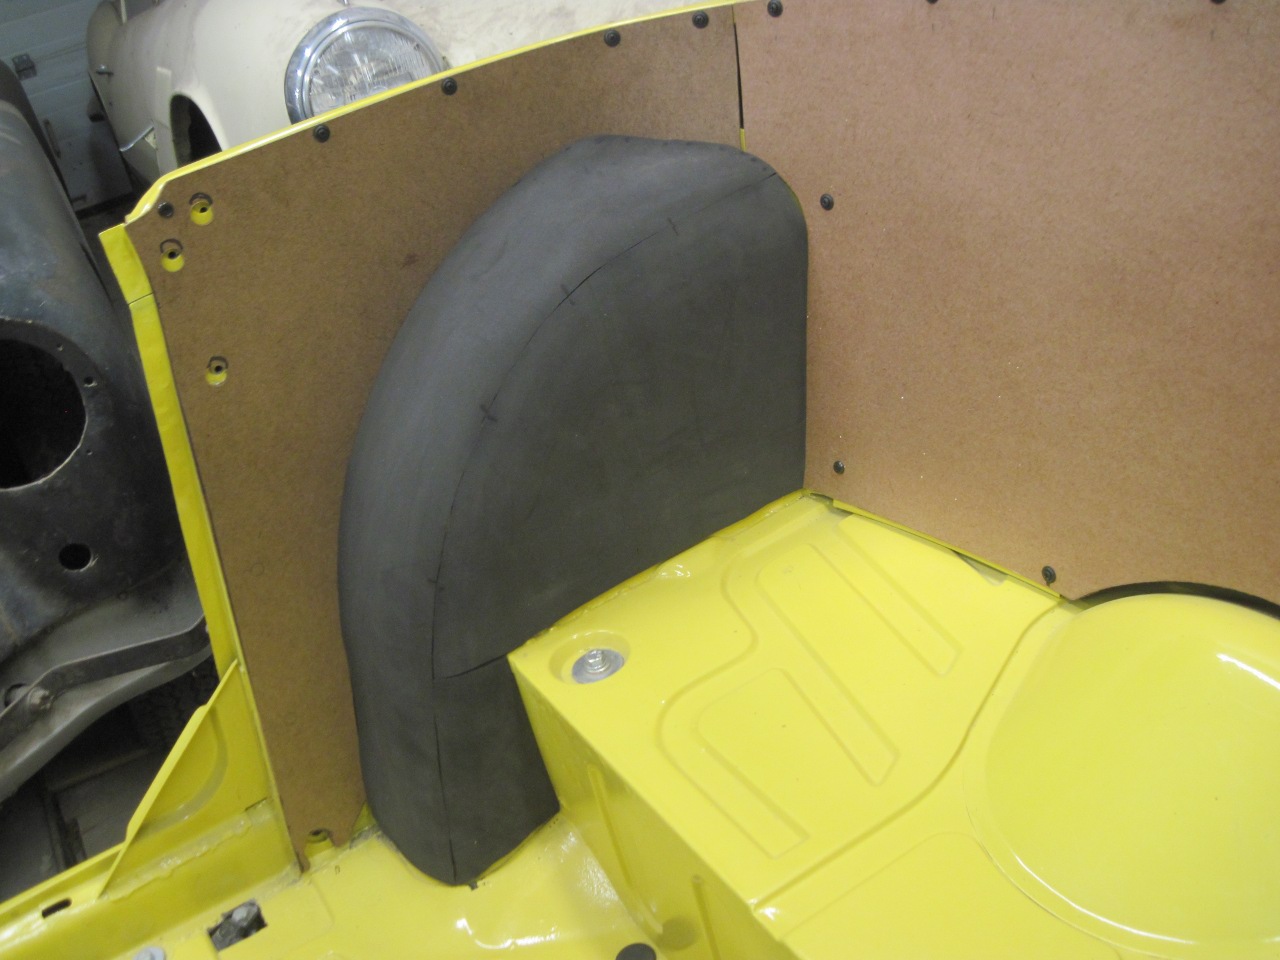
The
rear wheel wells themselves had a foam and vinyl covering. The
vinyl was a two-piece assembly sewed together with a small plastic bead
sandwiched in the seam.


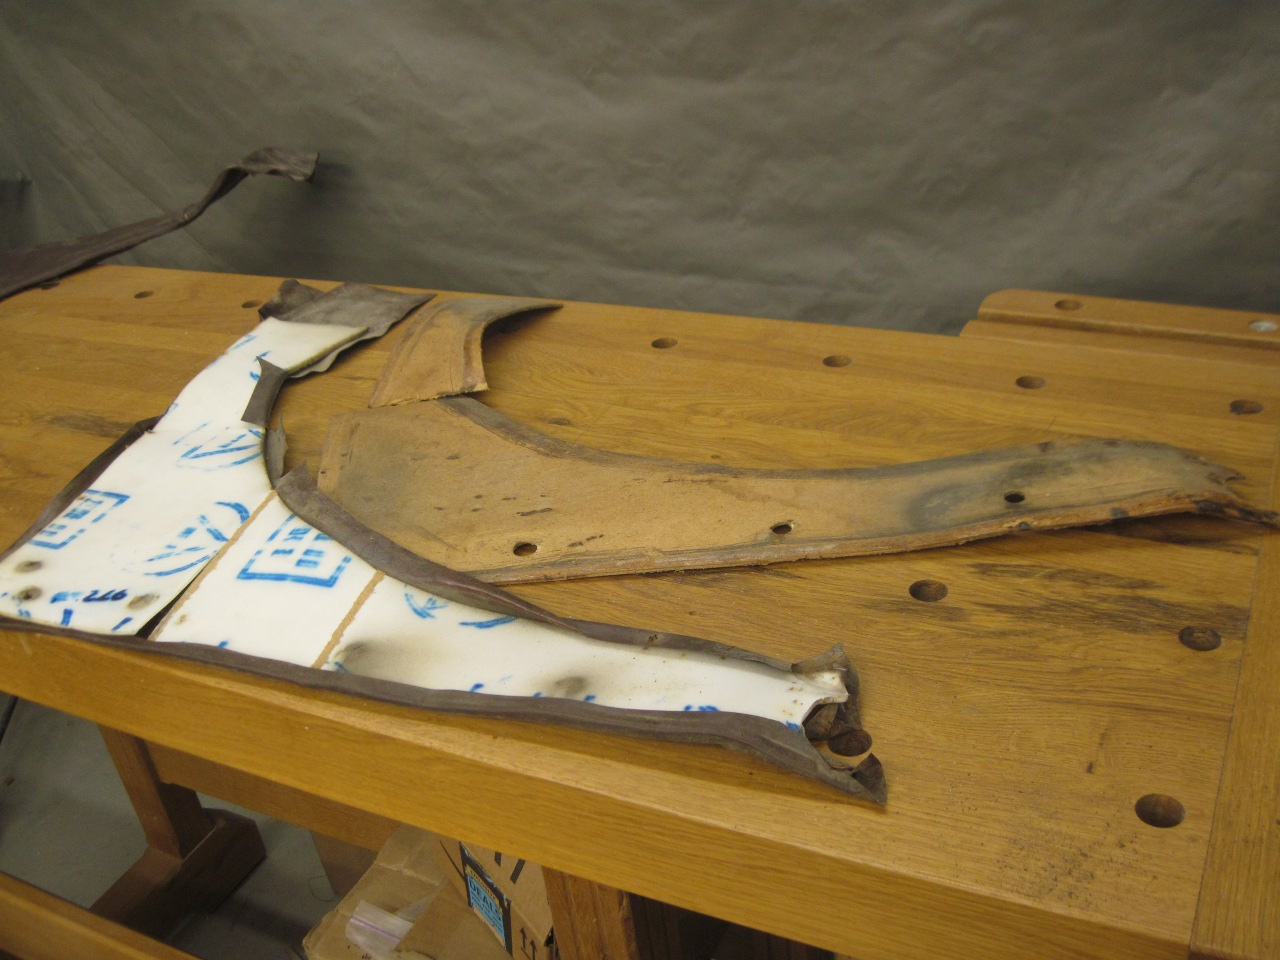
All
of the vinyl, foam, and backing boards were beyond salvage in this car.
Complete replacement kits are easily available, and I undersrtand
that most of them are at least adequate replacements. On the
other hand, riding the wave of confidence gained from making my own kidney panels,
I thought I should at least have a go at making some of the panels
myself. I thought there might even be a place or two where I
could make small improvements.
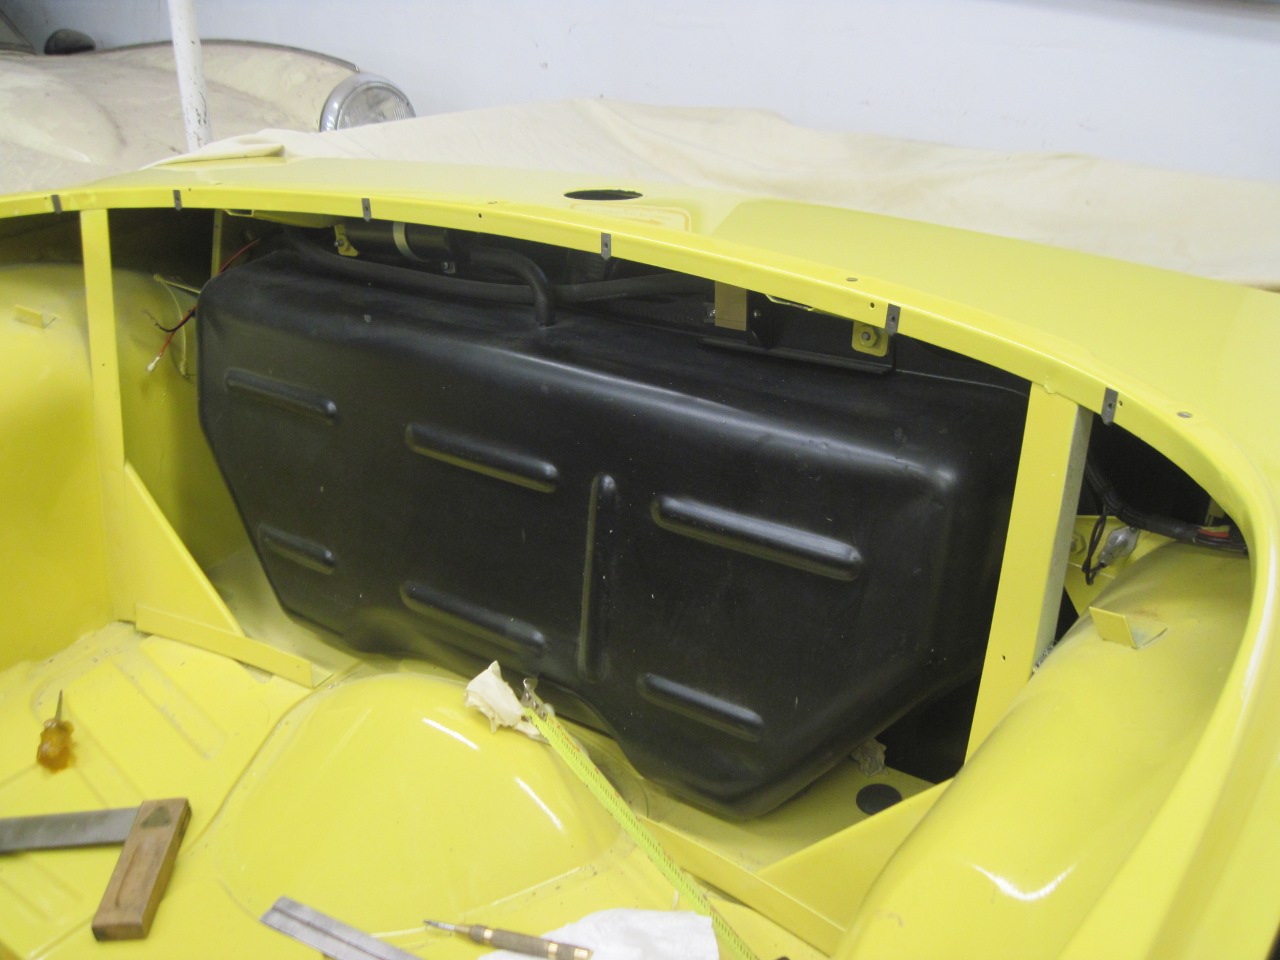
Before
even starting on the panels, I went back to something I noticed when
removing the originals. I've never been a fan of attaching
trim panels (or anything else, really) with sheet metal screws
directly in holes drilled in the body. The holes are prone to
stripping, and fixing that correctly is not easy. Most of the
trim panel attachmnents on this car were done that way, and even worse
than that, some of the holes were way out of place.
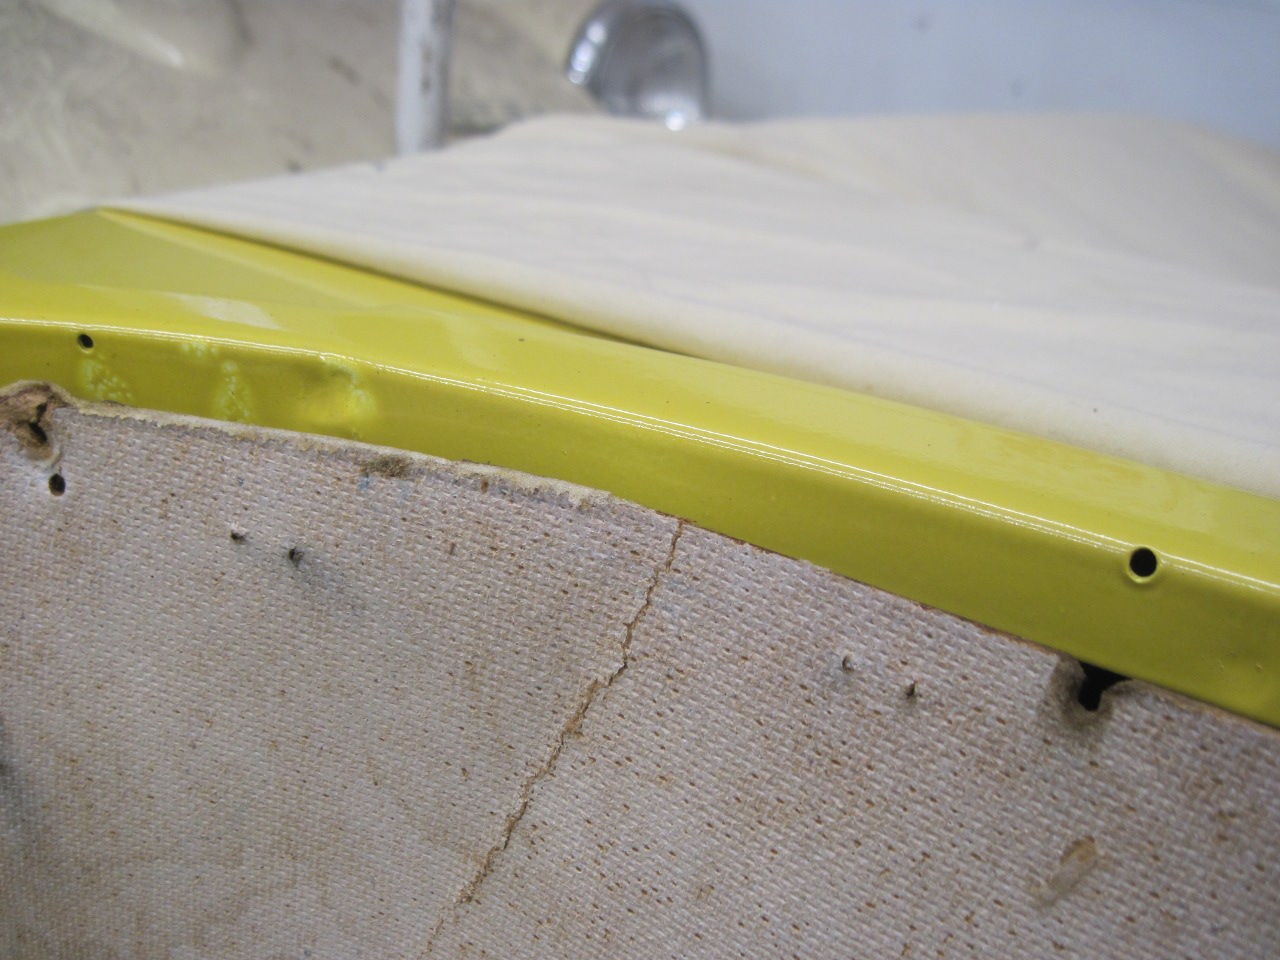
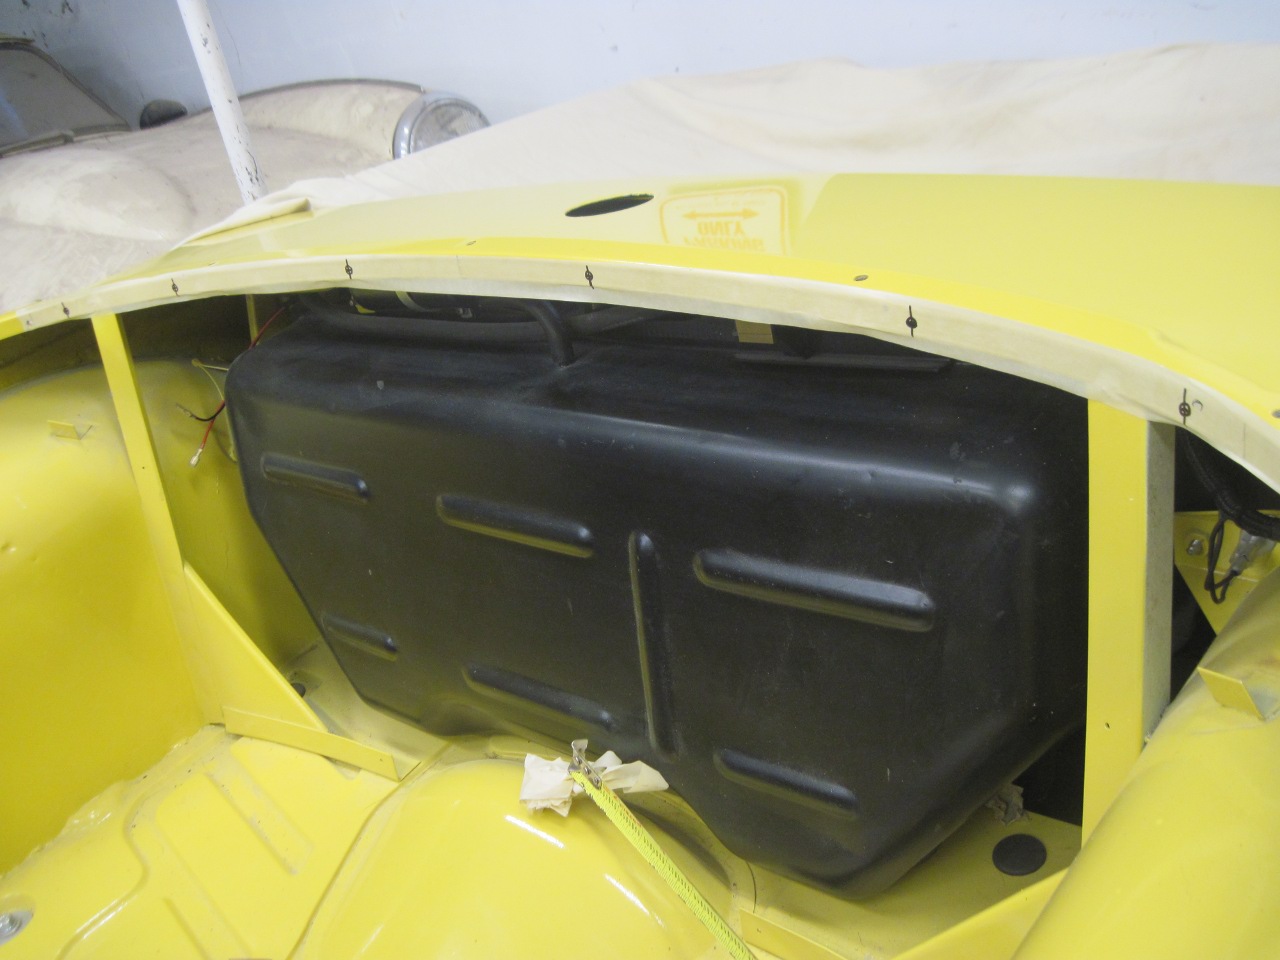
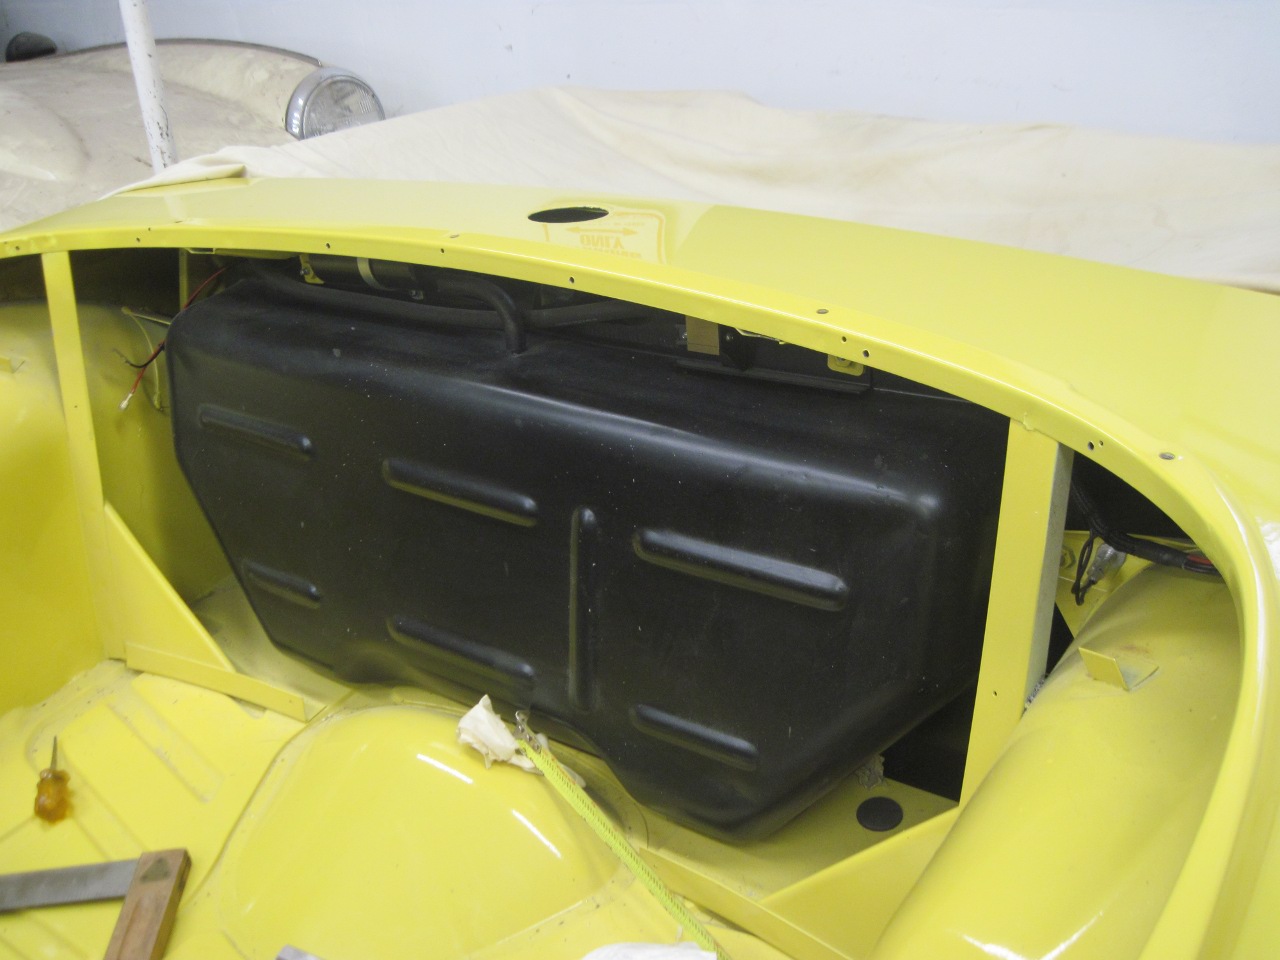
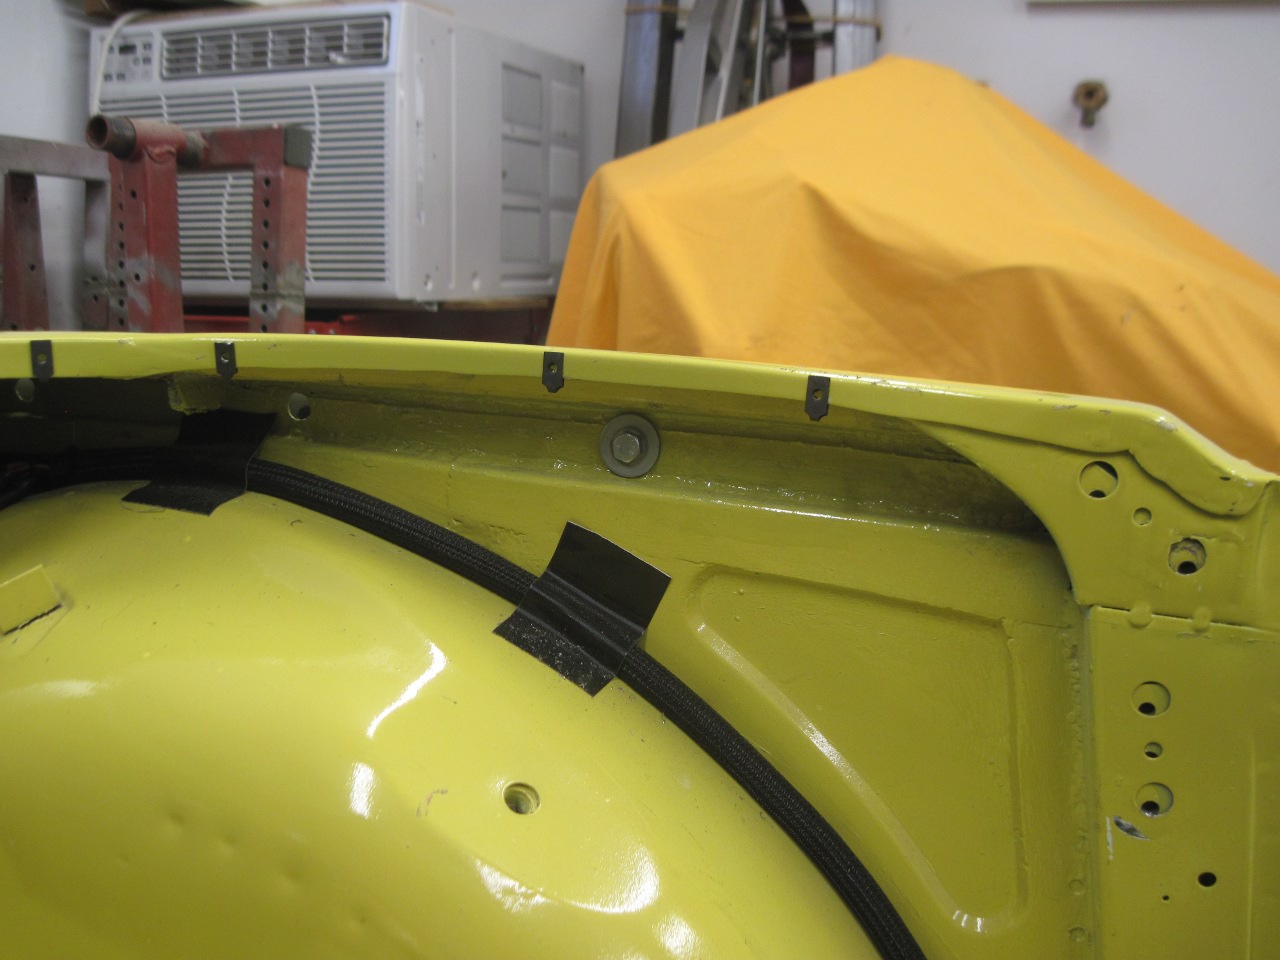
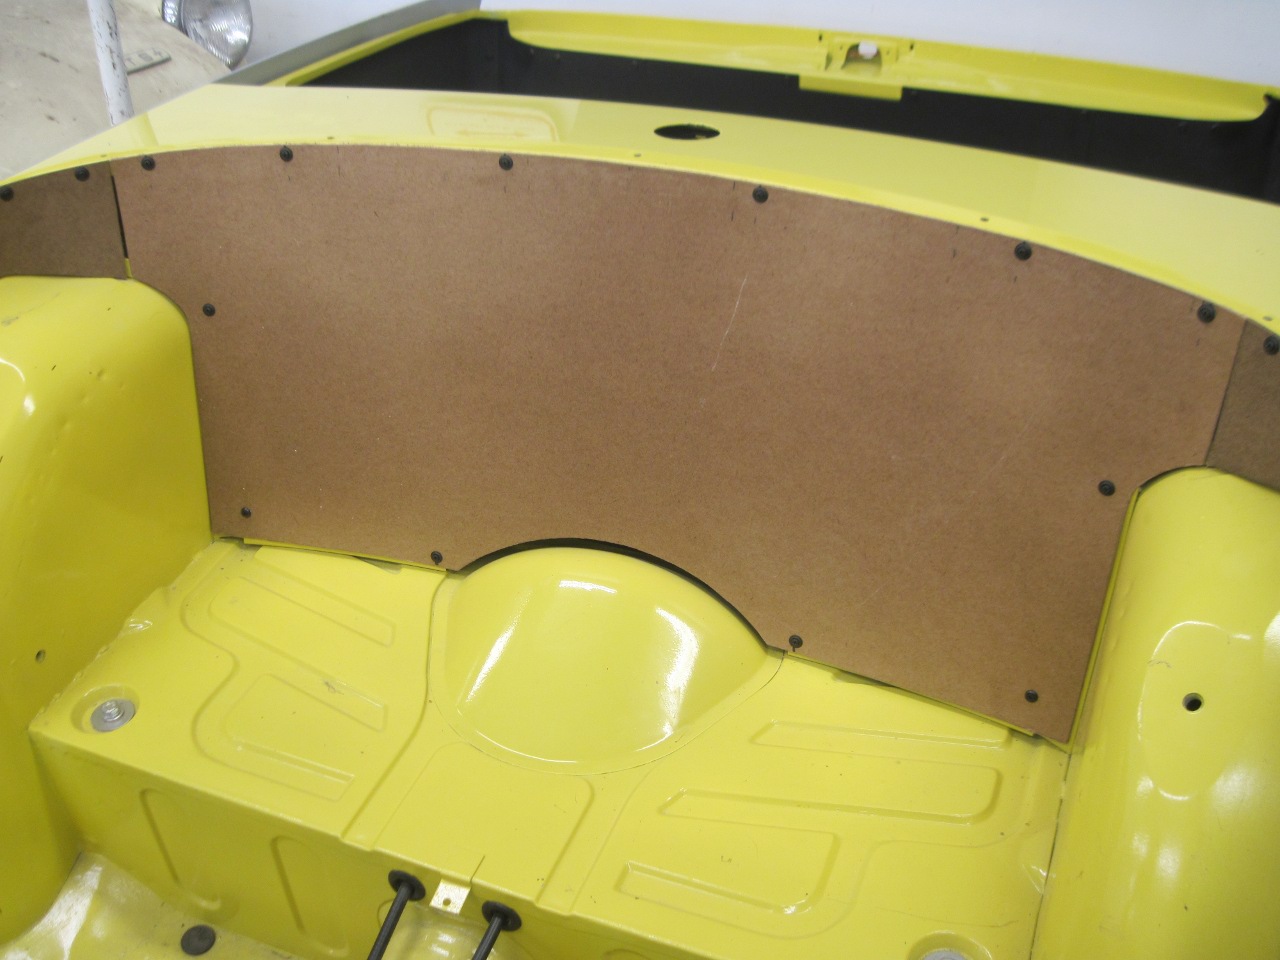
To
remedy that, I laid out new mounting holes in the flange of the rear
deck, and around the sides. There are now six fasteners for the
rear panel instead of five, and they are located to better suck the
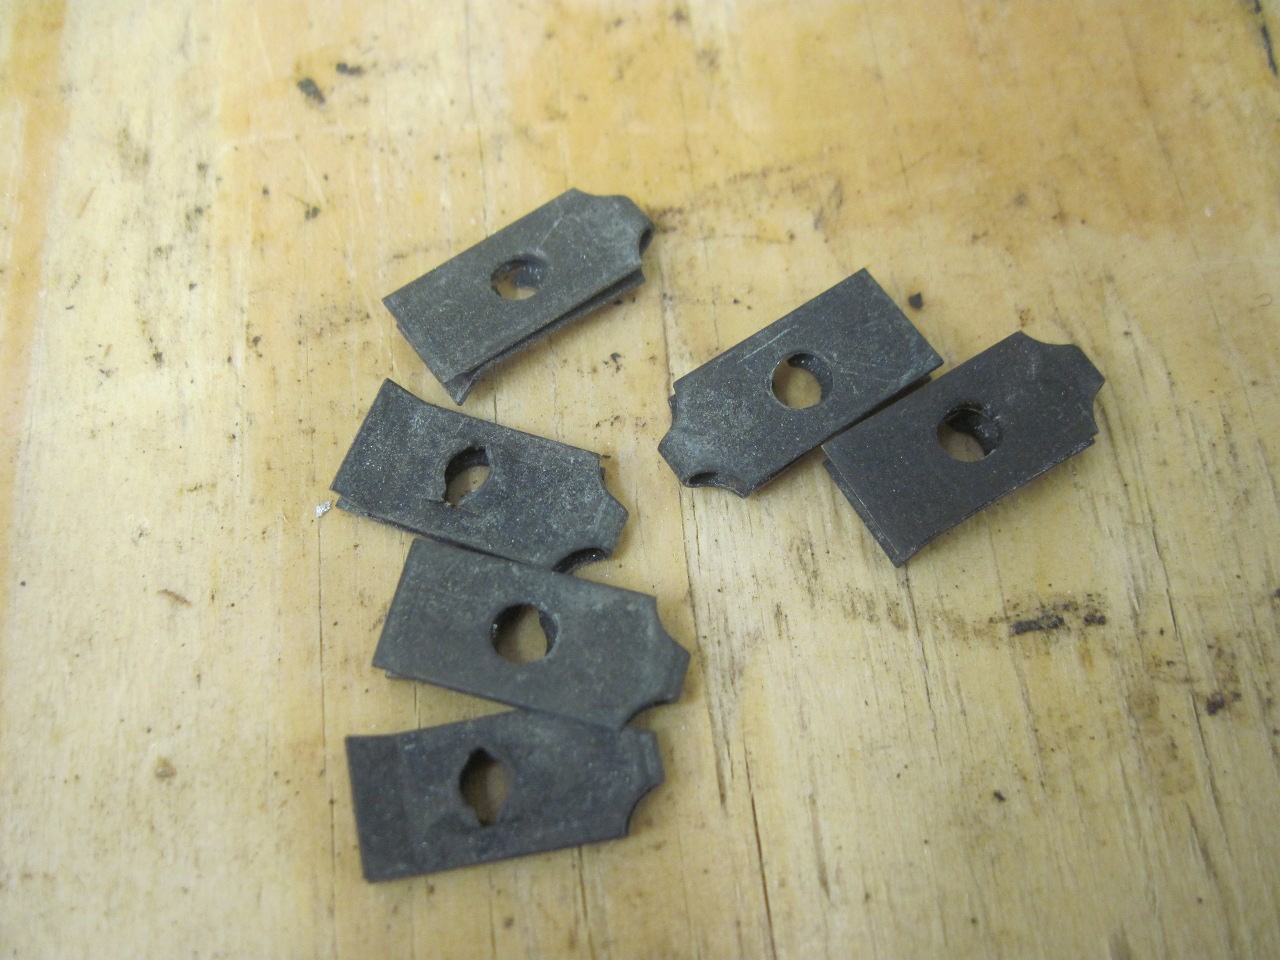
panel to the curve. Also, the holes were sized to accept
so-called Tinnerman nuts (or "clip nuts", or "U-nuts") for a #6 sheet
metal screw. Now if a nut gets stripped, it's easily replaceable.
Similarly on the sides.

Now,
on to the panels. Since the original panels were in such bad
shape, I used them to make intermediate templates from hardboard.
These templates were then tweaked for a good fit.
It
was at this point that I realized that the side panel fit depended on
the wheel well covering, so I had to shift to that task.
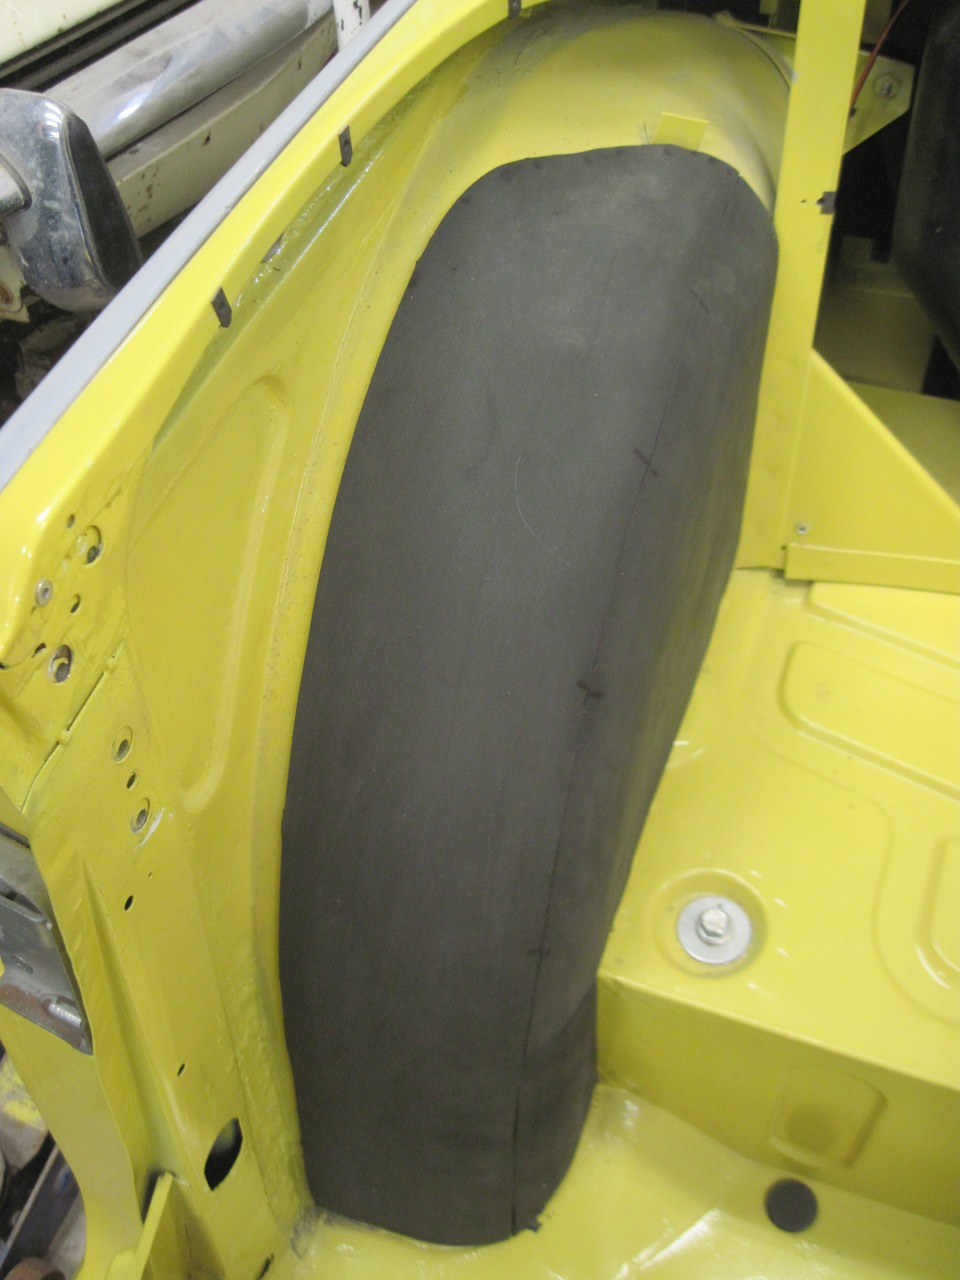
This
is some 1/4" foam that I cut and glued to the wheel wells.
Forensic study of the old coverings showed that the original
foam didn't extend all the way to the inner wing panel. Rather,
it stopped short, forming a kind of gutter along the inner wing that
the trim quarter panel seats in.
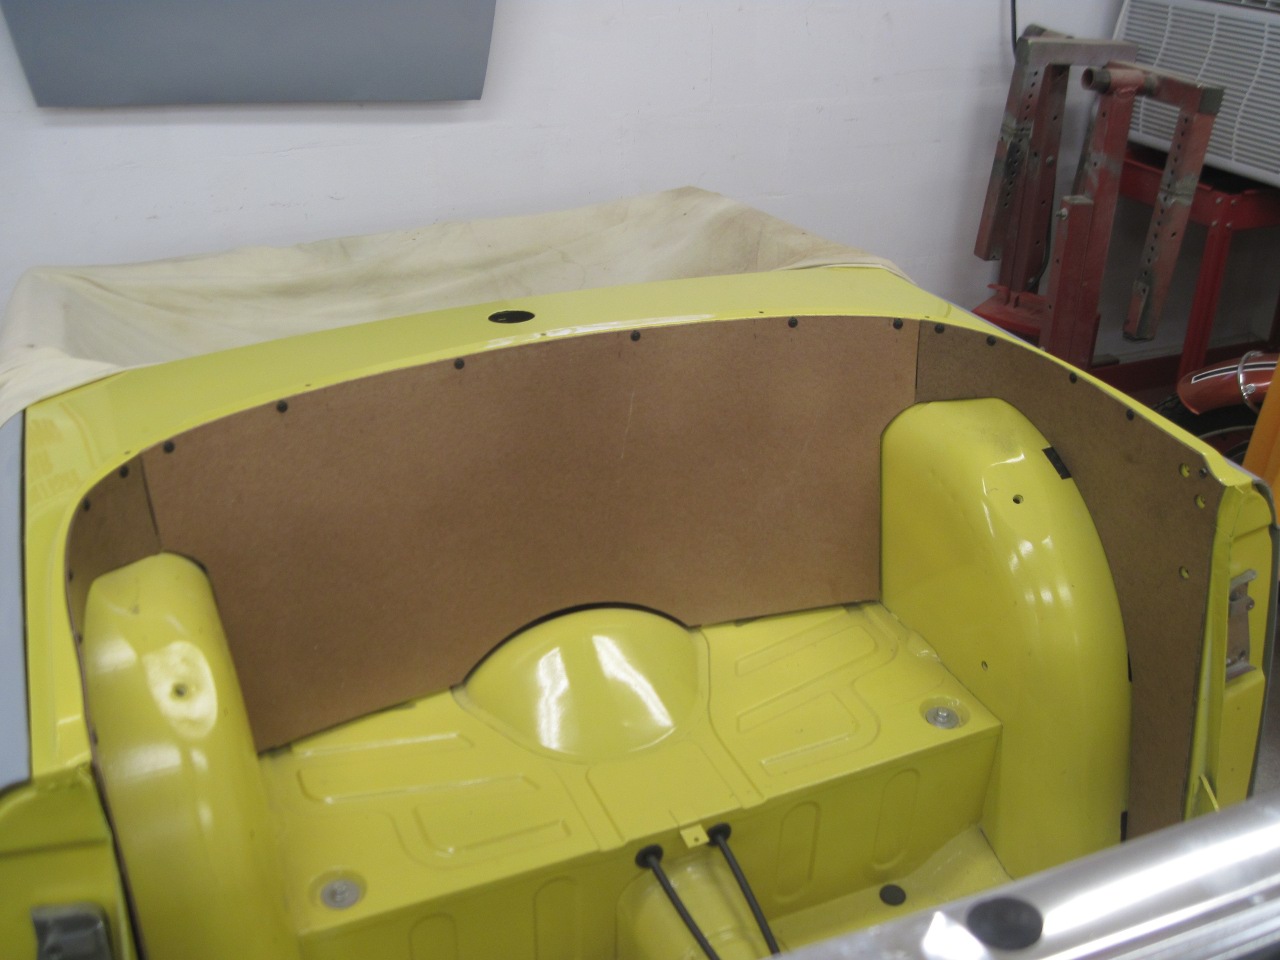
Then
the templates could be finished. The intermediate template
allowed the location of holes for the convertible top frame to be
tweaked.
So
then I couldn't avoid the scary part any longer. I had to face
the vinyl wheel well cover, which required (gasp!) a seam. My
entire history and experience with machine sewing goes back only a few
weeks, when I managed to sew some passably straight pleats for the kidney panels. I tried to rachet up my courage by re-reading Bob Danielson's pages
on doing your own panels. Like Bob, I preferred the look of a
flat seam rather than the original piped seam, but to me, this actually
meant three times the challenge to my nascent sewing skills.
I took apart the original cover, patched it up, and used it as a template to cut new pieces of vinyl.

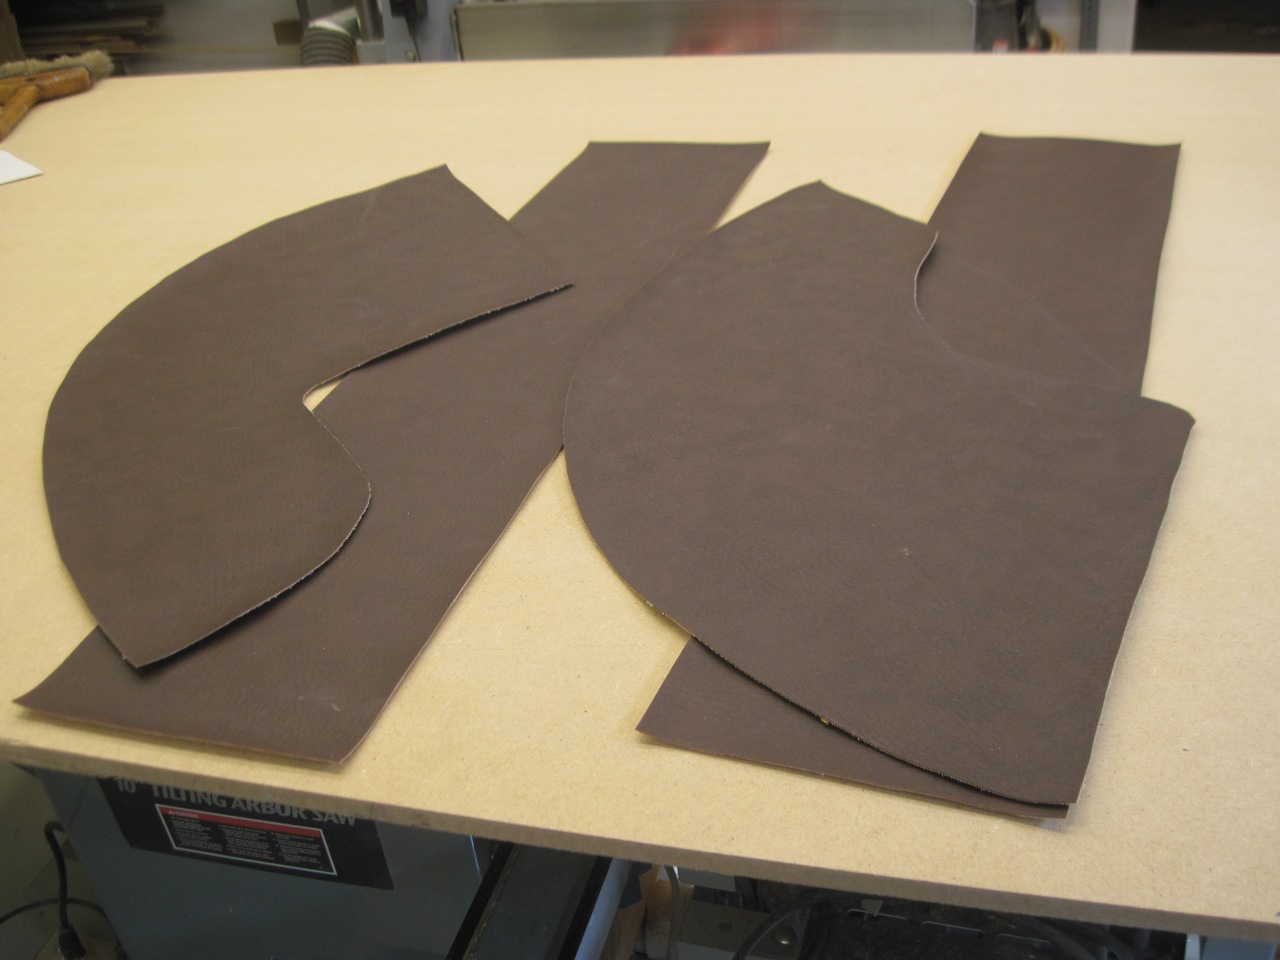
After
a lot of practice on scrap, I felt sort of ready to go. It took
me three tries to get two covers I was satisfied with.
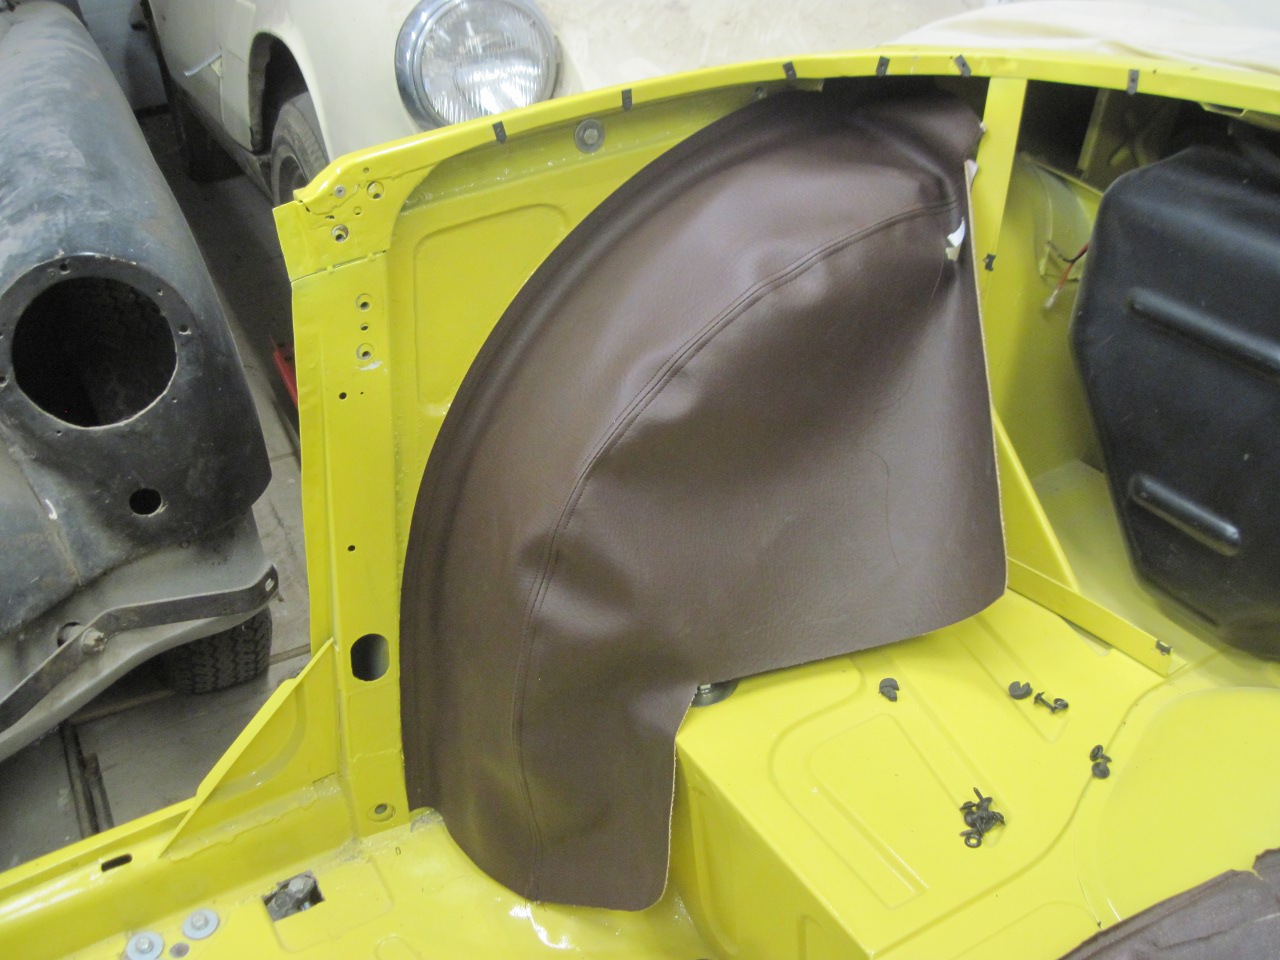
Then,
the task was to apply the covers to the wheel wells. I didn't see
any possible way this was going to work. But it did, finally.
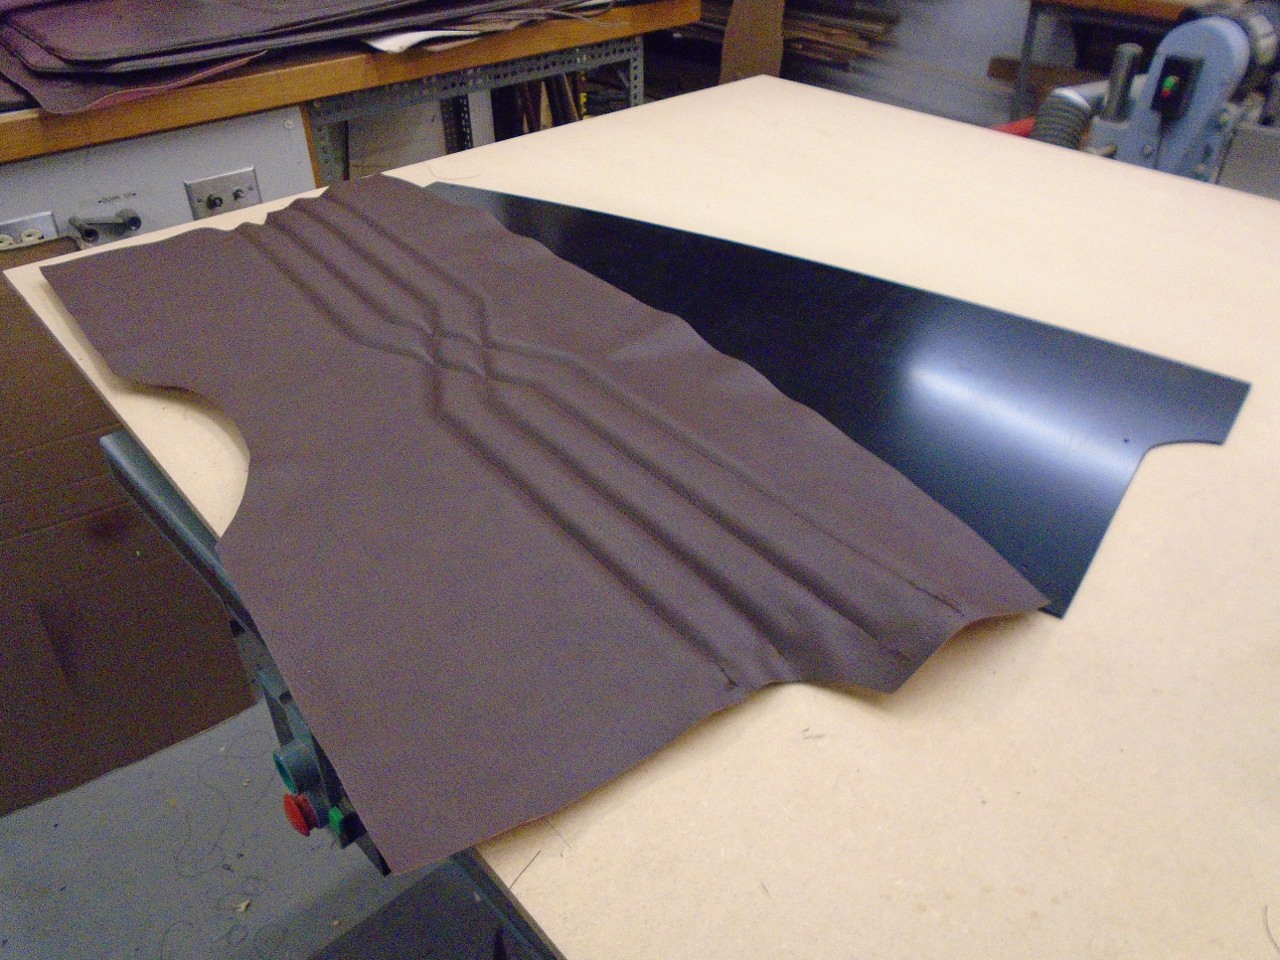
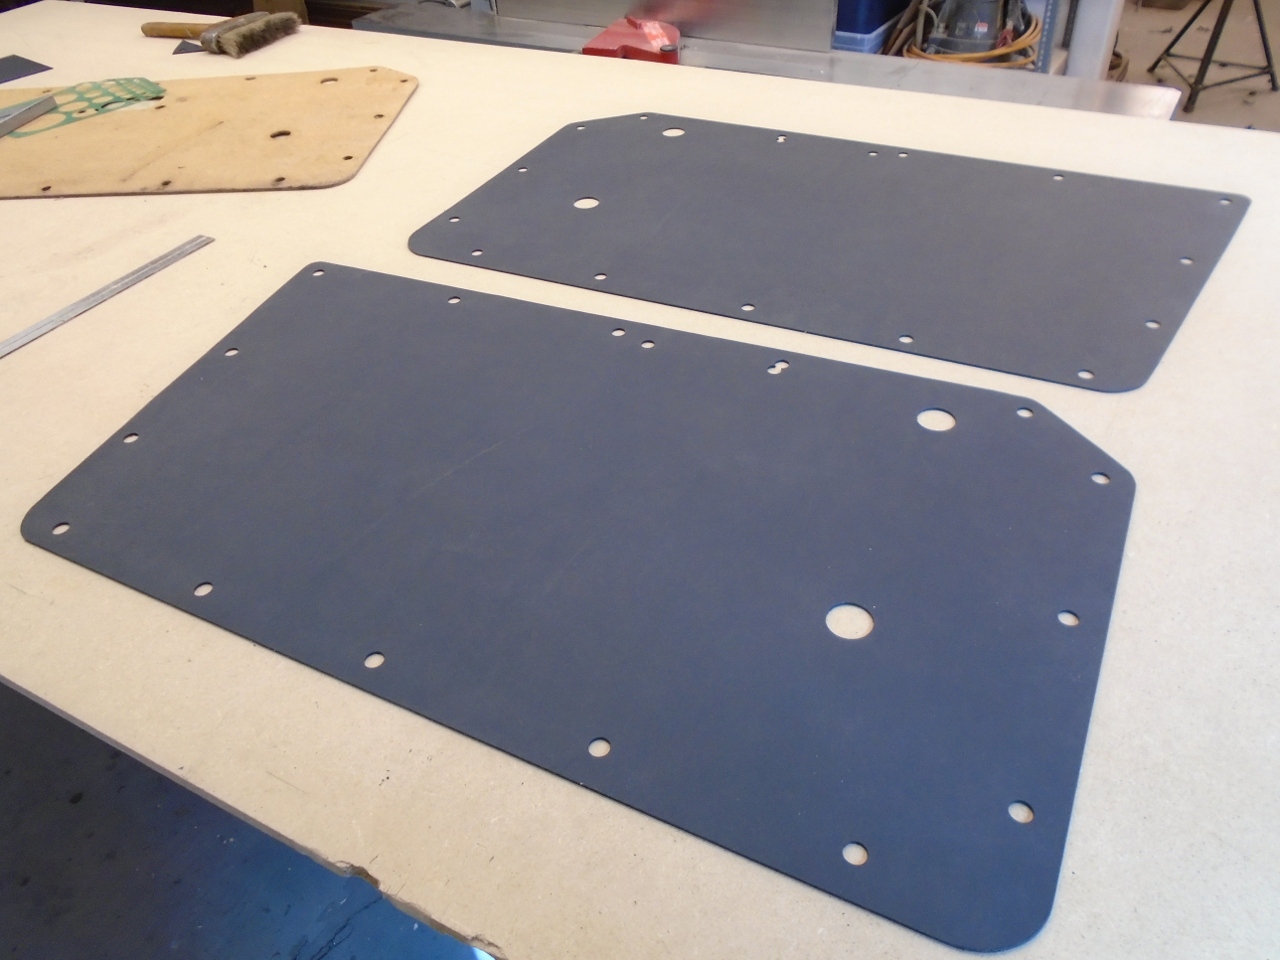
OK, then, back to the panels. Since I had some experience with it from my boot trim, I
opted to use sheet Kydex plastic for the panel backings rather than
hardboard. Kydex is an alloy of acrylic and PVC. It is
strong, resilient, impervious to moisture, and easy to work. It
can be heat formed.
The intermediate templates were used to mark out on the Kydex.
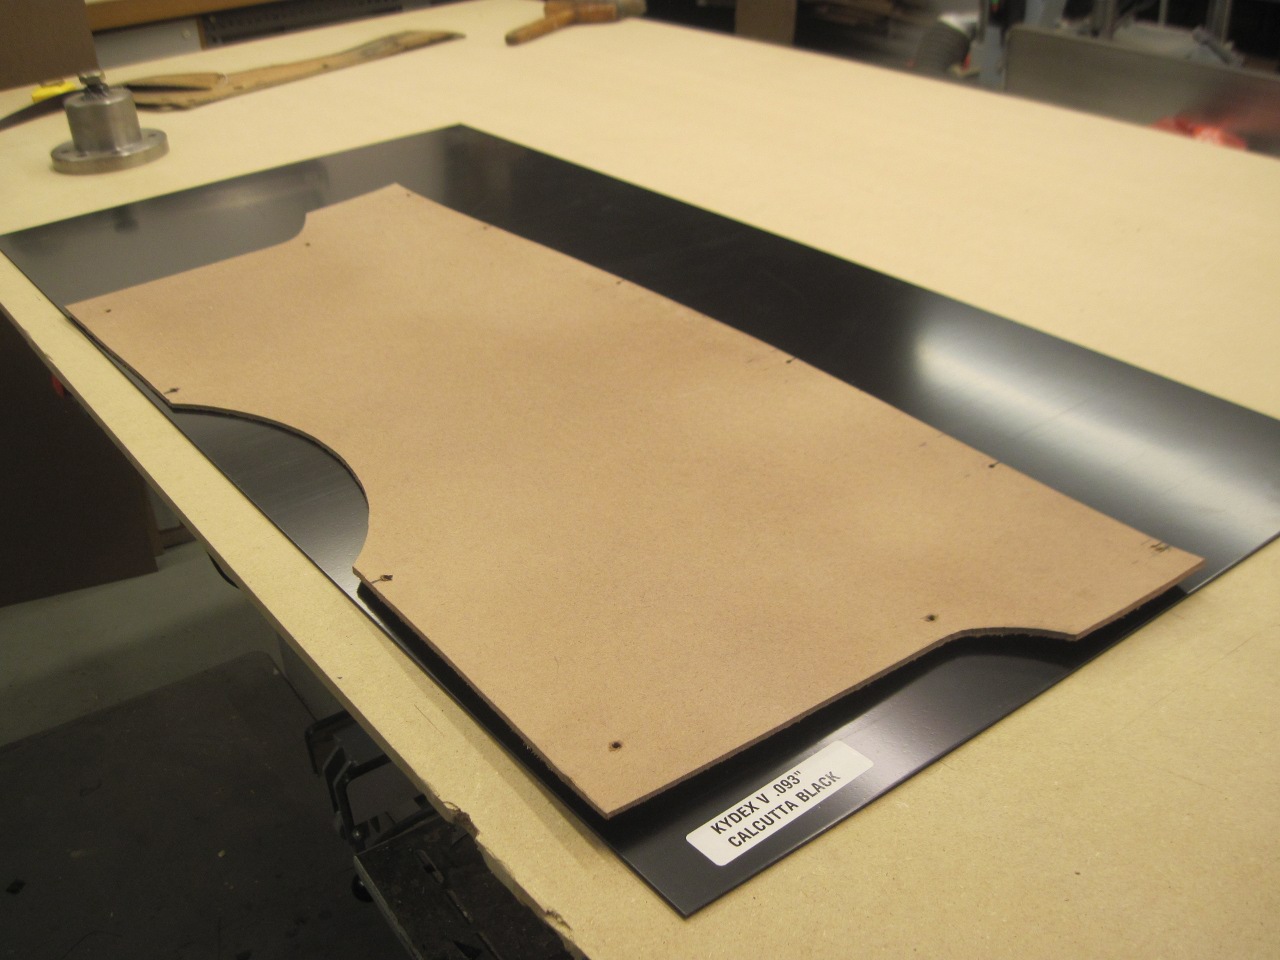
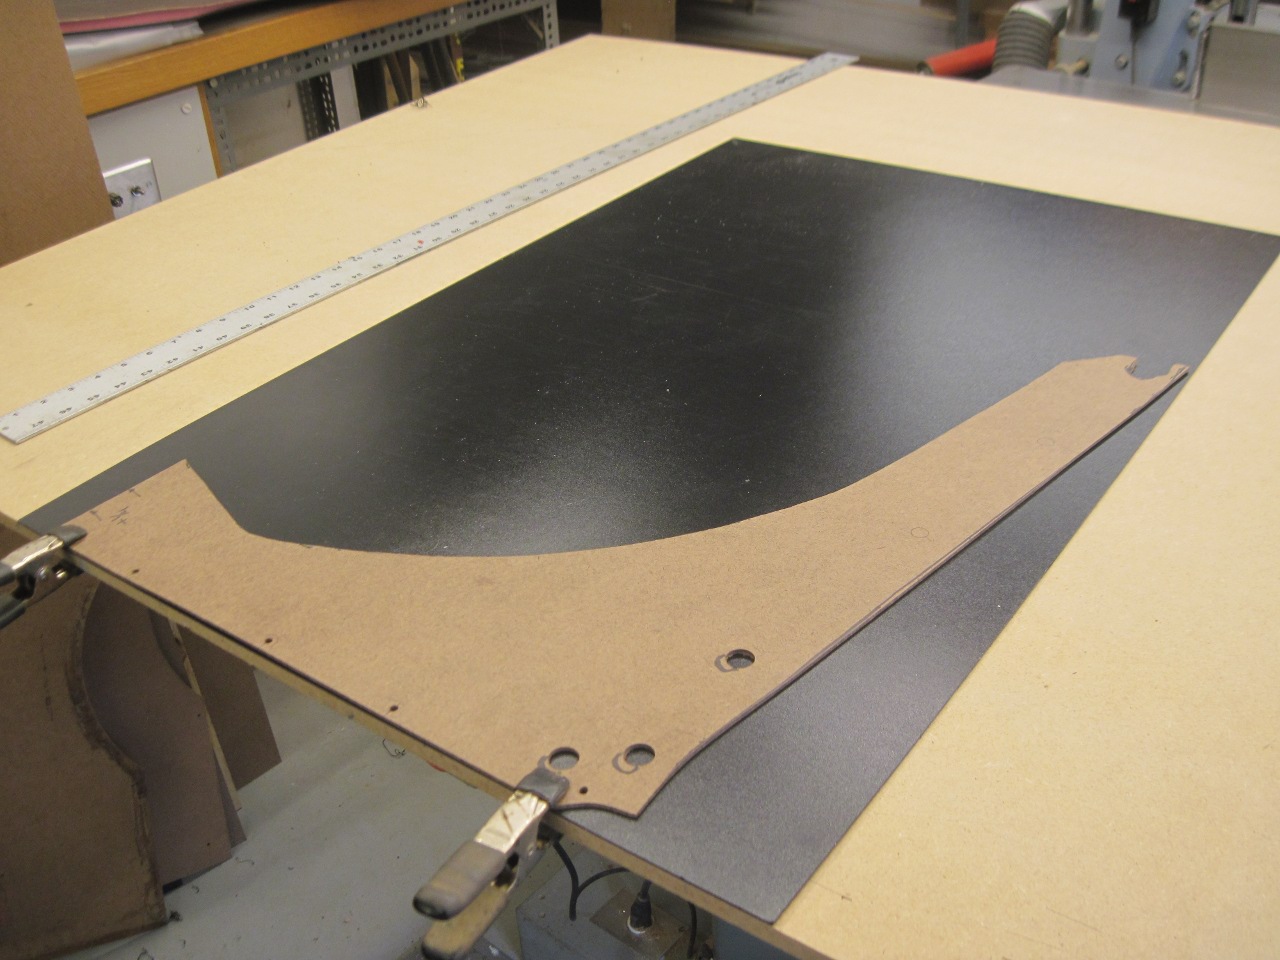
Cut out the pieces, and test fitted them in the car.
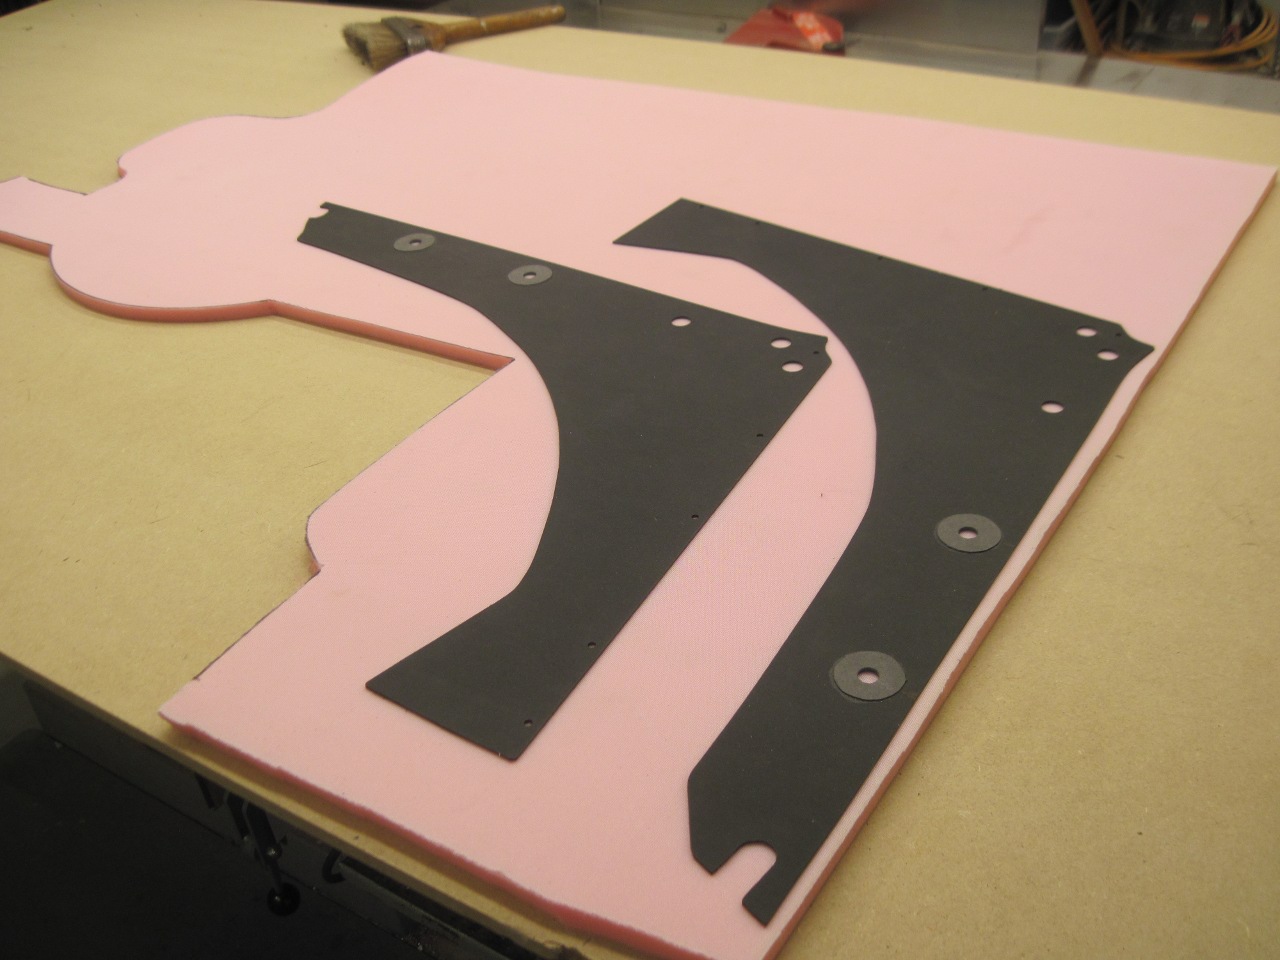
Then
marked and cut pieces of sew foam to match. Sew foam is foam with
a fabric backing on one side that will take stitches without pulling
through. I used 1/2" foam for all of the panels. This would
give a little plusher look, and I hoped it wouln't cause any unforseen
problems.
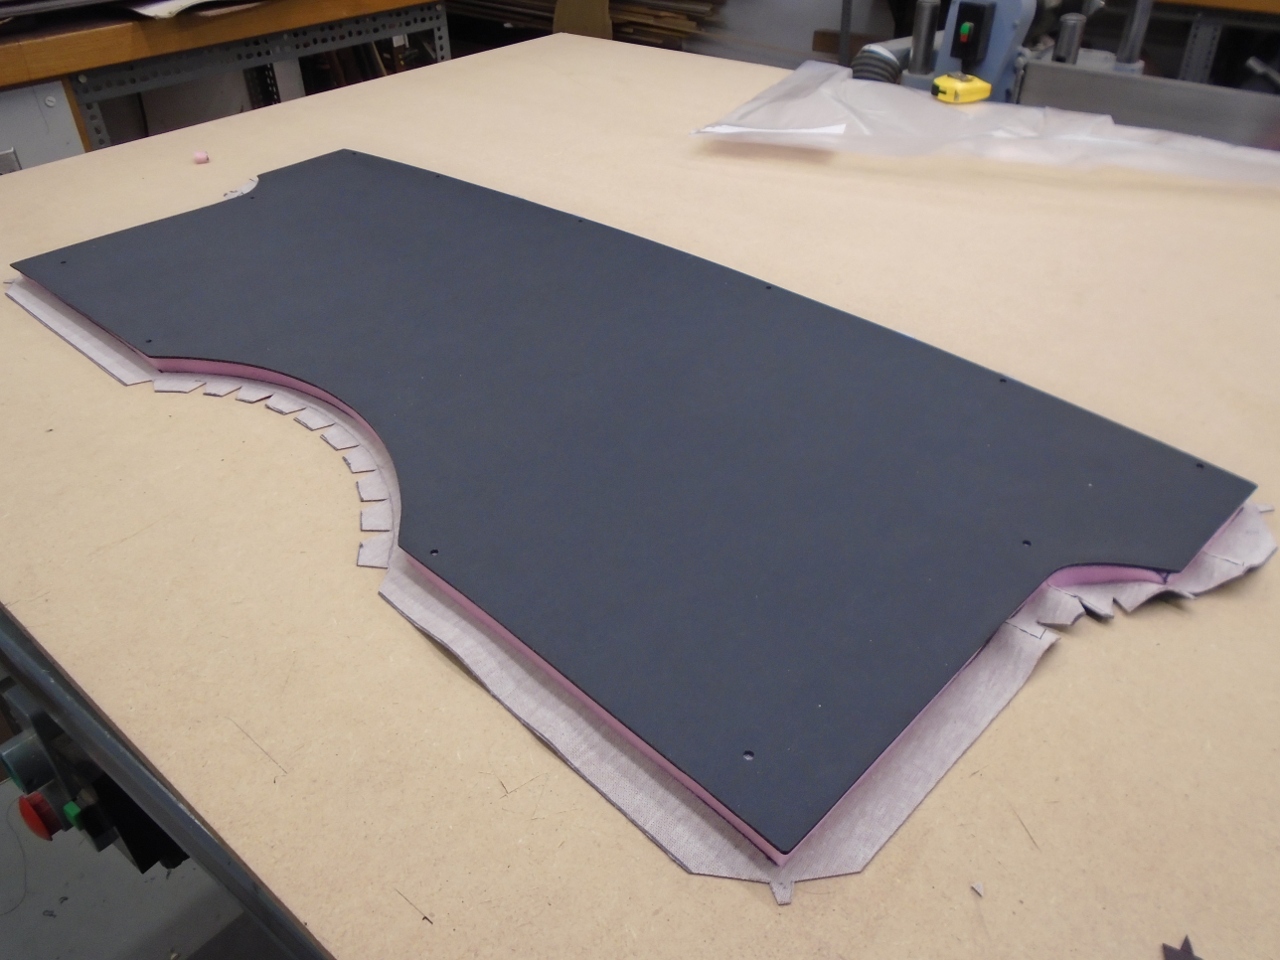
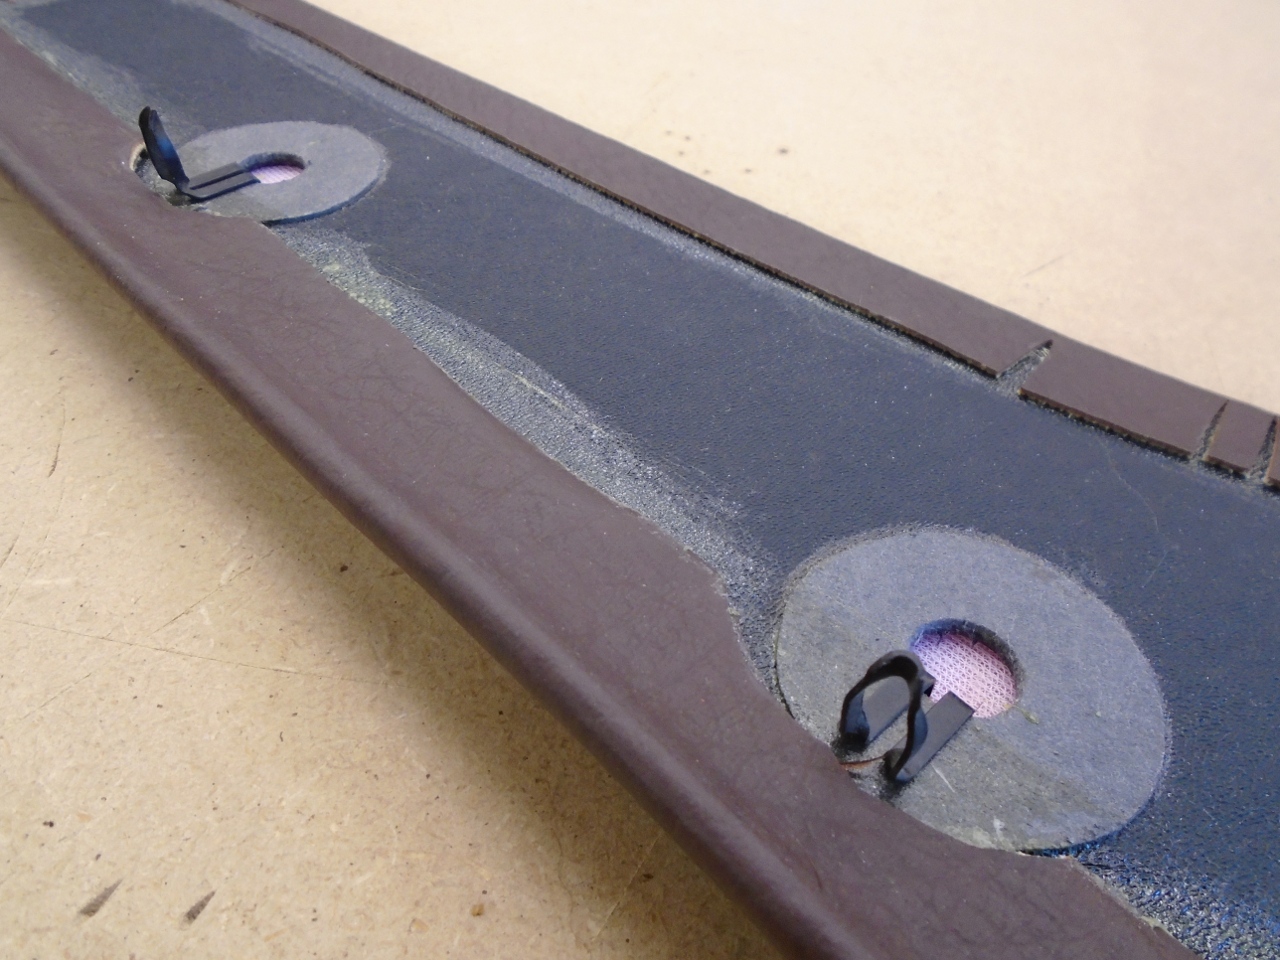
The
little gray doughnuts on the holes are gasket material glued on to
increase the thickness of the Kydex to match the original hardboard
panels. It makes the panel attachment clips fit as original.
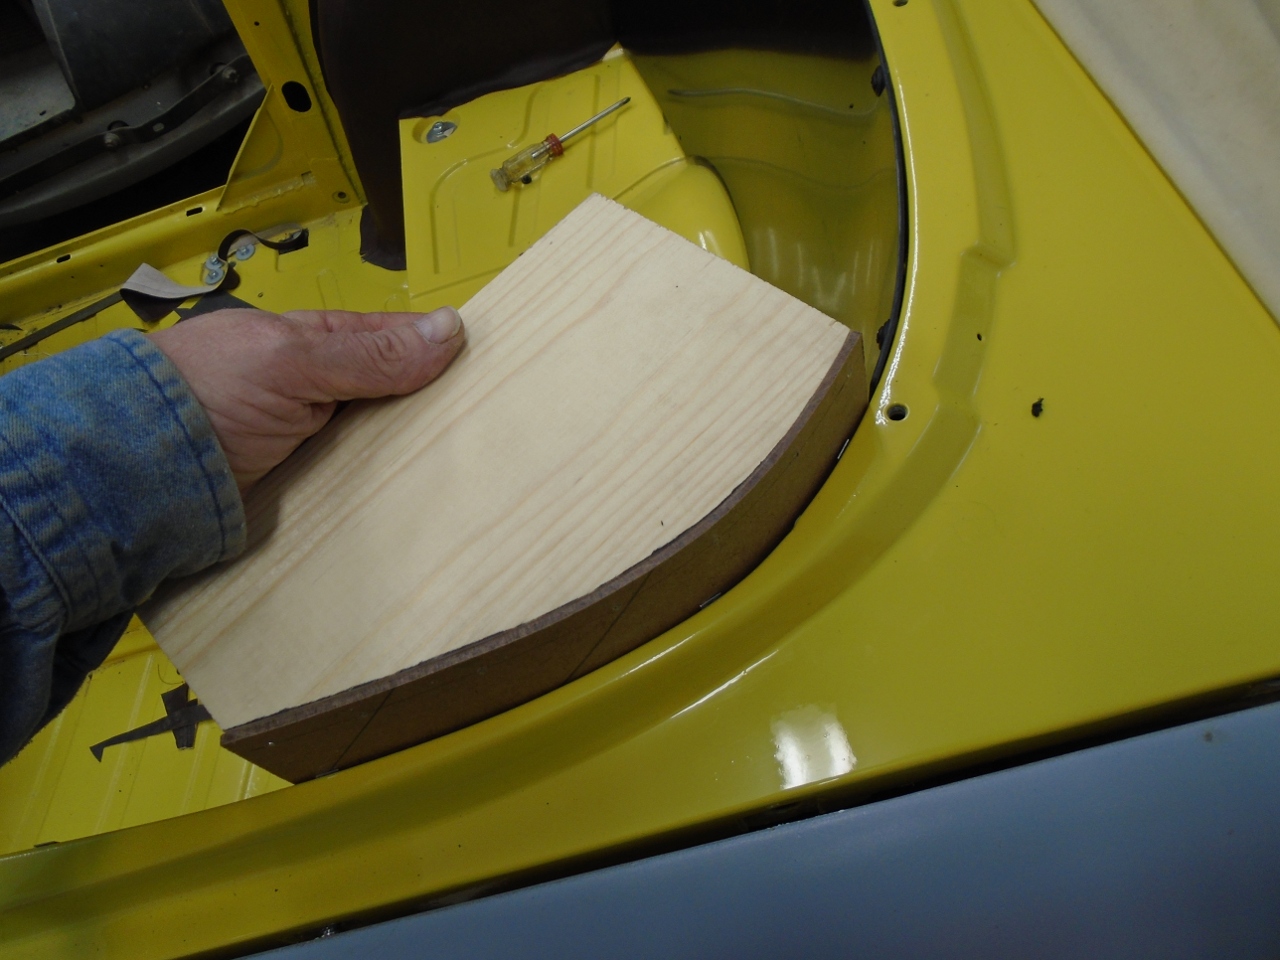
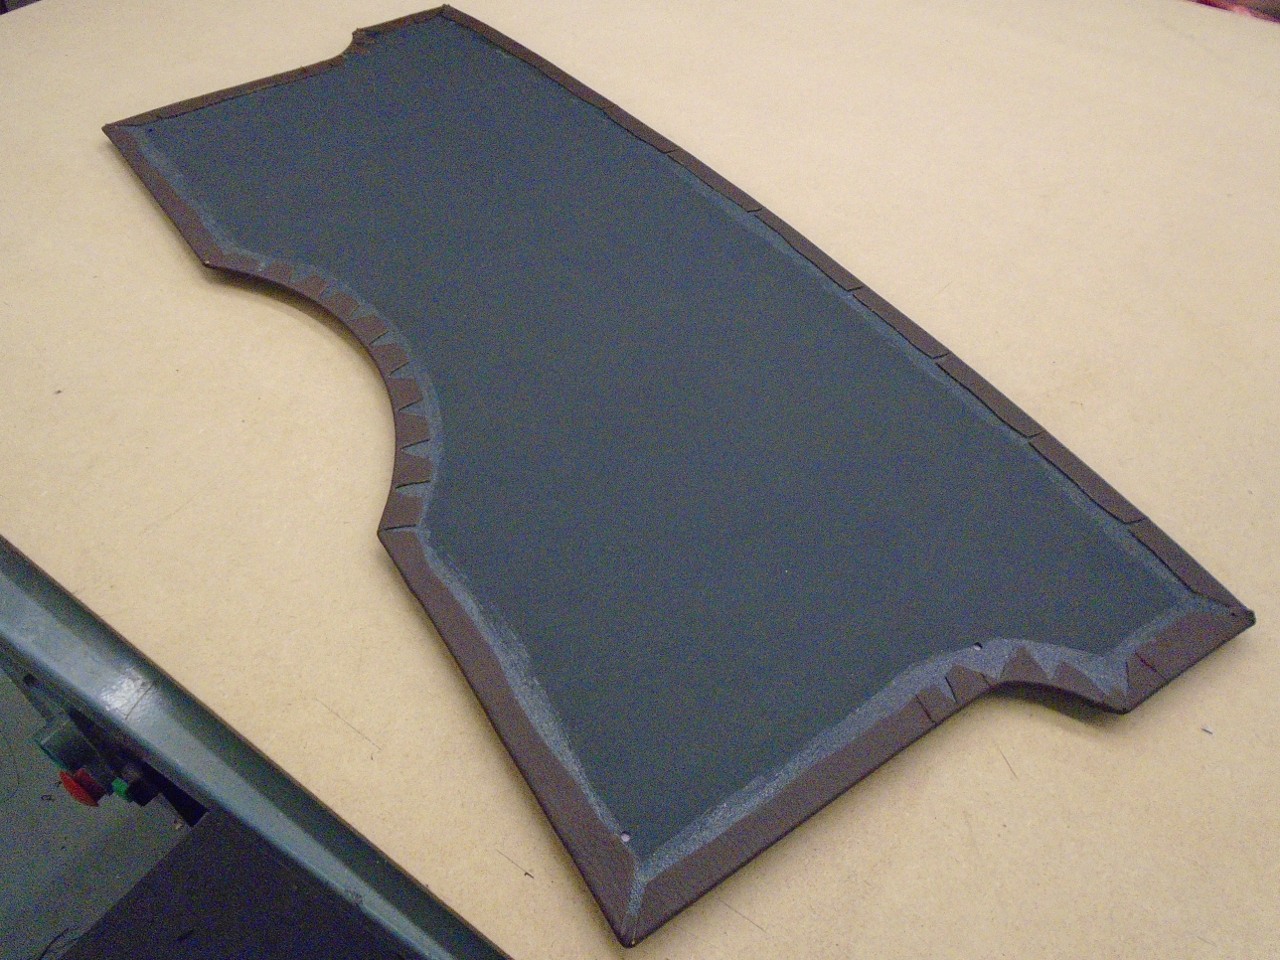
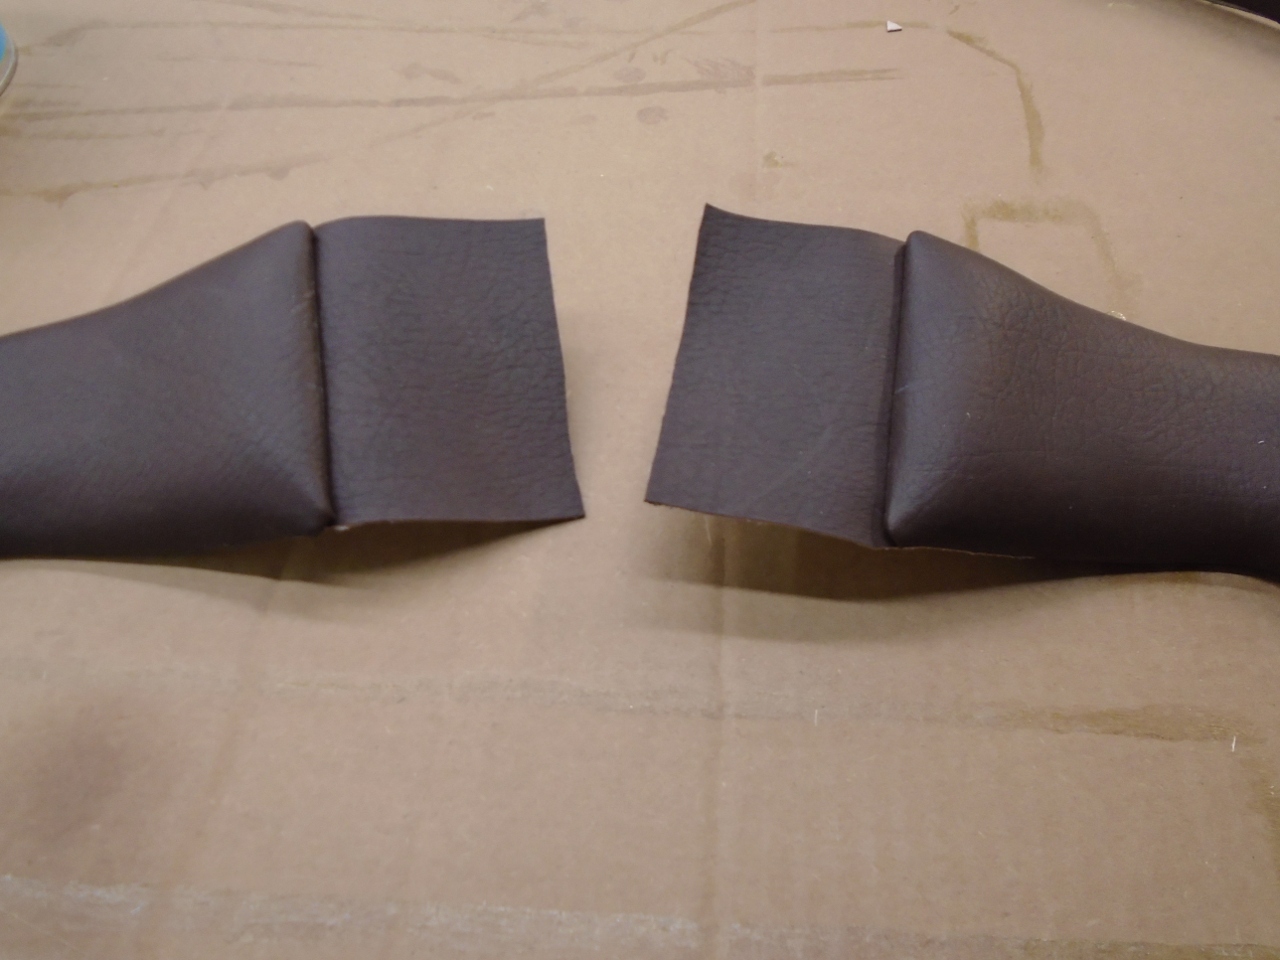
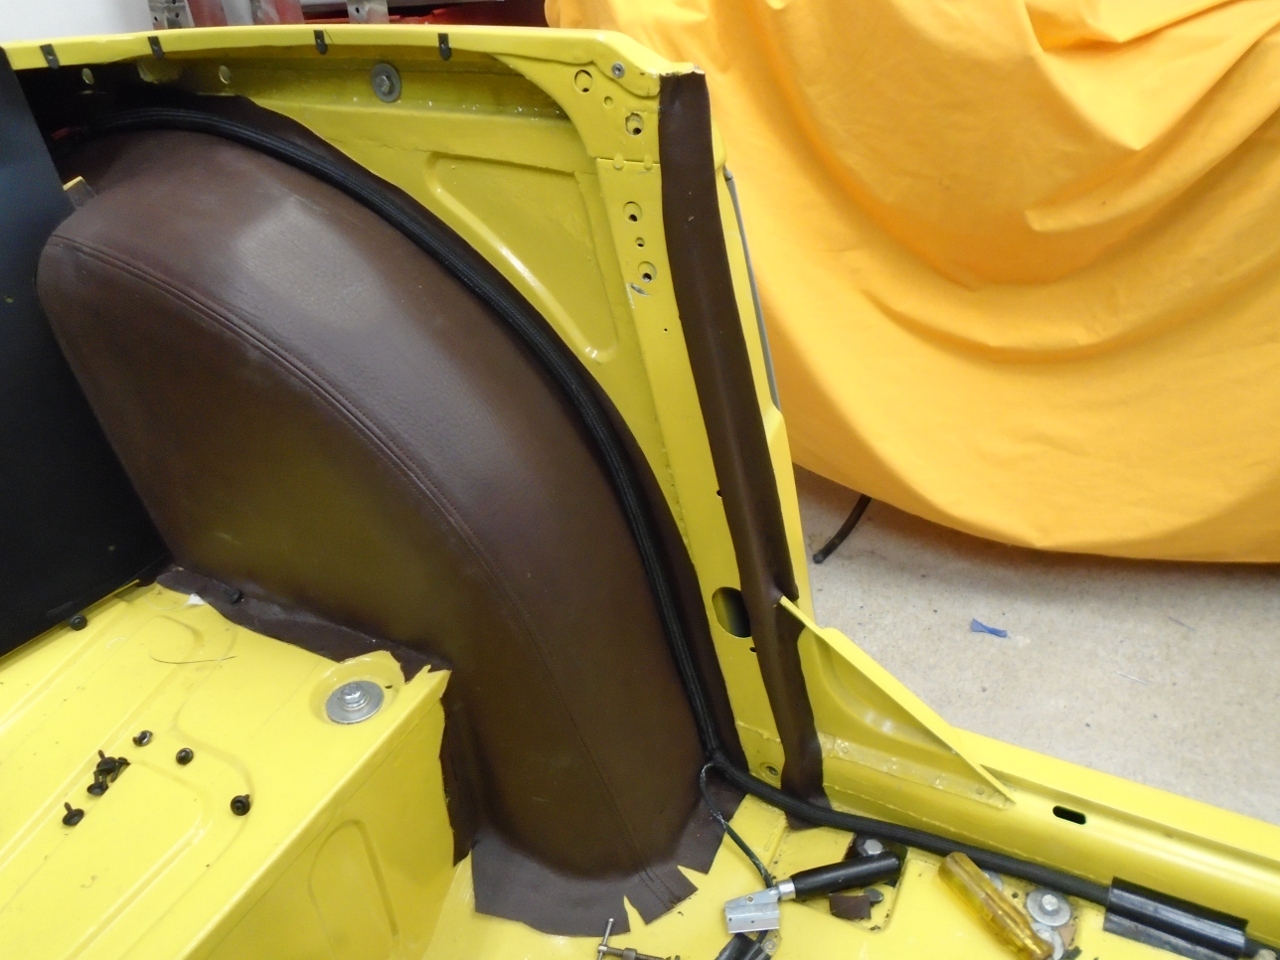
Before
covering the panels with vinyl, I took advantage of the heat
formability of Kydex by pre-shaping the
rear ends of the quarter panels where they meet the rear panel.
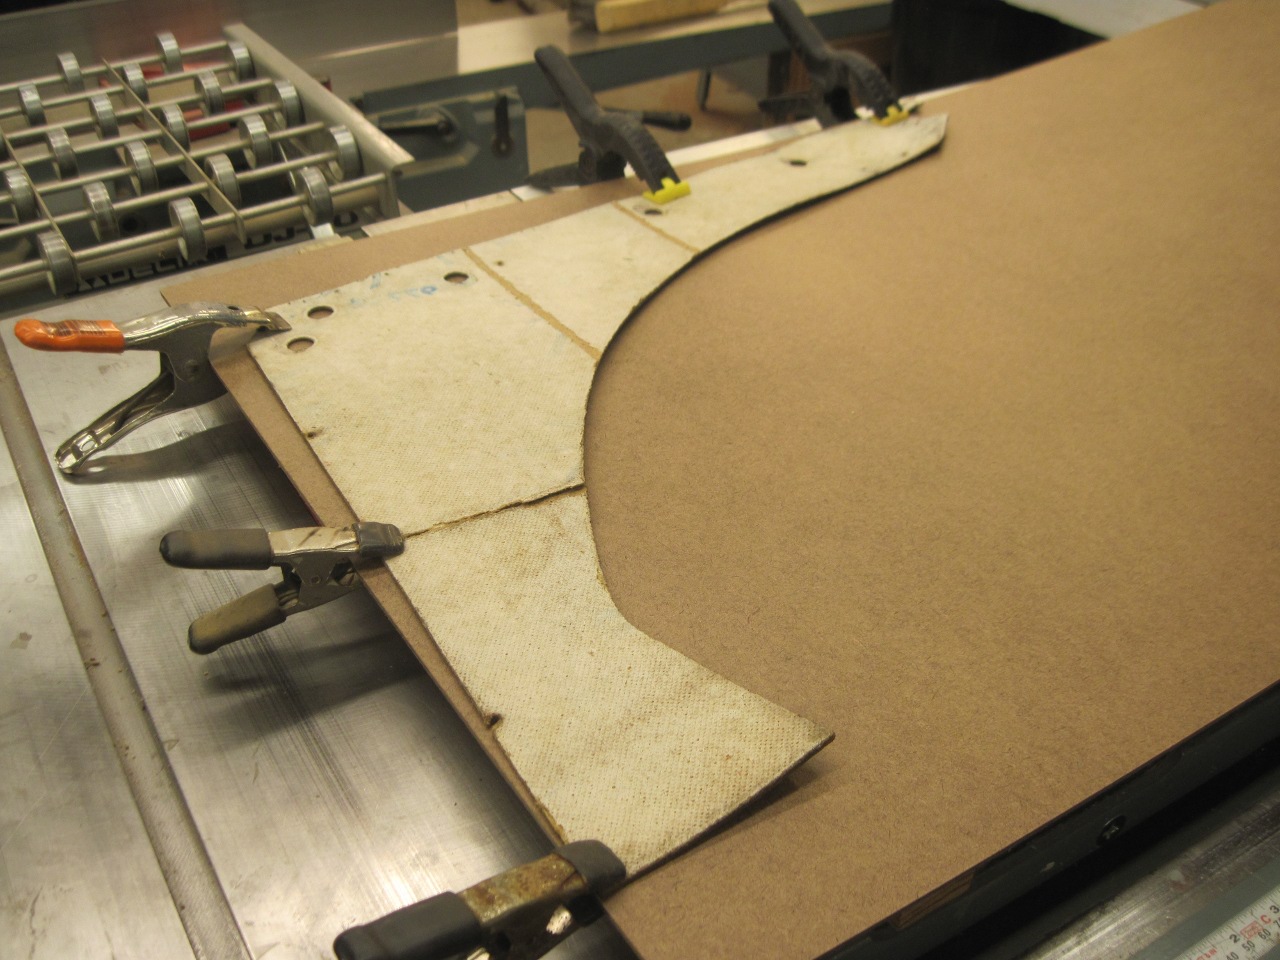
This
rather tight curve very often causes the vinyl to wrinkle.
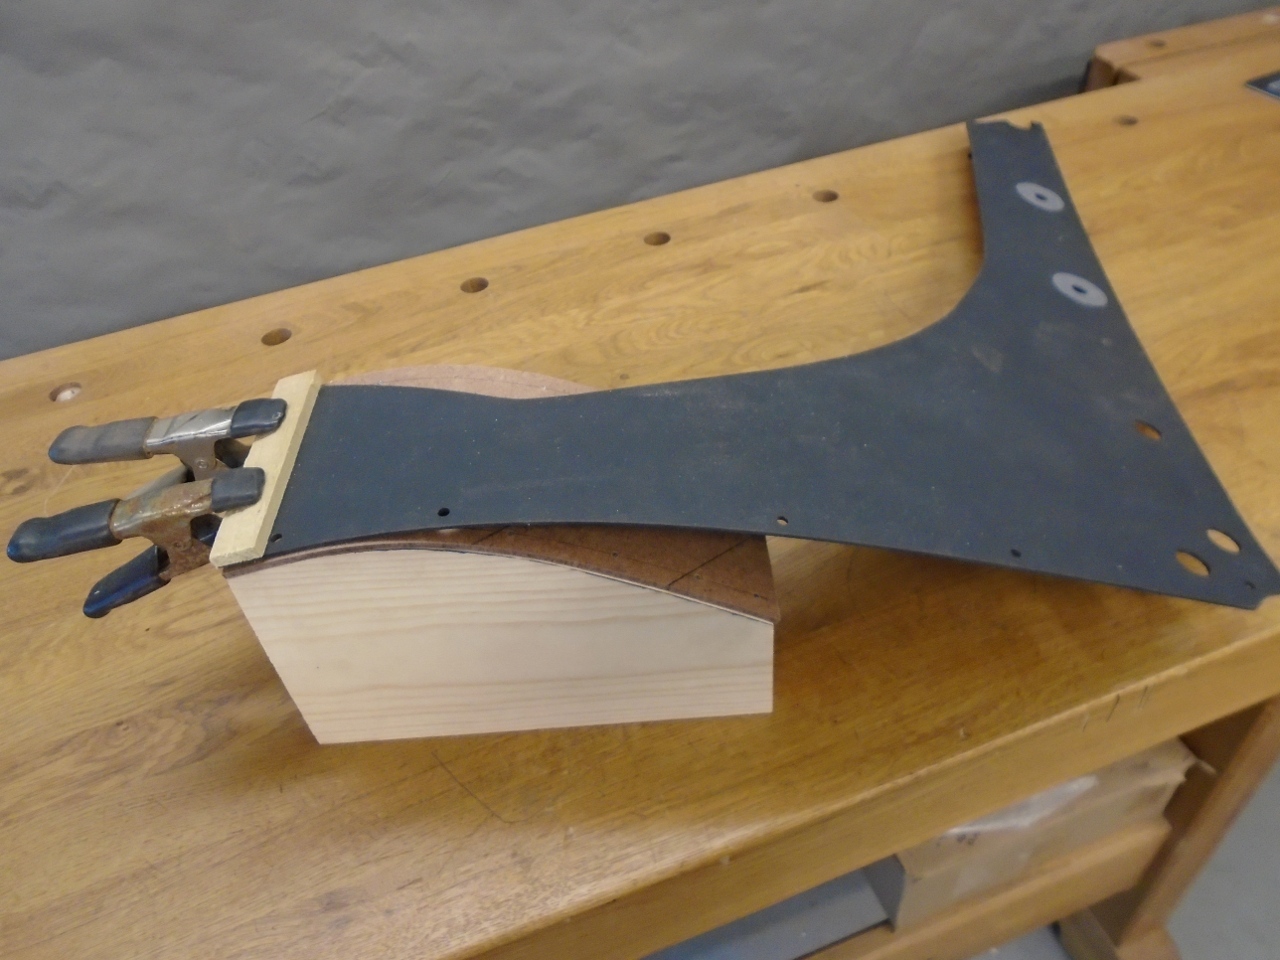
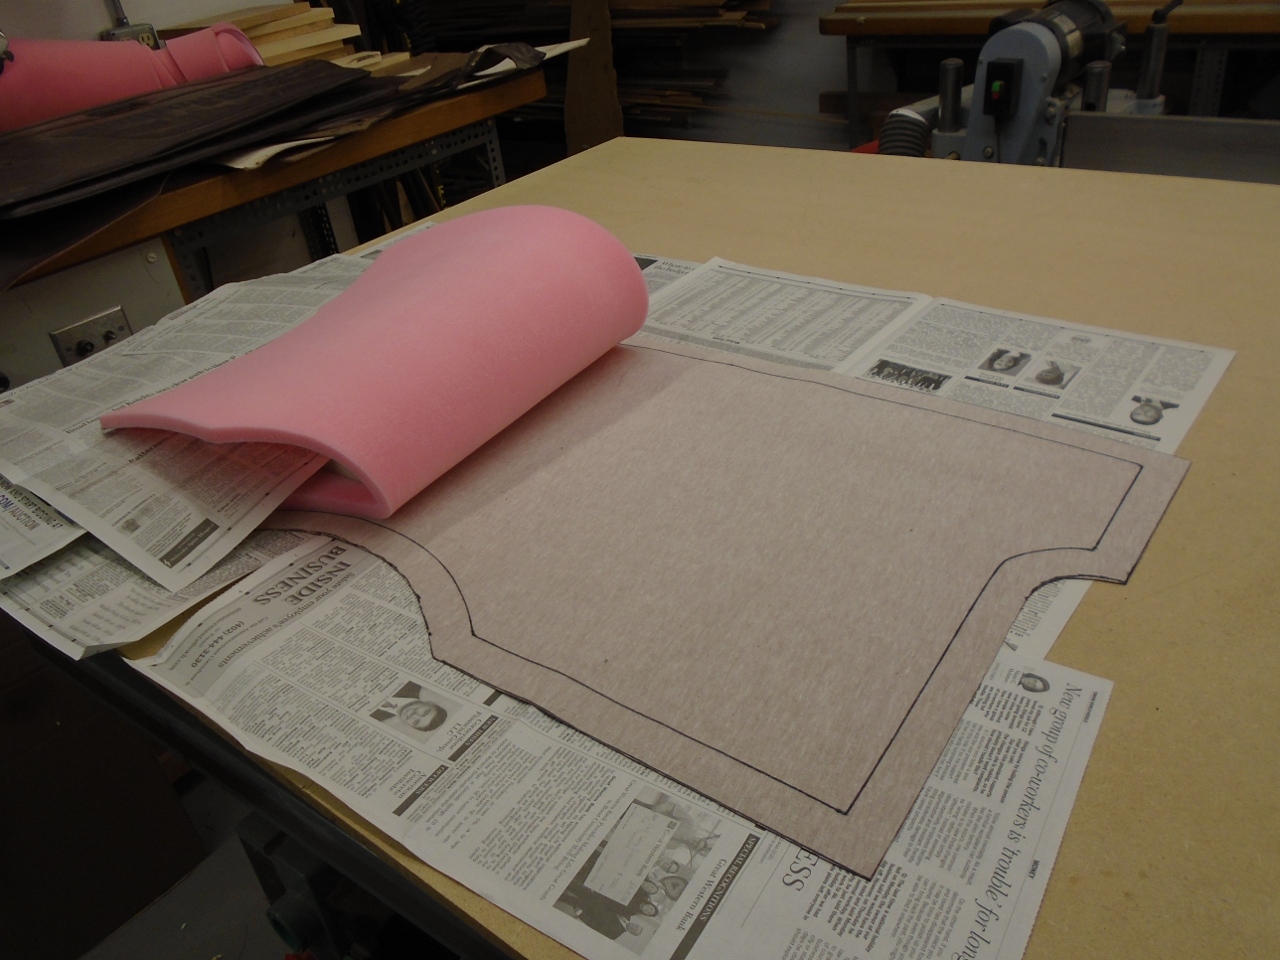
Thicker
foam would make that worse. I first made a paper template of the
curve, and from that, made this bending jig. Heating Kydex to
around 300° F makes it go limp, and it will hold a new shape when it
cools.


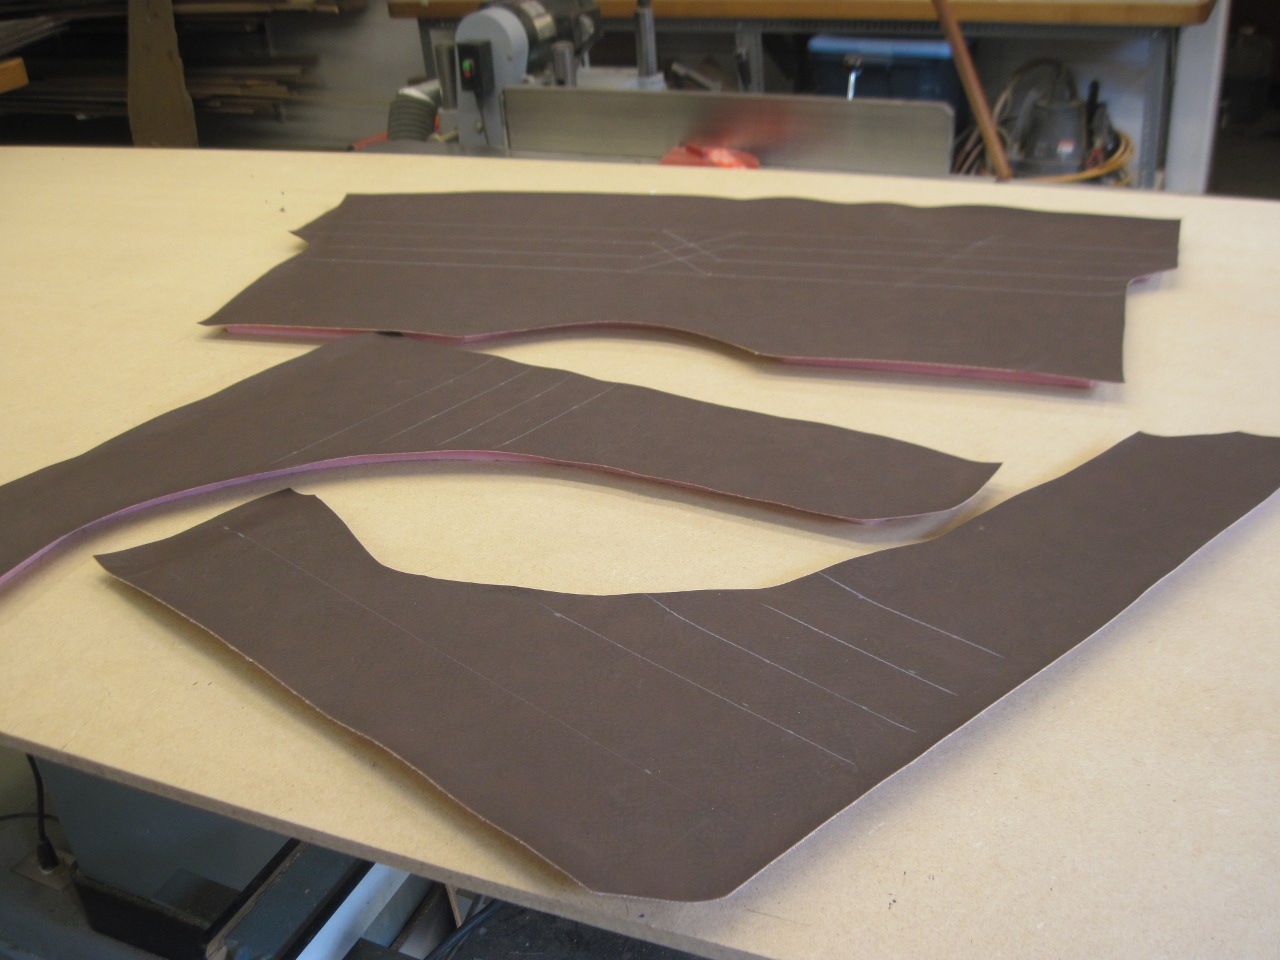
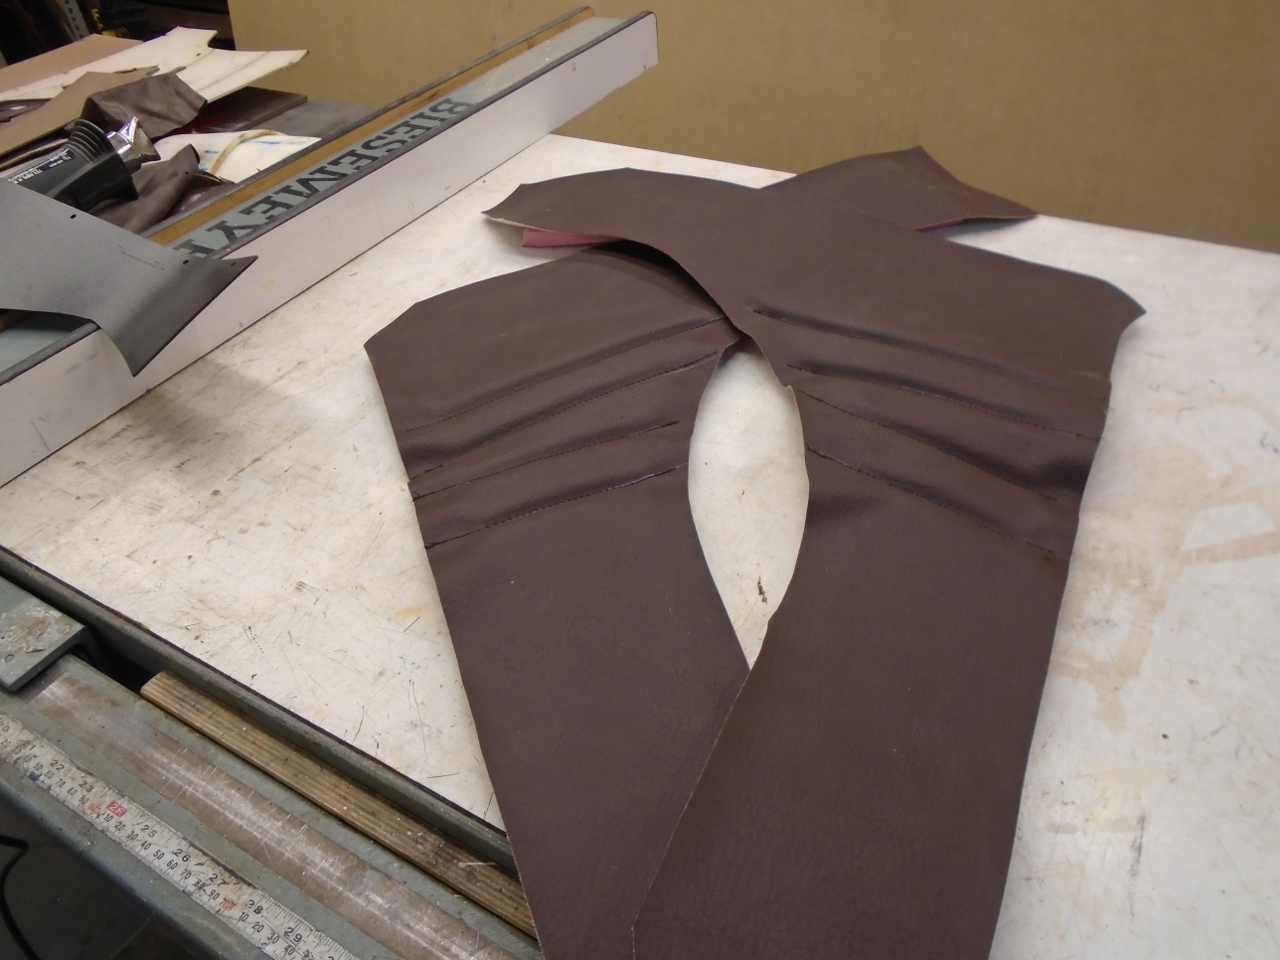
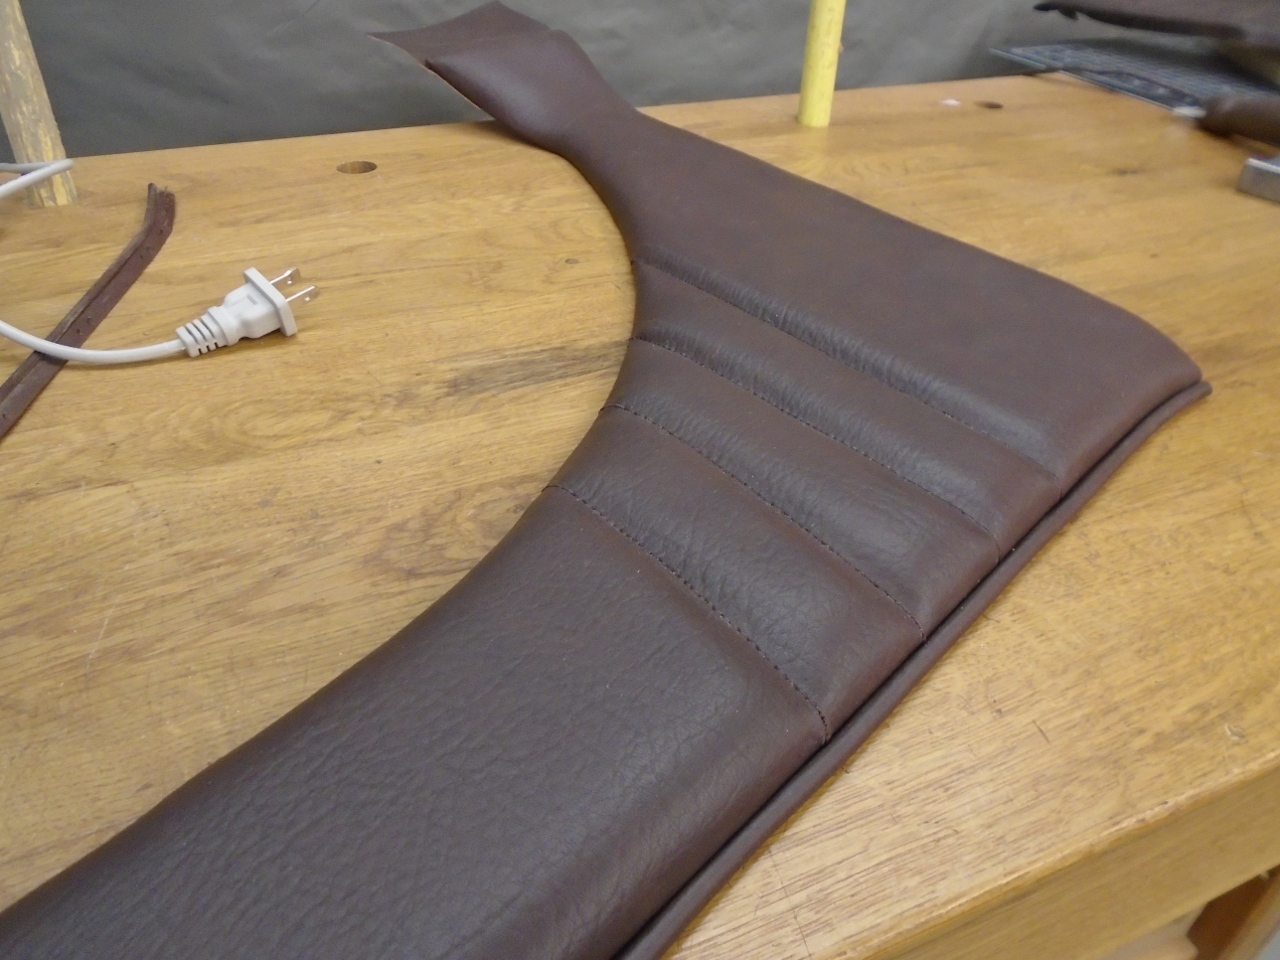
Here
are the back and side foam pieces glued to vinyl. The vinyl of
course has to be oversized to allow for the wrap-around to be glued to
the back of the panel. The stitching pattern is marked on the
vinyl. This pattern is based on some I saw on Bob Danielson's
site. It is different from my original pattern, but maybe is
stock for some other Triumph model. The rear panel shown
was rejected after sewing, so I made another one, but with a slightly
different pattern.
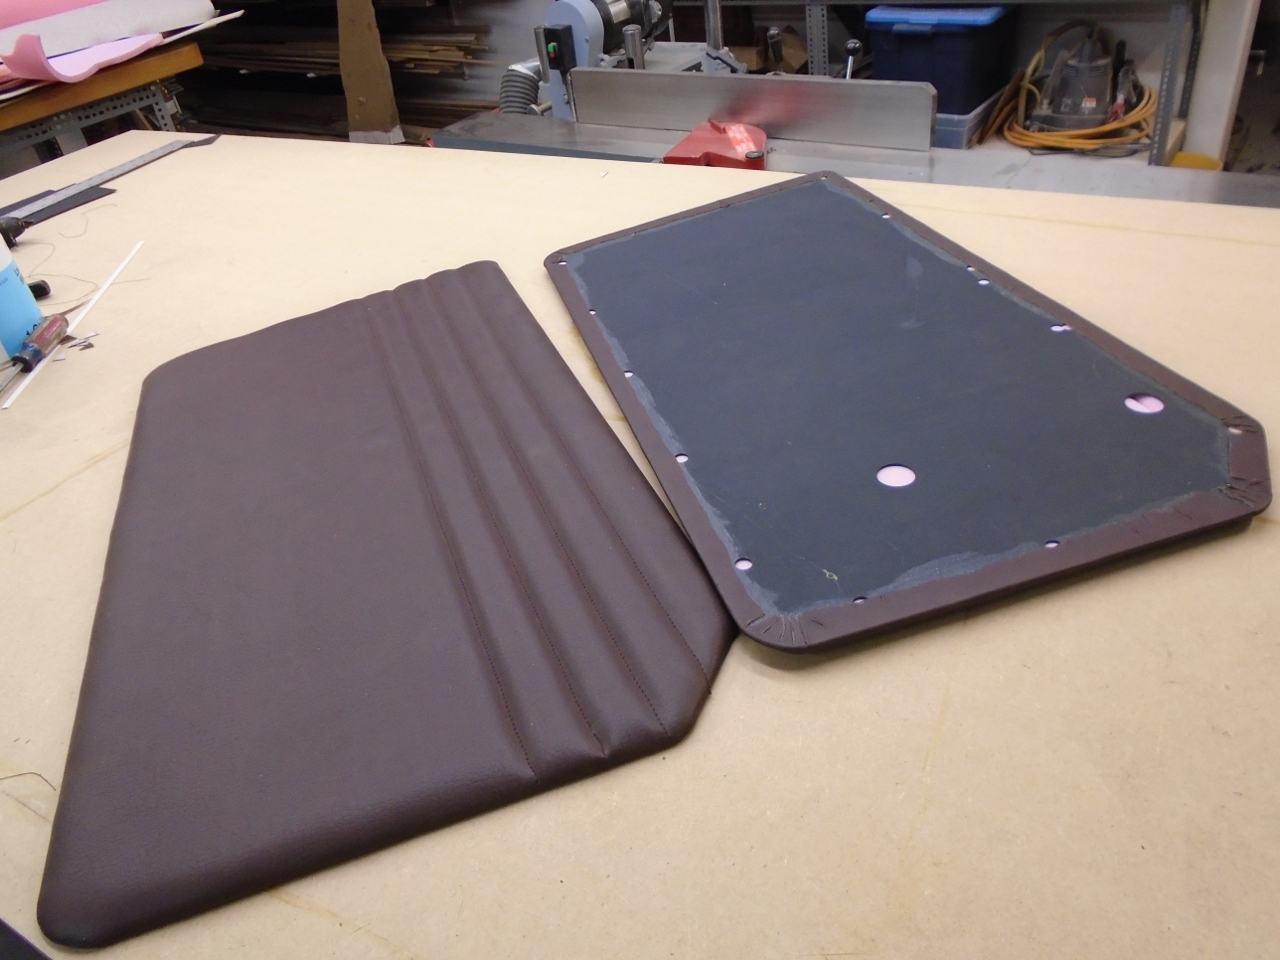
After sewing, but before mounting on the backer panels, the vinyl pieces can look pretty distorted.
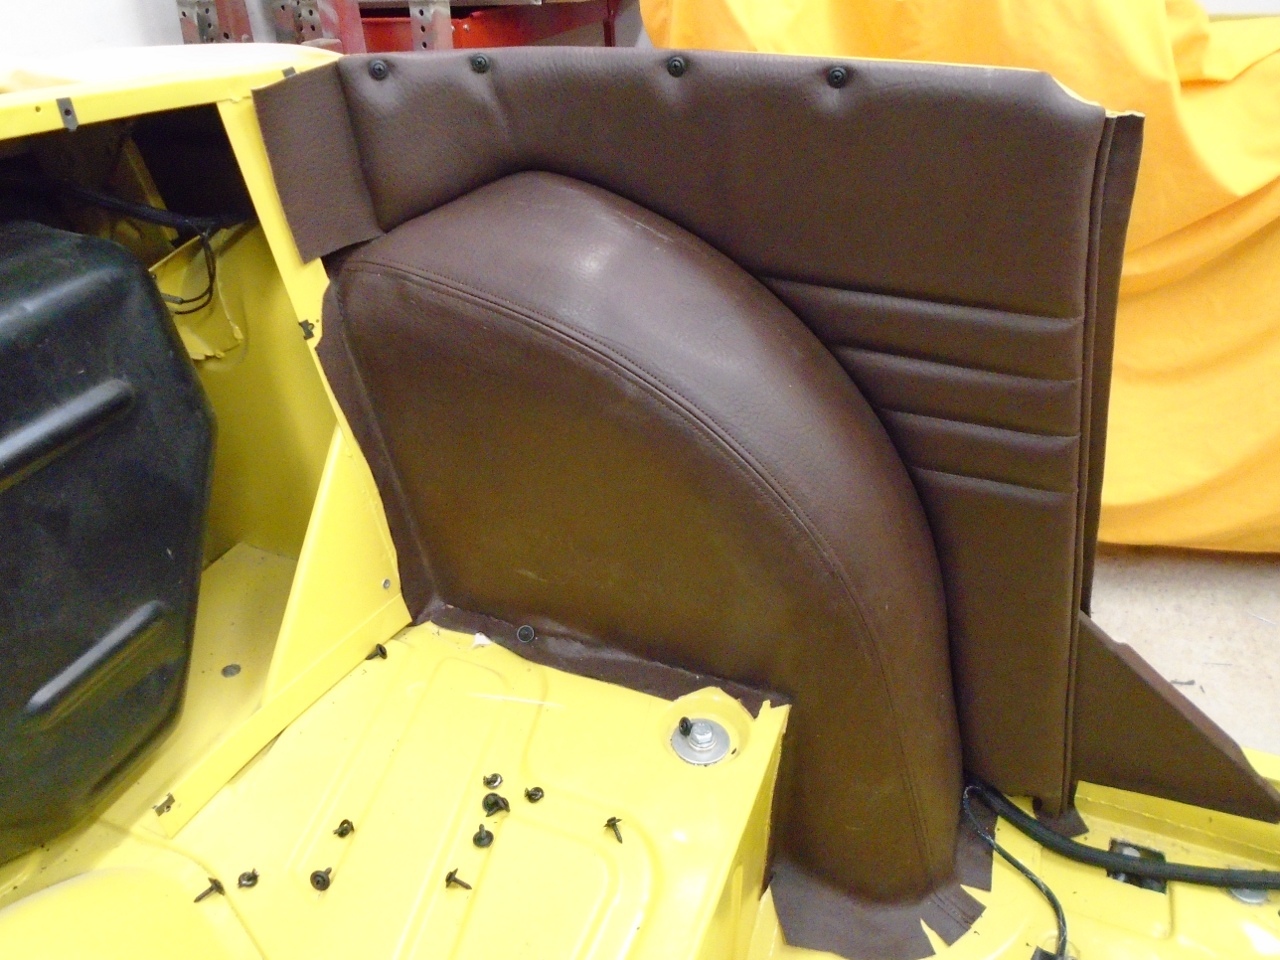
Stitched foam/vinyl is glued to the Kydex backer board, and the edges are pulled around and glued.
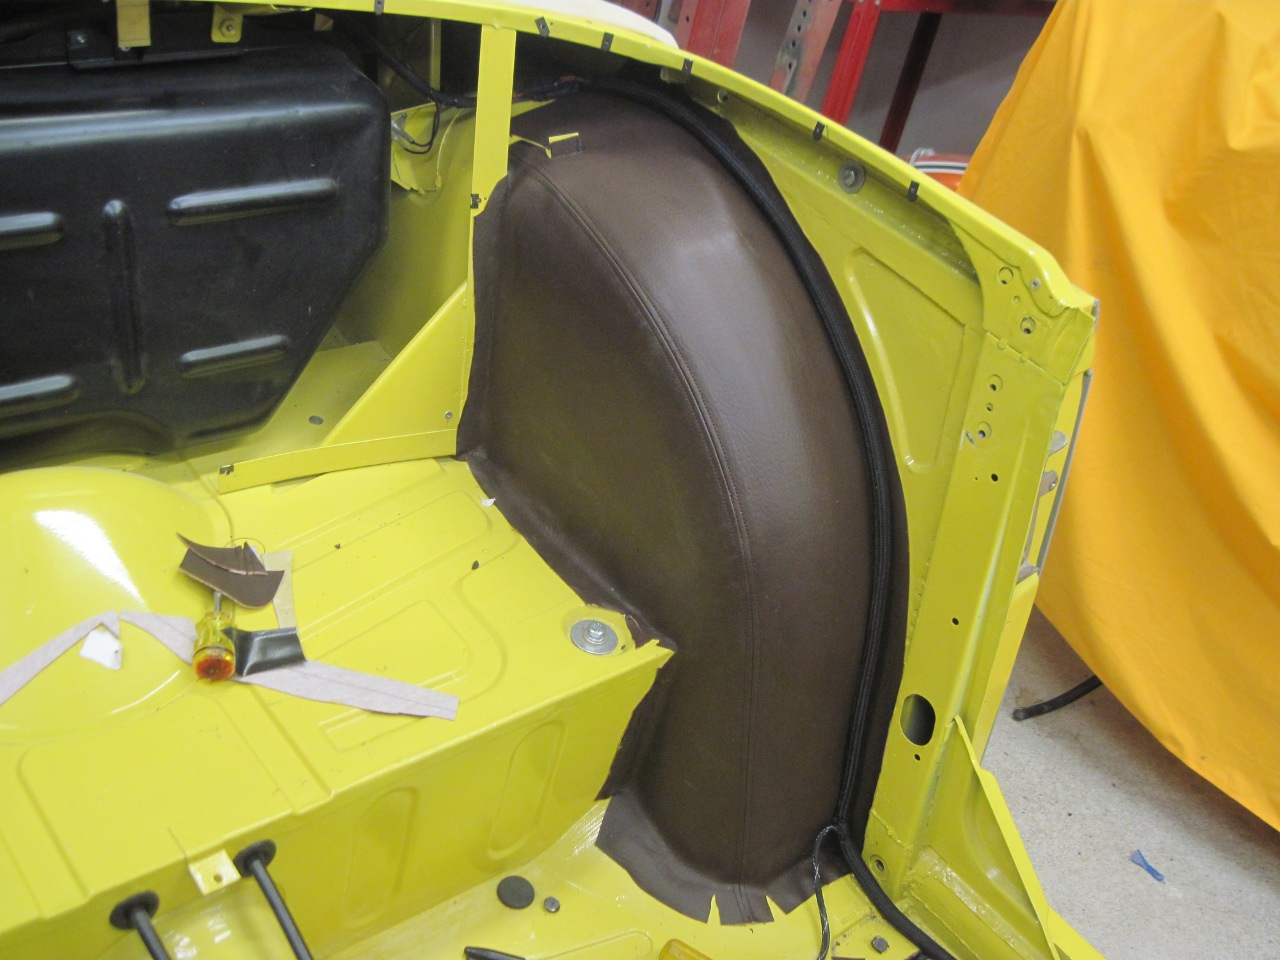
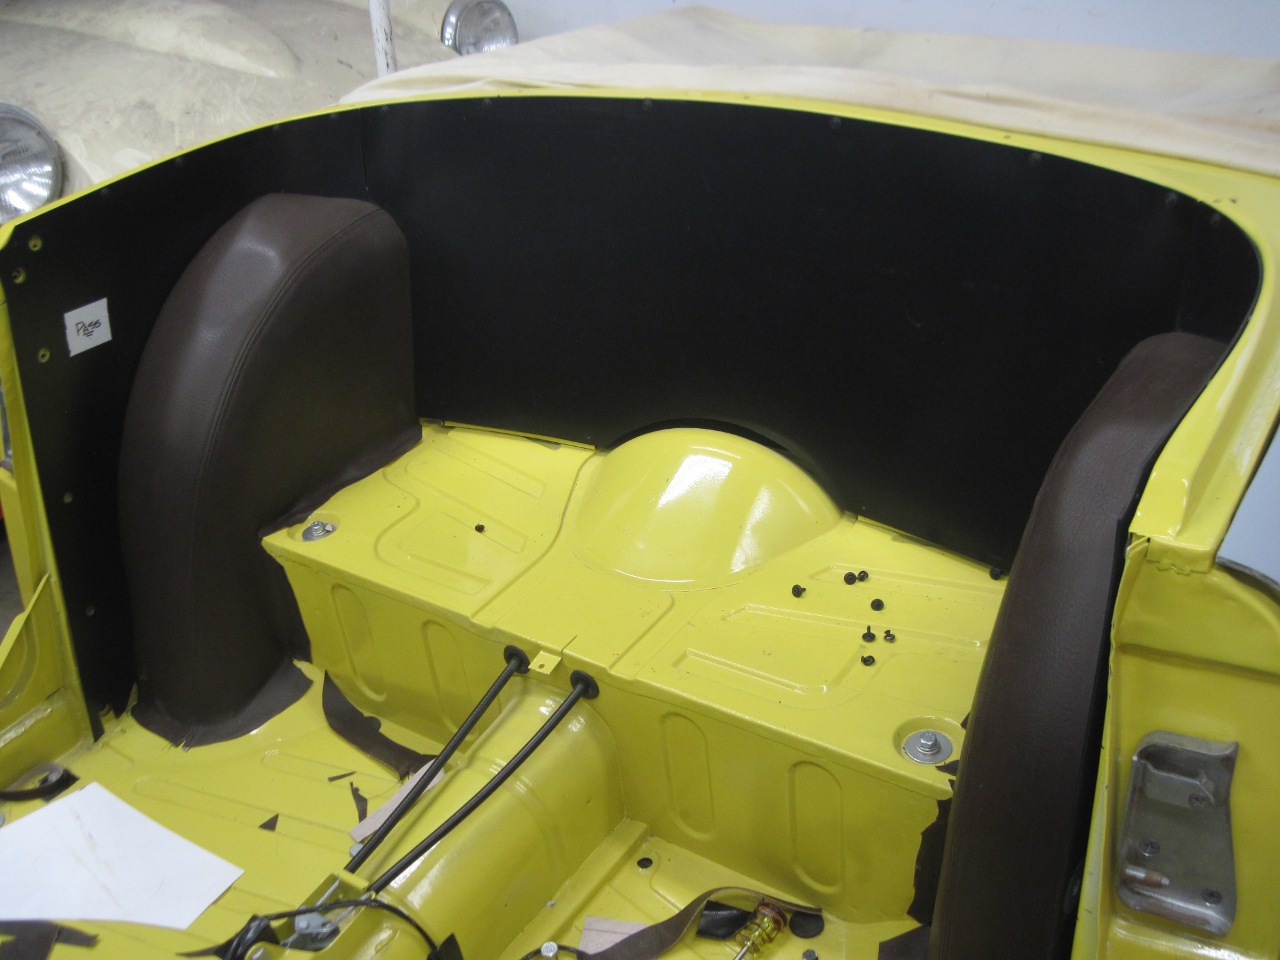
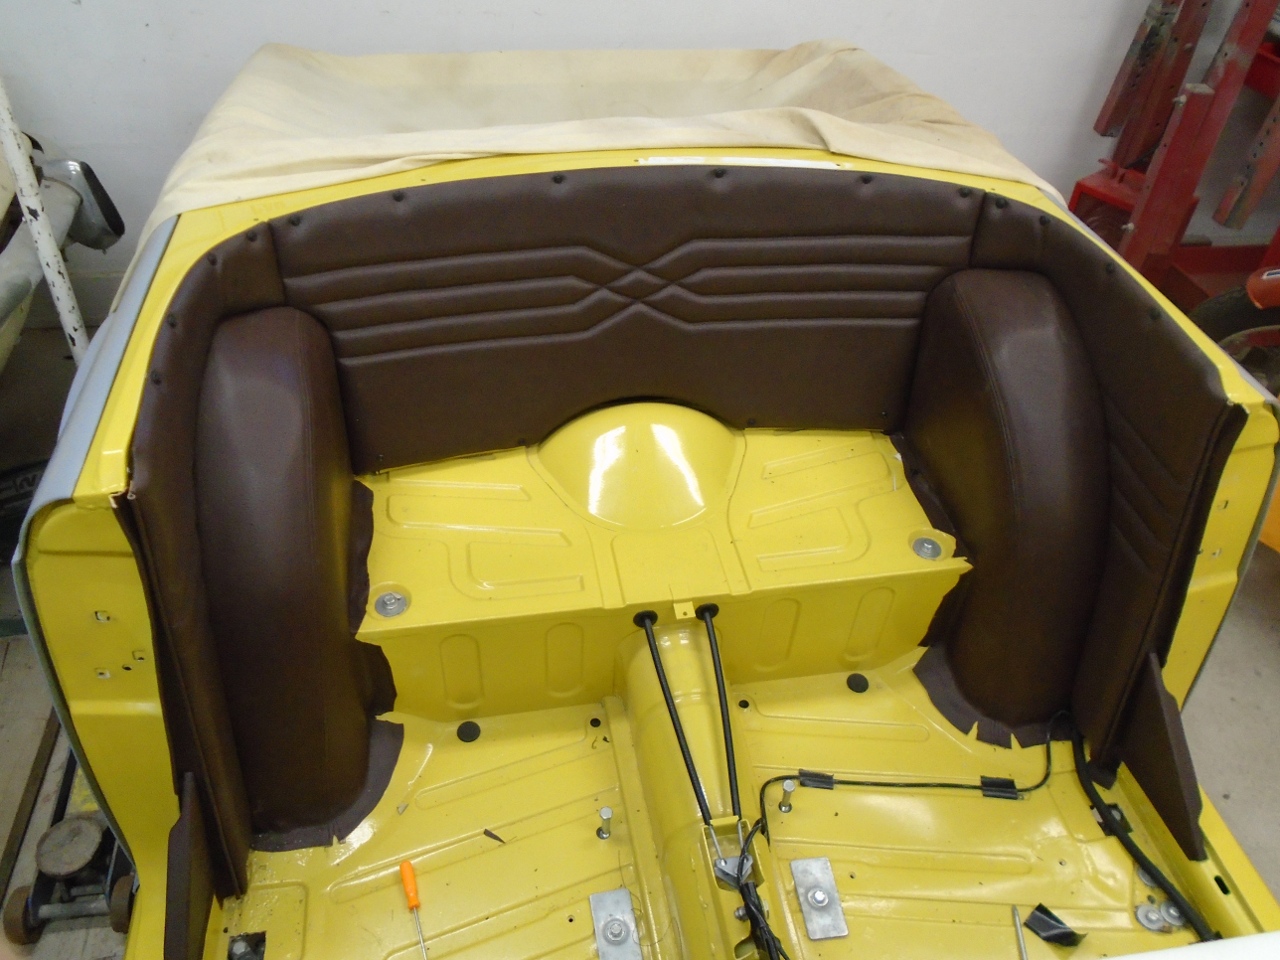
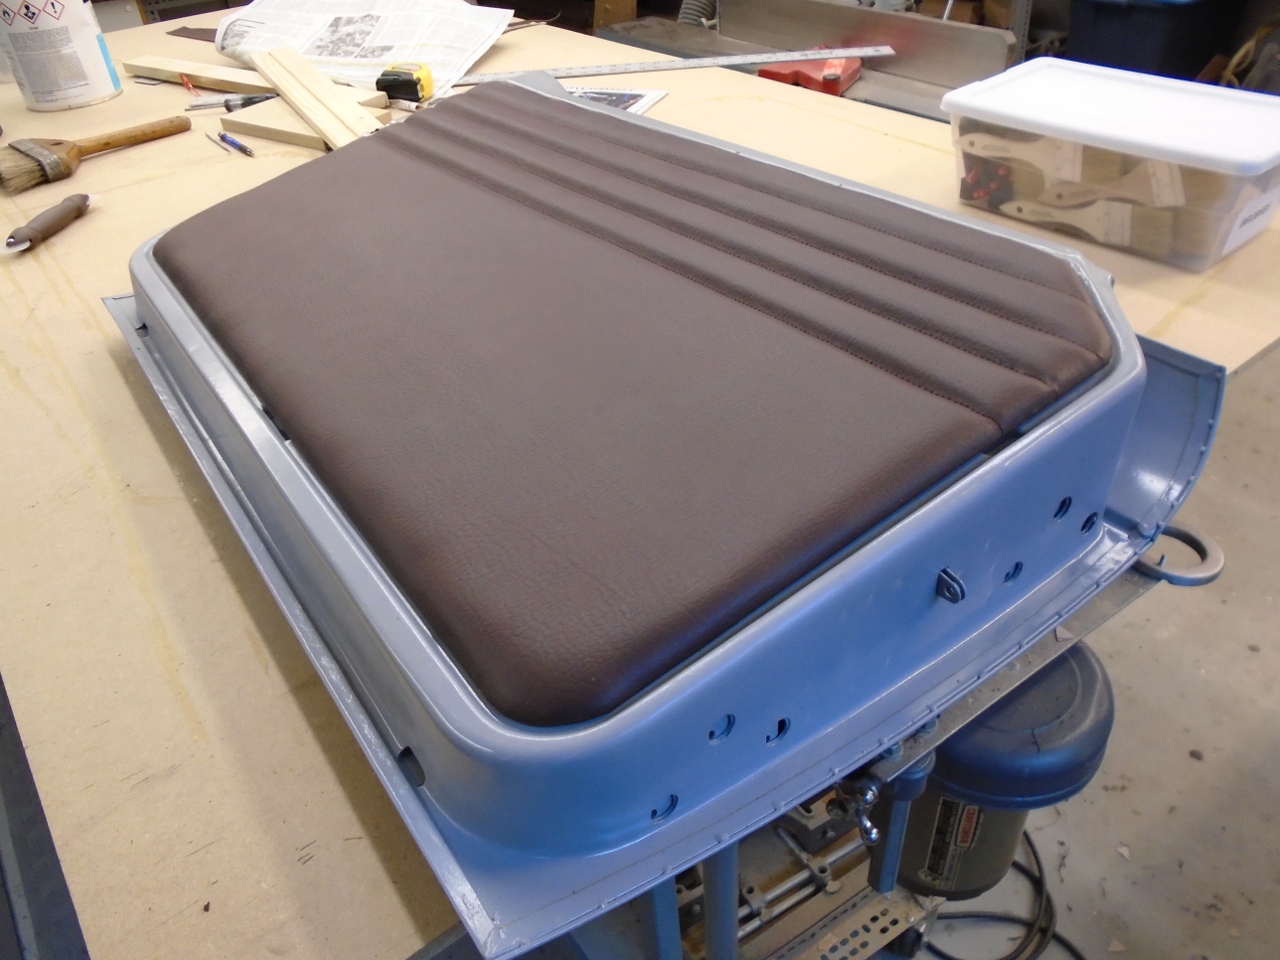
Almost ready for install.
No wrinkles yet.
The
original quarter panels had the vinyl extend as flaps on the rear end
that fit underneath the rear panel. I'm not sure of the reason,
but maybe it was to prevent seeing any body color through a gaps
between the panels, or maybe to help seal the cockpit from vapor
intrusion from the fuel tank. I just glued some flaps on.
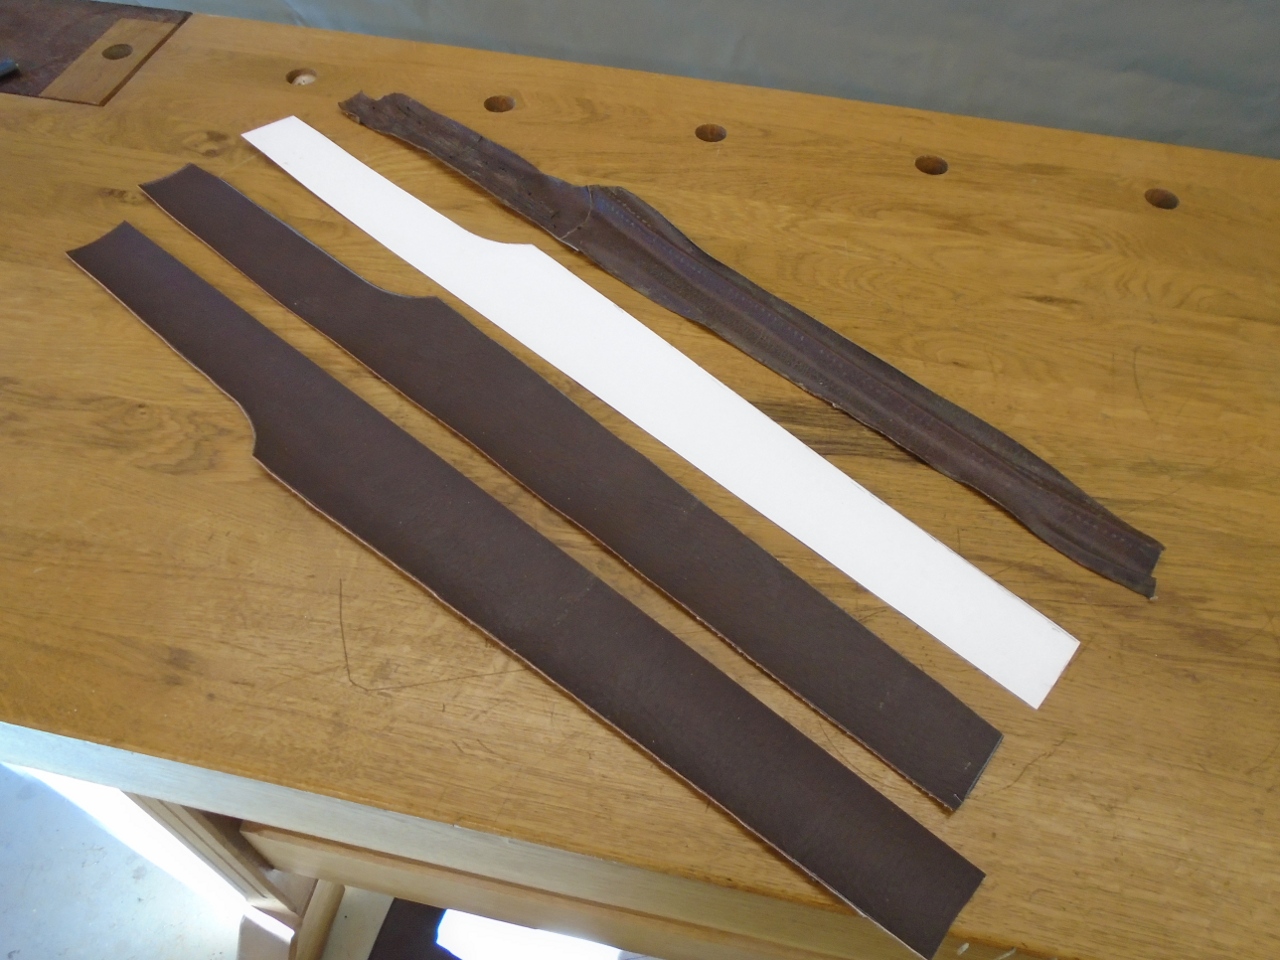
I
also wanted to replace the piping at the leading edge of the quarter
panels. Rather than try to use the tacky original plastic stuff,
I wanted to make some from matching vinyl. I bought a piping
attachment for my sewing machine, but couldn't get it to work very
well, so this is glued up in a little jig. The core is that
rubber cord used to secure window screens in their frames.

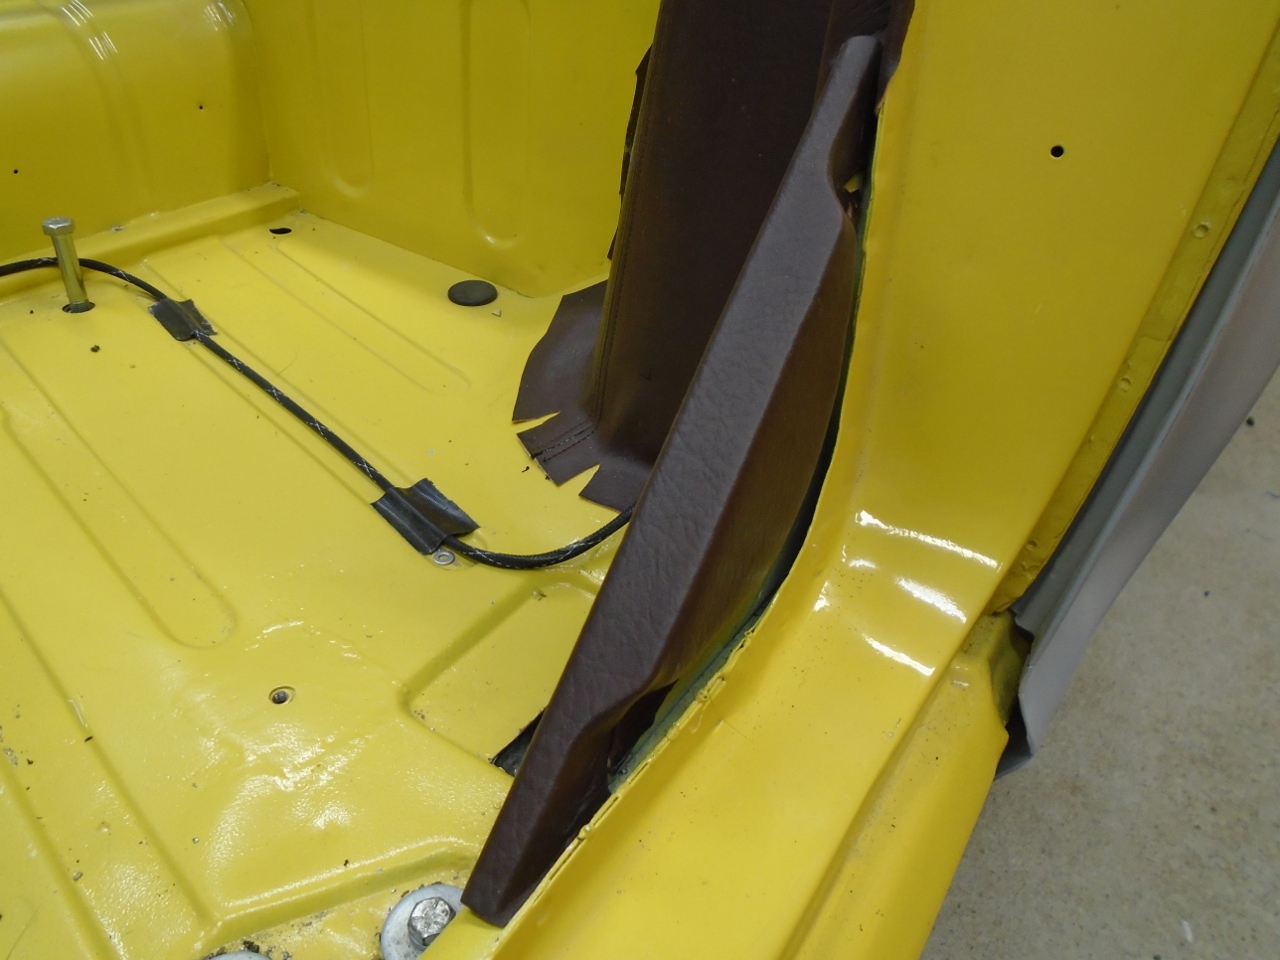
A
few more details before final install. First, the front edge of
the B post gets a vinyl covering. The paper template is from one
of the original pieces.
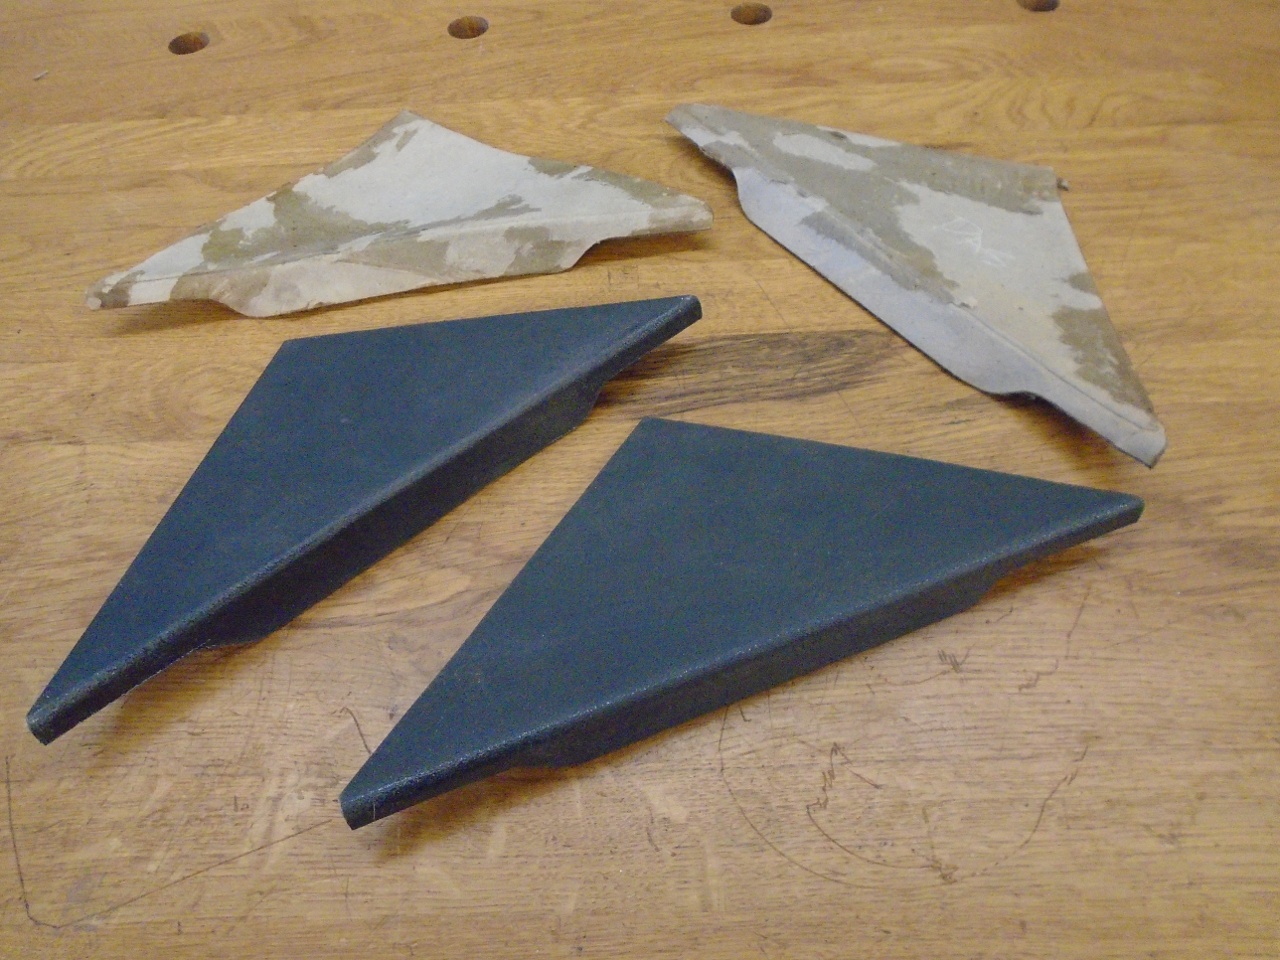
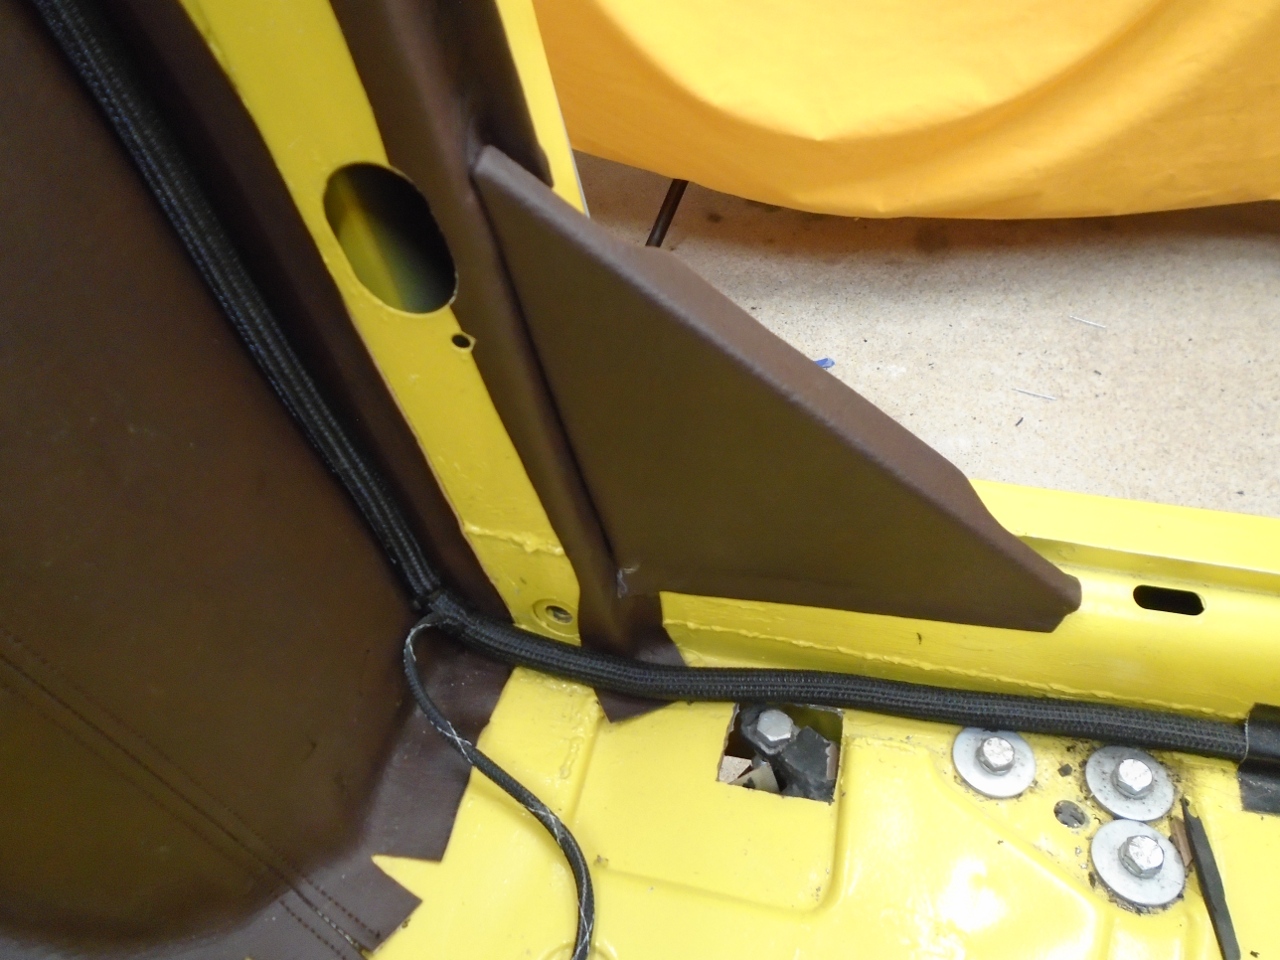
The triangular
gussets at the base of the B posts had small cardboard panels that held
a vinyl covering. The cardboard pieces were toast, so I made some
new ones out of Kydex scrap.
Finally...
Since
I'd built up some momentum, I decided to do the door cards, even though
I'm not ready for them. The originals were tired.


I
decided not to include the pouch in the door panels. I never used
them, yet they always seemed to be full of crud. I'll probably
fit a center console for tactical storage. Also, I really like
the TR4-style door pull much better than the recessed one of the TR6.
Serendipitously, both of these changes actually simplify the door
cards. On the other hand, the panels now look a little plain.
I'm thinking of two or three vinyl covered buttons in that
large lower area, but that decision will wait until the doors are done.

Addendum, March 11, 2018
I
brought one of the primed doors down to the shop to try the new card.
The fit was OK, but there was this 1/4" gap all the way around
the card. The gap was of course because the original cards had
that plastic piping bead around the perimeter. I thought that
since I'd put a bead on the front of the quarter panel, I really should
put it around the door cards, too.
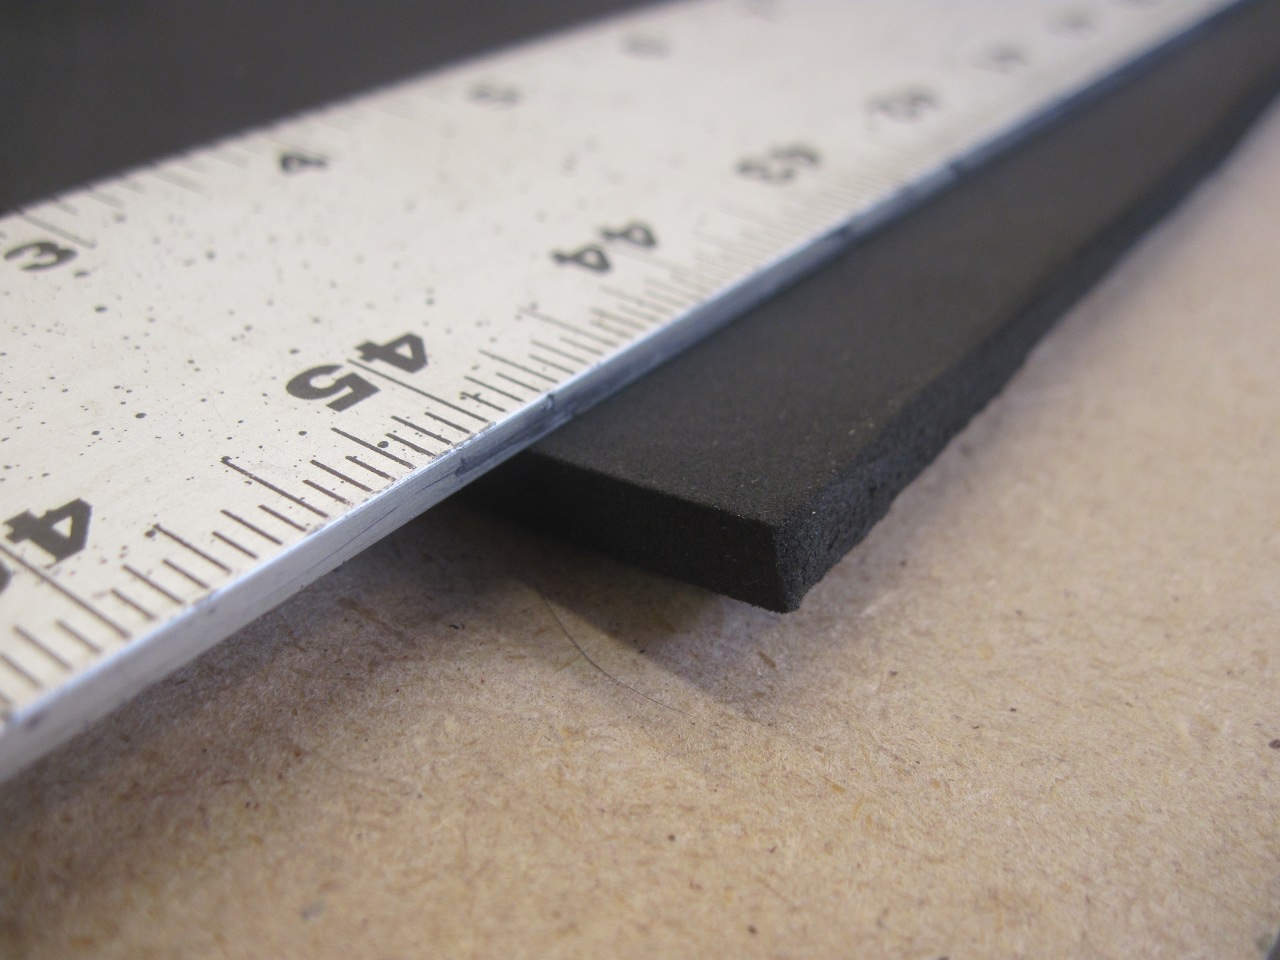
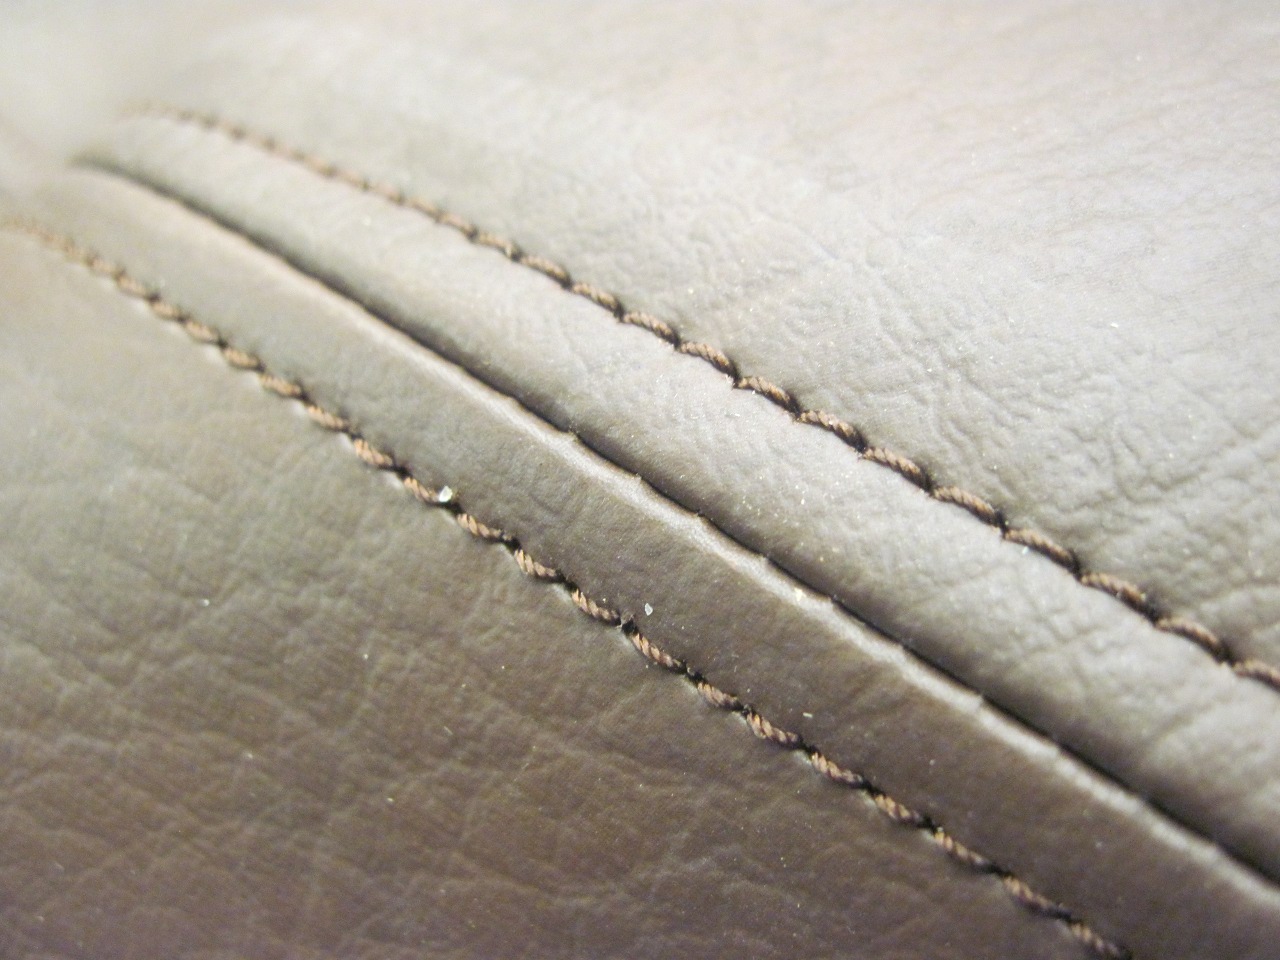
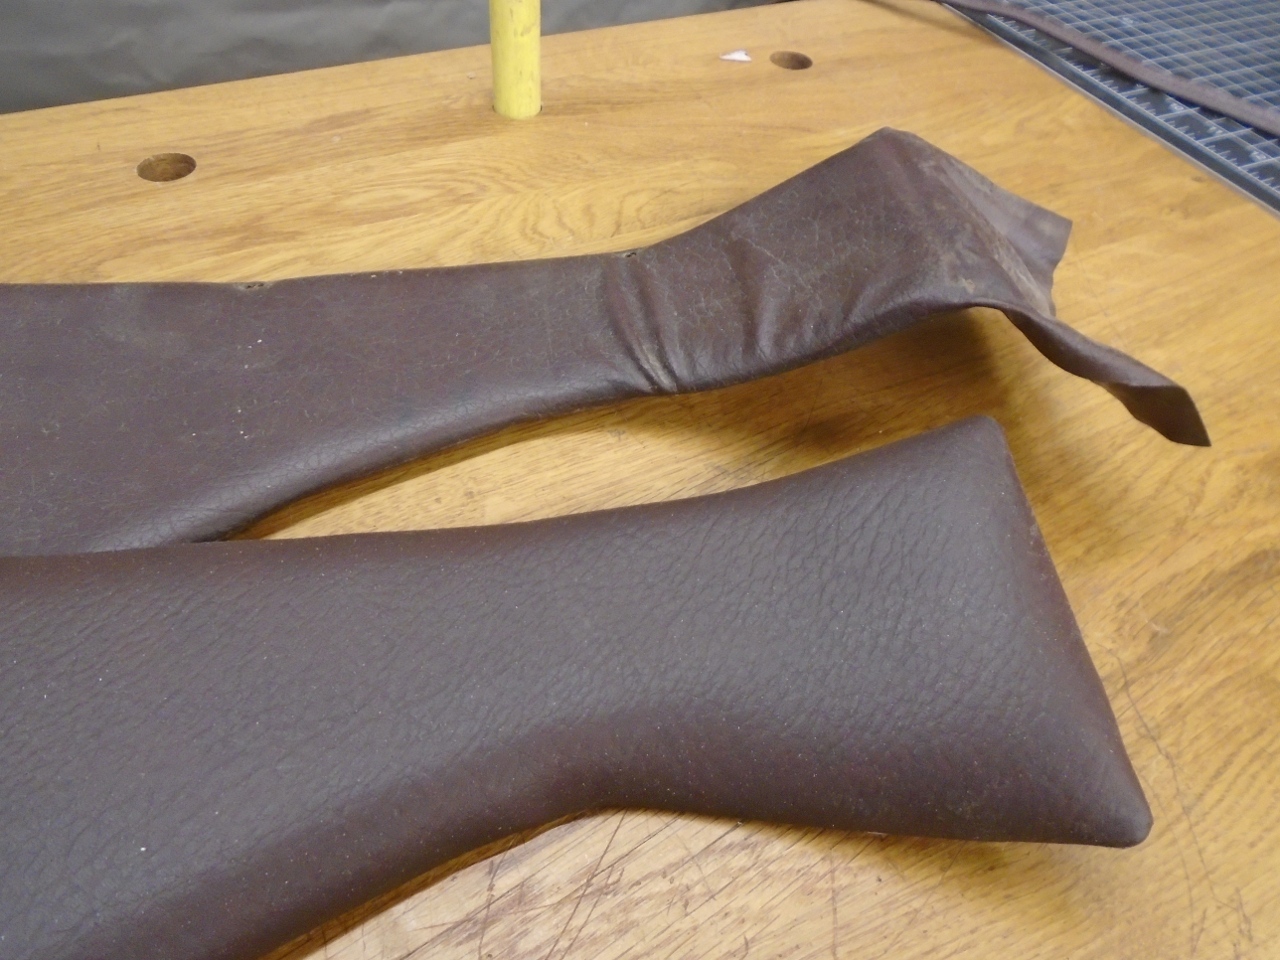
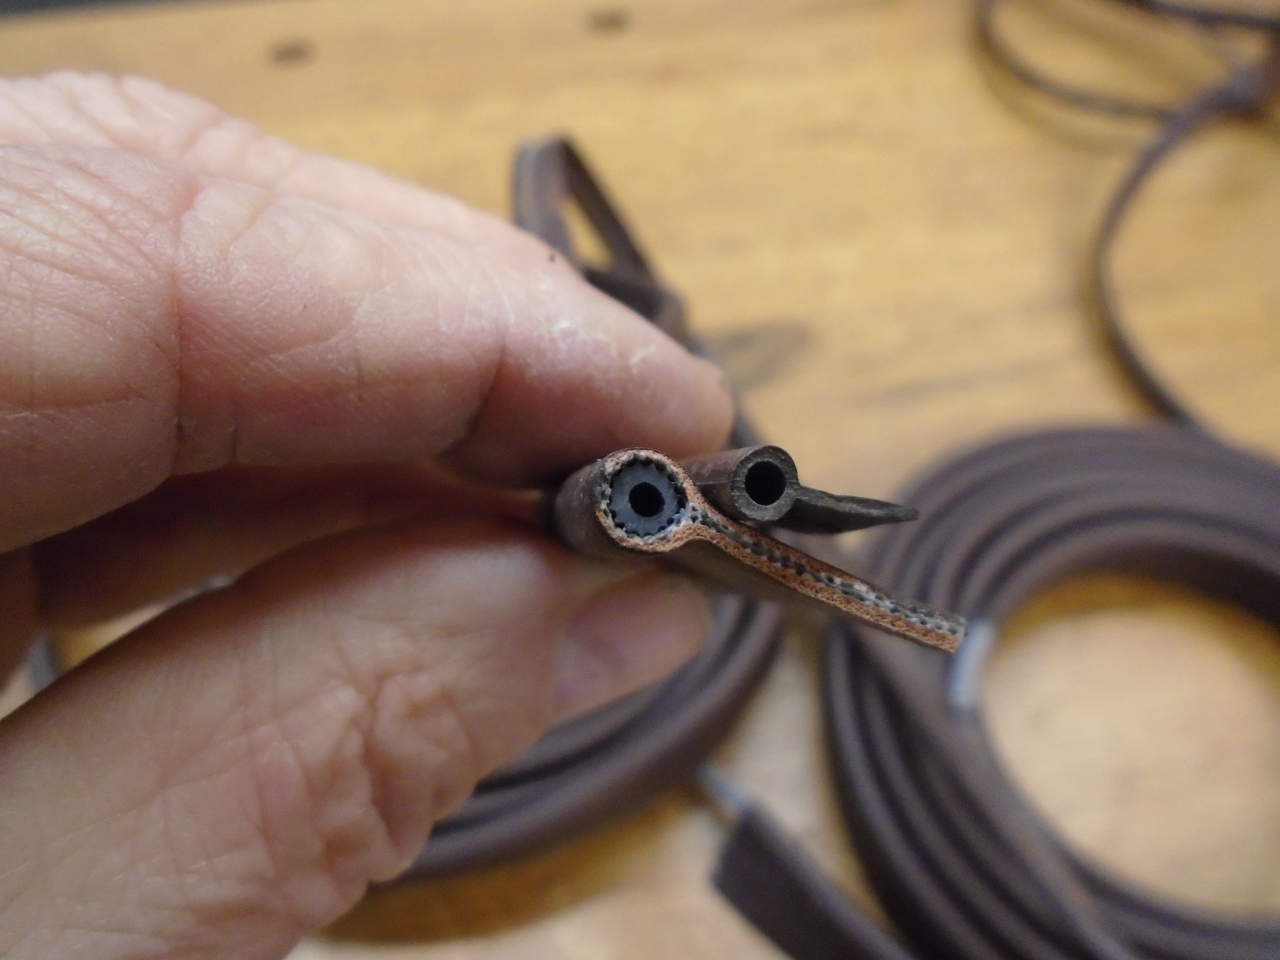
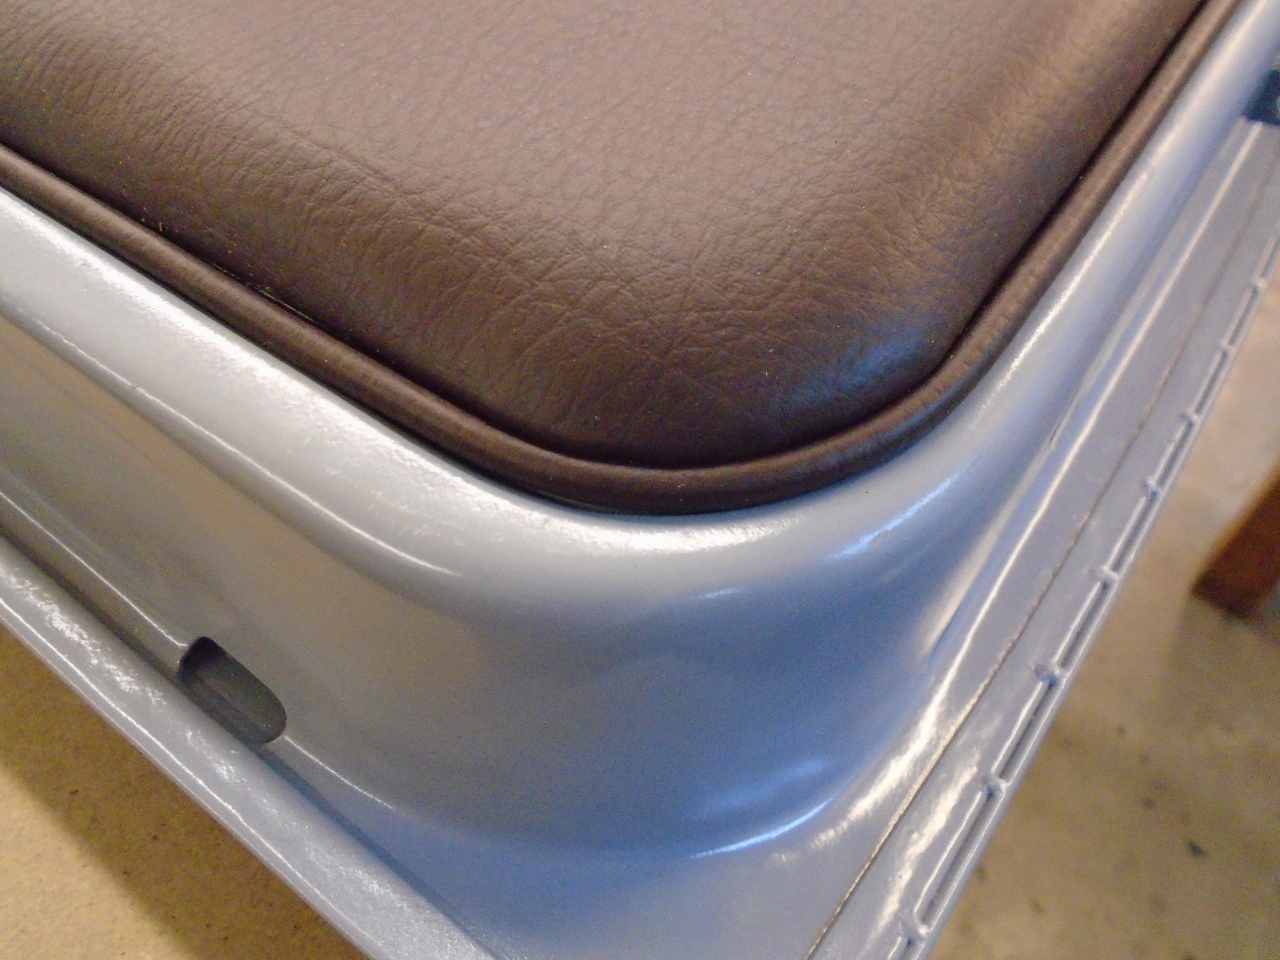
Well,
I fooled around some more with the piping foot on my sewing machine,
and still couldn't get consistent results, so I just made two 8-foot
lengths of piping by gluing vinyl strips around a flexible core like
before. The second pic shows the home-made piping on the left
compared to the original. I think the larger piping is in better proportion to the thicker cards.
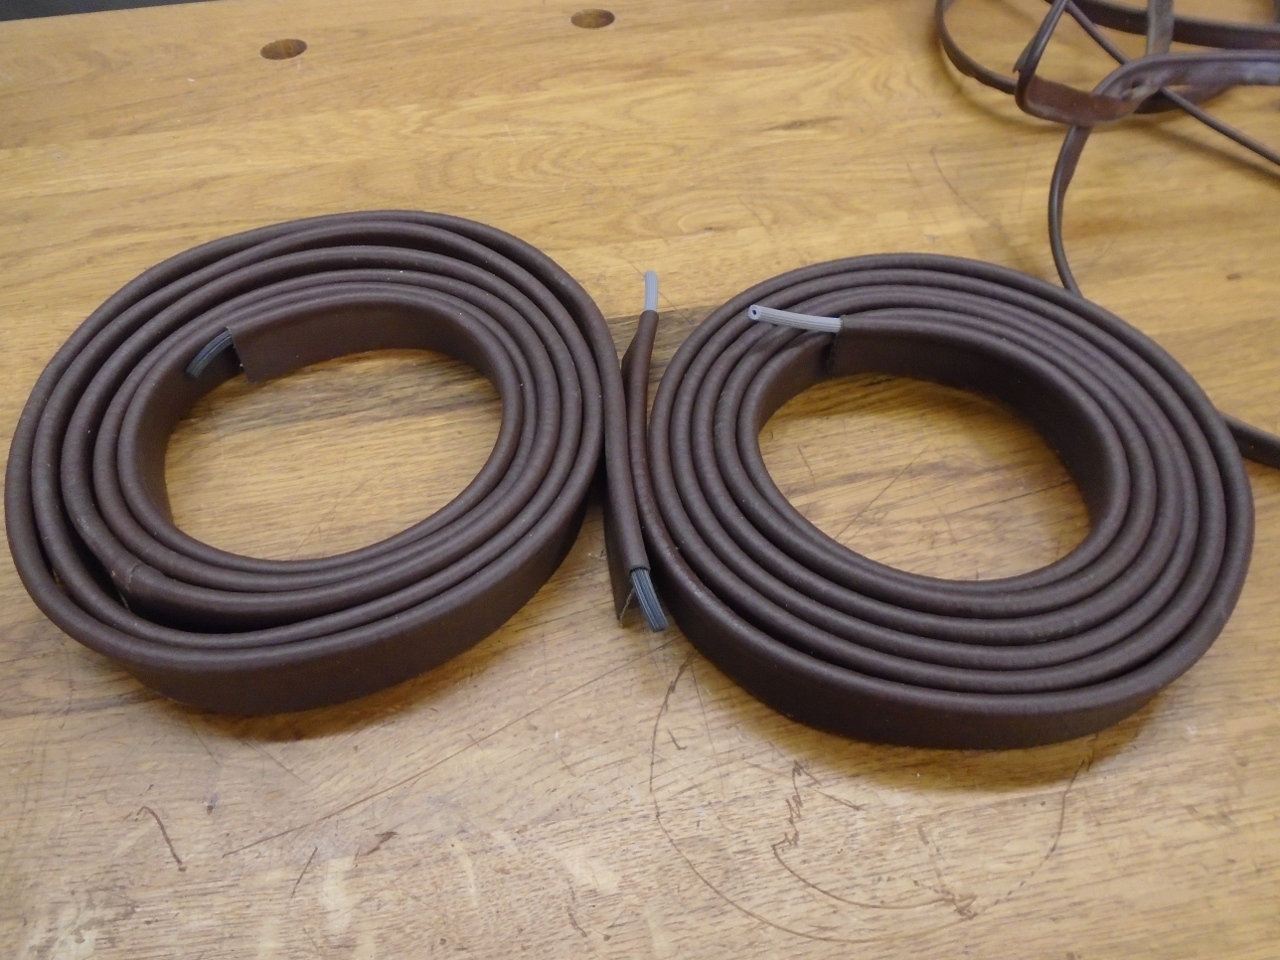
The bead not only fills the gap nicely, but makes the whole door look more finished and refined.

I
save money with my DIY approach on many of the jobs on this car, but
I'm not sure this is one of them. The Kydex is quite a bit more
expensive than hardboard, especially in the sizes that are easy to
ship. Got a couple of new skills, though.
Comments to Ed at elhollin1@yahoo.com
To my other TR6 pages.