To my other GT6 pages
June 25, 2024
Odds & Ends
With this project essentially finished, I turned the the "punch list" of
final jobs to be done. Some of these were done a few weeks ago,
but didn't seem to warrant their own page.
To skip ahead:
Seat Belt Install
Wing Molding
Side Reflectors
Sun Visor Install
Rear View Mirror Install
Battery Terminal Cover
Body Ground
Body Plugs
License Plate
Wiper Arms
Seat Belt Install
Before I took the first actual drive, I wanted to have seat belts.
I'm not really that much of a safety wonk, but they had to go in
anyway, and why not then?
I dug out the refurbished belts from their storage bin.
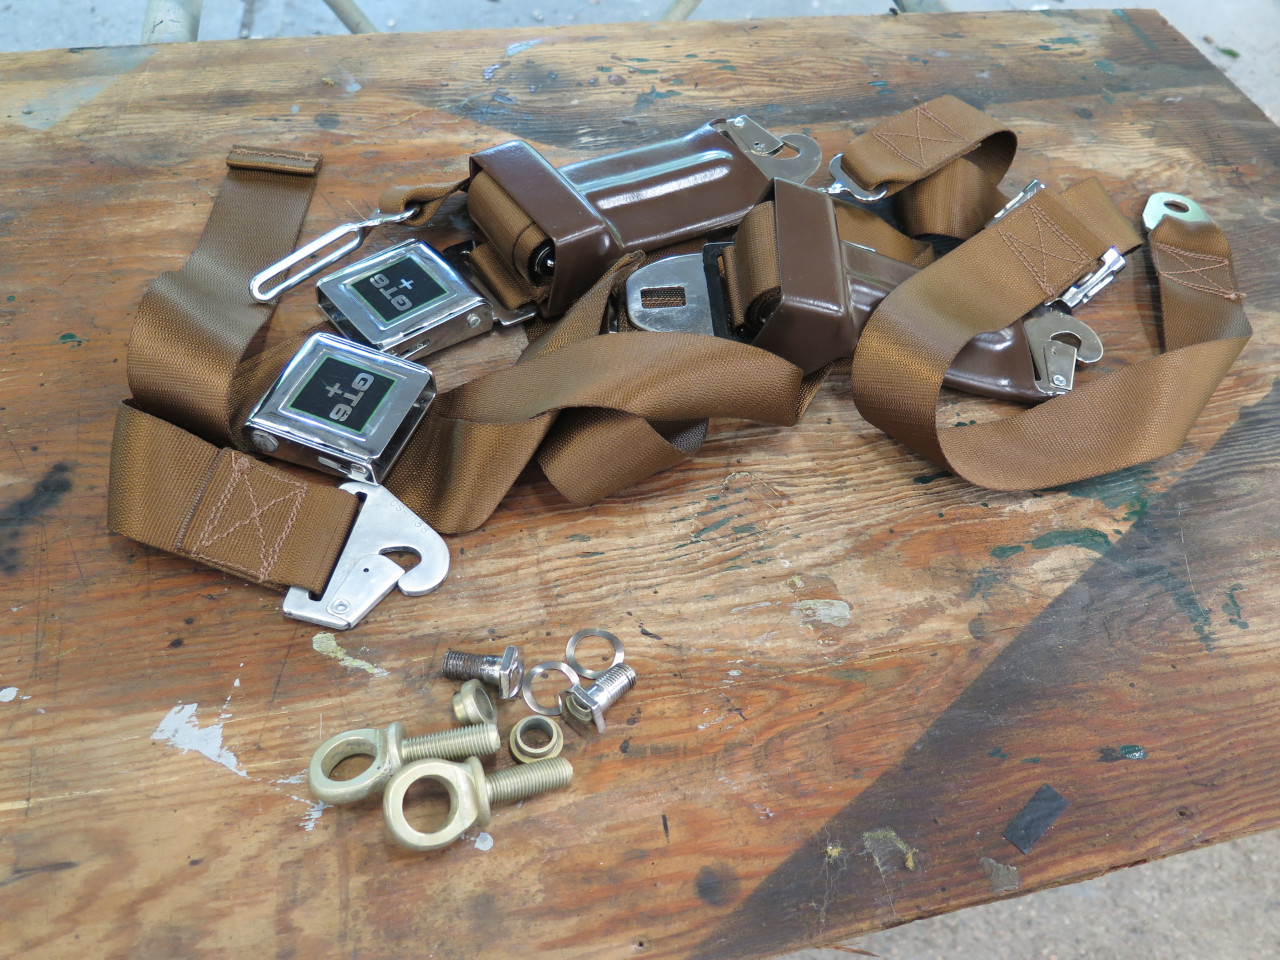
First job seemed to be to install the attachment fittings.
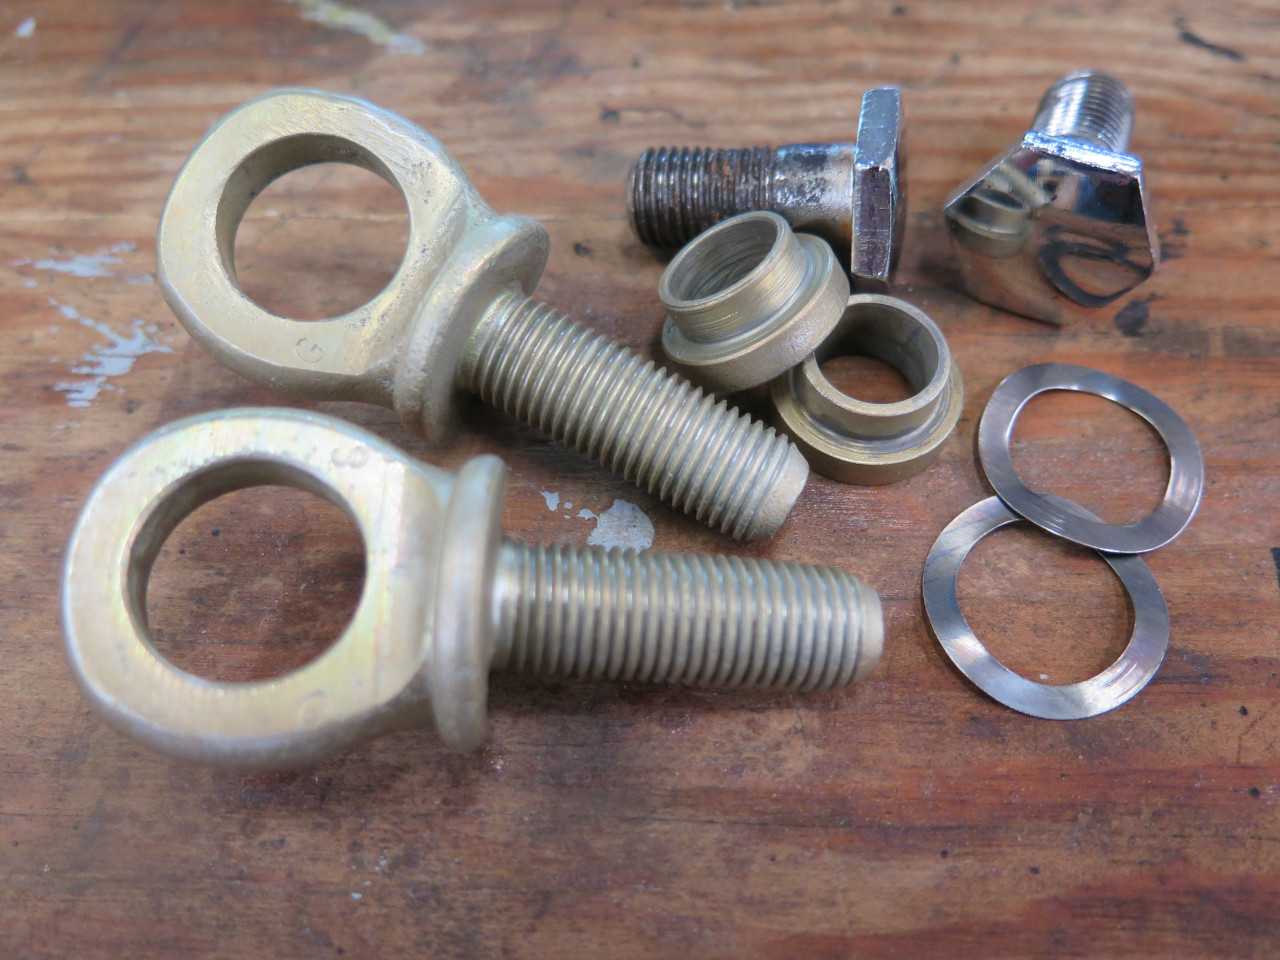
There are three attachment points on each side. I had to go looking for the one behind the seat near the inner sill.


The one for the shoulder belt is on the wheel well.
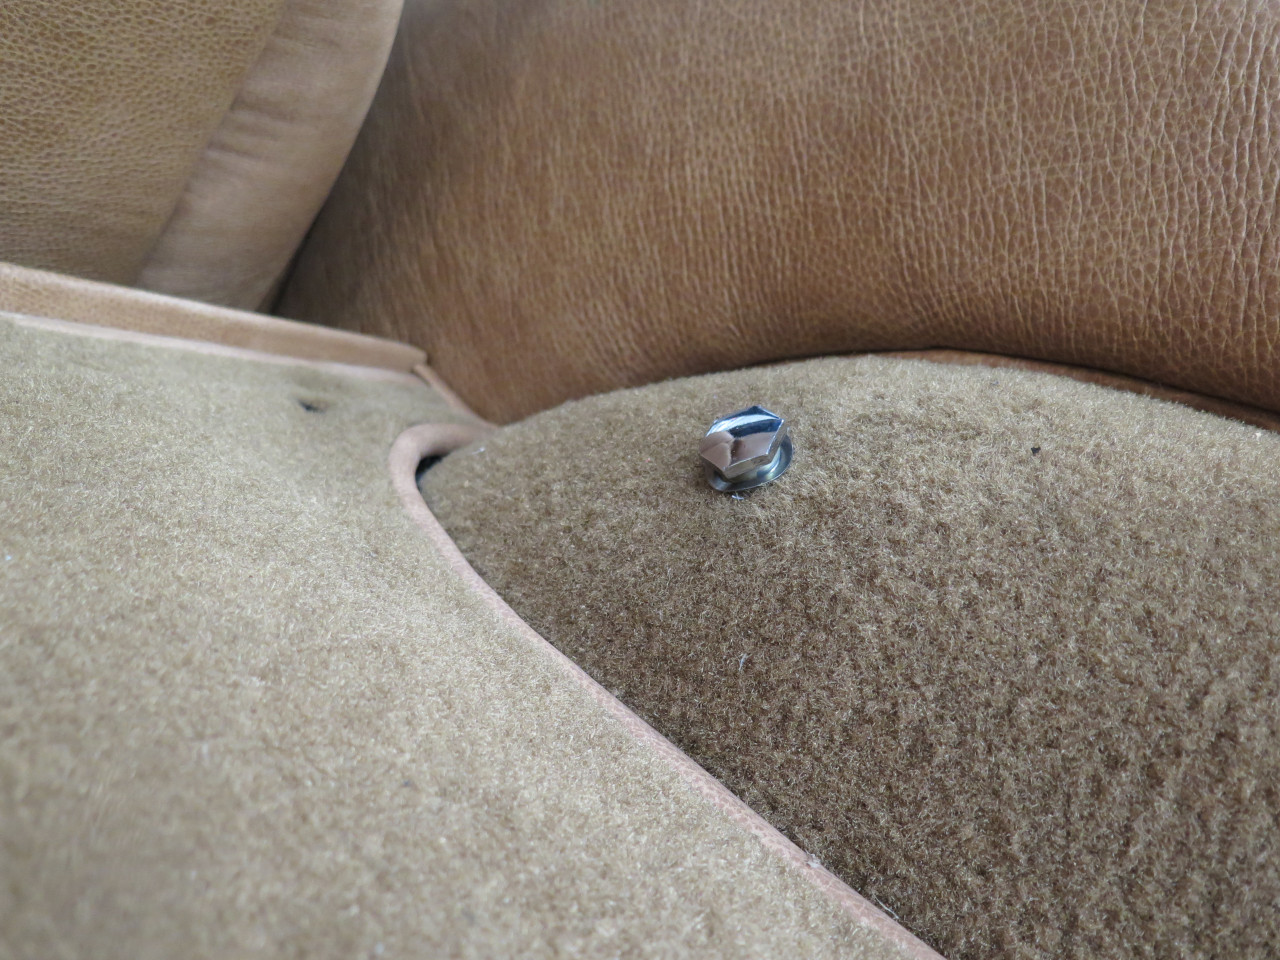
The last one is on the tunnel, and accessible through an opening in the
tunnel trim panel. The belts hook onto eye bolts on the lower
points. The retraction reel goes on the outboard side.
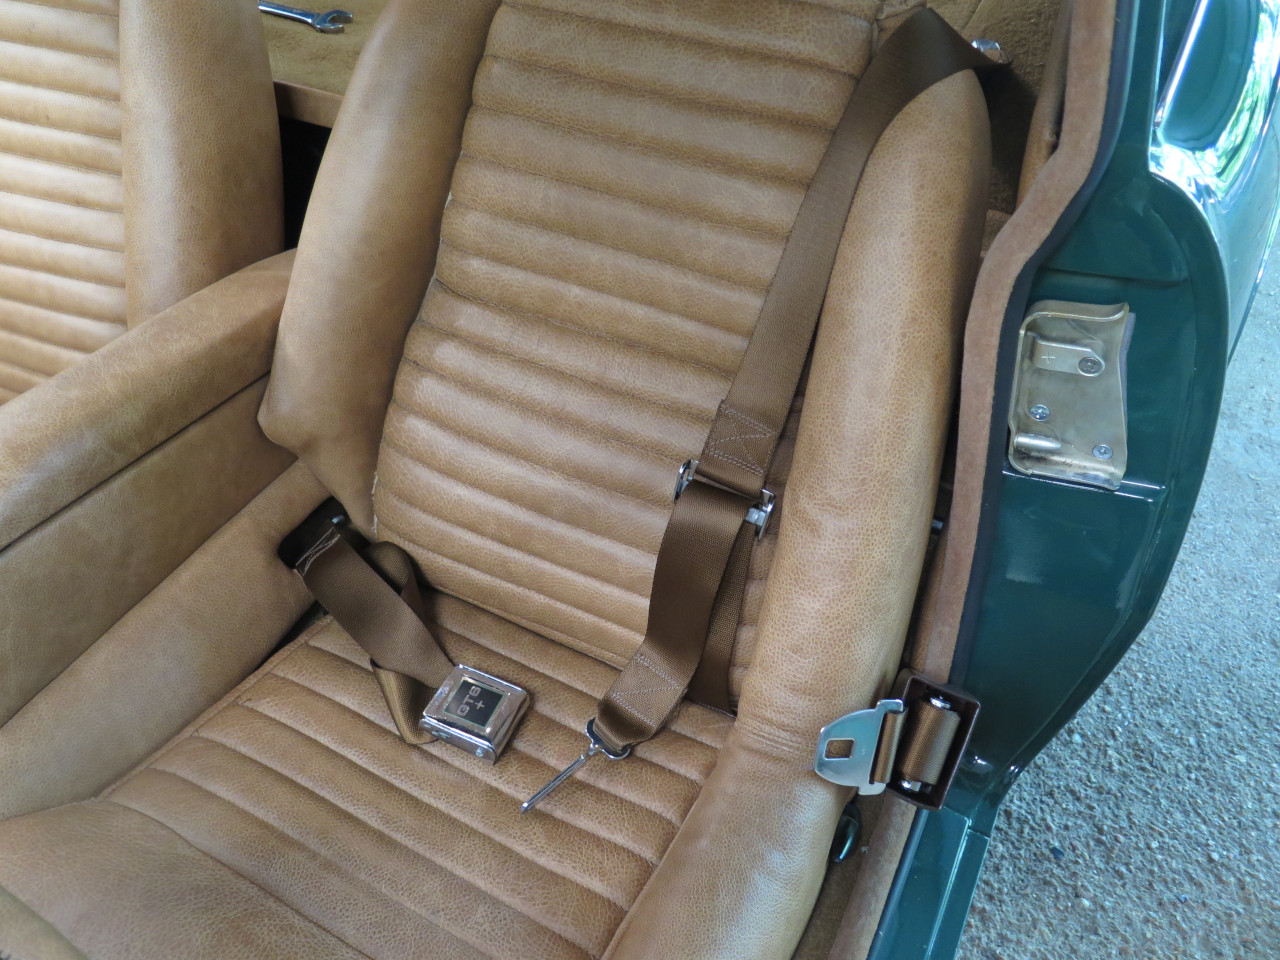
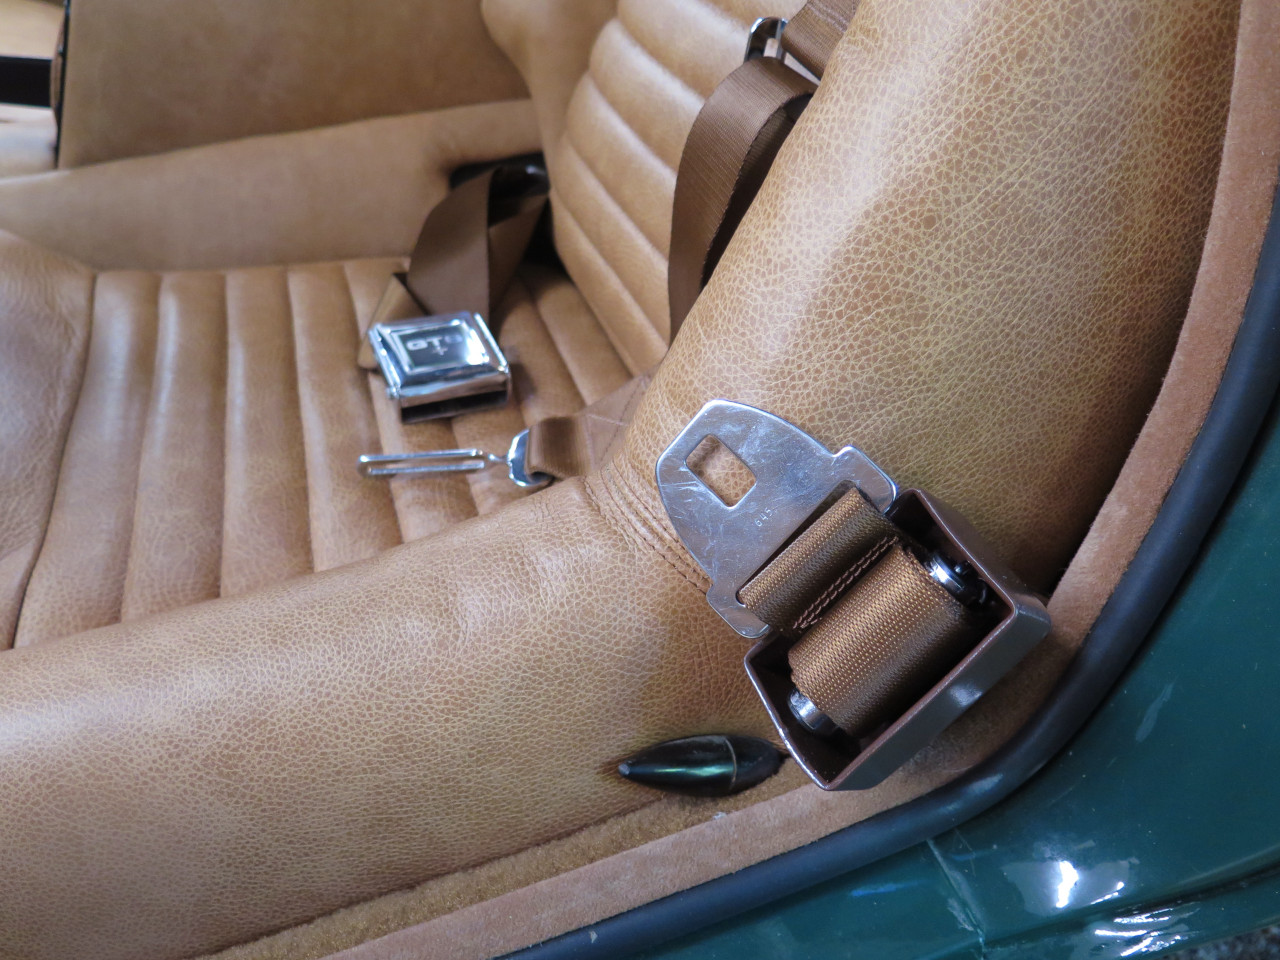
I'm not really fond of these belts. I'd forgotten the hassle that
most 60s seat belts were. The shoulder belt component was
relatively new back then, and it had to be manually connected to the lap
belt. The retraction reel was strictly to stow the belt out of
the way, and didn't really tighten the belt. That was manual,
too. There was no inertial activation.
I looked into modern 3-point inertial replacements. They exist,
and claim to fit the GT6. However, all of the ones I saw put the
inertial activation and retraction reel at the base of the wheel well,
with a fitting higher up on the wheel well to change direction of the
belt. This arrangement won't work on GT6 cars with the larger rear
deck like mine.
I suppose I could cut a passage in the deck, but for now, I'll just deal
with the original system, and try to enjoy the nostalgia.
Wing Molding
I went to the shed to retrieve the stainless wing moldings that cover
the pinch seams at the top of the wings. I was pretty sure there
should have been four of them, but I could only come up with
three. I don't really remember it, but one must have been damaged
in removal. So I ordered a new front trim piece. The one
second from the right is the new one.
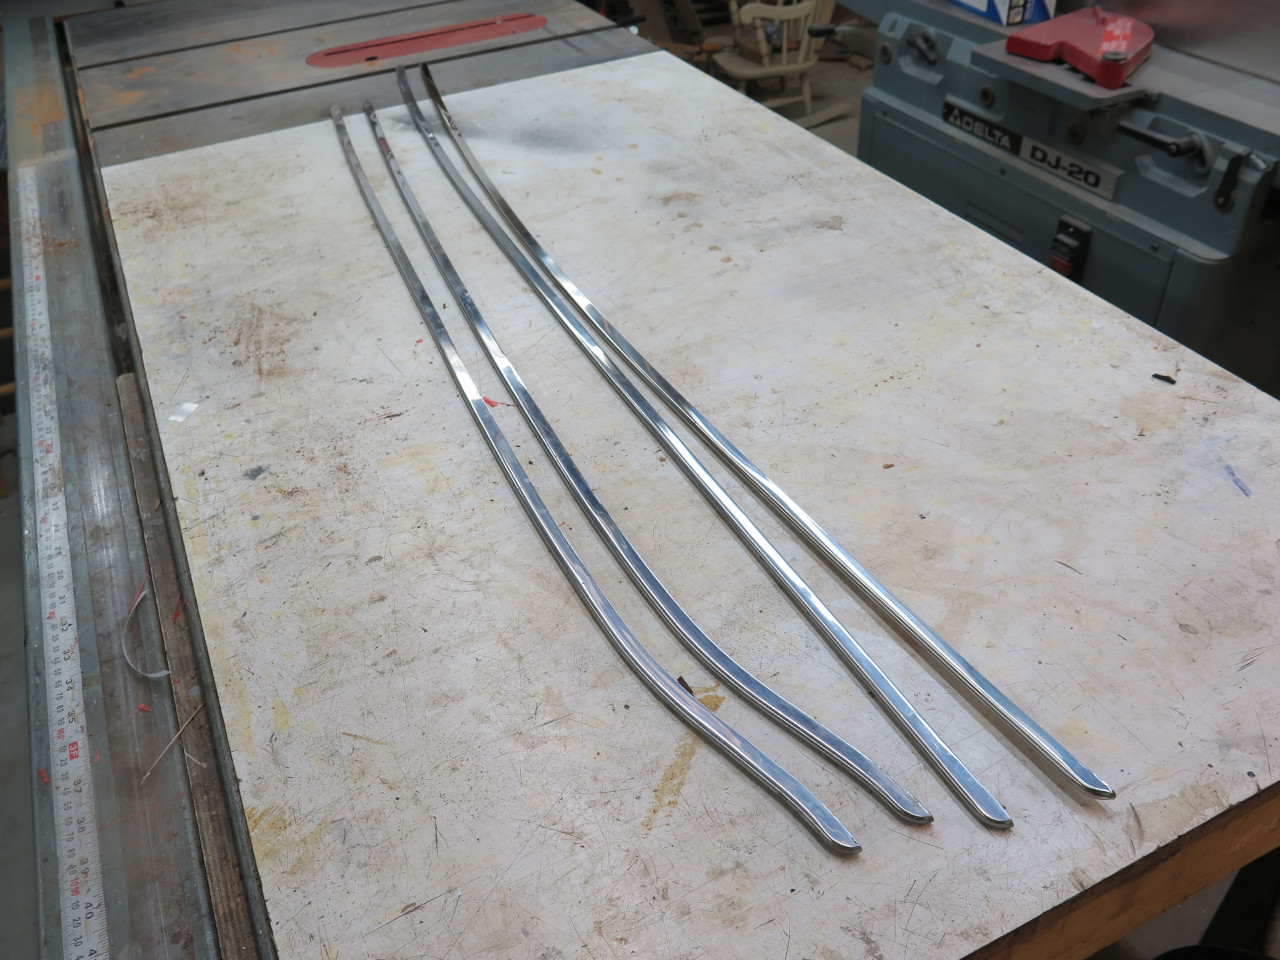
First thing I noticed was that the new part has a lot less curve than
the original. This seemed like it might be a problem.
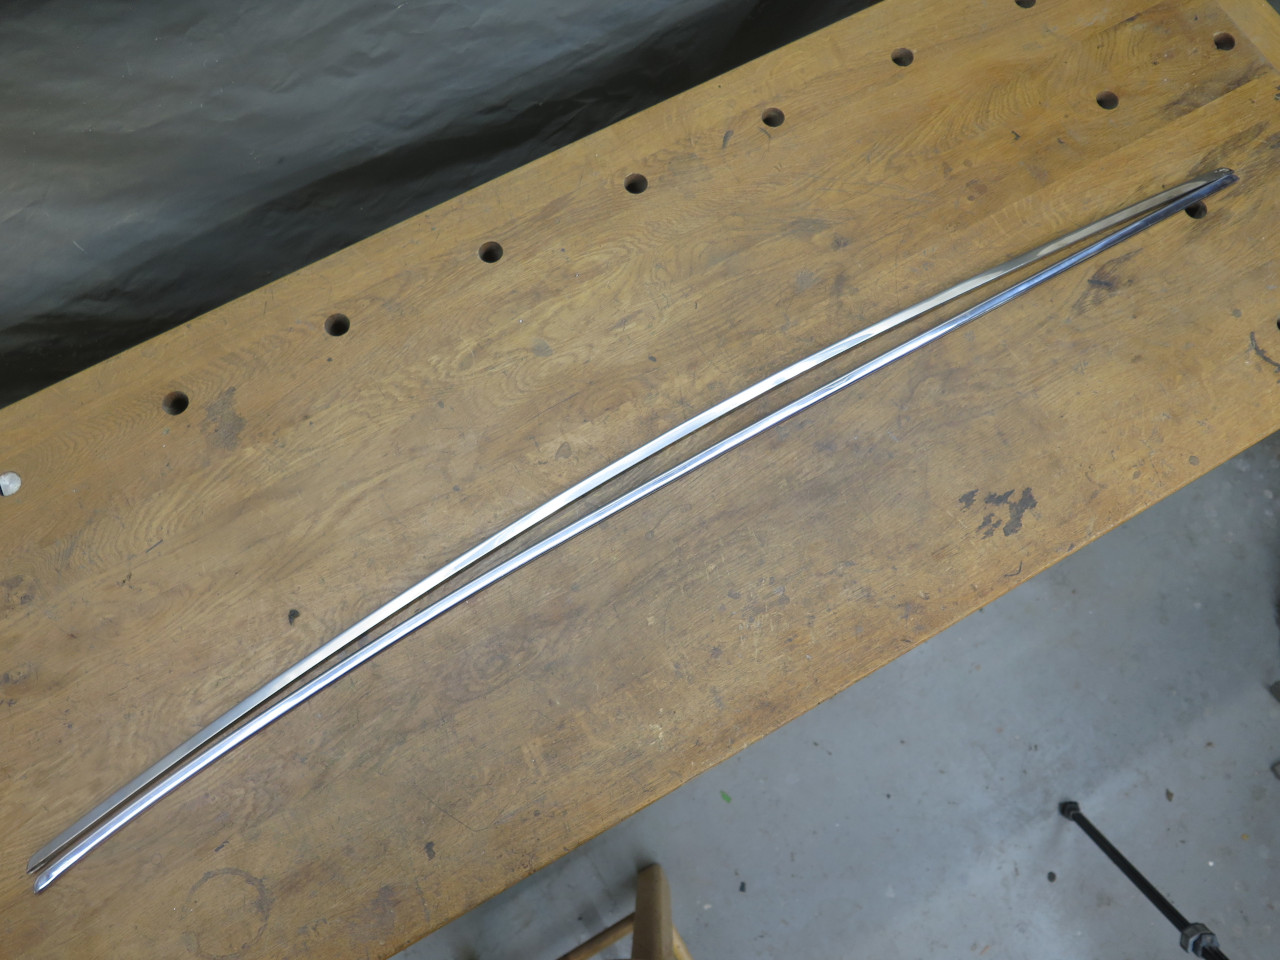
With a little artful encouragement, I did manage to get the new piece to
better imitate the old one. This was tricky, because bending this
shape "the hard way" consistently threatened to just buckle and bend
the "easy way".
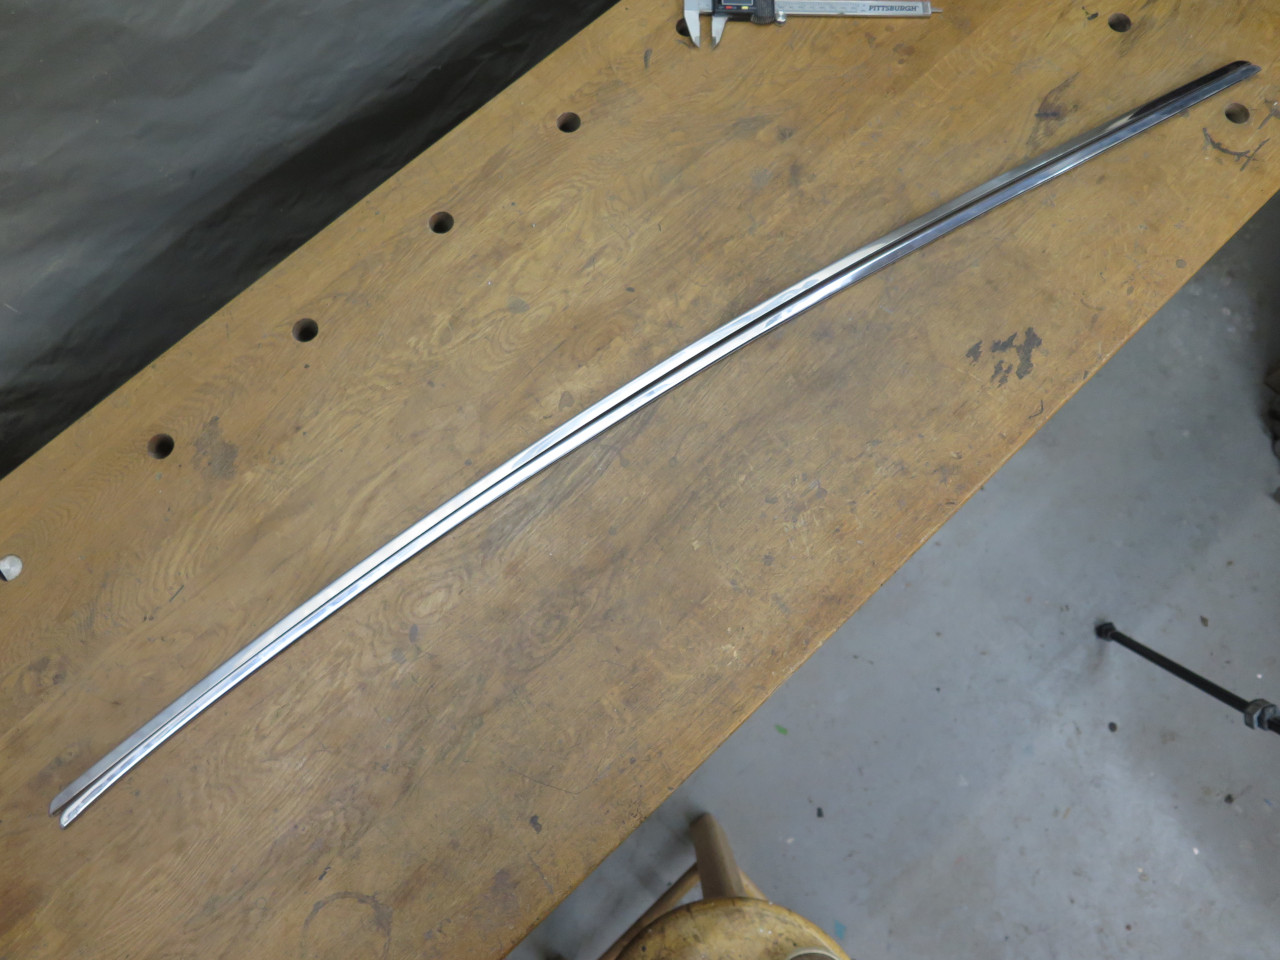
The stock method of retaining these trim pieces is with little barbed
gizmos that straddle the wing seam. A common objection to using
these clips is that the internal barbs breach the paint, which could
give rust an inviting place to start. So some folks opt instead to
glue the trim on, using RTV or some similar adhesive. I decided
to use the original clips, but then try to mitigate the paint
damage. I basically squirted some heavy bodied grease onto the
places where the barbs contacted the paint. I tried to spread the
clips a little on install so they didn't scratch the paint going home.
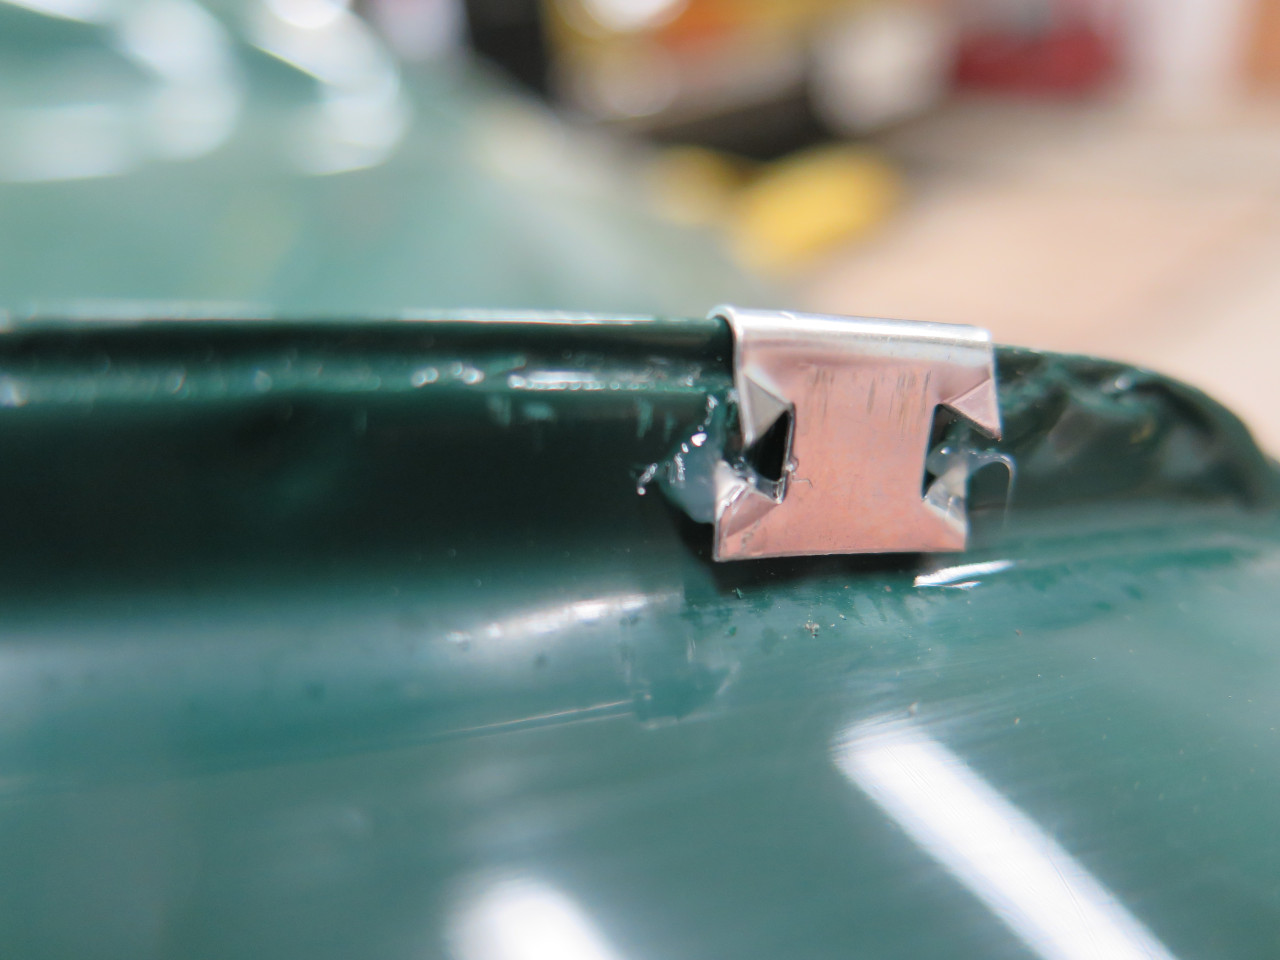
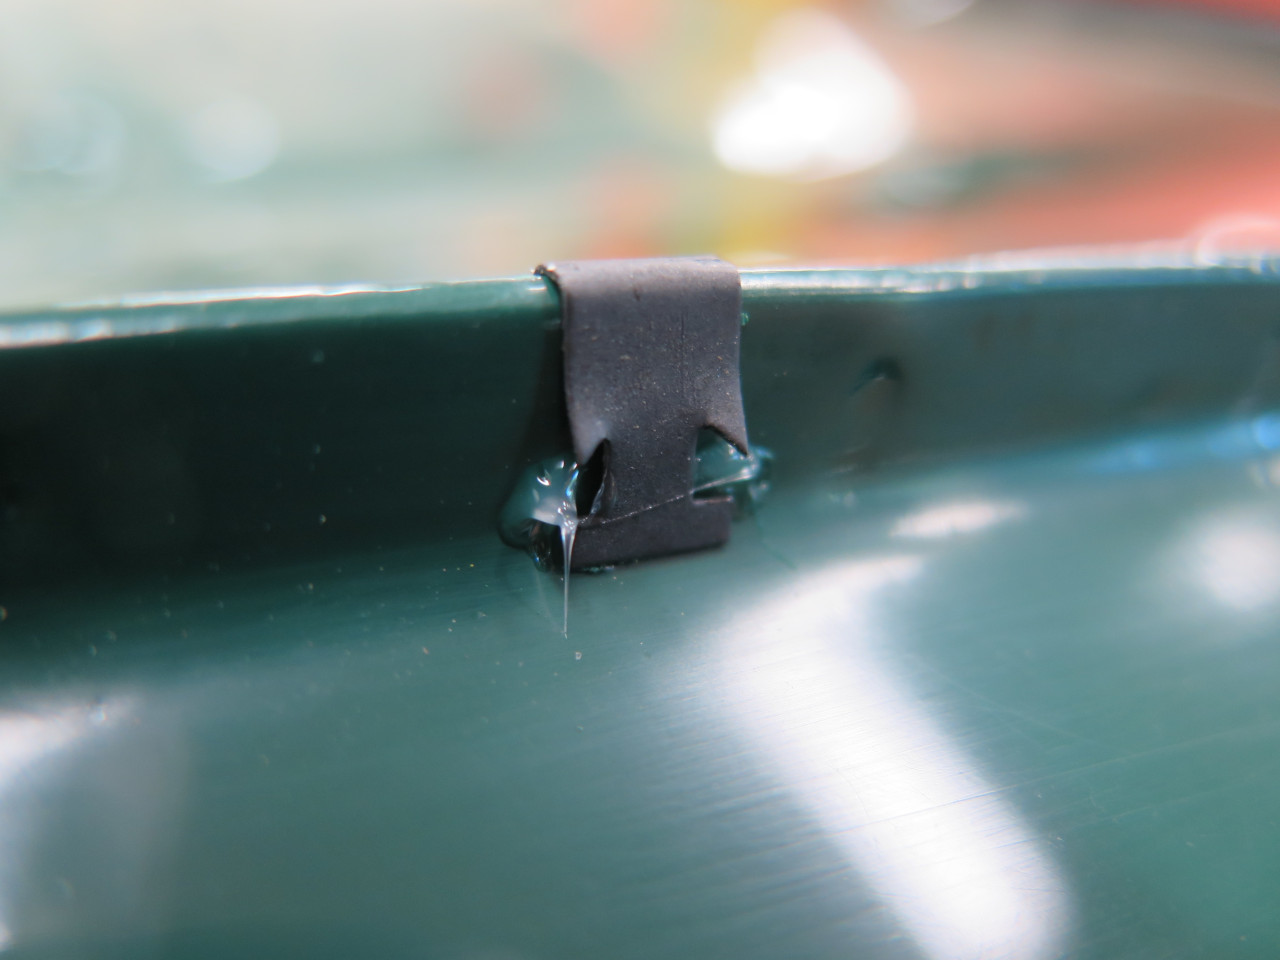
Well, I'm happy to say that the three original trim pieces seated with a nice, convincing amount of pressure.
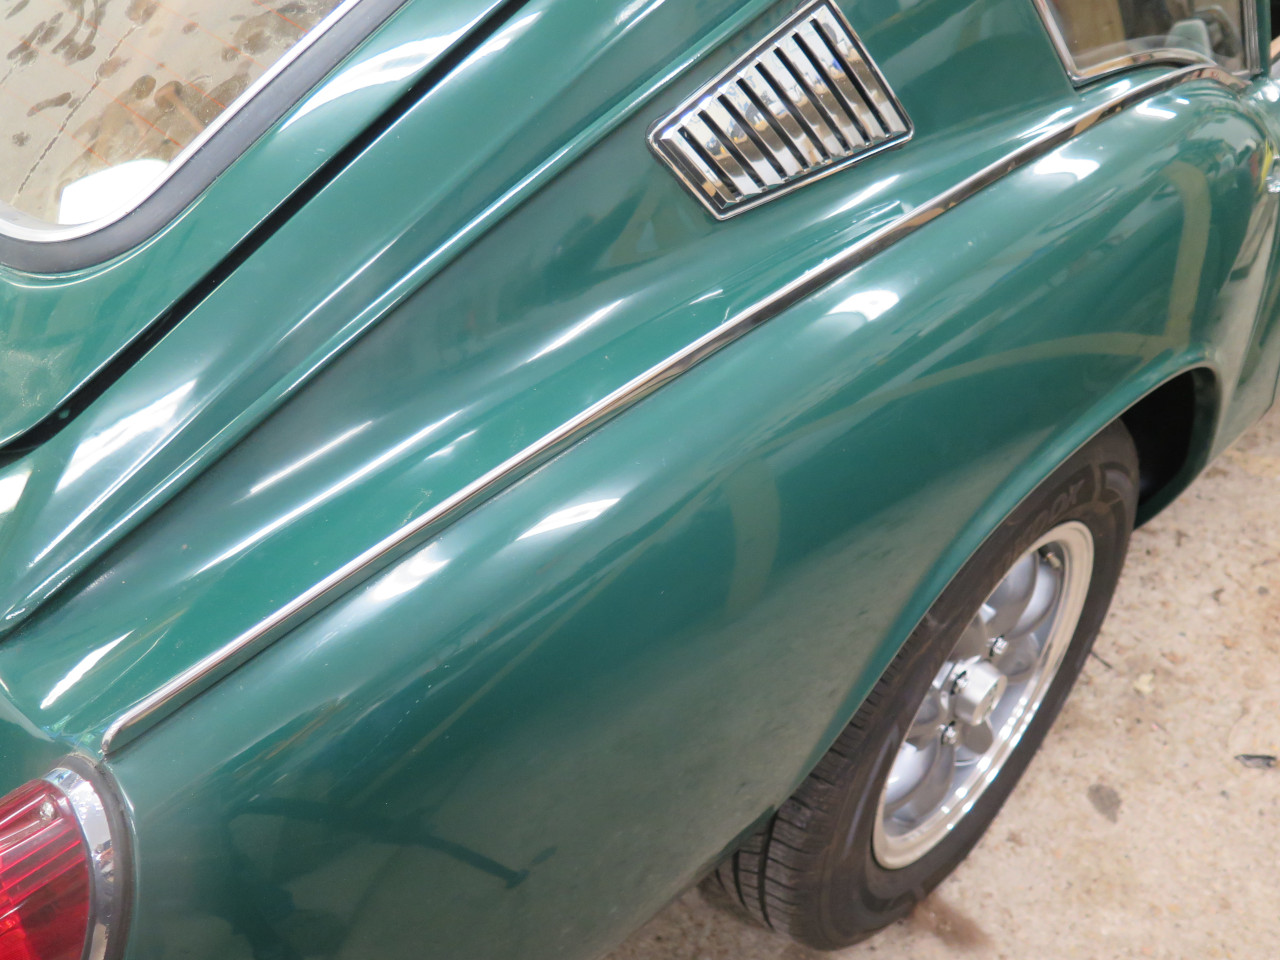
The new one, not so much. It just wouldn't stay put. The barbs
wouldn't bite into it properly. It did seem that the legs were spread a
little wider than on the originals, which might cause the problem. My
first inclination was to just whack it with a hammer down its length,
but when some better judgement clicked in, I set up my bead roller to
compress it in a more civilized operation.
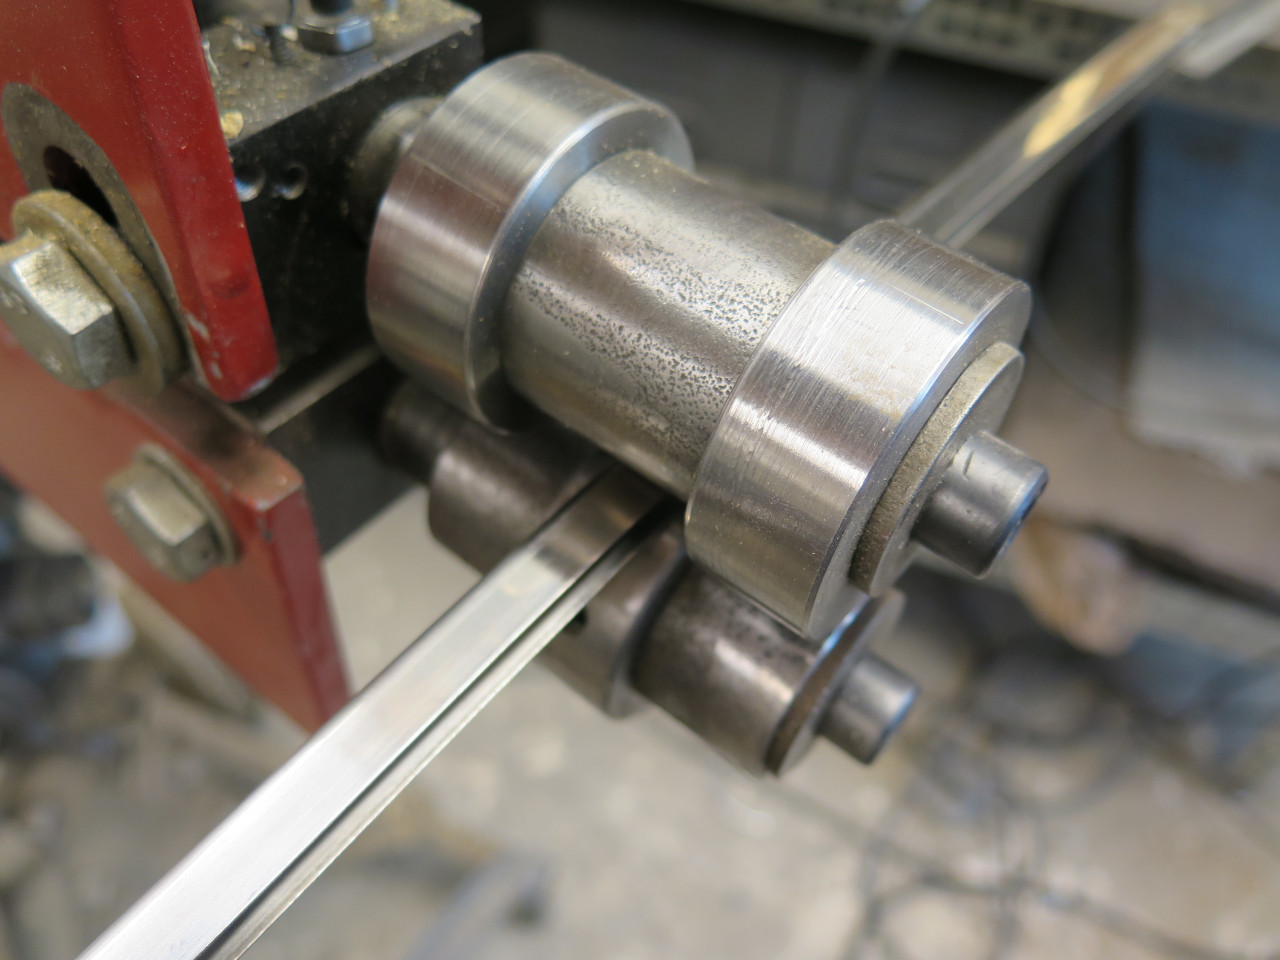
This helped, but didn't cure the problem. It seems that the
material of the new piece is harder than the originals, so the barbs
can't grab it as well. I added more clips and actually carefully
bent some of the barbs out a little. This gave me a trim piece
that is staying on, but still comes off way easier than the
others. I may end up gluing it.
Side Reflectors
Just about the only little bag o' parts left in the parts box
contained the four side reflectors. Two of these went on the front
wings, and two on the rear wings. Many folks don't re-install
these, for a "cleaner" look, I guess, but since I had neglected to weld
up the mounting holes on the front wings, I just about had to use
them. On the other hand, since my rear wings were new, and I had
neglected to drill mounting holes, and didn't want to drill them now, I
just about have to leave them off. It's funny how neglect can have
many different consequences.
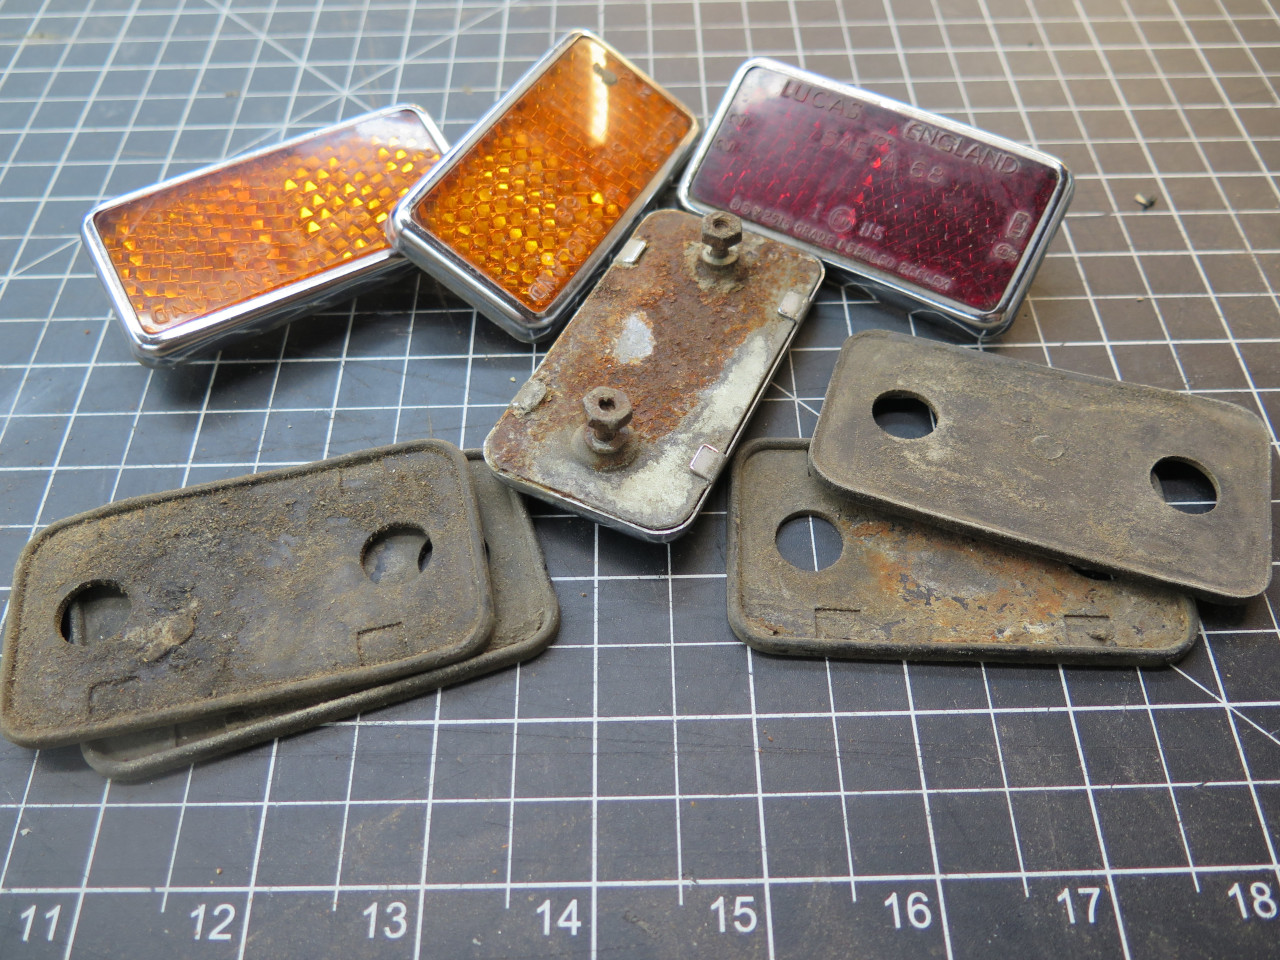
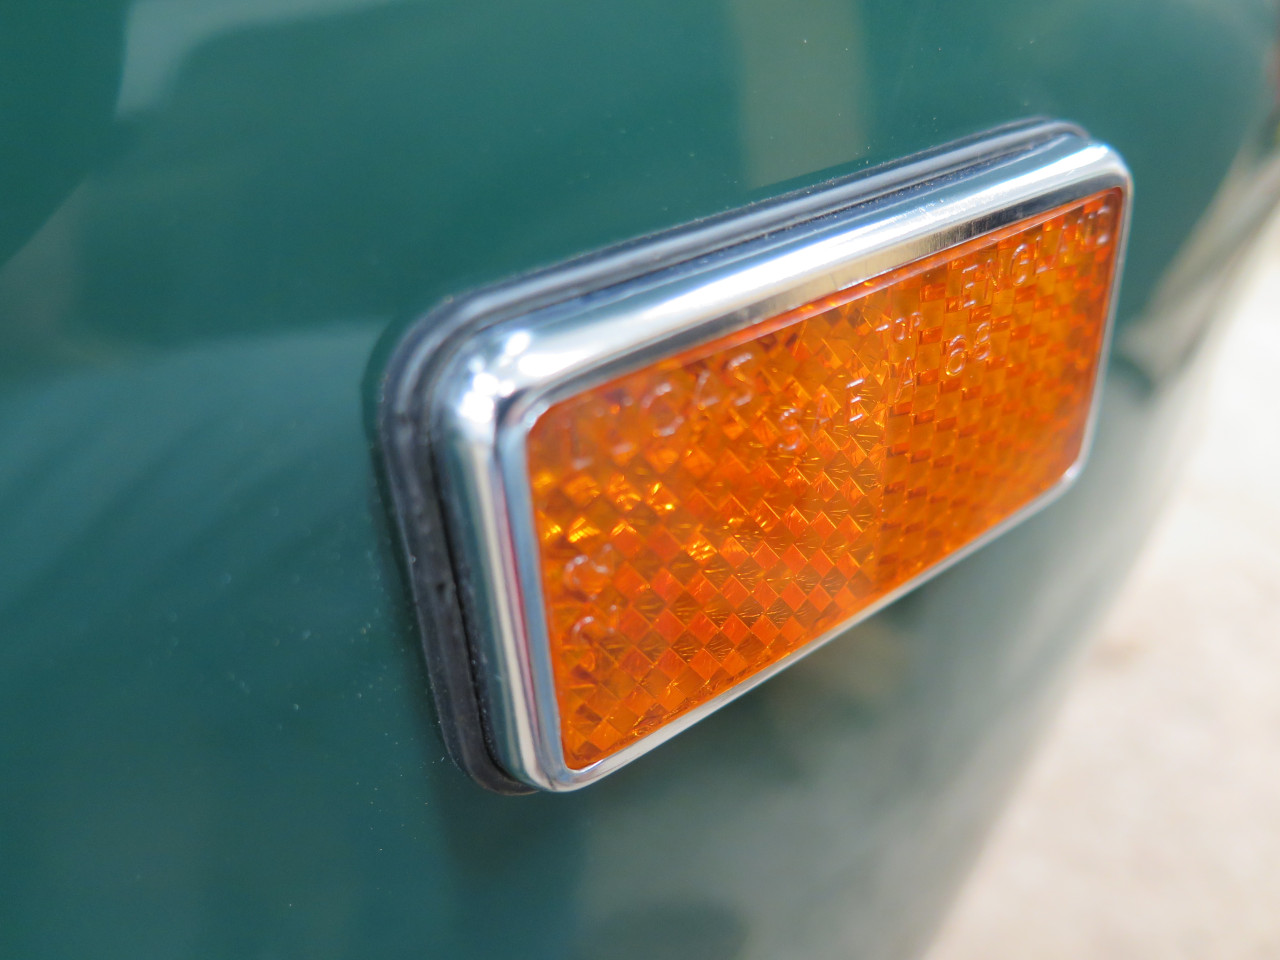
A little research suggested that it was the amber reflectors that went on the front.
These are properly called "retroreflectors", which means that they
reflect light back in the direction it came from, no matter what the
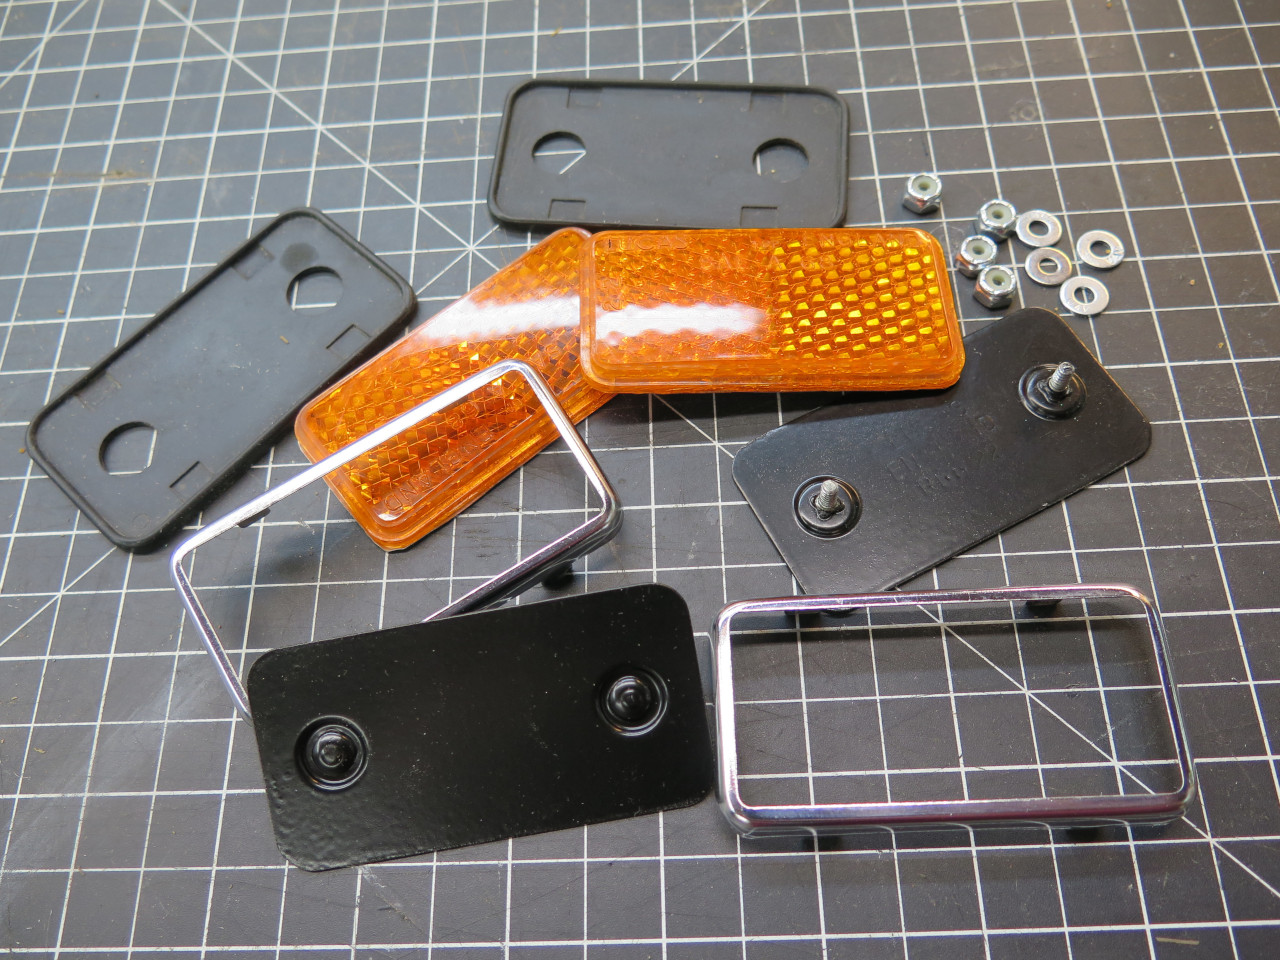
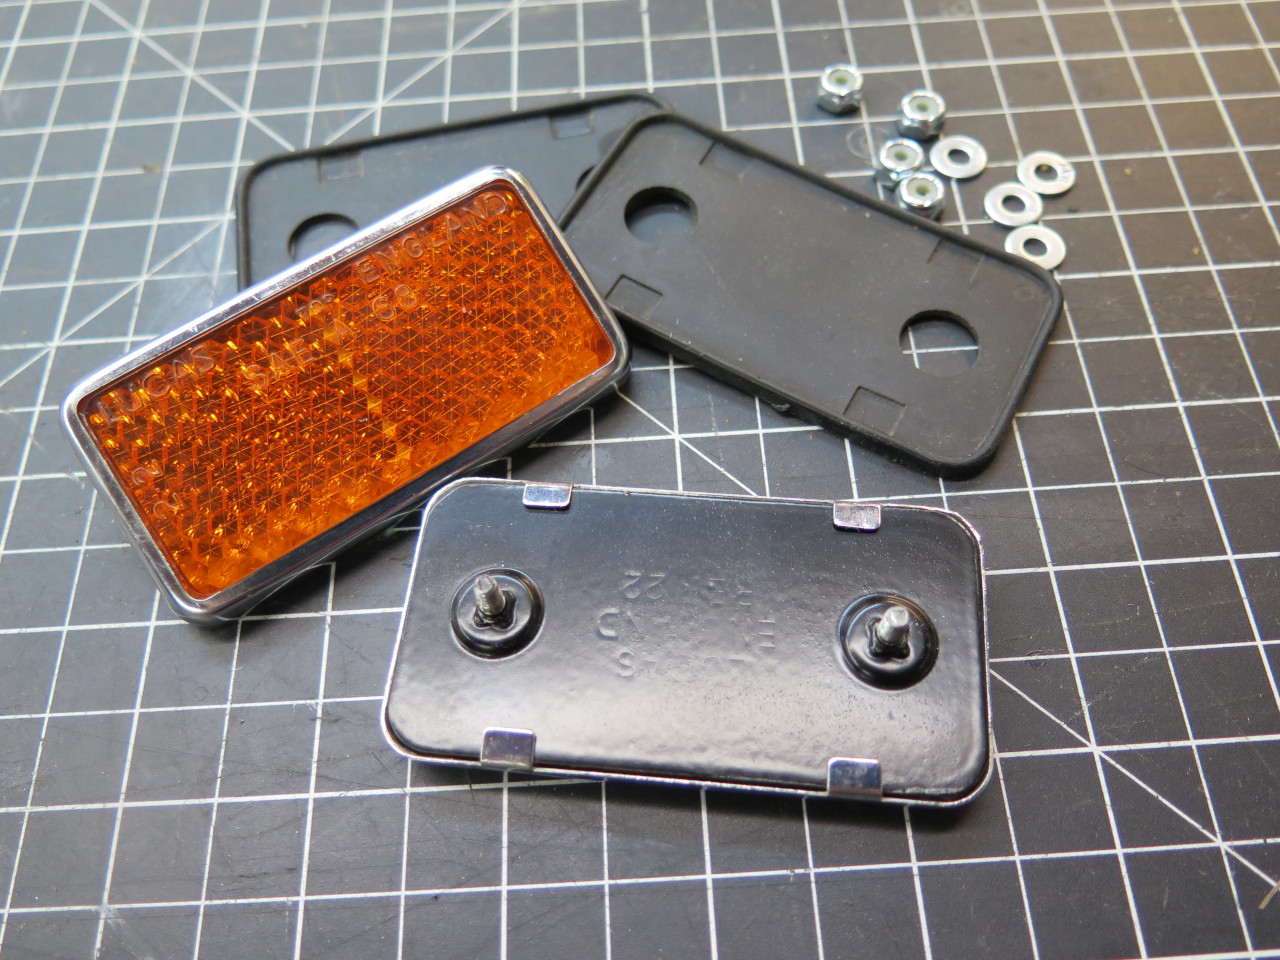
angle (within limits, of course). Each reflector consists of a
plastic lens with lots of small angled surfaces on its backside that do
the "retro" magic, a thin foil reflector that returns any light that
makes it through the lens, a steel backing plate with mounting studs,
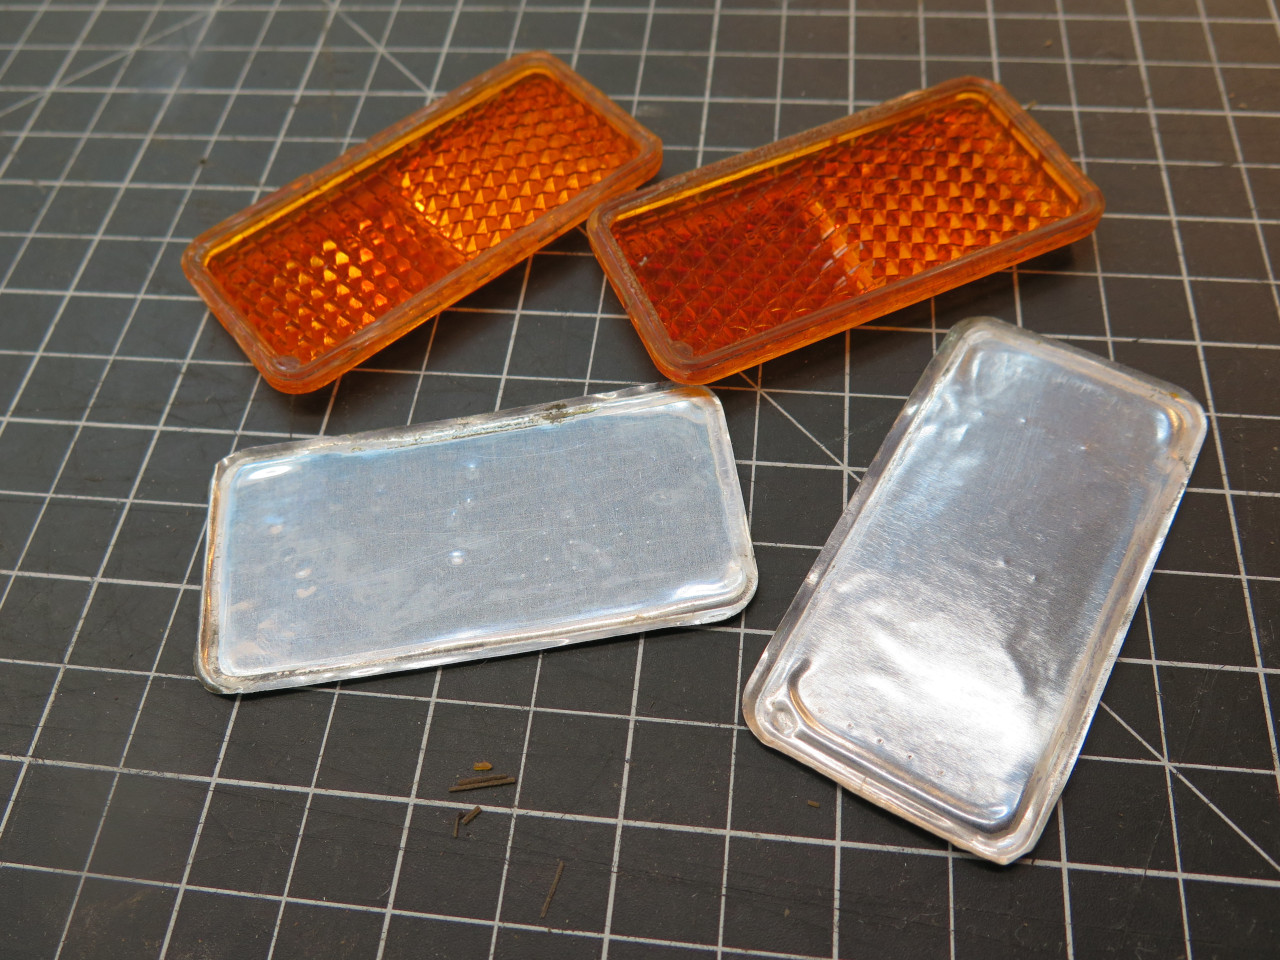
and a chrome plated bezel that holds everything together.

The backing plates were pretty corroded, so I stripped off the remaining
zinc and replated them. Then, since these plates will be exposed
to weather and probably trapped water I powder coated them too.
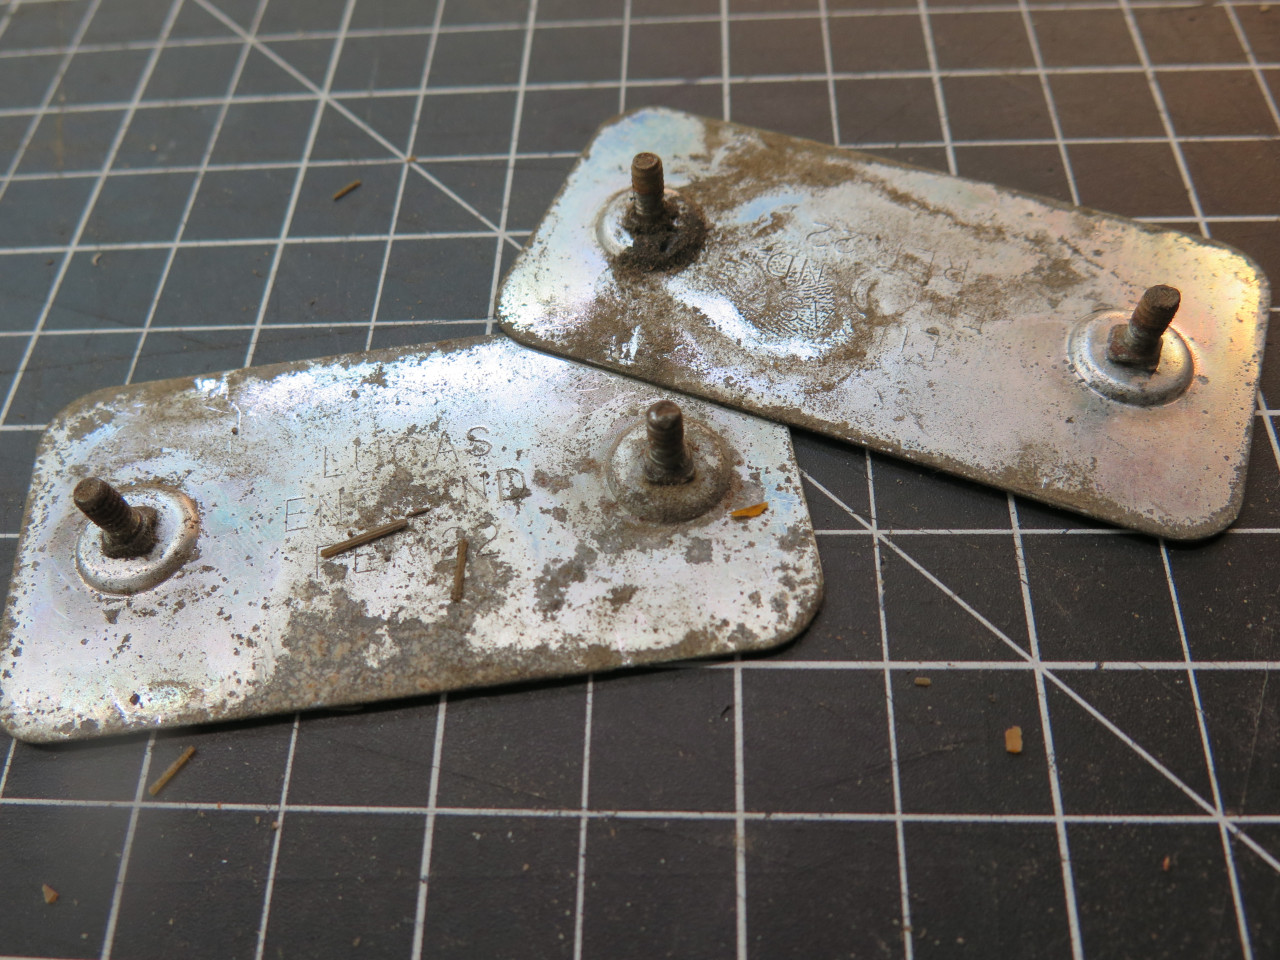
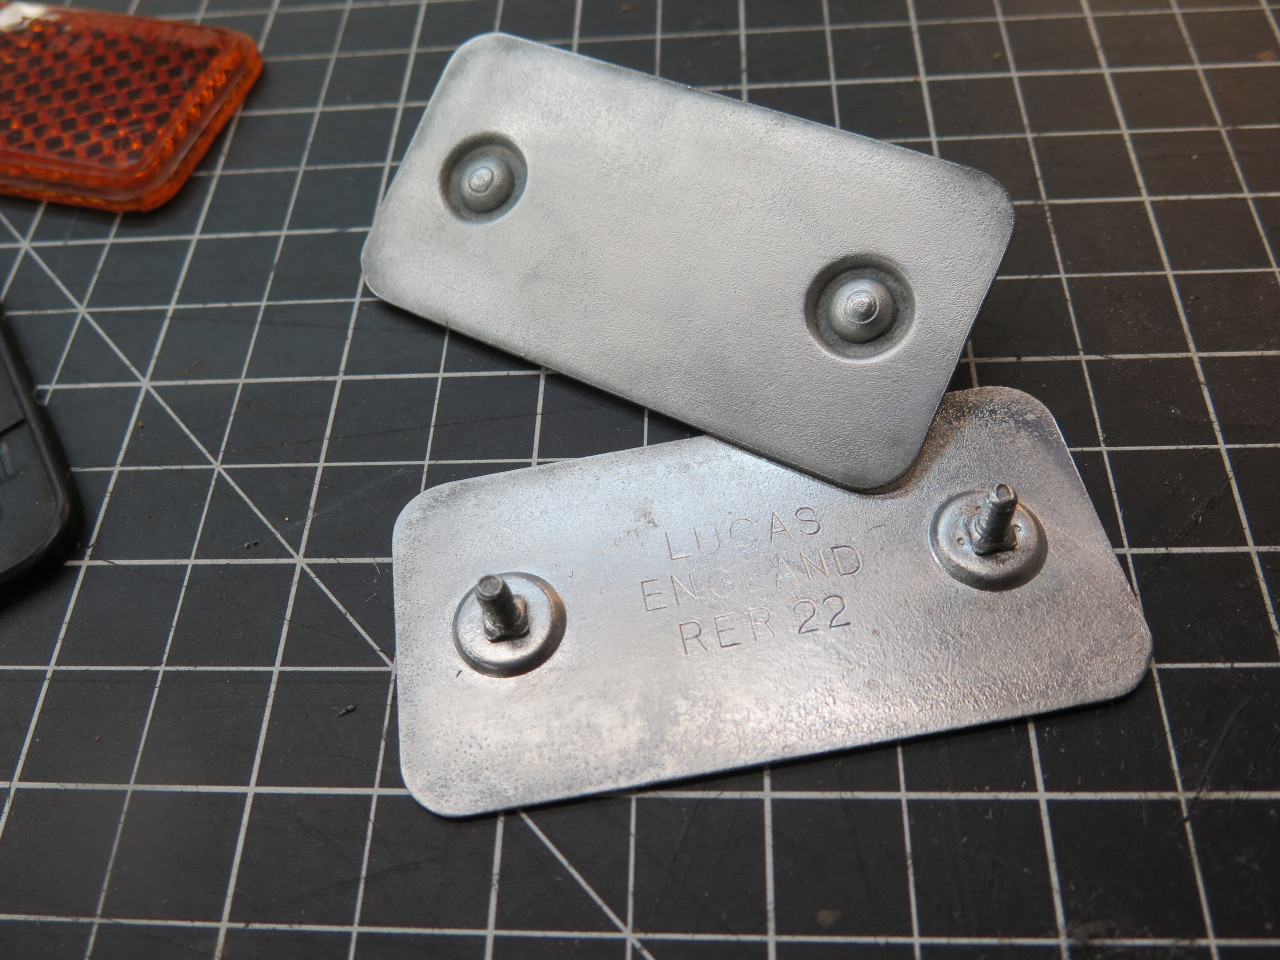
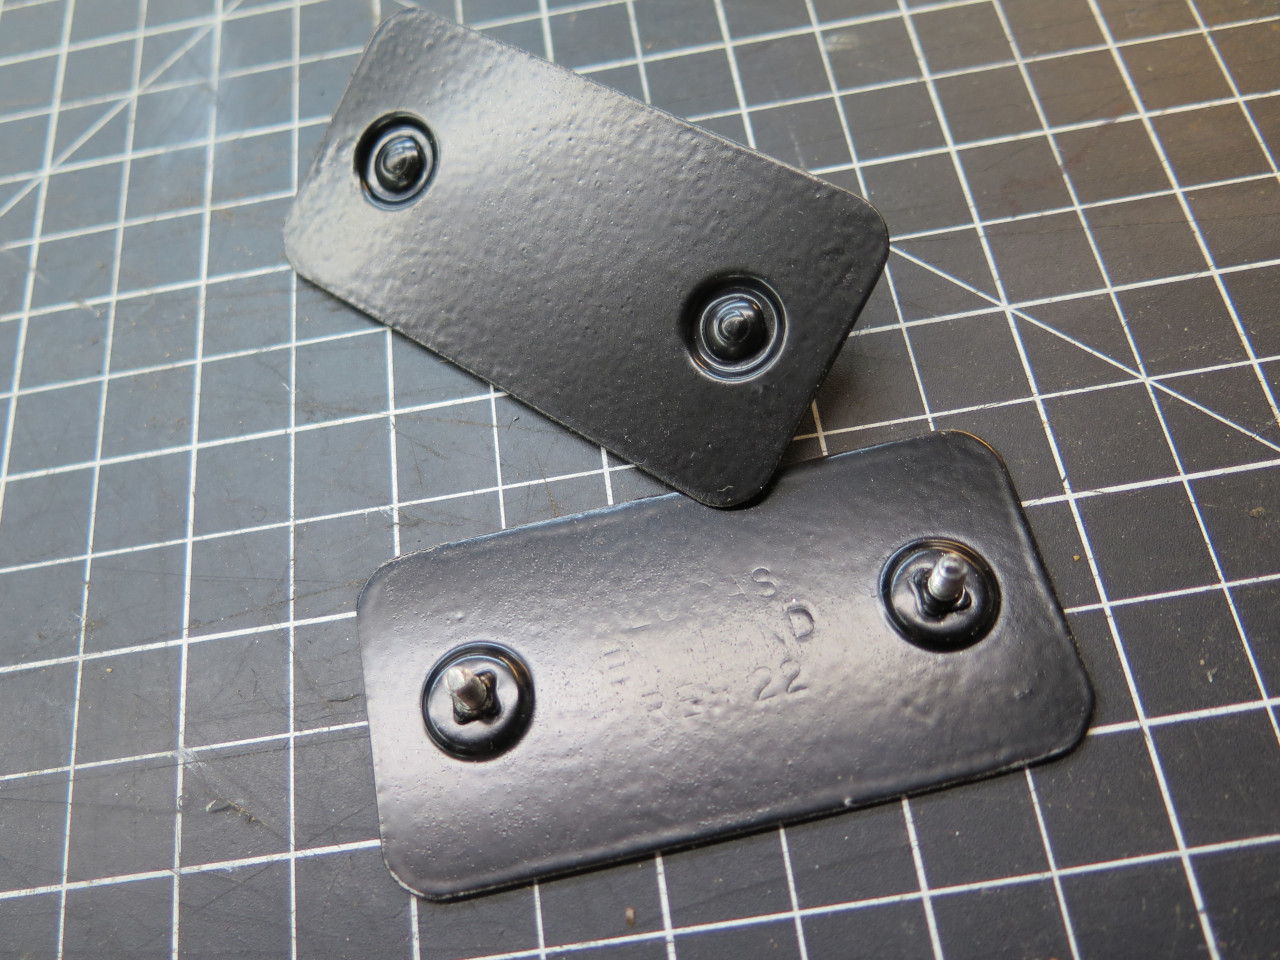
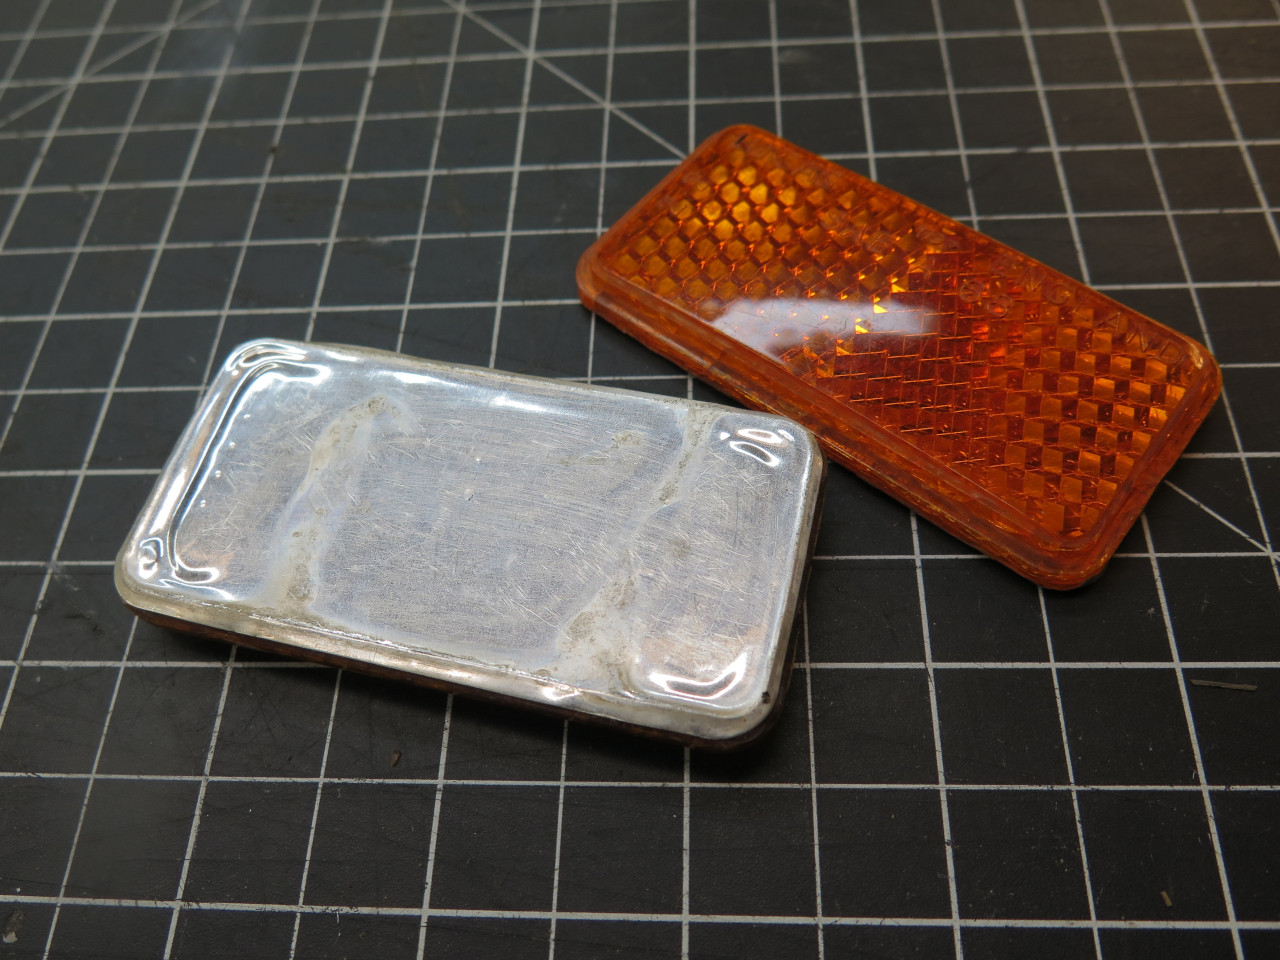
The lenses were cleaned up and polished on the outside. The foil
reflectors were just cleaned, flattened, and glued to the lenses.
The rubber pads that go between the reflector and the car body were in
excellent shape after some cleaning, so I reused them. I'm often
amazed how some old British rubber ages so well.
Then took them home.
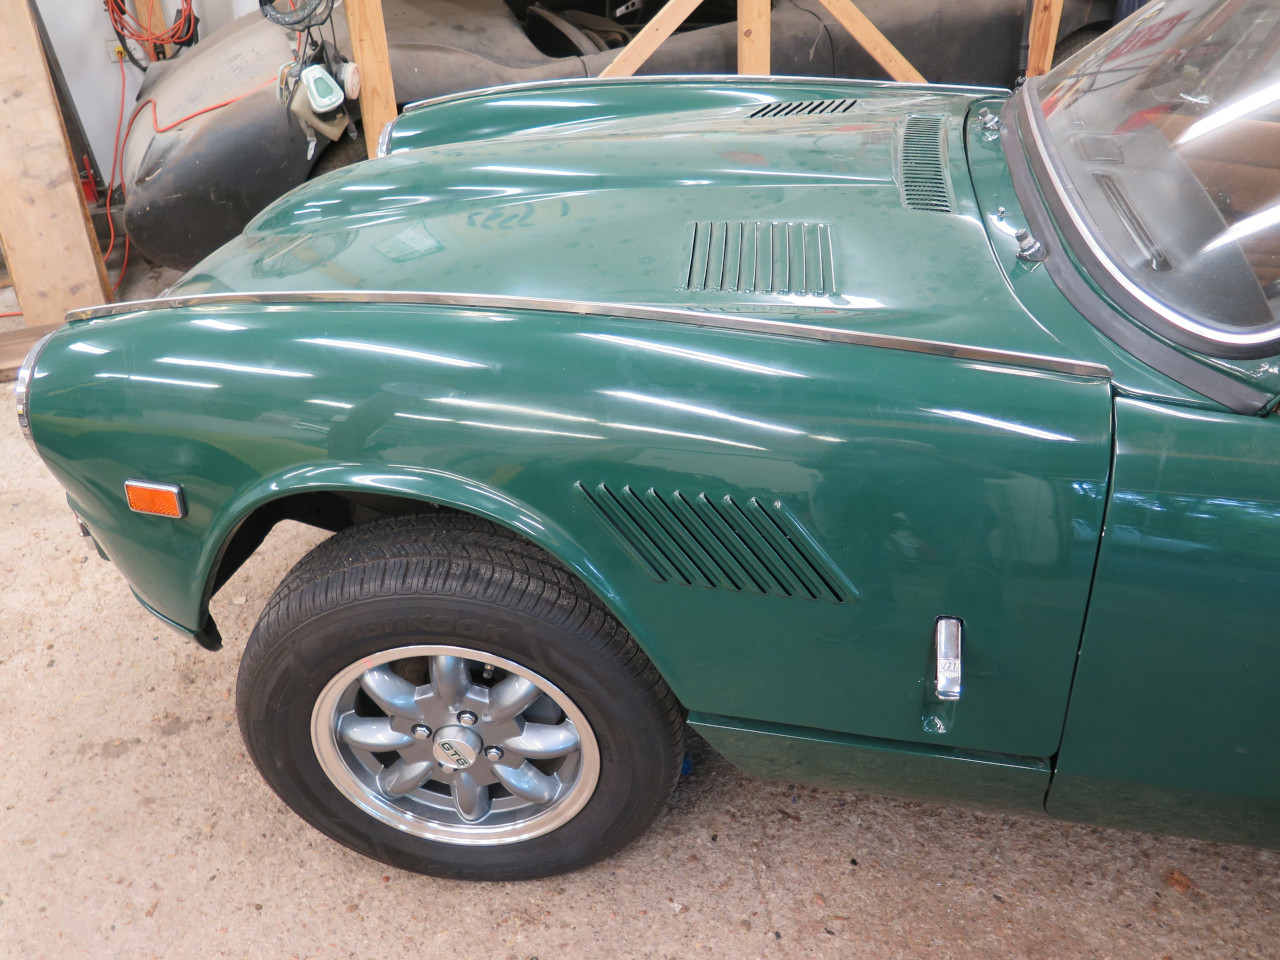
I might prefer the car without these, but I really don't mind them.
Sun Visor Install
I took the re-made sun visors off the shelf, where they've been waiting patiently for 17 months.
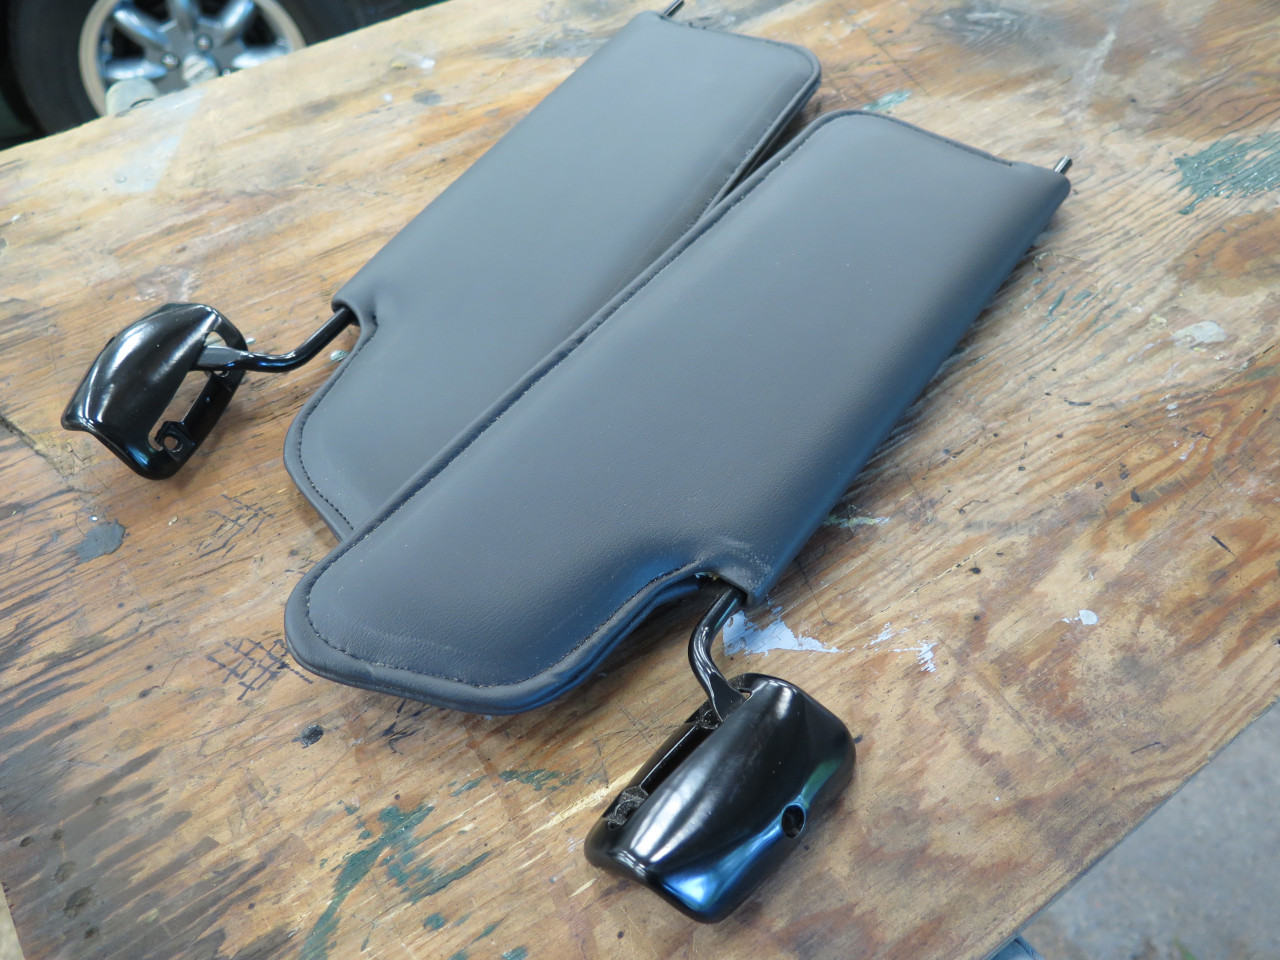
Then had to locate and open up he clearance and mounting holes under the headliner.
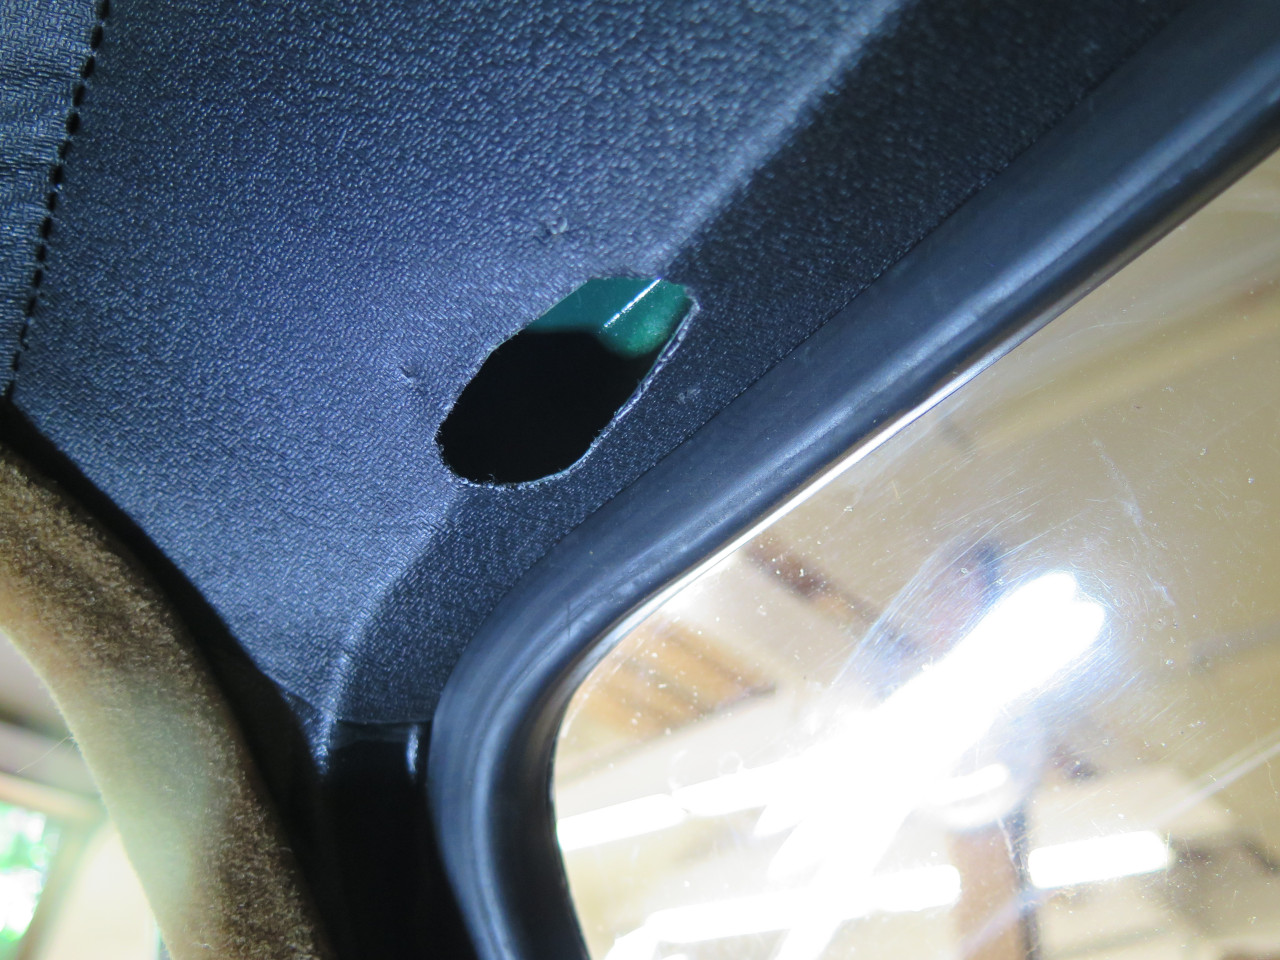
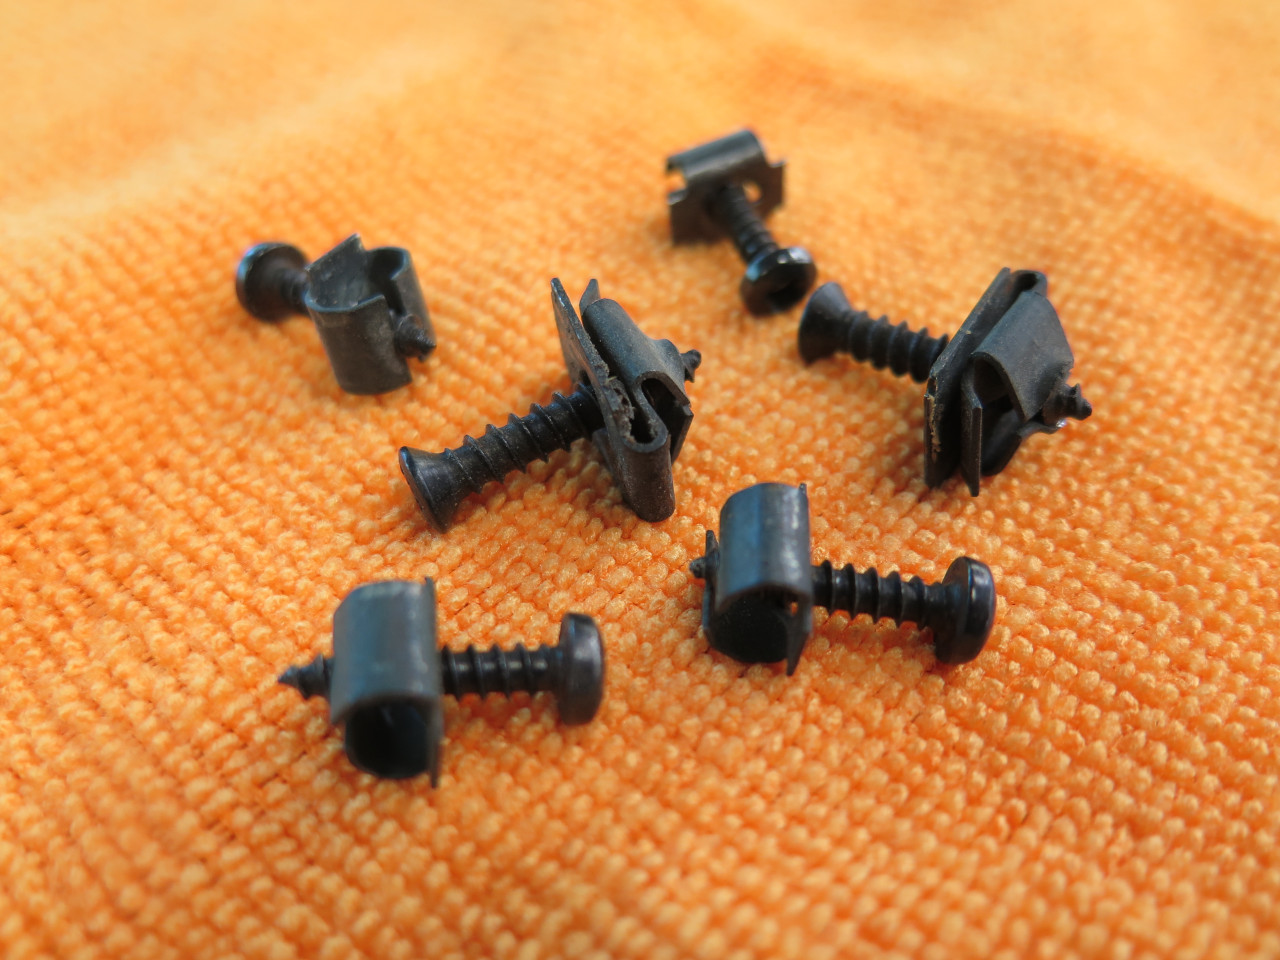
By some miracle, I still had the original fasteners and speed nuts.
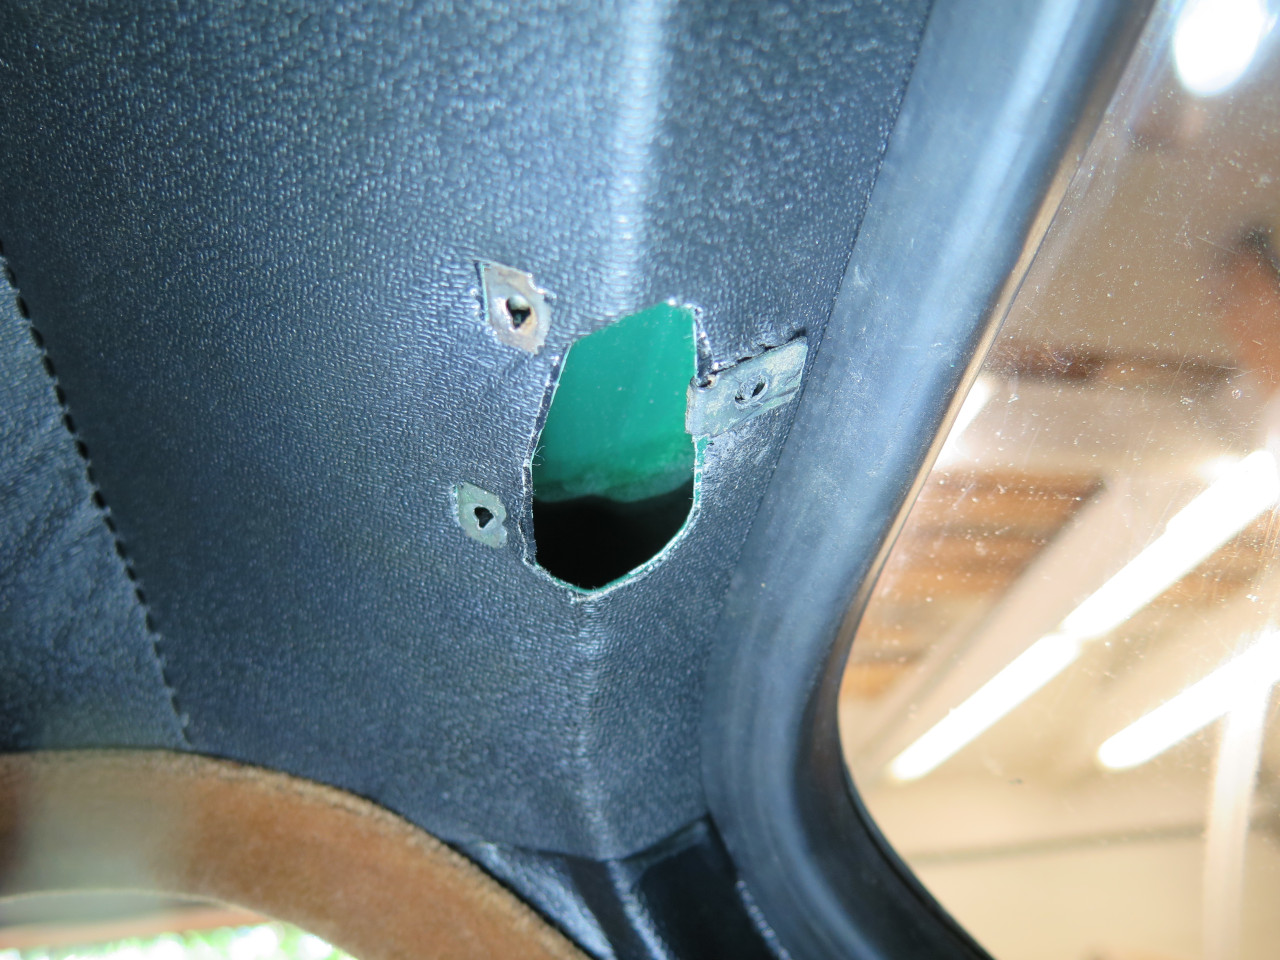
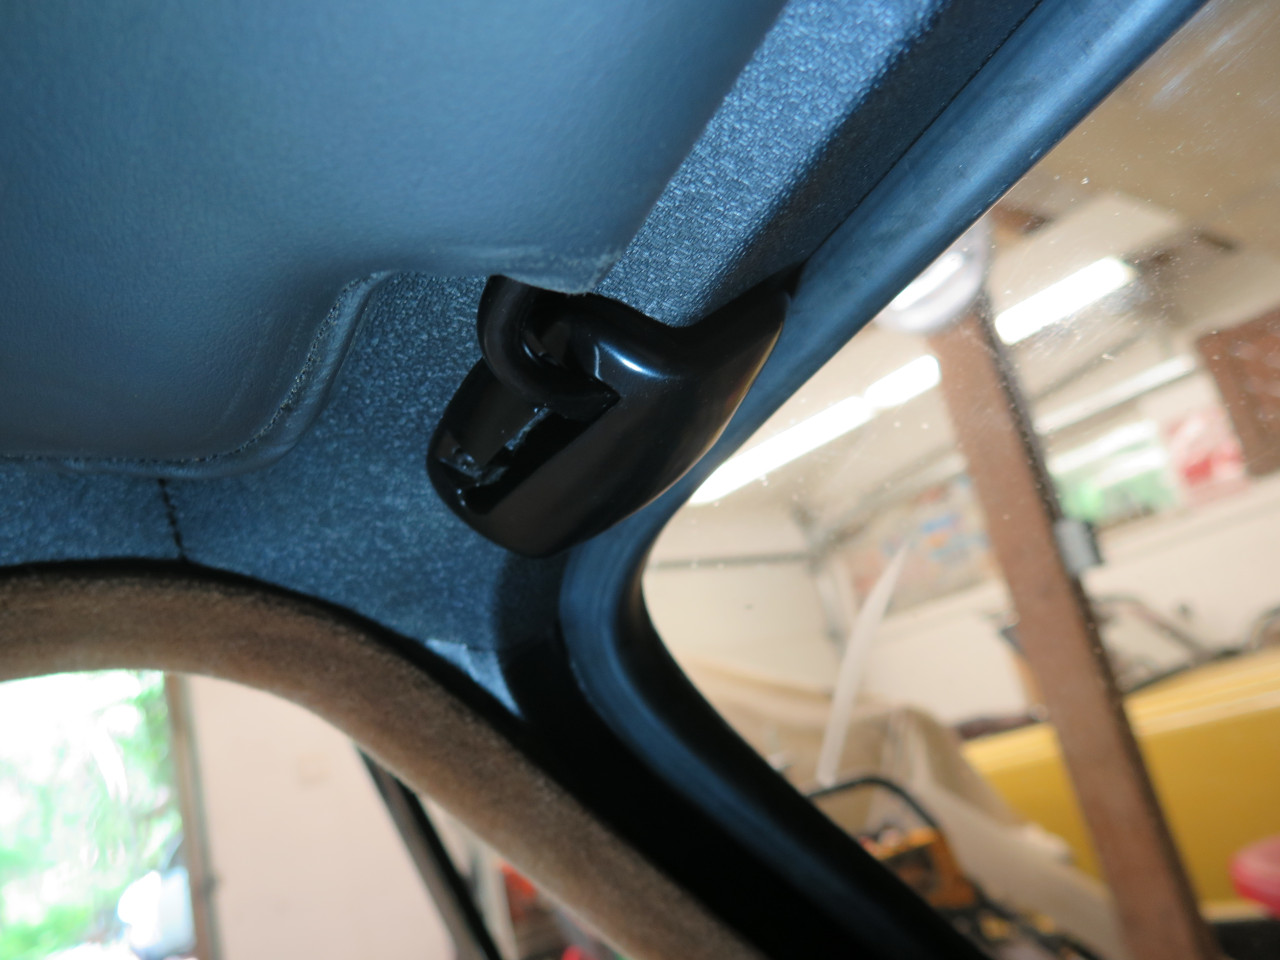
The mounting plates went on without a hitch.
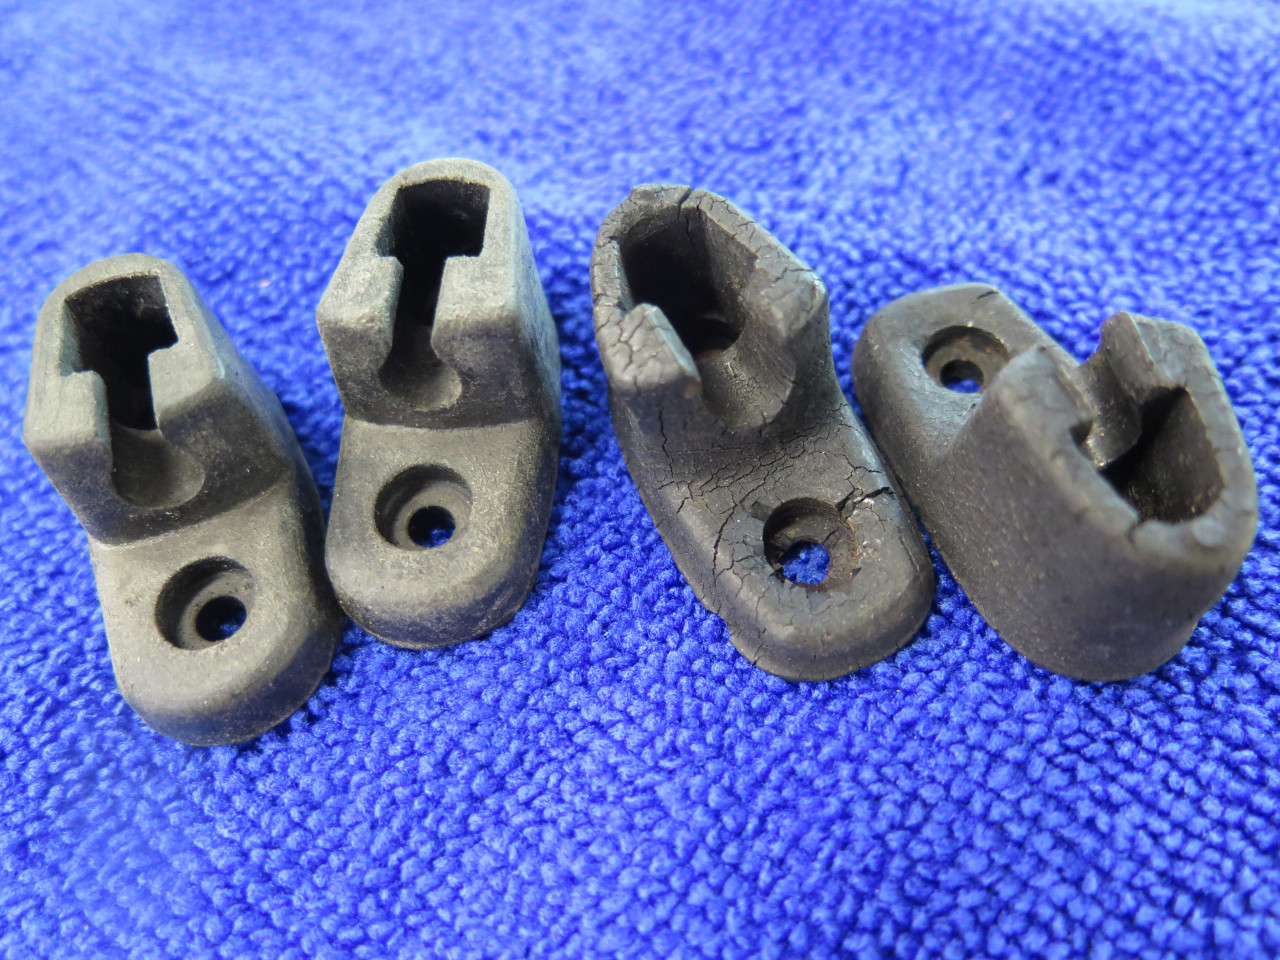
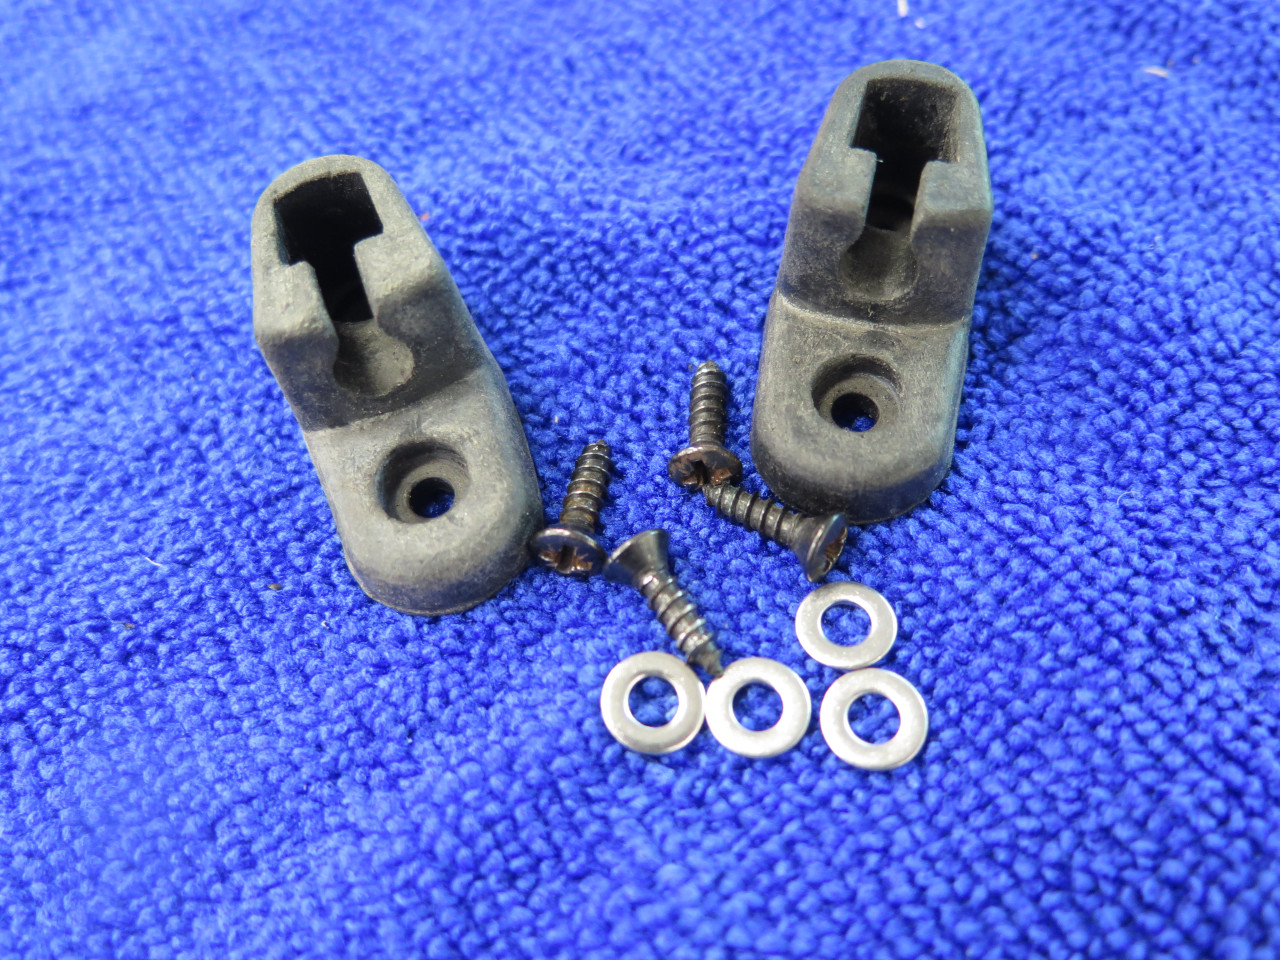
Then there were the little inboard keepers. Originals were the
ones on the right in the first pic. They were stiff and
brittle. The ones on the left I actually ordered for my TR6, but
they proved to be too soft and wimpy to hold the visors against wind
buffeting. I 3D printed some stiffer ones for the TR, so these are
hand-me-downs for the GT.
There was some adjustment involved to get the visor end tip to fit into
the keepers. It mainly involved shifting the visor and end tip in
the outboard direction.
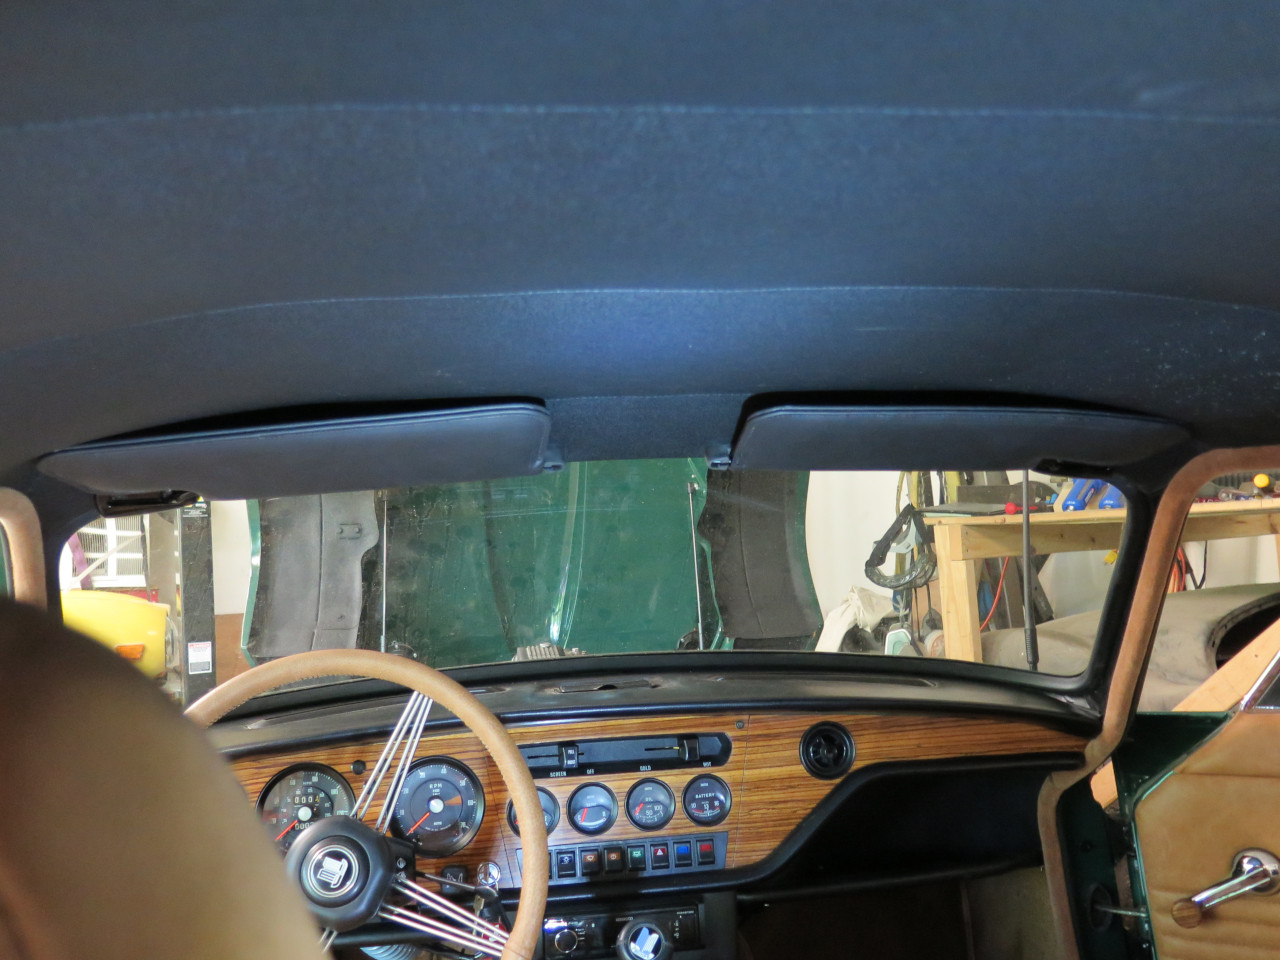
They seem to work just fine.
Rear View Mirror Install
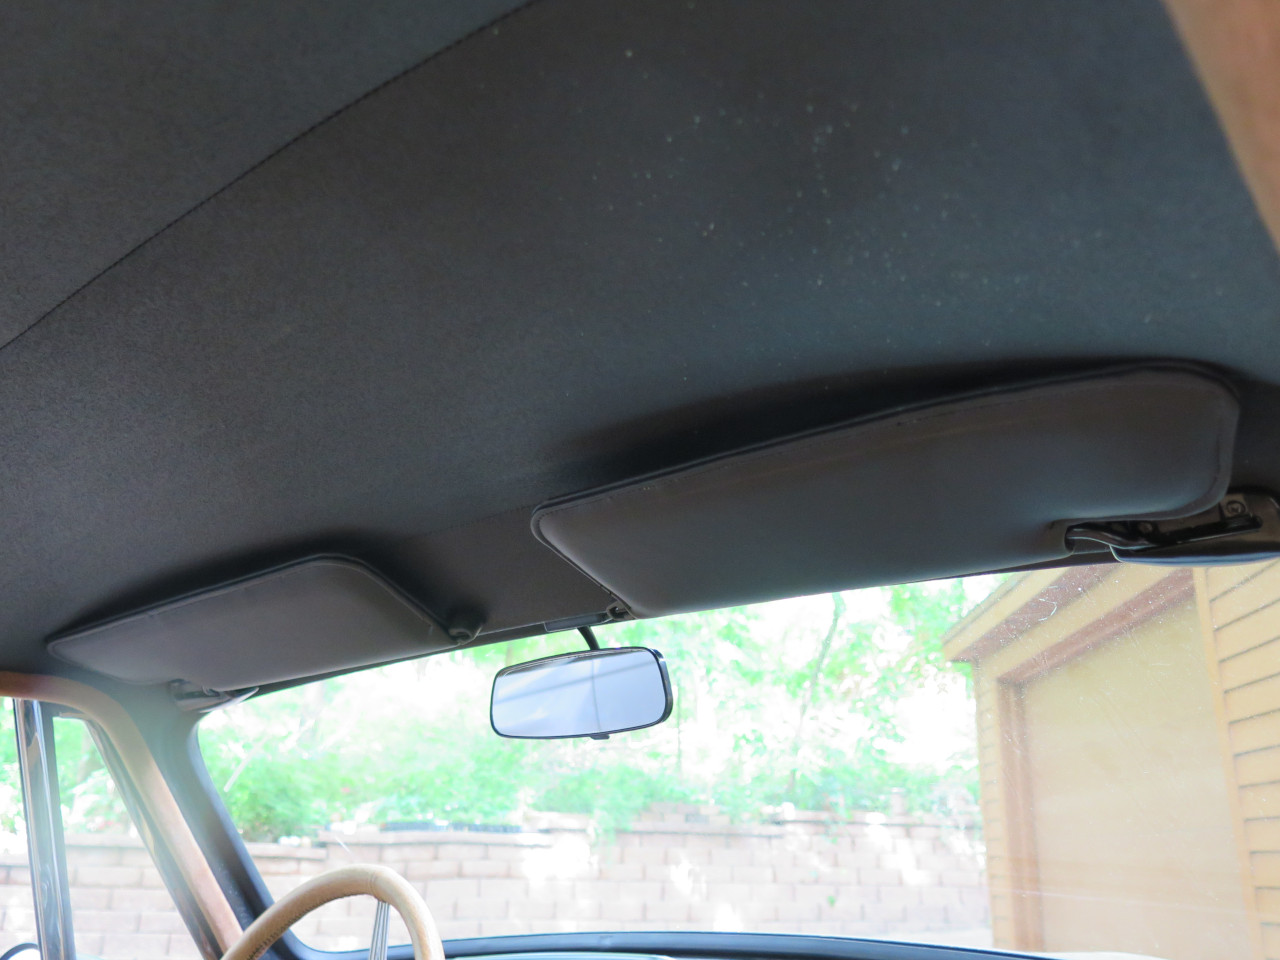
Dug out the refurbed rear view mirror.
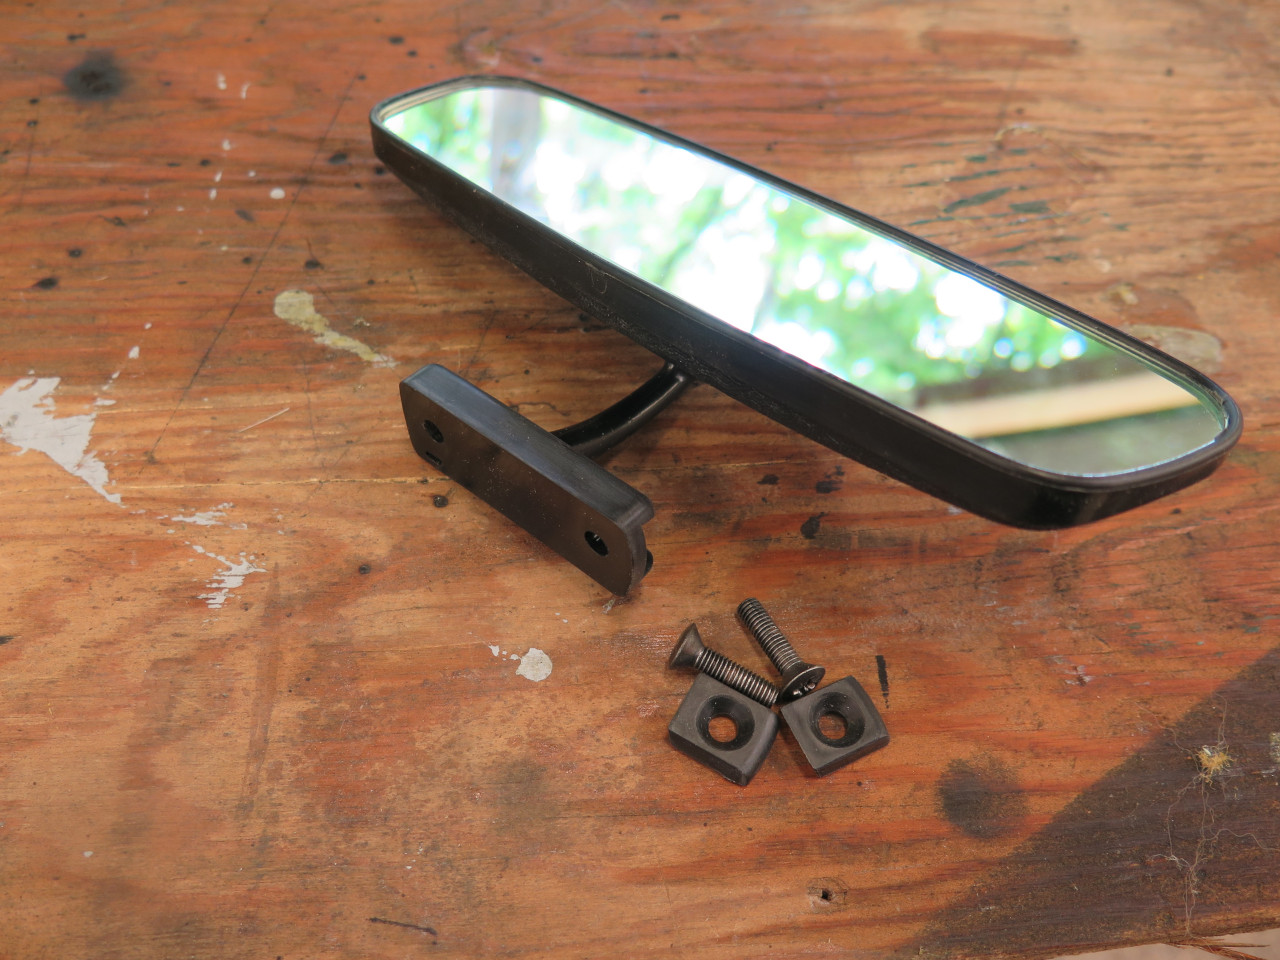
It went in without any drama, heartache, or adult language. Why can't all jobs be like that?
Battery Terminal Cover
Perusing the engine bay, my eye always seemed to stop at that big
oversized battery terminal cover. I think it came with the cable
terminal.
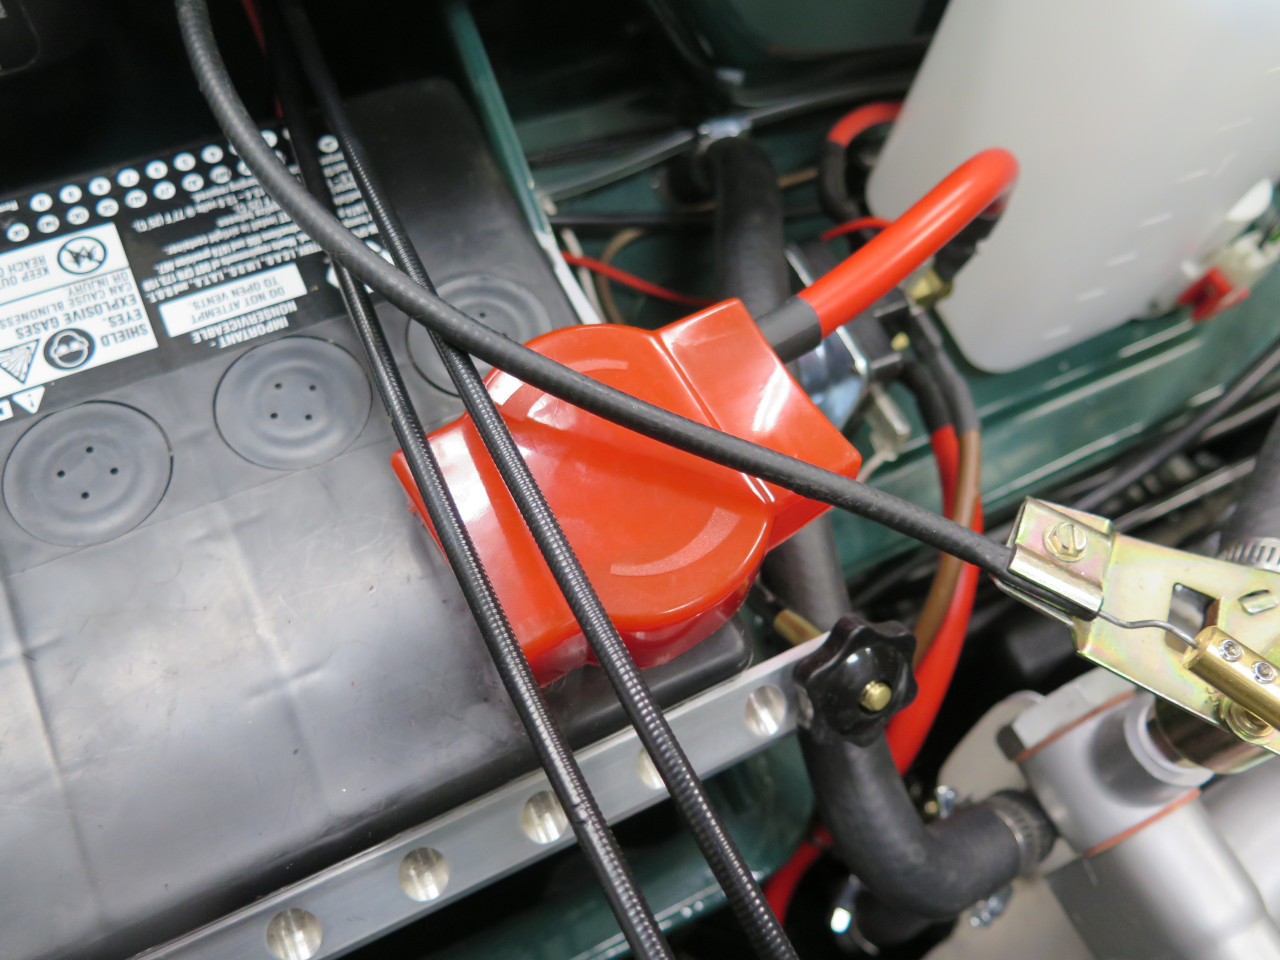
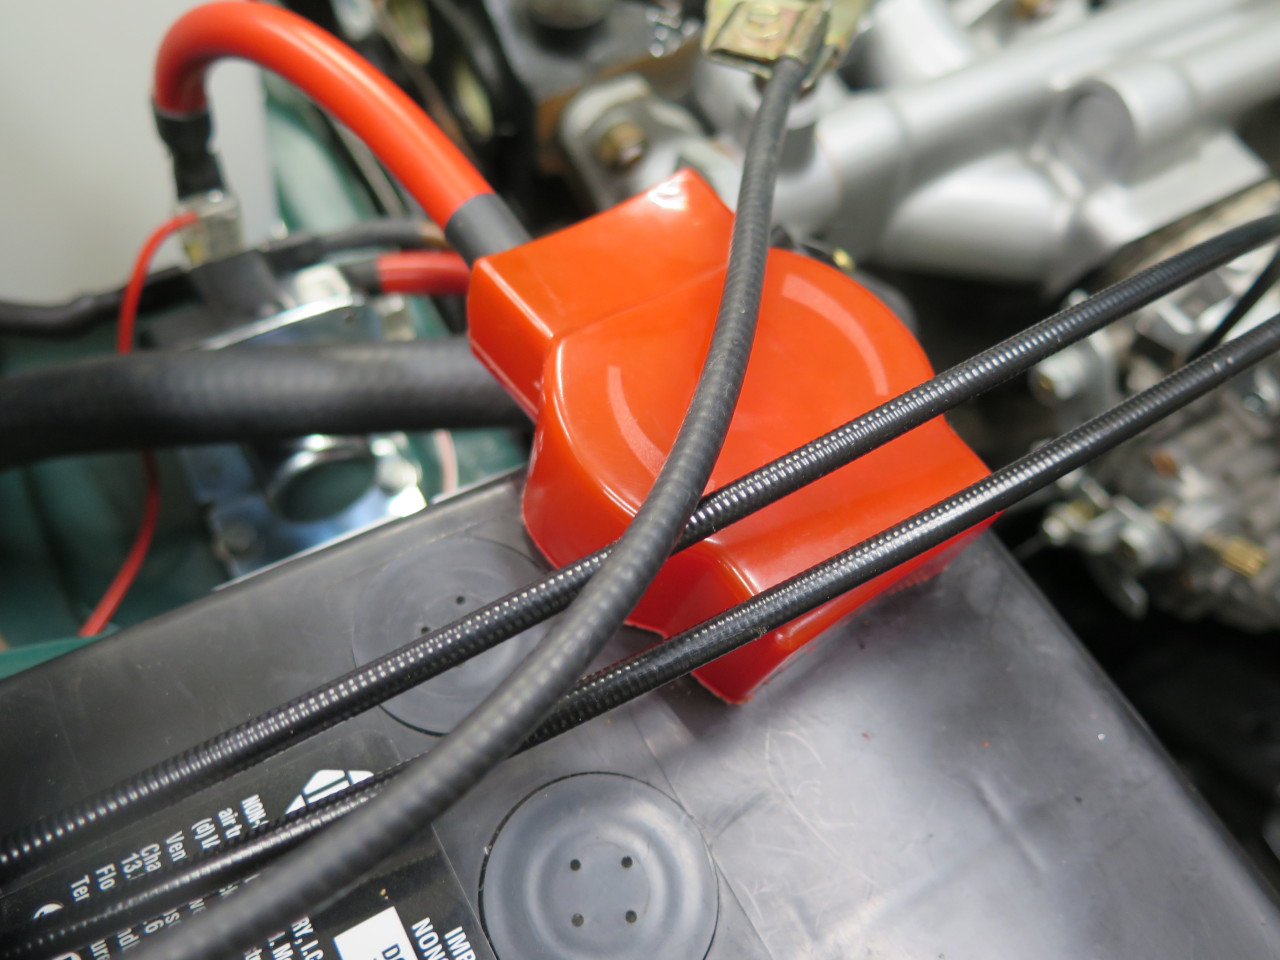
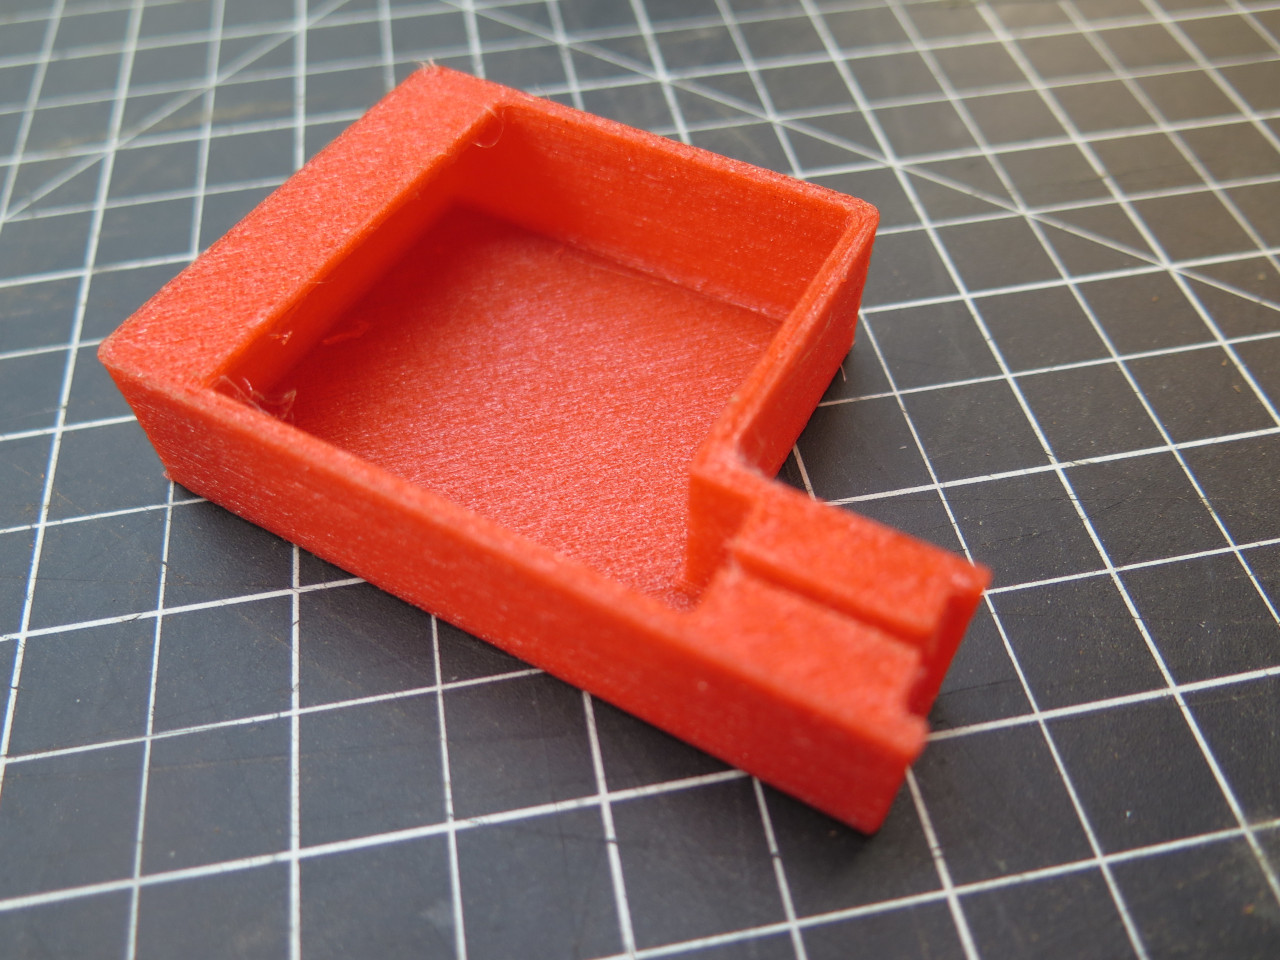
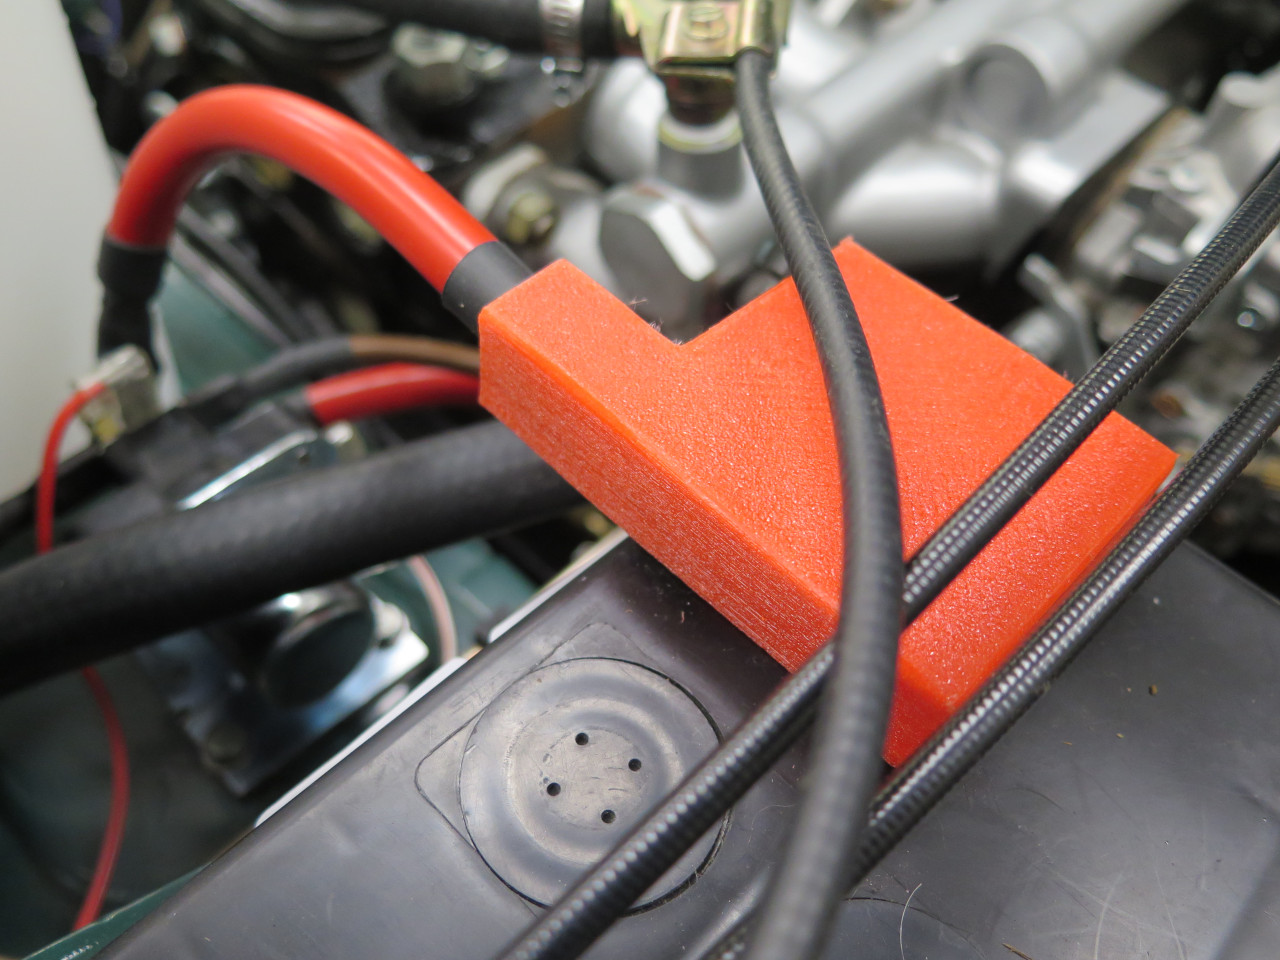
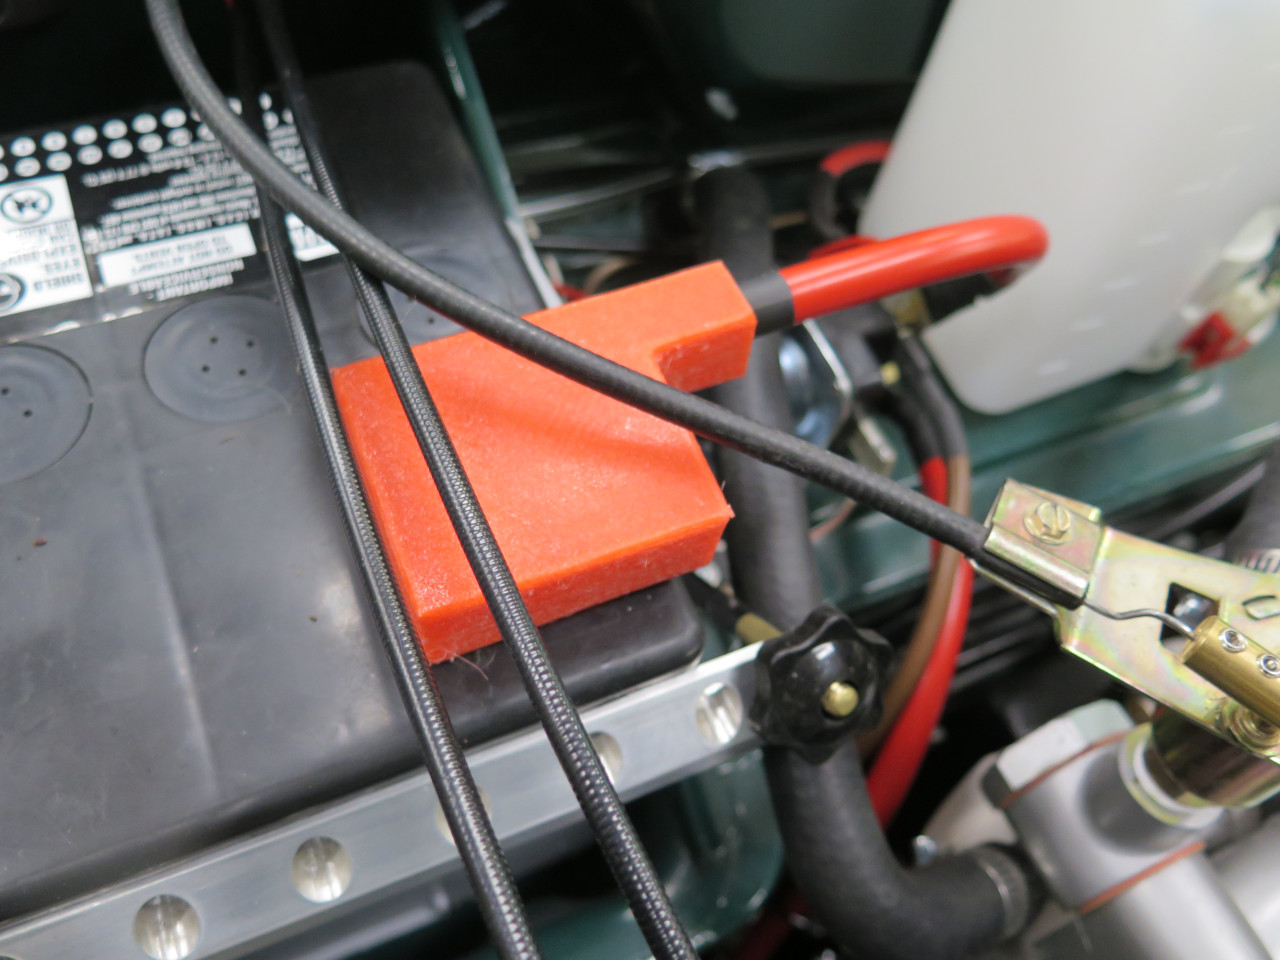
I thought something a little more form-fitting would look better.
This is a 3D printed cover. It's made from TPU, a soft, rubbery
material. This allows it to be snapped on and removed without
undoing the terminal.

Looks a lot better, I think.
Body Ground
When doing the electrical system for this car, I resolved to provide an
explicit ground wire for all loads so that the body would not be part of
any electrical circuit. There turned out to be a few electrical
devices where this wasn't really practical--namely the distributor, the
coolant temperature sensor, the starter solenoid and the PDWA. The
two engine mounted devices still have their ground through the engine
block, since the starter frame is connected directly to the battery
negative.
But the solenoid and PDWA still each have one electrical connection to
the body, and the body is not explicitly grounded. Both devices
still work because of opportunistic ground connections--I think it's
just the choke and heater valve control cables.
This didn't seem like sound design, so I capitulated, and agreed to add a
real ground connection to the body for exclusive benefit of the
solenoid and PDWA.
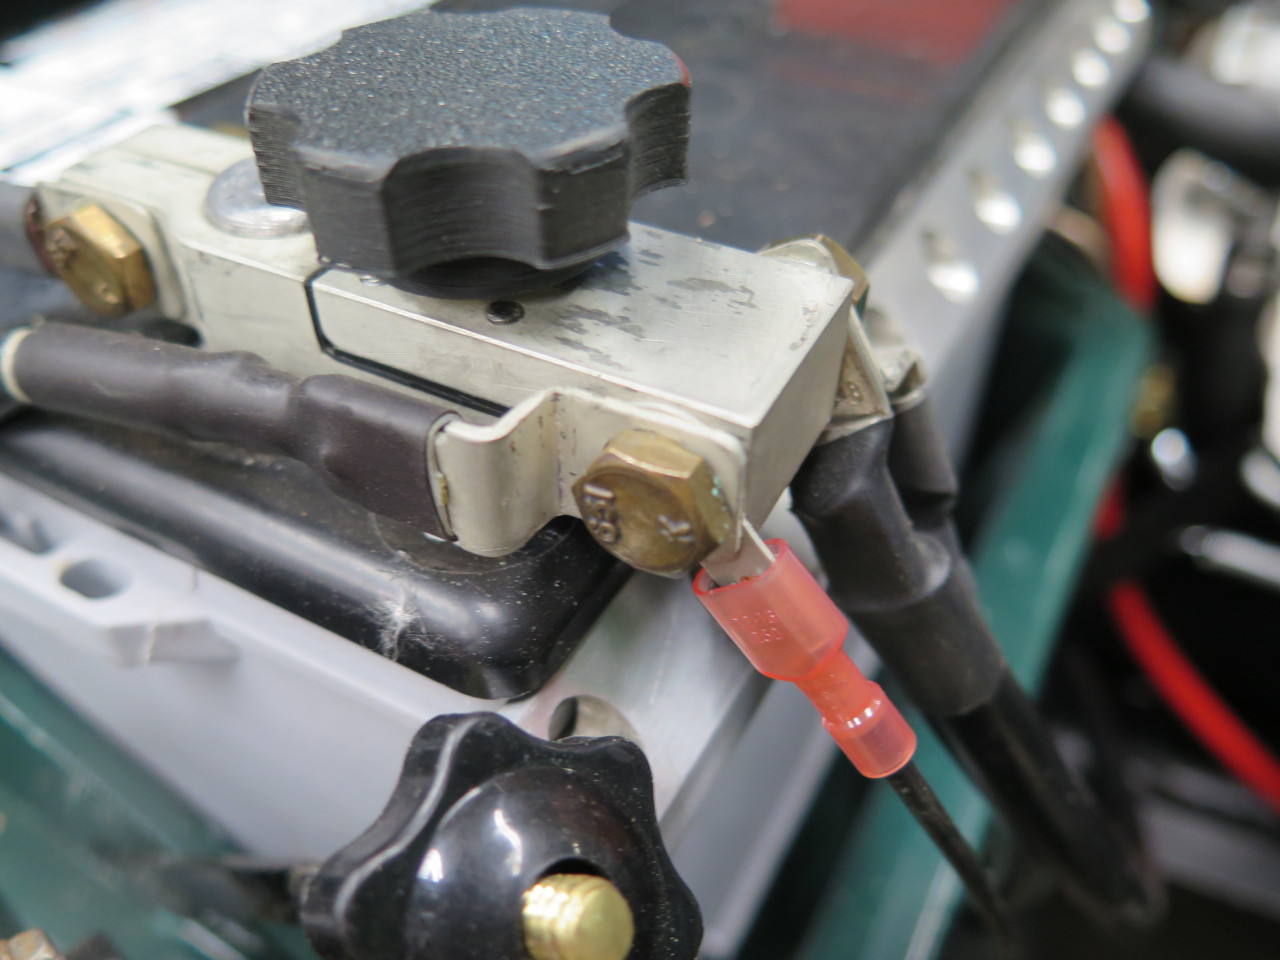
I made up a little quick disconnect tab for the negative battery terminal, and a short cable.
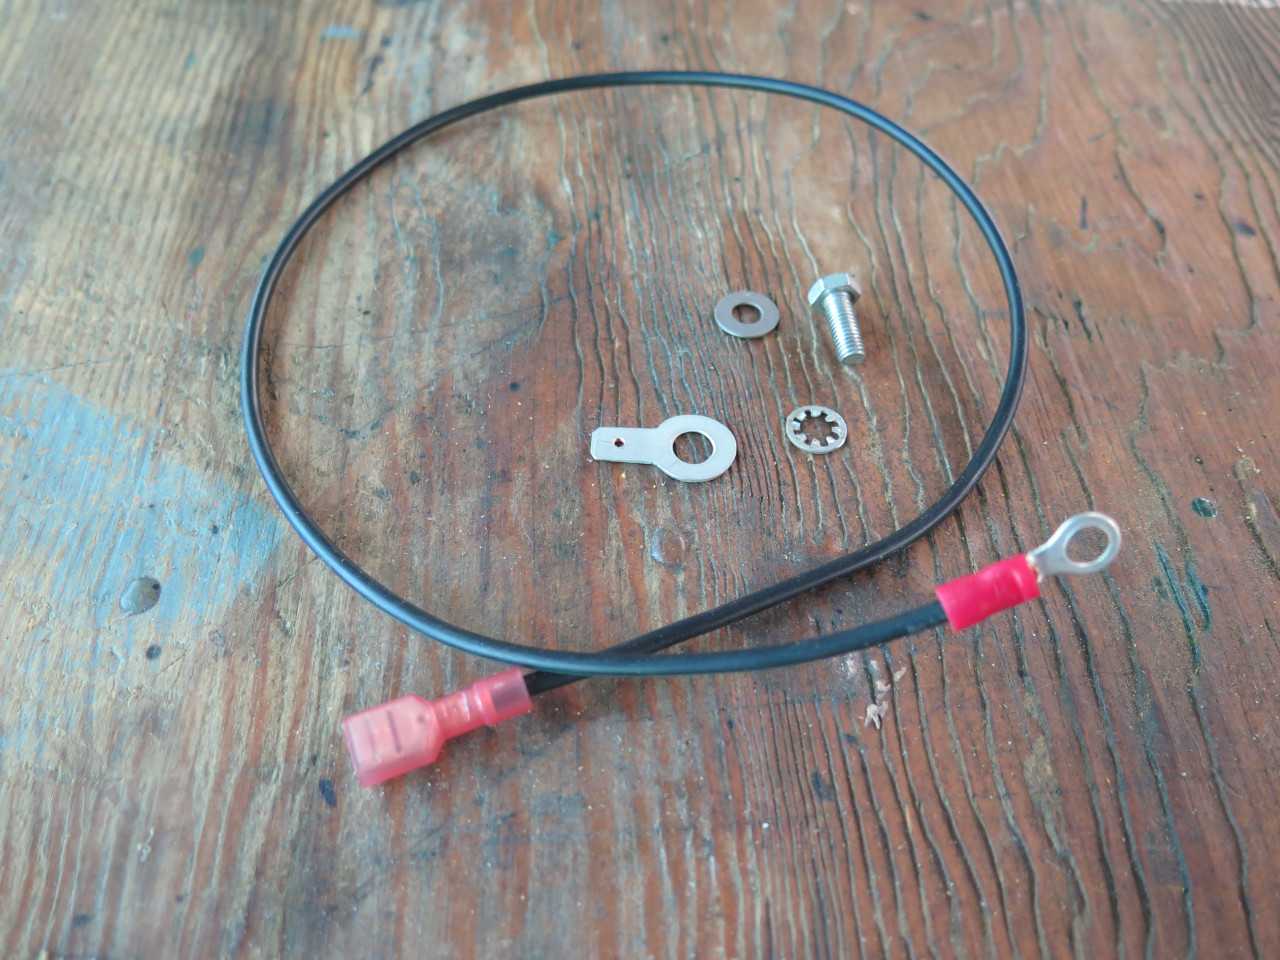
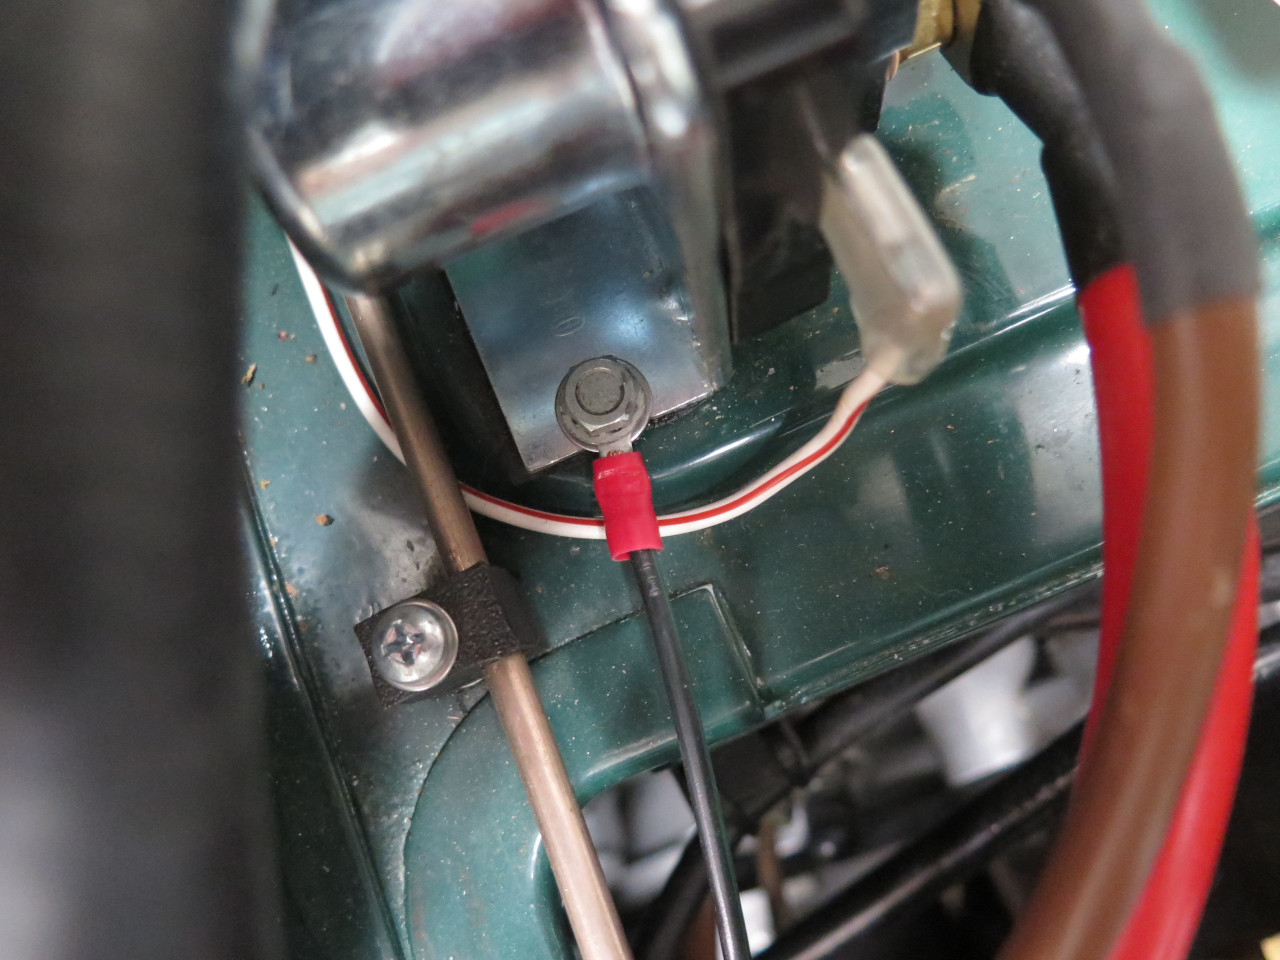
One end goes to the battery, the other to one of the solenoid mounting
screws. The PDWA still gets its ground through the firewall deck
from the solenoid. This irks me a little, but I'll get over it.
The body still provides an electrical path for most of the other loads
on the car, but none of them depend on it. It's just a redundant
secondary path now.
Body Plugs
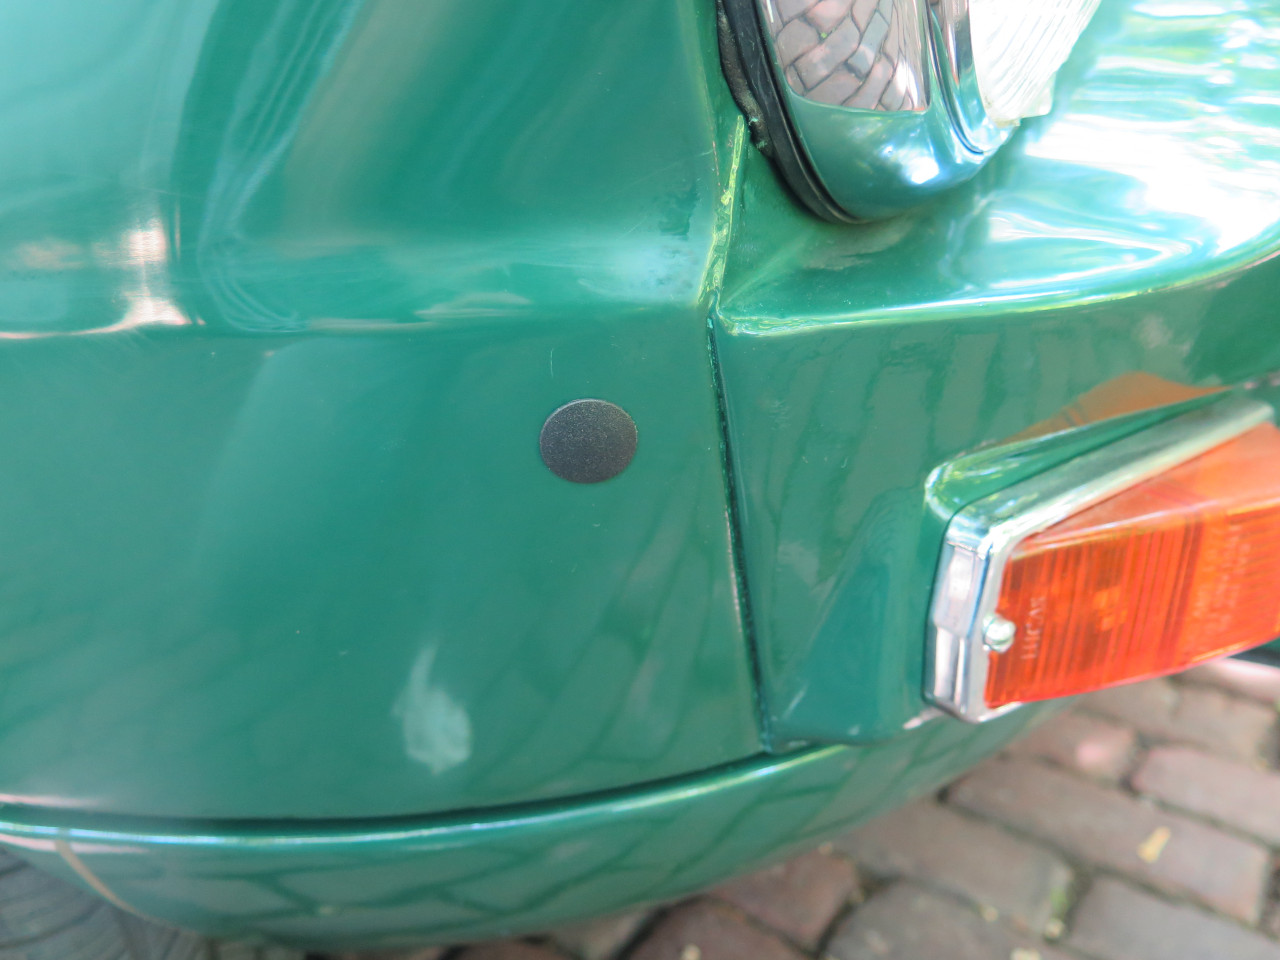
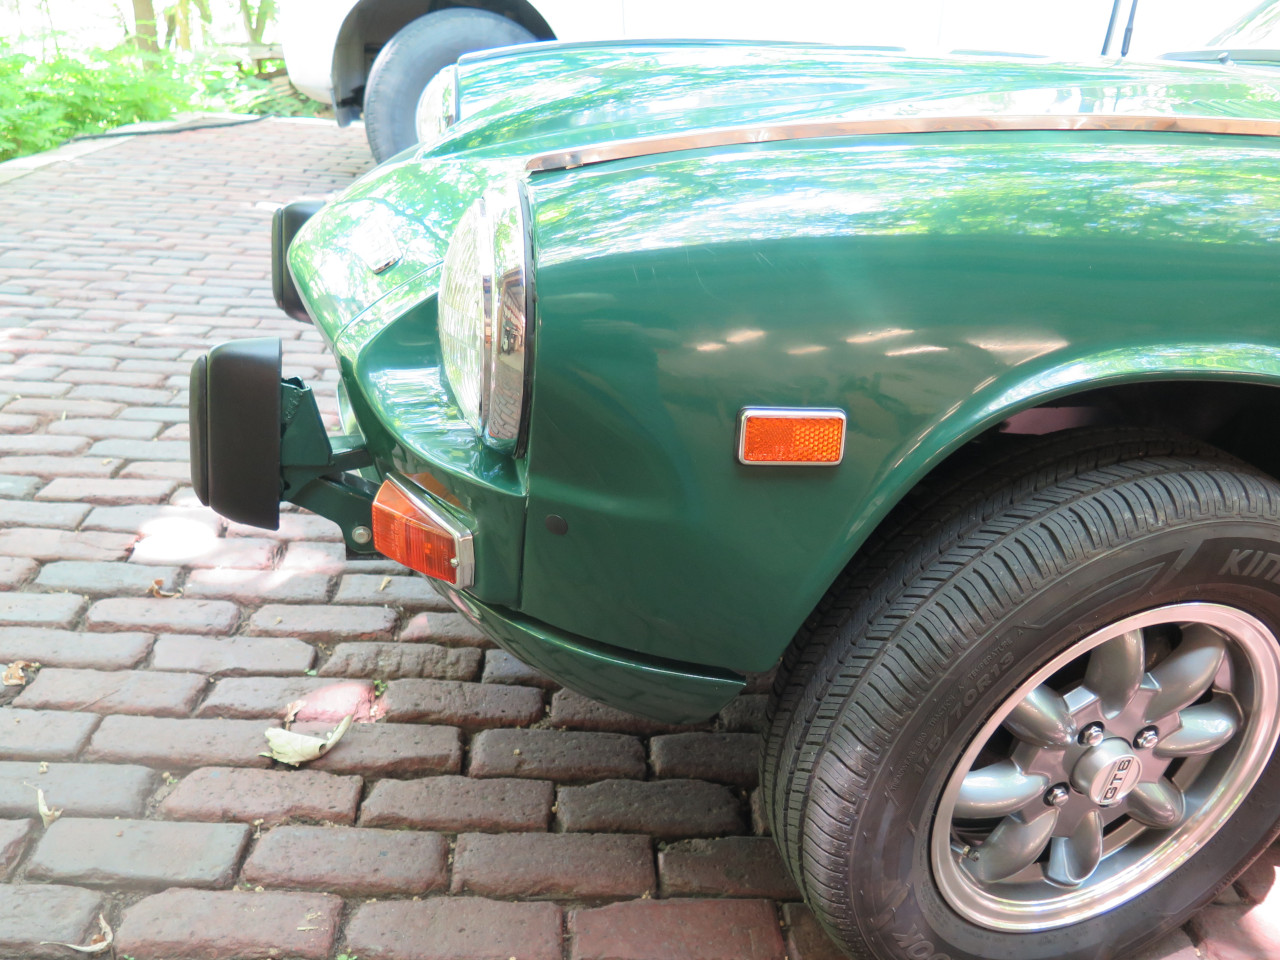
I went through quite a lot of trouble to eliminate the front
bumper on this car, for aesthetic reasons. I've more recently
decided to delete the rear bumpers also, at least for now. I don't
really object to the look of the rear bumpers, but like it a bit better
without them.
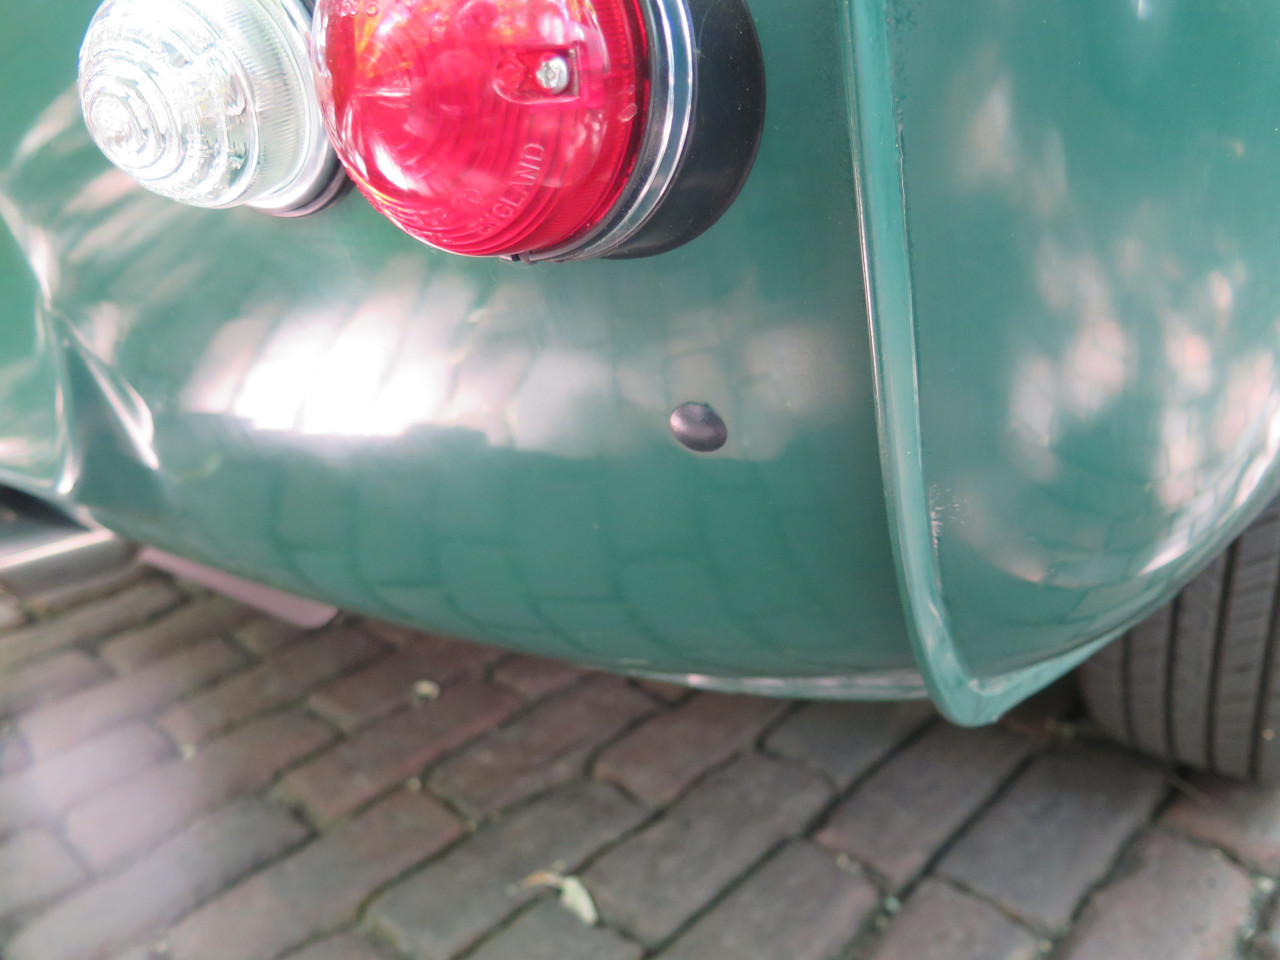
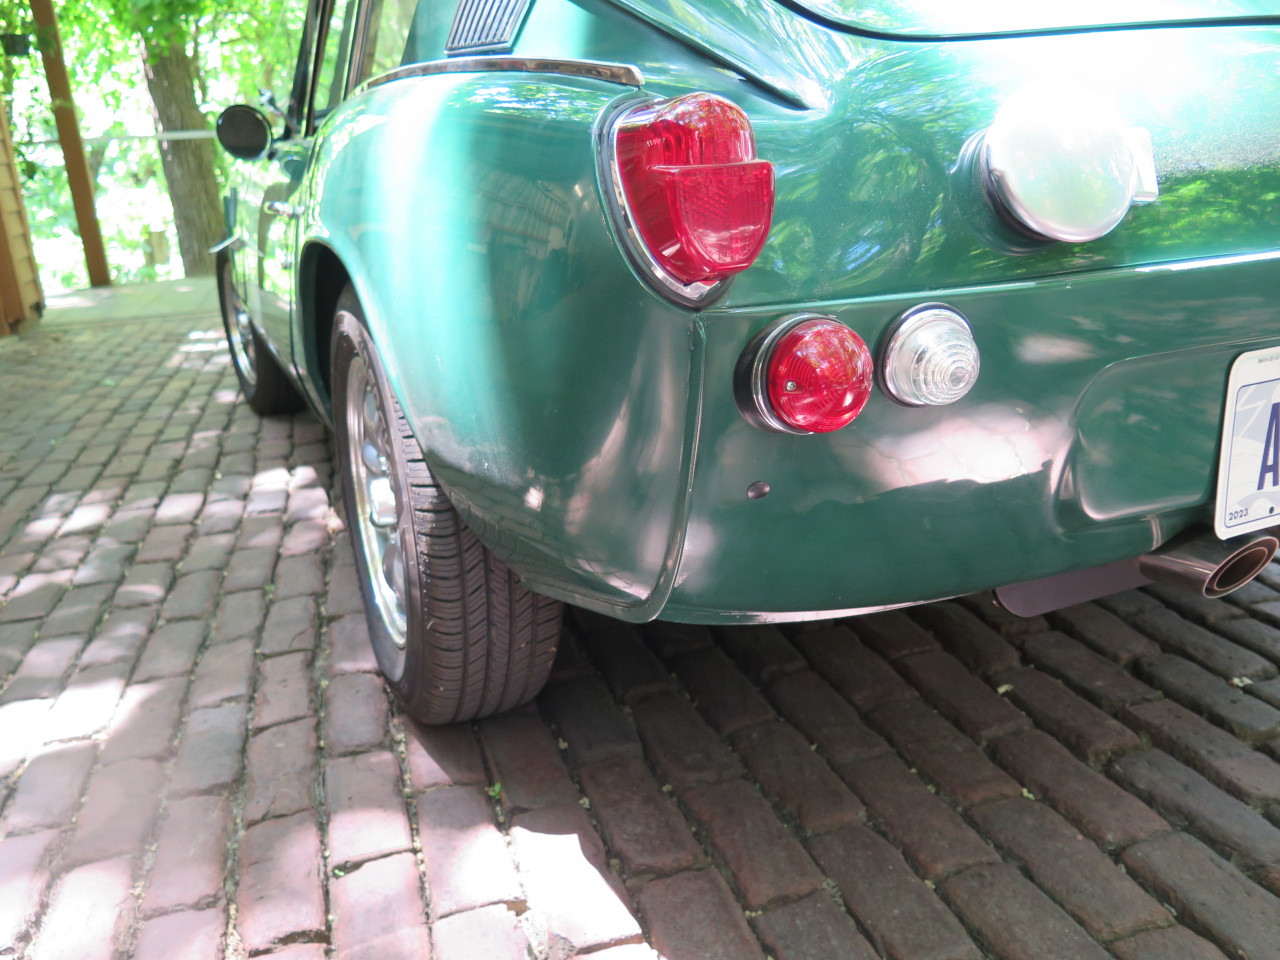
Both of these decisions leave some loose ends in the form of unused
mounting holes. Each front wing has a 5/8" hole on its side, near
the headlight. The rear valance has a pair of 1/2" holes under the
tail lights. Since the rear wings are new, and I didn't drill any
holes in them, there are no other holes.
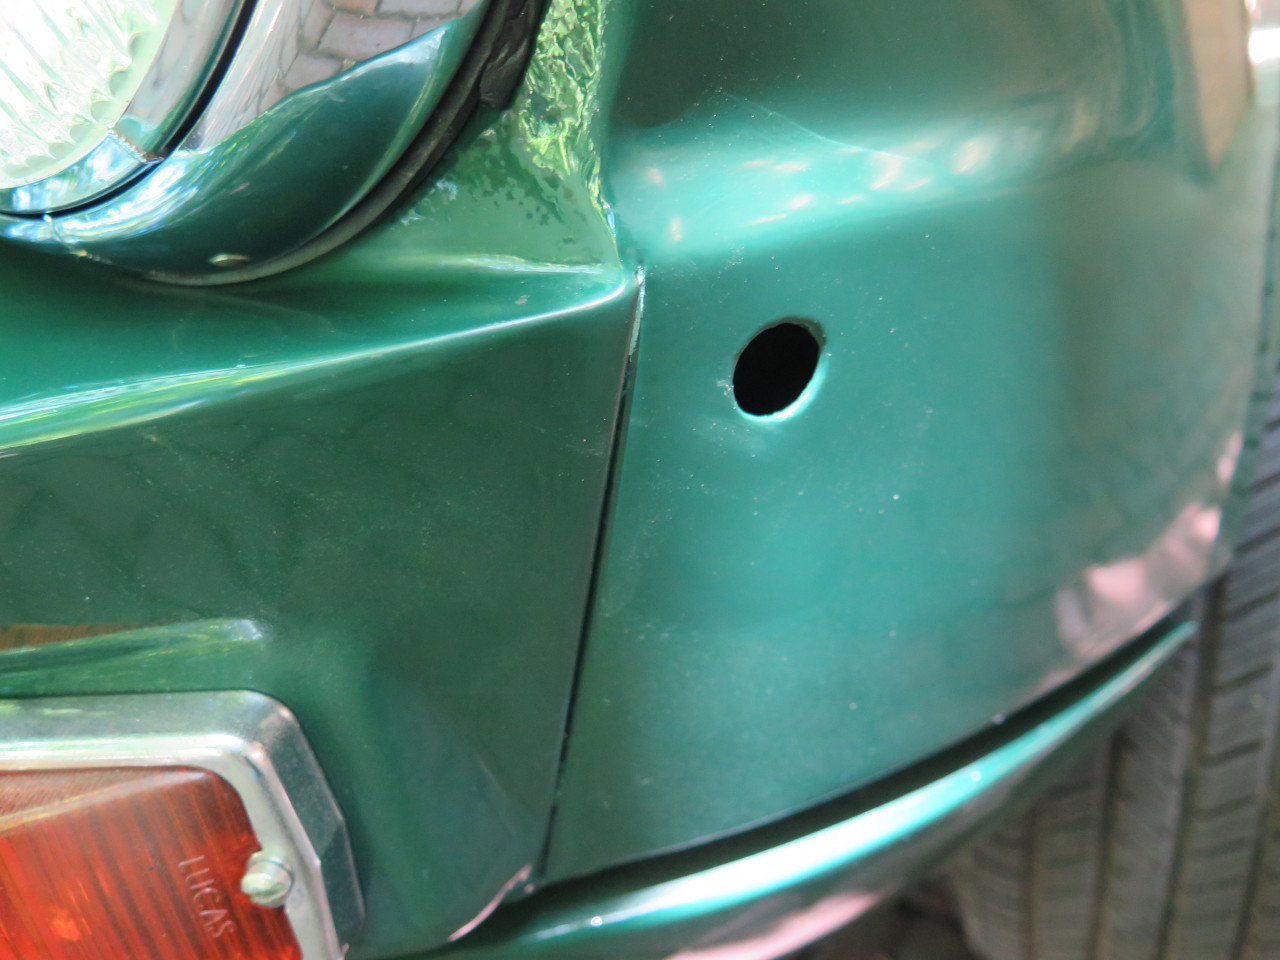
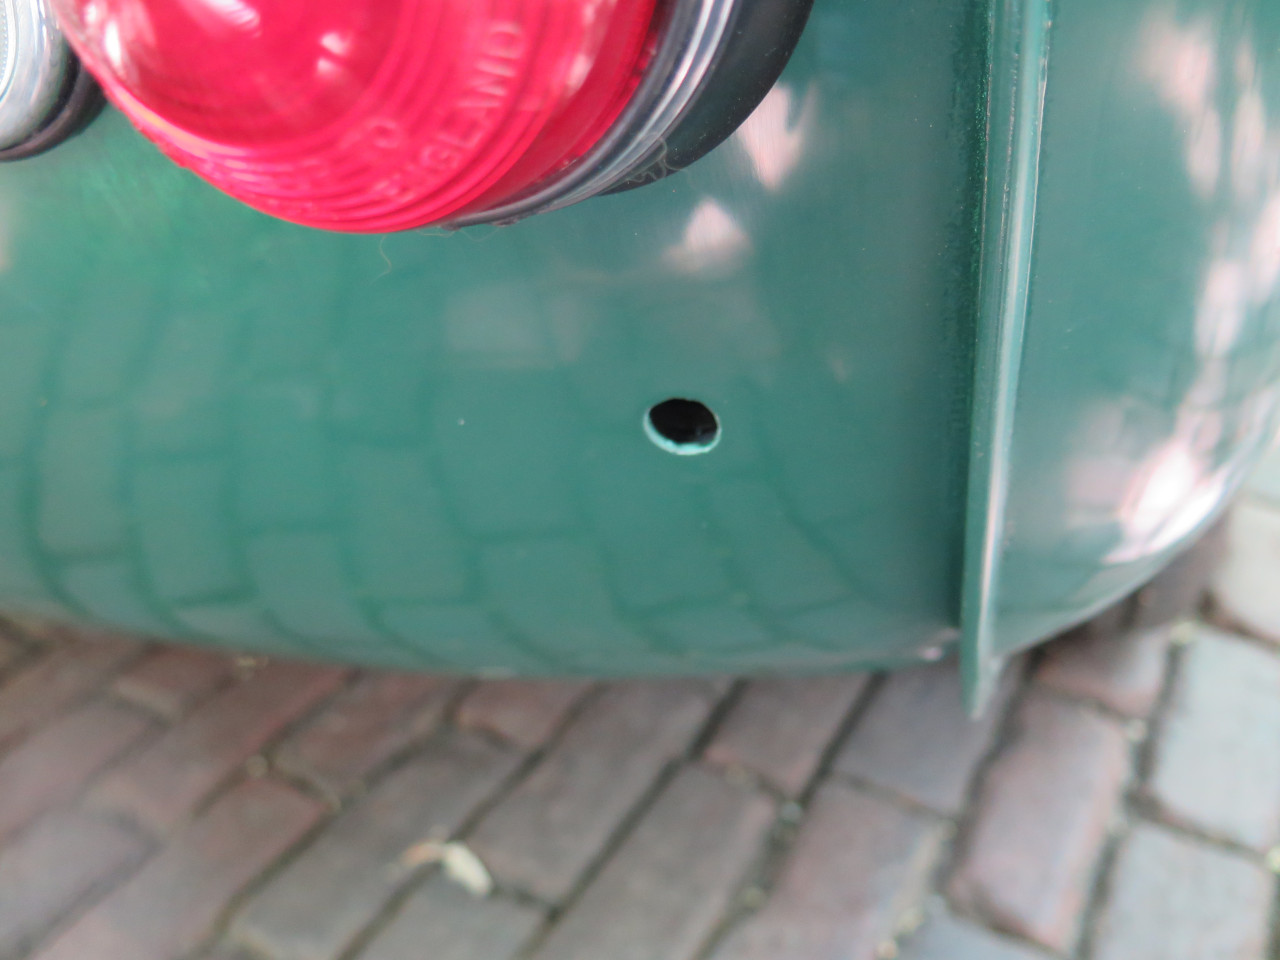
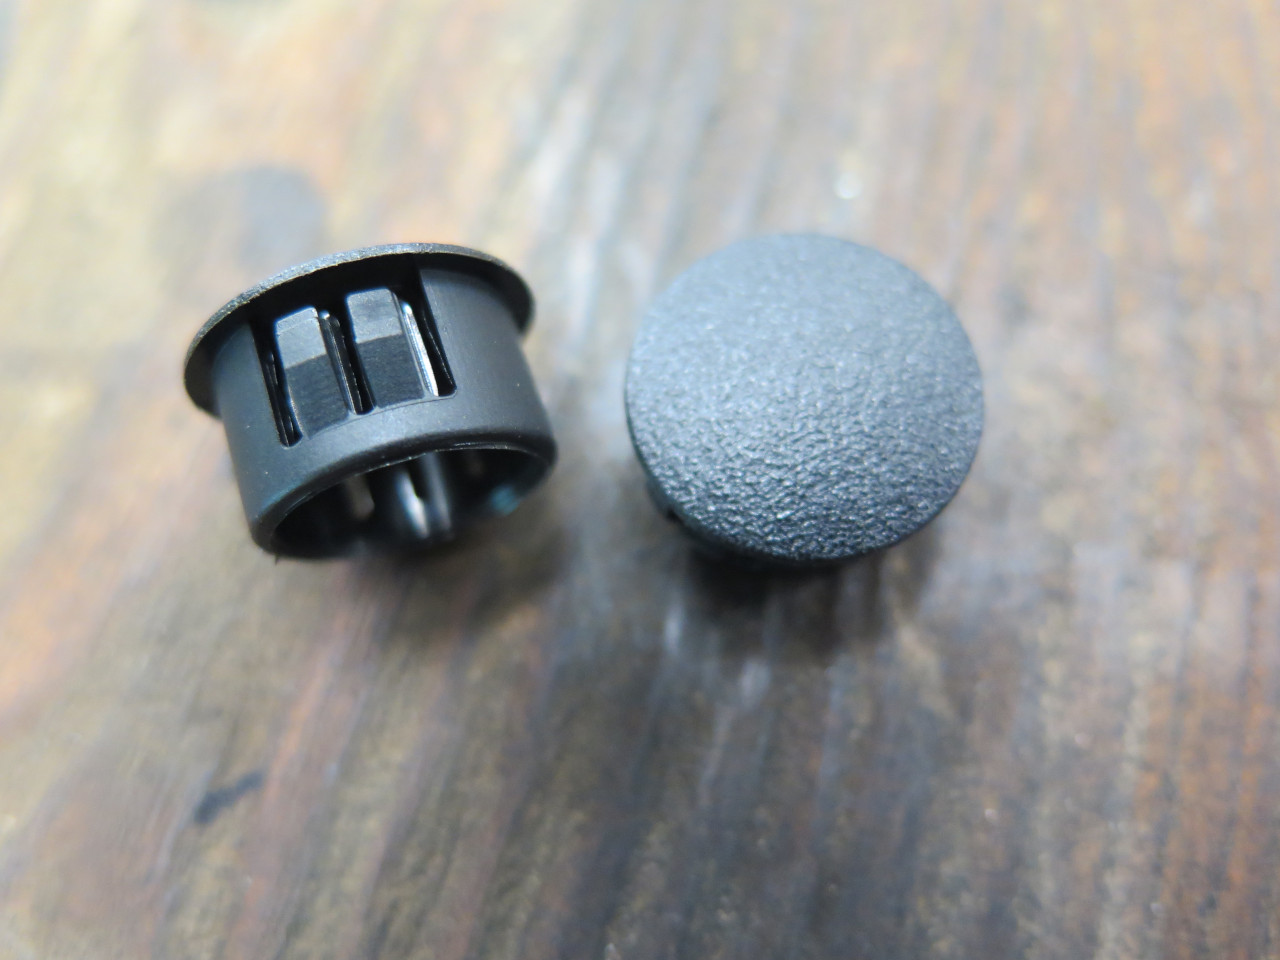
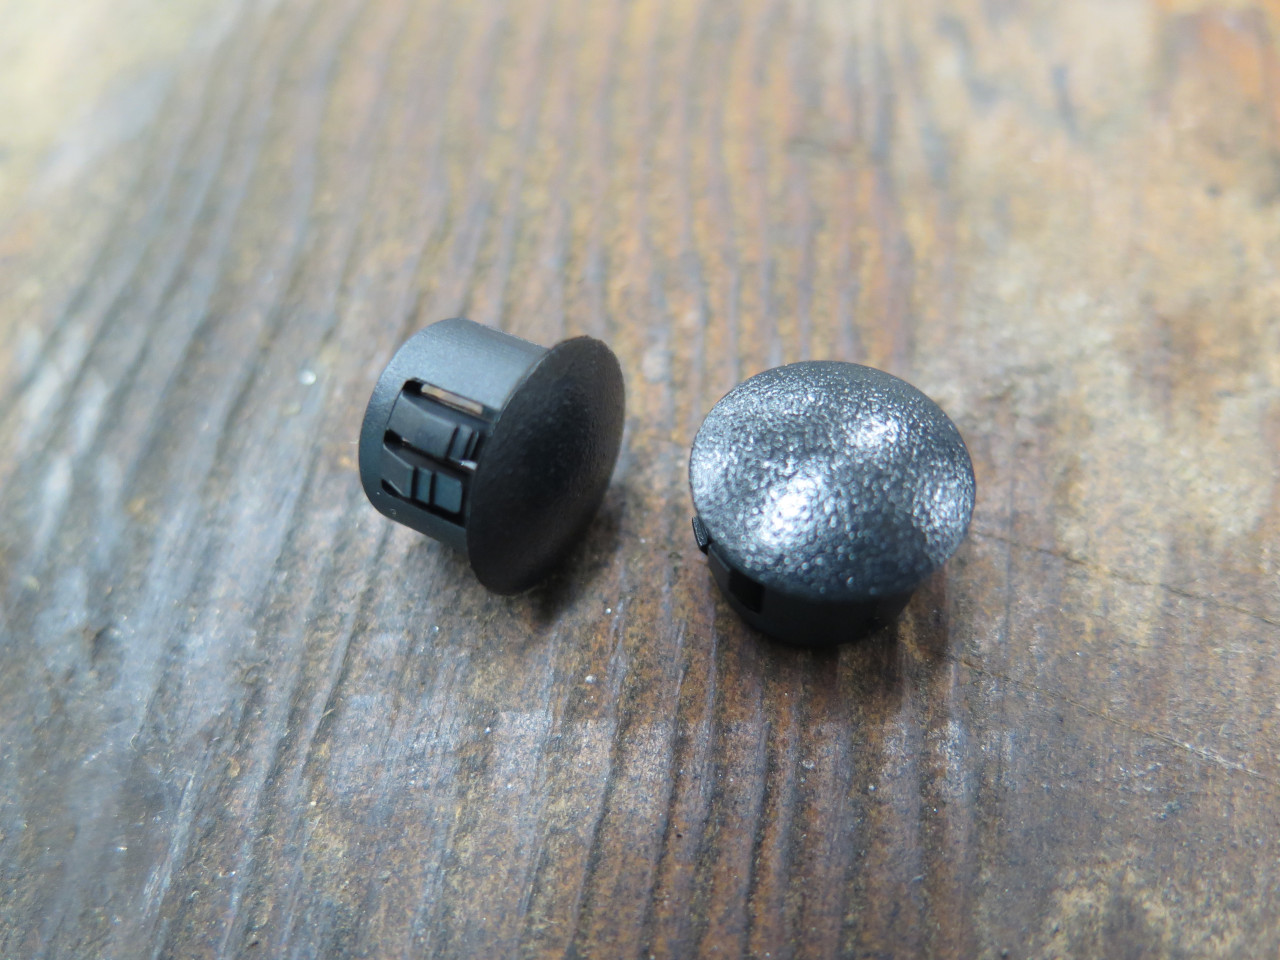
I found these little plastic blanking caps. They snap into holes
of the appropriate size, and have a very low exposed profile.
Looks more finished to me. From any distance they aren't noticeable at all.
License Plate
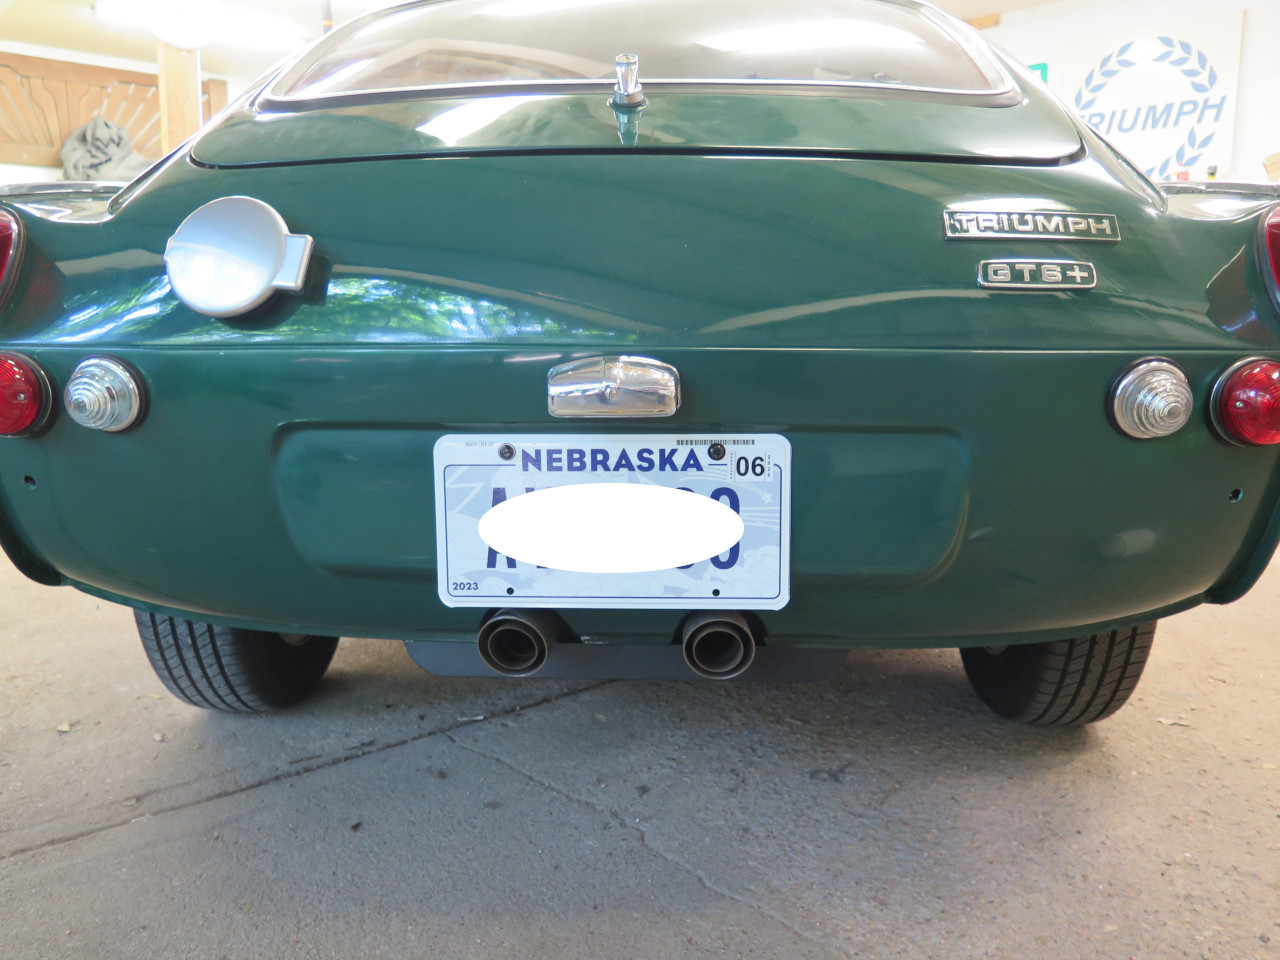
It's always seemed funny to me that, knowing that probably 90% of these
cars were going to the US, the designers still designed the rear valance
to take a European shaped license plate. Mounting a US plate on
that long rectangular space looks awkward and mismatched. But we
have to do it anyway.
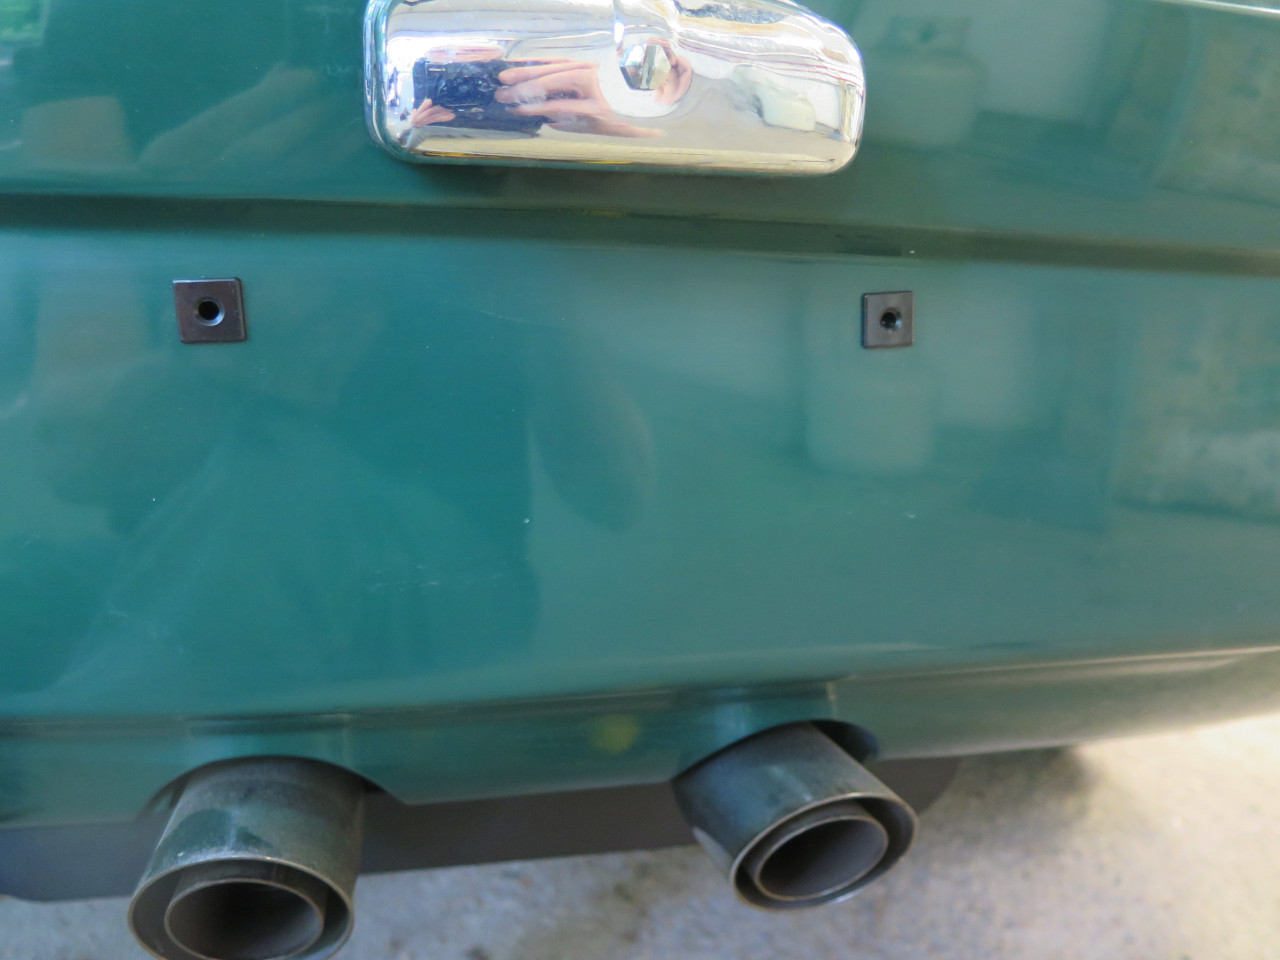
I wanted to install some of these plastic license plate nuts. They
won't weld themselves to the mounting screws with corrosion, and if
they get buggered up, they can be easily replaced.
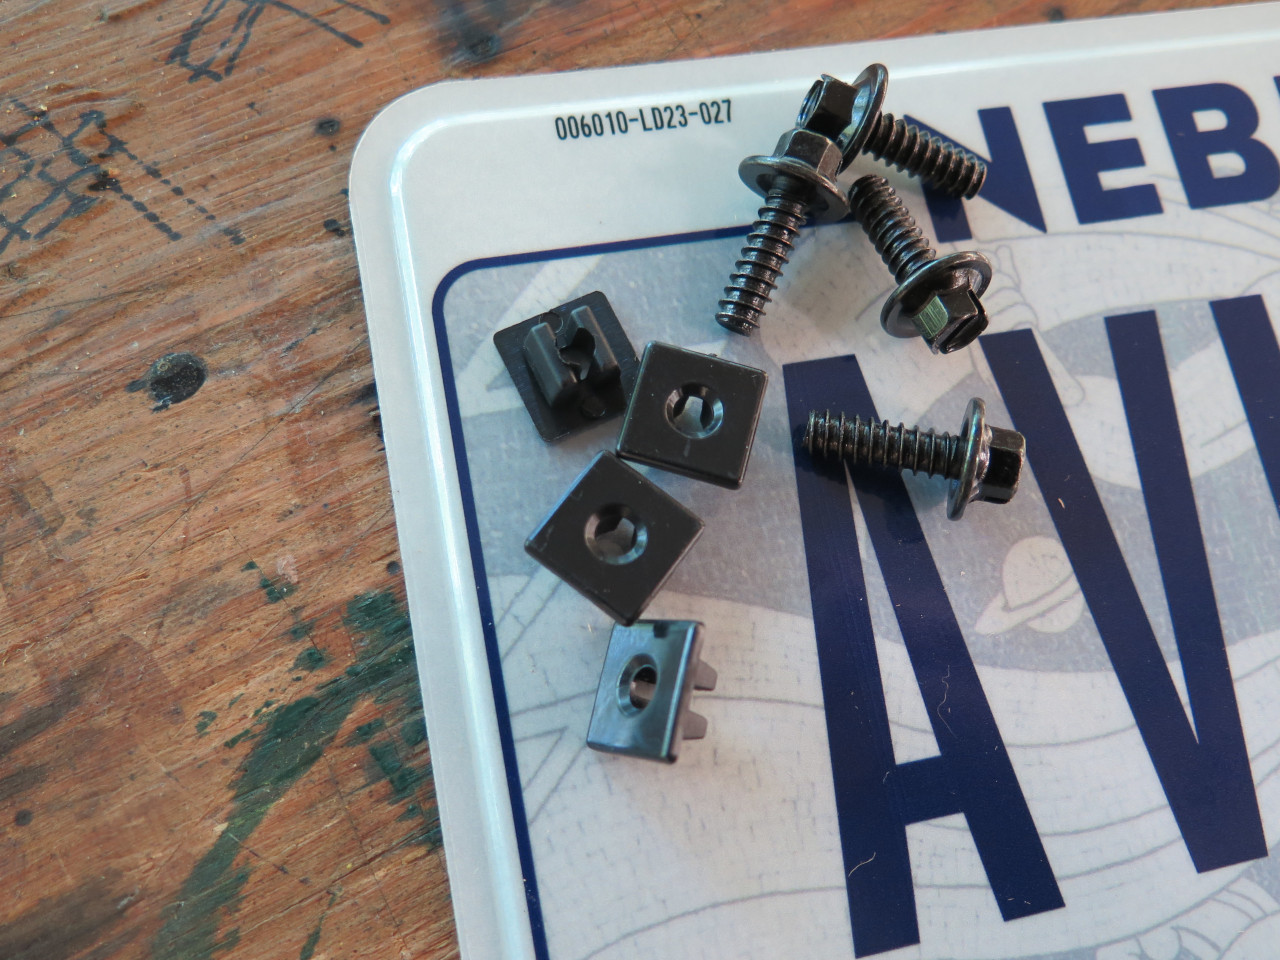
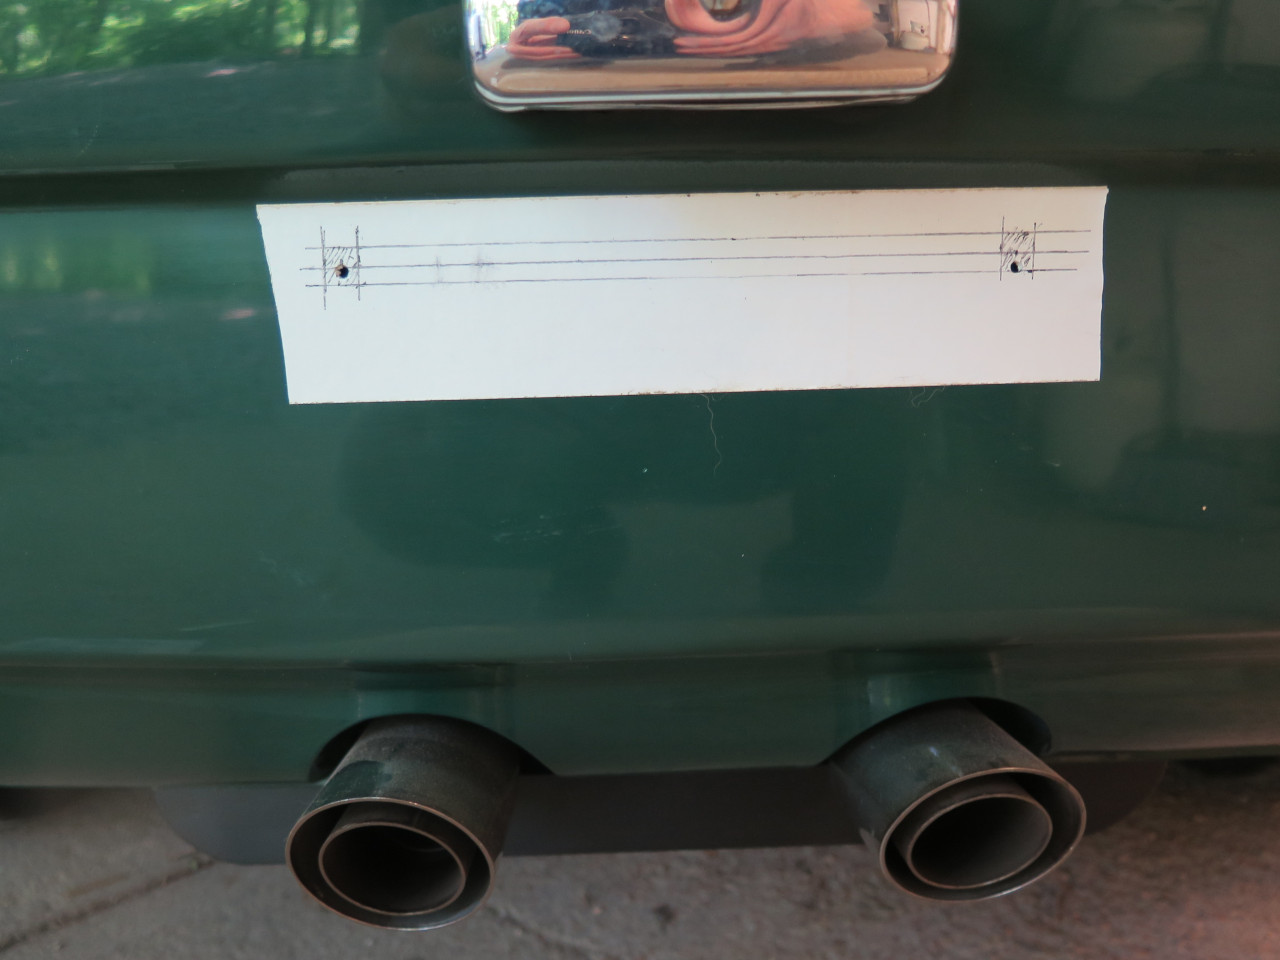
The problem is, they take a rectangular hole. I marked out the
position and size of the holes. Notice how one of the original
(from the dealer, maybe?) plate holes is nearly 1/4" lower than the
other one. Luckily, my new holes will correct that.
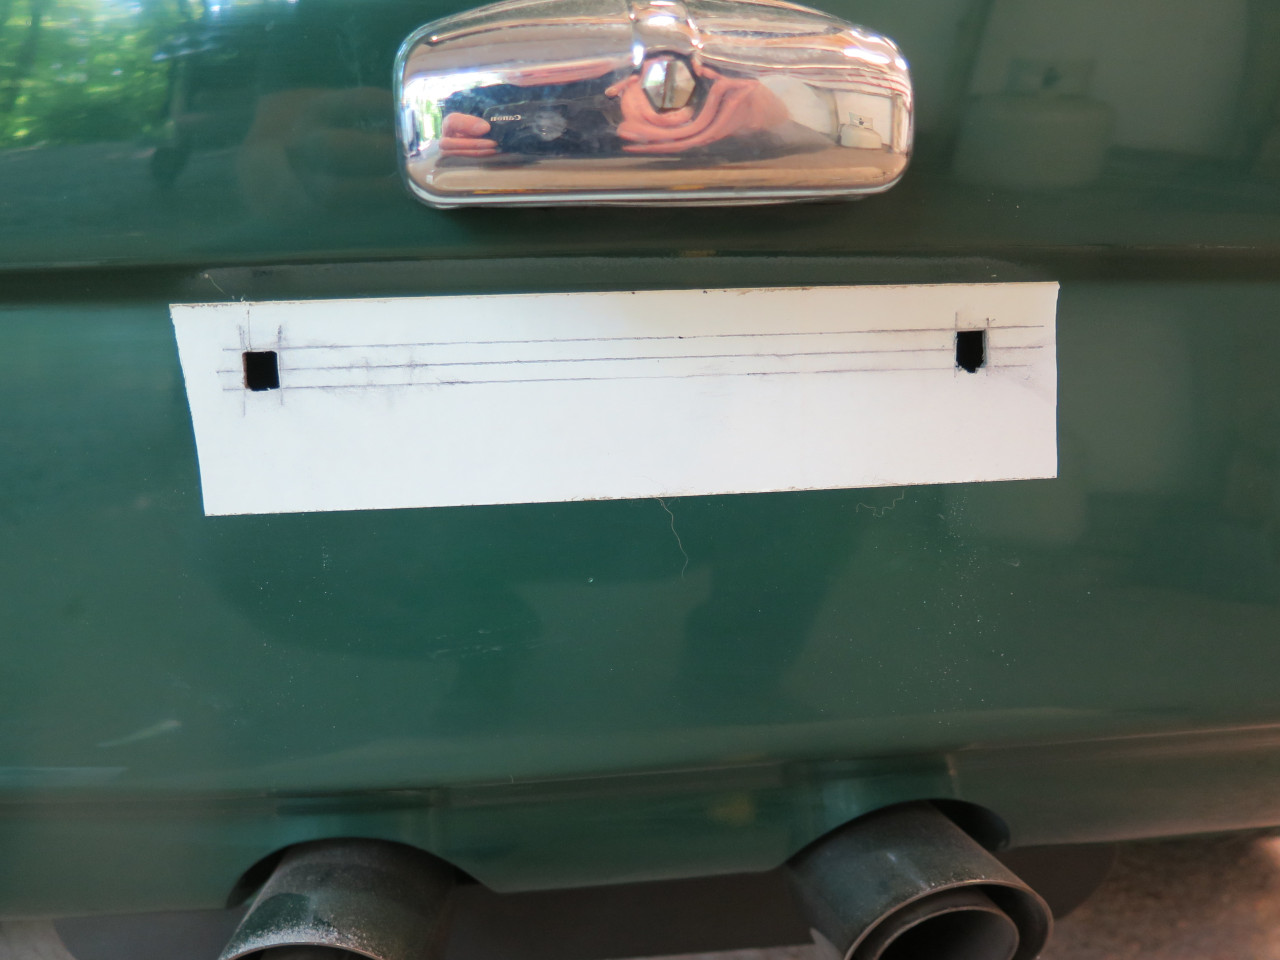
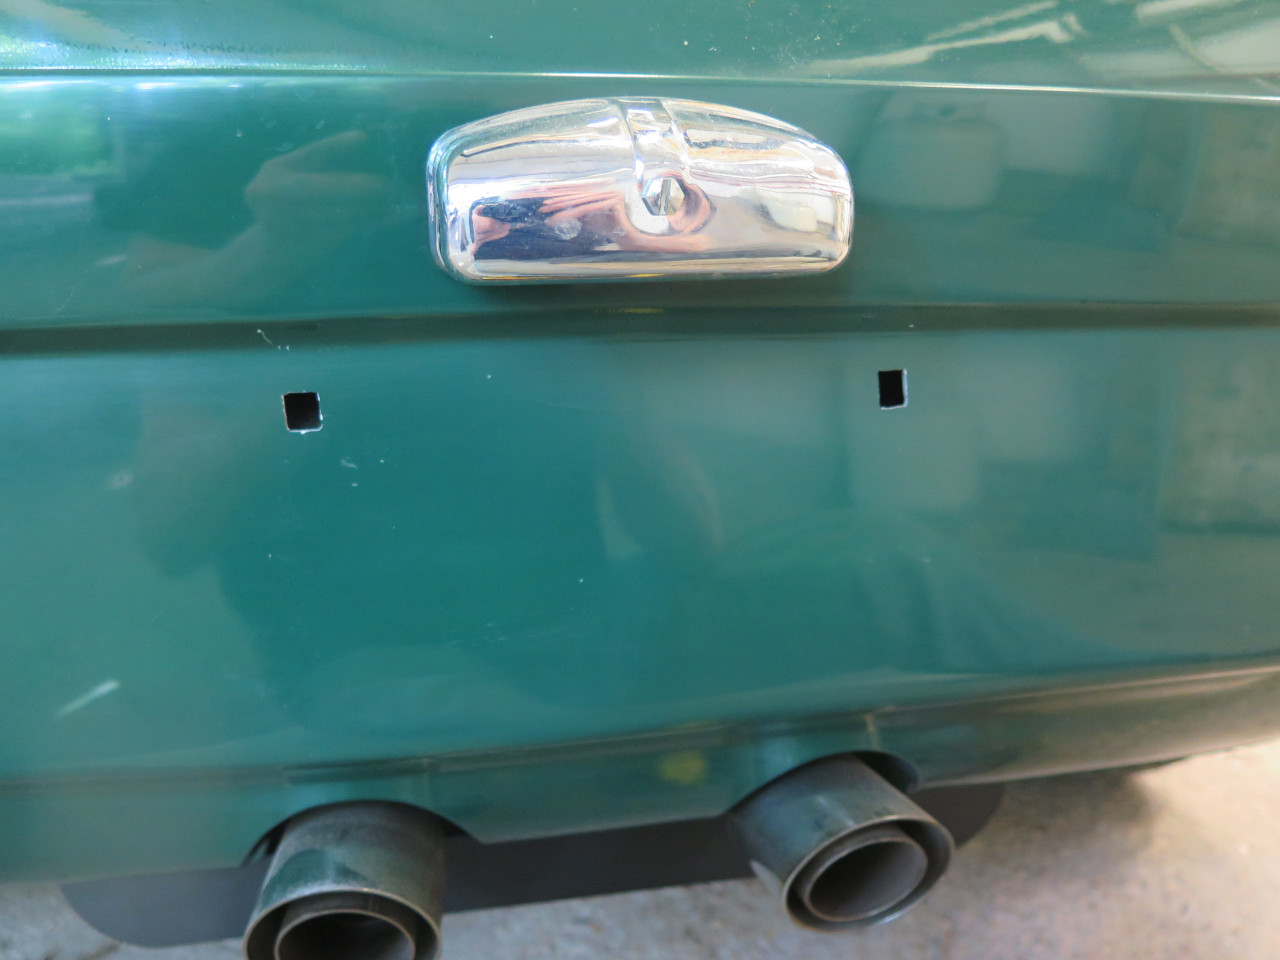
The nuts slide in. it's actually the screws that expand them for a snug fit.
Wiper arms
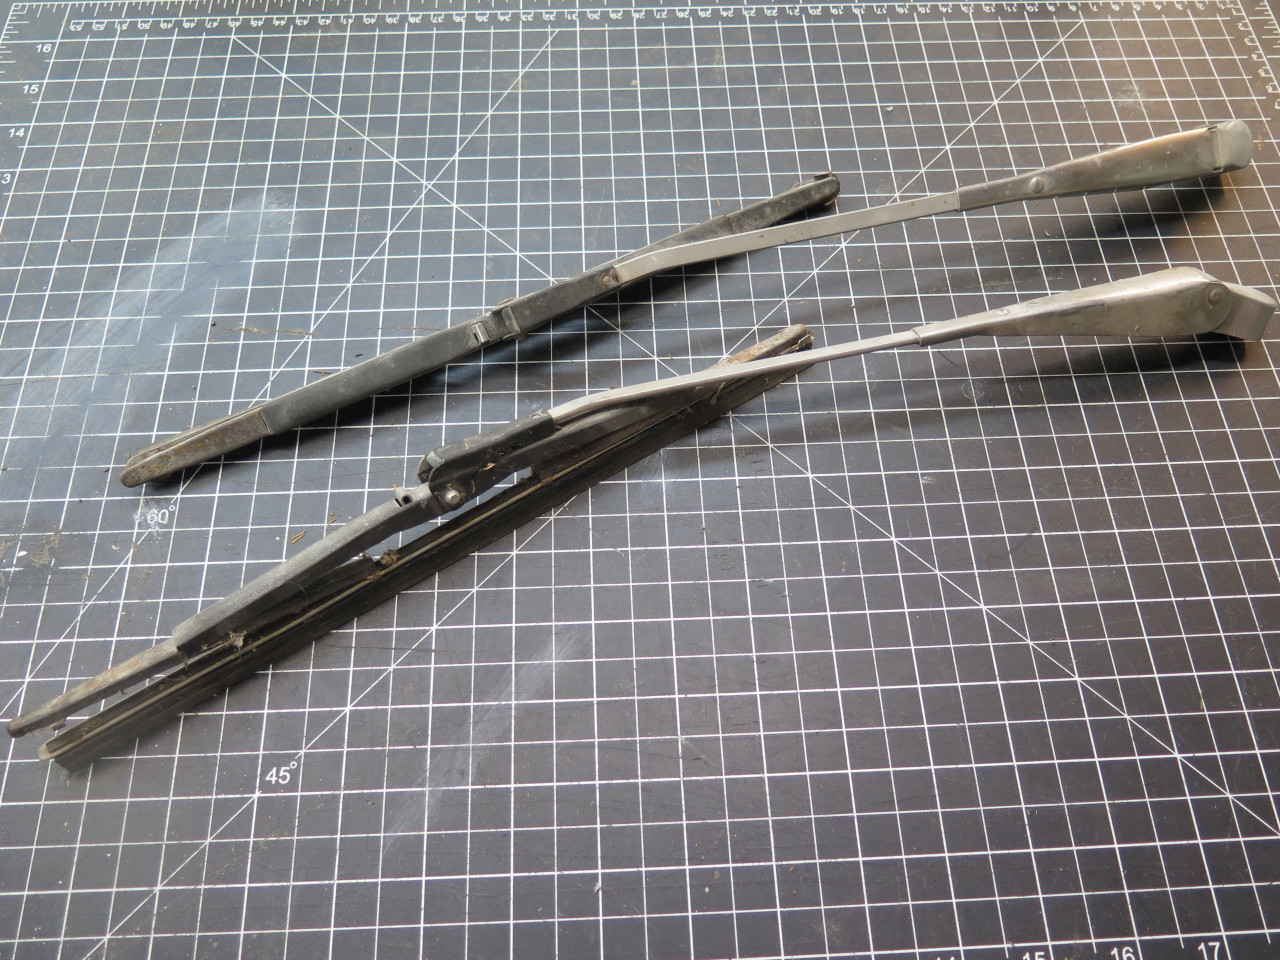
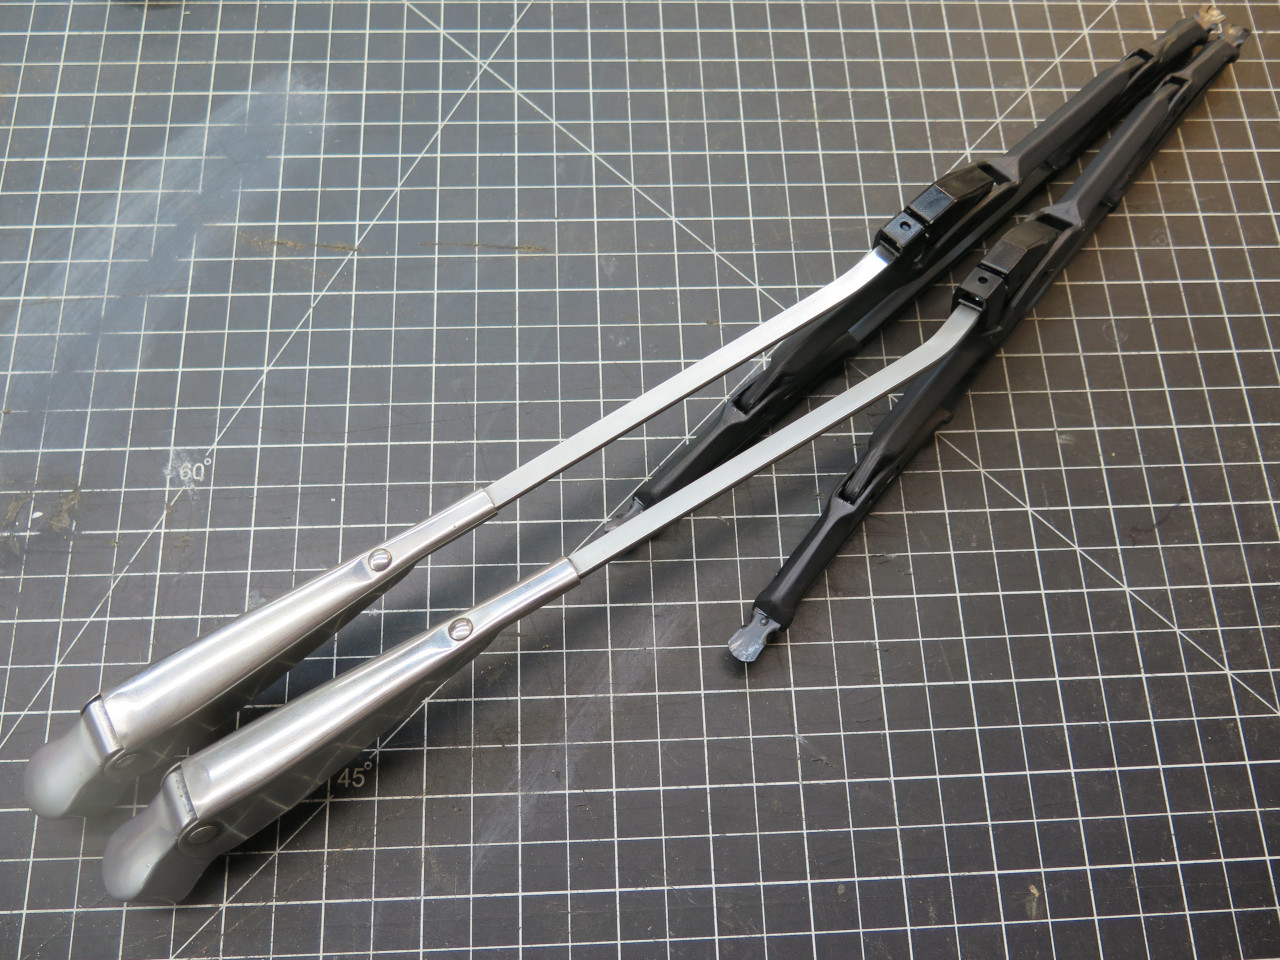
Wiper arms were dirty but in OK shape. The blades were of course, toast.
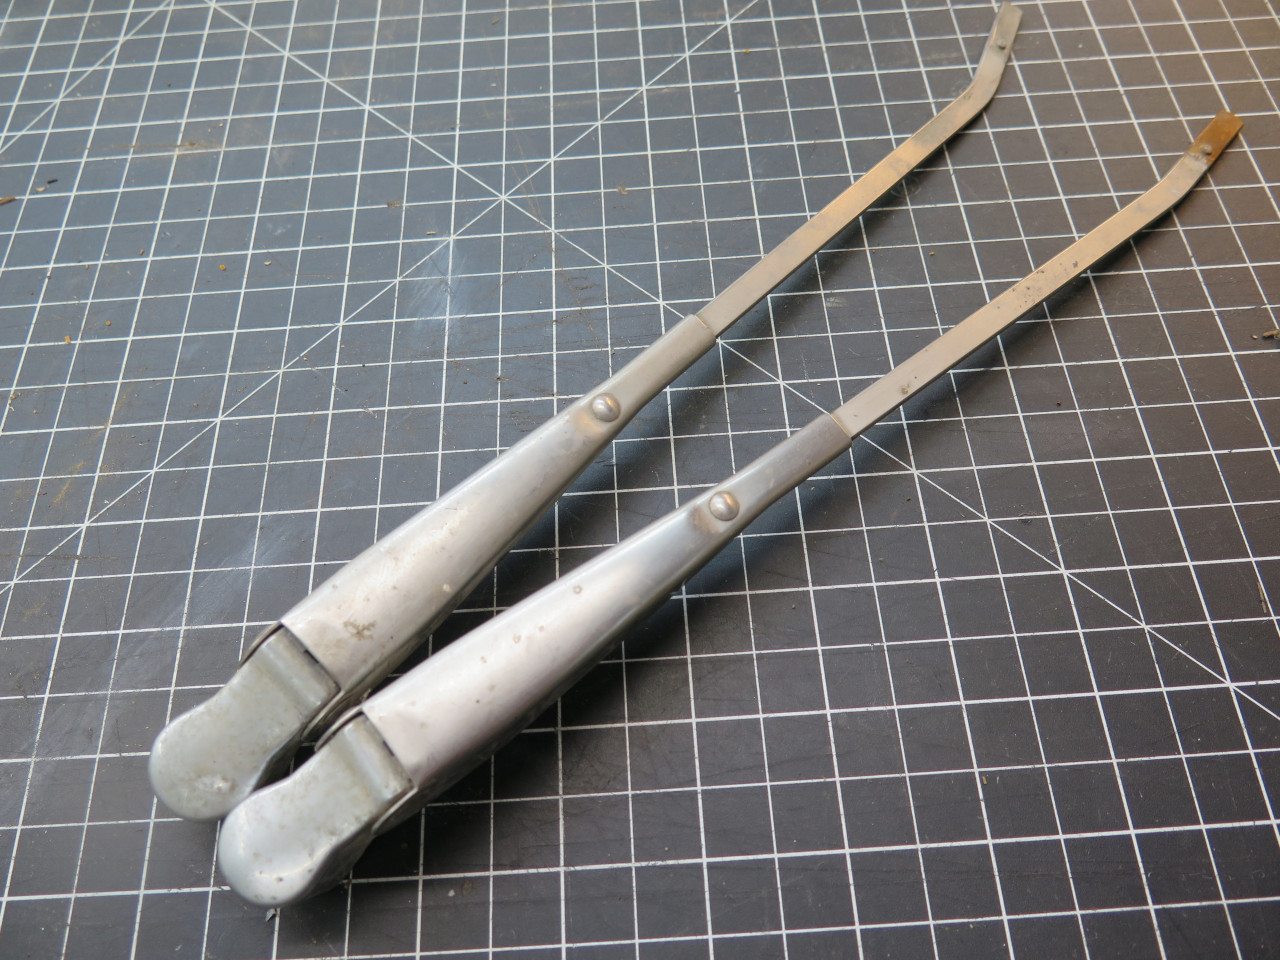
The arms are stainless steel, and respond well to a little cleaning and polishing.

New blades.
I think this is how they go.
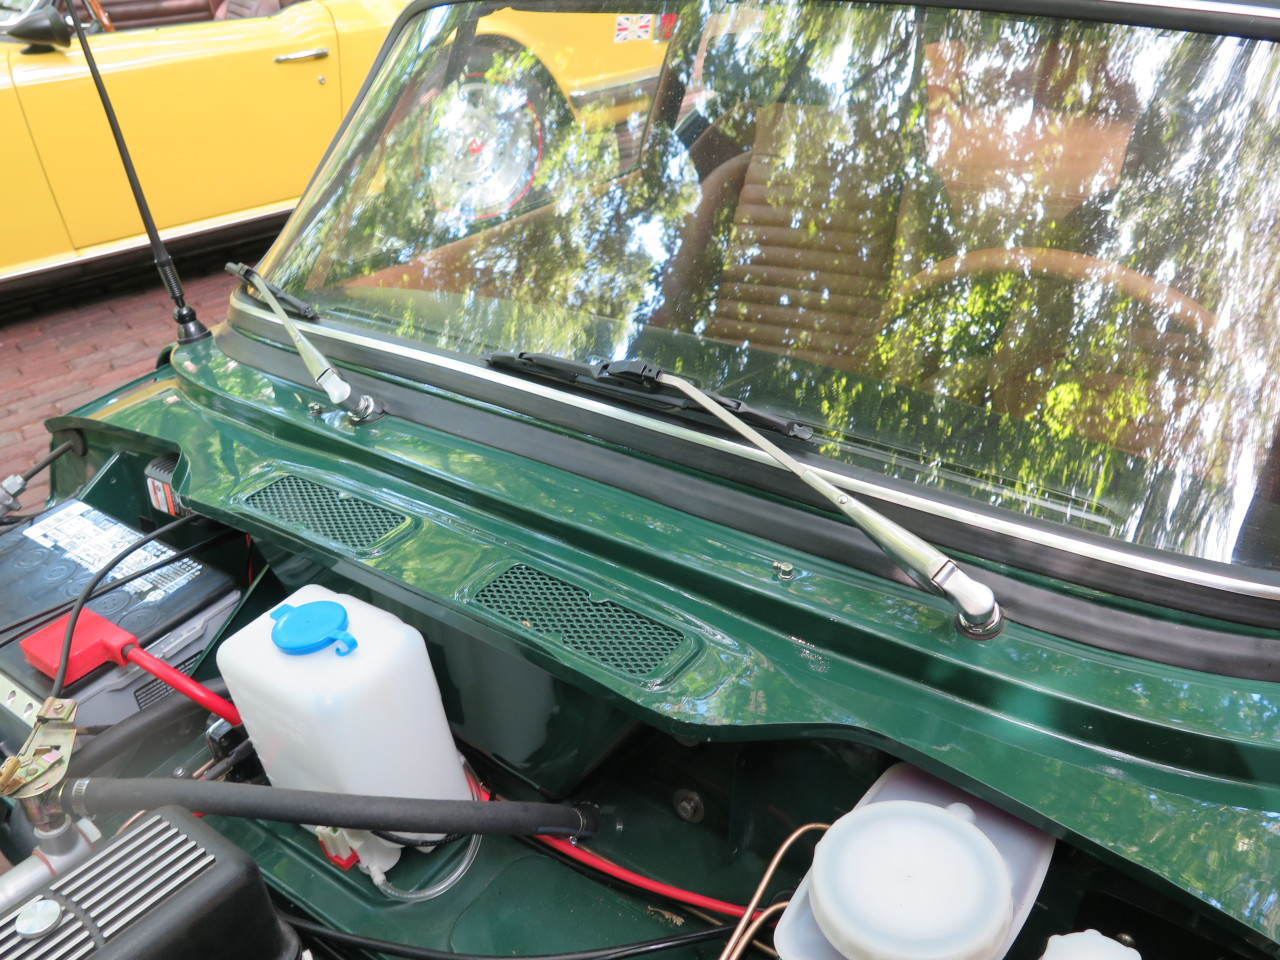
That concludes the current punch list, but I think there will be a few more items that pop up.
Comments to Ed at elhollin1@yahoo.com
To my other GT6 pages