To my other GT6 pages.
Carpets and Such
I came to the realization recently that I must be coming along on this project if I'm thinking about carpet.
Most of the carpet in this car had been reduced over the years to
threadbare rags. I think I replaced some of it in the 80s, but
even that had not fared well. It was time to do it again.
Carpet sets are apparently available for GT6 and Spitfire cars,
including "molded" sets that duplicate the original shaped
carpets. Anecdotal reports indicate that these sets fit reasonably
well, and look good, but may be a little pricey. On the
other hand, they are only available in a limited number of colors.
Beyond that, since I had done some reshaping if my gearbox tunnel, I
knew that a commercial piece probably wouldn't fit it well.
In the end, I decided to try a custom carpet install, but with an eye out for ways to simplify it wherever possible.
Some pieces, like the rear wheel wells, and the rear luggage deck had been done earlier in the project. Also, I had to do the gearbox tunnel carpet as part of the dash support install. This left the rest of the passenger cabin to do.
One thing that sort of scared me is that some of the areas to be covered
had quite a bit of shape, including fairly deep recesses that would
require the carpet to stretch in multiple directions at once. I knew
that the carpet I bought would stretch a little, but I thought this was
asking a lot of it.
I addressed this by identifying the most challenging areas, and doing
some simple mods so that the carpet wouldn't need to contort to such a
heroic degree. One such area was the footwells, particularly on
the outboard sides.
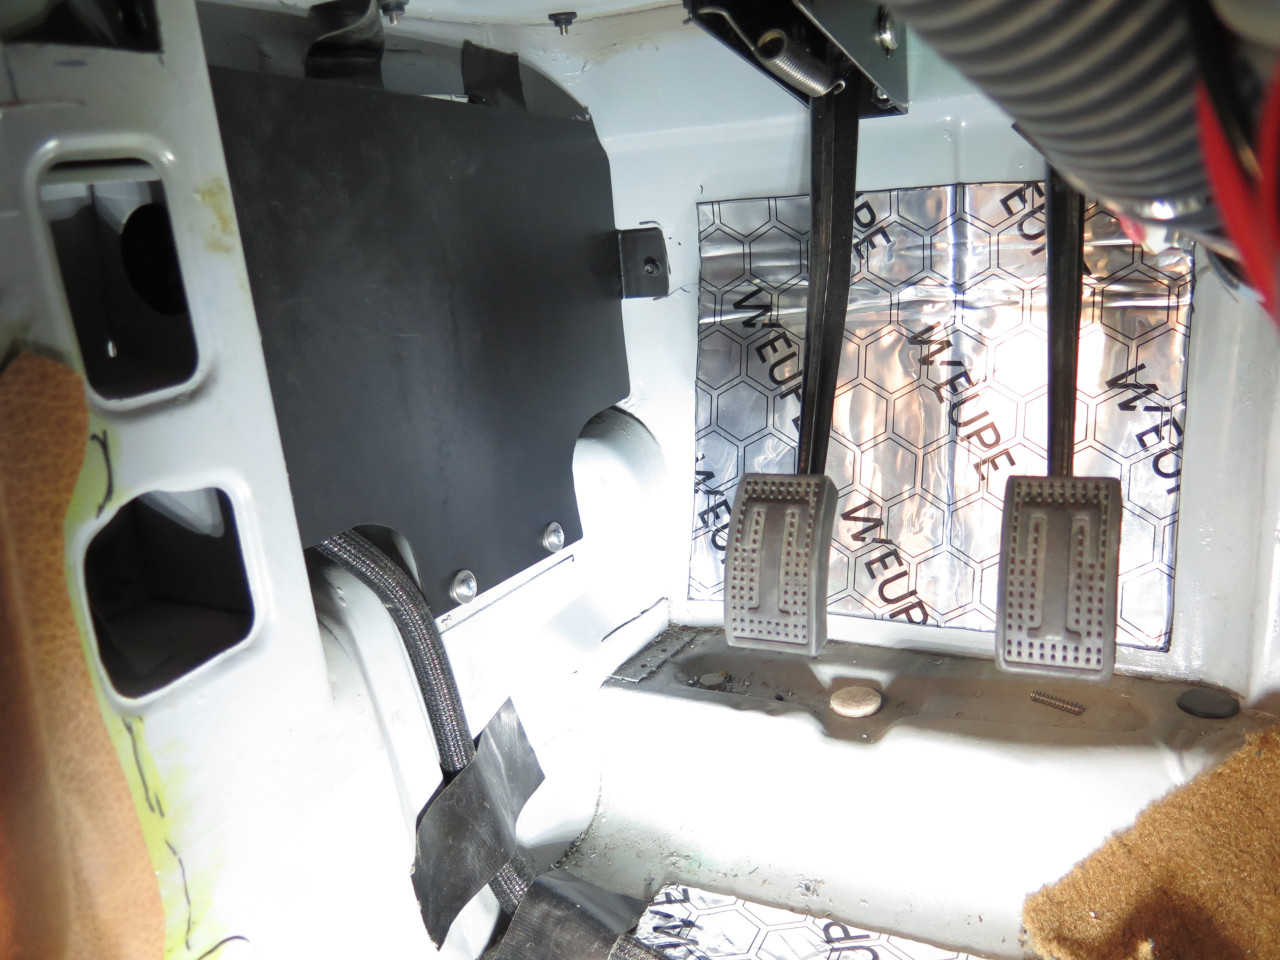
The passenger footwell is an interesting example. GT6 cars (not
sure about Spits) came with a "footboard"--a separate metal panel at the front of
the footwell. No one seems to be sure what the purpose of this
panel was, but one thing it did was to allow a simpler contour for the
carpet.
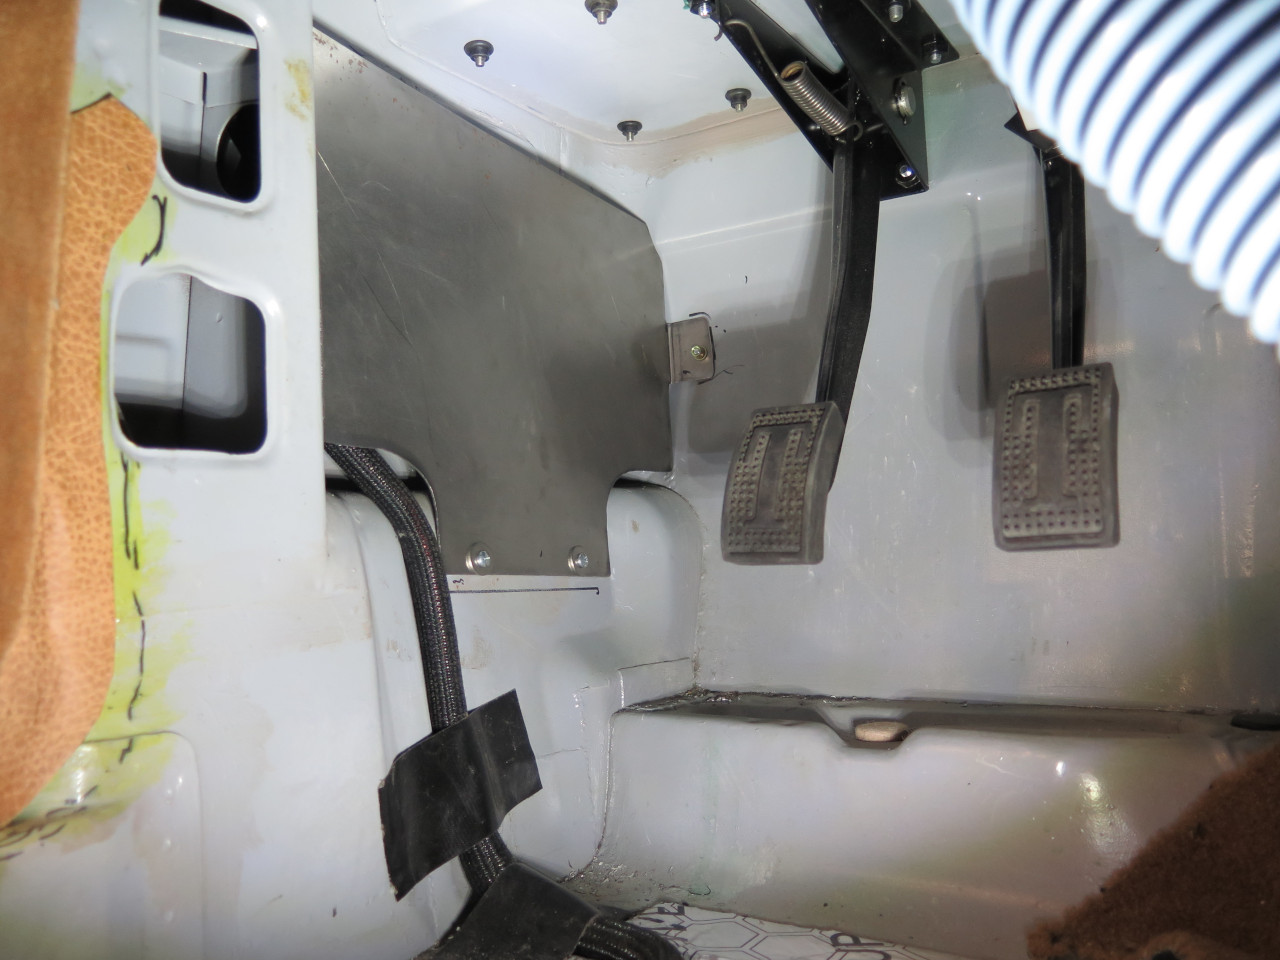
My panel was long AWOL, but the mounting brackets for it were still
there. I believe the top edge of the panel was fastened to the
brackets, and the bottom edge was attached to that step in the floor
with sheet metal screws.
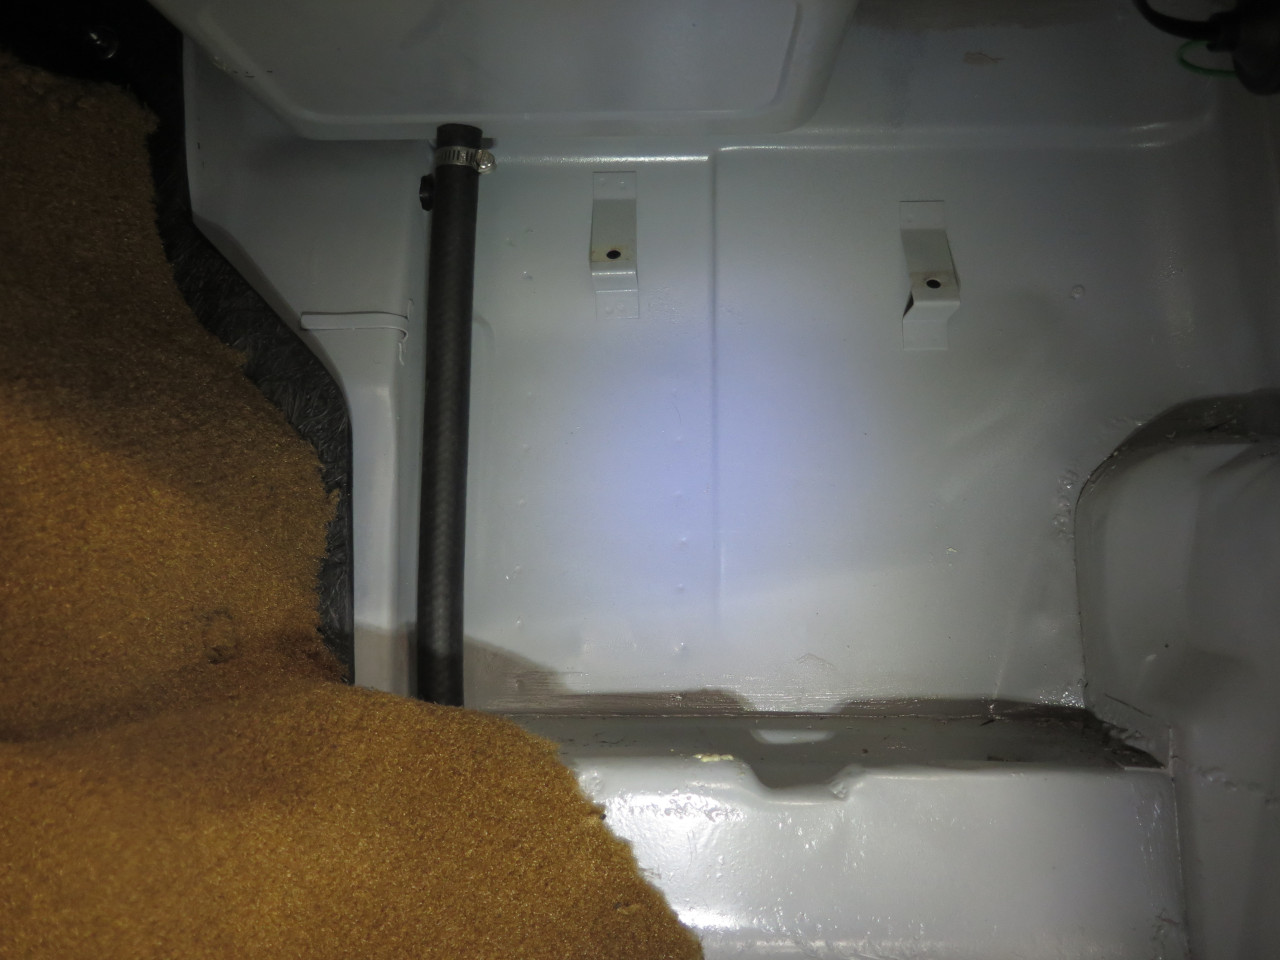
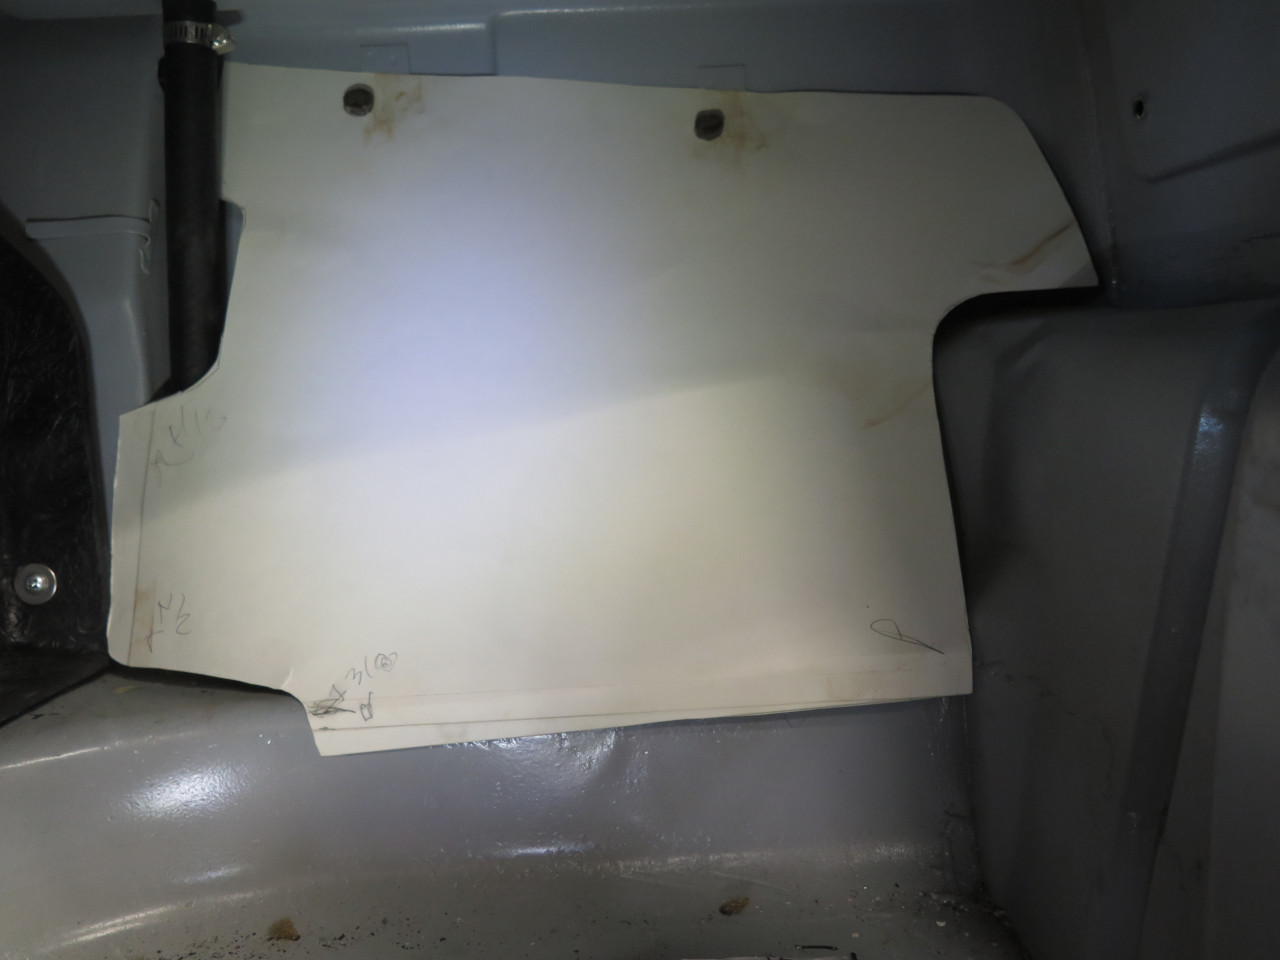
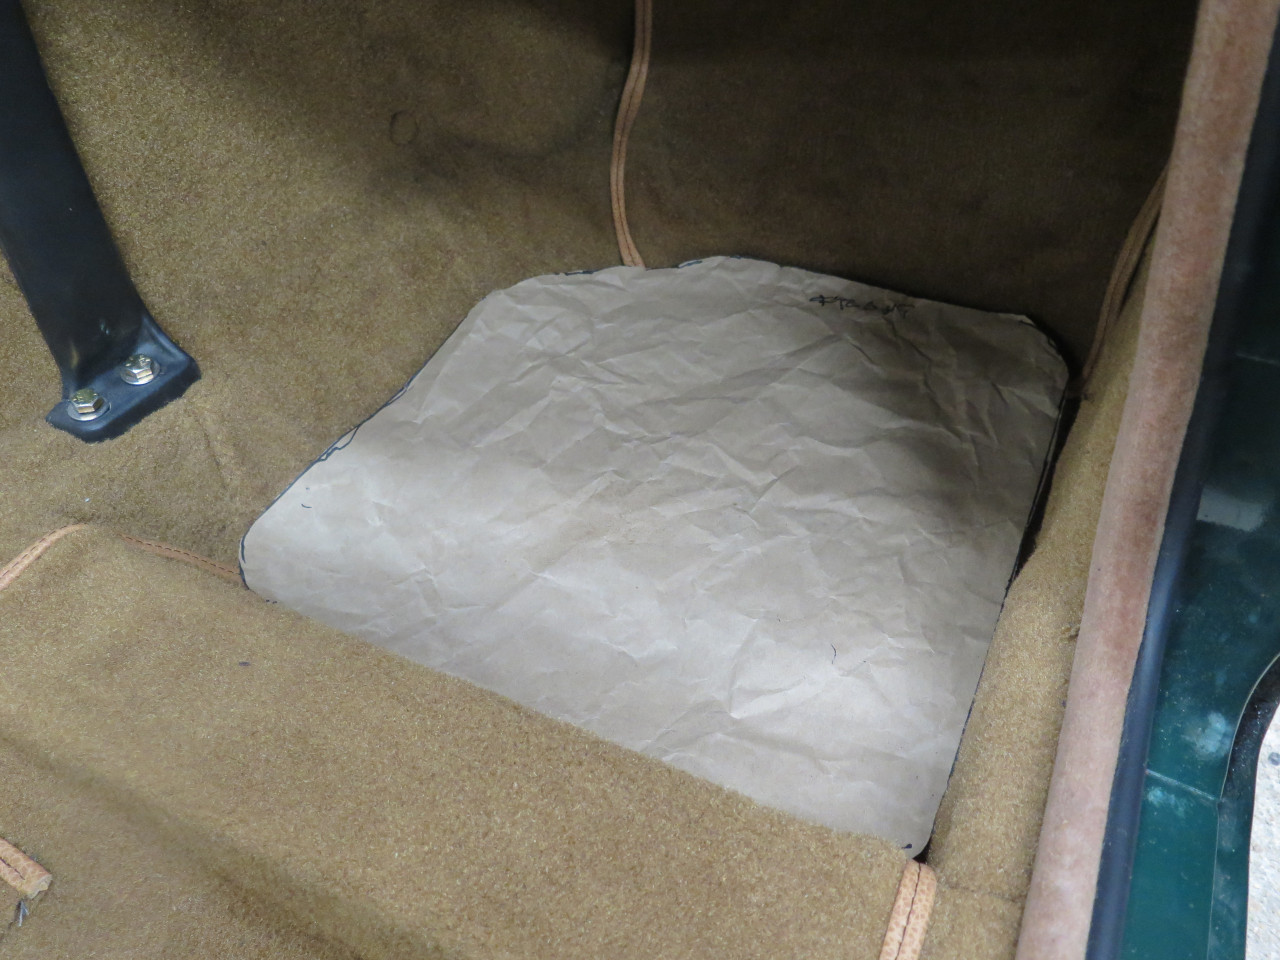
I resolved to install a footboard panel. I'm not sure about the
exact shape or dimensions, but a forensic examination gave some
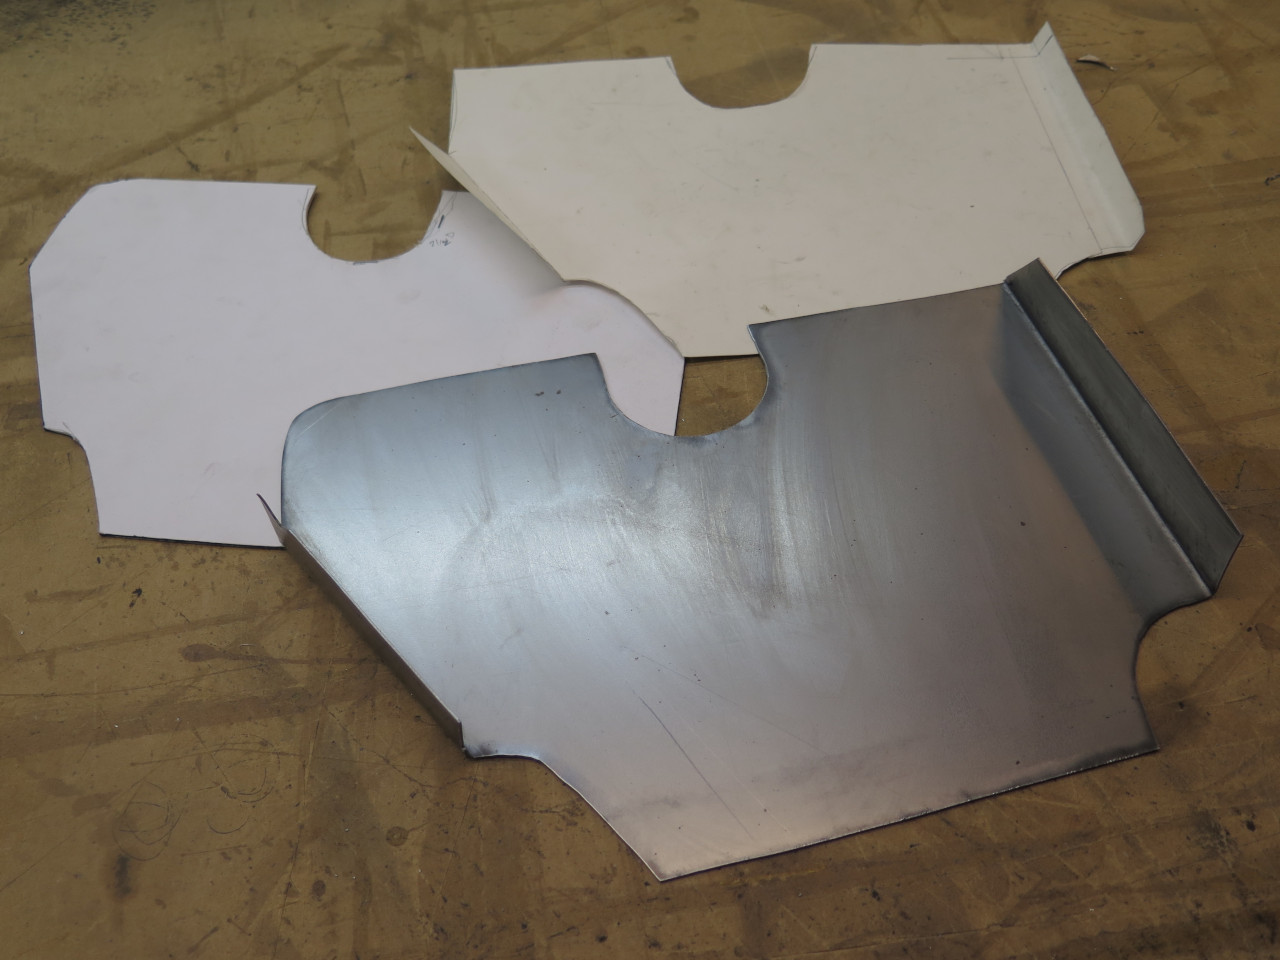
clues. A poster board pattern came next. The panel had to jog around the battery tray drain hose.

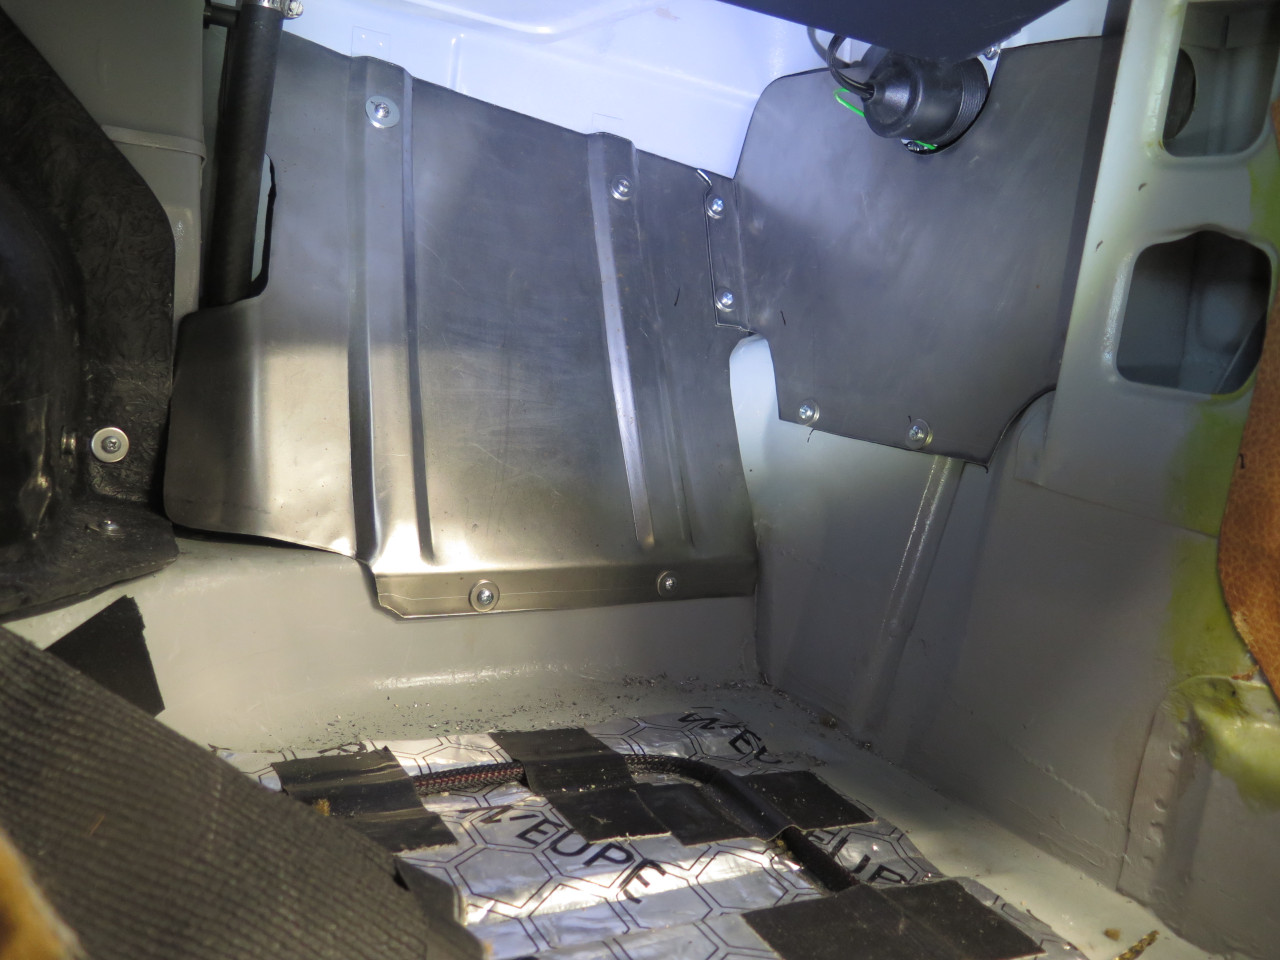
Then metal. The top uses the original brackets and speednuts. The bottom uses machine screws into rivnuts.


The next panel was actually more useful in simplifying shape. It
spans the hollow on the adjacent right side of the passenger foot space.

The driver's side got a similar side panel, but the foot panel seemed
like it could interfere with pedal travel, so I didn't do it.
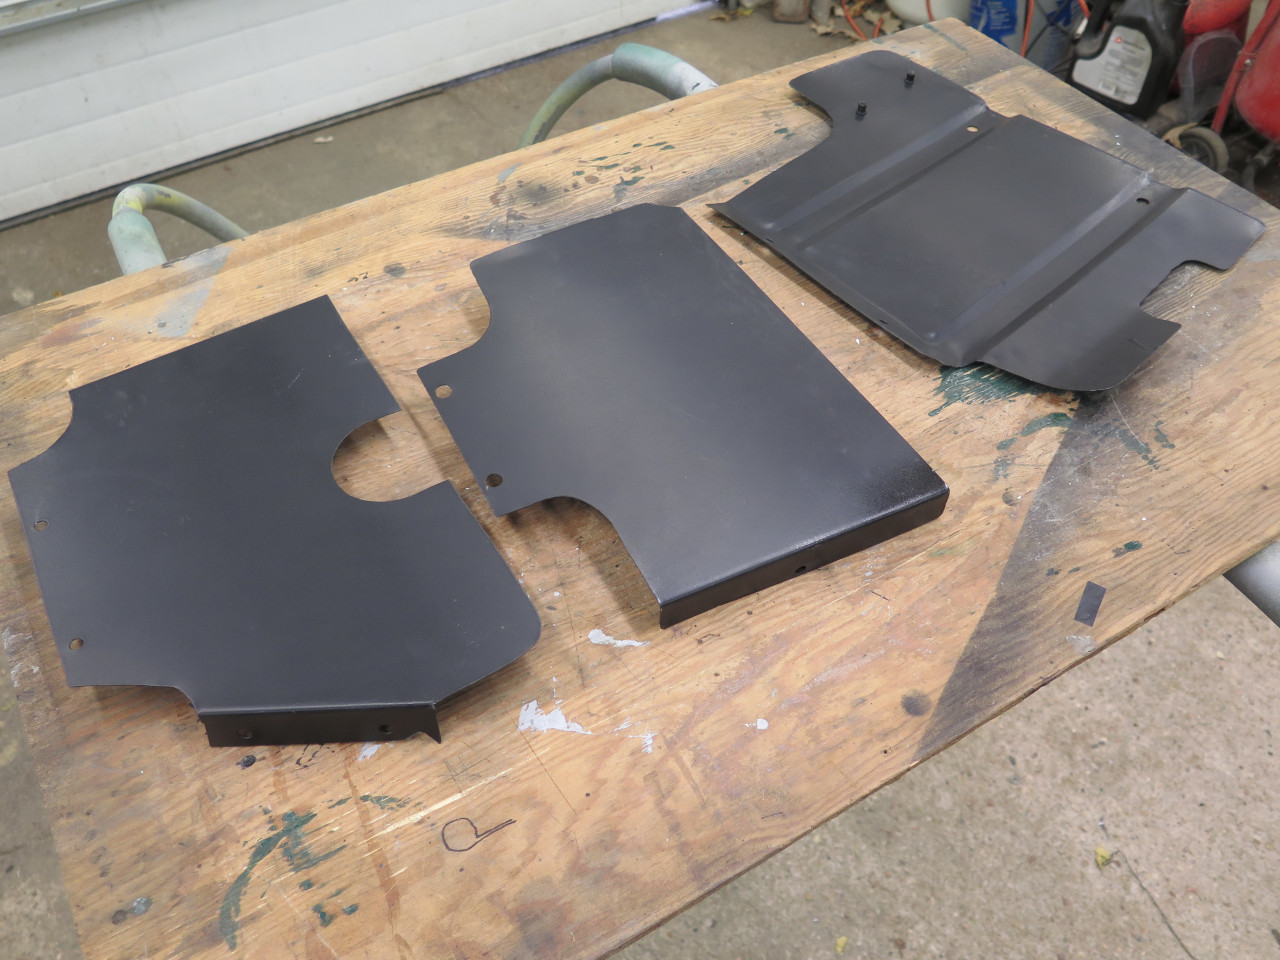
I took all three panels out, and gave them a shot of epoxy primer and a
tasteful topcoat, then applied some damping CLD pads. I'm not sure
they are really big enough to benefit much from the damping, but I had
it on hand.

Some damping on the surfaces they will cover.

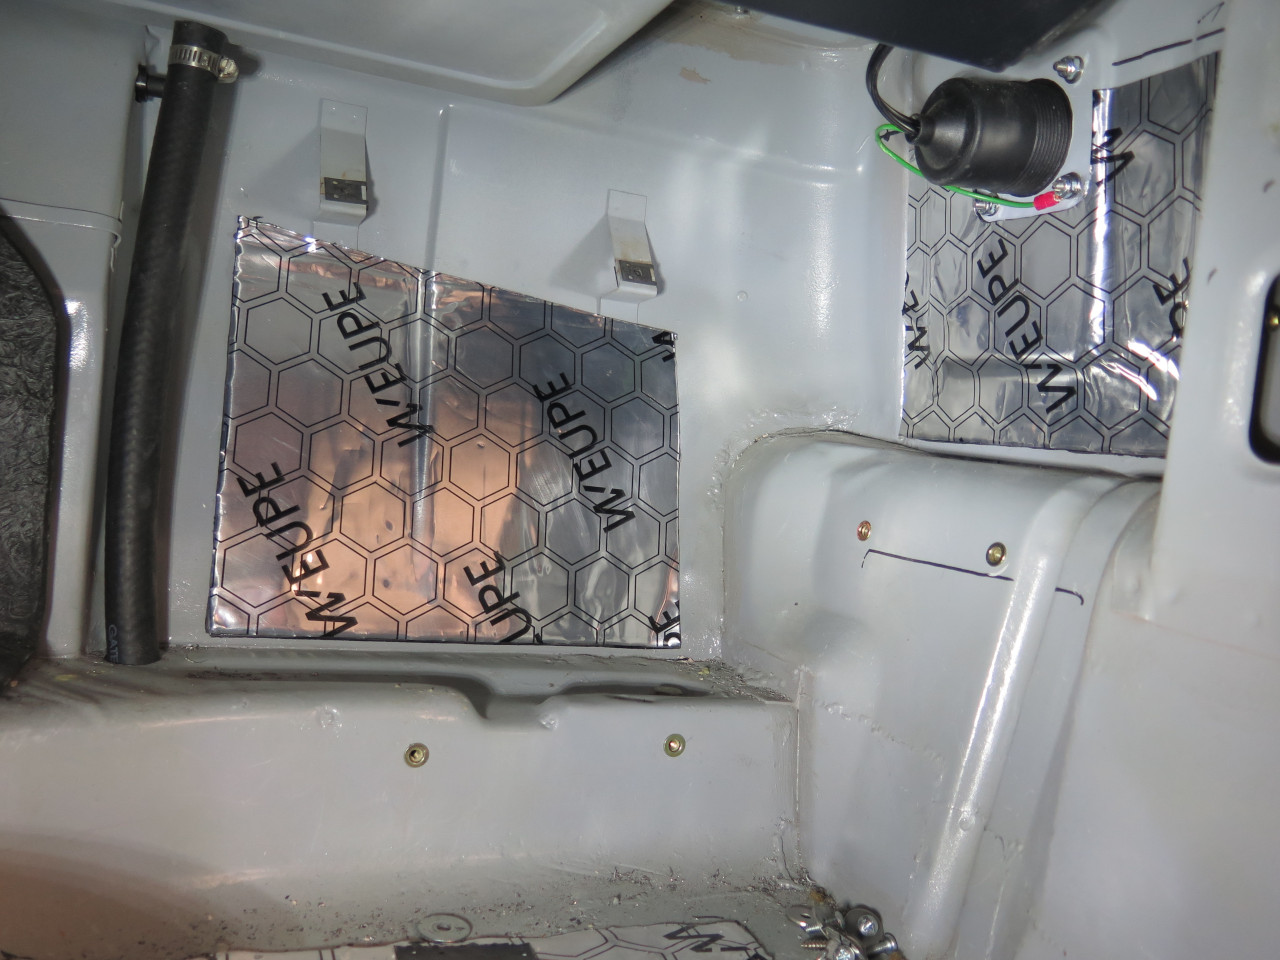
Then, it seemed a shame to close up these cavities without some kind of
thermal insulation, so I cut some rigid Styrofoam pieces to go in
there. I think fiberglass would have worked better, but I didn't
have any.
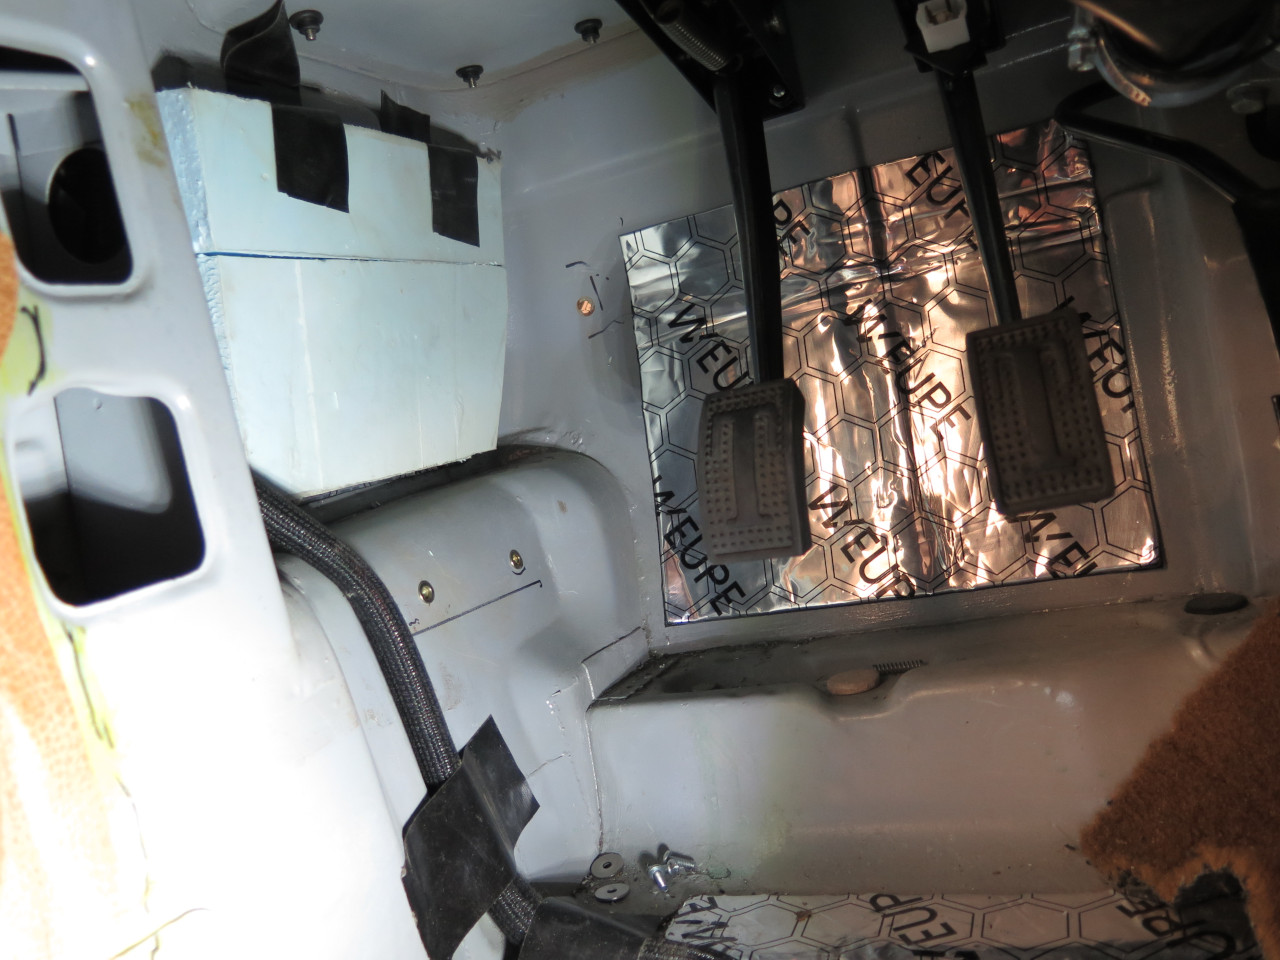

Then the panels went home.

Now, to see if all this work would pay off with the carpet.
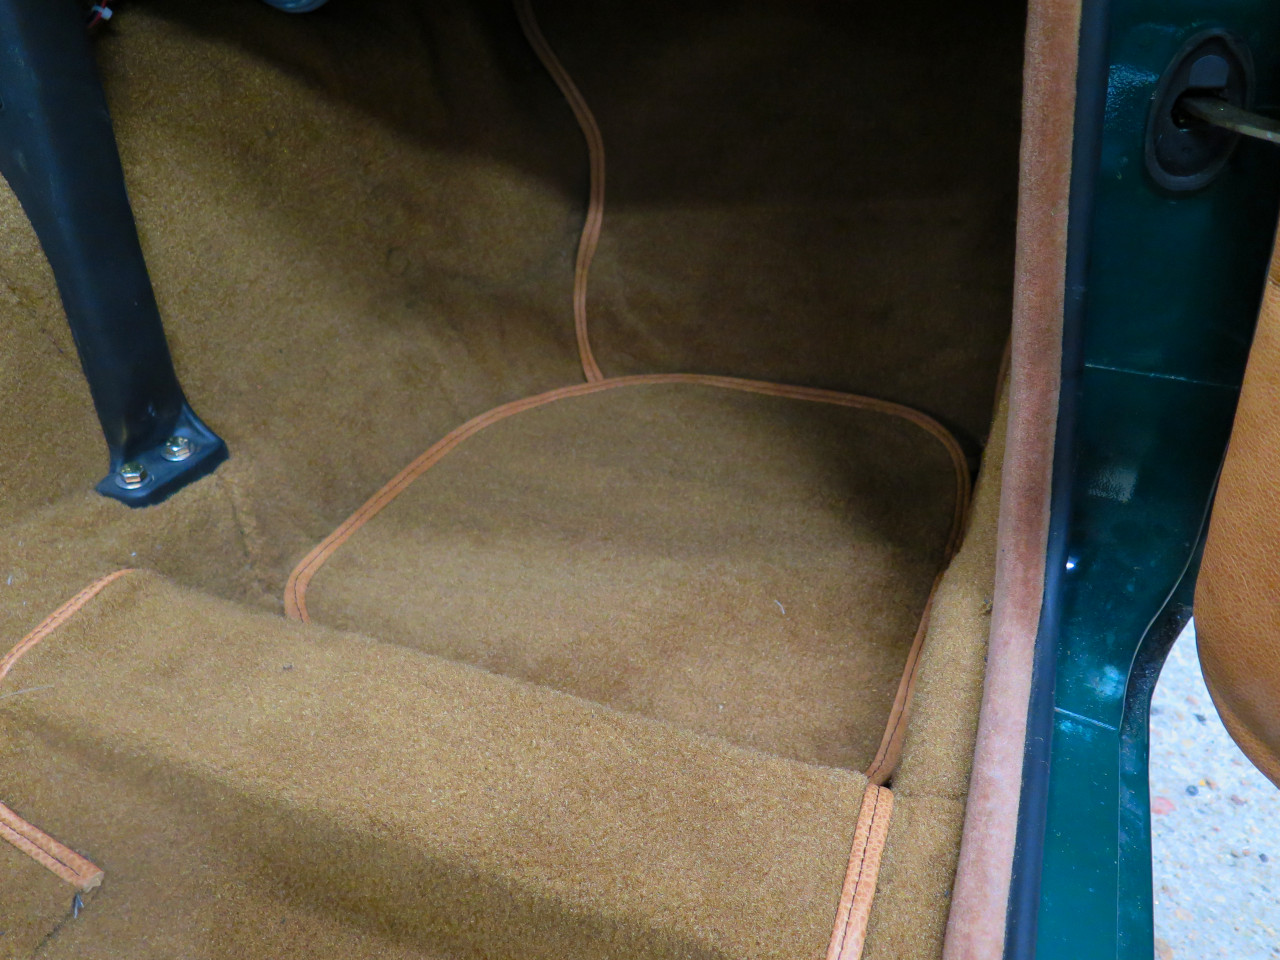
Passenger well side first. Paper pattern, then cut a piece of
carpet.


The carpet had no trouble conforming to the simplified contour of the A
post. I find that taking good pictures of carpet and other trim is a crap
shoot. Colors that seem to match pretty closely by eye look farther apart in the images.

Ditto on the driver's side.See what I mean about the pictures?
Same camera, similar lighting, and they look similar in person, but the
pics look way different.

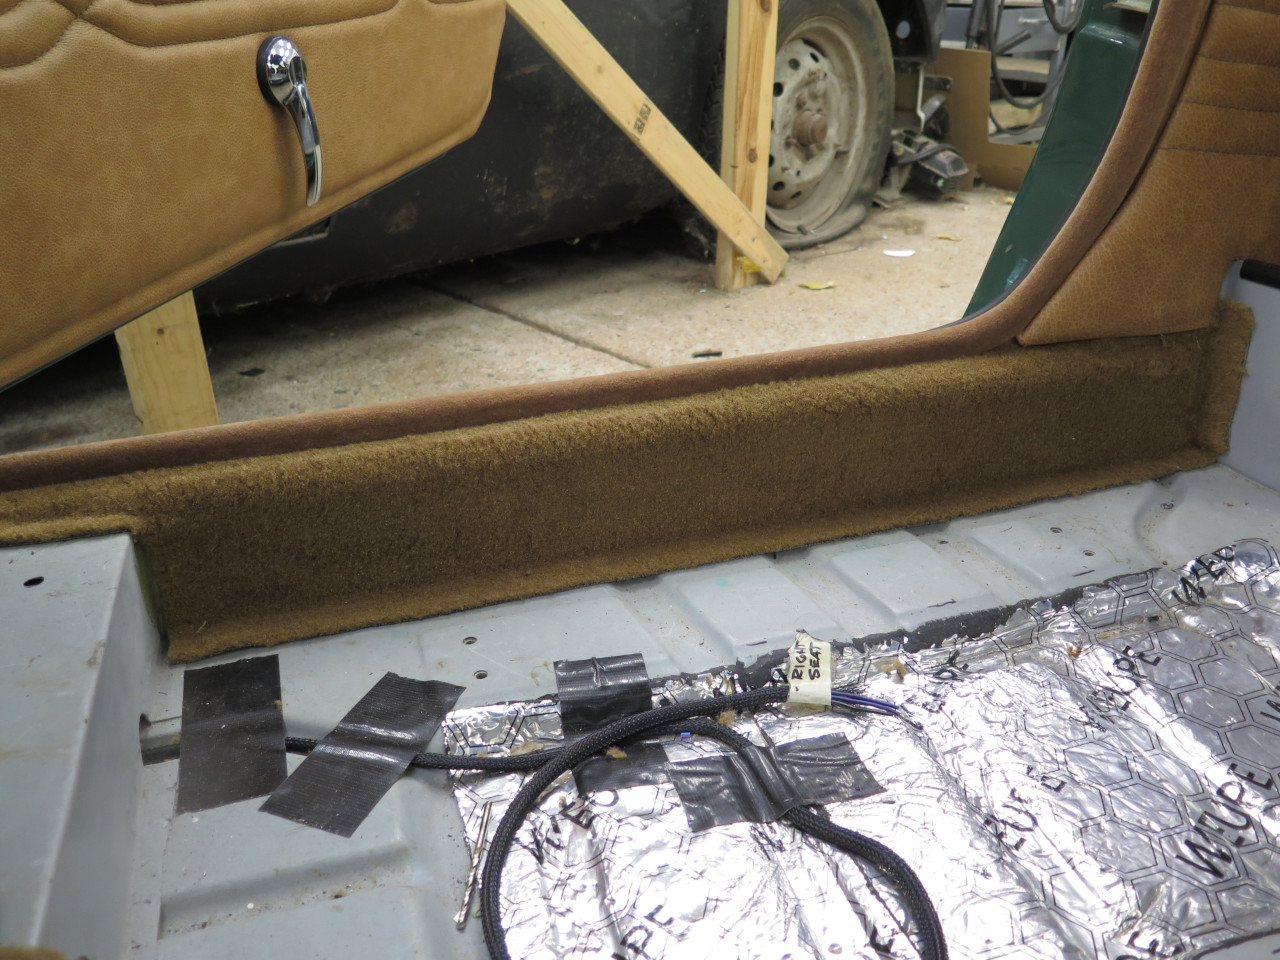
Next up were the strips along the inner sill. All of the carpet on vertical surfaces was glued in.

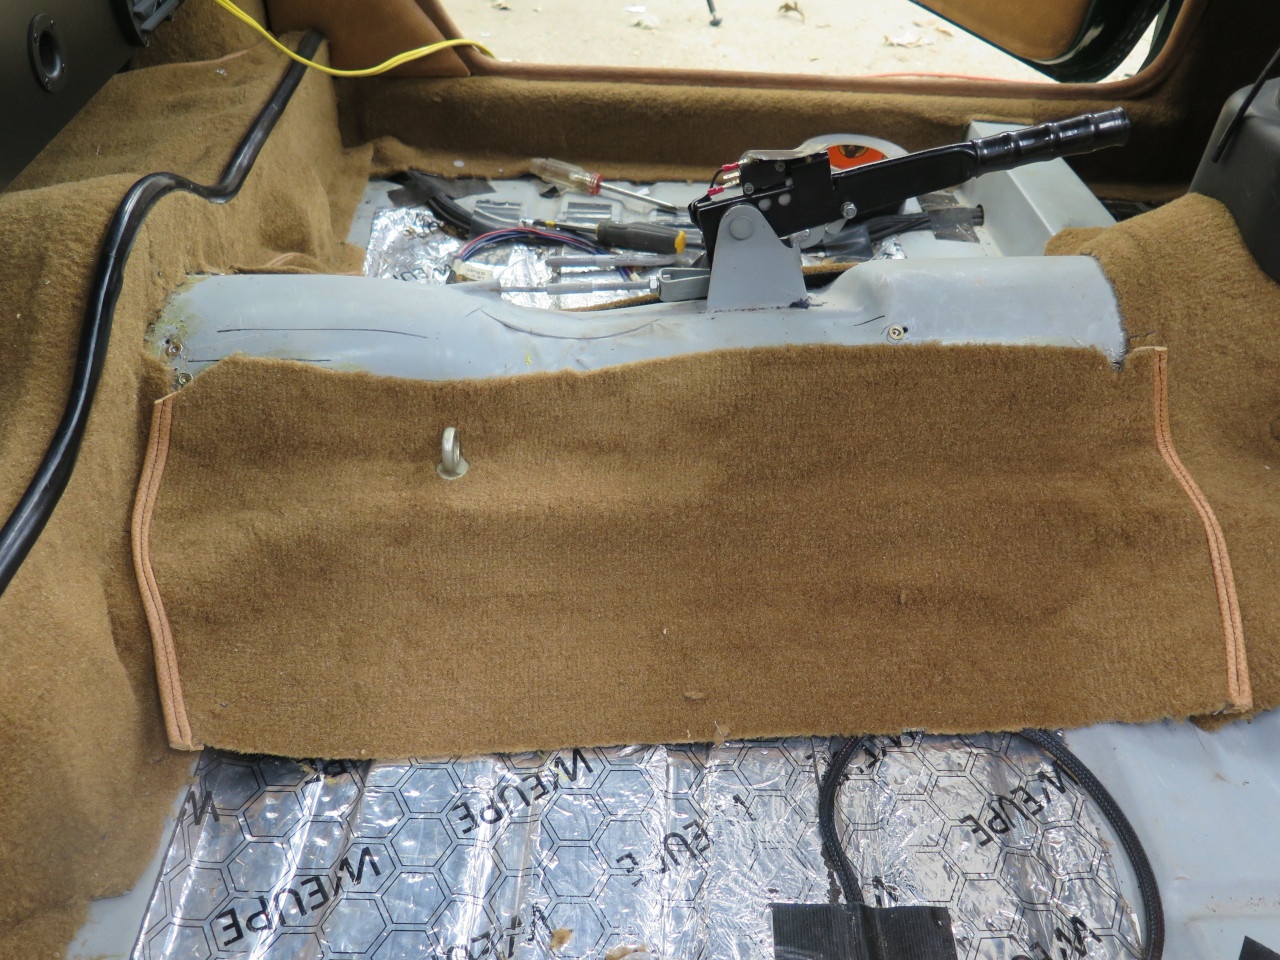
Next was the "heelboard" behind the seats. It has a couple of big
lumps for the radius arm fixings that will be a challenge.
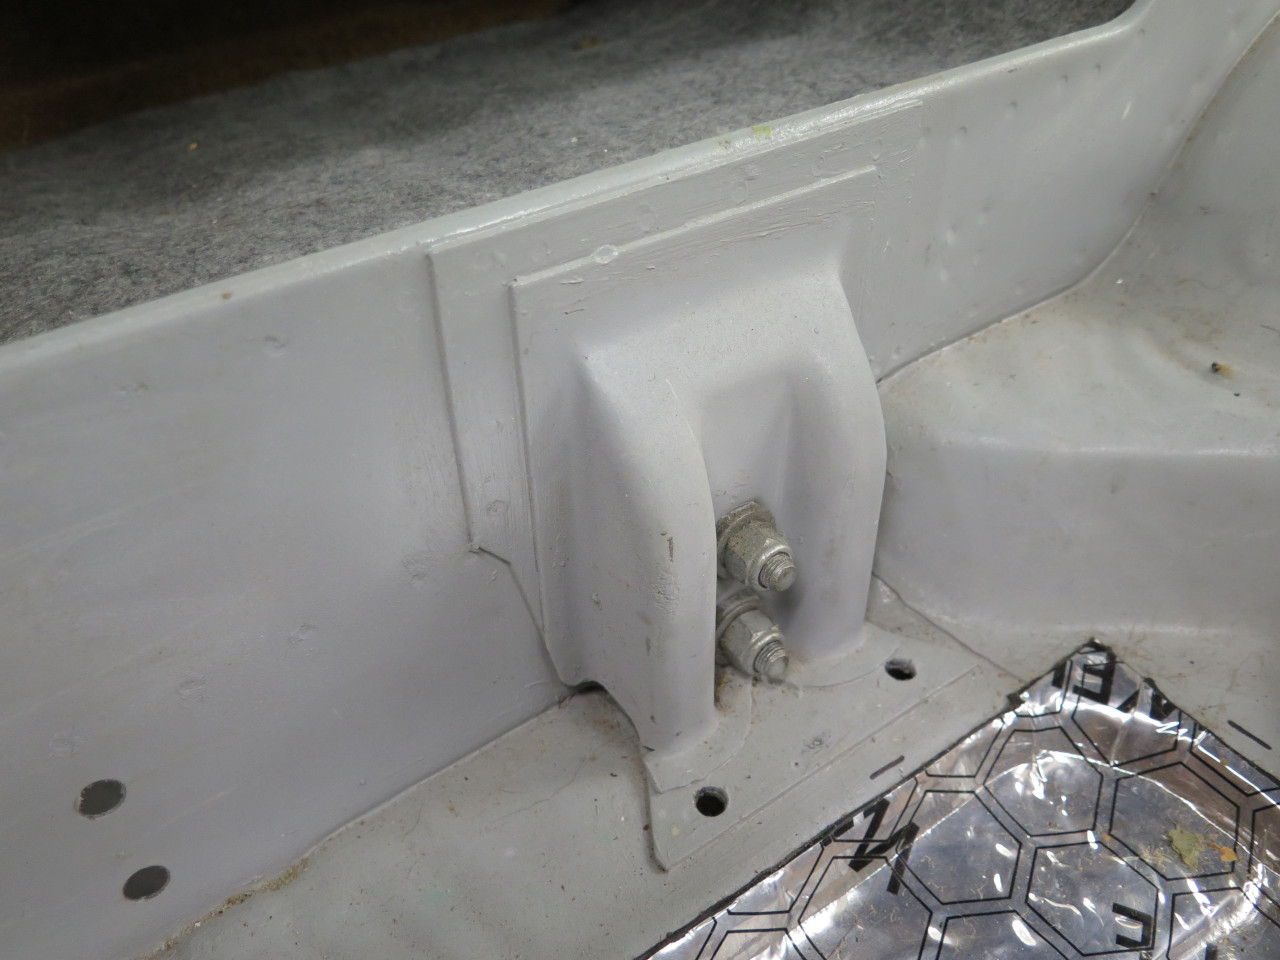
With some heat, glue, and coaxing, the carpet conformed OK.
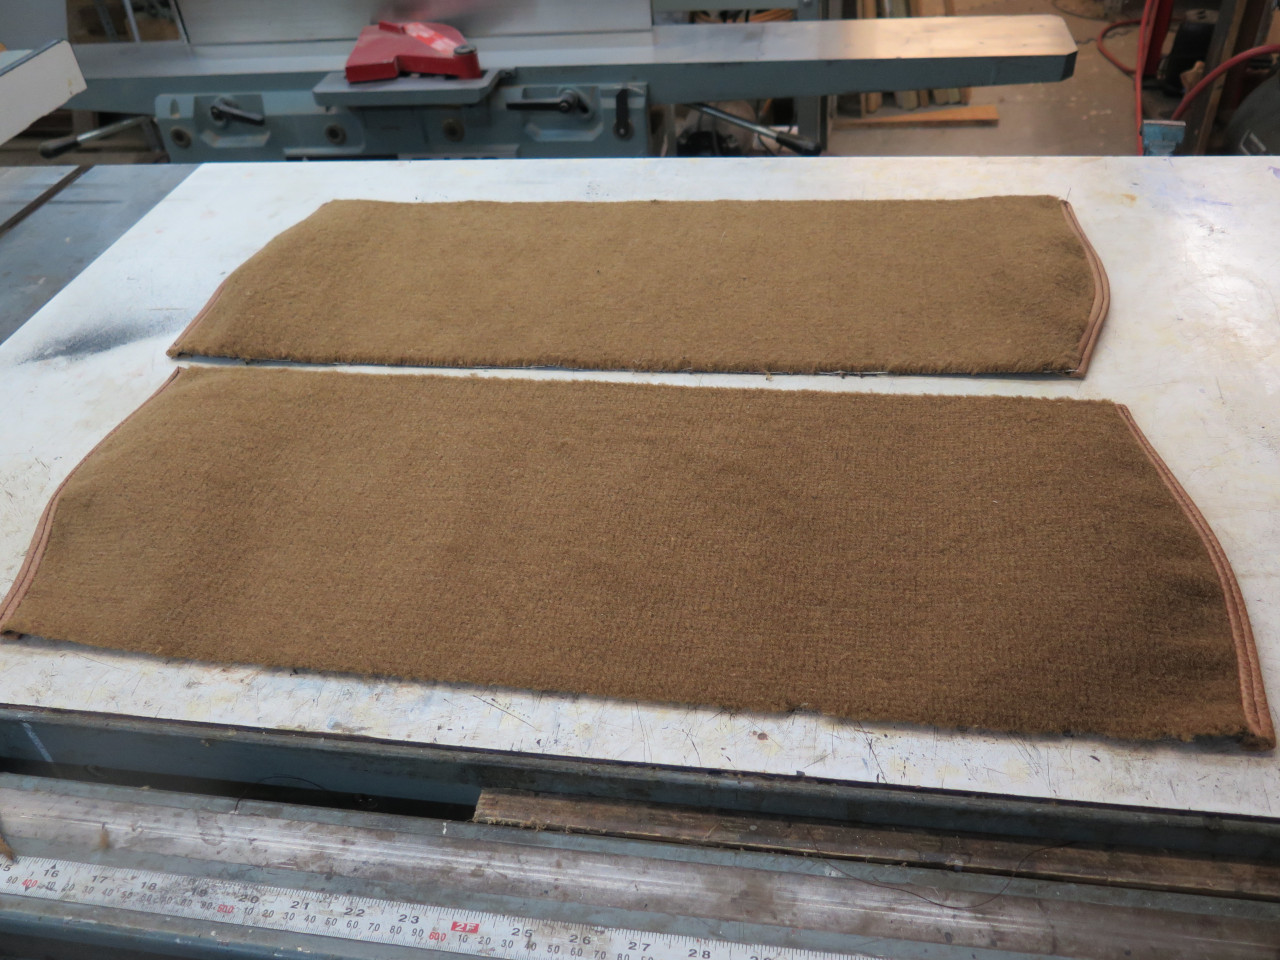
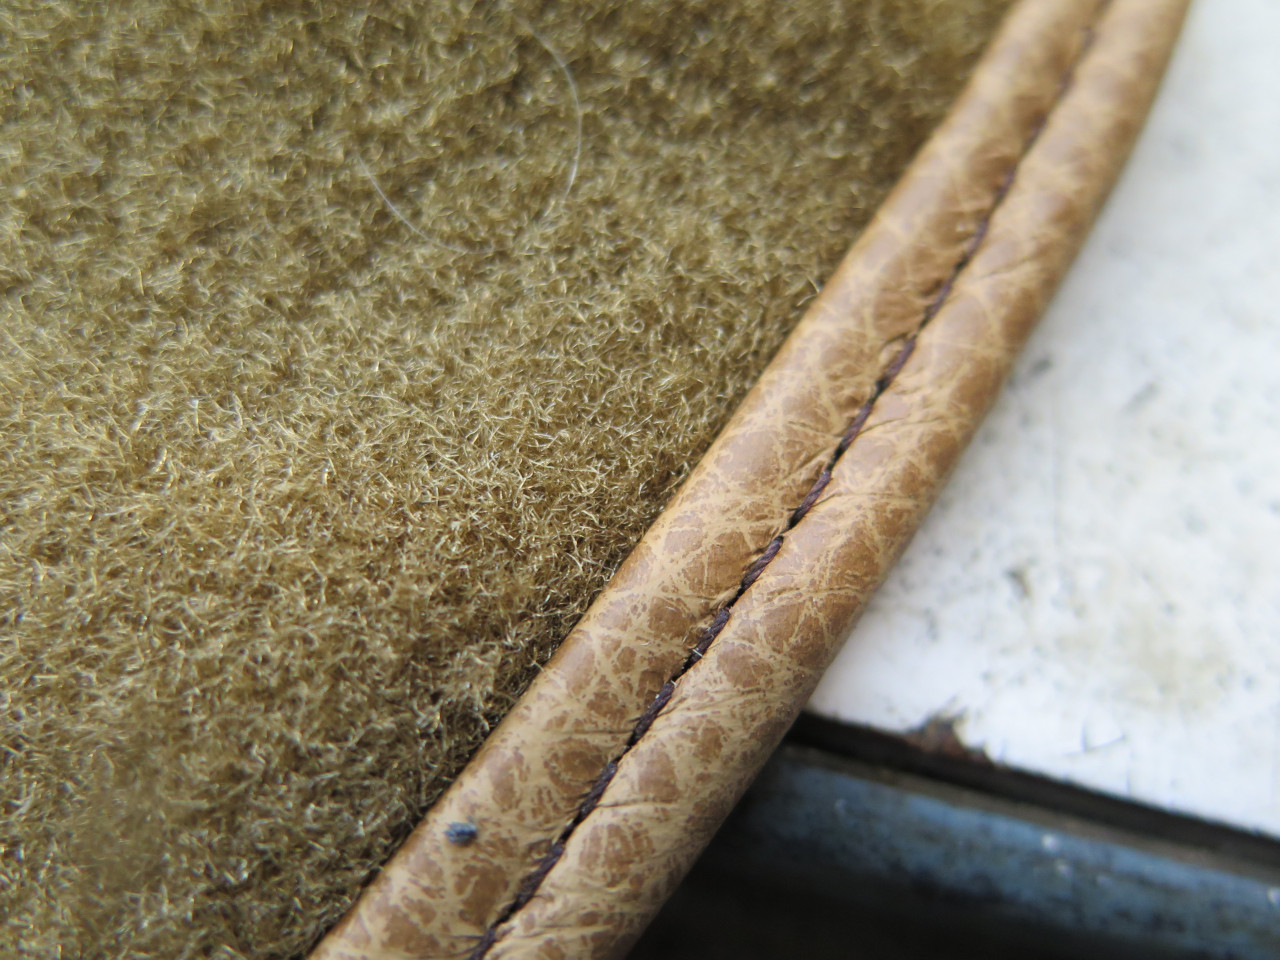
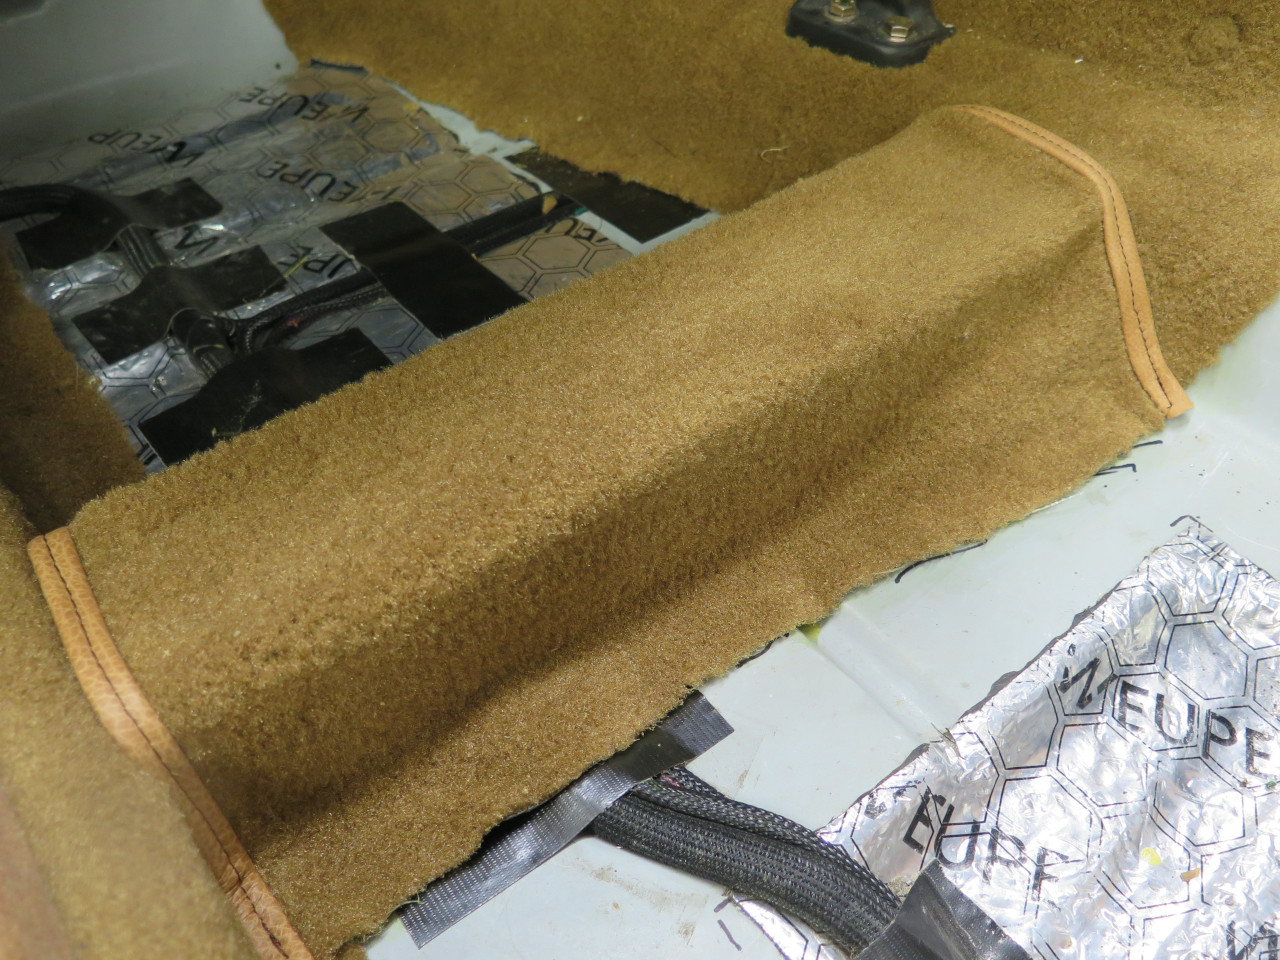
Then the sides of the prop shaft tunnel. These pieces overlap
other pieces, and so need to have some kind of treatment for their edges
so they look decent and don't fray. Though "carpet binding"
material can be bought, matching the color could be a challenge, so I
opted to just use the same leather as for the rest of the car. A
strip is sewn to the front face of the carpet, then wrapped around the
edge to the back, and sewn again.
I had to hunt up the refreshed eye bolts for the seat belts.

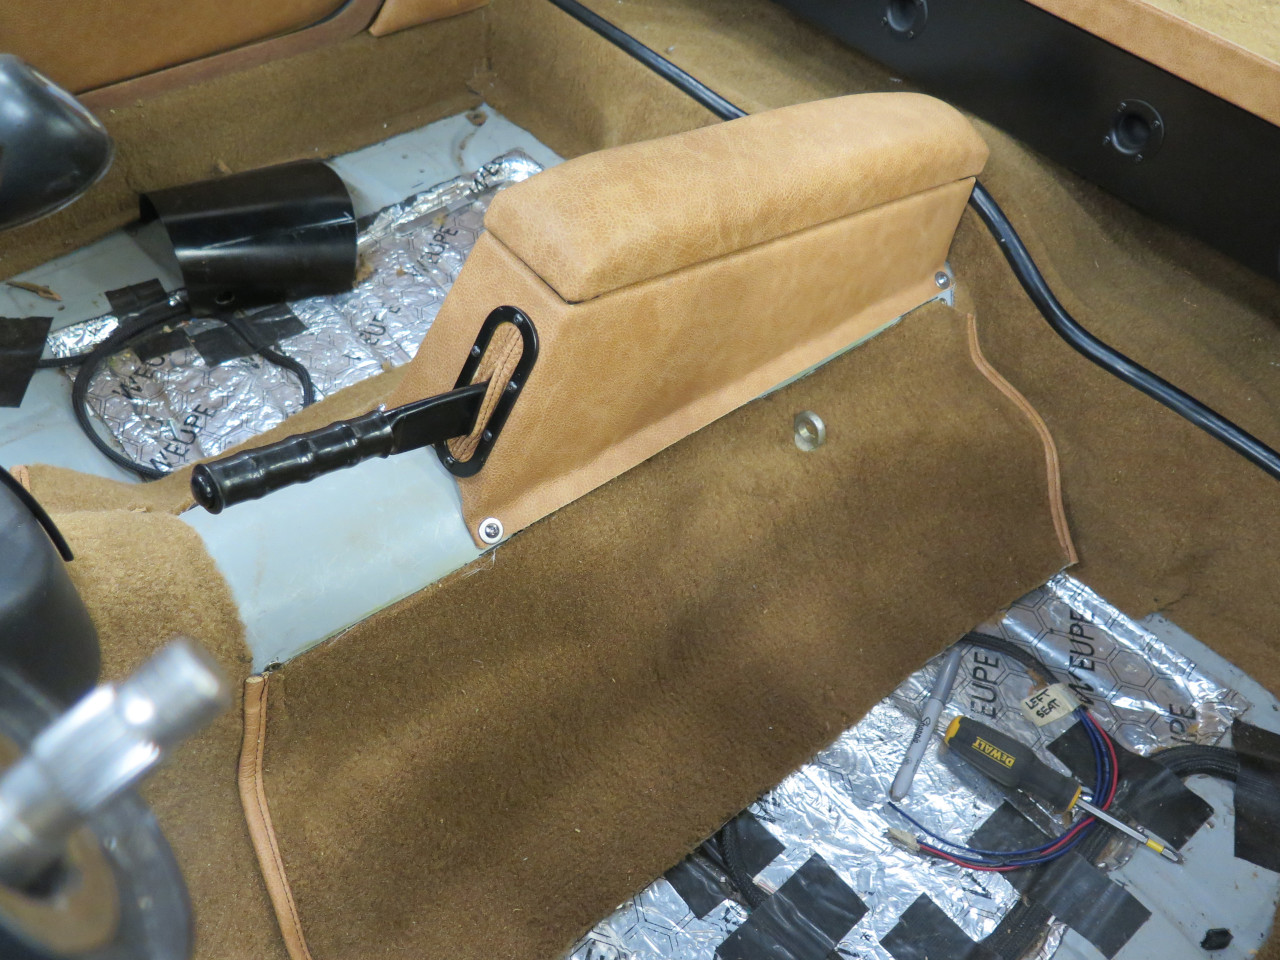
Test fit of the trick new center console.
The carpet for the crossmembers just in front of the seats also had to have finished edges.
The step in the driver's footwell.
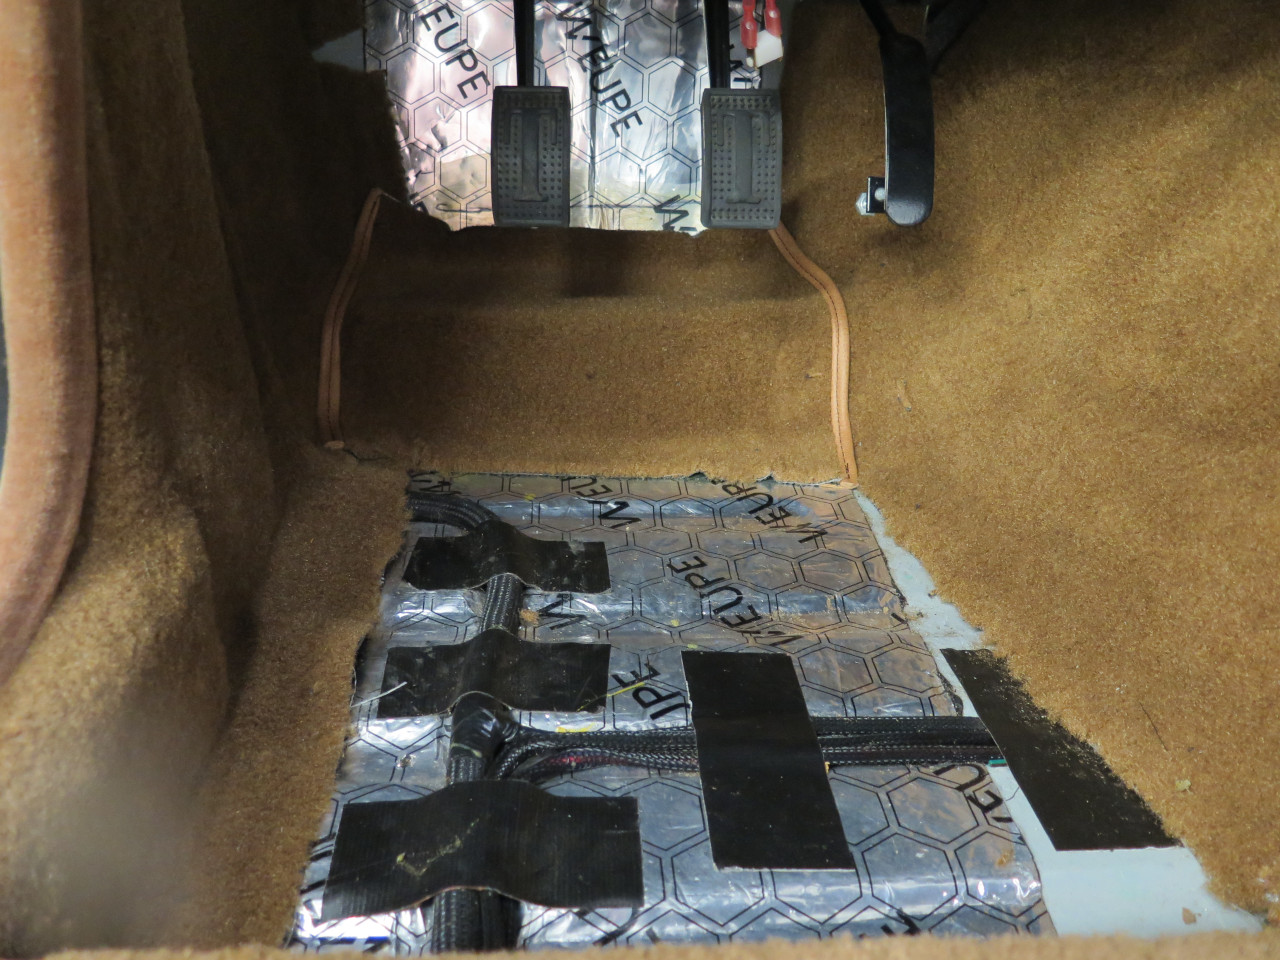
The footwell floor carpets had binding all around. Paper pattern first. These pieces are held in by snaps.
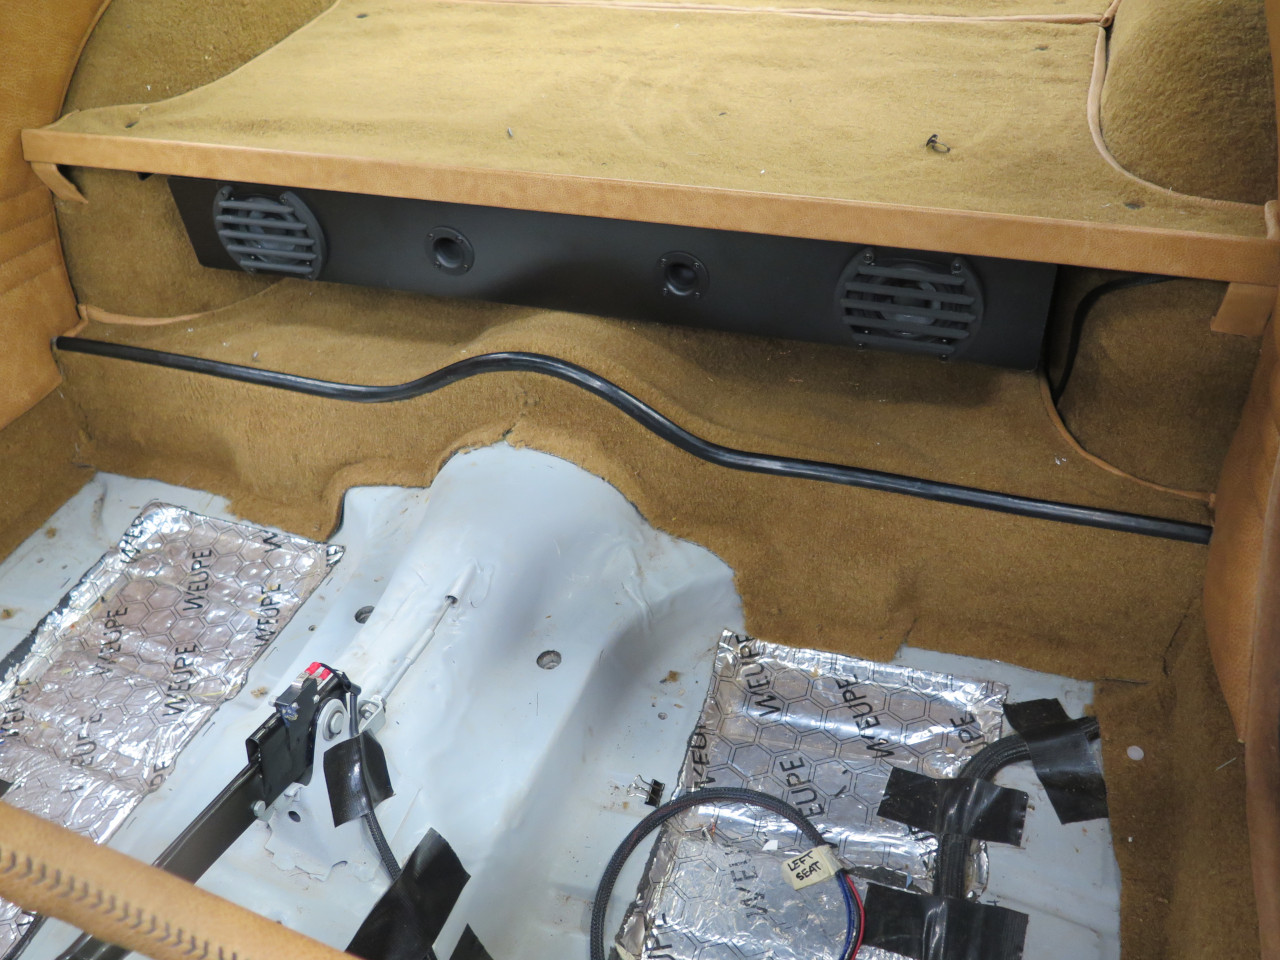
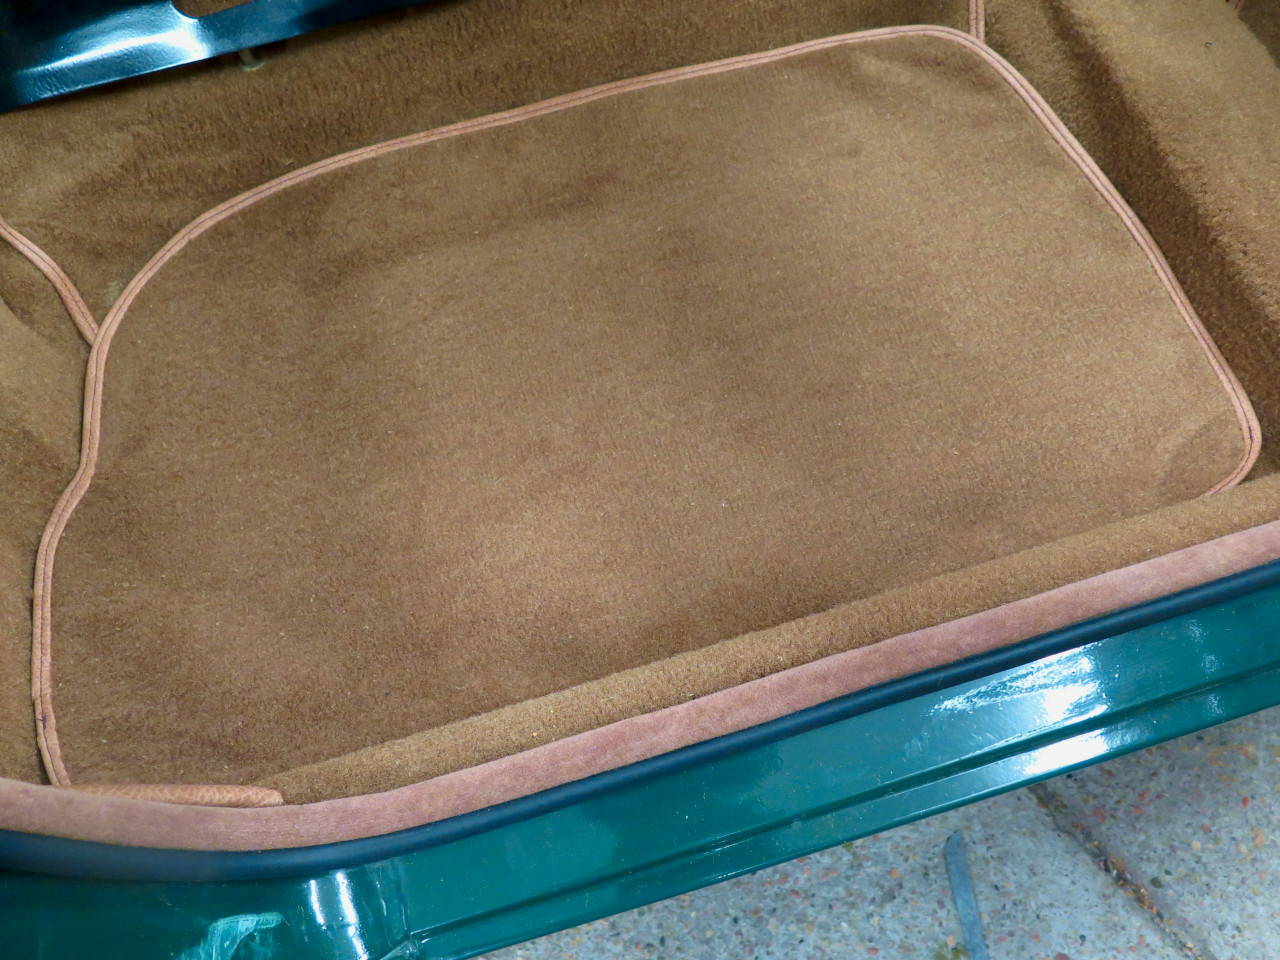
The last pieces were the ones under the seats. There is a little
depression in the center of the floor pans. They got filled with
some carpet padding to give a flat surface. The wire is for the
seat heaters.
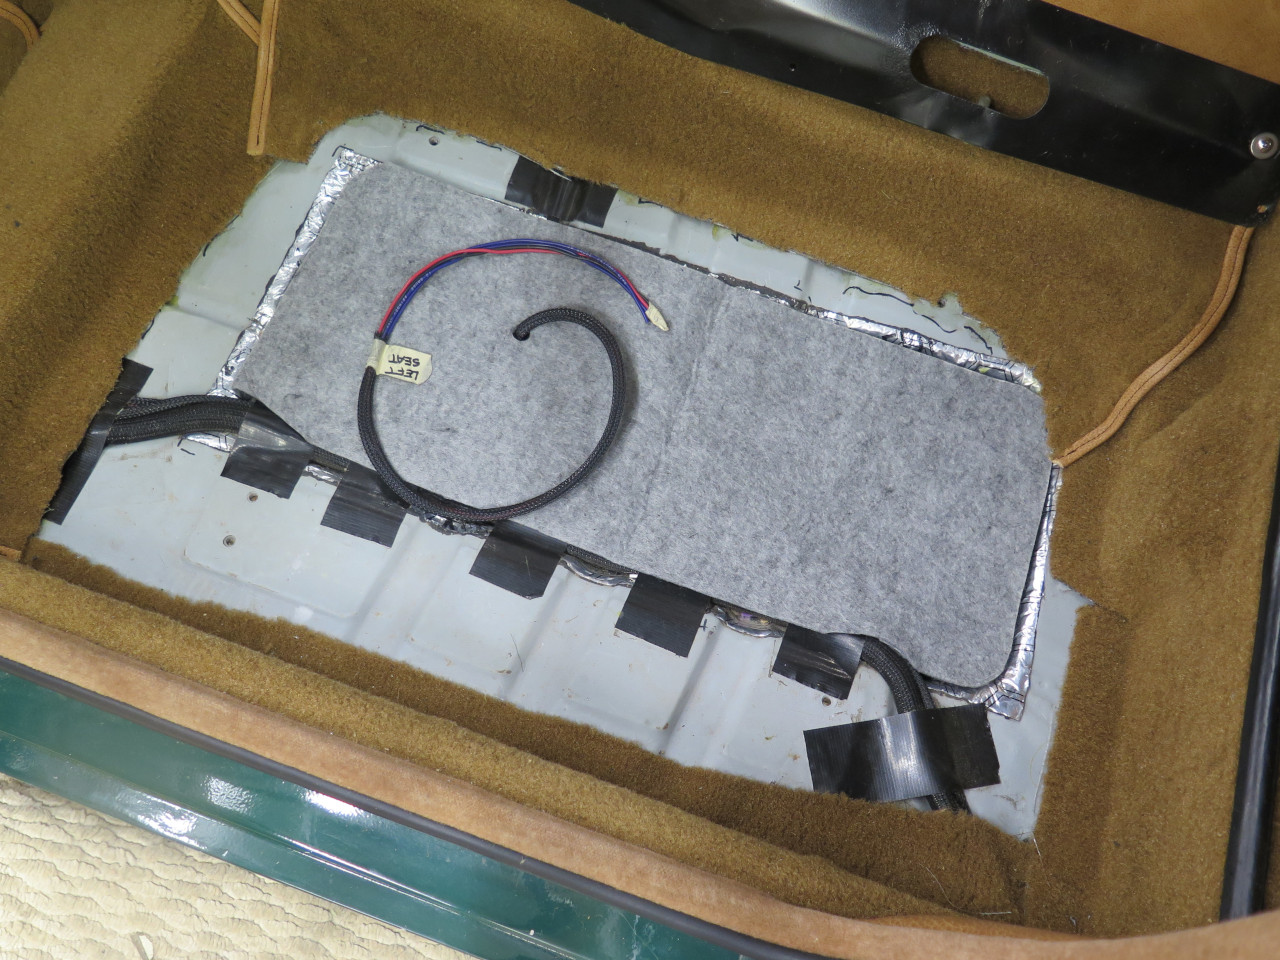

I test fit the cut carpet before binding it. The edge binding on
these flat pieces made the corners want to curl up a bit. Heat
from a hair dryer seemed to help them relax, but there is still a little
curl. I expect some summer heat and humidity will help.

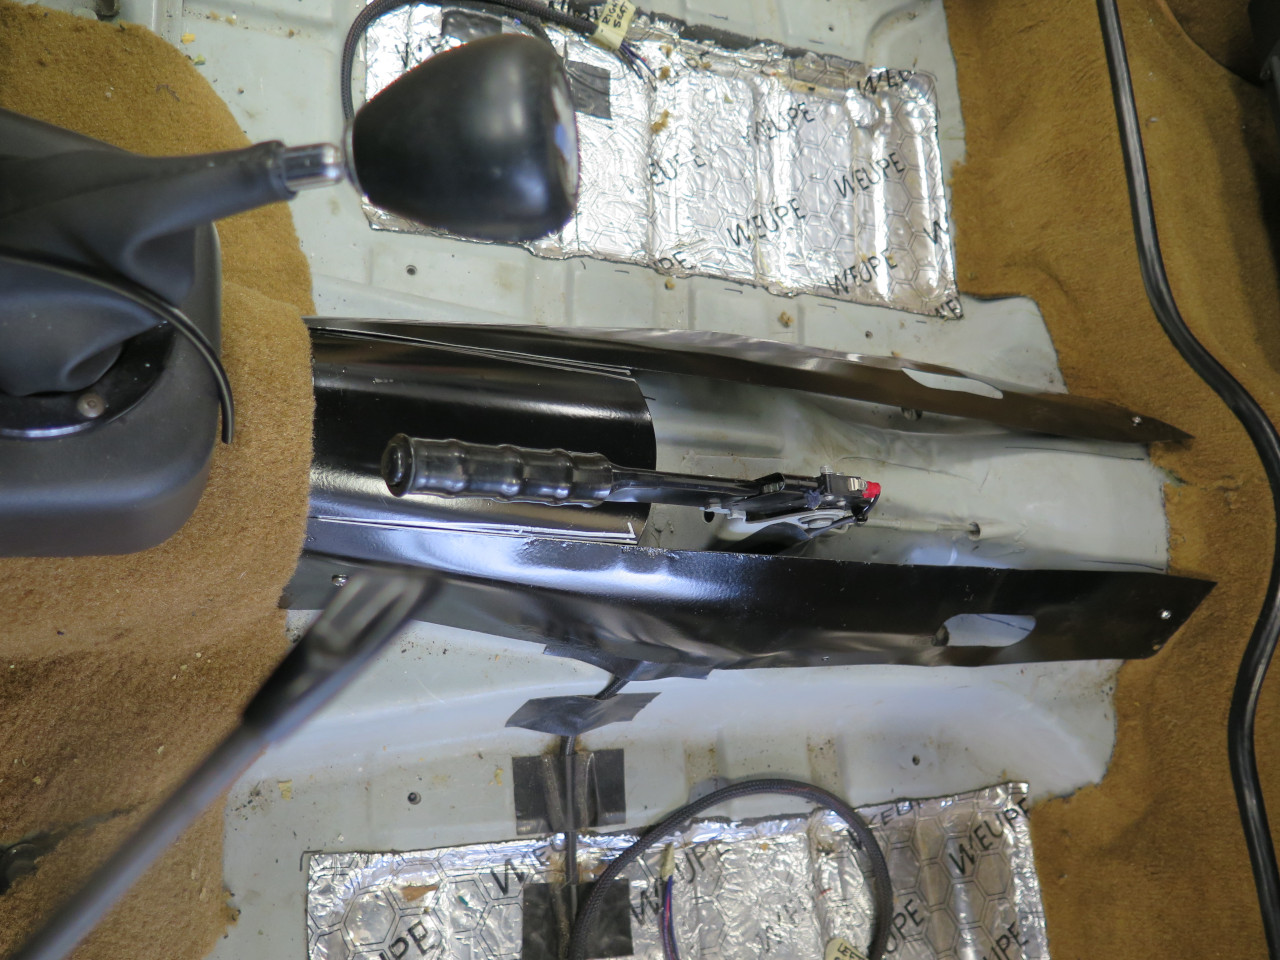
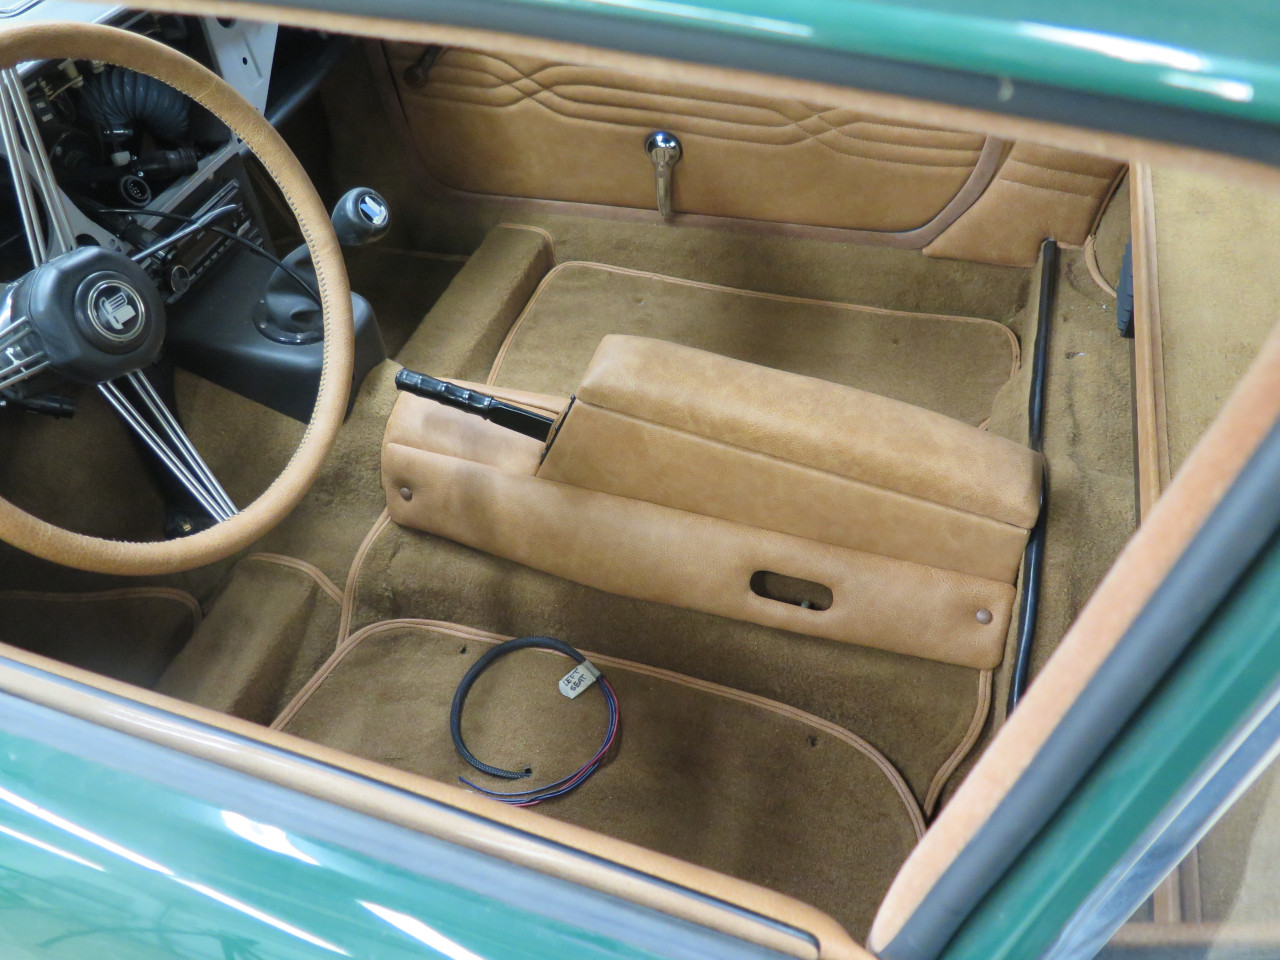
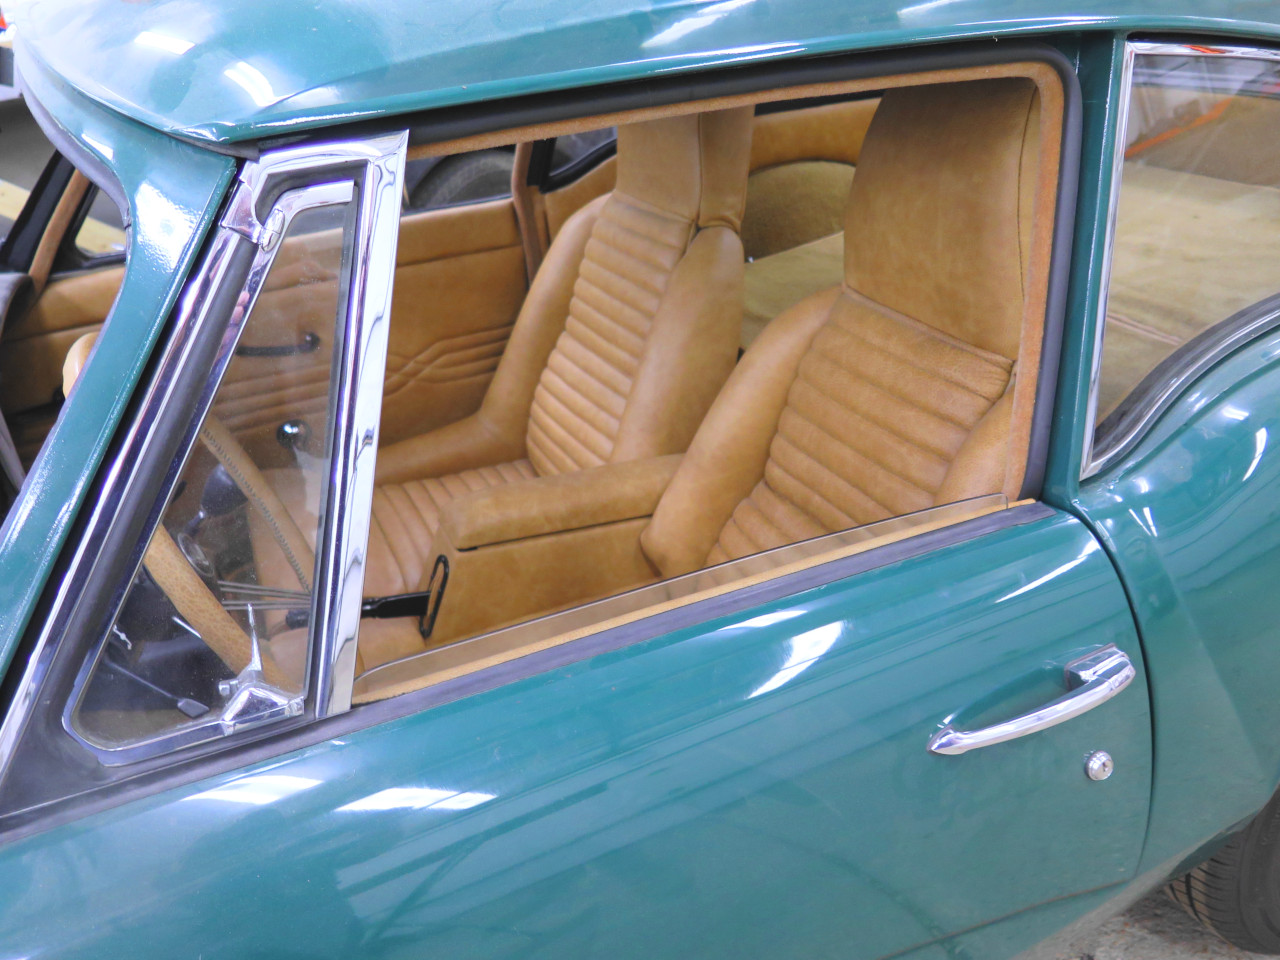
So, that was the end of the carpet. Only one more small related
thing. There were some finishing pieces around the center
console. The side pieces actually serve as the inboard bolsters
for the seats. Mine looked pretty bad. I was working on
these in parallel with the carpet, so that's why there may seem to be a
time warp in some of the pictures.
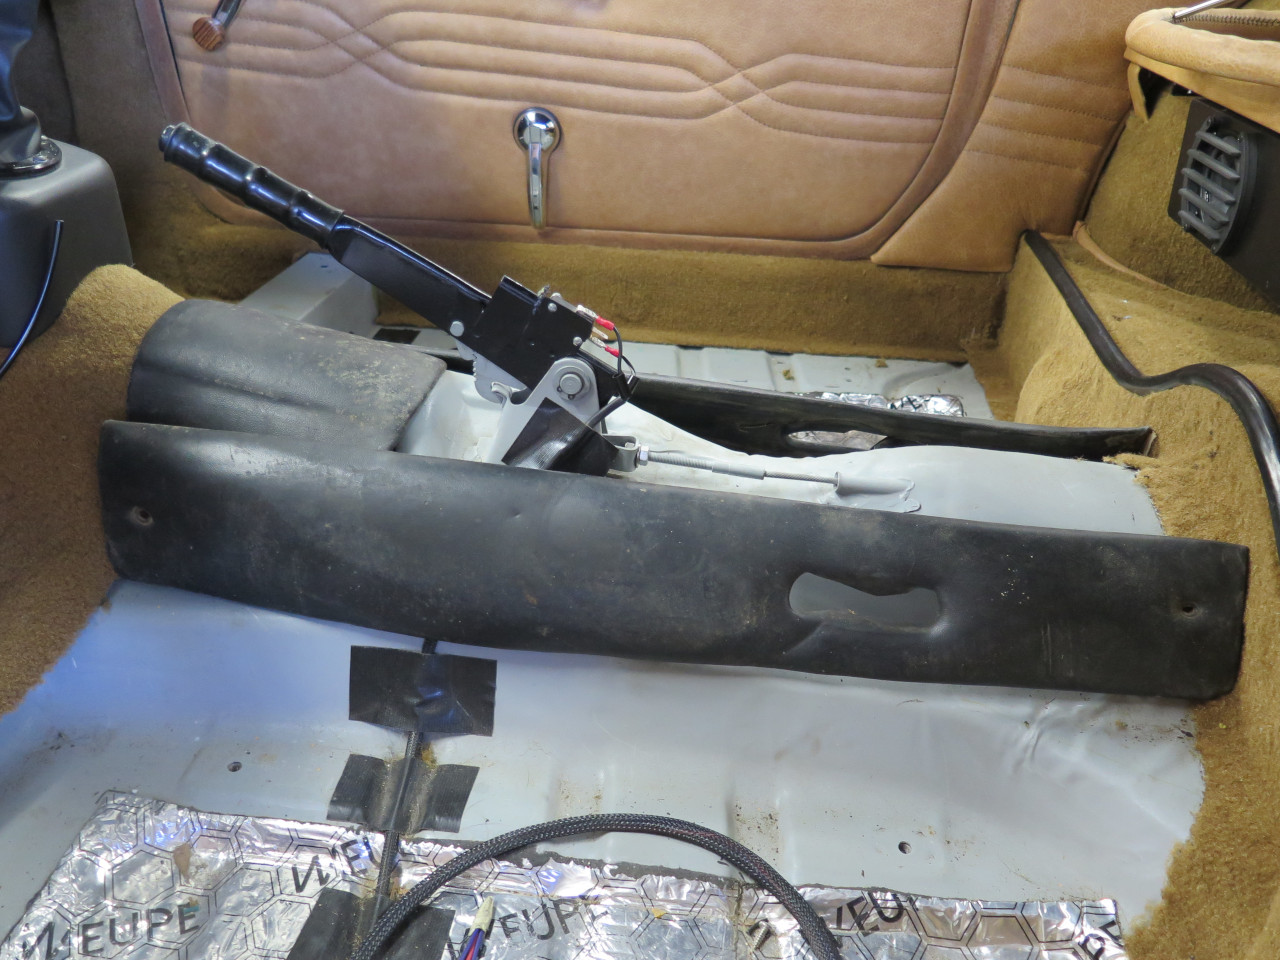
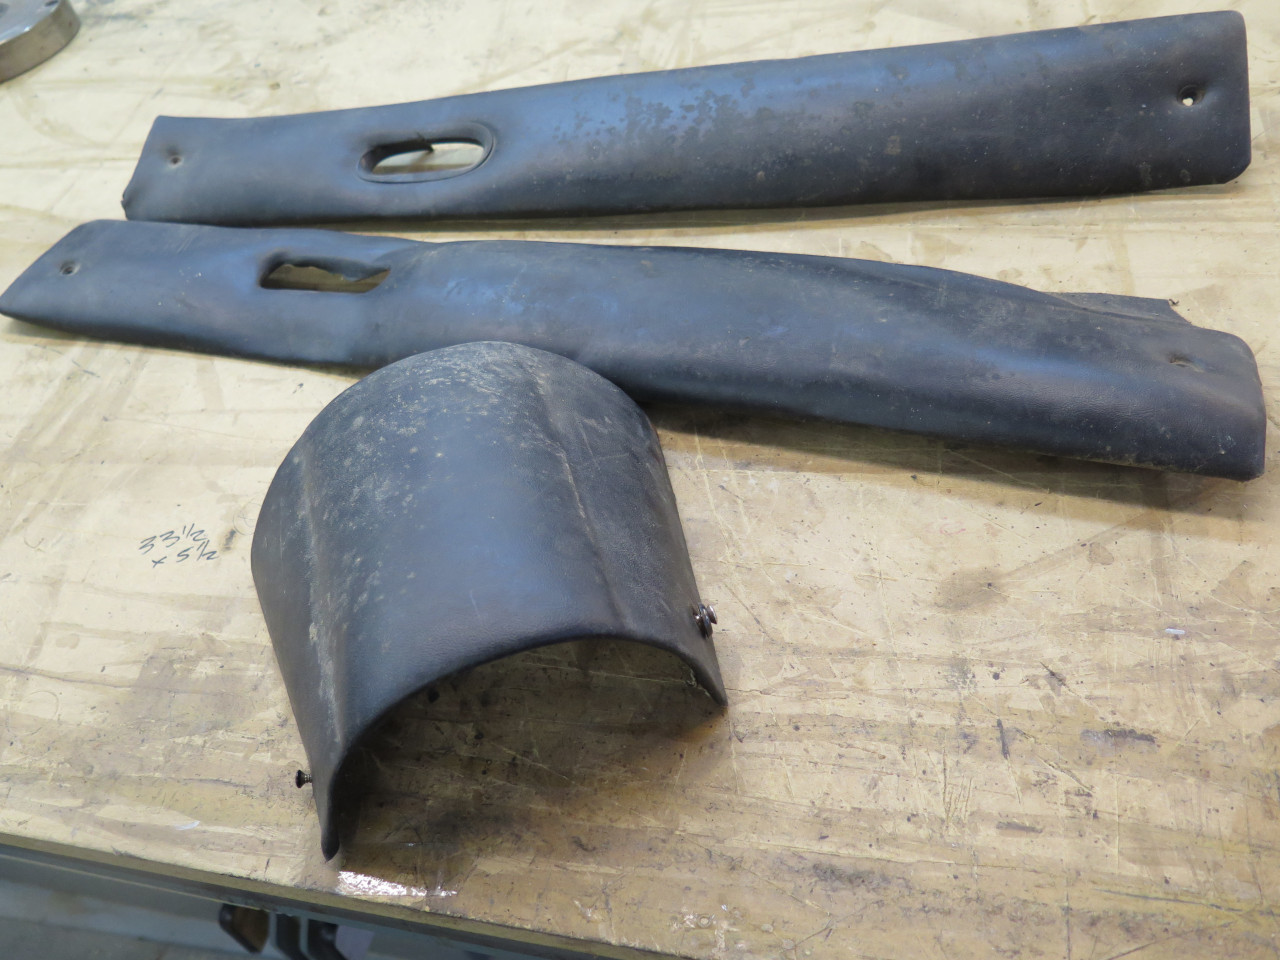

The center piece was made of some stout metal with some token padding on top.
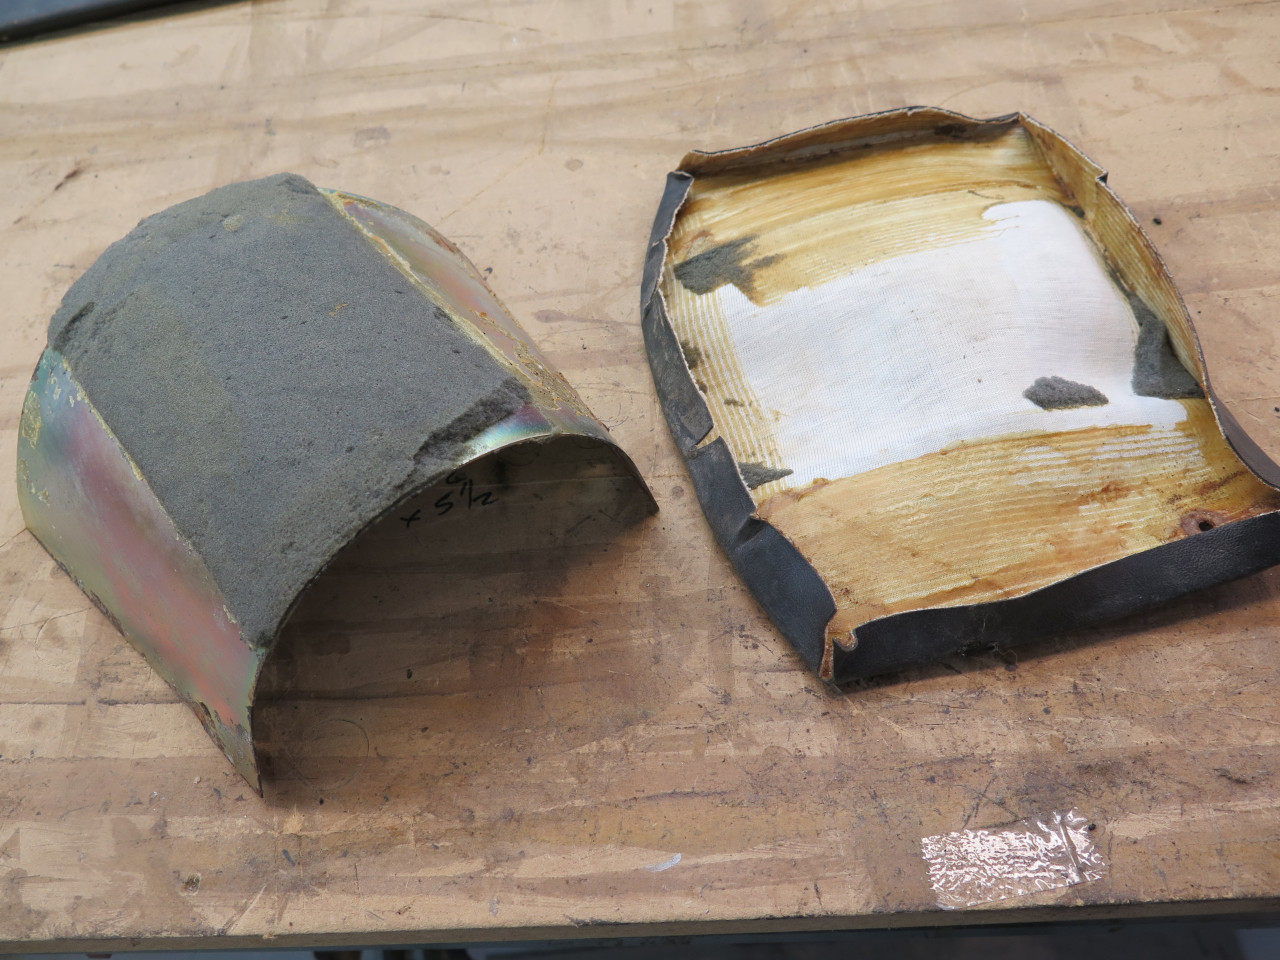
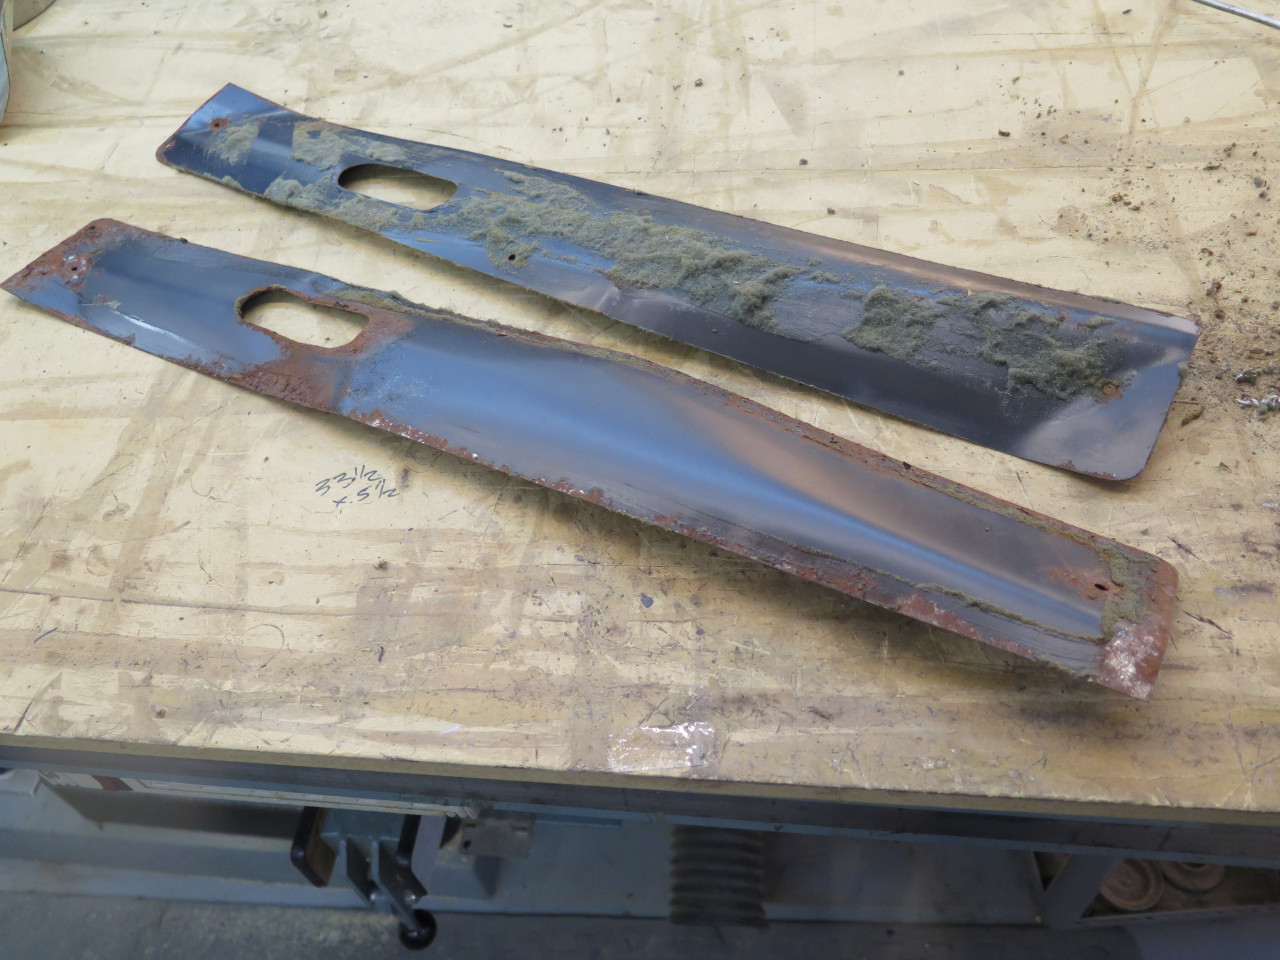
The side pieces were really flimsy metal, again, with some token
padding. I realized later that they really needed to be thin to
allow them to bend and conform to a pretty arbitrary shape.
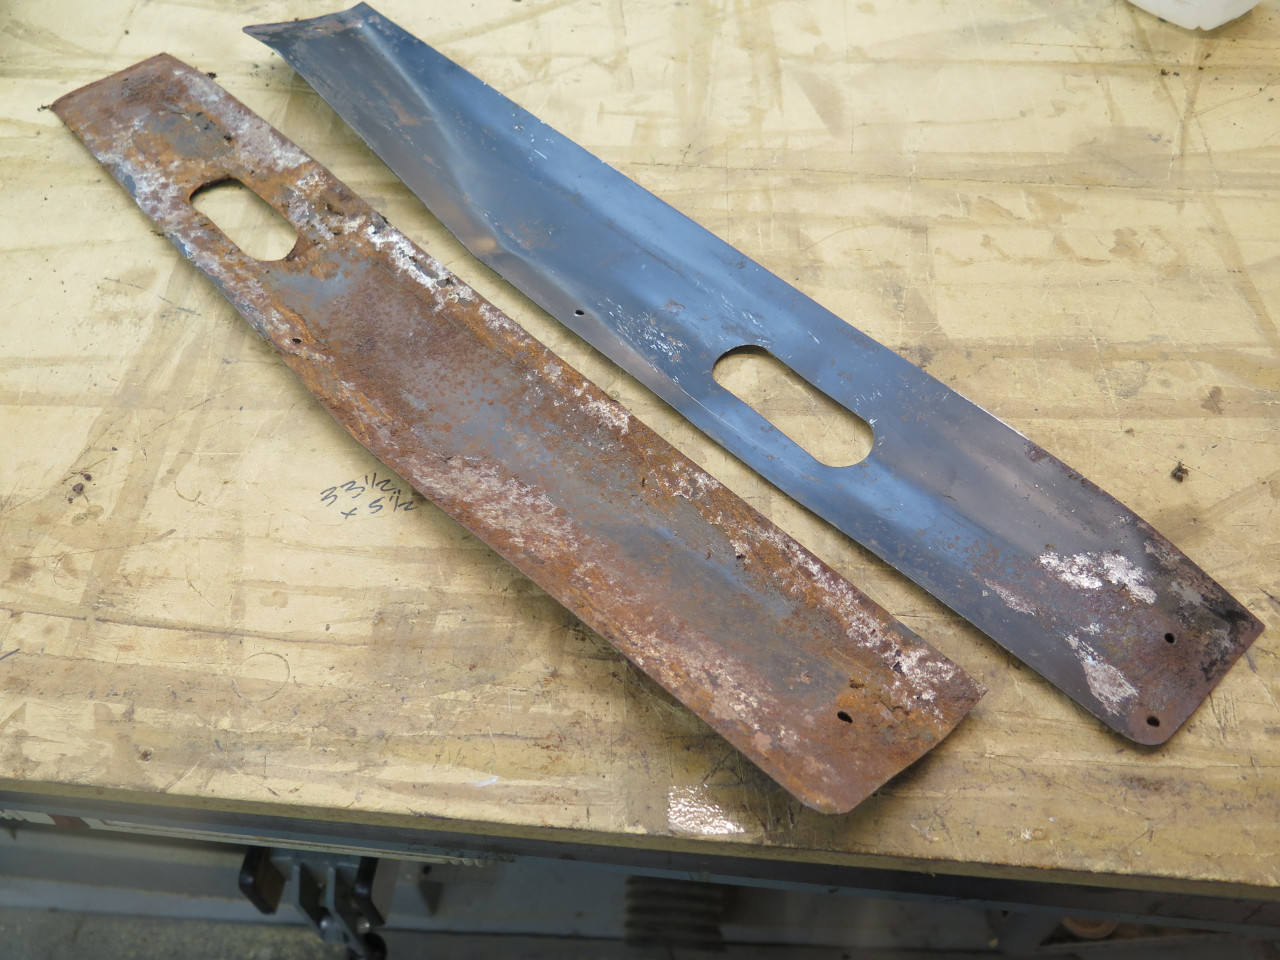
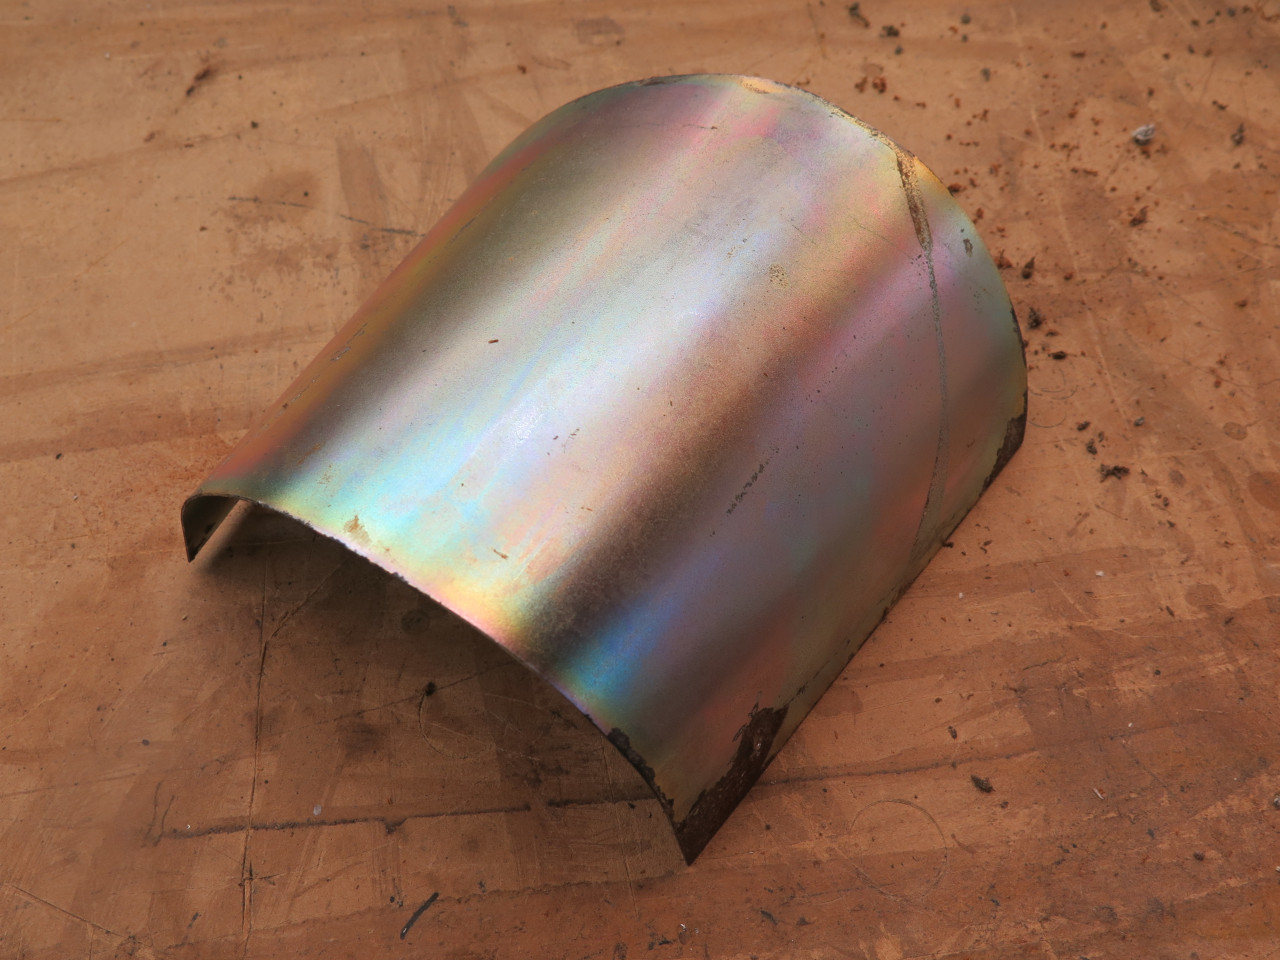
Blasted off the rust and powder coated them.

Test fitted with the console.
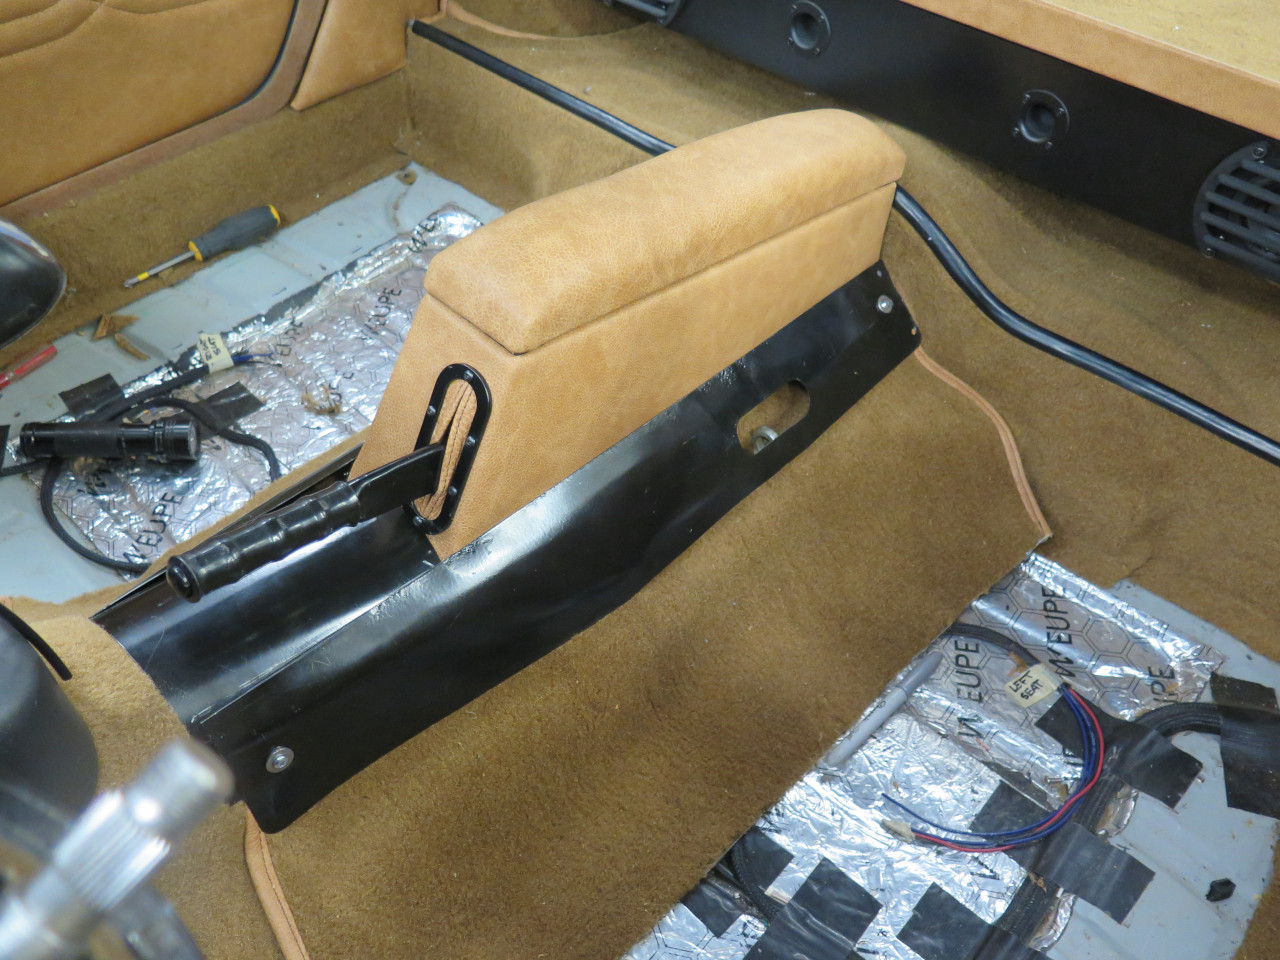
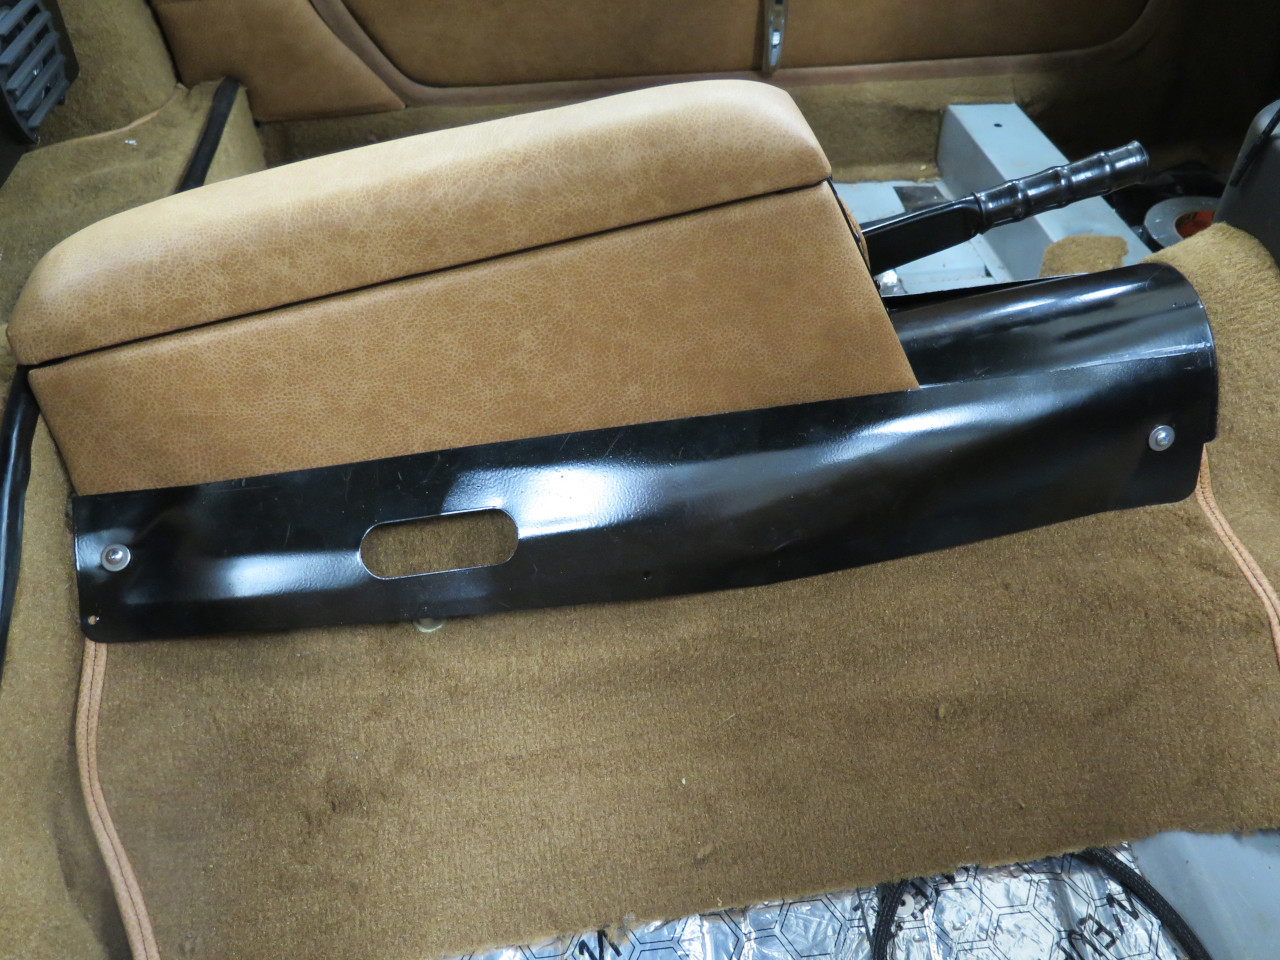
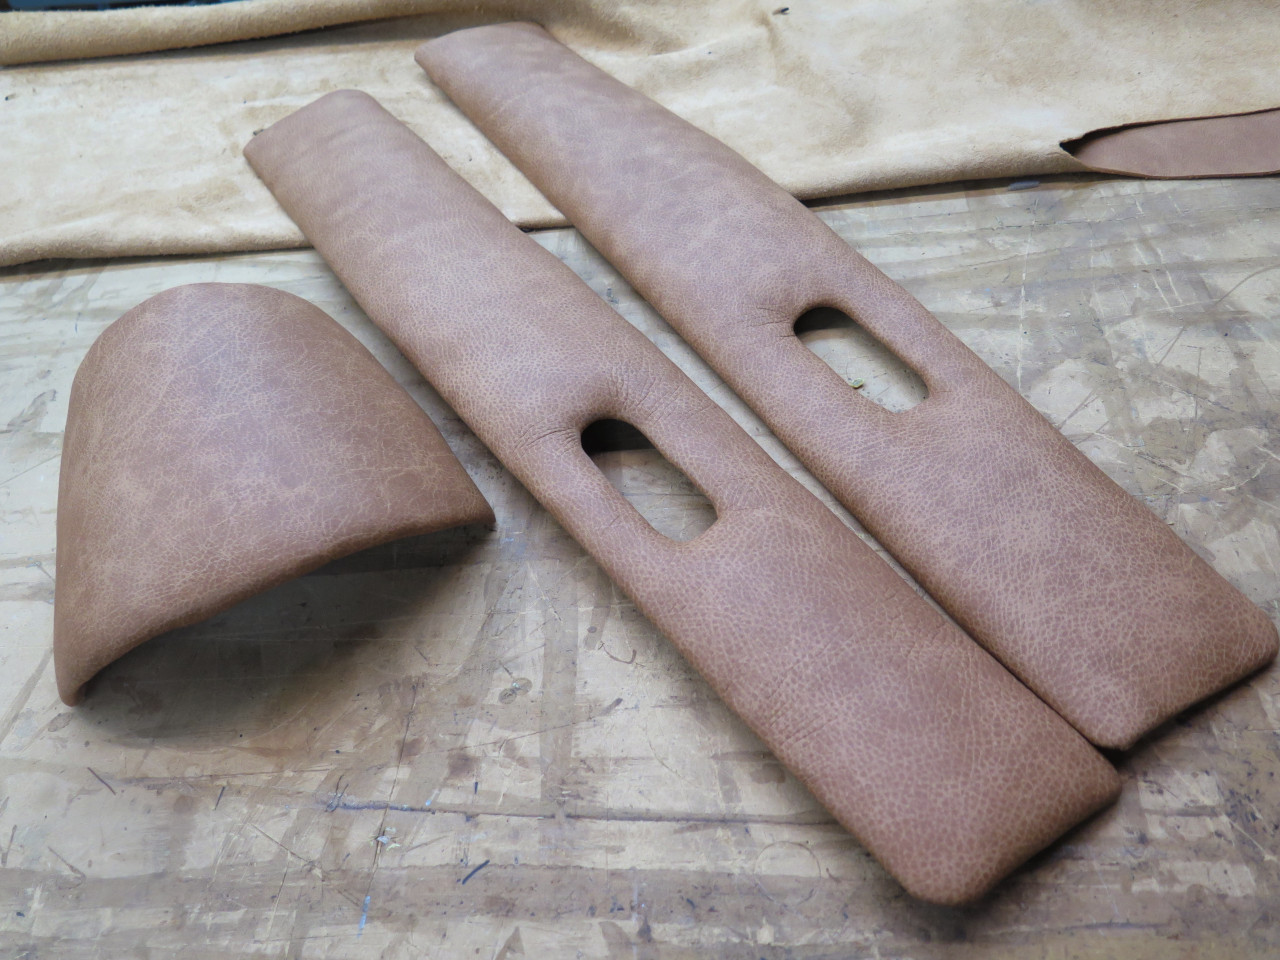
Glued on some 3/8" foam (an upgrade!).

And topped them with leather.
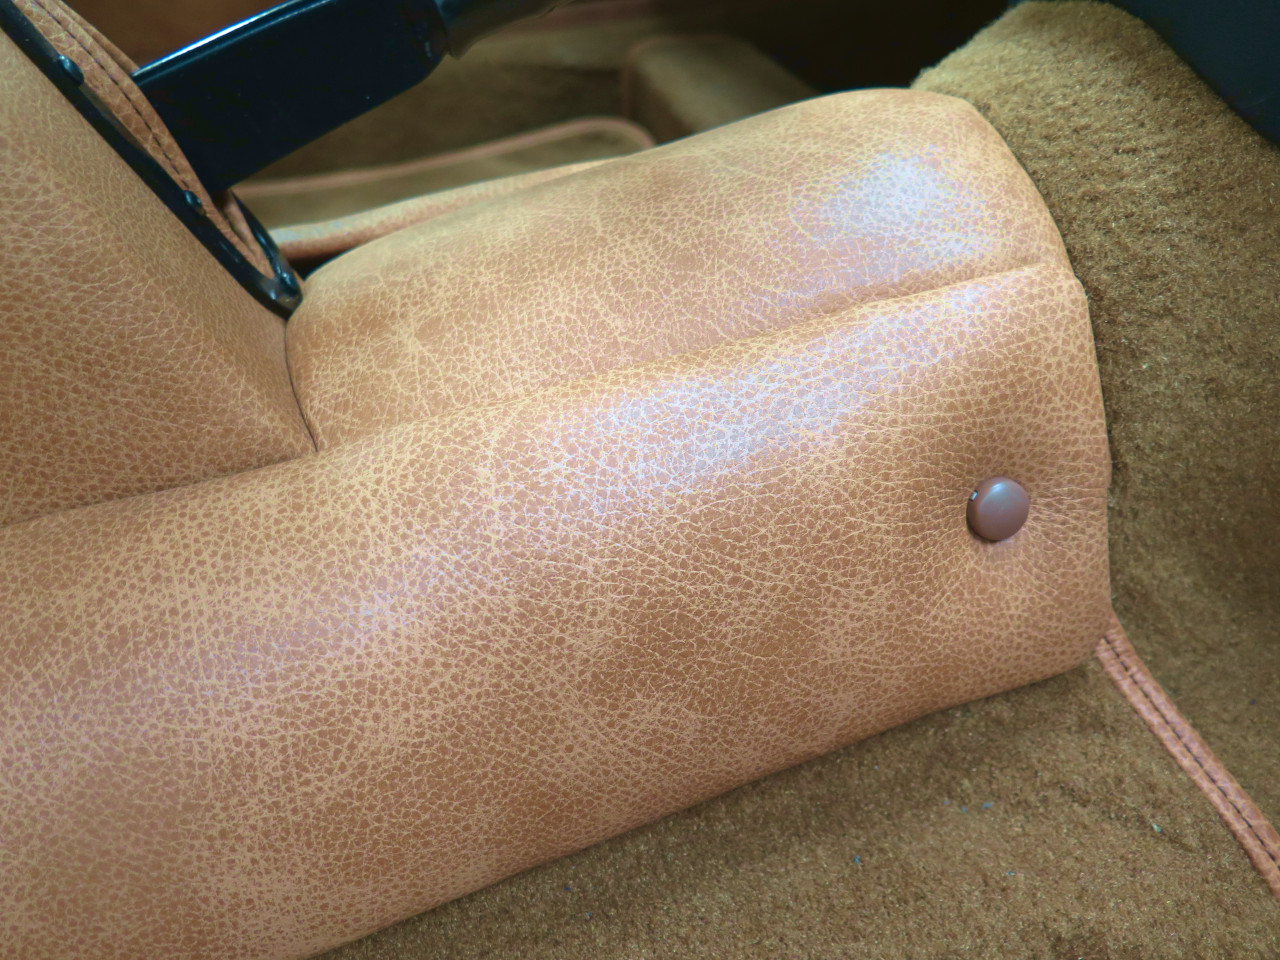
While the originals were attached to the tunnel with self-tapping sheet
metal screws, I installed rivnuts for a more reliable connection.
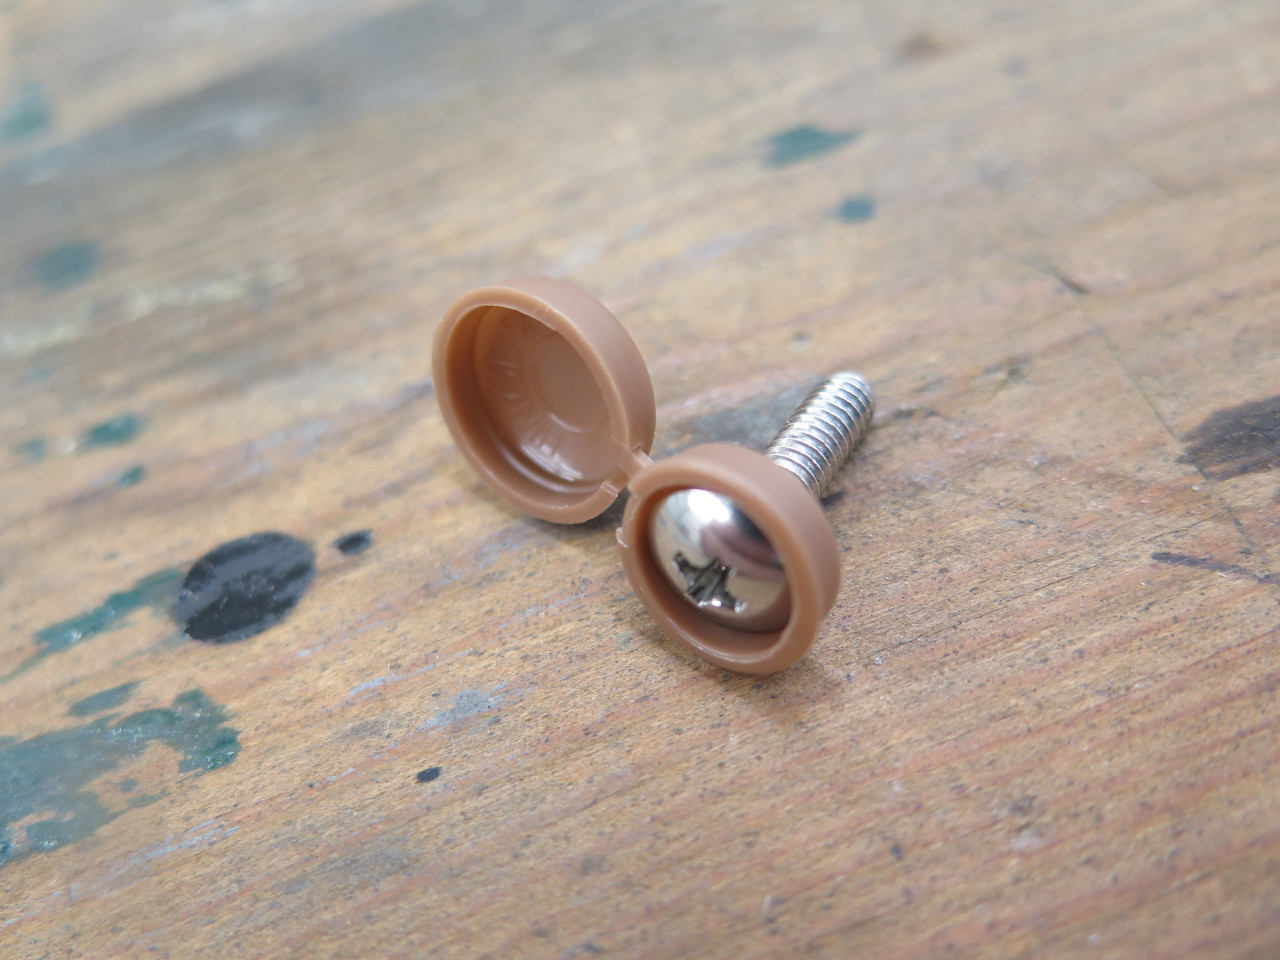
The heads of the screws were hidden with these little caps. They
come in only a few colors, but I think this isn't too bad a match.
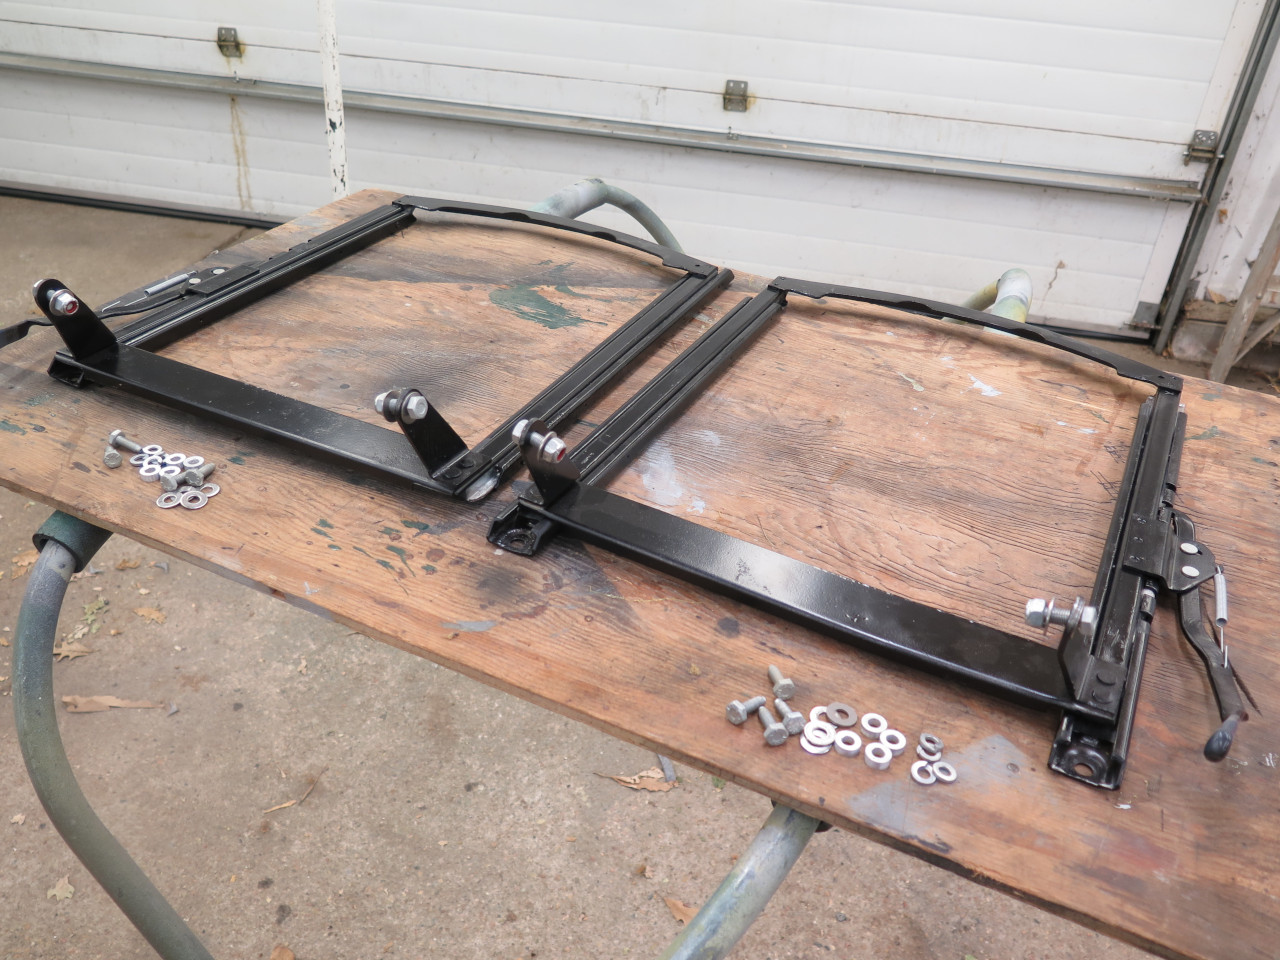
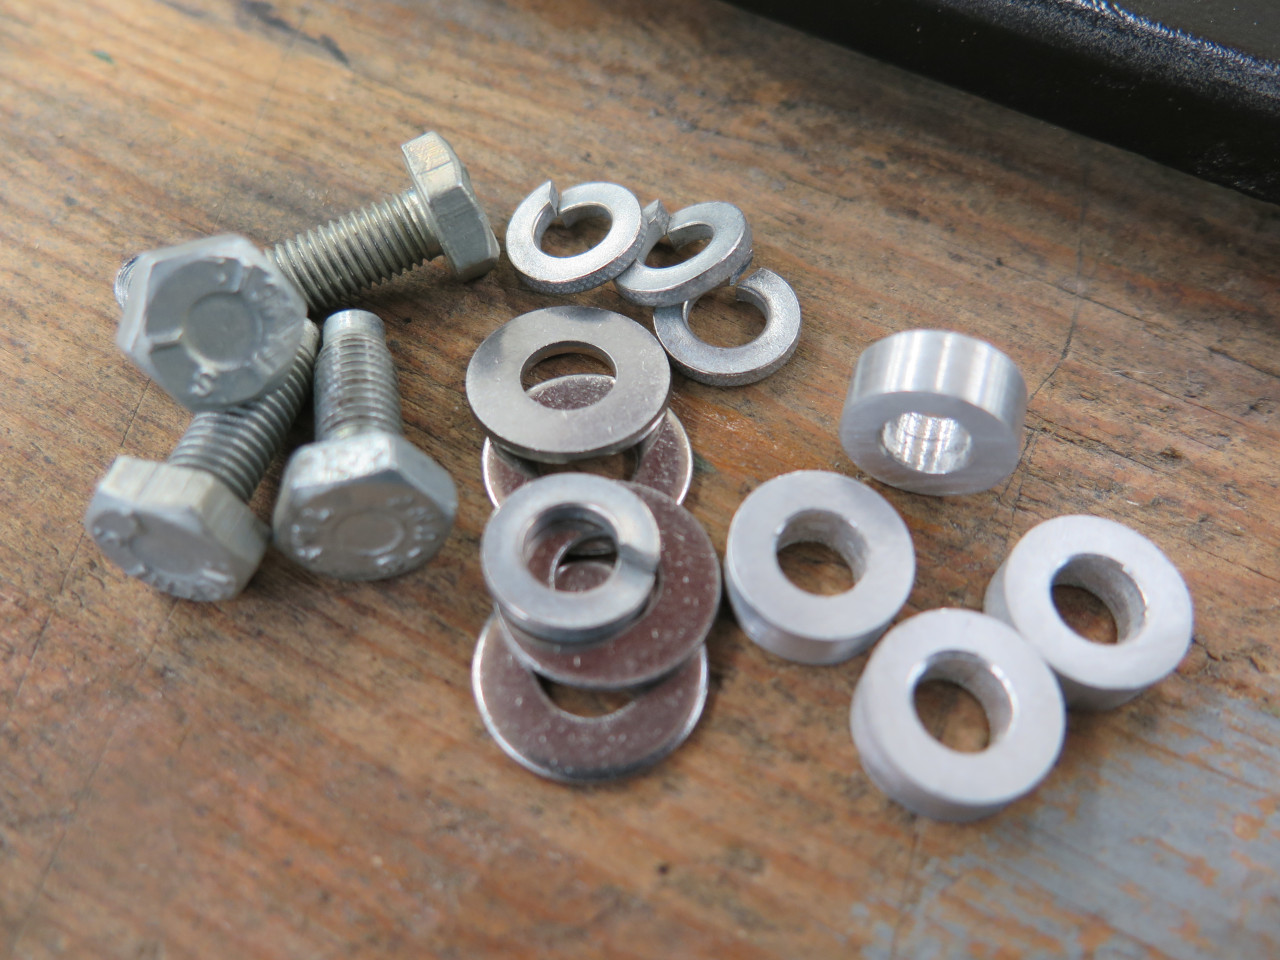
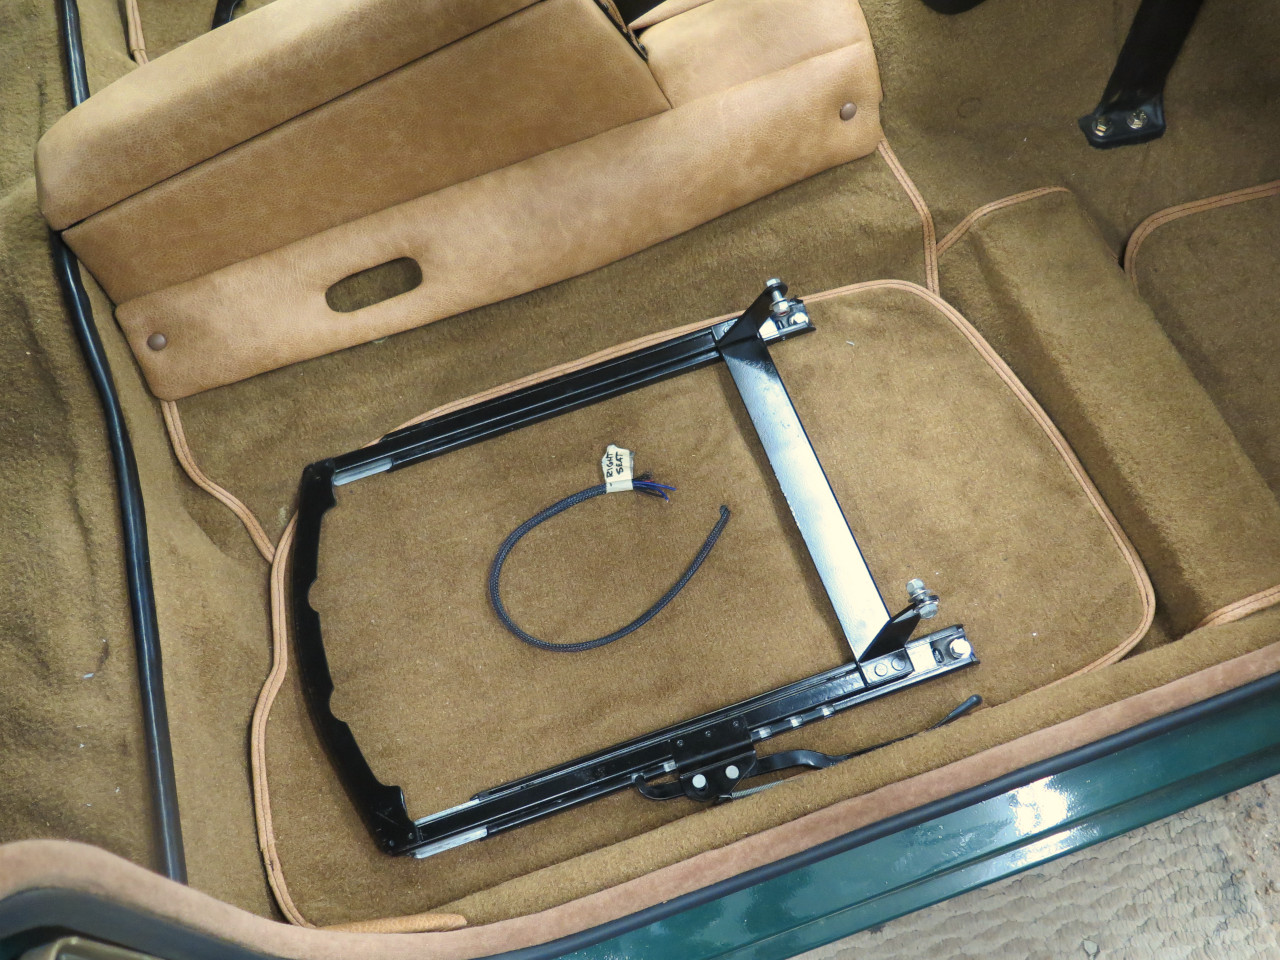
Seats! But rails first. I'm not sure if the rails were
originally mounted on spacers to accommodate the carpet, but they are
now.

It's been a long road to get here.

The carpet project took a while, but wasn't all that expensive--only around $100, I think.
Comments to Ed at elhollin1@yahoo.com
To my other GT6 pages.