To my other GT6 pages.
November 22, 2023
Center Console
I think that all GT6 cars, and maybe Spitfires too, had a center console
between he seats. It was really more just a cover for the hand
brake mechanism and an arm rest though, since there is no provision for
storage as in many other cars. This seems like a missed
opportunity to me, but maybe cost savings was behind it.
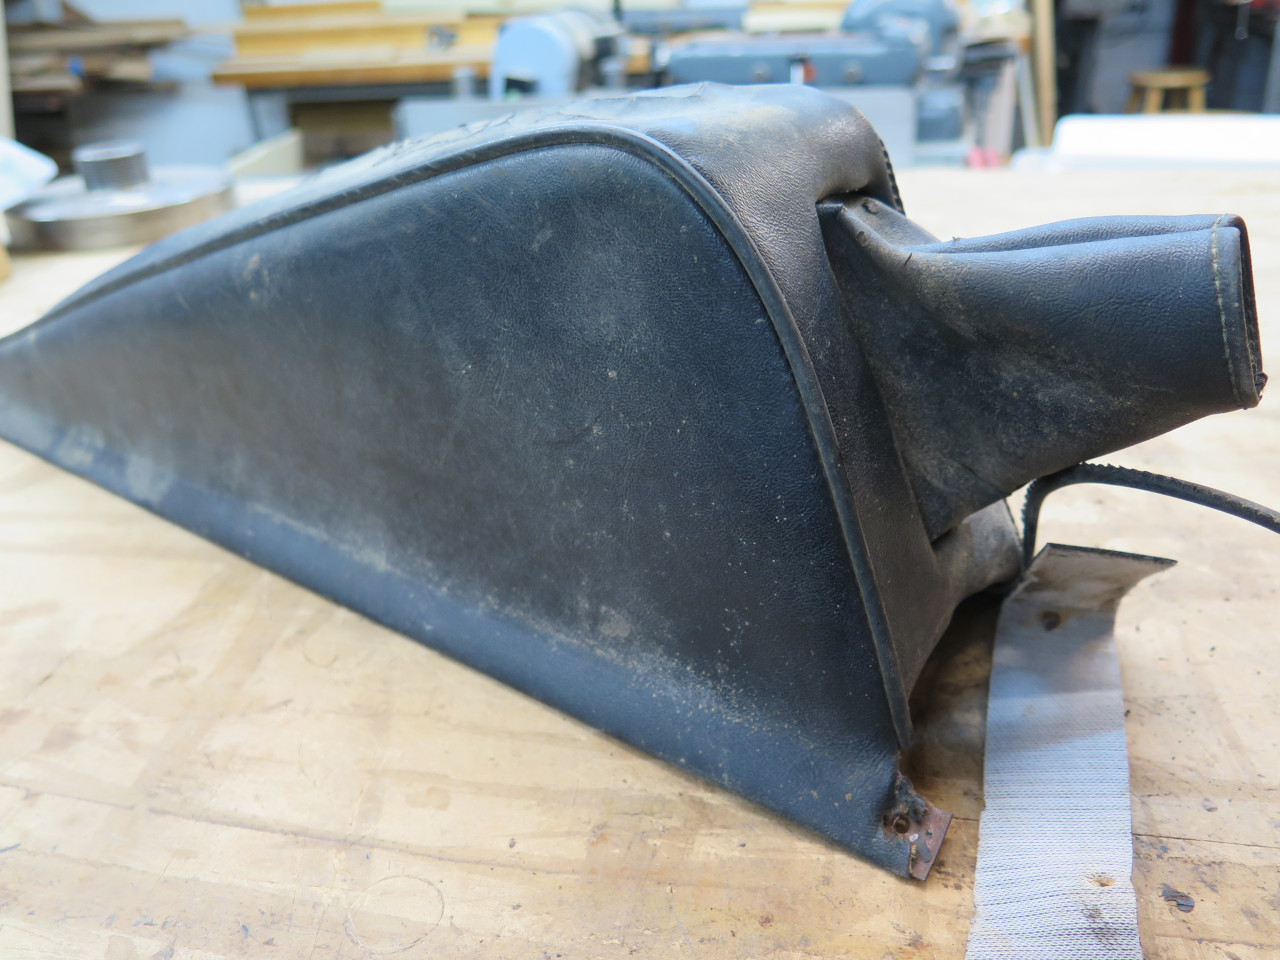
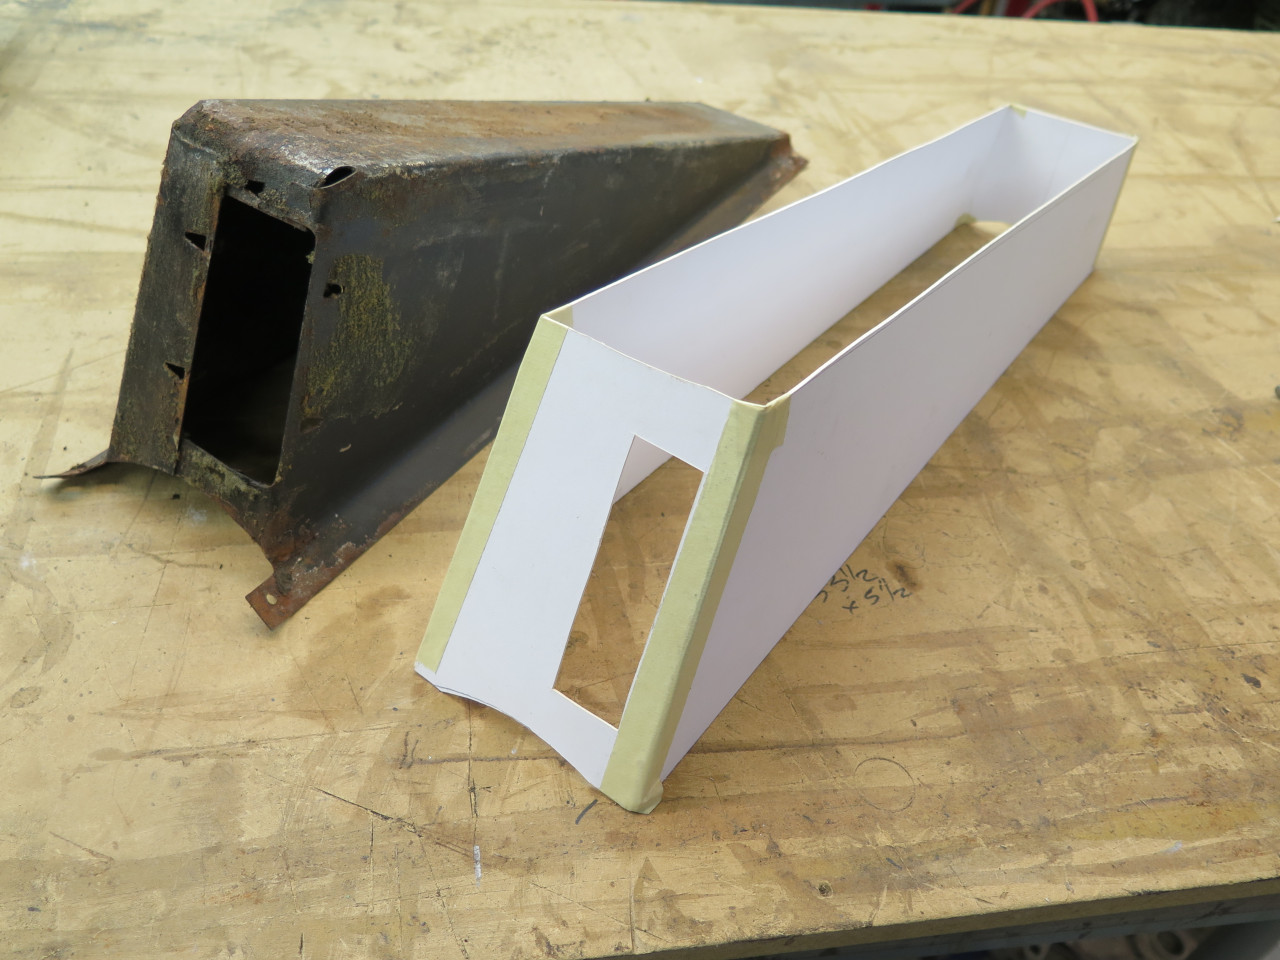
The console consists of a metal shell, padded lightly and covered with a
vinyl cover. There is a gaiter for the hand brake lever. My
console was in bad shape, but intact.

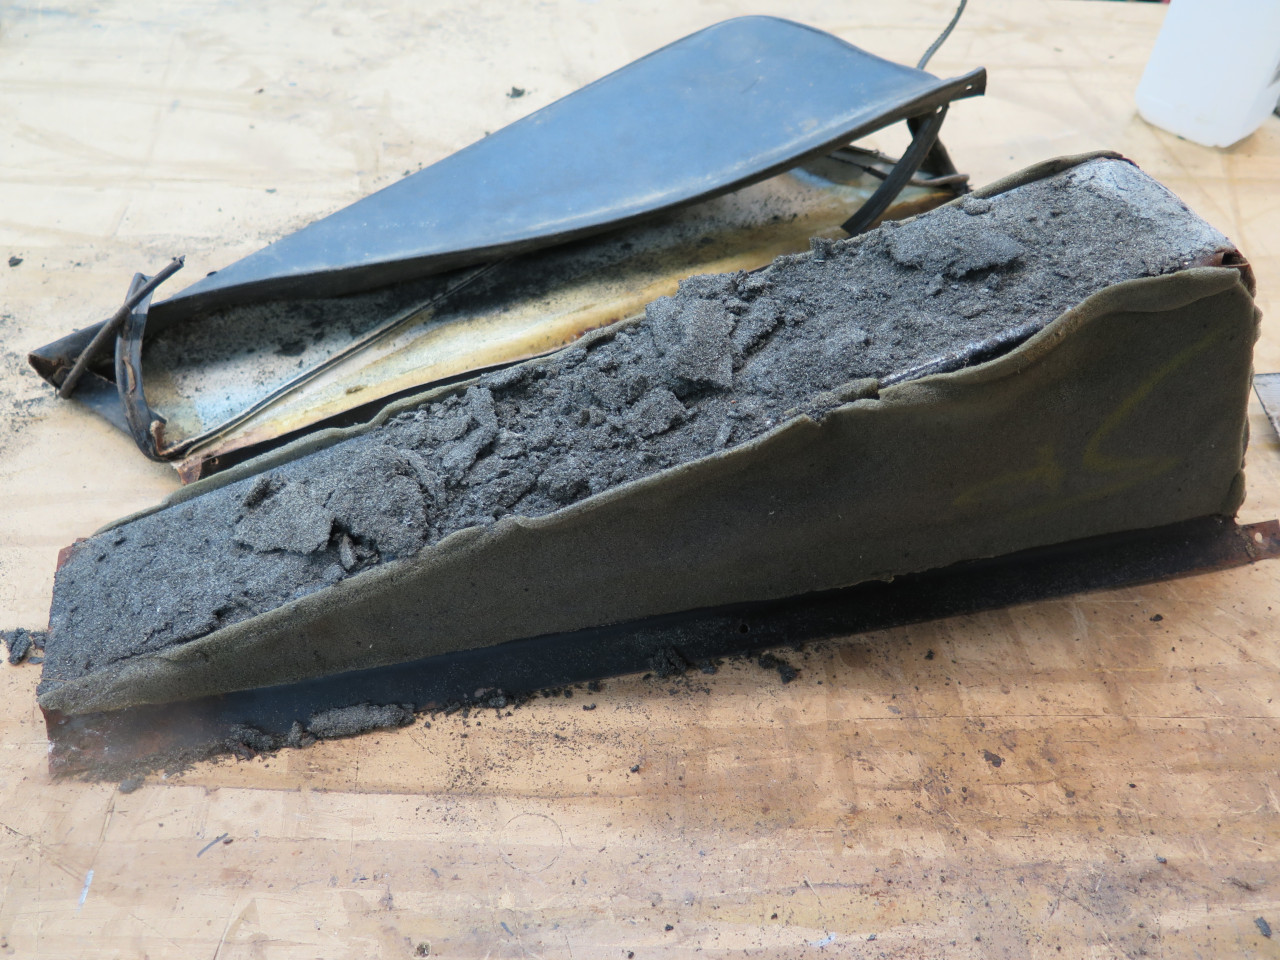
The brake lever gaiter was a separate piece of vinyl stapled to a
cardboard mount, which was in turn staked to the console's metal shell.


Removing the vinyl from the shell exposes the long deceased top foam and the token 1/8" side foam.
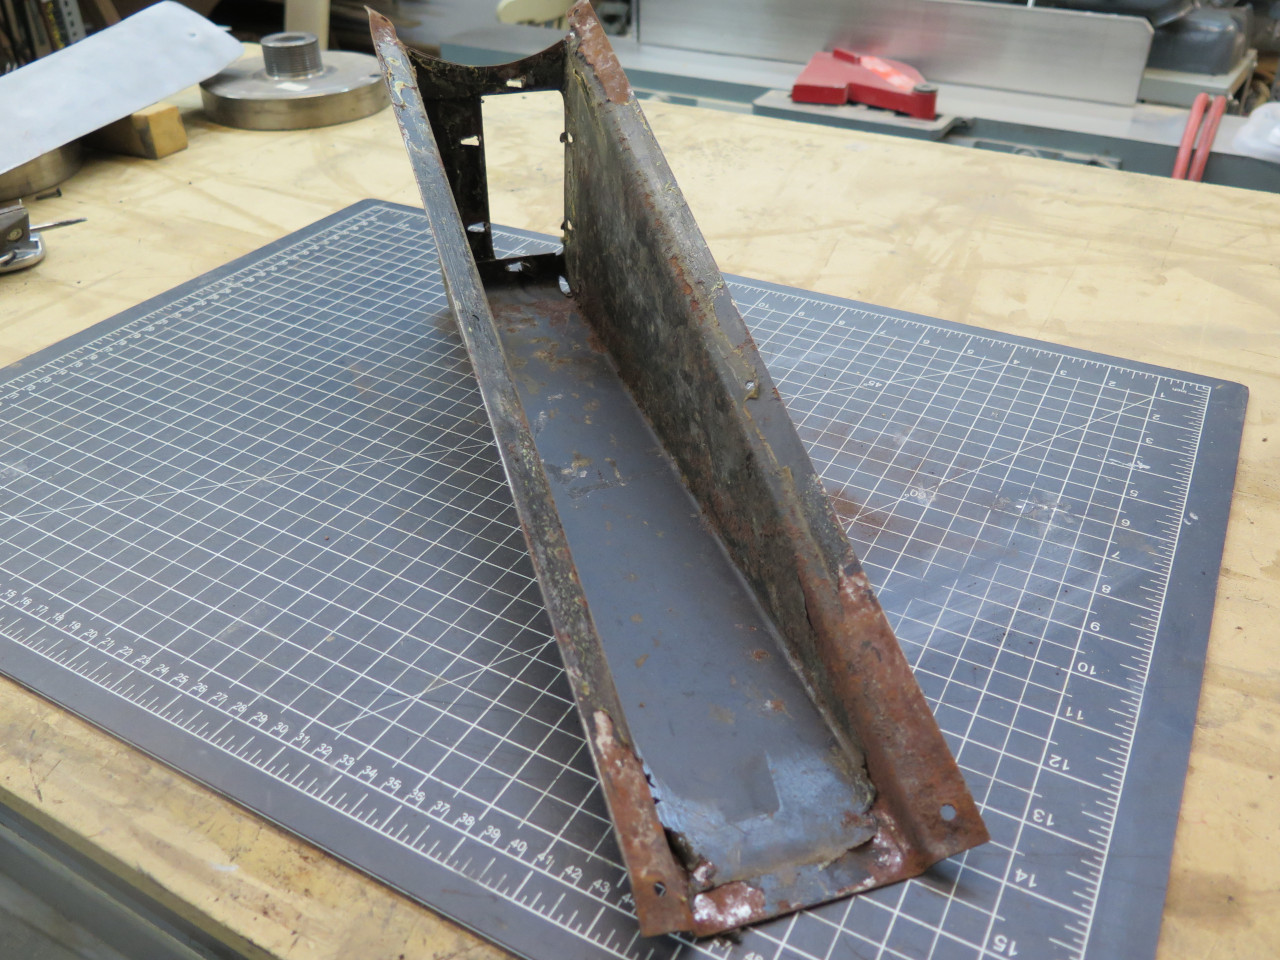
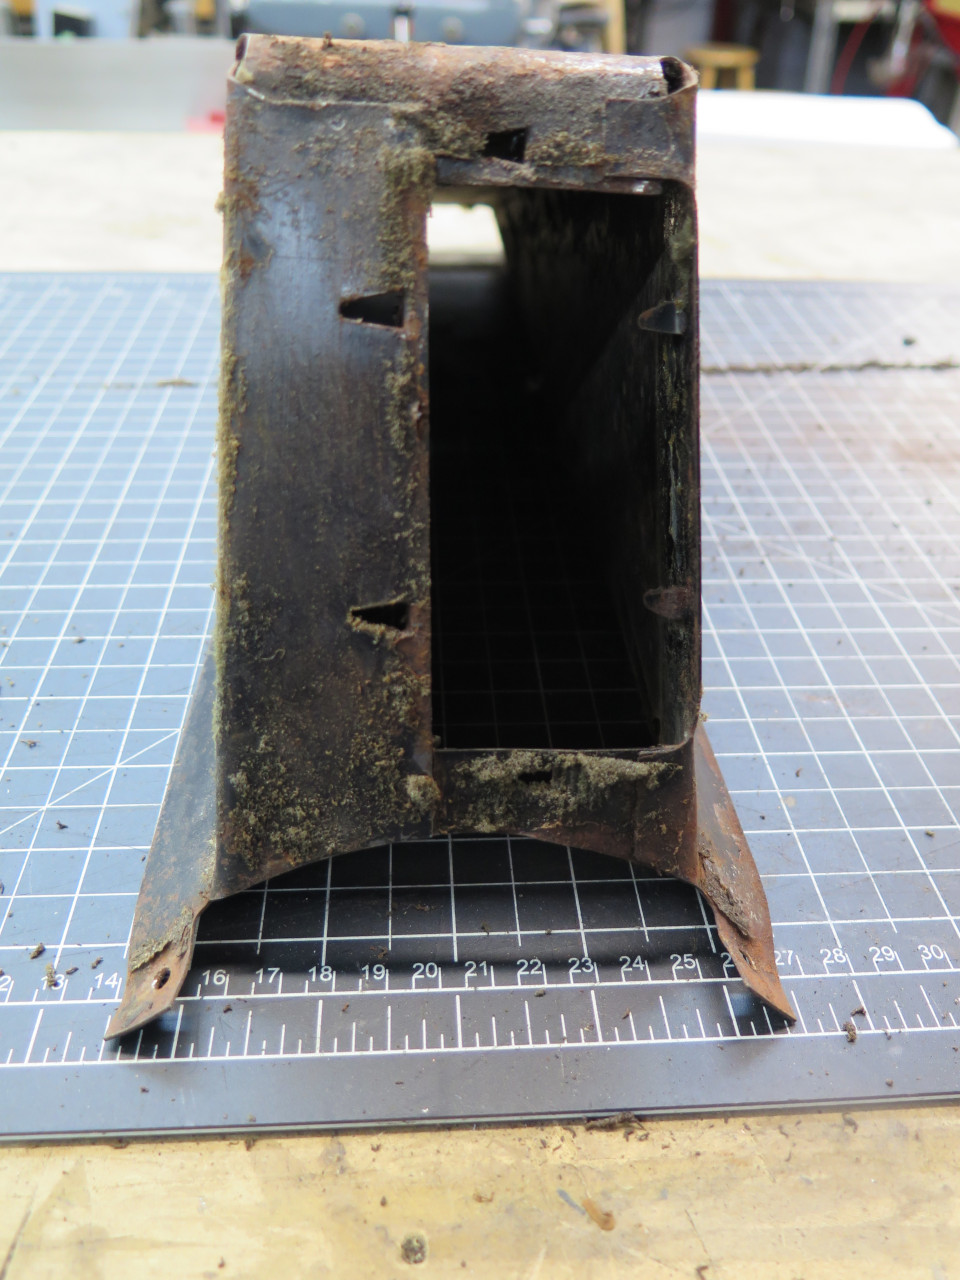
Freeing the shell of its decrepit foam, I could see that it was a little
rusty in places, but otherwise in decent shape. The opening for
the hand brake lever is offset toward the left side.

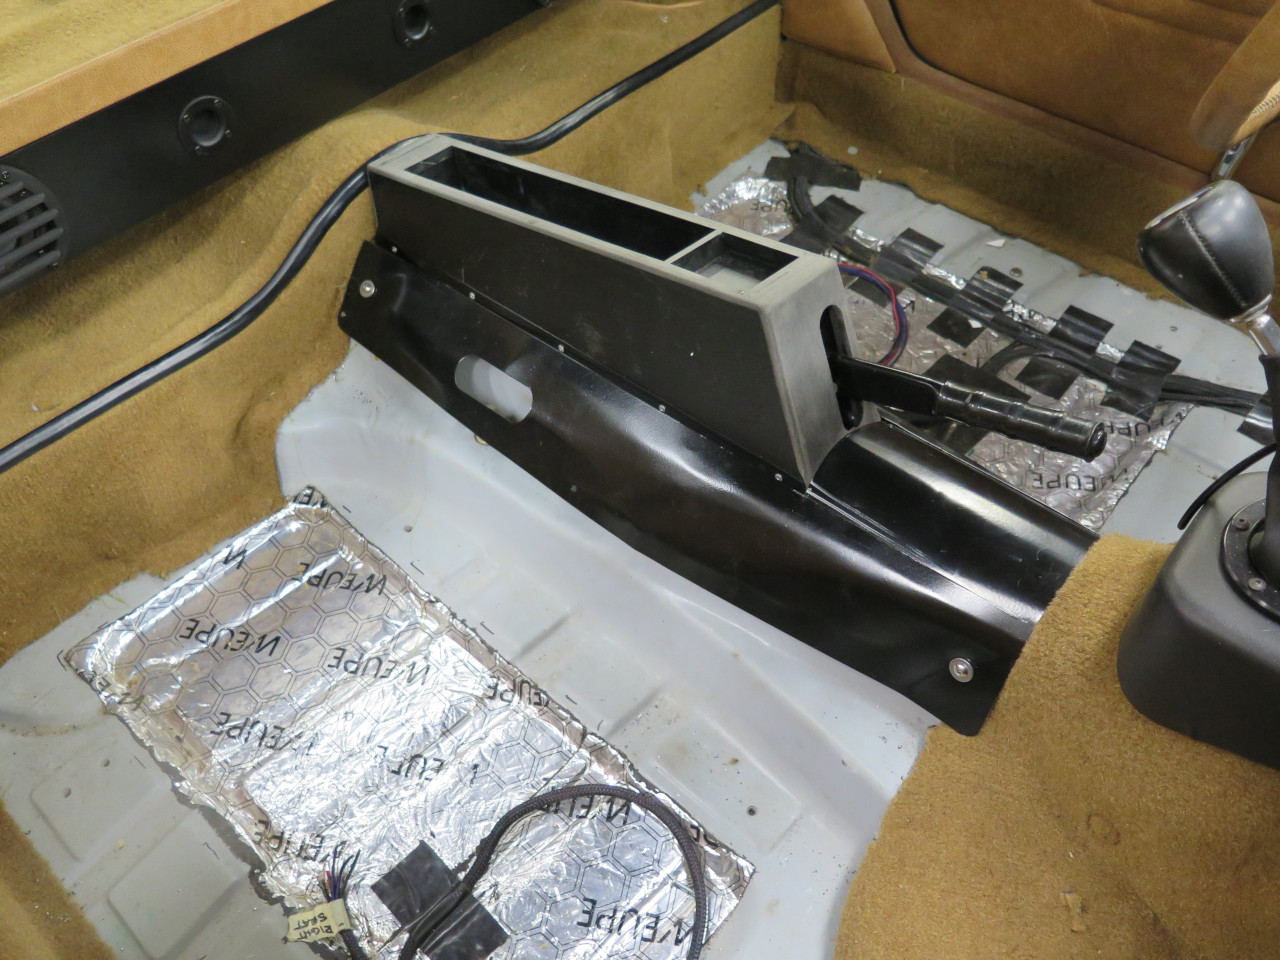
I put the shell back in the car to remind myself how it mounted to the
prop shaft tunnel. It was just four sheet metal screws directly
into the body.

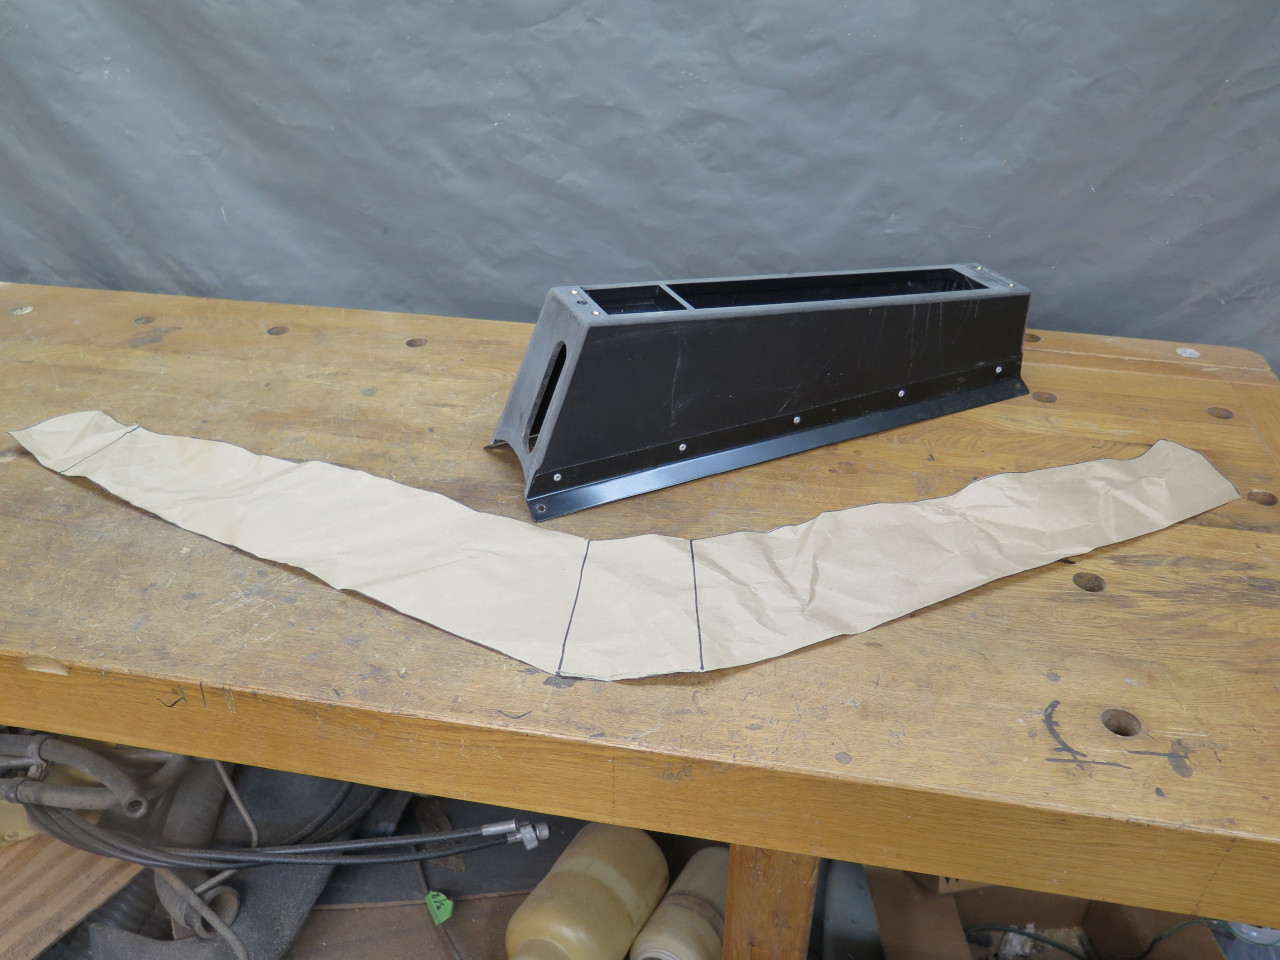
After some noodling, I thought it might be fun to make a console that
actually had a little storage in it. I had to stay pretty close to
the size and shape of the original though, so it would mount in a
similar way, and still fit between the seats. A heavy paper
pattern helped me picture it. All dimensions are the same as the
original except I raised the rear a couple of inches to provide some
more space inside.
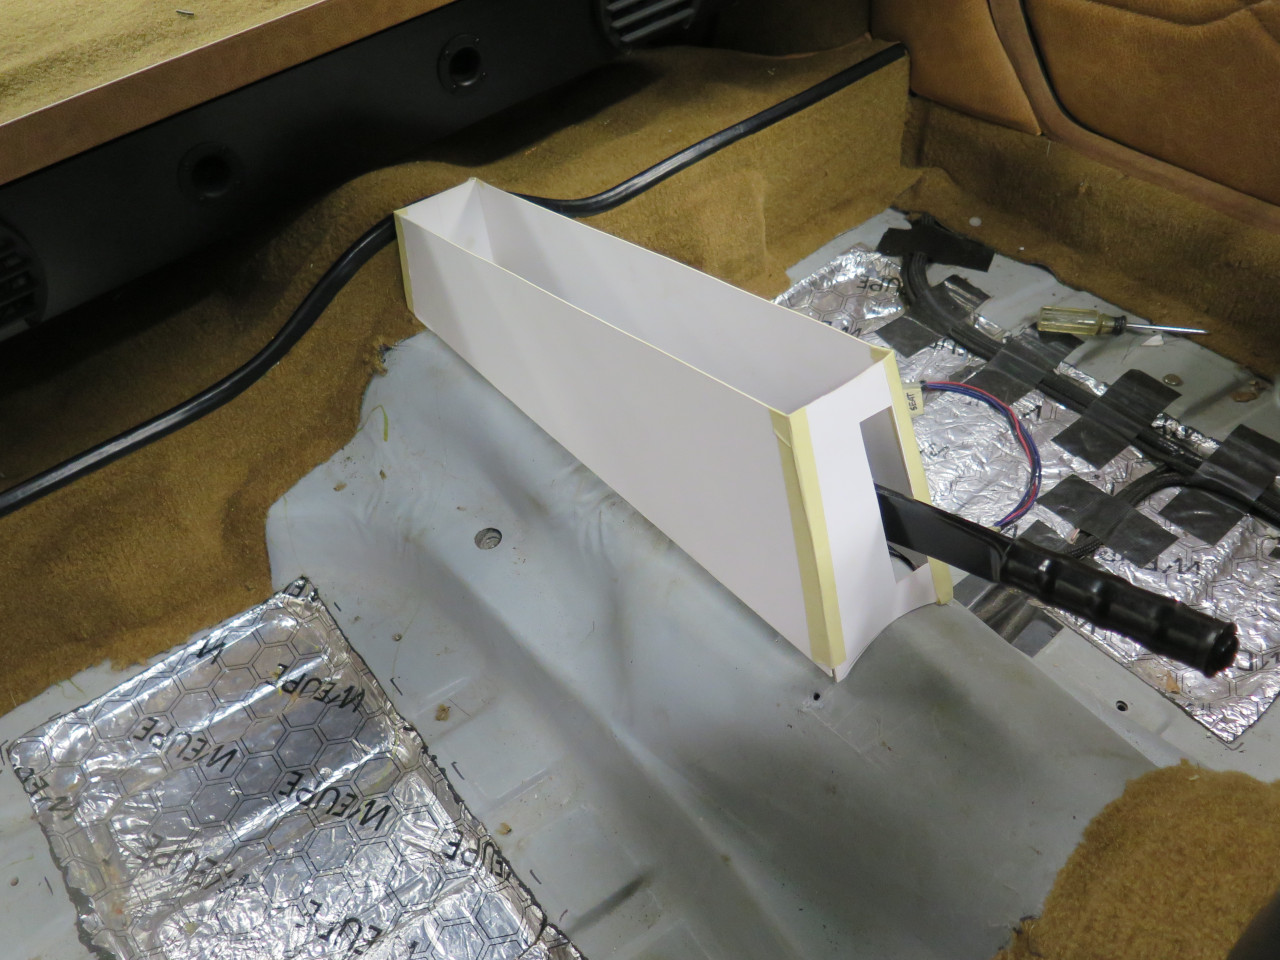
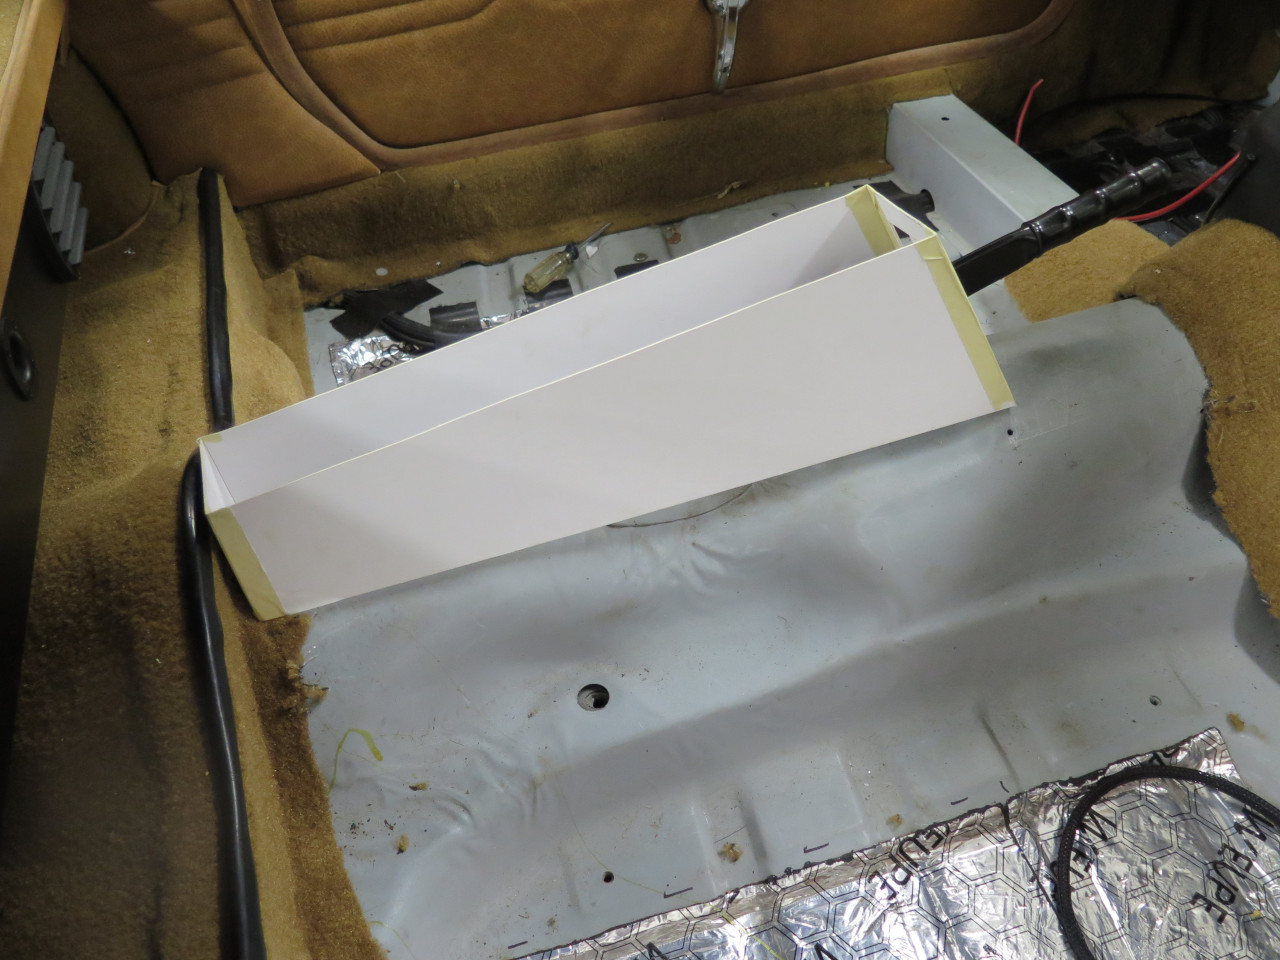
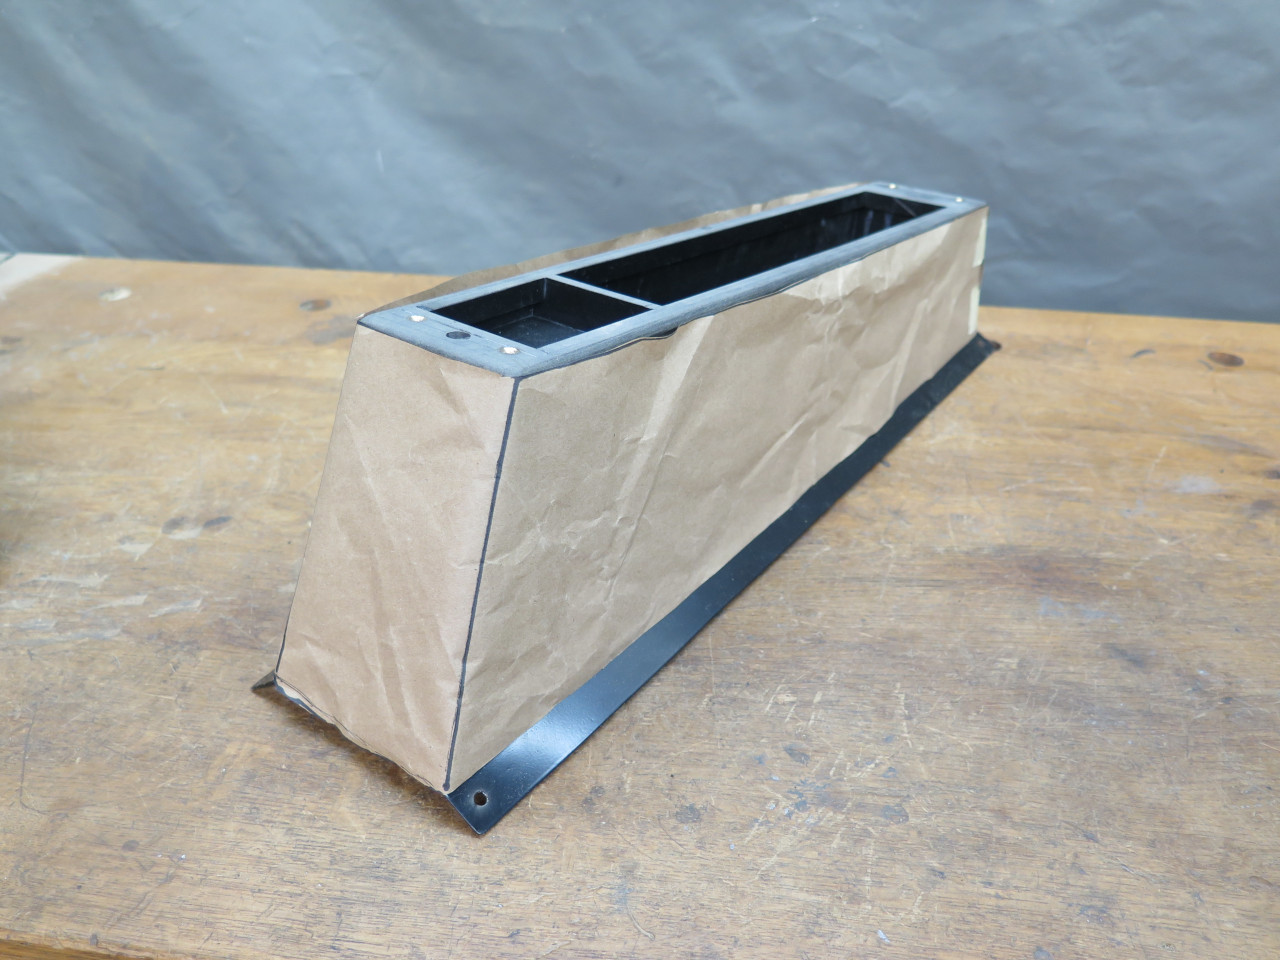
This was encouraging enough that I moved to a more rigid prototype material where I could play with internal construction.

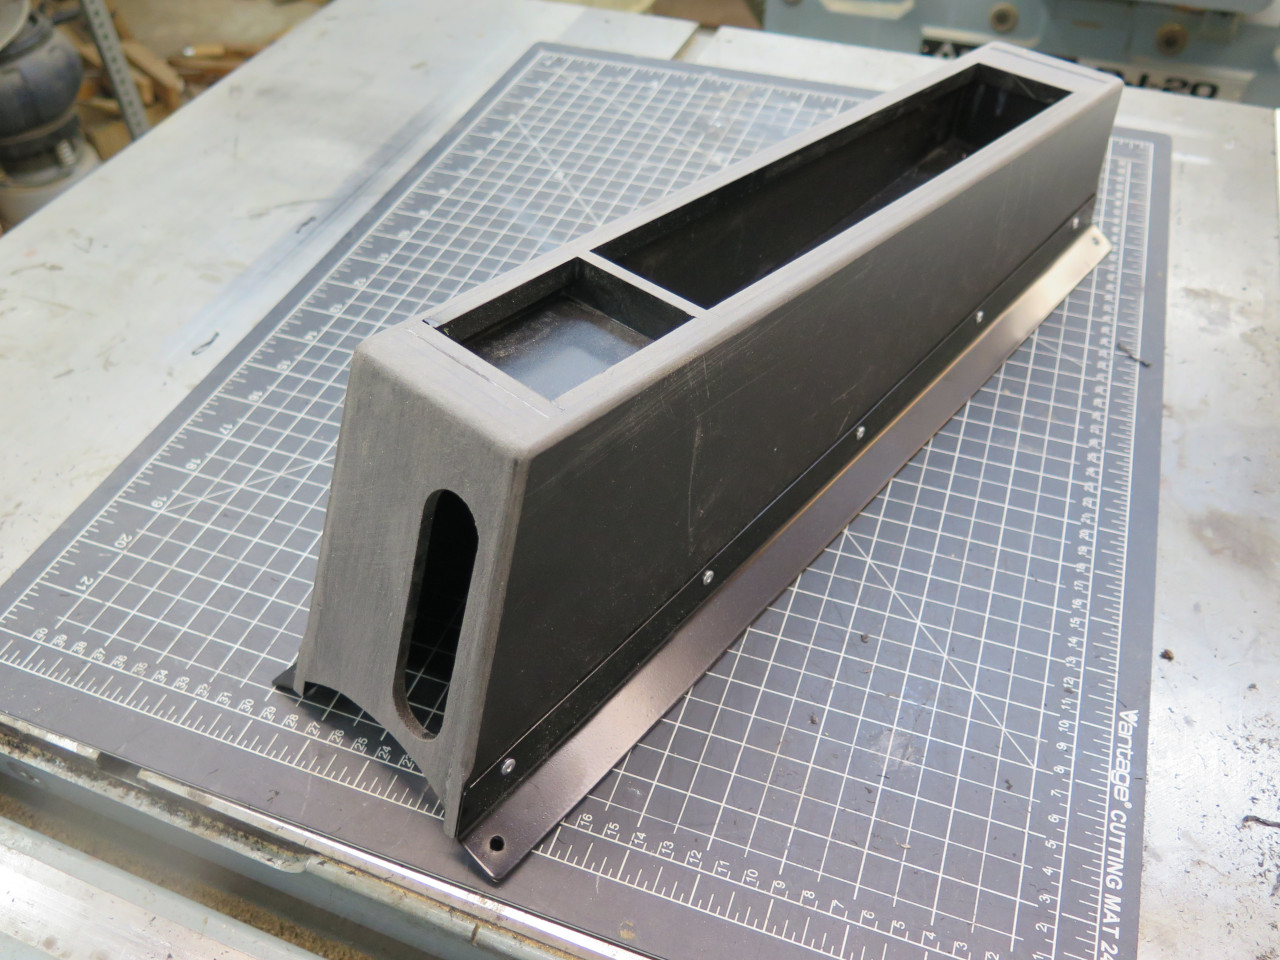
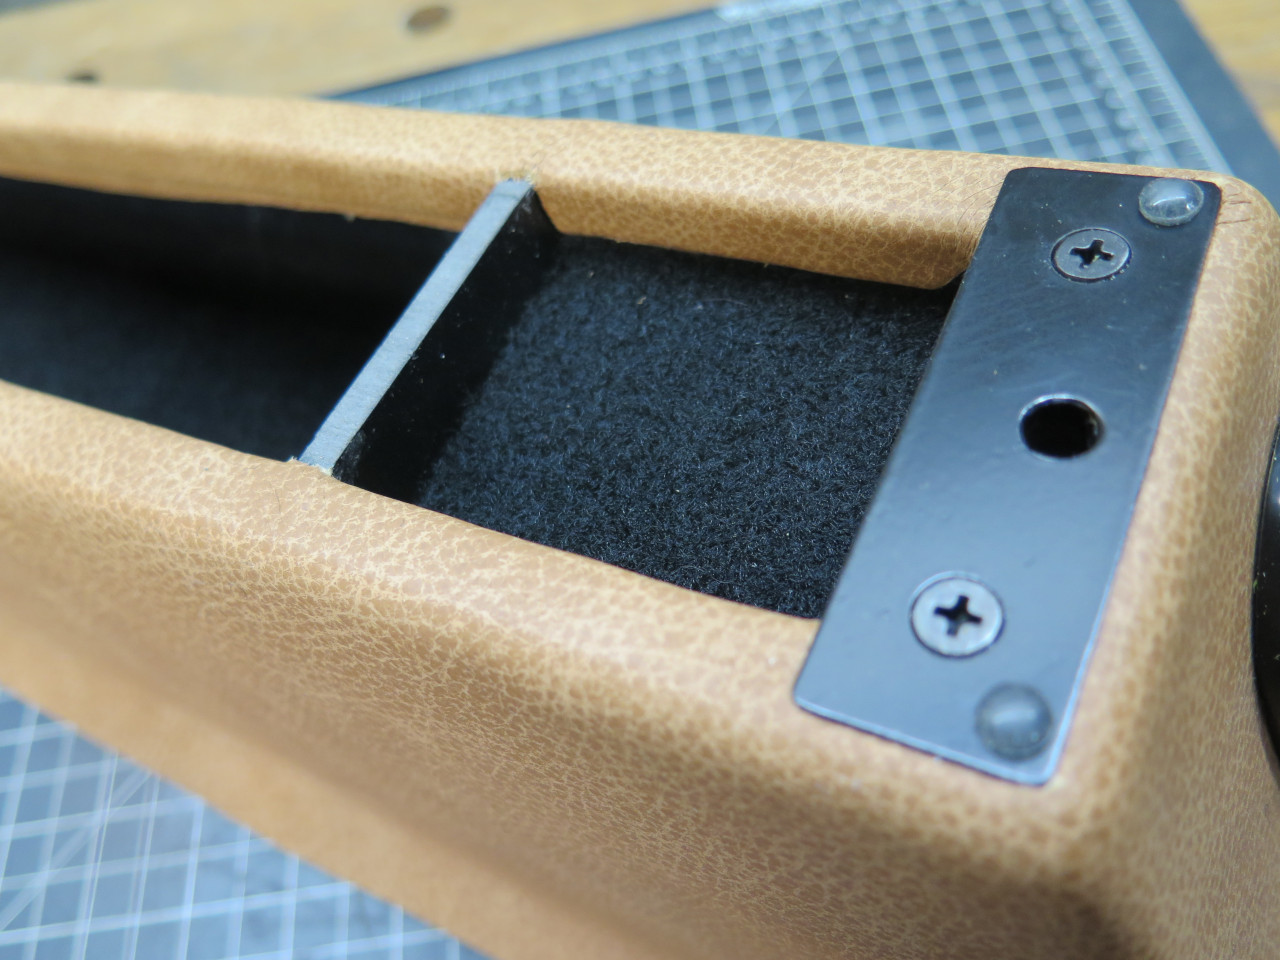
The inside has to be on two levels so as to clear the hand brake mechanism at the front.
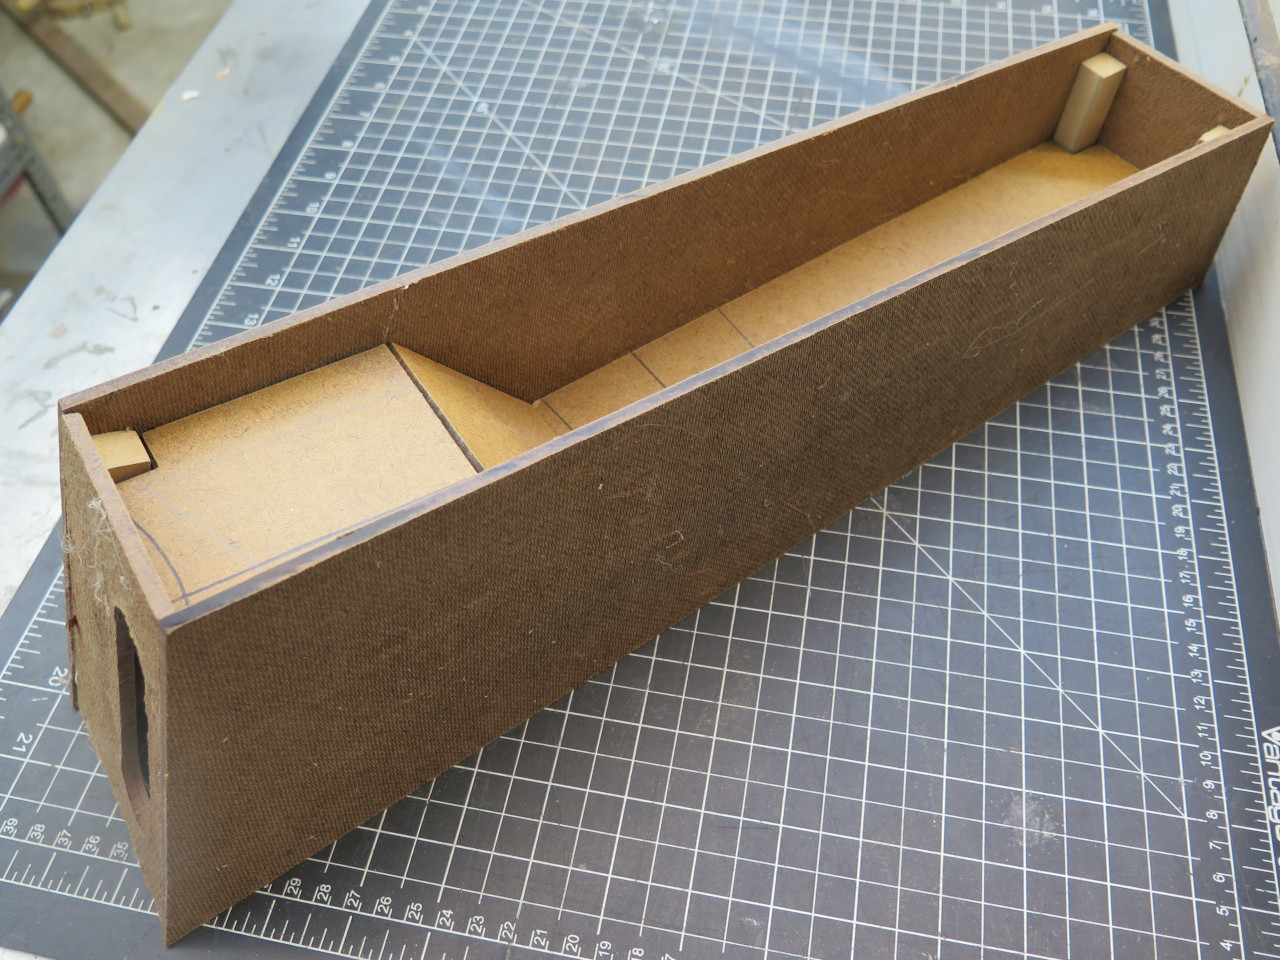
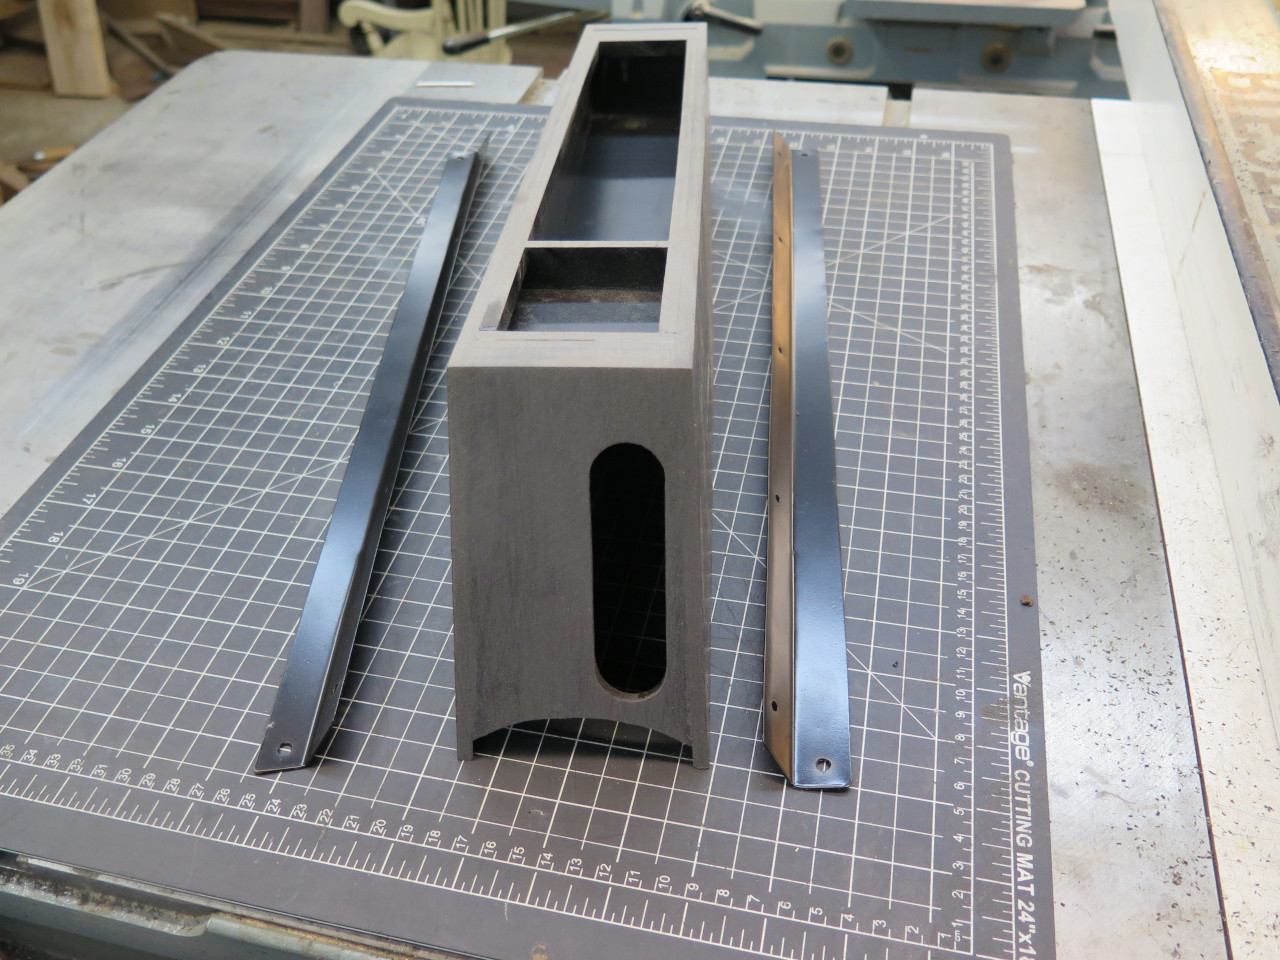
Then added a pair of metal "skirts" do duplicate the original mounting flanges.

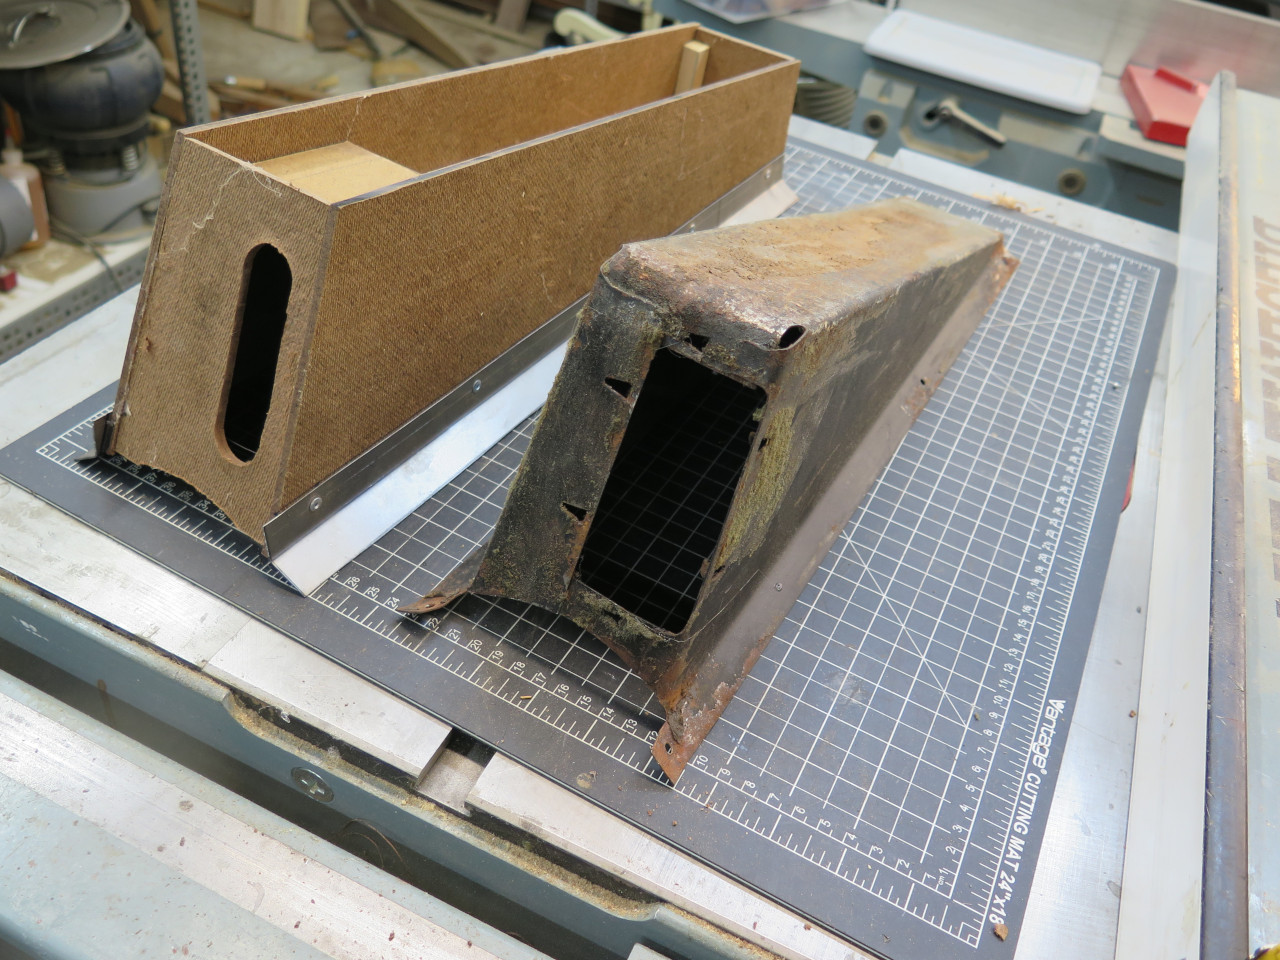

I suppose I could have made this prototype into the final piece, but I
really wanted to use a different material. I disassembled the
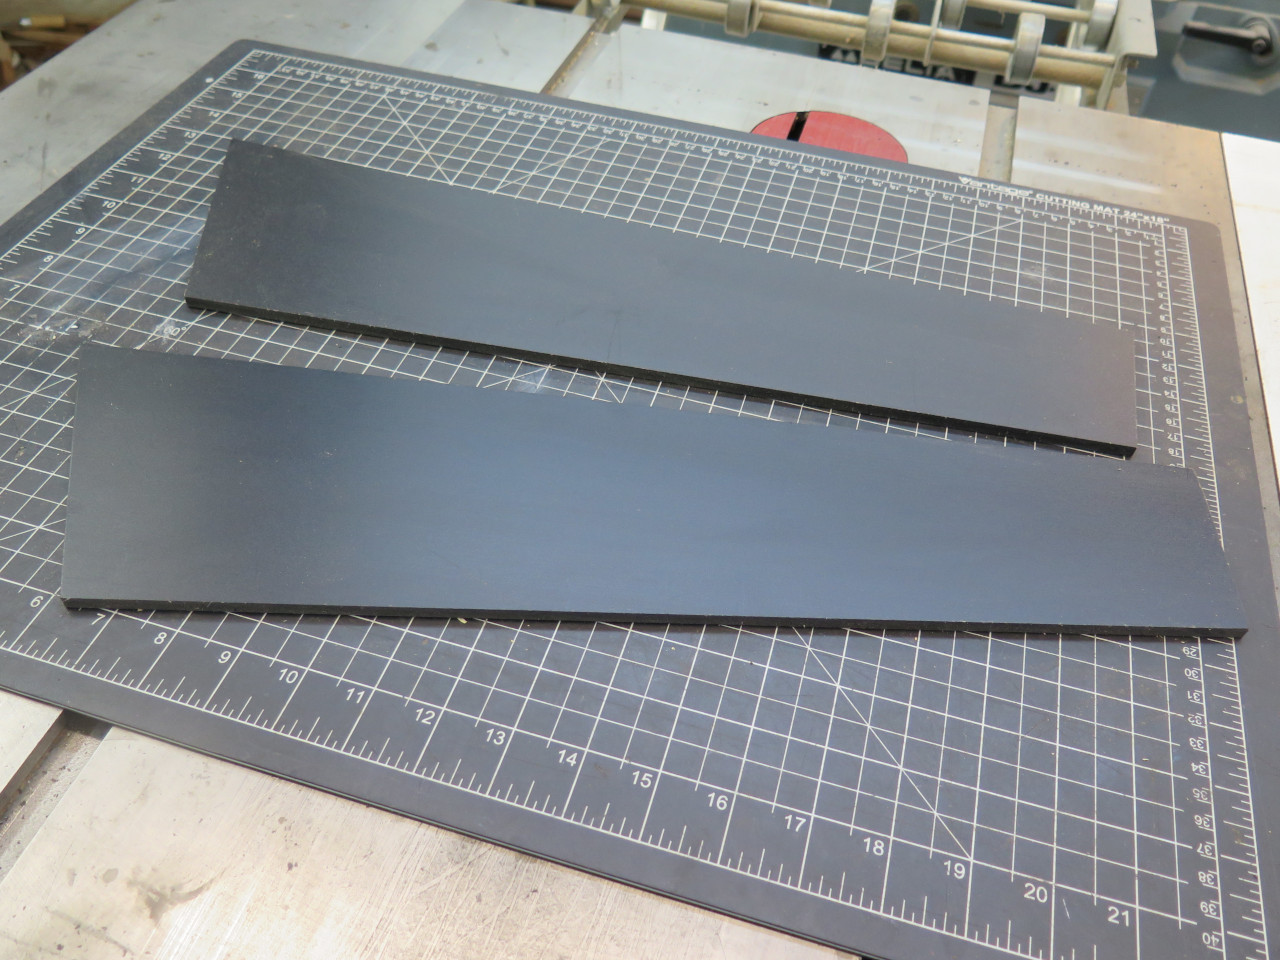
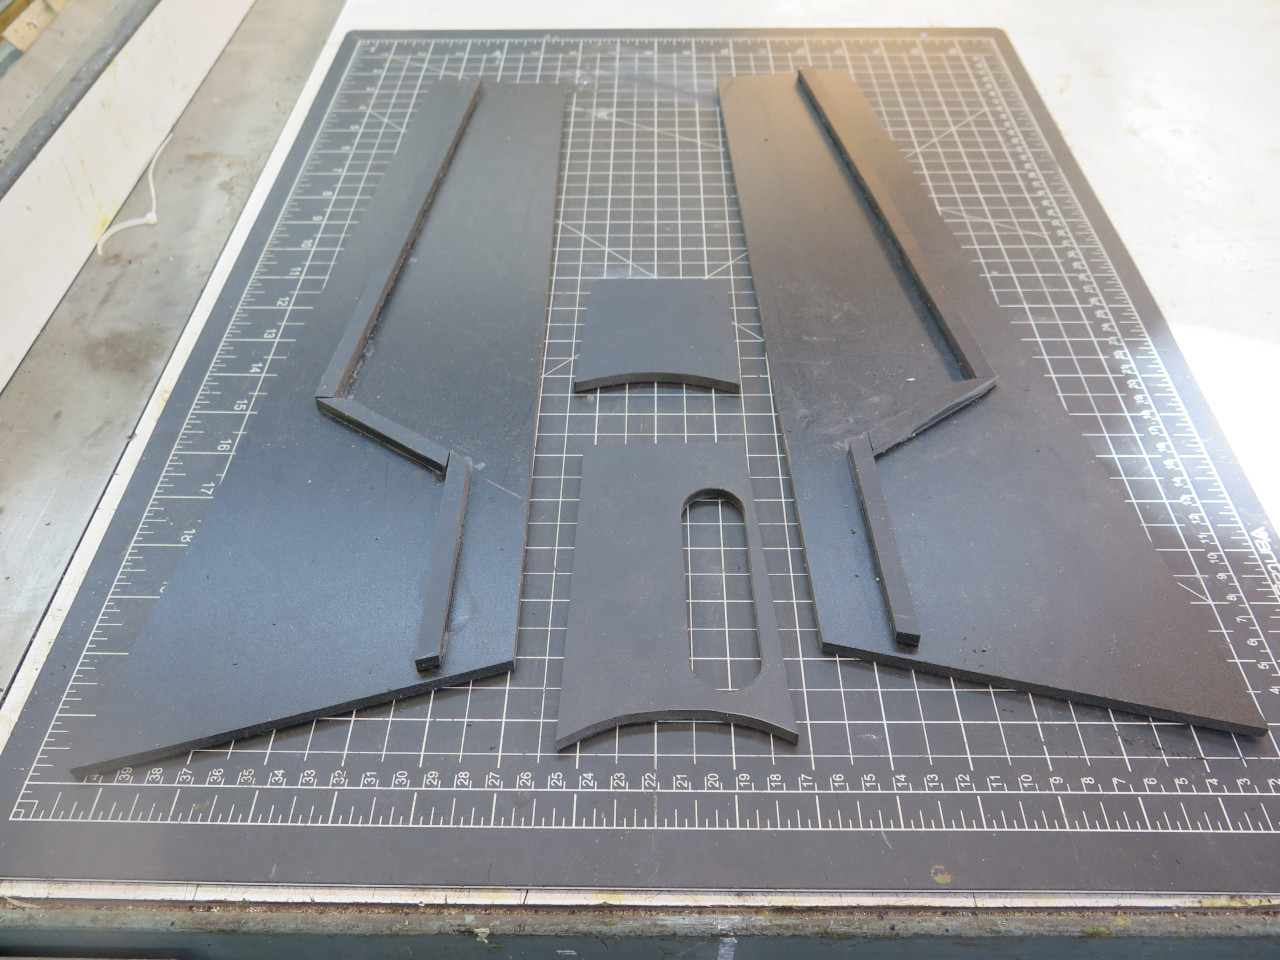
model and used the pieces as patterns. The final part is made from
1/4" PVC foam board--it is strong, rigid, and easy to cut and glue.


Standard PVC glue makes very strong joints. One complication
though is that there are very few right angles in this piece, so cutting
and clamping setups were sometimes challenging.

The skirts were powder coated and attached with rivets. Also did some general cleanup and radiused some of the edges.

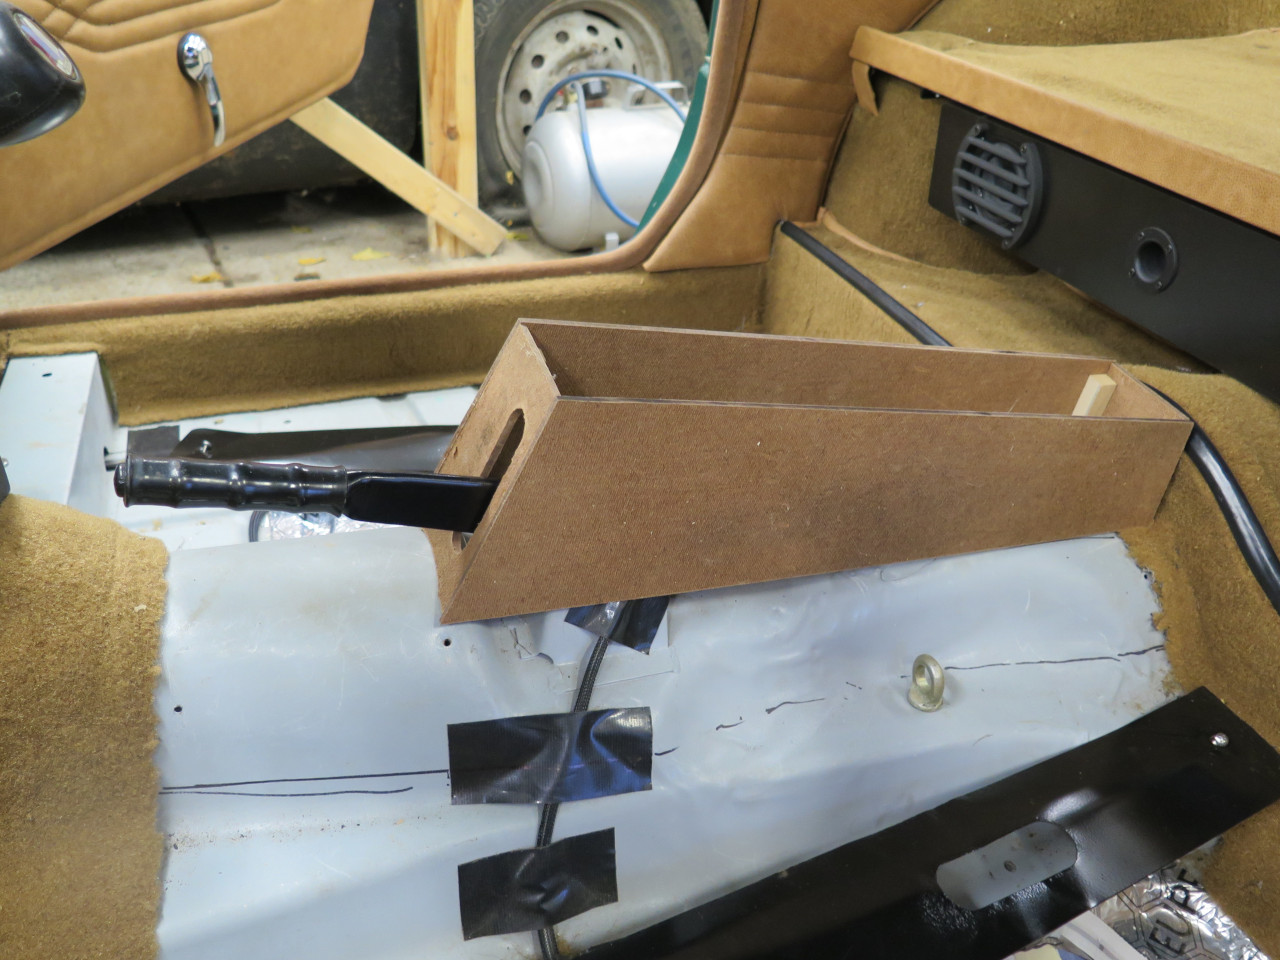
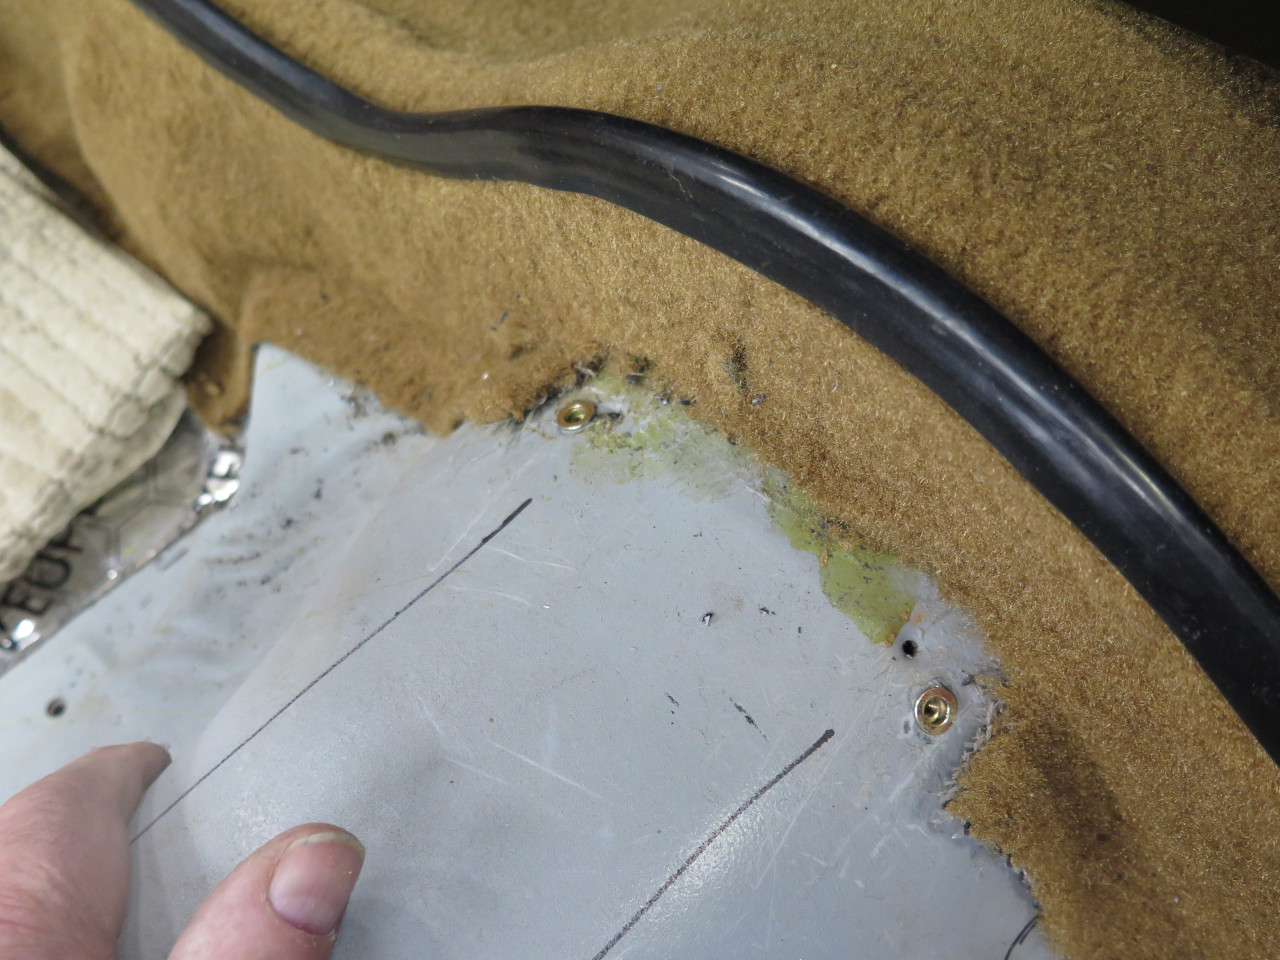
I thought that a sanity check would be a good idea to see if my new box
would fit on the tunnel. I did have to move the mounting holes in
the tunnel a bit, and installed rivnuts rather than using sheet metal
screws.

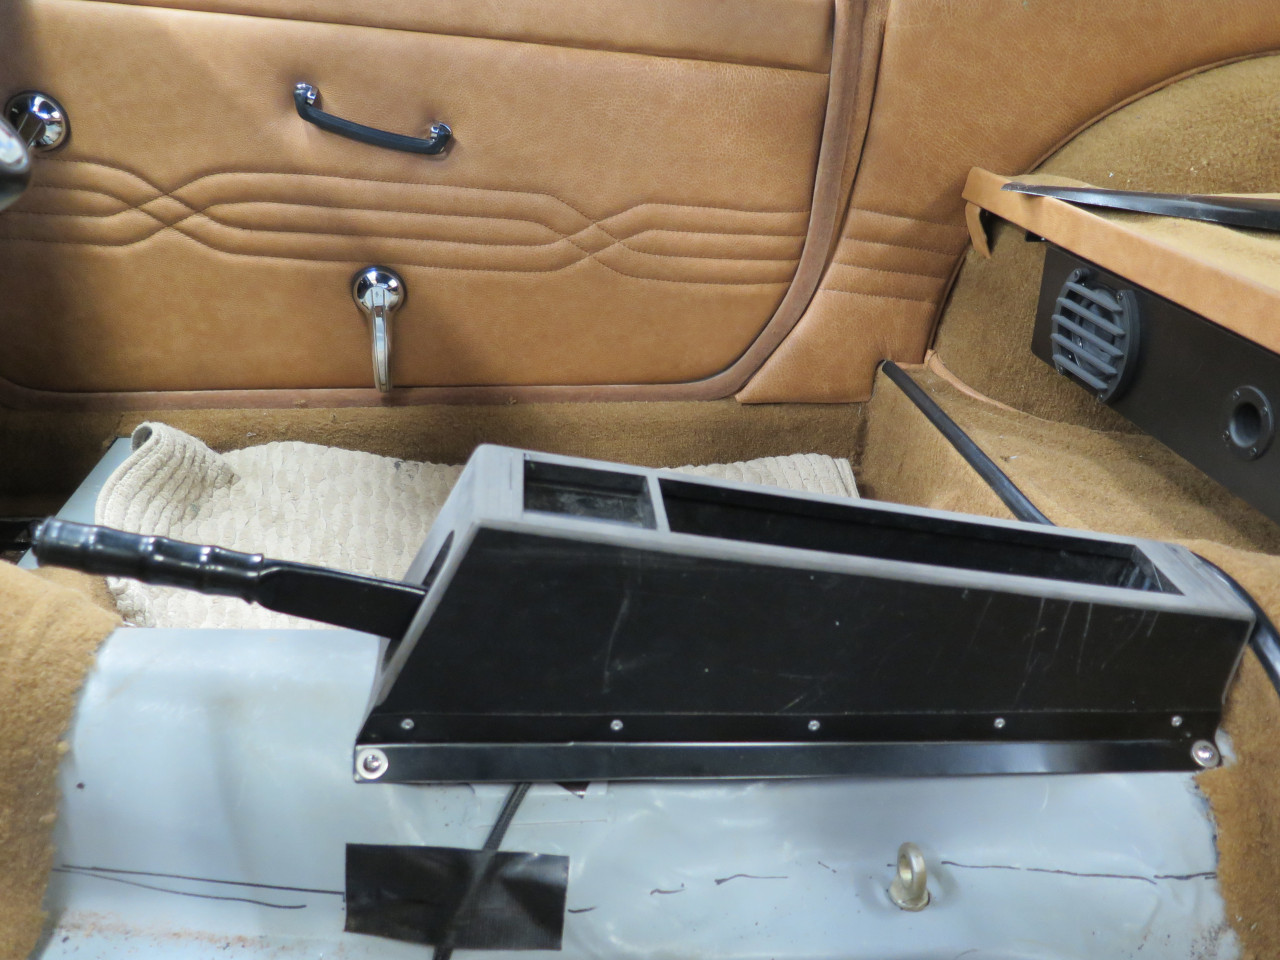

I even cleaned up and test fit the surrounding trim panels to try to get an early indication of any bad news.
For the top cover of the console, I would have made it from the same PVC
material, but I didn't have enough. I was on a roll and didn't
want to wait for more, so the top is just made from MDF.

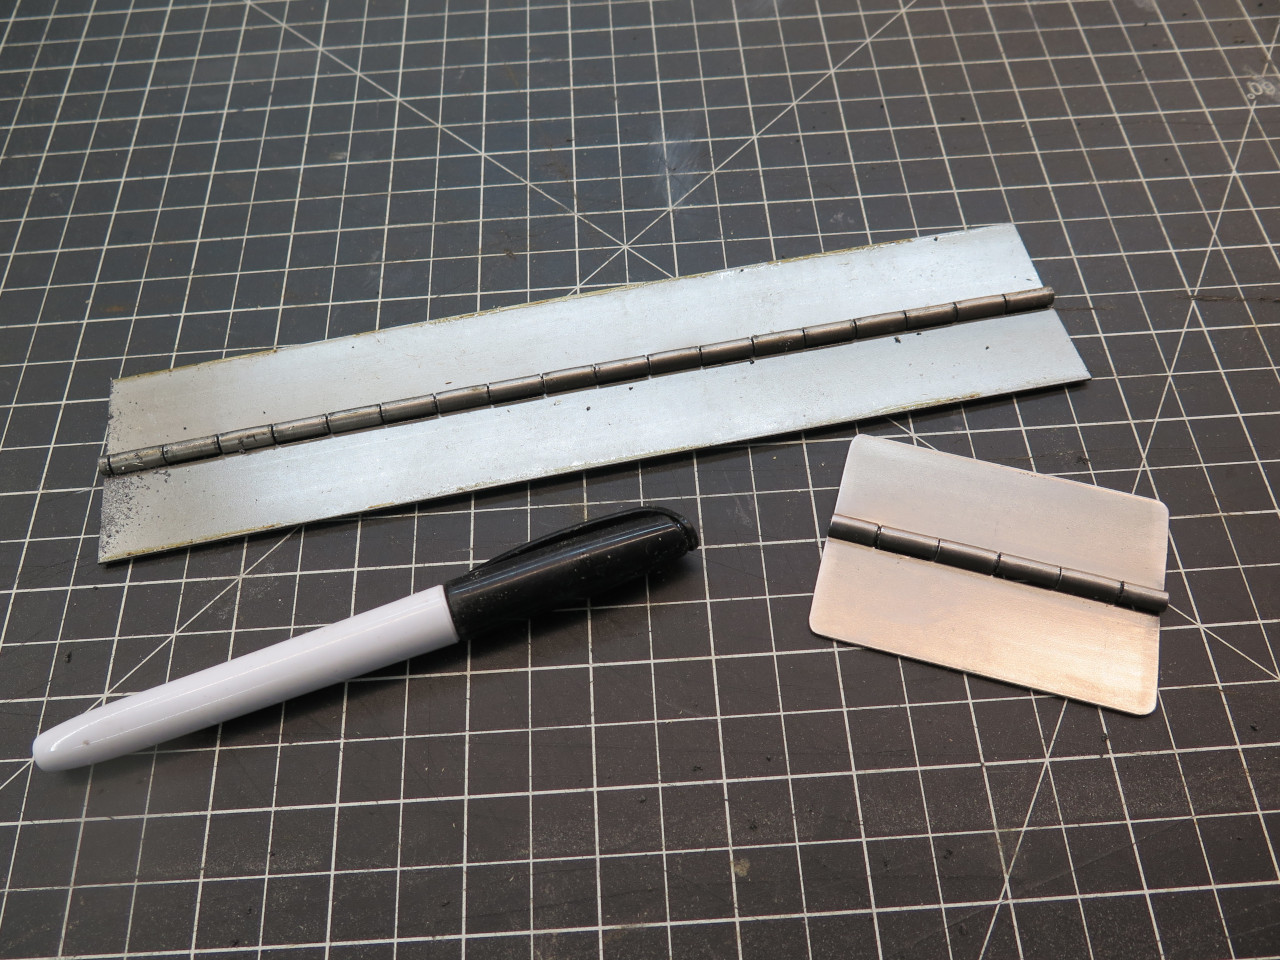
I ordered hinge material without holes so I could place them where I wanted them.
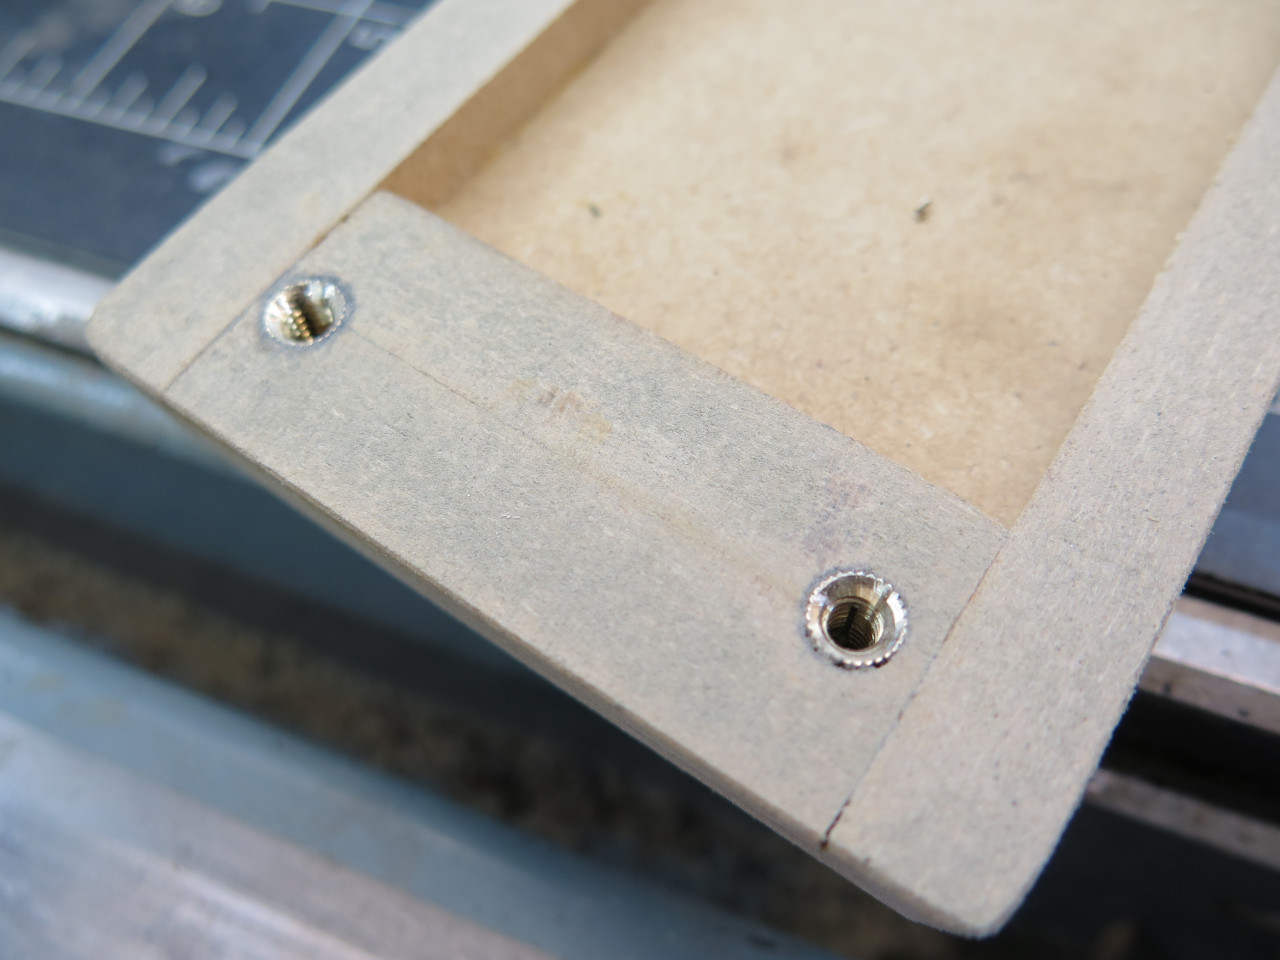
I was concerned about ability of the PVC material to hold screws, so I
used these threaded inserts. They are installed by heating them
with a pencil soldering iron, which allows them to sink into a
pre-drilled hole.


The hinge is fastened to the top using similar inserts made for soft
woods. I coated them with epoxy before inserting them.
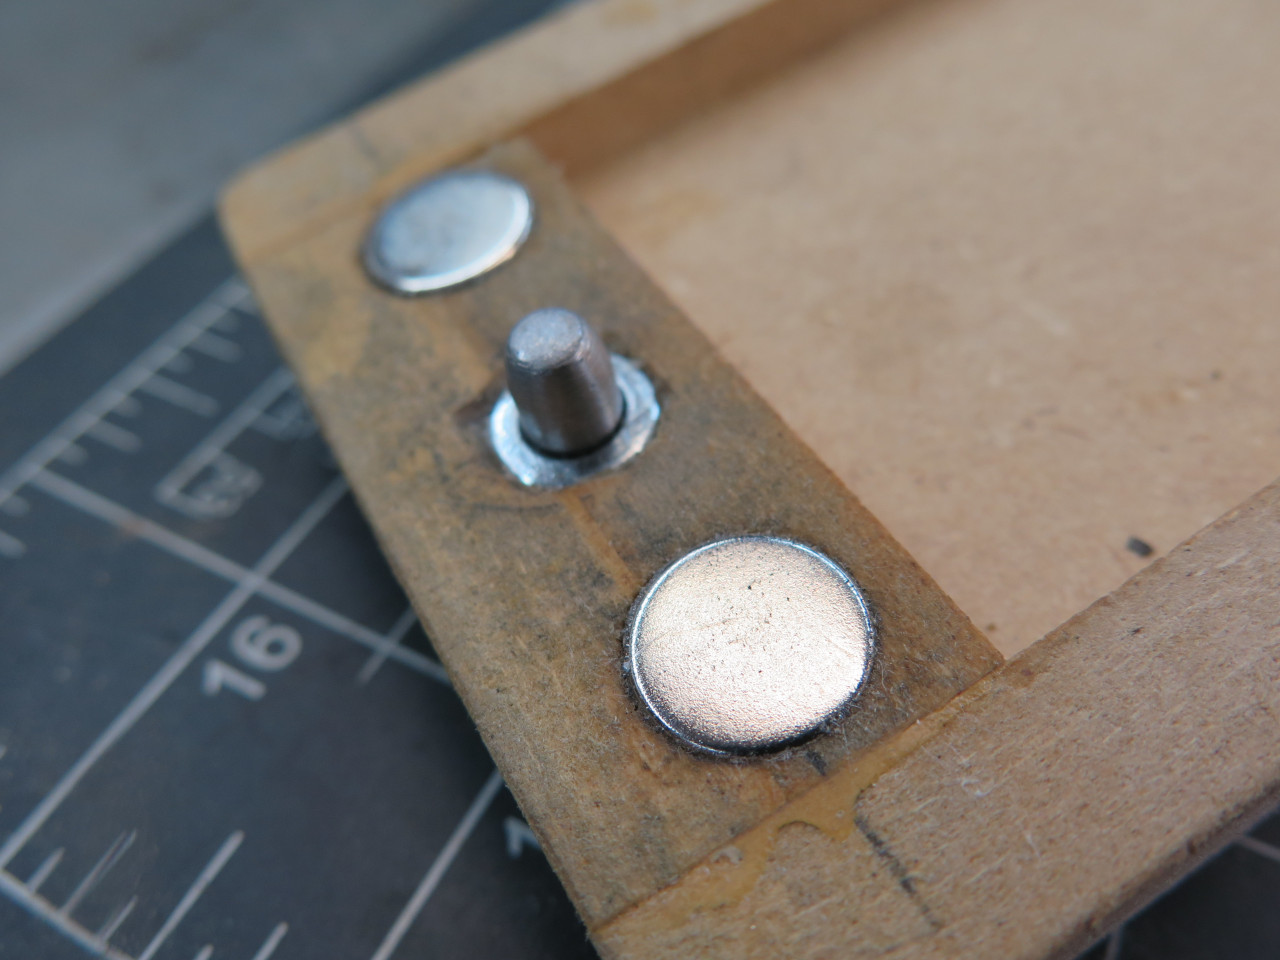
The top is "latched" with a couple of rare earth magnets epoxied into
the MDF. A steel striker plate is screwed to the front of the
box. The little stud is to keep the long top from deflecting side
to side when closed.

Starting to look like something.


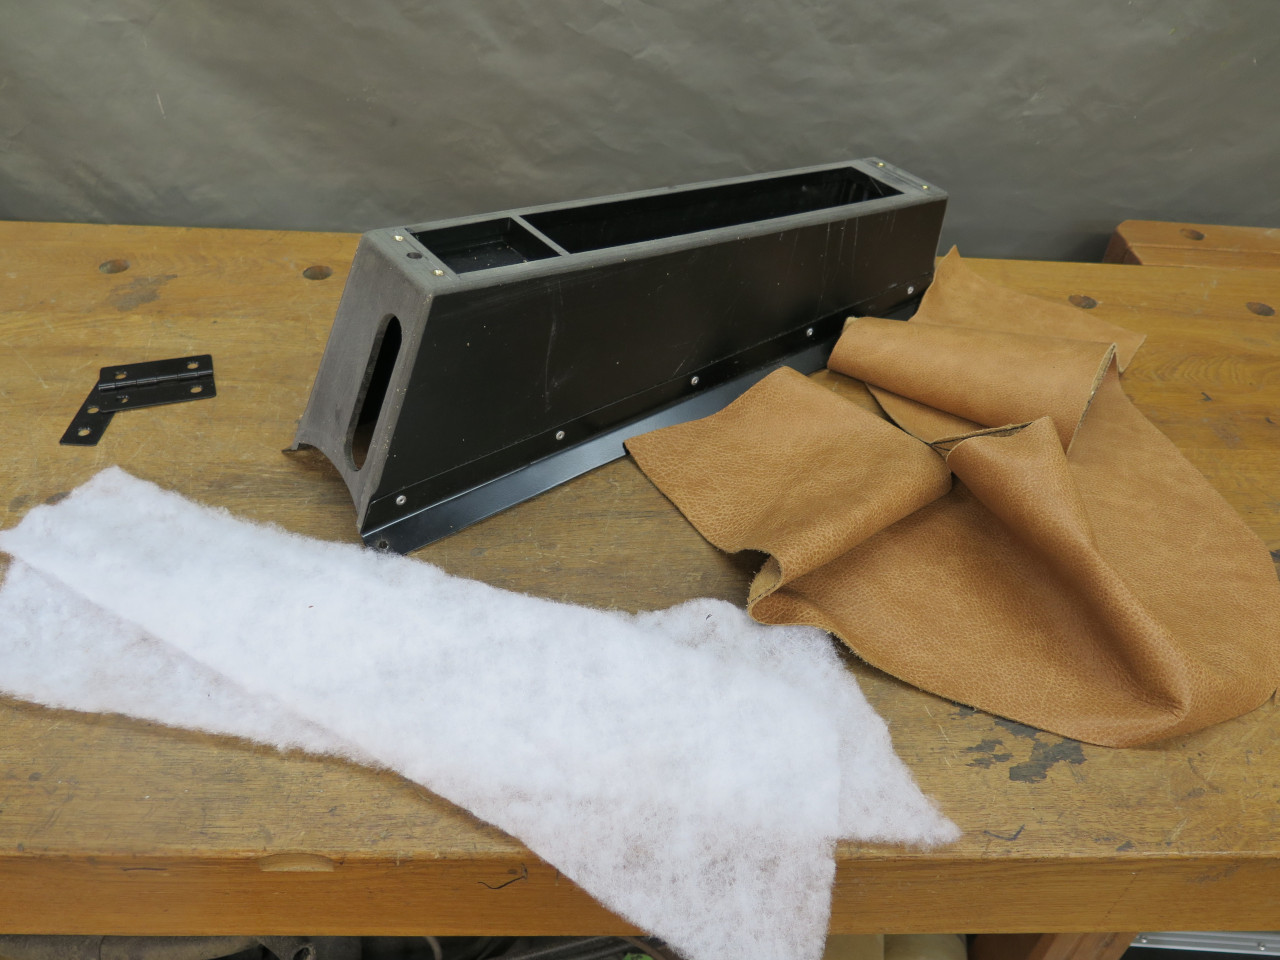
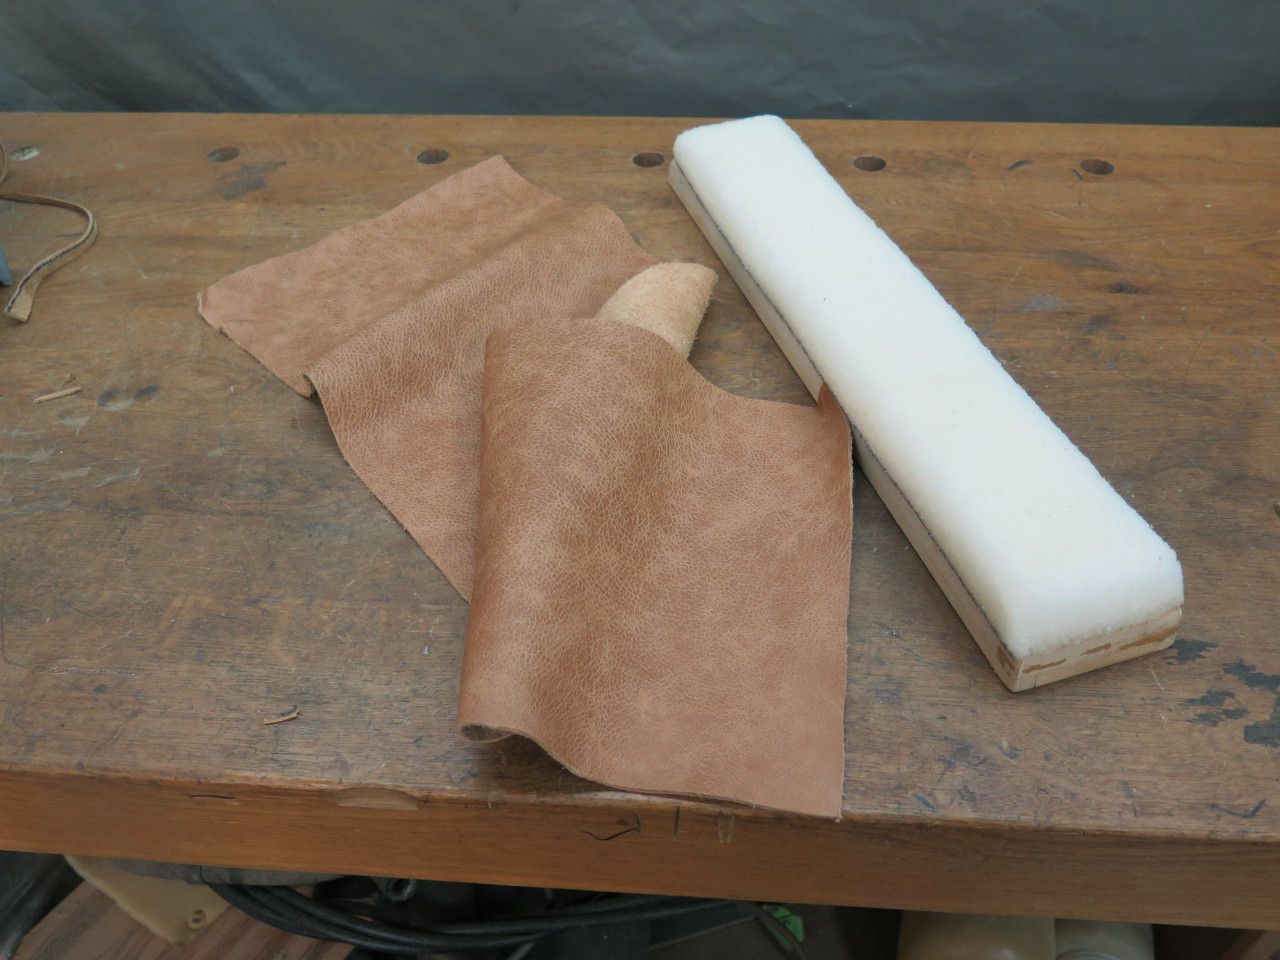
The console is covered with the same leather as the rest of the interior. A paper pattern started it off.
Some thin Dacron batting on the sides improves touch appeal. I was
also a little concerned that the skirt edges or rivets might telegraph
through the leather. The padding should prevent that.

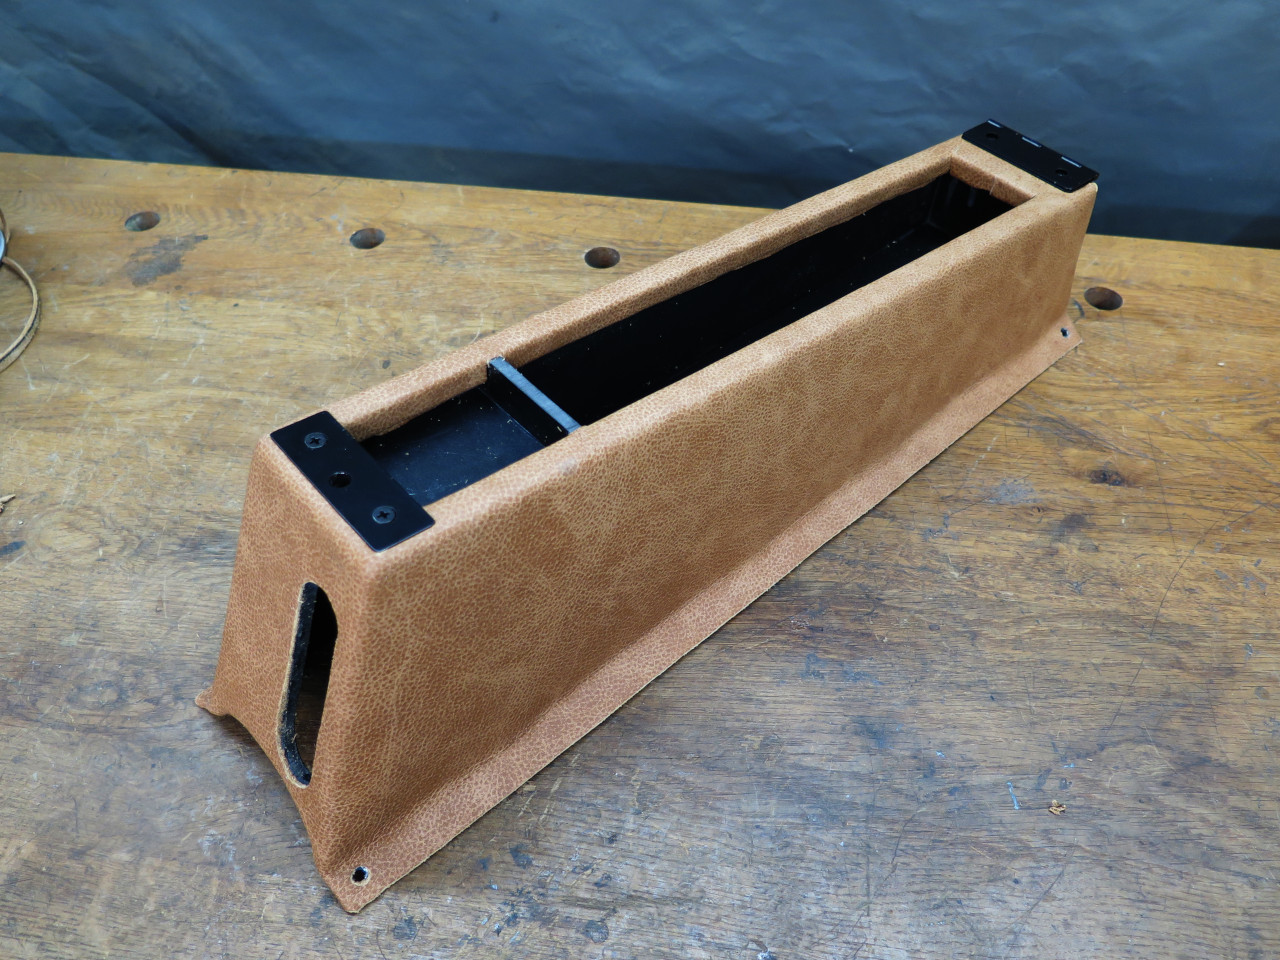
Then powder coated the metal fittings and added them.
The top got an inch of upholstery foam to pamper my right elbow.


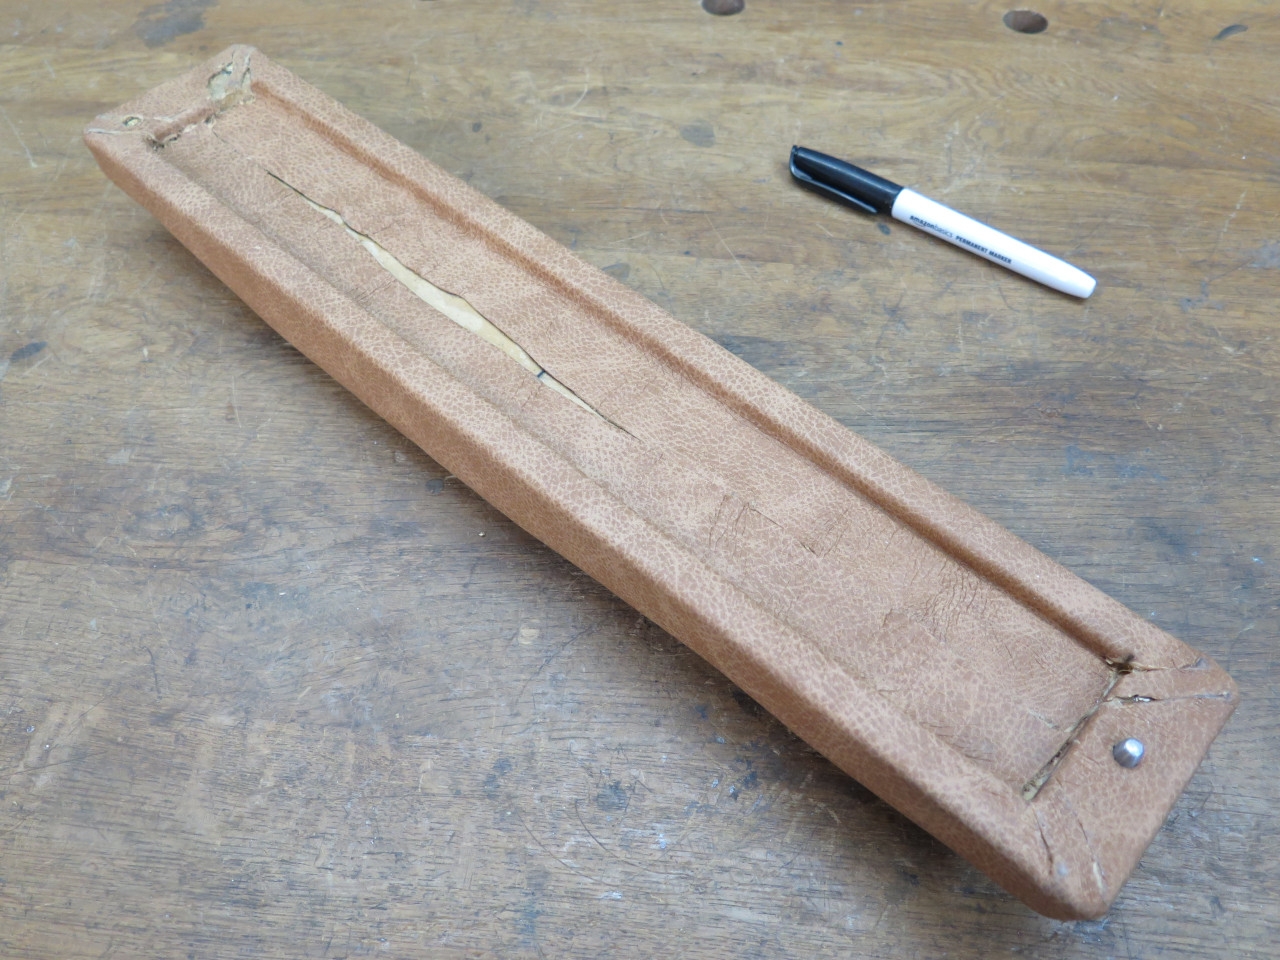
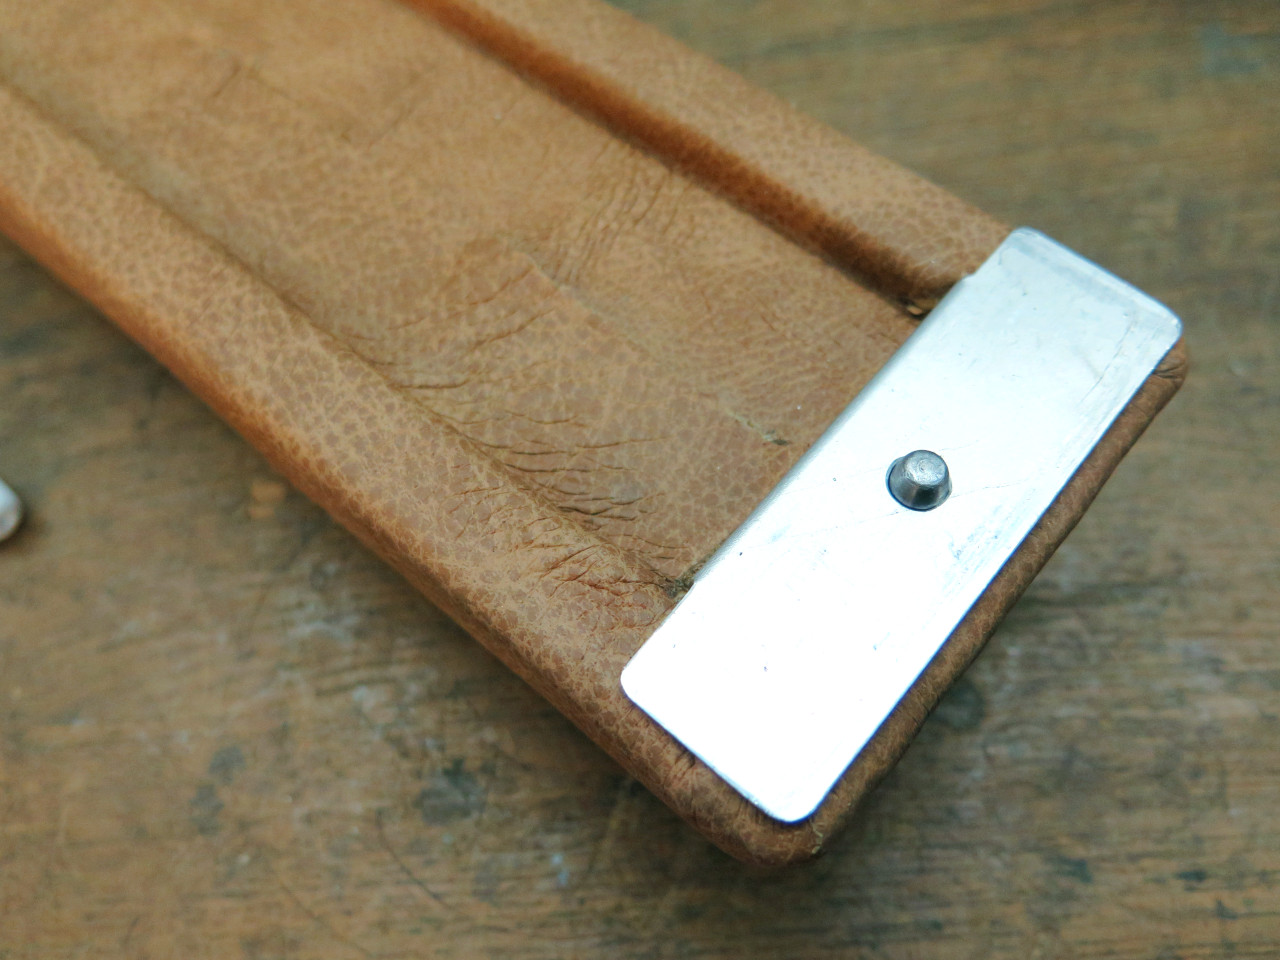
The leather on the underside of the top necessarily puckers, and I'm not
good enough at this to make it look decent. I covered the center
area with a piece of Kydex, and the rear end is covered with the
hinge. I wanted to cover the front end too, but it had to be with a
piece of aluminum because of the magnetic latch.

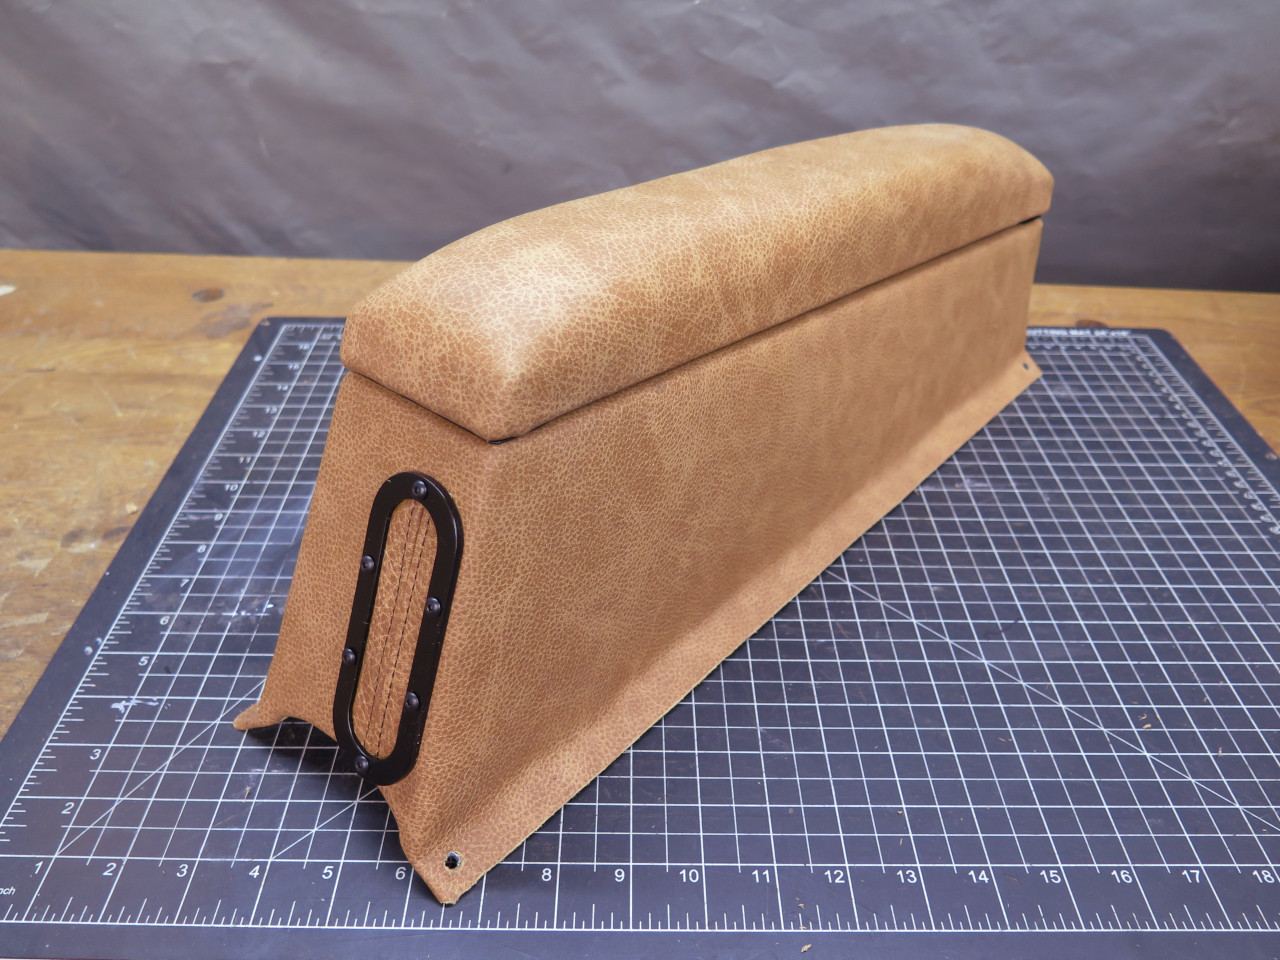
All together:
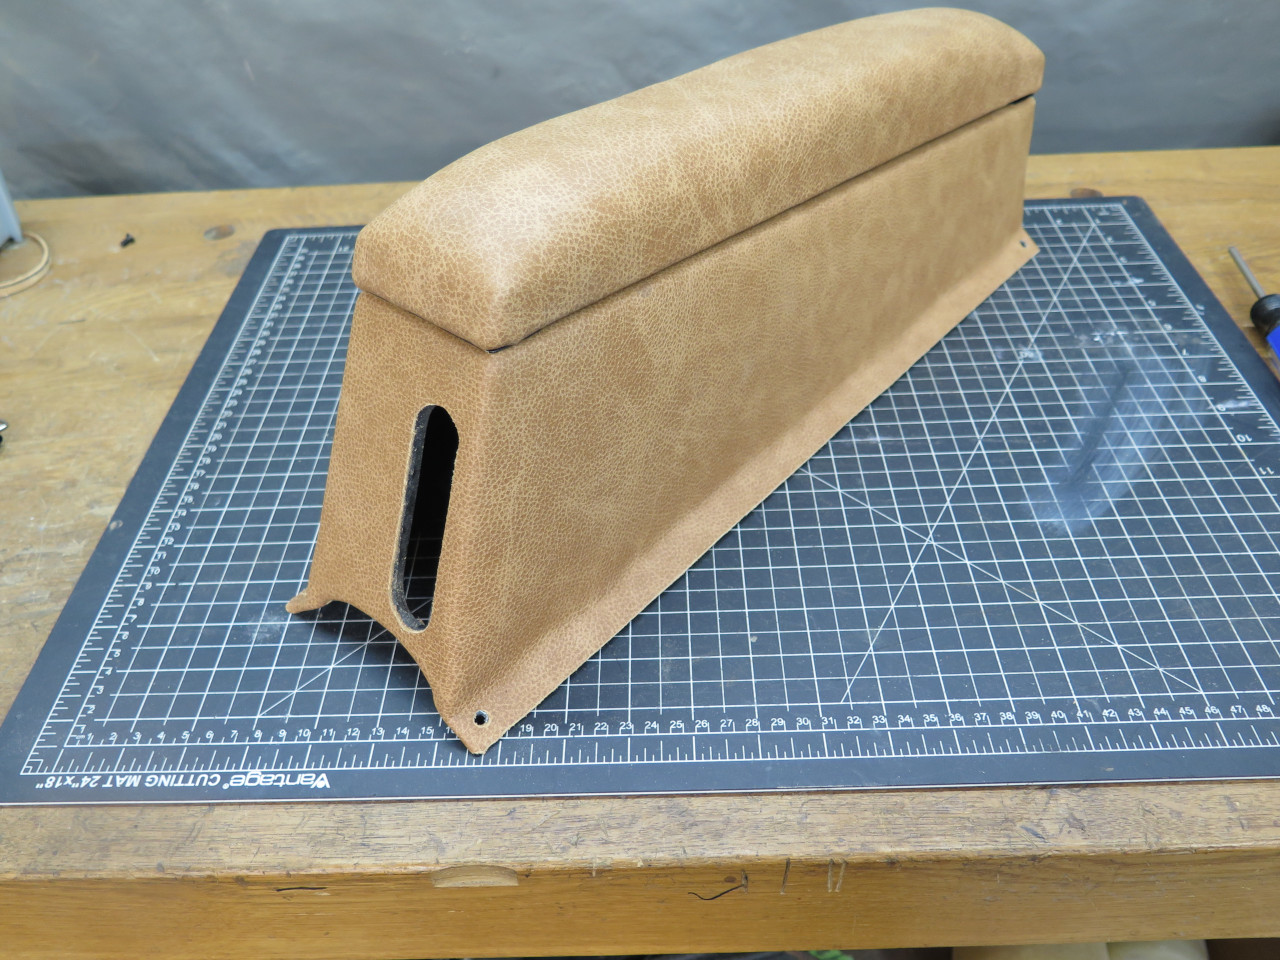
There is still this gaping hole, though. It seemed to need some kind of finish around the perimeter.
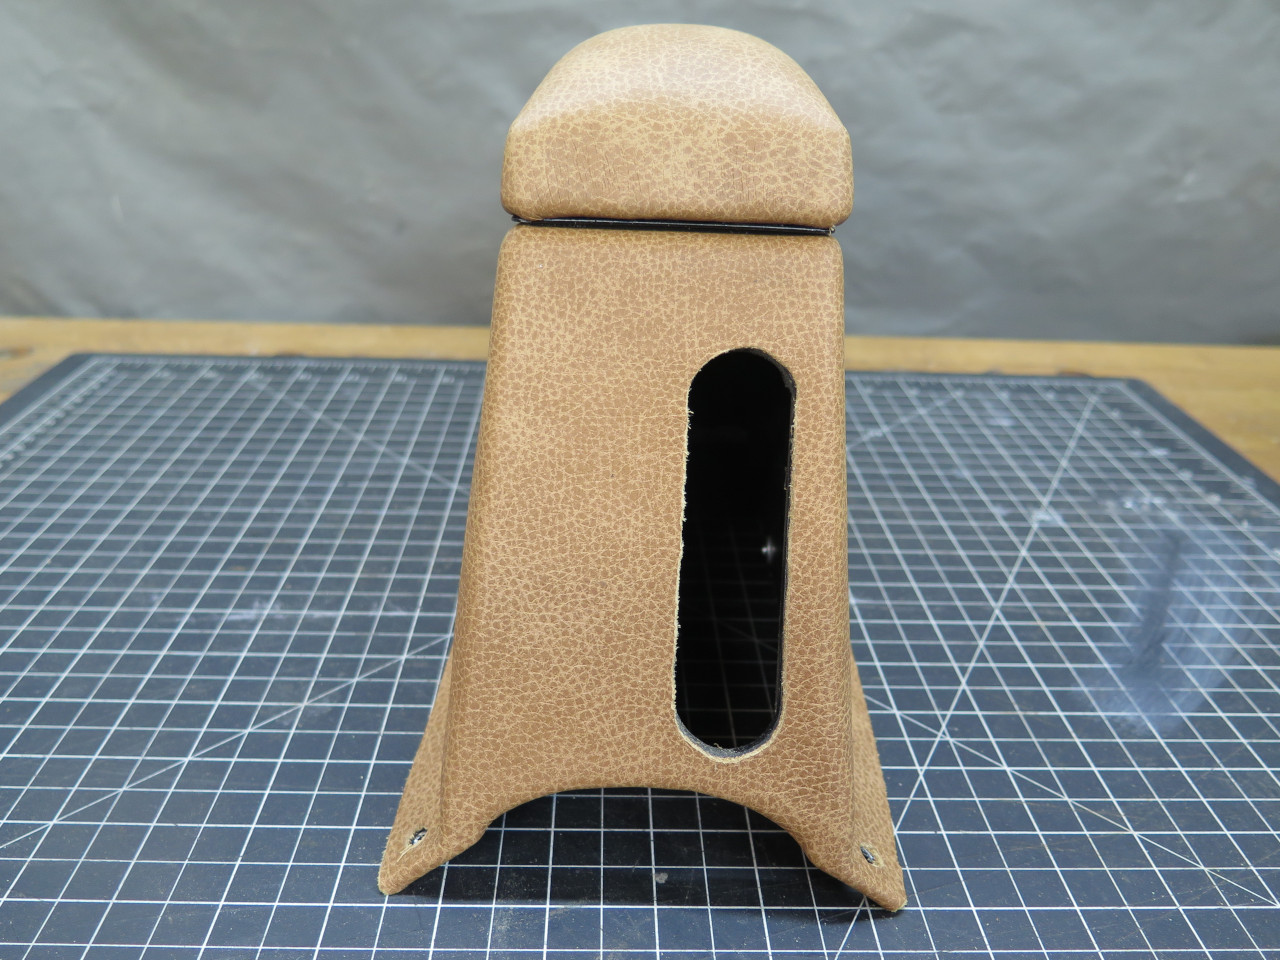
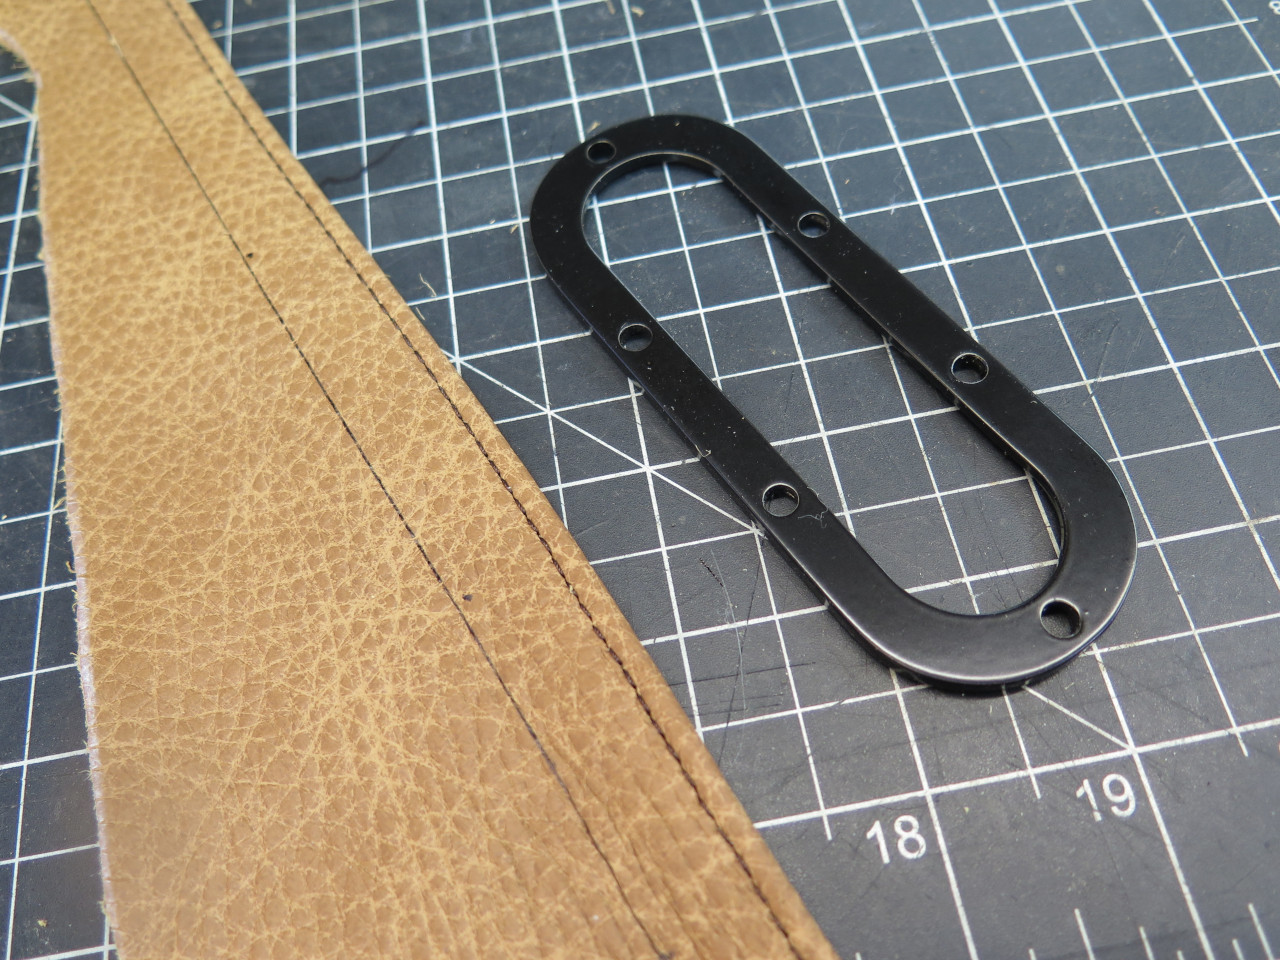
Taking a cue from the opening for the shifter around the shifter plinth,
I decided to try an aluminum trim ring. A hardboard pattern
first, then aluminum. Then holes drilled.


Maybe it should be black to match the shifter ring. Looks OK, but the hole is still there.

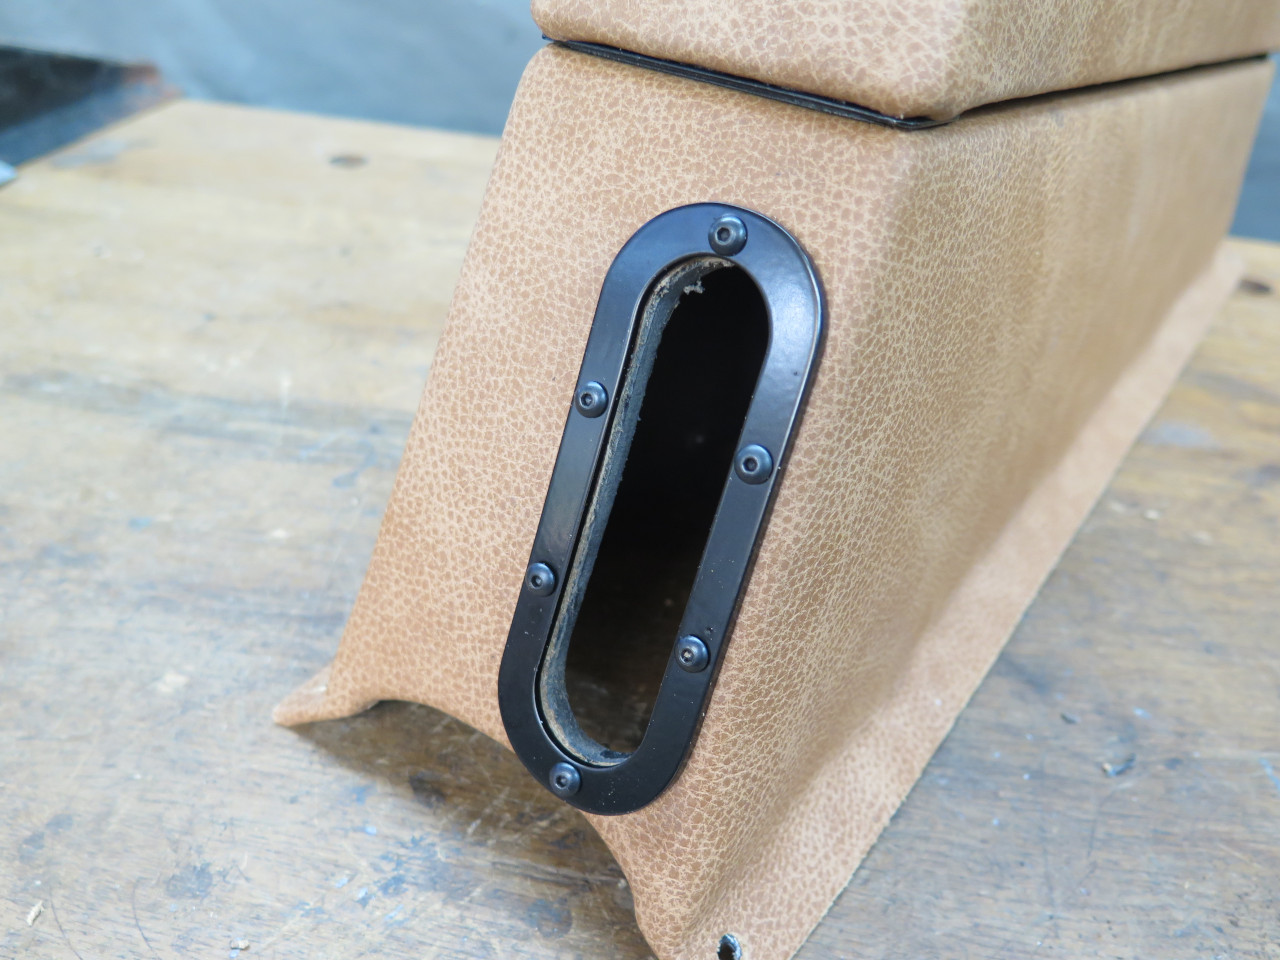
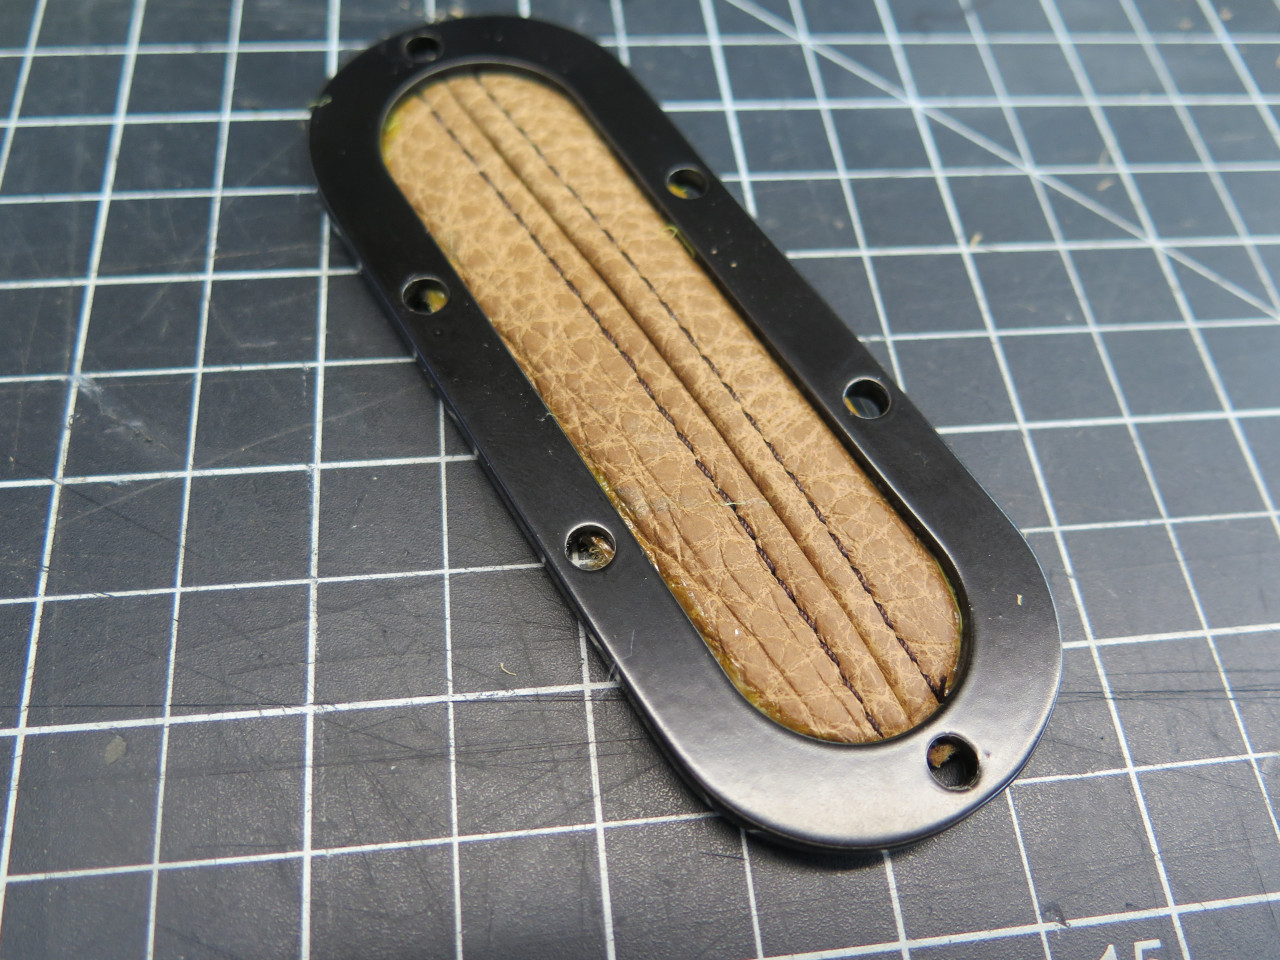
Should I make a new gaiter? How about this instead?
Some felt-like carpet for the bottom of the compartments. Same stuff as in the parcel trays.

Sanity check two. I was taking a calculated risk in building this
without trying it with the seats installed. I don't anticipate
problems since the dimnensions are all the same as original except for
it being a little taller. But I've been fooled before.


This was sort of a fun project, testing the limits of my comfort
zone. Pretty cheap too, since I had just about everything on hand.
Comments to Ed at elhollin1@yahoo.com
To my other GT6 pages.