To my other GT6 pages.
September 30, 2023
Odds & Ends under the Bonnet
Fuel lines, coolant hoses, etc.
I've been meticulously stalling on any more interior work on this car
because frankly, some of it terrifies me. So to continue the
delay, I worked on some odds and ends related to the engine.
Fuel Lines
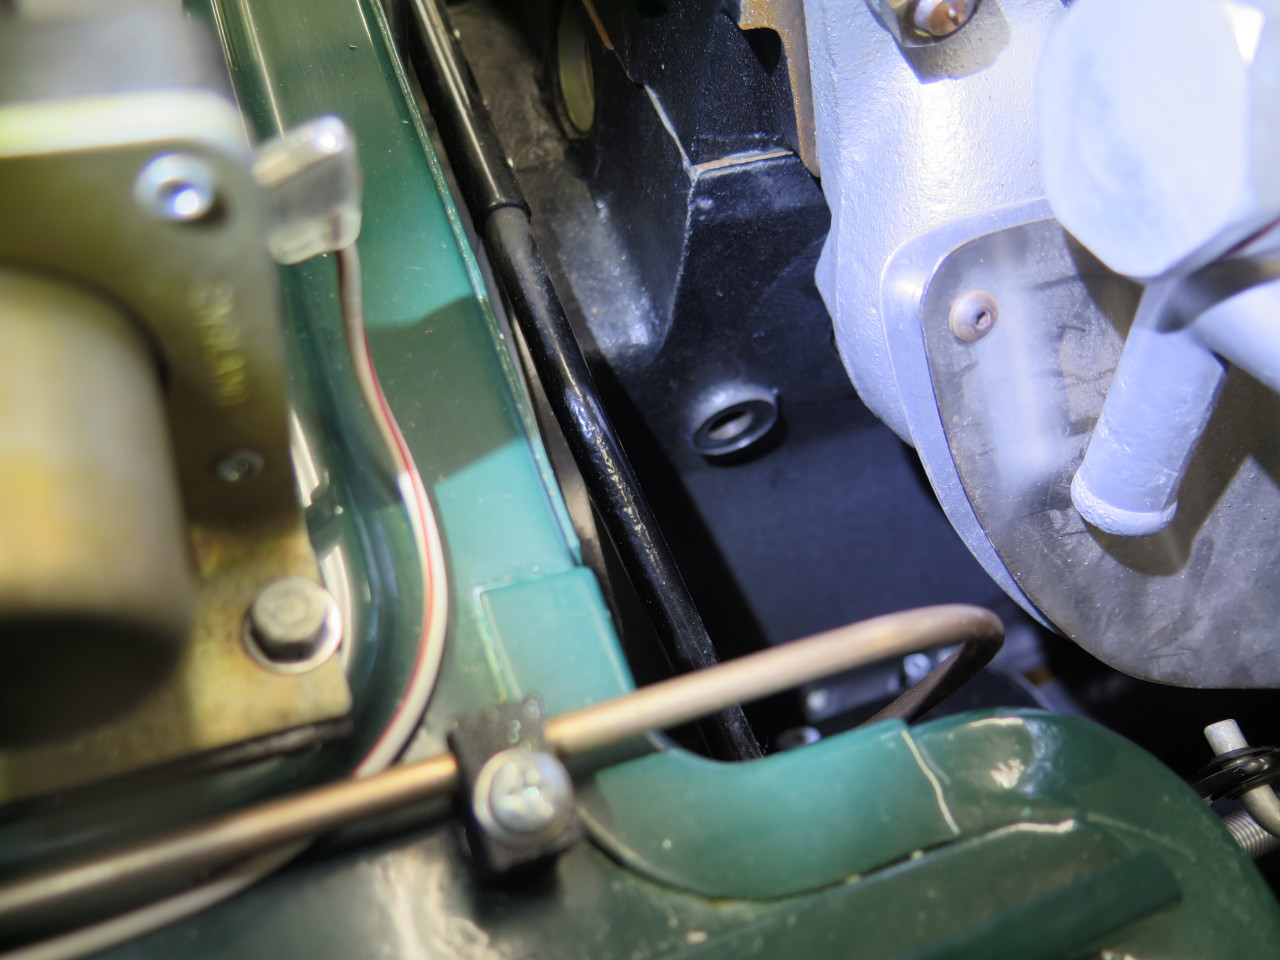
The 5/16 fuel line from the fuel tank runs along the left side frame
rail. I found it peeking out through a small gap into the engine
bay.
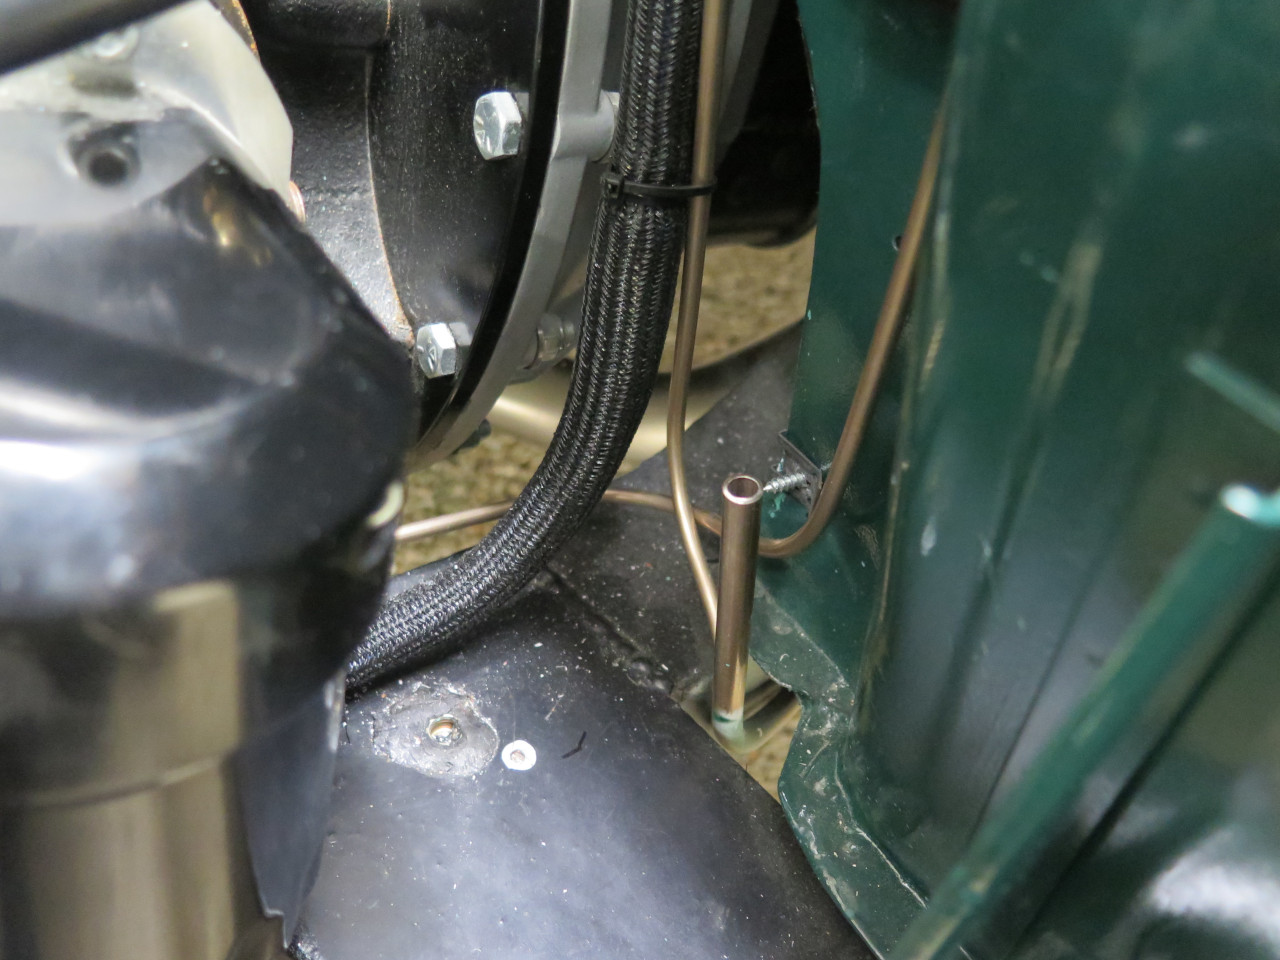
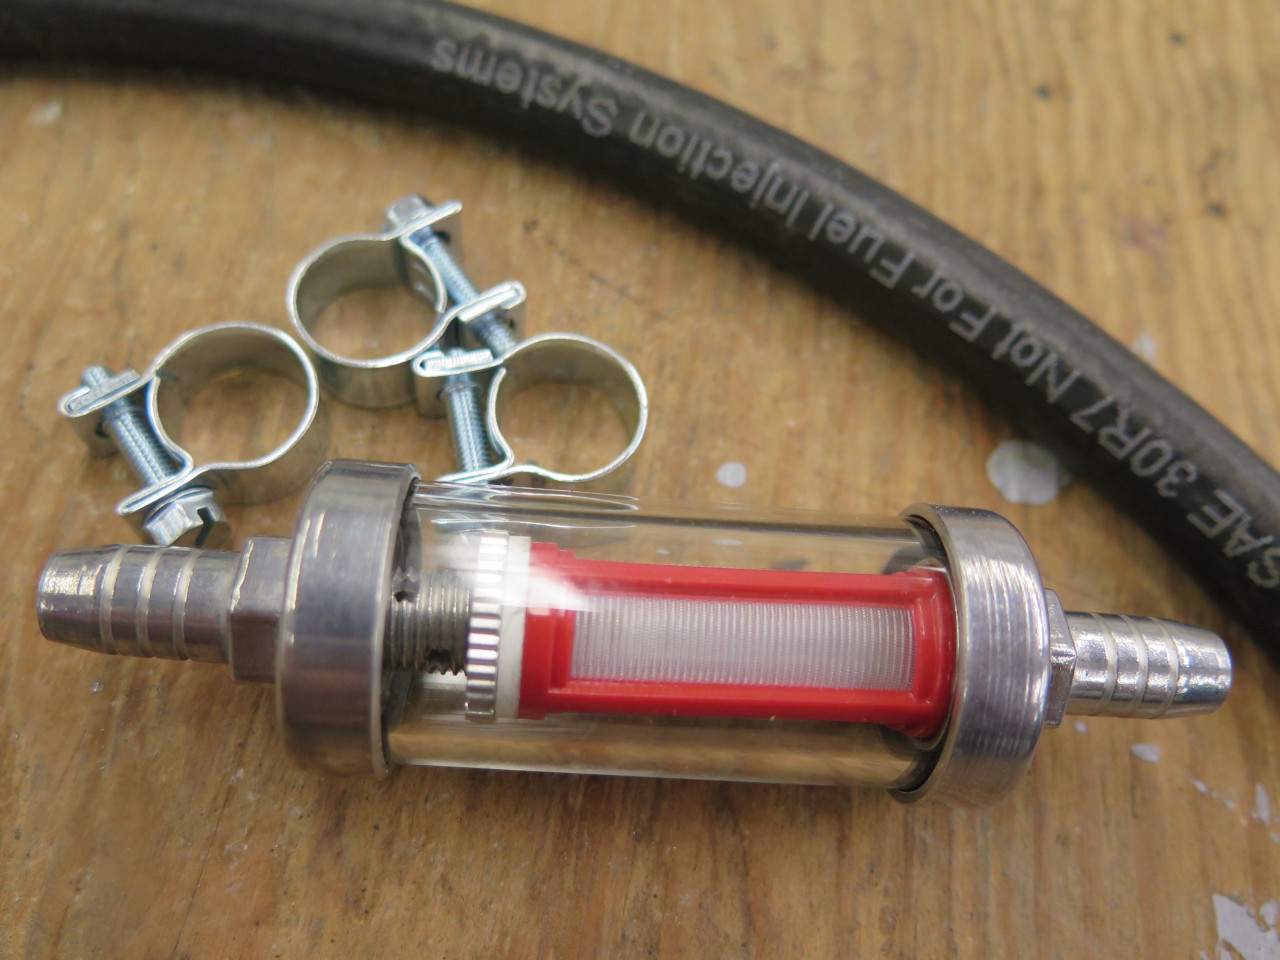
Right there is a convenient (and the original, I think) place to install
a fuel filter. I like fuel filters that I can see into.
So I installed the rebuilt fuel pump, and hooked 'er up.

From the fuel pump, the fuel line switches to 1/4" tubing that wraps
around the front of the engine to feed the carburetors. My
original line was too mangled to offer any clues as to the exact path,
so I had to do some research. A wire mockup is easy to fiddle with
until it's a good fit.
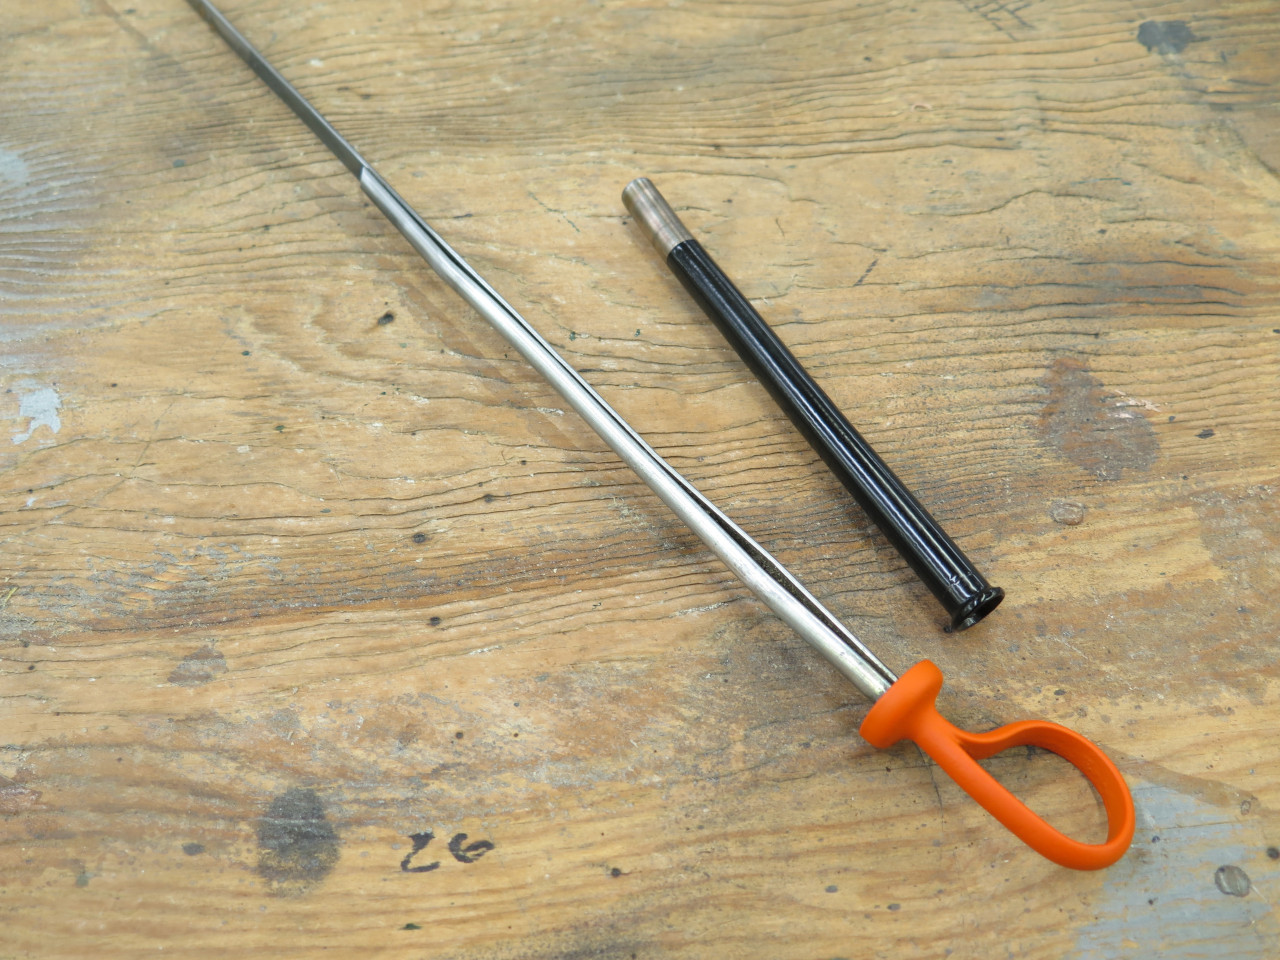
Then bent the line out of some copper-nickel tubing to match. I
find that the shapes come out much better if I start with straight
tubing rather than right off the coil. That silvery gizmo is a
tubing straightener.

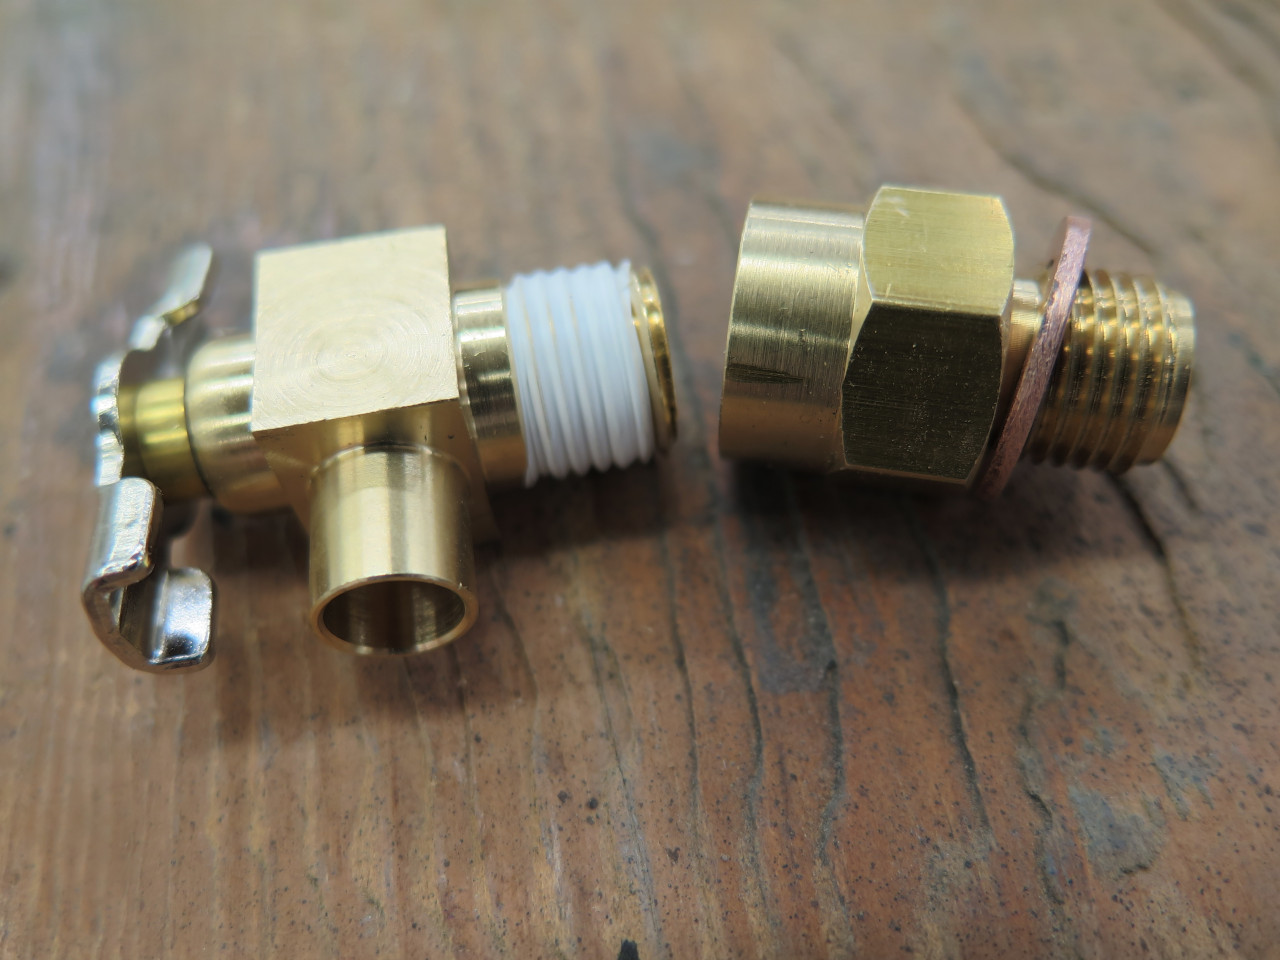
One little complication to deal with before installing this line is the
compression fitting at the fuel pump. The pump's inlet and outlet
ports are identical, and take 1/2"-20 male compression nuts.
However, since the tubing size is smaller at the outlet, the nut on that
port is a bit special, and not a typical hardware store item. I'm
sure there are folks who sell that nut, but I neglected to order one,
and couldn't find the original. I did have a little remnant of
1/2" hex brass stock, though. As a lot of anecdotal evidence from
the web indicates, the nut has to be a little longer than normal also,
and has to have that little nose on the end.


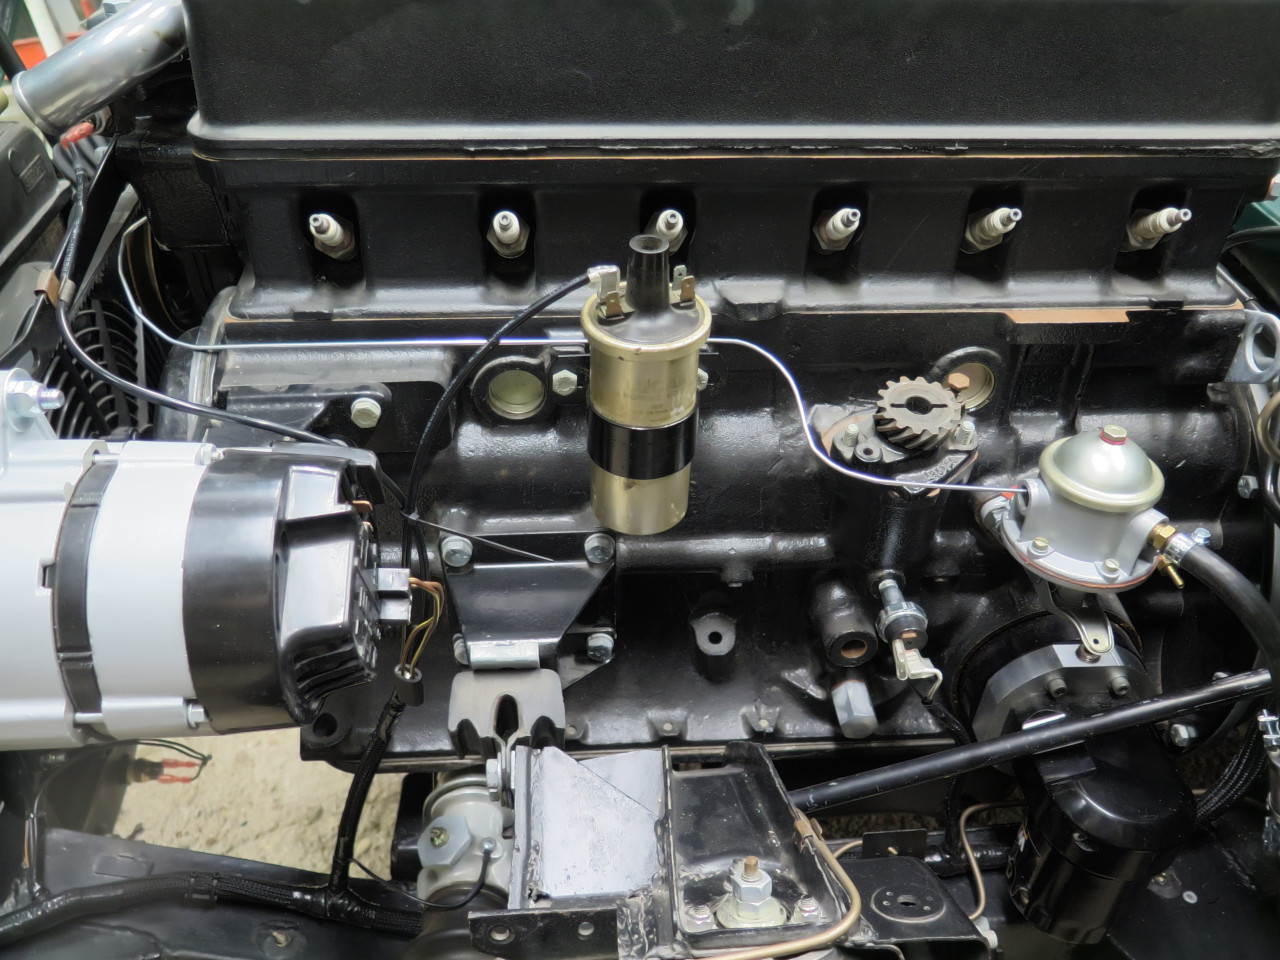
I think this approximates the original routing.
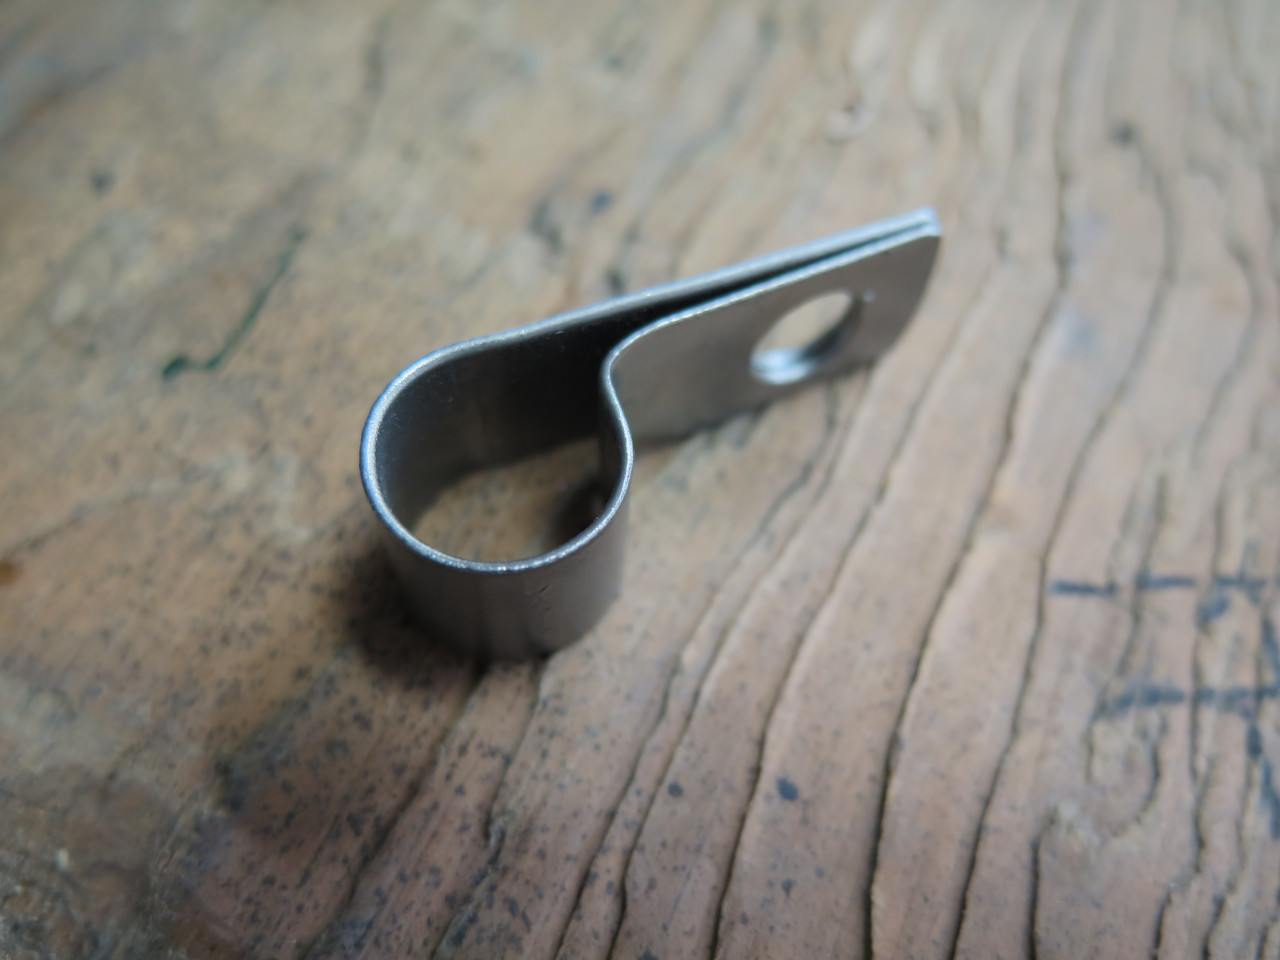
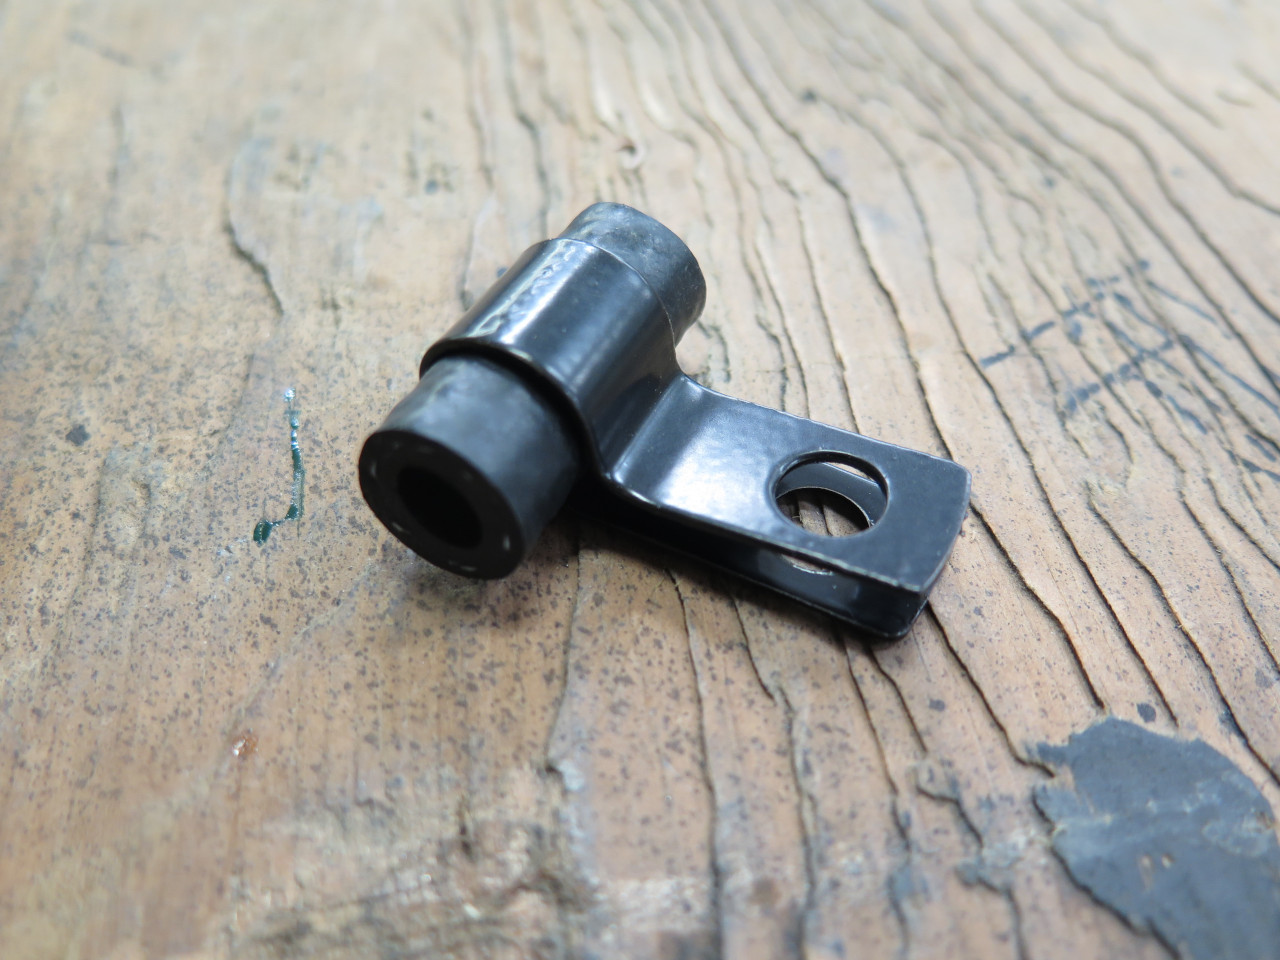
At the front of the engine, the line runs pretty close to the fan belt
pulley on the water pump, so it is located by a special little clip that
attaches under one of the pump bolts. My original was too beat up
to use, so this is a shop made replacement. A little piece of
rubber hose cushions the tube.
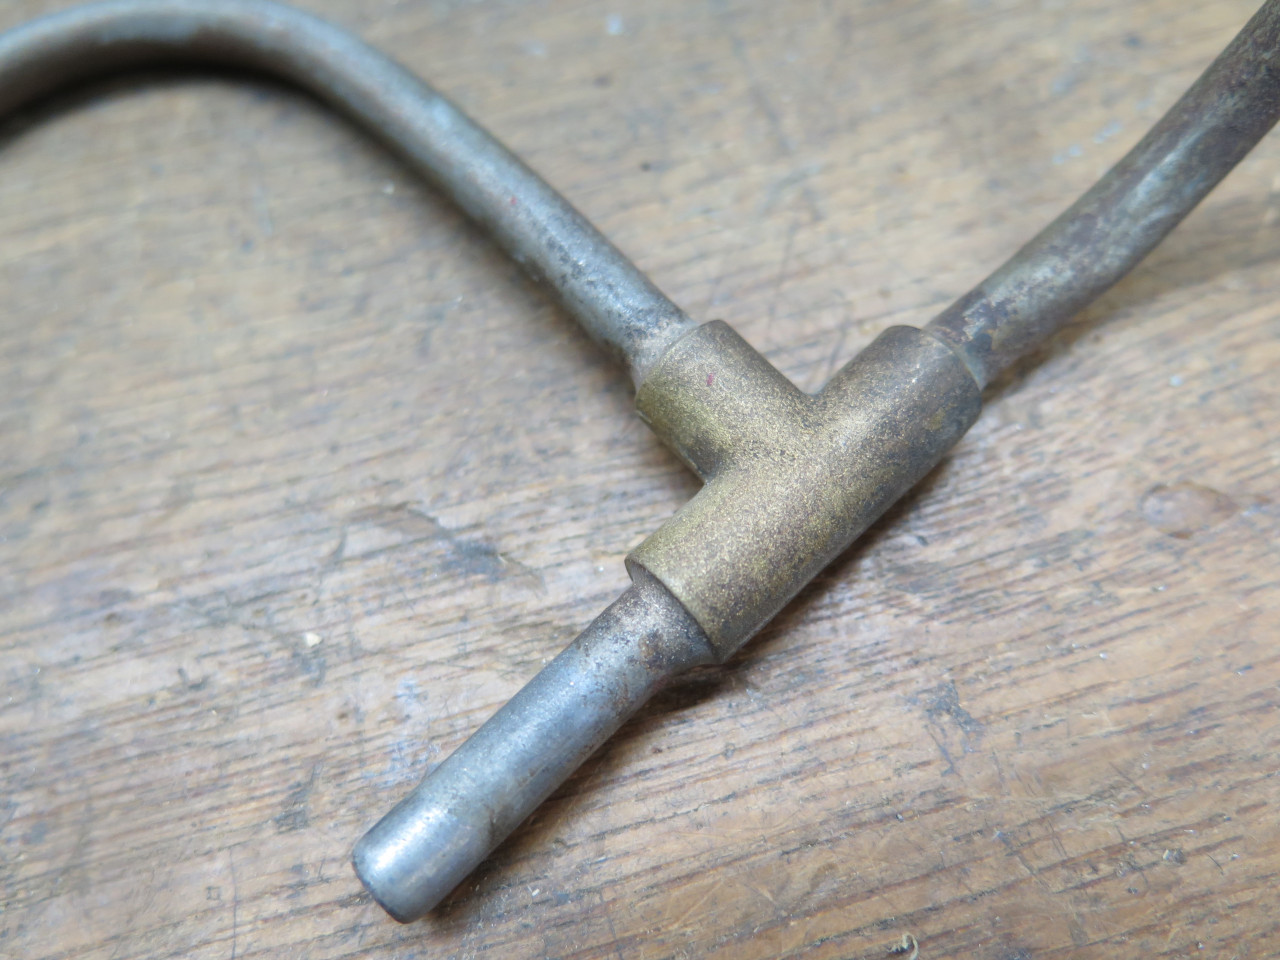
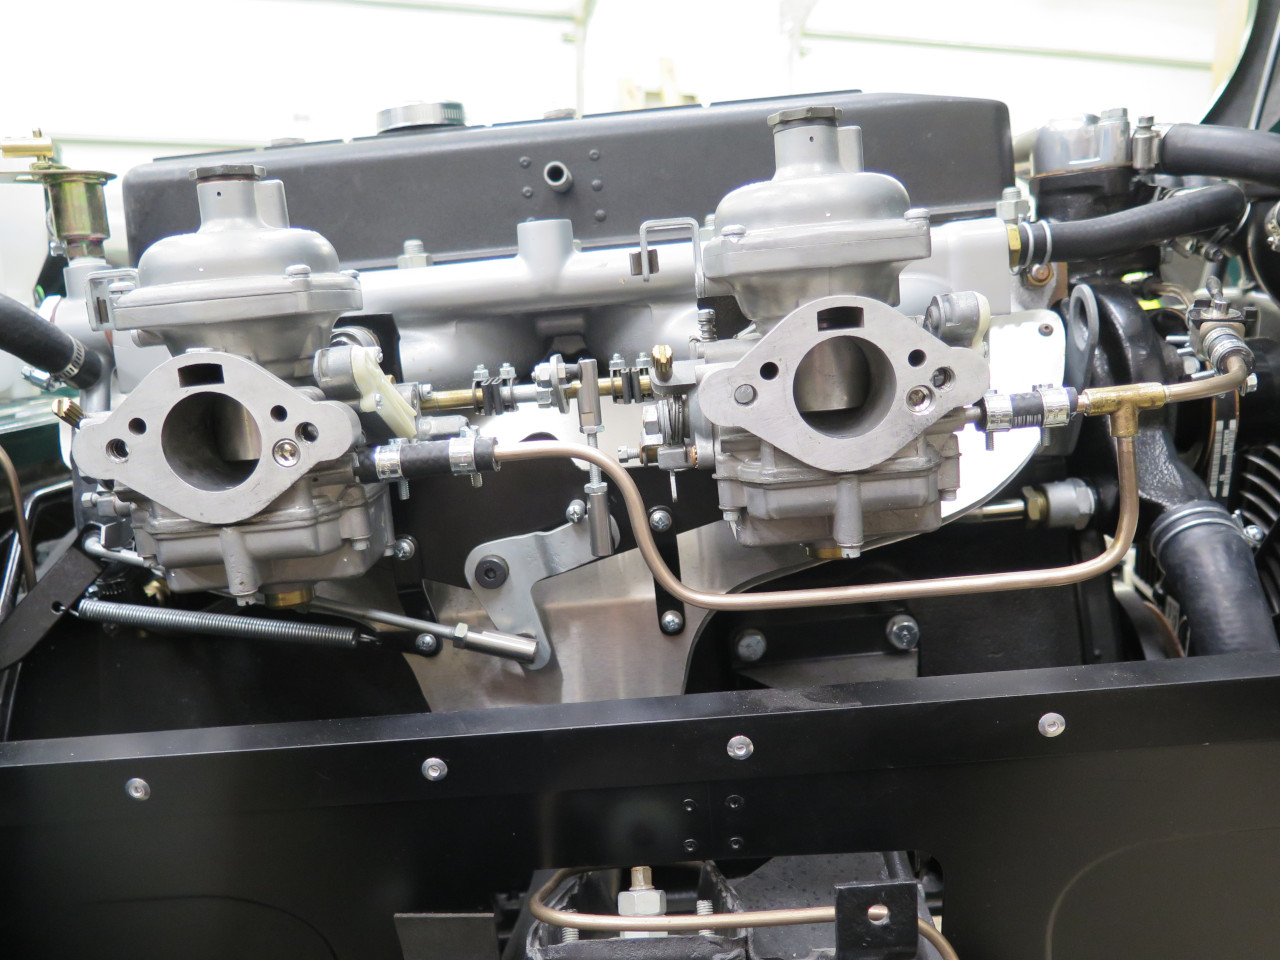
At the carburetors, there was this tubing assembly that splits the line
for each carb. The steel tubing was pretty rusty in places,
including the inside.

I wanted to reproduce the splitter with my copper-nickel tubing, but all
of the "T" fittings I could find seemed too big and clunky. In
the end, I decided to harvest the original brass "T" and use it in my
replacement.
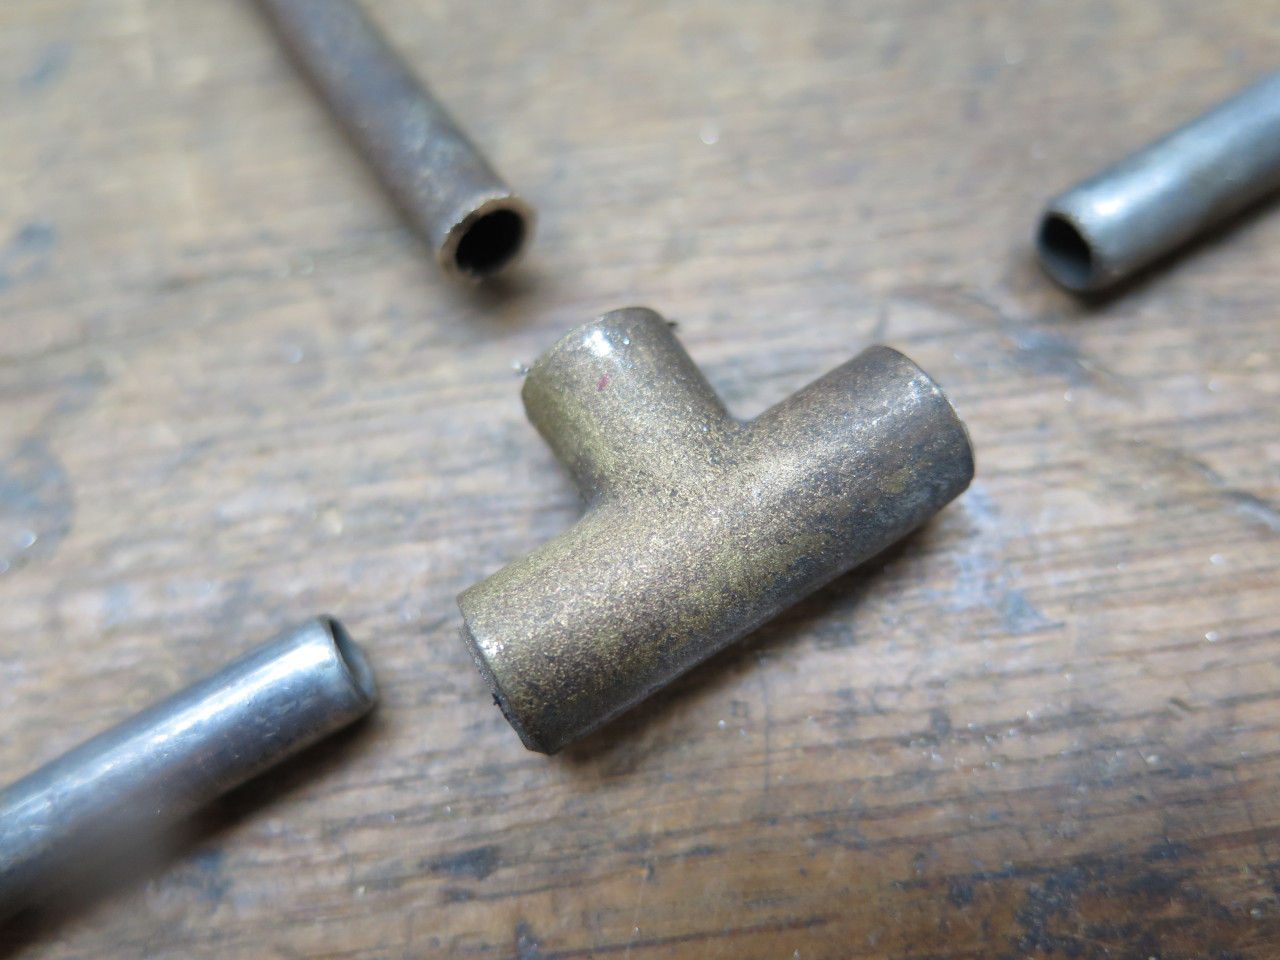
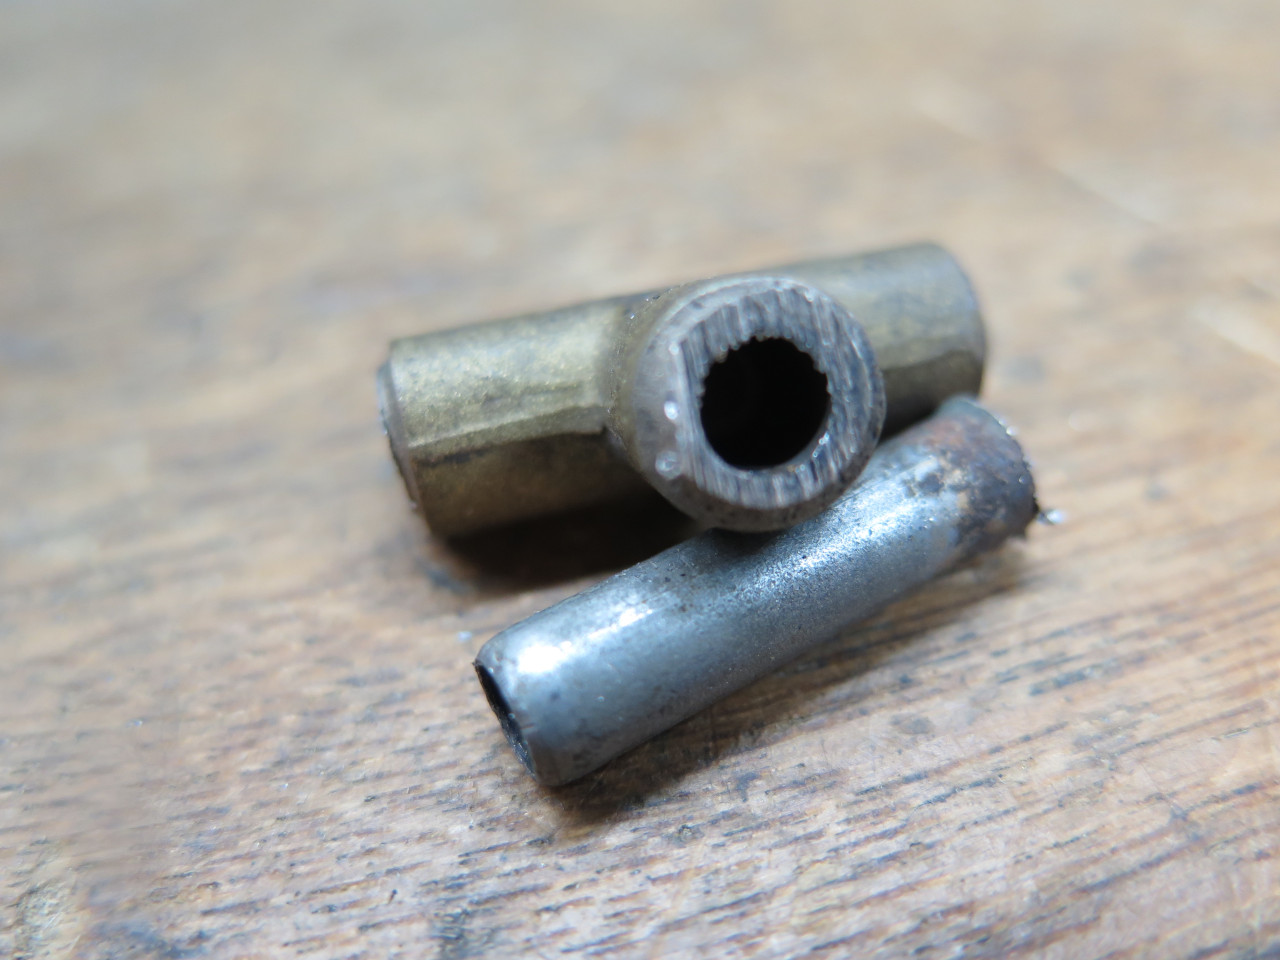
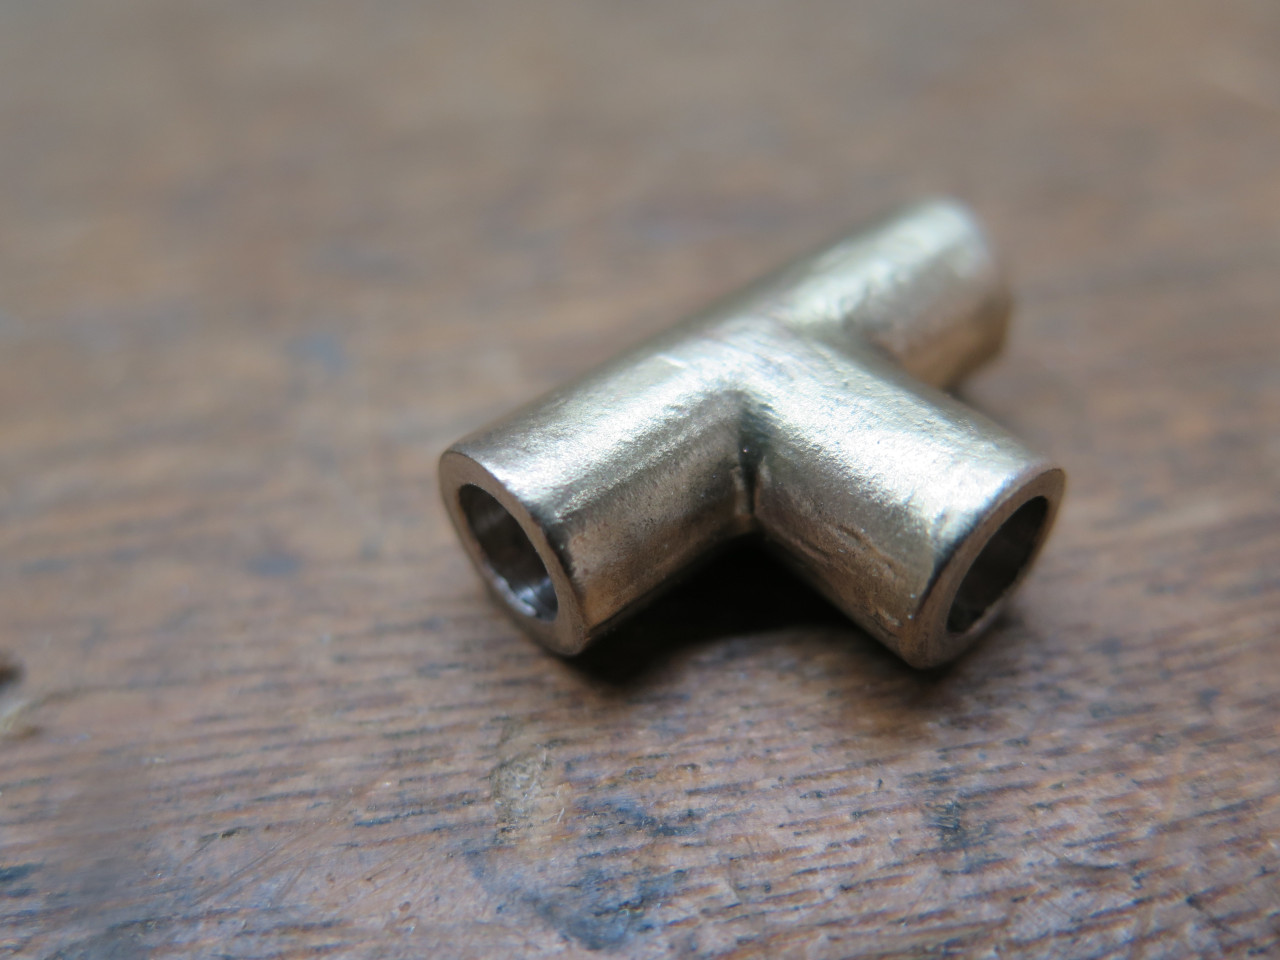
After drilling out the rest of the steel tubing, I silver brazed the fitting into my new splitter.
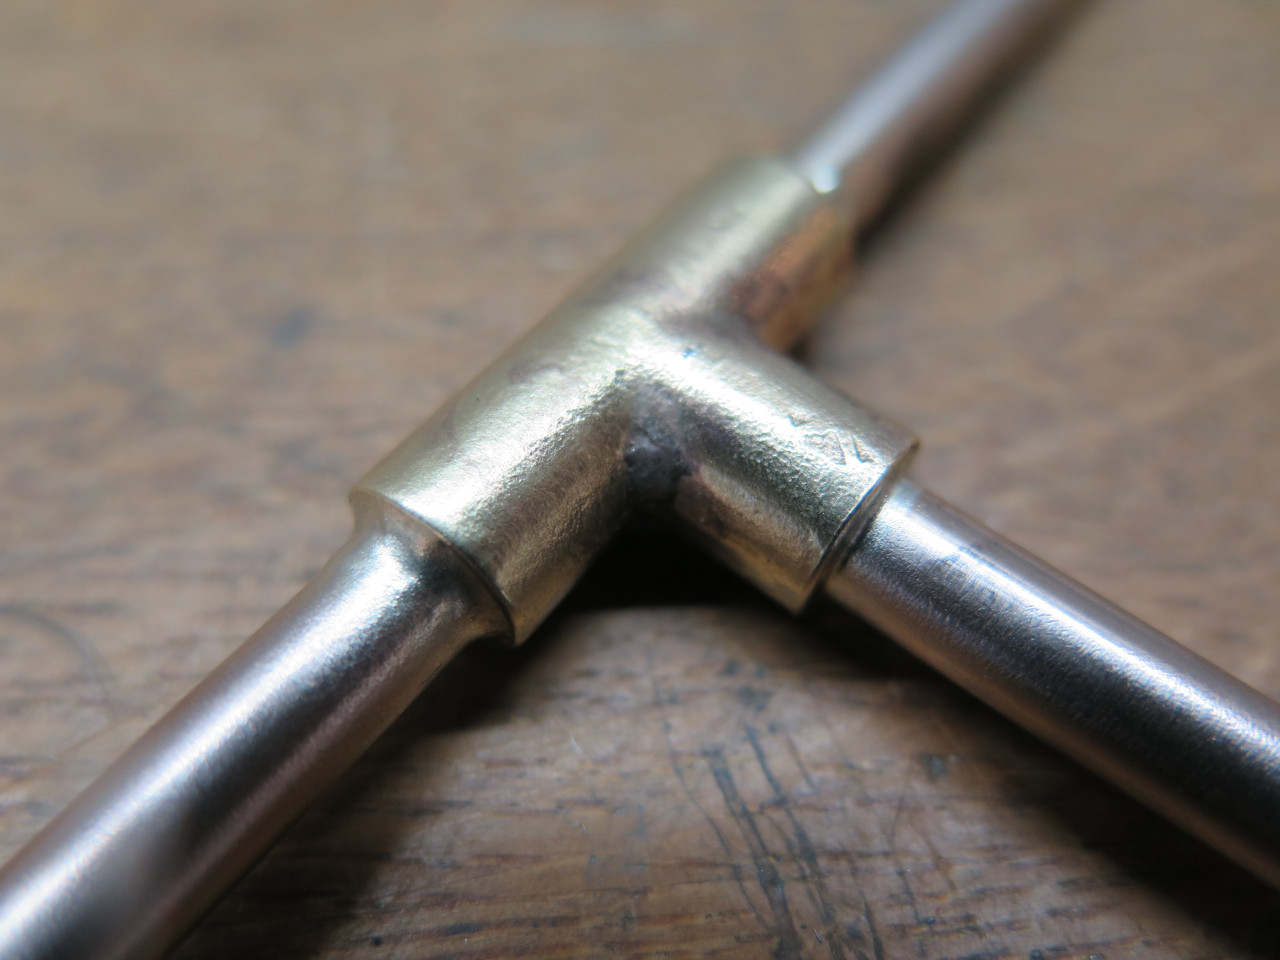

Adding a pair of rubber tube couplers, I could attach the splitter to
the carbs. I left the tubing long from both directions so I'd have
some options in joining them.


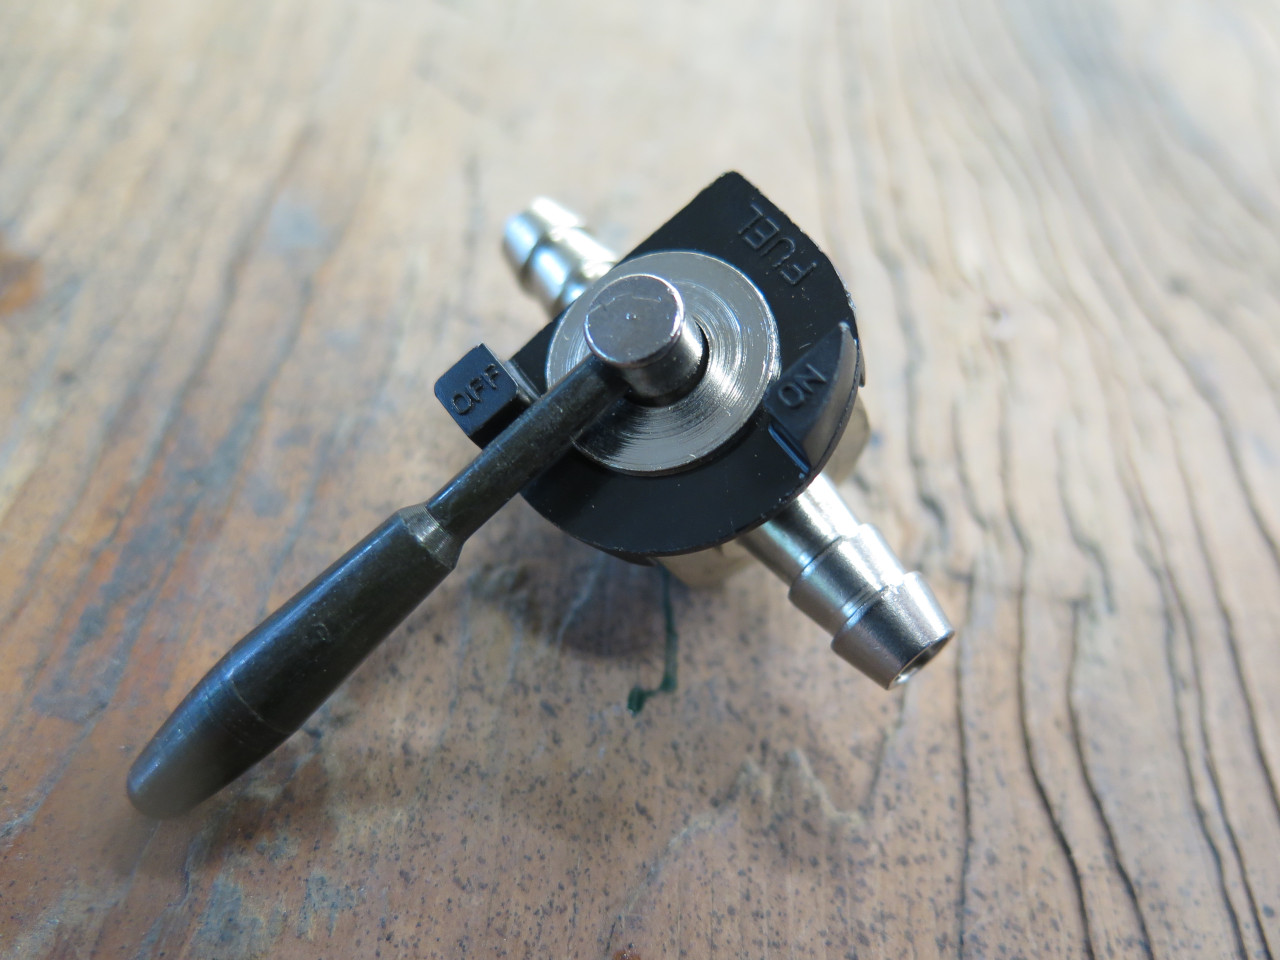
"What a great placed for a fuel shut-off!" I exclaimed as I looked at those two ends dangling in mid air.
Just such a shut-off magically appeared in an Amazon box the next day.

Another view of the splitter.
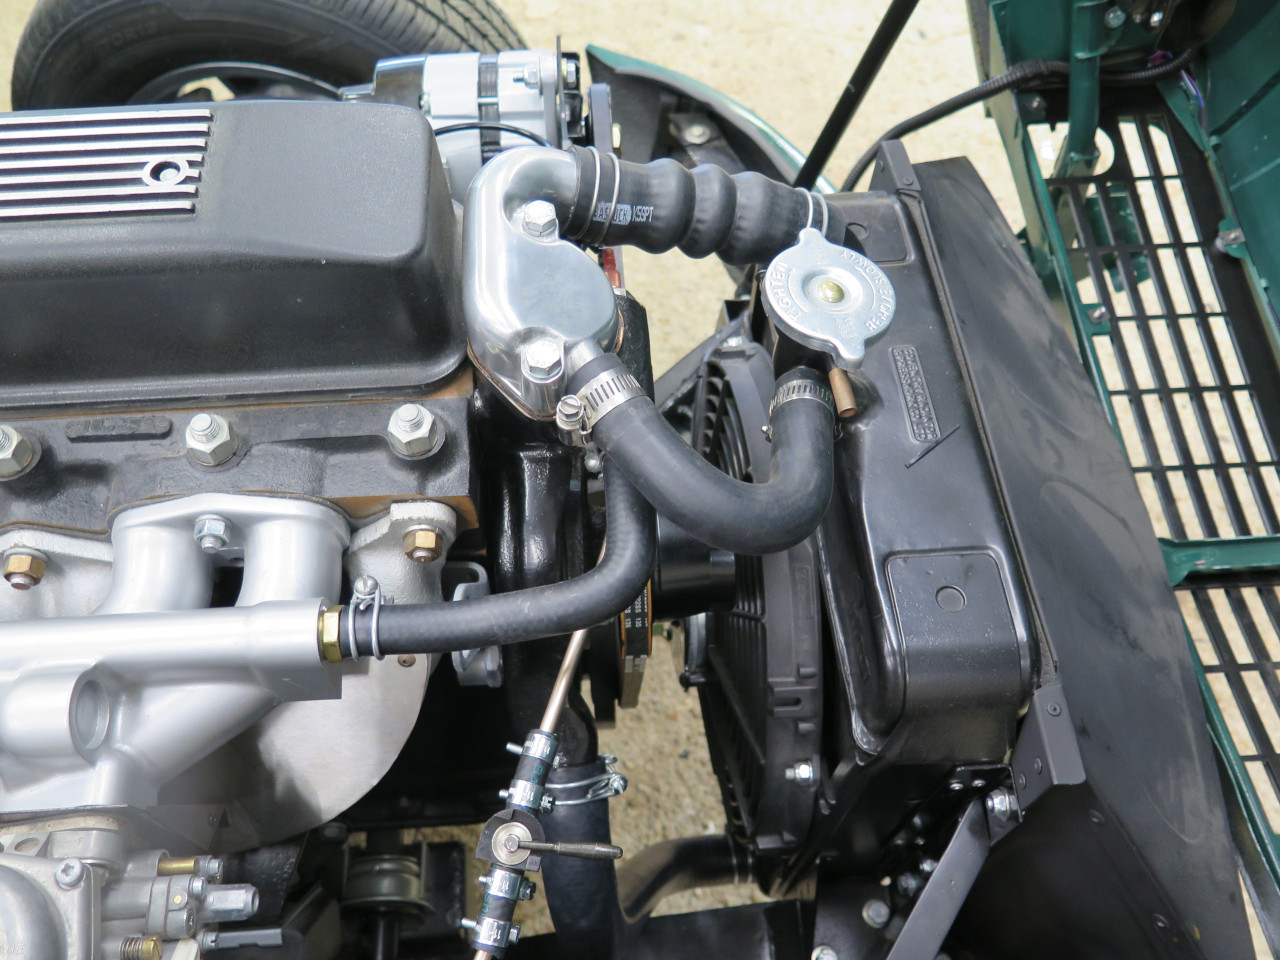
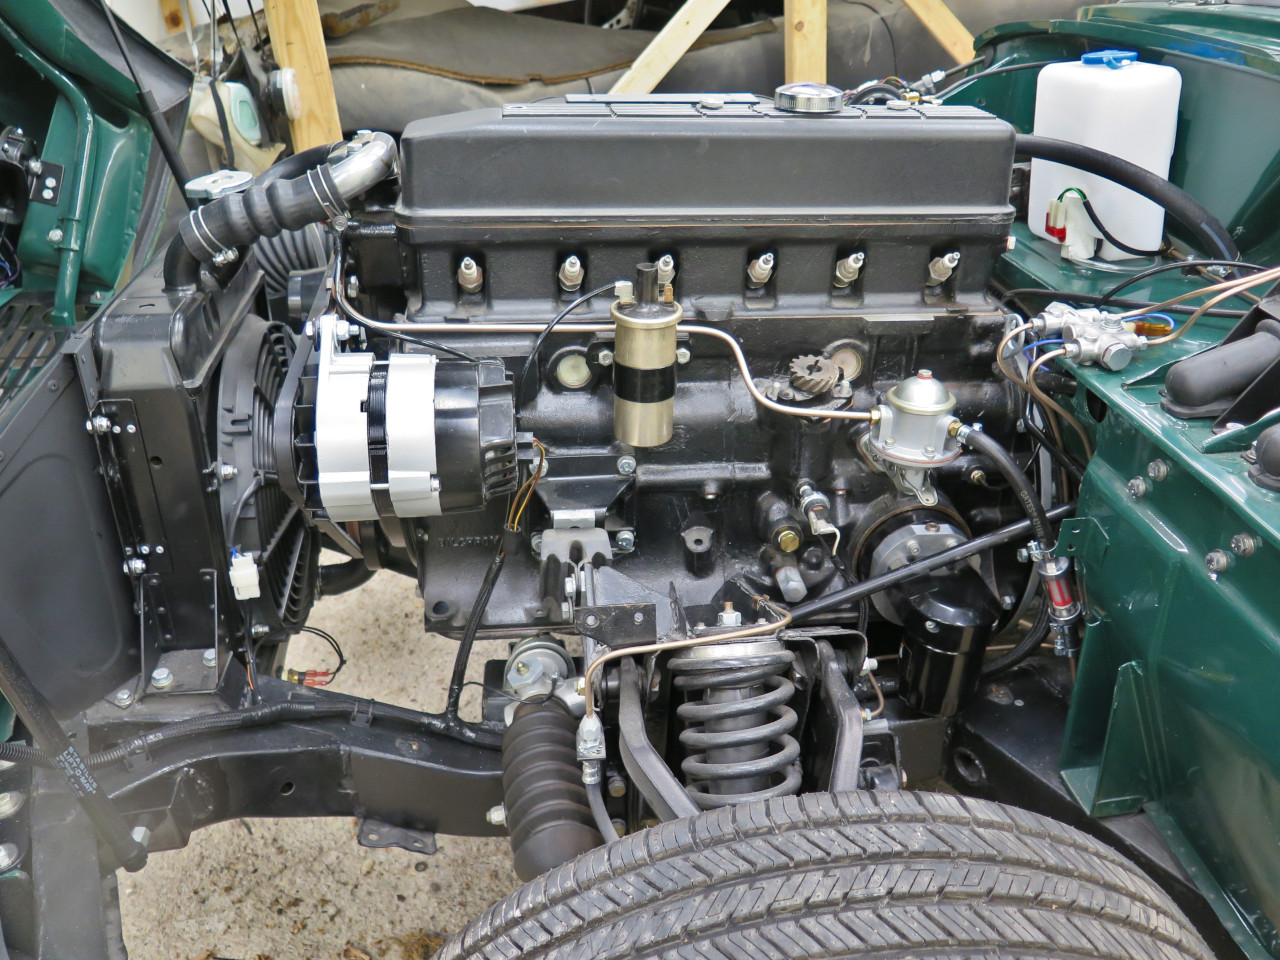
Coolant Lines
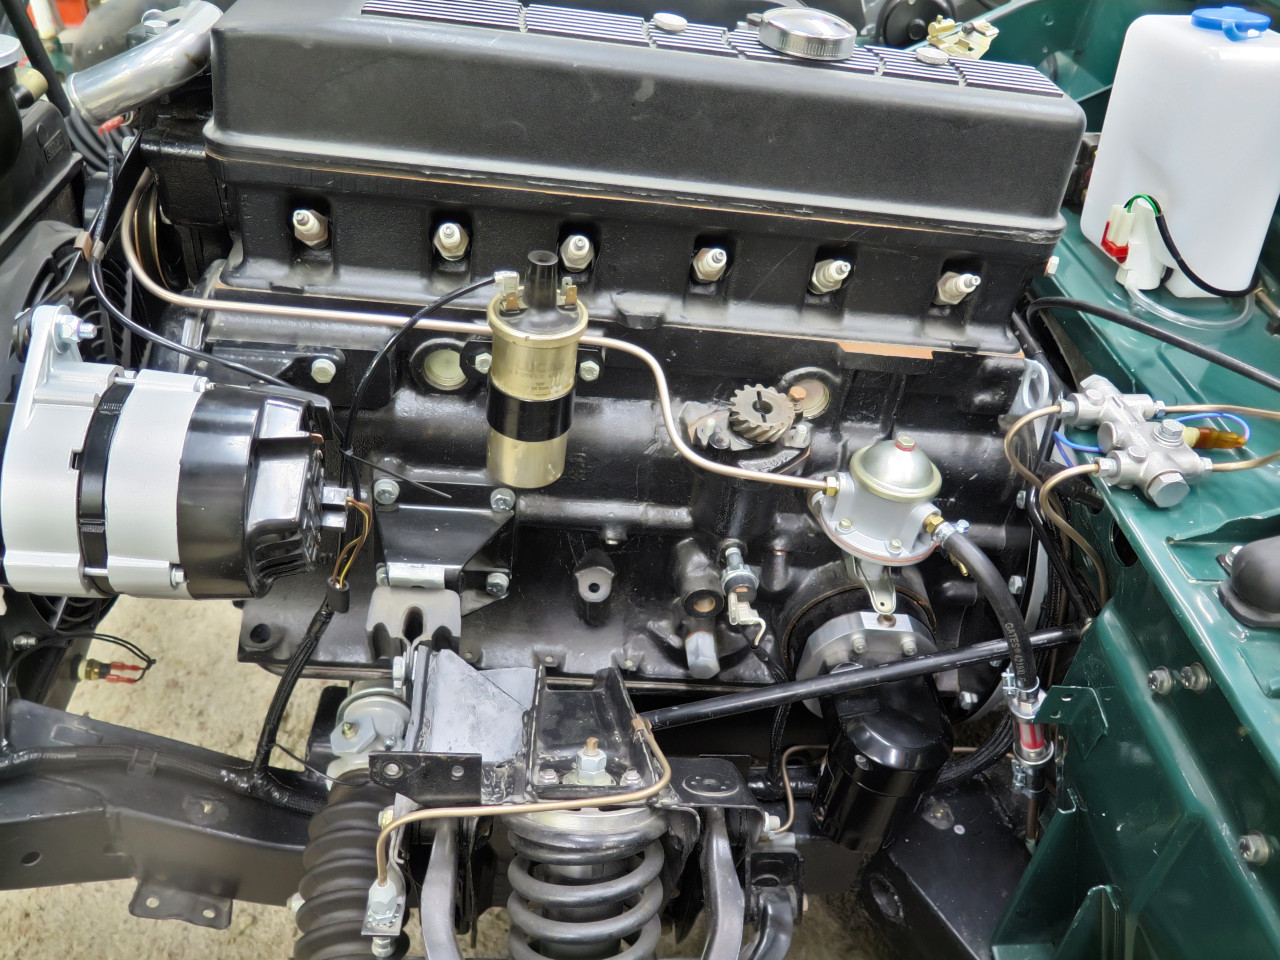
With the fuel system buttoned up, the engine coolant system was next. These are the hoses for the front of the engine.

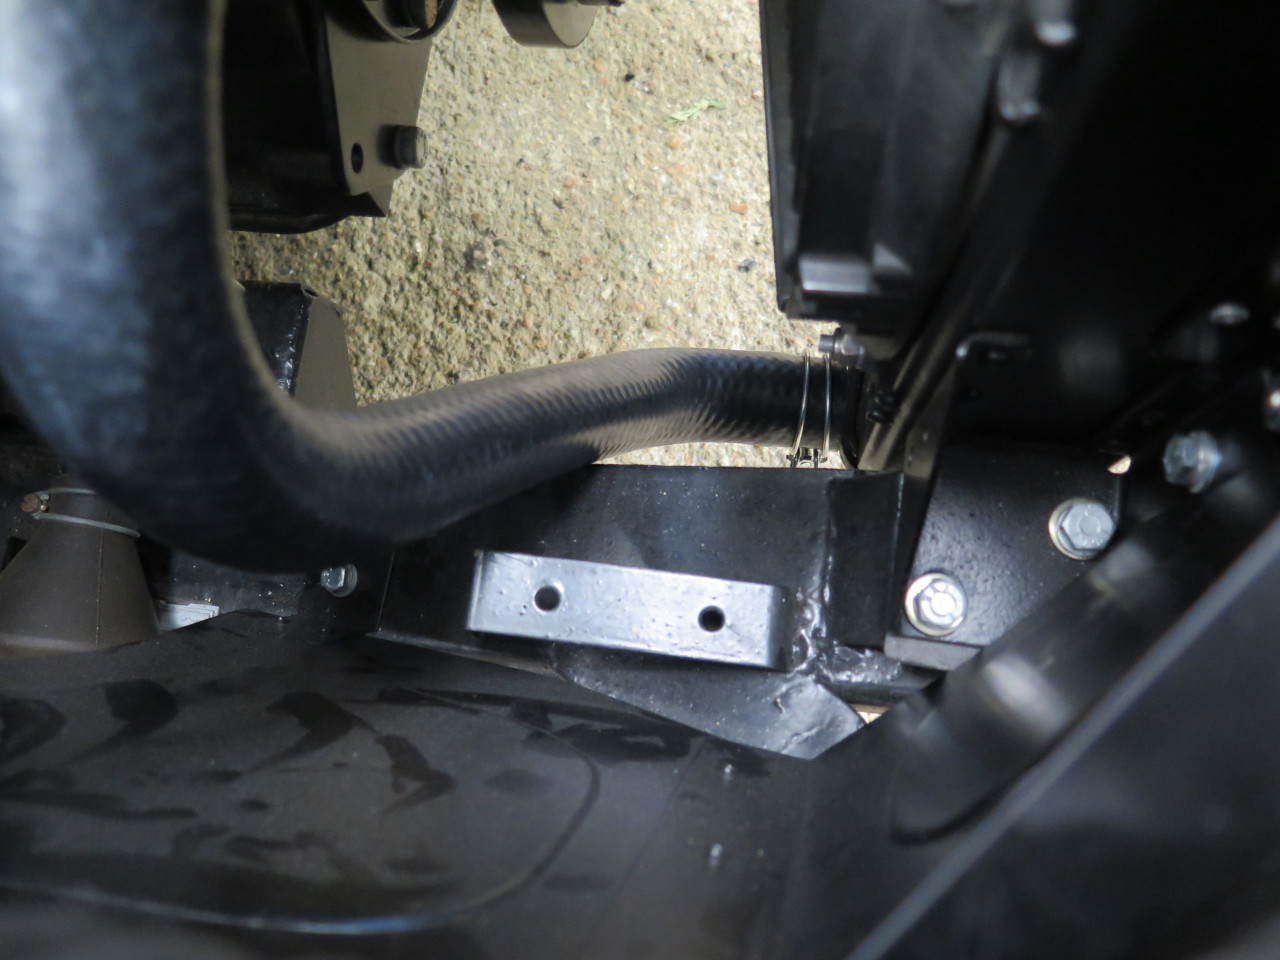
There was no great heartache here, but the bottom radiator hose did foul
the frame rail a bit. Cutting maybe an inch off the top end of
the hose fixed that right up.
The rest of the hosery went in without undue drama.
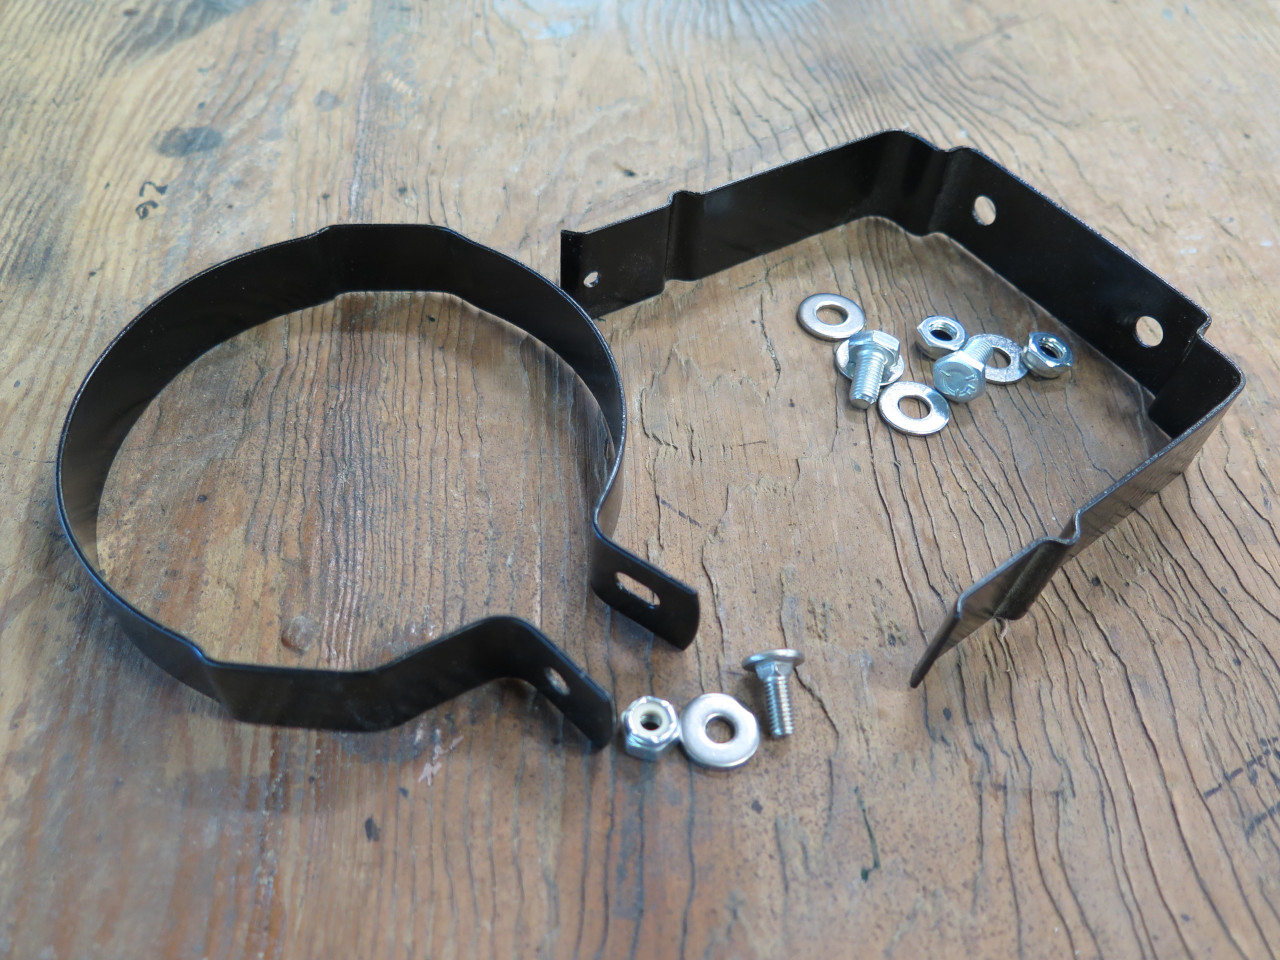
At the front this only left the overflow bottle. I had powder
coated the original bracket, which only made the original yellowed
bottle look even more shabby. There are a few techniques described
online for reviving yellowed plastic, and I tried a few, including a
rather involved one using high concentration hydrogen peroxide and UV
light. They had little to no effect. I know some of these
recipes do work in some cases, but my theory is that they work only on
surface yellowing of some opaque plastics. More translucent
materials like these bottles have chemical yellowing throughout their
bulk, so any surface treatment isn't likely to have much effect.
Bottom line: I bought a new bottle.

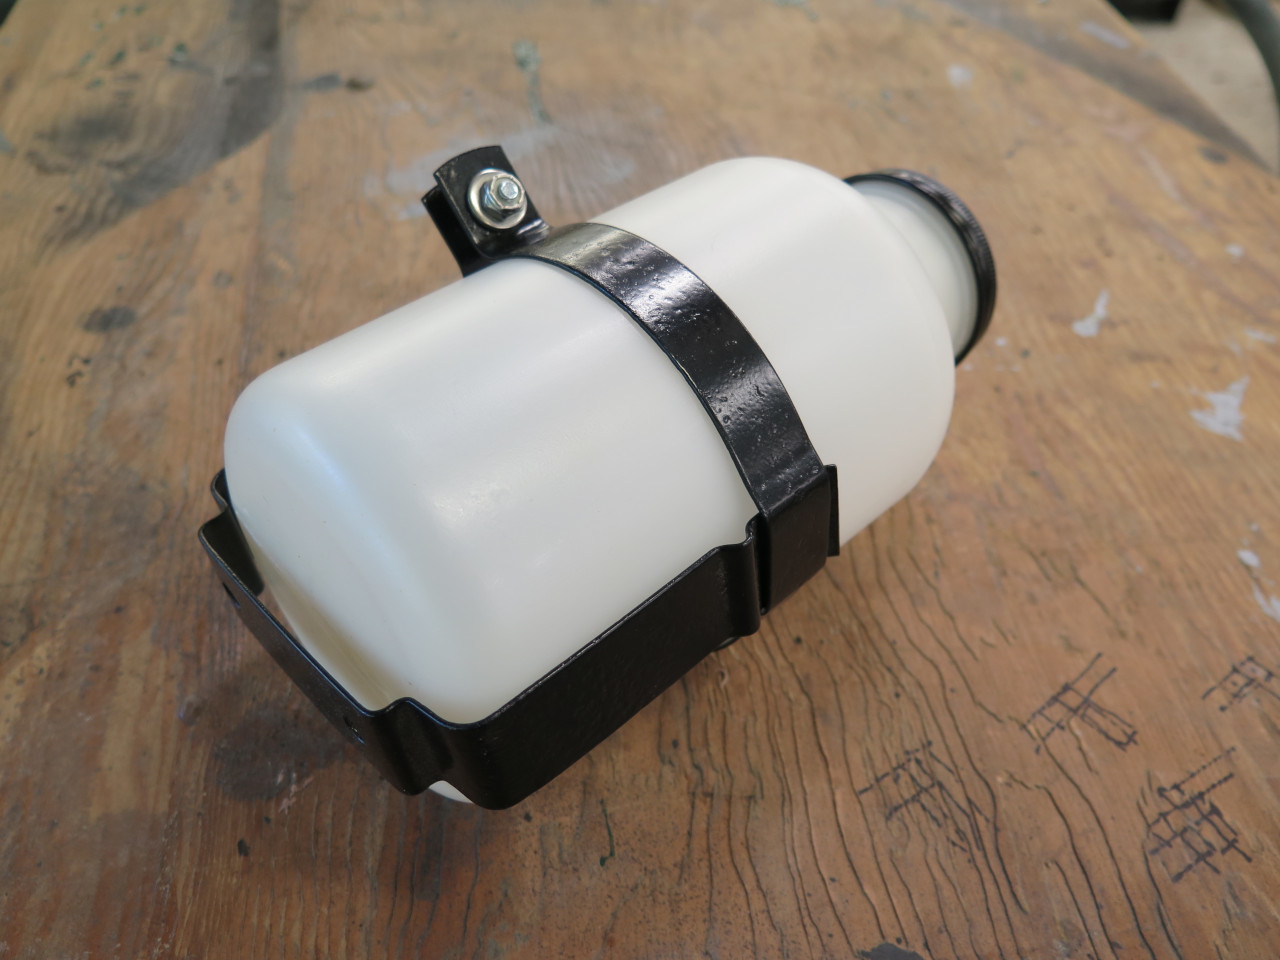
Well, my vision of a quick ten-minute install job quickly evaporated
when I saw that after bolting the bracket in place and dropping the
bottle into it, the bottle hit the side of my trick new engine valance
before it bottomed in the bracket. I suspect this may have also
been the case with the original cardboard engine valance, but they were a
lot more flexible than these aluminum ones. After mulling over a
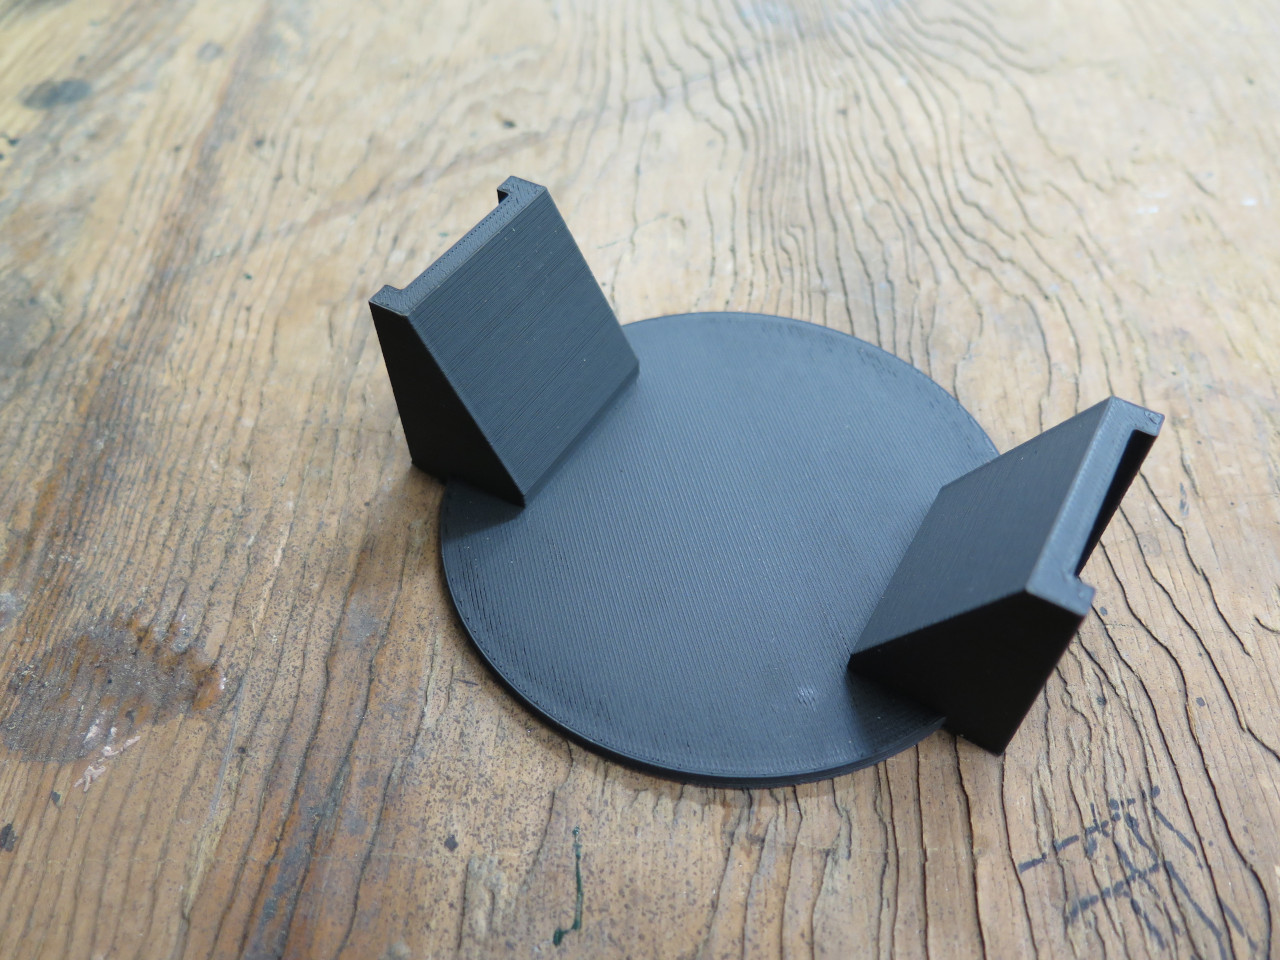
few complex and wonderful new bracket designs, I stepped back and
realized that all I really had to do was hold the bottle up an inch or
so above the bottom of the bracket. 3D printer to the
rescue. Yet again.

This finished the cooling system at the front.

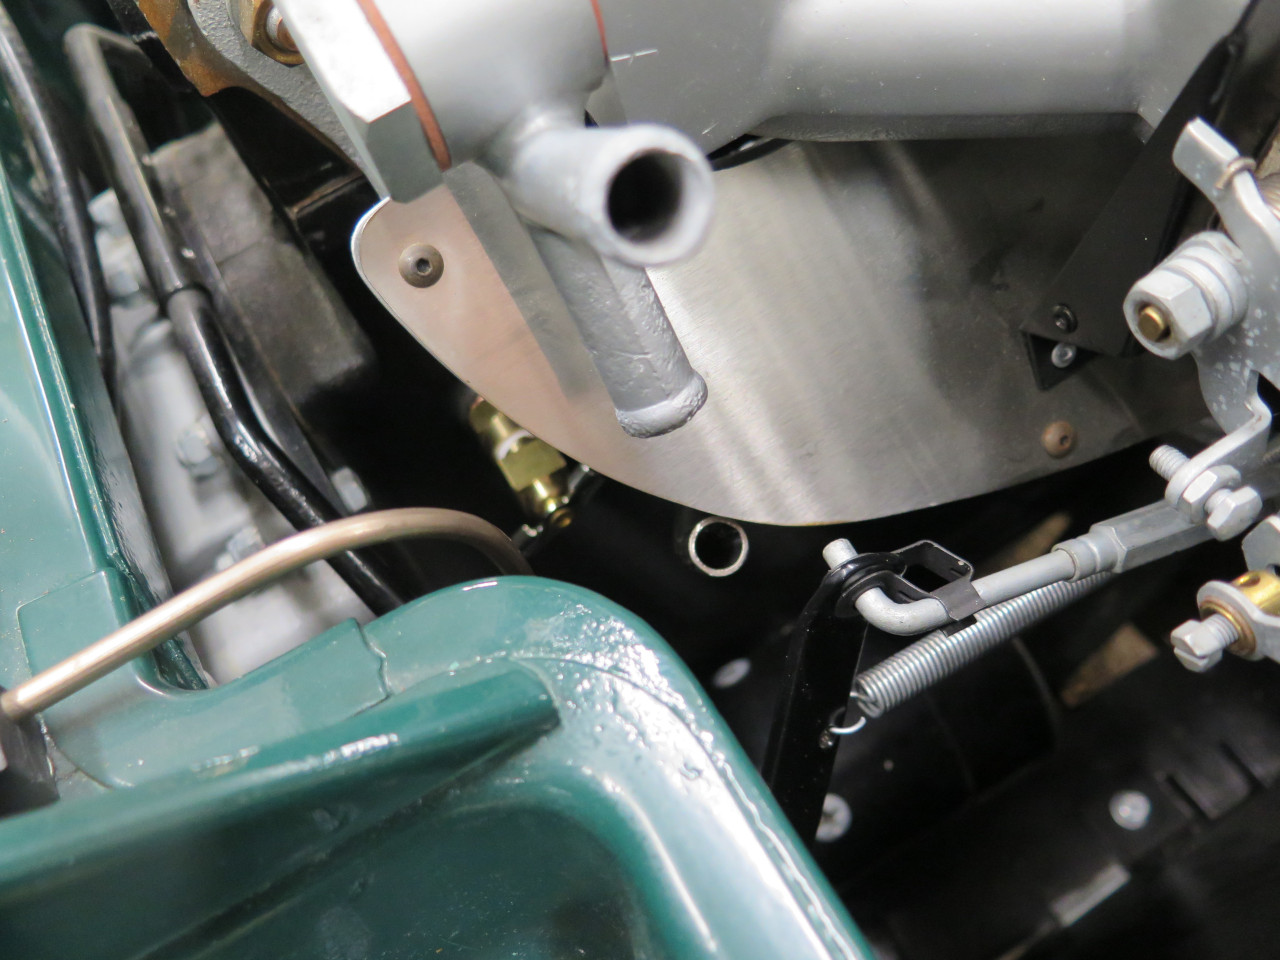
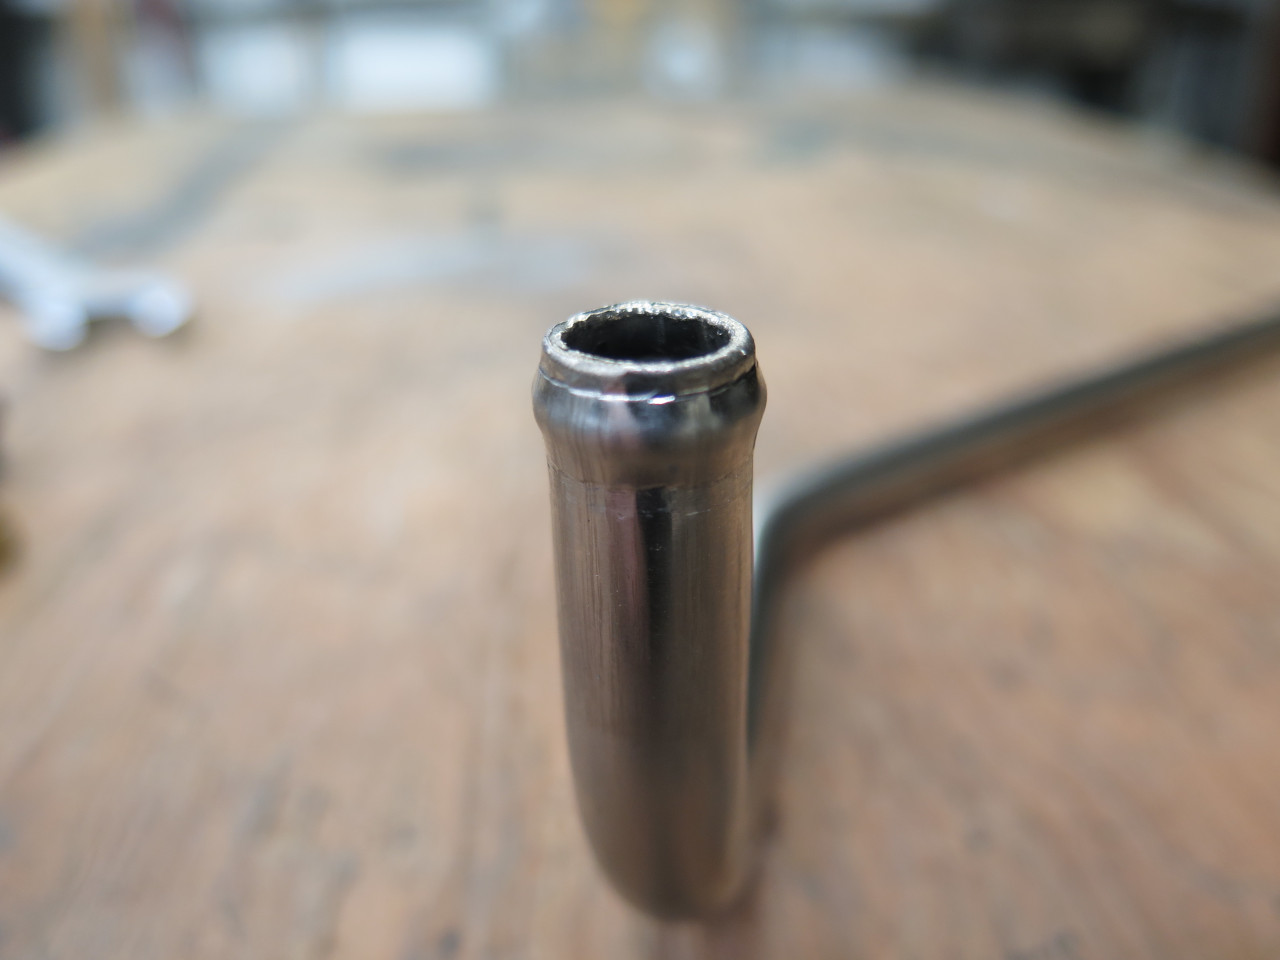
Moving rearward, there is a metal coolant return pipe that connects with
a compression fitting at the rear of the water pump housing, routes
under the exhaust manifold, and appears at the rear of the engine.
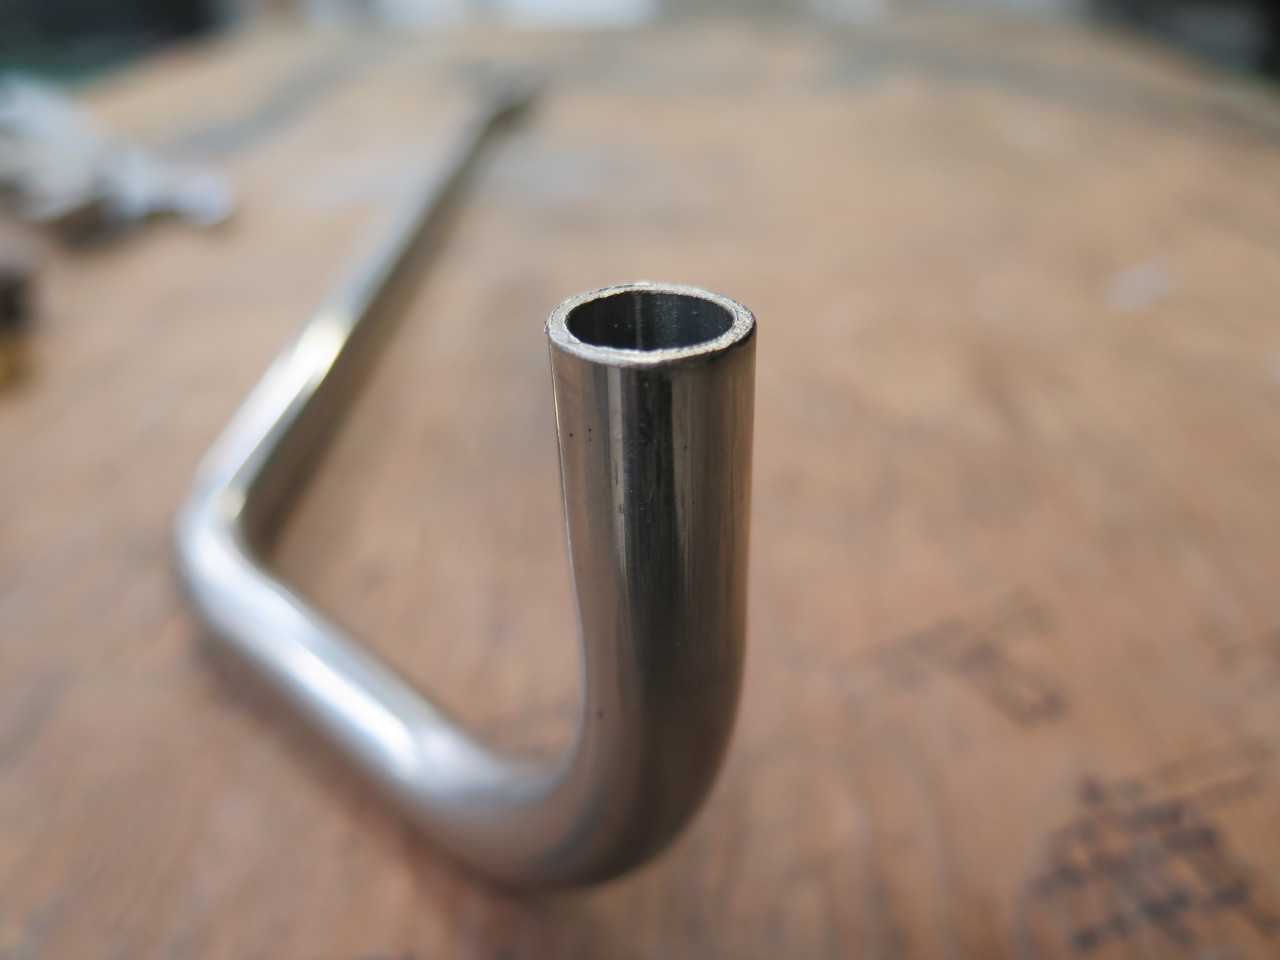
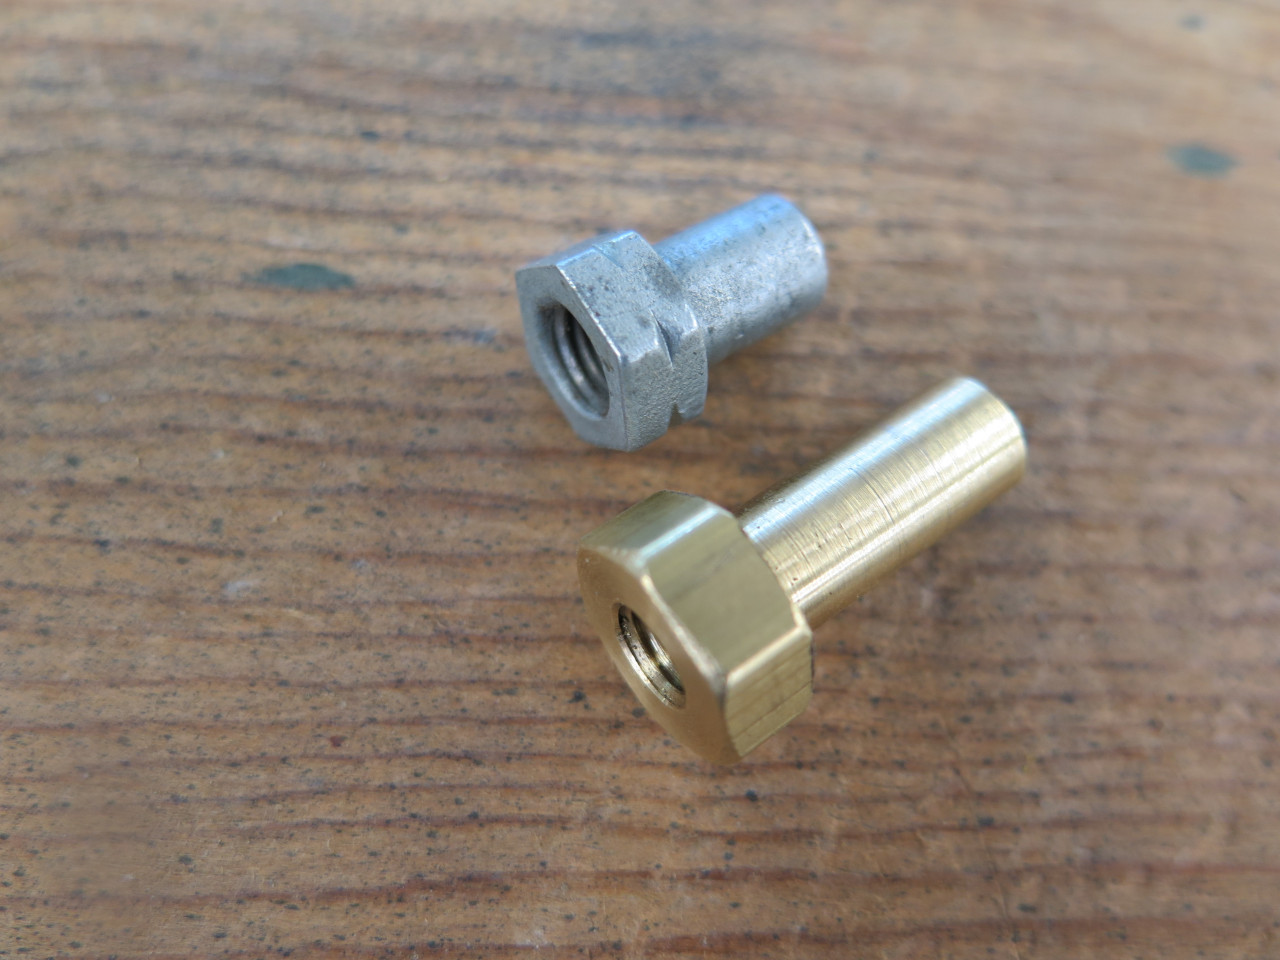
My pipe was rusted through in a few places. I bought a stainless
replacement, along with a new compression nut to replace the rusted
original.
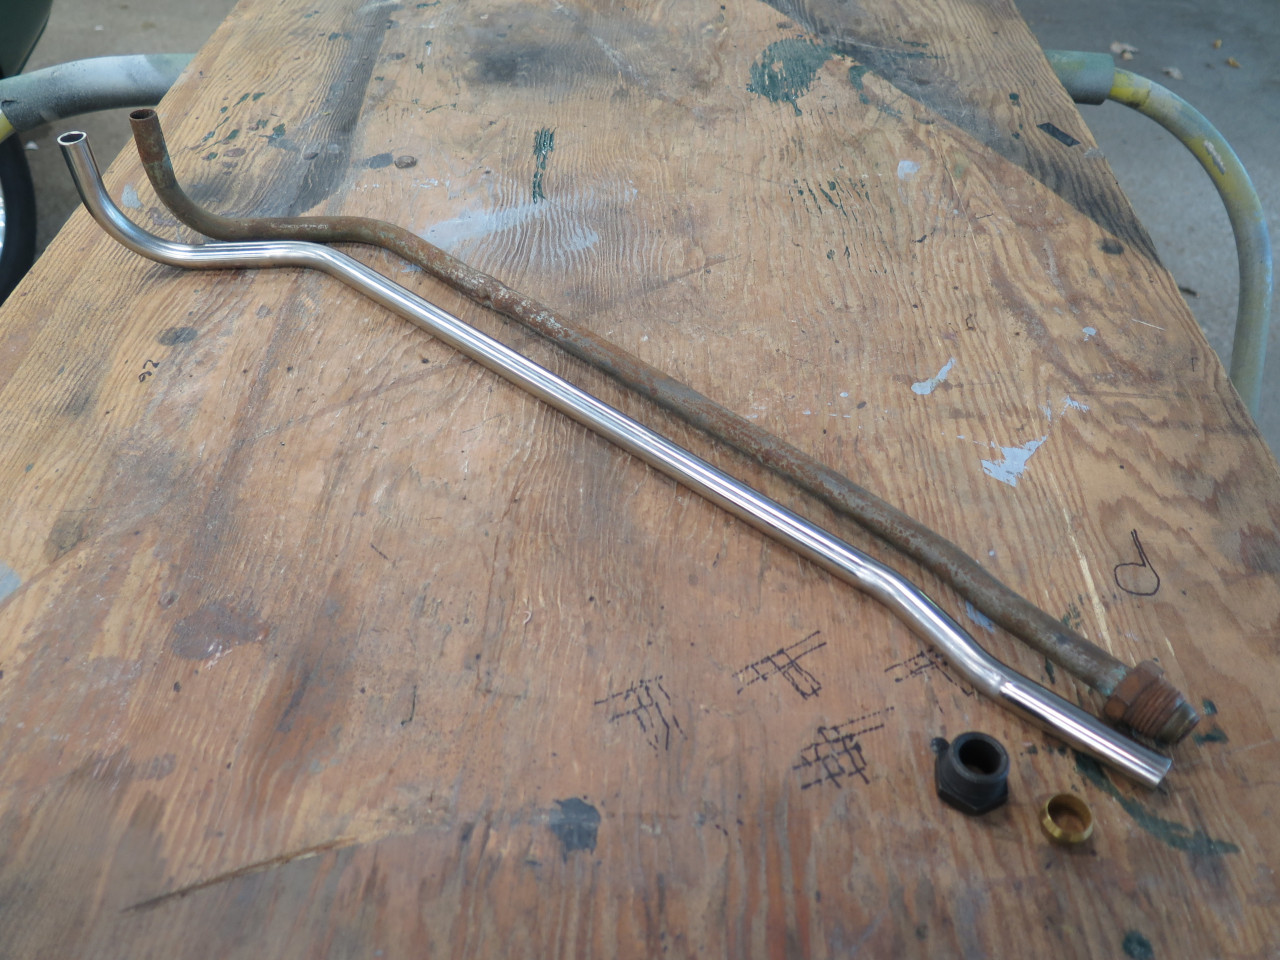
The pipe looked OK, but the compression nut apparently had only a token
phosphate coating that wouldn't offer much corrosion protection for
long. The nut also would not fit on the pipe.
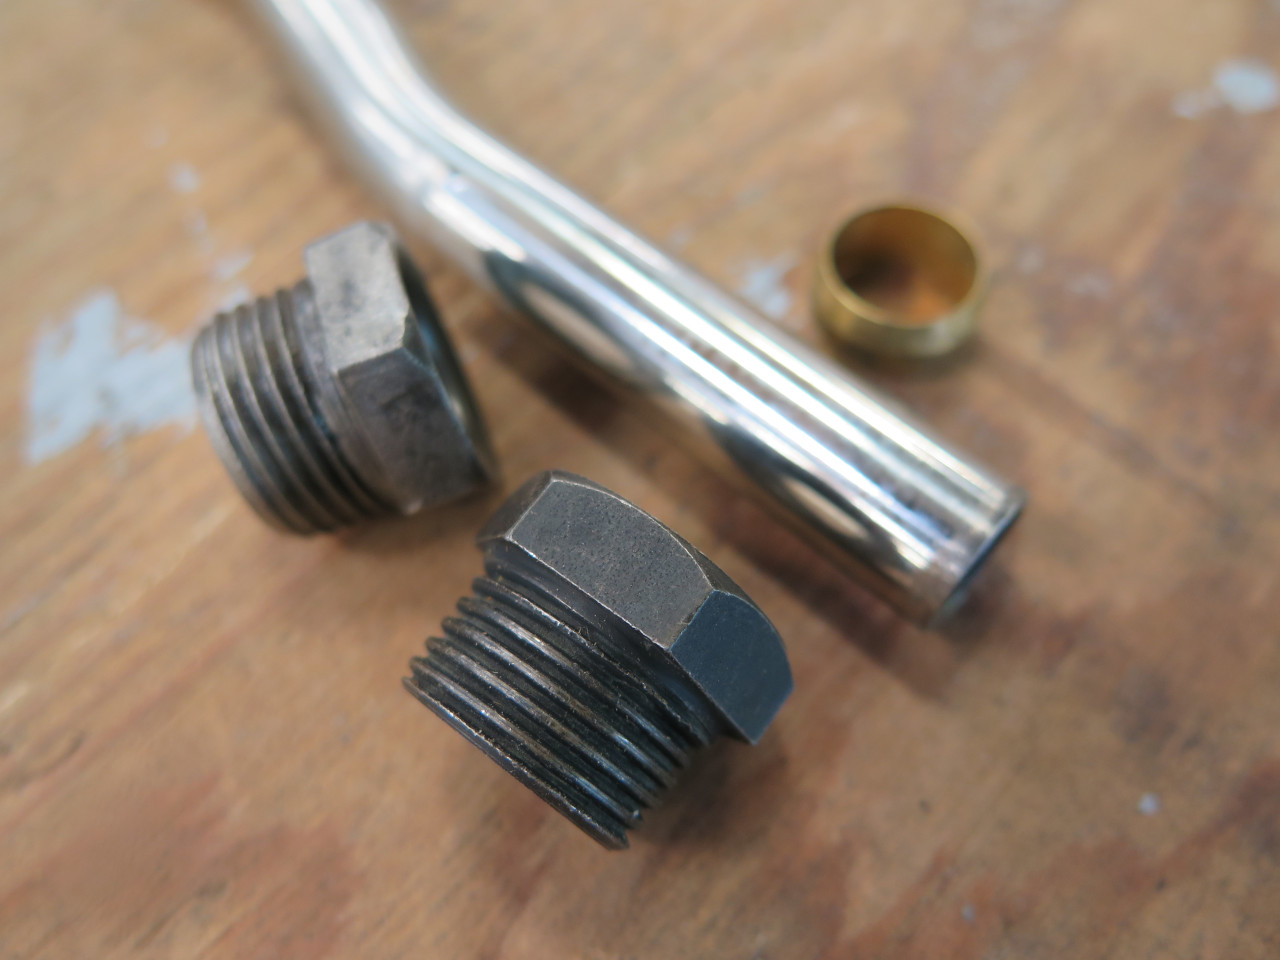
After drilling out the bore of the nut and adding a proper protective coating, all was good.

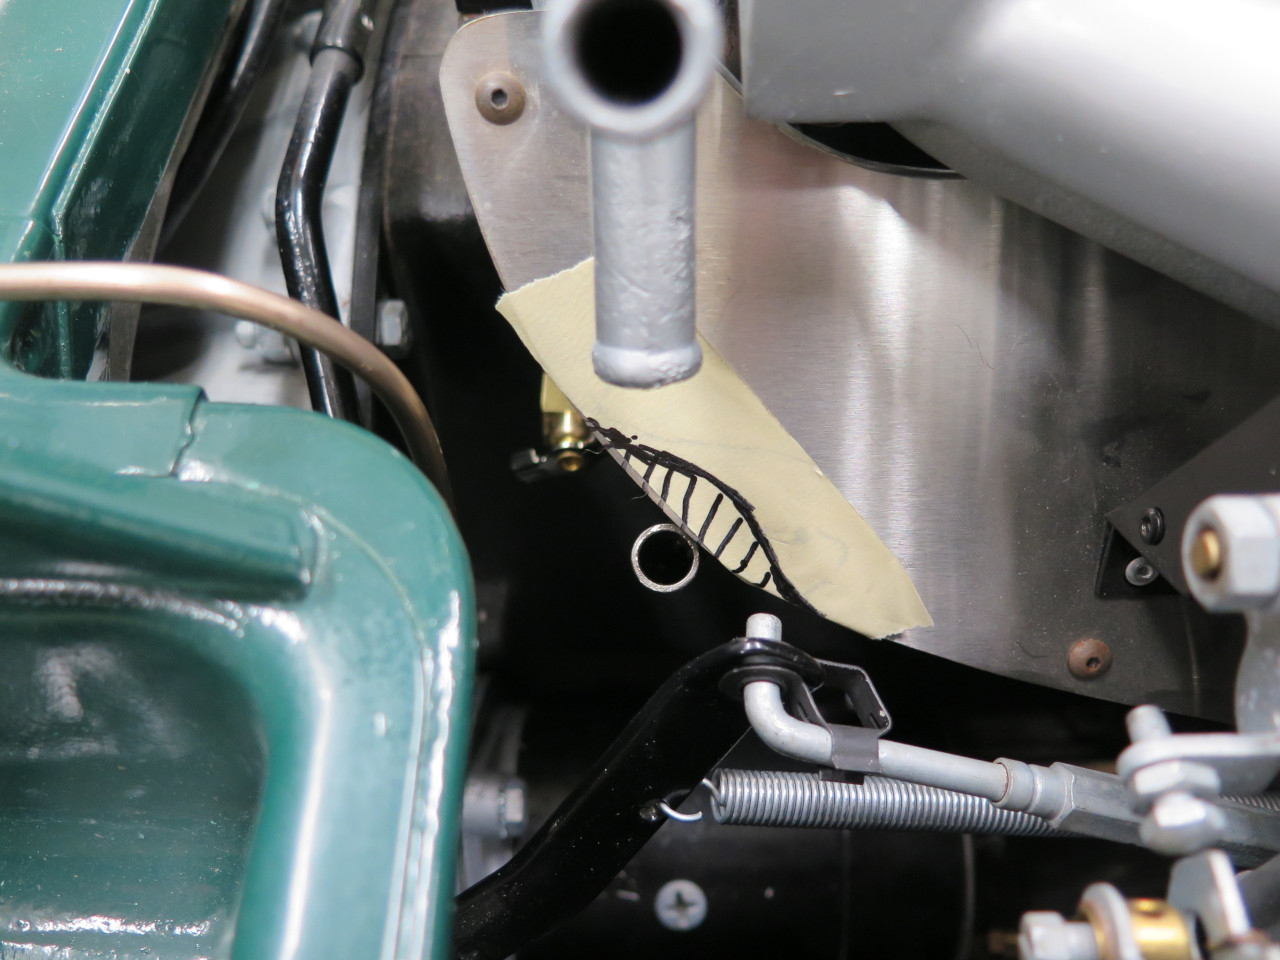
At least all was good until I realized that my fancy carb heat shield blocked the rear end of the pipe. I somehow managed to reshape the shield without removing it.
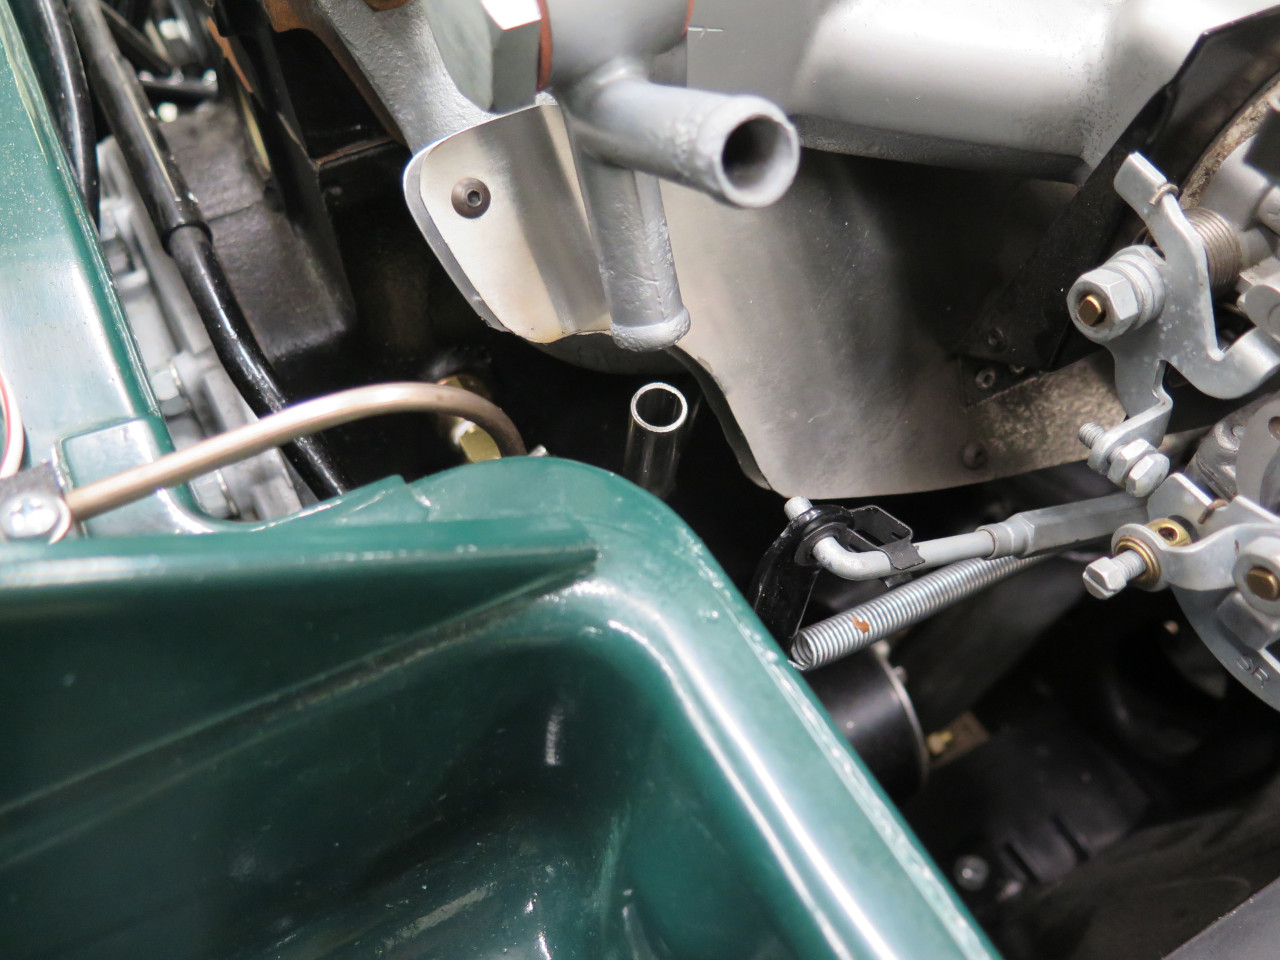
One more little job. An upgrade!
And the pipe went home.

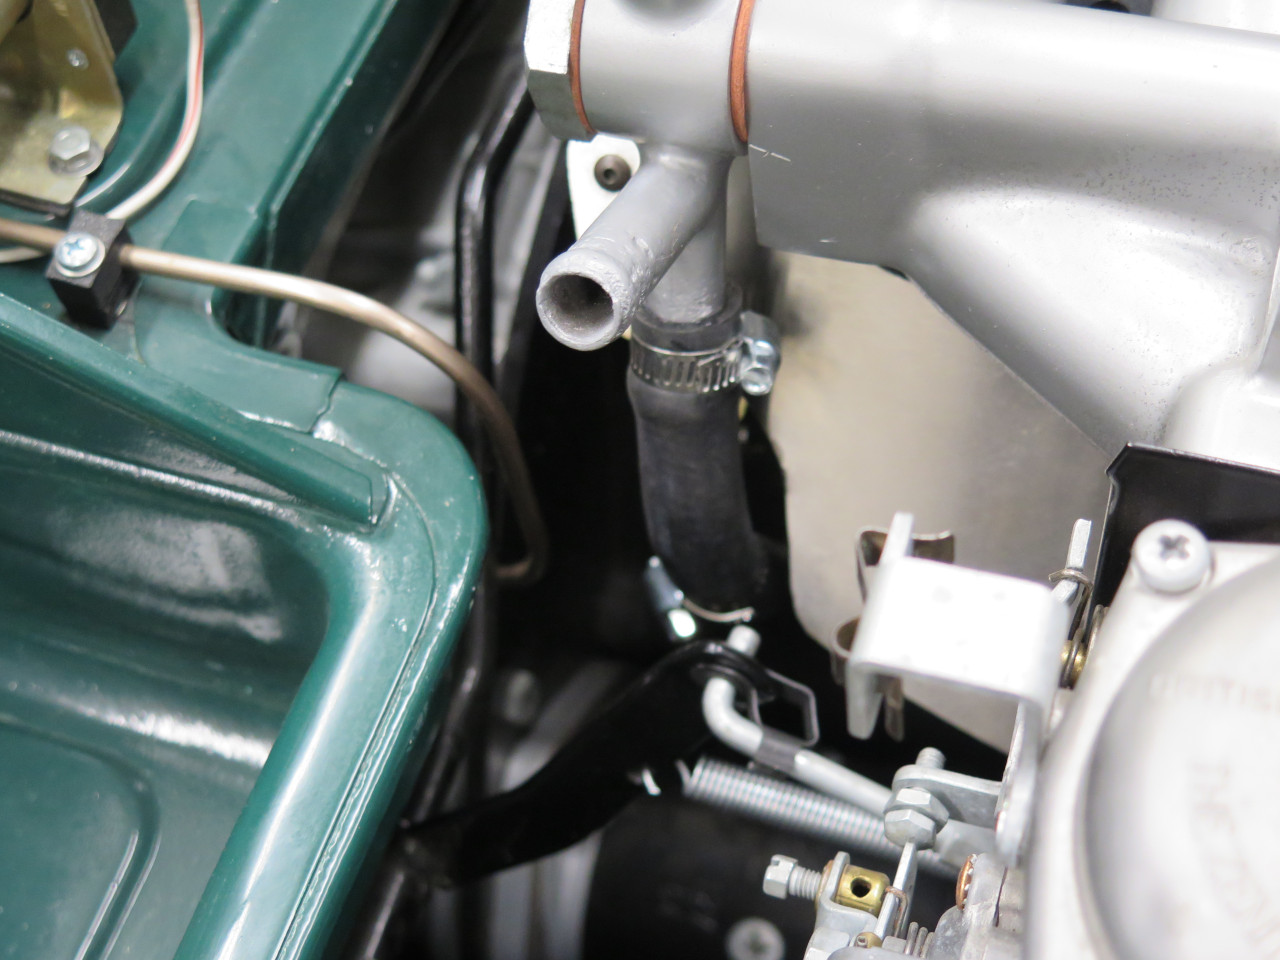
And that just left the two hose connections to the heater. These
are the hoses I bought. The one with the double bend didn't appear
to be the right hose. I think it is for a later model with a
brake servo. It appears that the online listing has the two parts
swapped. Also, the straight hose is inexplicably a larger OD than
than the other hoses.

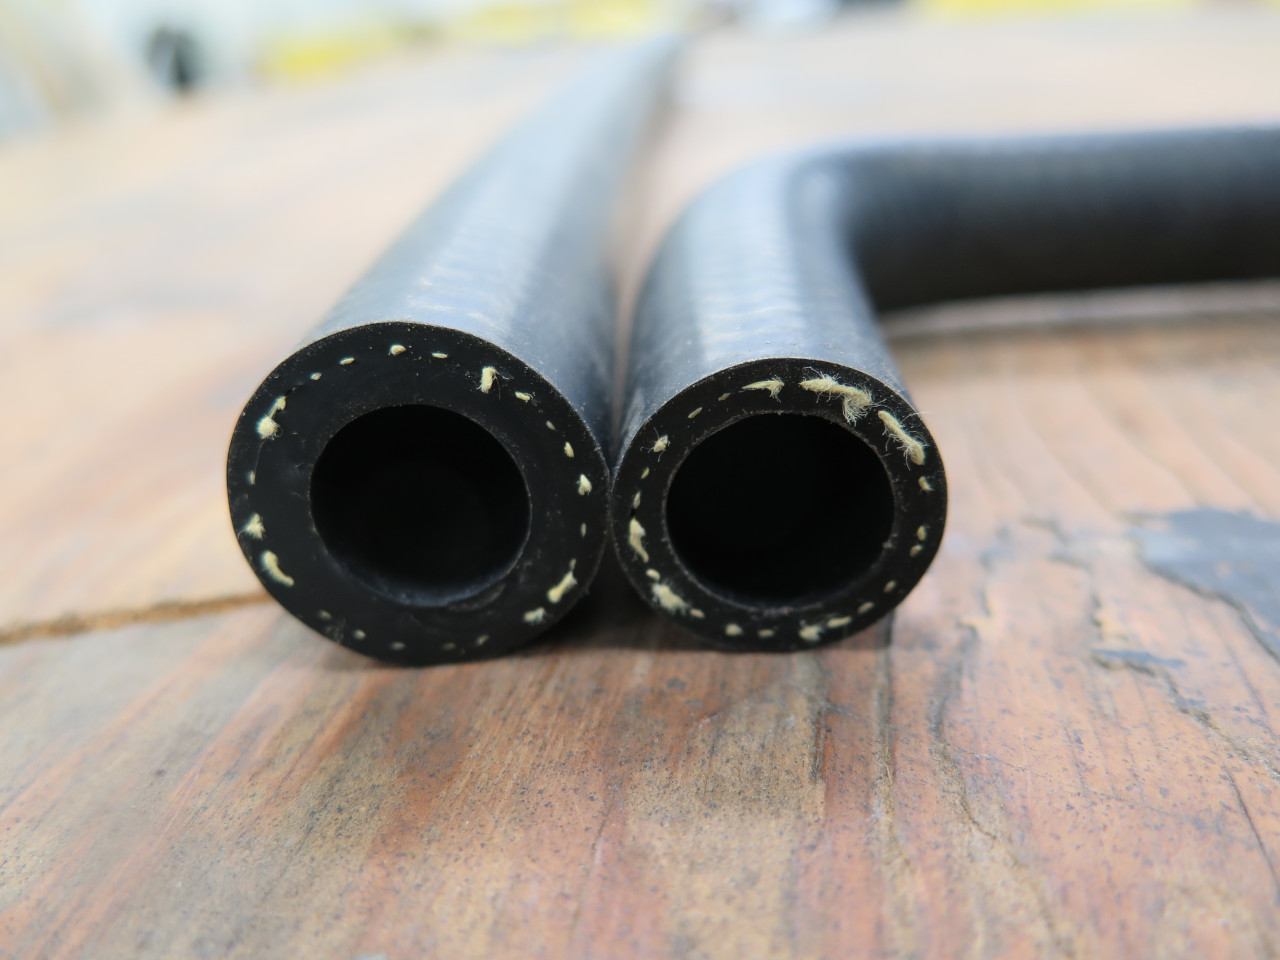
I ended up making the bent hose work by cutting off one of the bends...

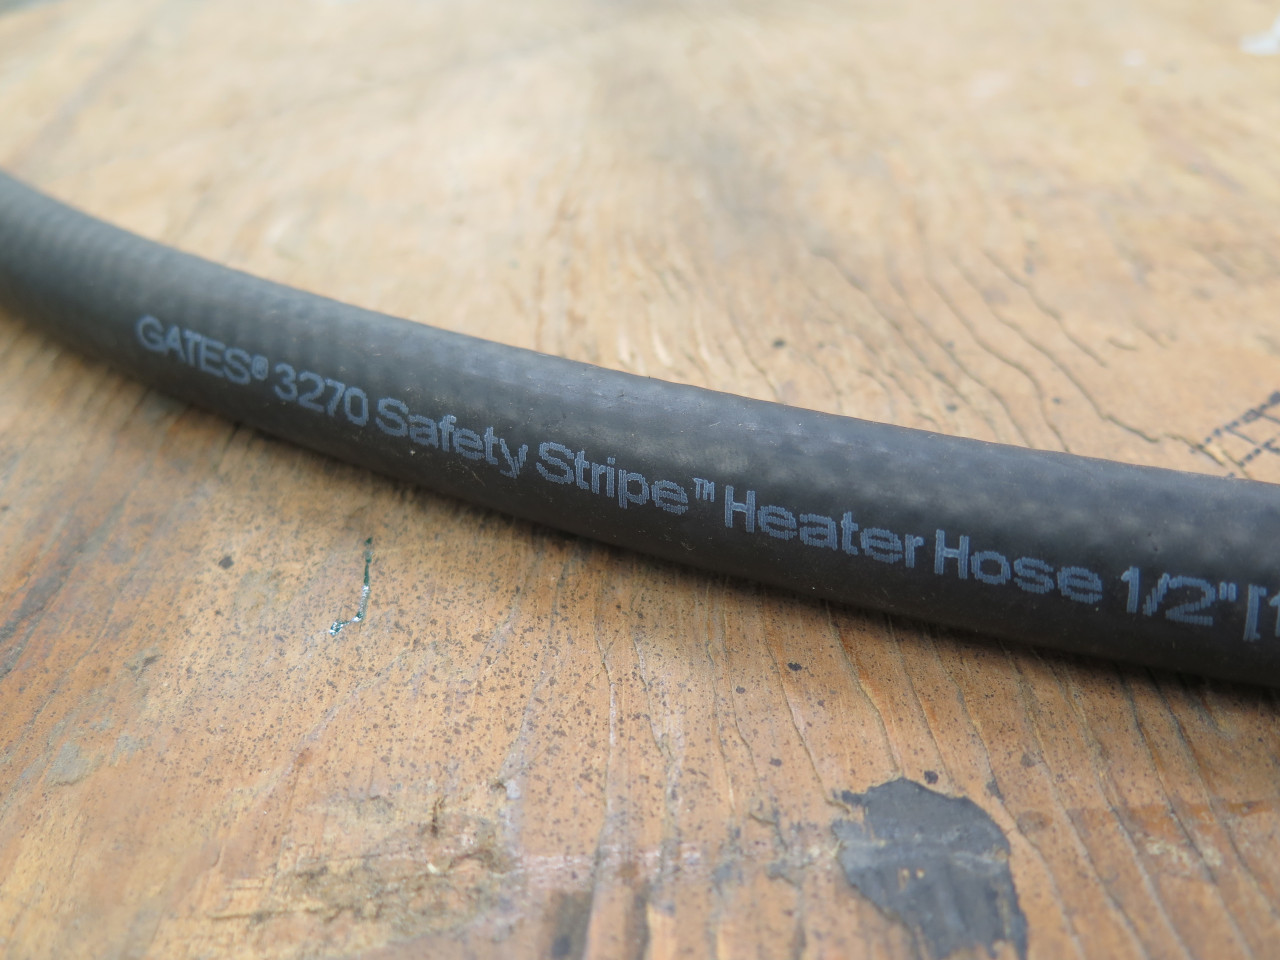
...and just bought a straight length of bulk heater hose for the other one.

The last item for the coolant system was the coolant drain in the block. The threads in the
hole are 1/2-20. One giveaway that they are not pipe threads is the
machined area around the hole. This is a land for a sealing washer.
The last time I ordered a block drain, what I received was marked
1/4-20, but the part itself was 1/4" NPT, and the vendor in that case
was no help. Since 1/2-20 draincocks are not easy to find, I
decided not to invite disappointment again by just ordering a 1/4 NPT
drain, and a 1/2-20 to 1/4 NPT adapter. I wanted a draincock with a
snout to attach a hose to, so I wouldn't drain the coolant directly
onto the starter.
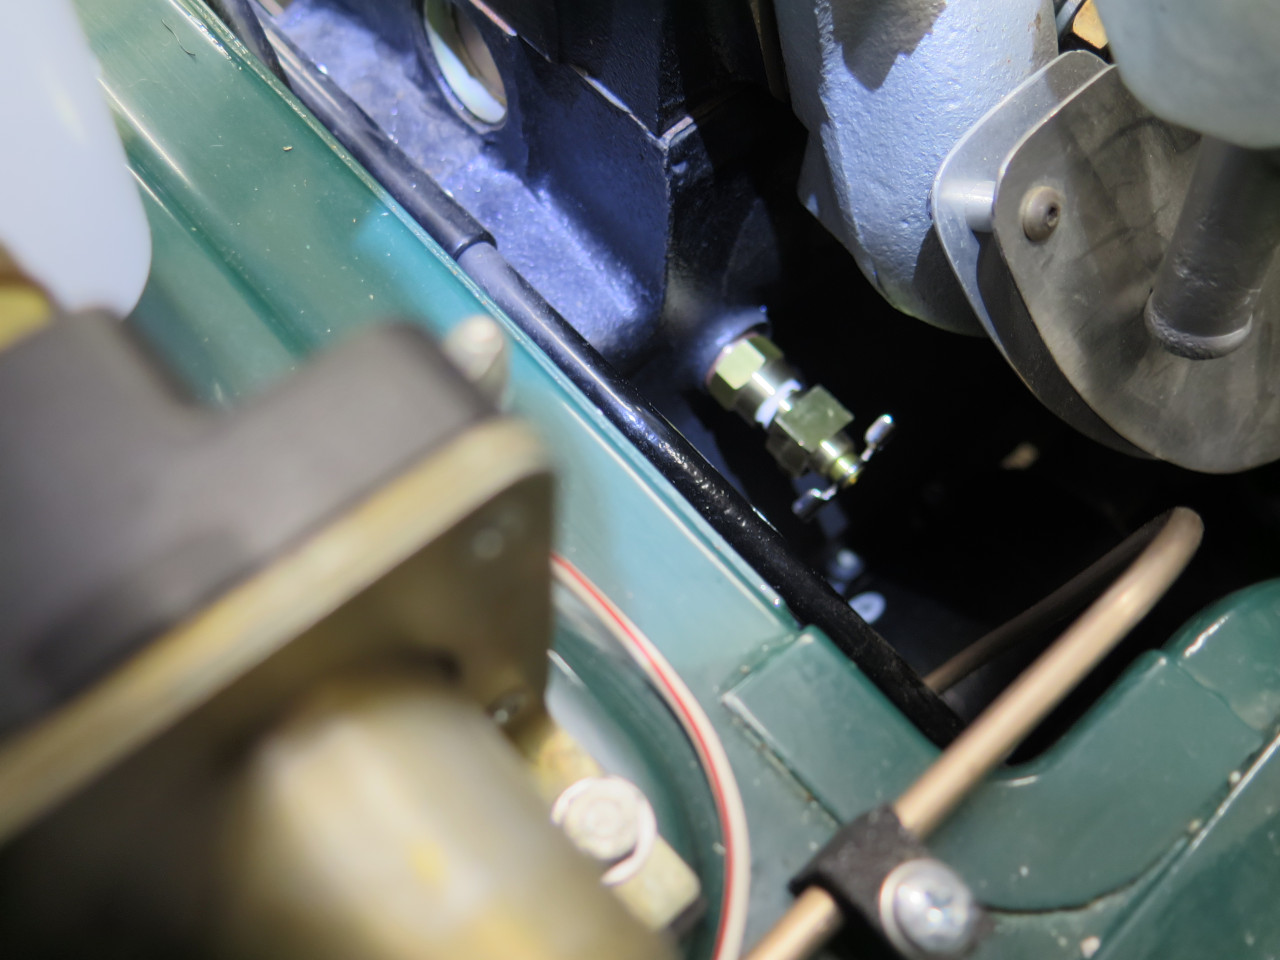
A few other little things on the engine:
I've added a mechanical oil pressure gauge to the dash, so I need an oil
pressure take-off from the block. This could be done just about
anywhere along the main oil gallery, but it seemed to make sense to use
the rearmost one. The block fitting is just a hose barb, but
getting the tough nylon tubing pressed onto it is not exactly trivial.


When I was messing with the carb linkage, I was having a hard time
getting the little spring couplers to clamp on the butterfly spindles
properly. I traced the problem to too much gap between the spindle
shafts and the intermediate shaft assembly.

I'm really not sure how this happened, but the fix was to make a new
spindle shaft extension to go on the front carb. This made
the gaps just right for the spring couplings.


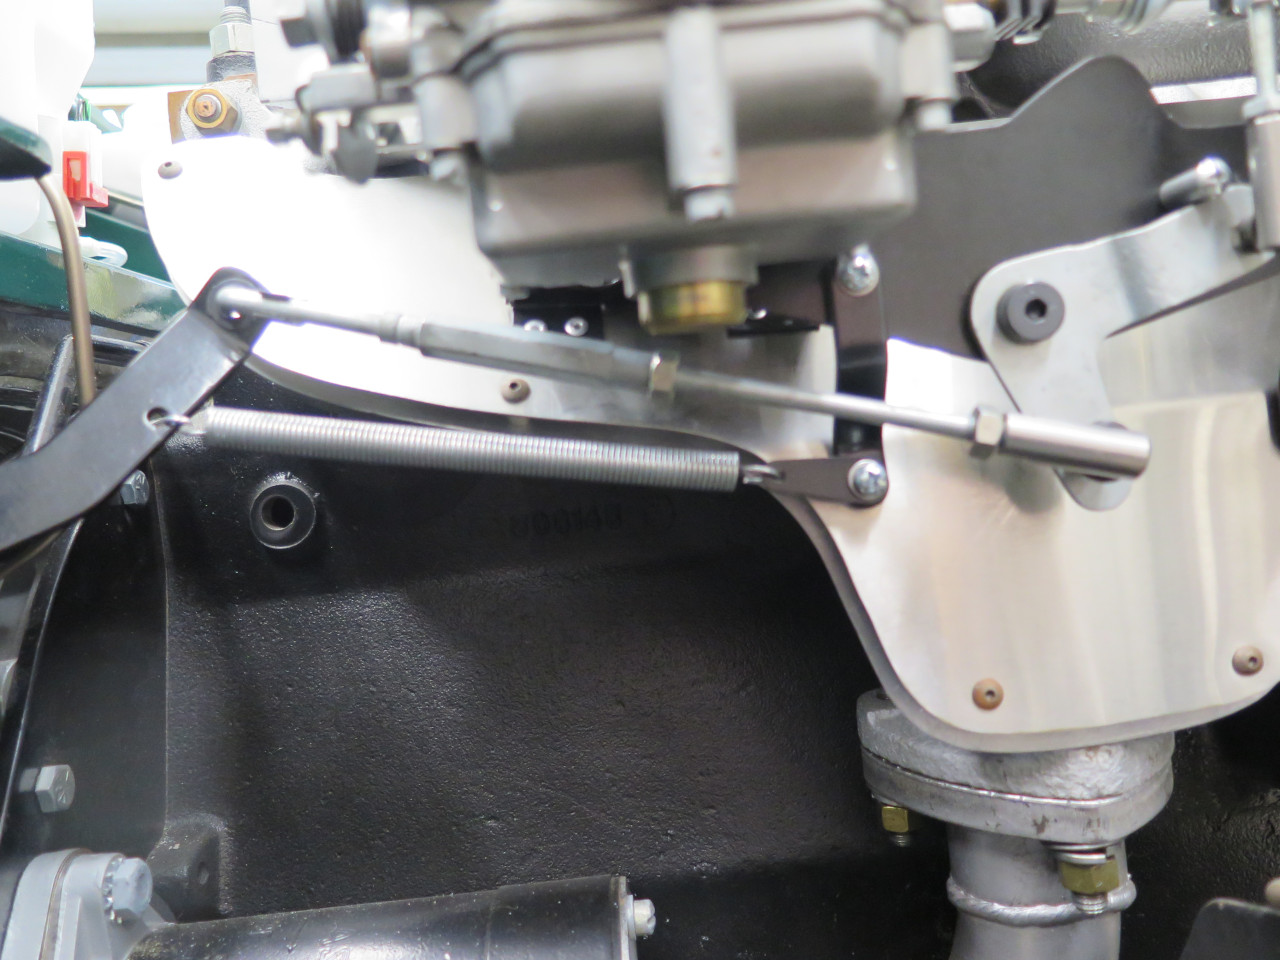
And while fooling with the carbs, I realized that I hadn't installed any
kind of throttle return spring to the linkage. I think this
spring normally connects from a hole in the throttle shaft arm to a hole
in the bracket that spans between the carbs. I fabbed that
bracket though, and didn't include that hole. This was the backup
plan.
Oil pressure bypass valve with new spring, and the last oil plug in the block.

Dipstick!


Engine is getting close to done.


Comments to Ed at elhollin1@yahoo.com
To my other GT6 pages.