To my other GT6 pages
June 16, 2023
Stuffing the Doors
There is a lot going on inside the doors of these cars.
Admittedly not as much as in a modern car, but still, quite a bit.
There's a two stage latch mechanism that can be locked from both inside
and outside the car. There is a dual latch release provision that
works from inside or outside. There is a door opening limiter
with a detent position to hold the door fully open. There is a mechanism for lowering and
spring-assist raising the side window by means of a hand crank.
There is an adjustable wing window to direct outside air into the
cabin. All of this machinery just about doubles the weight of the
empty door shell.
This project started with the doors already having the hinges, limiter, latch mechanism, striker plate, and the outside door handles all installed.
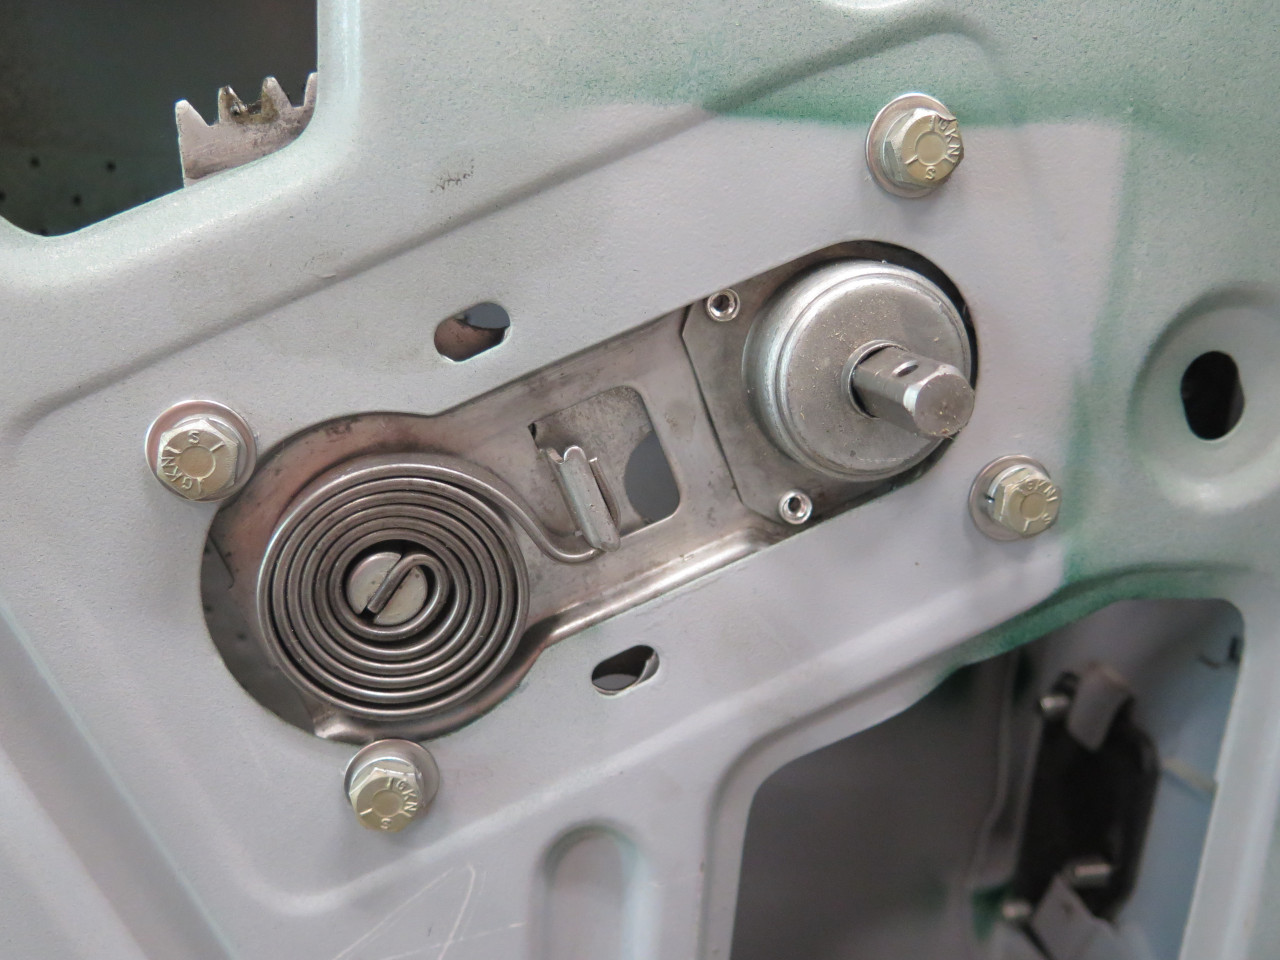
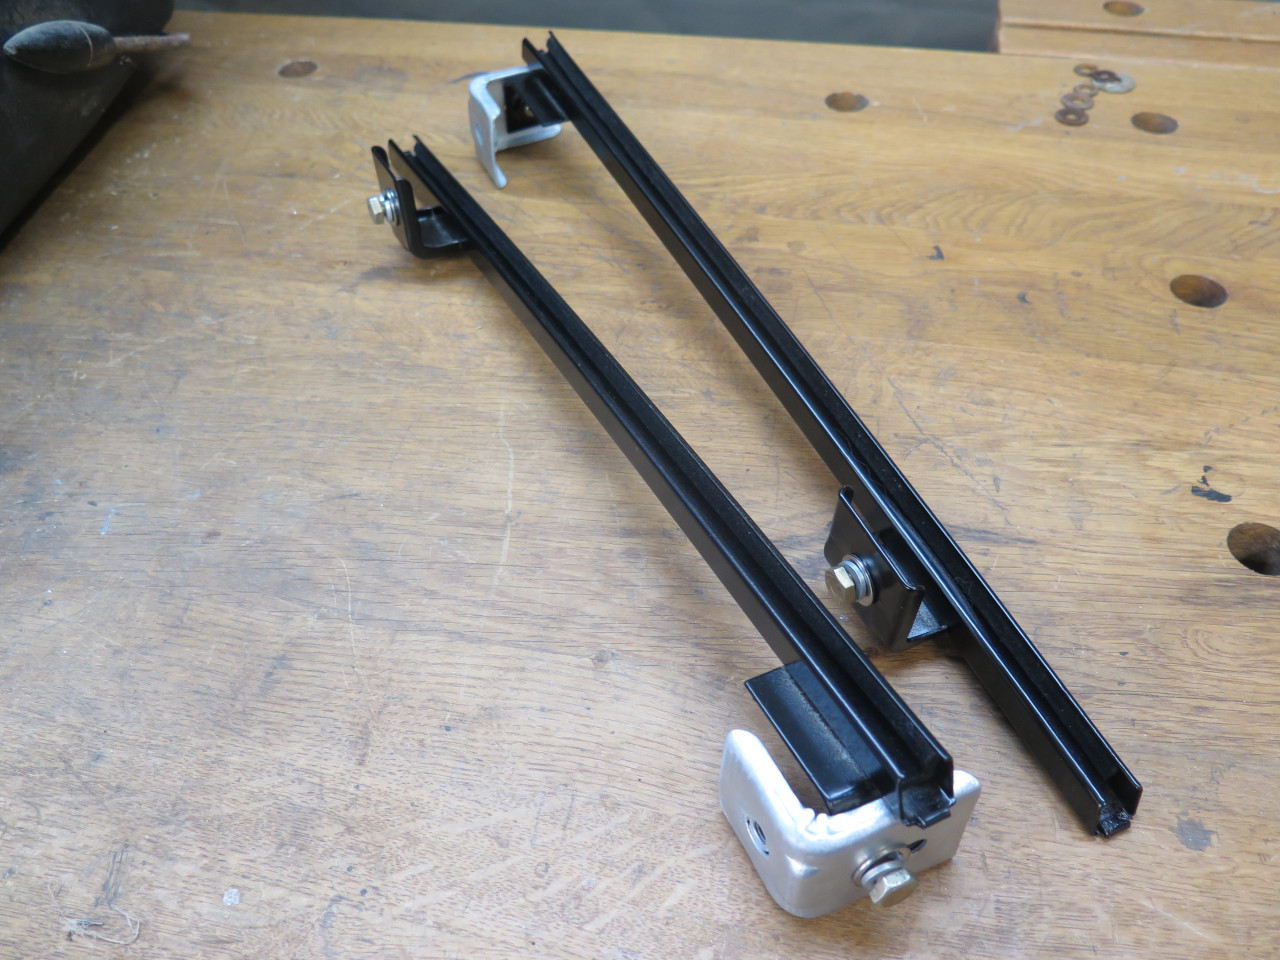
The first thing to go into the doors was the previously refreshed window "regulators".
They are awkward, gangly things that can contort themselves into many
configurations that won't fit properly in the door. I was able to
use original bolts for these.


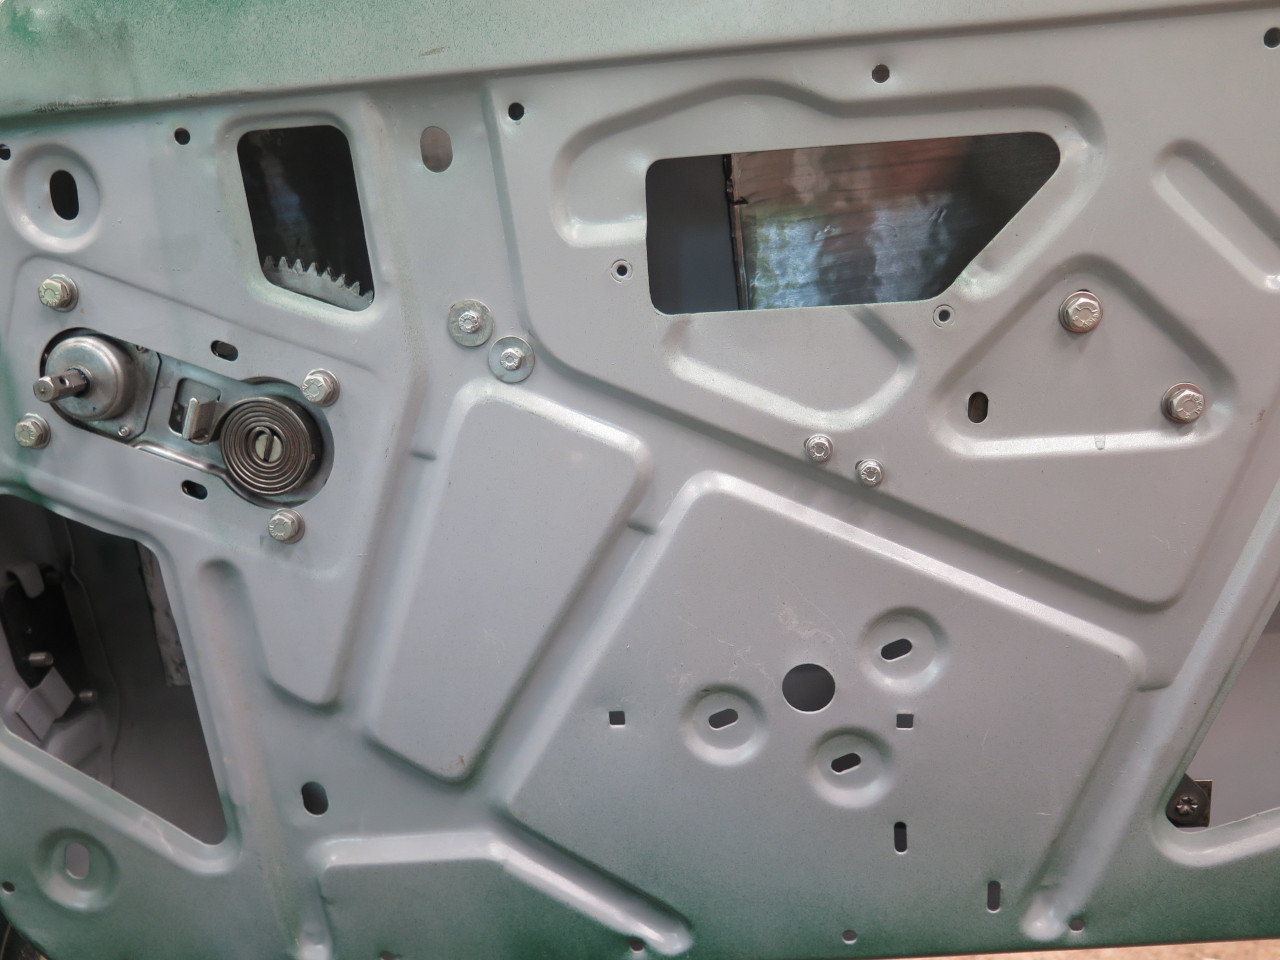
These are the upper and lower stops for the window travel. The
washers are new, but the bolts are replated originals, and the brackets
were just cleaned up.


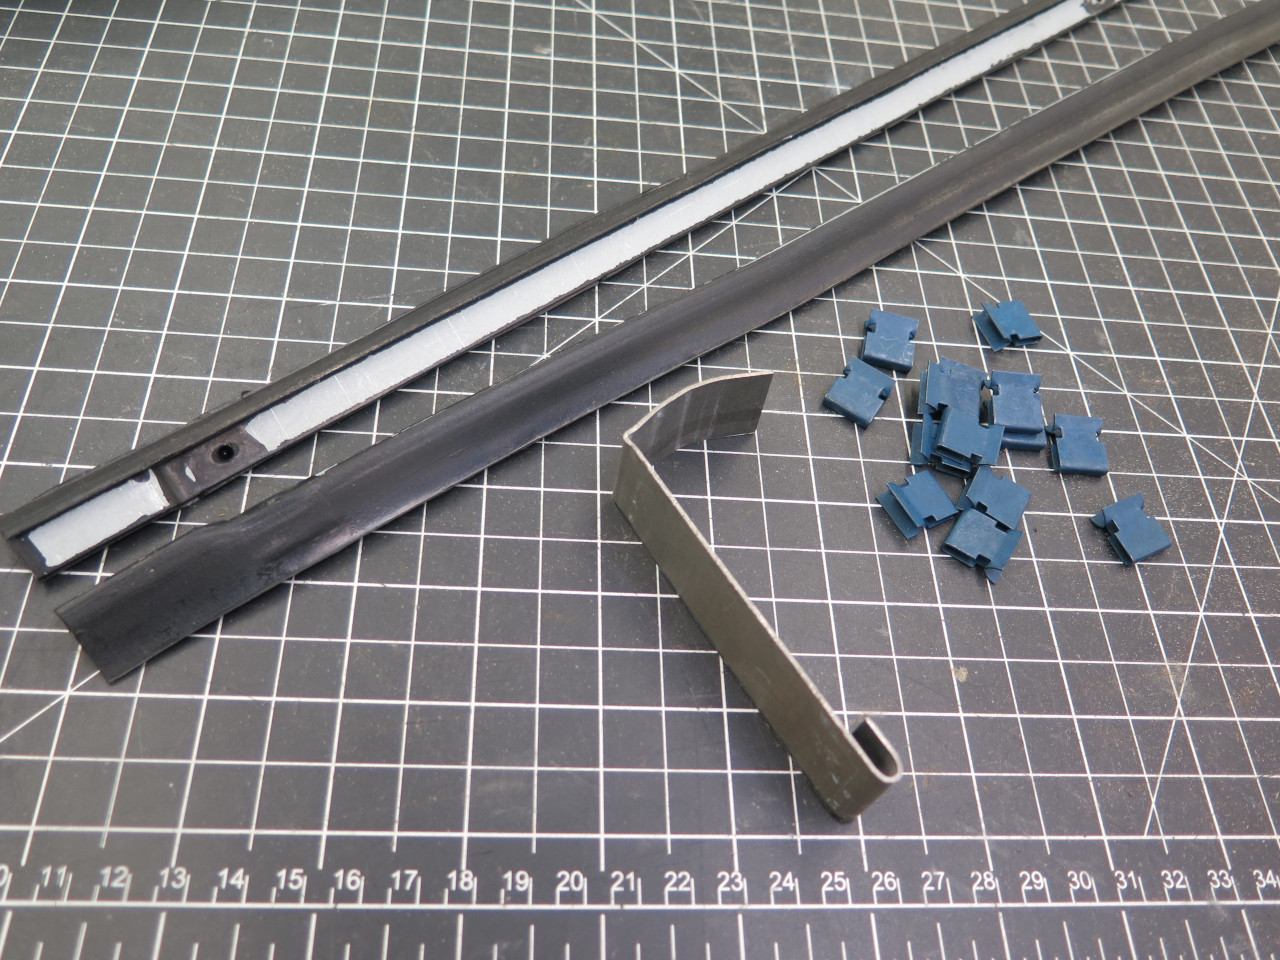
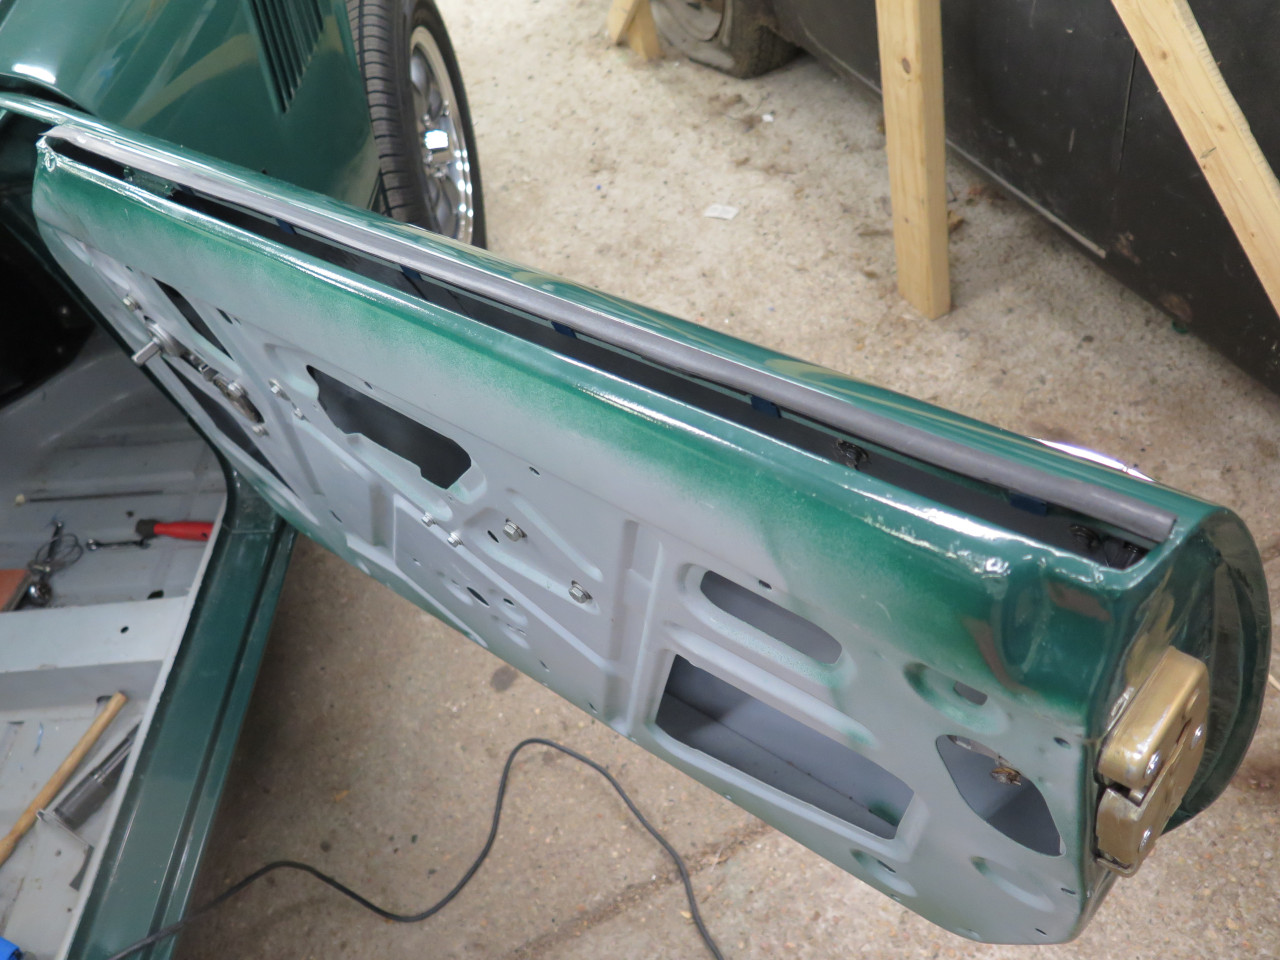
Next, I installed the outside waist seal. It seemed to me that the
seal would have to go in before the front window track, and thus before
the window glass. The seal itself was a little
disappointing. It was a little too short, and the feather edge
seemed a little raggedy. I considered re-ordering from someone
else, but I wasn't confident they would be any different. I used
the usual home-made installation tool for the irritating little clips.
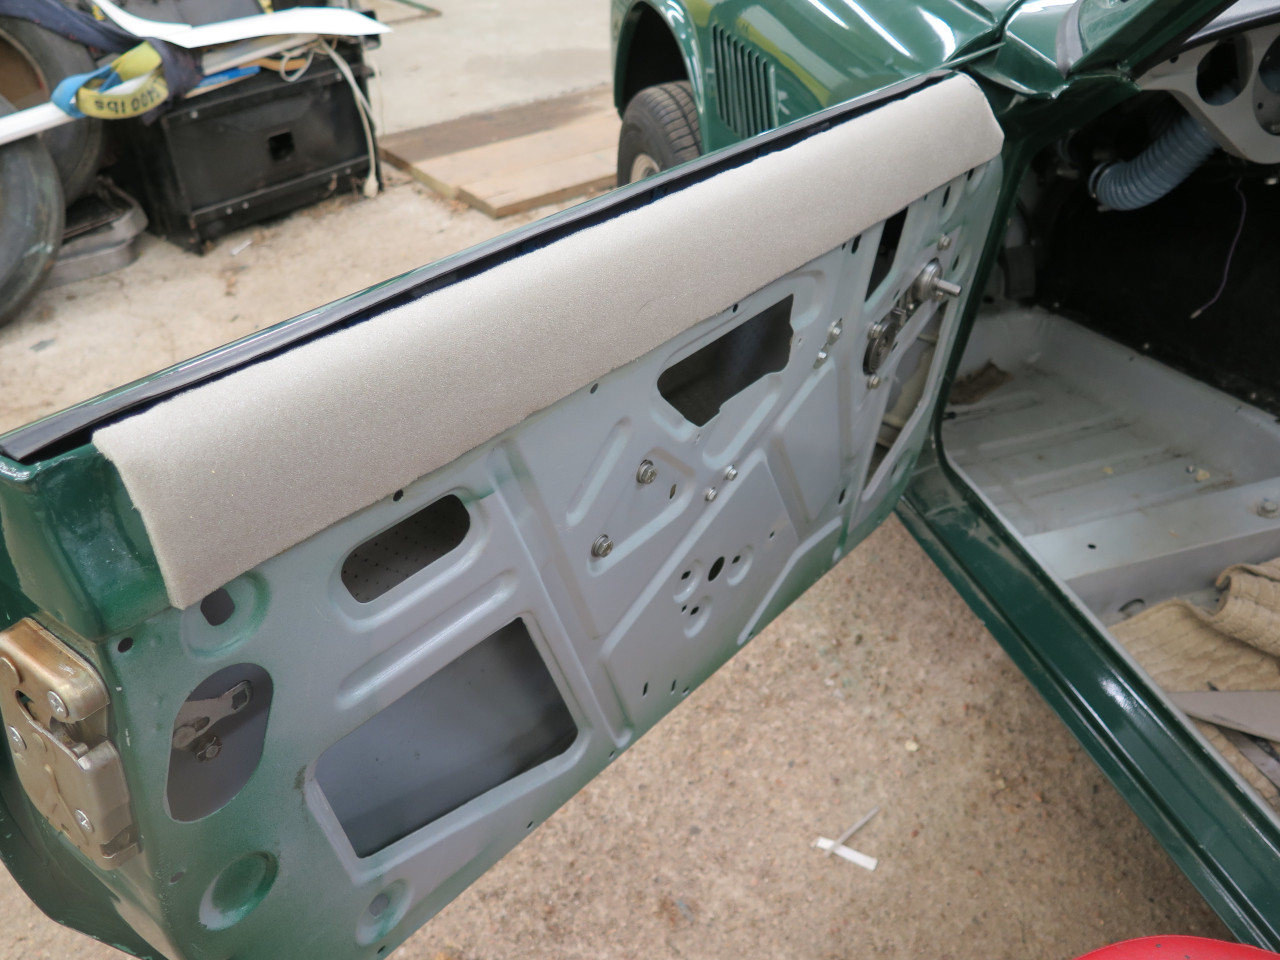
I looked at the door top area just inside the window slot. I
couldn't remember if that had a vinyl covering, or was just painted, but
I really wanted to have something to make it more pleasant to rest my
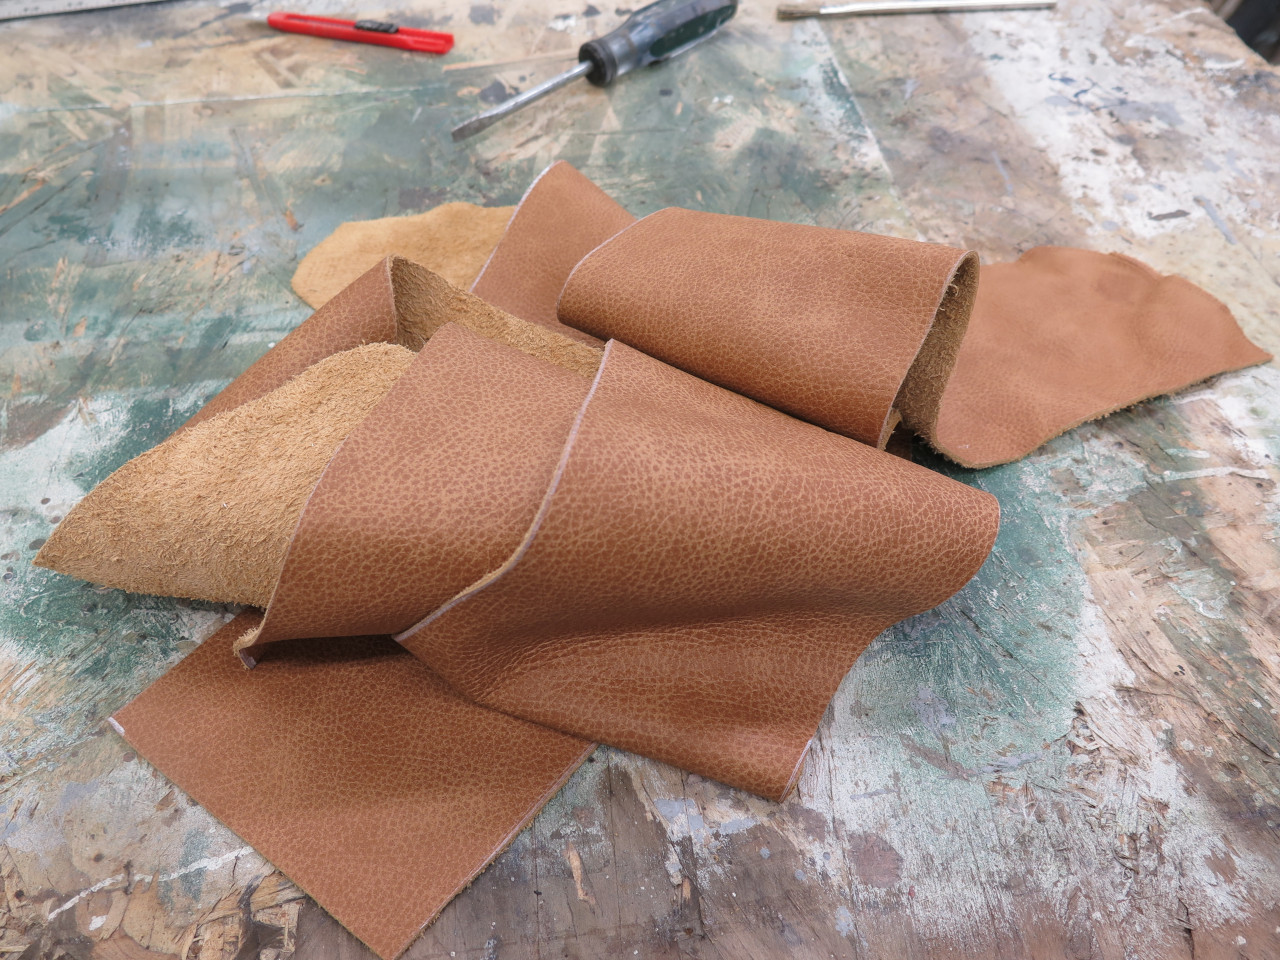
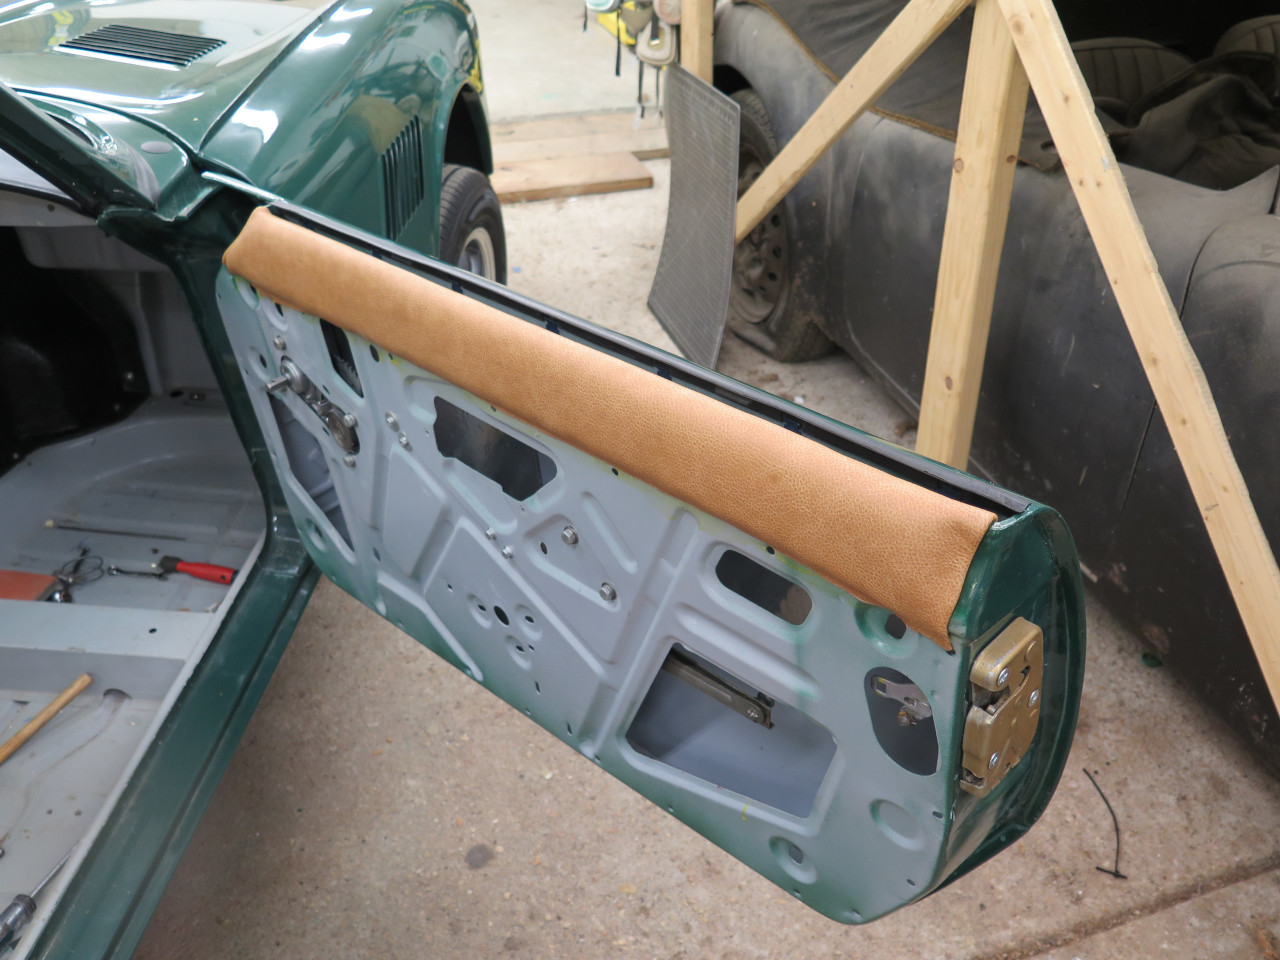
arm on. I cut a piece of 1/4" foam and glued it down. Then
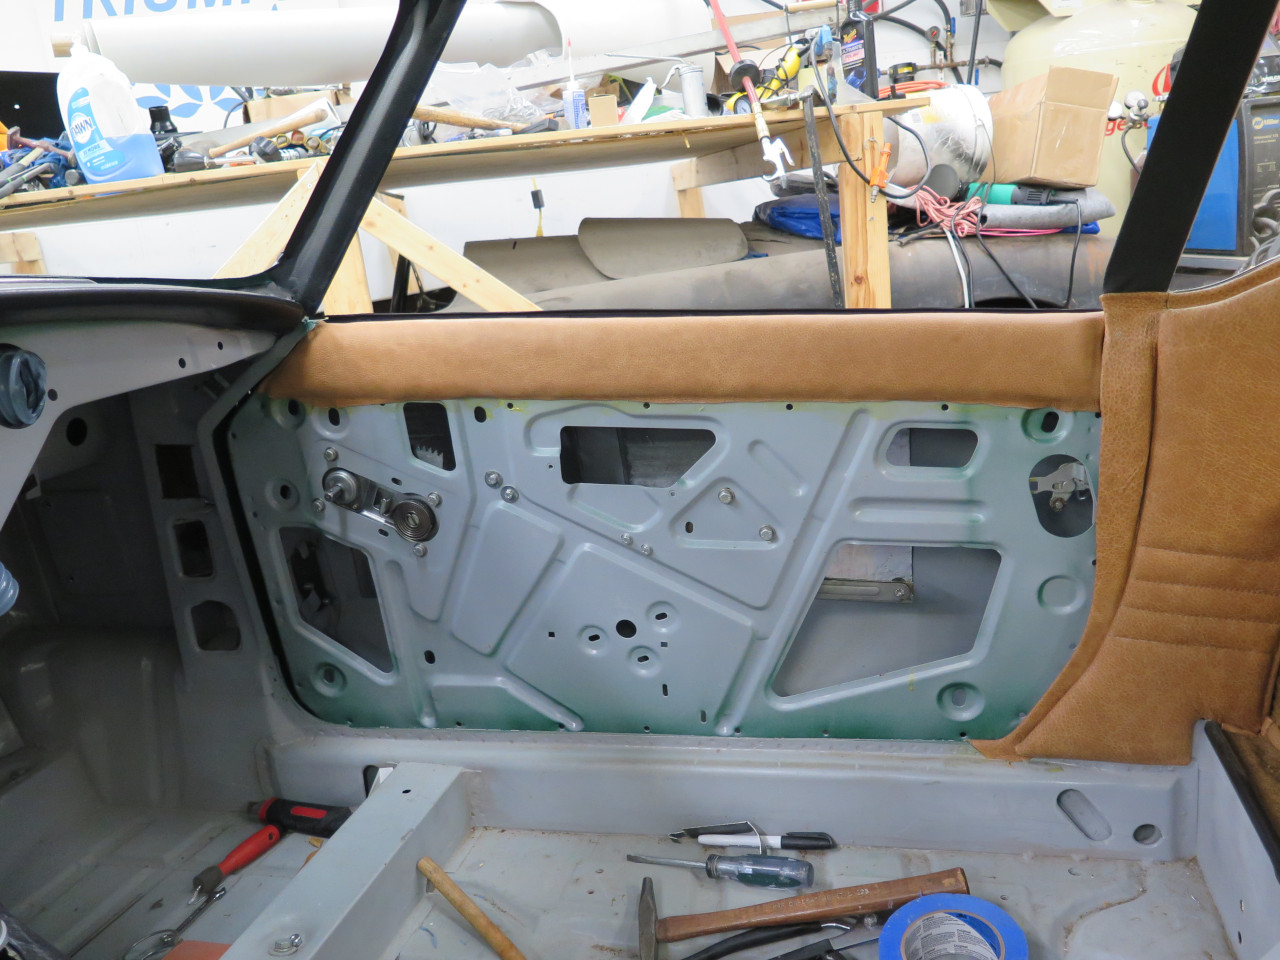
cut some strips of leather. The leather was glued inside the
window slot, and along its bottom edge.
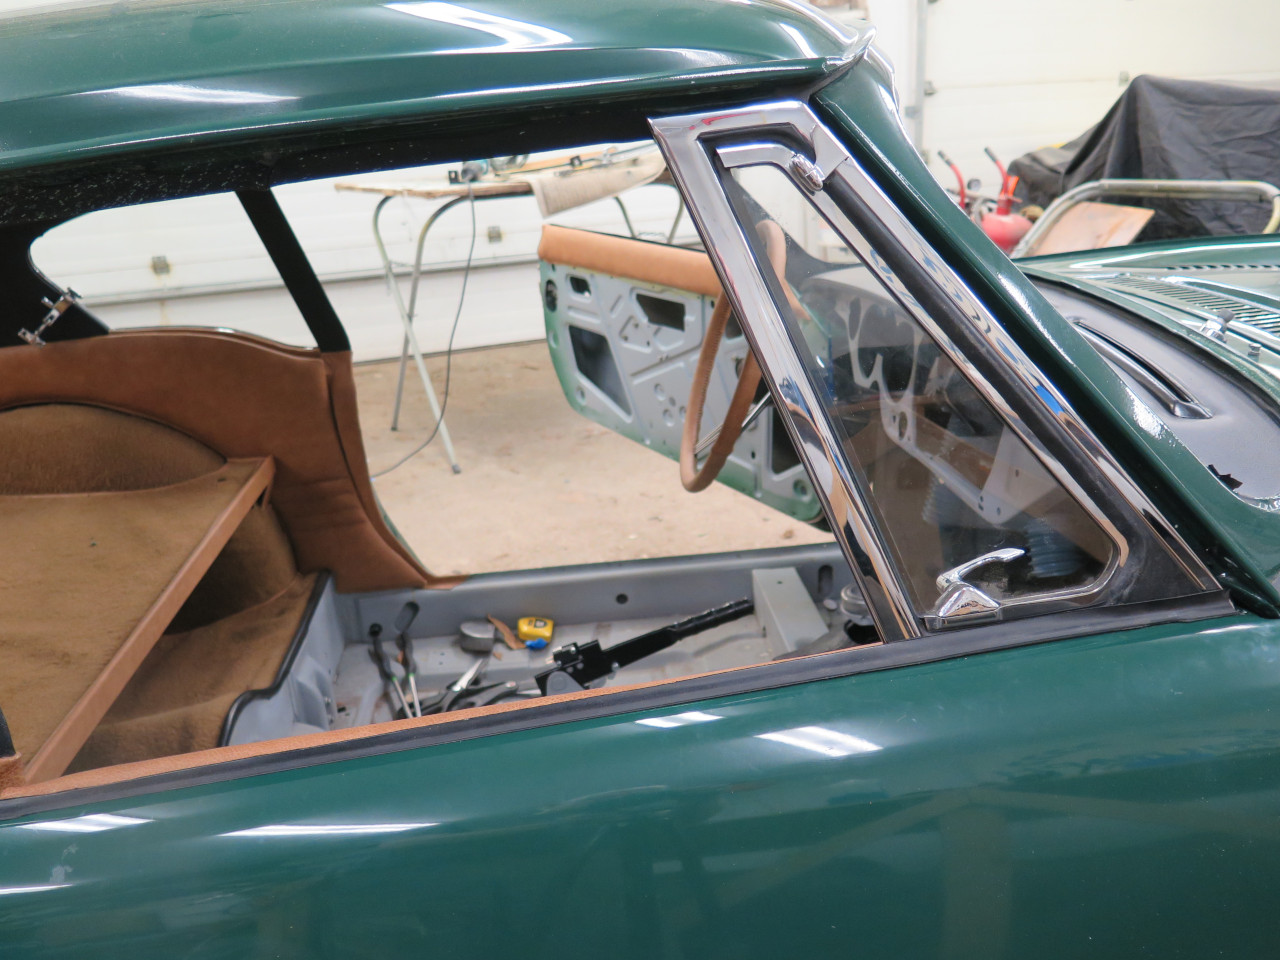
Then it was time for the wing window assemblies, which include the front window guides. I didn't realize it before, but the window guides are slightly curved.


These assemblies must be a fairly tight fit under ordinary
circumstances, but the thickness of the leather in the slot made them
very tight. I actually had to trim a little here and there to get
them to go in without damaging anything. The mounting bracketry
for these can be a little confusing, but they really only go in one
way. This is the initial fit, which didn't seem too bad to
me. There are a myriad of adjustment points to fine tune the fit.

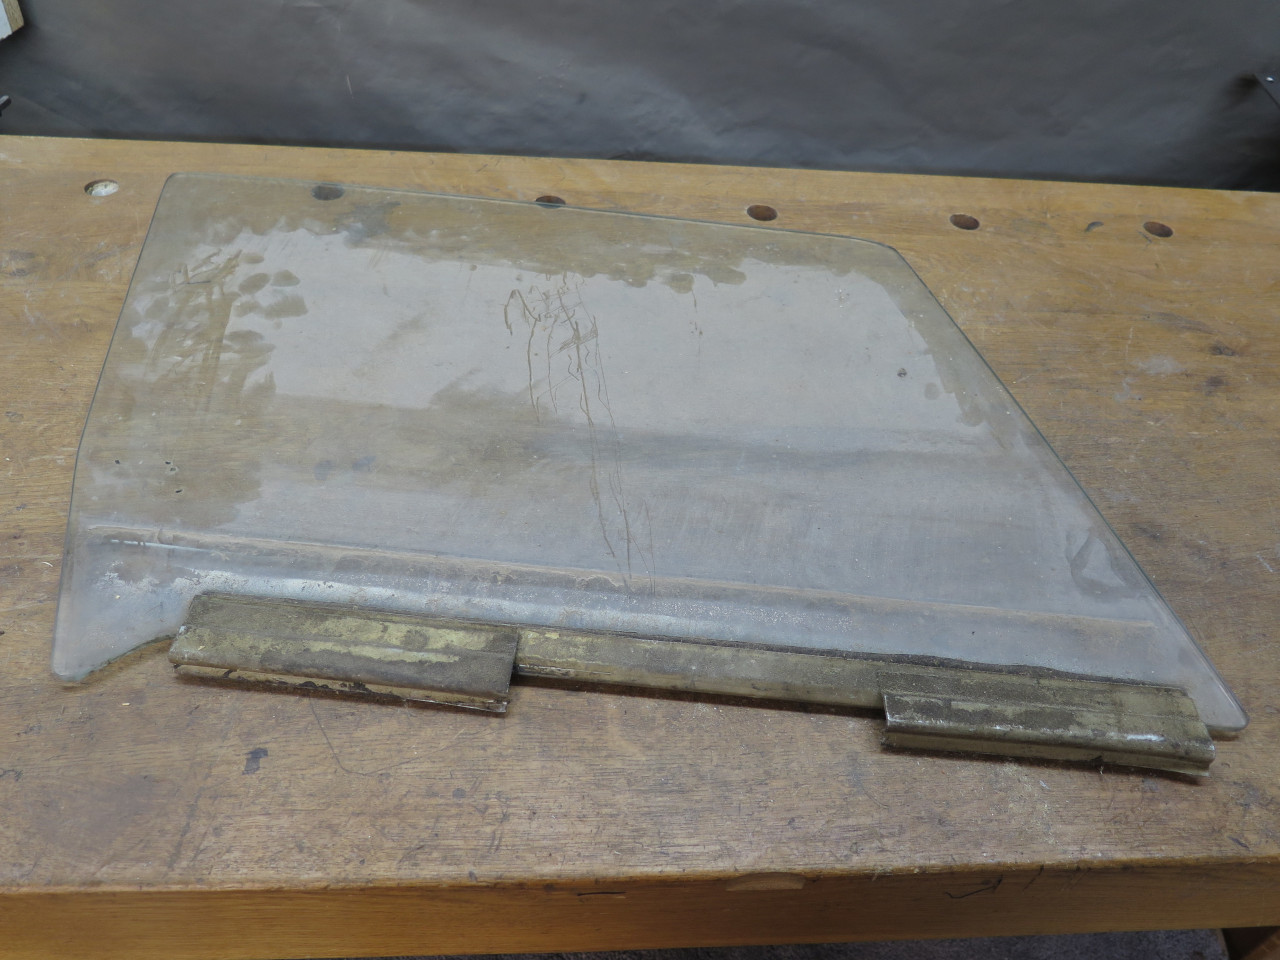
Then, finally, the glass. My original glass was in very decent
shape, the only defect being an etched area where the seals bear down
with the glass fully up. Both panes and the metal base cleaned up
very well. The new seals hide the etched areas.


I don't have any good pictures if the glass install, mainly because it
all happens inside the door, and it's glass. The method that
worked for me was to remove the upper regulator stop and raise the
regulator past its normal highest travel. This allows the
rollers on the regulator to go into the tracks in the glass base.
The last item for the glass install was the renewed rear guides.
Like the front guide, the bracketry might be tricky, but it's usually
obvious if it's wrong. Again, it's hard to get good pics of the
installed units. Once the rear guides are in, I could test for
smooth glass travel, and do final adjustment for proper fit. I
don't have door seals installed yet, so I might have to revisit this.
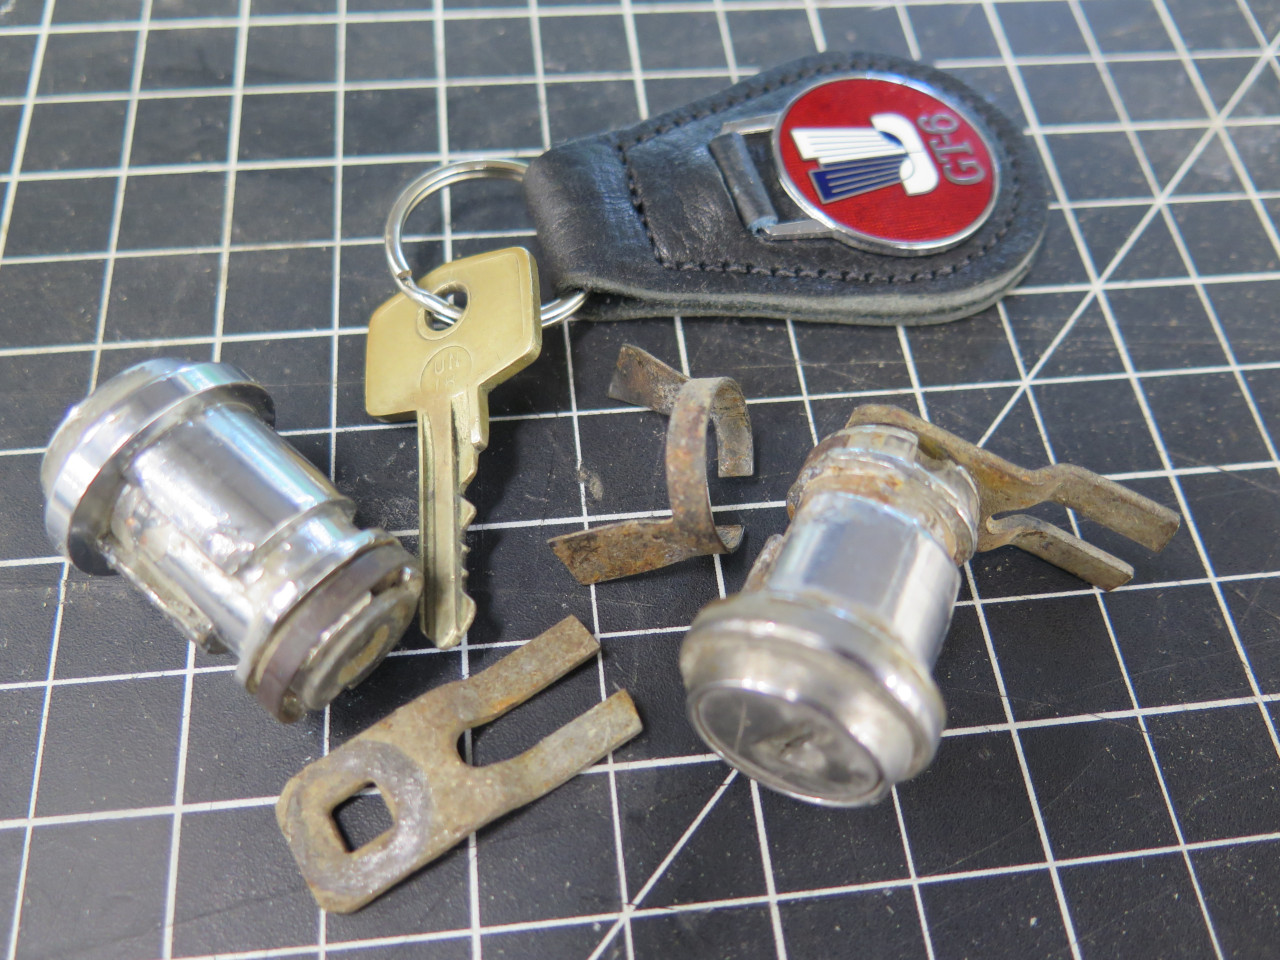
Next thing in the box o' old parts was the door locks. One was in pieces, and they were both frozen solid.
I decided quite a while ago to not install an outside door lock on the
passenger side, so I really only needed one lock. I went online to
order one, but found that everywhere I tried, they only sold the locks
in pairs, and they weren't exactly cheap. This re-motivated me to try
harder on my good lock. I was finally able to get the tumbler out, which made freeing things up much easier.
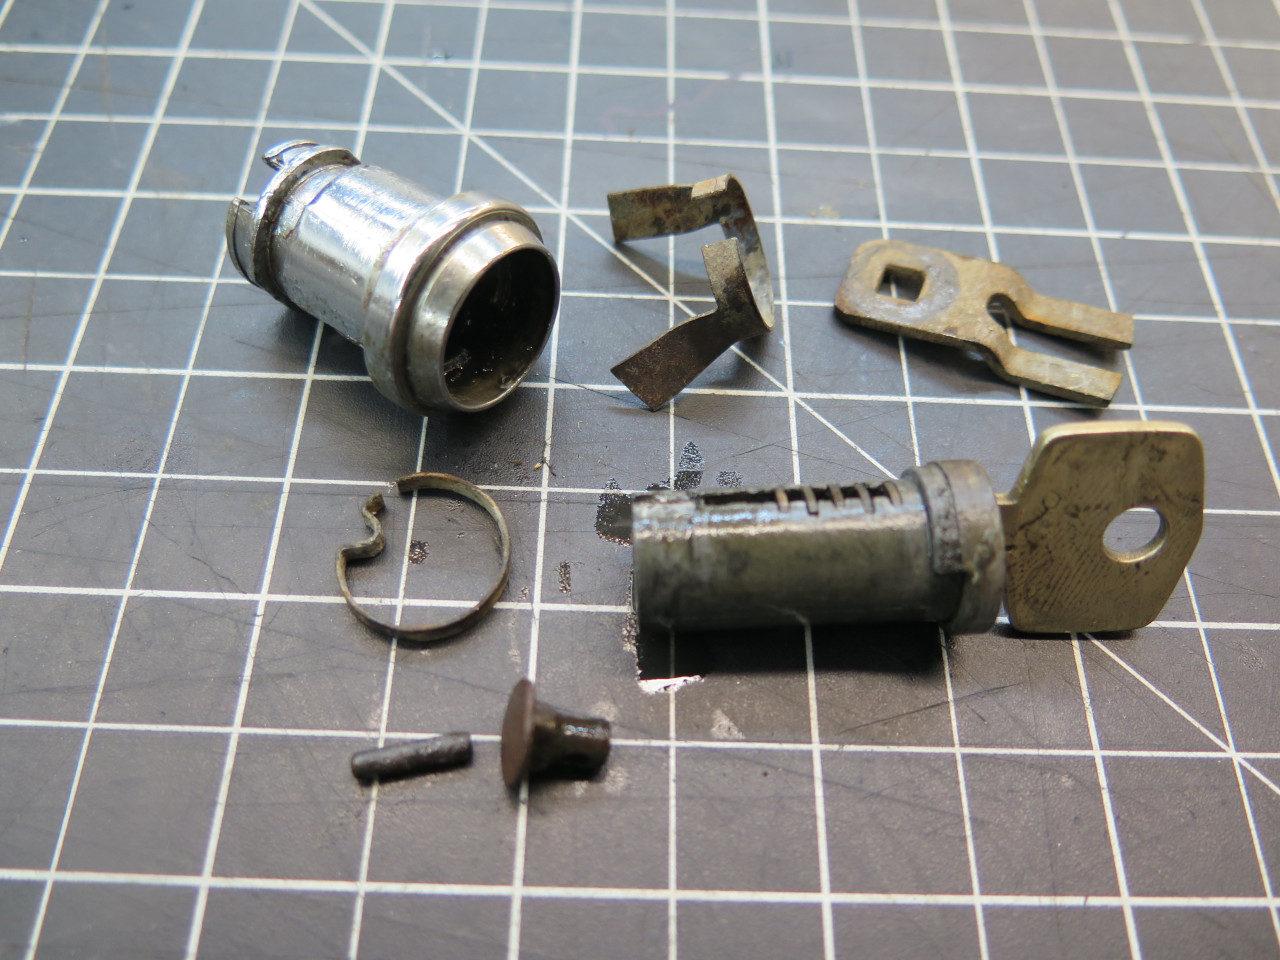
Plenty of penetrating solvent to free it, then compressed air to dry it,
then dry graphite to lubricate it, and my lock was working
perfectly. I replated the rusty parts and reassembled it.


When it came time to install the lock, I was suddenly overcome with
revulsion, remembering that infernal spring clip that originally held
the lock in the door. Now, I think that clip might be easier
to install than to remove, but a bad memory is a bad memory.
Besides, my clip was badly distorted from the disassembly
violence. I needed a better way. Fortunately, there is a
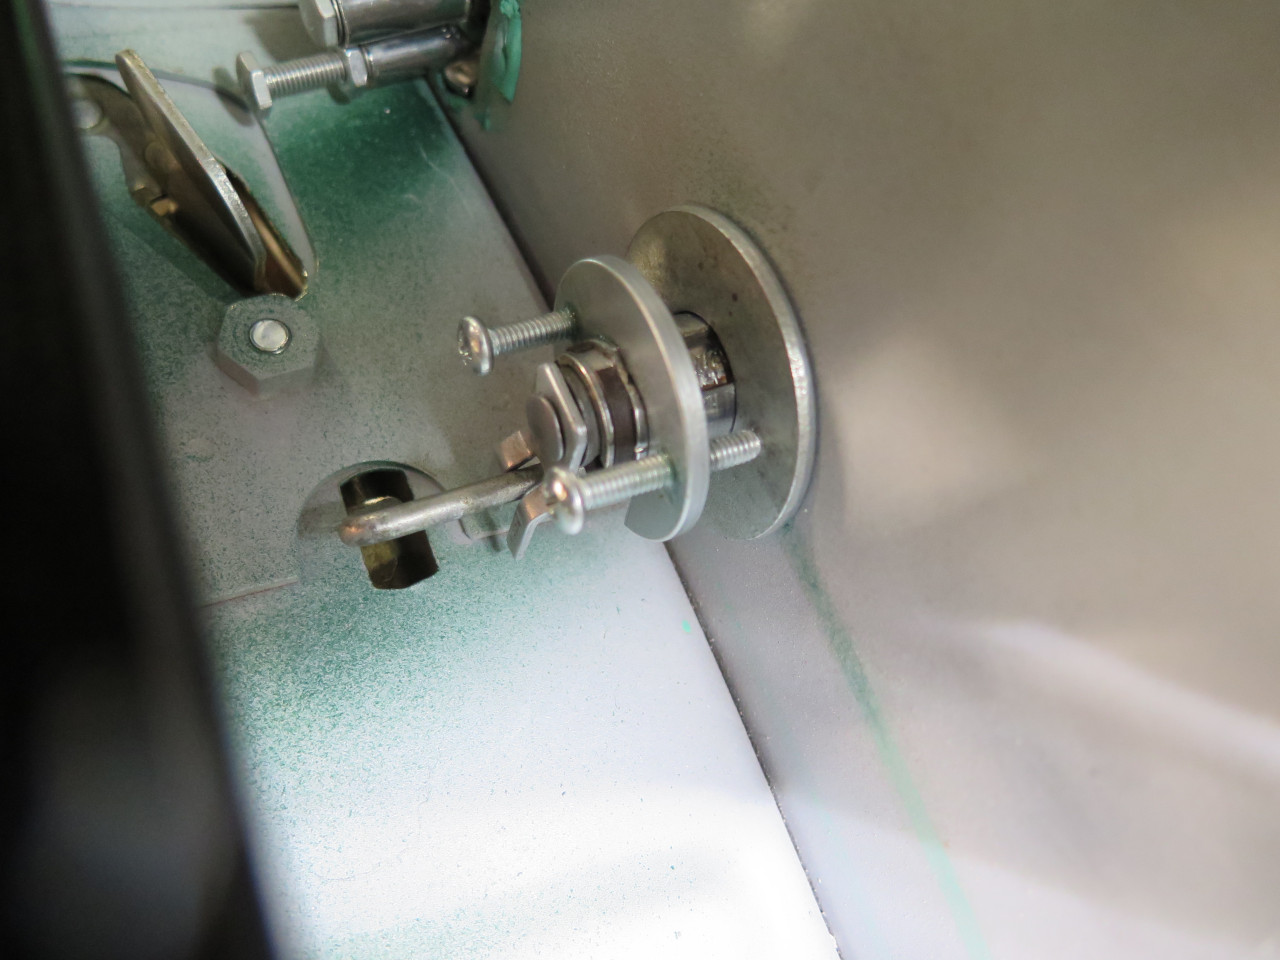
better way. Several outfits sell an ingenious lock mounting kit
that uses conventional fasteners in place of that evil spring
clip.
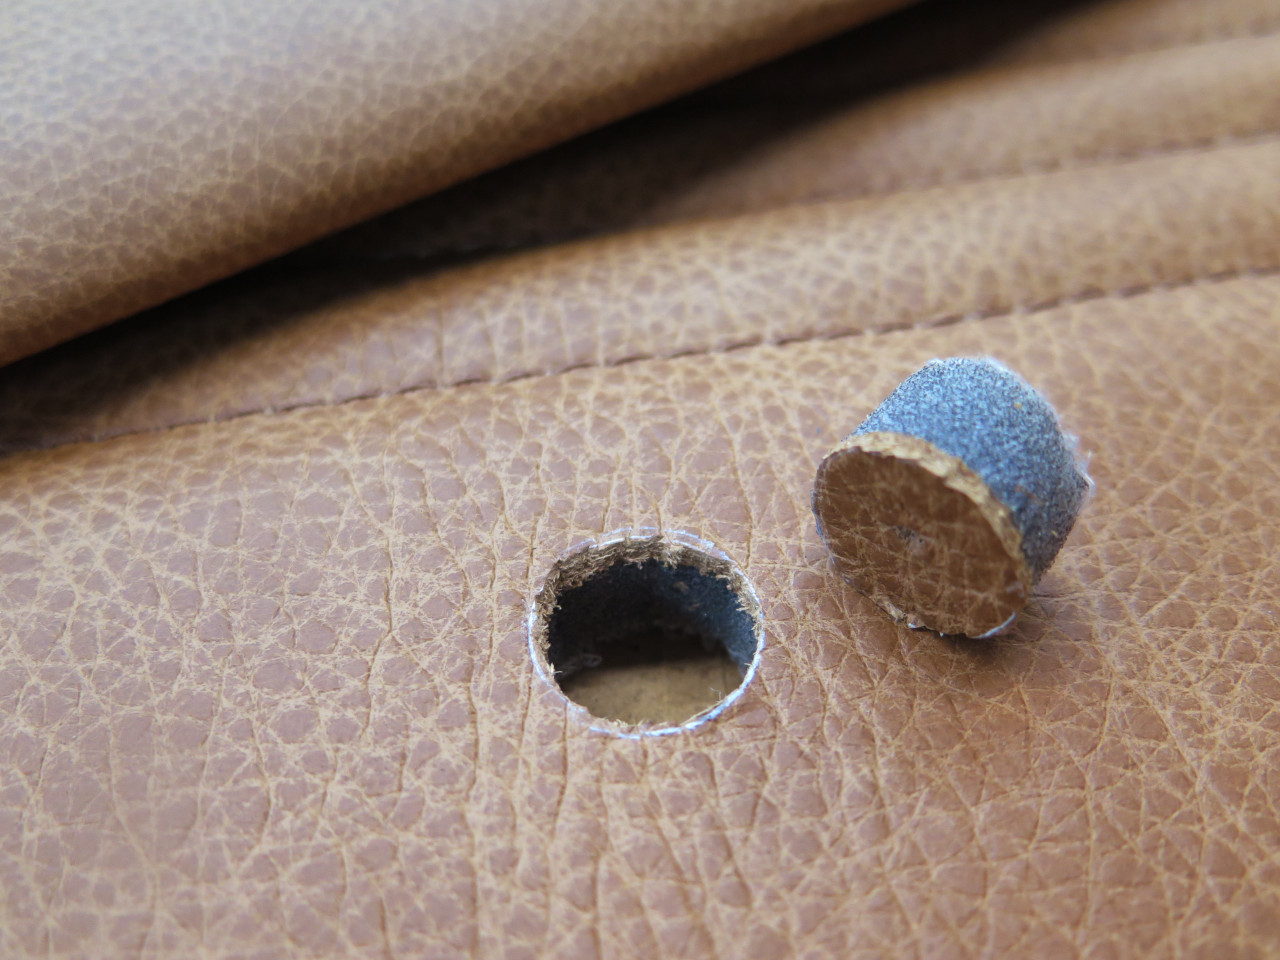
No need to buy one, though. This is my home-made version. I
had everything I needed except that little protective rubber gasket that
goes between the lock and the door paint. A couple of hole
cutters made from pieces of appropriately sized pipe and sharpened
helped to make one.


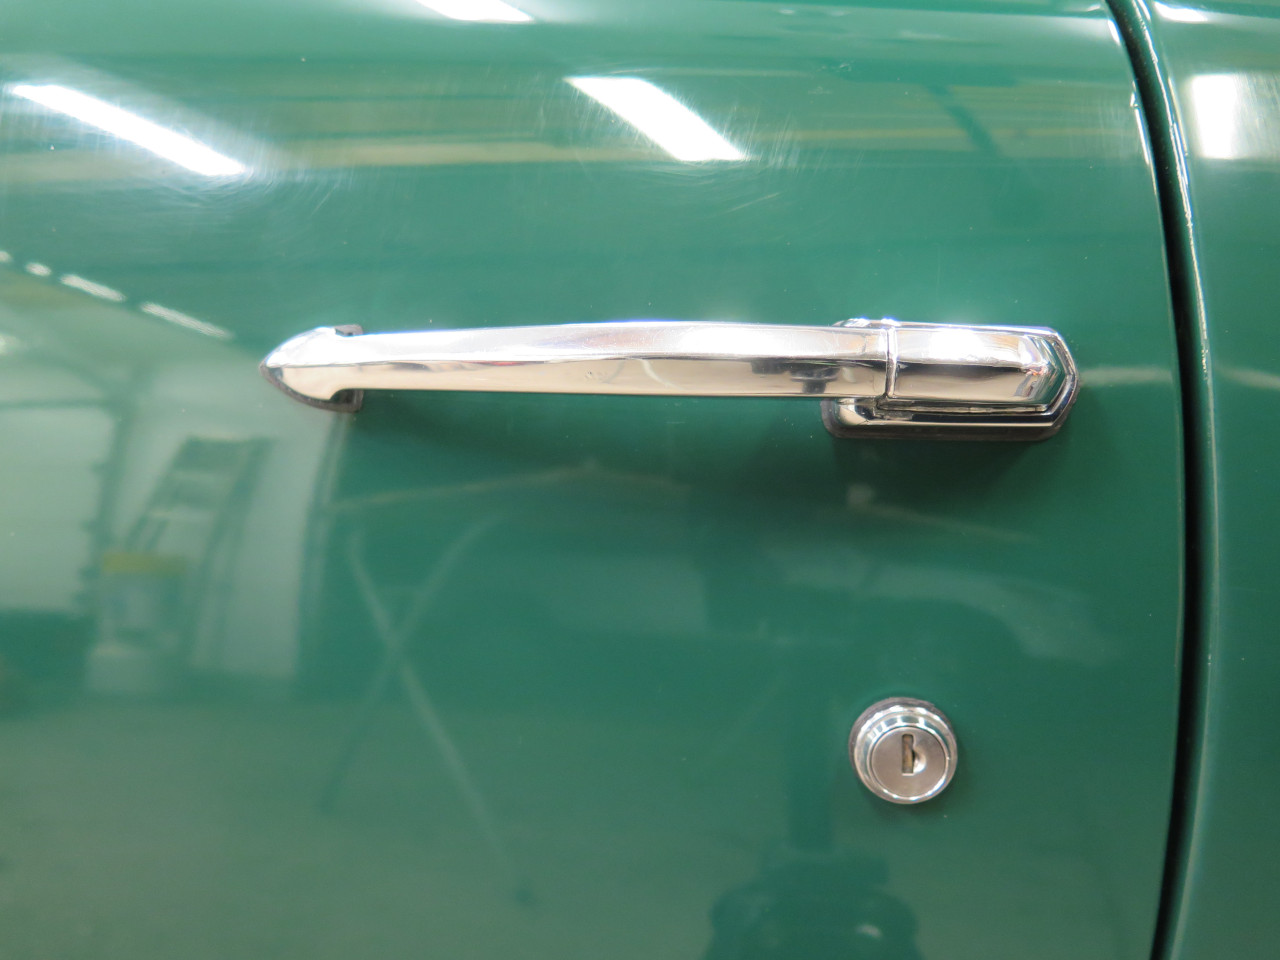
All good. And, I can still use the original keys.
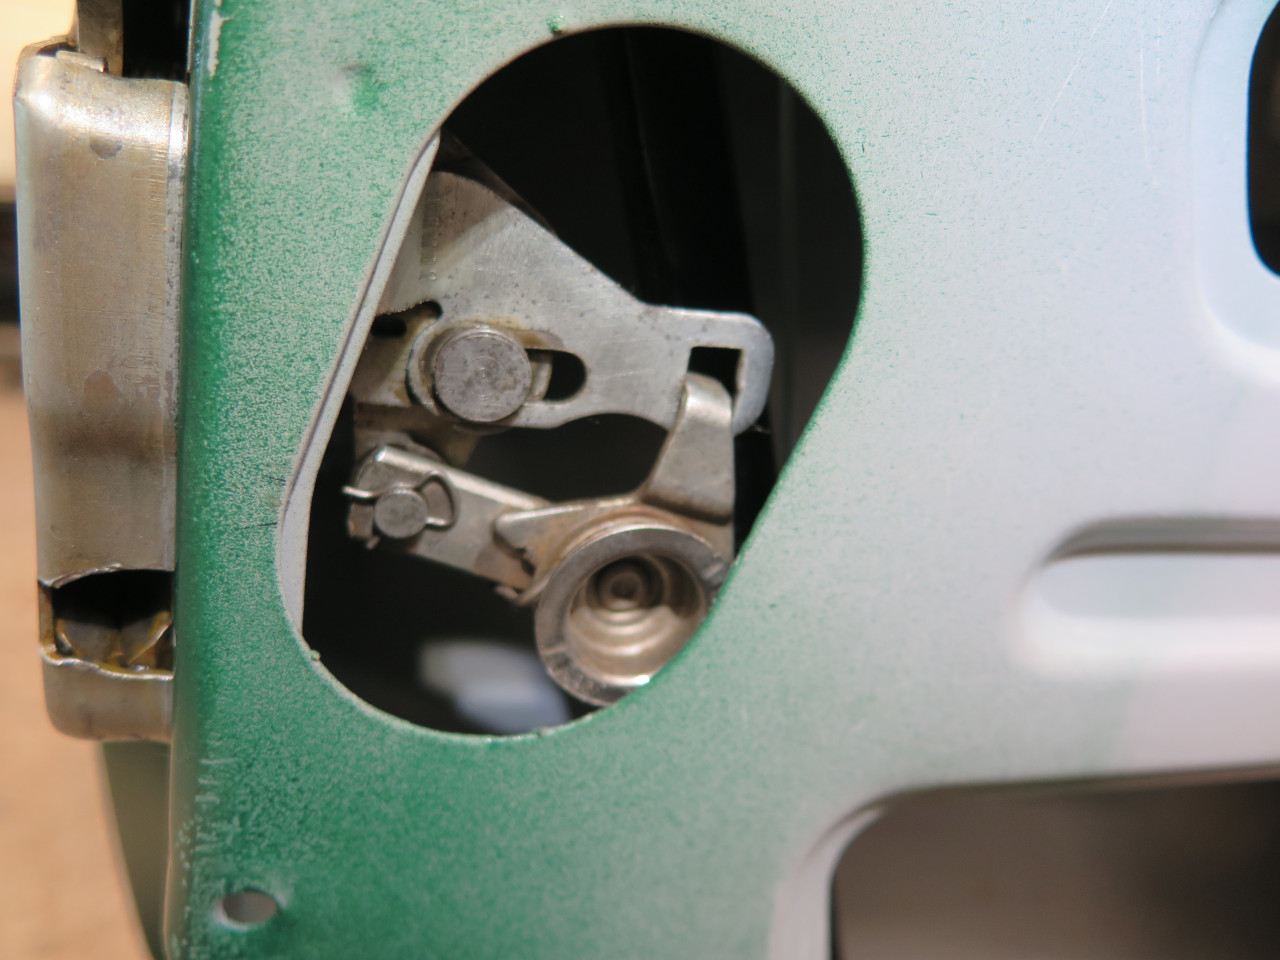
Last thing inside the door was the remote control for the door latch. They both open the doors and lock them.

Then there was the inside waist seal. Another homemade tool
installs the tricky little clips, then the seal is popped in. (It
wasn't quite that easy, but that's the idea.)


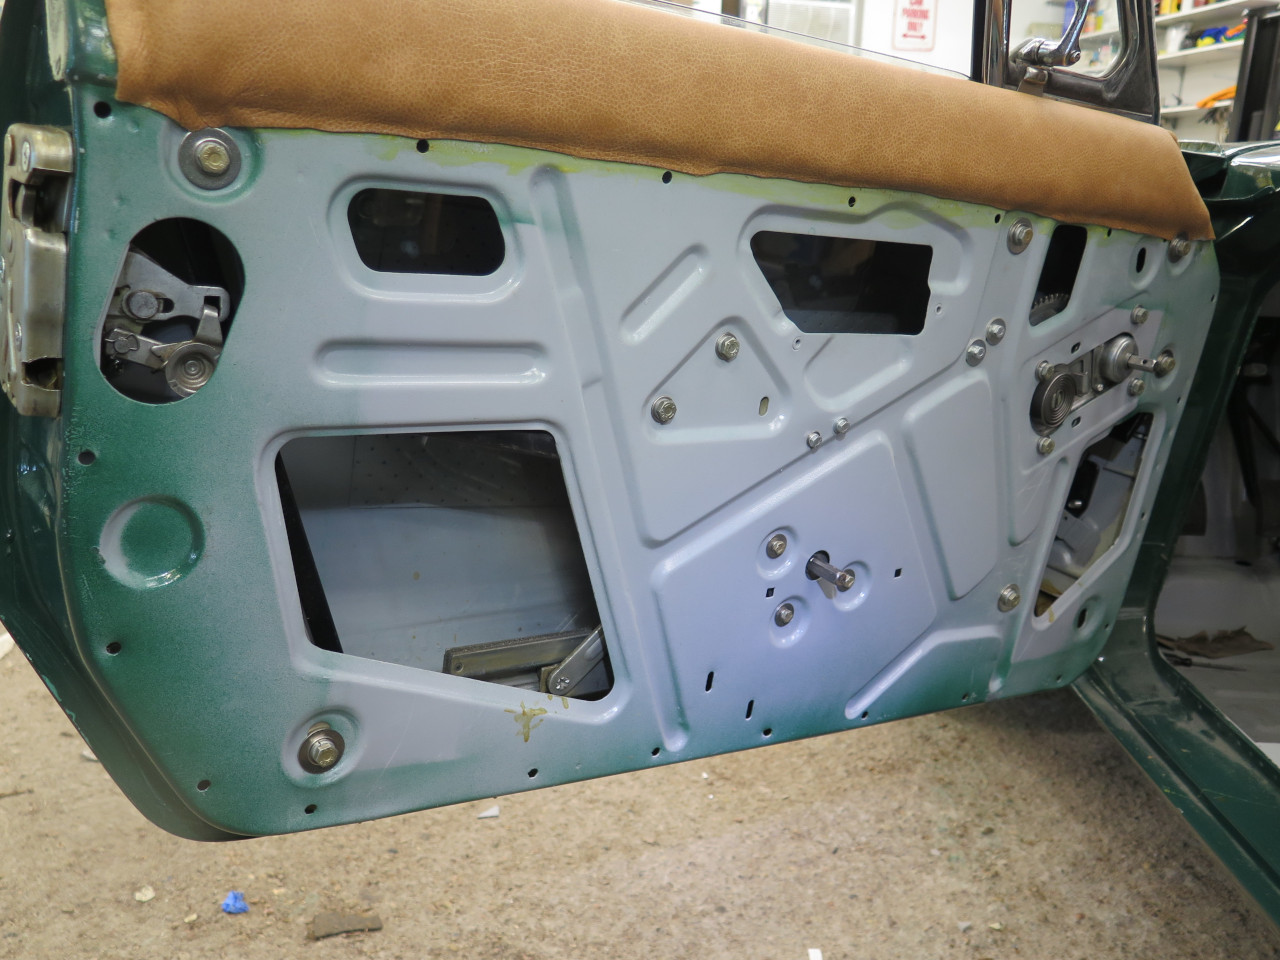
So here is one of the doors with everything installed.
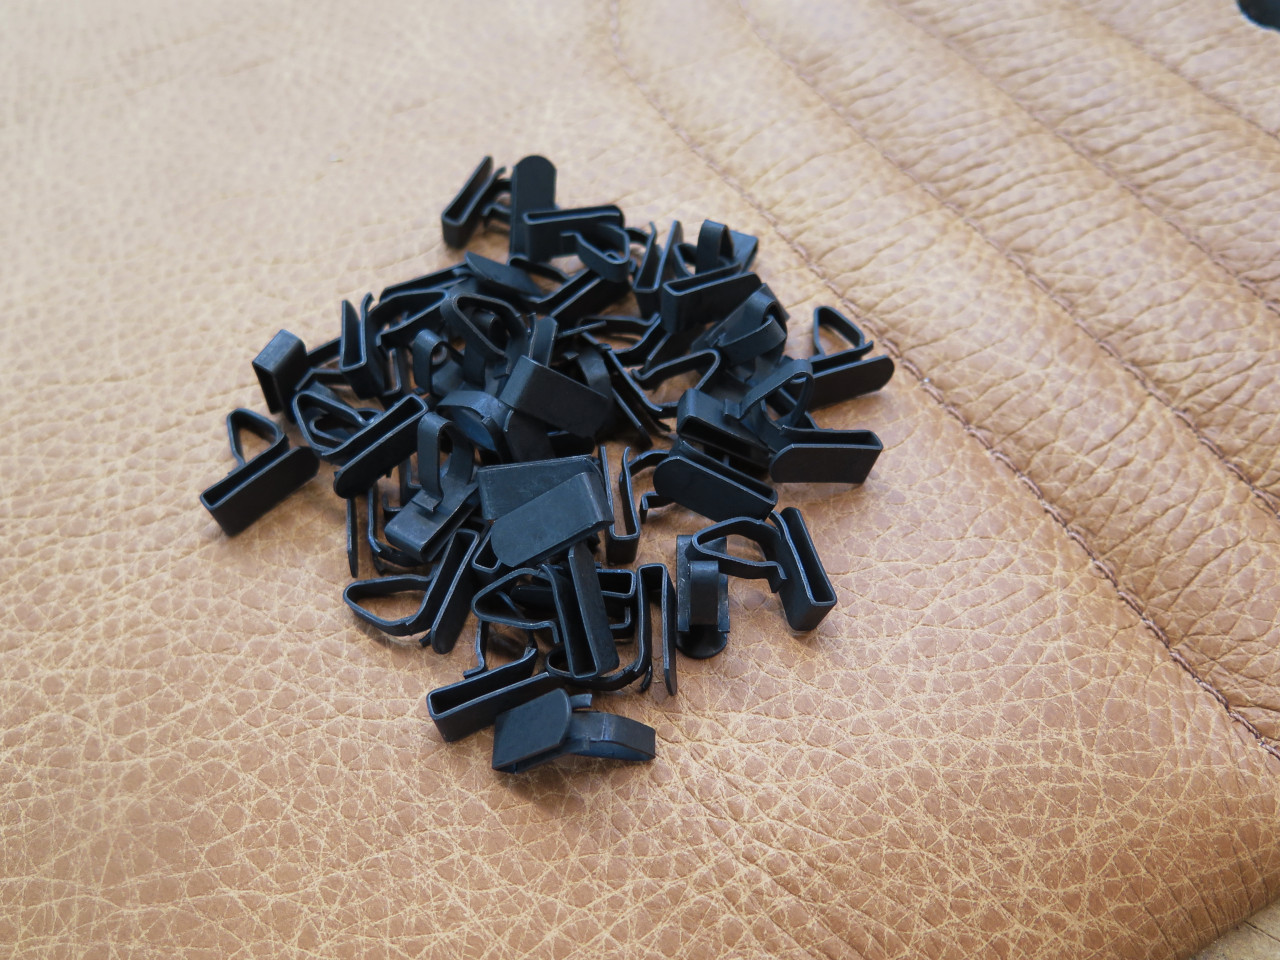
Time for the trick new door cards. I checked and double checked the location before cutting holes in these for the window crank and door handle.


I got a mess of new clips, and after some fiddling, both cards went home.


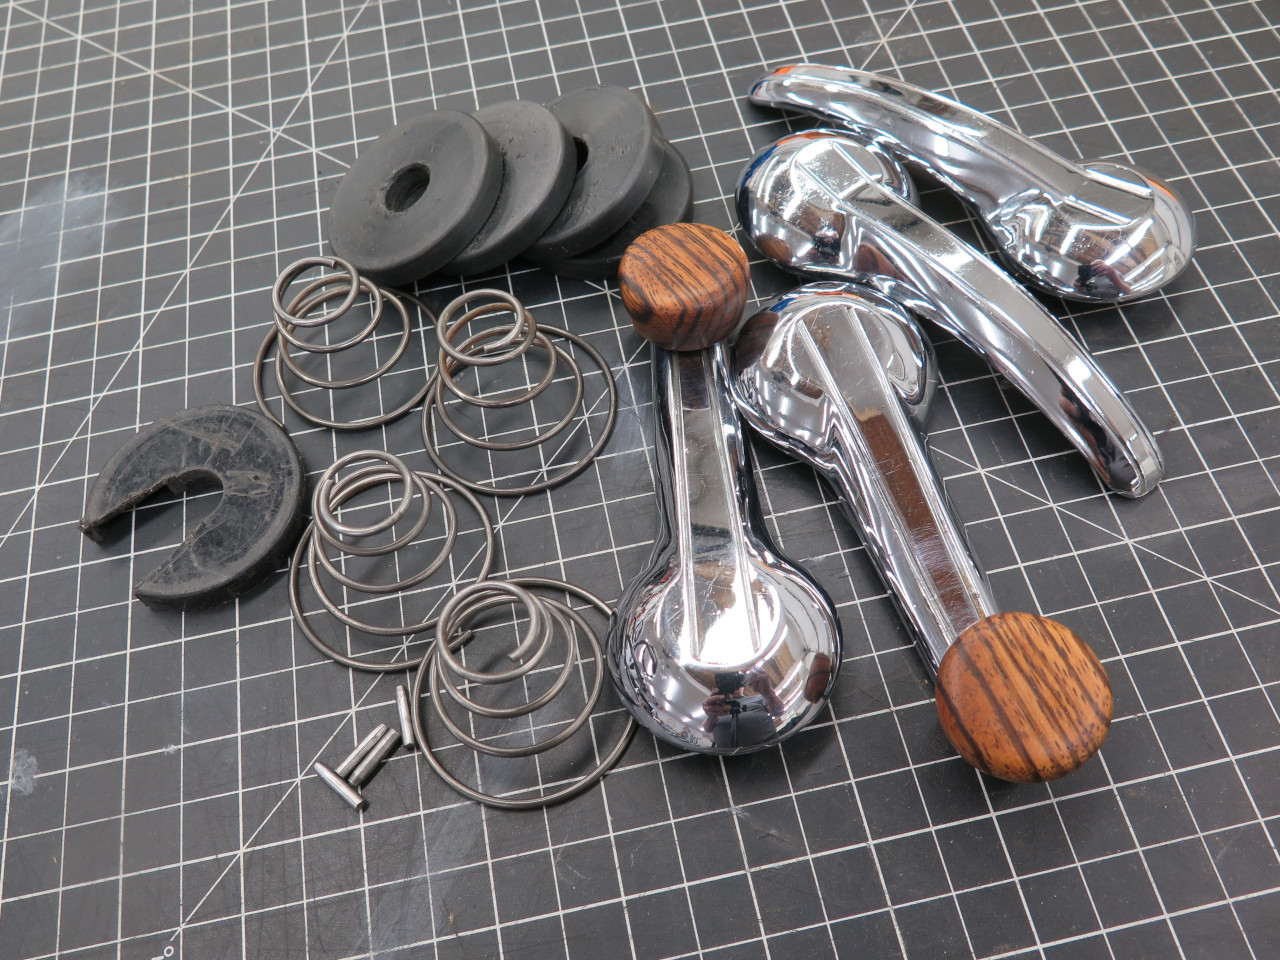
Now down to just the handles. they cleaned up well enough to use, but both window cranks were missing their knobs.

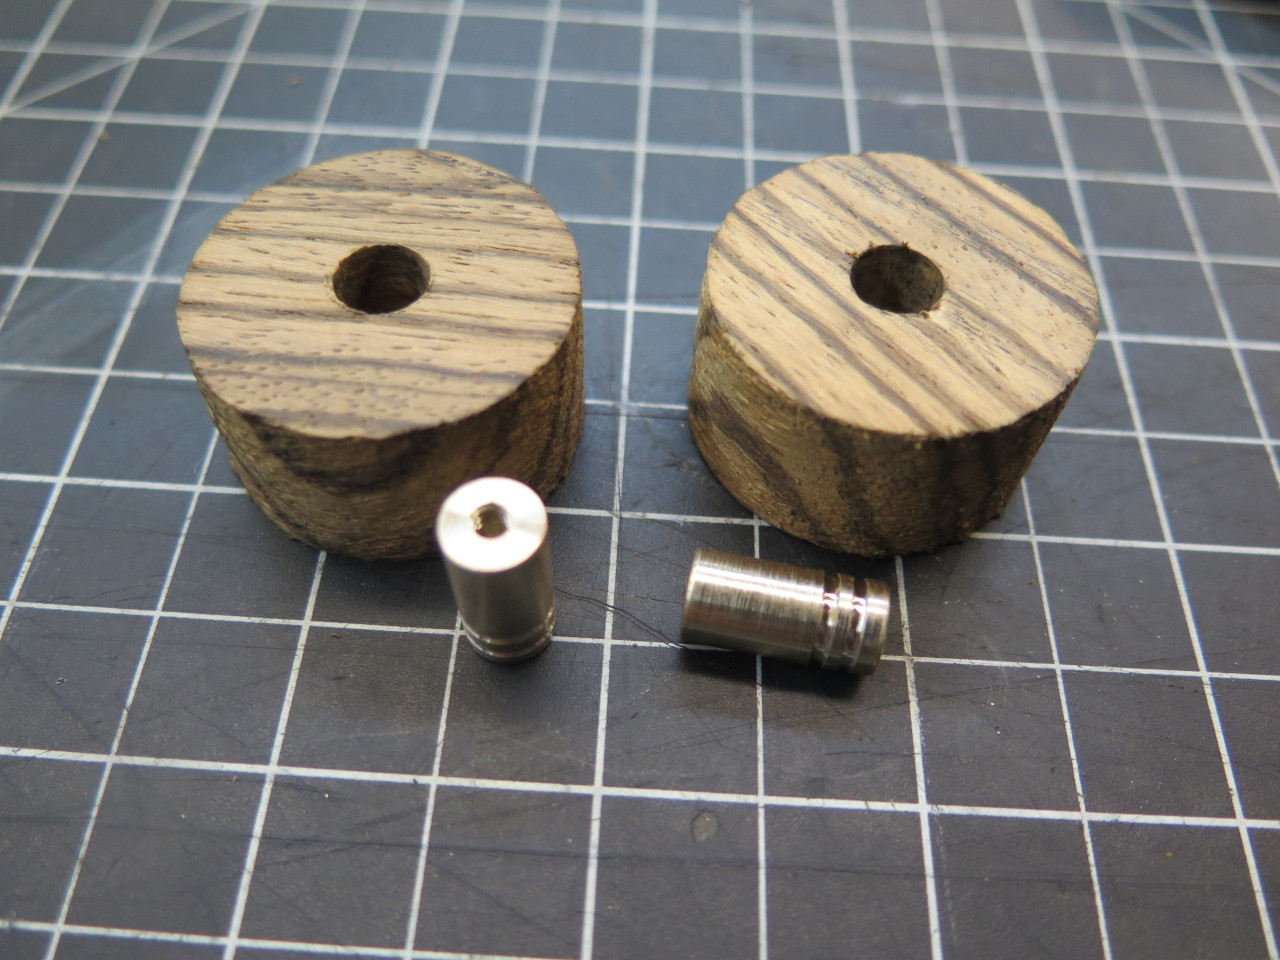
It doesn't appear that I can buy just the knobs, but not to worry.
This is a hunk of Zebrawood. Same wood as on the dash.

Cut a couple of Zebrawood cylinders with a hole saw, and made a couple
of little brass spindles. Epoxied the spindles into the cylinders.
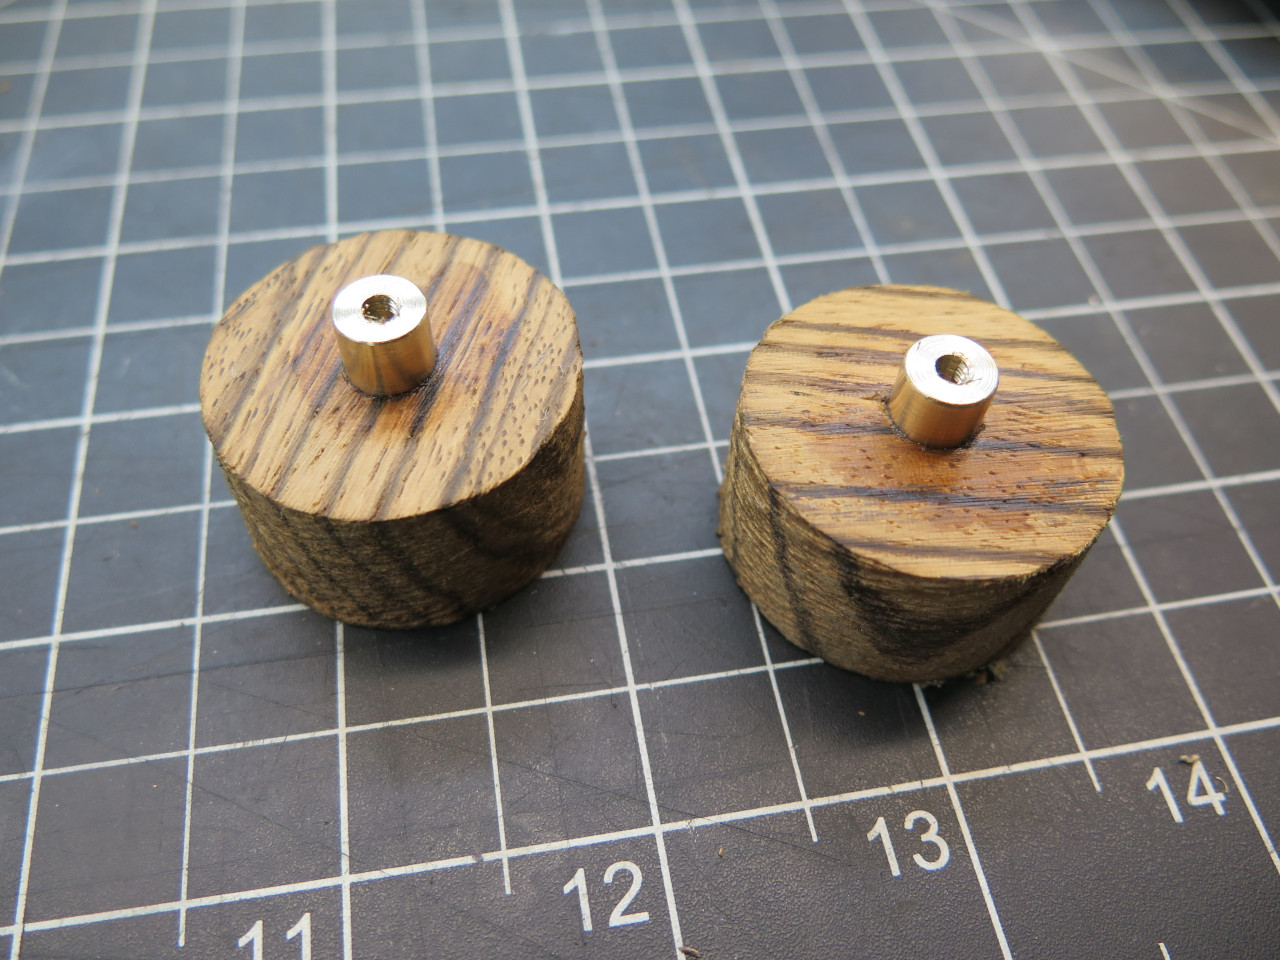
Hmmm, looks maybe a little too chunky. The little wave spring
washer is to keep the knob free to rotate, but stiff enough not to
rattle.

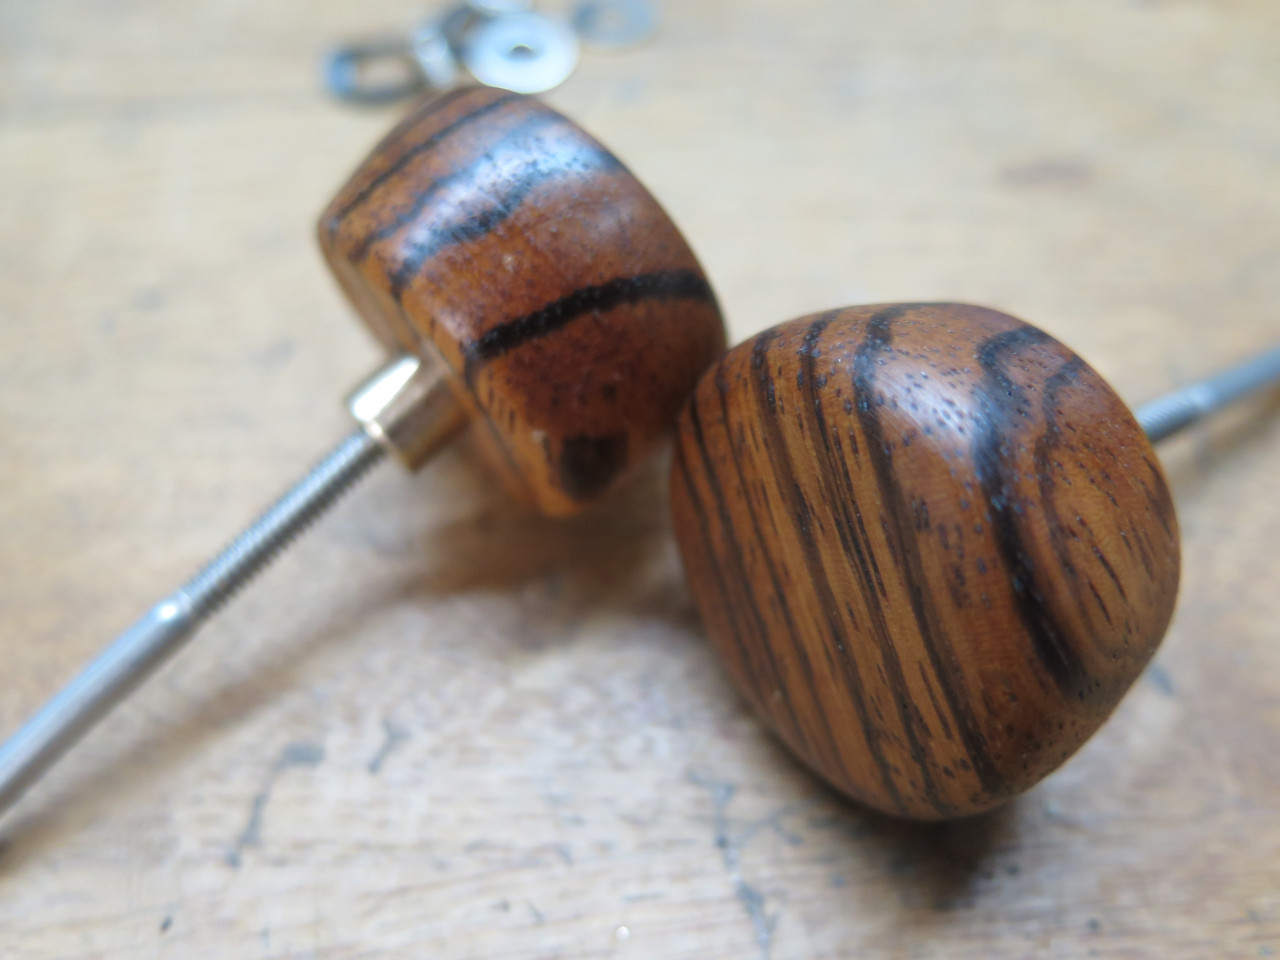
Yeah, that's better. And a little penetrating finish.

The controls. The extra escutcheon with the wedge cut out was to
help insert the pin. It didn't happen to work on this door, so I
had to do it the old fashioned way.
They look a little, um, plain. Something's missing.


I had honestly forgotten the door pulls. I had to go looking for them. They cleaned up OK.
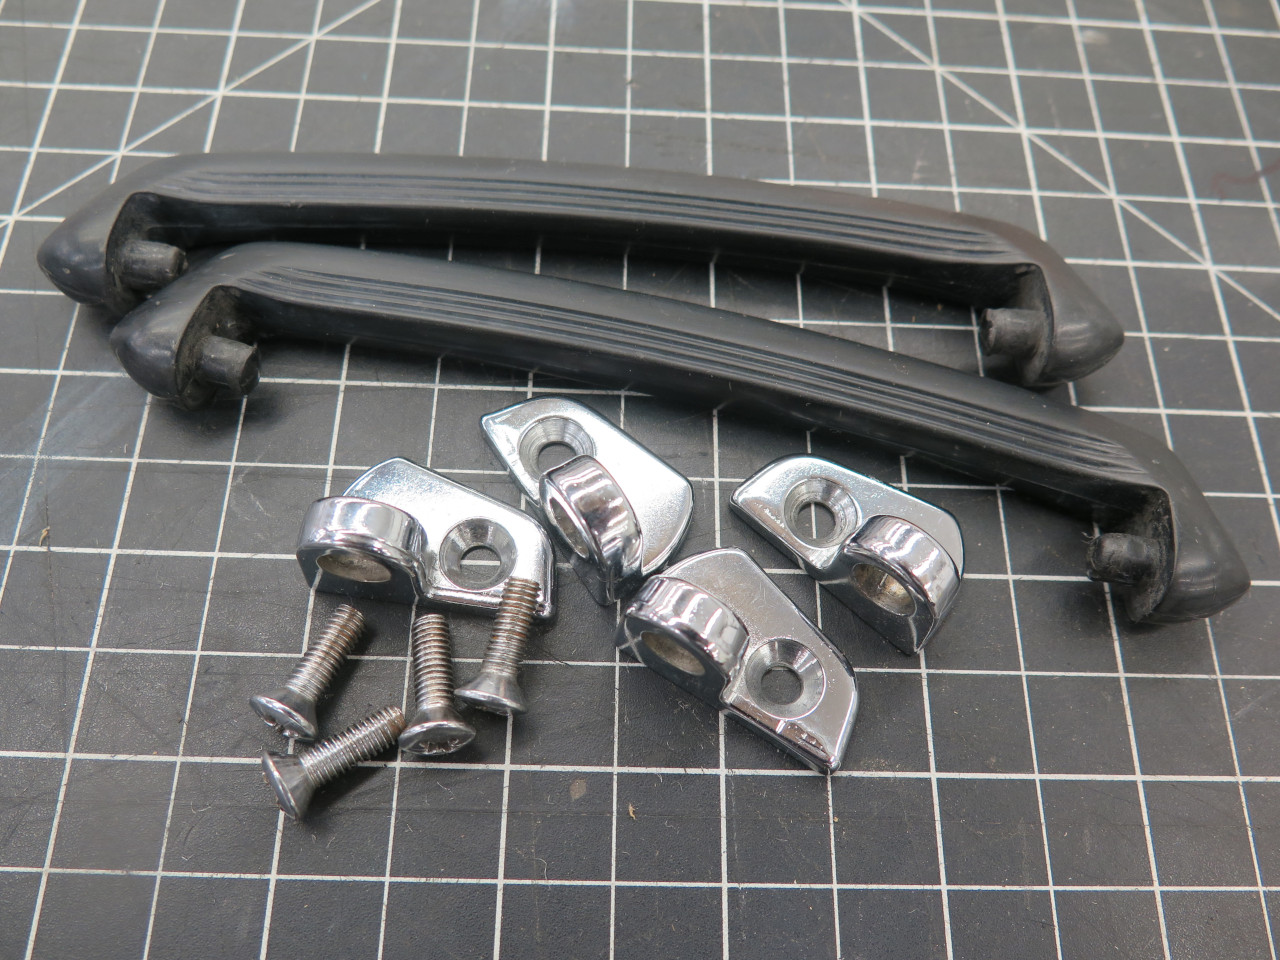
That's better.
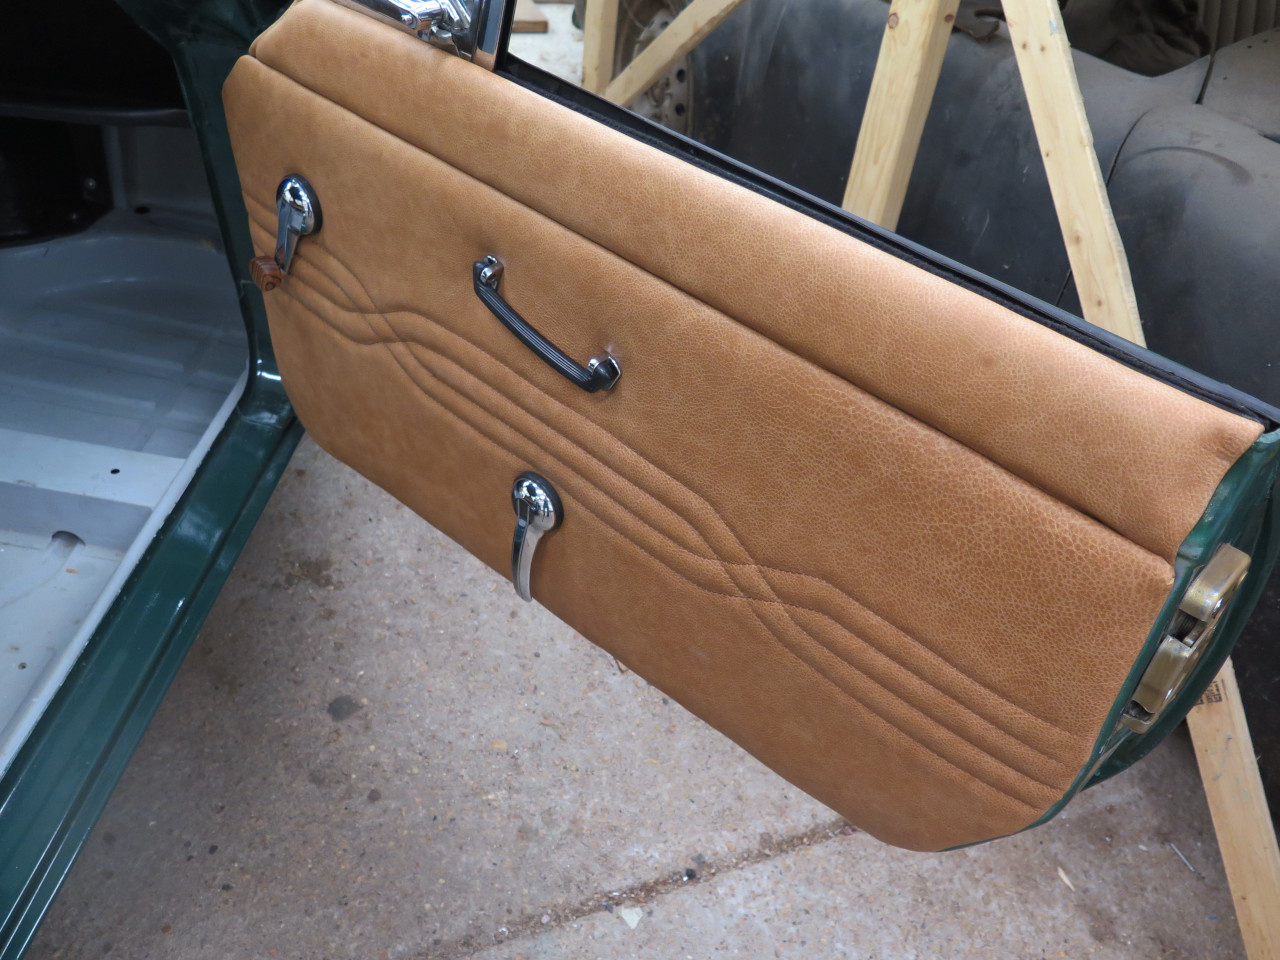
I really like how the knobs look.

I enjoy jobs like these that bring together a lot of previous
projects. Some of these assemblies have been on the shelf for well
over a year.
Comments to Ed at elhollin1@yahoo.com
To my other GT6 pages