To my other GT6 pages.
February 26, 2022
Window Regulators & Guides
By the 60s, most Little British Cars had evolved to the point of
actually having roll-up side windows. At the time, some folks
lamented that this was an erosion of the spirit of a true sports car and
was simply caving in to the demands of the clueless general
public. On the other hand, Triumph officials had to face the sad
reality that the anachronistic quaintness of side curtains was lost on
many potential buyers, and they had a company to run, and hopefully,
profits to make.
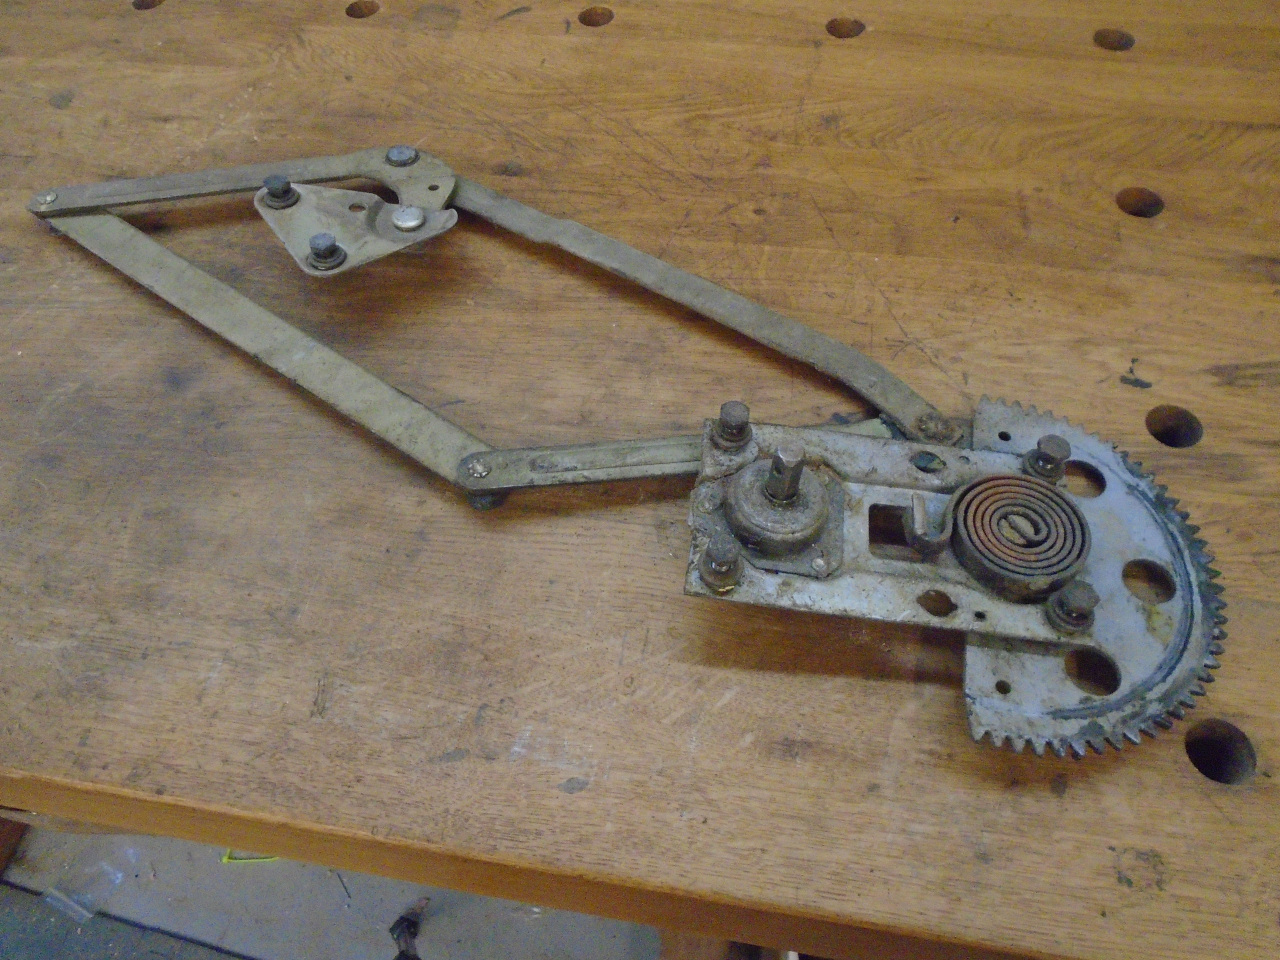
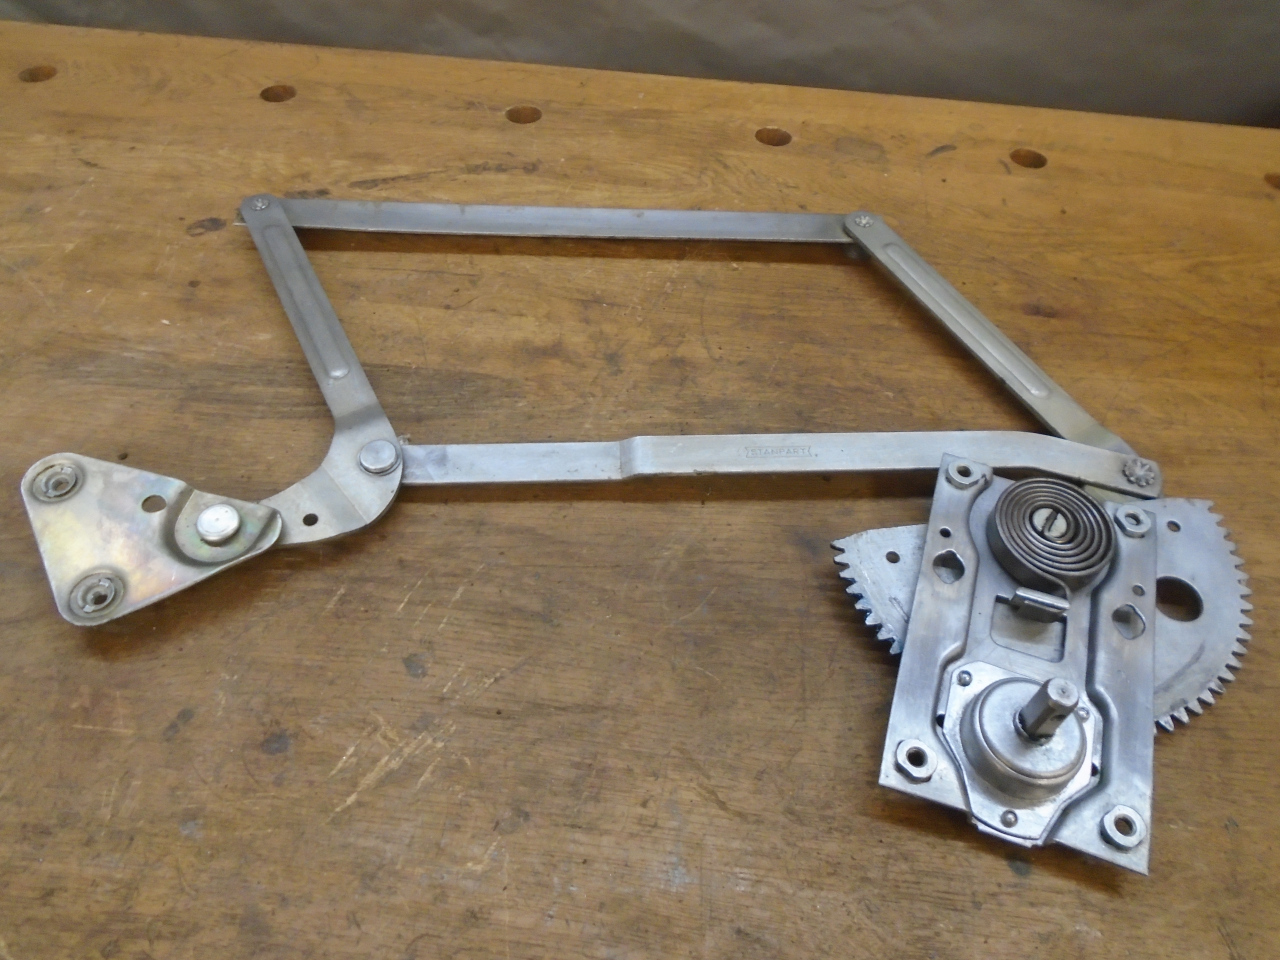
The roll-up window mechanism in the GT6, like just about all other cars
of the era, was a parallelogram arrangement with flexible joints, and
one link fixed in a horizontal position. As is the property of
parallelograms, the opposite link, which holds thew actual window pane,
will always be parallel to the fixed one. One joint is fitted with
a toothed sector gear driven by a smaller gear attached to a hand crank
in the cabin. Turning the crank folds or unfolds the
parallelogram, raising or lowering the window glass. The mechanism
is called the window "regulator".
My regulators were very stiff, but appeared to be intact.
A general cleanup made inspection easier. There is a beefy clock
spring that gets wound up when the window is lowered, so that it can
reduce the effort of raising it.

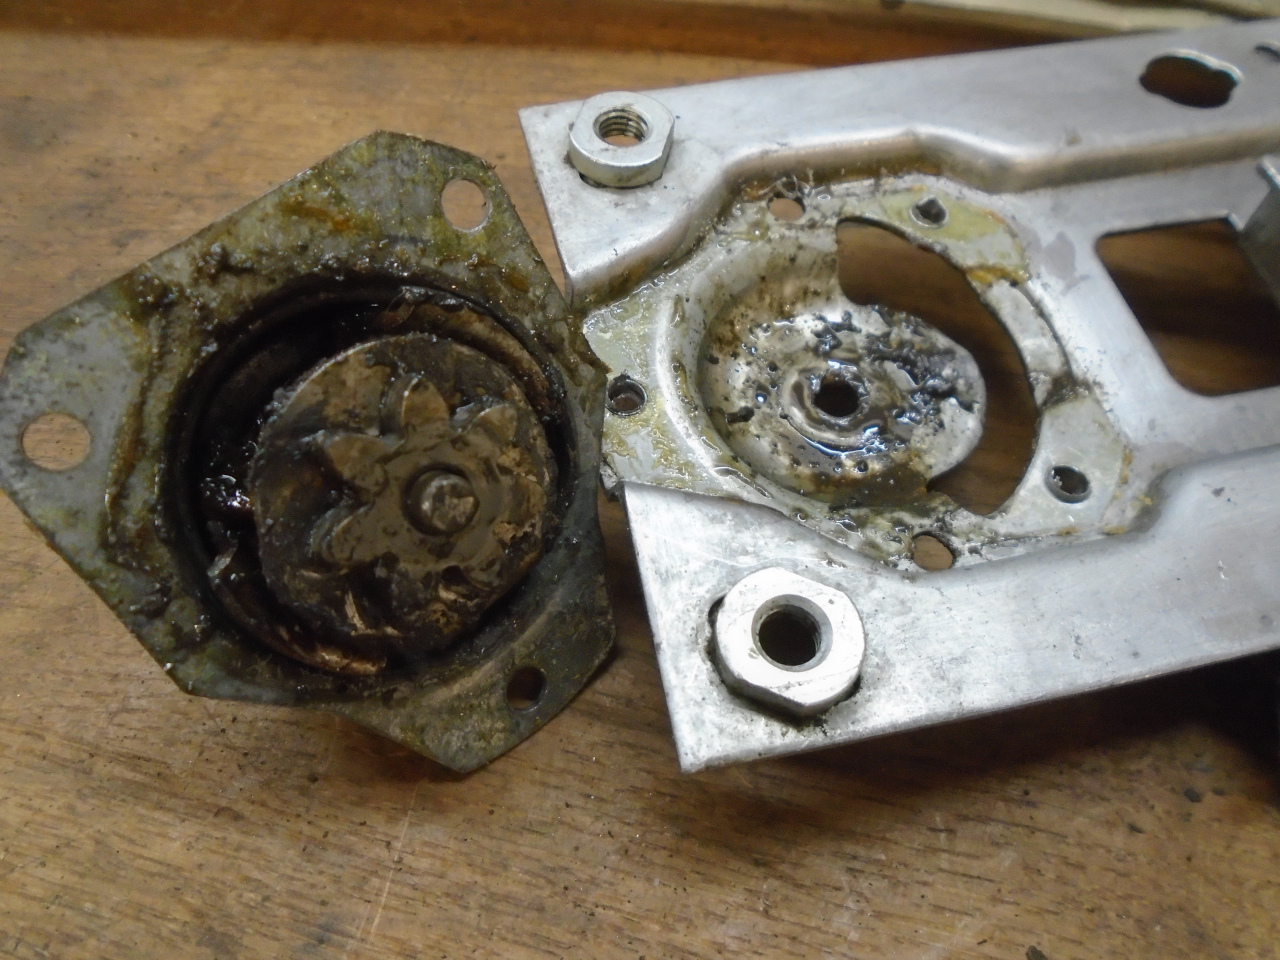
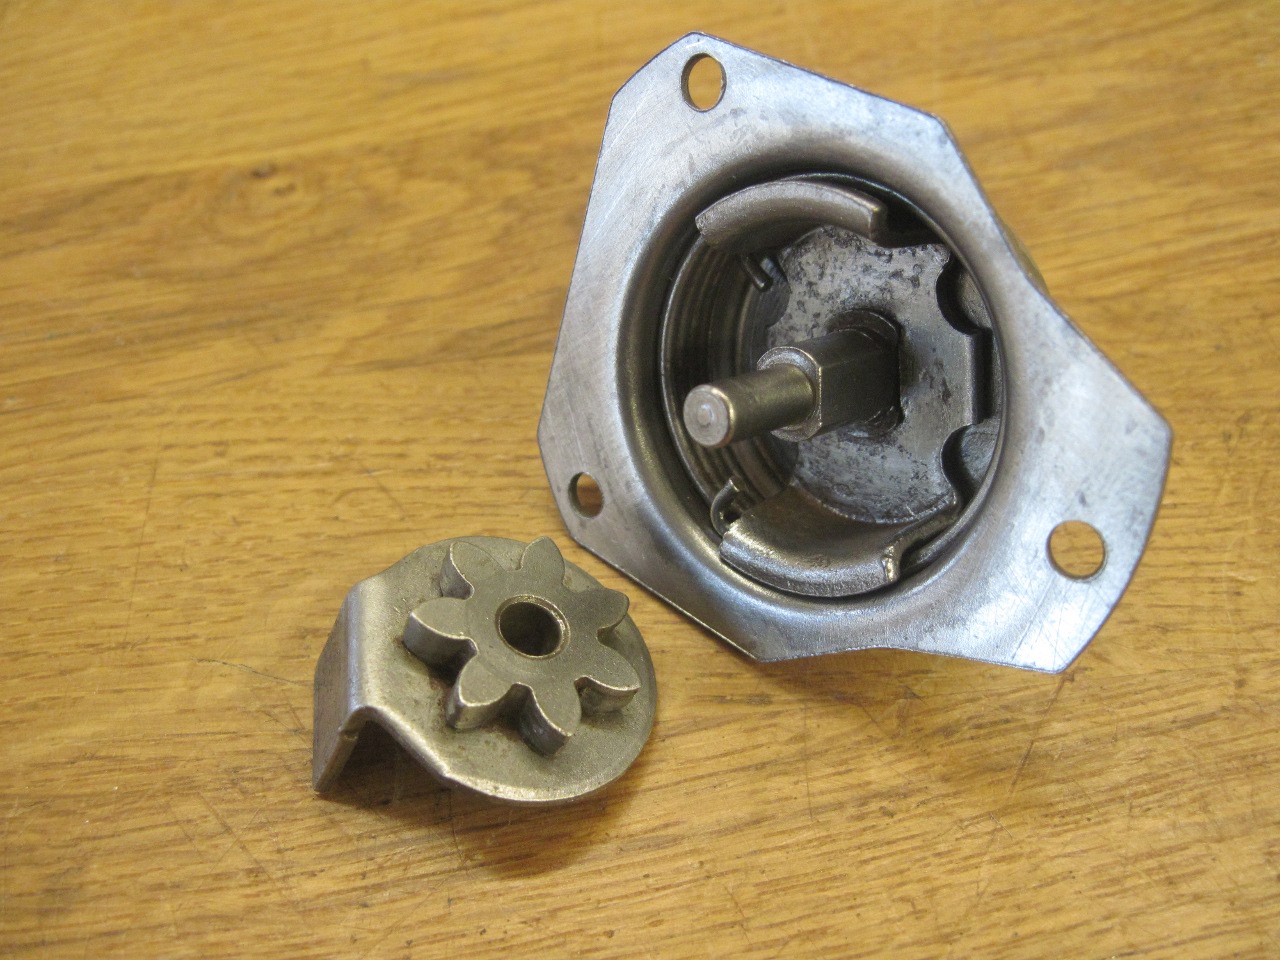
There is one more important feature to a window regulator. Inside
this little can where the window crank attaches, is a small
clutch. It keeps the drive gear from being rotated by the sector
gear. This could happen due to the weight of the window, or the
force of the spring. The clutch is released by moving the hand
crank in either direction.

The inside of the cap there was some dried up, gritty grease. It looks wet due to the cleaning solvent.
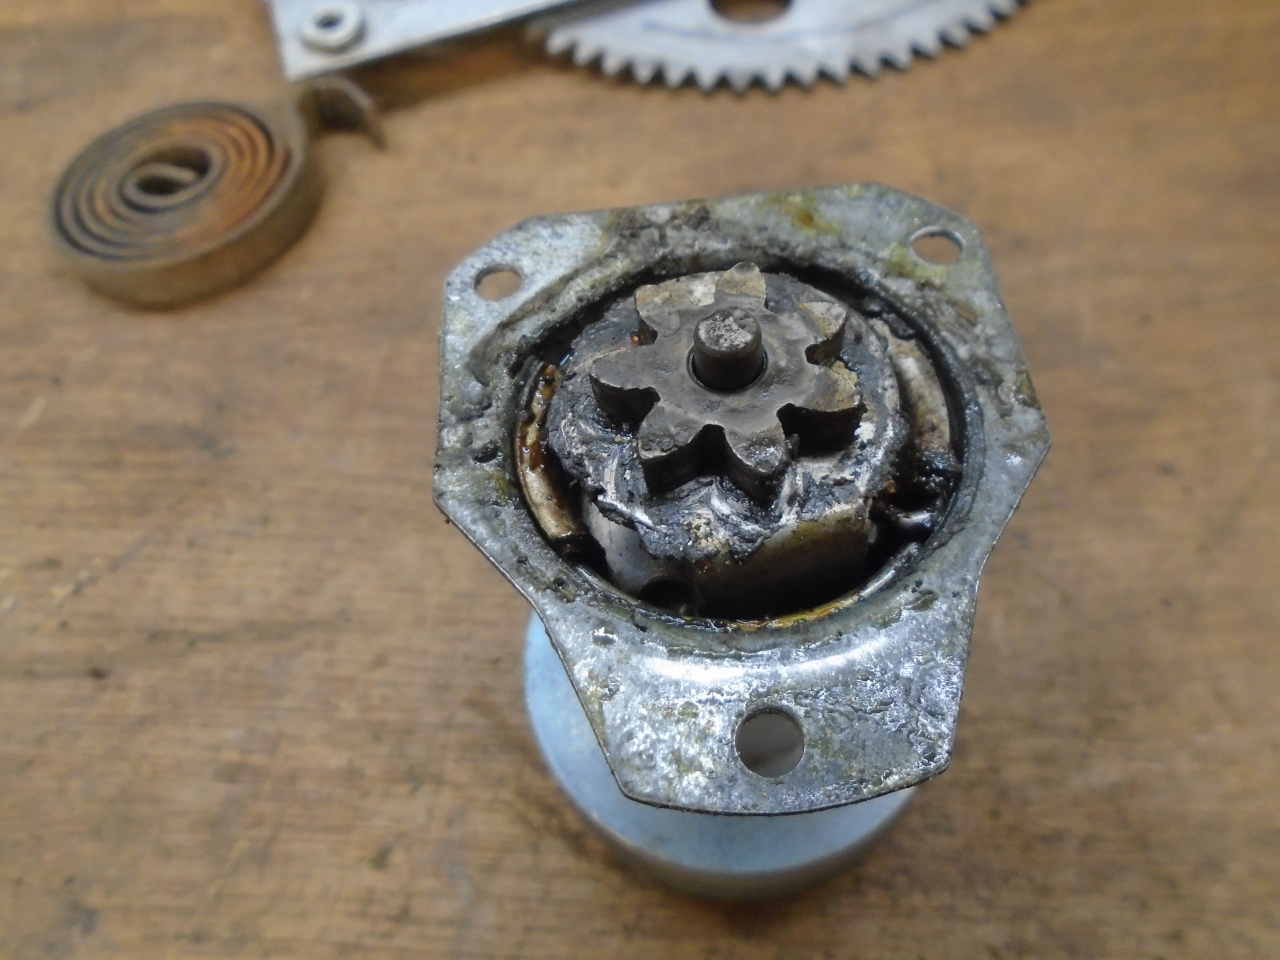
Cleaning up the parts makes it easier to see how they work.
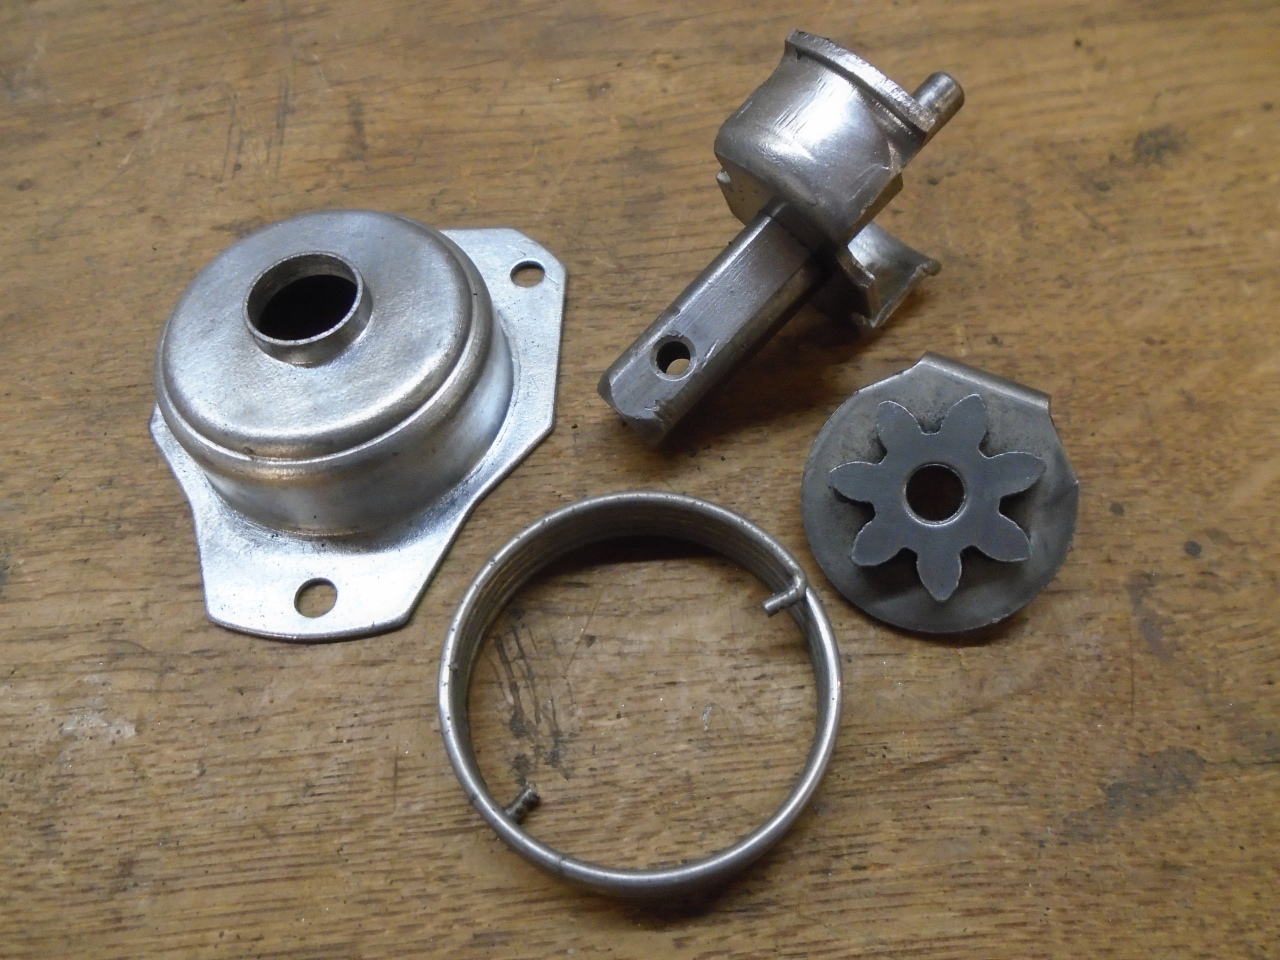
The spring is the actual clutch. Its OD is slightly bigger than
the inside of the cap, so when it goes in, it presses pretty hard on the
inside of the cap.

When the crank is turned, one of those arms attached to the spindle
catches one of the little nubs on the ends of the spring, winding it up a
little, making it slightly smaller, and releasing its grip on the
can. Turning the crank further turns the drive gear.
New grease in the clutch mechanism. One caution here. The
grease needs to lubricate, but not too well. I used a moly loaded
grease at first, and the clutch would slip. A conventional grease
worked great.

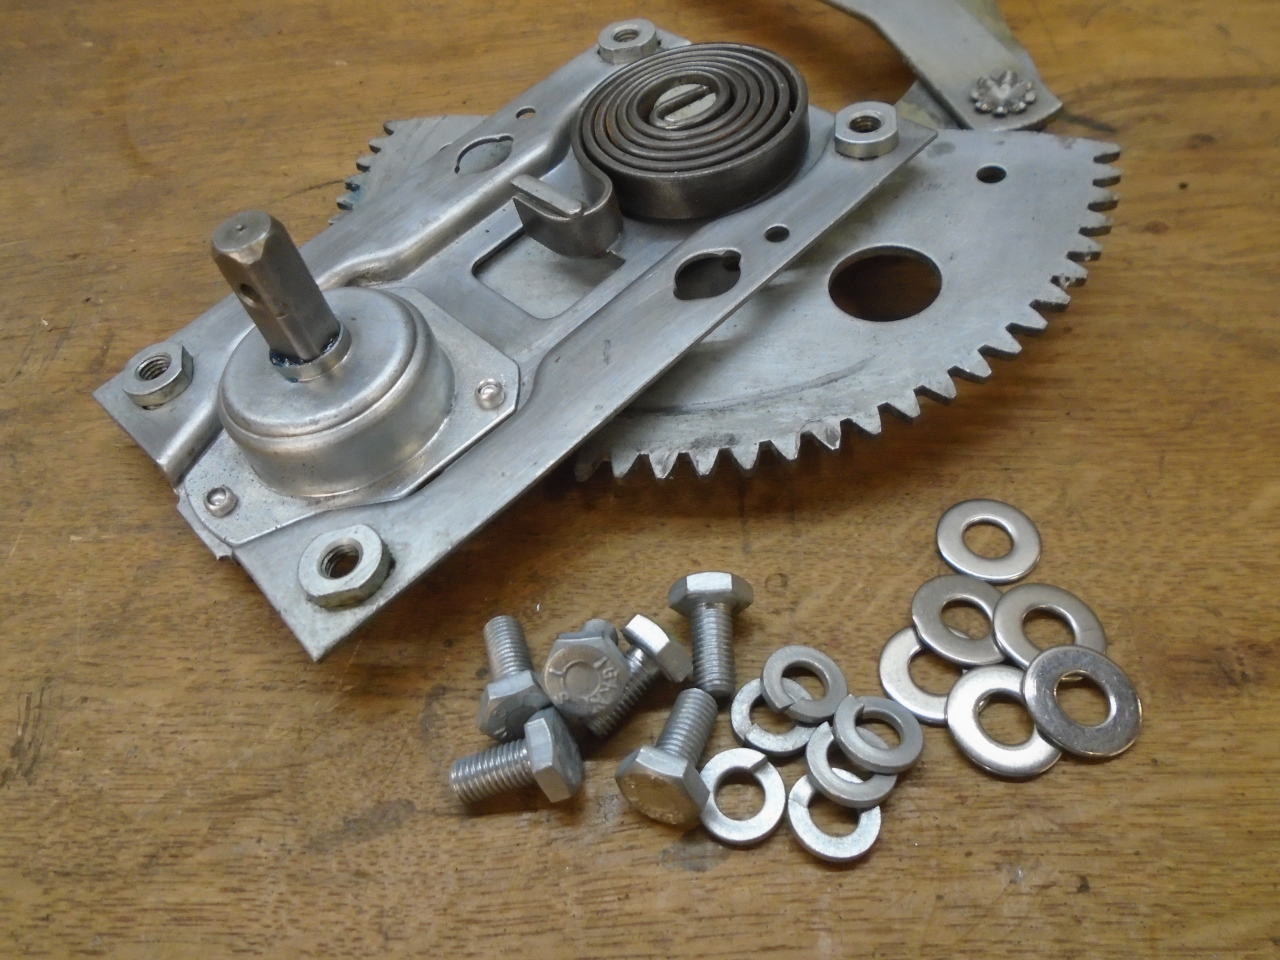
Buttoned 'er back up.

Replated the bolts, and rounded up new washers.
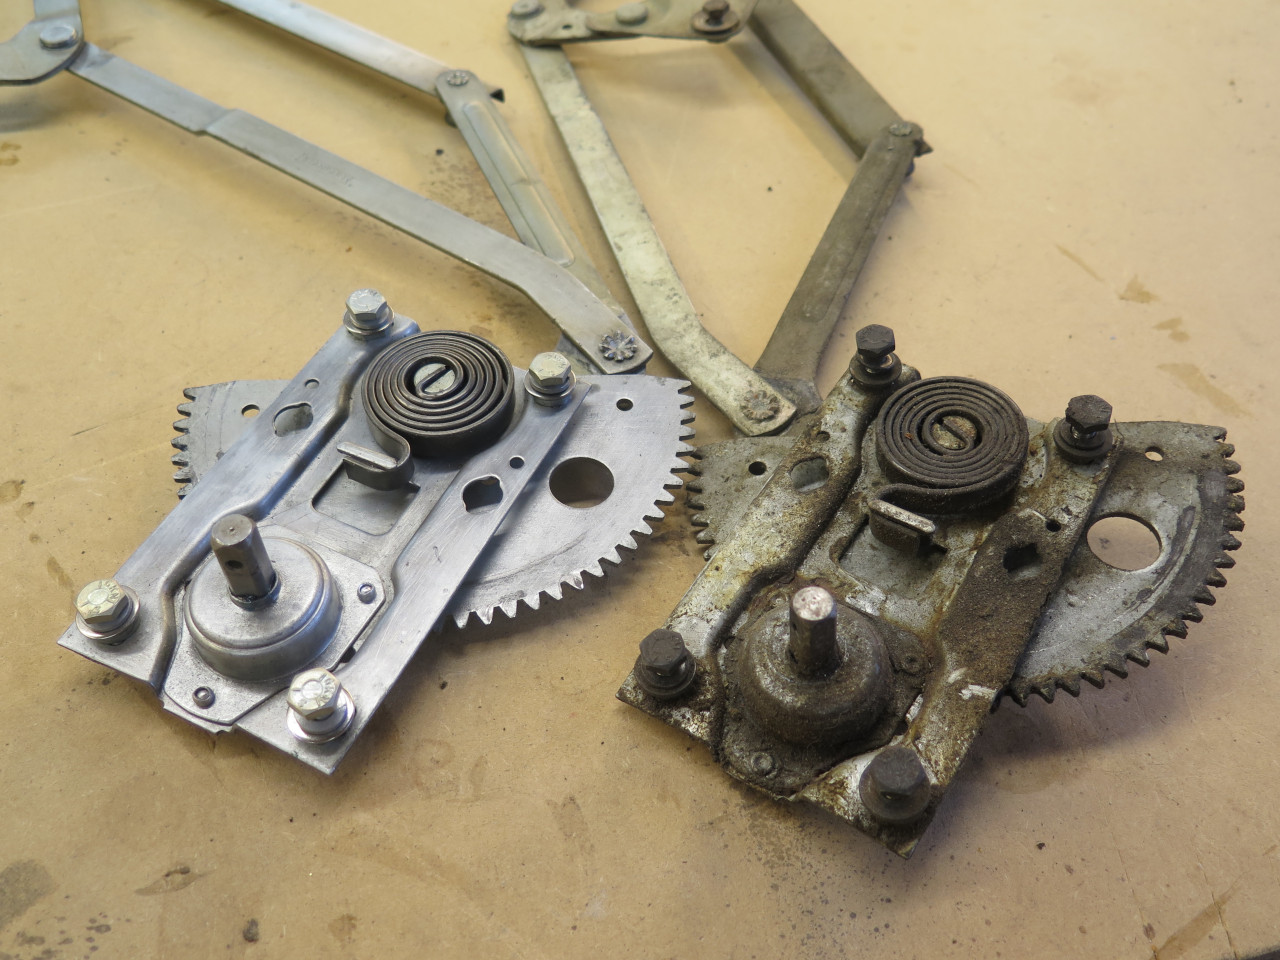
Then did the other one.

Though not part of the window mechanism, the door latch remote controls were next in the box.
I sort of expected that one of the lost motion springs would be broken, but they were both good.

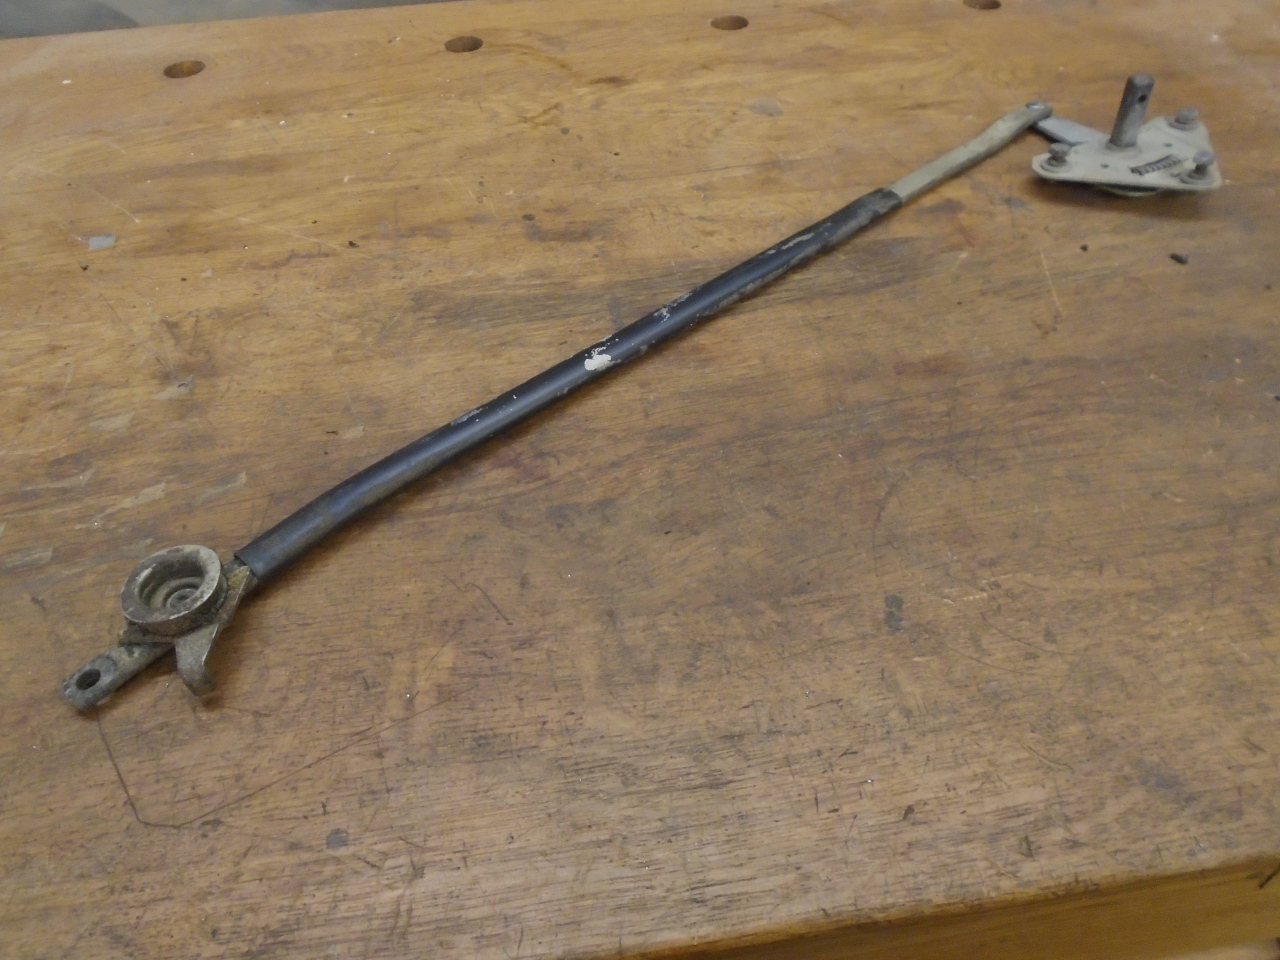
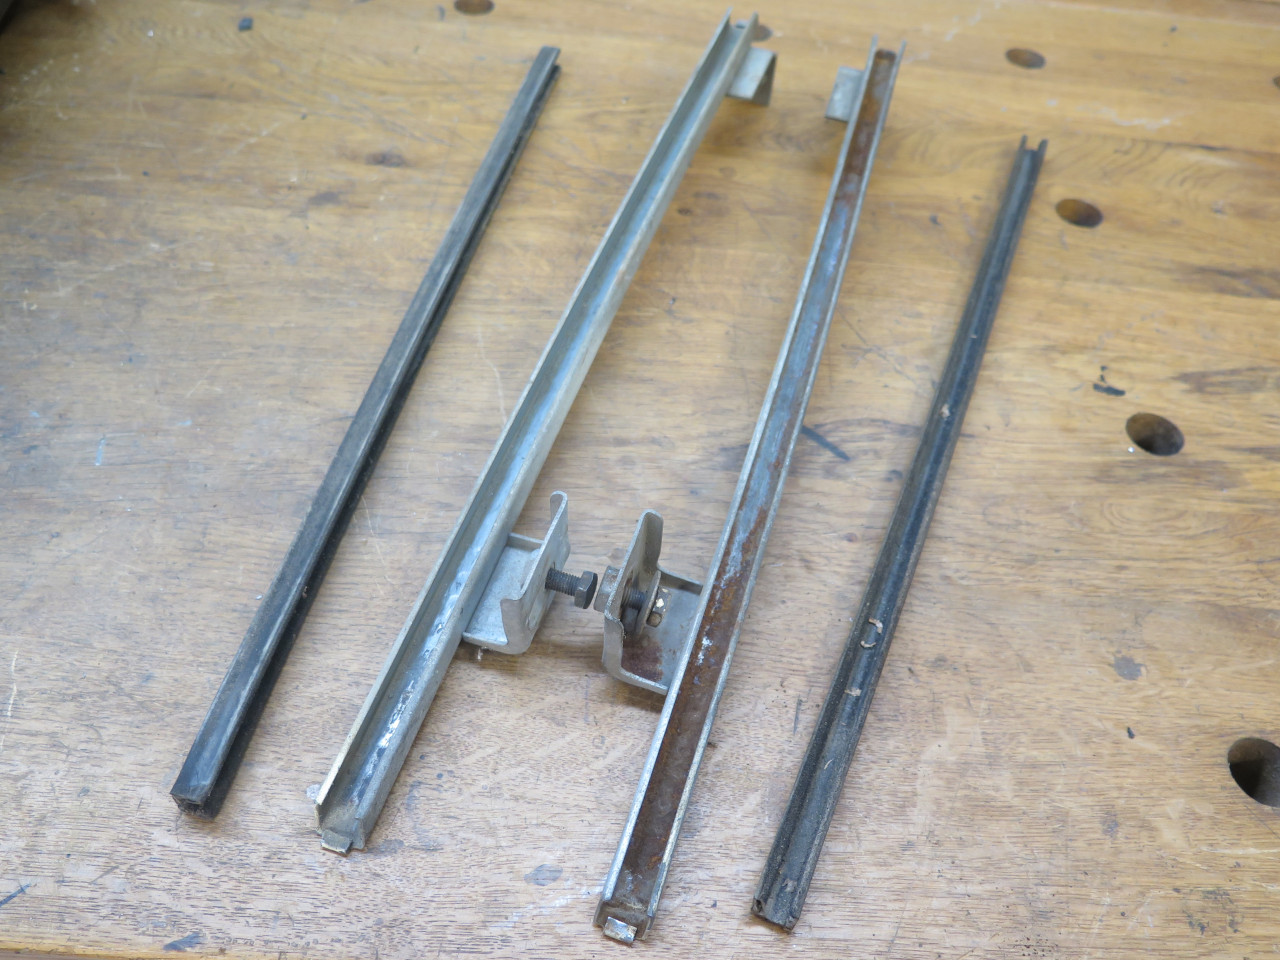
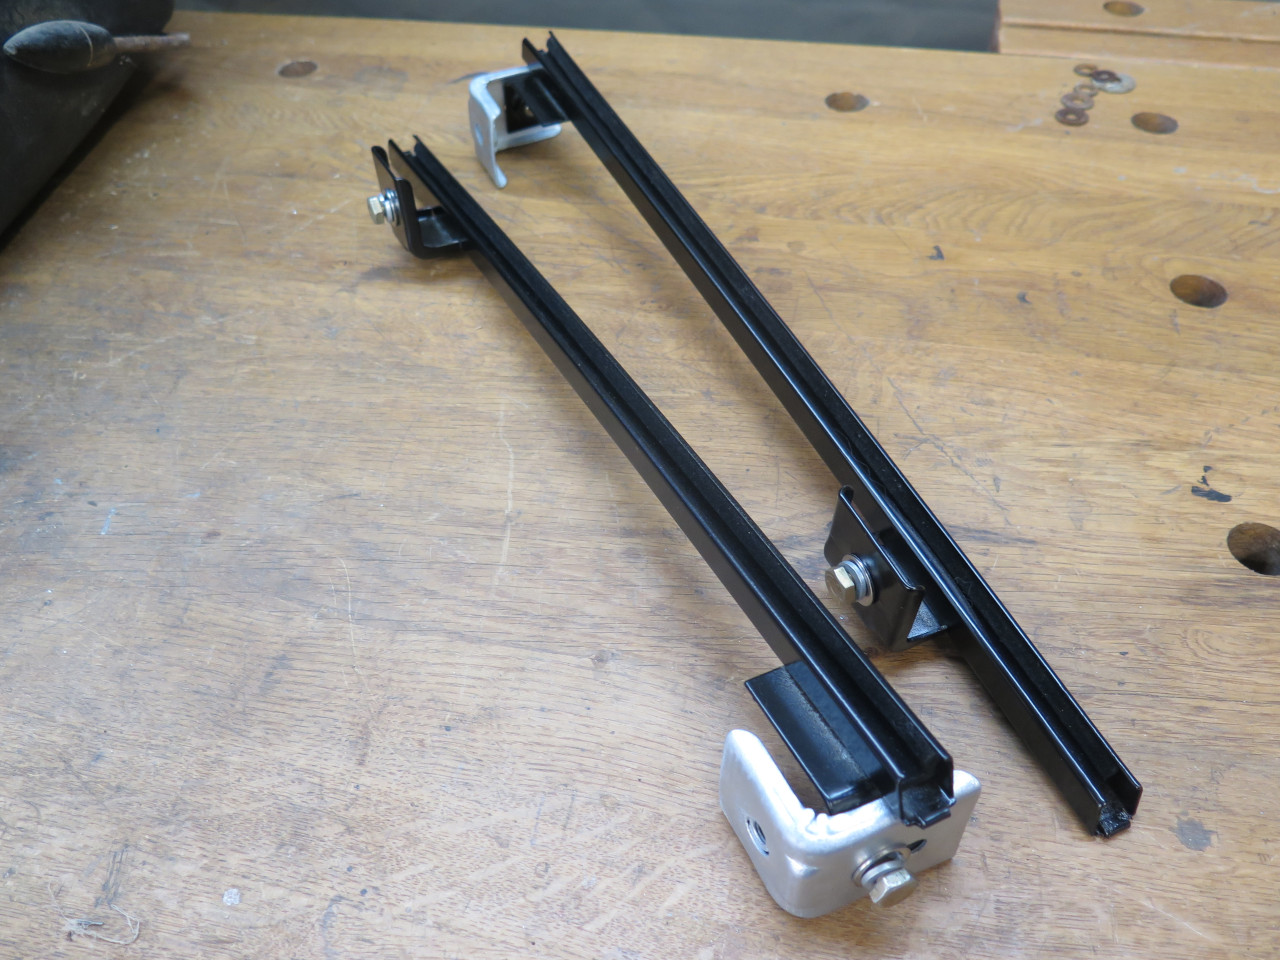
Next up were the rear window guides.

These have angle mounting brackets at the bottom. They both were
pretty rusty, and had broken bolts in them, and they were sitting at
different angles, so one was probably wrong.
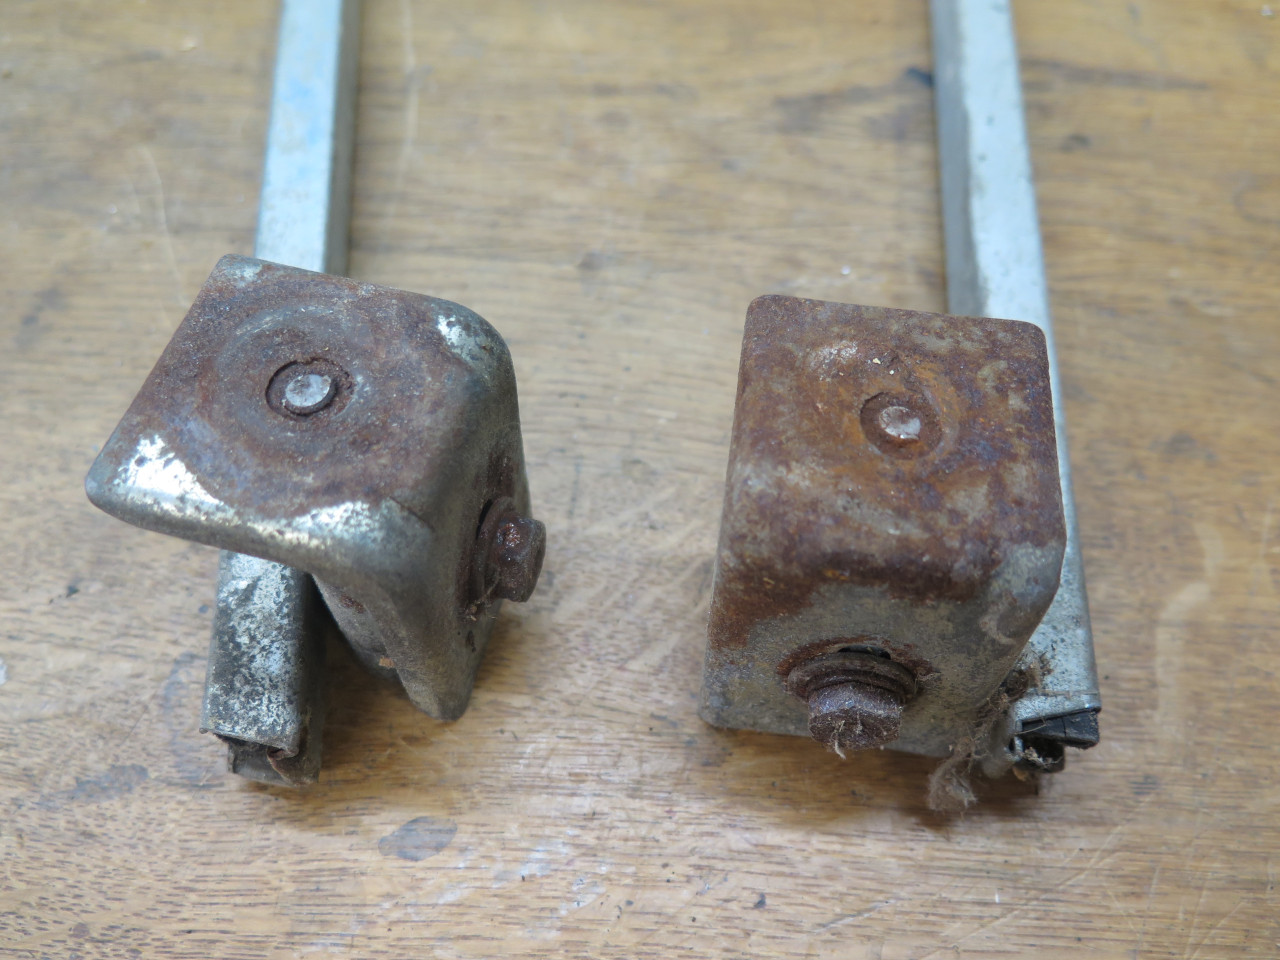
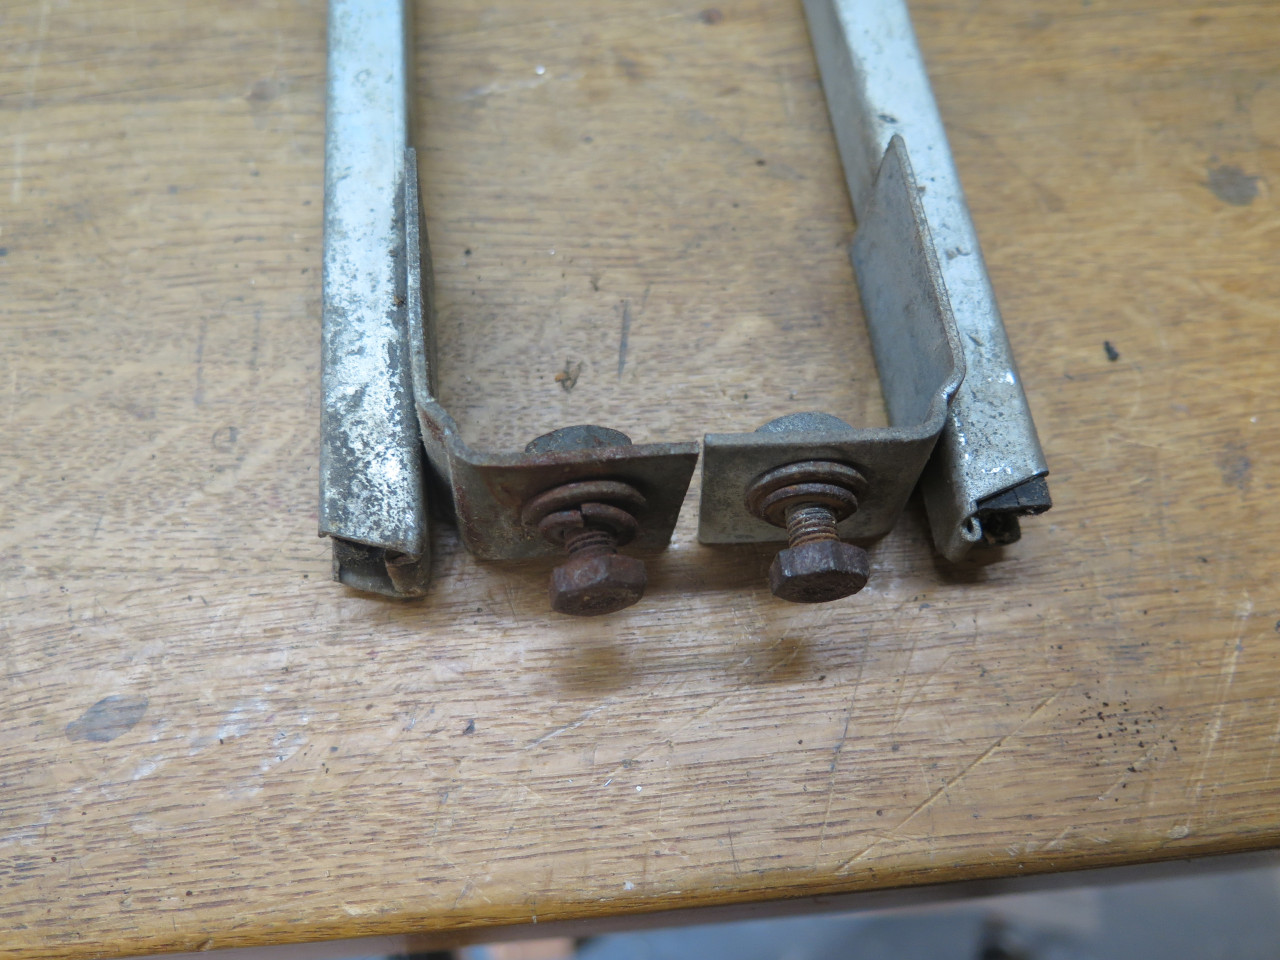
Removing the brackets revealed the problem. Might have happened
during an over-enthusiastic disassembly. It bent back without
problem.

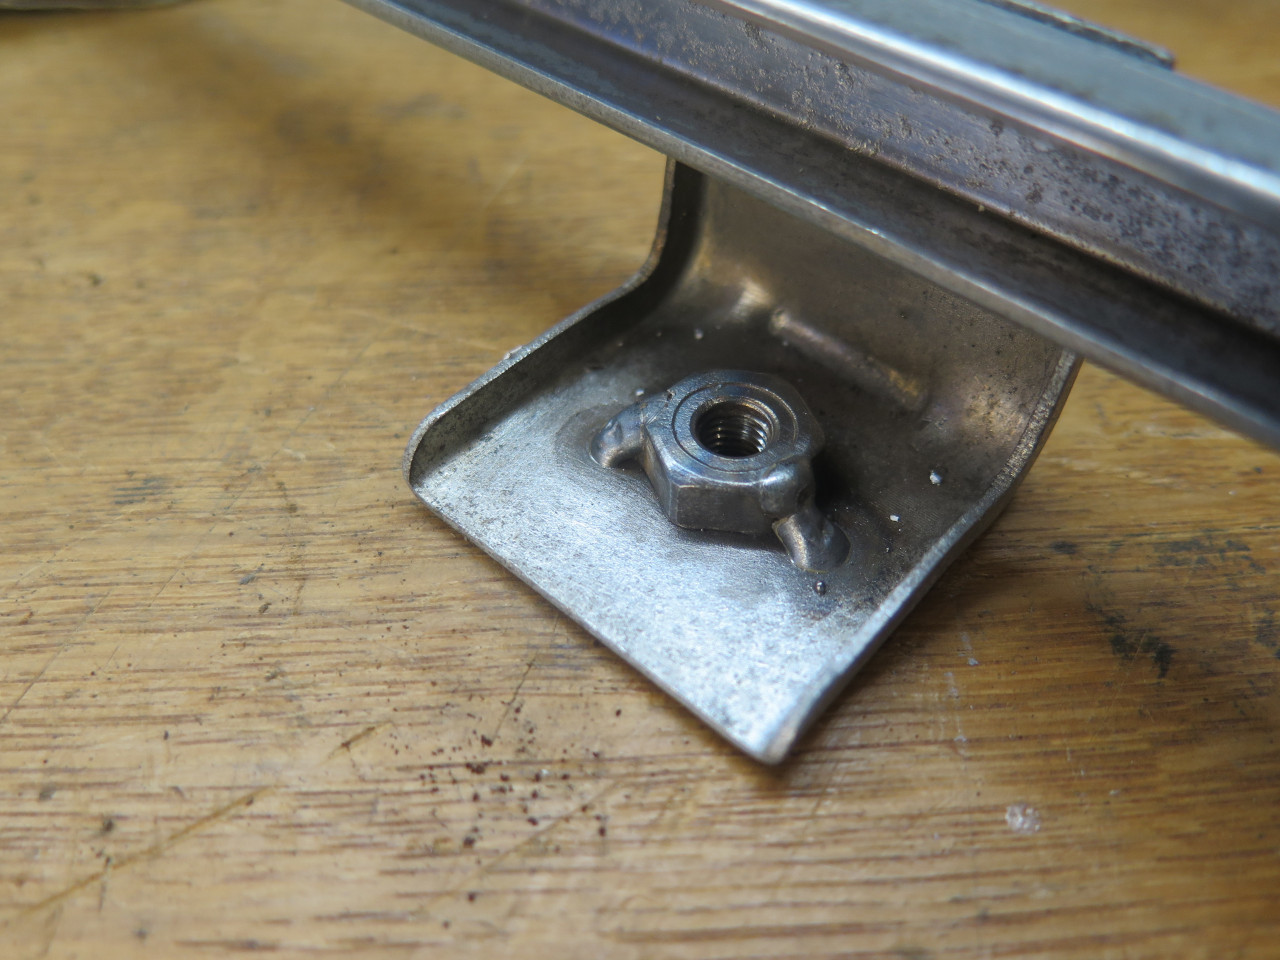
Also, one of the upper brackets had lost its staked-in nut. Also an easy fix.

After removing the felt track liners, I saw that one of the tracks had
quite a lot of rust on the inside. Though getting rid of the rust
would be trivial, it was clear that the protective zinc coating was gone
over about a third of the inside surface of that track, and those areas
would begin to re-rust immediately.
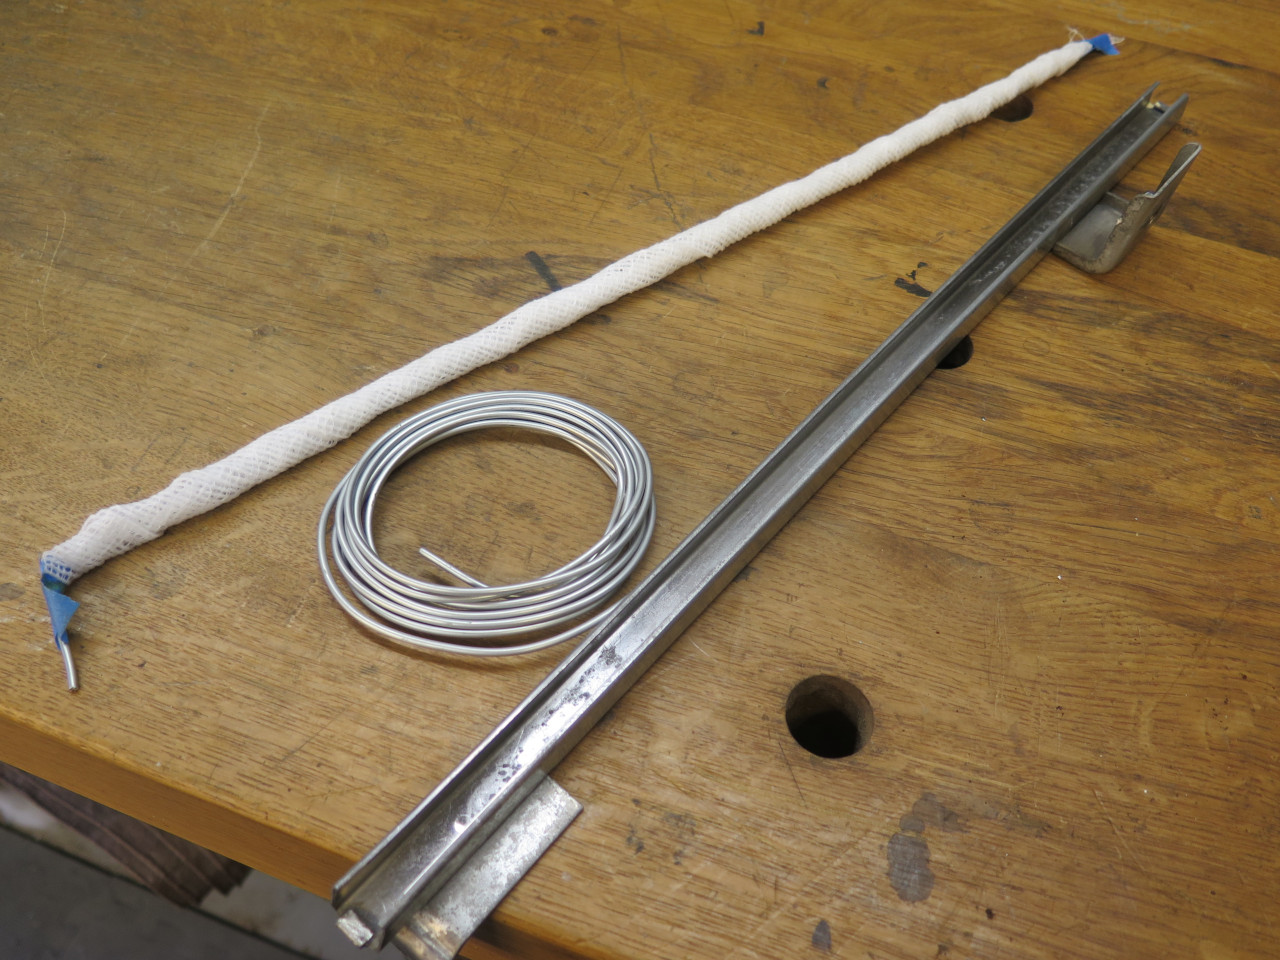
Now, I routinely replate things with zinc, but this was a bit of a
special case. Electroplating is largely a line-of-sight process,
and getting coverage inside recesses can be difficult or
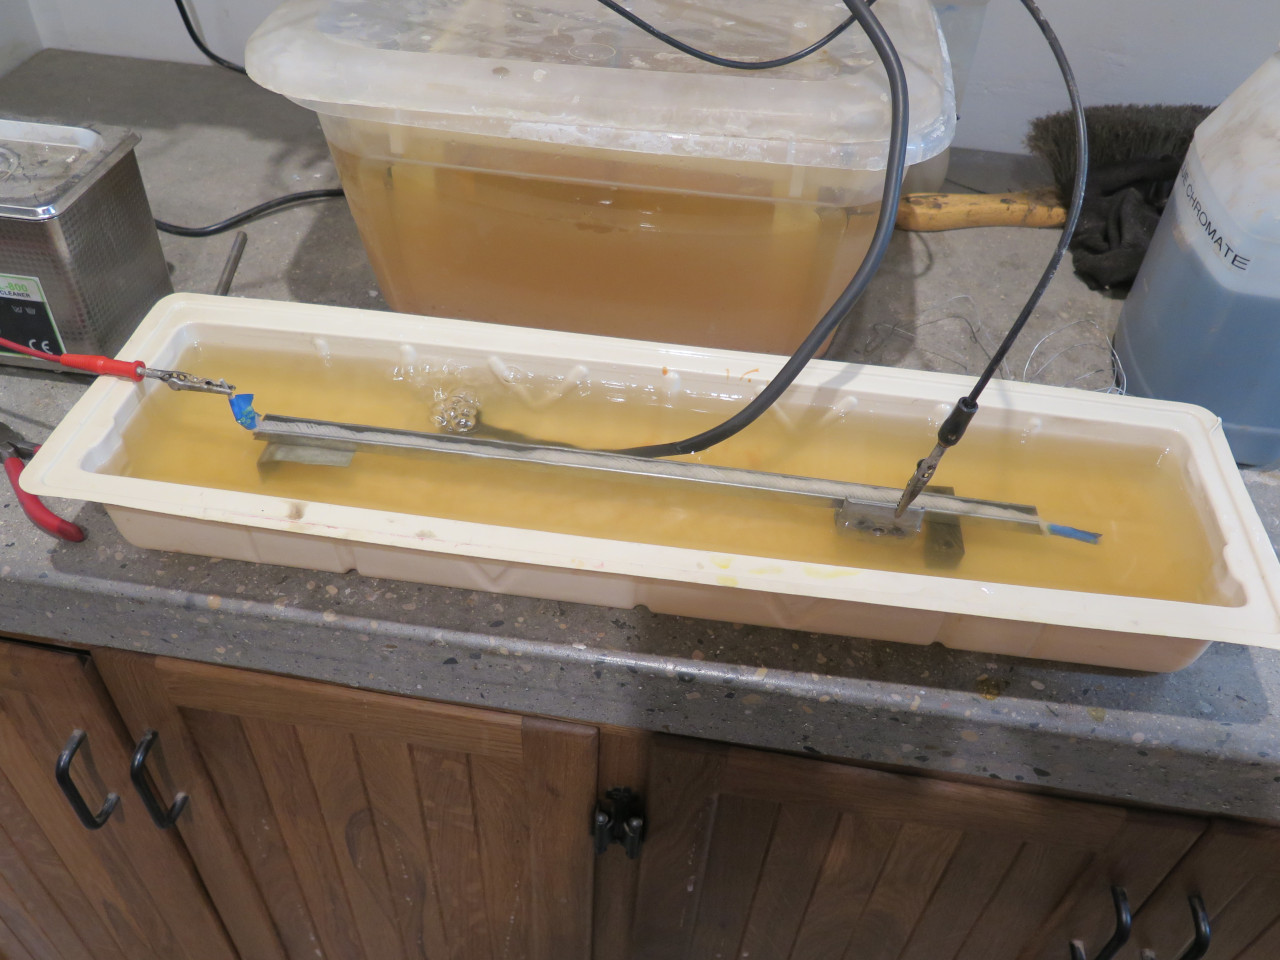
impossible. I ended up making a custom anode from zinc wire,
wrapped in gauze, which was inserted in the track. Plating was
done in a temporary long tank. This worked pretty well.
There is some pitting from the rust, but the pits are coated with a nice
layer of zinc.

There were also some small rust areas on the outside of the tracks, but
since 90% of the zinc was in good shape, I decided not to replate them,
but to just powder coat them. The rusty angle brackets did get
stripped and replated after the broken bolts were pulled out.
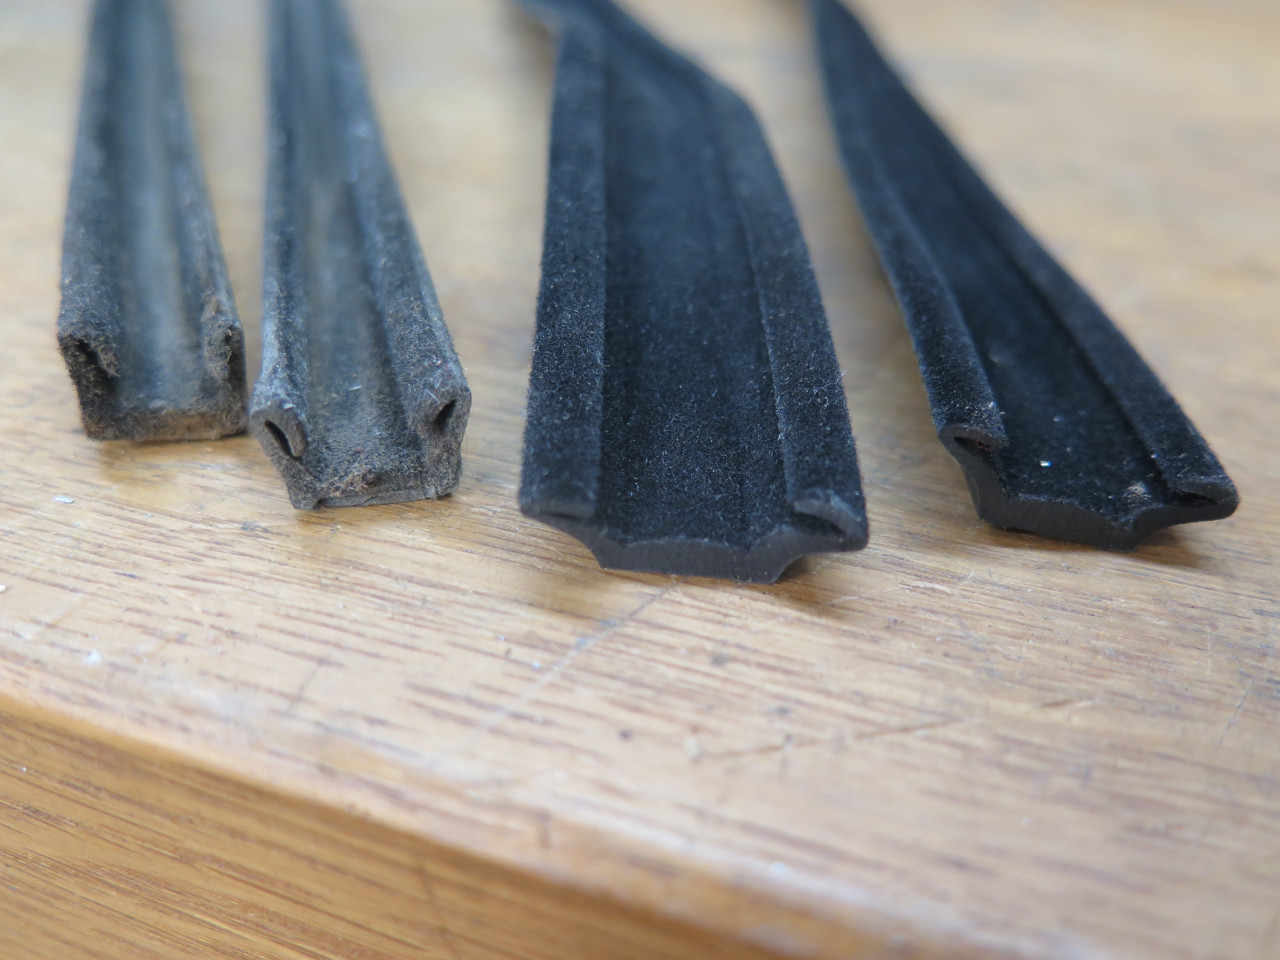
Then it was finally time to replace the felt liners. The original
liners were fairly rigid sticks, while the replacement material was very
flexible.
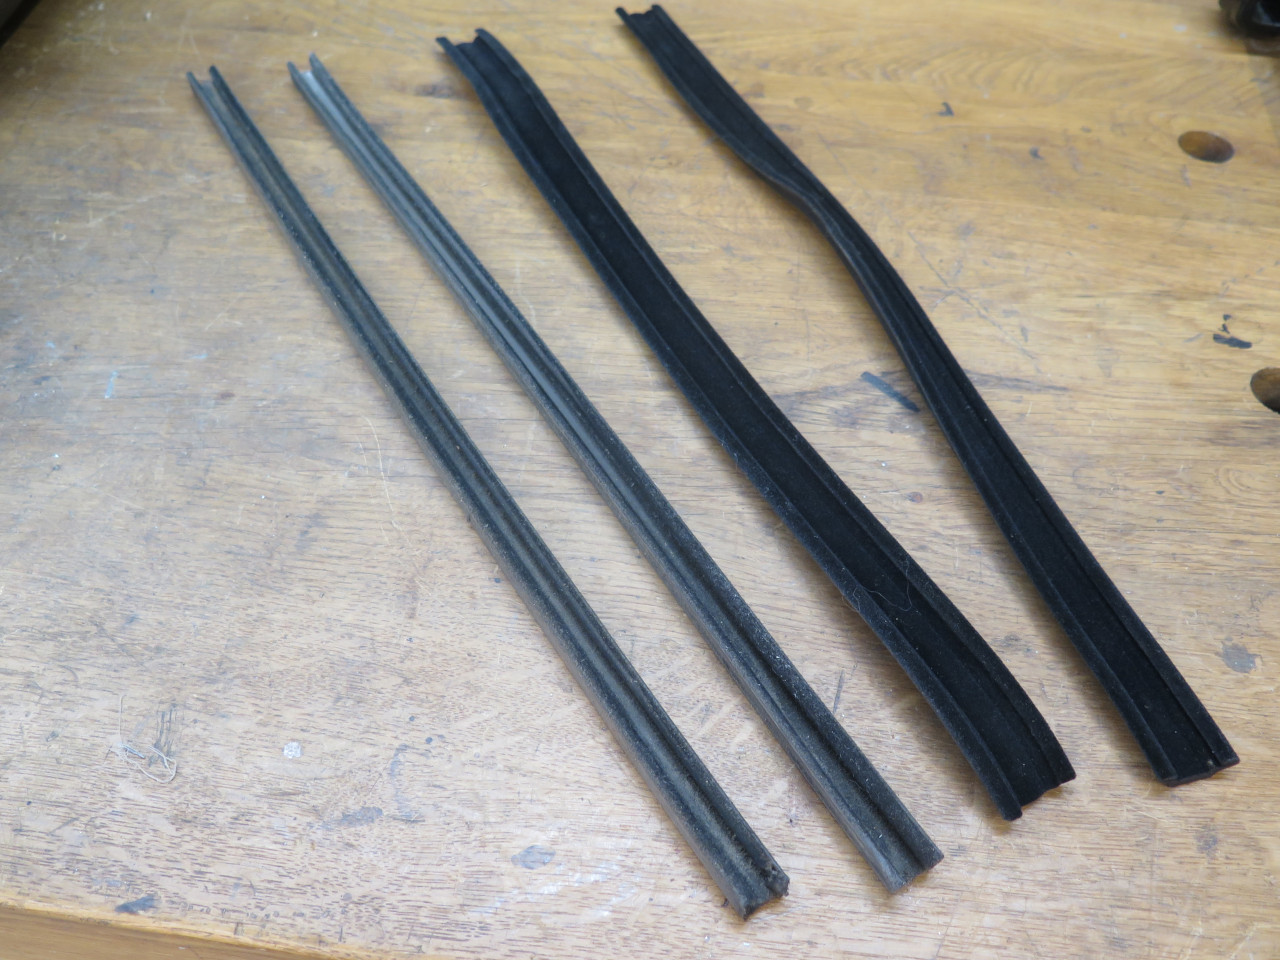
I was concerned about that, but after installing the new liners, it all seemed good.
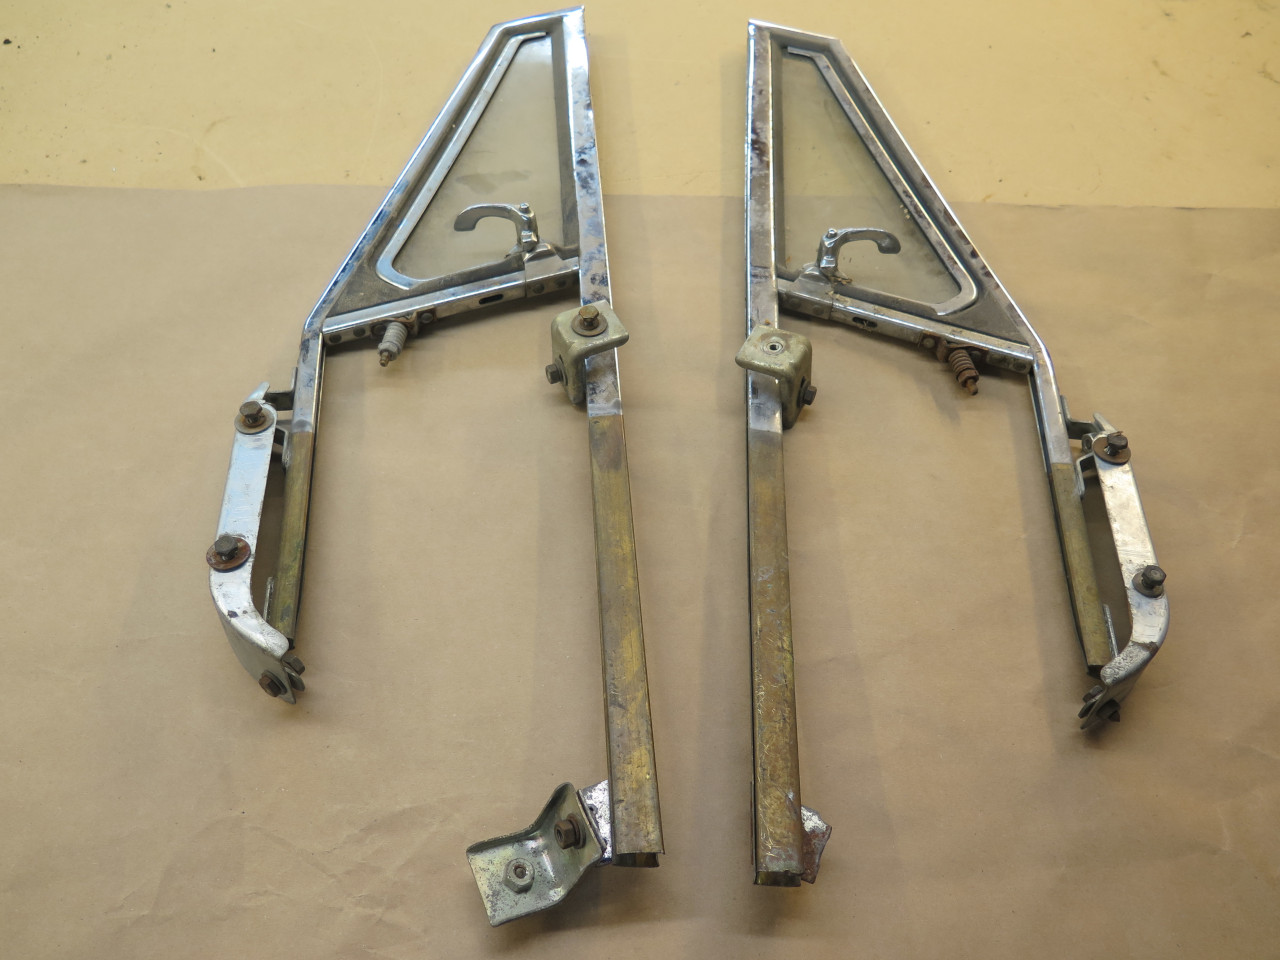
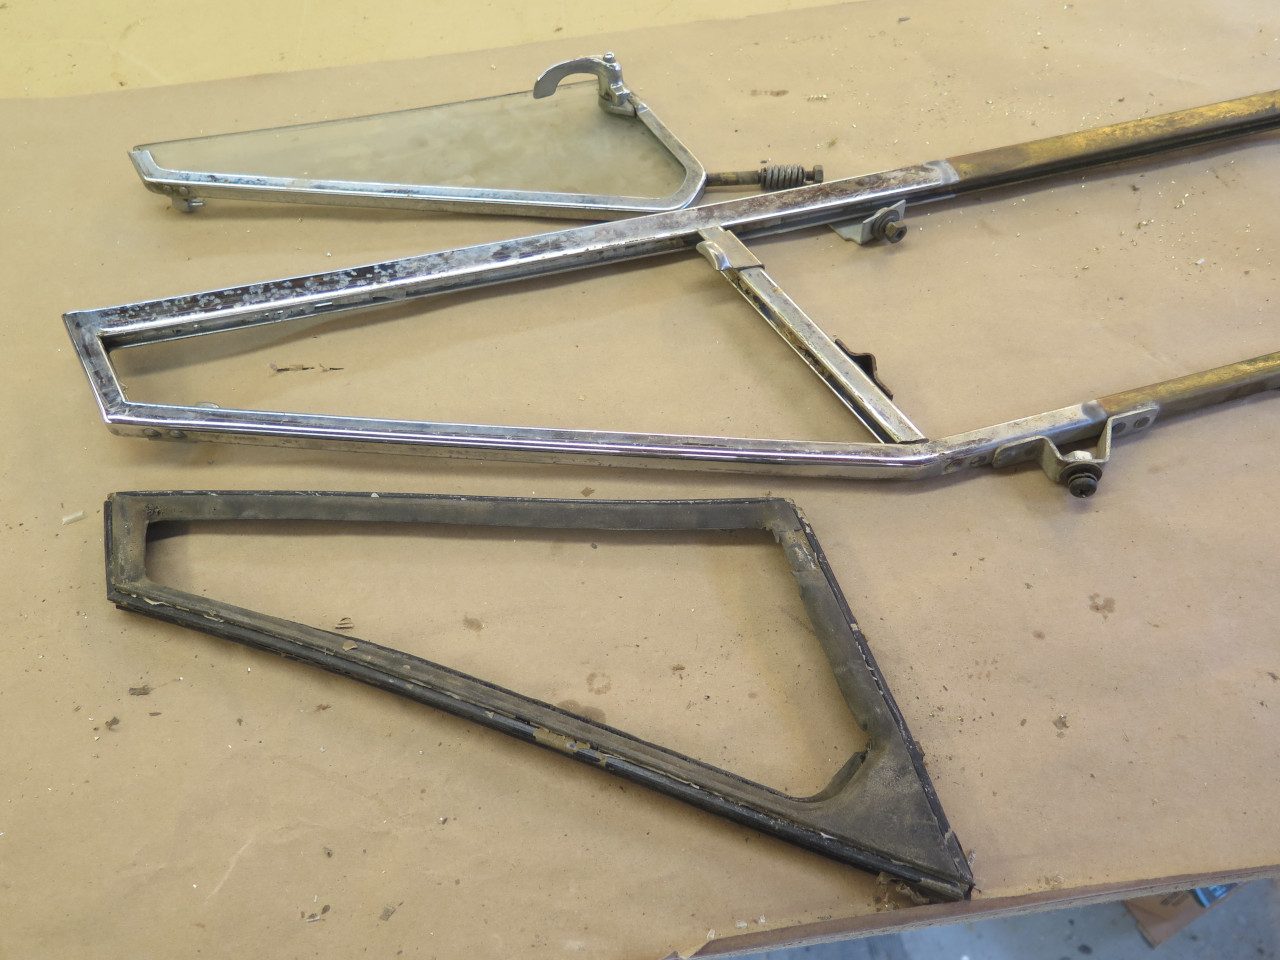
Last up were the front window guides, which actually include the wing
windows and frames. The first thing I noticed was that both bottom
brackets were broken. One had been repaired (probably by me in
the 80s), and the other was partly missing along with the angle bracket
that was supposed to be there.
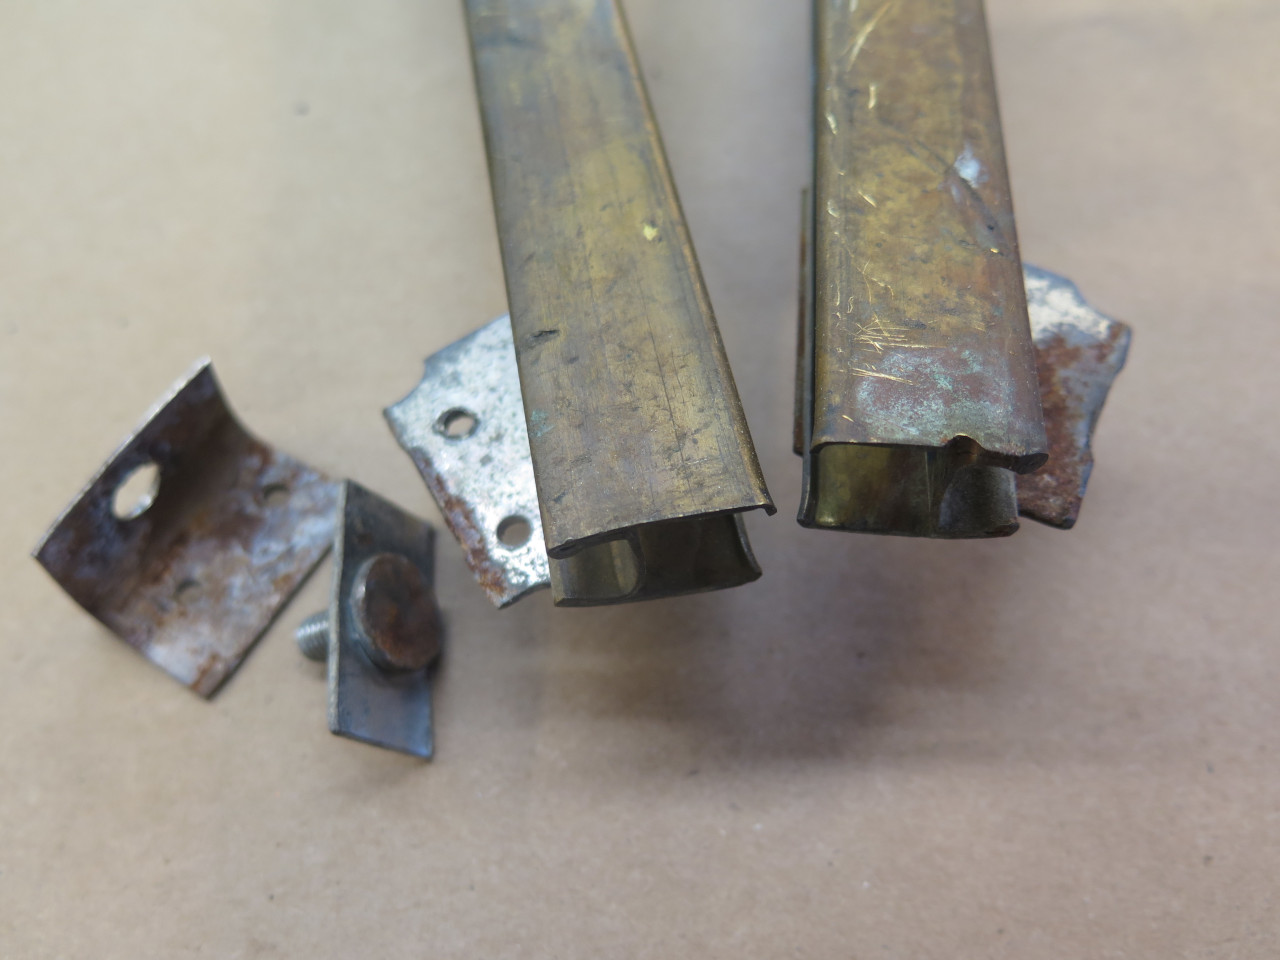
The remnants of the original brackets were riveted onto the frame, and I had to drill some access holes to drill the rivets out.

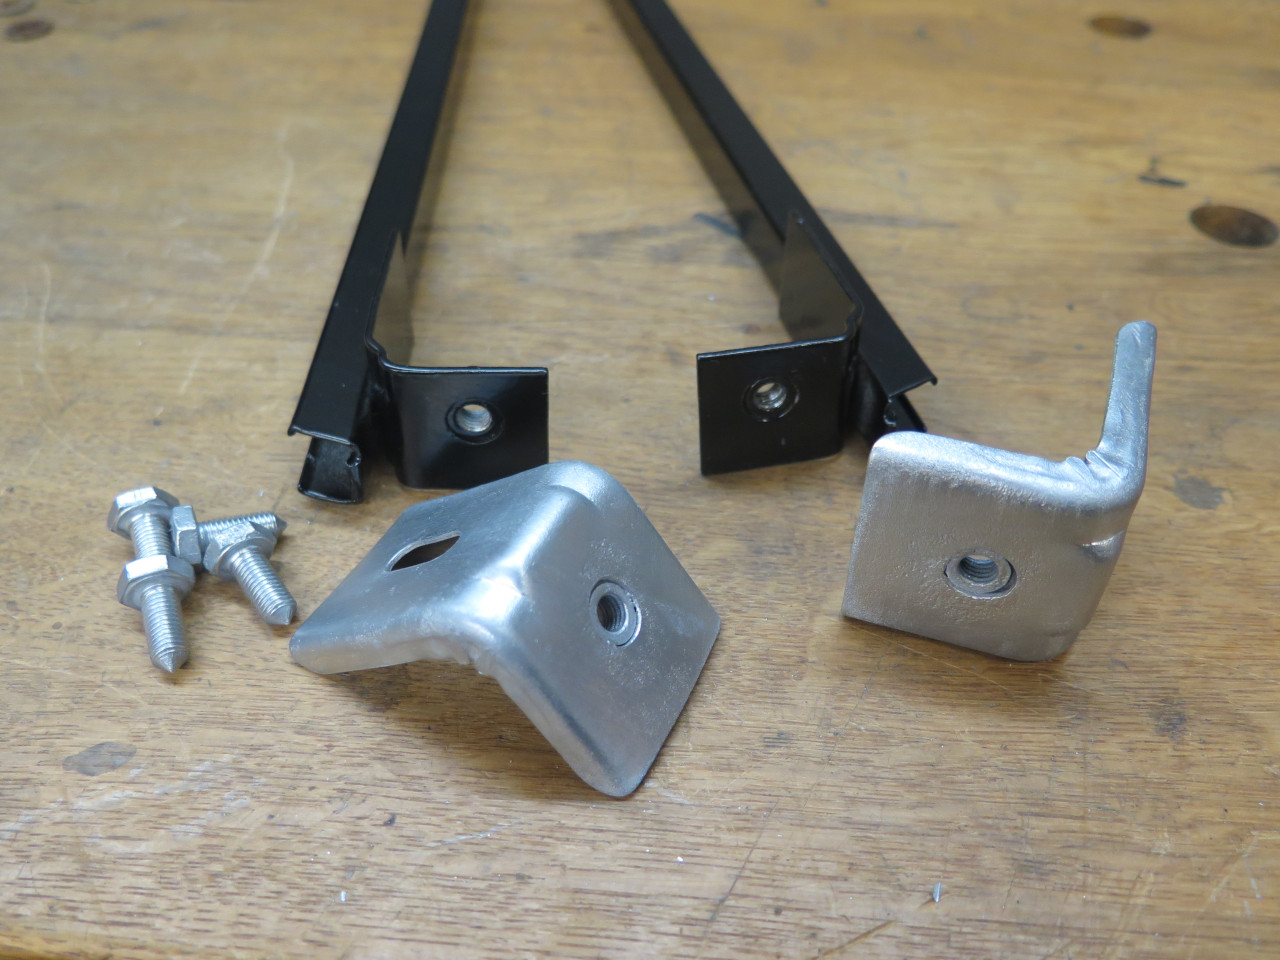
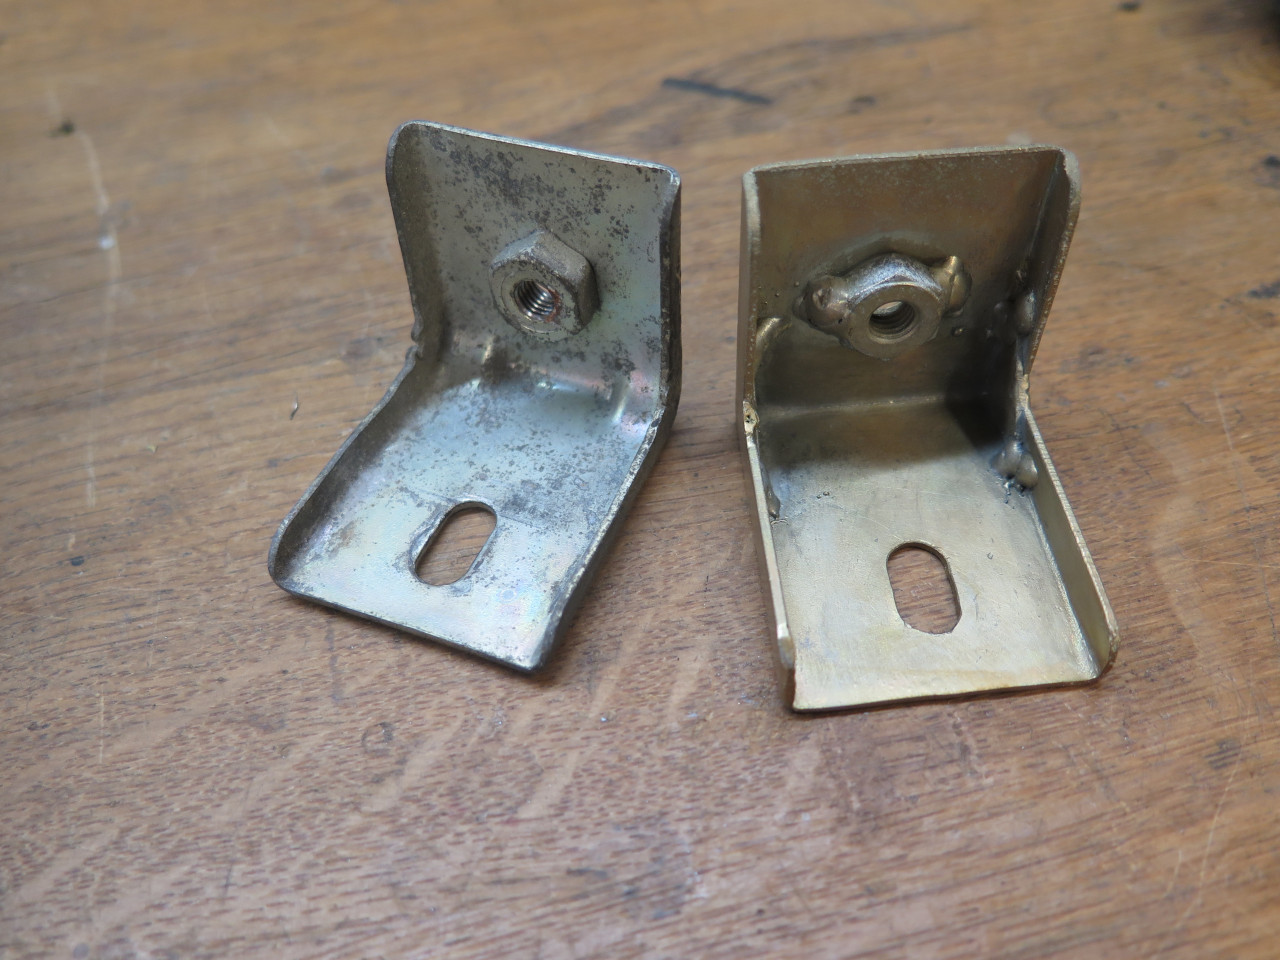
I could pretty easily surmise the shape and size of the original
brackets, so made a couple of new ones. The originals appeared to
be about 18 gauge steel, which was obviously not strong enough.
The new brackets are 16 gauge.

The frame of the assembly is made of brass, so the new brackets were
attached with some brass rivets, using the access holes for the set
tool.


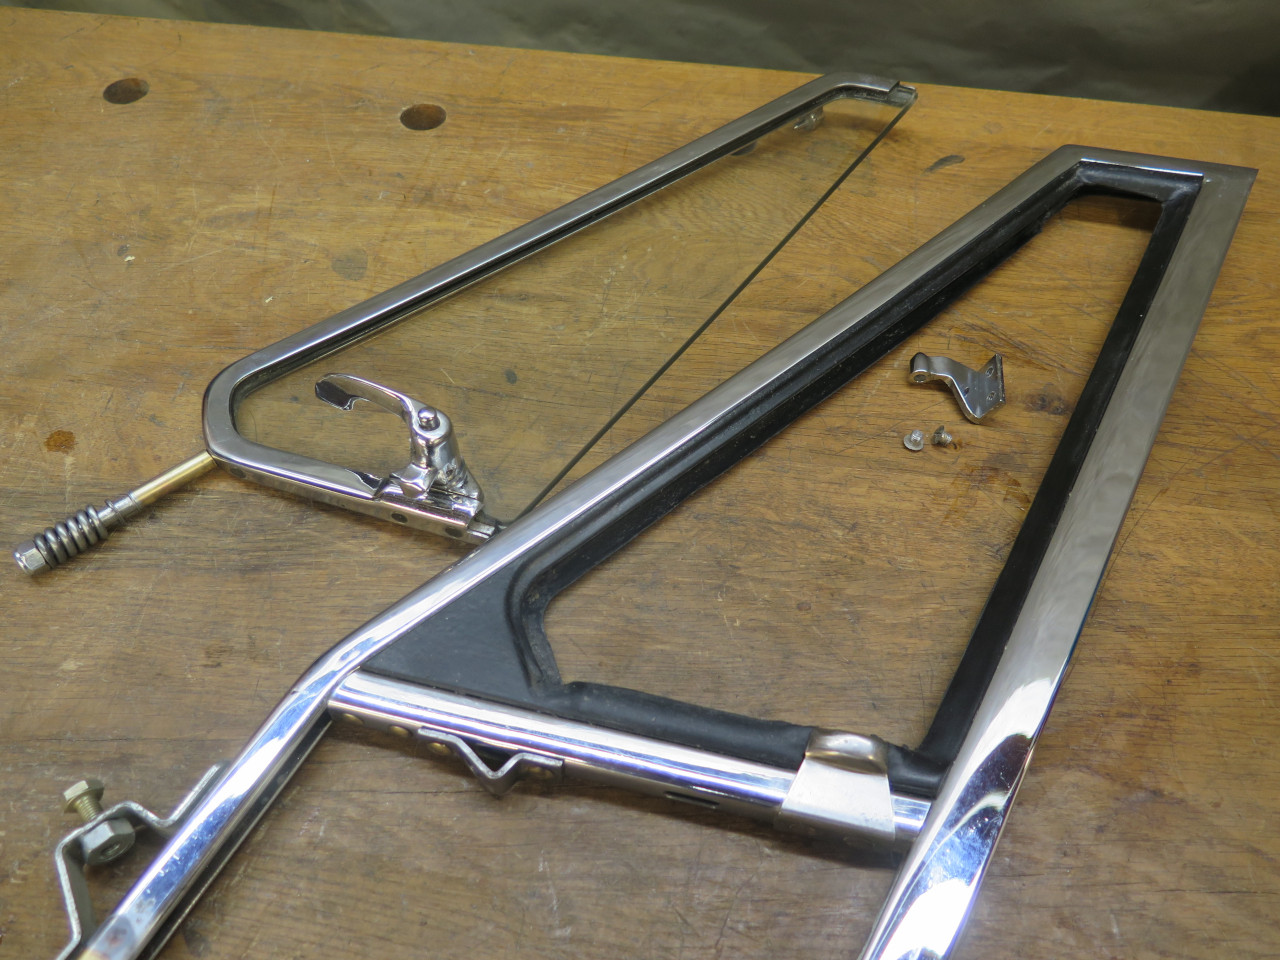
The missing angle bracket was a fairly simple fab. (On the right.)
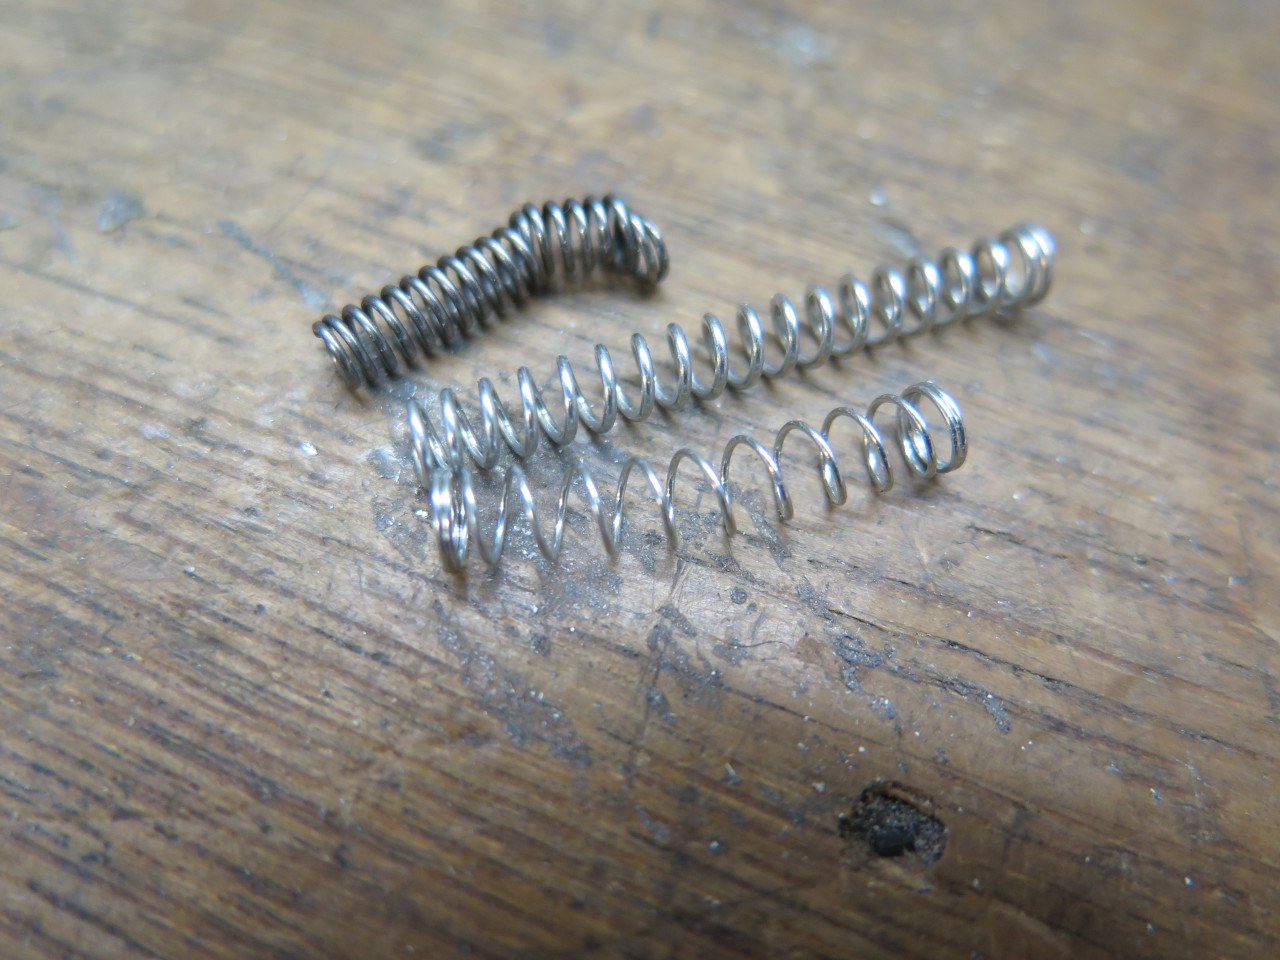
The actual wing window is tensioned by a pretty stout spring on its bottom spindle.
There is the very typical latch mechanism that locks the wing window in
the closed position. The spring for the release button on one of
the windows was all buggered up. I spent too much time looking for
a replacement only to find that a ball point pen spring works
great. Just had to open up the holes it goes into a bit.

I pulled out the rubber gasket that surrounds and seals the wing
window. After cleaning it up, I was amazed to see what good
condition it was in. If I had received that seal as a replacement
from a supplier, I'd have been totally happy with it, so I re-used
it. It was a bit of a wrestling match to re-install it, but it
finally went home.
The bottom spindle of the wing window had quite a bit of rust on it as I
found it. I don't think it was plated at all. I took care
of that...

...and put it all back together.

Some of the other bracketry had patches of rust, indicating that the
zinc was breached. Rather than strip and replate them, I
chemically removed the rust, then powder coated them.


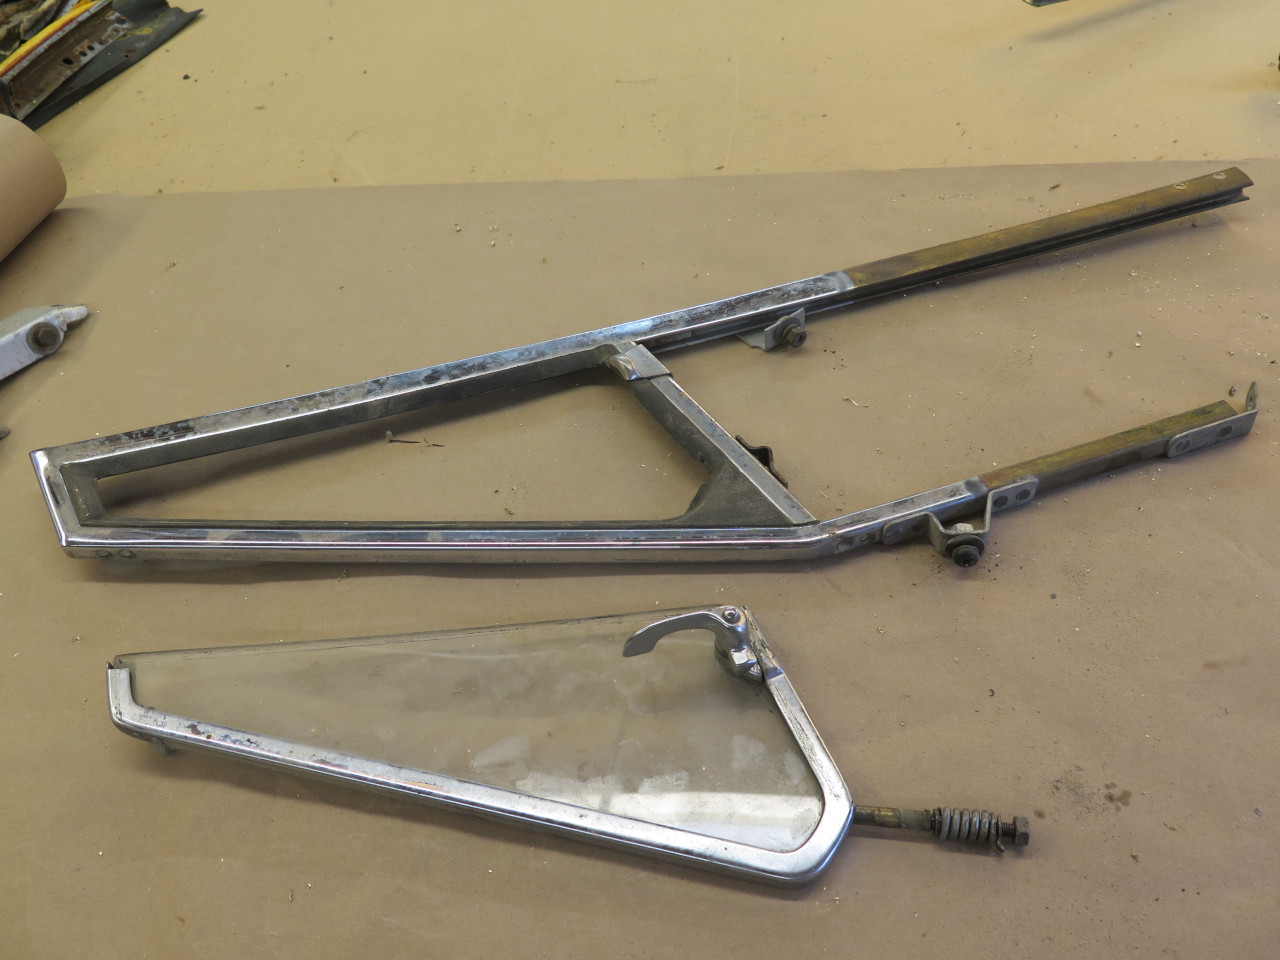
Last, but not least, the channel felt. Oddly, I found that one of
the tracks had a short felt like the one for the rear track.

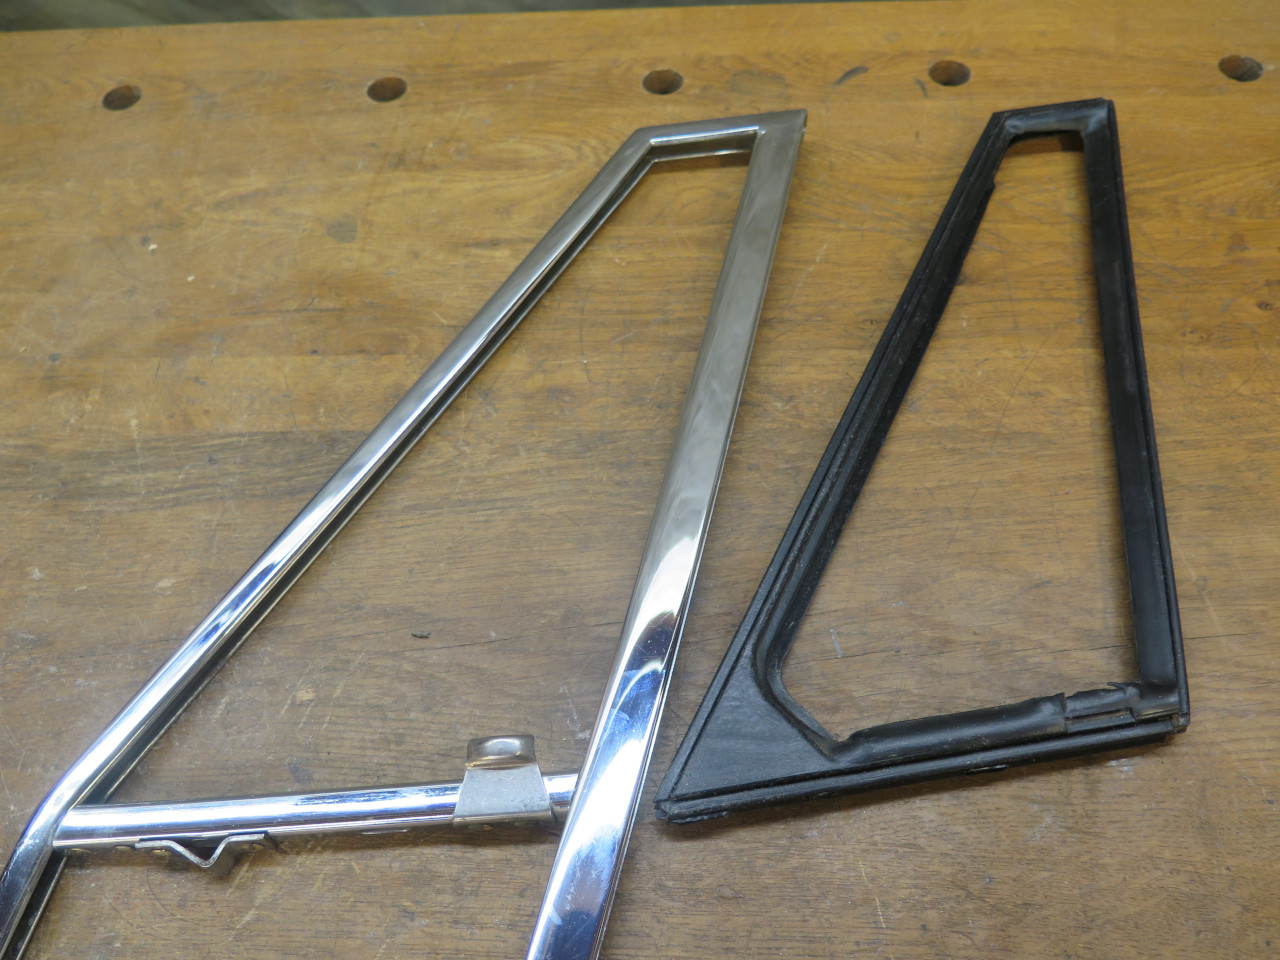
Ready to install. The fact that these frames were made of brass
accounts for the really good condition of the chrome. A little
scuffing here and there, but no pits.

The product of the last couple of week's work:

This was a sort of fun one. It took a while, but the cost was just for the new felt liners for the guides.
Comments to Ed at elhollin1@yahoo.com
To my other GT6 pages.