To my other TR6 pages
October 16, 2017
Windshield
I
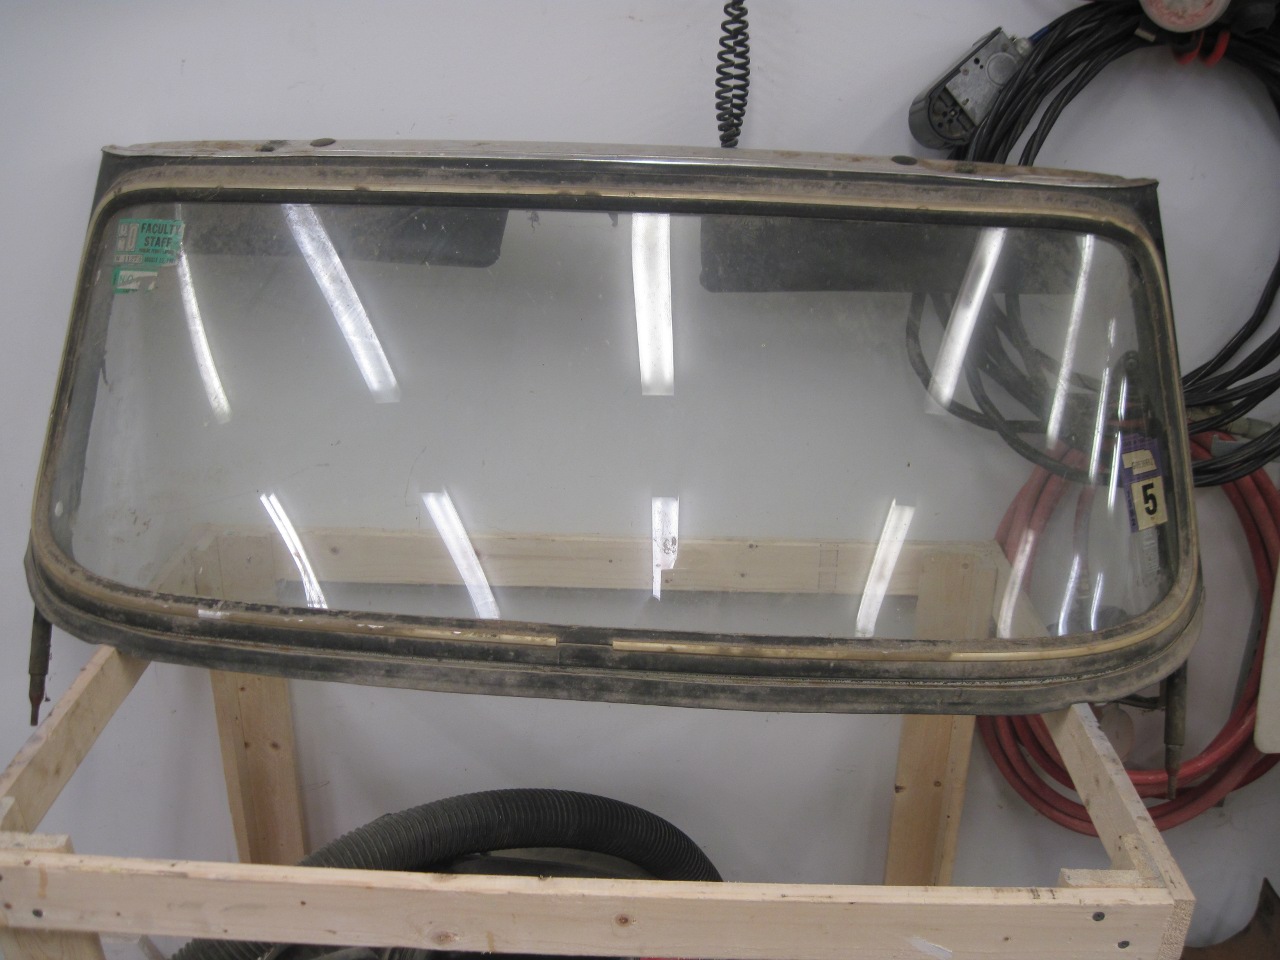
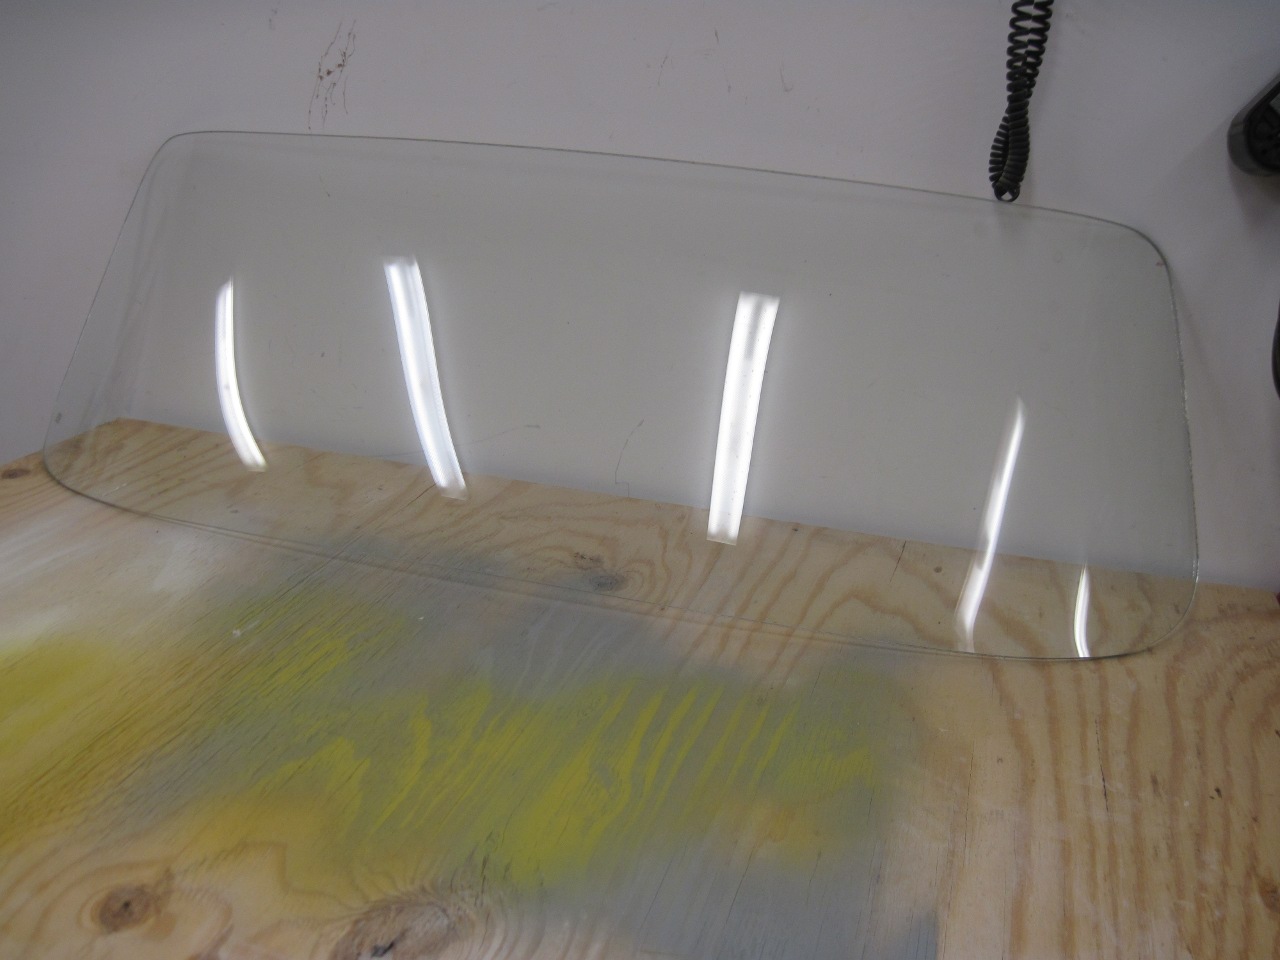
hauled the windshield up from the shed a couple of weeks ago and gave
it a good inspection. Beyond being filthy, the rubber parts were
dry and cracked, the chrome trim strip was discolored, and the paint
was tired. The glass, while intact, was hazy with age. Most
of the attachments, like the sun visors and mirror bracket were in sad
shape.
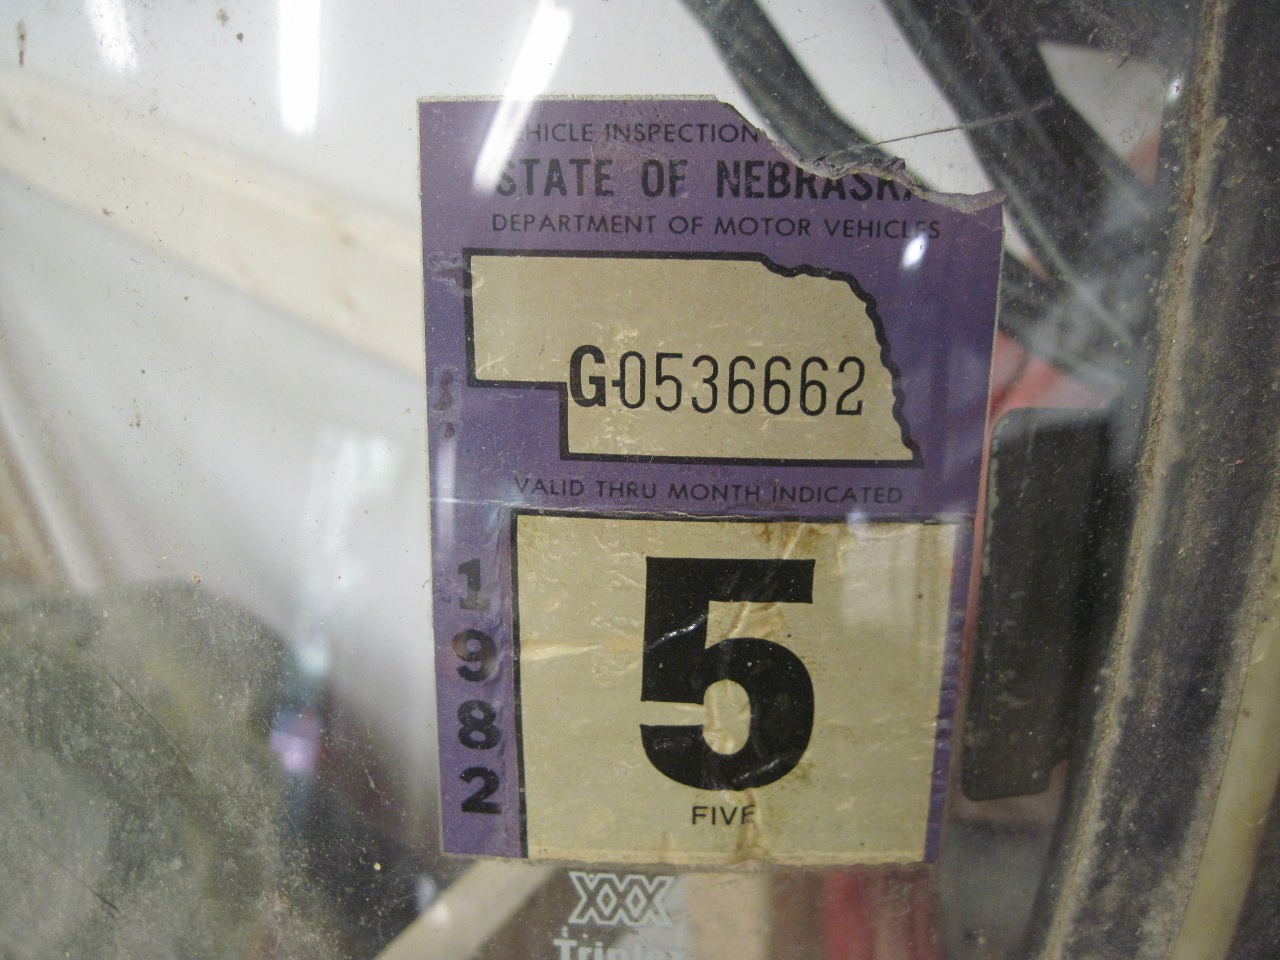
This
is the last time the car was registered or driven--1982! That
means it retired at only 8 years old. I think these cars aged
pretty quickly.
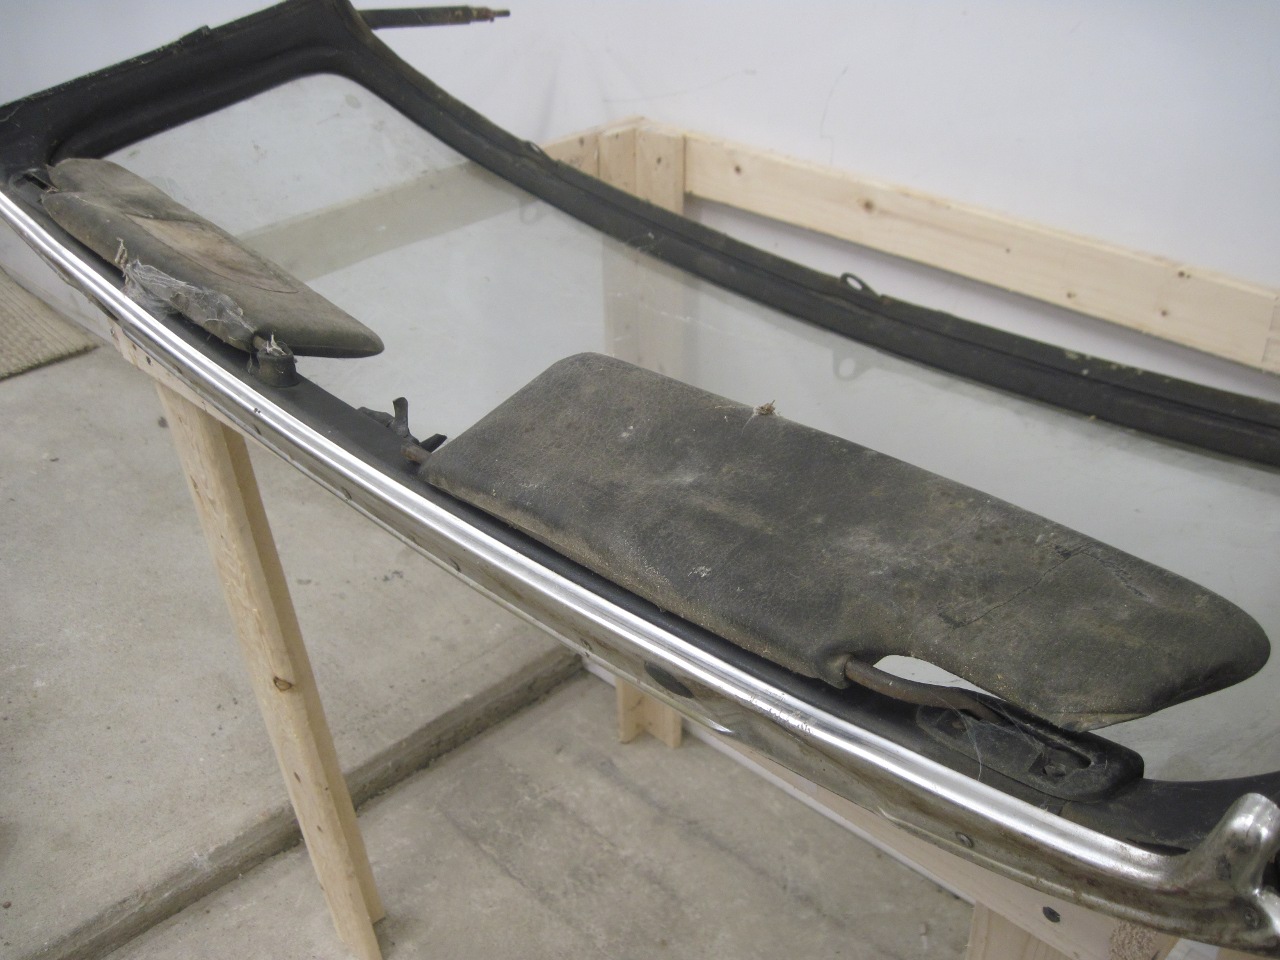
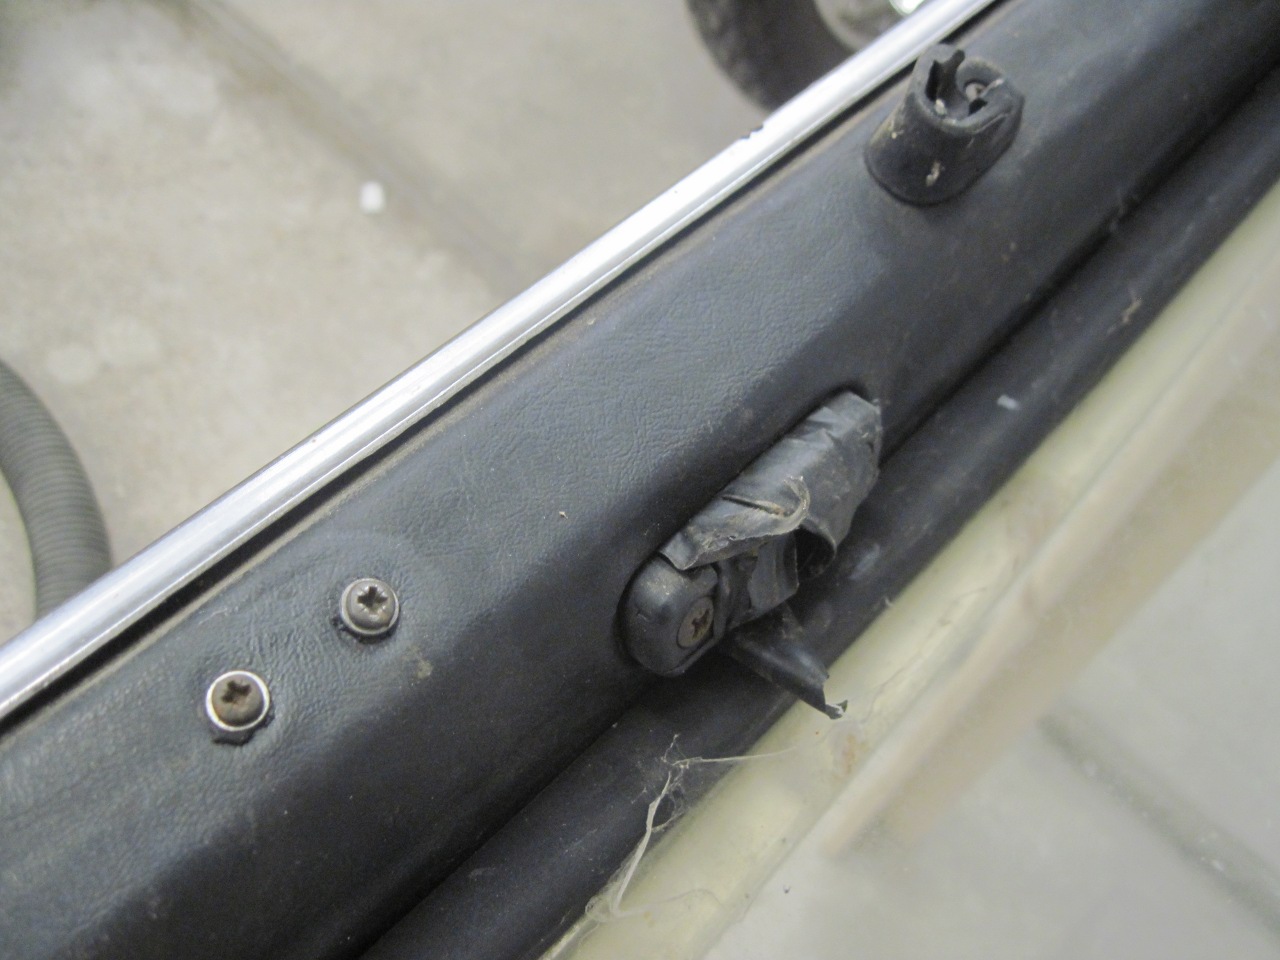
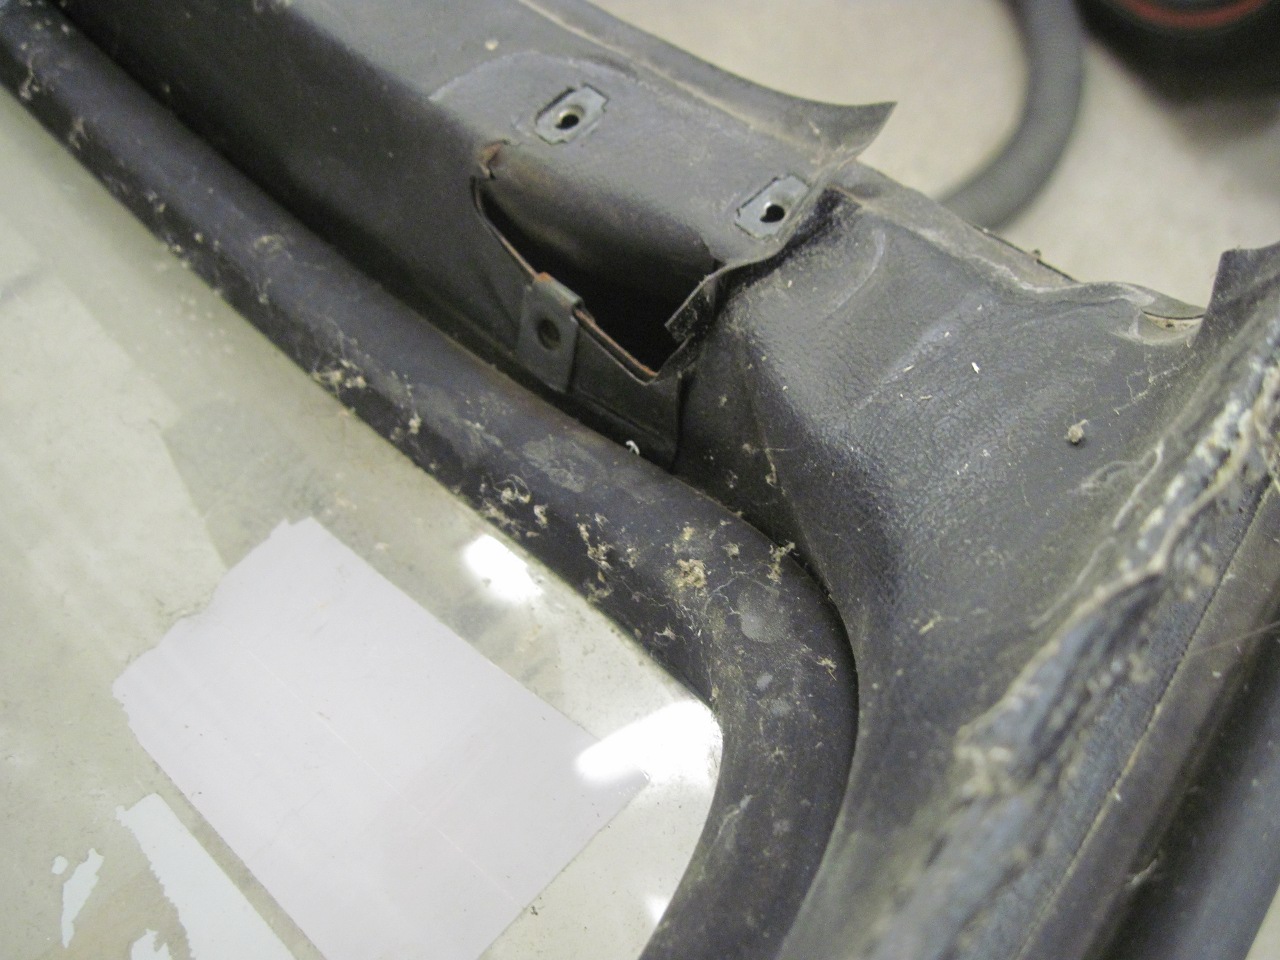
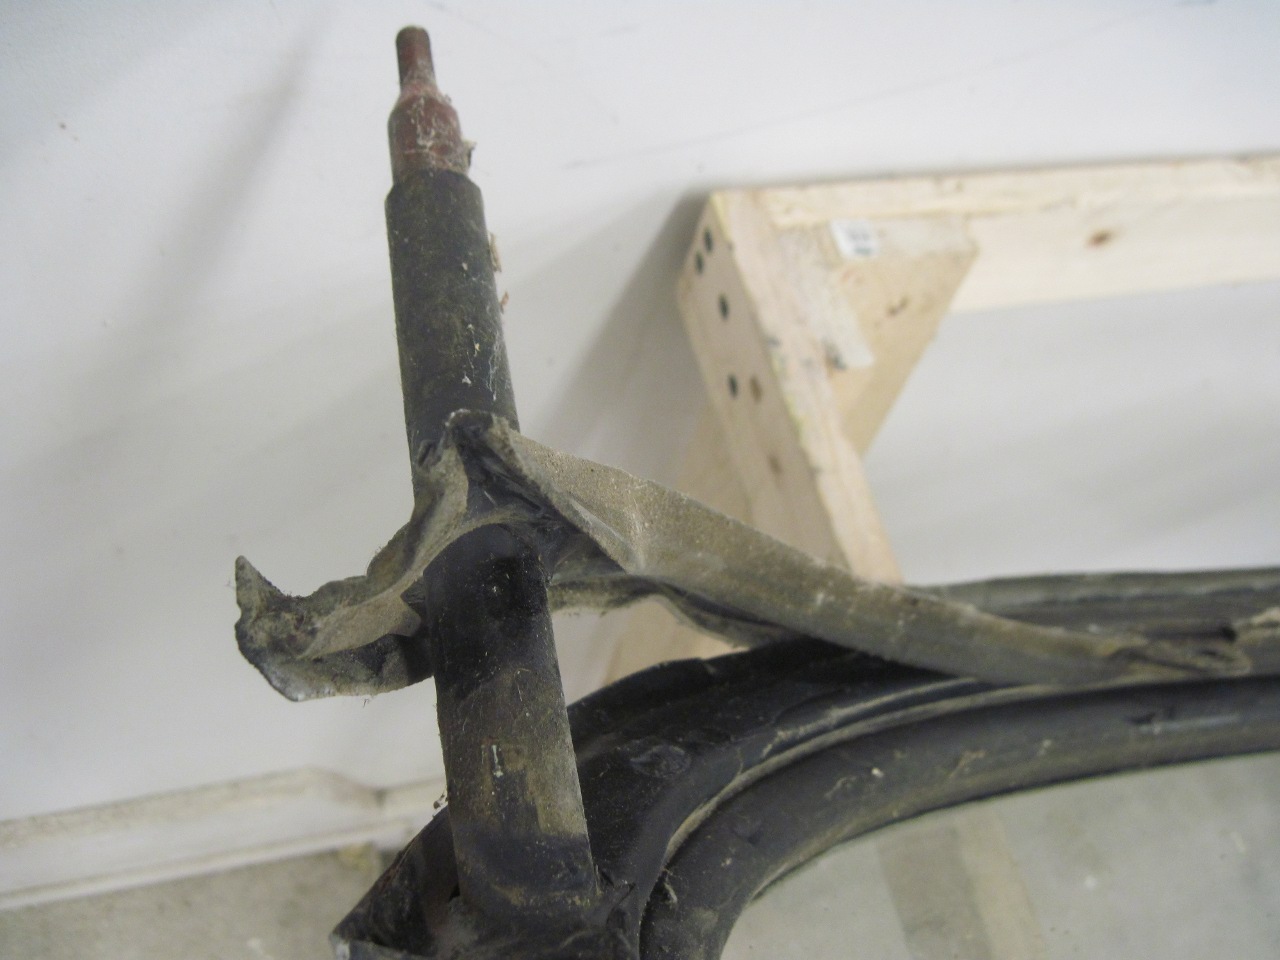
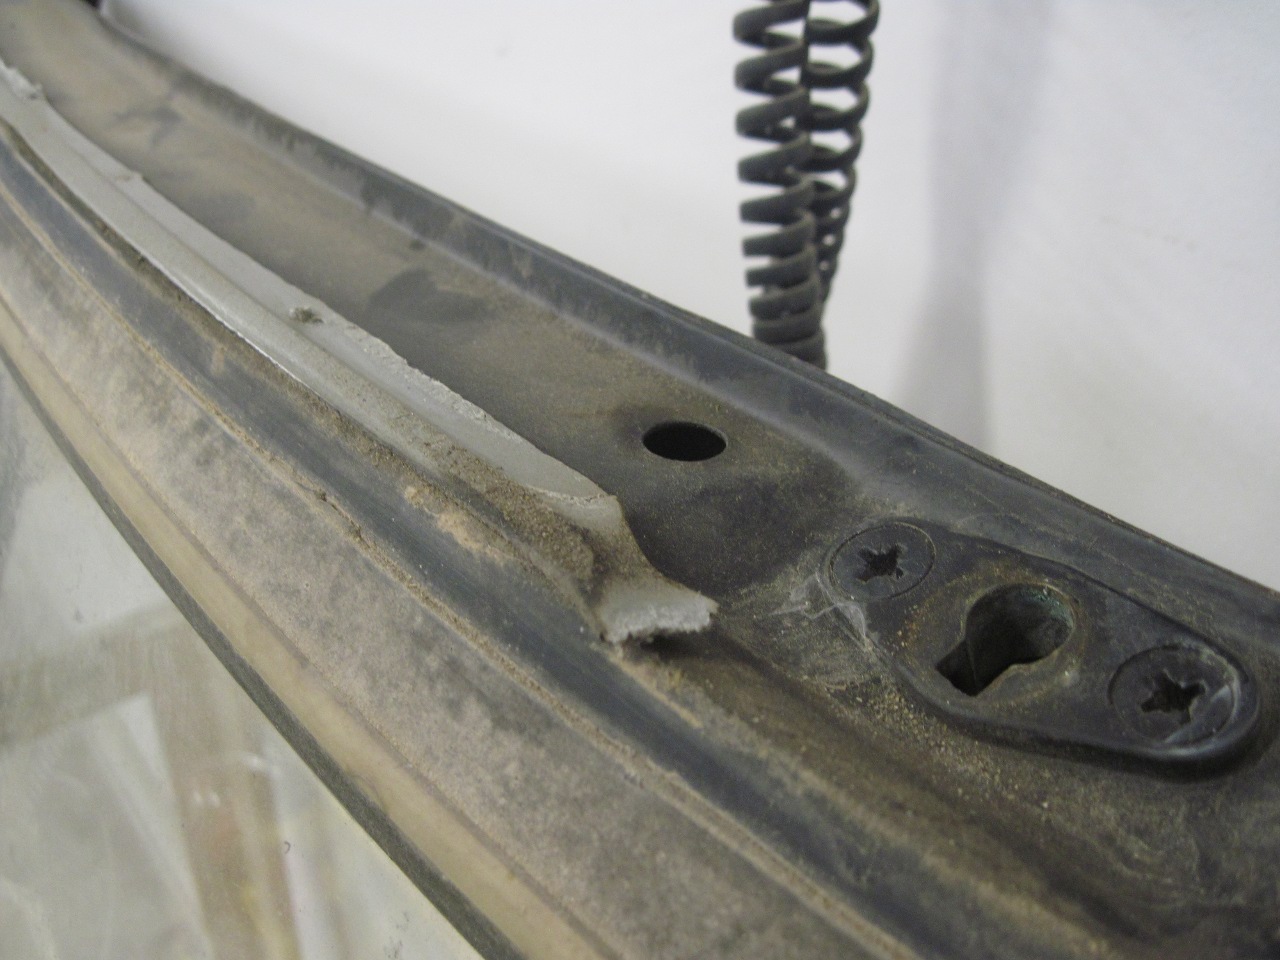
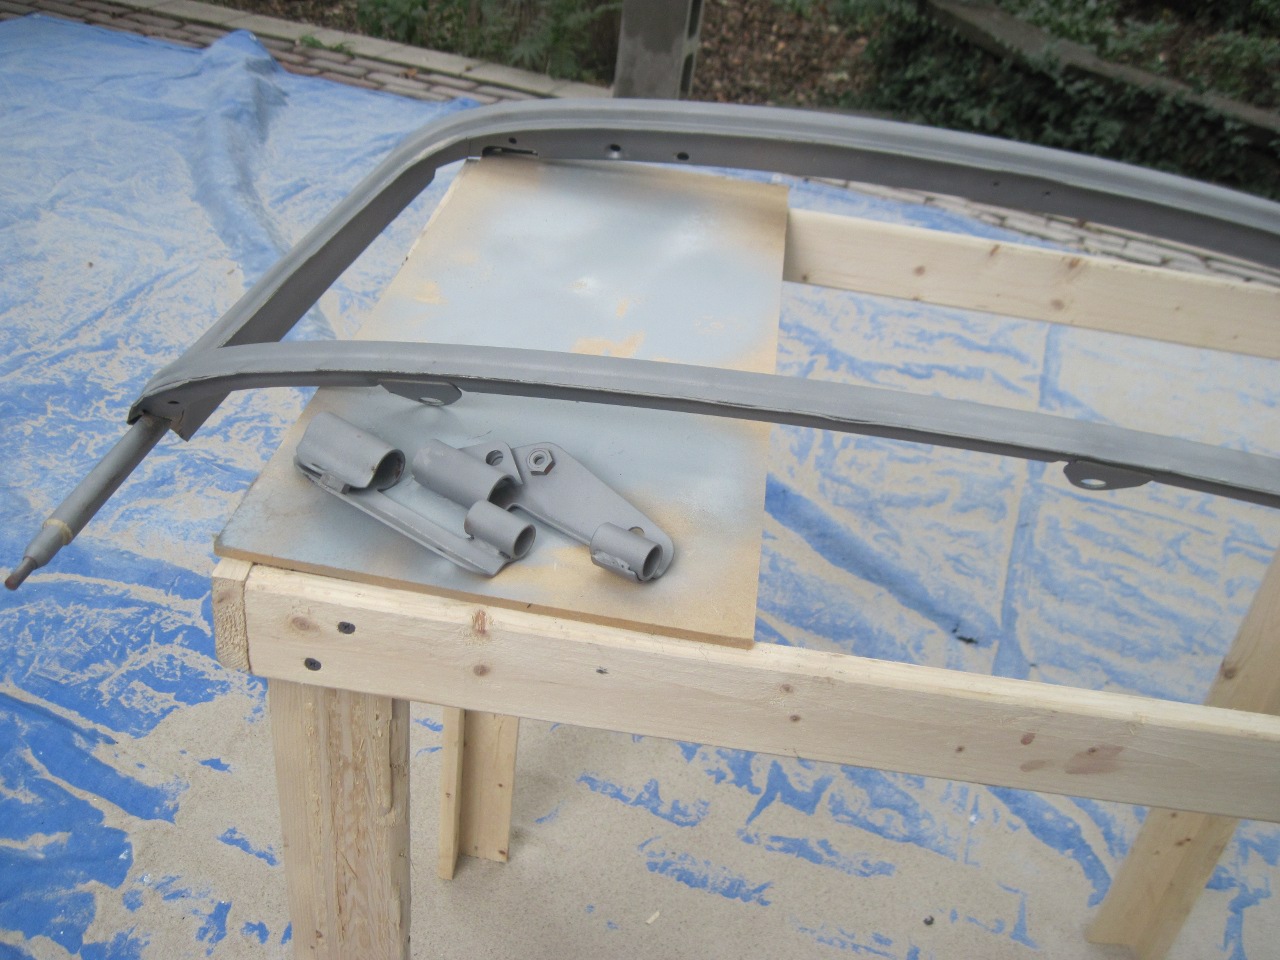
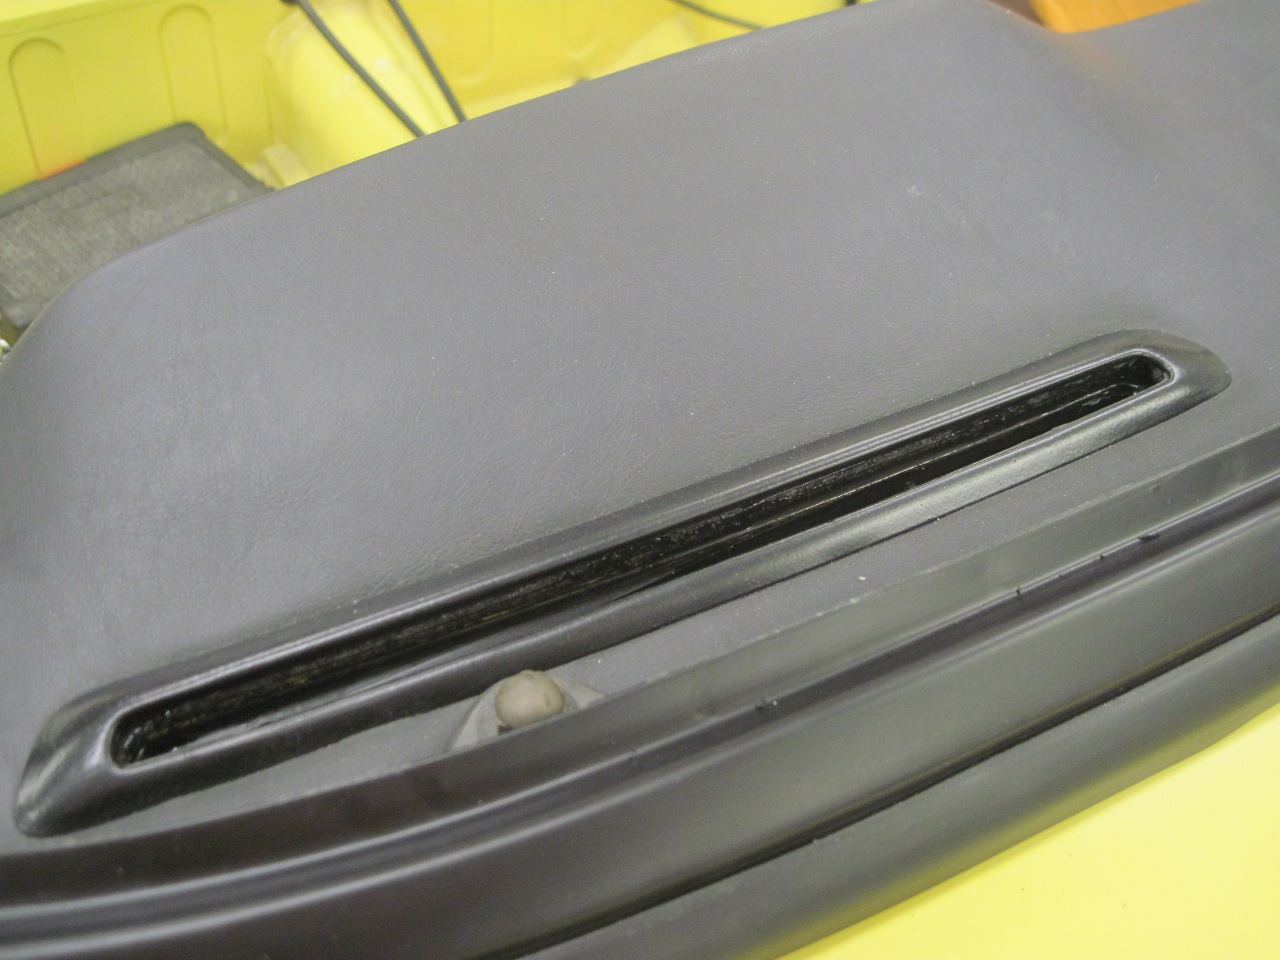
I
stripped everything off the windshield assembly that I could. The
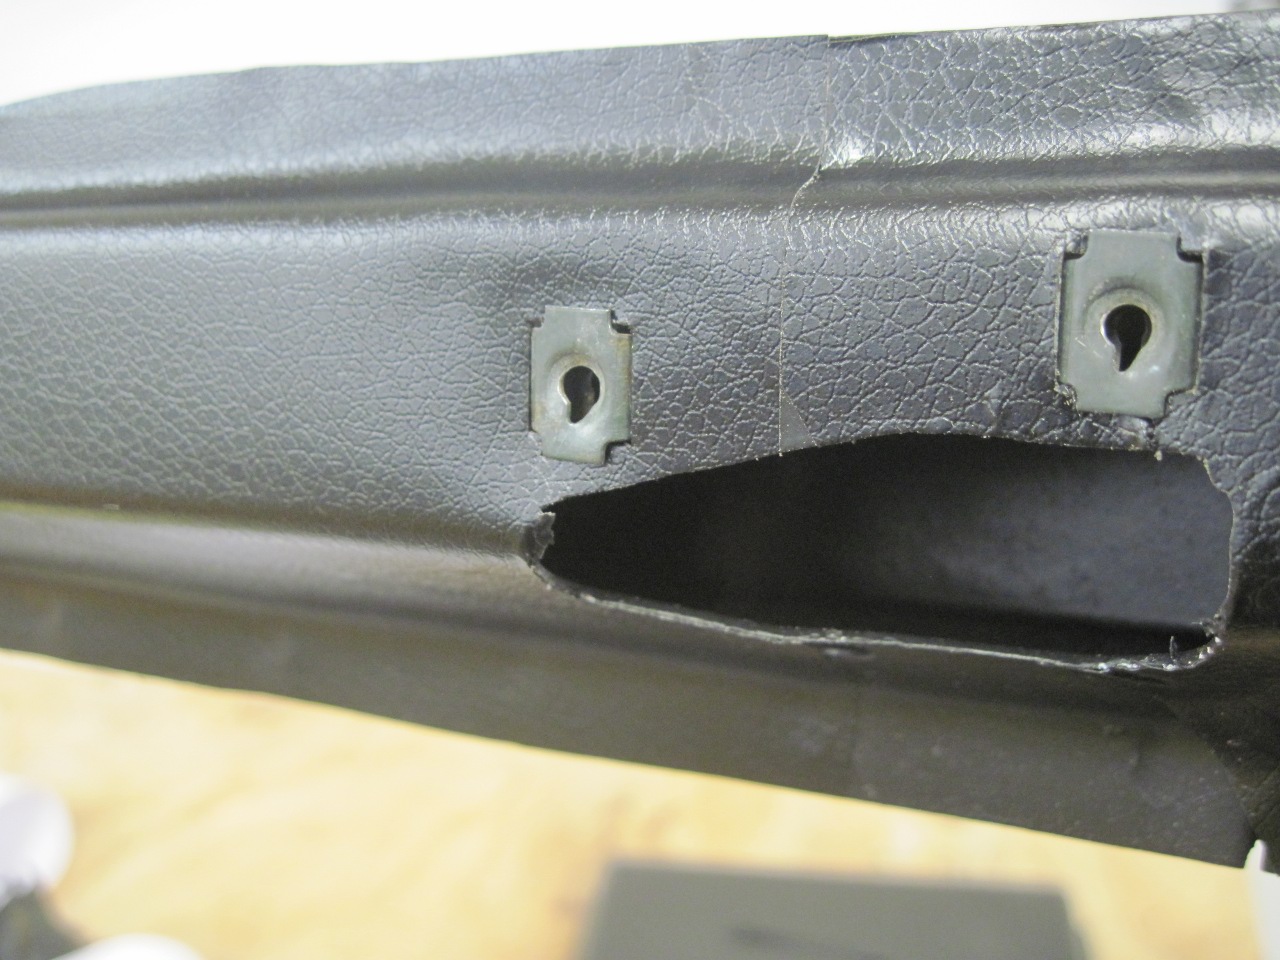
first pic is the visor attachment. The little speed nut thingies
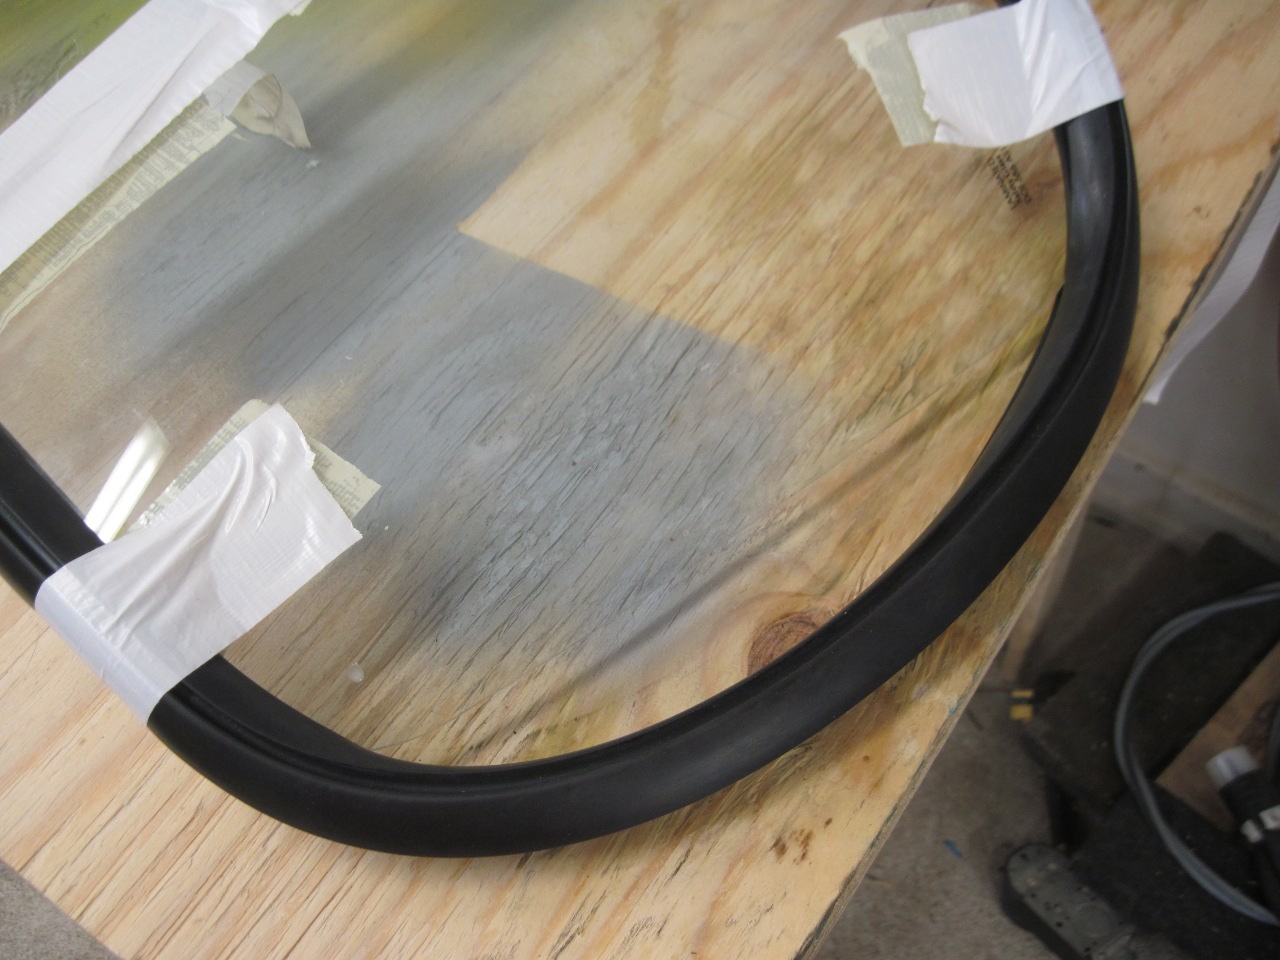
just pop out. Second pic is the windshield to body gasket.
Last pic shows the top of the frame after the aluminum cap was removed.
There was a strip of caulk along the front edge to keep driven
water out.
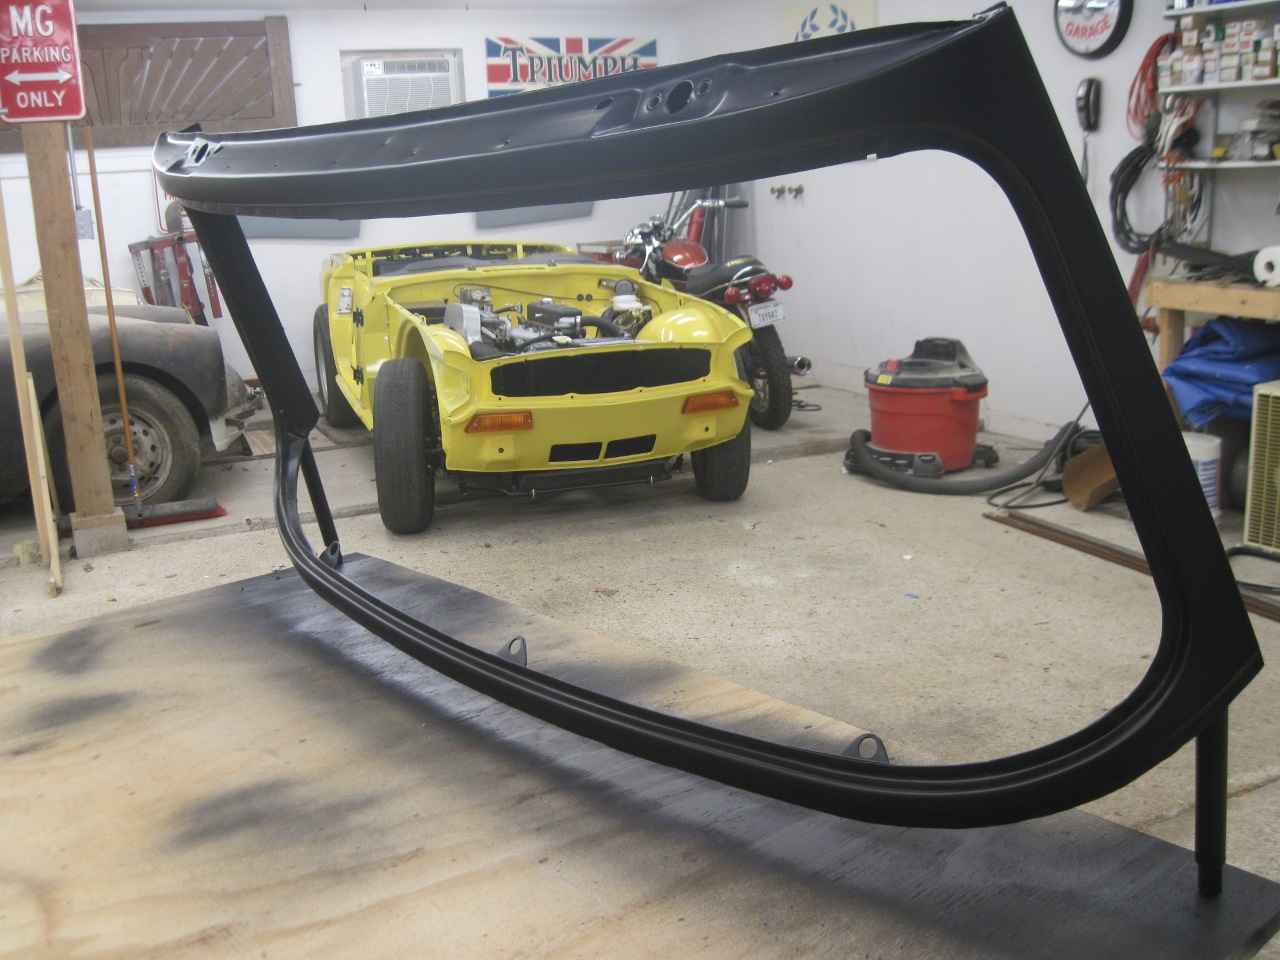
At
last, the glass was removed. There was still a pretty good seal
between the rubber and the glass, so I had to cut the gasket.
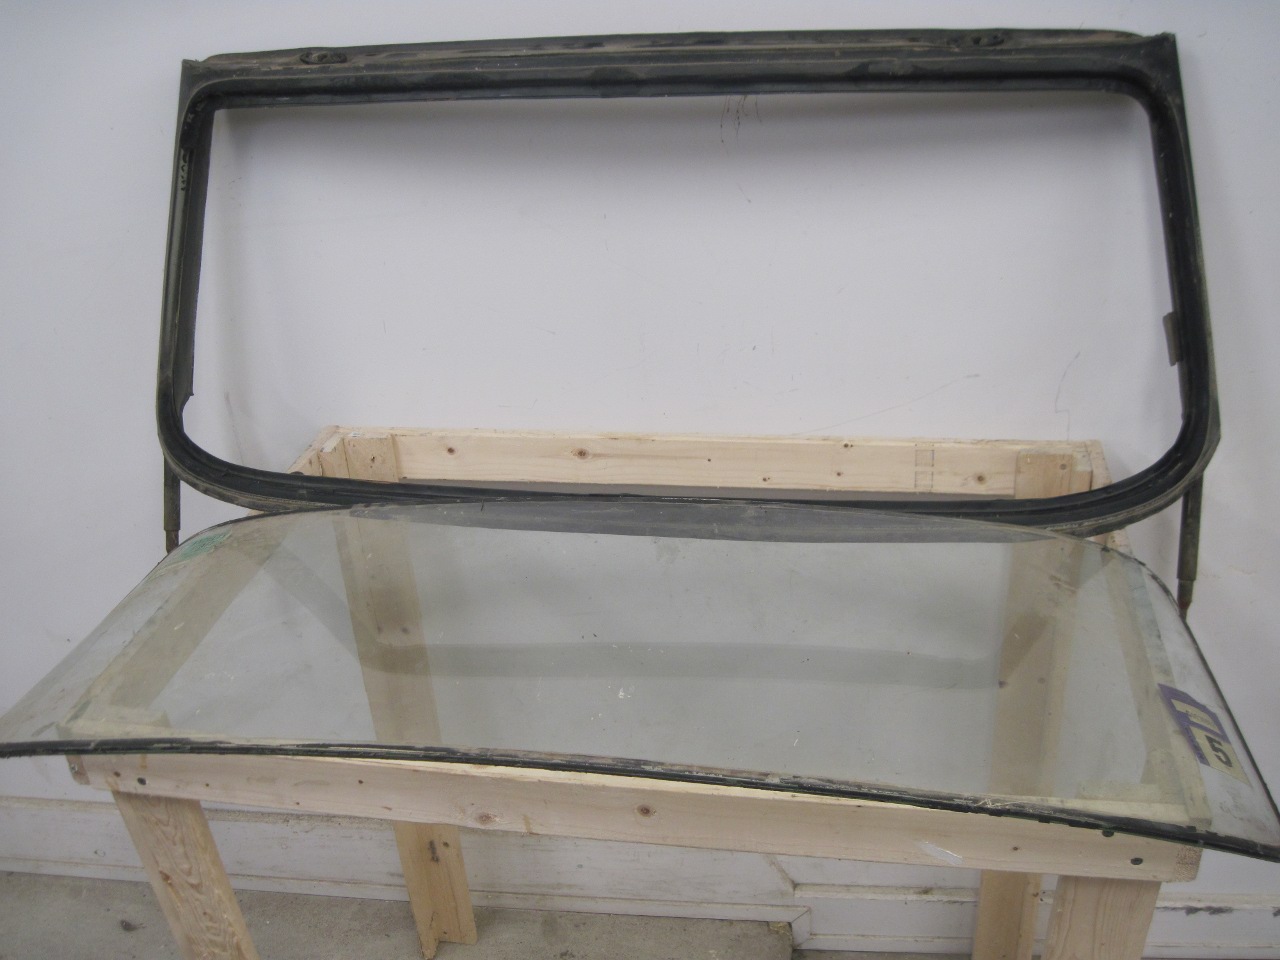
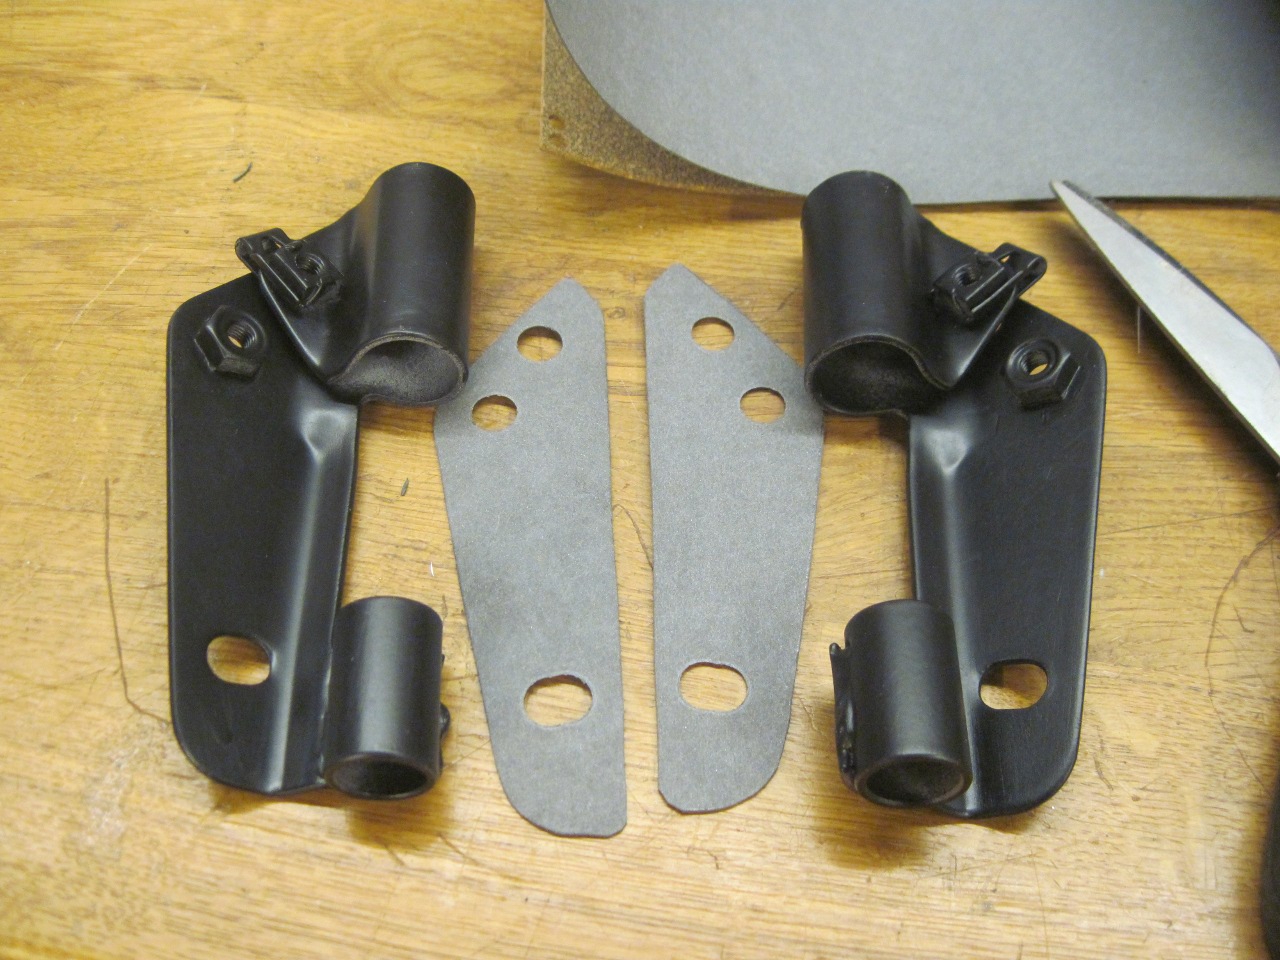
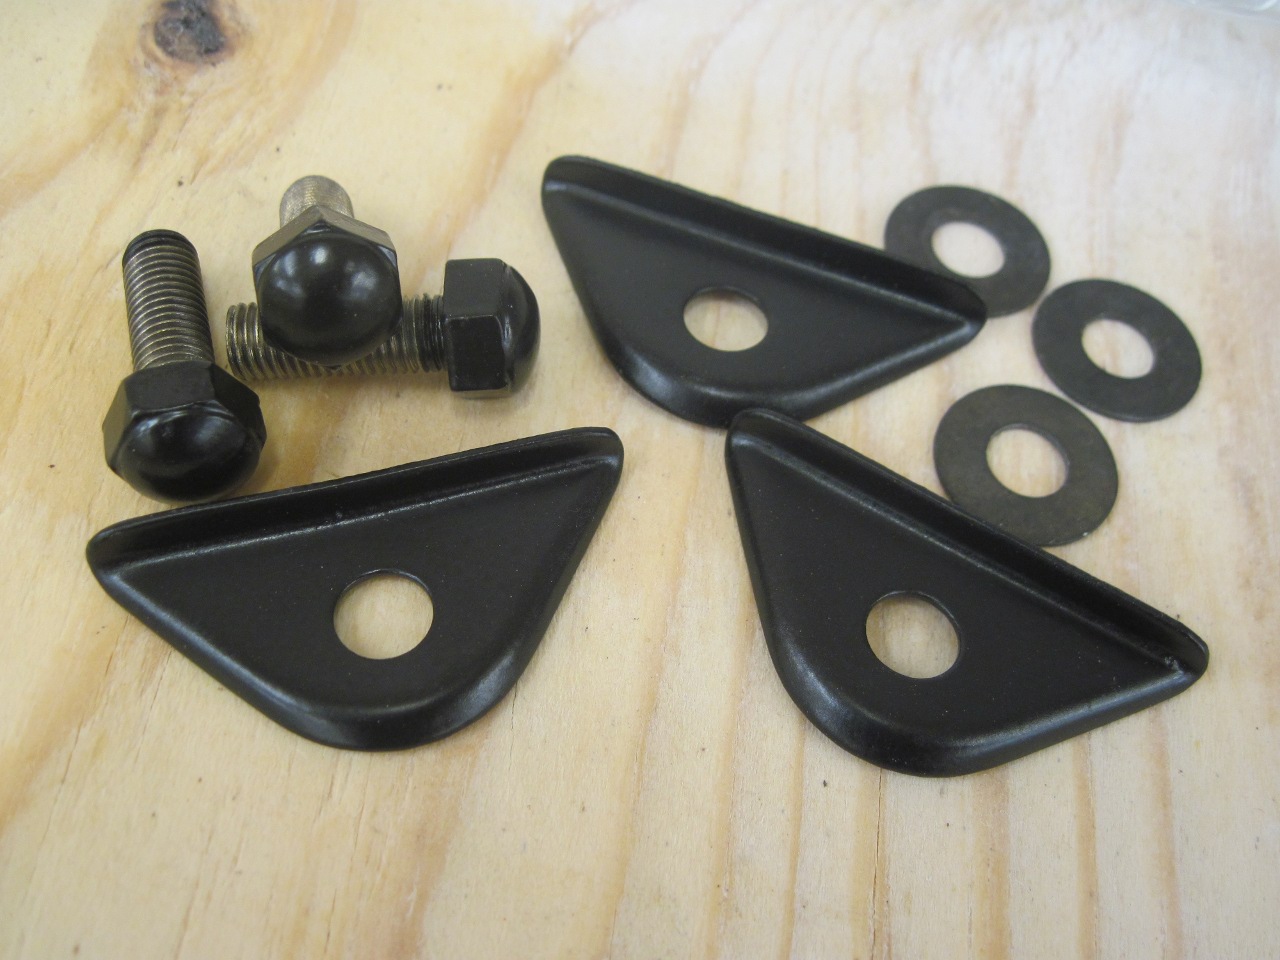
With unusual forethought, I rummaged around until I found the windshield mounting brackets.

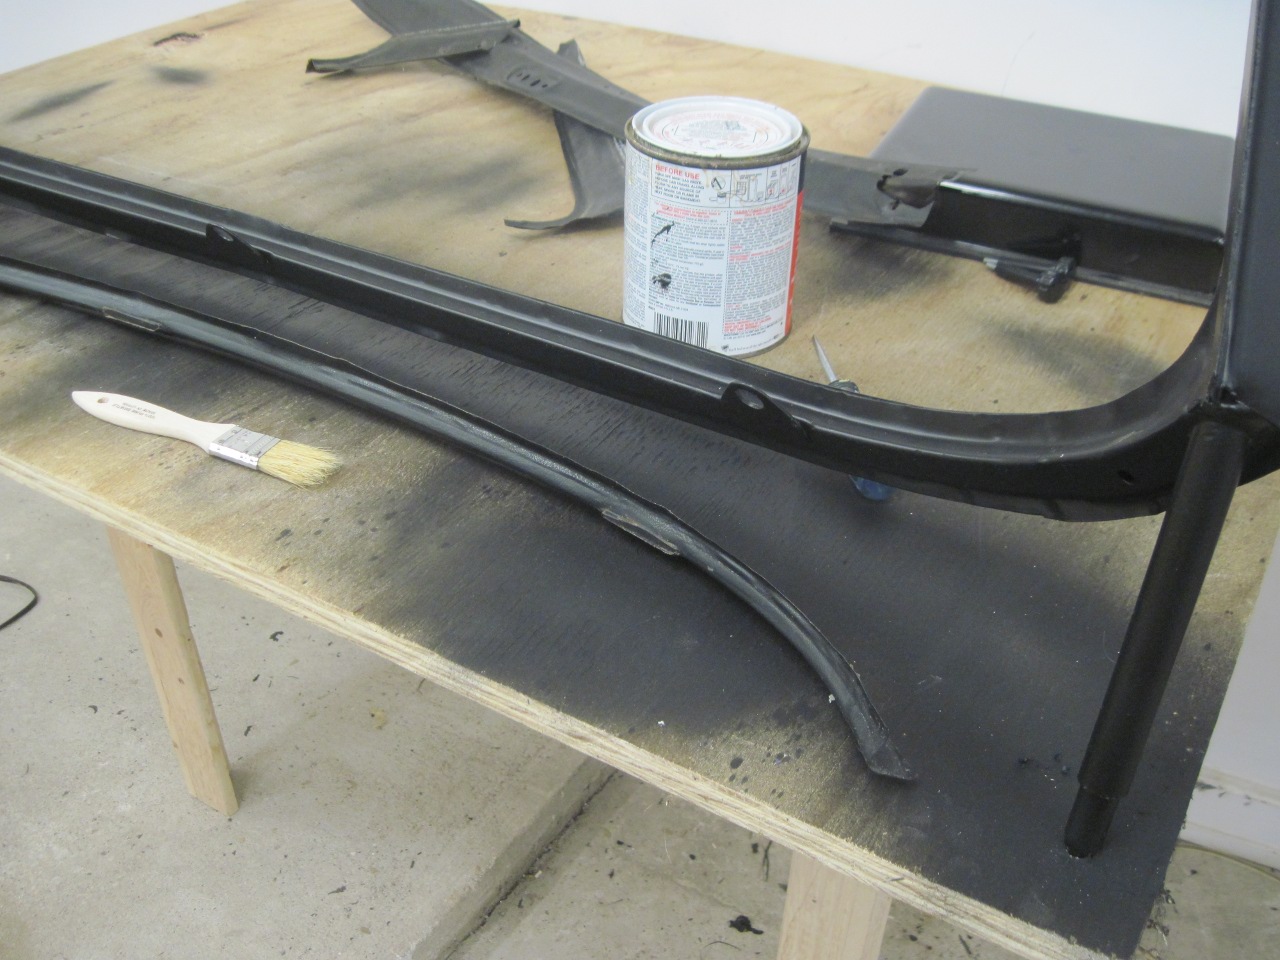
Then sand blasted the frame and brackets.
Then a couple of coats of two-part epoxy primer, followed by satin black trim paint.

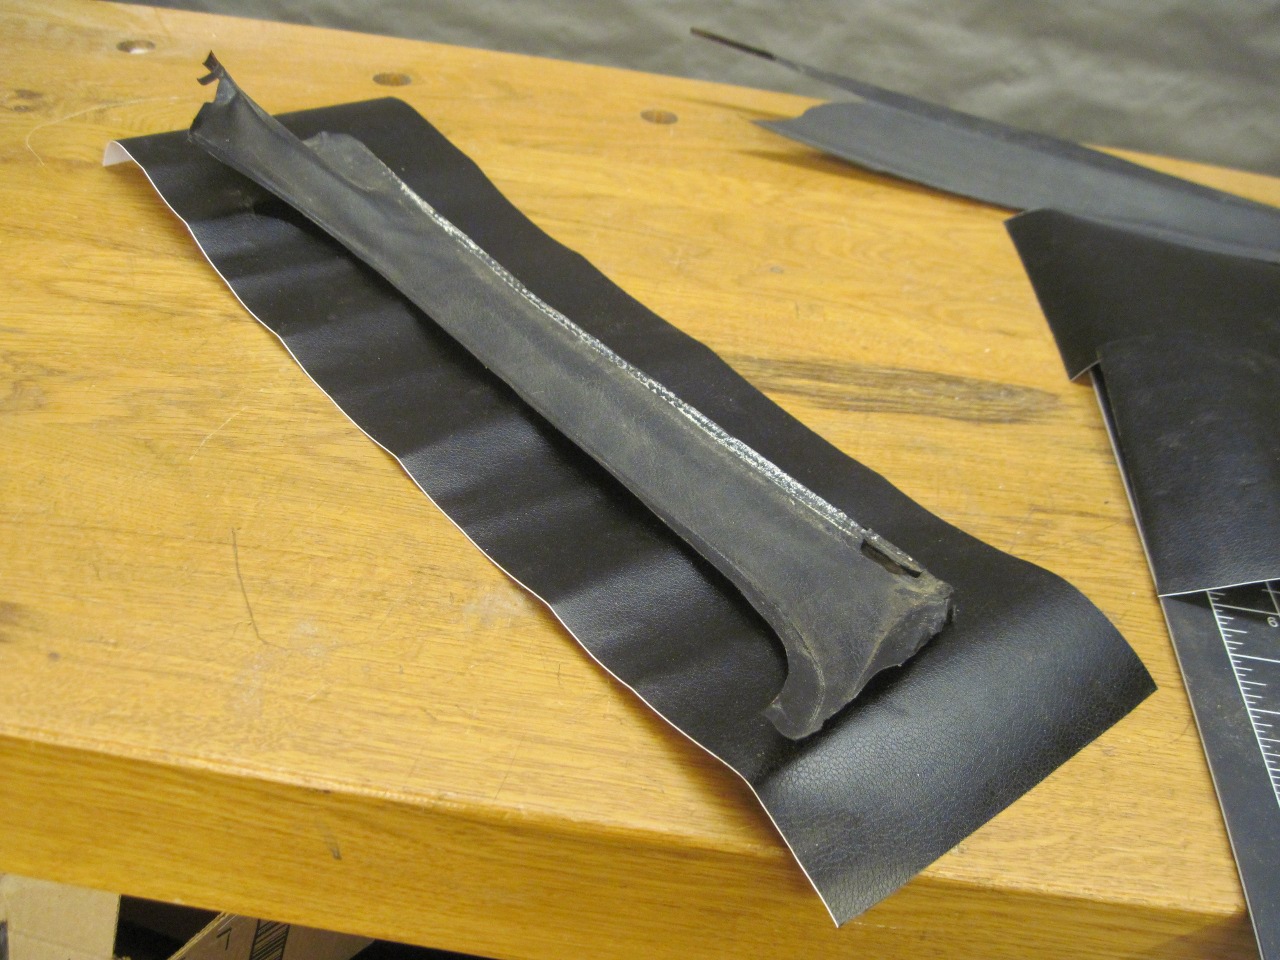
The
inside surfaces of the windshield frame were originally covered with a
grained vinyl material in four overlapping pieces--the bottom, top and
two sides. In my case, the bottom piece came off in a single
piece, but the others were so brittle, they basically came off in
shards.
The
vinyl pieces can be bought as pre-shaped kits, but they seem a little
expensive to me, so I went looking for alternatives. After
cleaning up the intact bottom strip, it looked fine, so I reused it.
It fit perfectly, of course. For the other three pieces I
used a material called "vinyl wrap". It is thin, self
adhesive vinyl material that is very stretchy, especially when warmed
up. It is even used to cover the exterior of entire cars.
The material I bought had a leather-like grain on the surface.
The last pic below shows one of the overlapping joints and
how well the vinyl wrap follows contours.
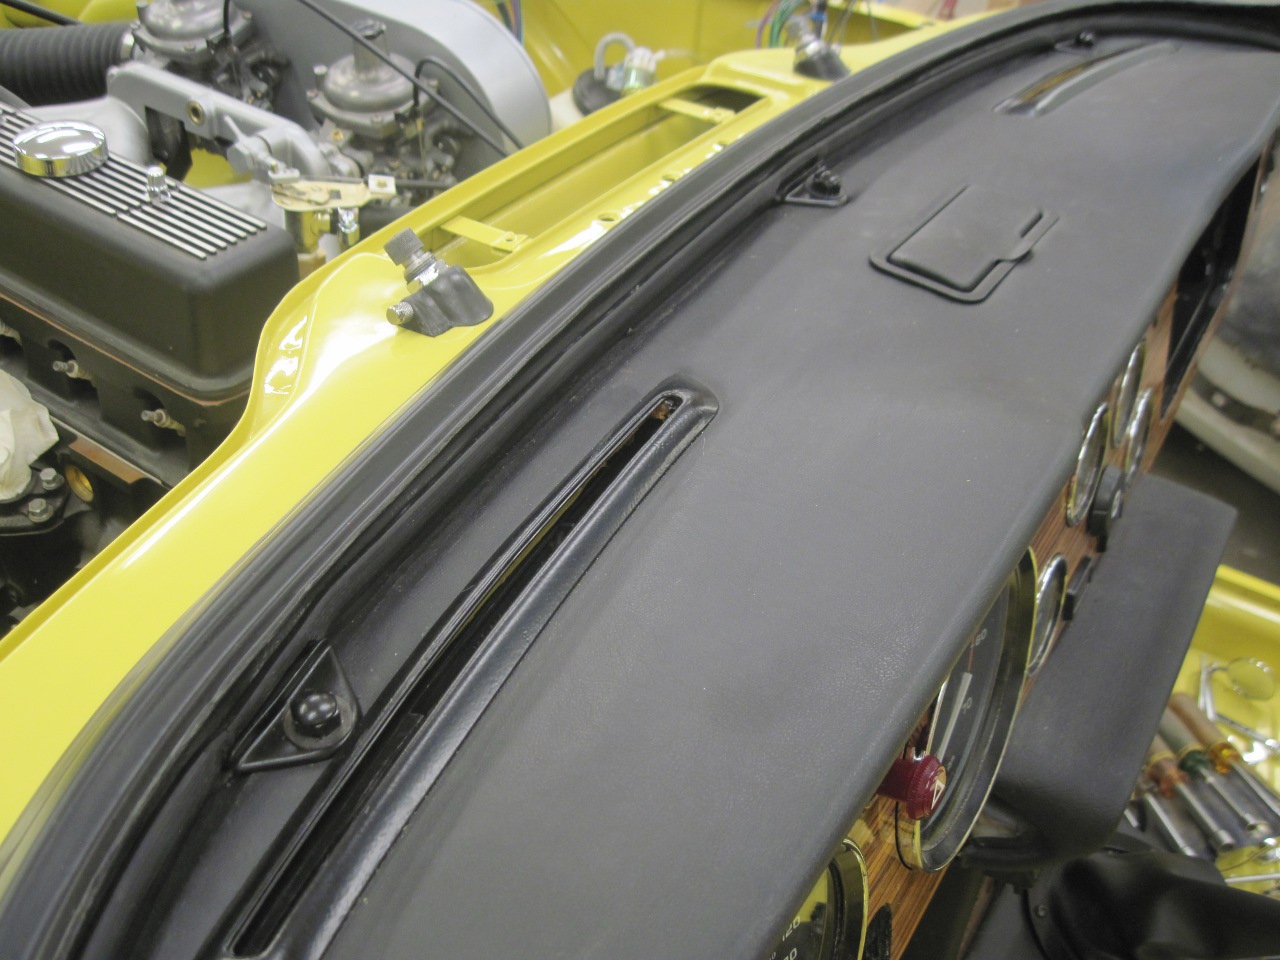
Next
thing was to mount the frame on the car. Resilient pads were used
between the windshield brackets and the body. I guess you can buy
the pads, but these were home made.
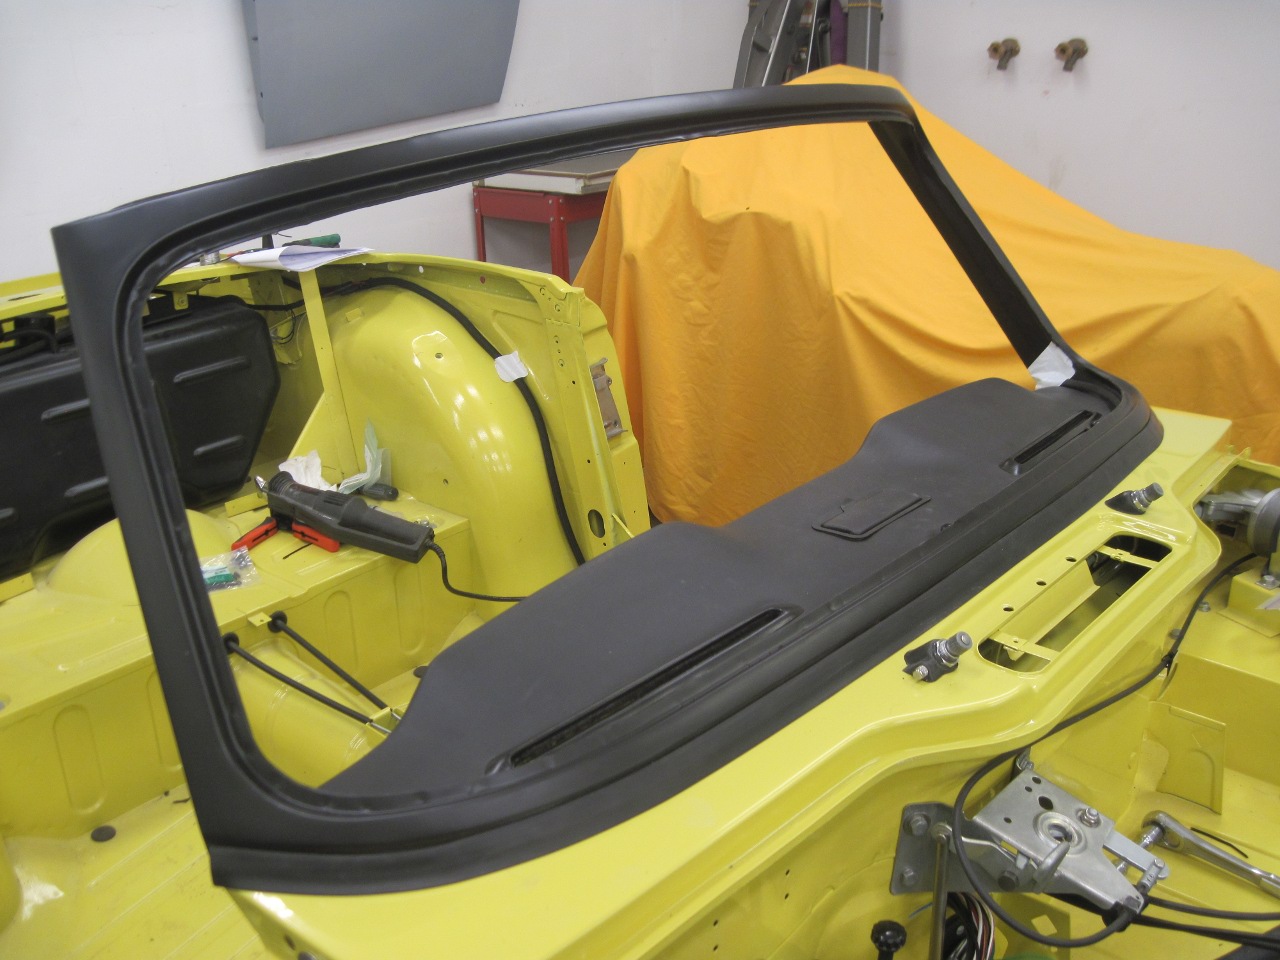
After the frame-to-cowl gasket was fitted to the bottom of the frame, the windshield frame went home.
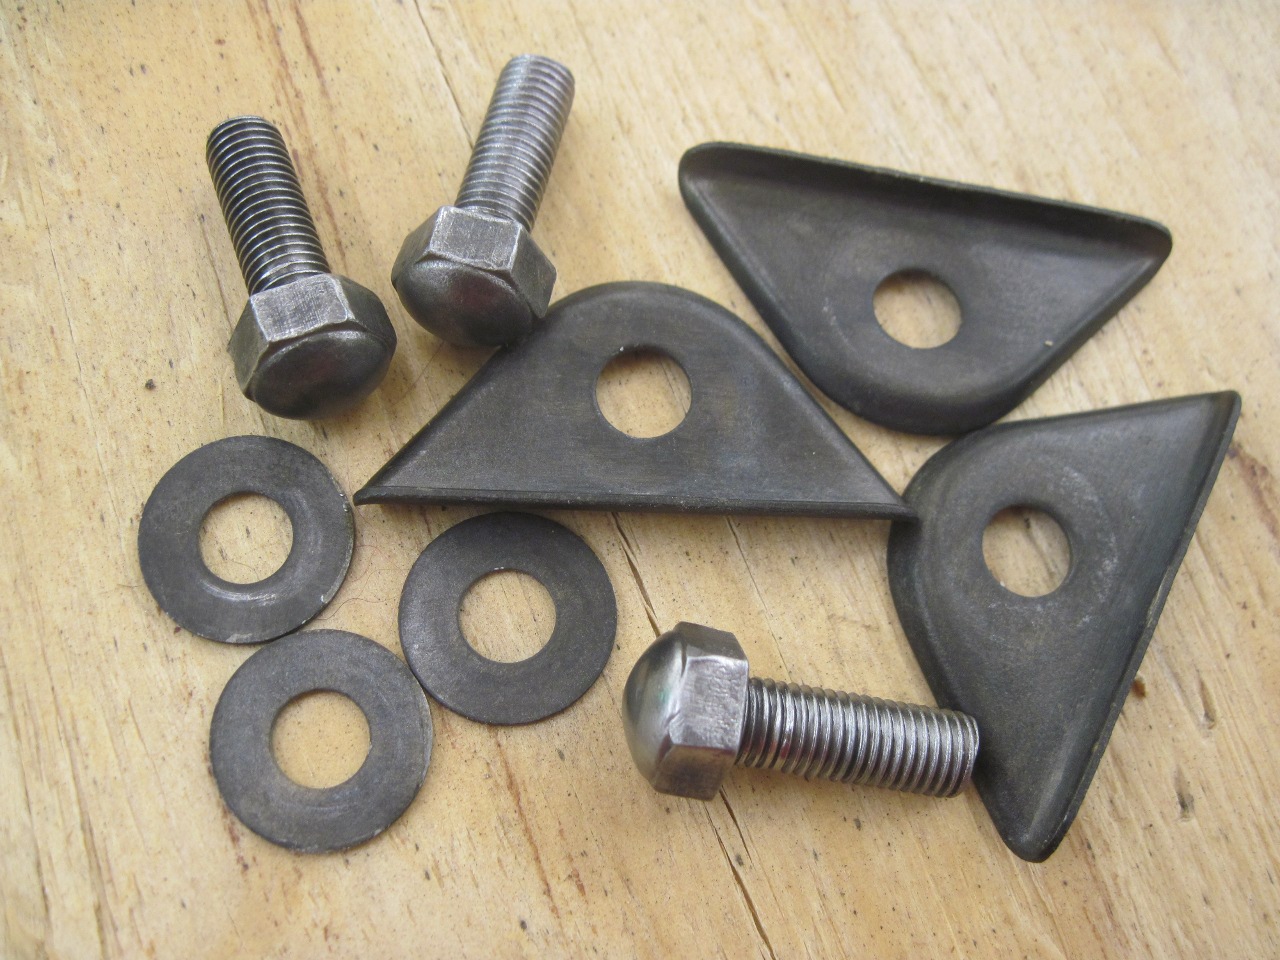
Beside
the attachment points at the brackets, there are three fixing points
al;ong the top of the cowl. Each one gets a decorative cap and a
black-finished bolt. The black oxide finish on these parts was
tired and faded, so I did a quick powder coat. While not quite as
mechanically durable as black oxide, it should work OK if I am careful
with the wrenching.
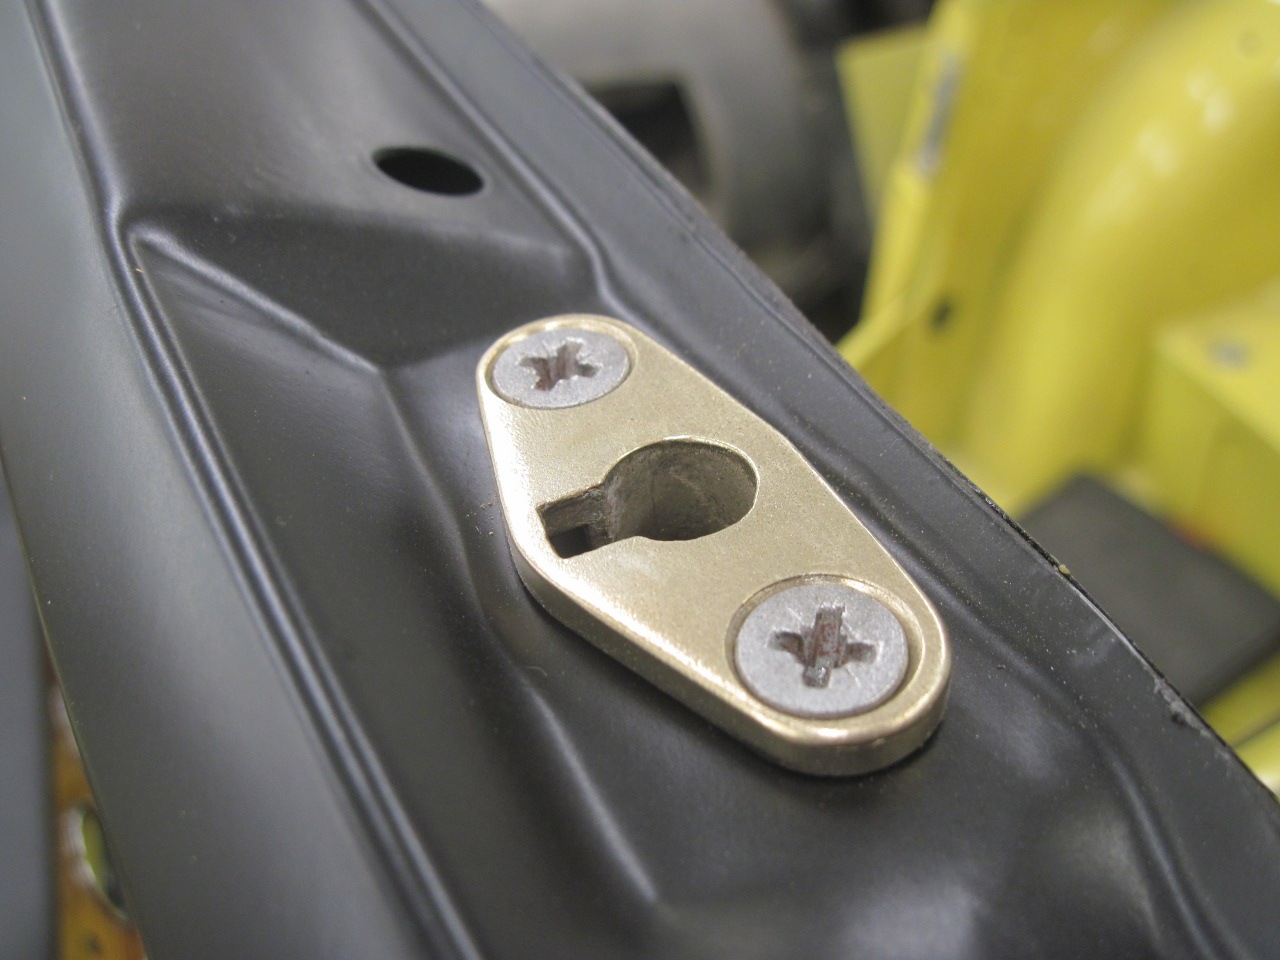
I
installed the brass fittings that receive the top cinches, then the
anodized aluminum cap piece with a good bead of 3M strip caulk along
the front edge.
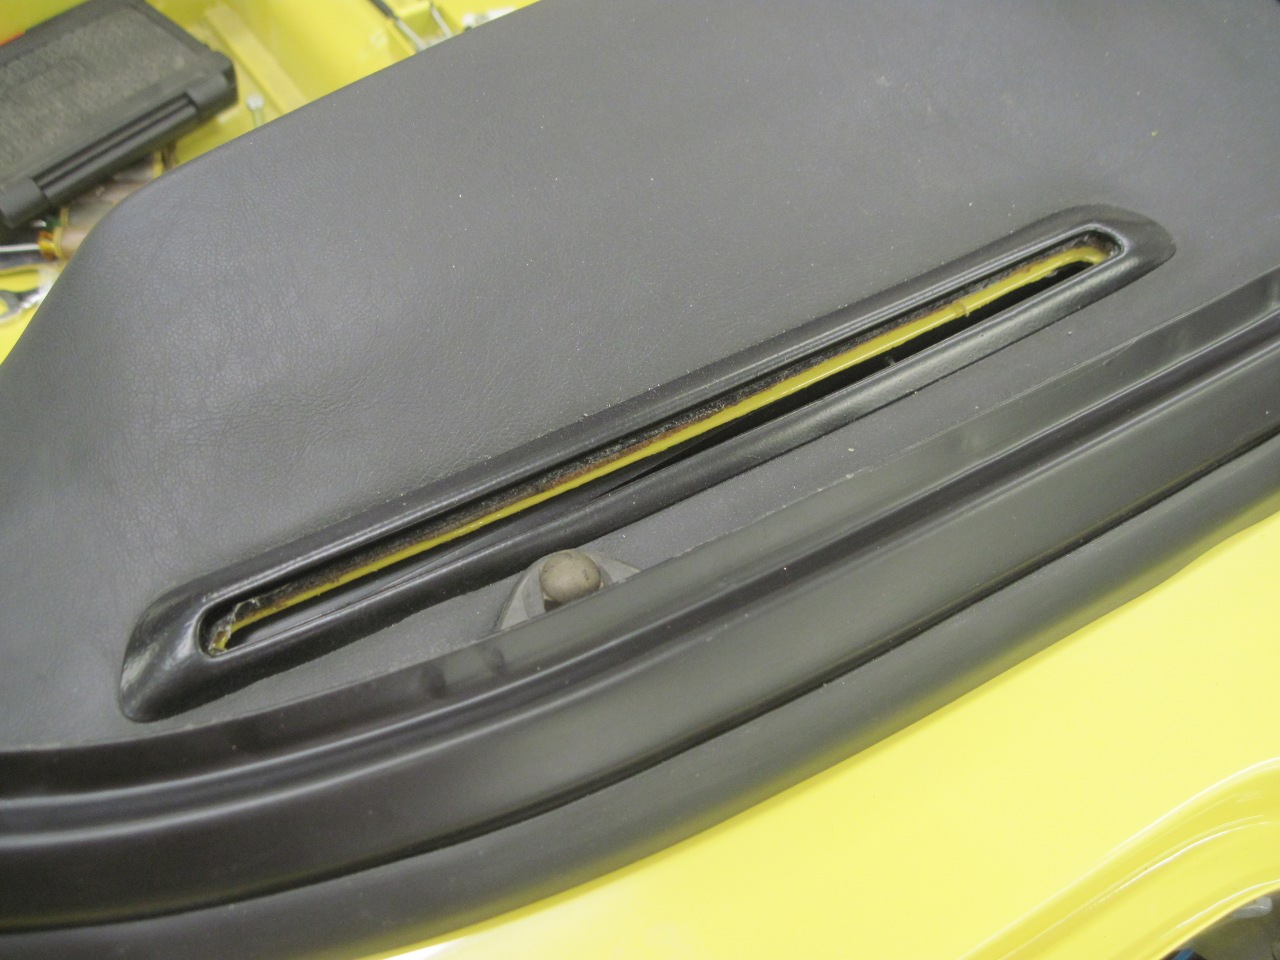
One
thing caught my eye while fussing with the windshield frame on the car.
Seeing that yellow color inside the defrost vent would bug me, so
I blacked it out. Now I feel much better.
At this point, I was ready for new glass.
After one false start involving the wrong glass gasket...
...I finally got the correct gasket installed on the glass.
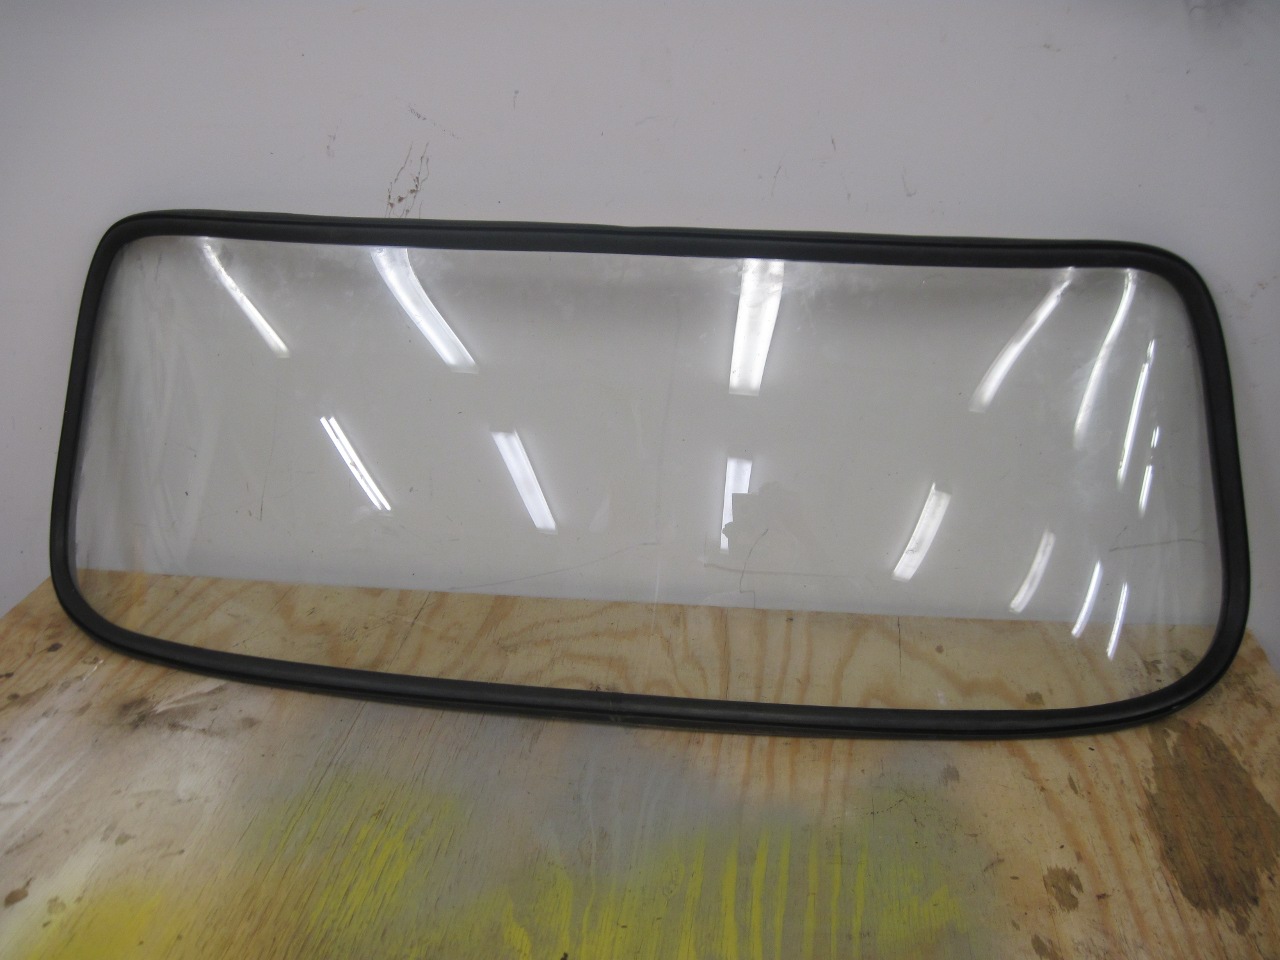
Then, using the infamous "rope trick", got the glass installed in the frame.
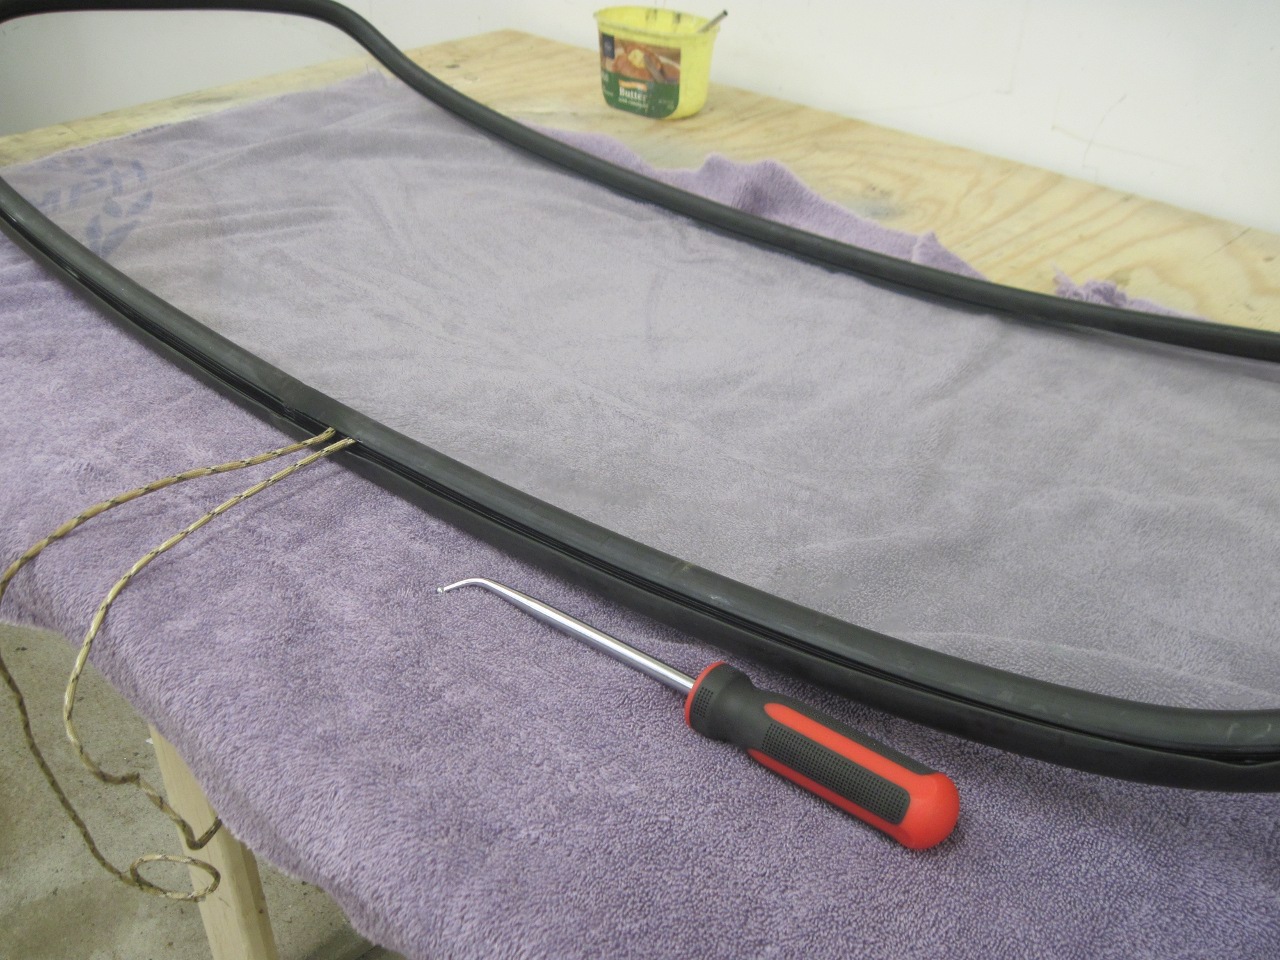

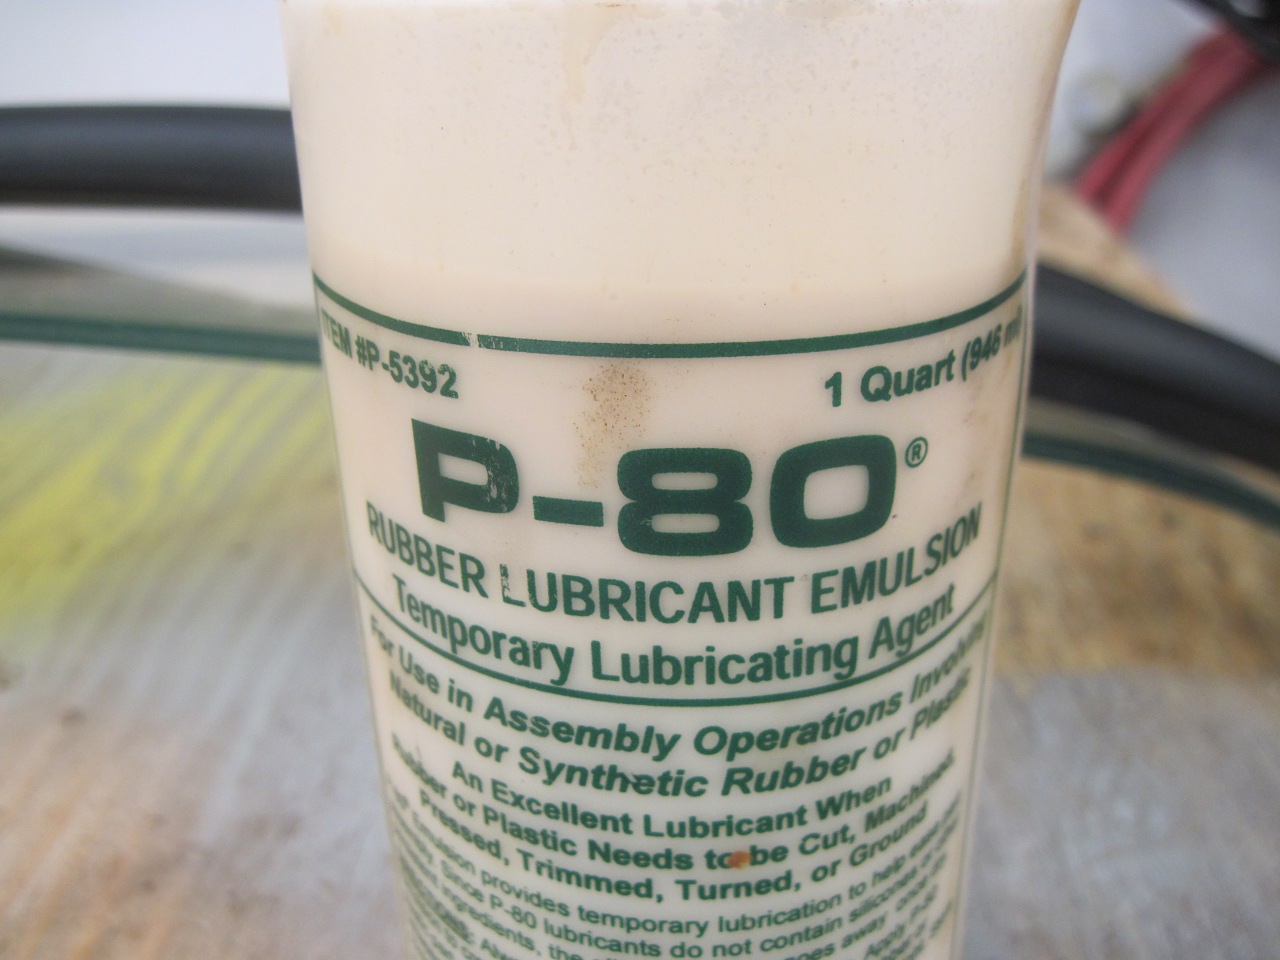
Getting
the gasket to go on the glass and onto the frame is tricky, especially
as a solo act. Some sort of lubricant is a big help. Many
things have been used as a lubricant, but for some reason I had on hand
a true rubber lubricant. It REALLY helped.
Then applied all the various attachments like the rear view mirror and the new trick acrylic sun visors.
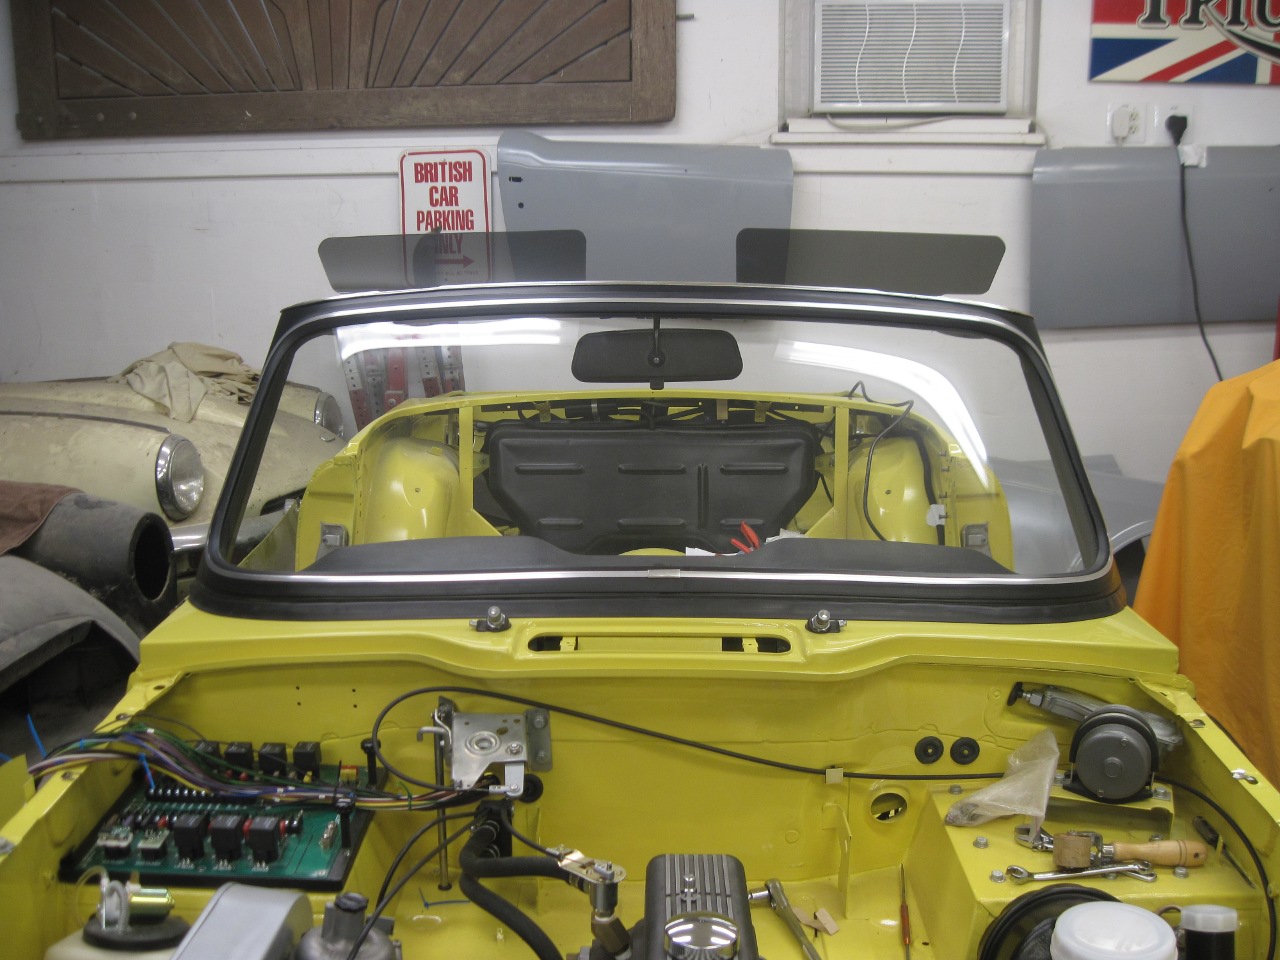
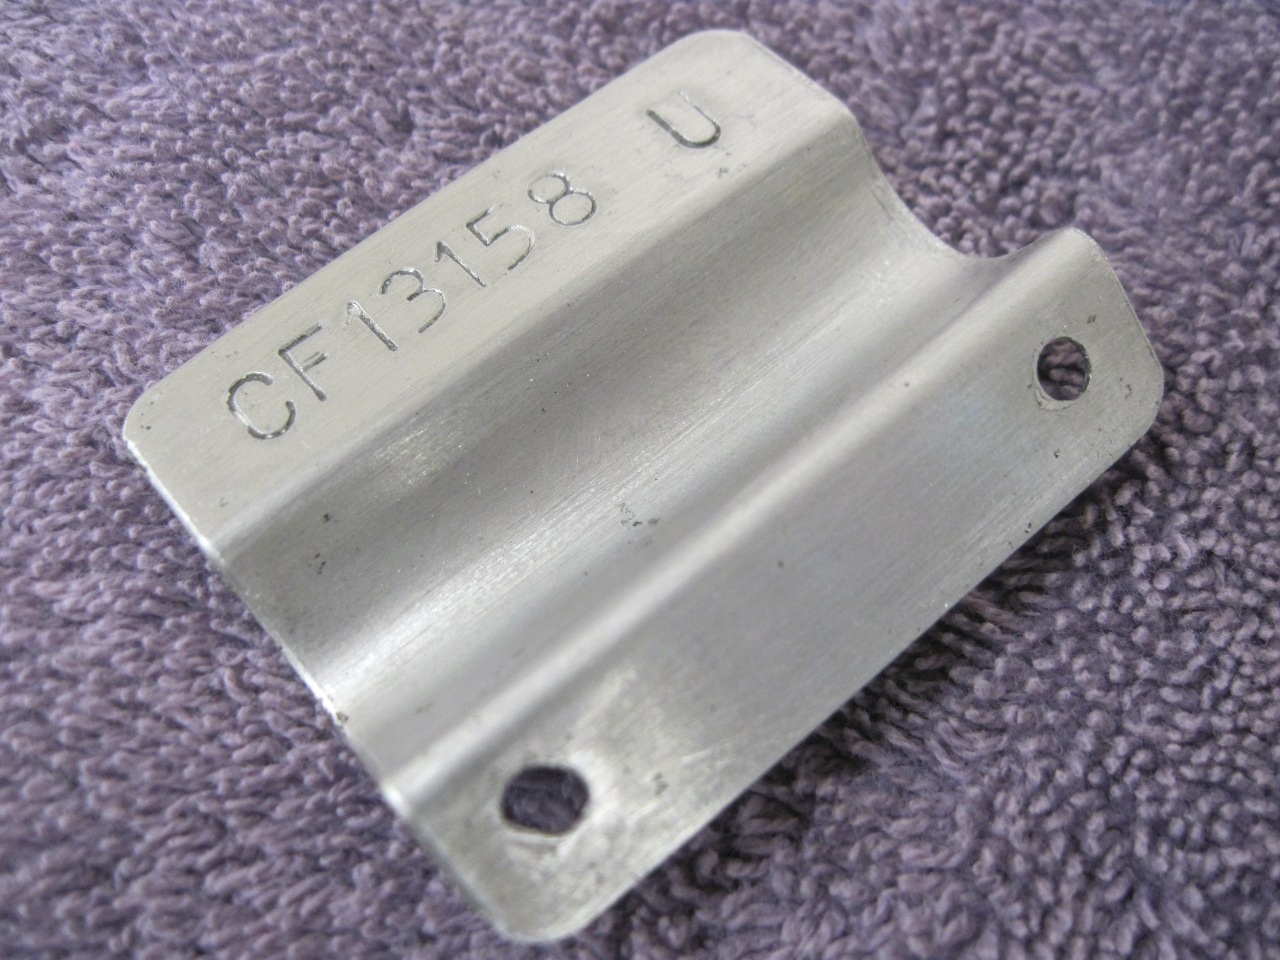
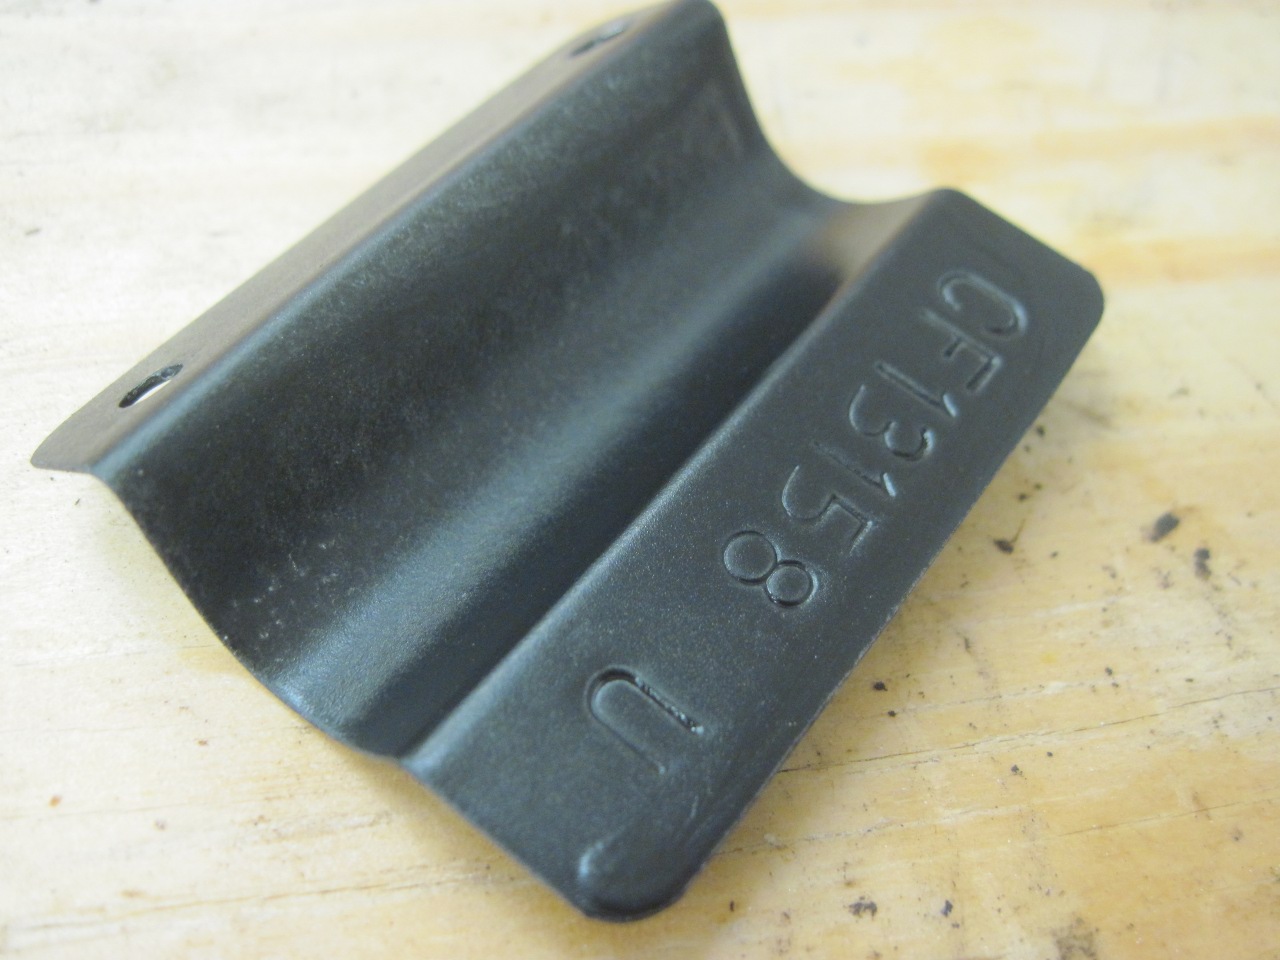
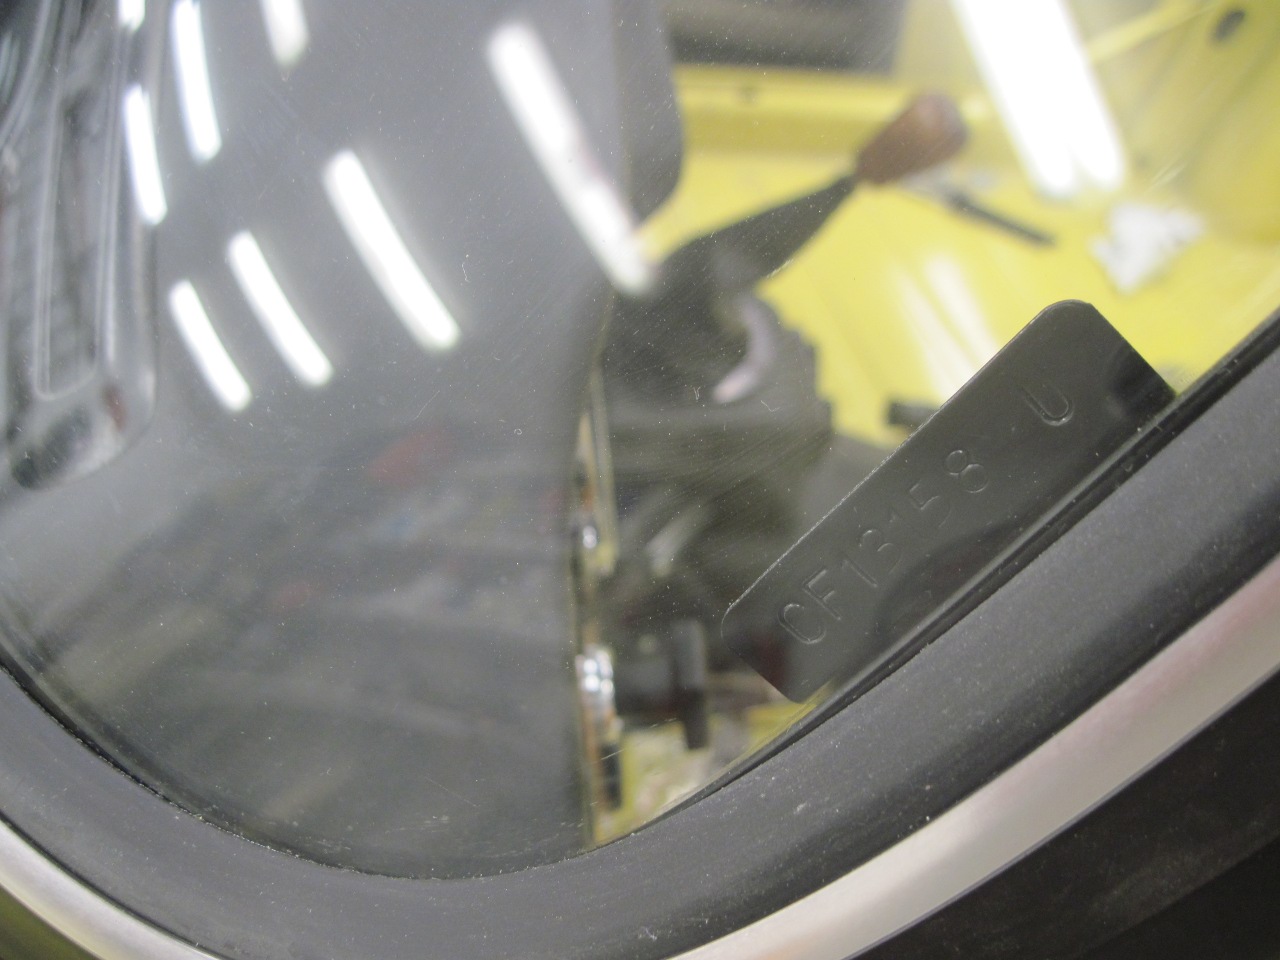
The last piece was the commission number tag.

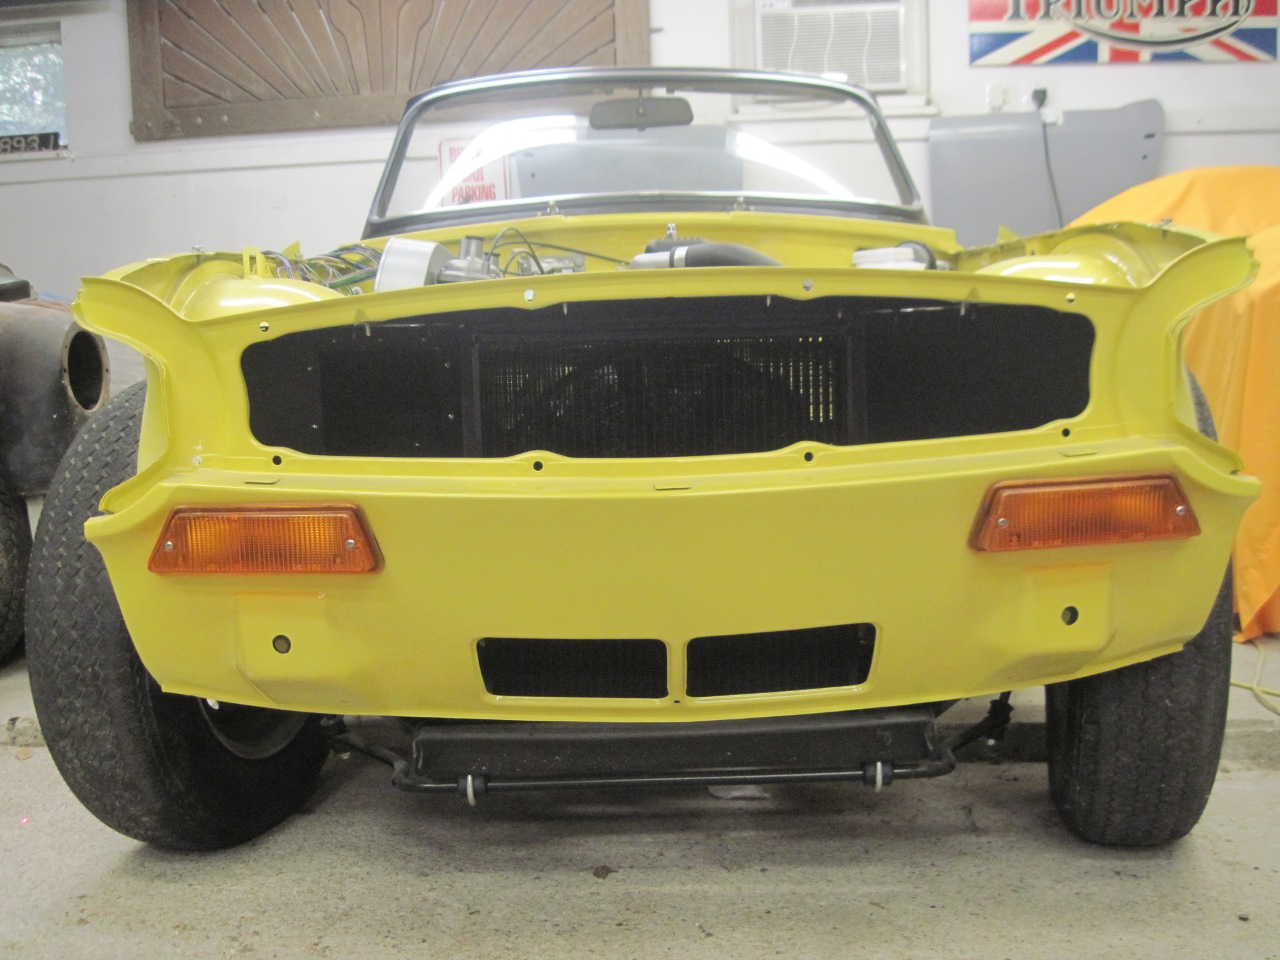
Getting the windshield on really starts to make this car look roadworthy.
I
like projects where I have to learn new skills. I'd never
replaces windshield glass before, nor worked with vinyl wrap.
This wasn't a cheap one. Probably around $250 for the
glass, gaskets and such.
Comments to Ed at elhollin1@yahoo.com
To my other TR6 pages