To my other TR6 pages
May 14th, 2017
Coolant Overflow
After installing my new radiator shroud,
I found to my disappointment that my coolant overflow bottle no longer
fit properly. I'm not sure of the exact reason, but the bottle
bracket was rubbing pretty hard against the side panel of the shroud.
In looking at the original cardboard shroud, there was evidence
of the same rubbing, so maybe this was an interference fit from the
factory.
In any case, I wasn't happy with the situation, so I
set about looking for a way to fix it. I had already cleaned up
and powder coated the bracket, but I was still willing to modify it to
fit better.
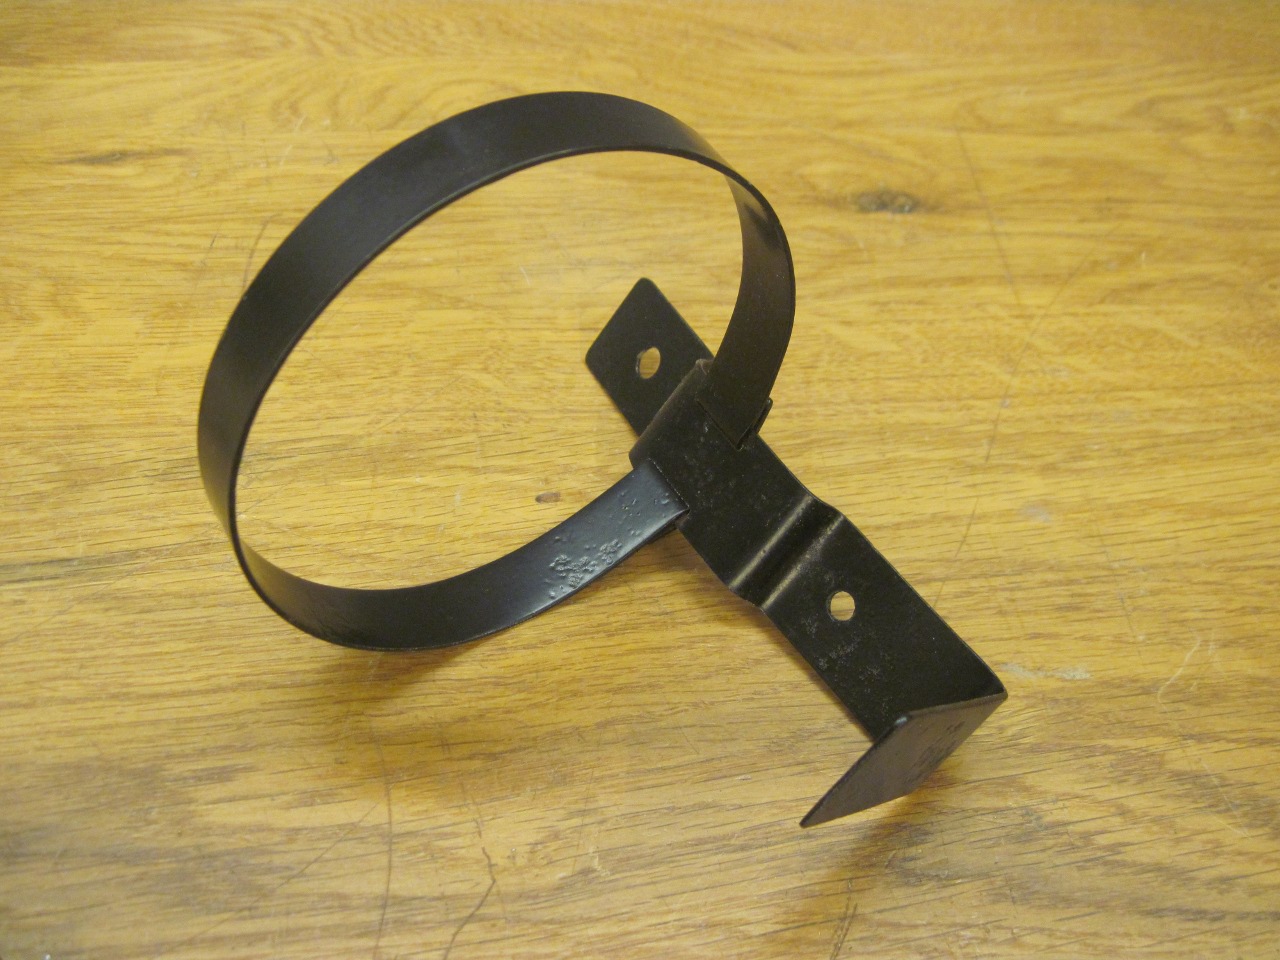
In
the end, I decided that it was going to be easier to just make a new
bracket from scratch. The bottle needed to be mounted a little
higher so that it could move outward away from the shroud. I also
wanted to use the original mounting holes drilled in the wheel well.
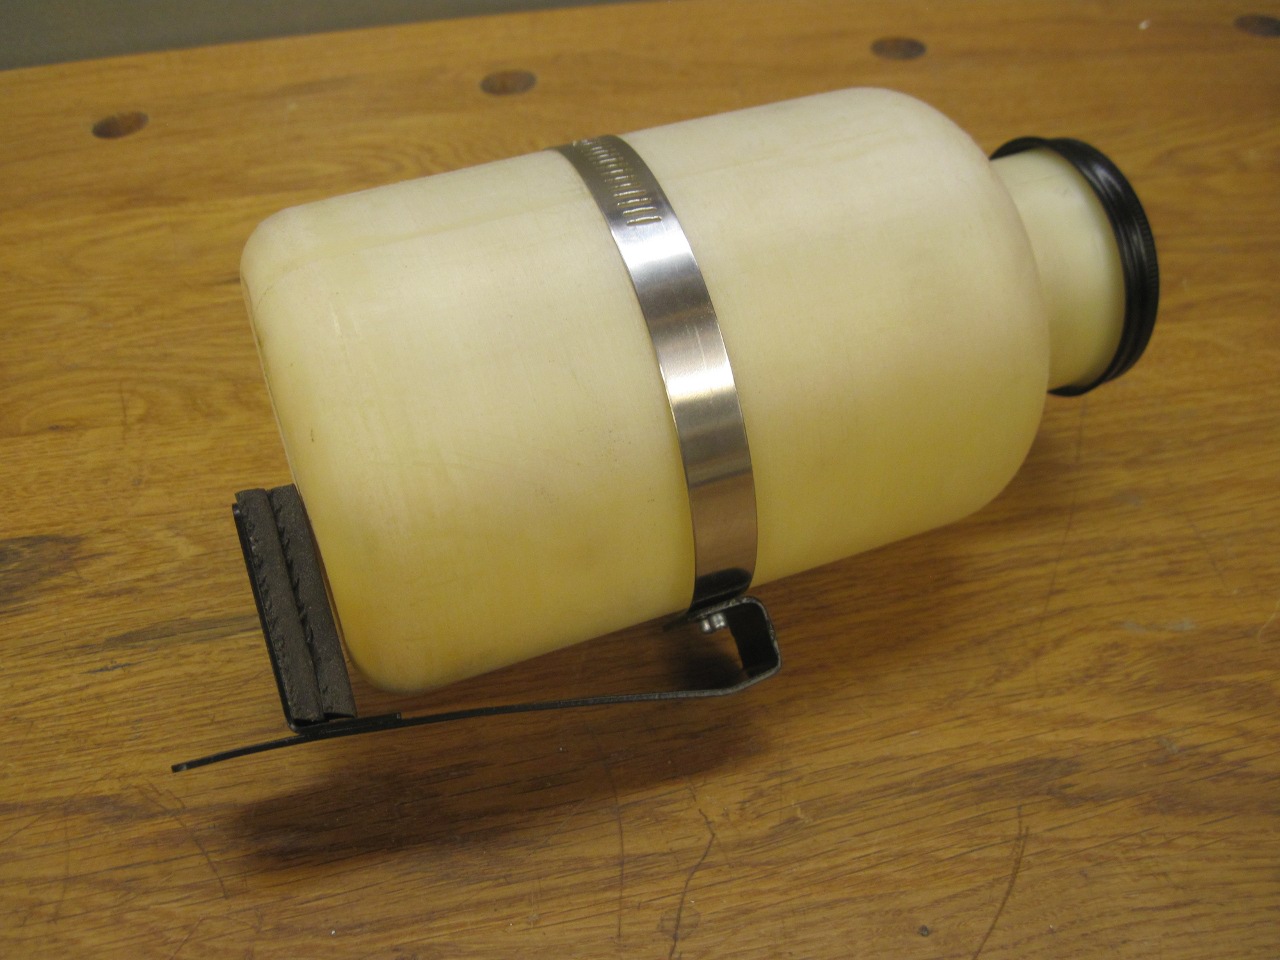
I bent up this little widget, drilled it to accept a common 4"
stainless hose clamp, and powder coated it.
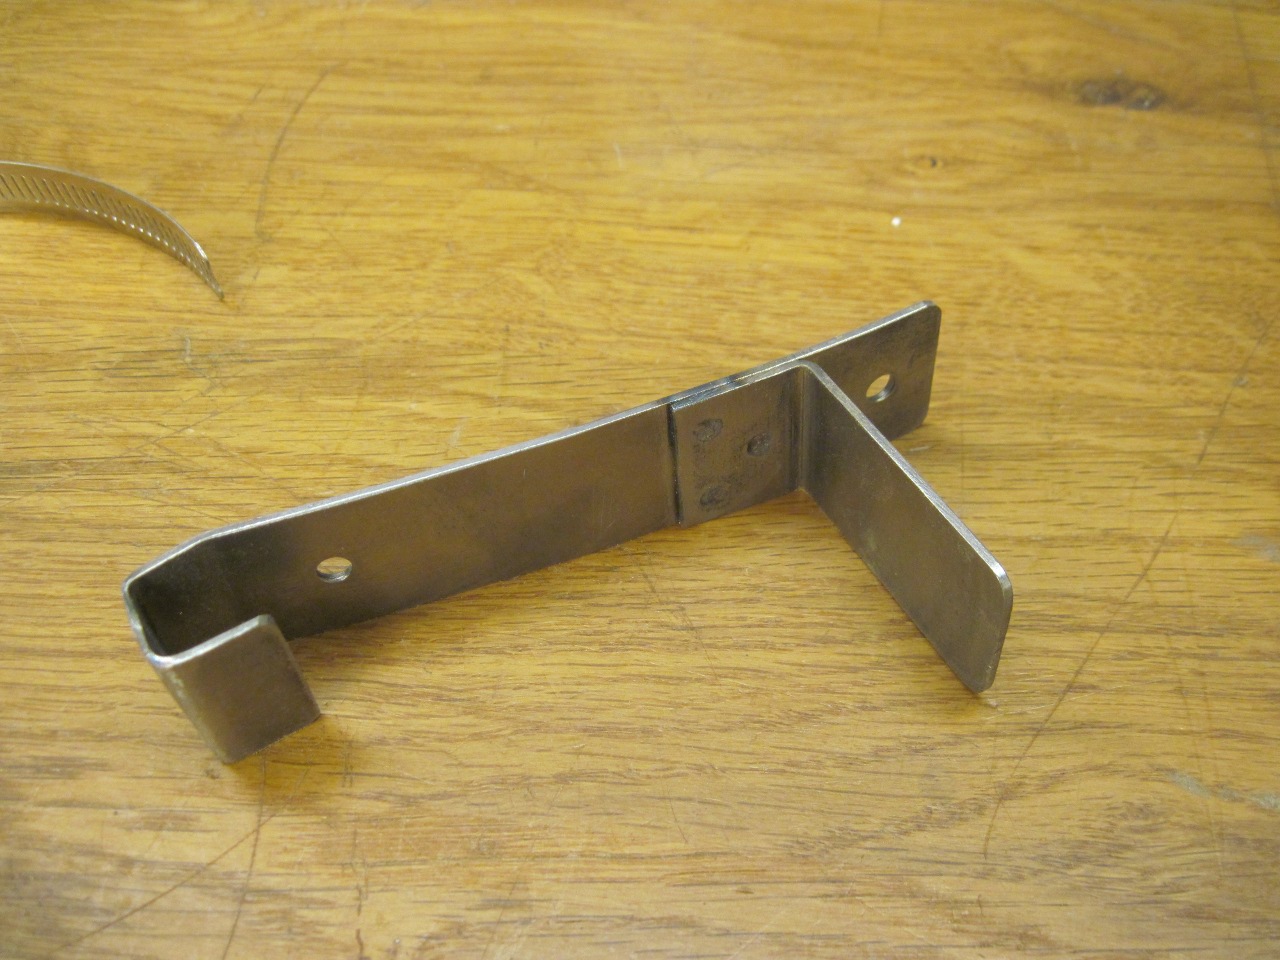
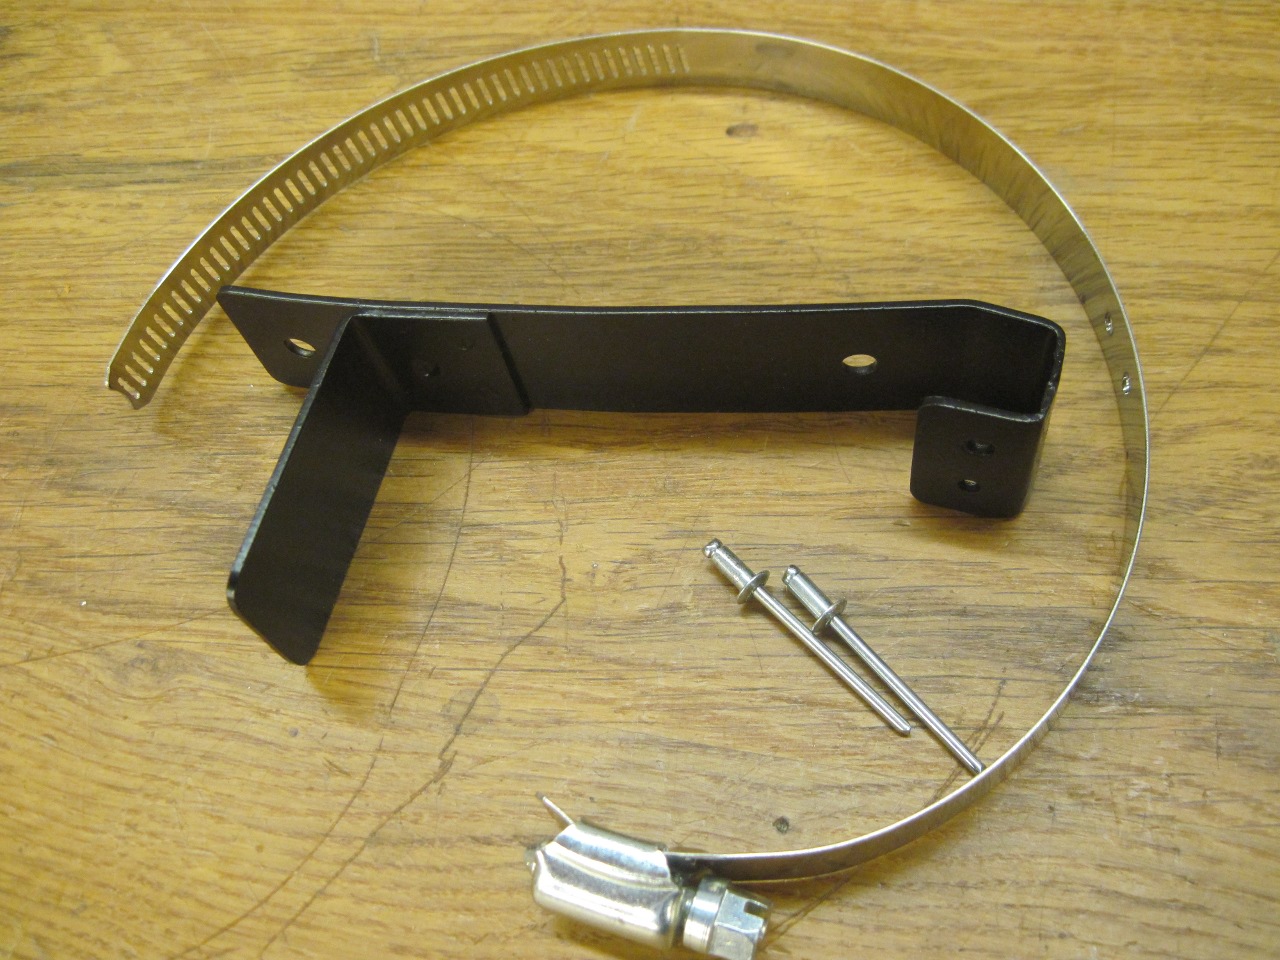
It's
easy to see the kinship to the original bracket, but the new one holds
the bottle an inch or two higher and closer to the wheel well.
Also, the bottle strap can be adjusted so that the bottle can't
rattle. A foam pad cushions the bottom of the bottle.
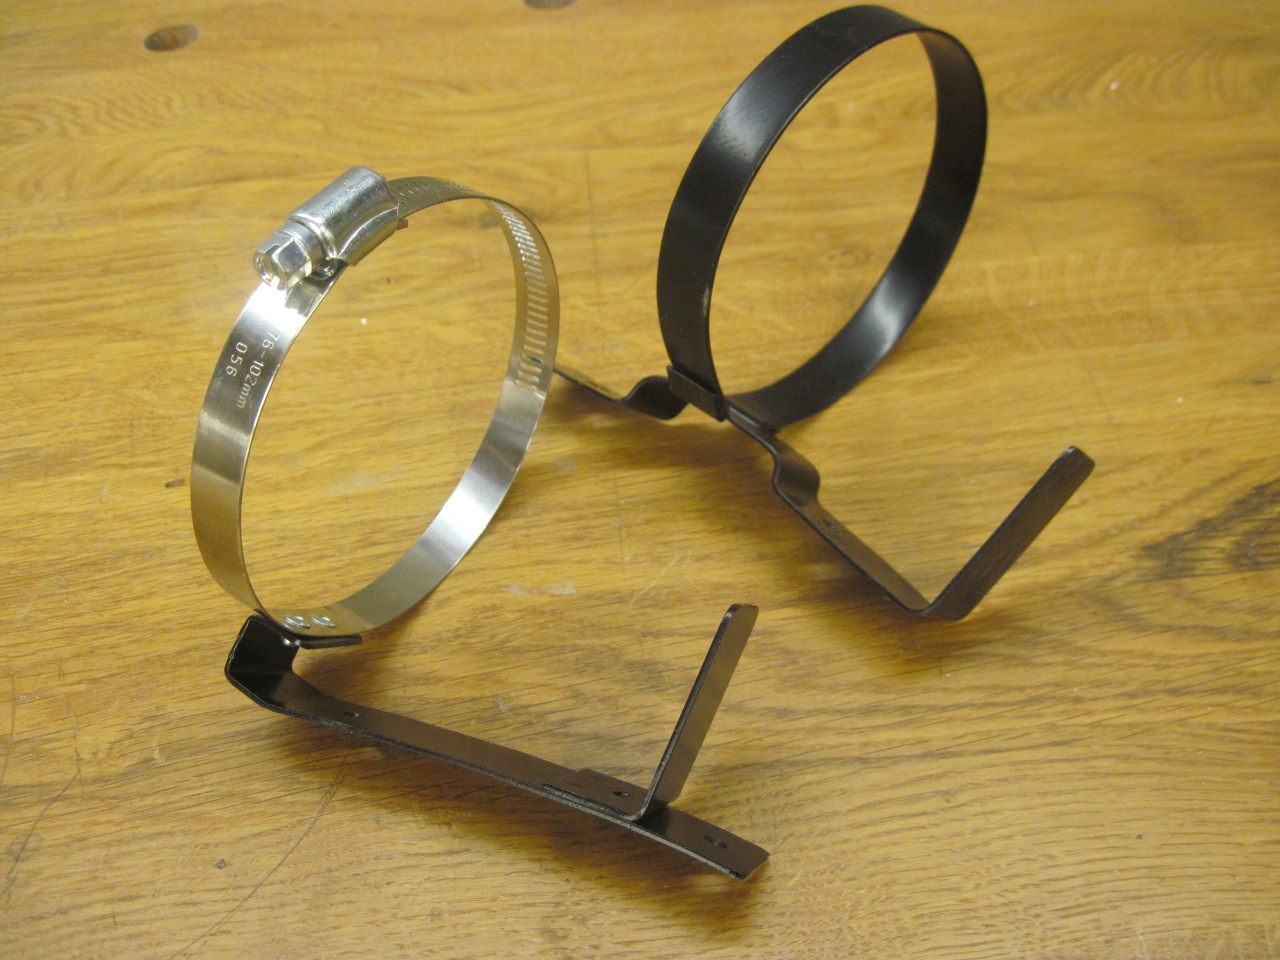
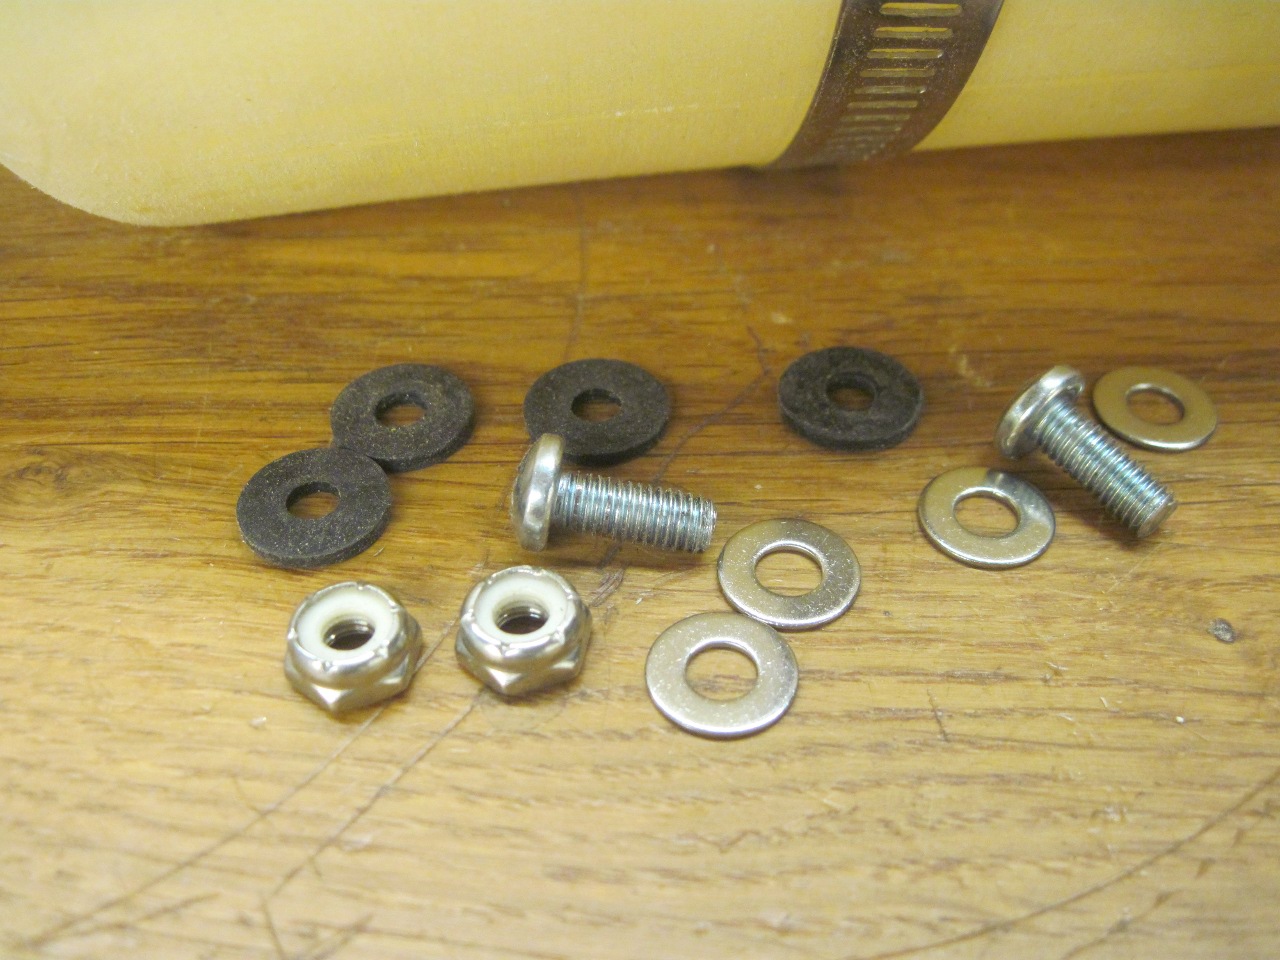
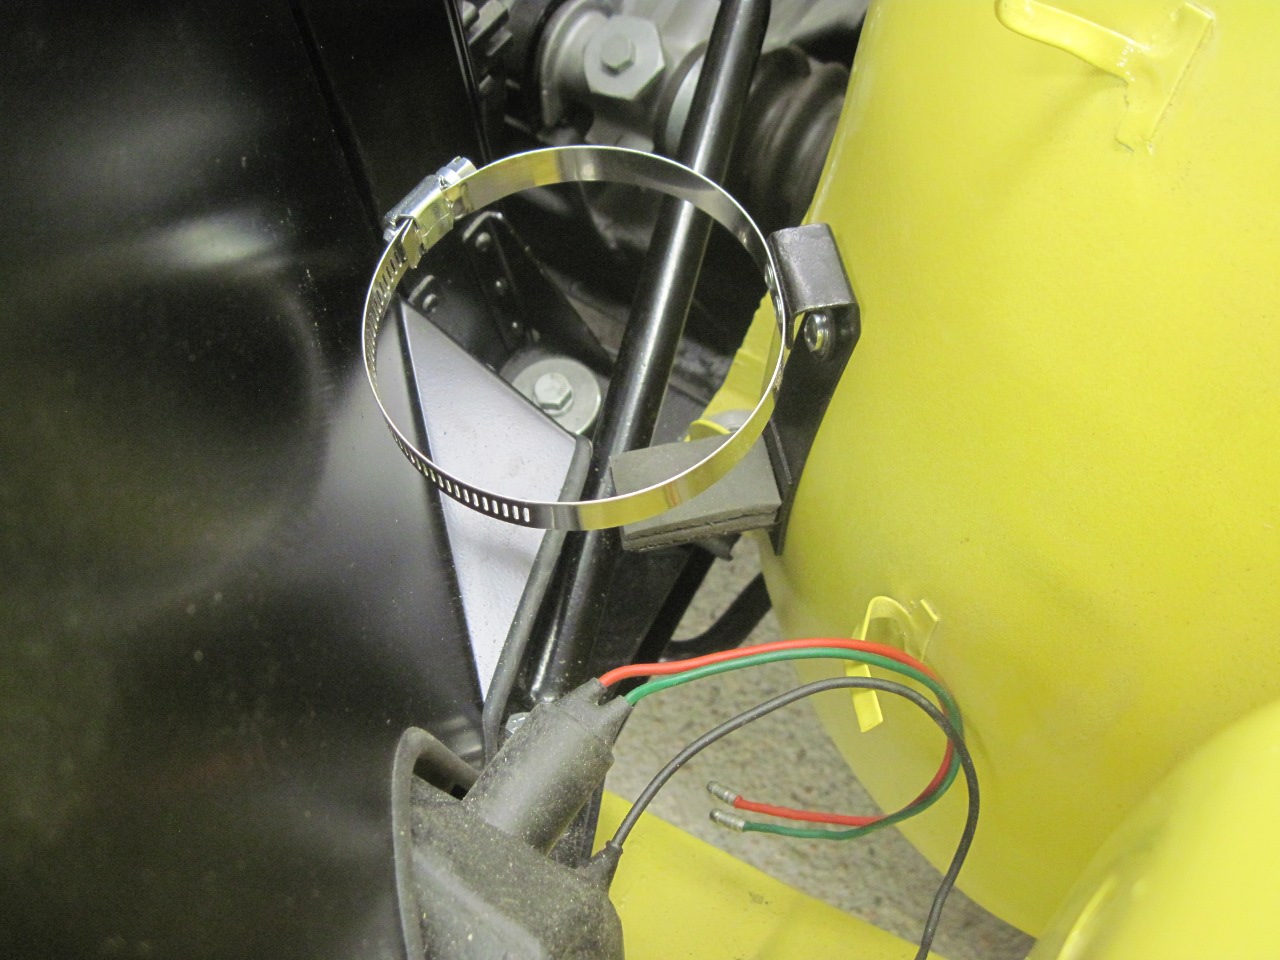
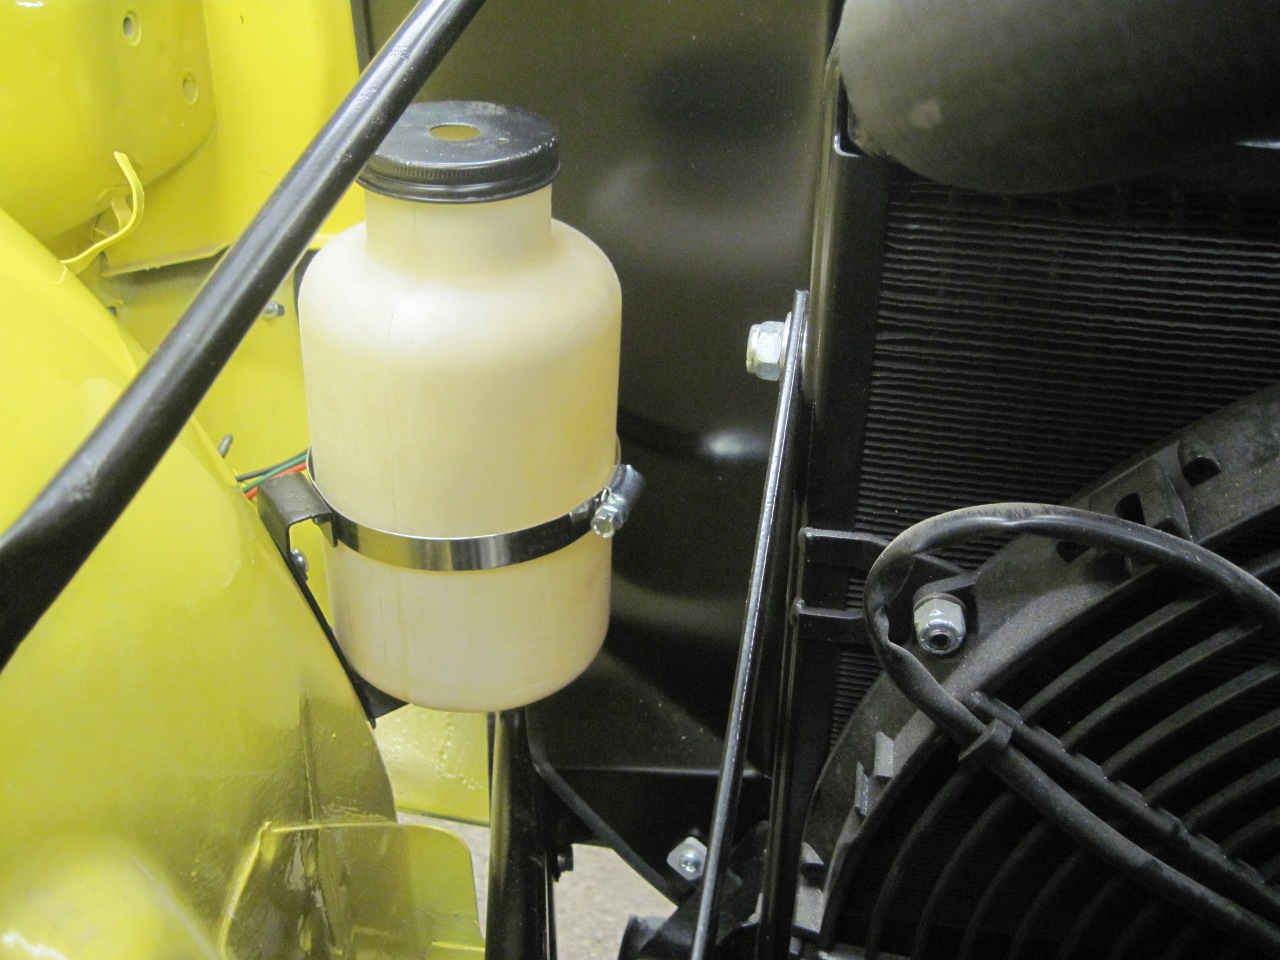
The new bracket has a curve that hugs the wheel well, but I mounted it with rubber washers inside and out to protect the paint.
"OK,
done!" I thought, and began to hook up the 5/16" hose from the radiator
overflow. The hose swept out over the top of the shroud in
sort of an ungainly arc. The reason, of course, is that the
overflow nipple on the radiator filler port emerges at an
inexplicably awkward angle. (Pic taken before the new
shroud.)
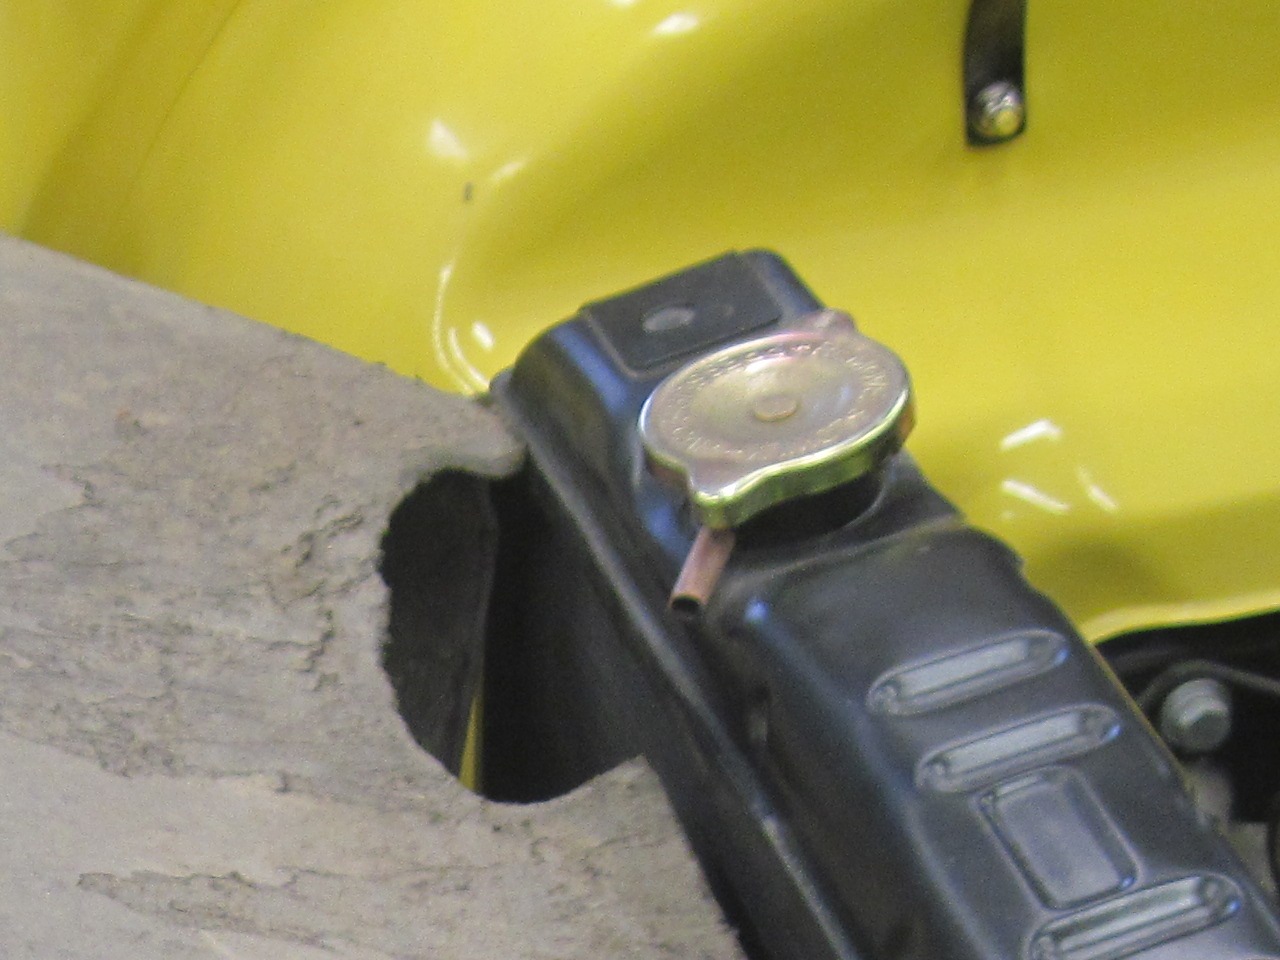
I
was just moaning to myself about how untidy the hose looked when my
latent OCD poked through, and I heard myself say, "I can fix that!"
I
resisted the urge to just try to bend the nipple. It's short, and
only soldered in place, and I didn't want to turn this into an all
day damage control crisis.
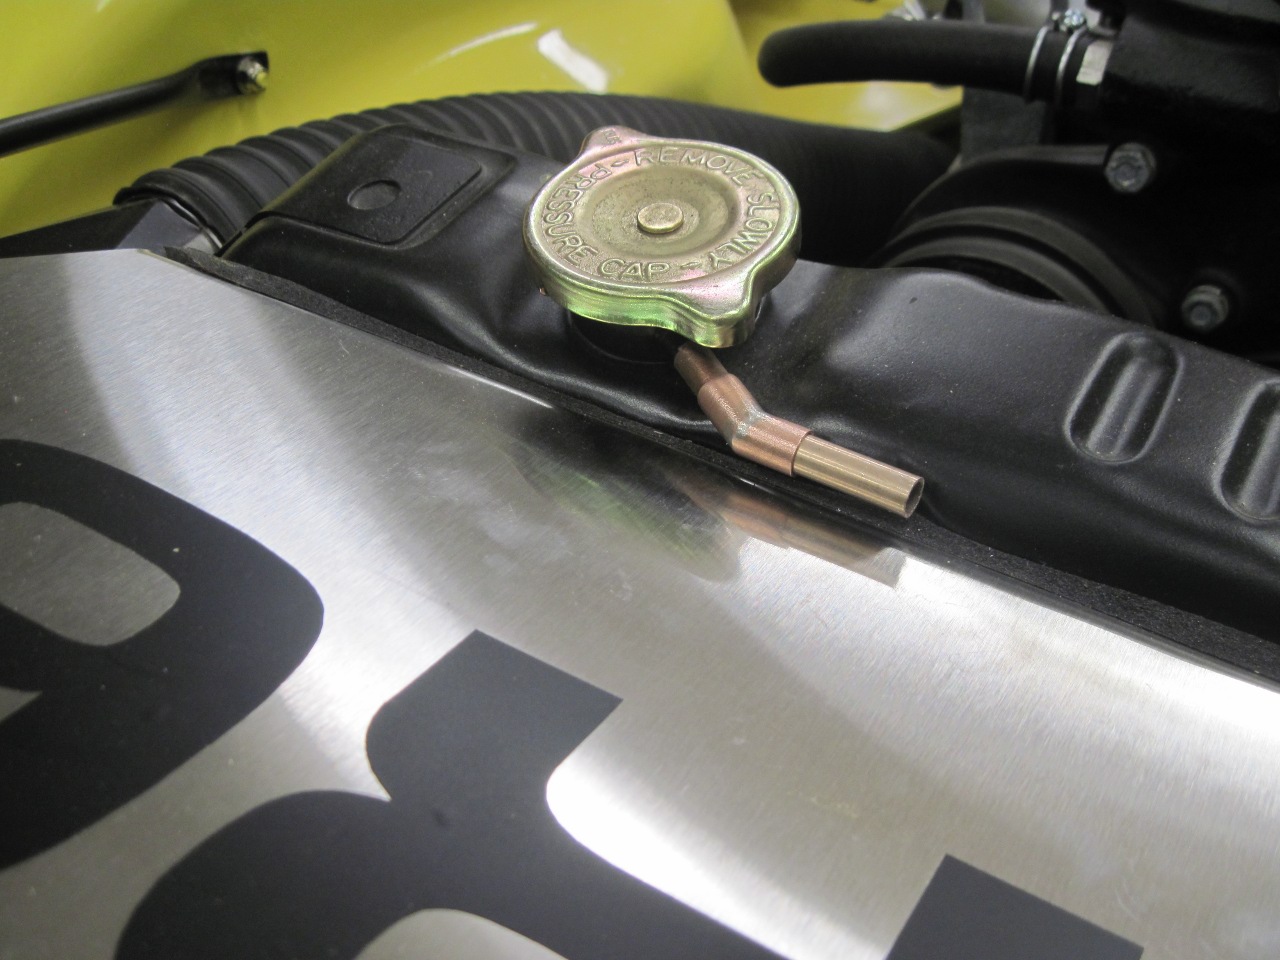
Rather, I decided to just make a
little angle fitting. 3/8" copper tube slides nicely over the
nipple, so I cut a short piece, then sliced it at an angle.
Rotating one side and soldering it back together, resulted in a
little copper dogleg that would just slide over the overflow port.
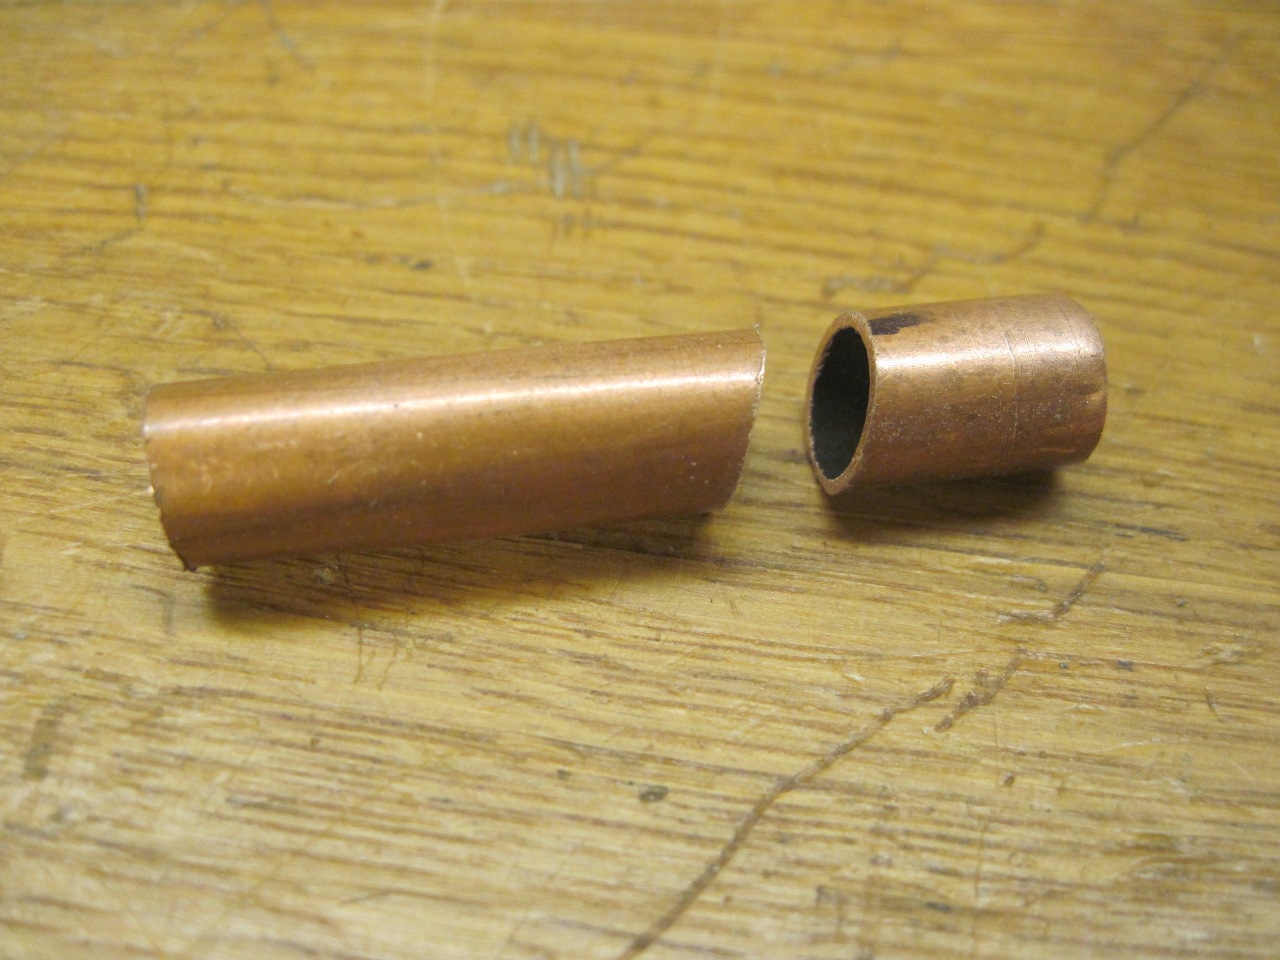
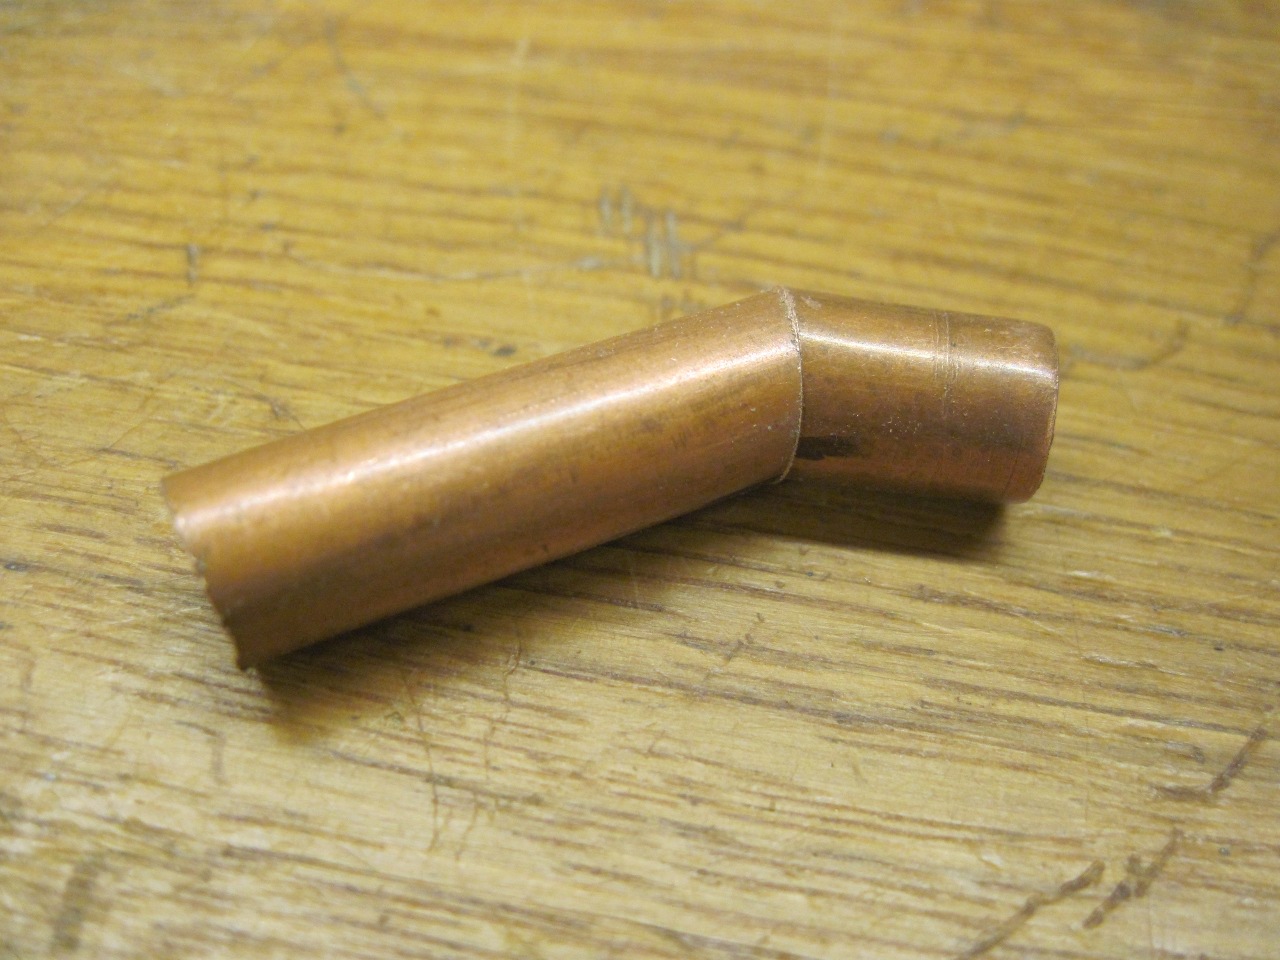
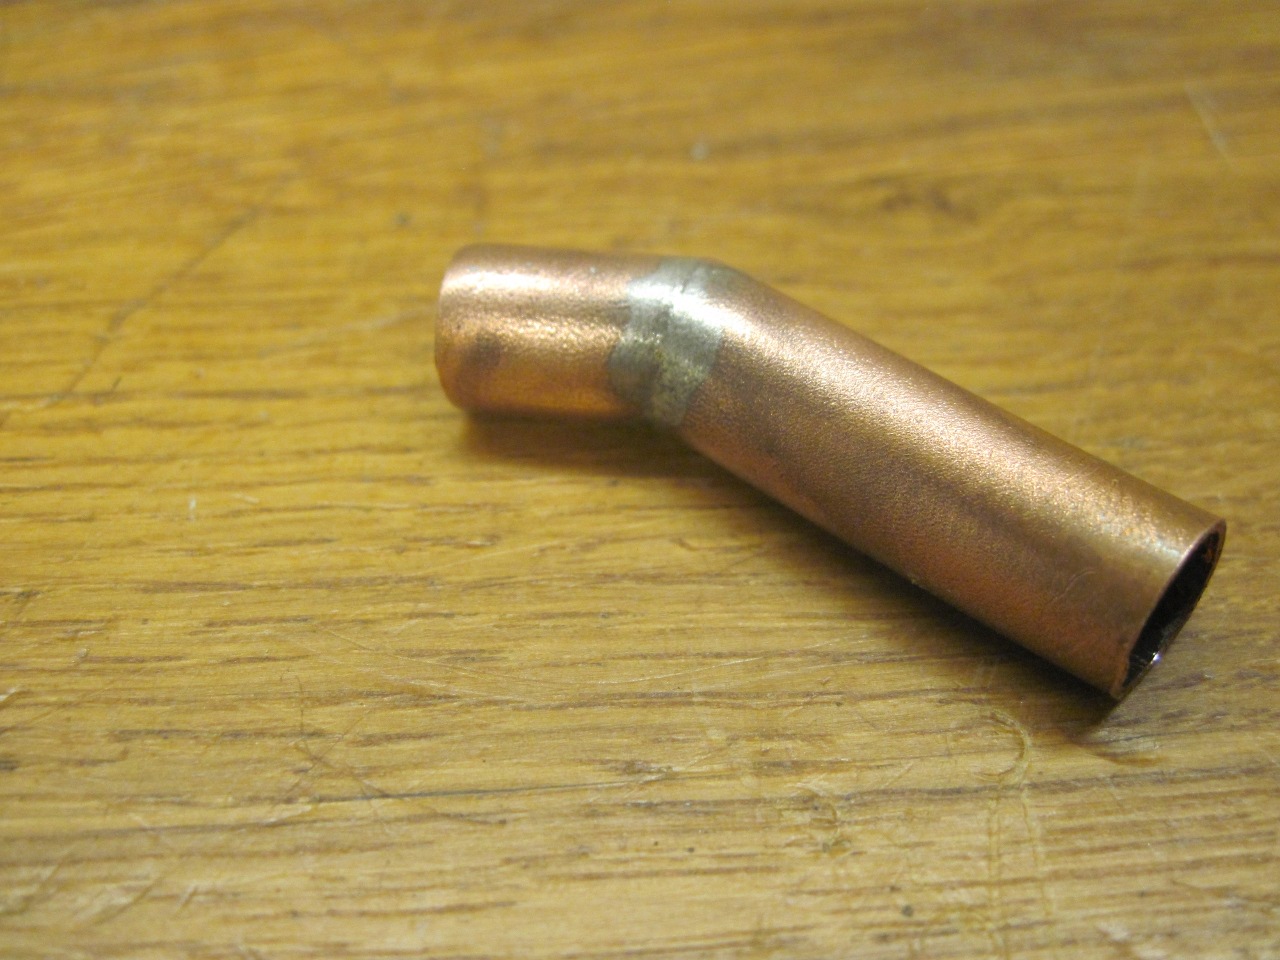
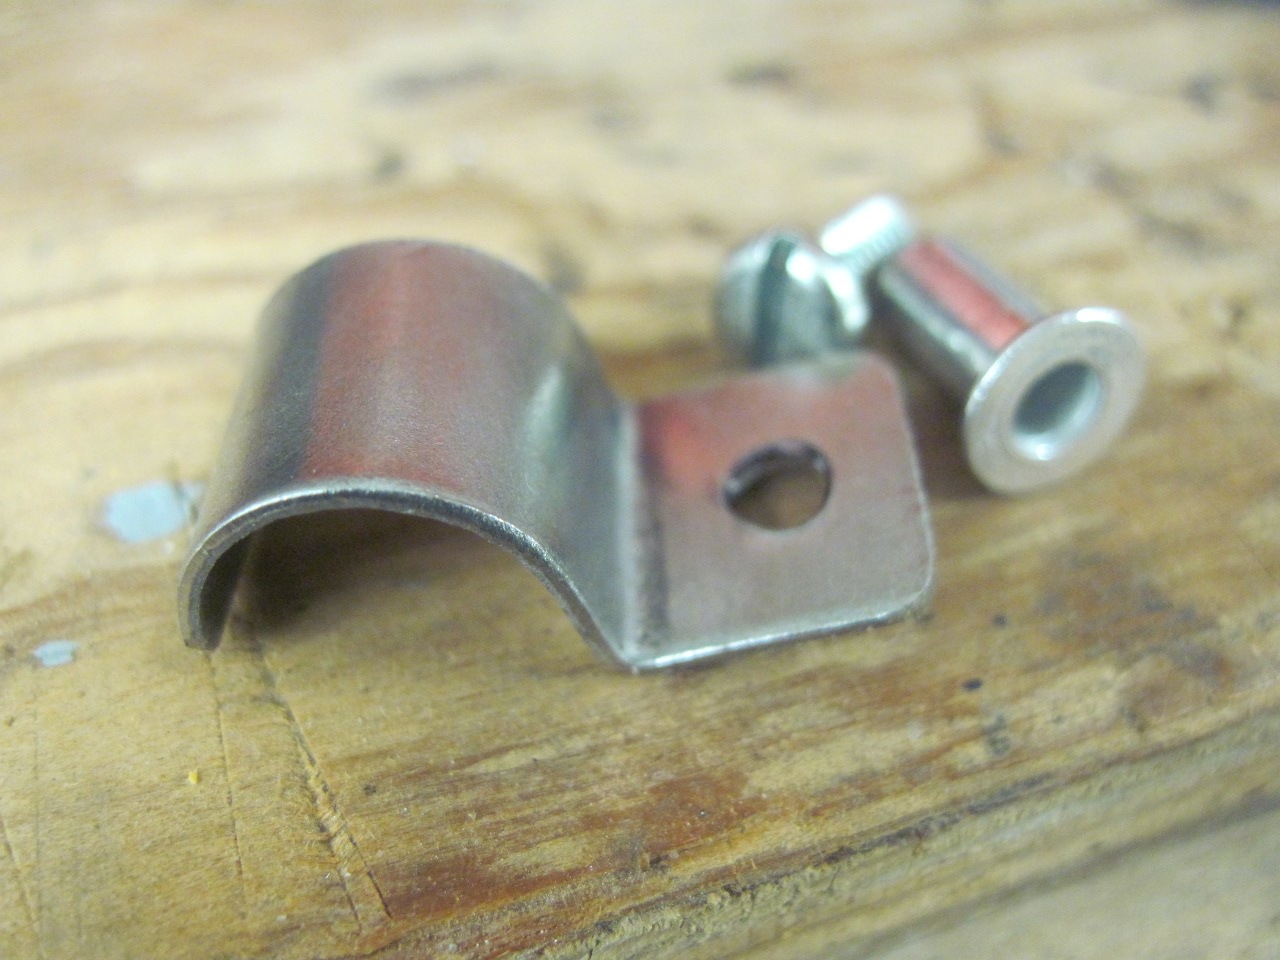
A little shop-made clip held by a rivet-nut installed in the shroud holds the hose in place.
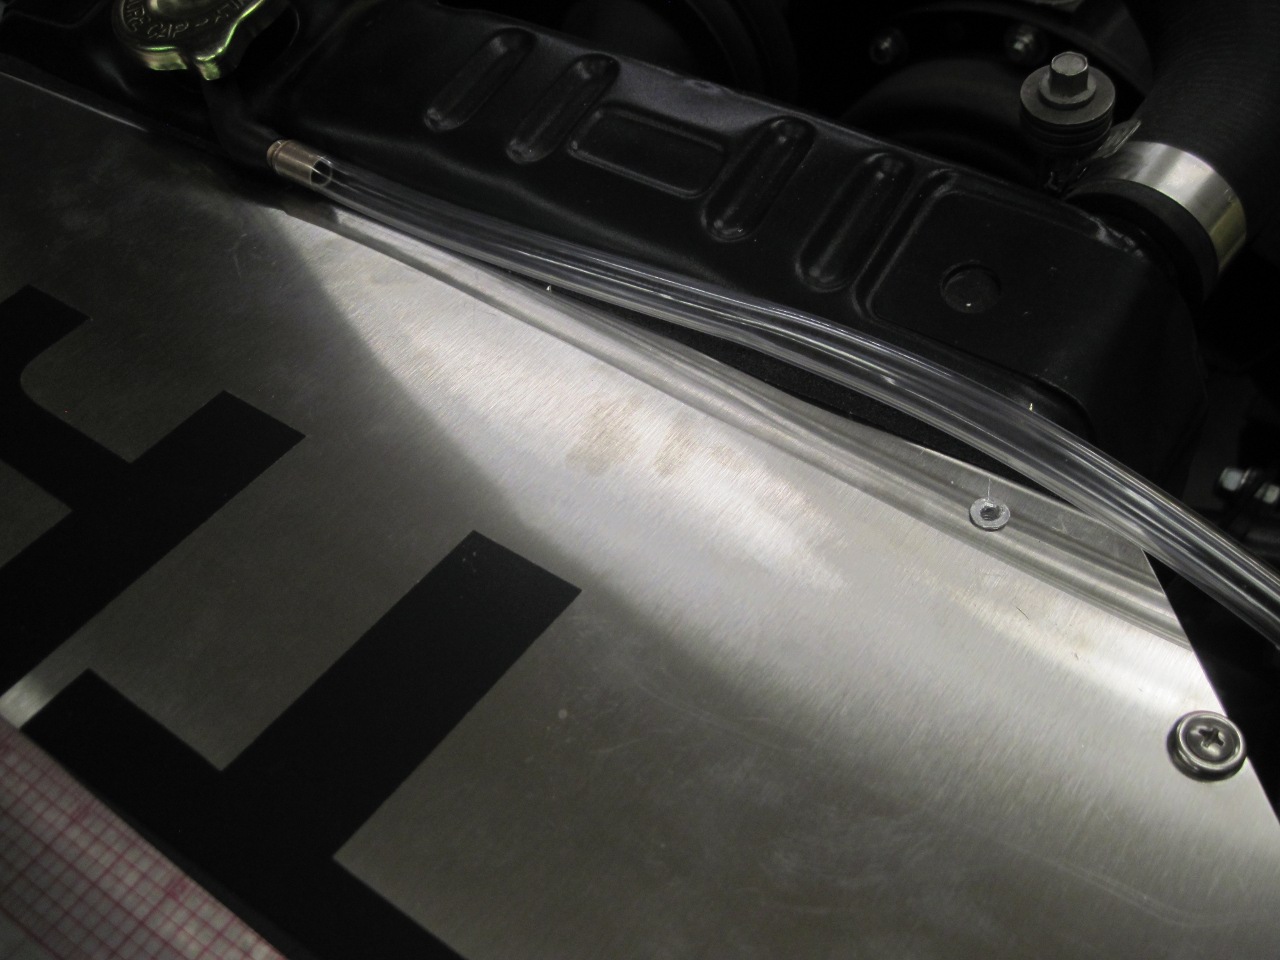
Rather
than try to solder the adaptor to the radiator nipple, I just covered
the entire transition in a marine grade heat shrink that has a hot melt
glue inside. It's pretty rigid, and waterproof. The
heatshrink is rated to about 230º F. I wish it were a little
higher, but if it gets in trouble, I'd have other problems to worry
about.
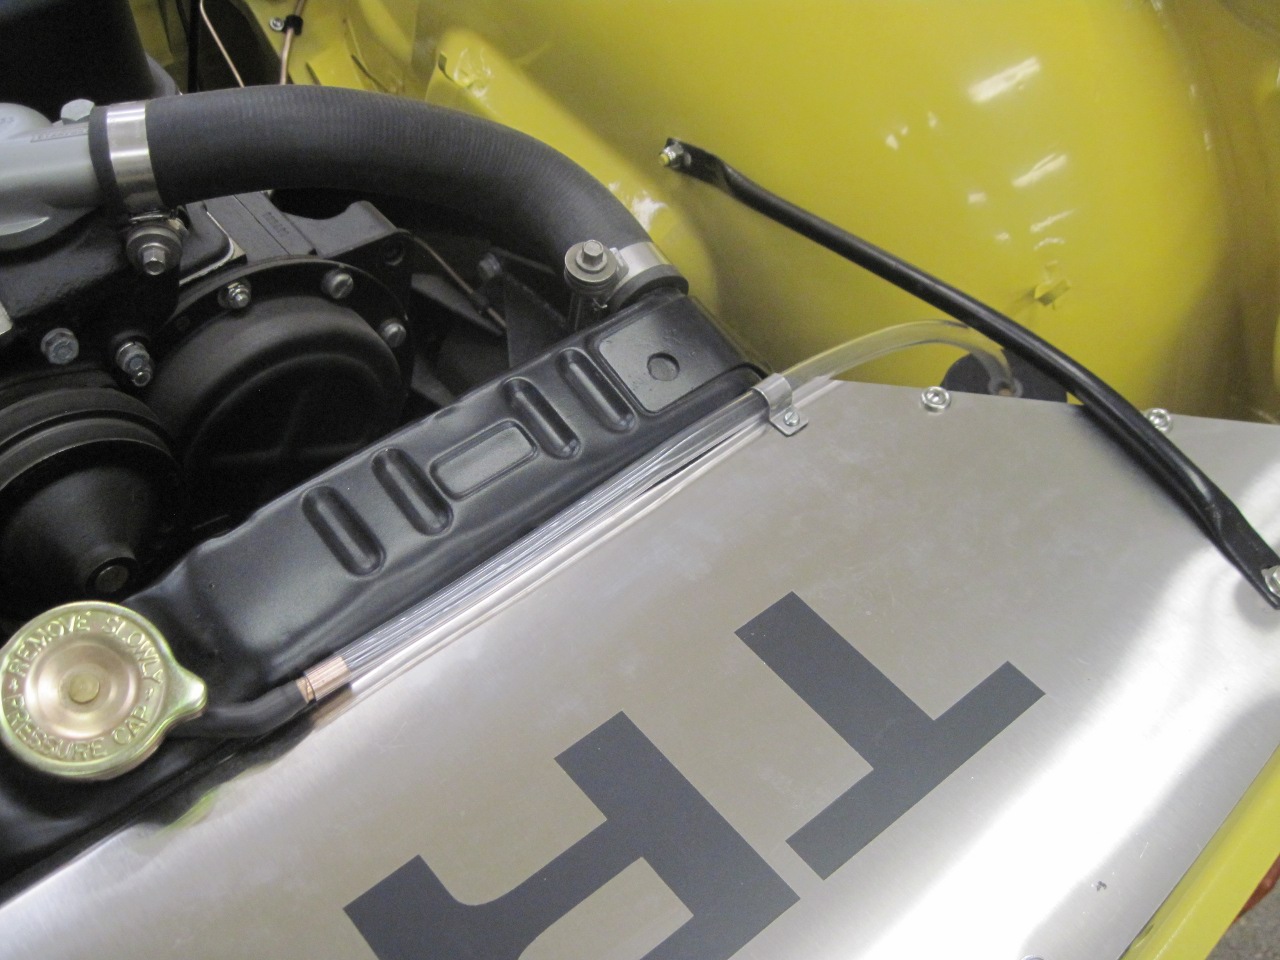
Even though unanticipated, I like projects like this--start to finish without really having to buy anything.
Comments to Ed at elhollin1@yahoo.com
To my other TR6 pages