To my other TR6 Pages
January 22, 2019
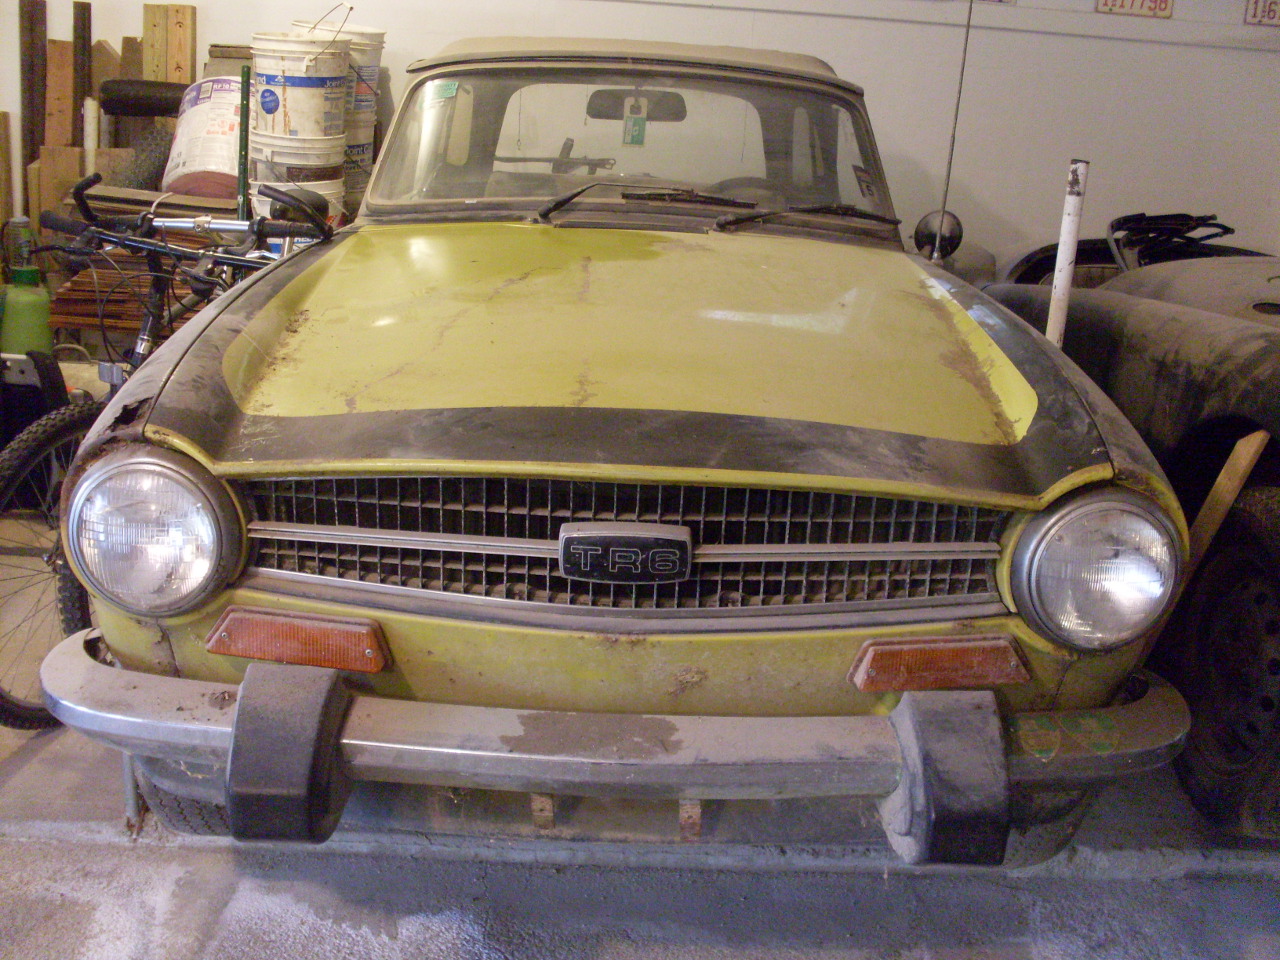
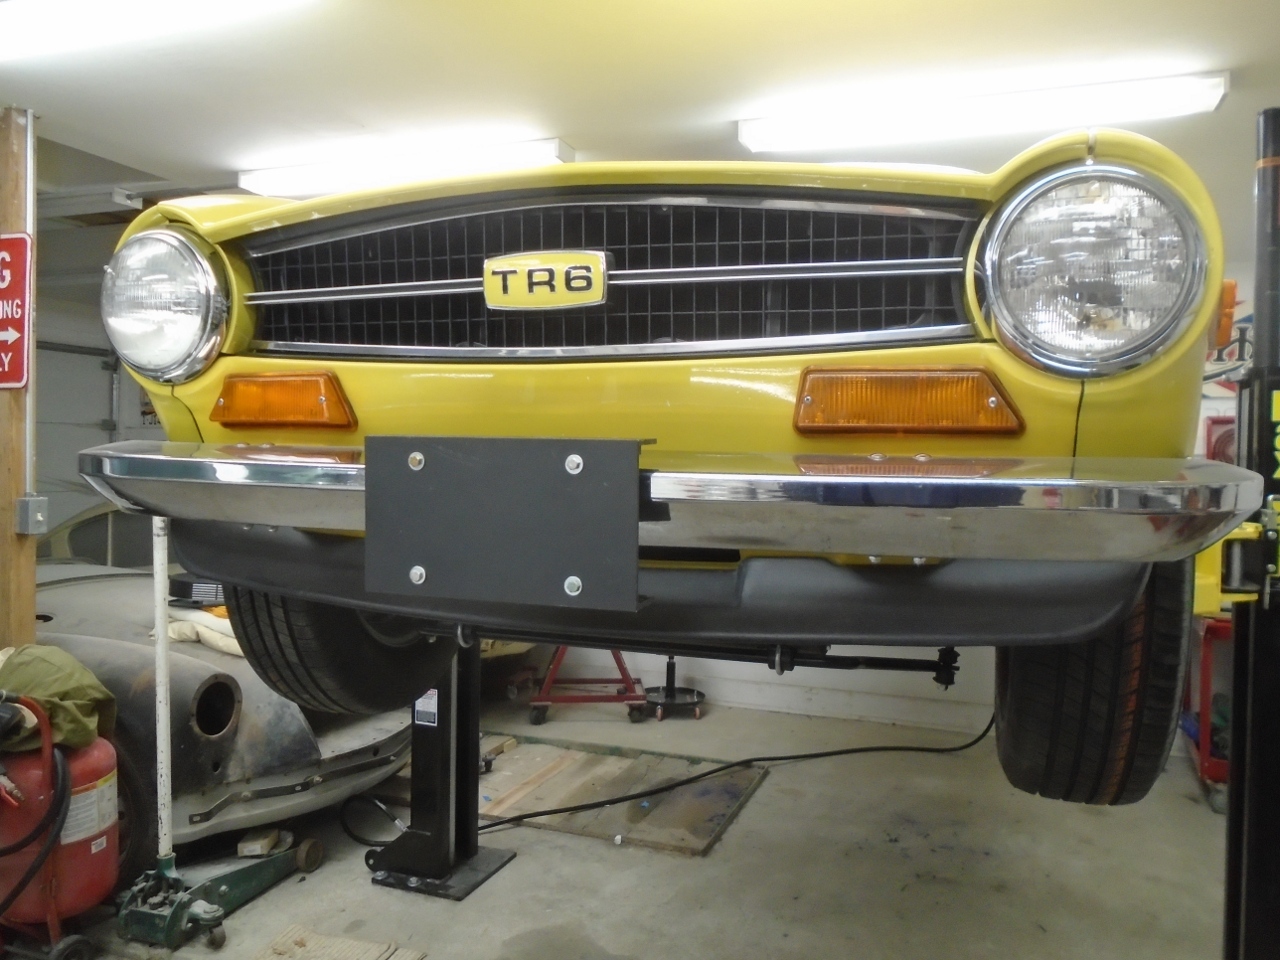
License Plate Plinth
Well,
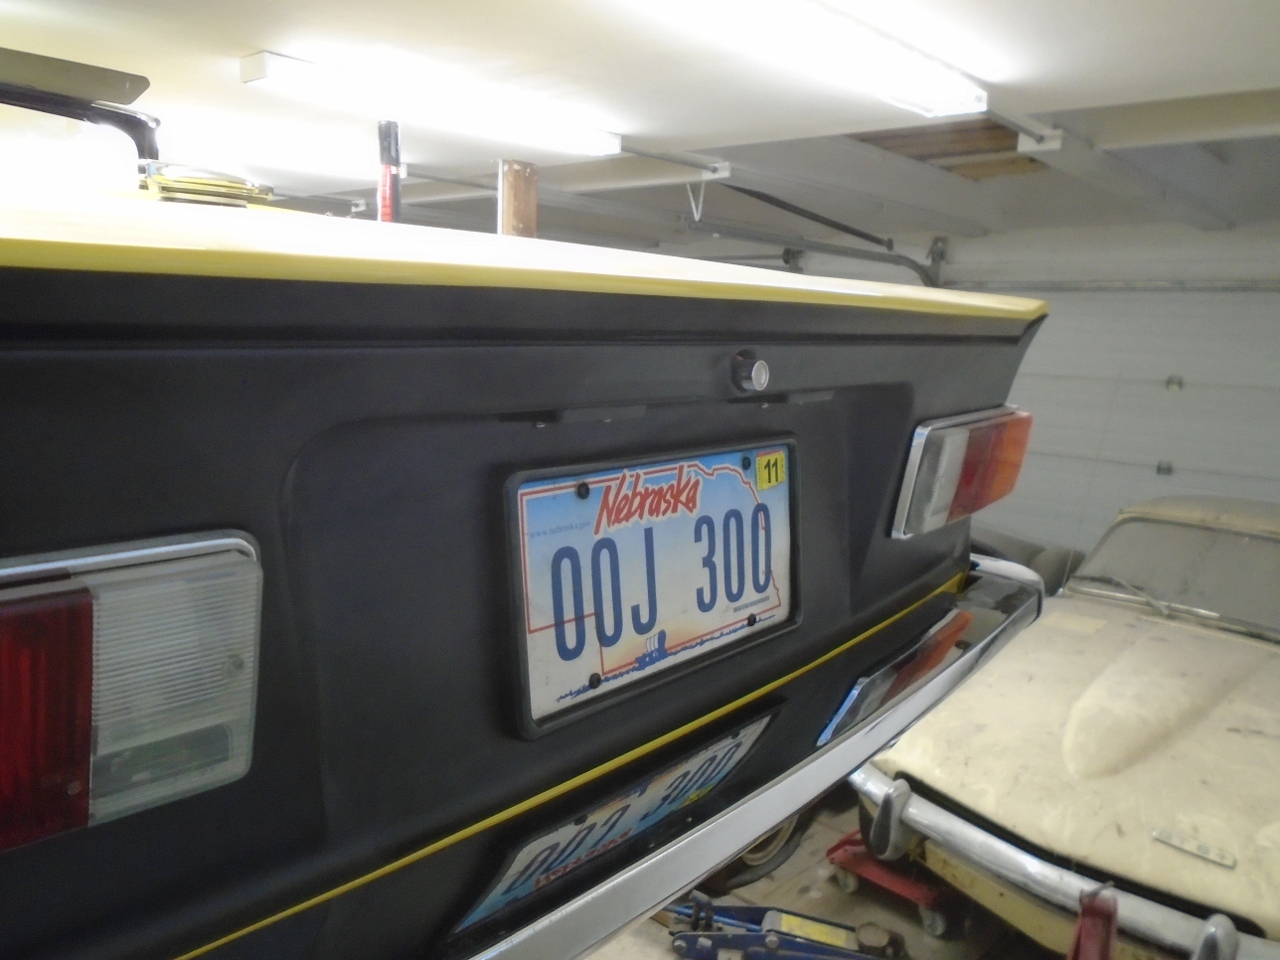
I've ordered license plates for the this TR6. In preparation for
getting the plates, I perused the mounting locations on the car.
I realized that since I'd replaced the rear valance, there were
no mounting holes for the plates. OK, I guess I can handle that
somehow.
Then
to the front. I couldn't exactly remember how or where the plate
mounted to the front, so I referred to some of my "before" pictures.
There were two rusty little tabs hanging below the bumper.
"Is that really how it was?" I asked myself. "Looks kind of
cheesy."
I
checked some Internet pictures, and sure enough, at least in '74, that
was the factory offering for the US plate attachment. I also
found that in later years, maybe starting in late '74, the factory (or
US dealers, maybe) began supplying a more proper mounting arrangement
for the front plate. It was a metal plinth that hugged the front
bumper, and looks way better in my opinion.
"OK, no problem", I reasoned. "I'll just get one of those."
Well, it
didn't take long to find out that no one makes or sells new ones these
days, and that used ones are rare and are all apparently silver plated.
I guess it's not too surprising. The part was only used for a couple
of years, and only for US cars. Also, not all US states even require a
front plate.
So
I pawed around in the box or two of what few parts weren't already on
the car, and came up with the original brackets. I cleaned them
up, but I just couldn't do it. I couldn't put those brackets on
this car. They just look too much like a shade-tree hack to me.
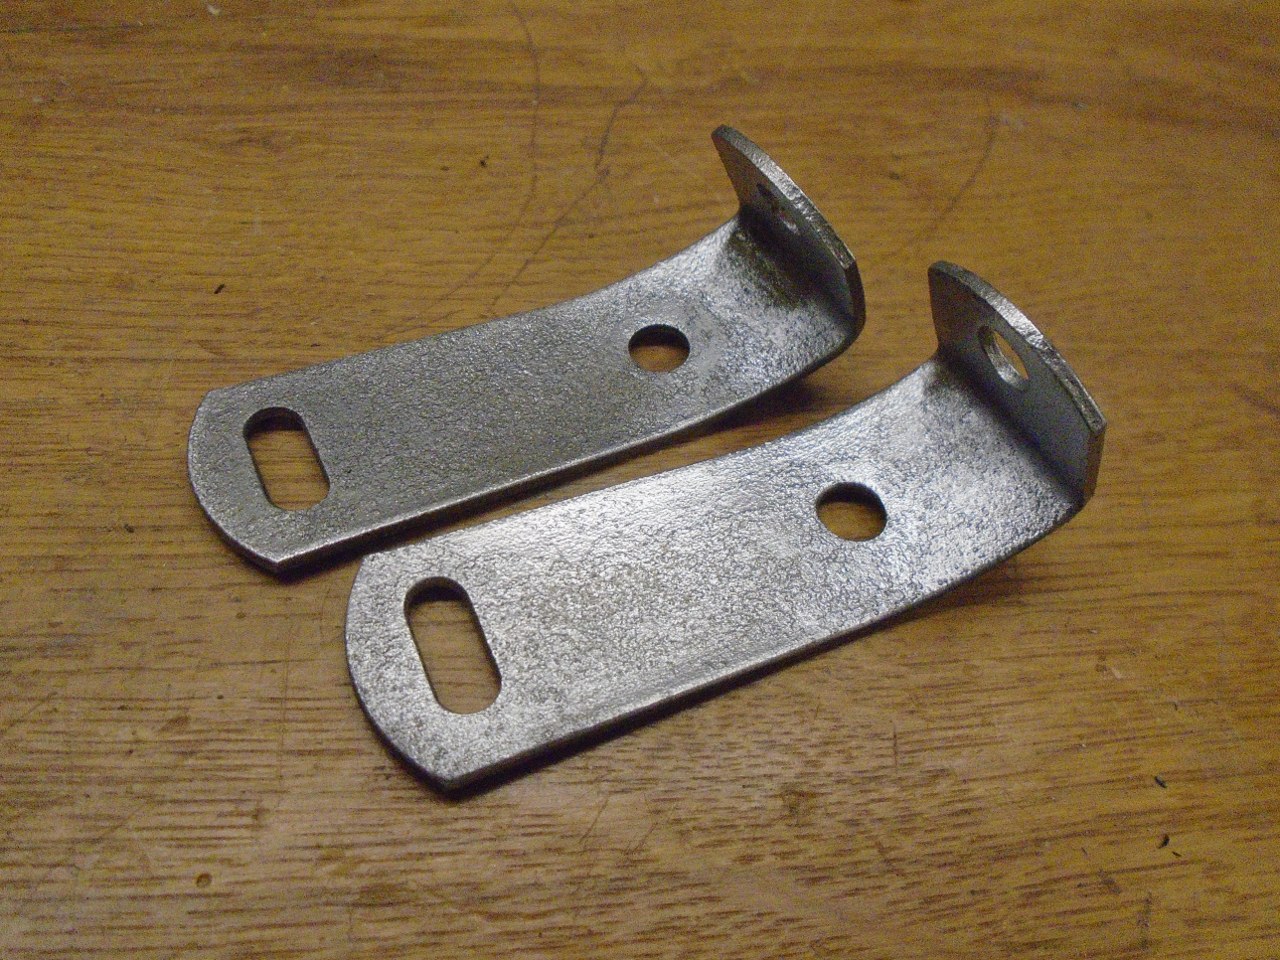
I
also didn't want to pay a couple of hundred dollars for a used plinth.
The remaining options are few. I started to think about how
I might mount the front license plate.
In the mean time, I busied myself with the rear.
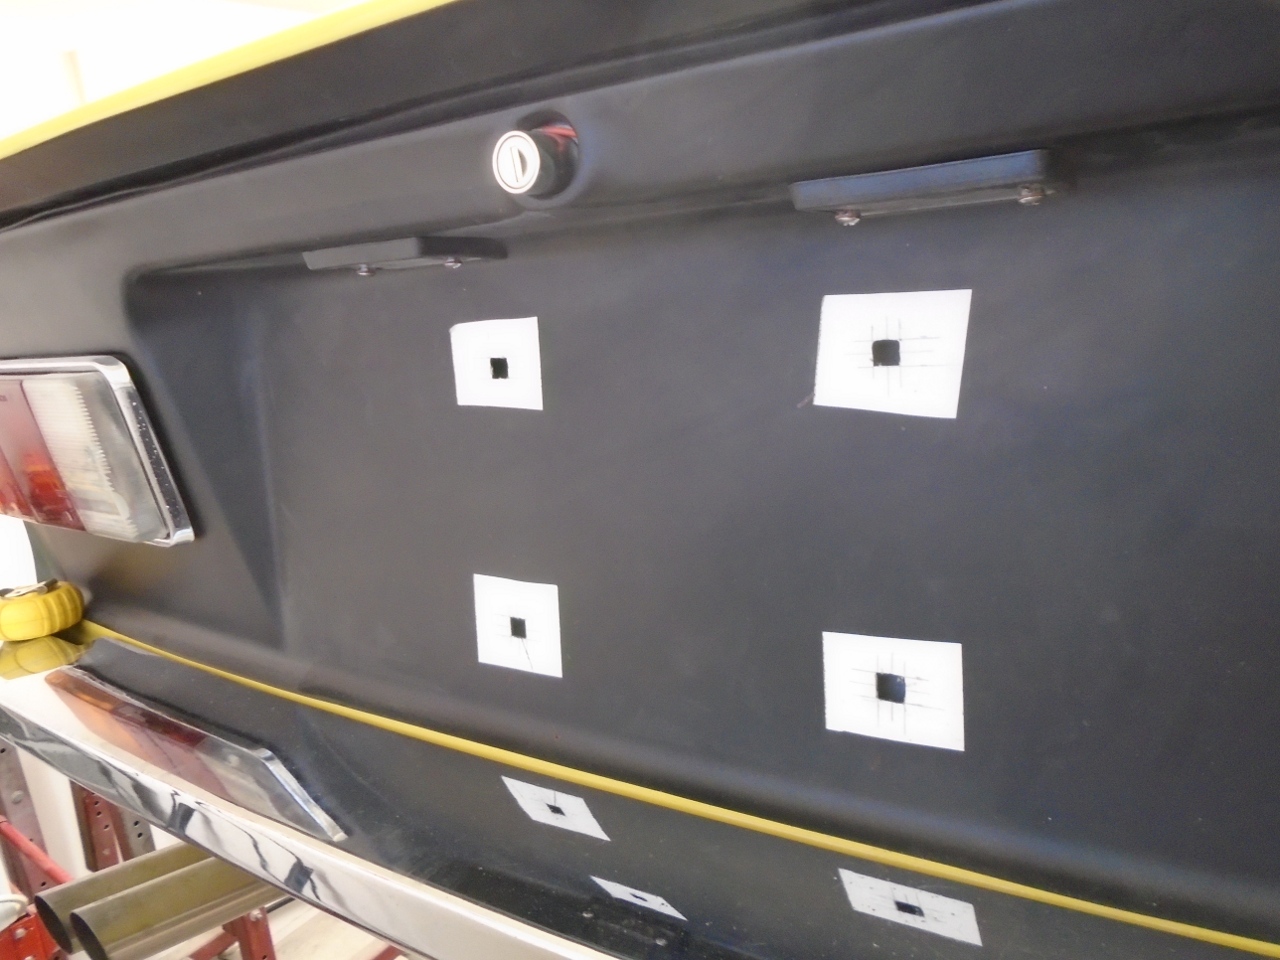
I
like these little plastic push-in nuts for license plates. They
don't rust, don't sieze, and can be easily replaced when they wear out.
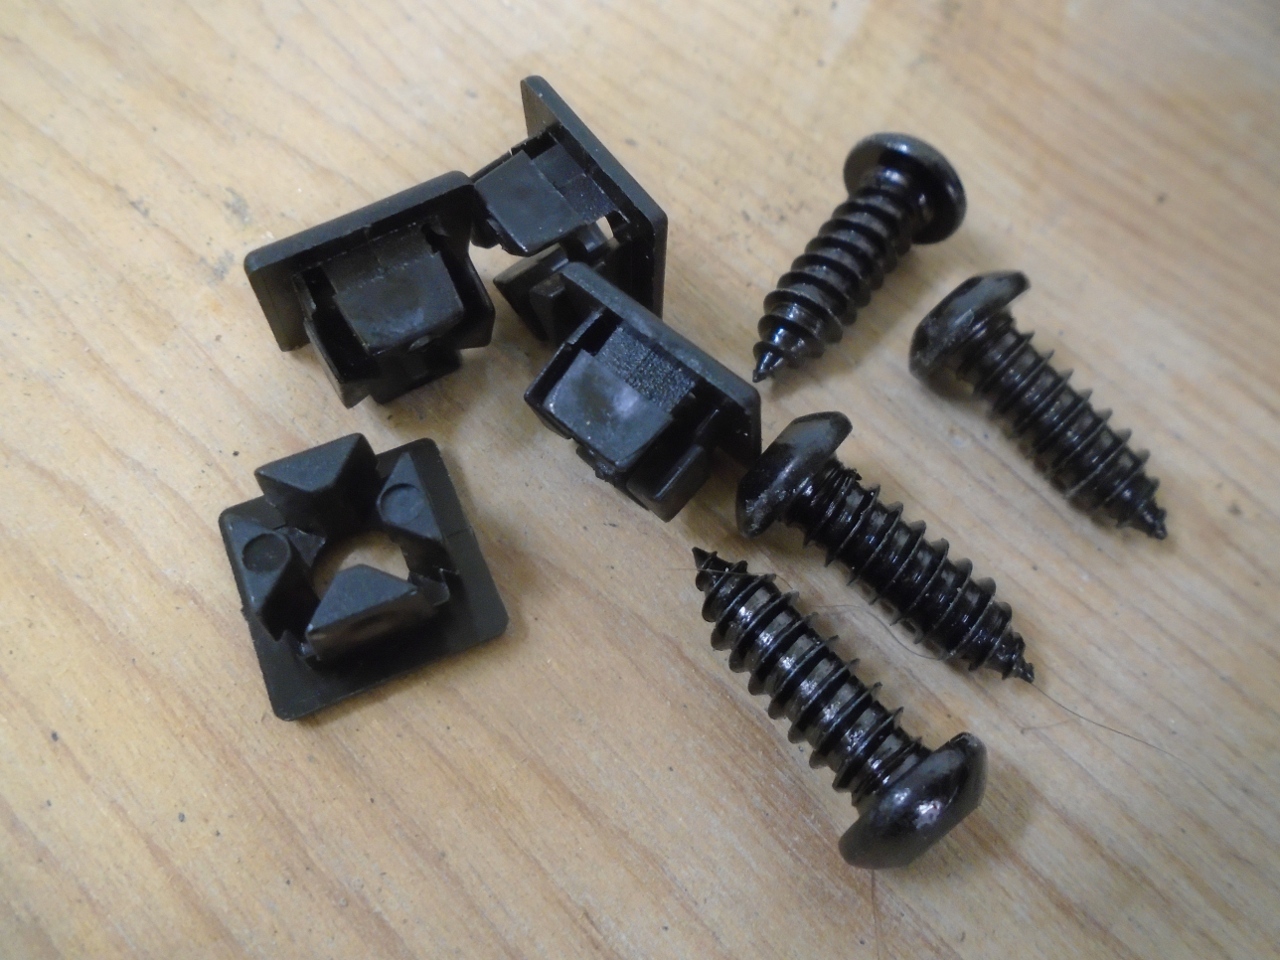
But,
they take a square hole. Unless a suitable punch is available,
this is a pain in the backside. I don't have a suitable punch.
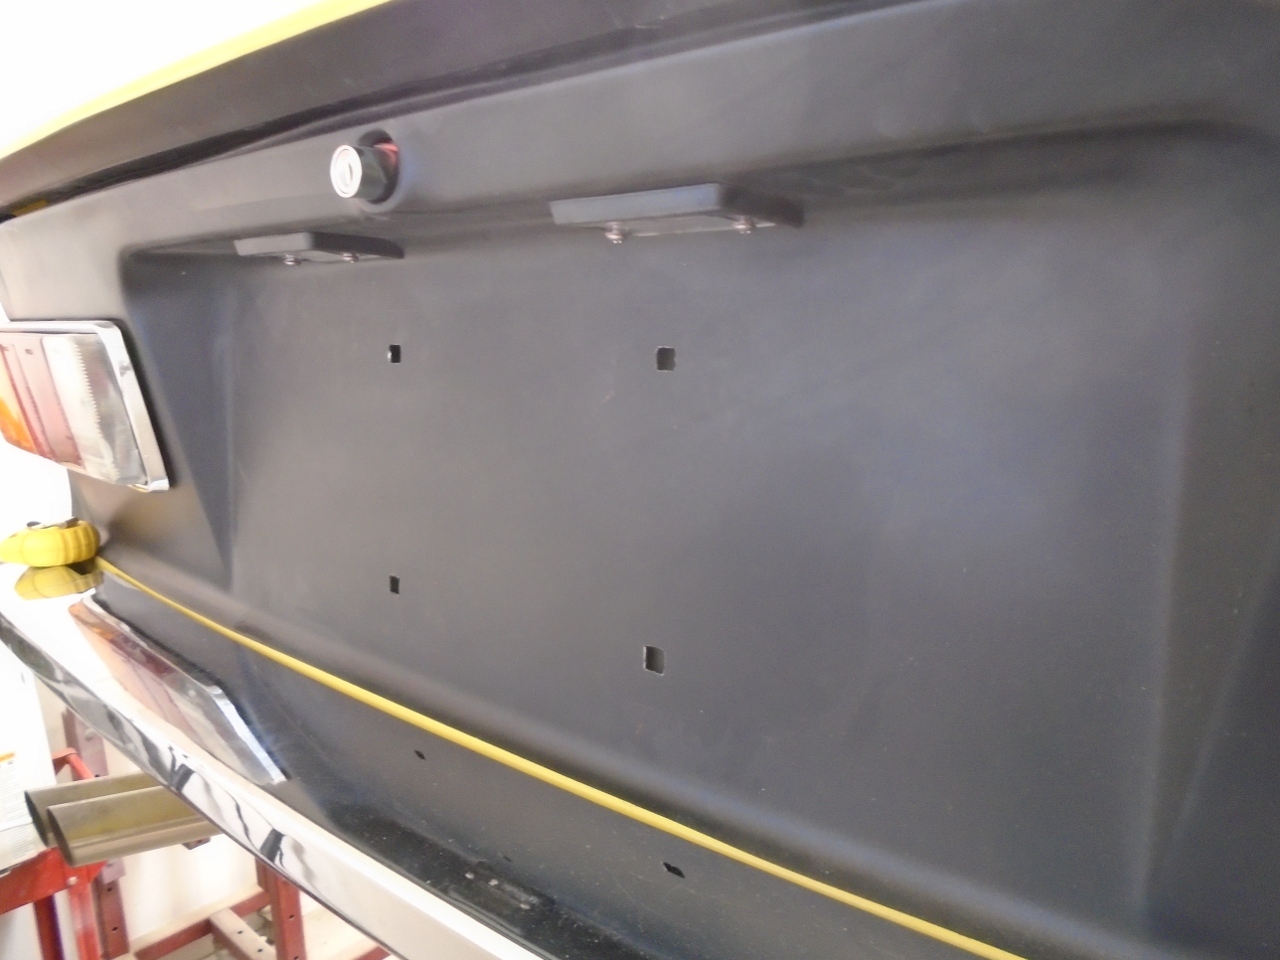
I started by marking out the position and shape of the holes, then drilled them round, and filed them square.
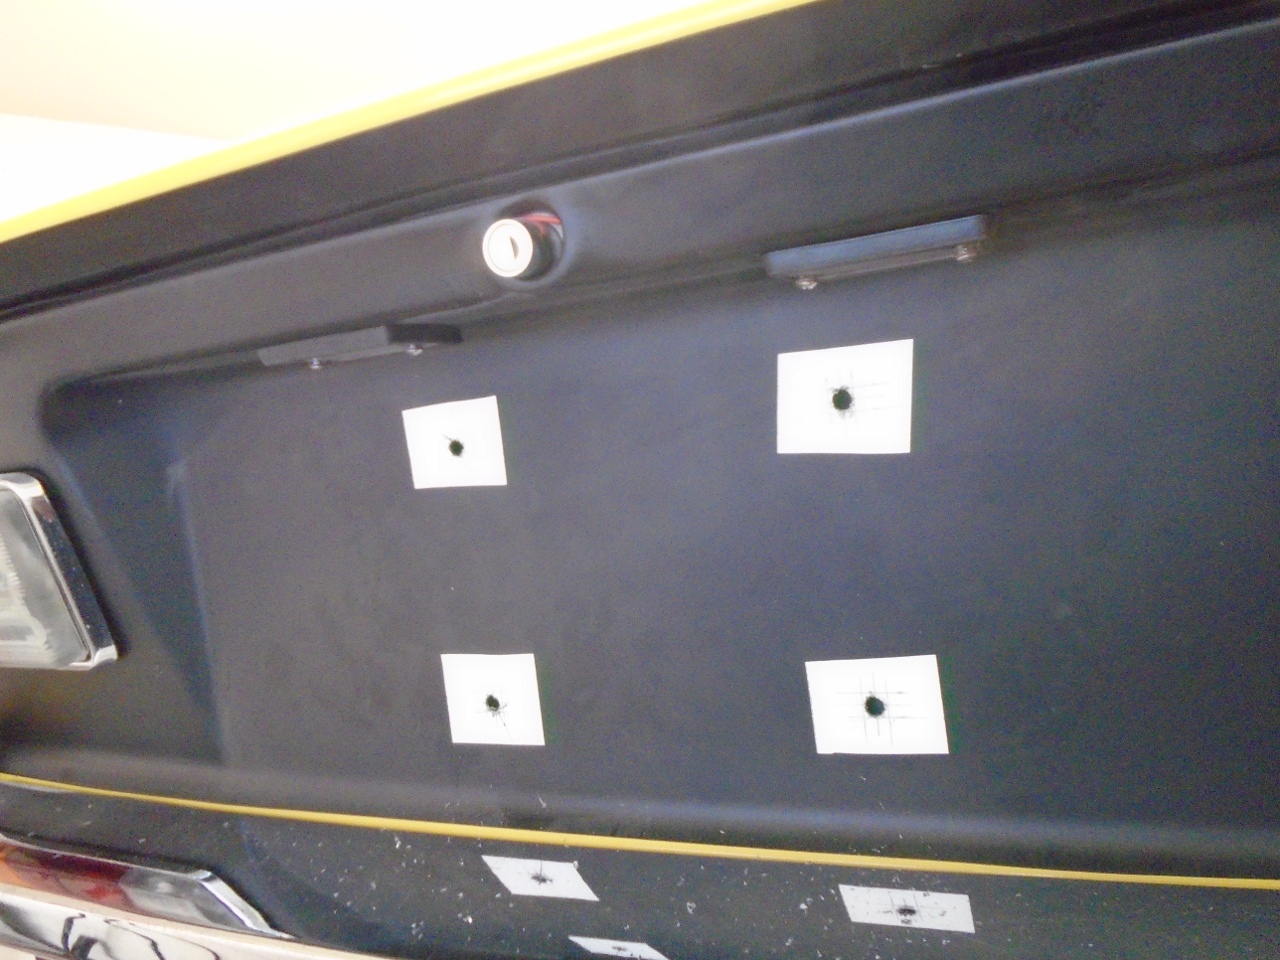
Removed the tape, and pushed in the nuts.
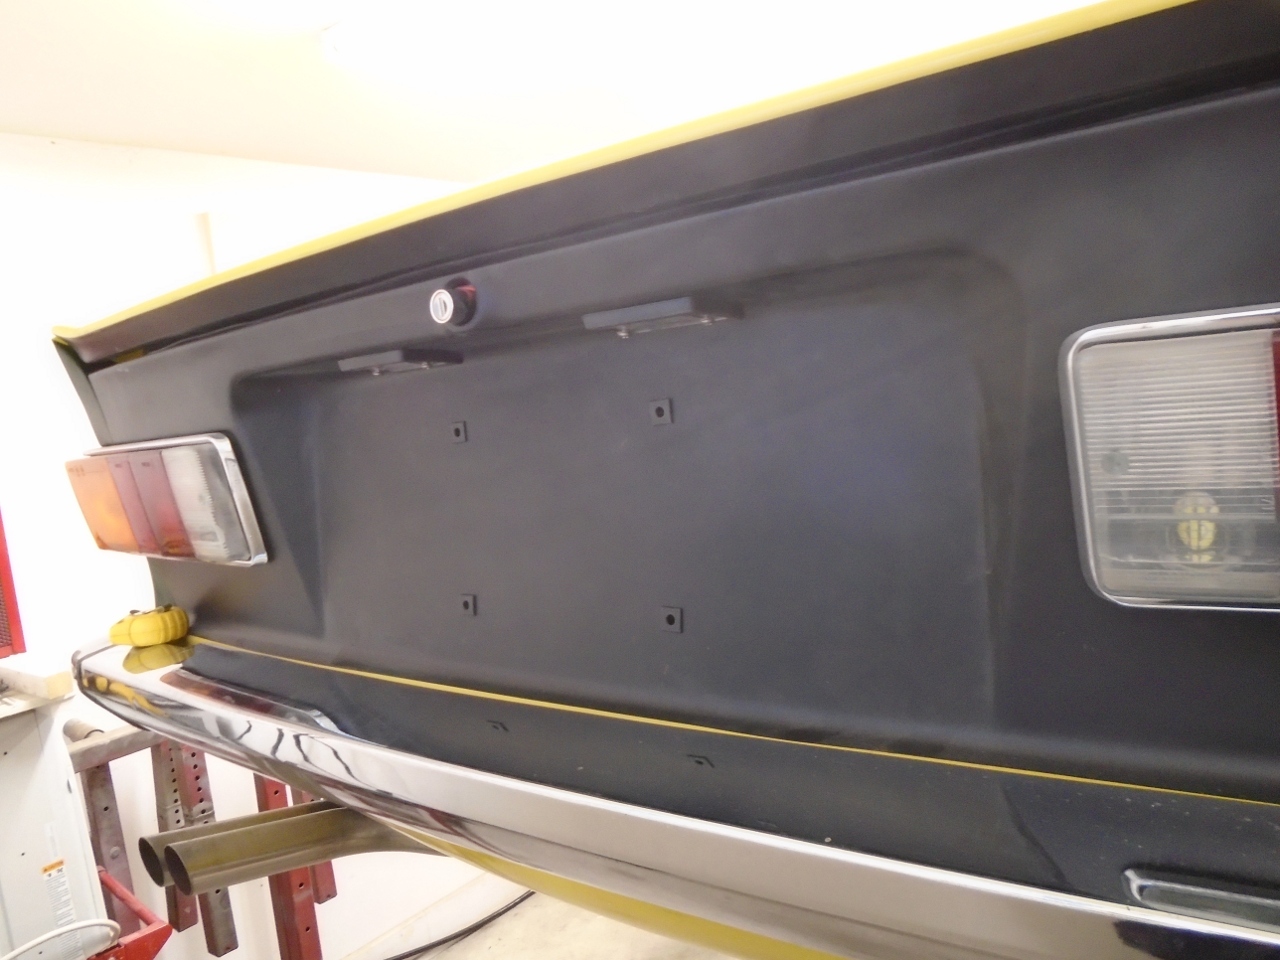
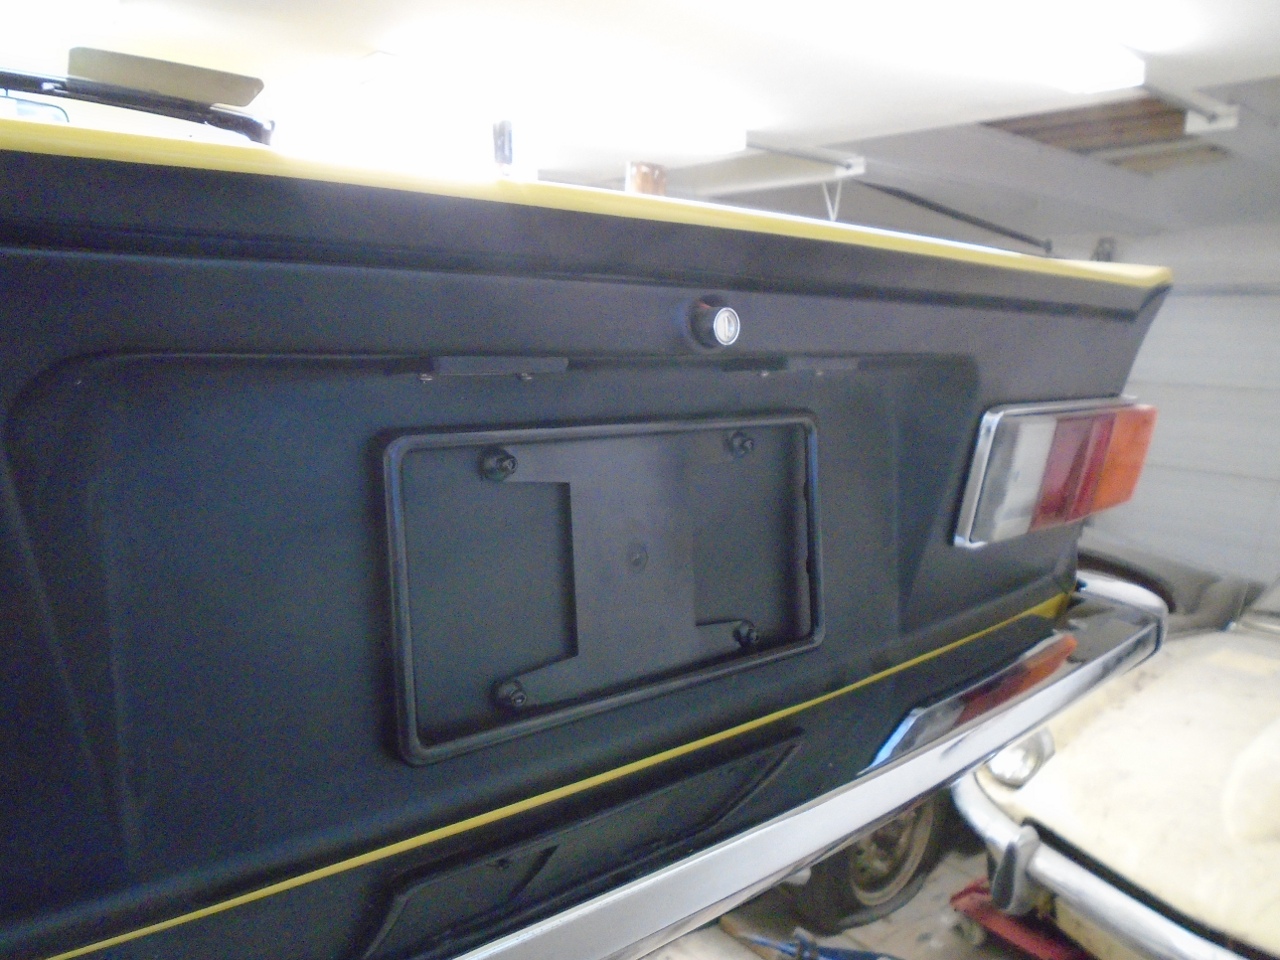
Dug up an old plate for a trial fit.
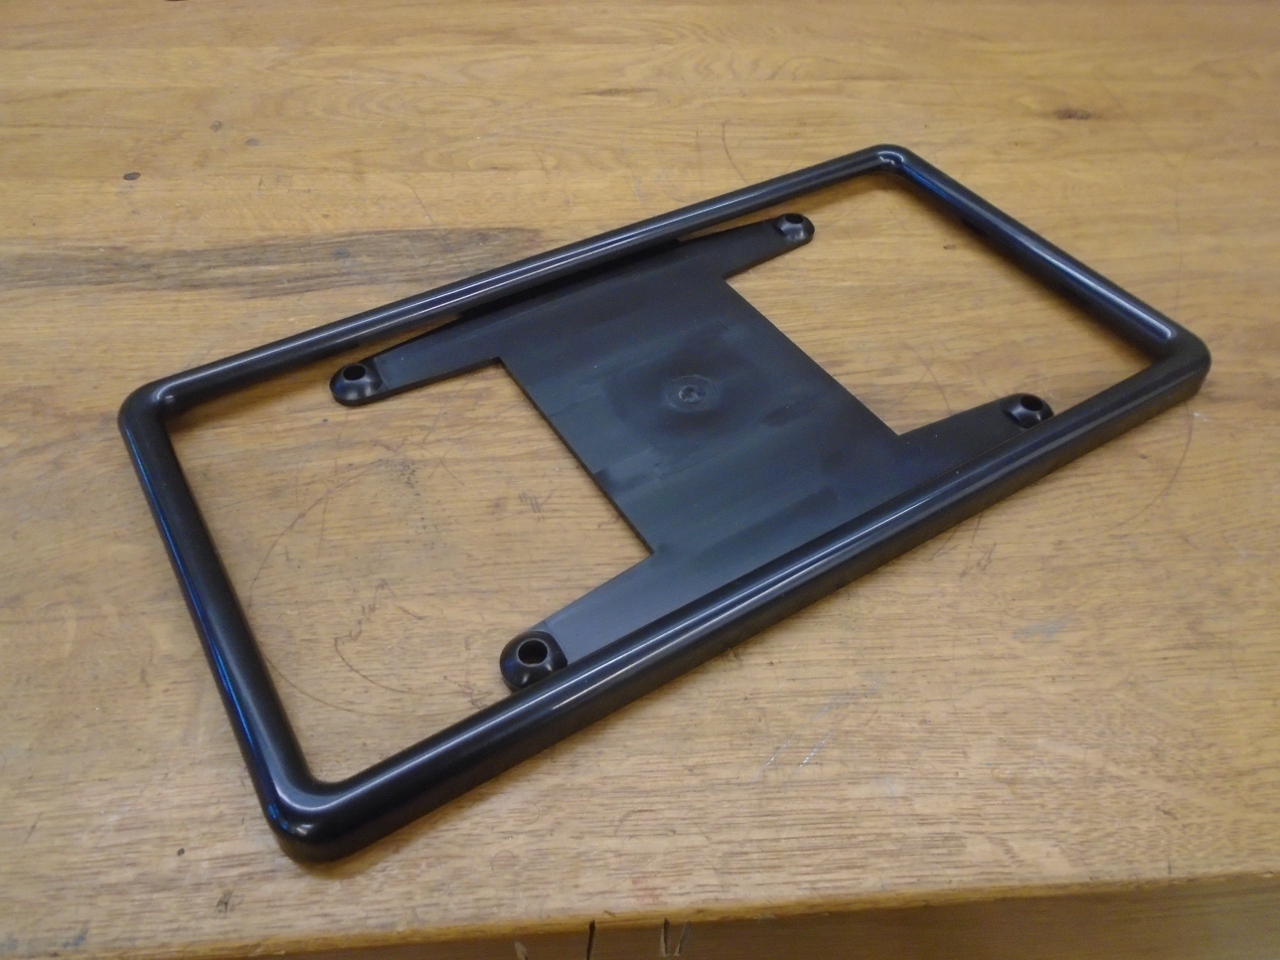
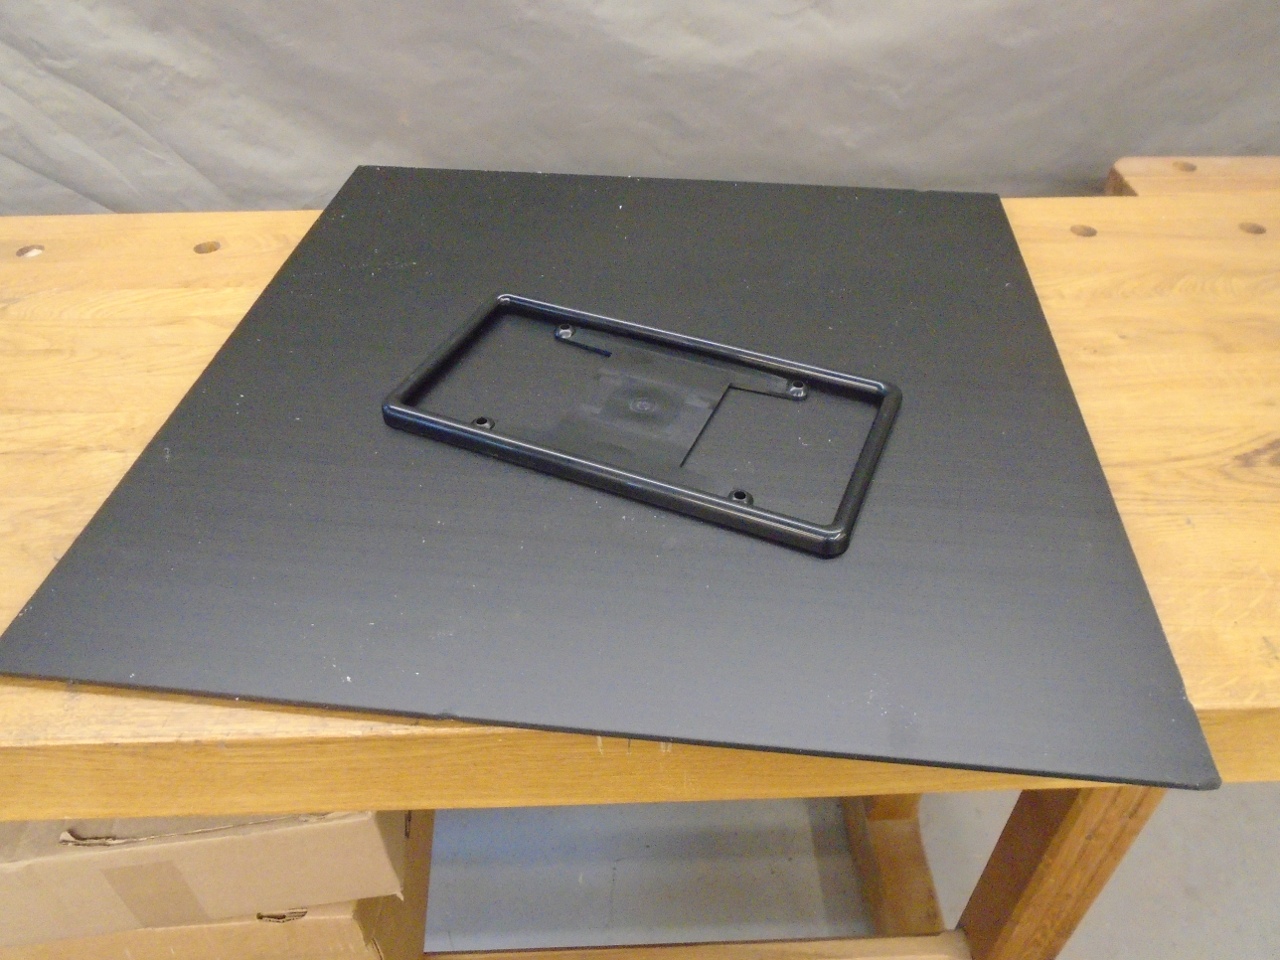
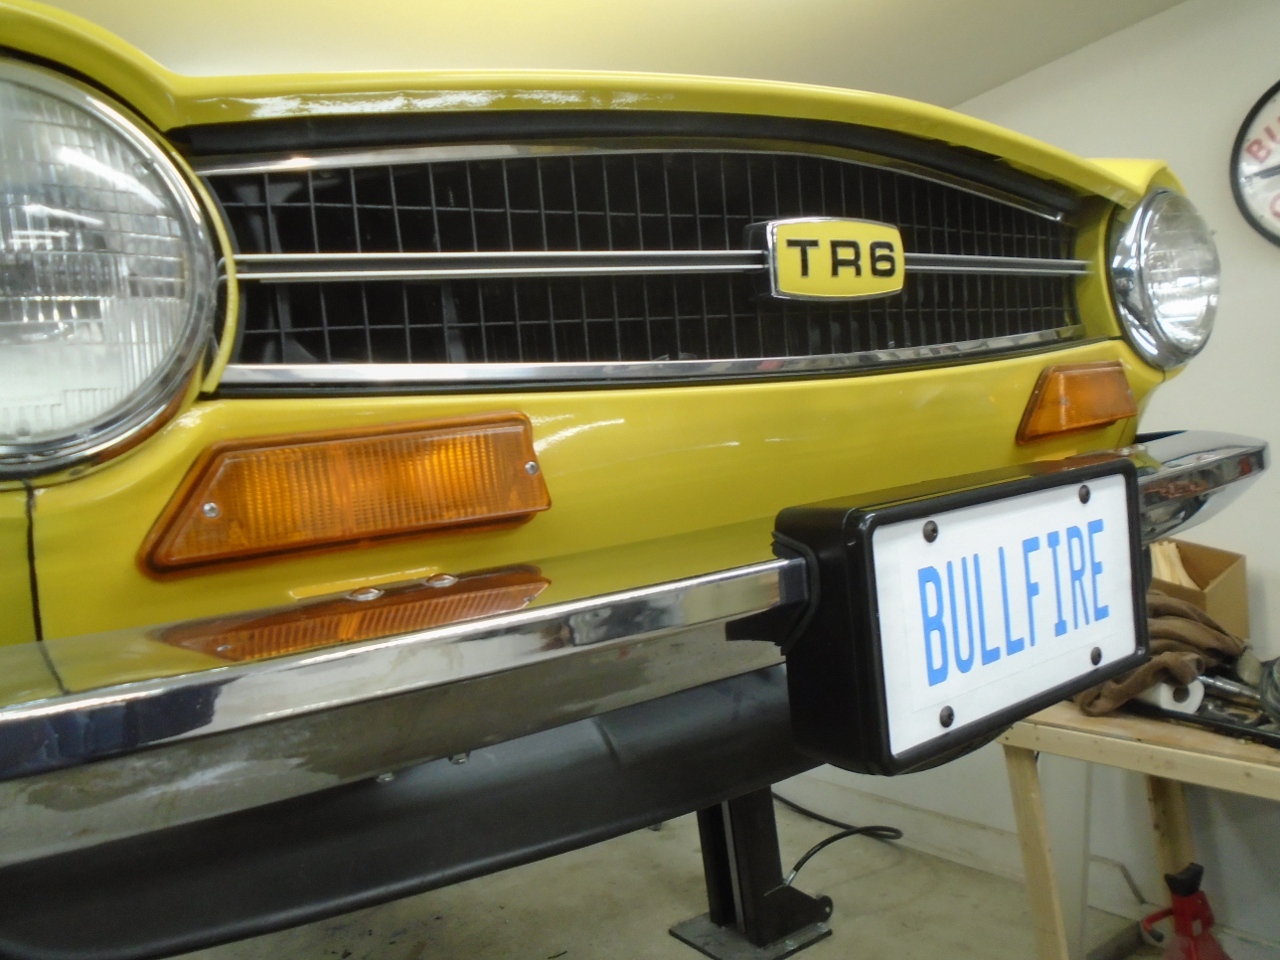
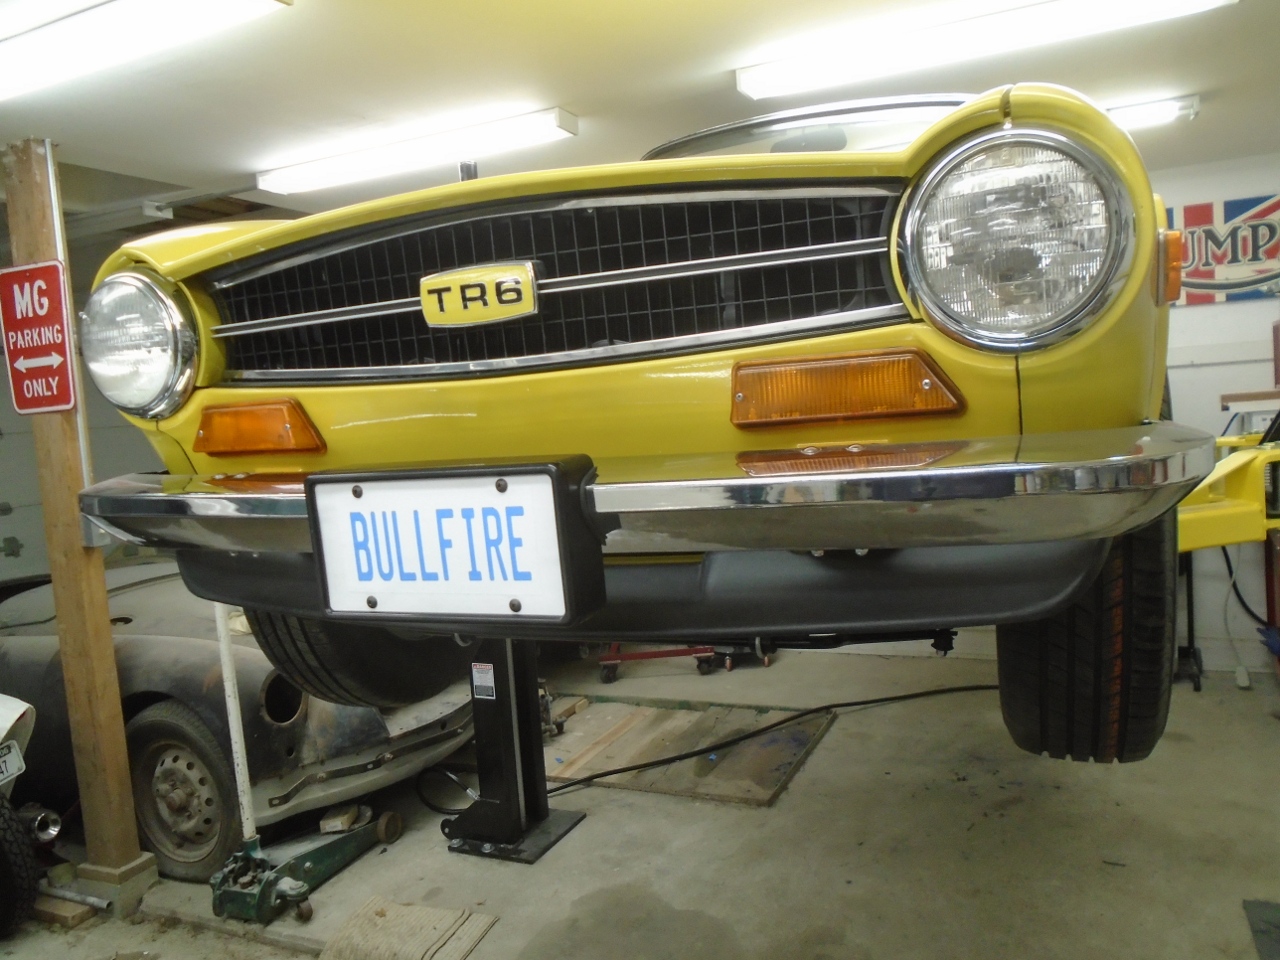
By
this time, I had sort of a plan for the front. I started with a
nice license plate frame just like the one in the rear. This
would give me the overall size for the plinth and also provide a
pleasing profile around the plate so my construction wouldn't have to.
Using
the plate mounting holes and the bumper dimensions as a starting point,
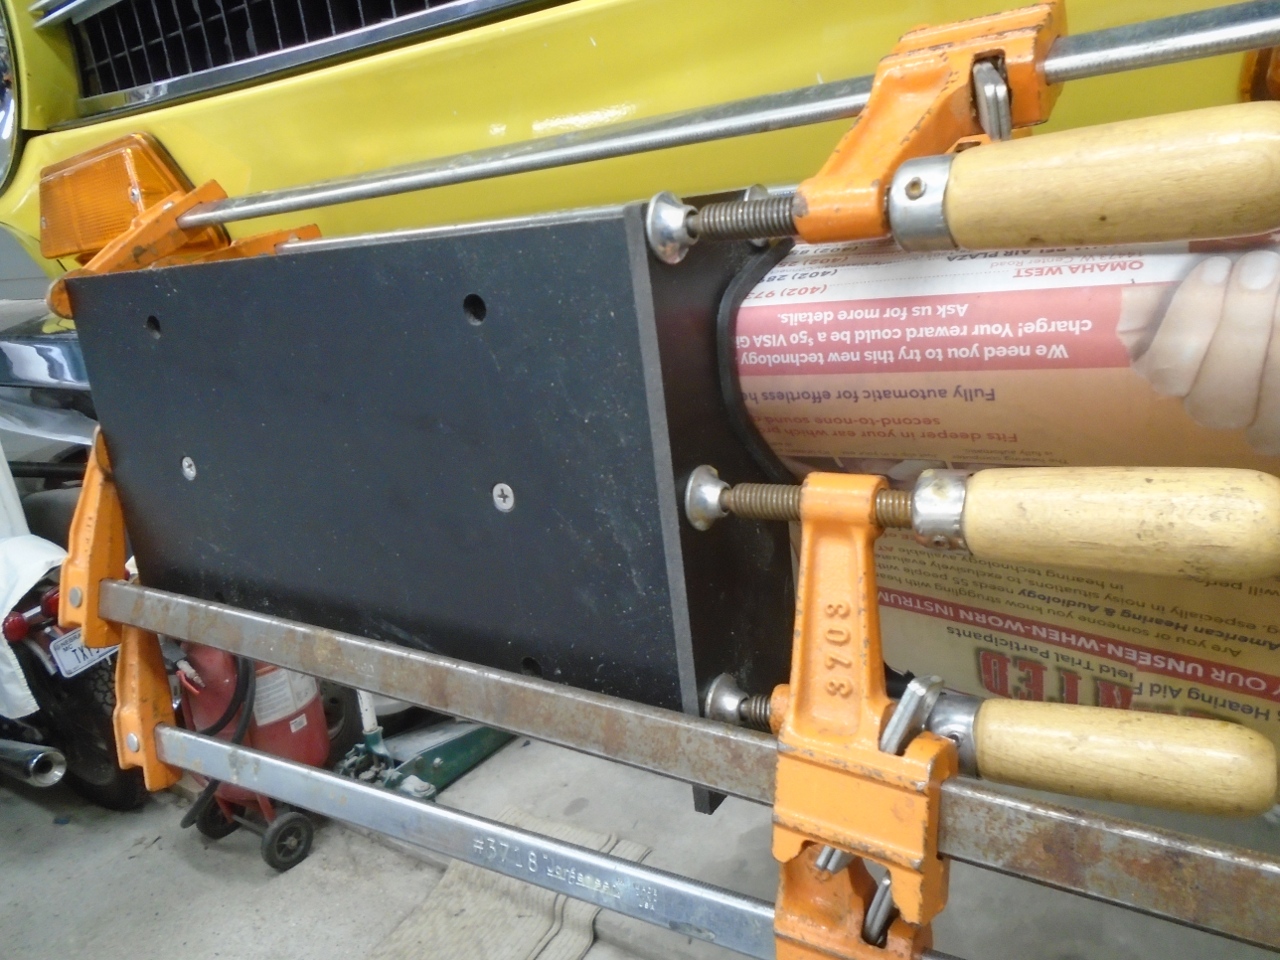
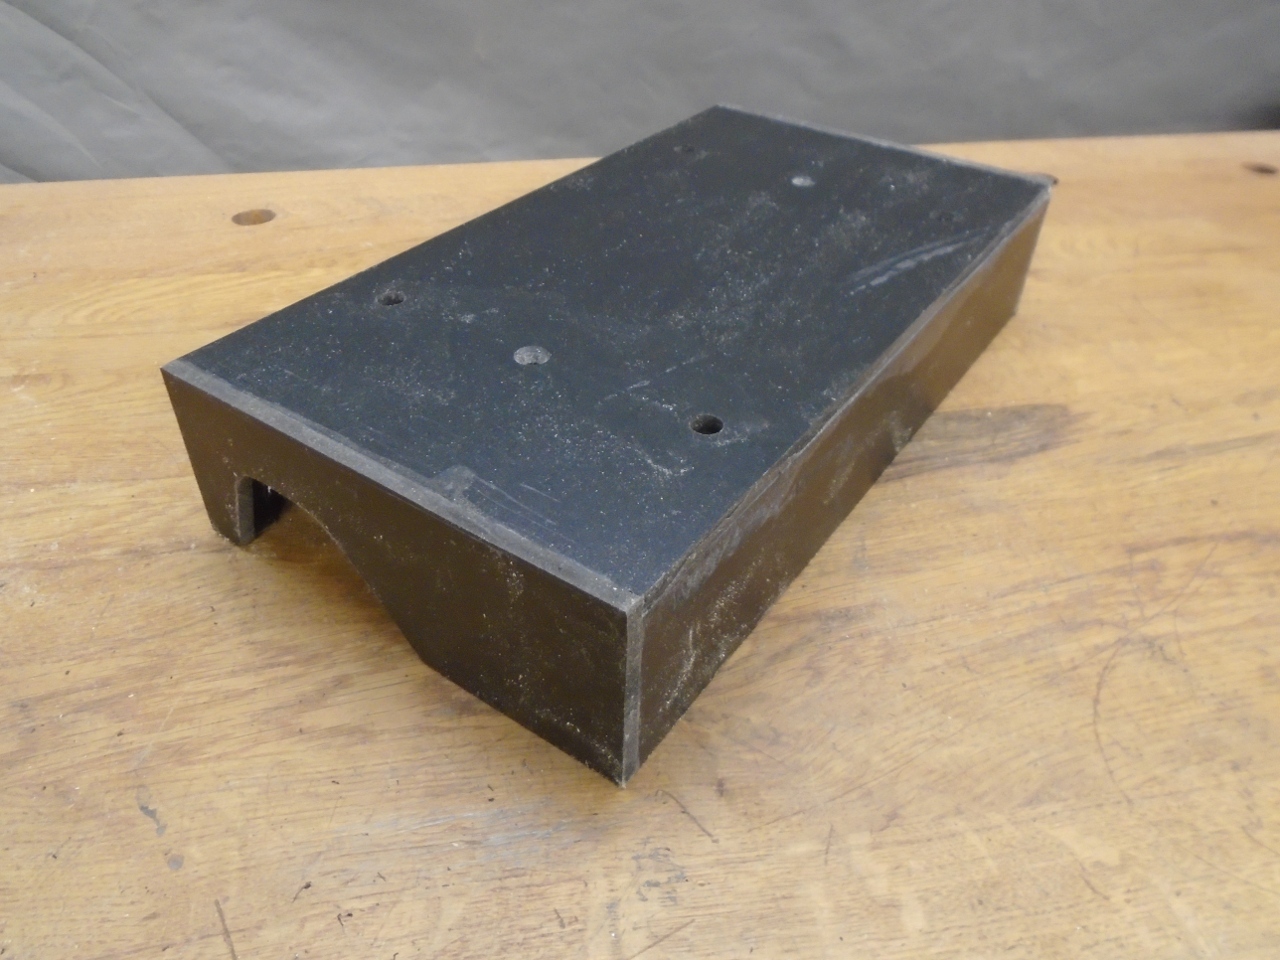
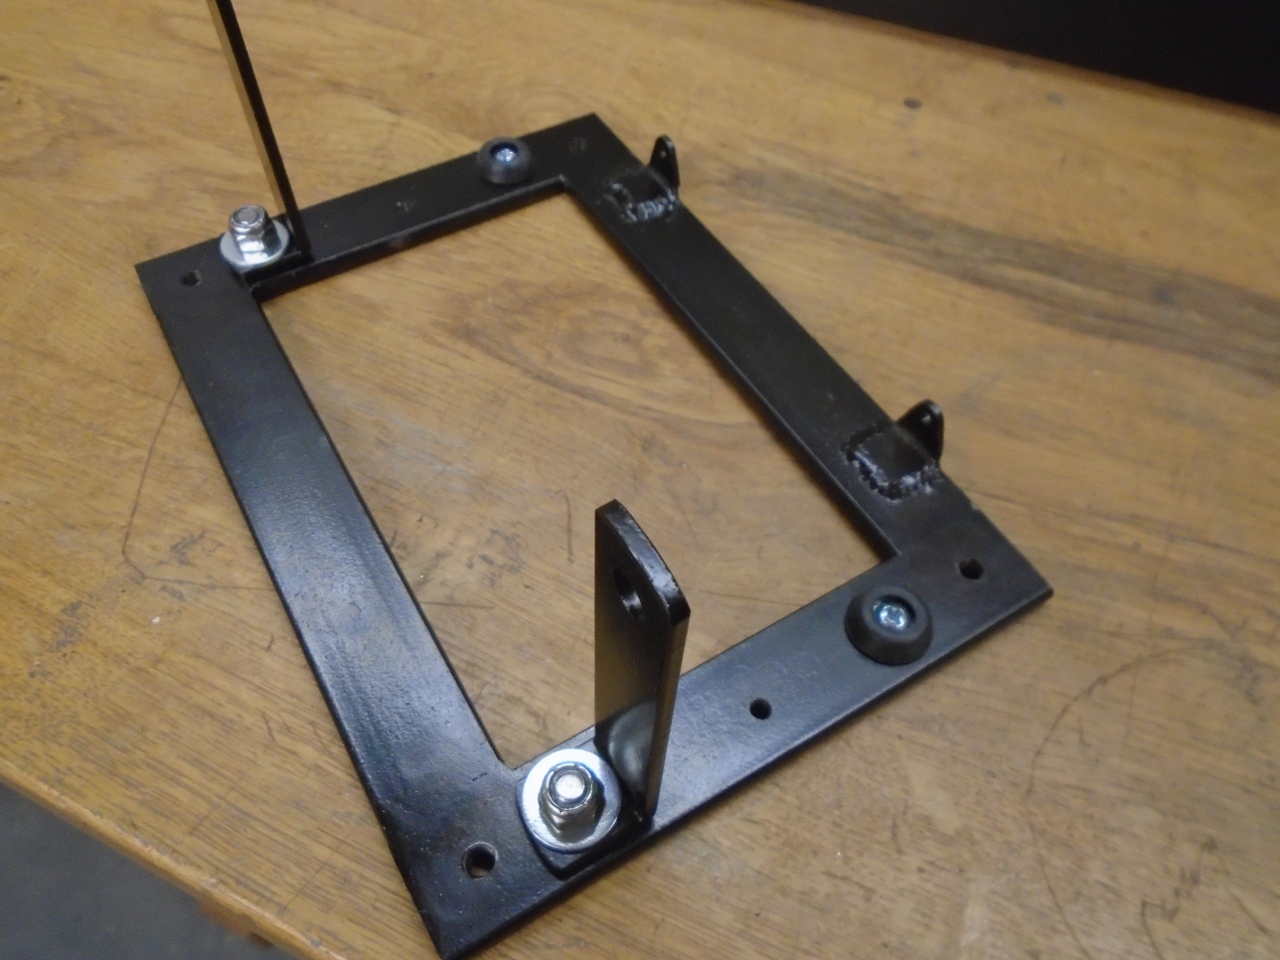
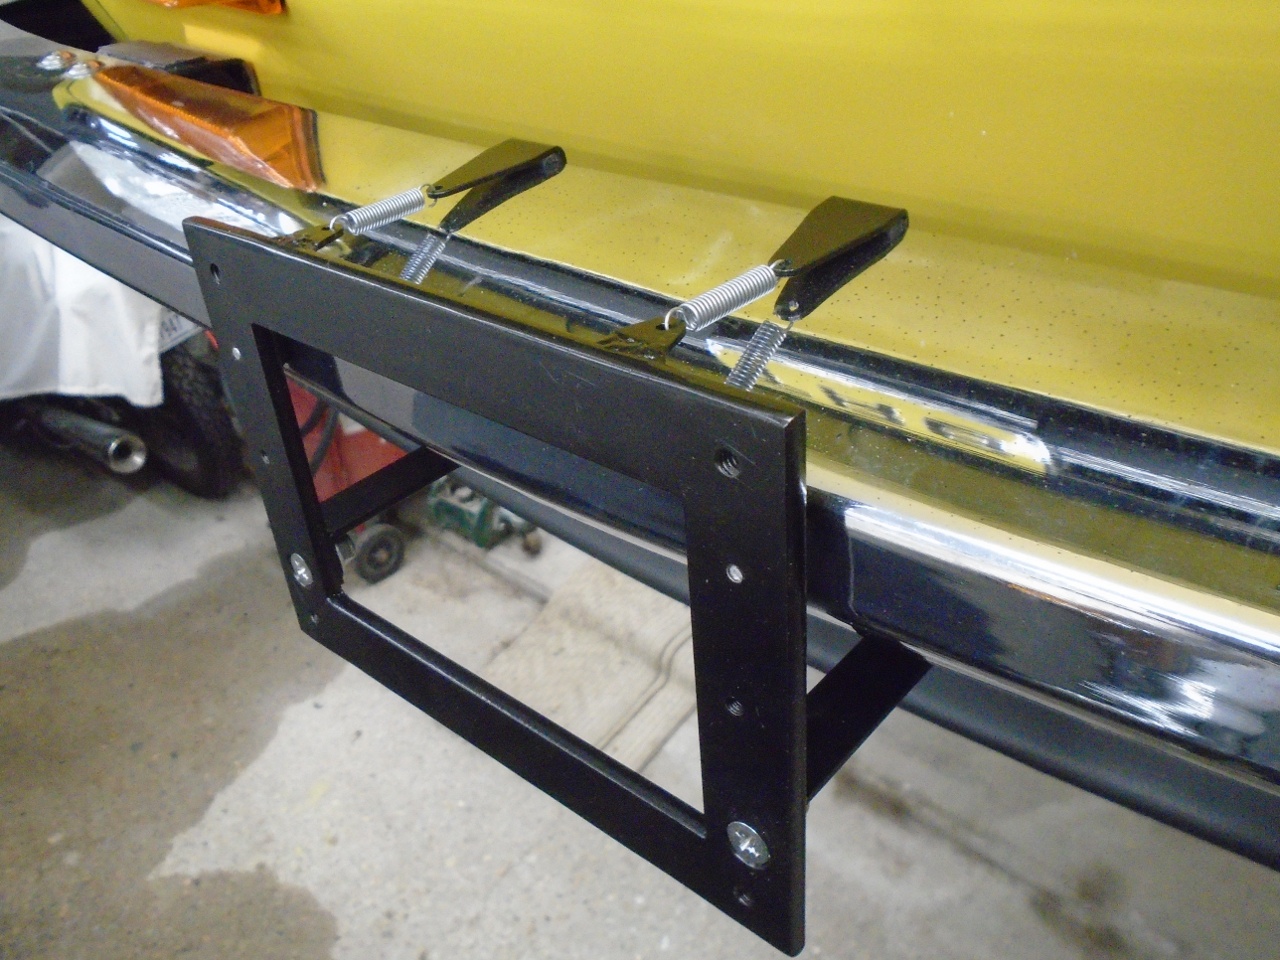
I worked out a substructure bracket for the plinth.
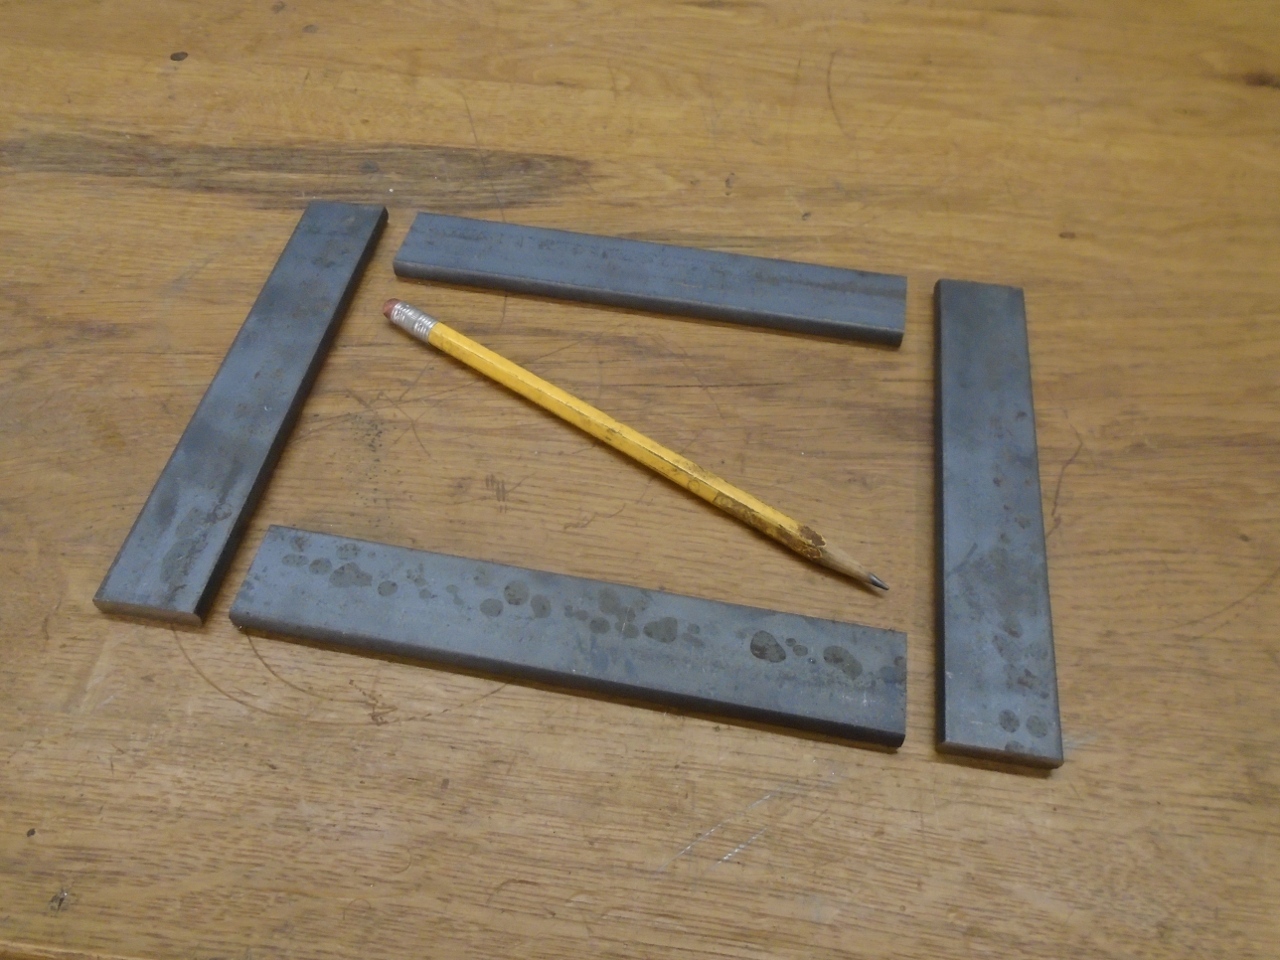

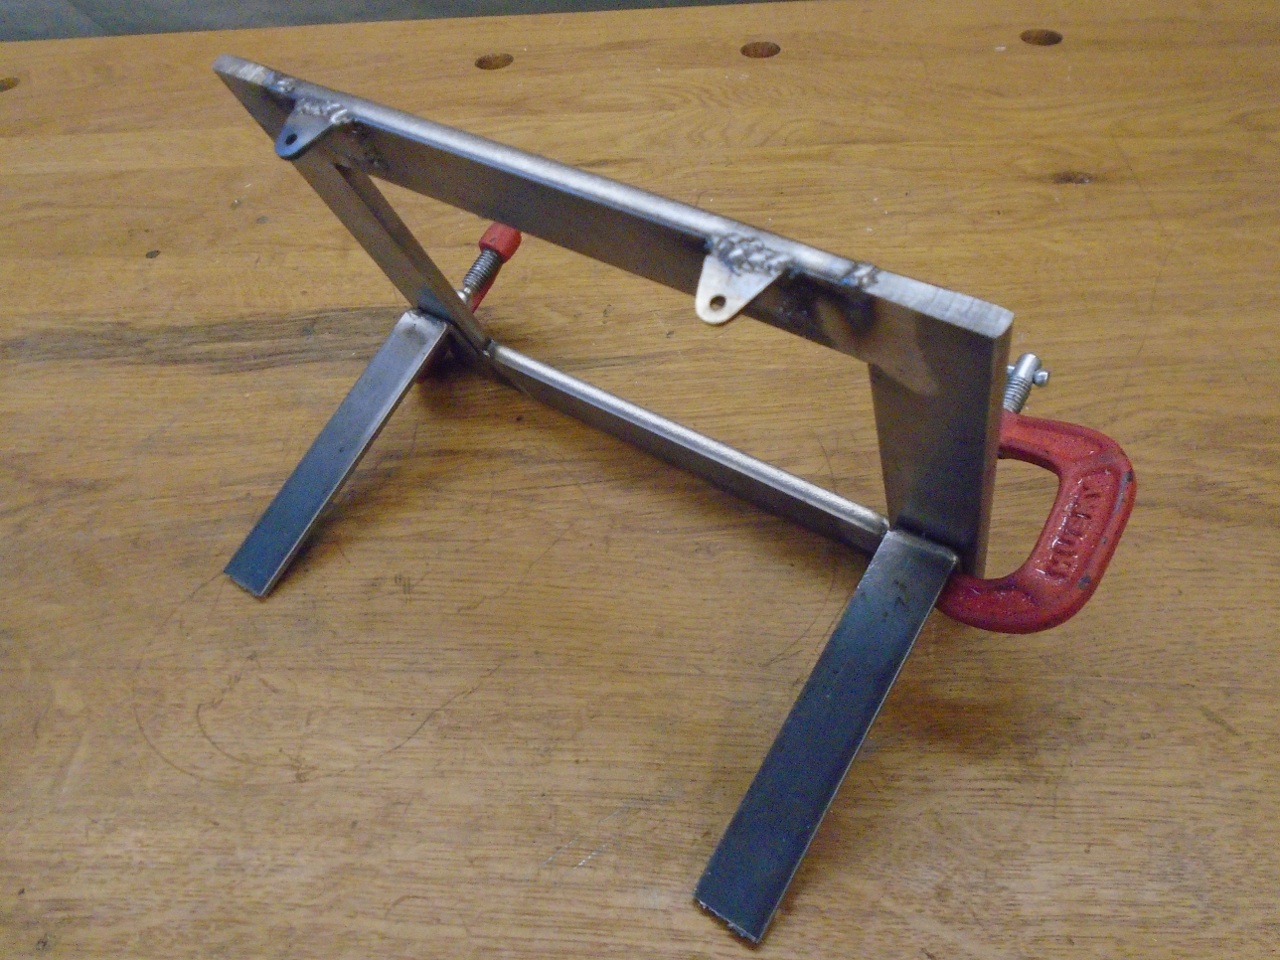
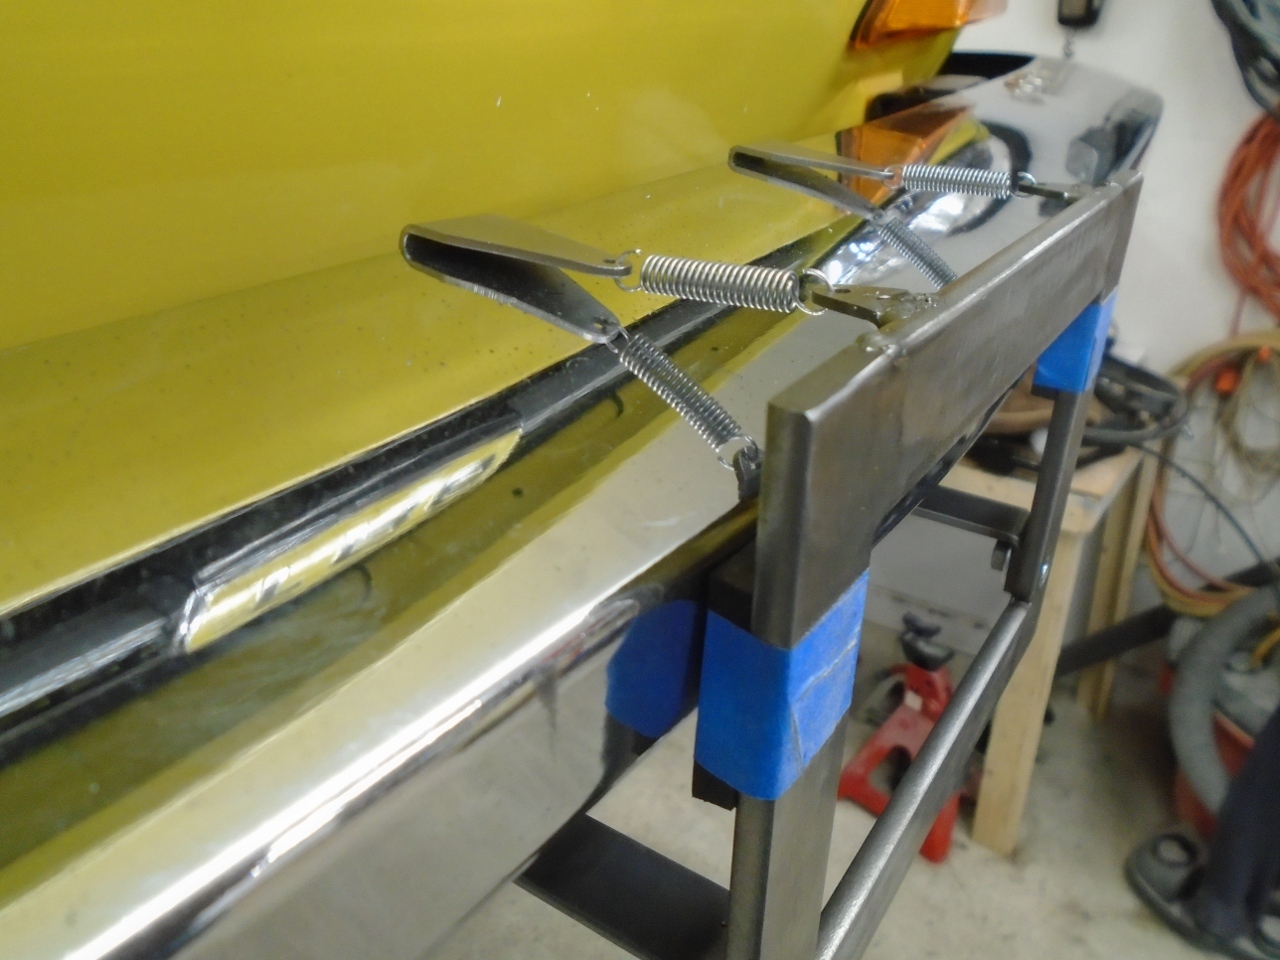
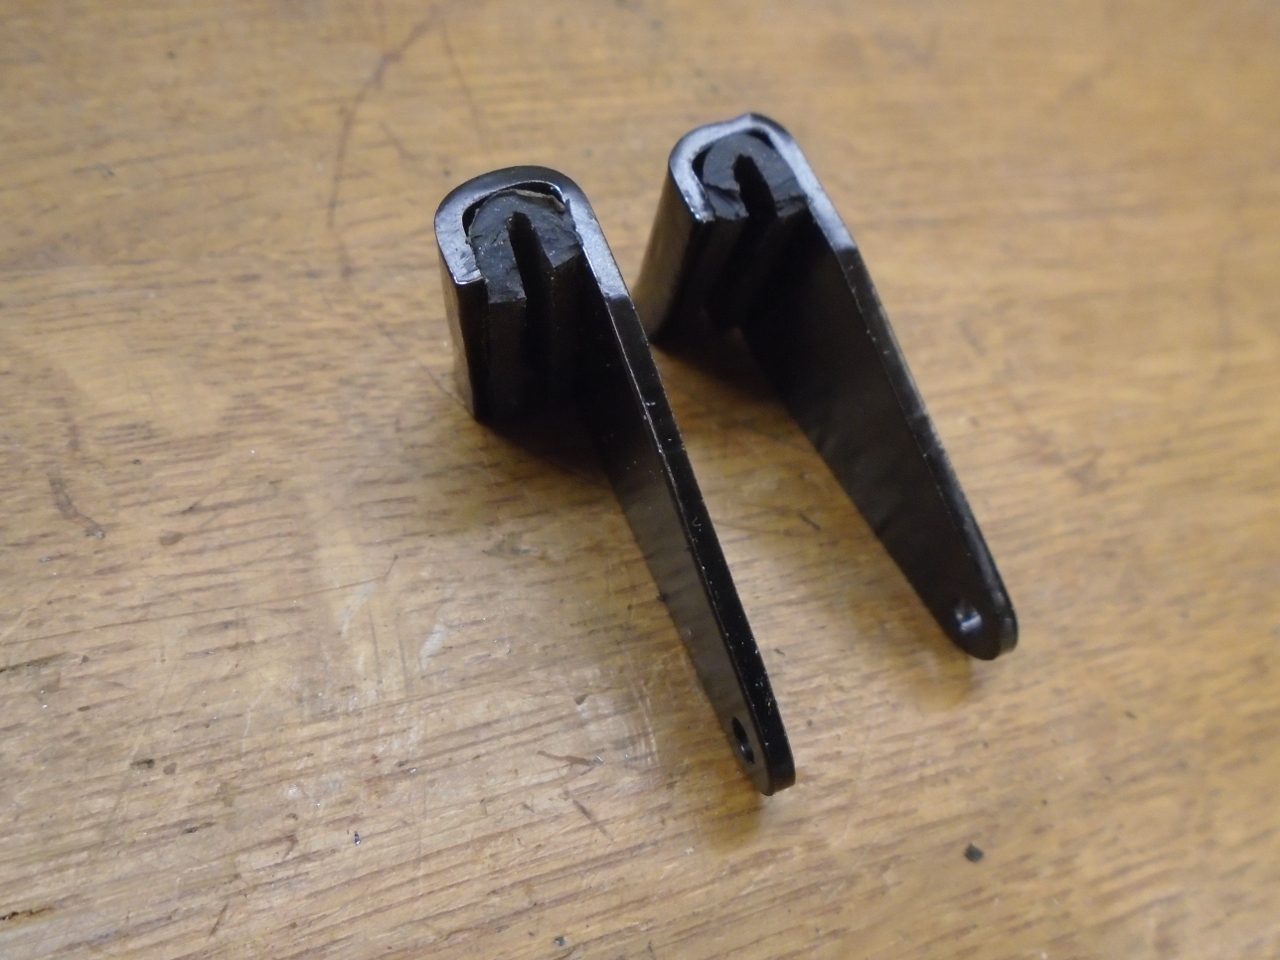
The
braqcket has two little struts to connect to the original plate
mounting holes on the lower lip of the bumper. Oddly, the
original plinth apparently had struts that went all the way to frame
members. The bracket rests on the bumper through some 1/4" thick
rubber pads.

The top of the bracket ties back to the upper rear lip of the bumper with a couple of stiff springs.

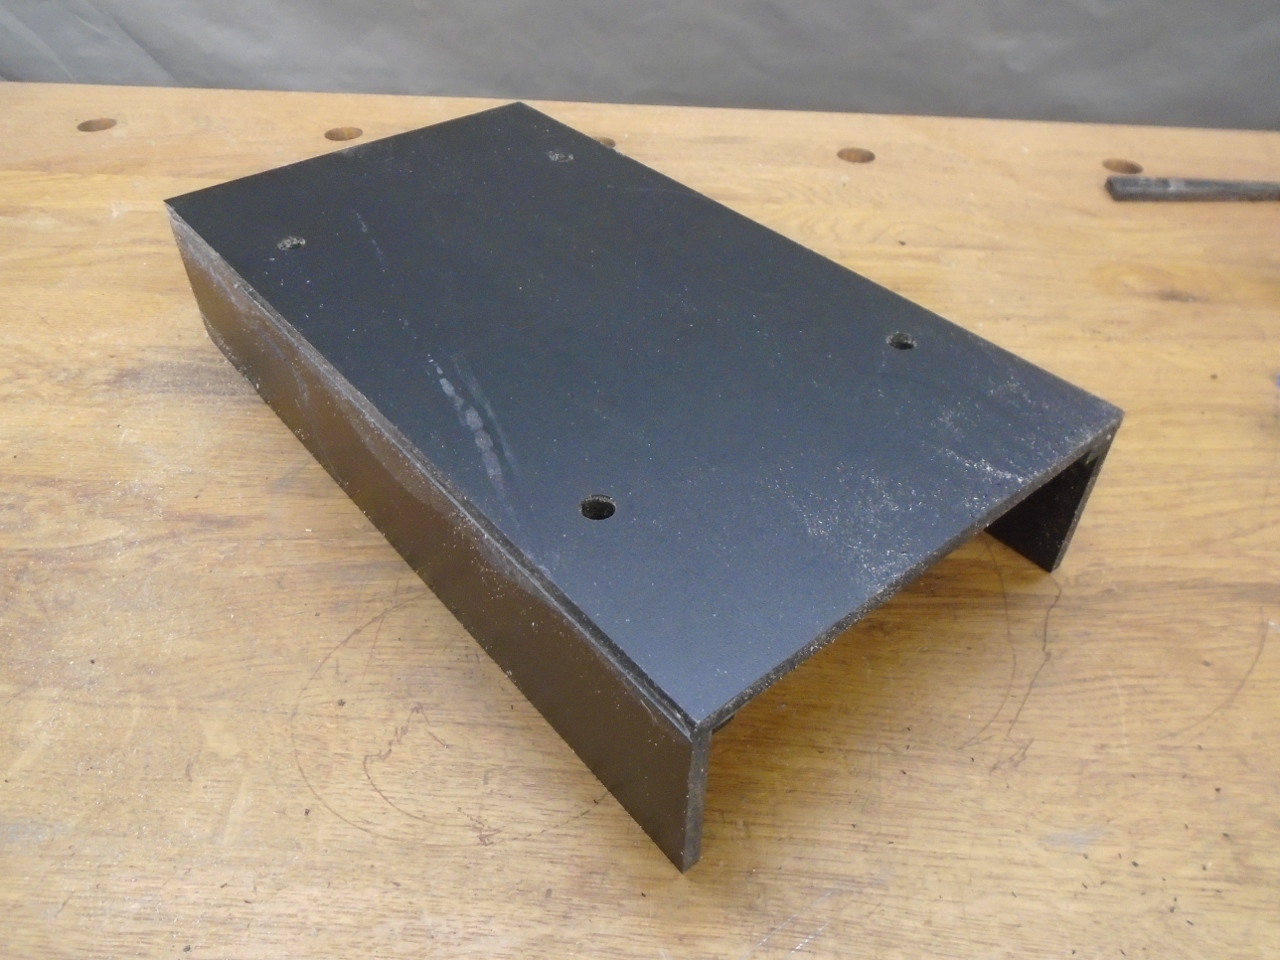
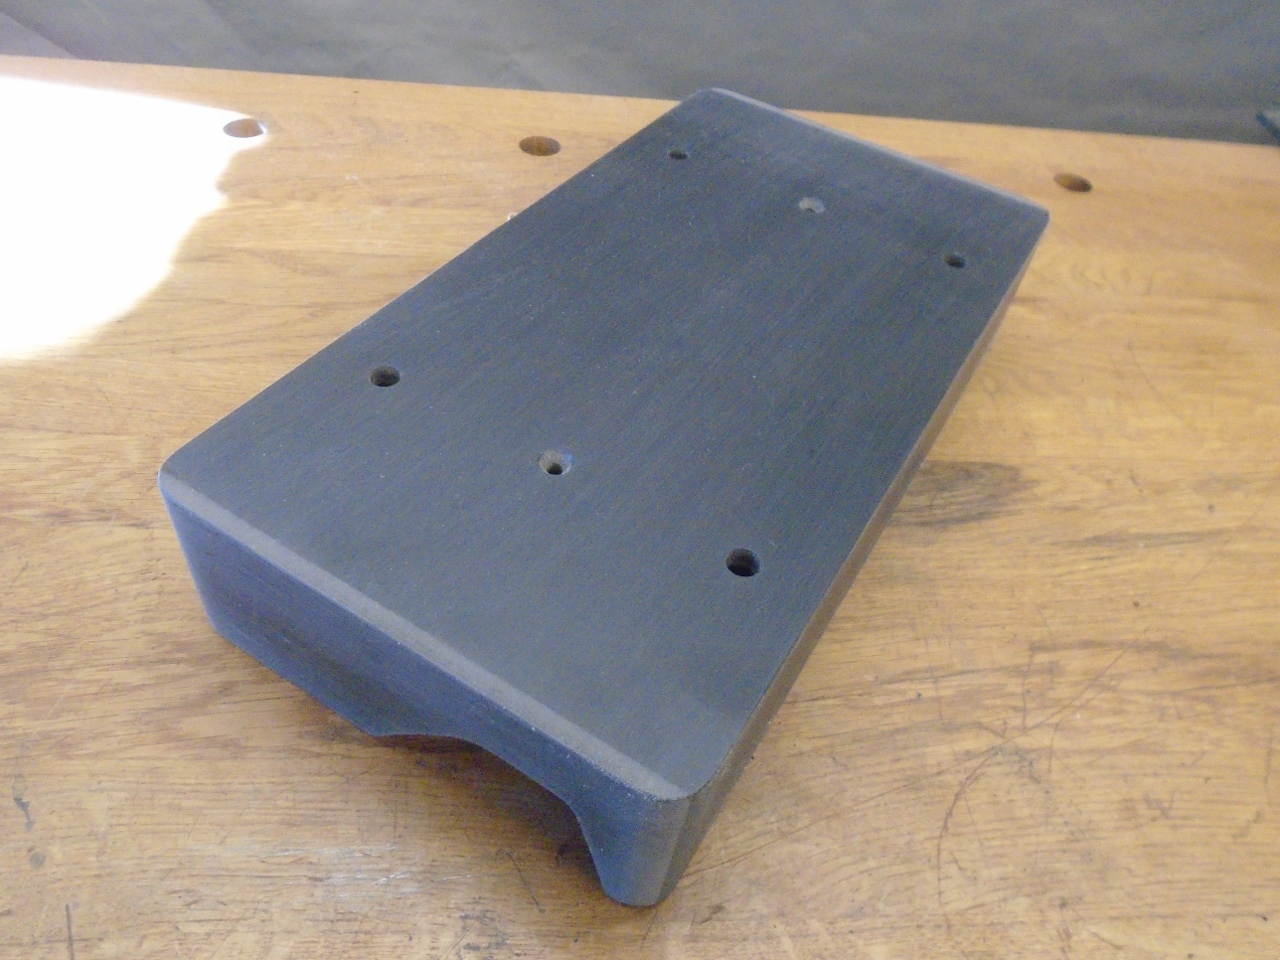
This
bracket is covered with a box-like piece about the same size and shape
as the original plinth. I decided to make the box out of the same
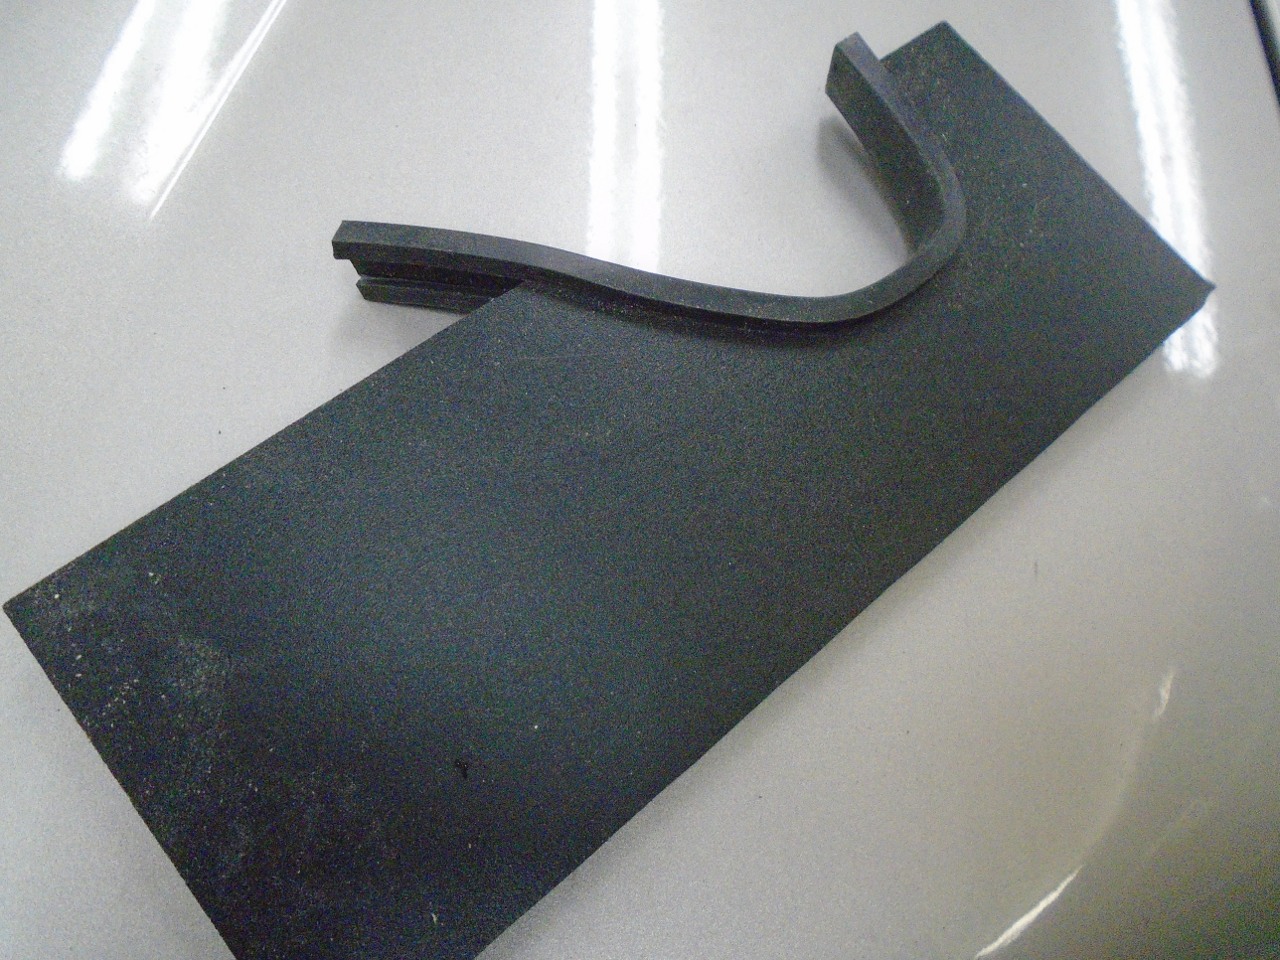
PVC foam board I used for the center console.
The material is strong, light, rated for outdoor use, and cuts
and glues well. I made up the box, except for the right and
left sides. The material is doubled up in the corners and around
where the fasteners go.
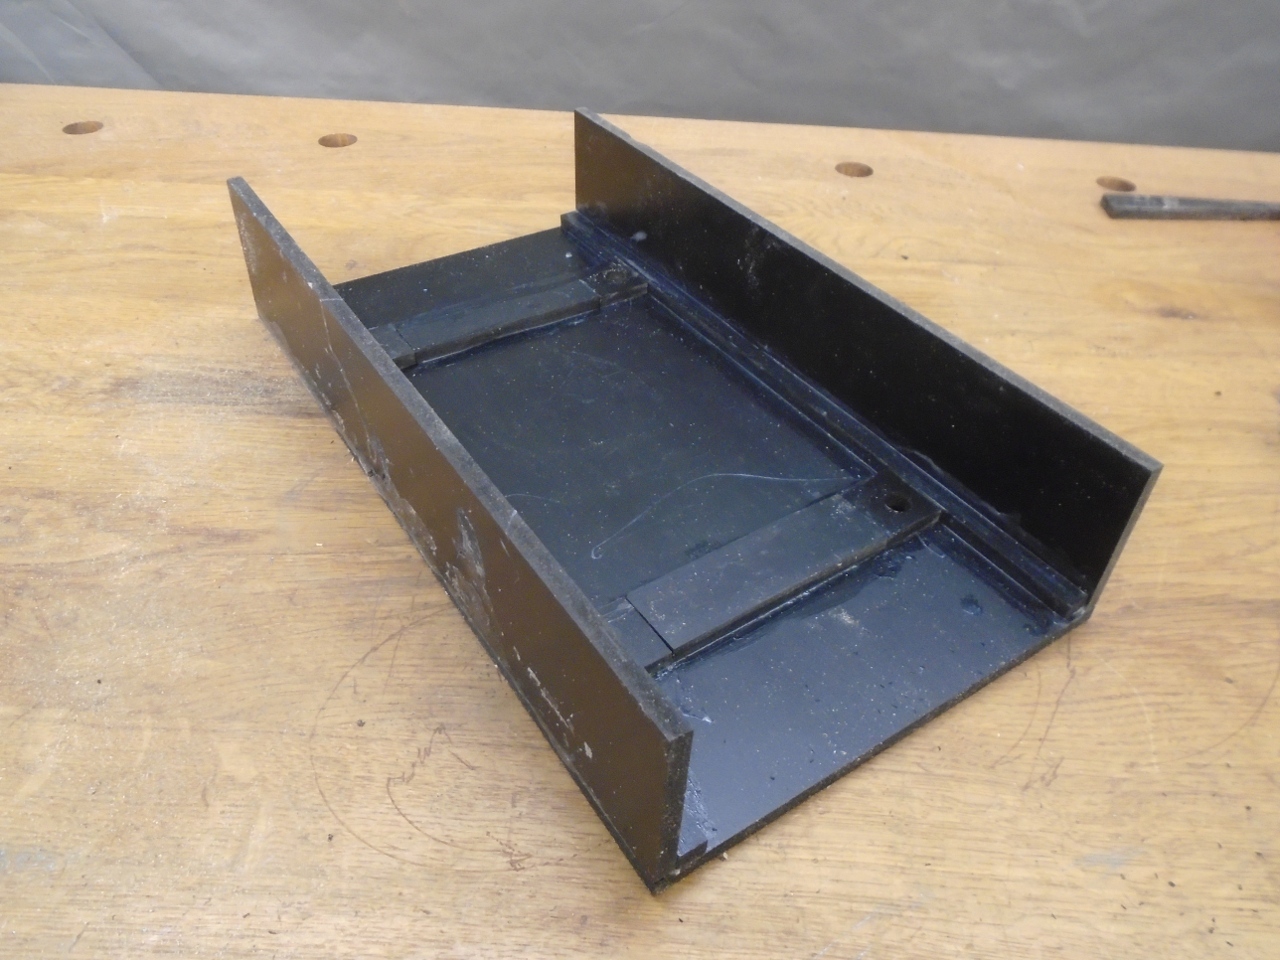
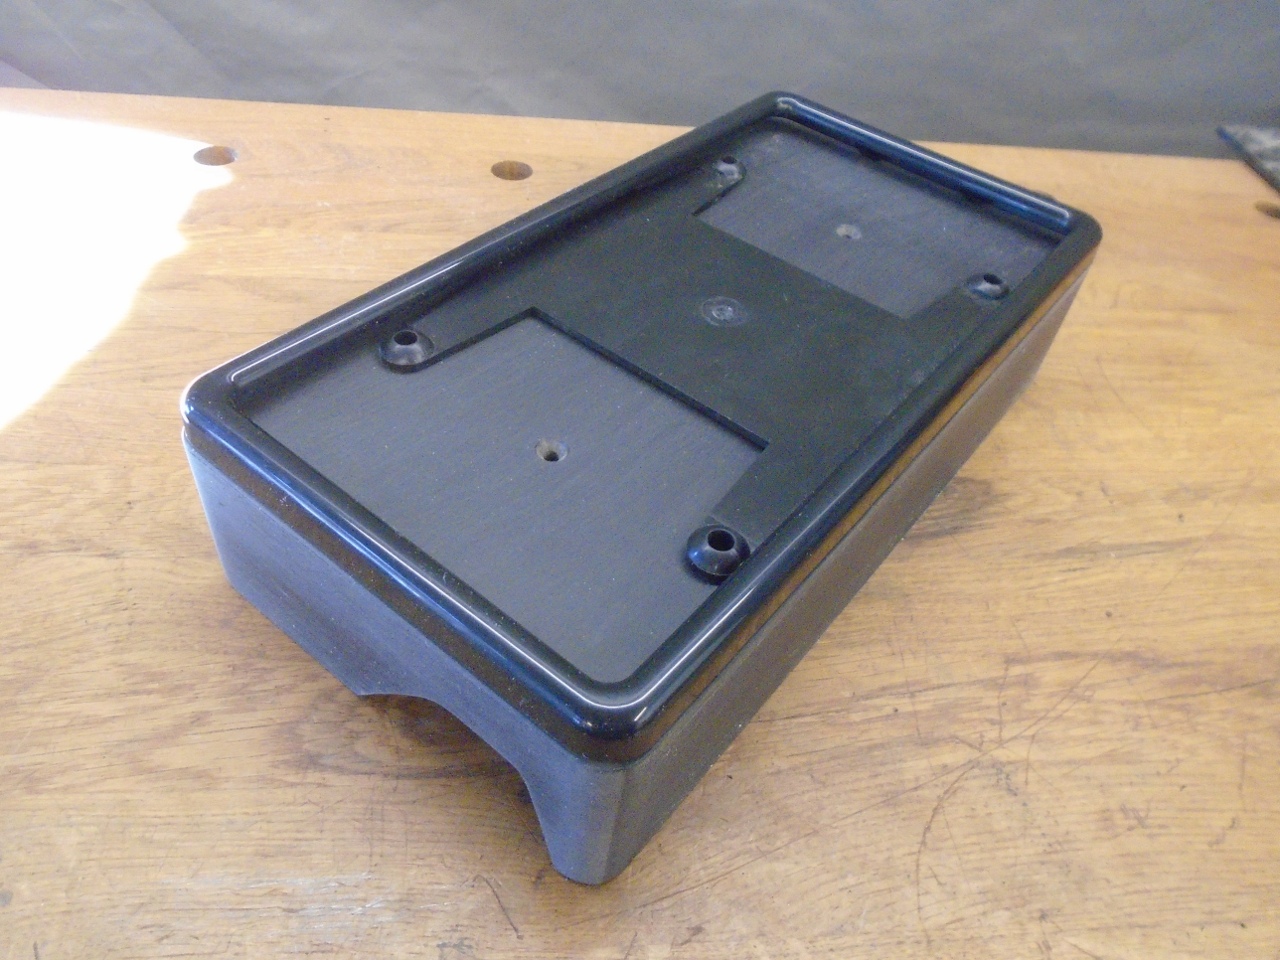
The
two sides, which had to have cutouts to fit the bumper profile were
made last and adjusted to fit the bumper well with the rubber gasket in
place. They were left large everywhere else. When the
bumper fit was good, they were glued to the box while in place on the
bumper.
When
the glue was set, the box was moved to the bench where the excess
material was removed from the sides, and the corners were
reinforced.
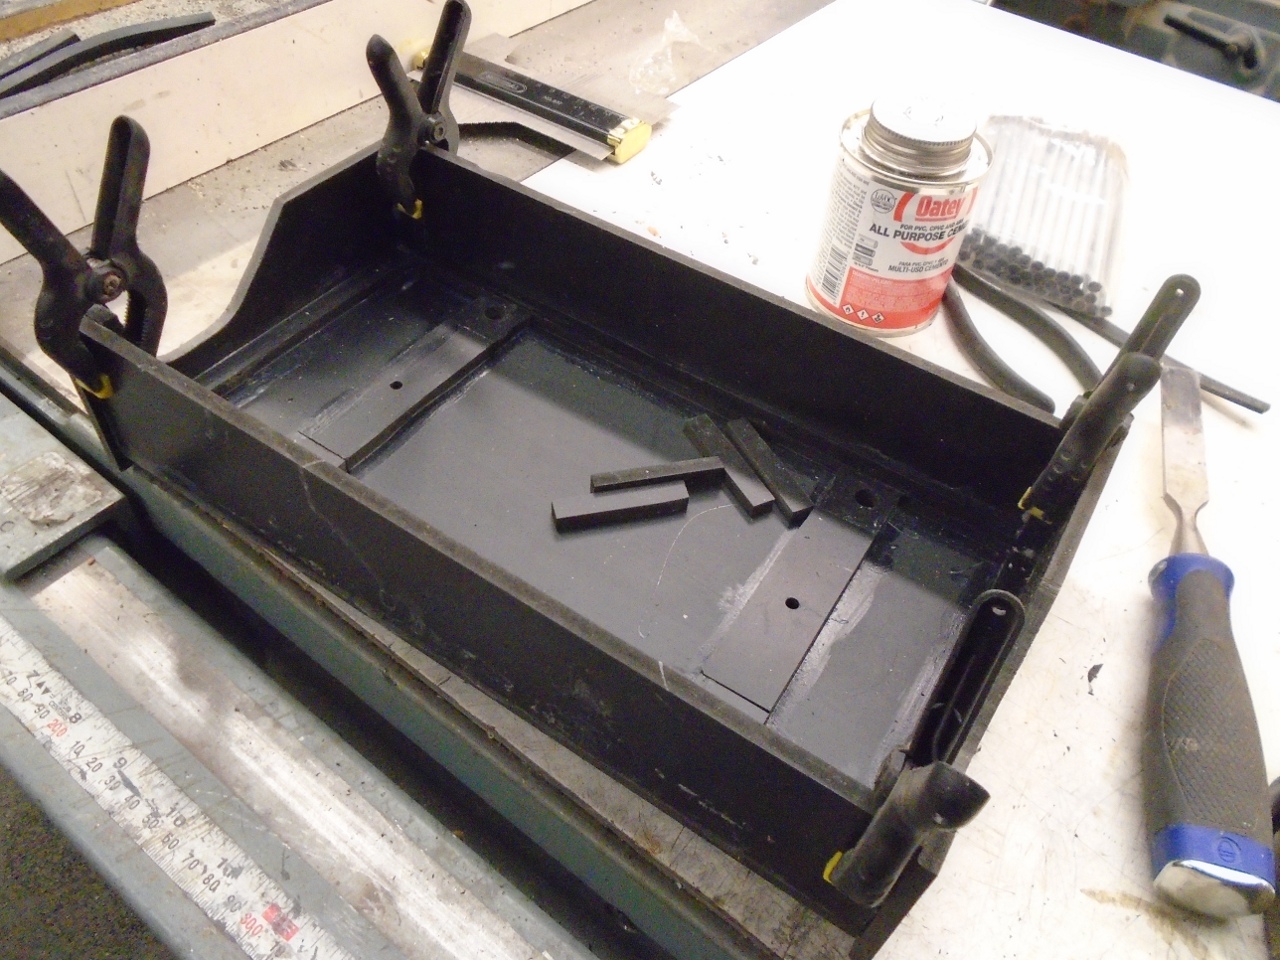
Then
the corners were rounded, the whole thing sanded, primed with a
plastic paint, and topcoated with trim paint to match other windshield
frame and rear valance.
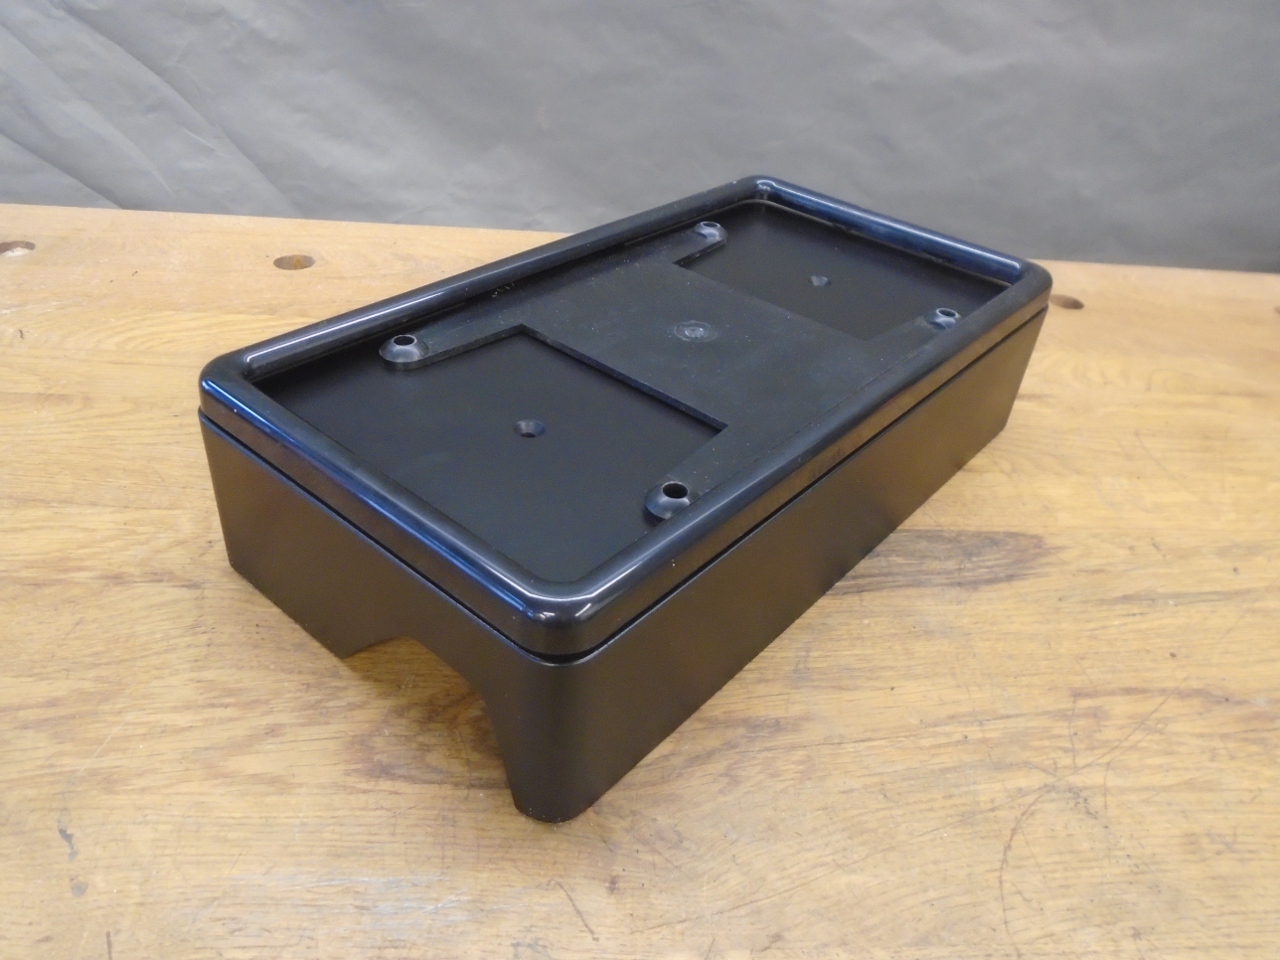
So,
with everything ready, I powder coated the metal parts and put it
together. Little rubber feet took the place of the rubber pads.

The little hooks for the rear bumper lip got lined with rubber to protect the chrome.
Then the box went on.
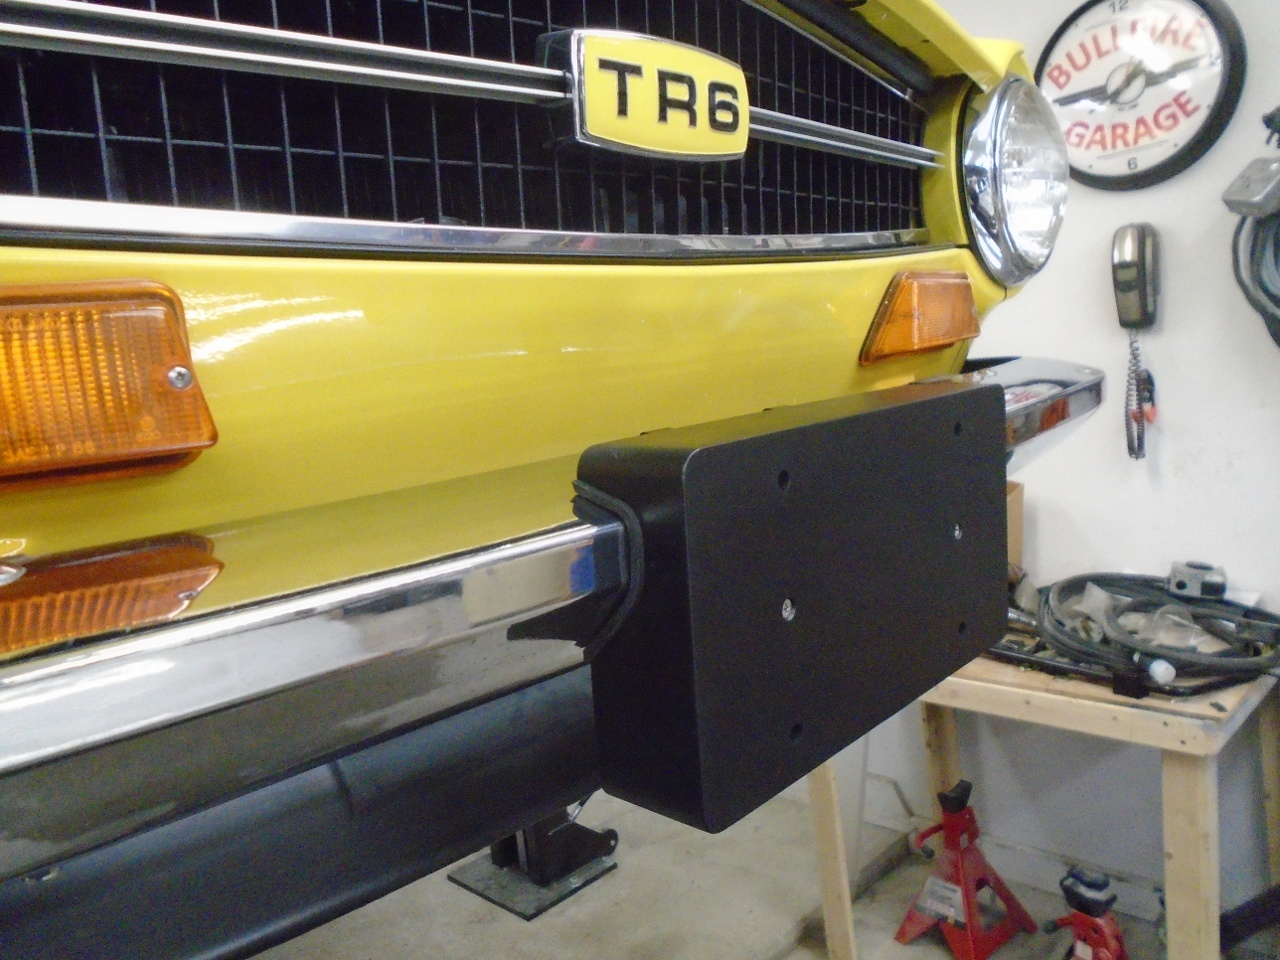
I don't have the plates yet, so this will have to do for now.
If
this seems like a lot of work for a trifle, it is. The cost was
pretty low--just the plastic and some hardware, but it took some time.
Comments to Ed at elhollin1@yahoo.com
To my other TR6 Pages