To my other TR6 pages.
November 20, 2018
Odds & Ends I
Even
though I've got the car started now, and have even driven it up
and down the driveway, I realize there are still dozens of loose ends
to attend to. Here are a few of them.
Rocker Trim
The
rocker panels on at least some TR6 cars were black. I'm not
certain whether all cars were that way nor whether the black was paint
or some textured coating. Either way, I think the black rockers
make the car look a little longer and lower. I like the look, so
I set out to recreate it.
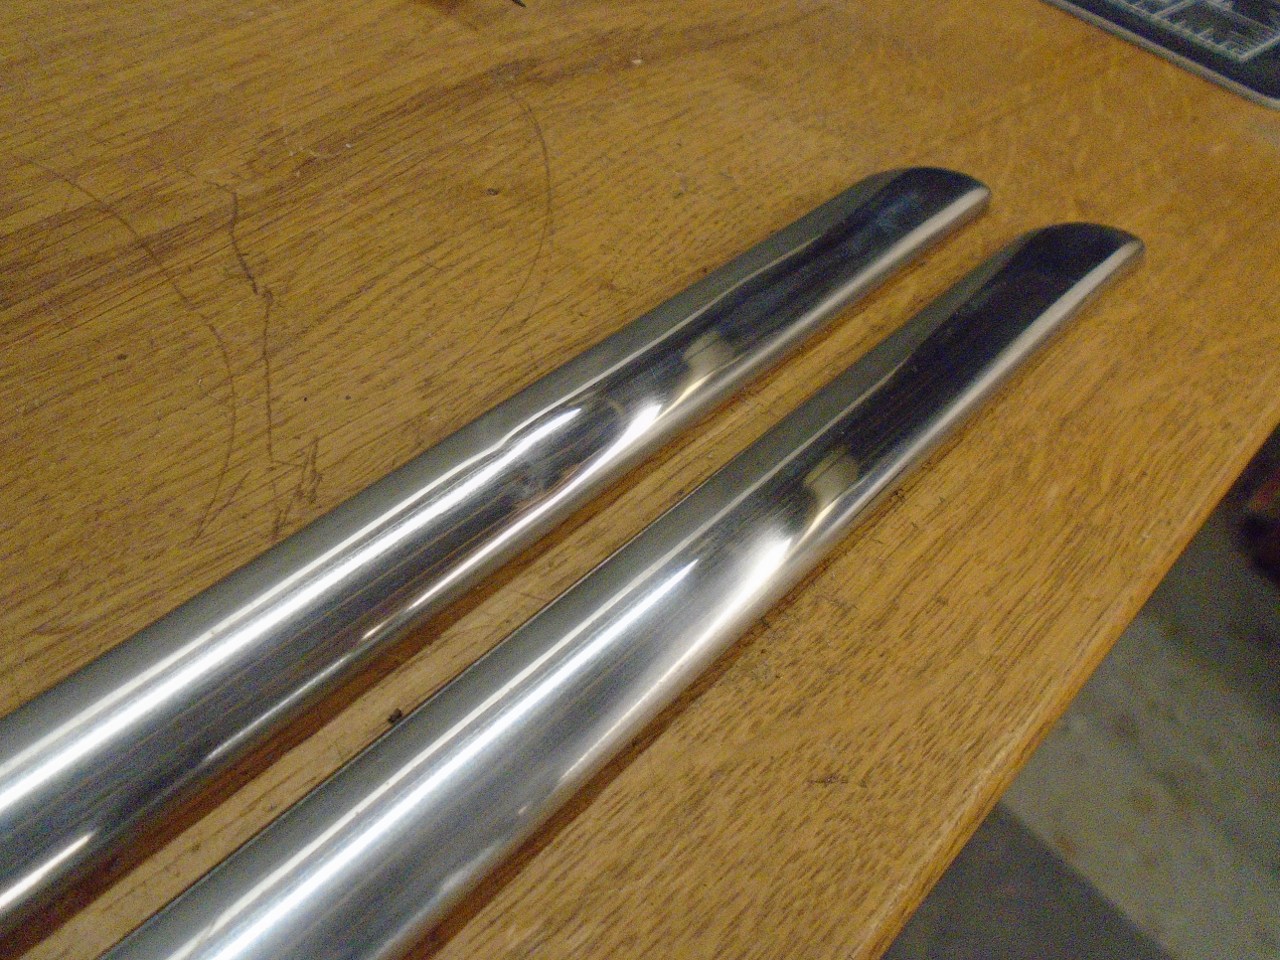
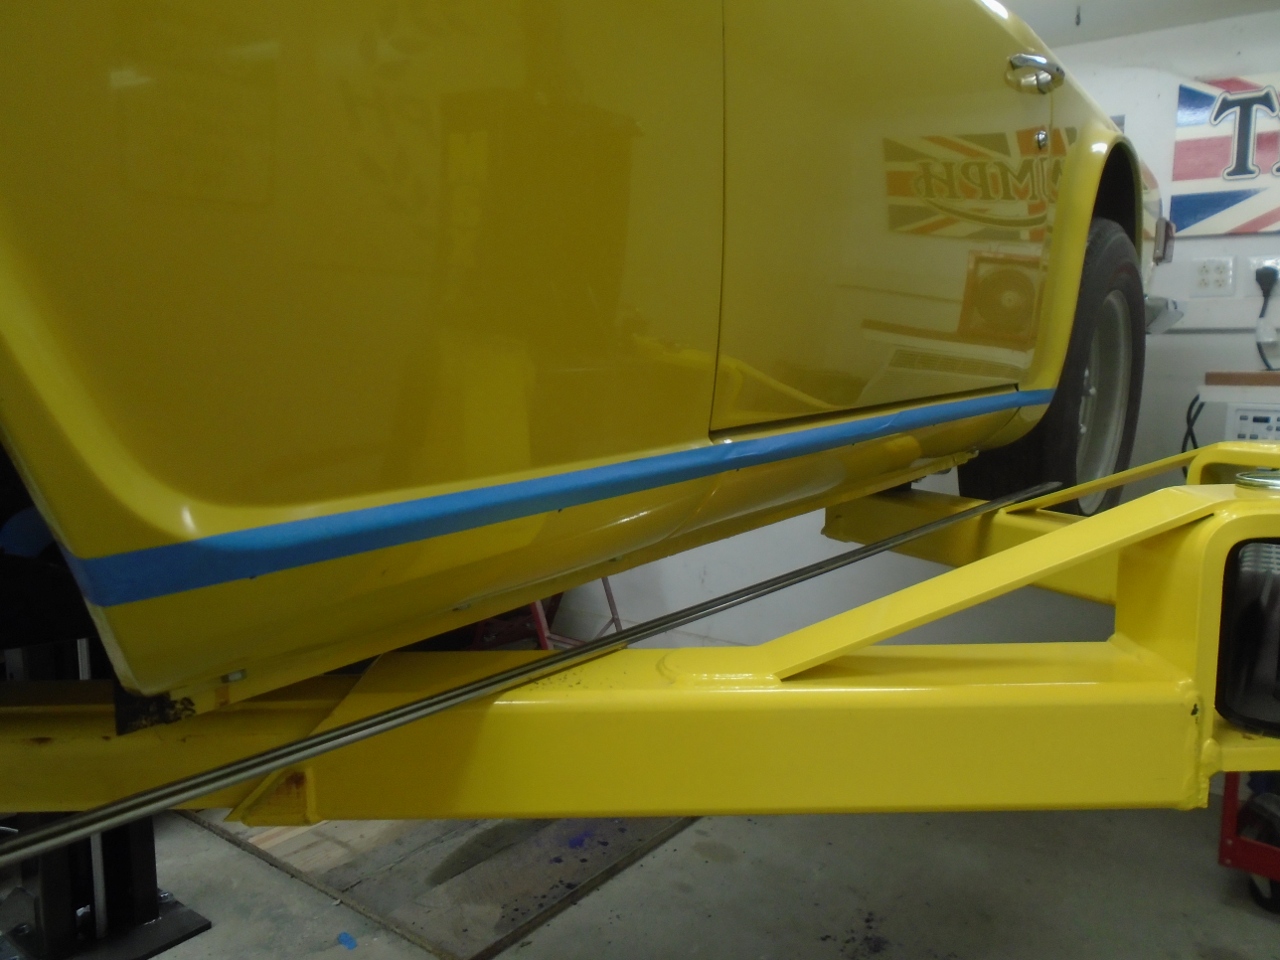
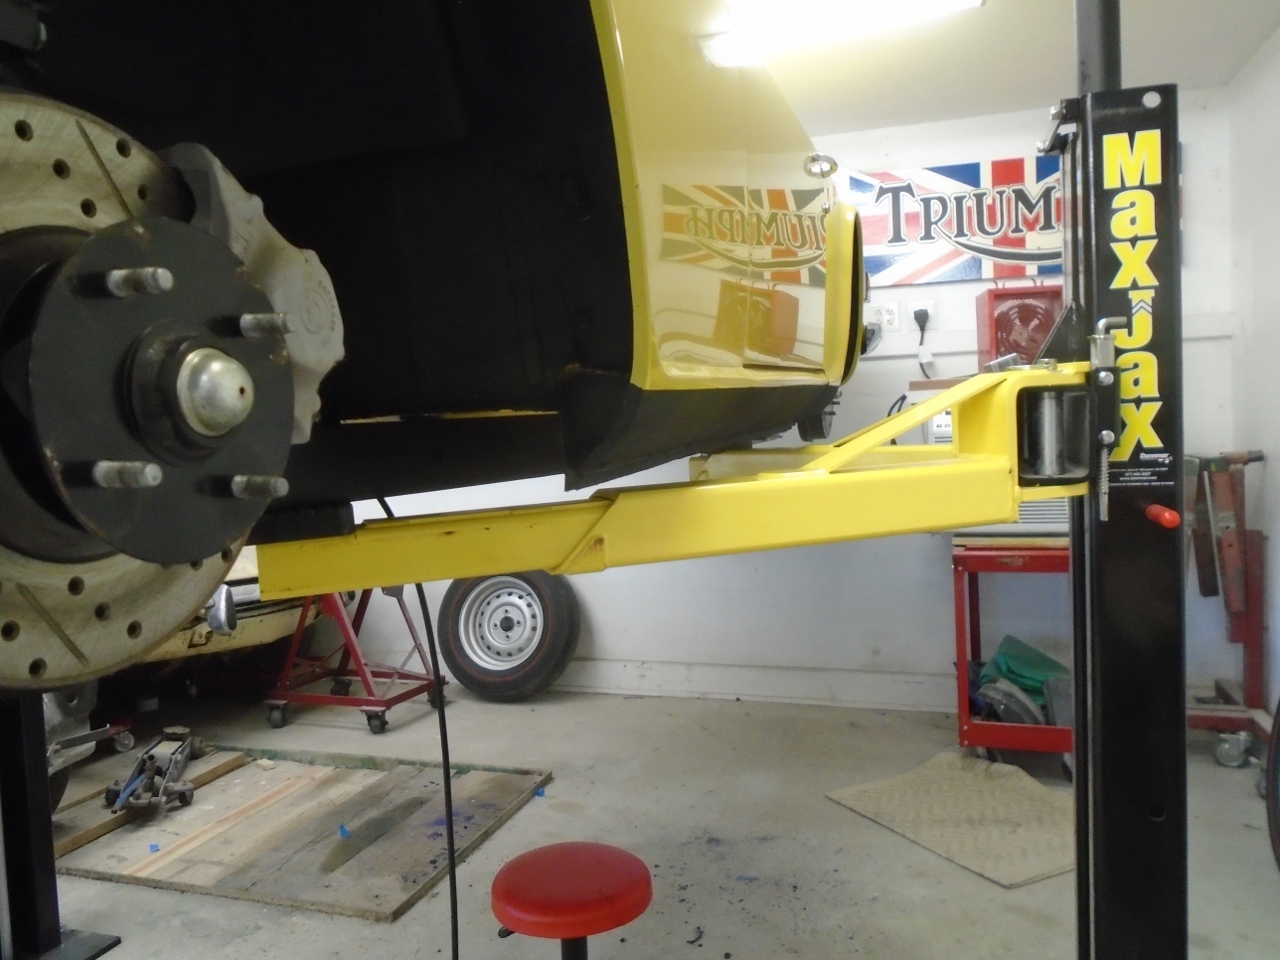
There
was a polished stainless strip that spanned between the wheel wells at
the top of the rocker panels, just beneath the doors. This strip
marks the transition from body color to black below. My trim
strips were really dirty, but other than one sizeable dent, they
cleaned up pretty well.

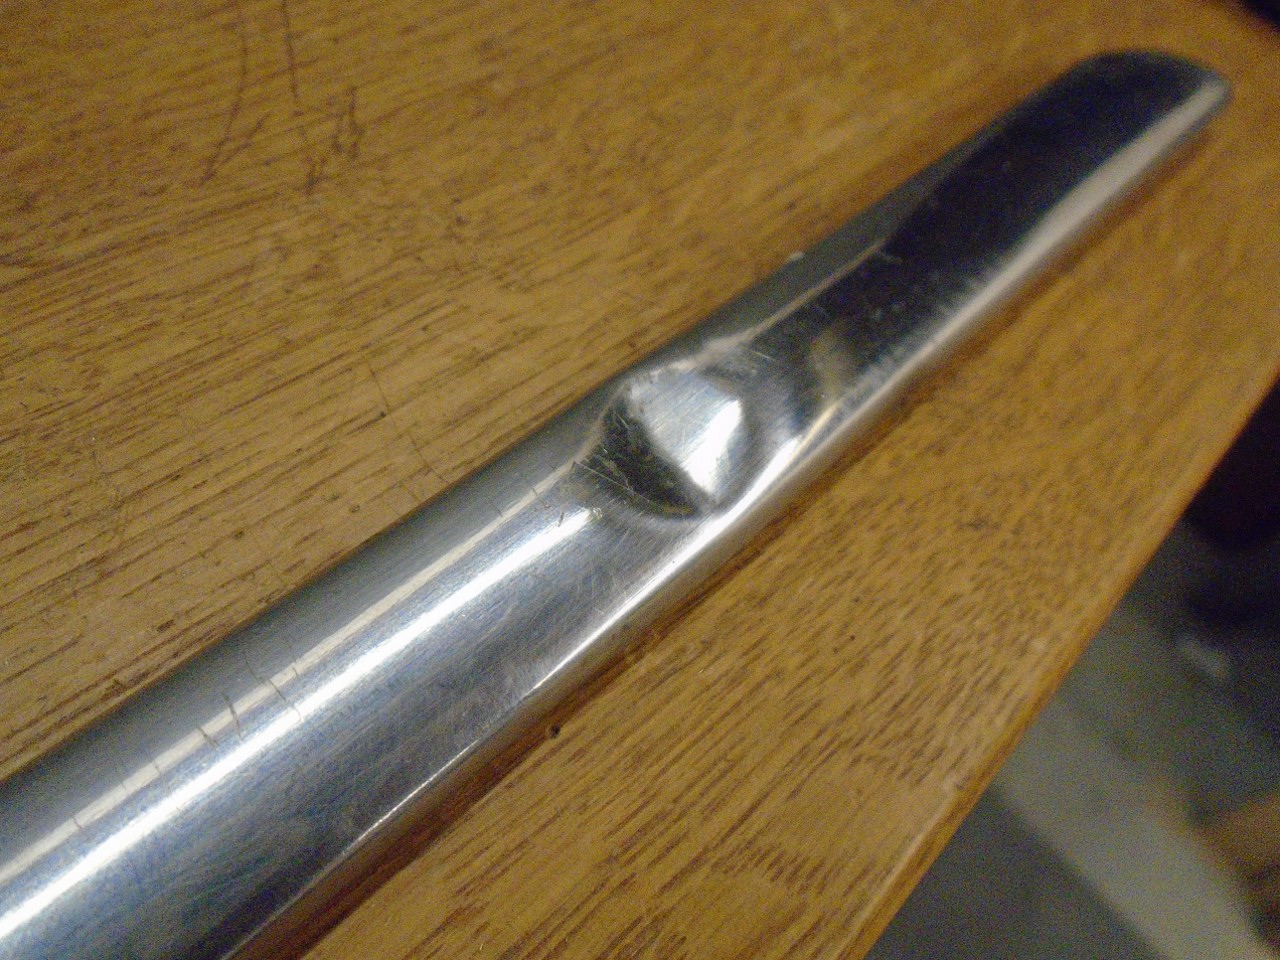
I got the dent pretty much out by using rollers and wooden dollies. It looked good enough that I decided I could use it.
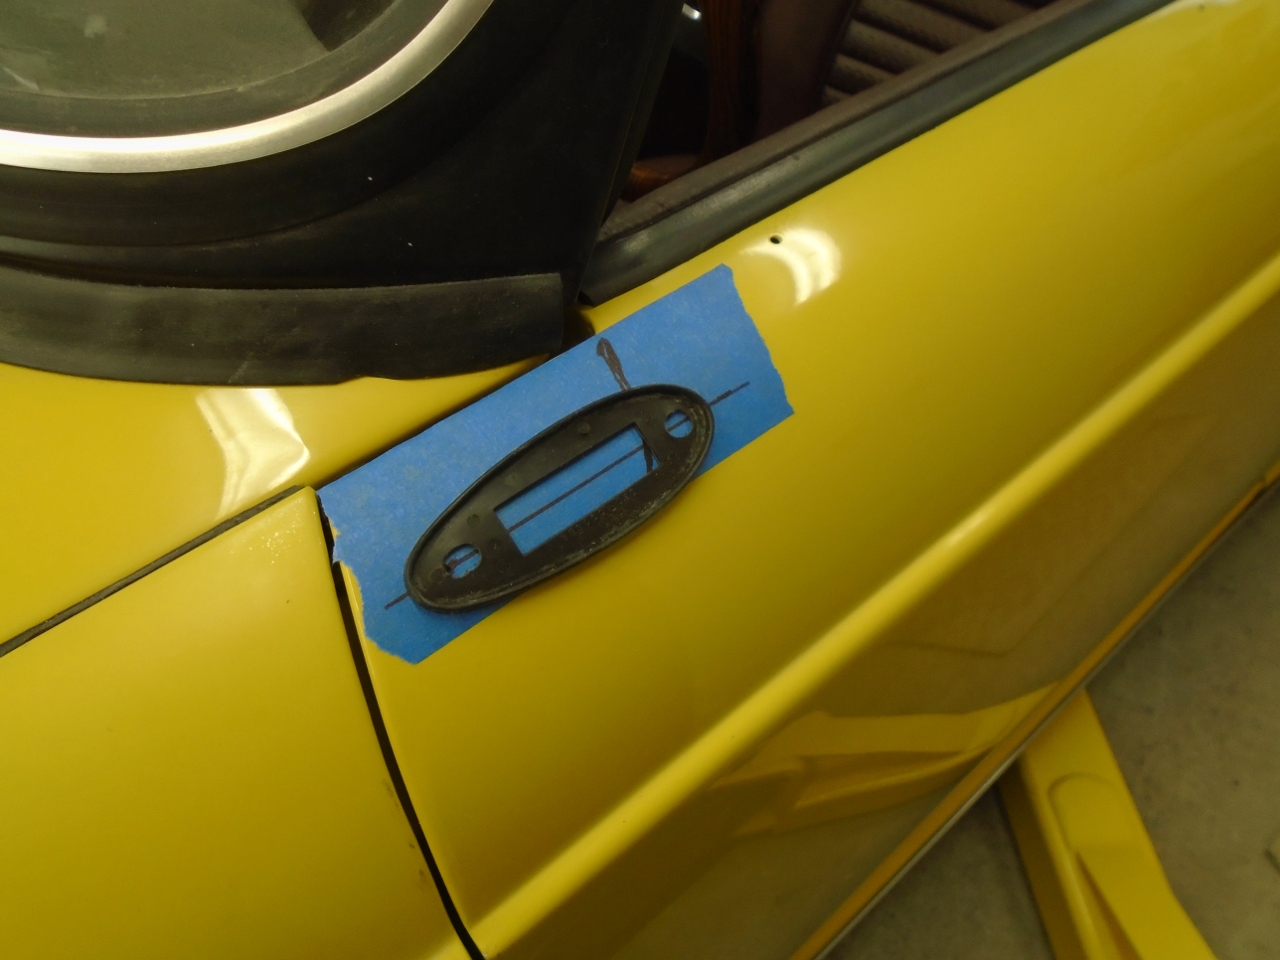
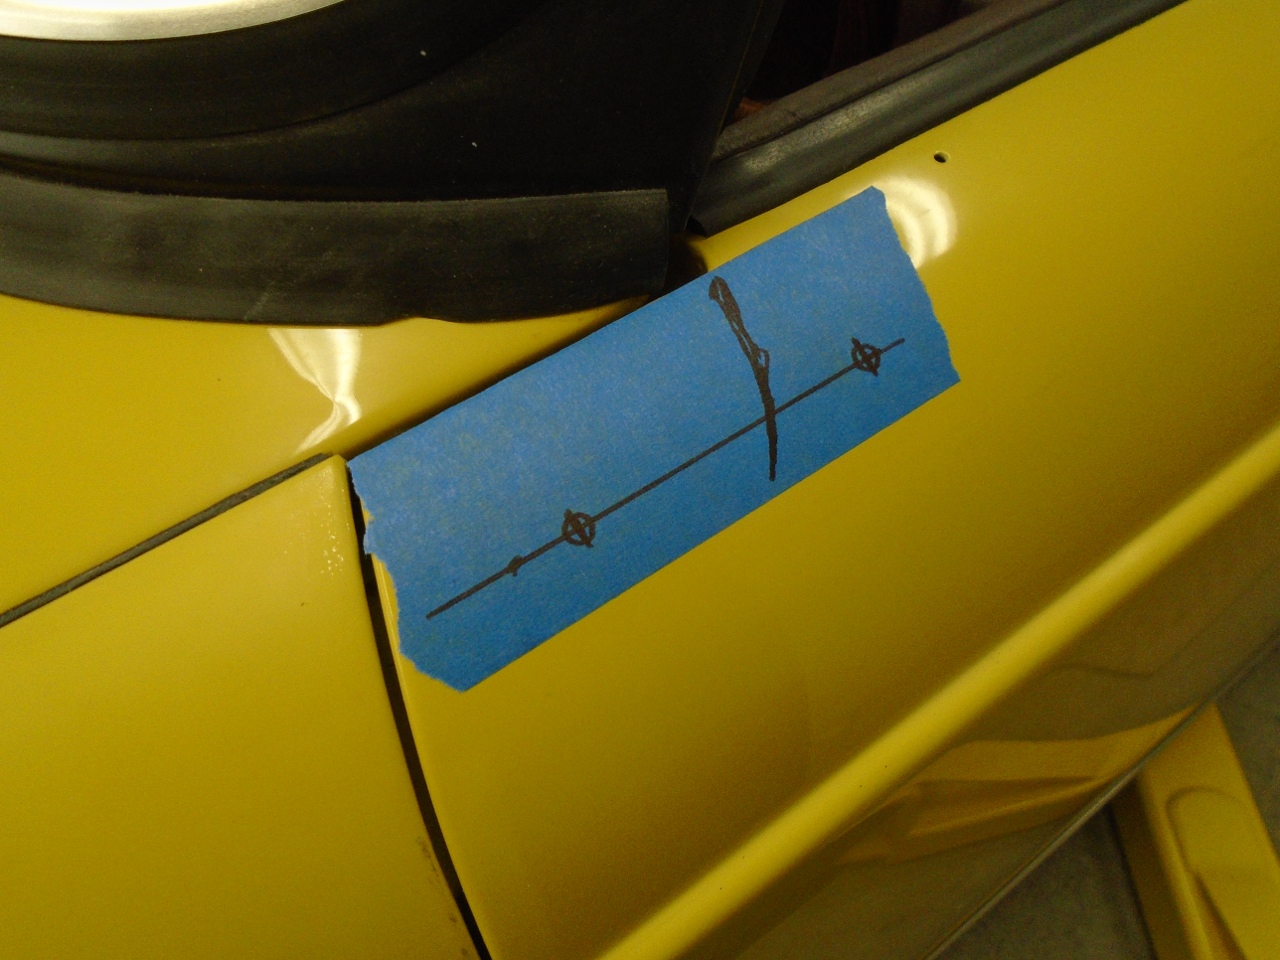
Next
was to mark out the locations of the fasteners for the strips.
There was a surviving hole on the bottom of each of the
rear wings, but everywhere else was new metal. There were seven
fasteners for each strip, so I just laid them out on a straight line
pretty much equally spaced.
Then masked a line through the holes.
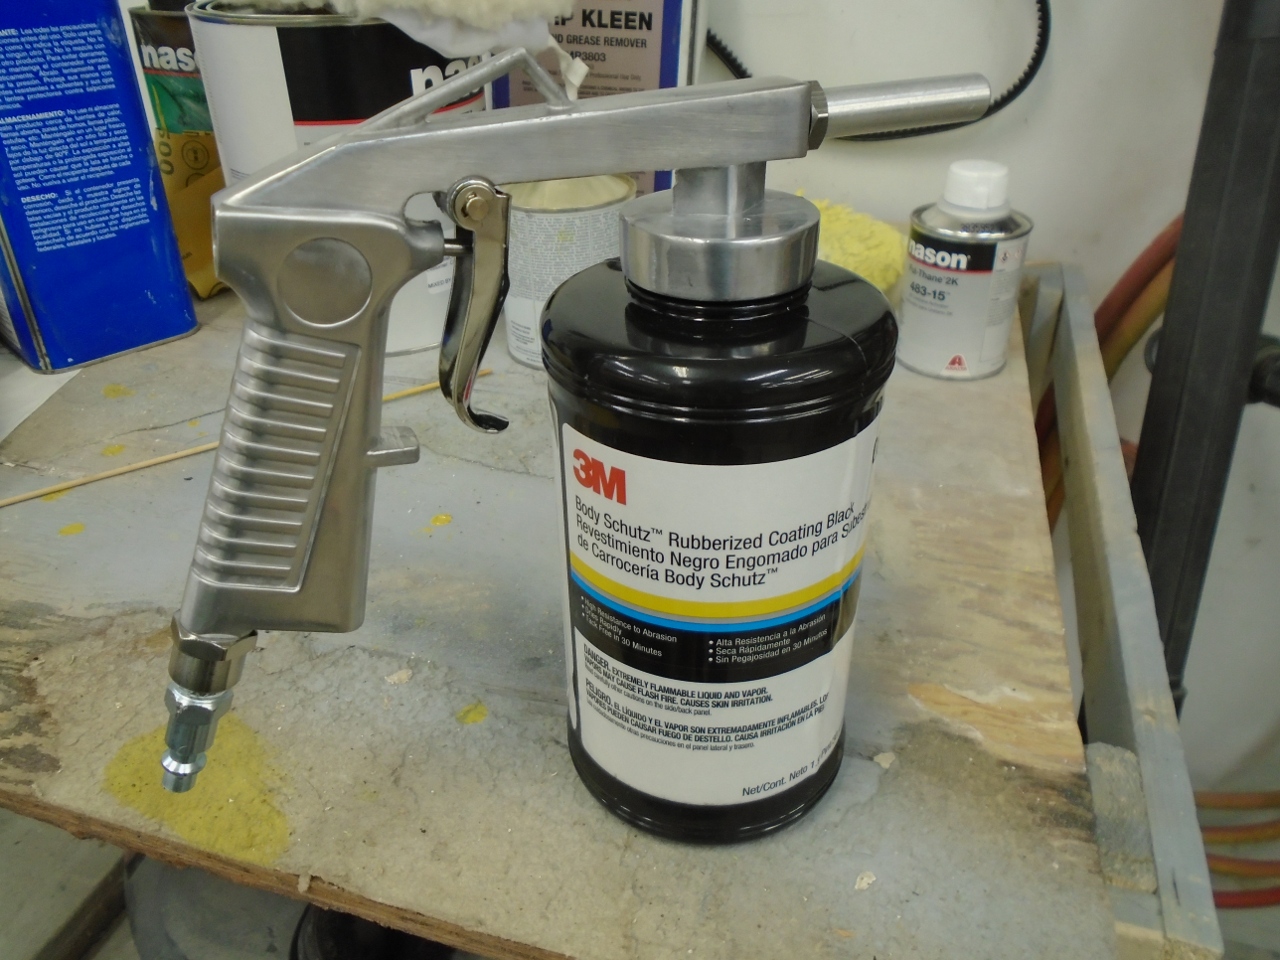
I
decided to use the same 3M Schutz product that I used as undercoating
in the wheel wells. It sprays from a special gun and builds up
fairly quickly. There is a version of this product especially for
rockers, but I believe the only difference is that it is paintable.
Since I'm leaving it black, I think this product will work fine.
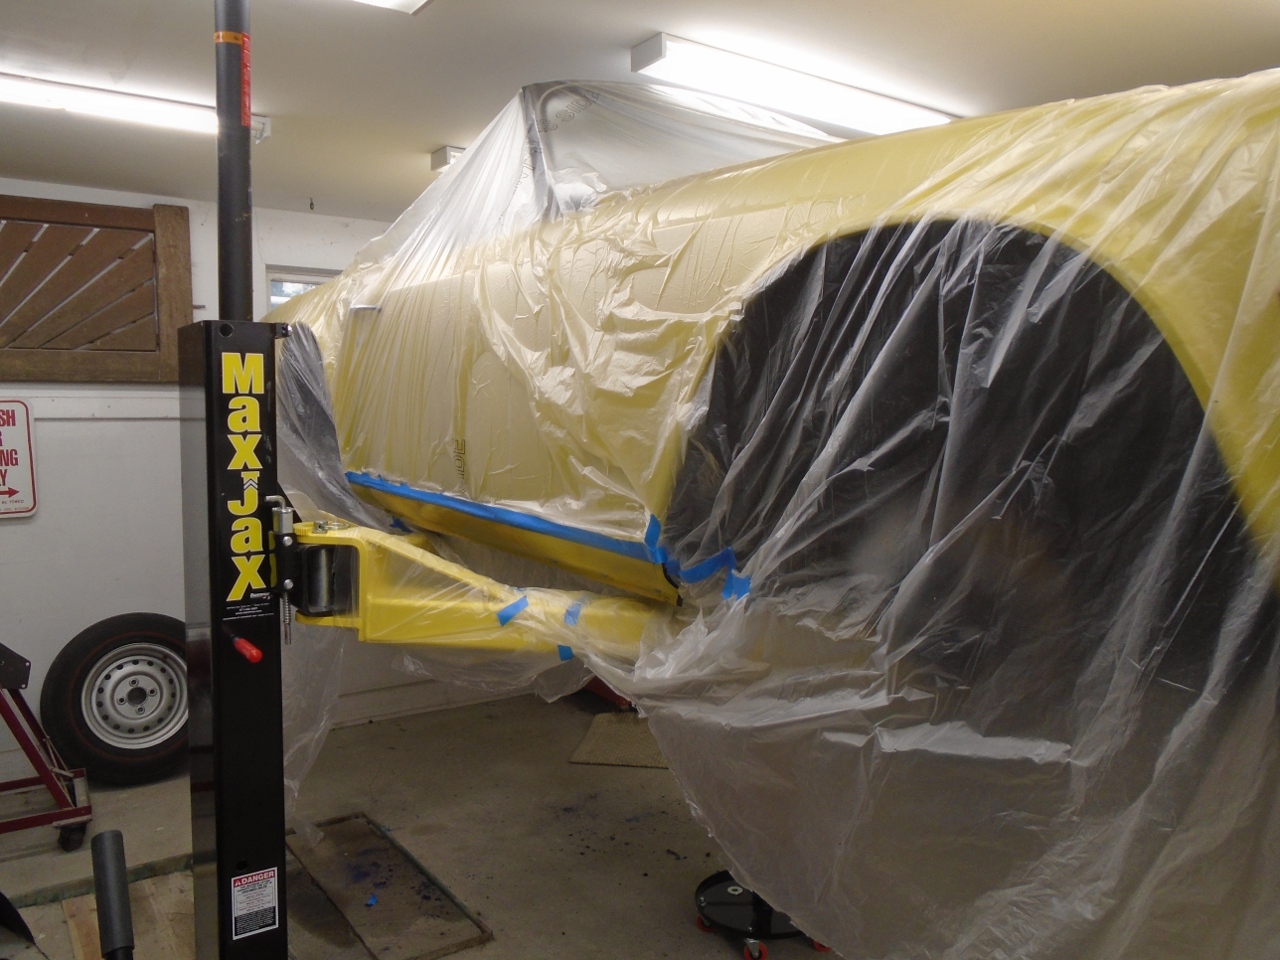
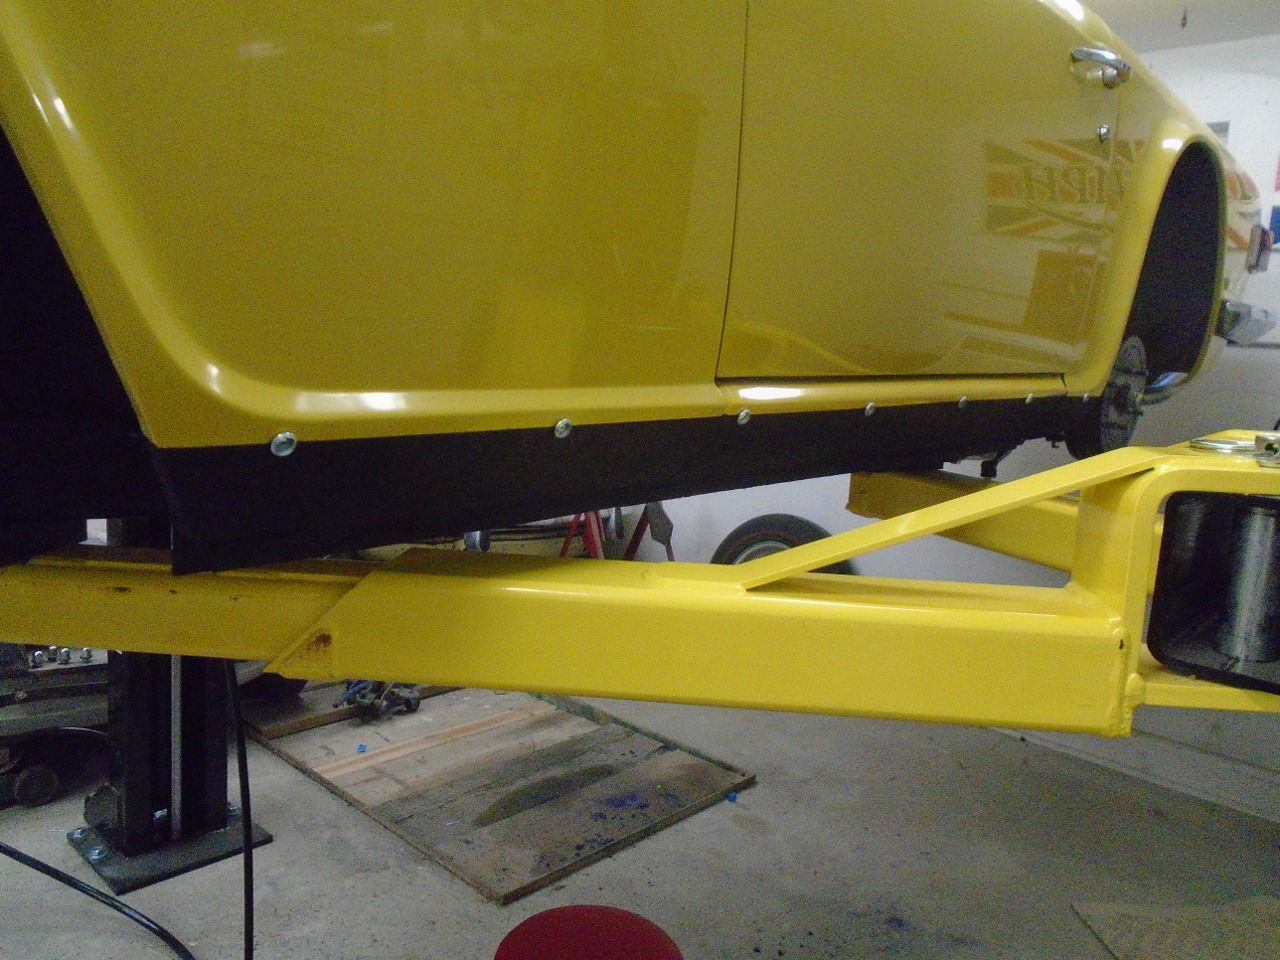
I
found that the Schutz can tend to splatter everywhere, and isn't easy
to remove, so I masked the rest of the car and also my brand new lift.
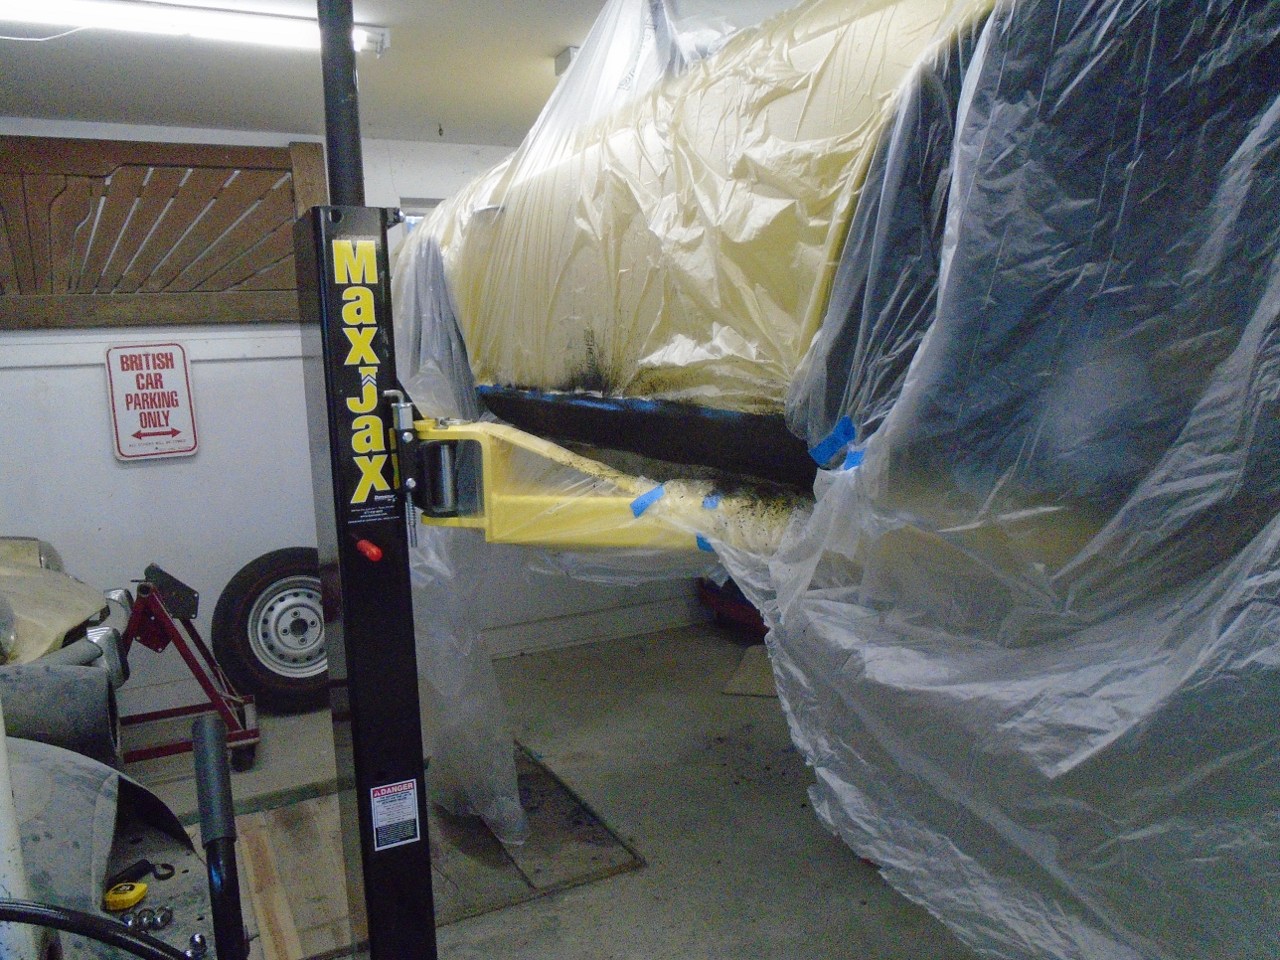
And a few minutes later, it was done. I used nearly a quart on both sides.
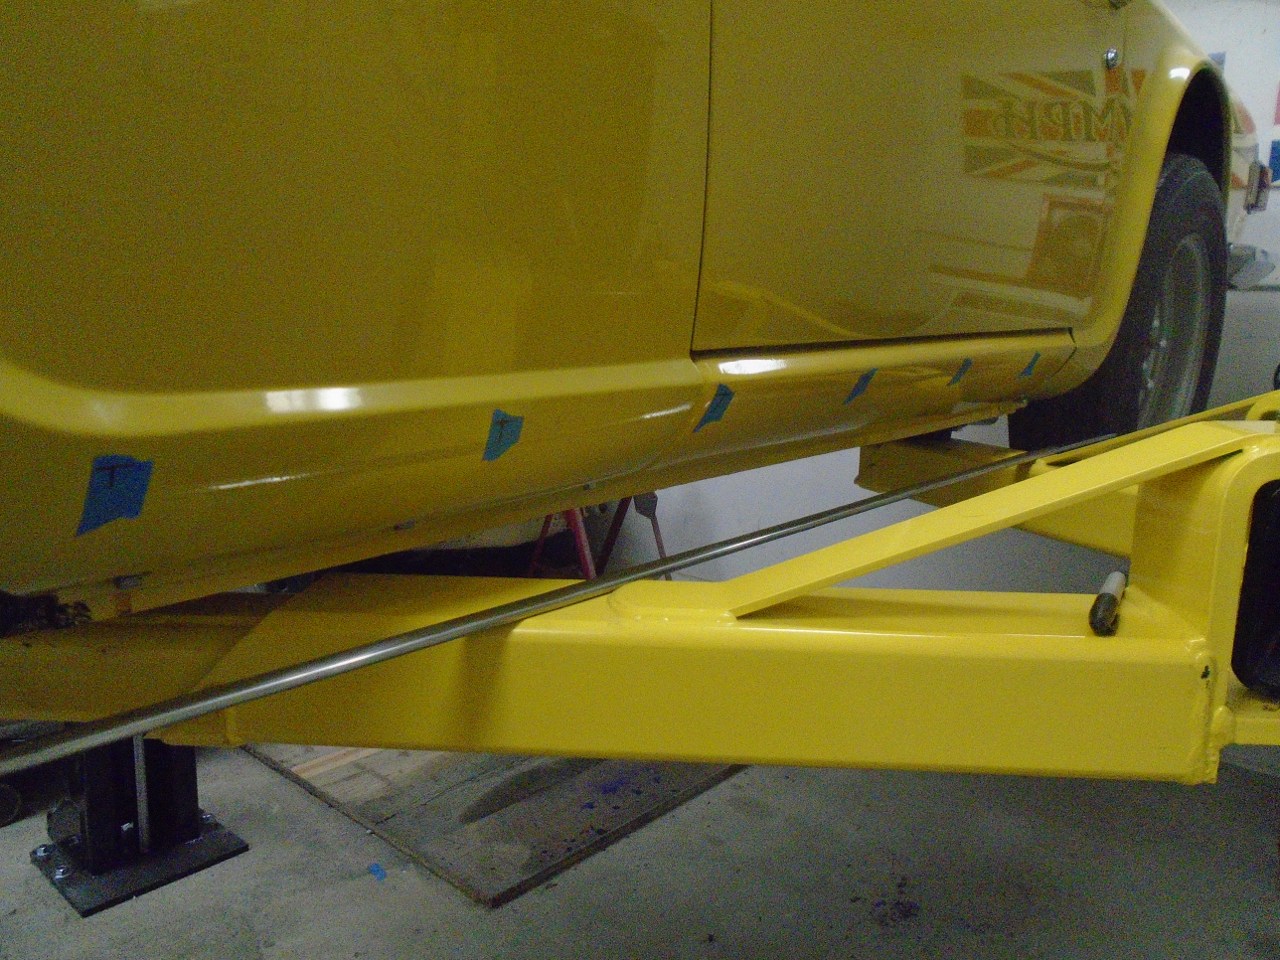
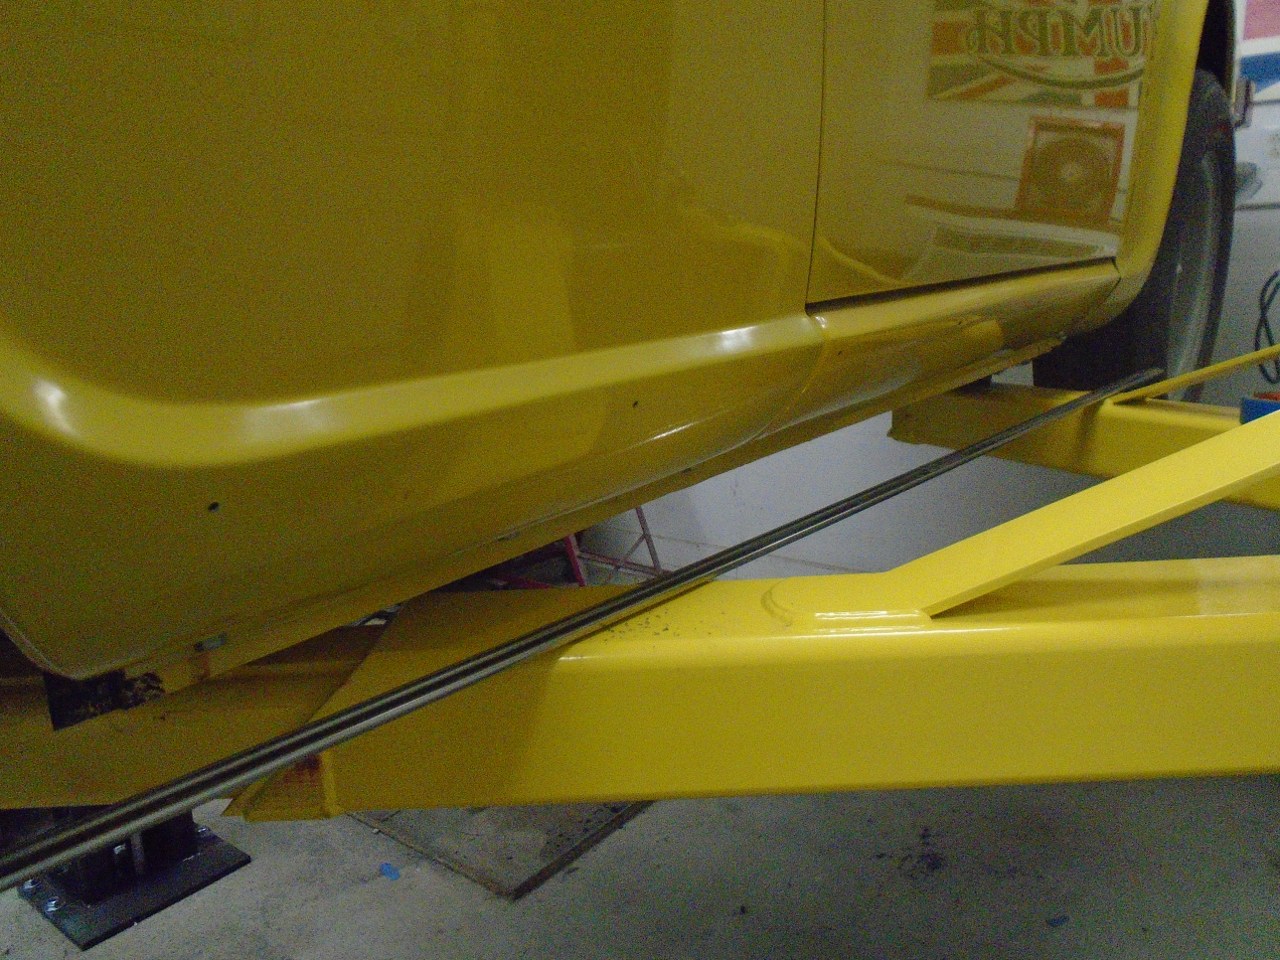
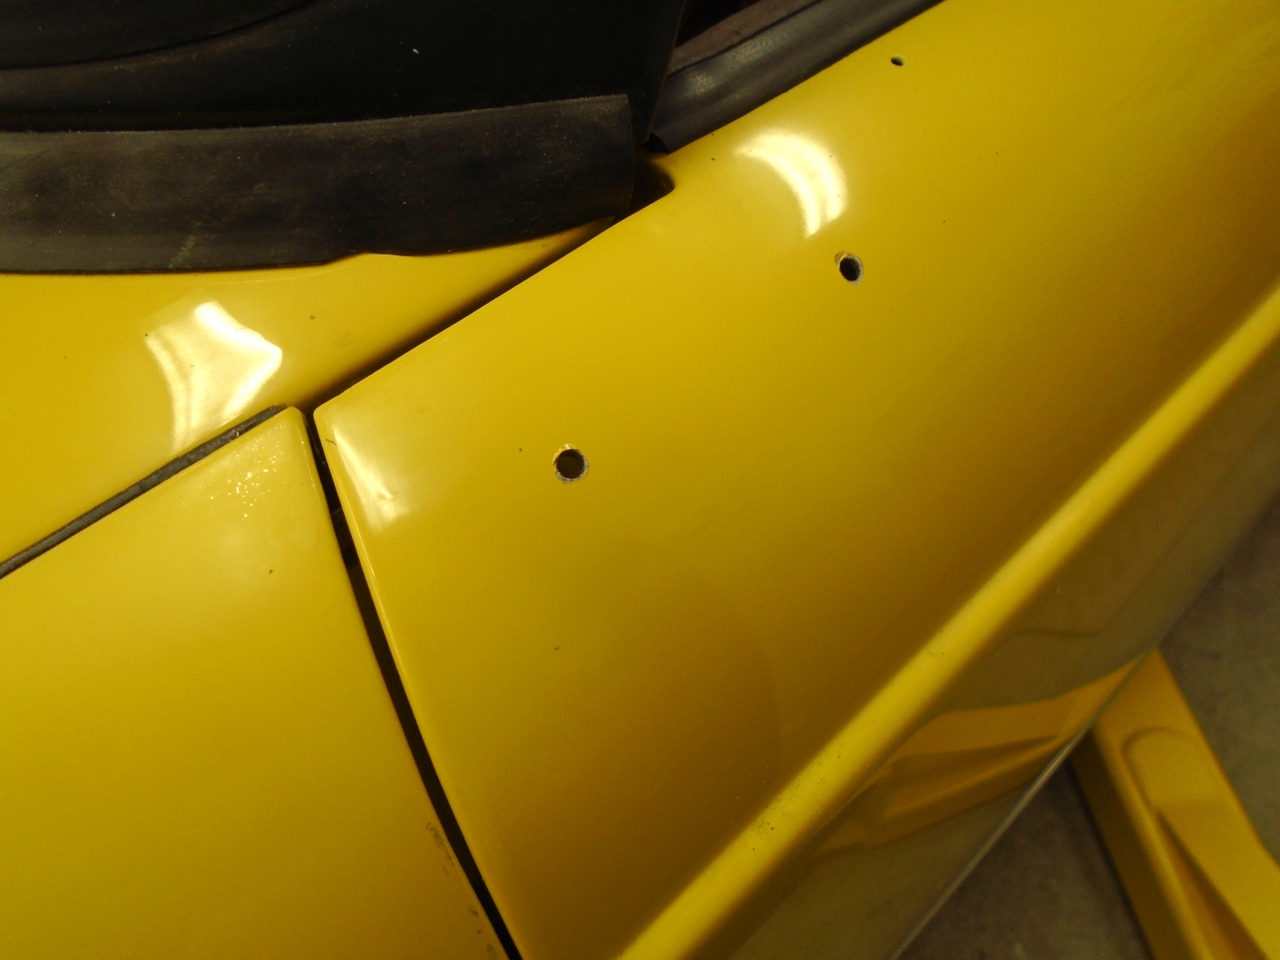
The fasteners for the strips are just little steel buttons blind riveted to the body panels.
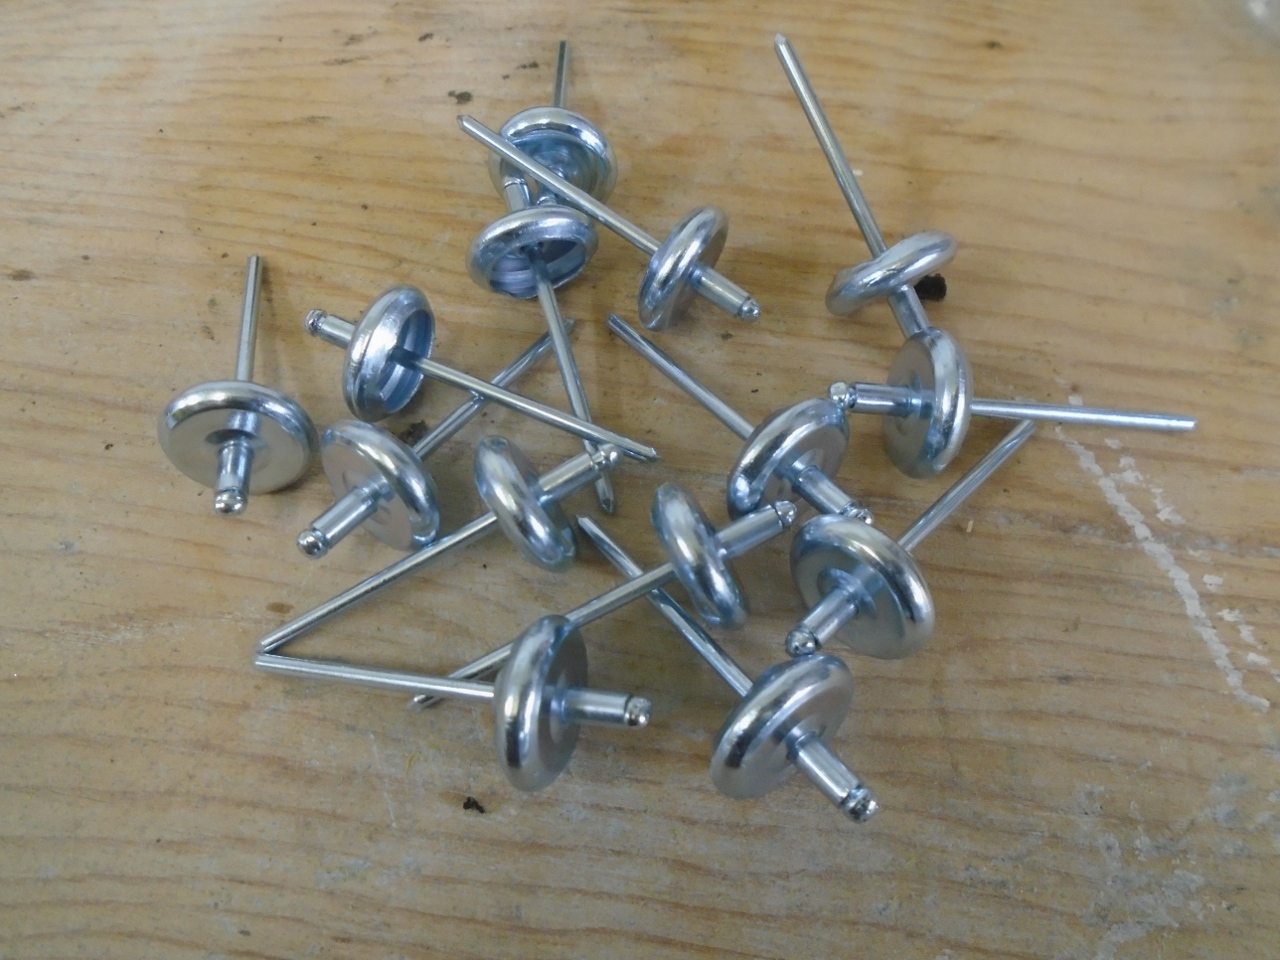
The strips just snap on to the buttons.

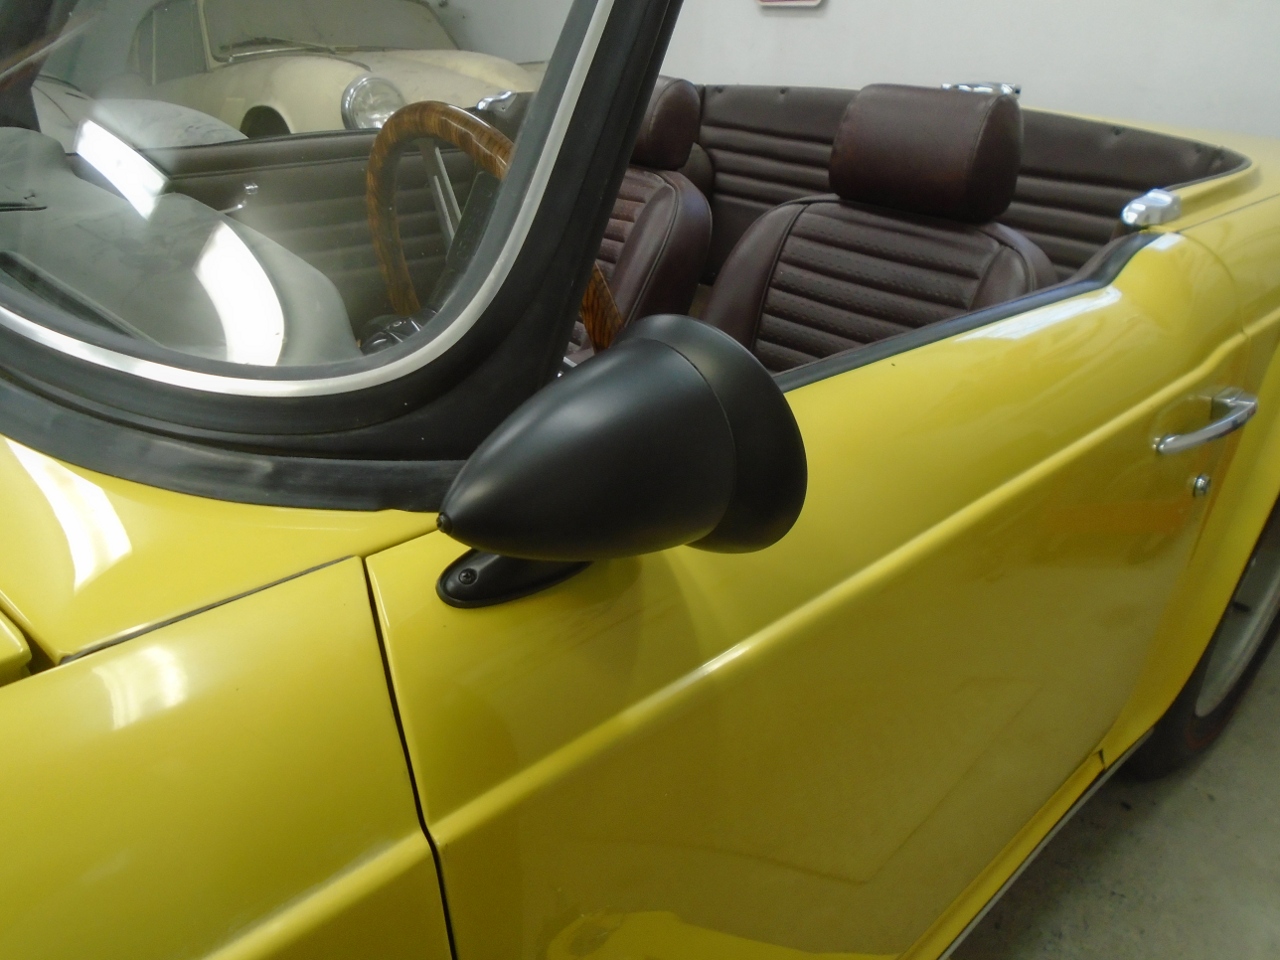
Side Mirror
Side
mirrors on TR6 cars were apparently dealer-applied items, and
there were reportedly several kinds used. I'm not sure my mirror
is dealer original since there were several sets of mounting holes in
the door. It certainly is period correct though, since it was on
the car when I bought it in '78 or so.
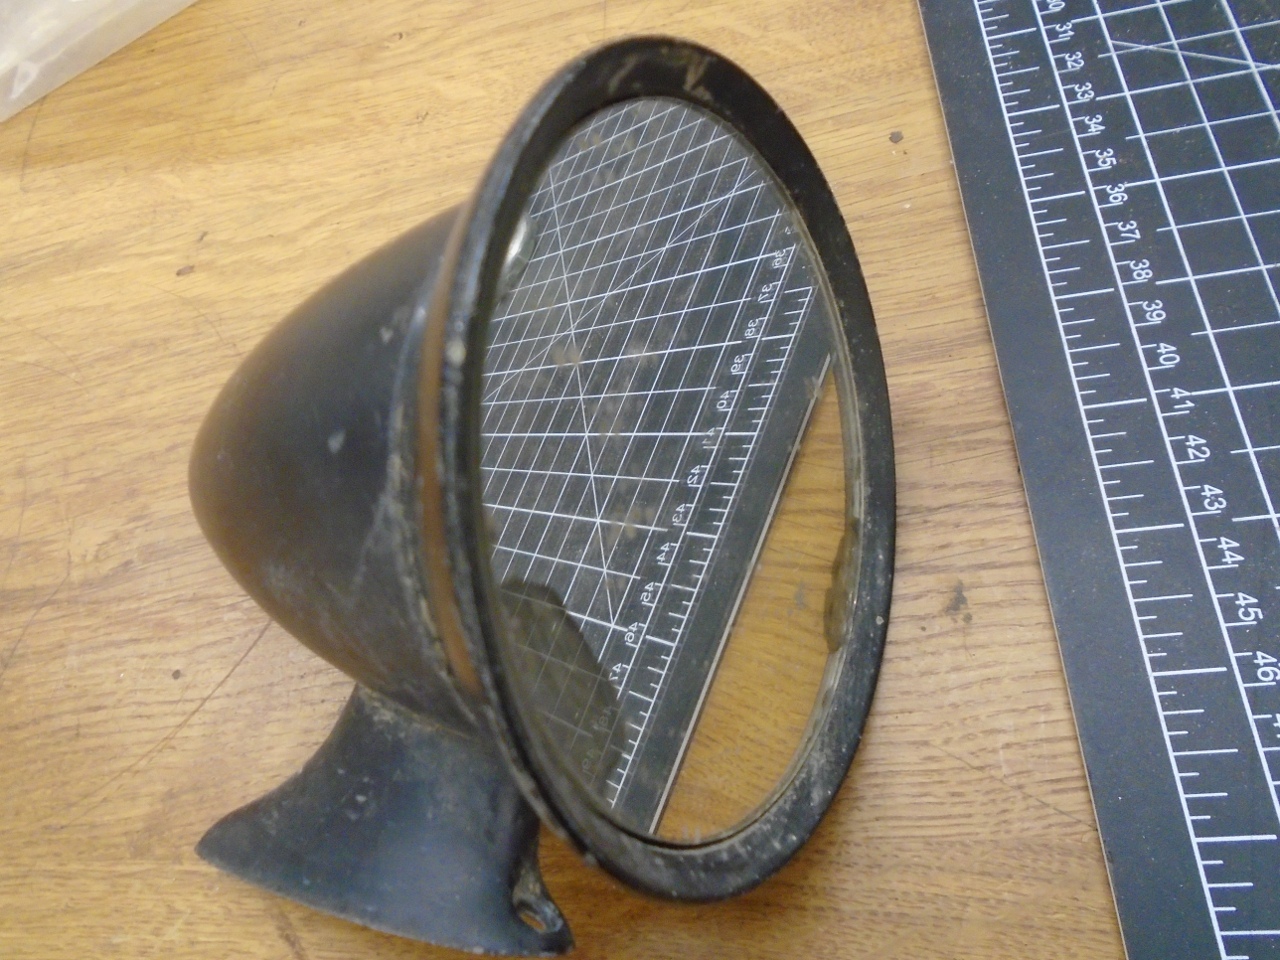
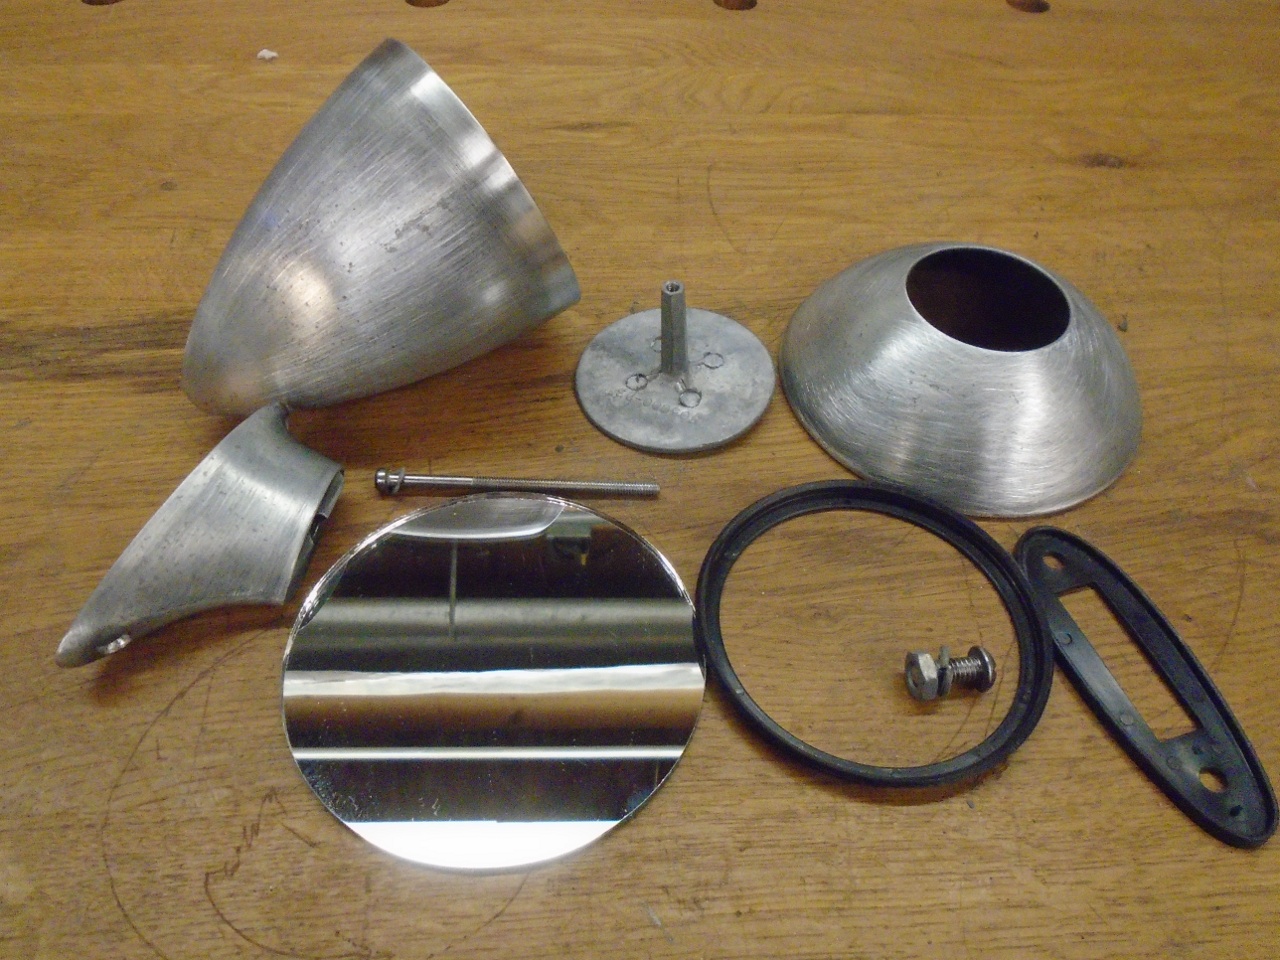
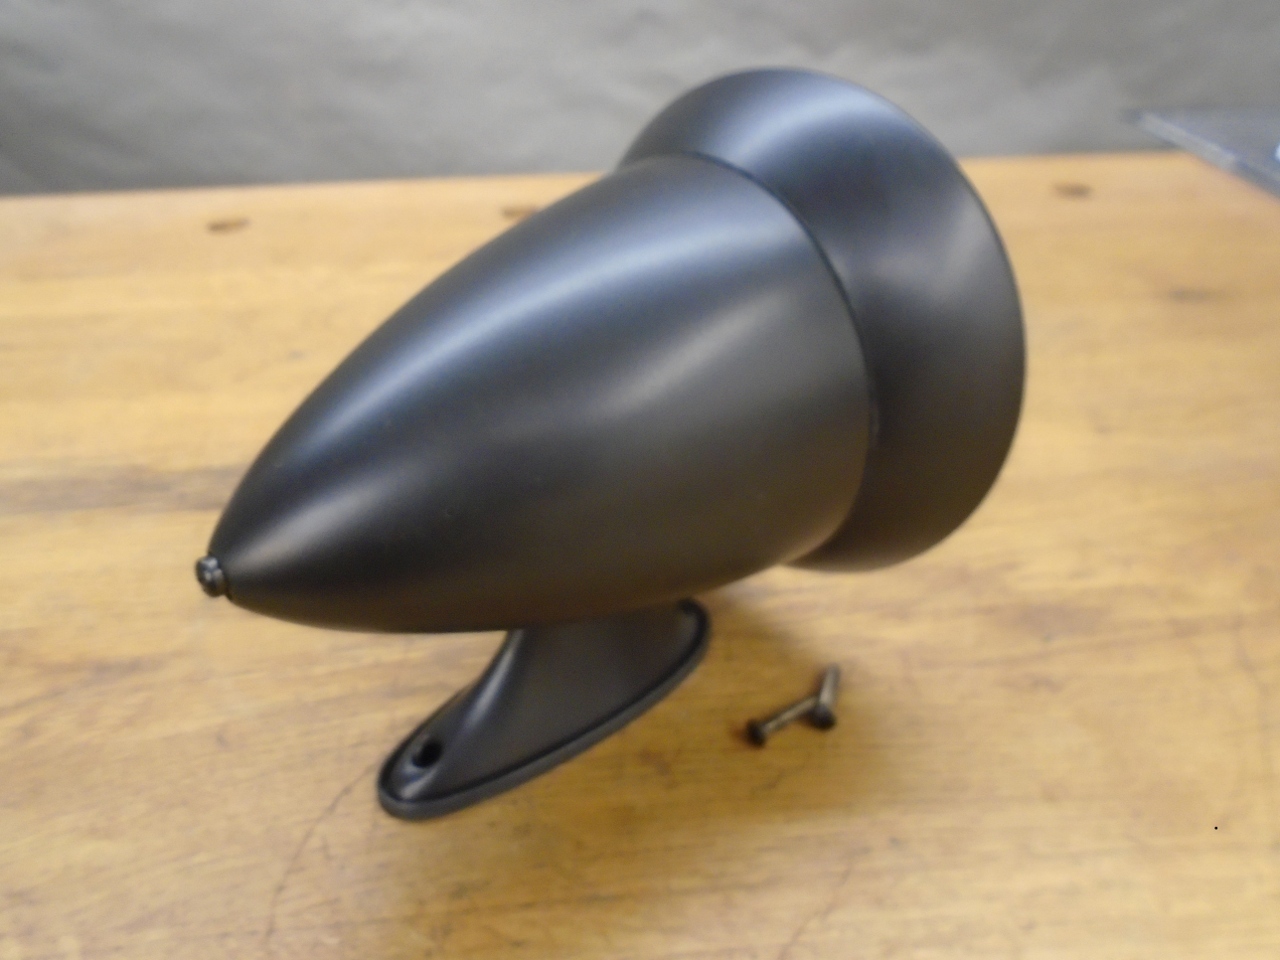
The mirror assembly looked pretty worn and dirty, but it didn't appear to be damaged, except for the mirror glass itself.
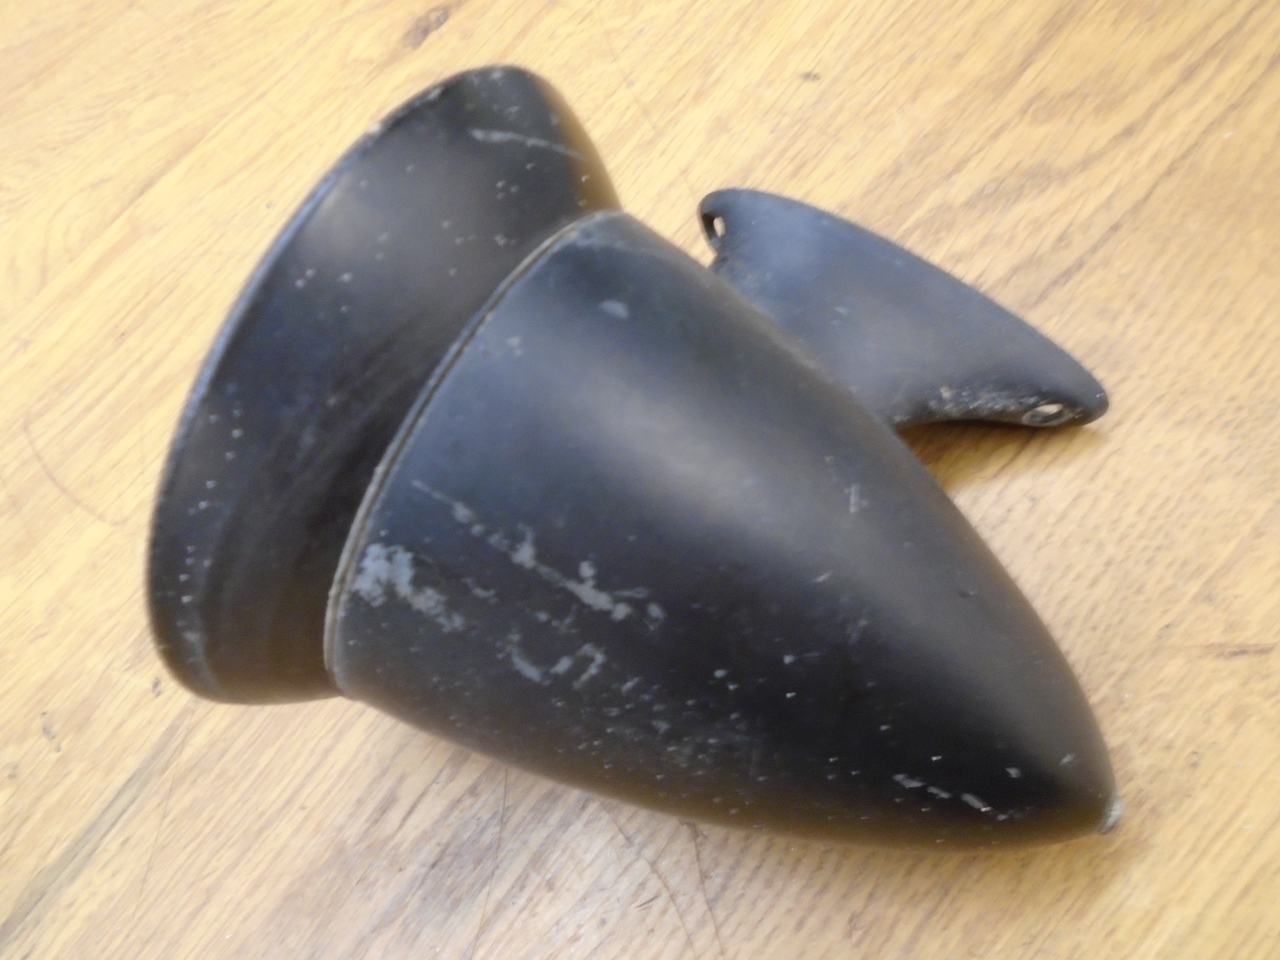
It came apart pretty easily.
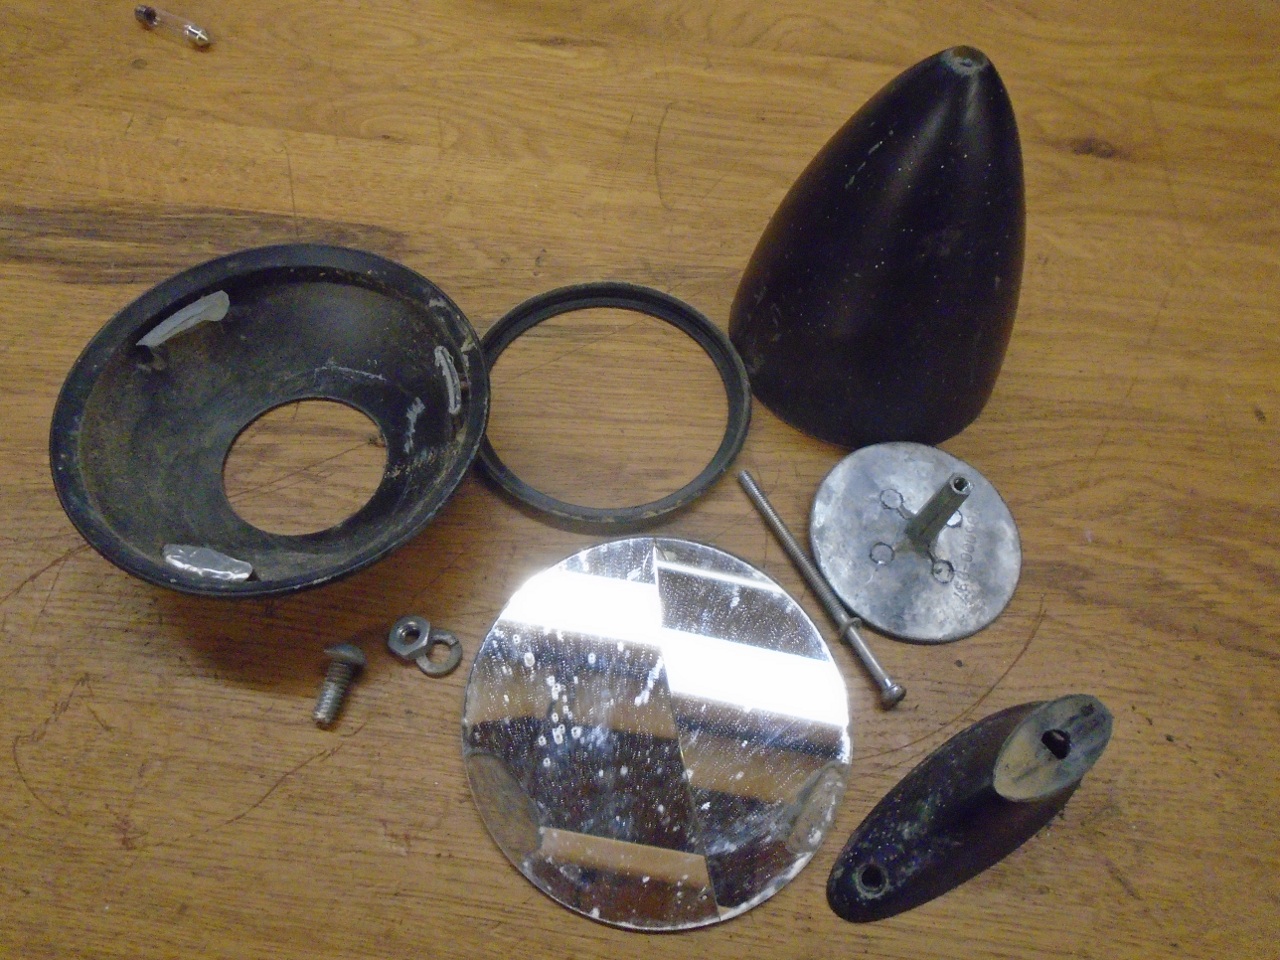
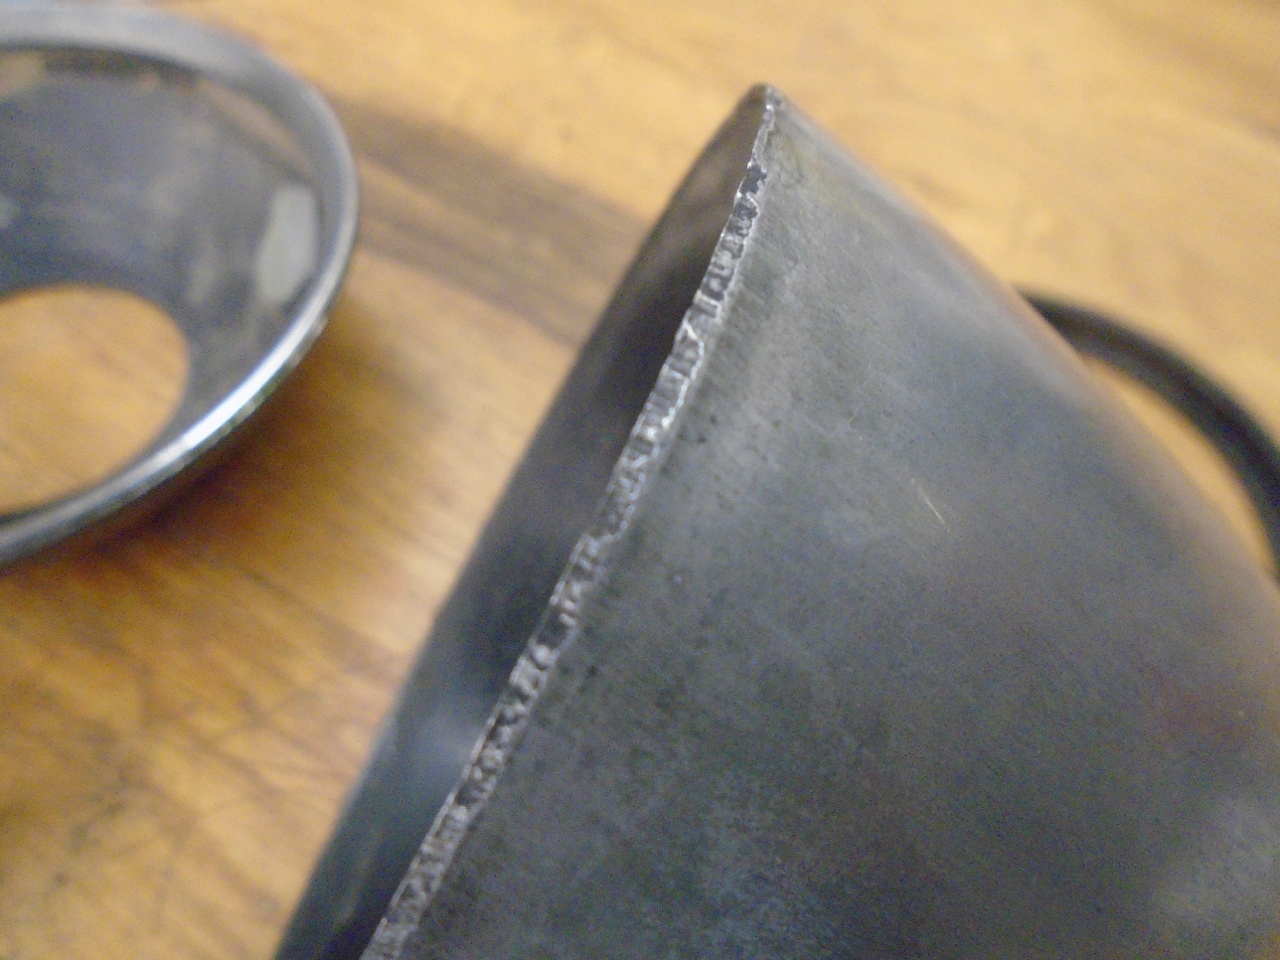
The pot metal castings were generally OK, but showed some casting flash on some of the edges. These were easy to clean up.
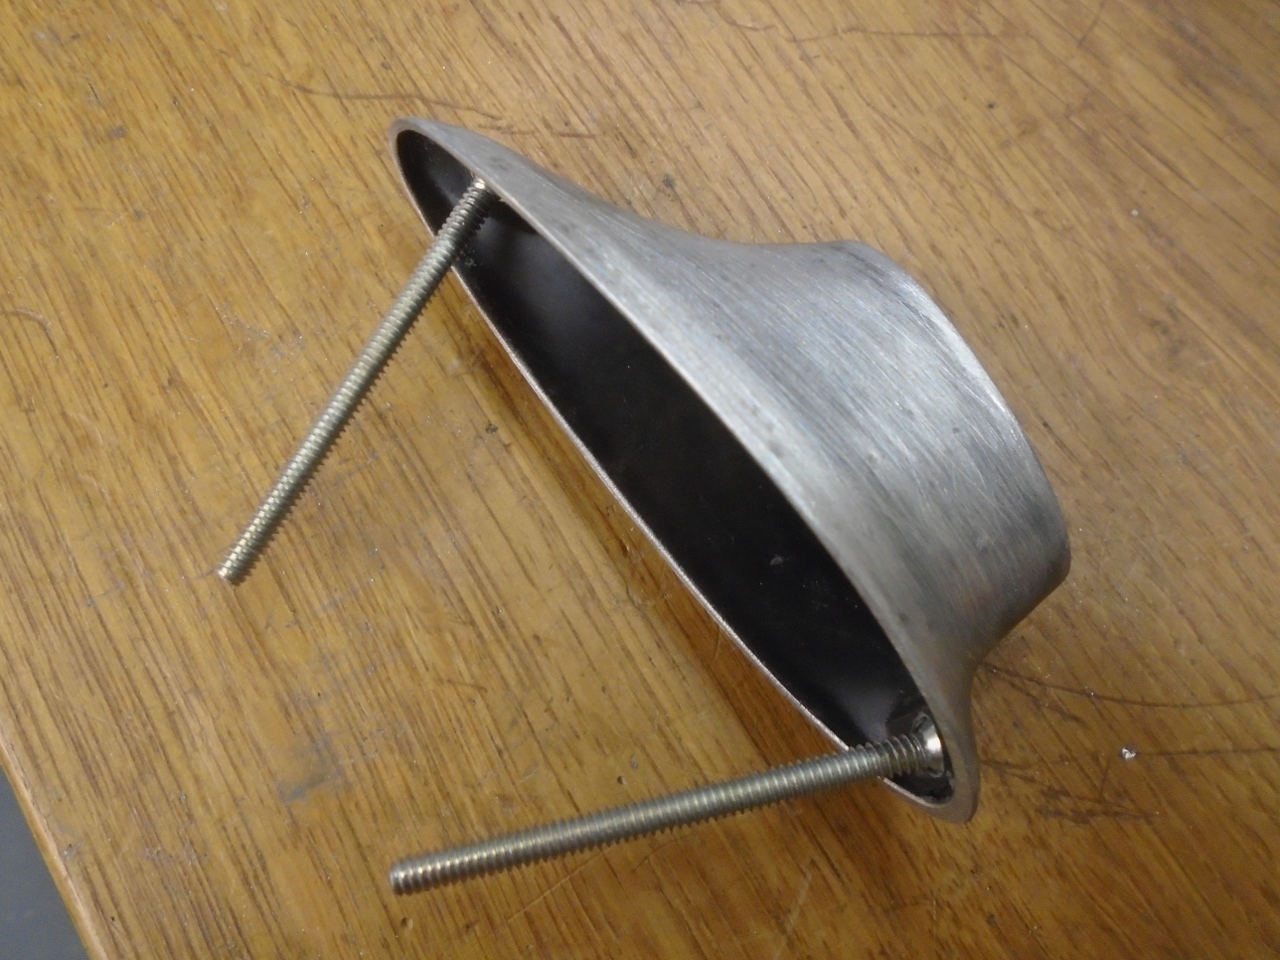
One
thing that sort of bugged me about the mirror is that it was designed
to be mounted with sheet metal screws at a pretty pronounced angle.
I consider this sort of a sloppy design, but I guess the price
point dictated some of these details. I did a little reshaping of
the base mounting holes so that I could use parallel machine screws.
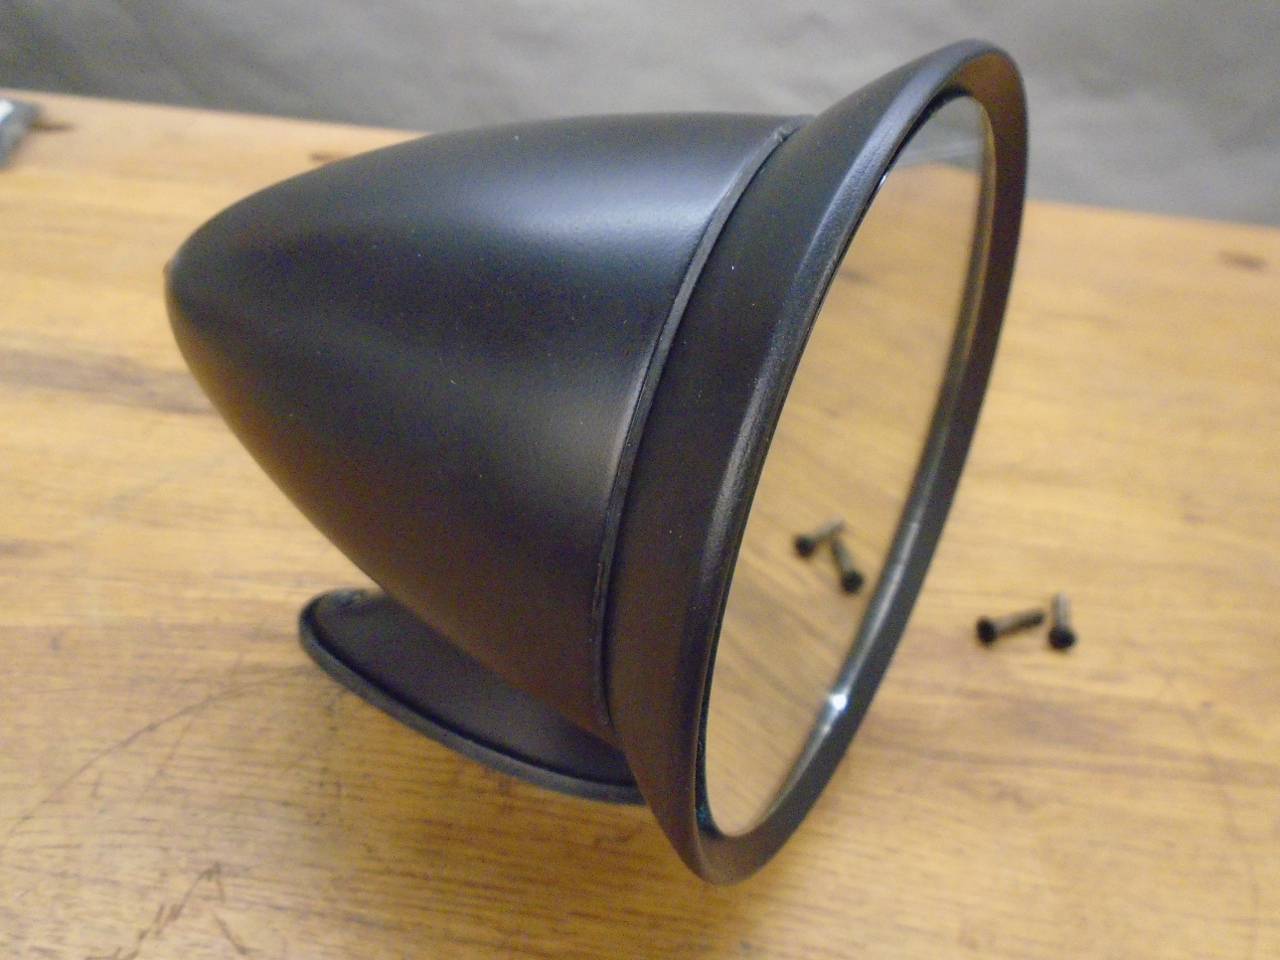
The paint came off a little too easily. Also got a new 4" mirror form the hobby store.
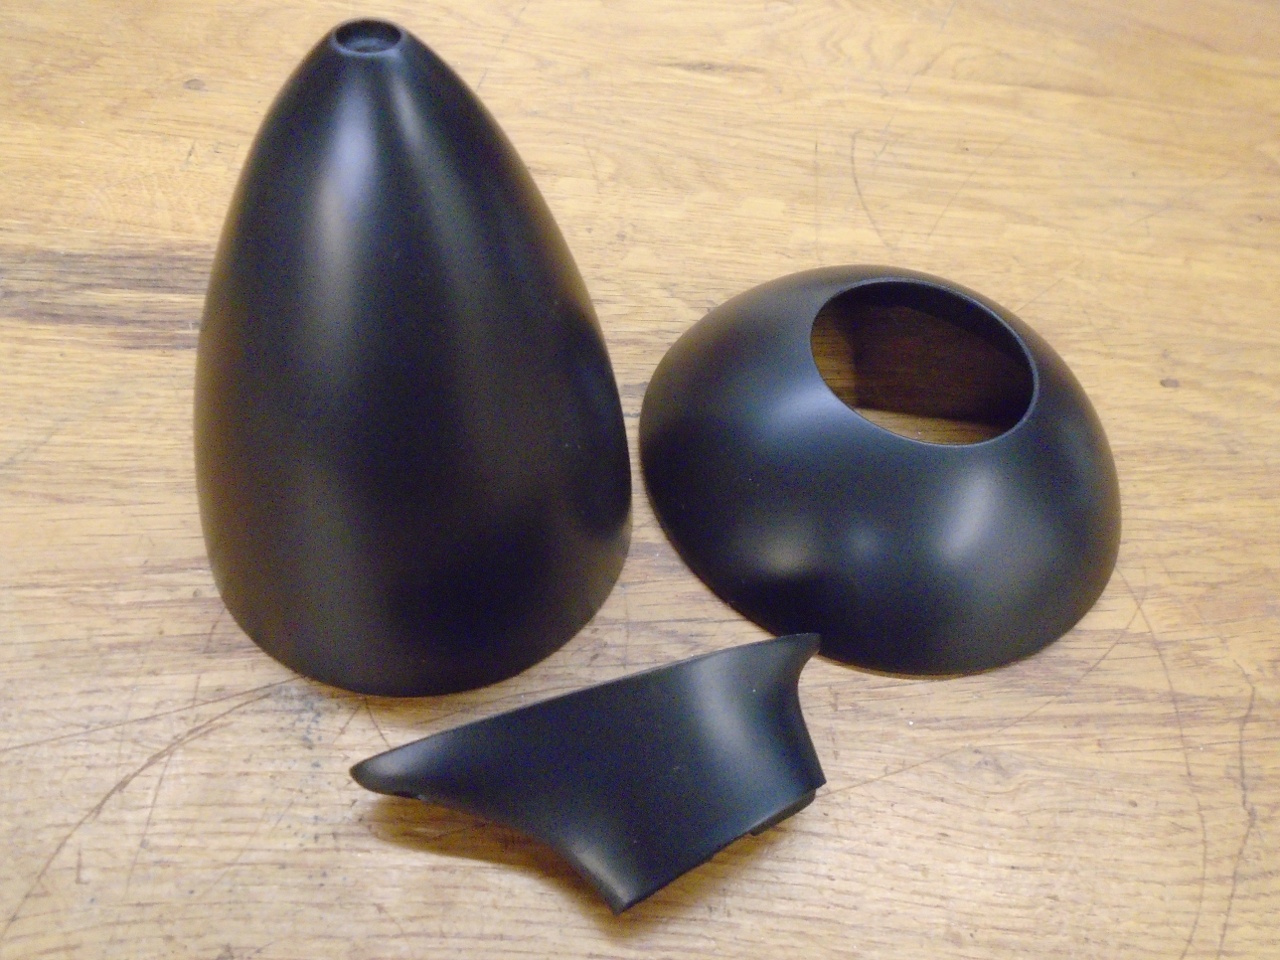
Epoxy primer, and a top coat to match the windshield frame and the rear valence.
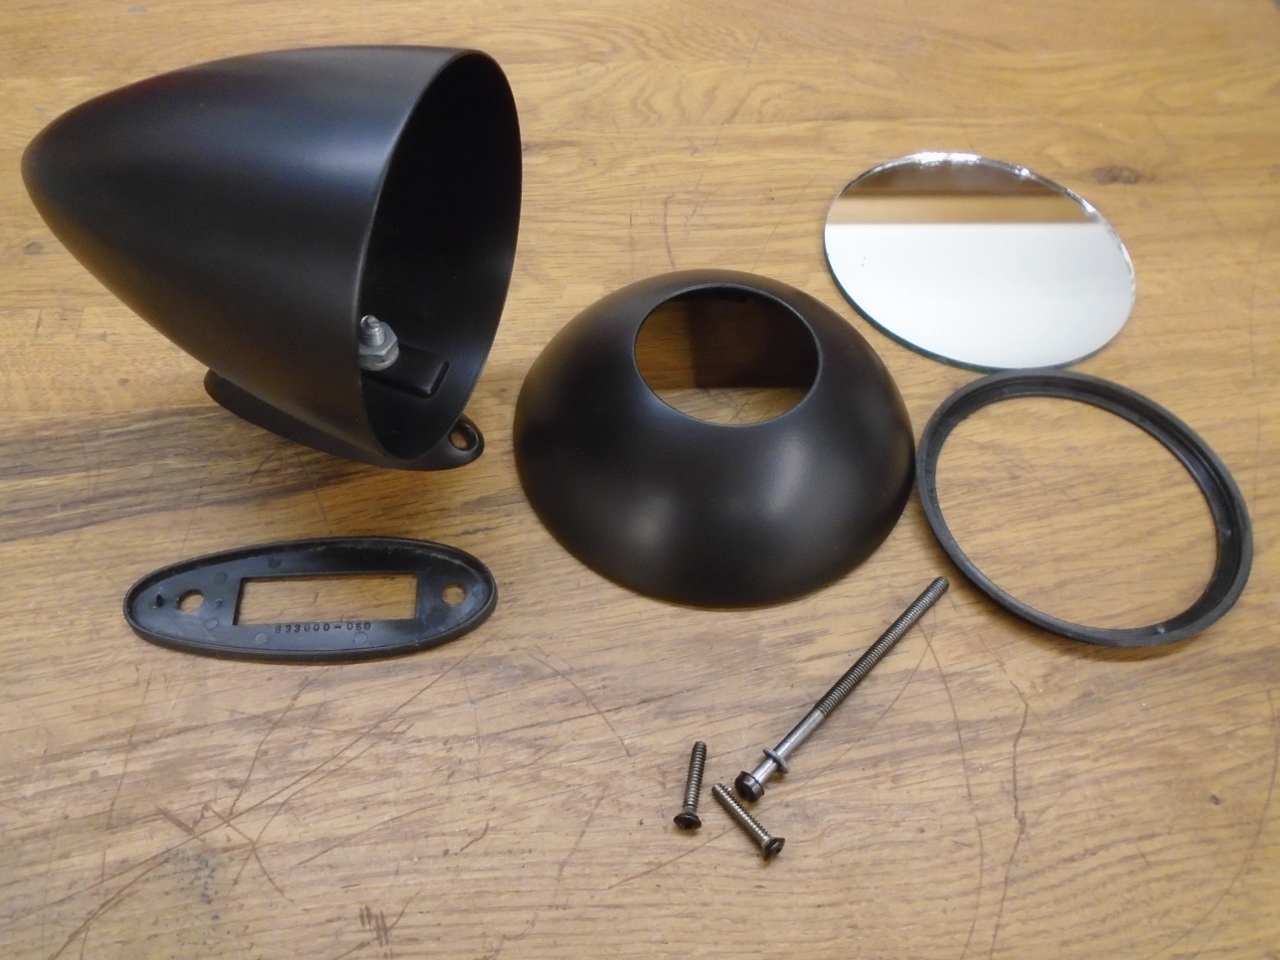
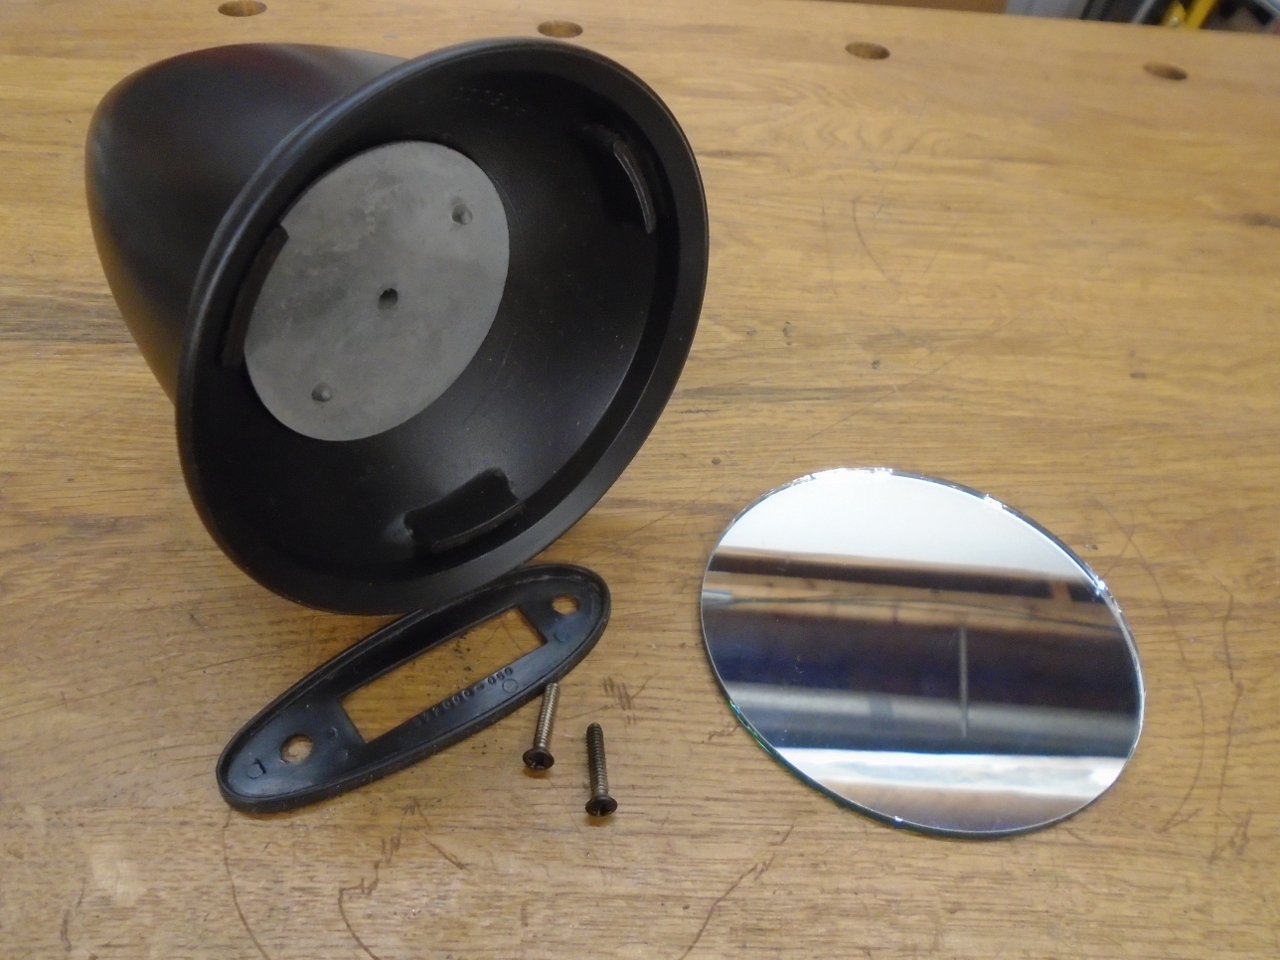
Finally, glued in the mirror.
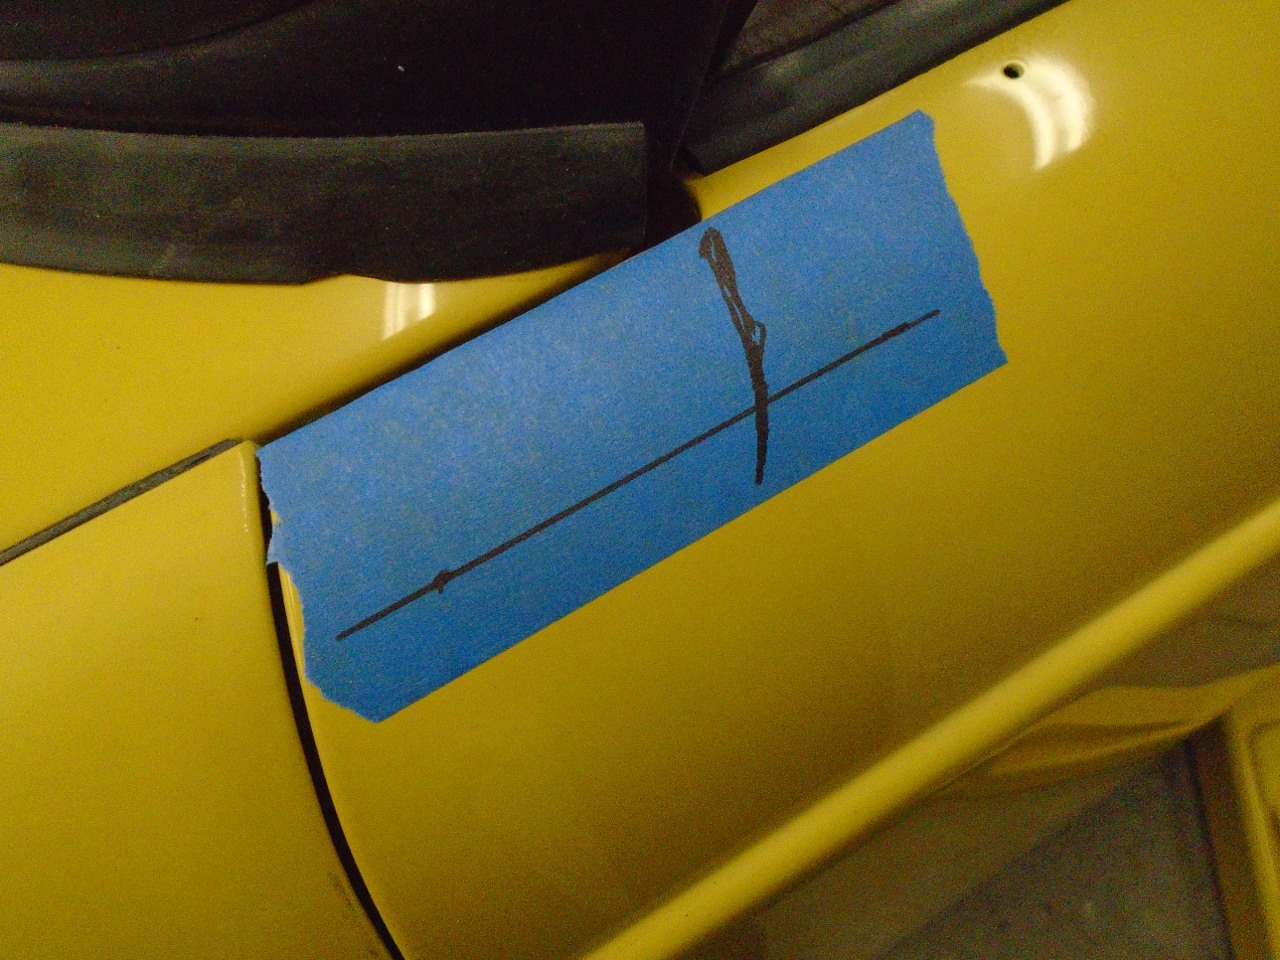
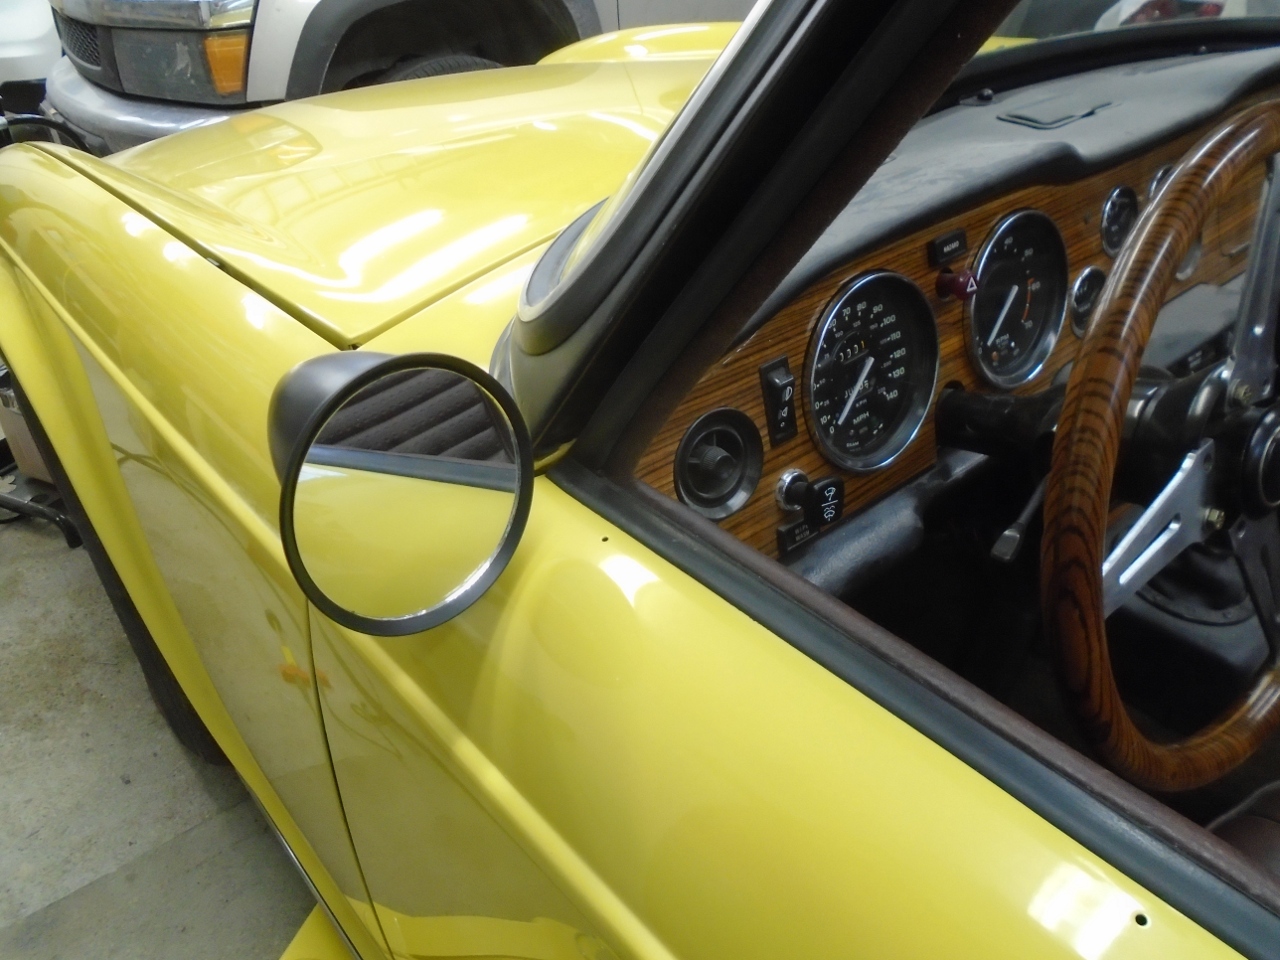
I
was hoping to mount the mirror on that flap of metal that extends out
over the A post since, using machine screws, I'd have access to the
nuts on the backside. There just isn't enough room for this
mirror, though. That curved line is the location of the body of
the door underneath.
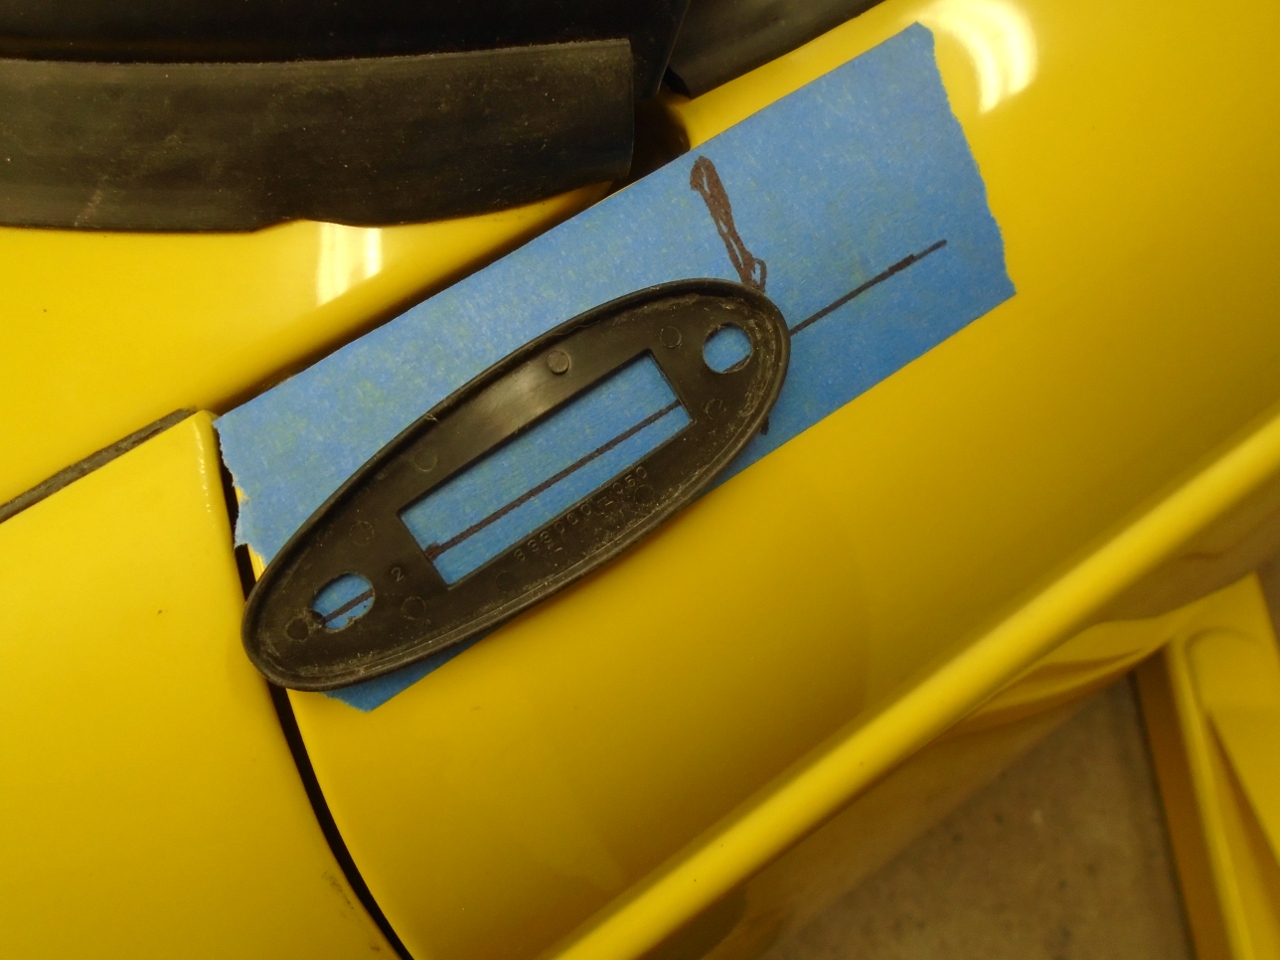
So I had to move the mirror back so that the rear fastener would go inside the door.
I
didn't really want to remove the handles and door card just to get to
that one fastener, so I used a rivet-nut in the rear hole, though
I apparently don't have a picture of it.
This is where I discovered that angled fasteners would have made mounting a lot simpler, but I persevered, and got 'er done.
Seat Belt Install
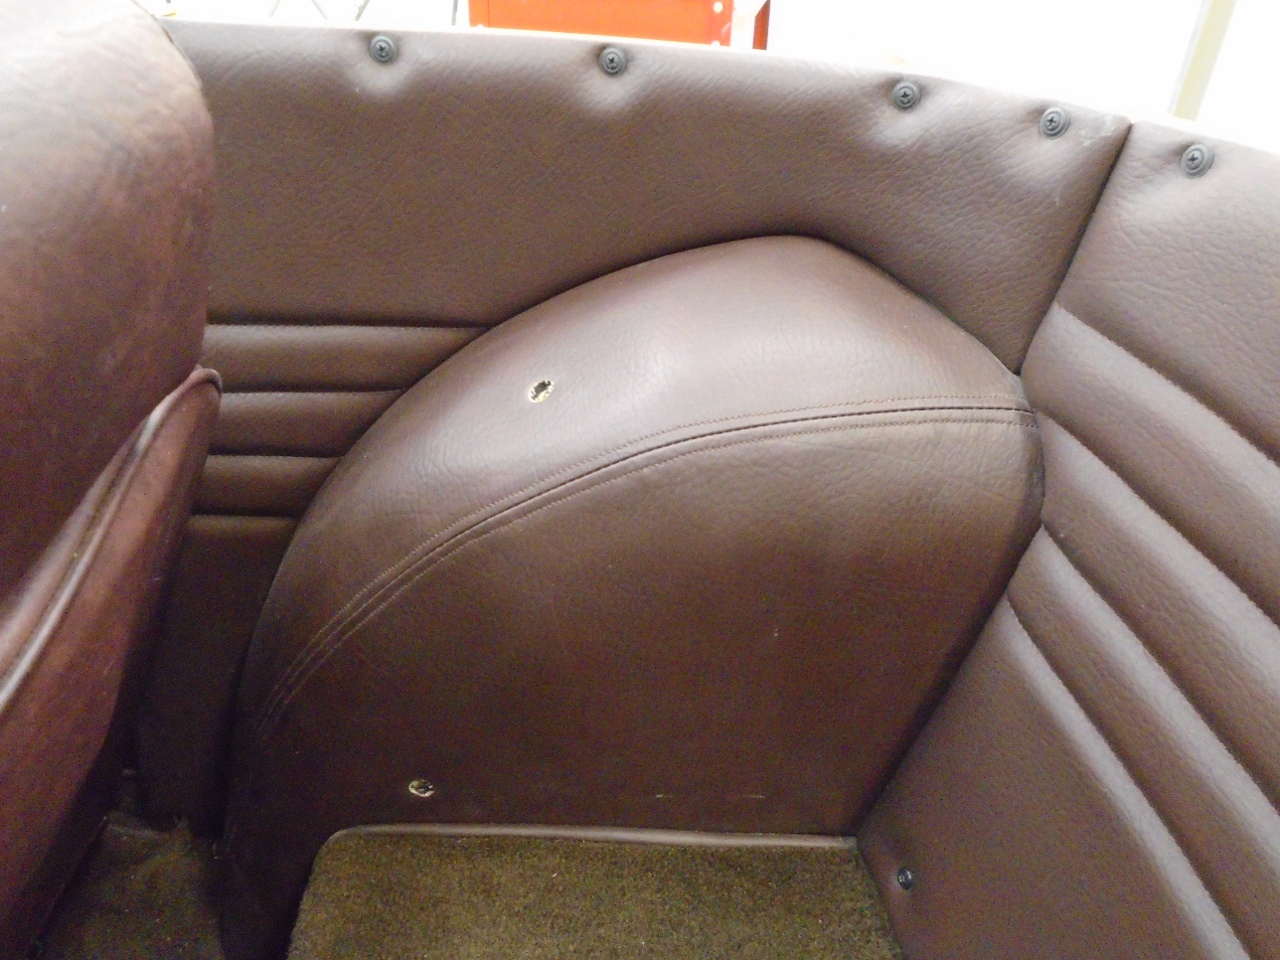
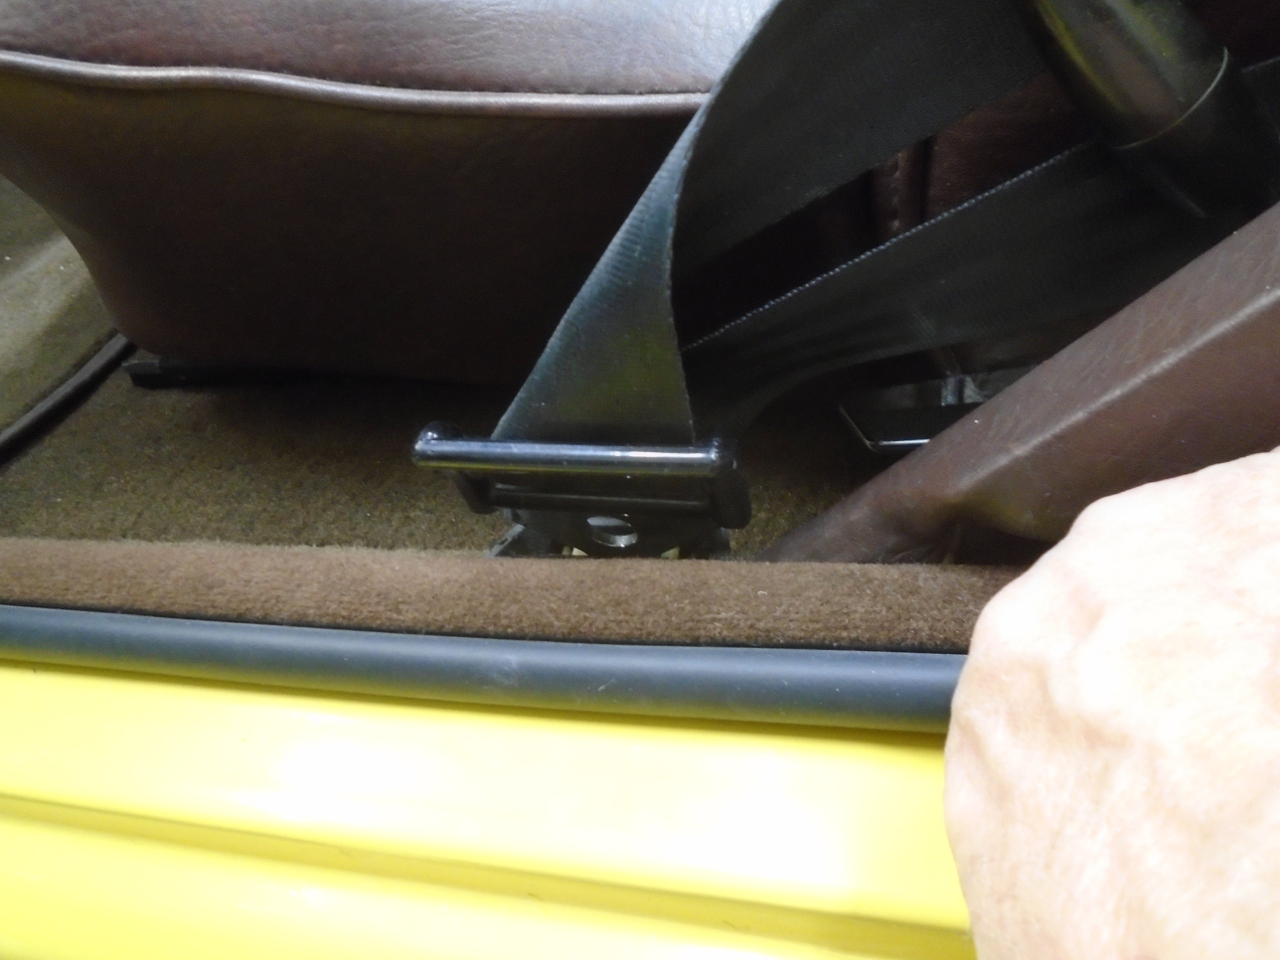
In
preparation for mounting the seatbelts, I located the mounting holes
under the wheel well vinyl, nervously cut relief holes, and tested the
hardware.
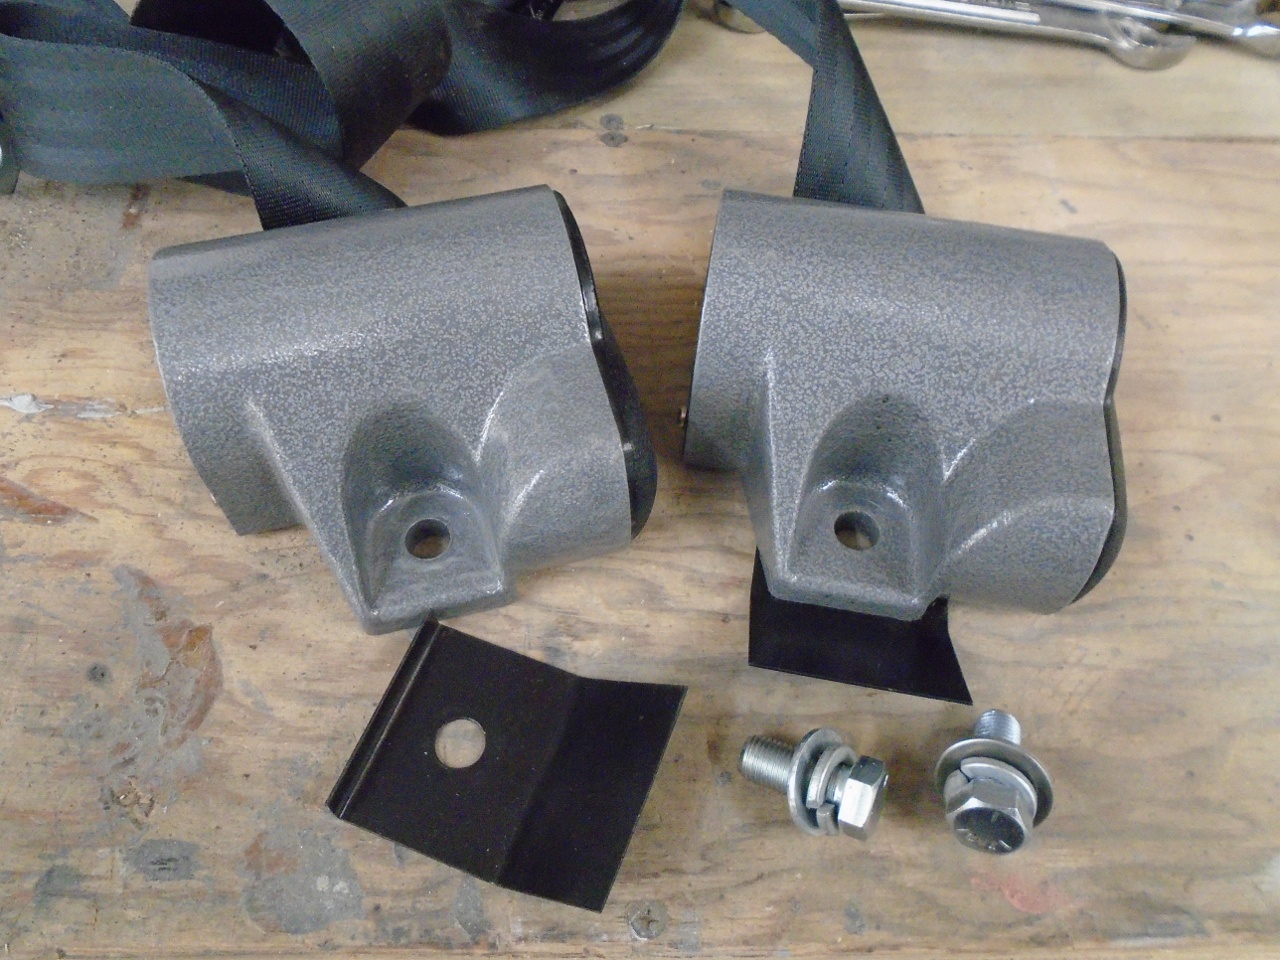
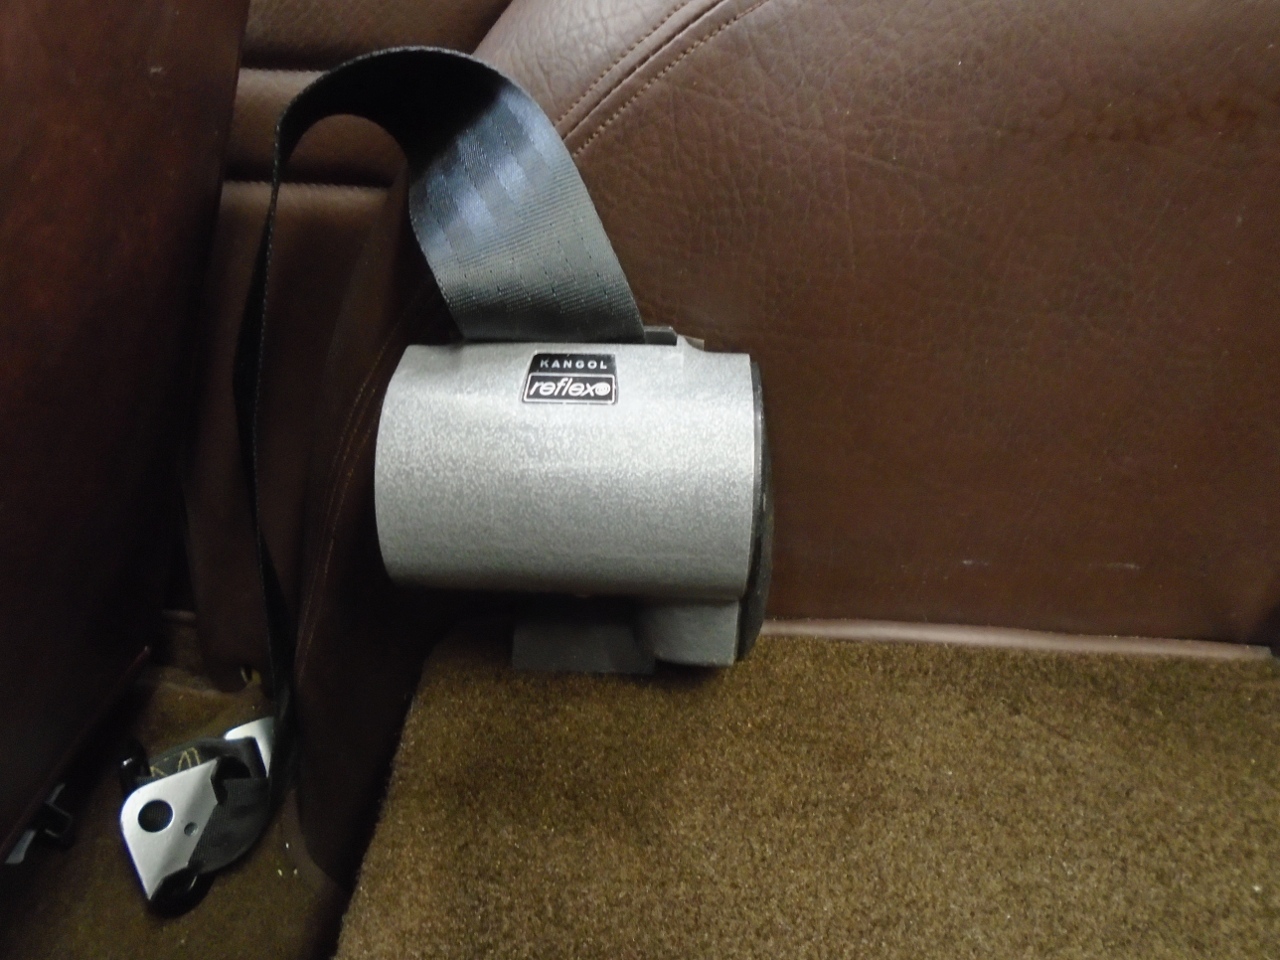
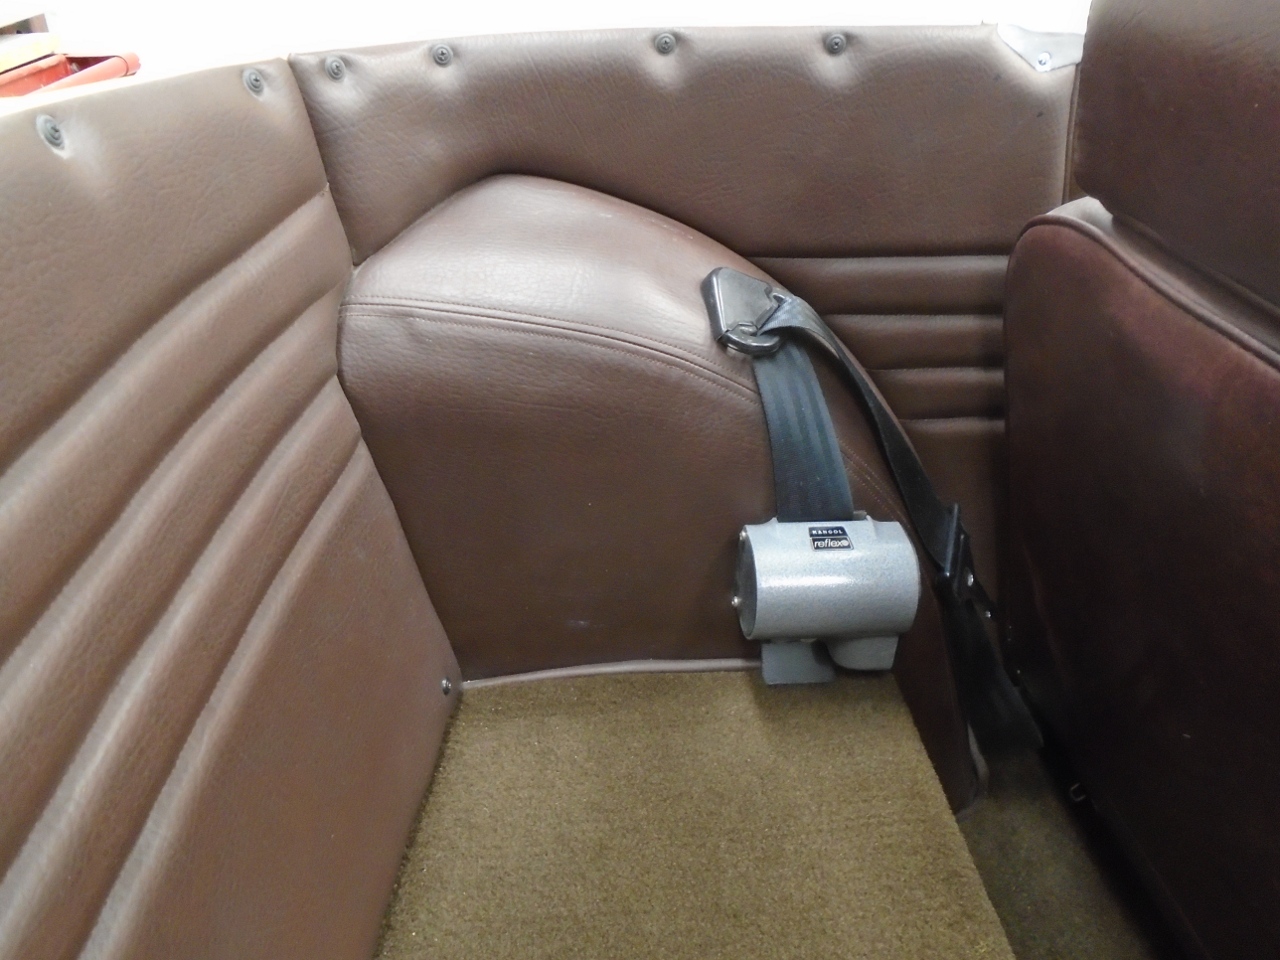
I dug out the rebuilt original Kangol
Reflex seatbelt assemblies from the store room. There were some
little bent metal tabs with them. I included them with the
restoration, but didn't really know what they were for. Well
after installing the seatbelt reels, I now believe that those plates
serve to hold the reels parallel to the floor. Since the reels
are based on a internal hanging weight, they must be installed level.
Otherwise, since there is just one mounting bolt, the reel might
become cocked, and would not work properly.
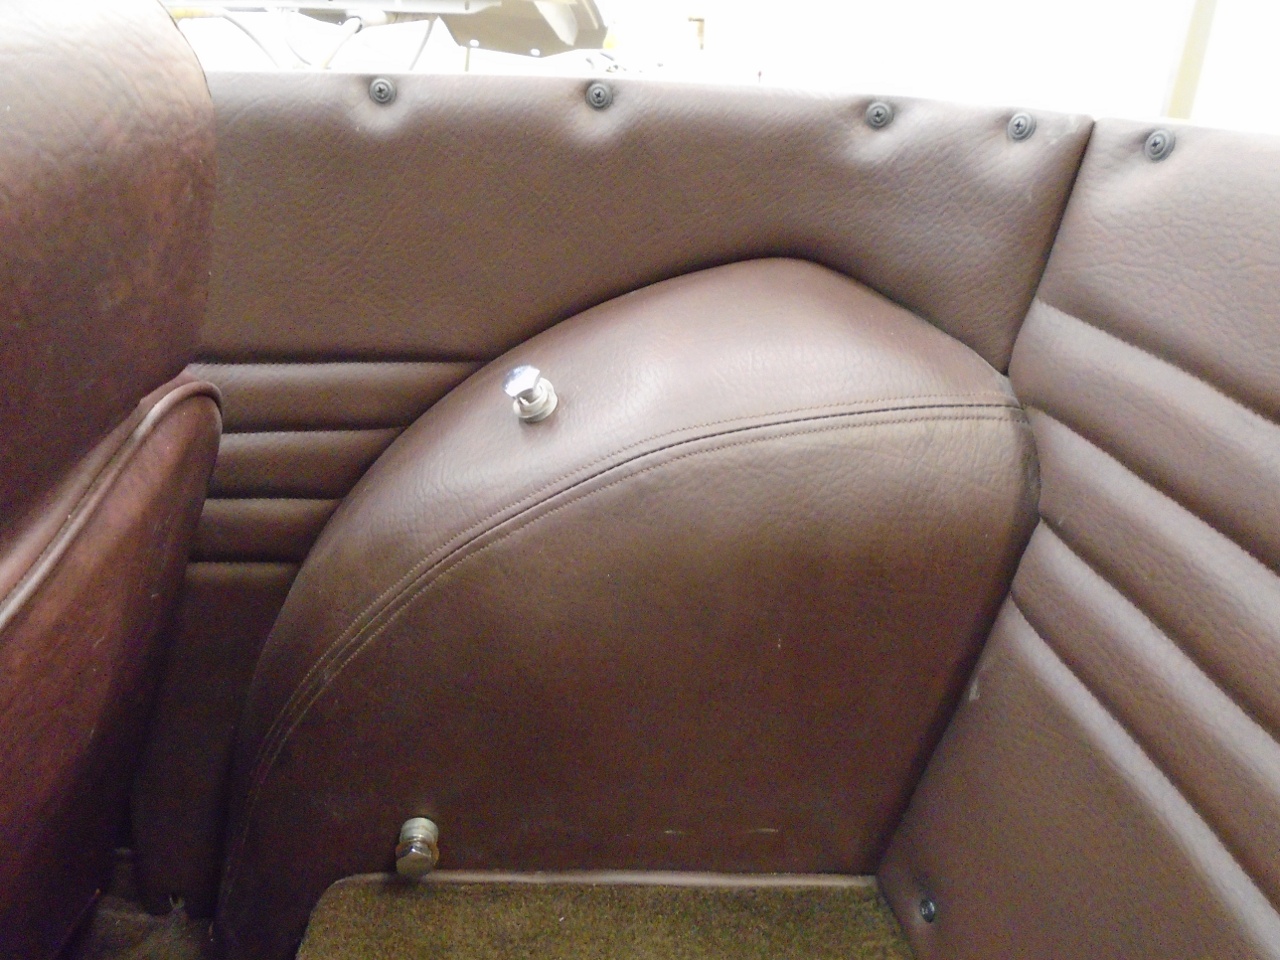
To round out the seat belts, I gathered up the new "parkers". I think the entire time I drove this car, I either never noticed these little things, or never knew what they were for.
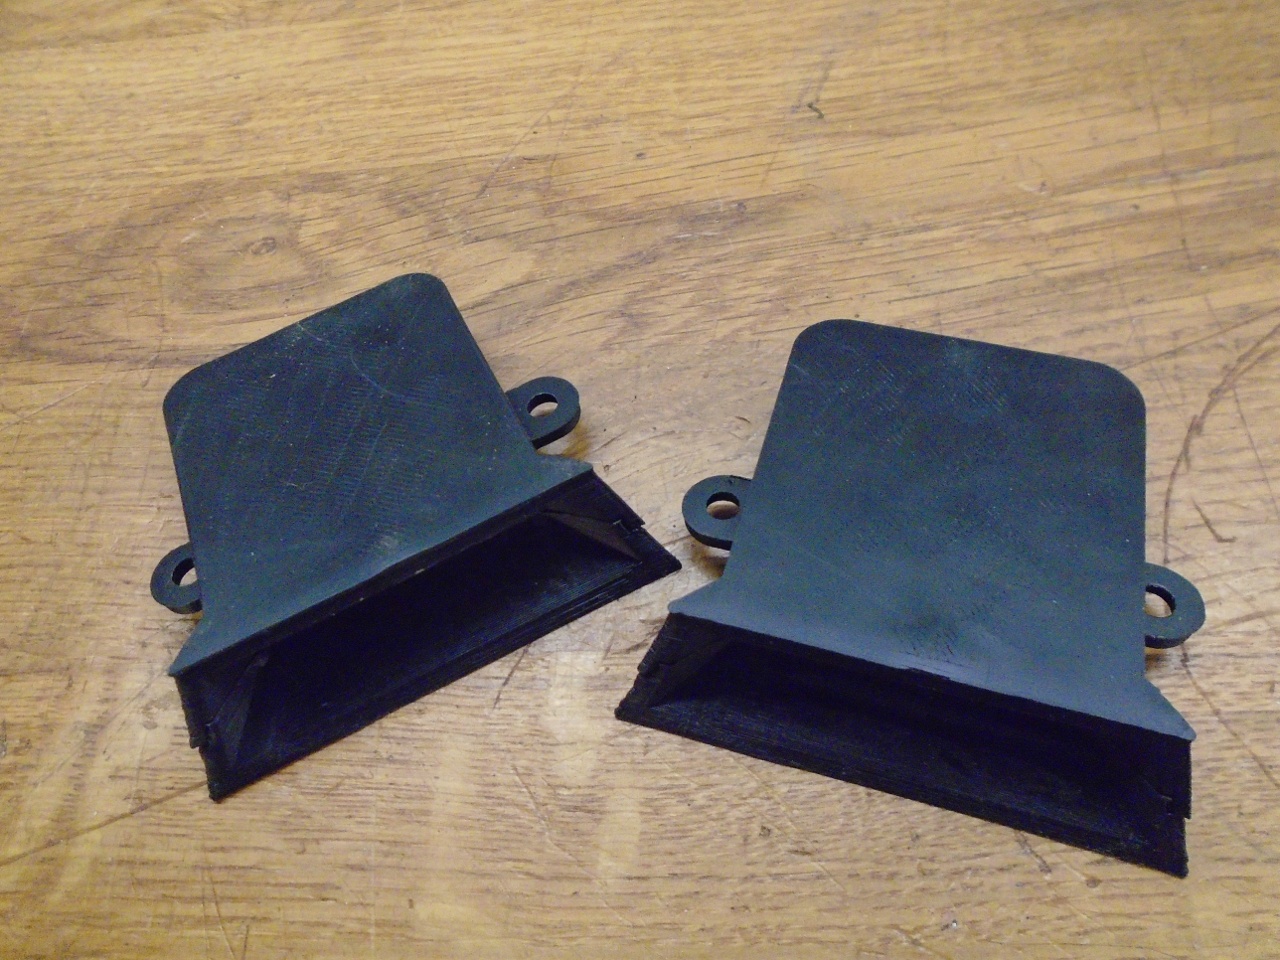
I'm not sure exactly where these were placed originally, but back near the door opening buttress seemed a logical place.
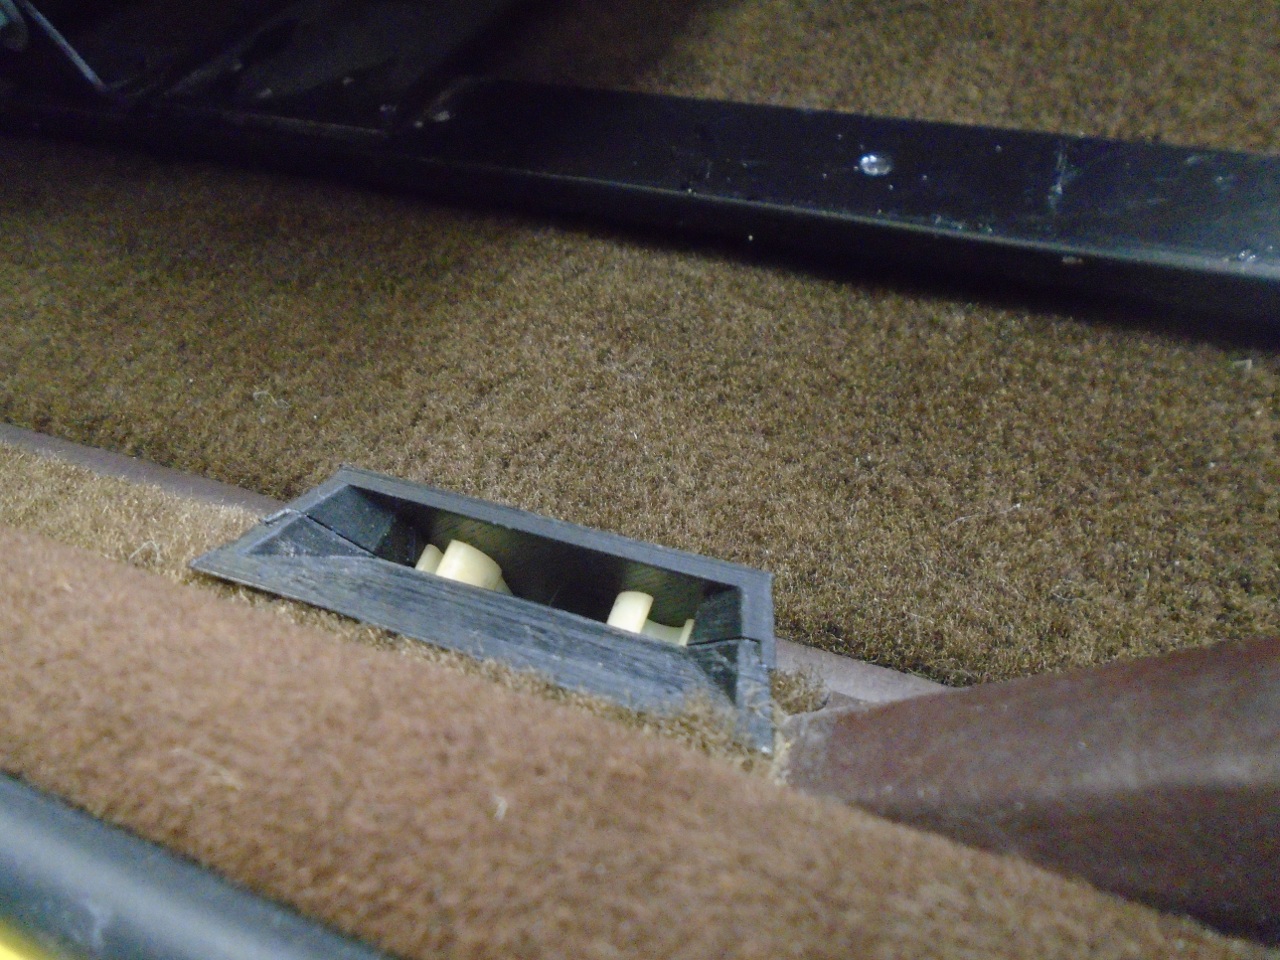
Should have made them brown.
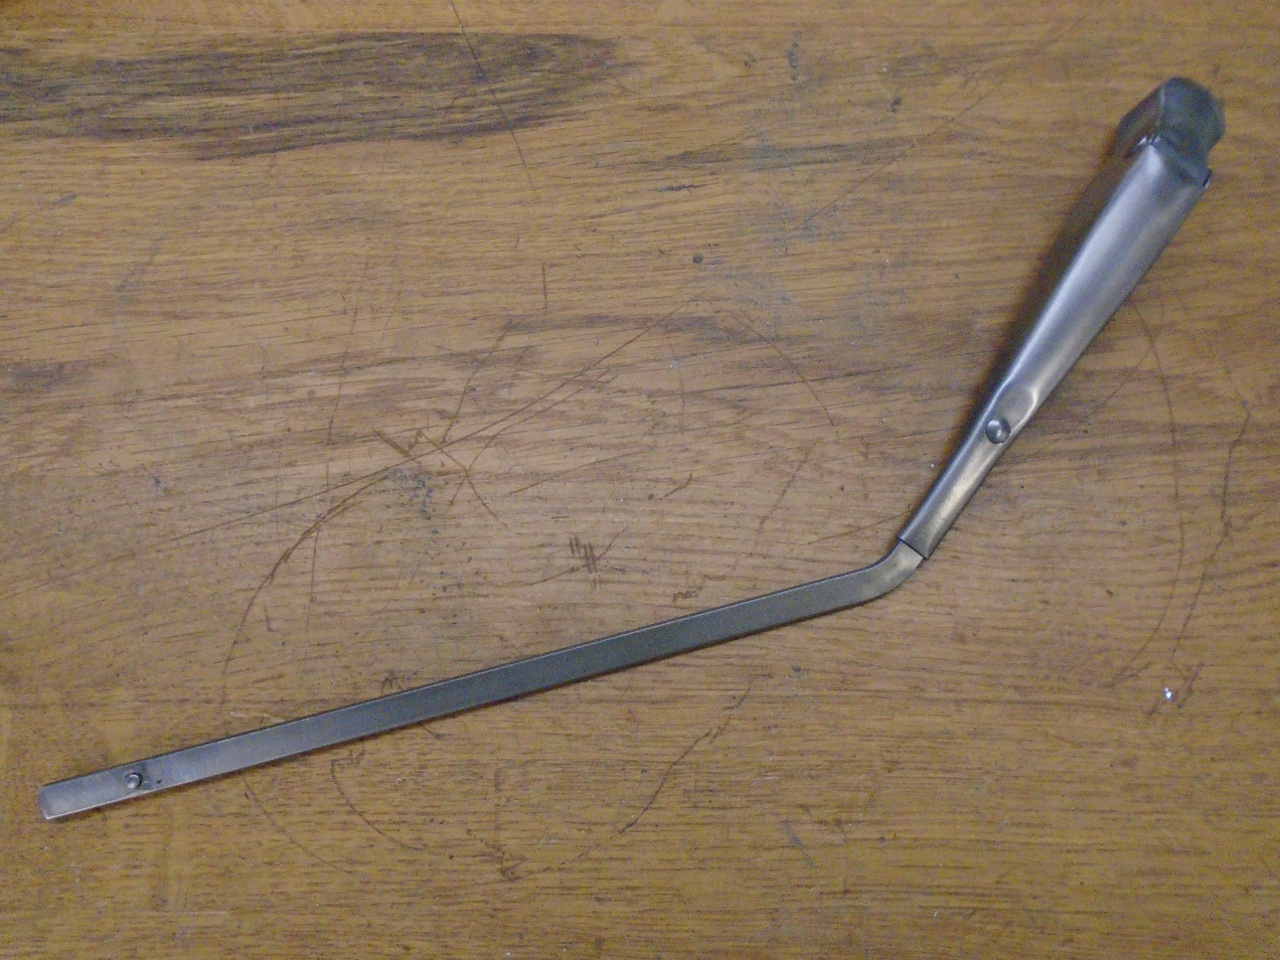
Wiper Arms
I
of course assumed that the wiper blades would be shot, but I wasn't
sure about the wiper arms. They were certainly dirty and beat up.
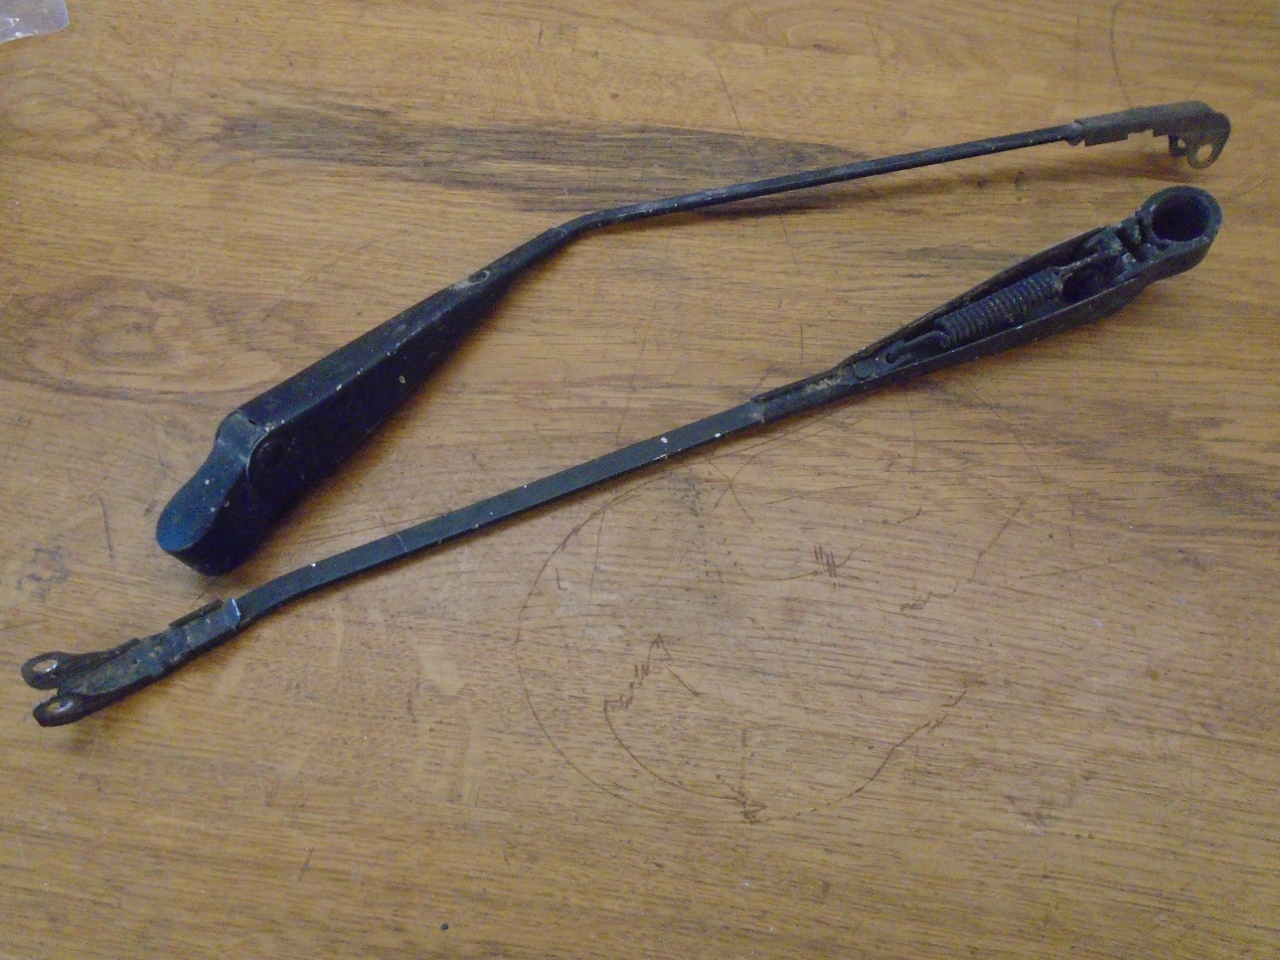
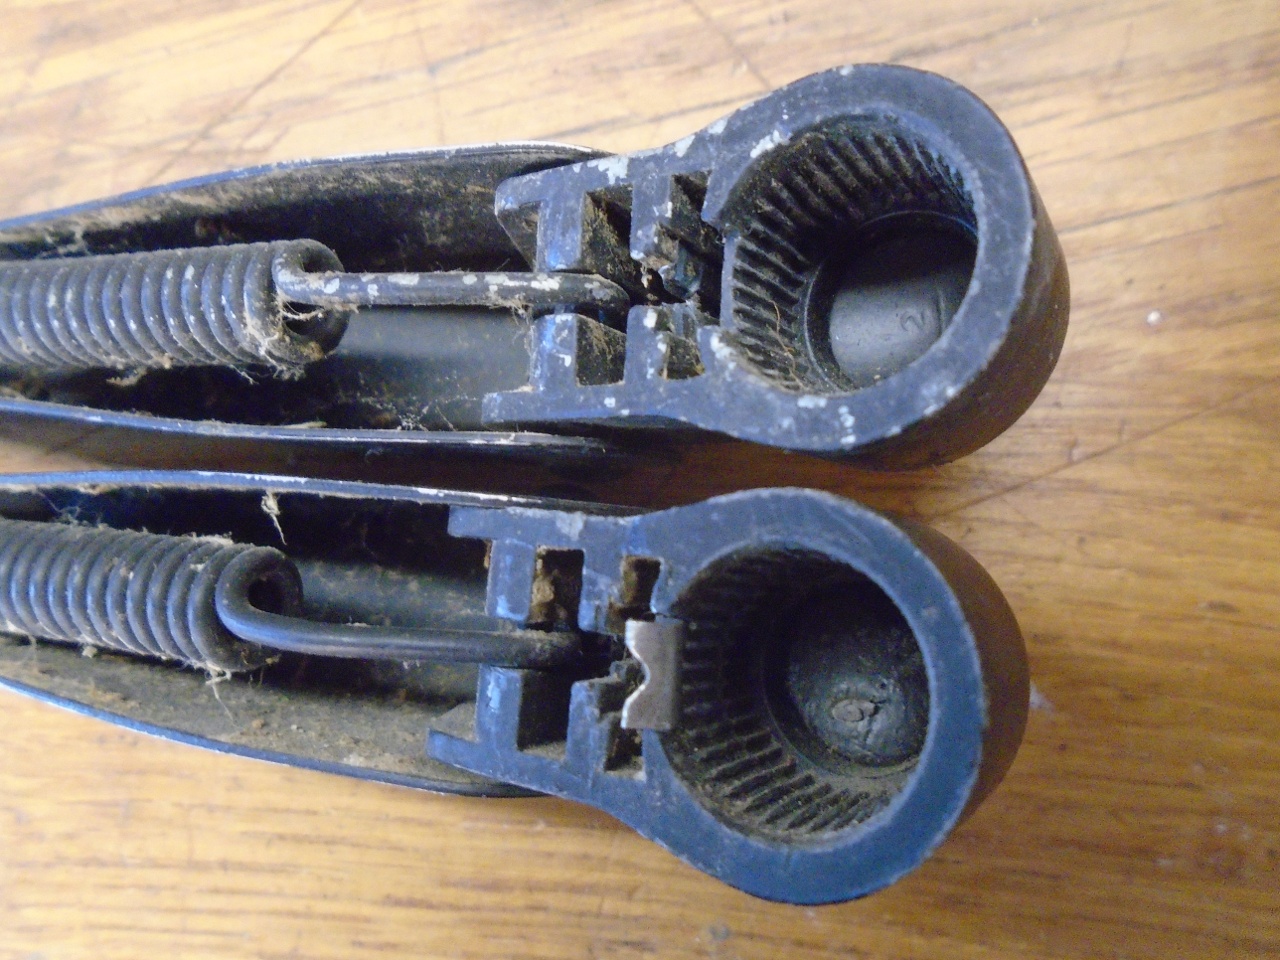
After
some cleanup and inspection, they seemed to be working OK. The
only issue was that the right side arm was missing a little clip in the
hub that attaches to the wheel box spindle. I guessed this was
some sort of retainer, and I didn't see a good way to make one, so I
ordered a new right side arm. The new one varied slightly from
the original.
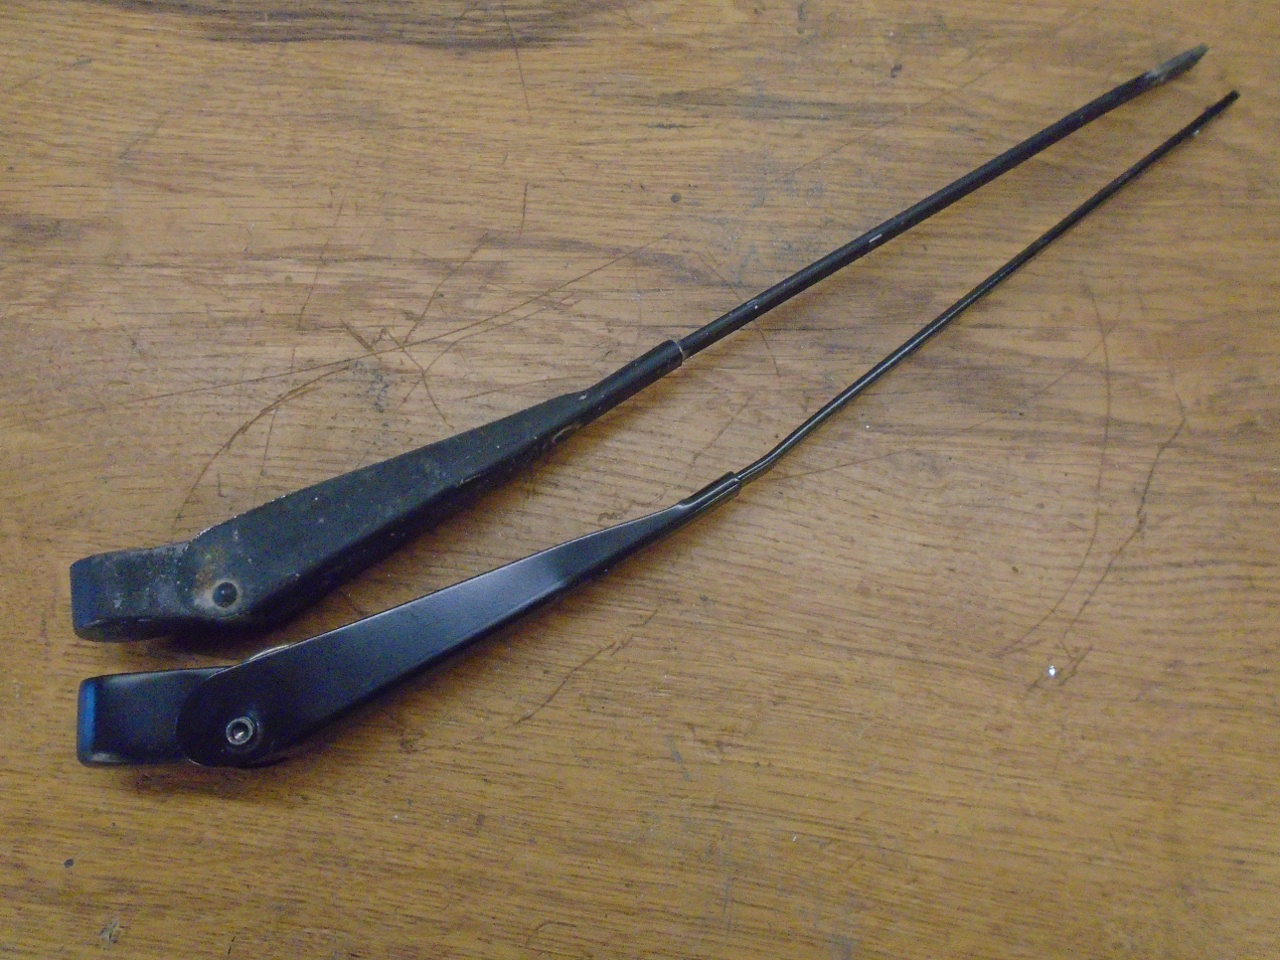
Now,
to make the left arm look as good as the new right one, I stripped it,
epoxy primed it, and then shot both arms with paint to match all the
orther black trim on the car. Then added new blades.
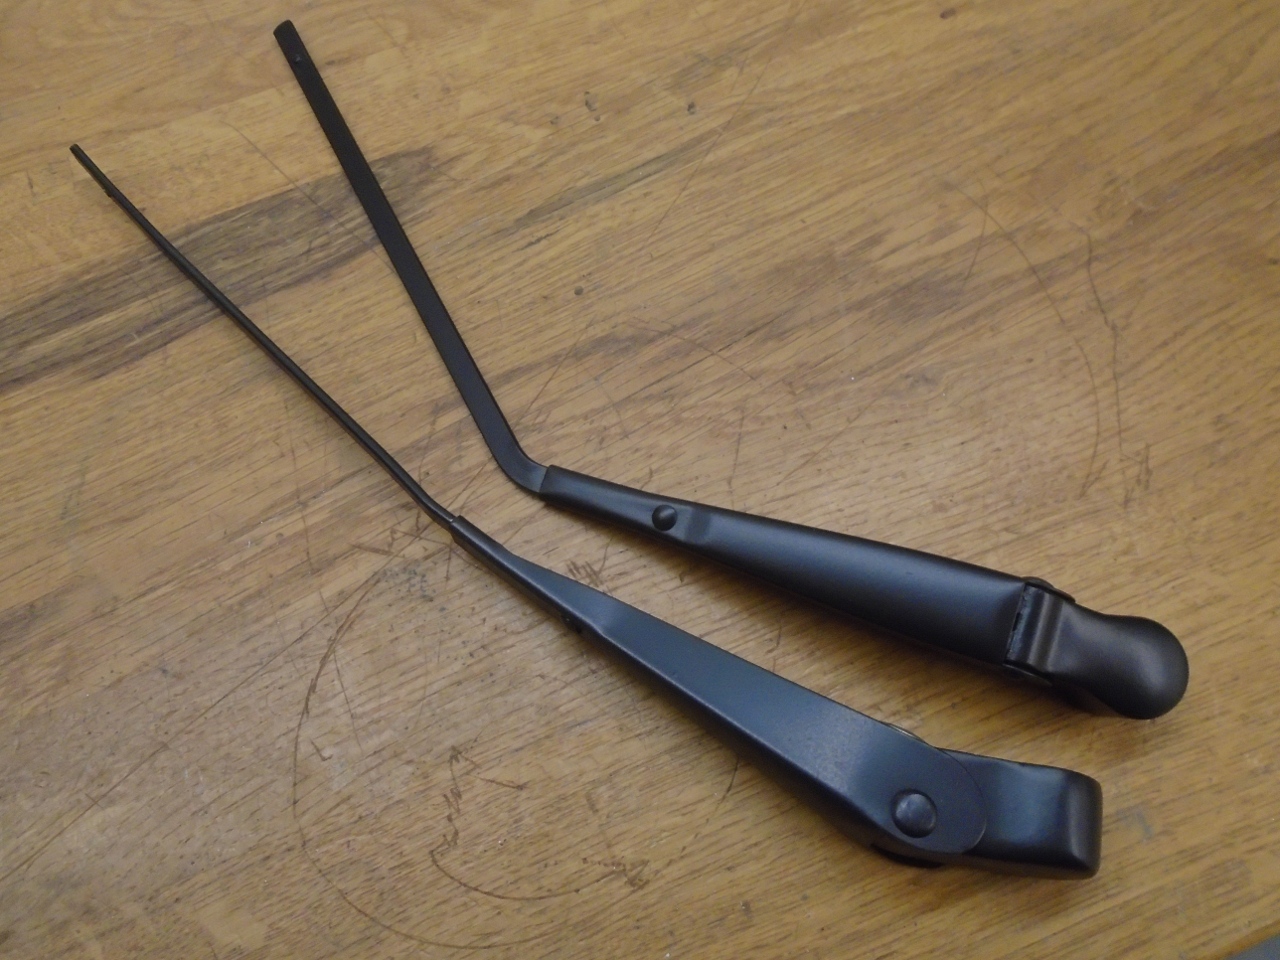

Not sure they are adjusted optimally, but they work.
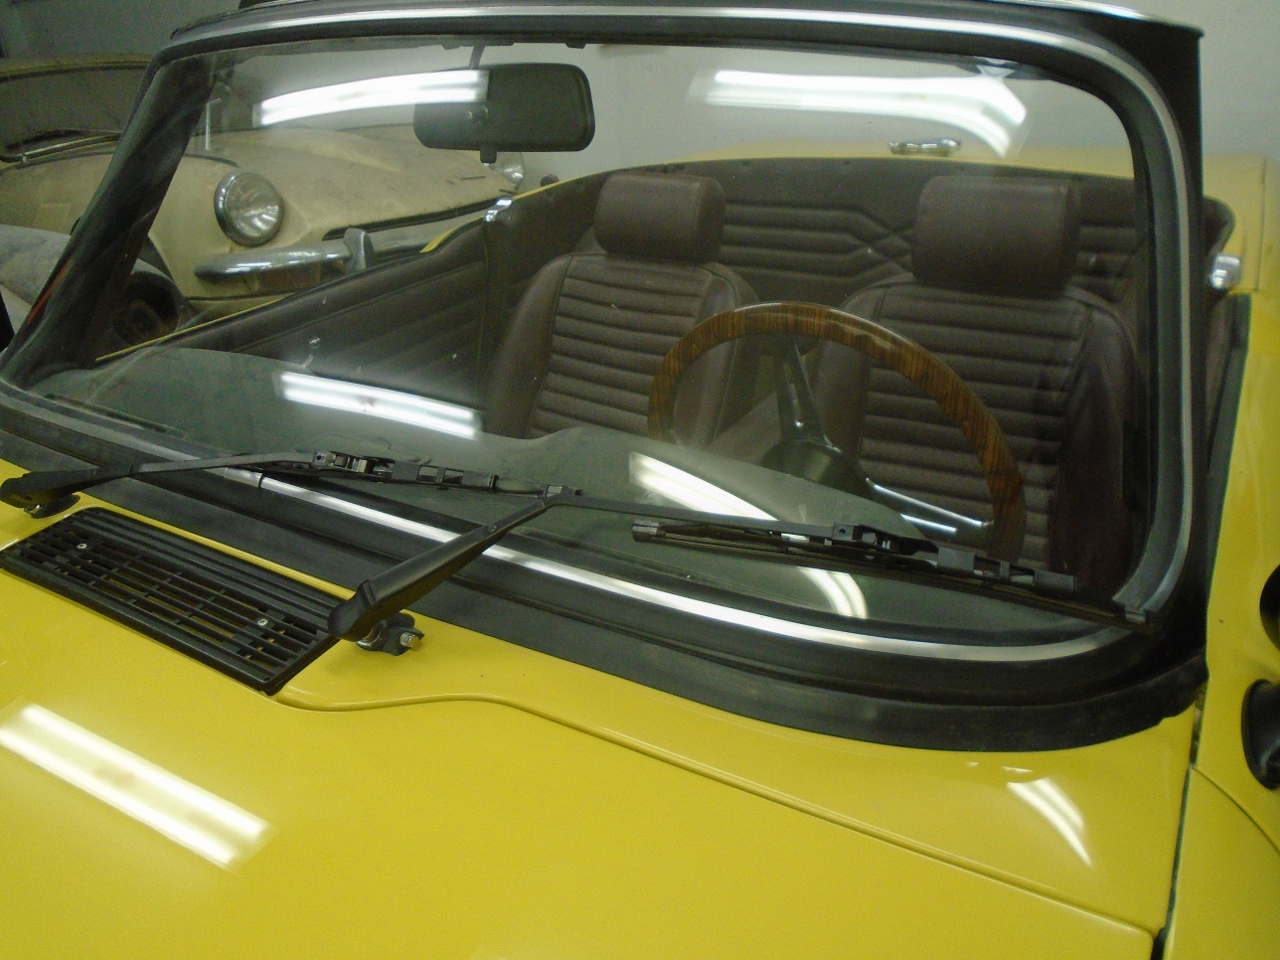
Update:
It was gently suggested to me by a kind member of one of the TR6
forums that I might have in my enthusiasm inadvertently swapped the
wiper arms. He was right, of course, and that is why the arms in
the picture above look ill-fitting.
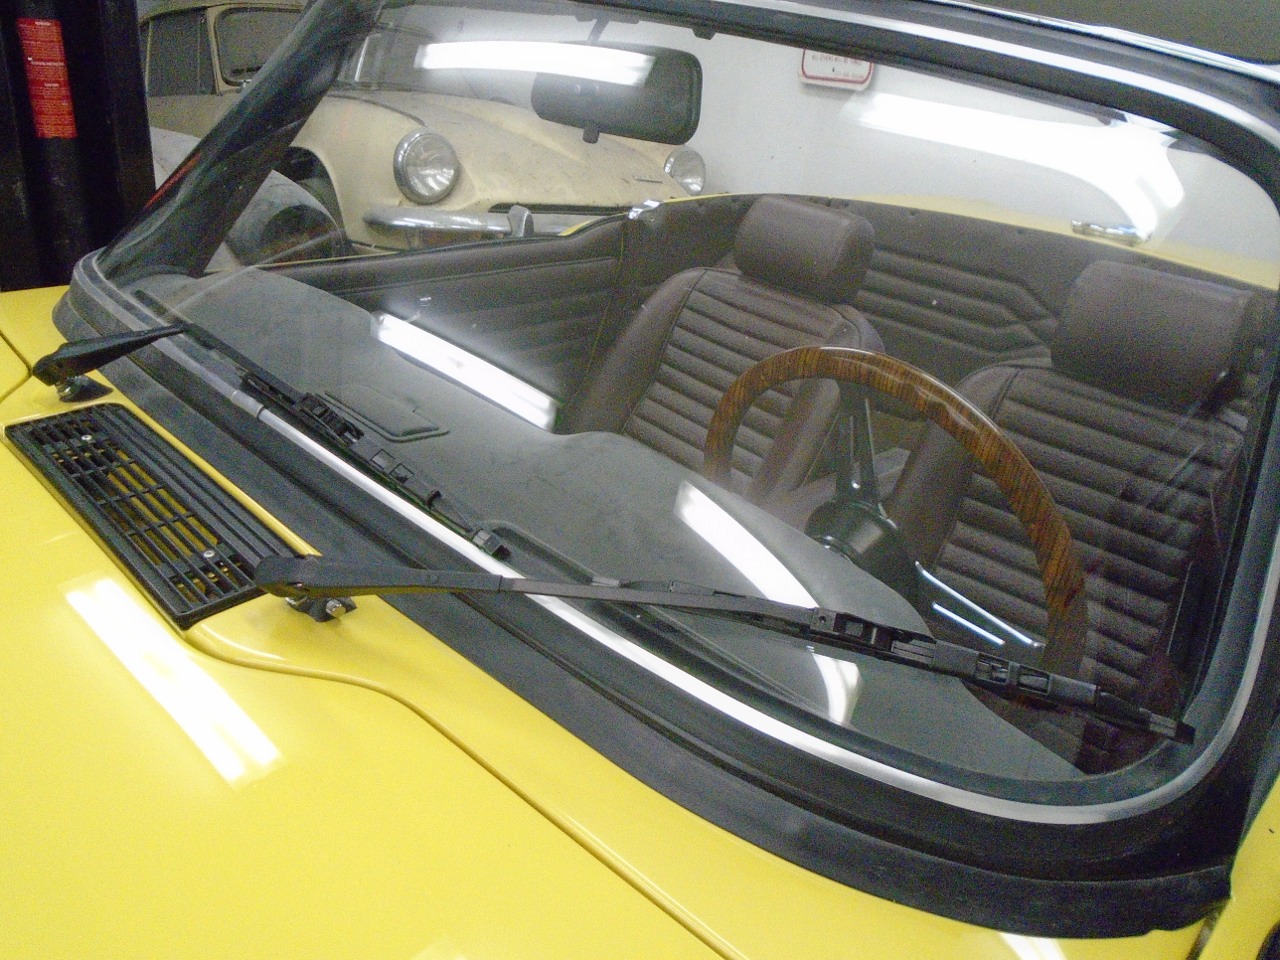
Luckily, fixing it was trivial:
None
of the tasks here cost very much, but they seem to take a lot
of time. I've got a long list of little things that need to
be done on this project in order to truly call it done. I expect
it will take the rest of the winter to get to them all.
Comments to Ed at elhollin1@yahoo.com
To my other TR6 pages.