To my other TR6 pages
July 4, 2018
Mounting the Rear Wings
Well,
it's getting to the point where there isn't much left to bolt onto this
car except for the exterior panels. There are eight of them--four
wings, two doors, and the boot and bonnet lids. All of these
panels already had gross rust repair done, and all were under epoxy
primer, but I simply didn't have room to finish, prep, and paint them
all at once. It would have to be in three or four batches.
I decided to start at the rear.
I realized that it's been a shade over two years since I did all the major rust repair on the rear wings. They have been hanging on the wall of the garage, or loosely on the car since then.
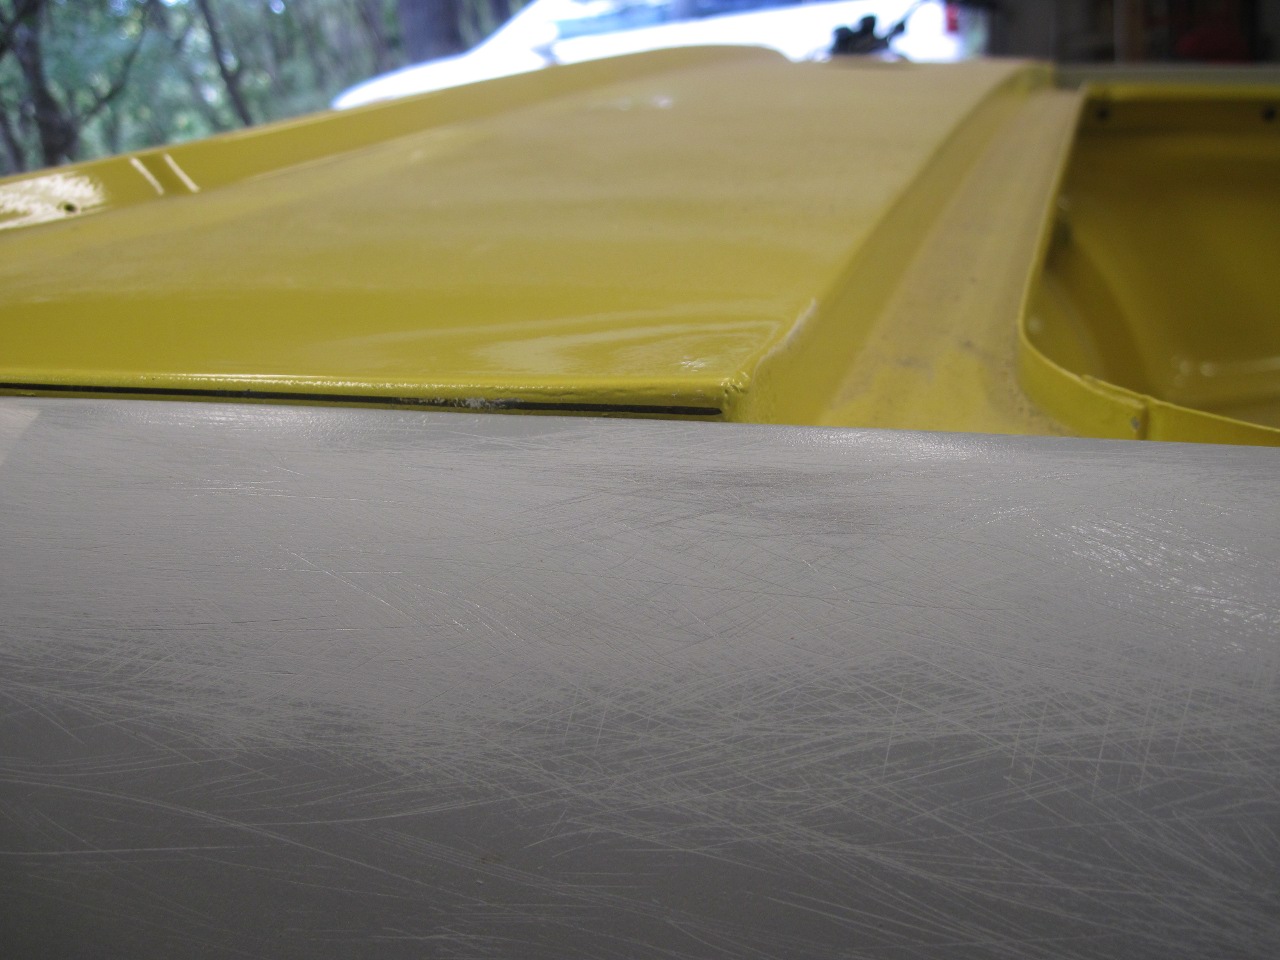
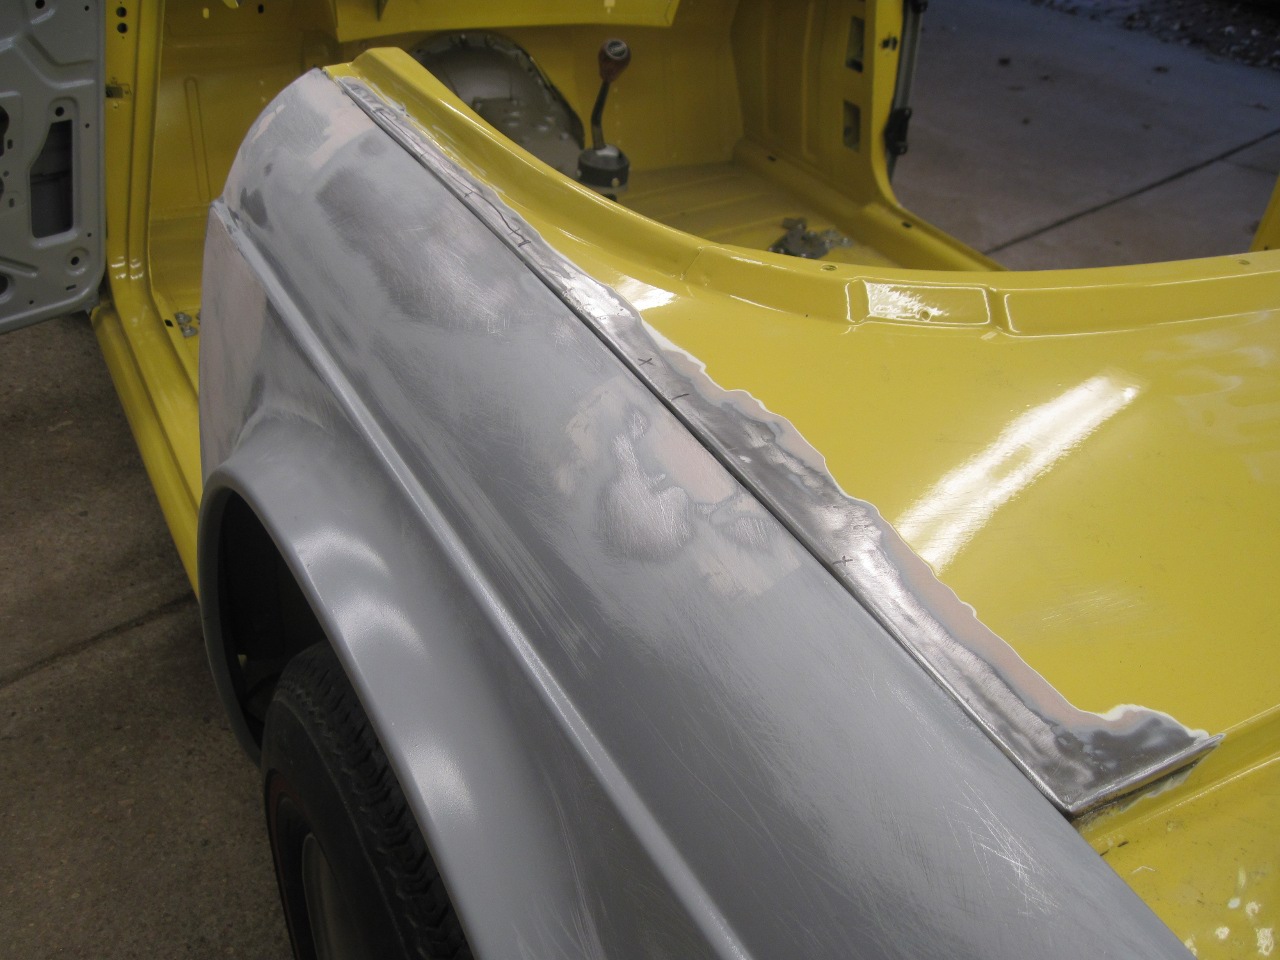
When
I did the first serious test fit, I realized to my horror that there
was a problem. The contour of the rear deck didn't match that of
the fender where the two have to mate. It was that way on both
sides. When I replaced the rusted out edges of the rear deck, I thought
I was reproducing the original shape, but apparently not.
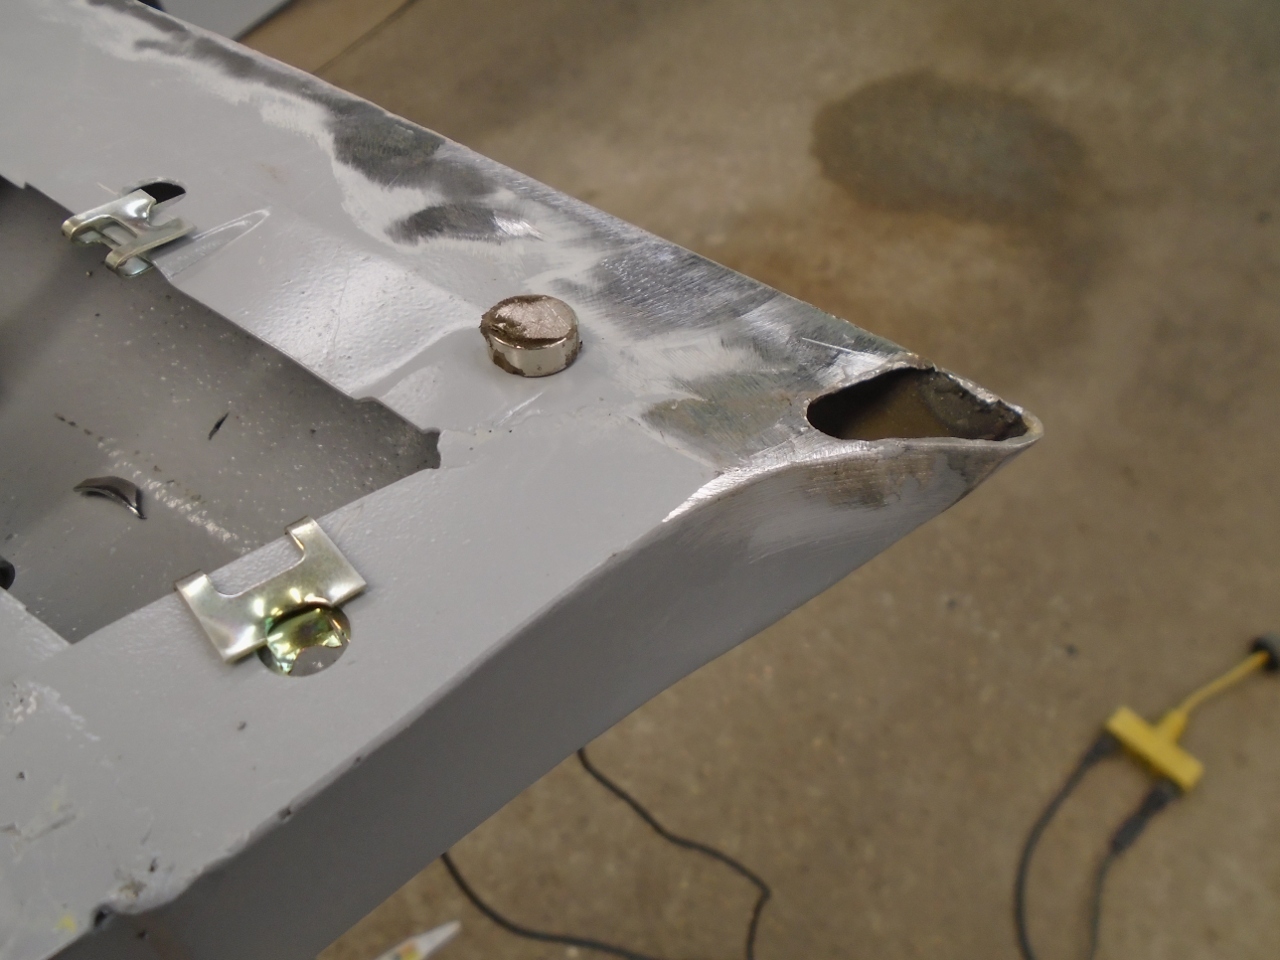
So
off came some of the nice Mimosa paint. I cut a widish kerf along
the wing mounting flange, closed it up, and tacked it. When
the contour matched that of the wing, I welded it up.
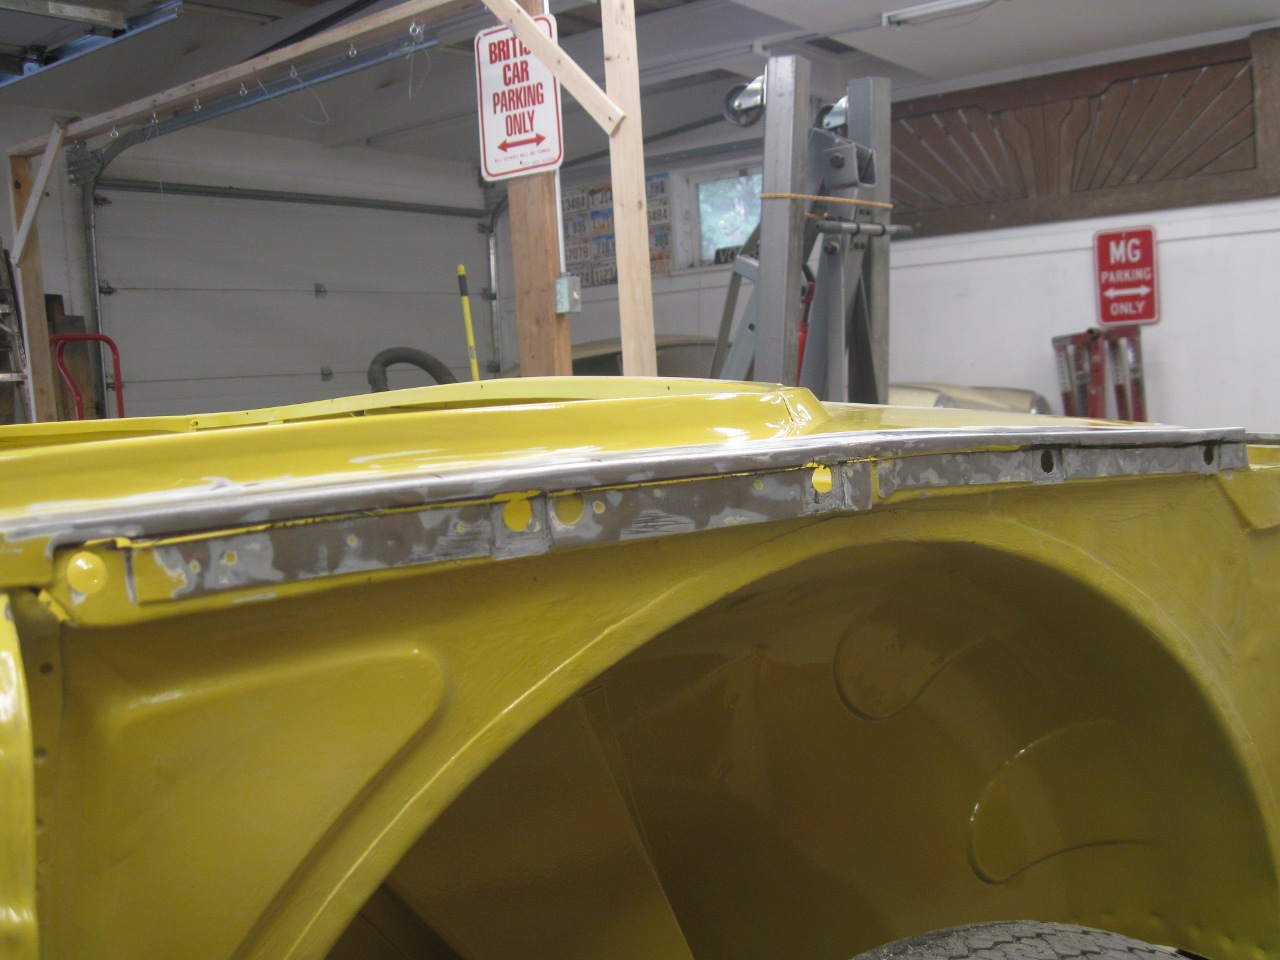
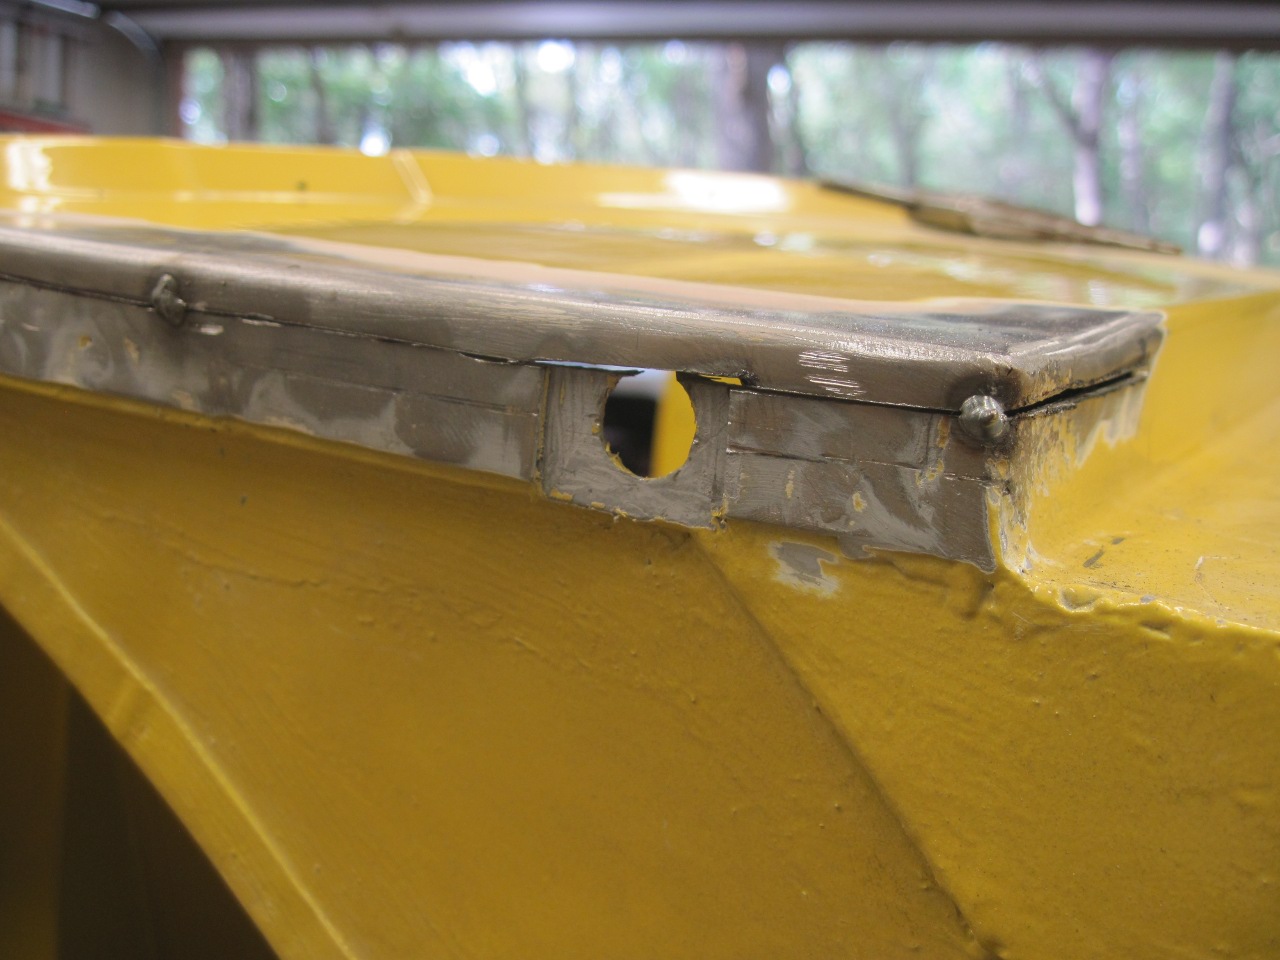
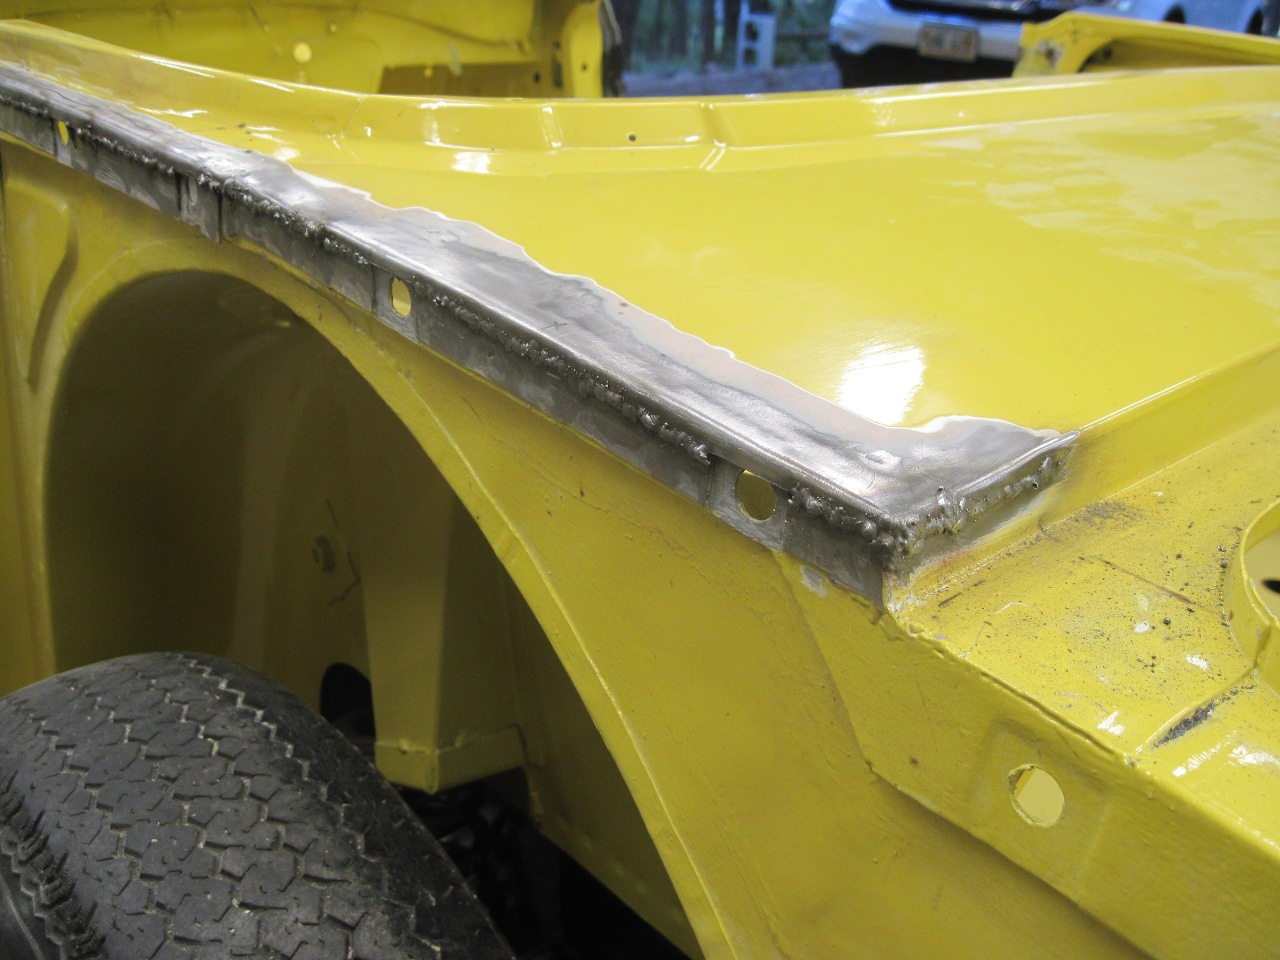
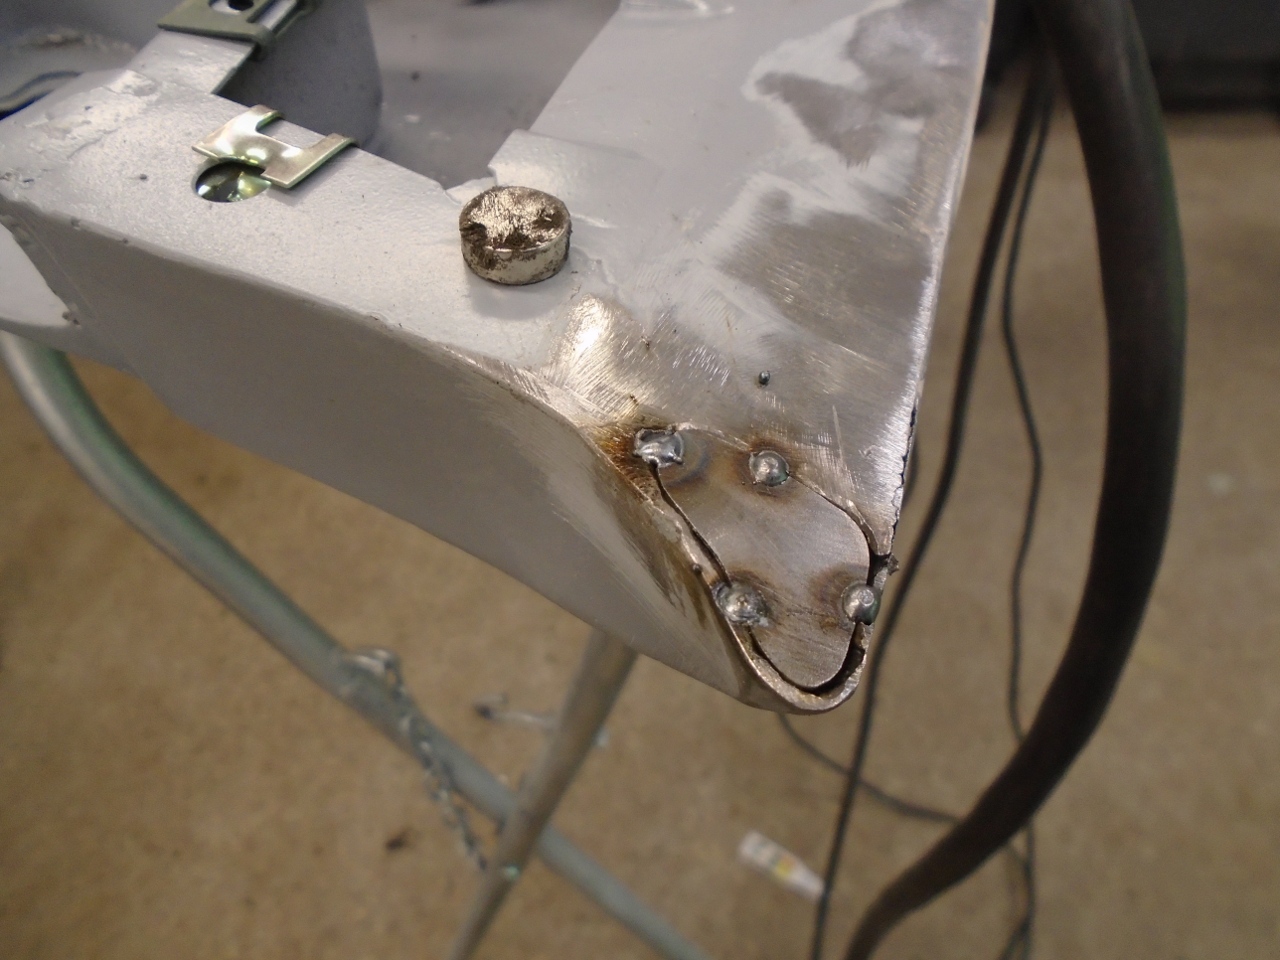
Much mo' betta. Other side was similar.
There was one more little repair that I missed the first time.
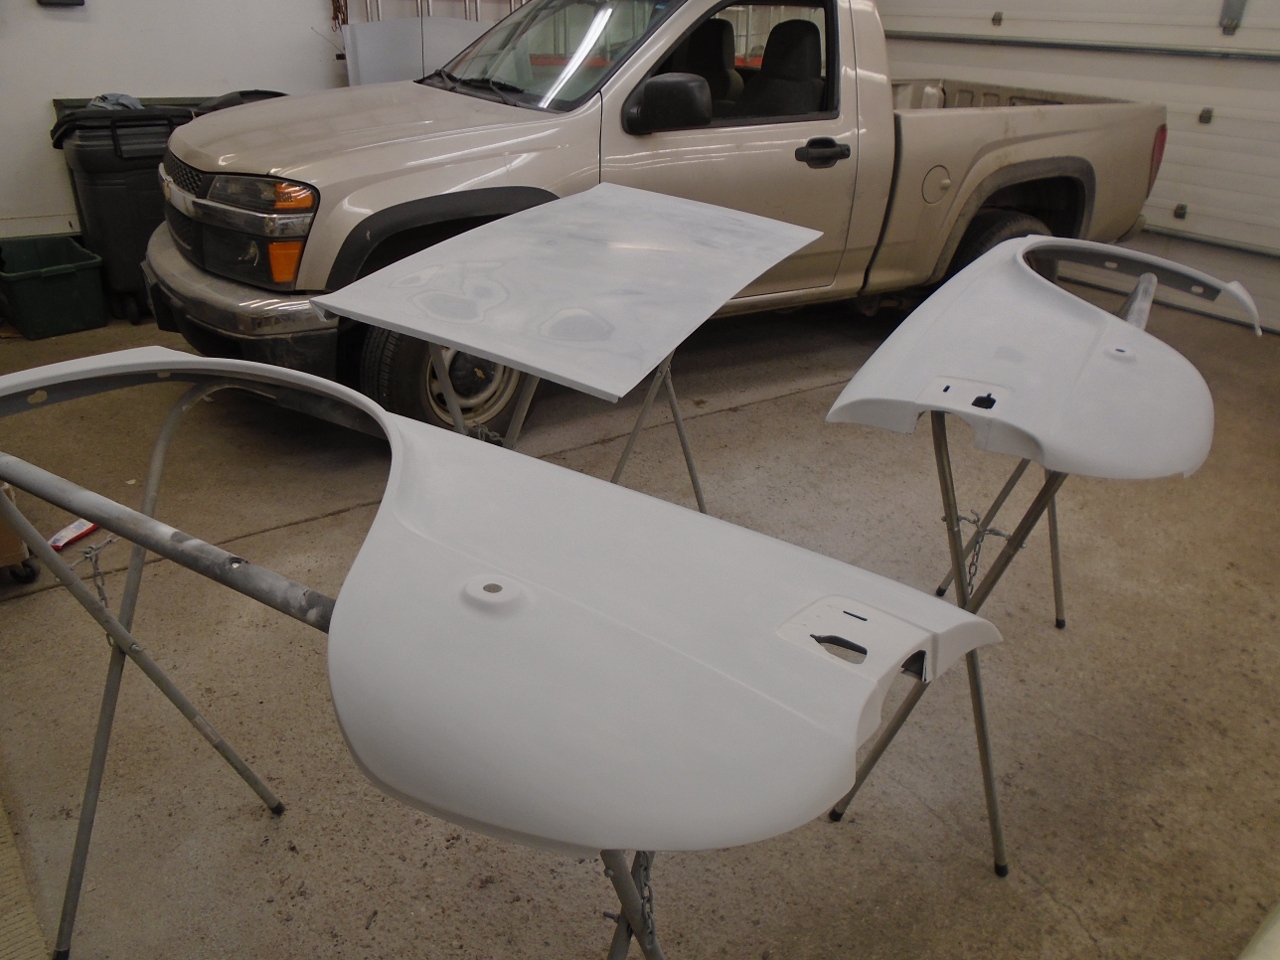
Then
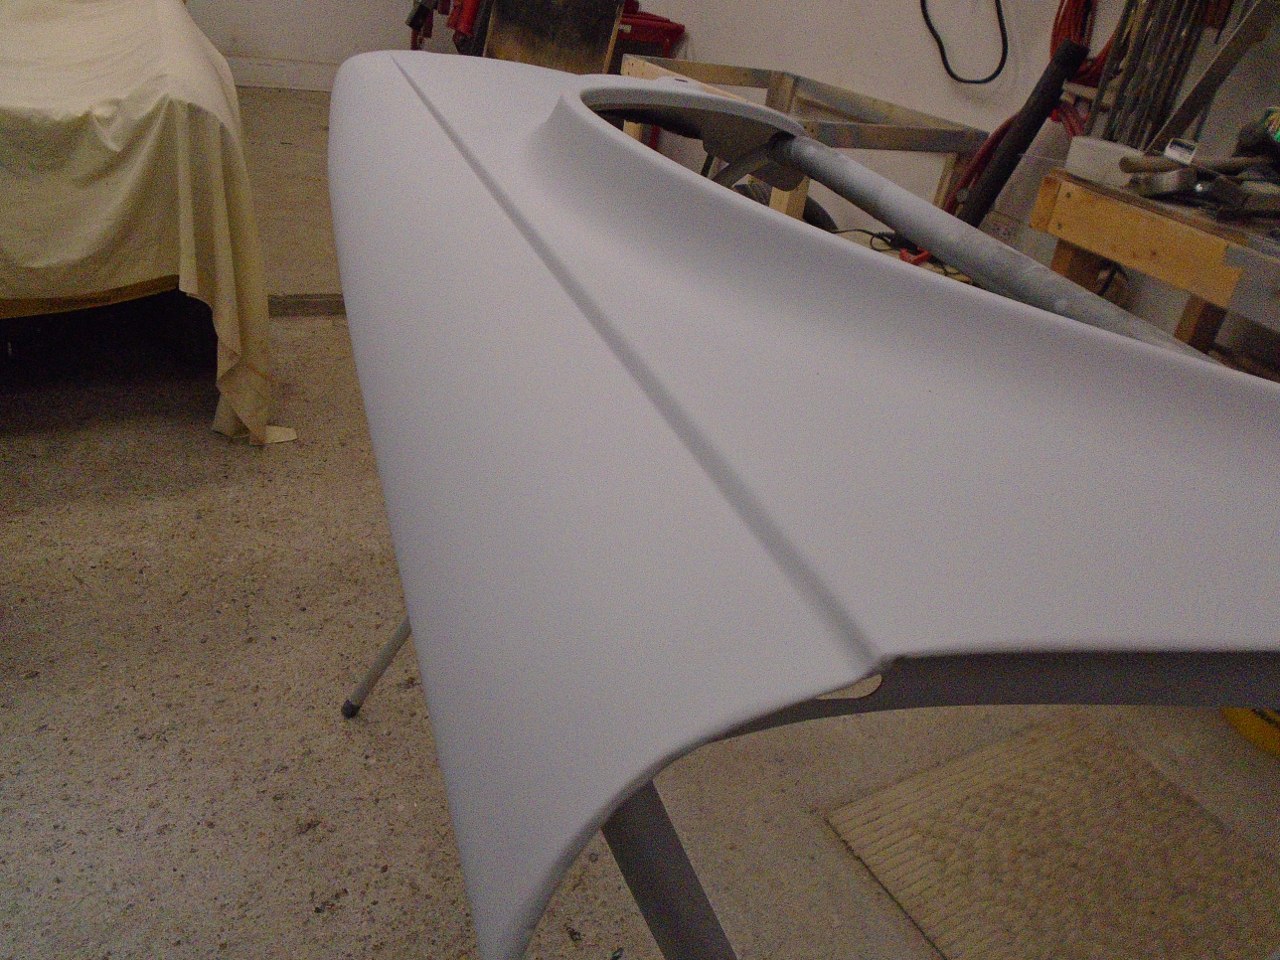
it was paint prep. I put one more coat of epoxy primer to cover
the bare metal, then several rounds of shooting a polyester
primer/surfacer and block sanding. When I could block sand the
entire wing with no low spots and without breaking through the primer,
I figured I was ready for paint.
I
spray primers outdoors all the time, but for color coats, we have too
much tree detritus and too many airborne insects. Naked painting
in the garage is out, too due to all of the overspray. The only
solution I could see is to build another temporary knock-down spray booth.
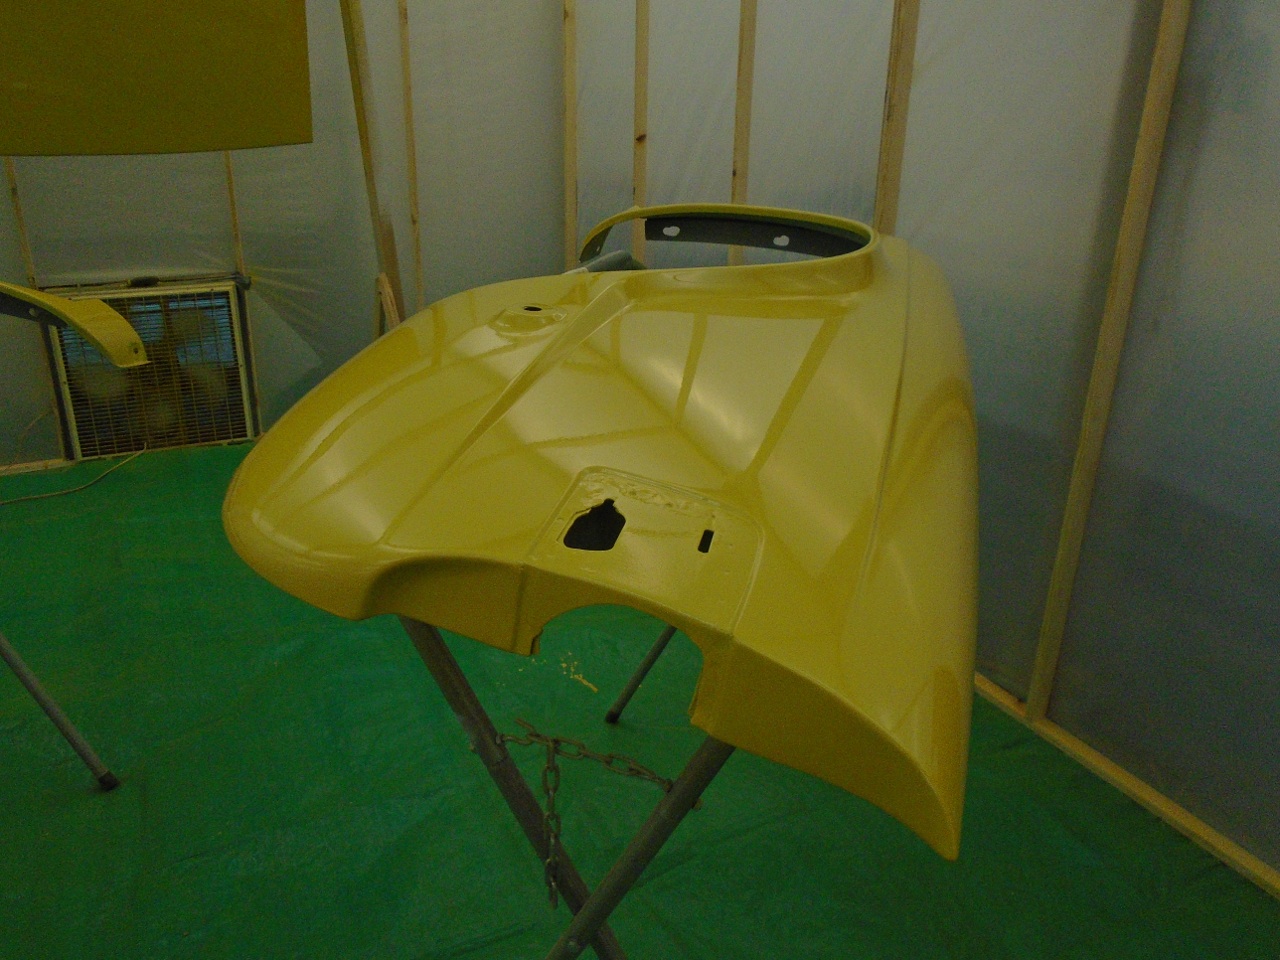
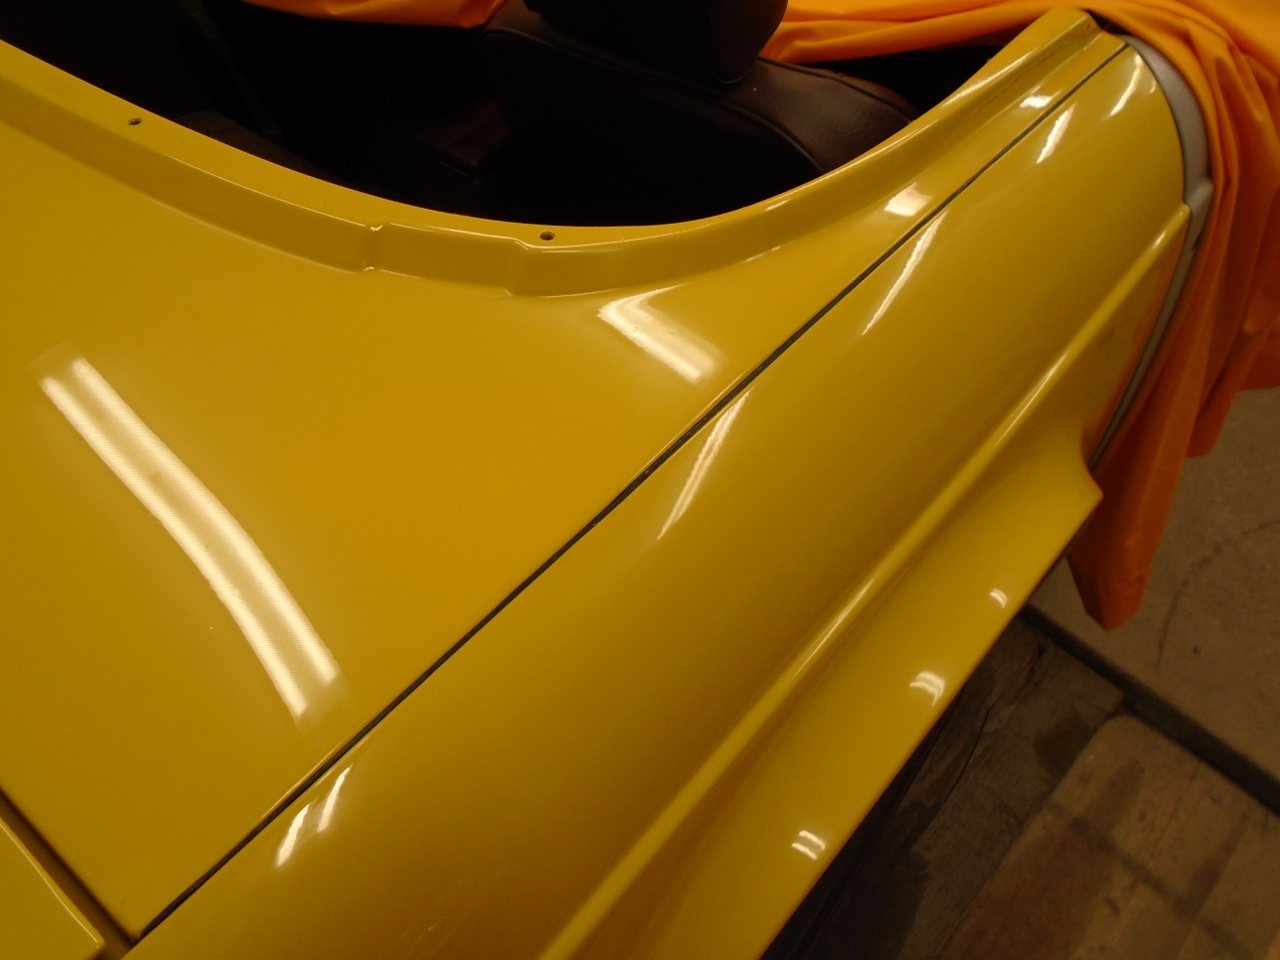
I'm pretty much a rank amateur at painting, so the results are not perfect, but not too bad.
After a couple of days of curing, I wet sanded and buffed.
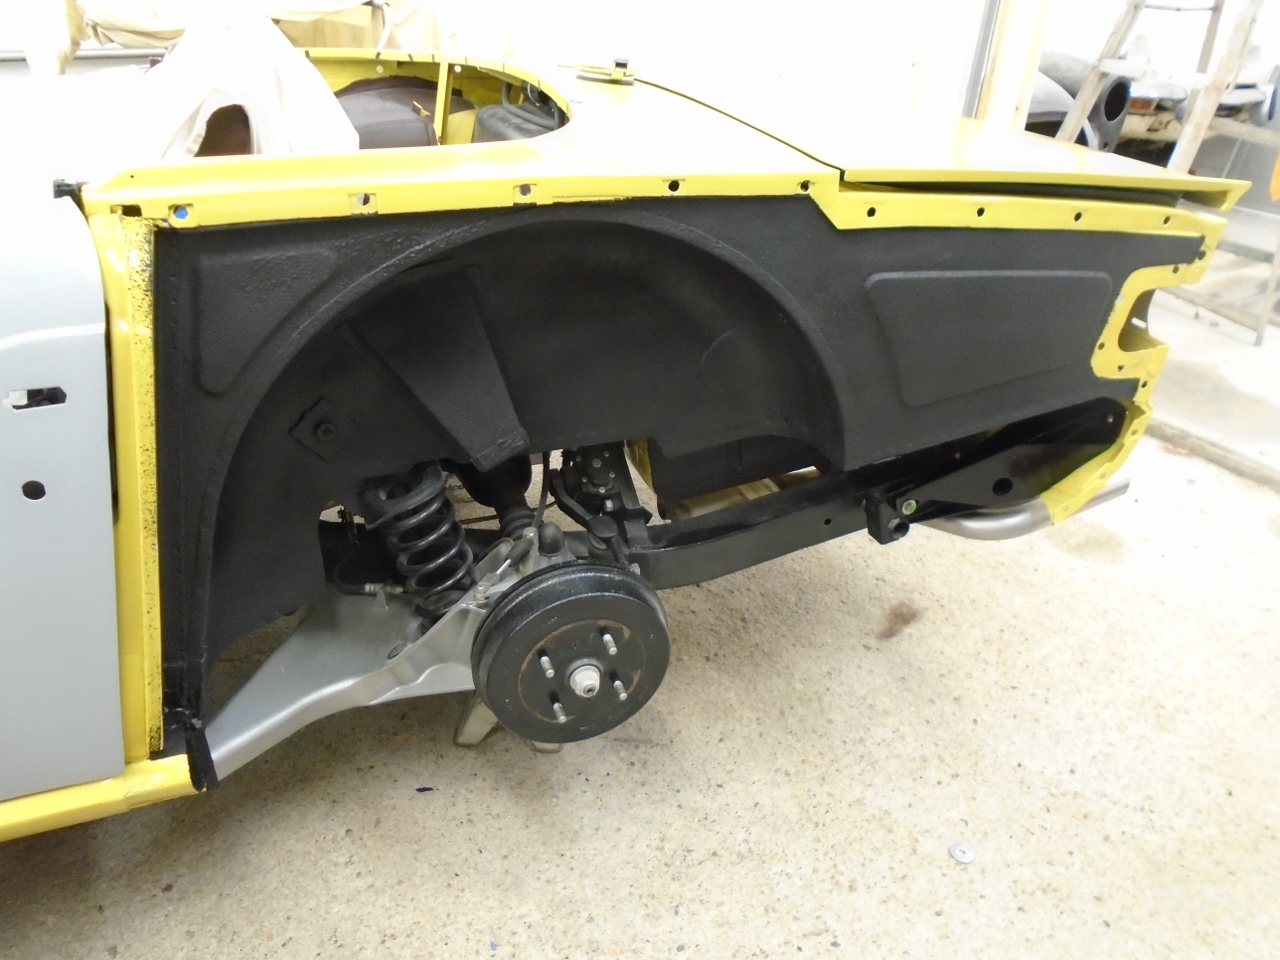
I
had planned all along to apply a good resilient undercoating to the
wheel wells. This appears to be something of a controversial
topic, but first, I really prefer the blacked-out look of a wheel well,
and second, I really believe the surfaces in the wheel well need the
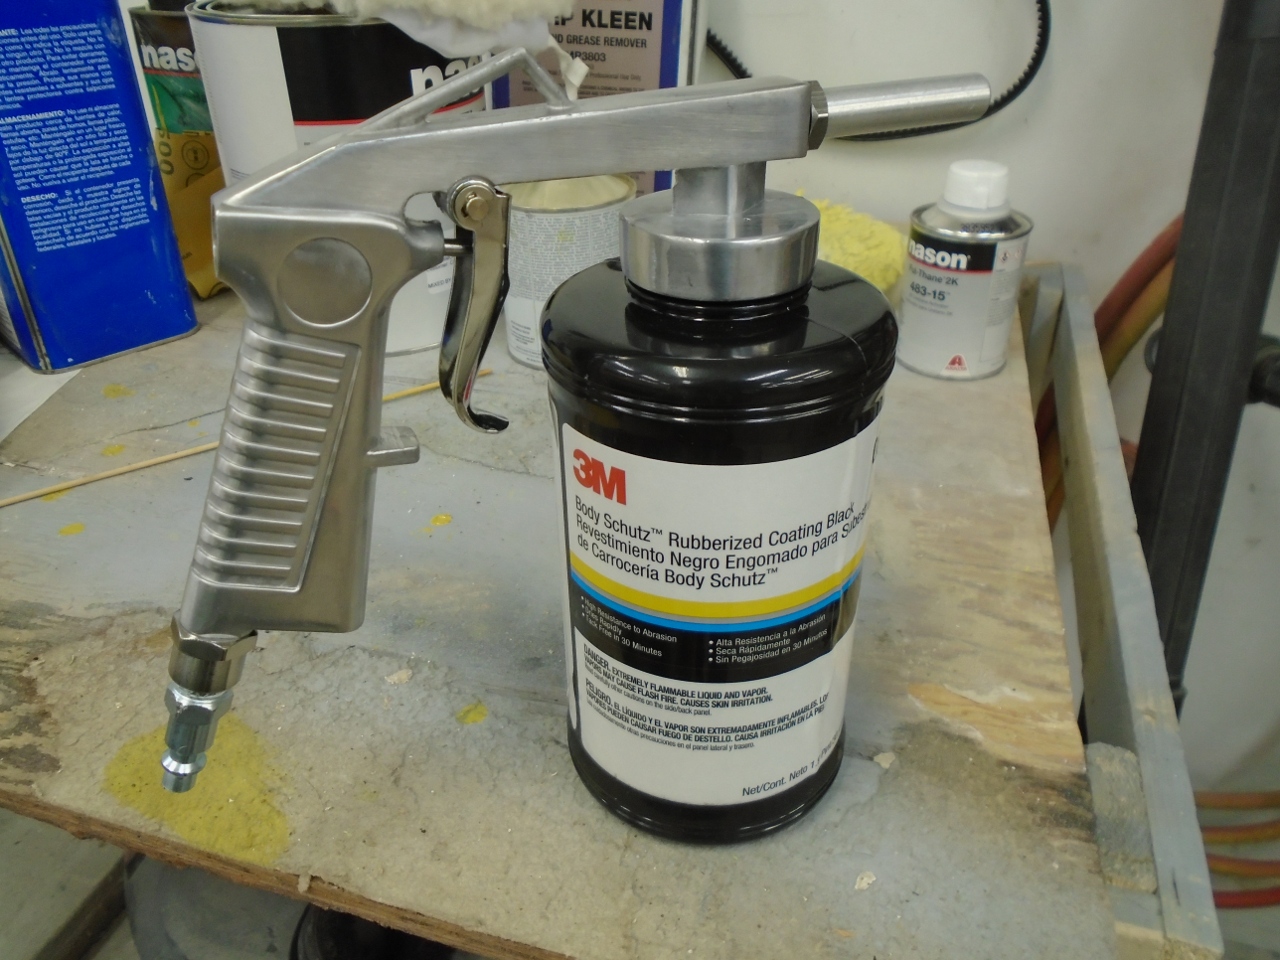
extra protection from flying road debris. I chose a 3M product
often used by body shops. It is a thick, lumpy liquid, like black
oatmeal. It takes a special sprayer, but it is simple and not
expensive.
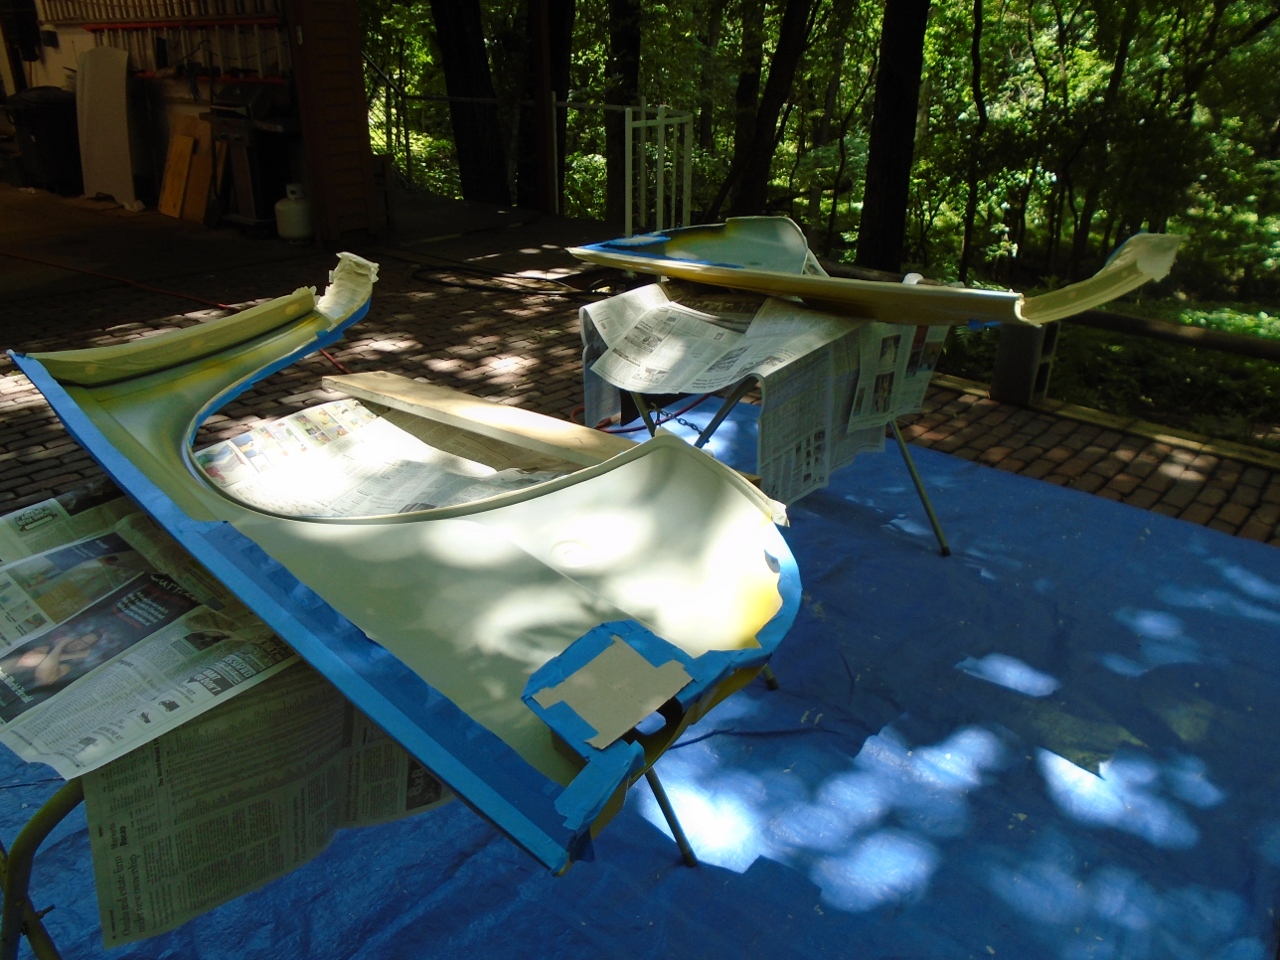
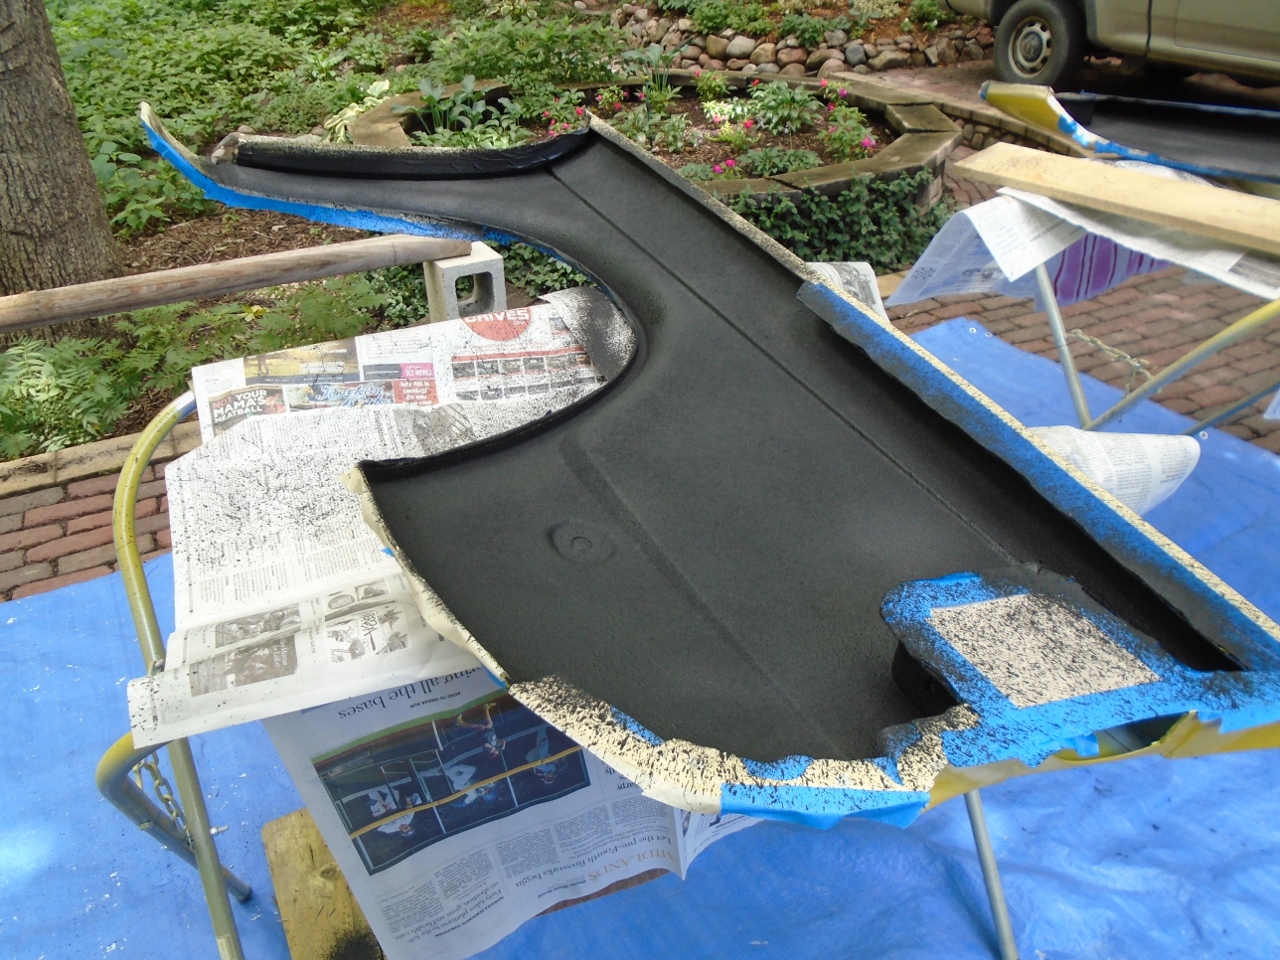
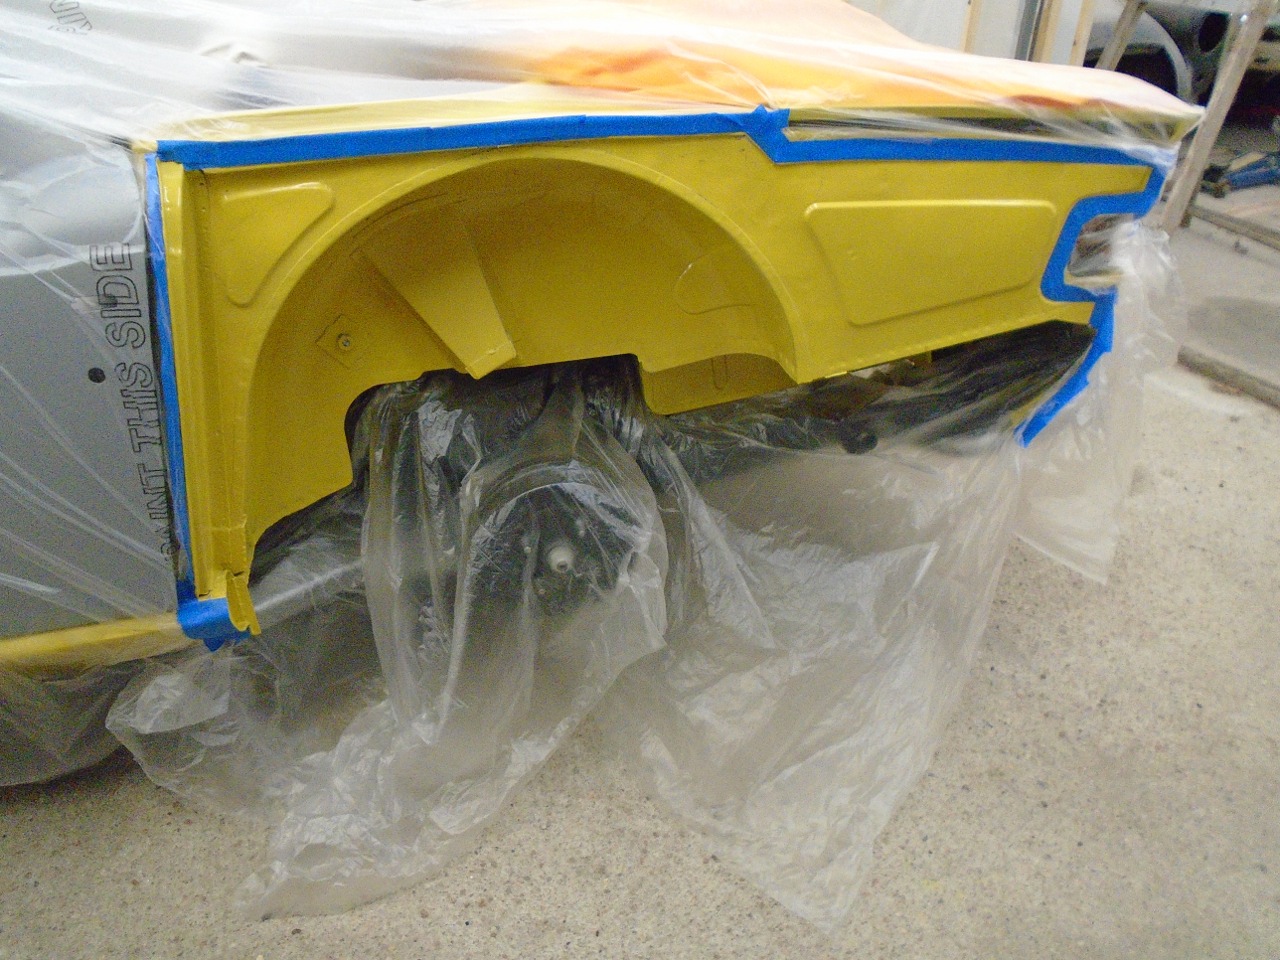
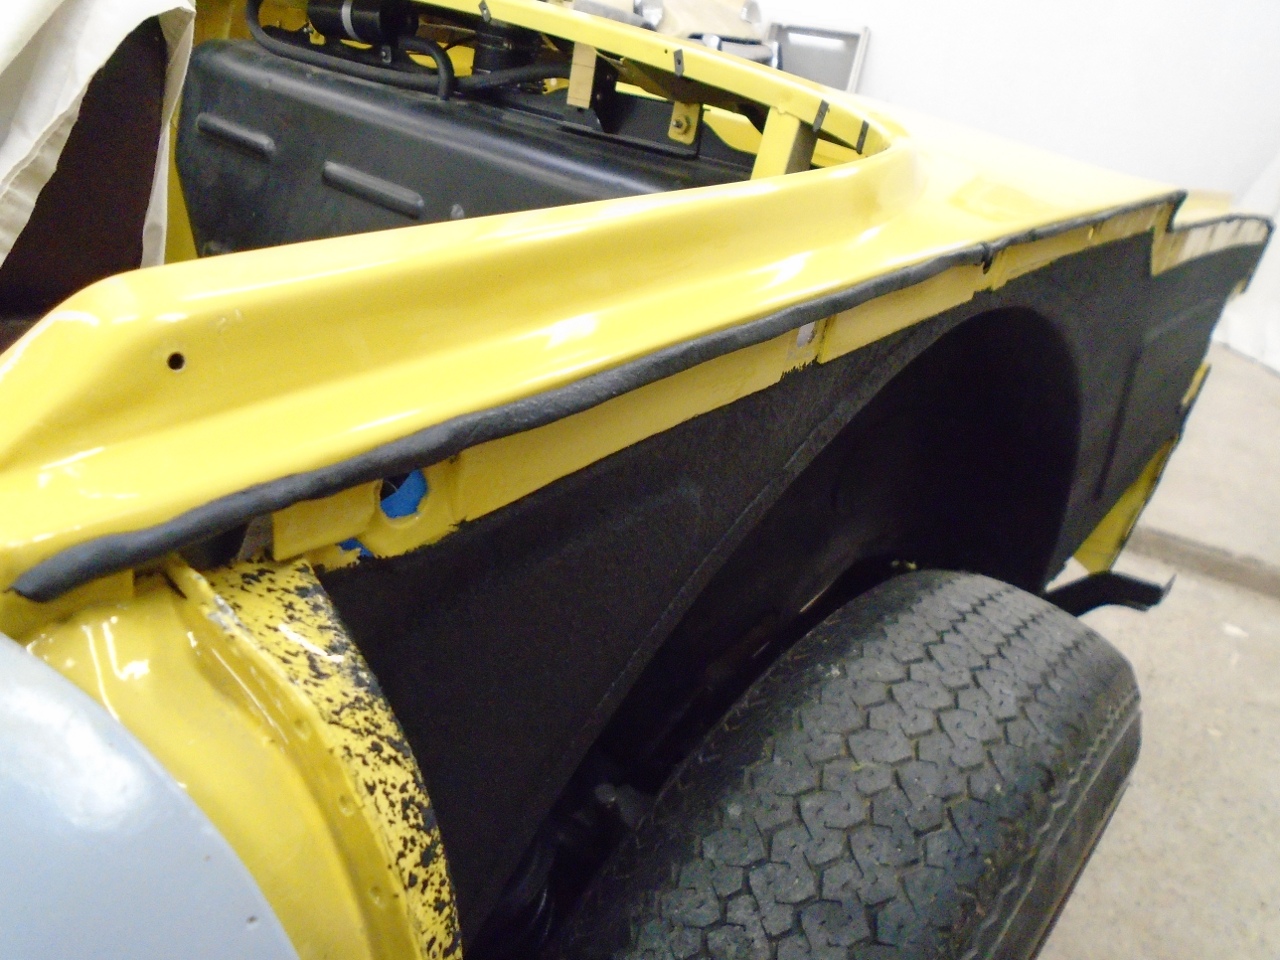
To
get good coverage on the wings, I decided to spray them before mounting
them. I really believe this was one of the shortcomings of the
TR6 manufacturing process. The factory undercoating didn't
reach the far rear end of the wings, and this is why the cars are prone
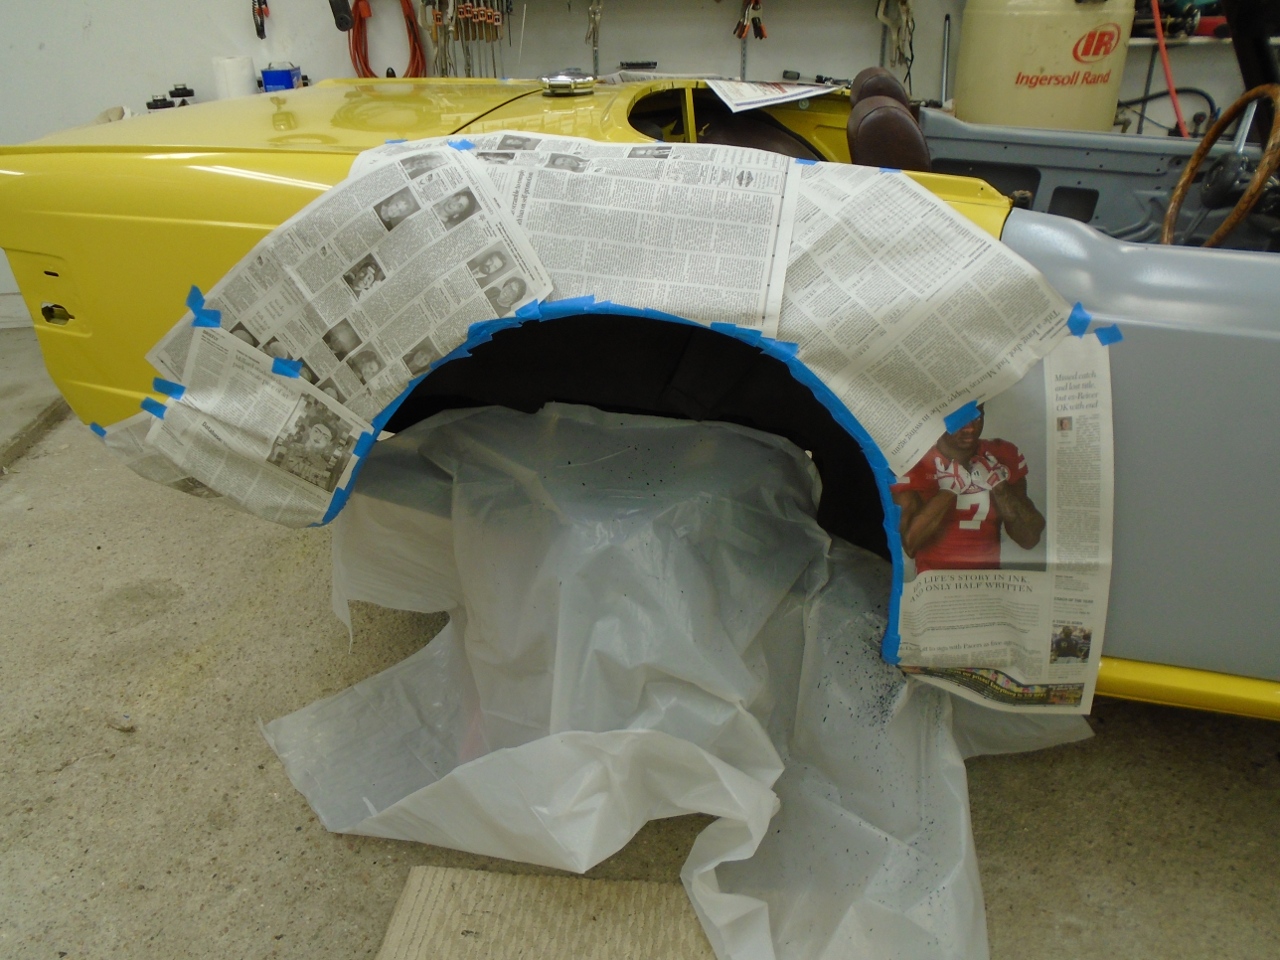
to rust there. I did the wings outside, masking off the mounting
flanges so the the thick coating wouldn't interfere with installation.
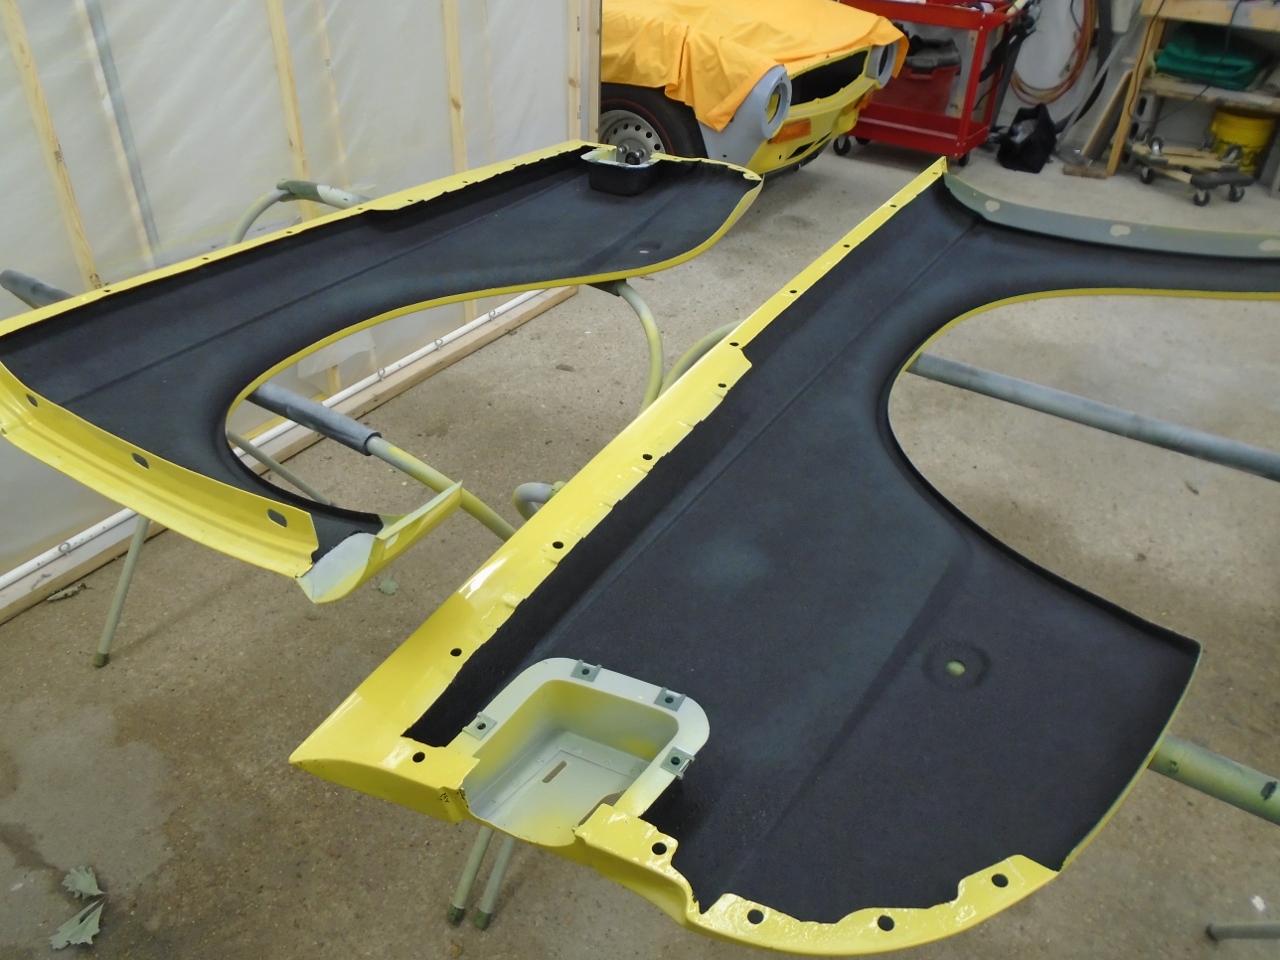
I also masked and sprayed the tub inner wing so I could be sure I had complete coverage.

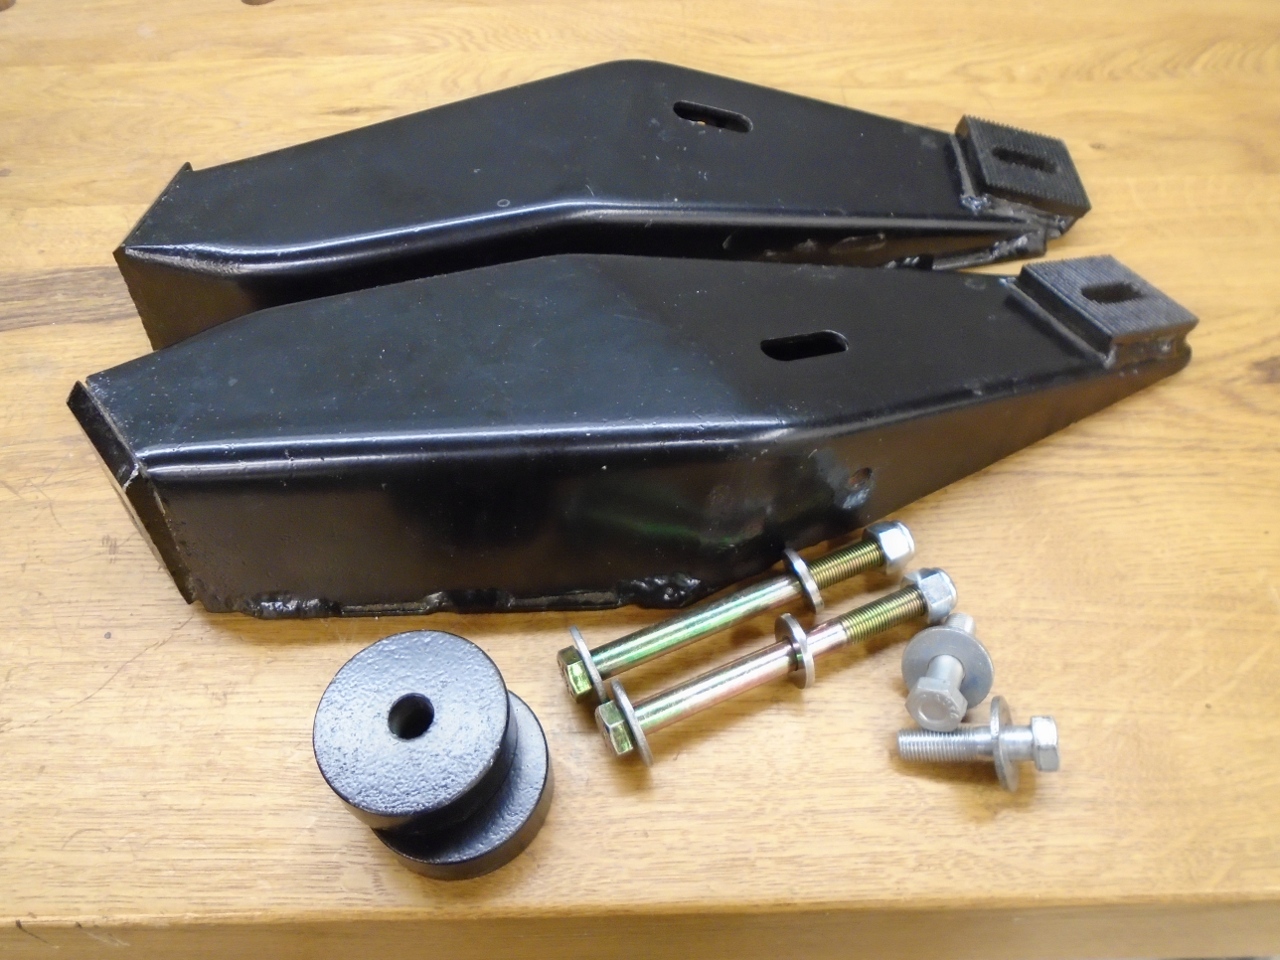
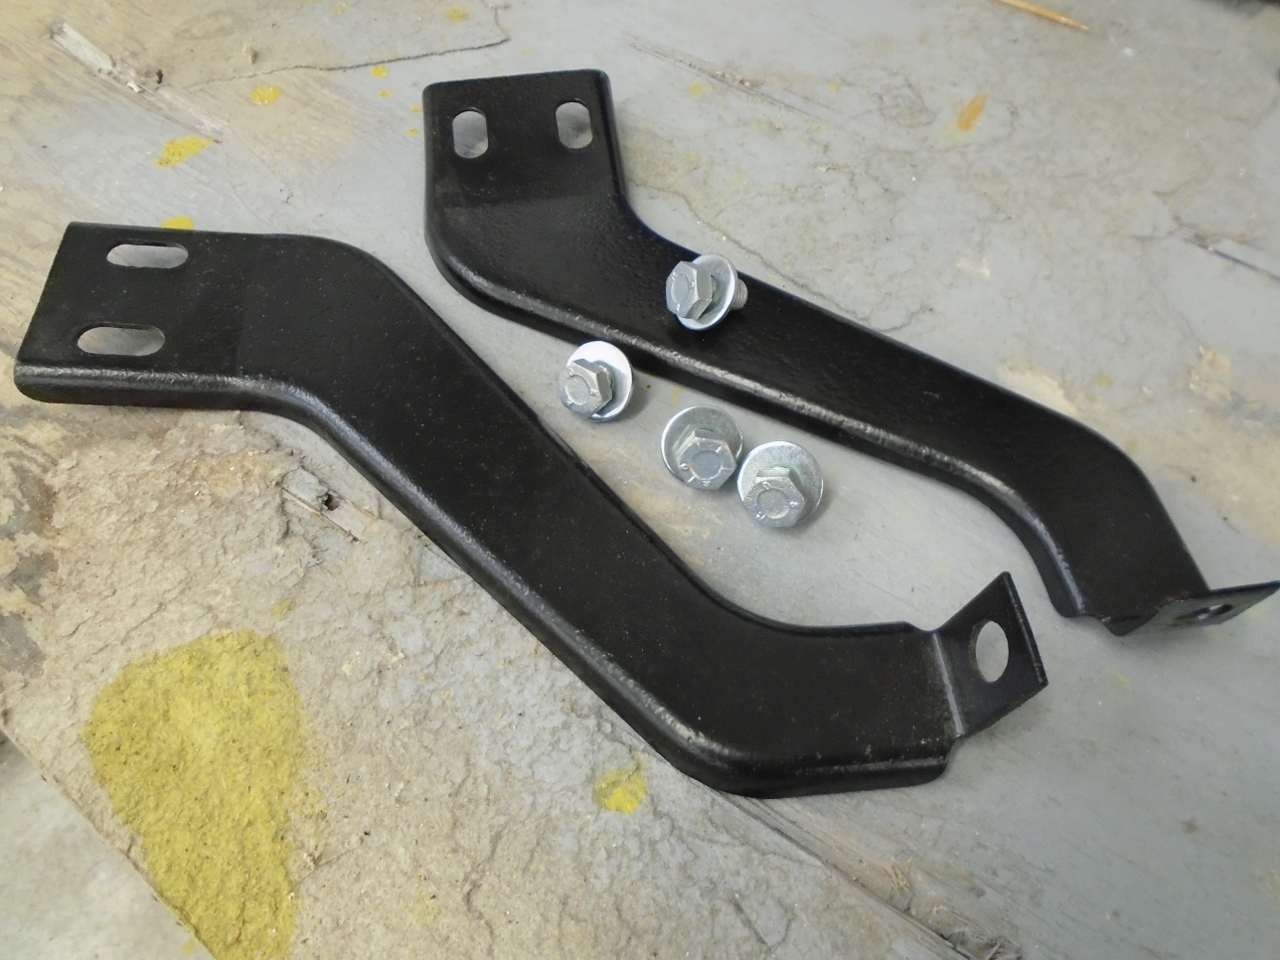
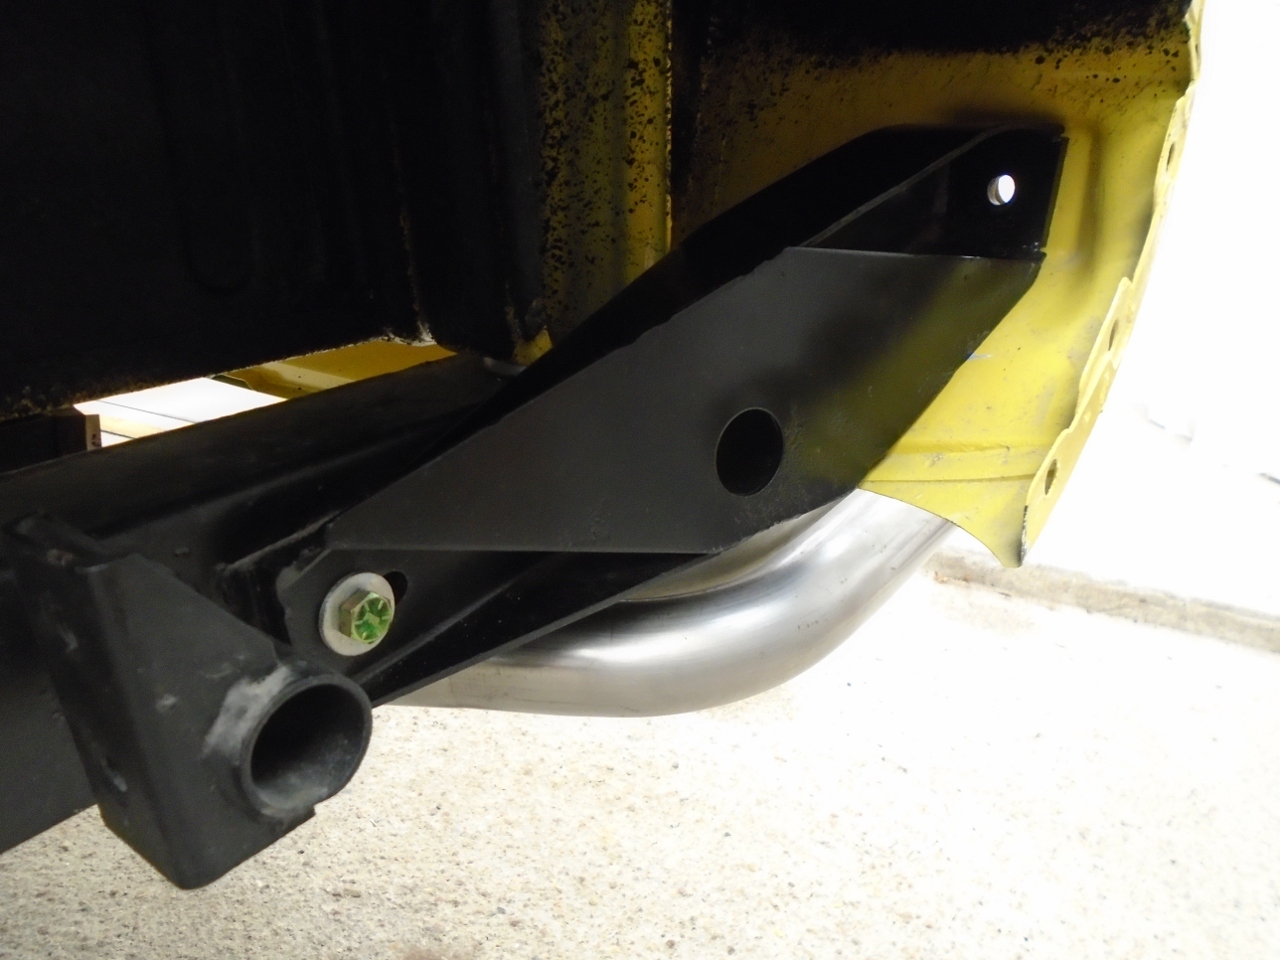
Before actually mounting the wing, there were a some bumper brackets that would be easier beforehand.
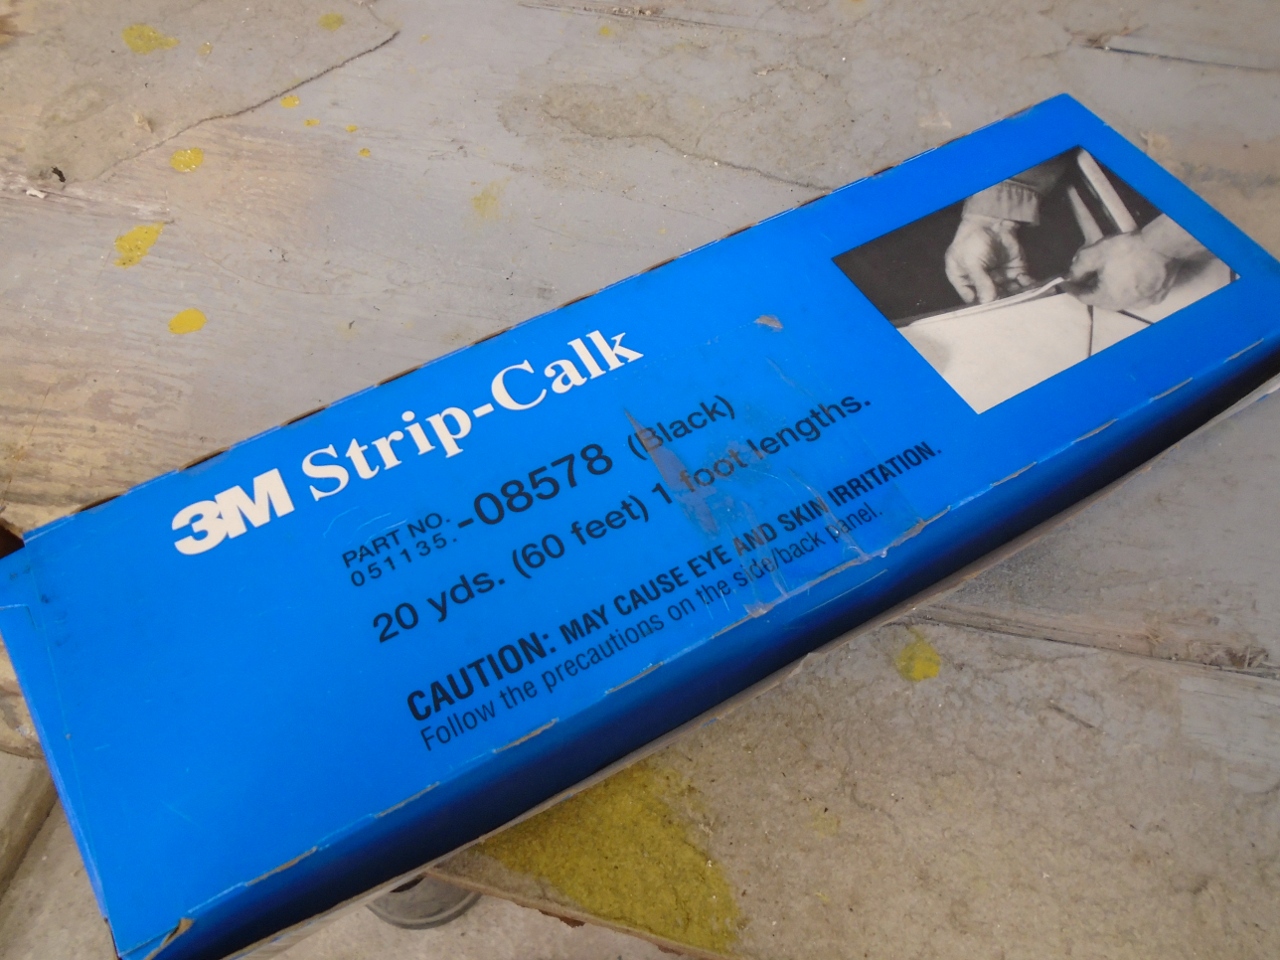
I'm
not sure what the factory used, if anything, to seal the wing-tub
joint, but some old hands speak of a mysterious substance called
Dum-Dum. Like Sasquatch, many people have heard of it, but few
have actually seen it. Having read some of the fables about it, I
had an idea of what it must be like. This is the closest I could
get.
I applied the pre-formed strips along the joint line, and hung the wing. The fasteners squeezed out excess caulk nicely.
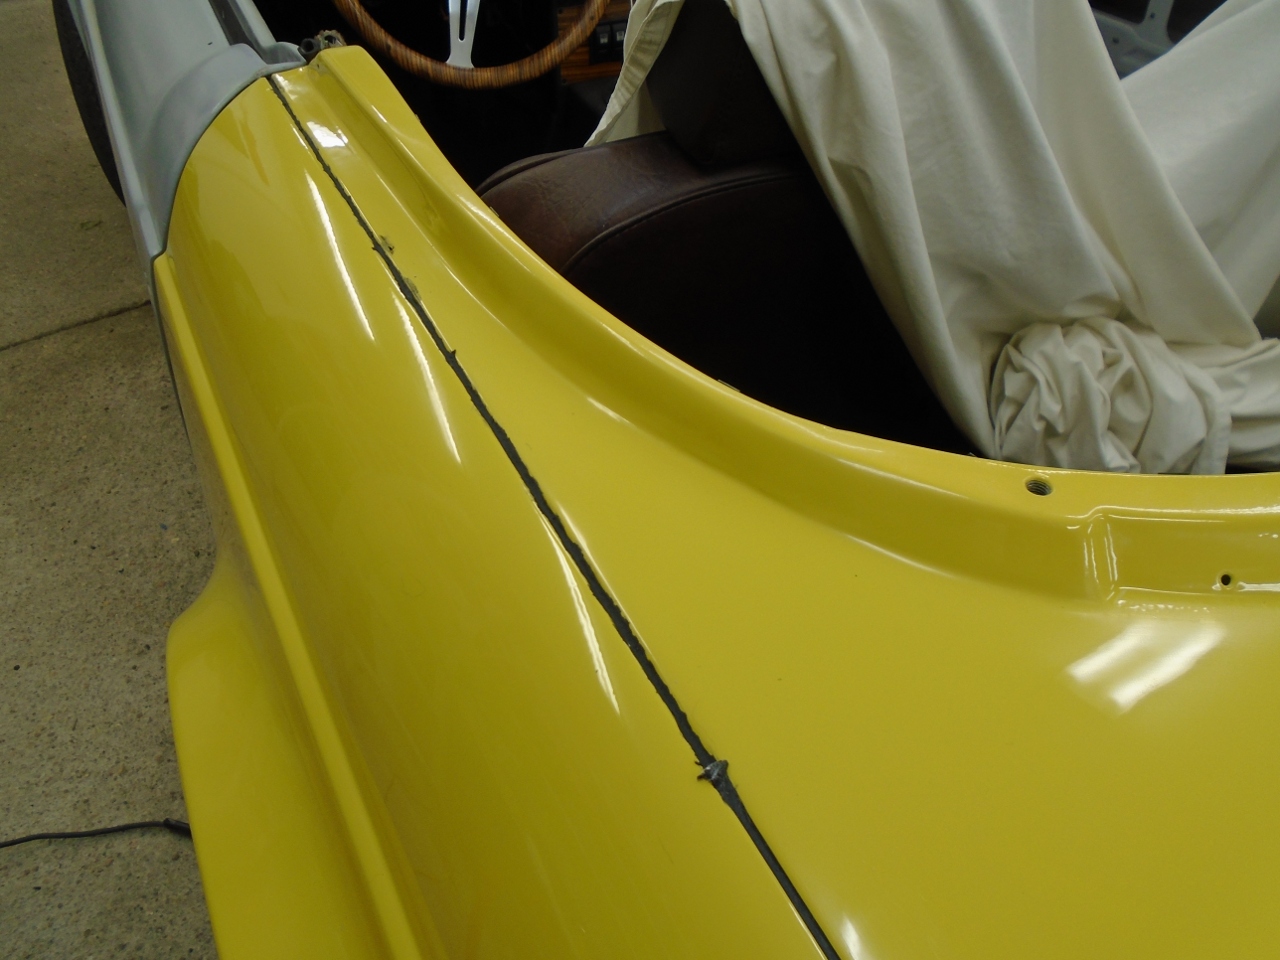
Cleaning up the excess and smooting the caulk slightly below the surface left a nice subtle joint.
The last
step was to spray more undercoating along the joint from the underside.
This coats the areas that were masked off to create a continuous
blanket of undercoating in the well. It took about two and a half
quarts of undercoating to do the two wheel wells.
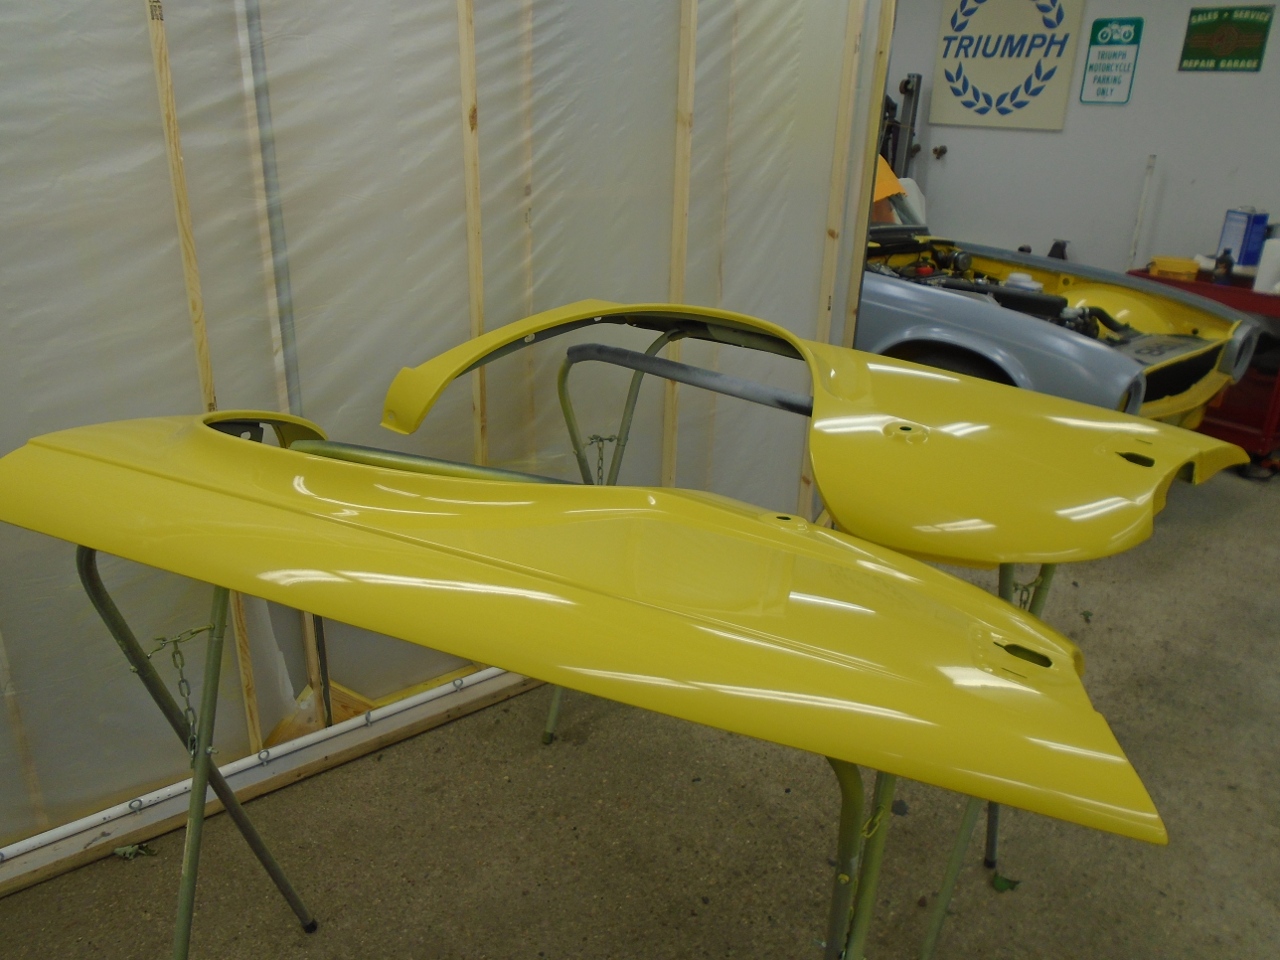
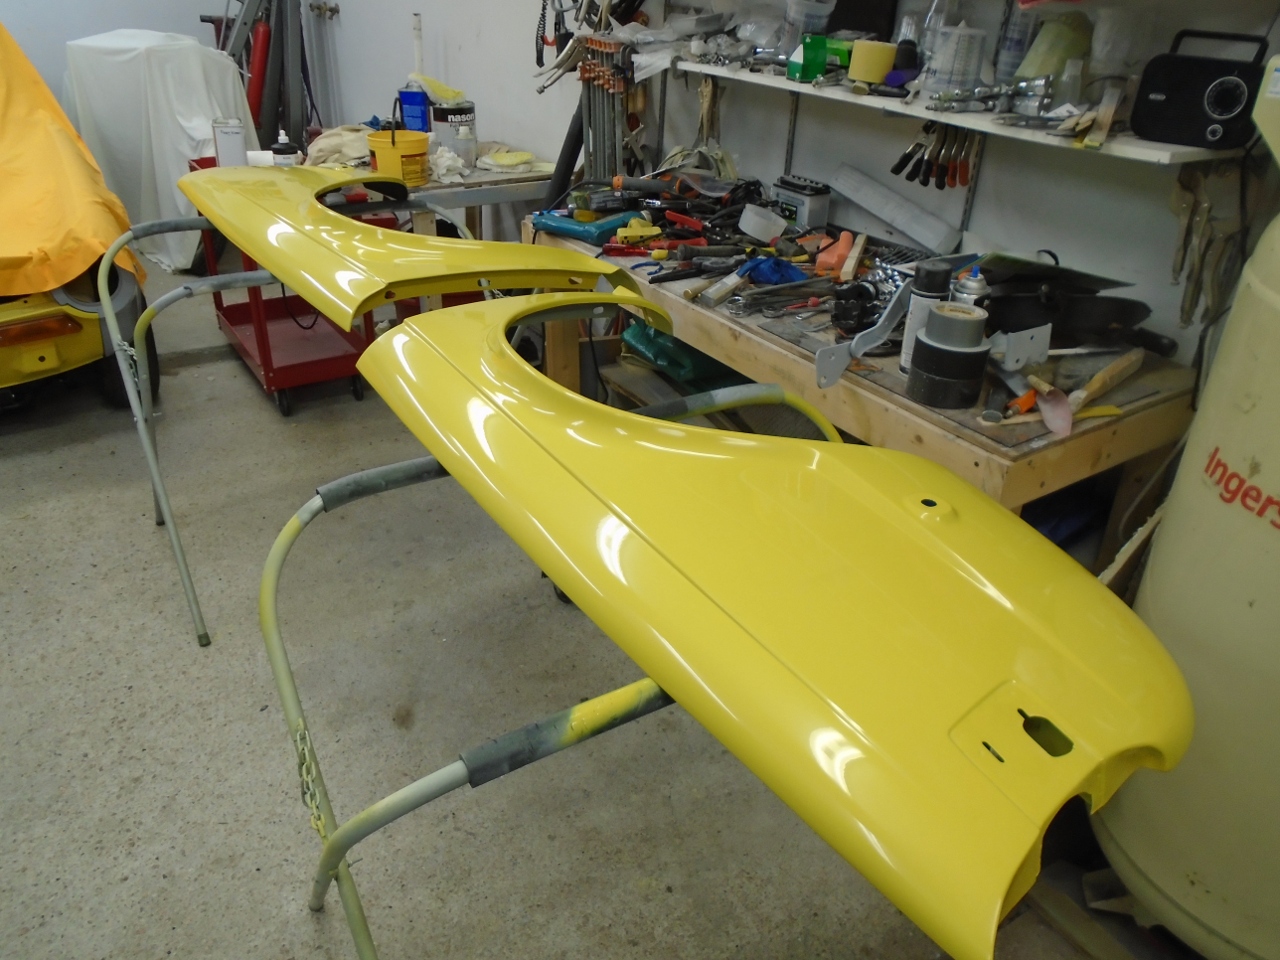
So, rear wings are complete. You might notice that the boot lid is also in place, but that's another story.
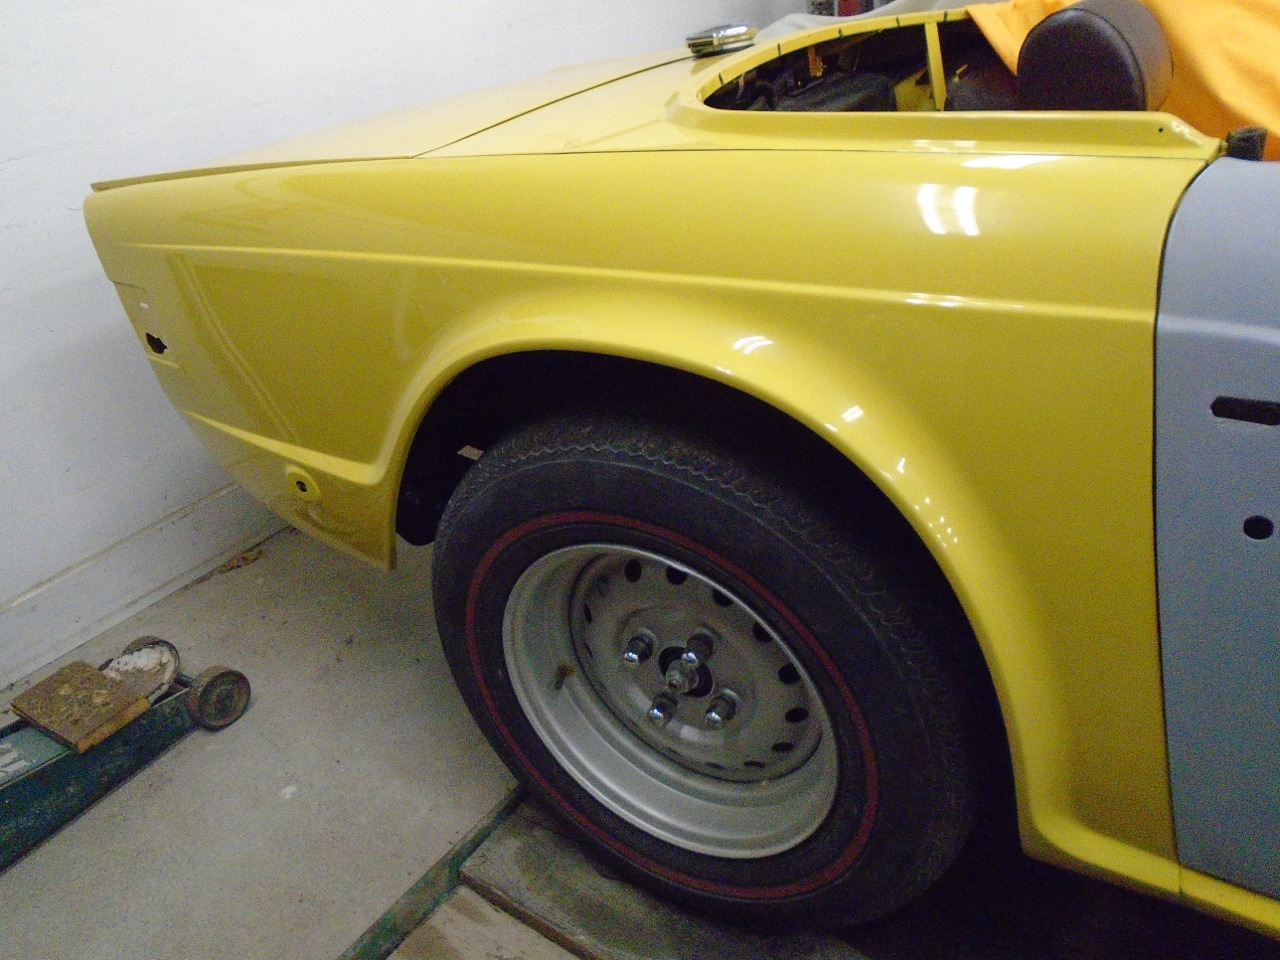
It's really fun to finally get to see some shiny bits being bolted up.
Comments to Ed at elhollin1@yahoo.com
To my other TR6 pages