To my other GT6 pages
July 25, 2022
Steering Column Install
When I work on this car in the garage, I have to move our two daily
drivers out and push the GT6 from it's snug slot into the larger clear
area, trying to dodge around other cars and obstacles. This is a
royal pain when the car has no steering. I basically have to force
the wheels to point the direction I want. This wasn't so bad
before the engine was installed, but it was getting old. I
realized there was no good reason not to install the steering
column. I pulled the rebuilt column down from its shelf.
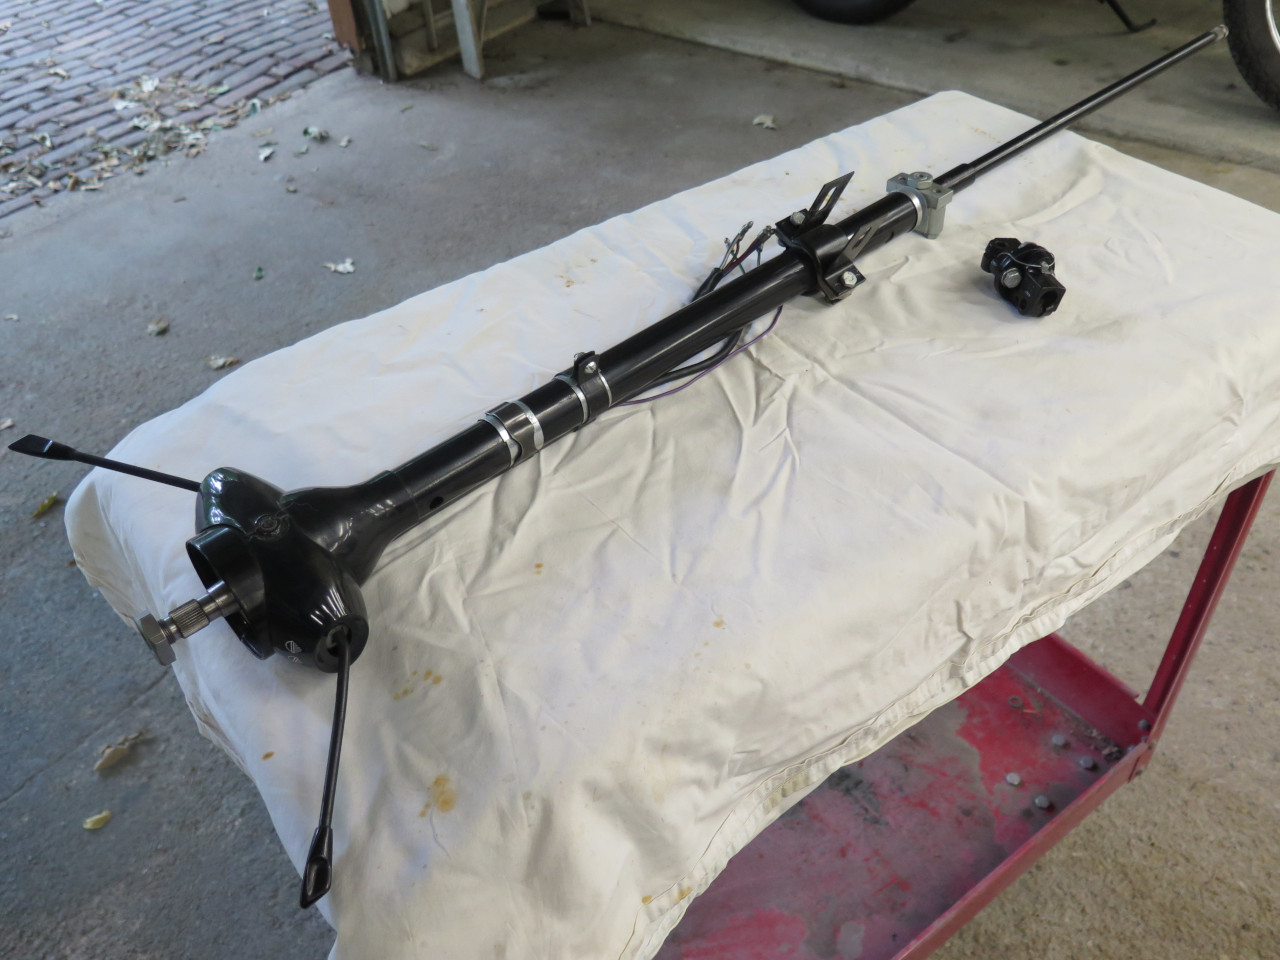
I actually had installed the column provisionally earlier to work out an interference problem with the new oil filter adapter, but with that done, now it was time to bolt it into its forever home.
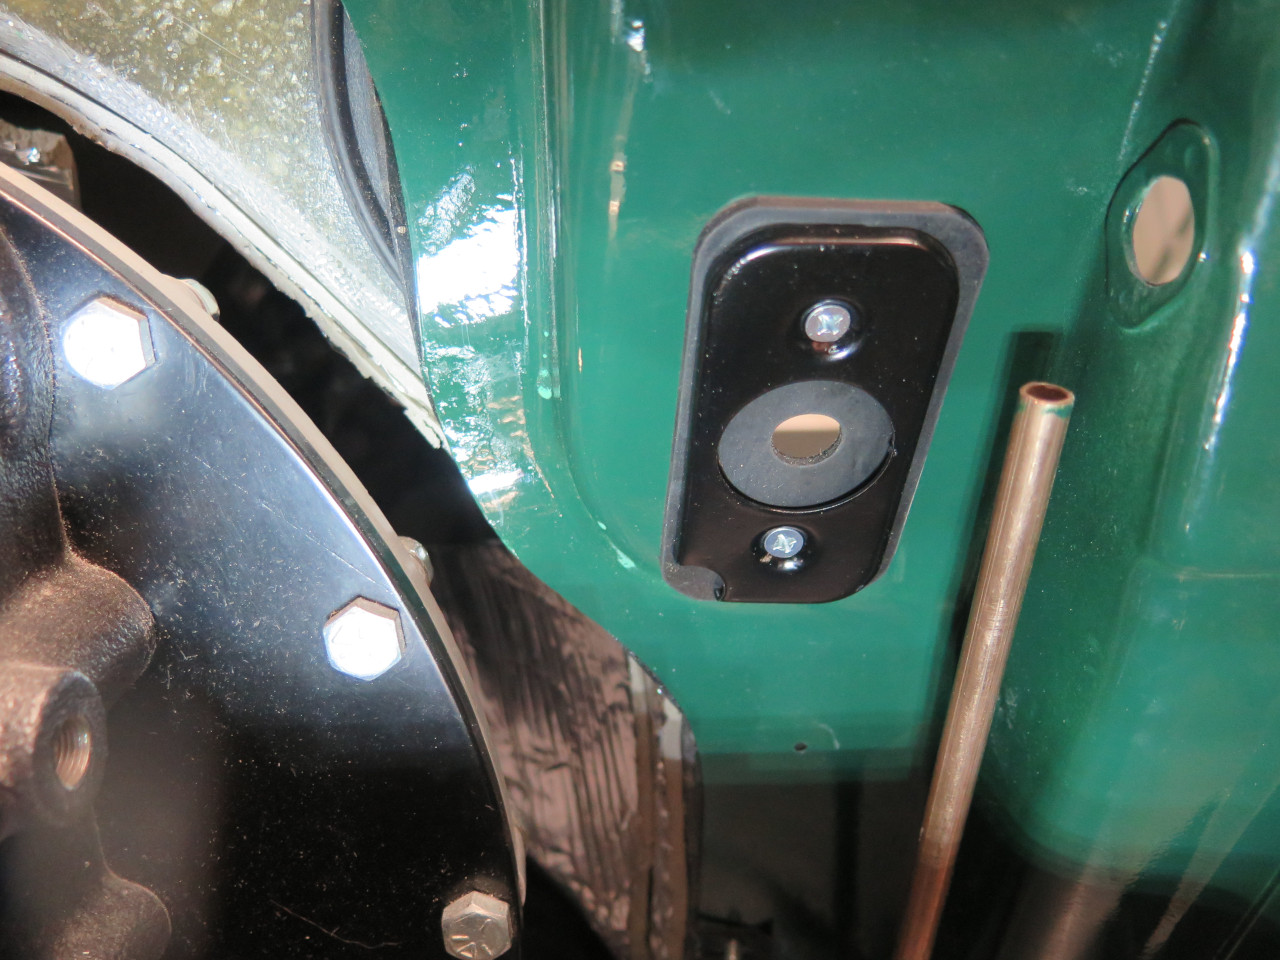
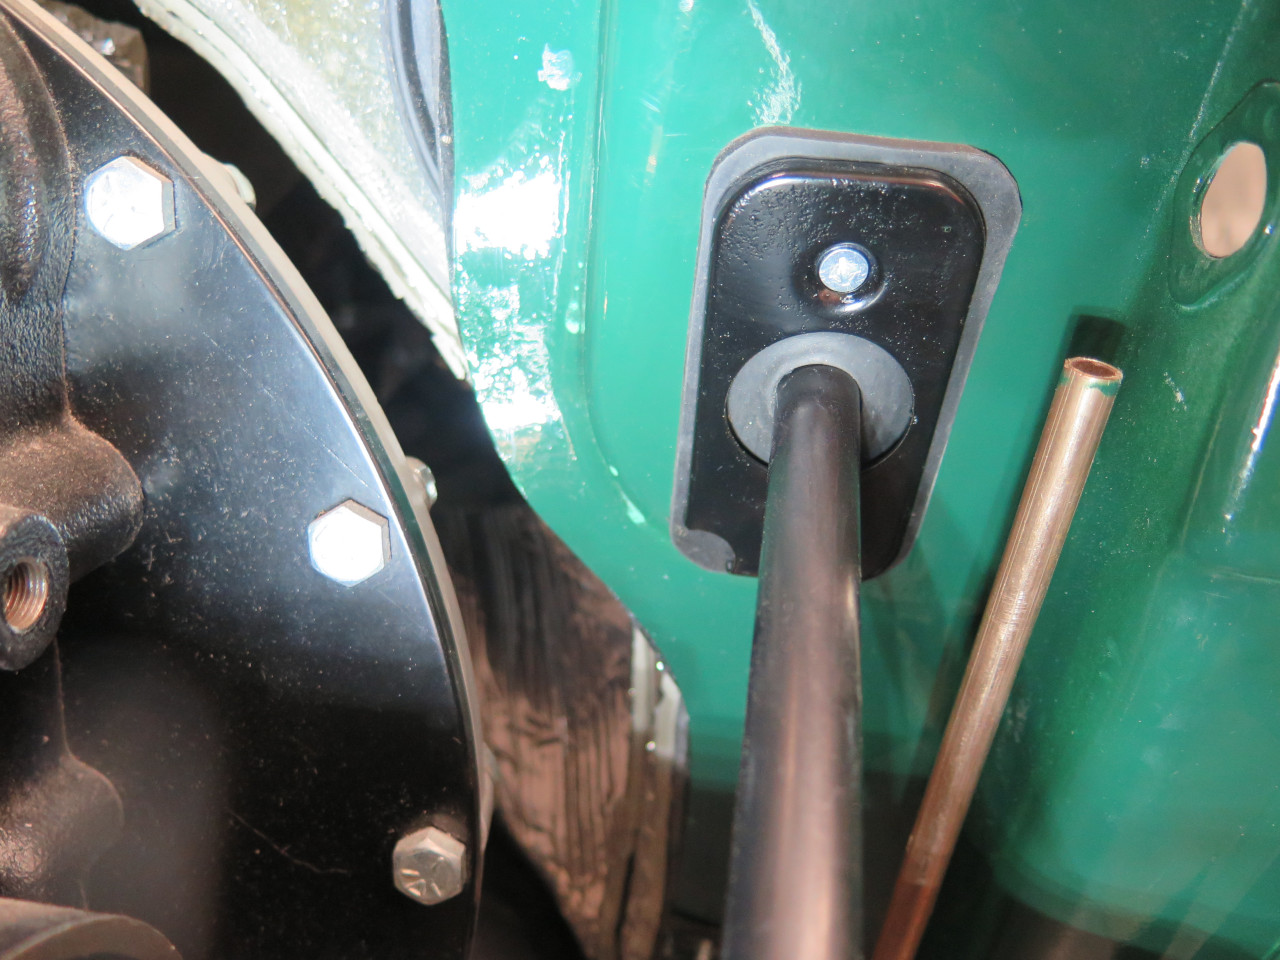
There were a couple of things to do first, though. There is a seal
arrangement on the firewall that fits around the shaft to prevent air
moving from the engine compartment to the cabin. It is just a
metal piece that secures a rubber pad. The pad has a hole that the
inner steering shaft passes through. I've read comments and
questions about that little crescent bite out of the corner of the
plate. I assume it's just a drain. Without it, water could
get trapped behind the plate.
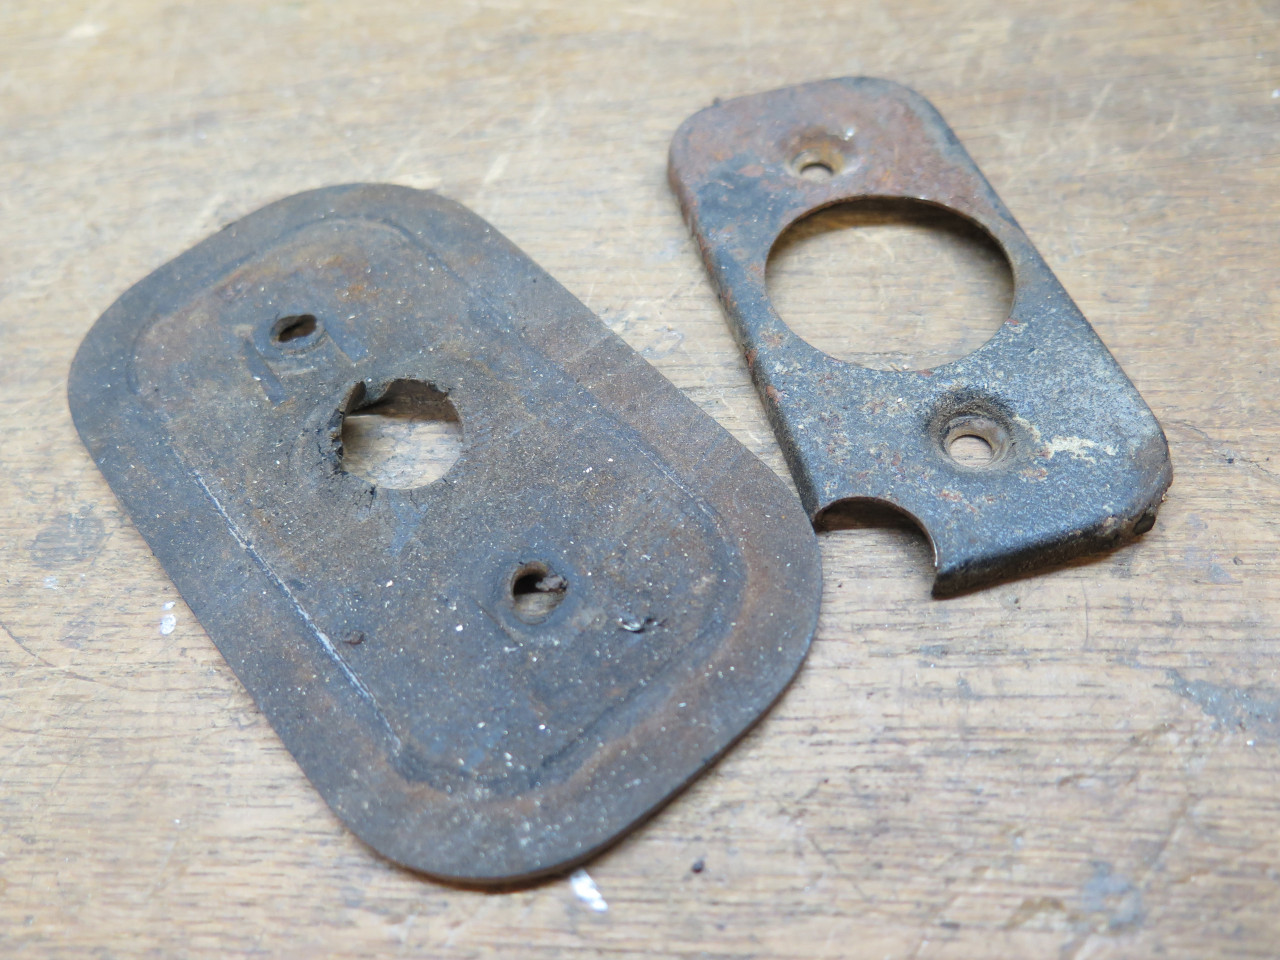
I blasted the plate. The rust left visible pits on one end. These don't bother me much.

I powder coated the plate and made a new seal from some 3/32" rubber
sheet. I'm sure the seal is available from the usual suppliers,
but this was quicker. I thought the original seal was
unnecessarily large, so mine is a little more trim.


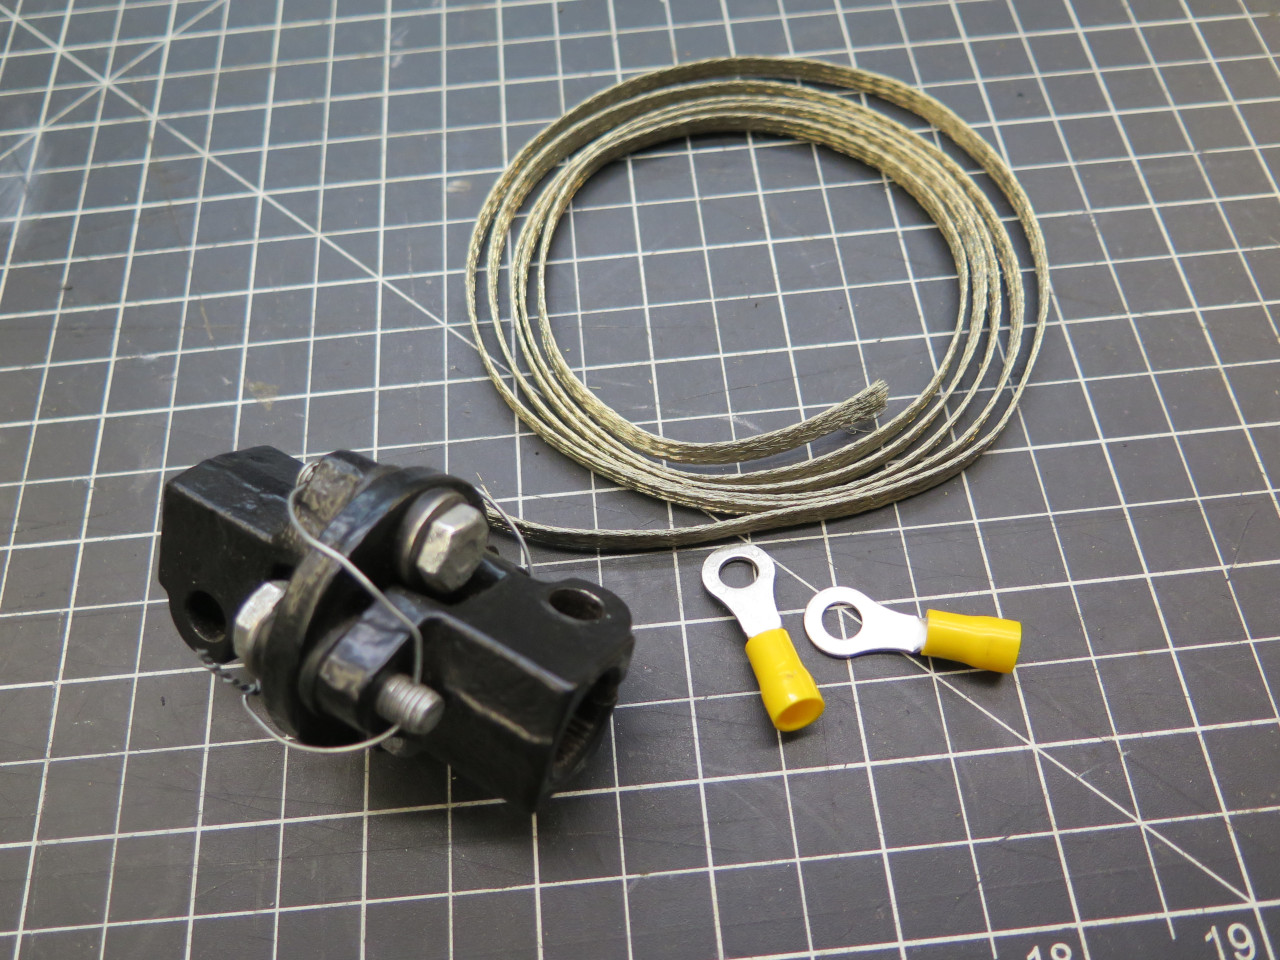
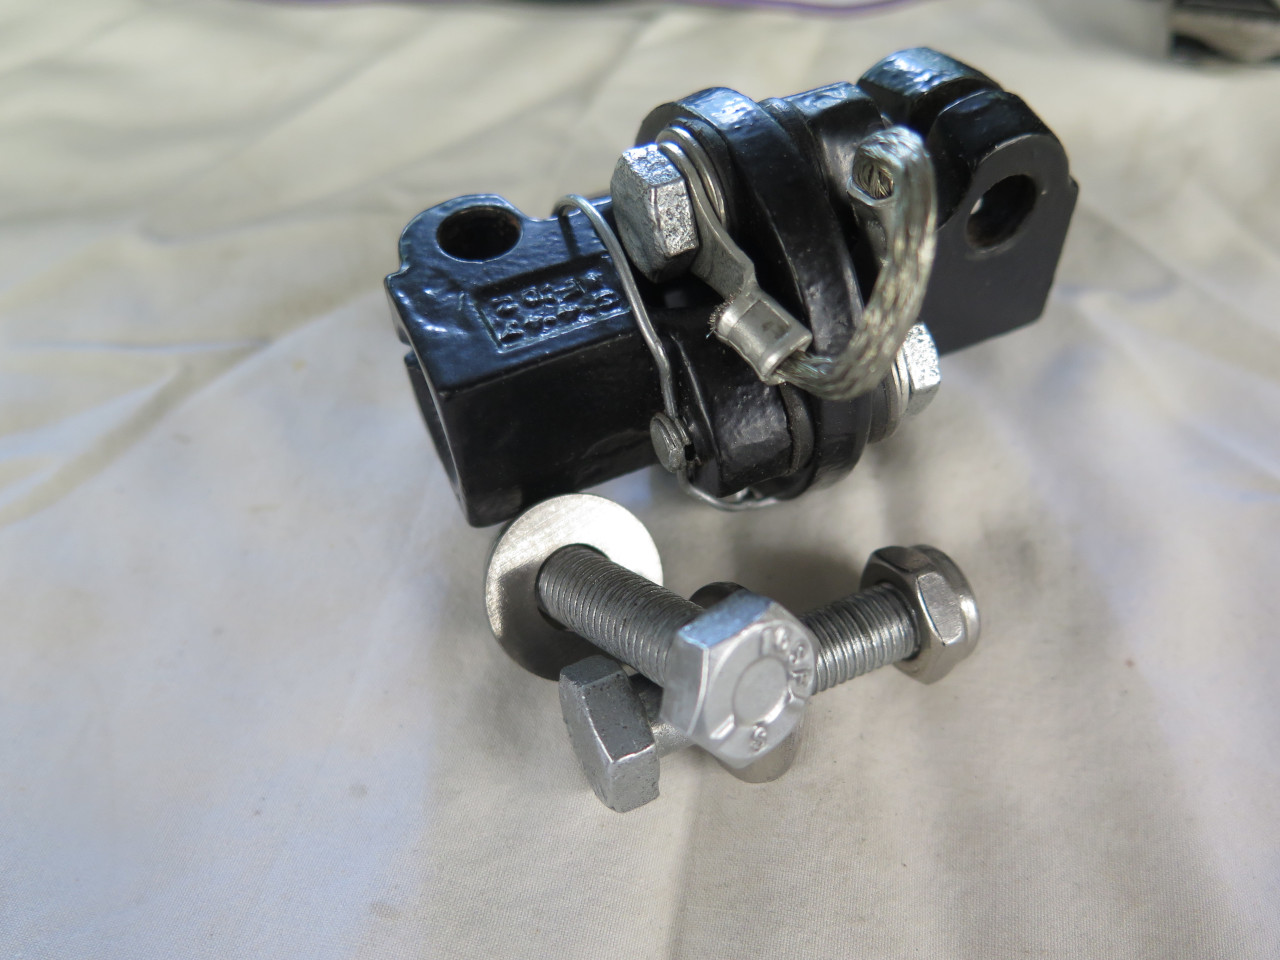
Next, the U-joint needed a little attention. I had already cleaned
it up previously, but I almost forgot the continuity strap that it
needs. This kind of U-joint has rubber bushing that isolate the
two halves from each other, so there is not likely to be an electrical
path through the joint. This is a problem because the horn switch
in the column depends on a chassis ground to work properly. The
continuity strap bridges the U Joint.
It's pretty typical to use a braided copper conductor for this kind of thing since it can withstand the flexing of the joint.

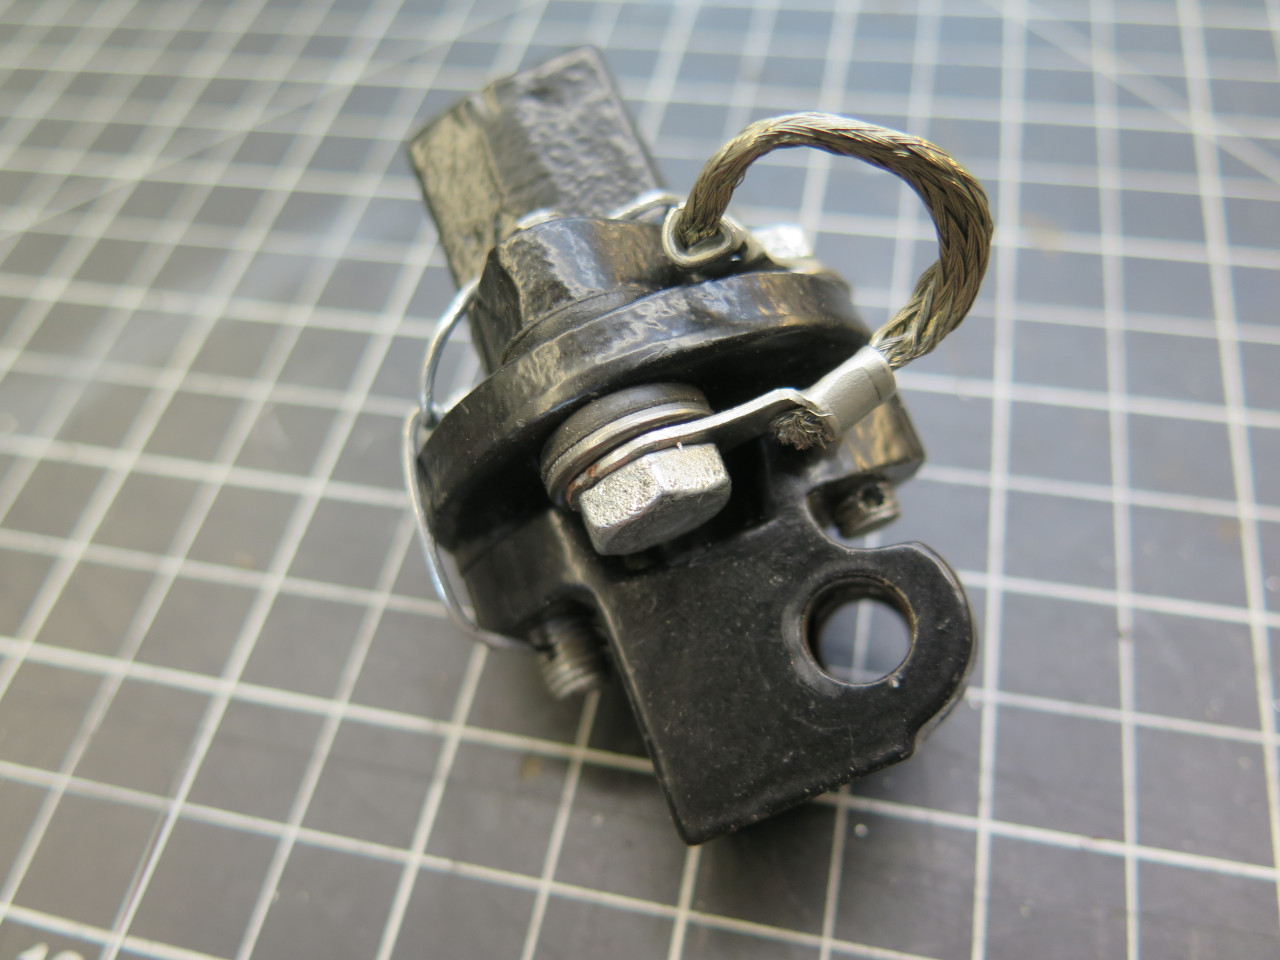
Interestingly, this joint came with safety wire on the fasteners.
Then it was show time. New speed nuts for the shaft seal. I
left the screws a little loose to allow for shifting the seal slightly
as necessary.

Gathered all the fastening bracketry and hardware...
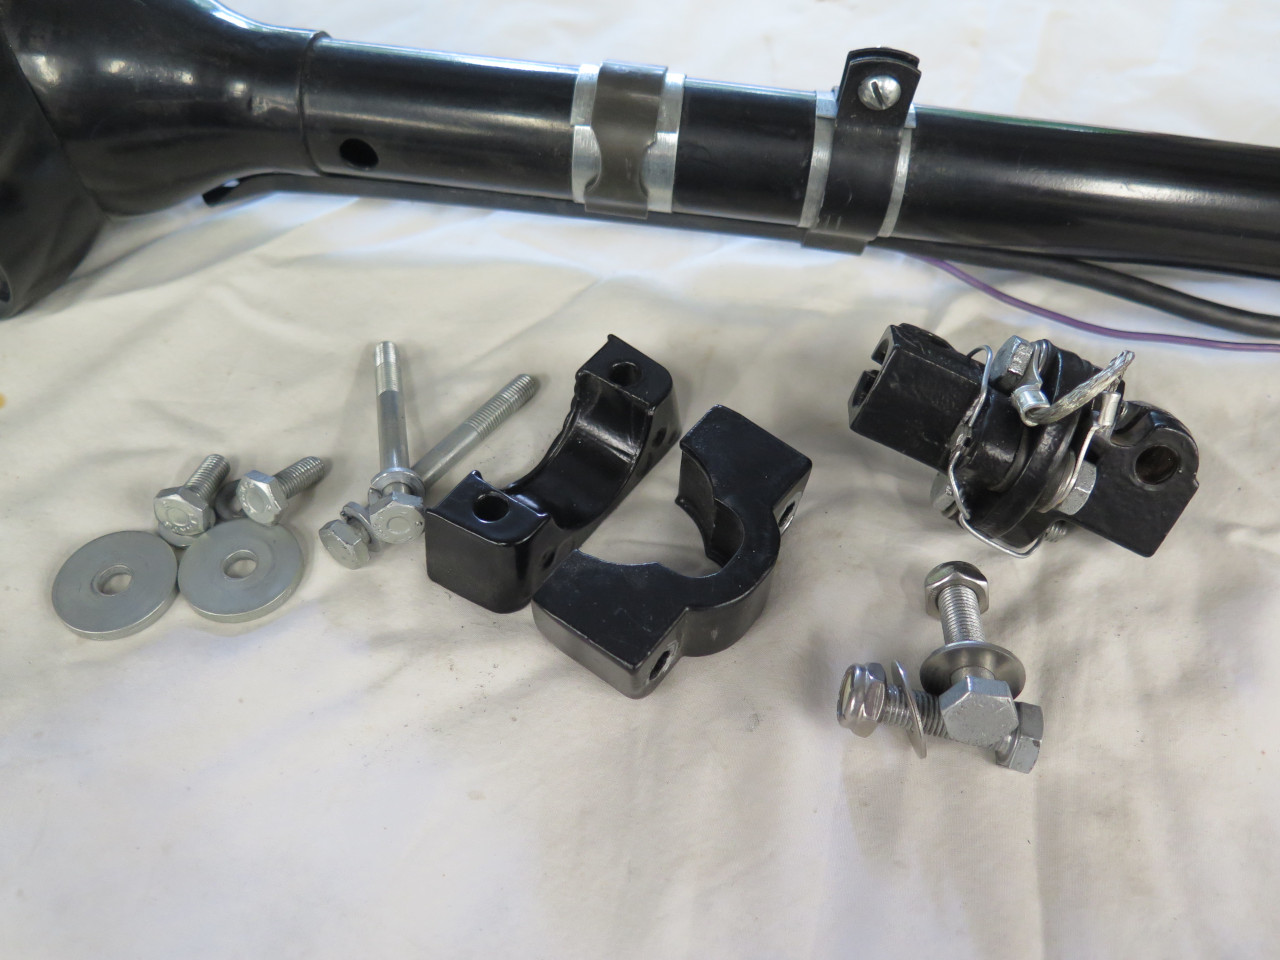
...and slid her home.
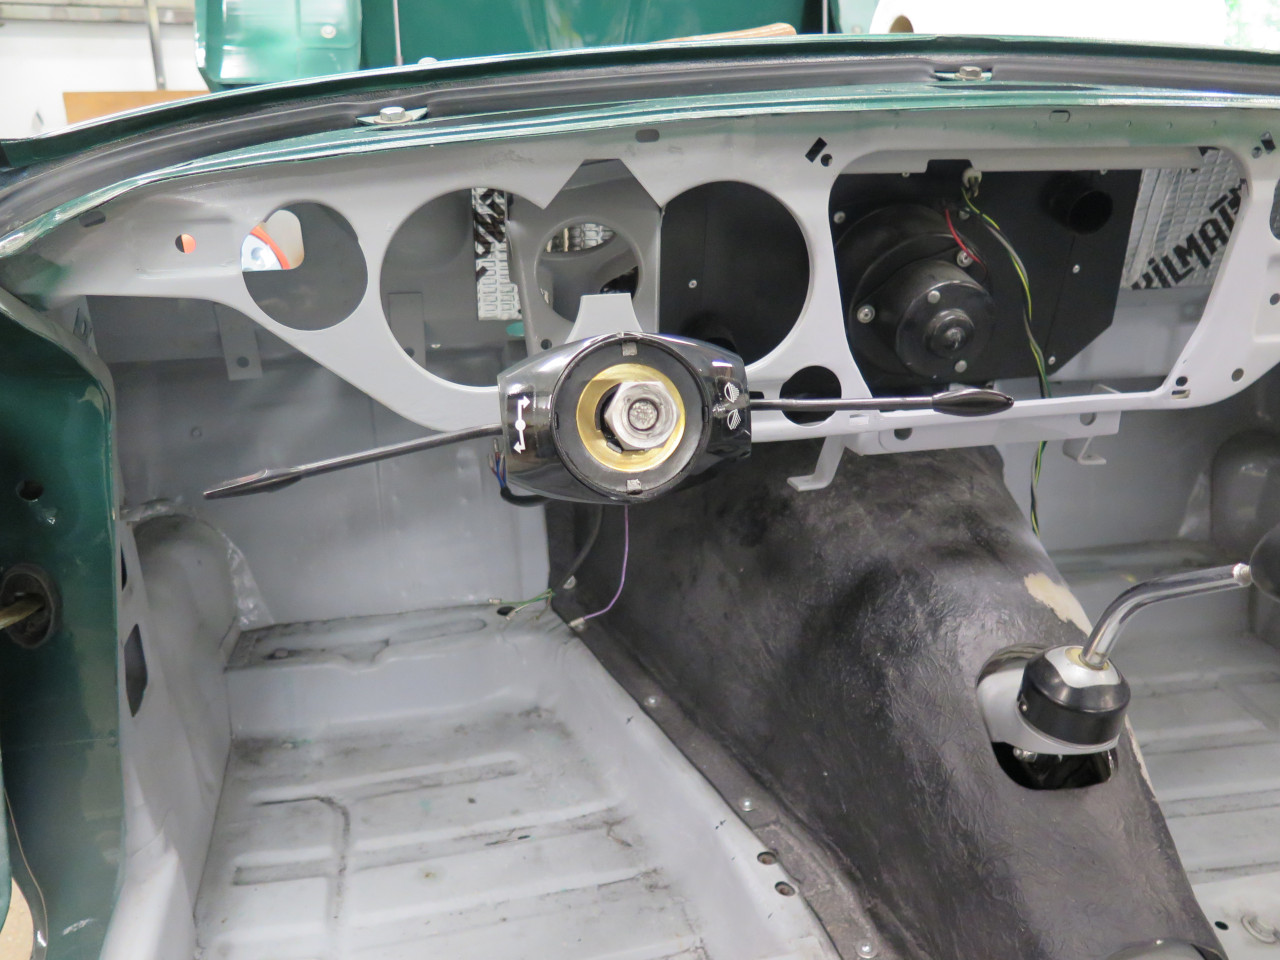
I think later cars had a more complicated mounting system, but this one was pretty simple. Just a pair of clamps.
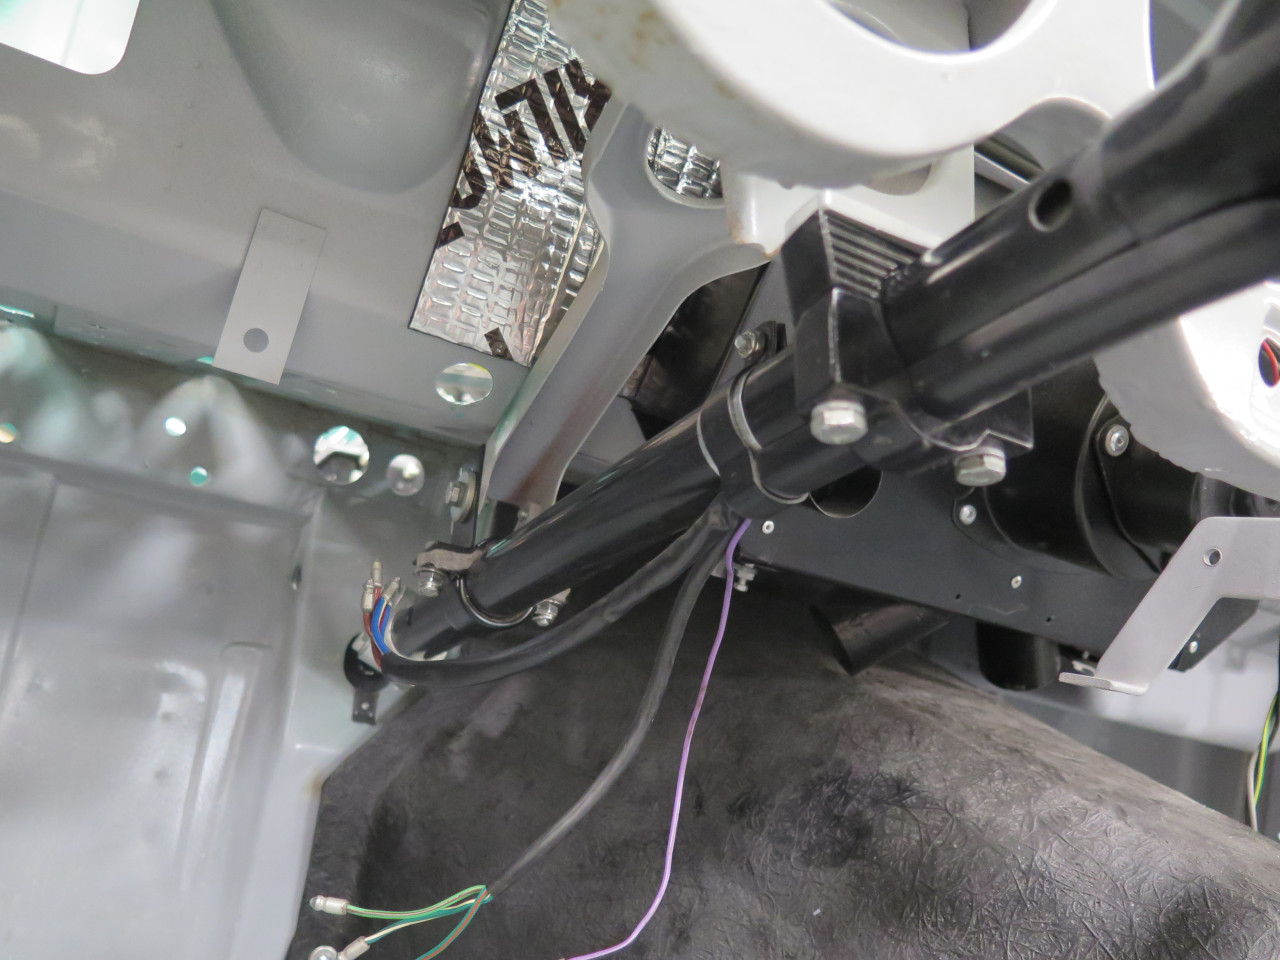
Then centered the seal the best I could.

This simple little project has transformed the ease in moving the car
around in the garage. I should have done it months ago. Cost
was essentially zero.
Comments to Ed at elhollin1@yahoo.com
To my other GT6 pages