To my other GT6 pages.
June 29, 2022
Rear Hatch
The so-called "fastback" style of the GT6 includes a hatch to access the
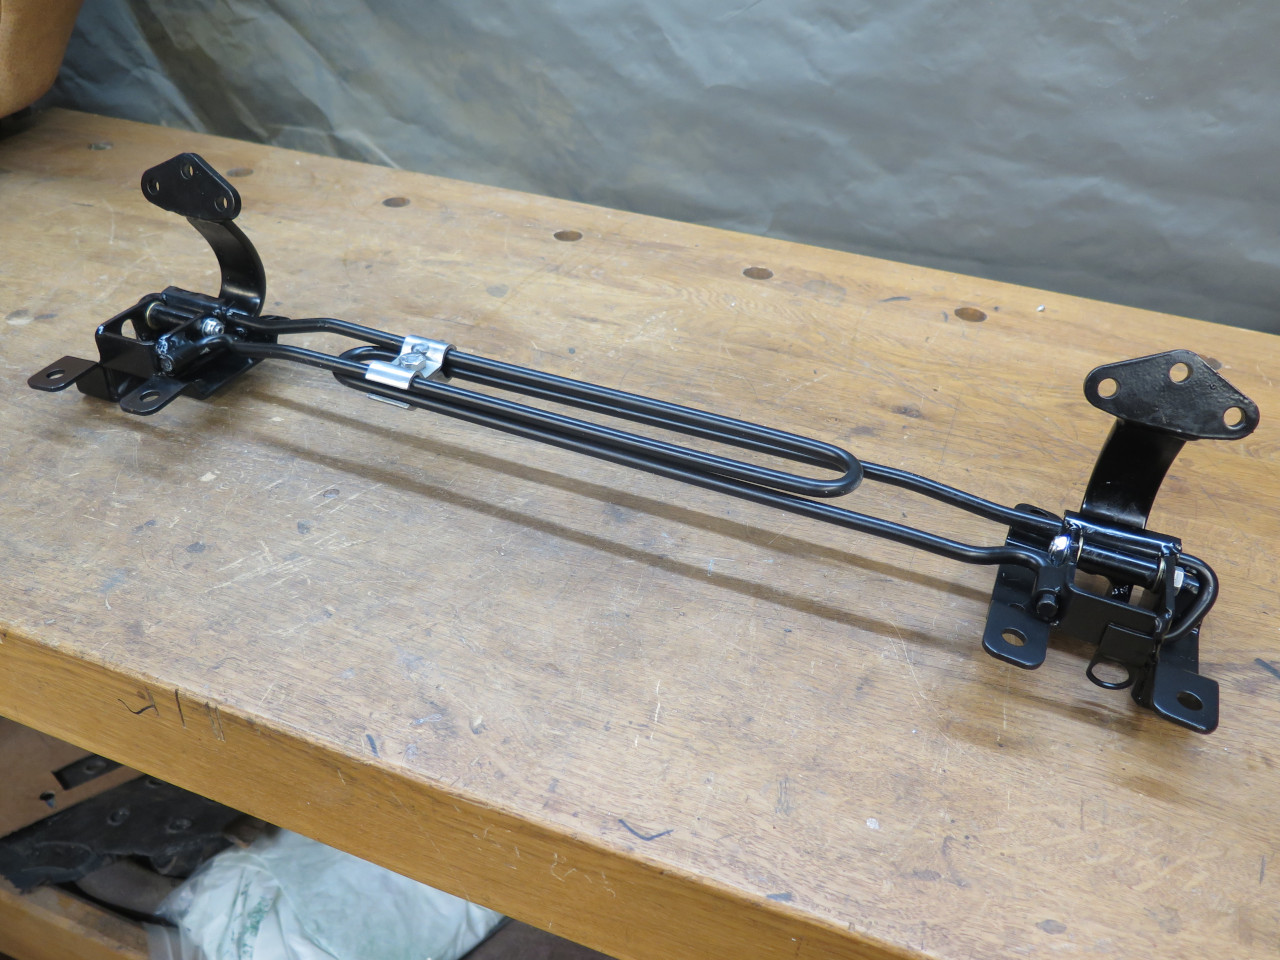
boot area. It is hinged at the roof line by a pair of torsion
hinges that hold the hatch open without the use of any kind of
struts. The hatch also featured resistive de-fogging traces on the
glass.
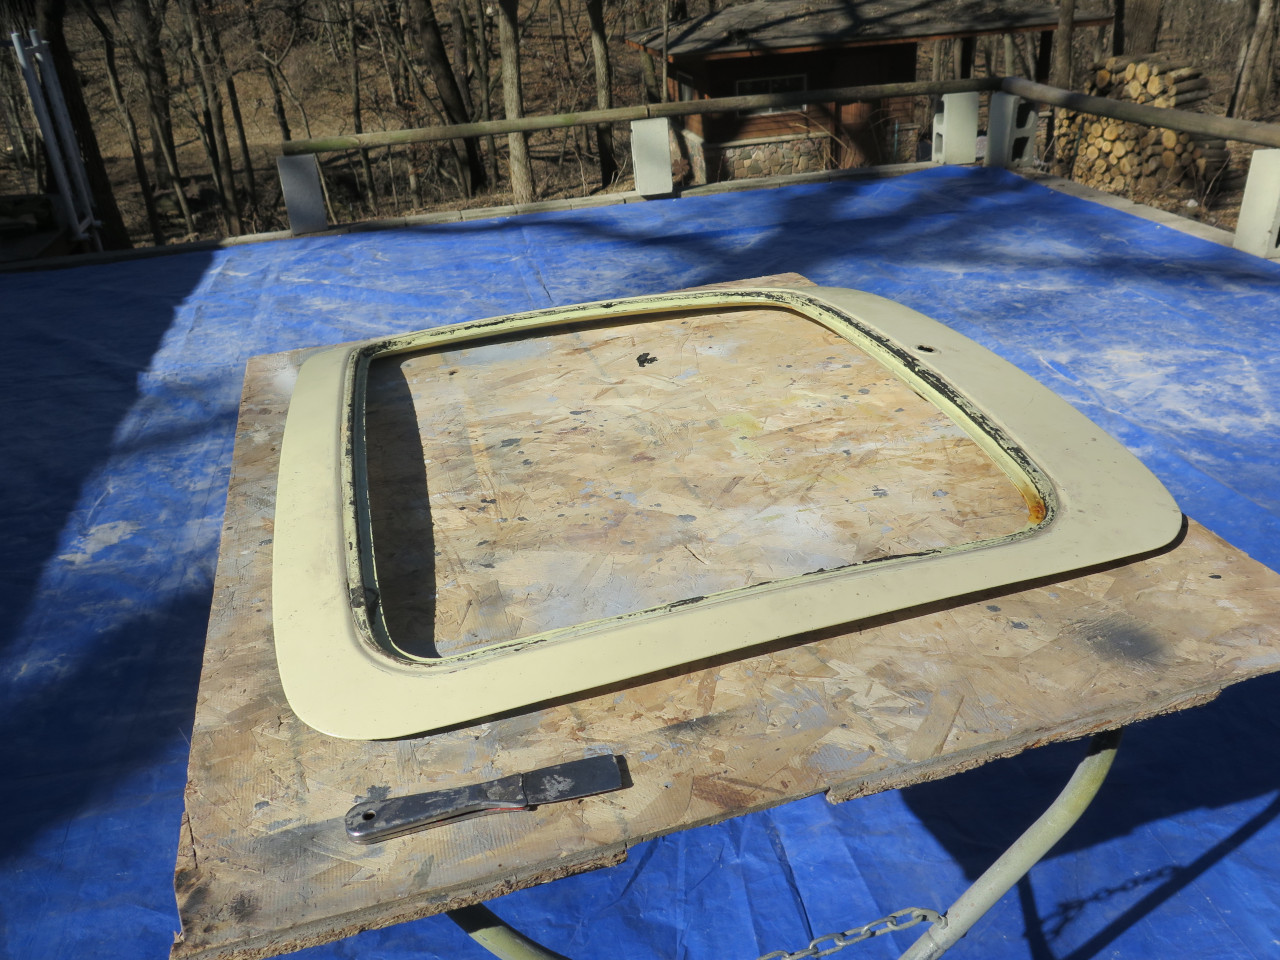
Considering the rest of the car, my hatch was in remarkably good shape,
with only traces of rust on some edges, and a few minor dings and dents.
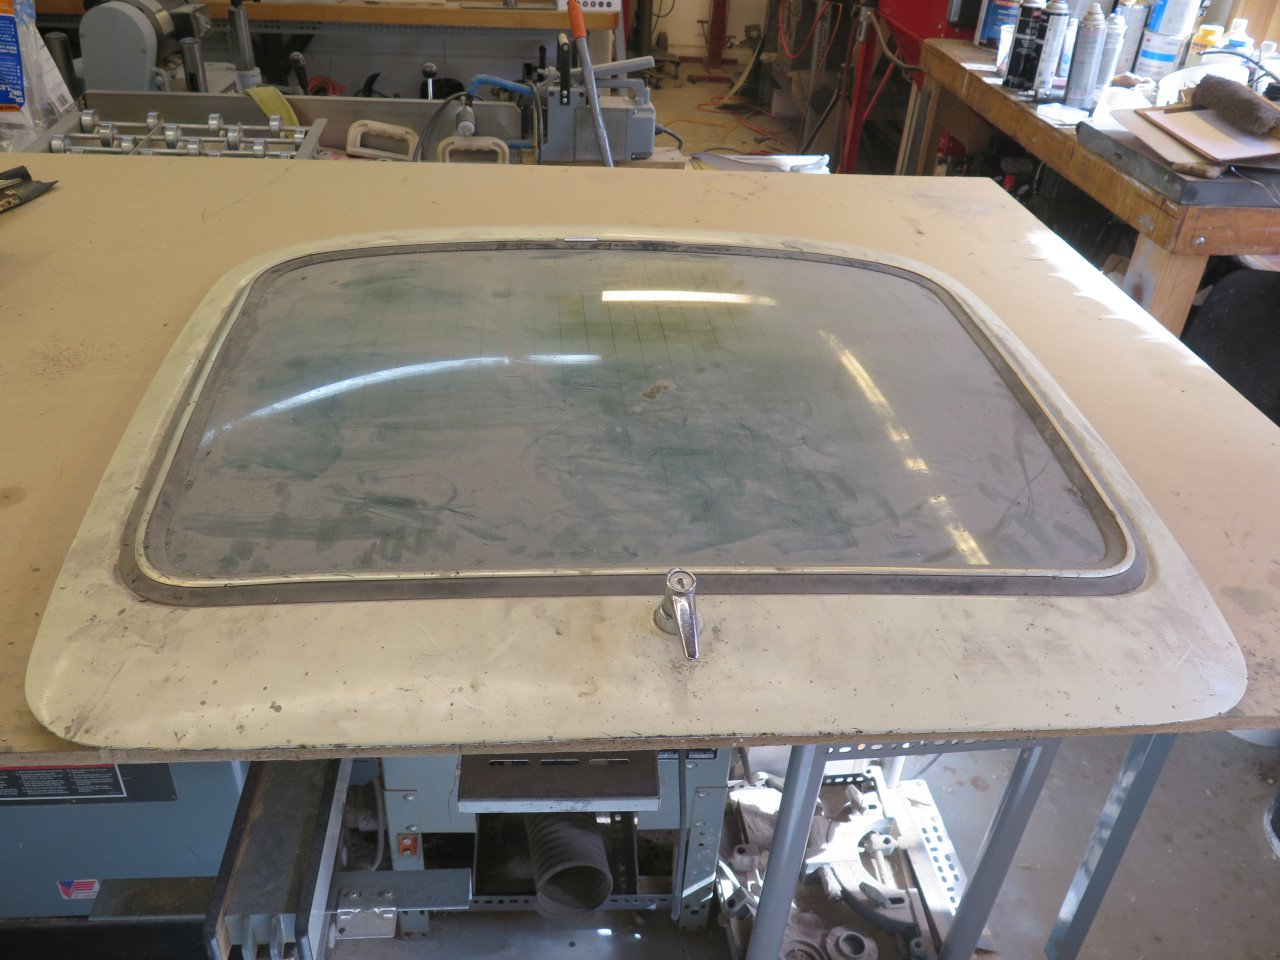
Even the glass was pretty good, but the rubber seal around it was
not. It was hard and even split in a few places. I at least
wanted to replace the seal, so I removed the glass.
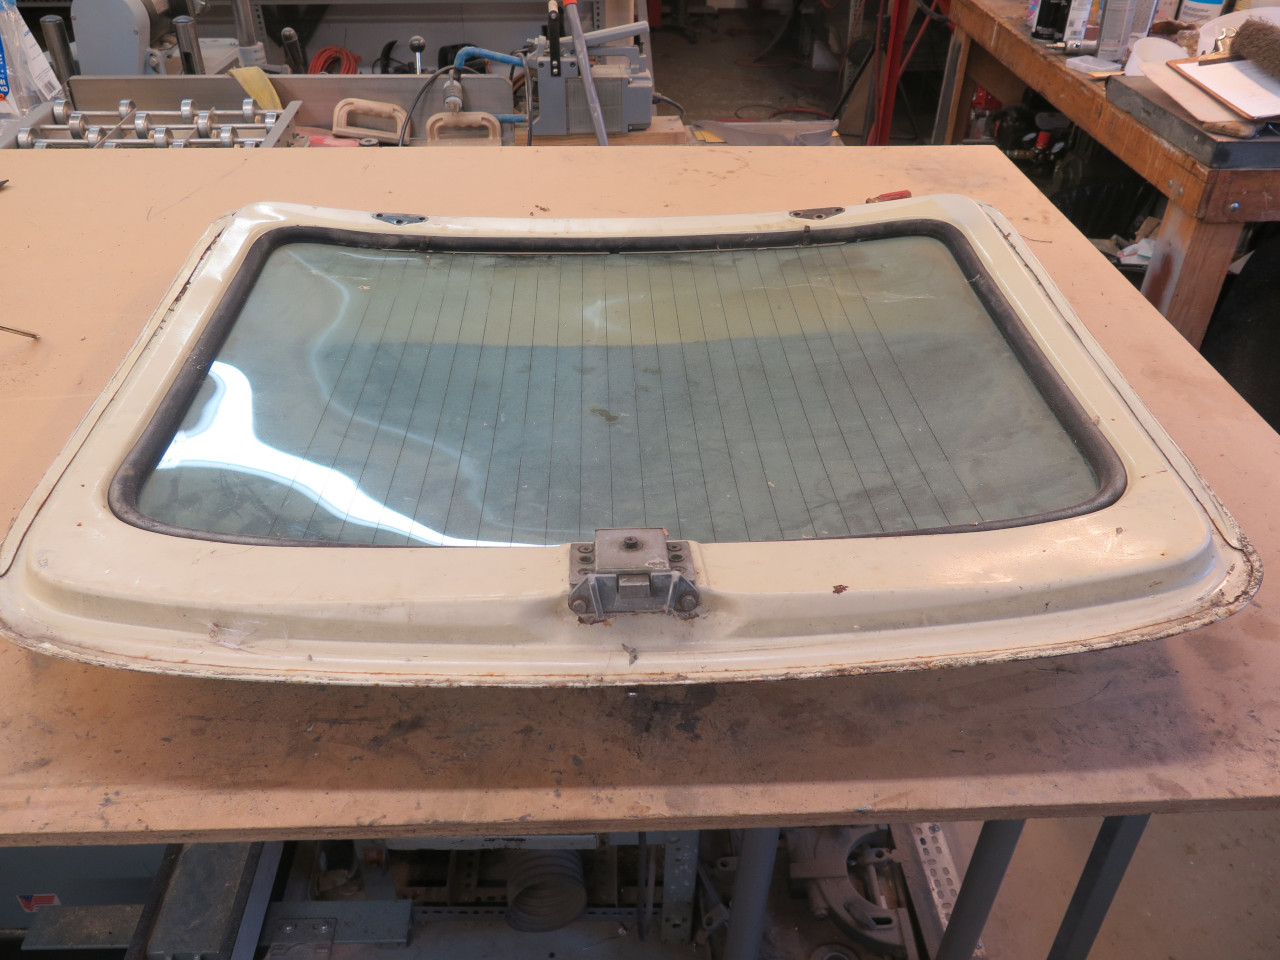
In the process of removing the remnants of the seal from the glass, I
managed to knock loose one of the electrical terminals for the heating
element. I think I could have replaced it, but it seemed like a
good idea to first determine if the rest of the heating array was any
good.
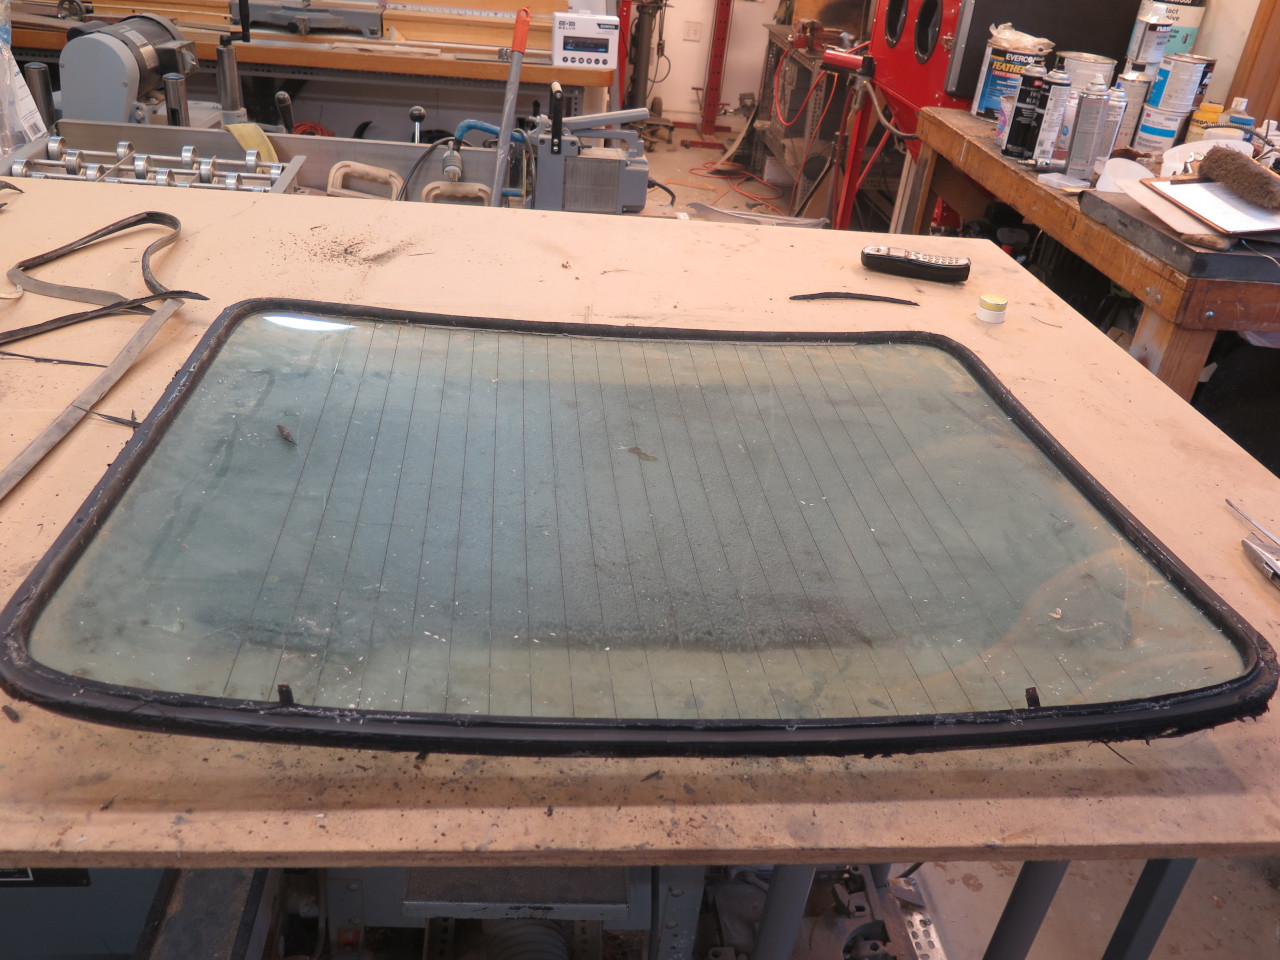
The array includes a pair of conductive buses at the top of the glass,
each with a spade type electrical connector. From one of the
buses, 11 fine conductive traces go down the inside surface of the glass
and connect to a long bus across the bottom. Eleven more fine
traces go up from the bottom bus to the other top bus, which carries
another electrical connector. To get any meaningful heat out of
this array, The total resistance would likely only be a few ohms at
most, so I should have been able to see essentially a short circuit
between the two electrical connections.
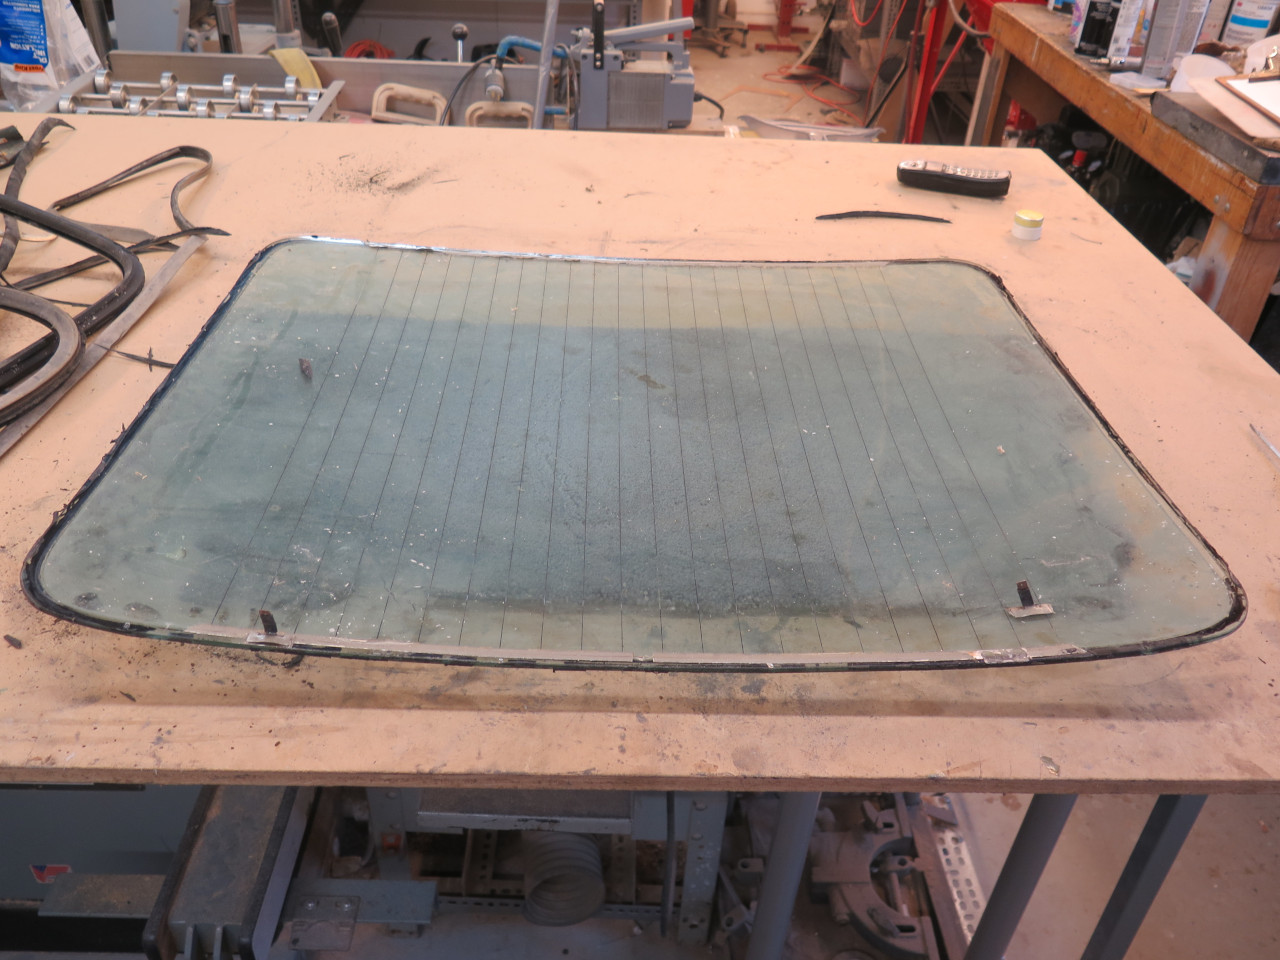
So I was disappointed to see an open circuit between the two connectors,
and between either connector an the bottom bus. This meant that
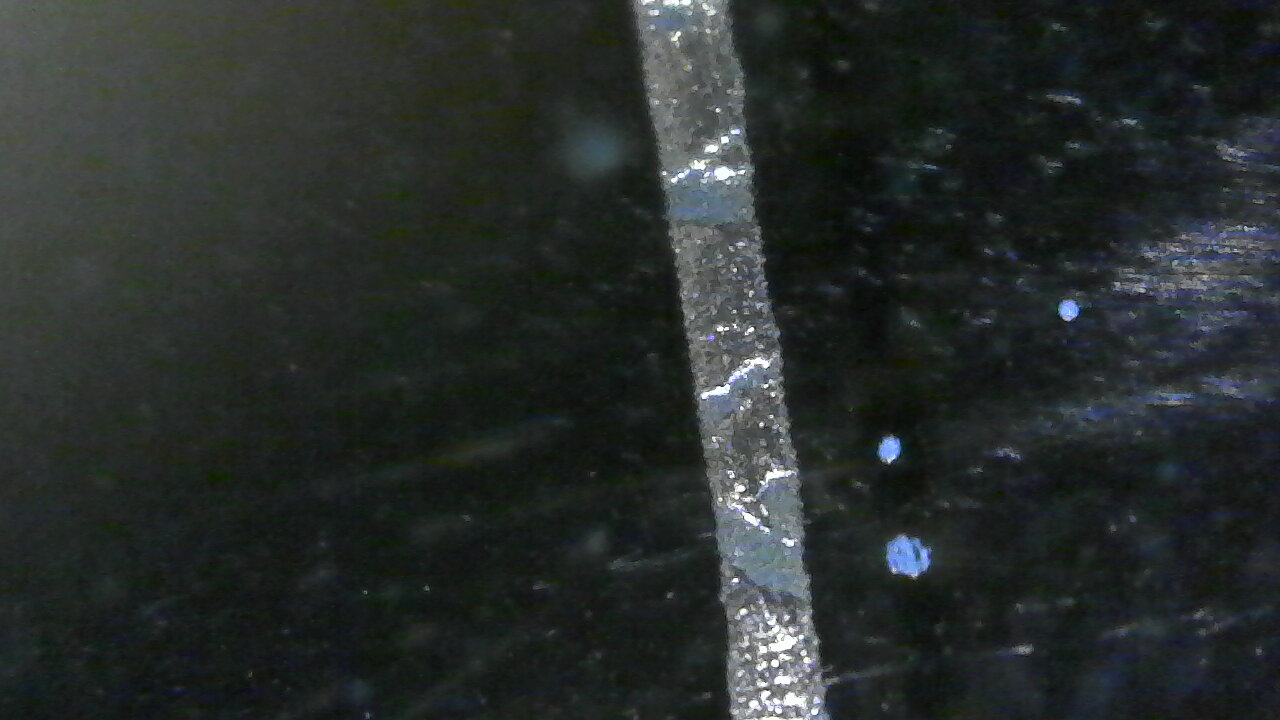
not a single one of the fine traces had continuity. Being sort of
geeky about this kind of stuff, I took a closer look at the
traces. They appeared to be some sort of metal, possibly tin or a
tin alloy, applied to thin lines etched in the glass. There were
numerous gaps in the metal, maybe the result of over aggressive cleaning
compounded with 5 decades of time.
Even though the glass itself was fine, I really wanted everything on
this car to work, so after a bit of stalling, I ordered new glass.
While waiting for the backordered glass to arrive, I turned to the hatch
frame. Sand blasting didn't turn up any unseen rust damage.
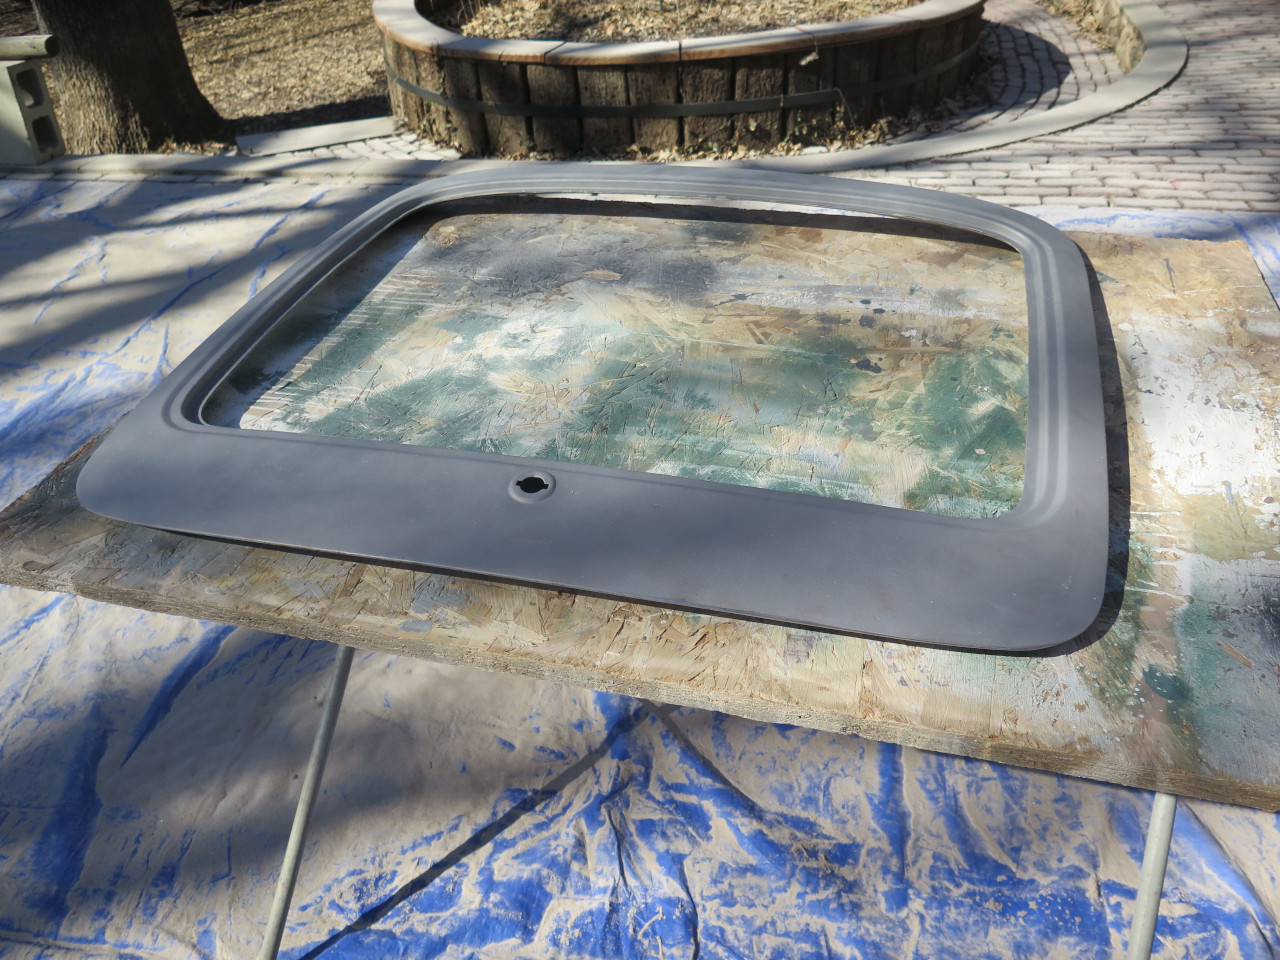
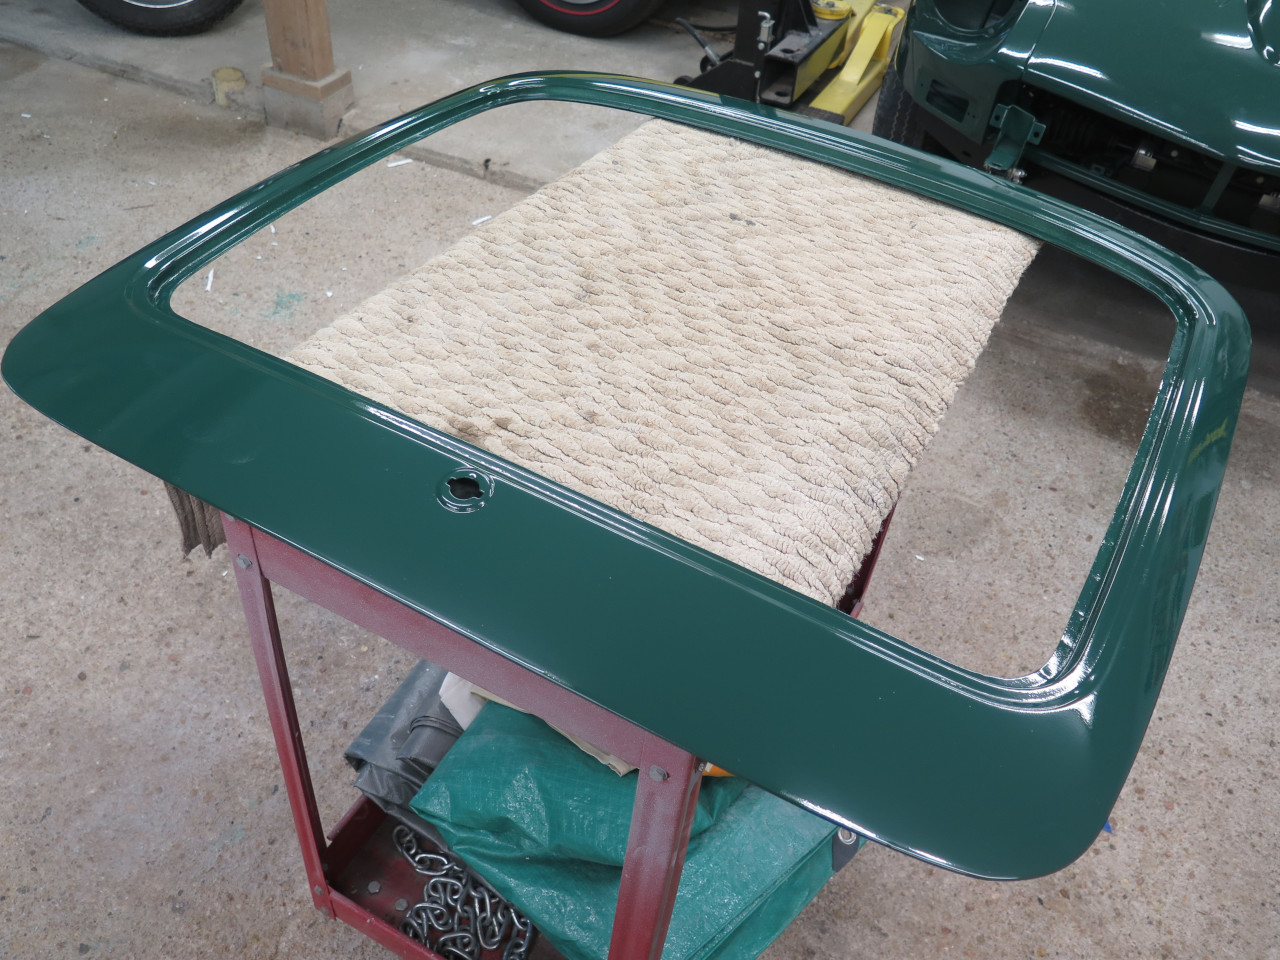
So it was on to a nice epoxy primer, followed by some minor filling.
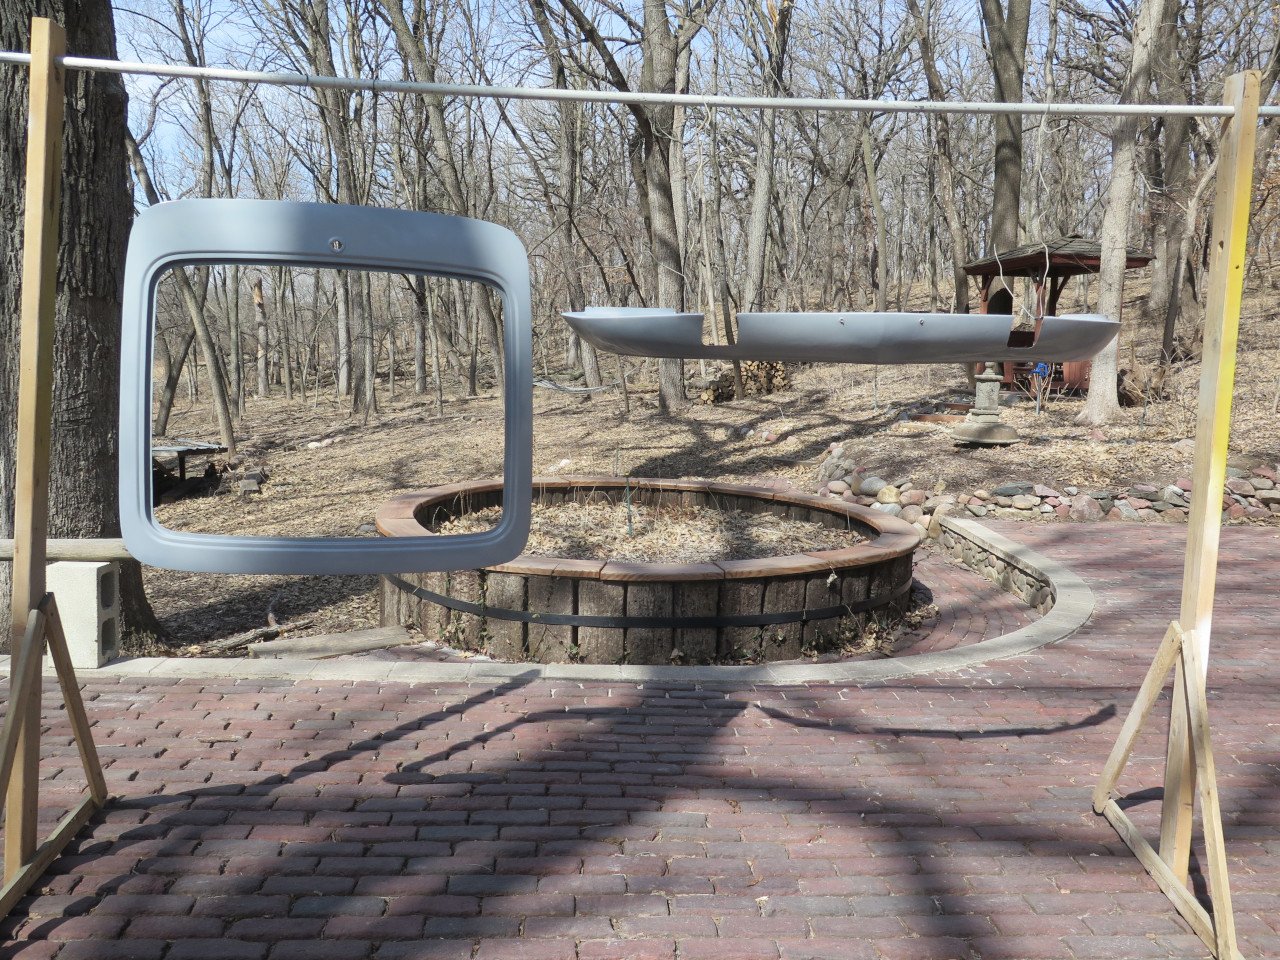
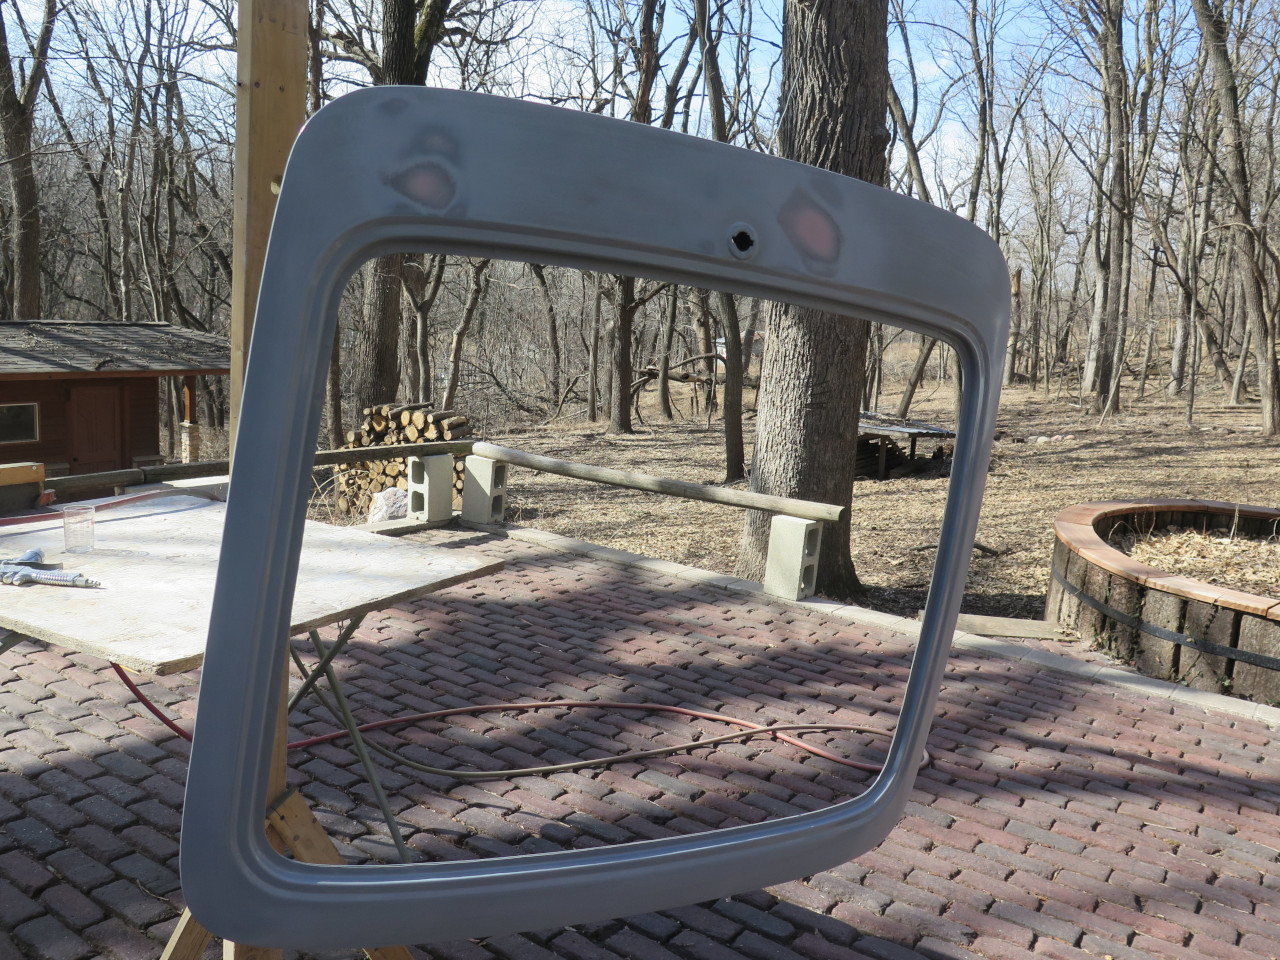
Then a polyester surfacer, and color.
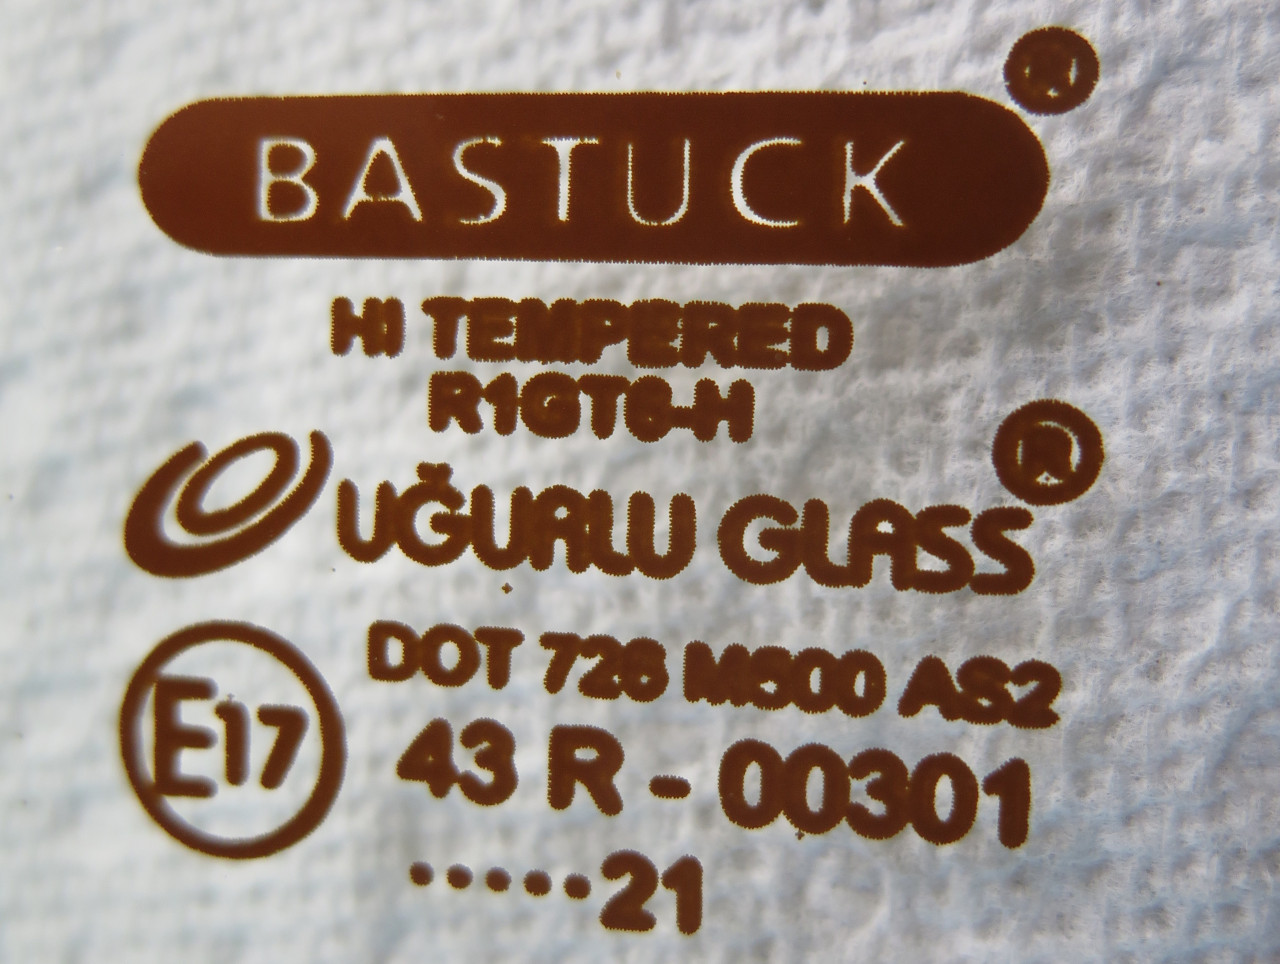
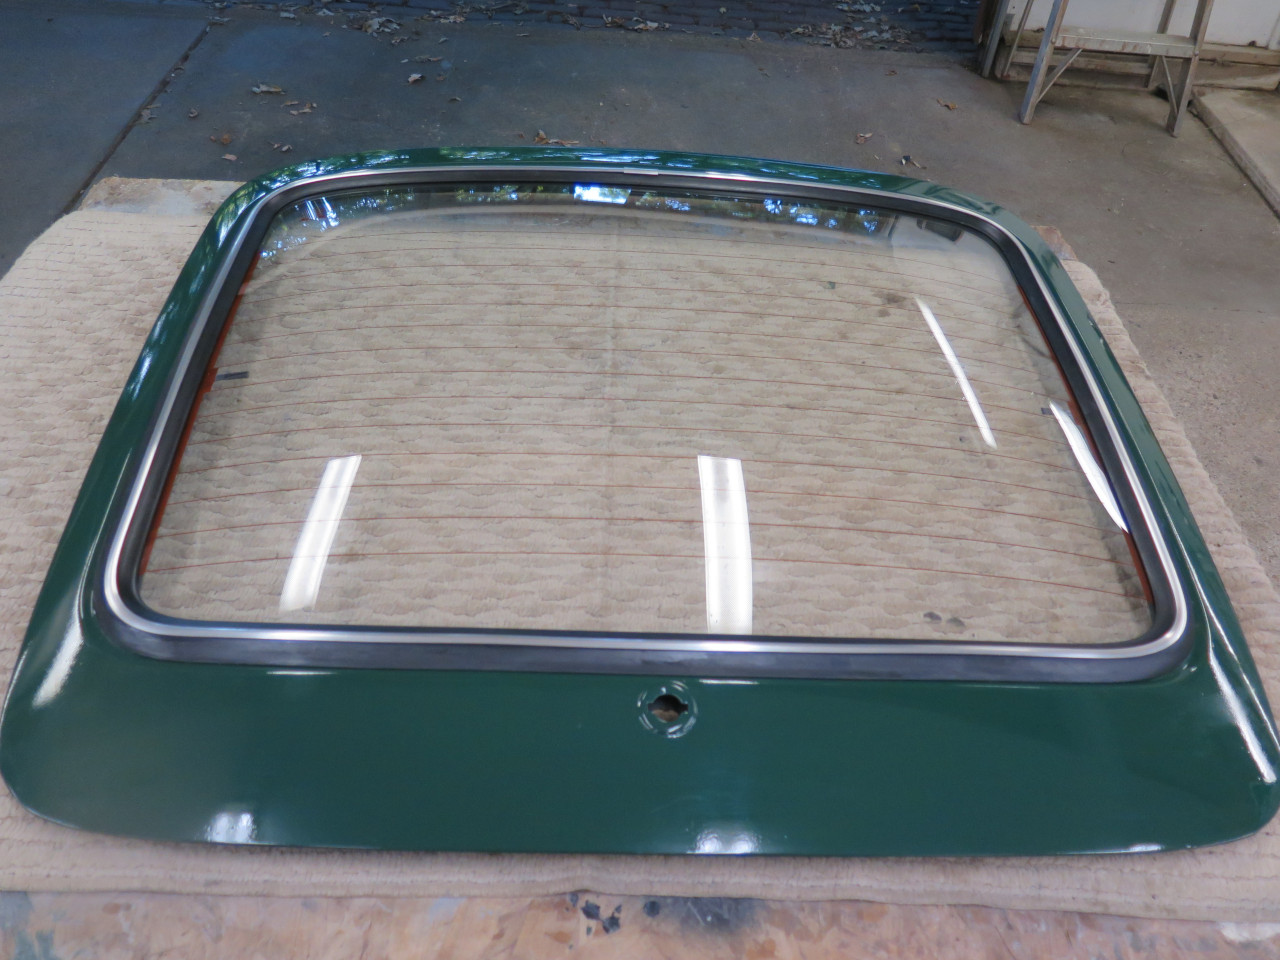
When the glass finally arrived, I gave it a look-over. My supplier
got it from Bastuck, a German classic car parts maker. I
considered this good. One oddity, the Bastuck label bonded
permanently to the glass ends up in the upper left corner of the
window--upside down!
The other thing I noticed is that the demist traces run horizontally,
and the electrical connections are near the middle of each side of the
glass. This will make wiring a little more interesting.
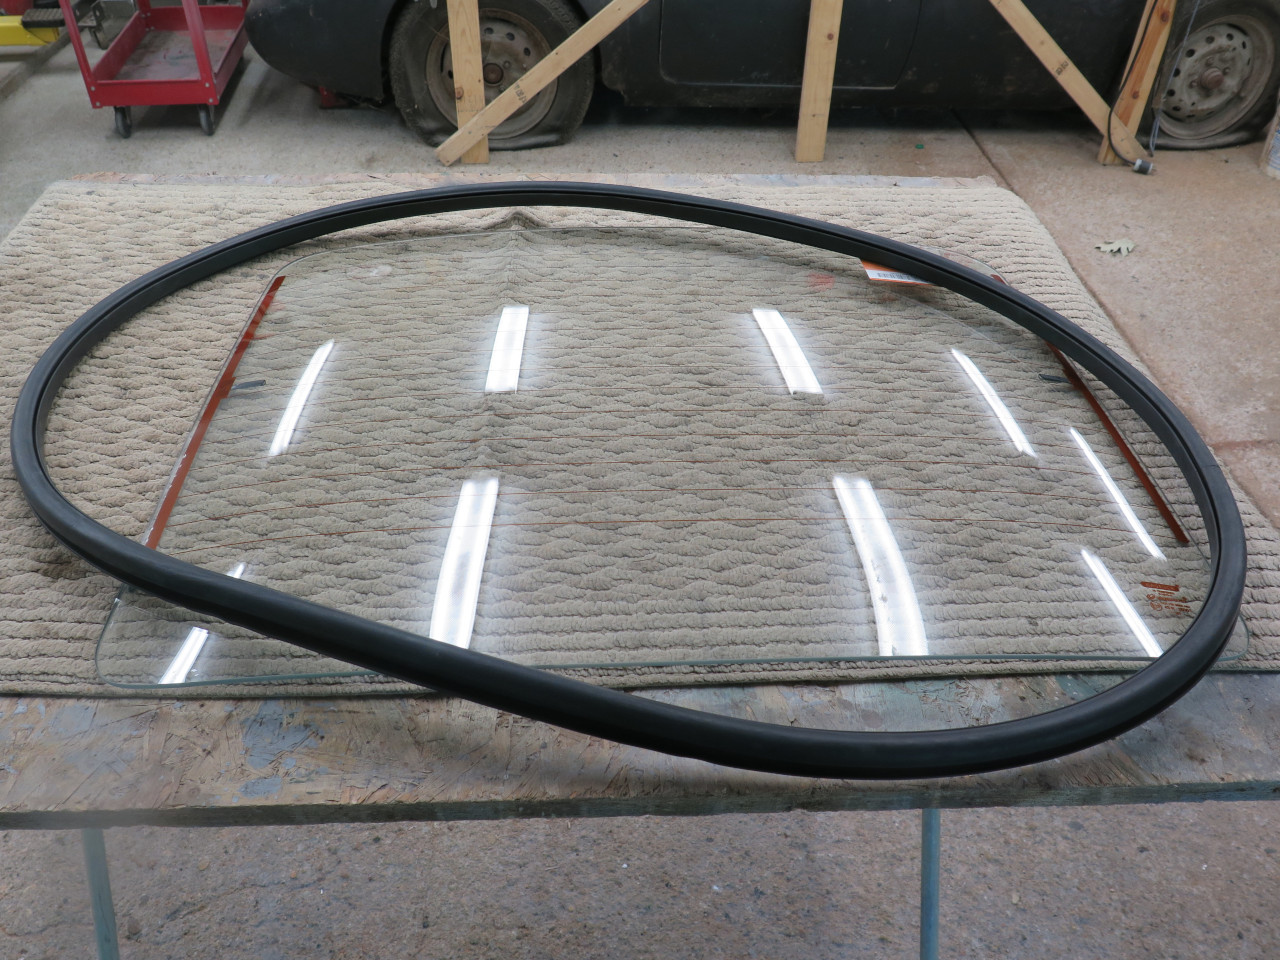
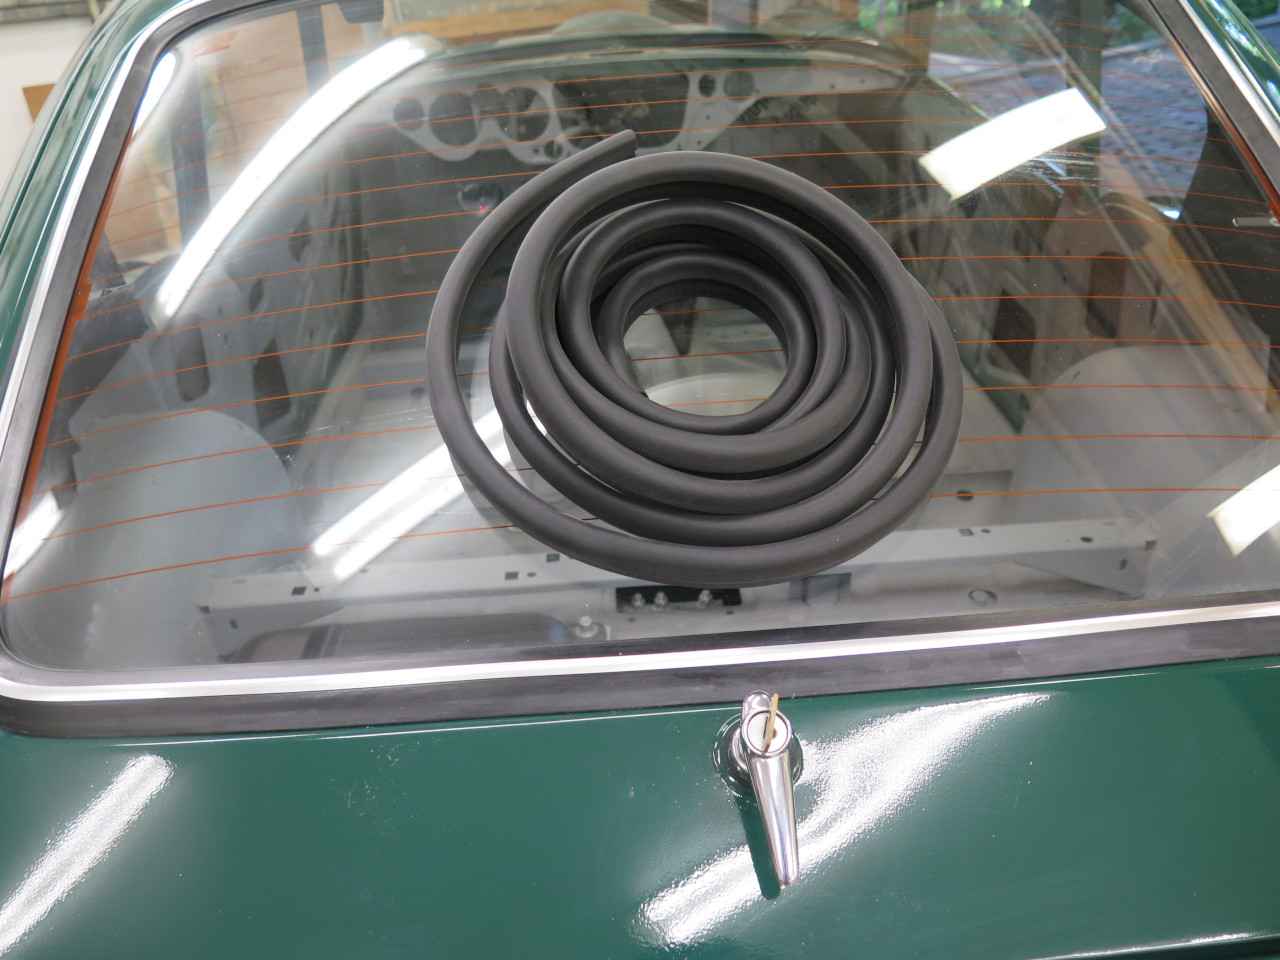
I also ordered the rubber gasket that goes between the glass and the
frame. It went on the glass fine, but some tape was required to
keep it there.
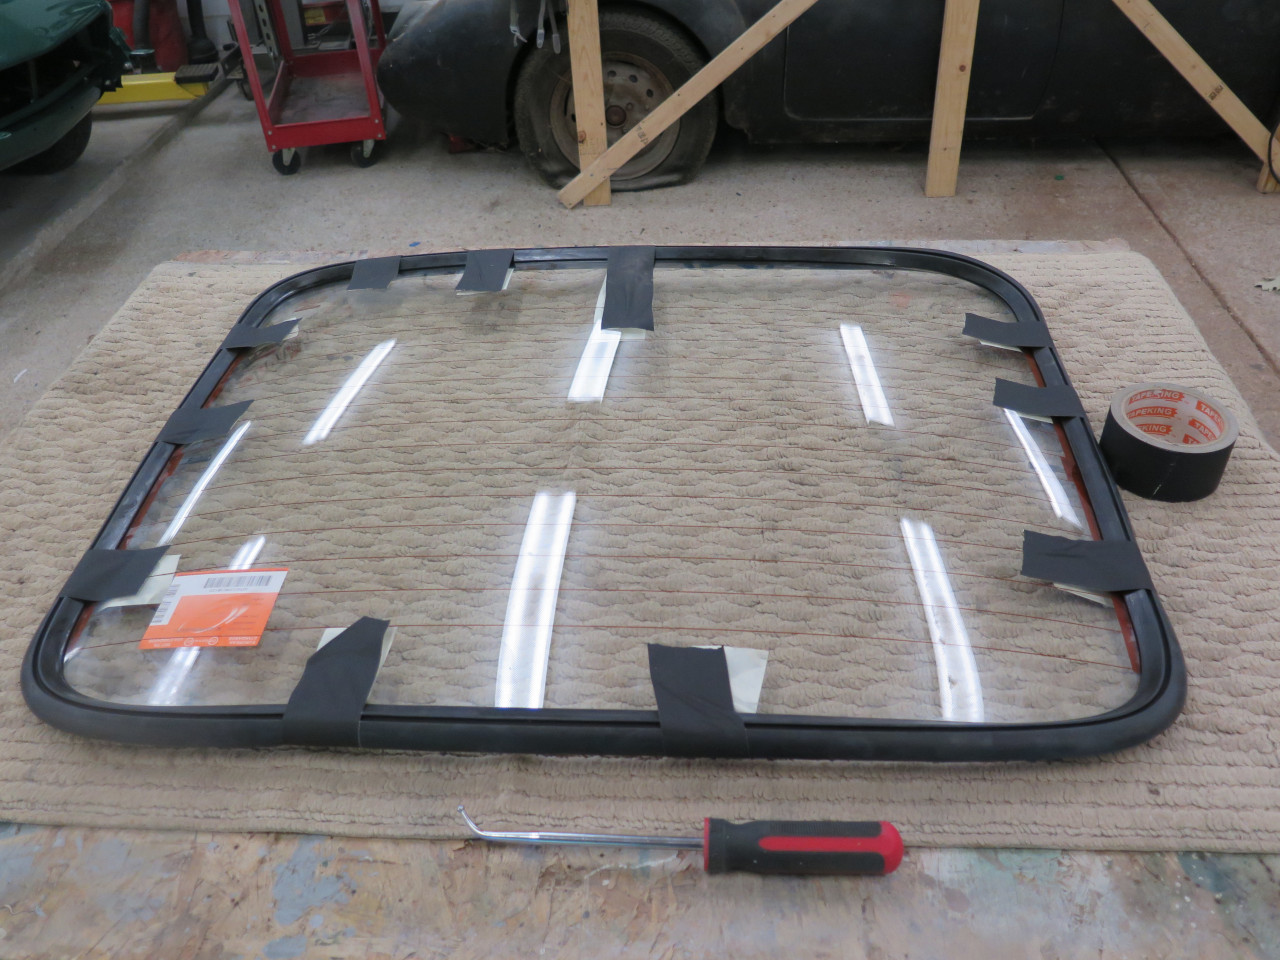
The next job was to mount the glass into the frame. One tried and
true aid for this task is to install a cord into the channel that has to
grip the frame flange. The cord can then be pulled out such that
it pulls the lip of the gasket over the flange.
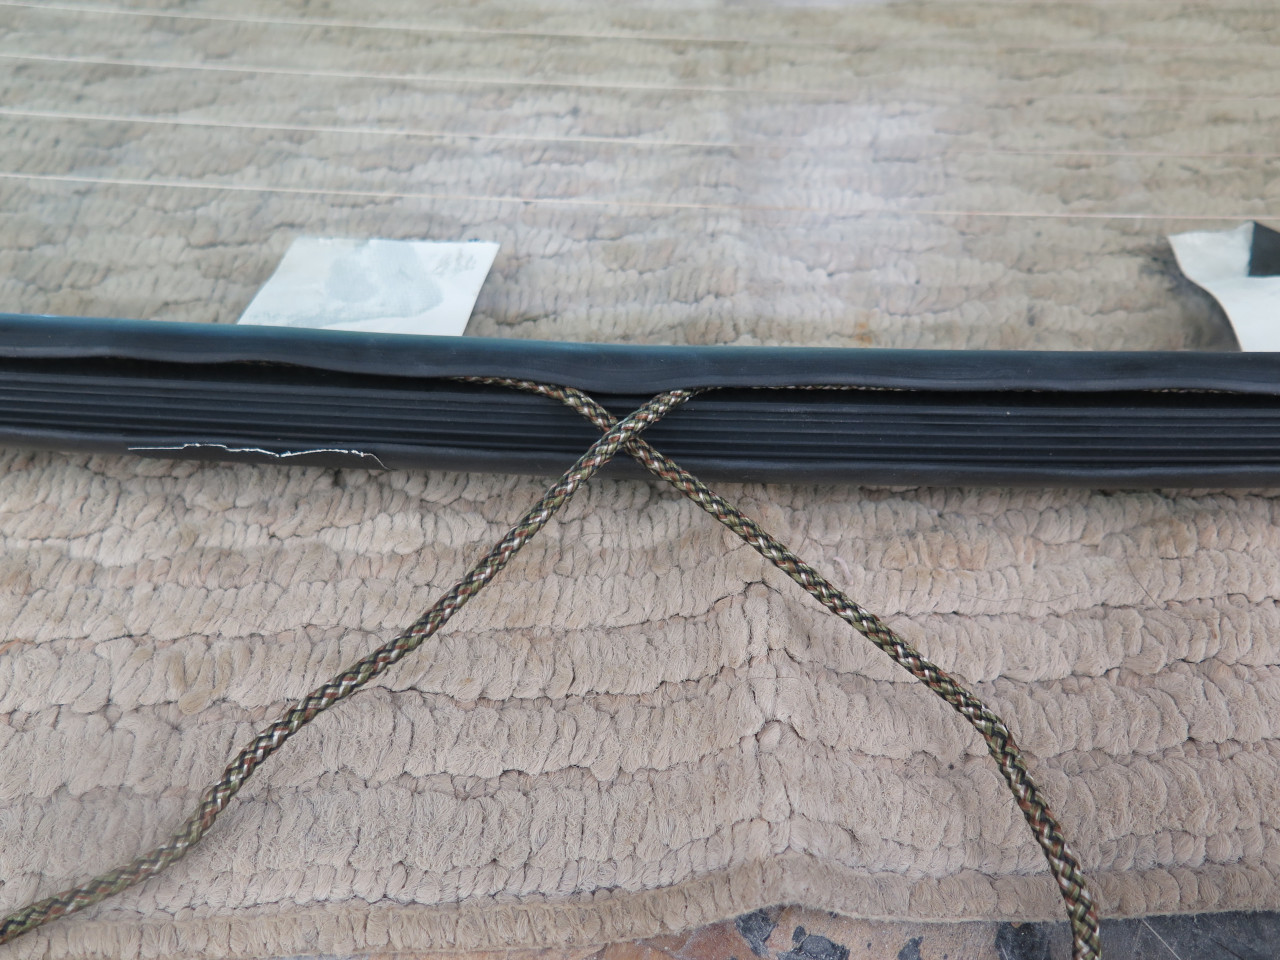
I've used this method once before and it worked fine, but in this case,
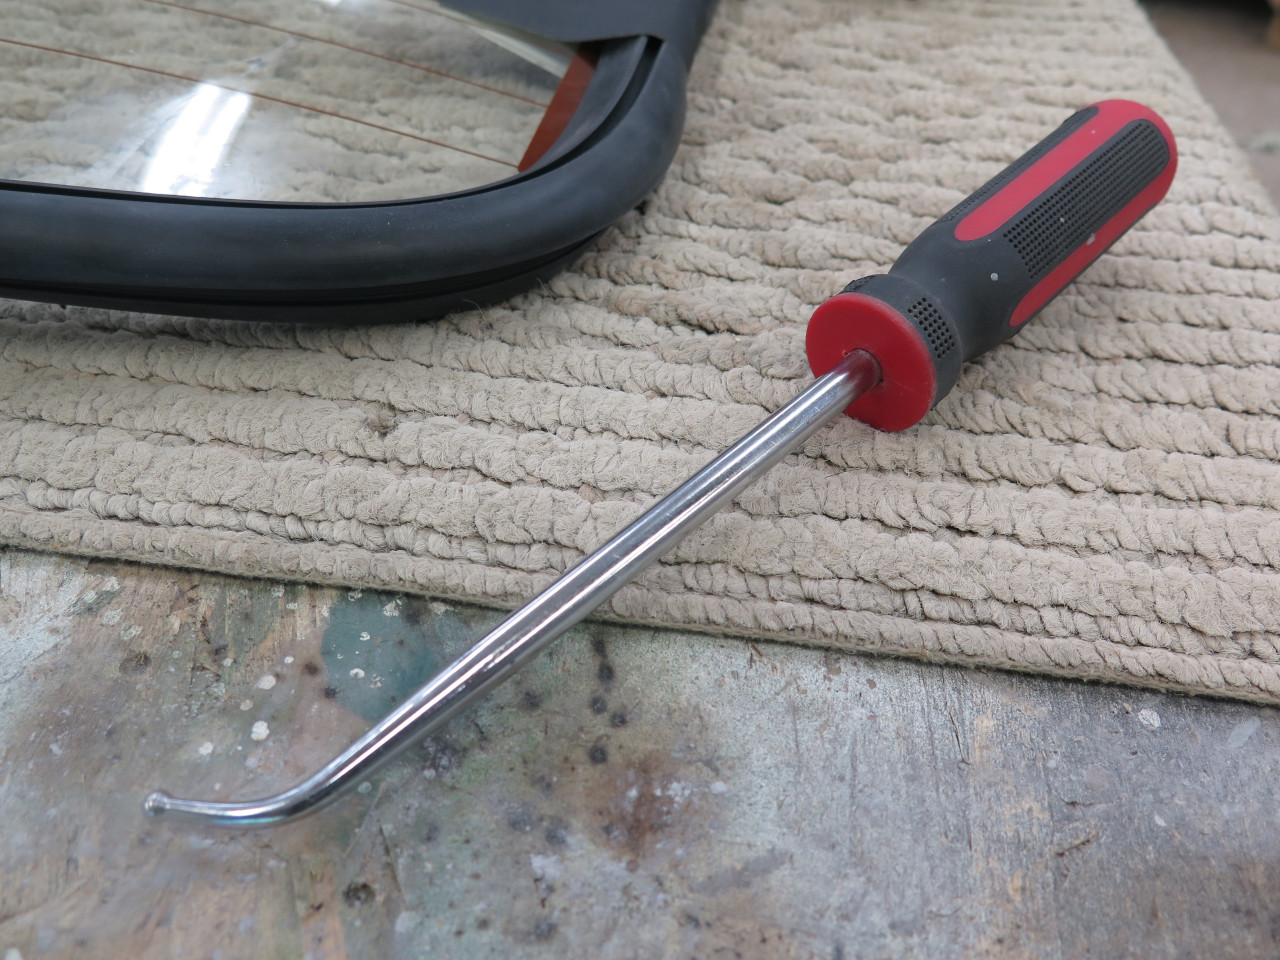
it did not, at least for me. What did work both for the
seal-to-glass and the seal-to-frame jobs is this little hook tool.
I believe it is made just for this kind of thing. Some of them
are sharp on the end, but I find that they can damage the rubber.
Even with the tool and copious amounts of rubber lubricant, the fitting
of the glass into the frame seemed like a cross between a Sumo match and
a game of Whack-a-Mole. But I finally prevailed.
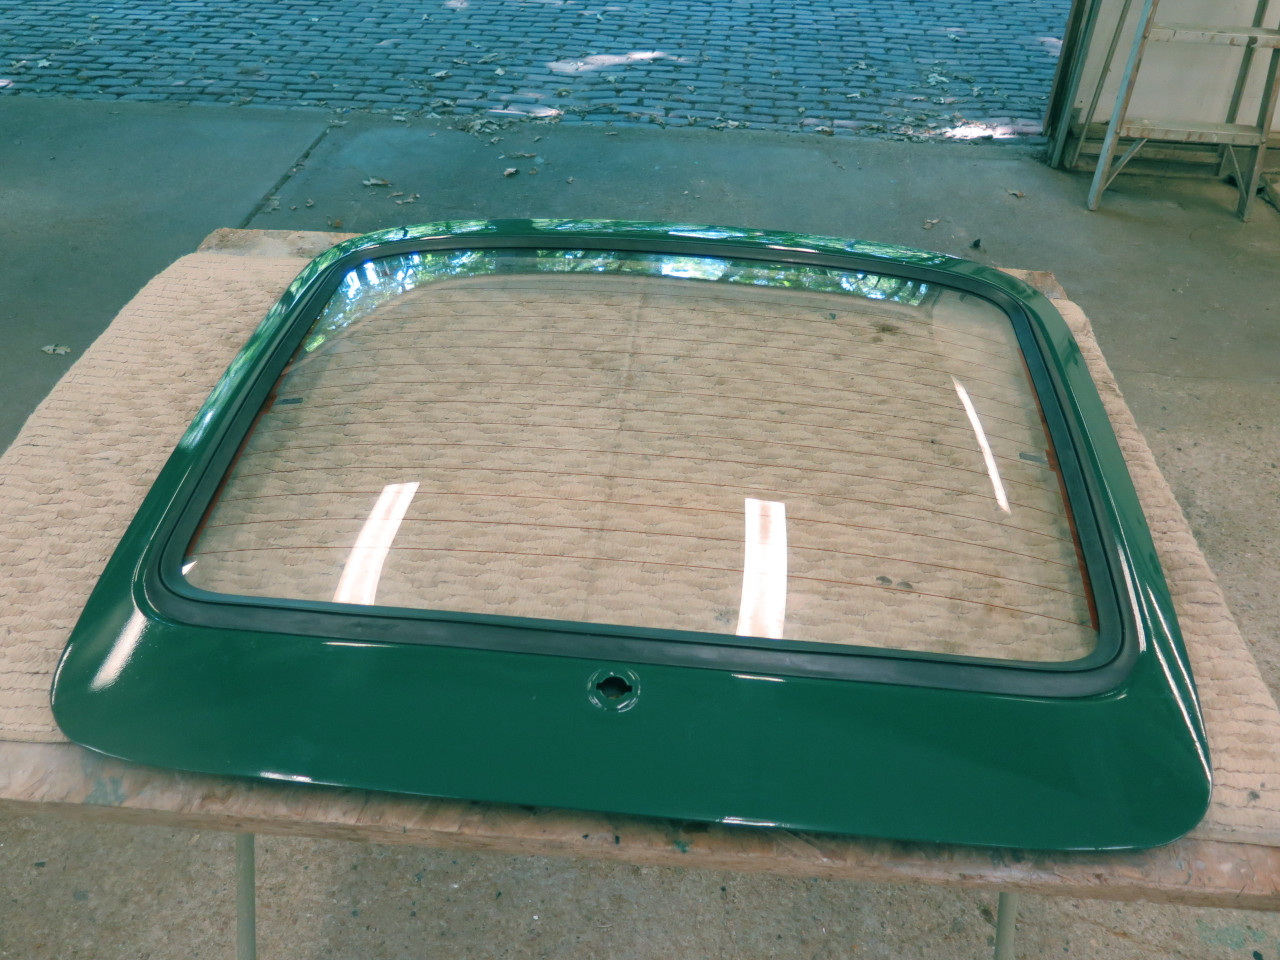
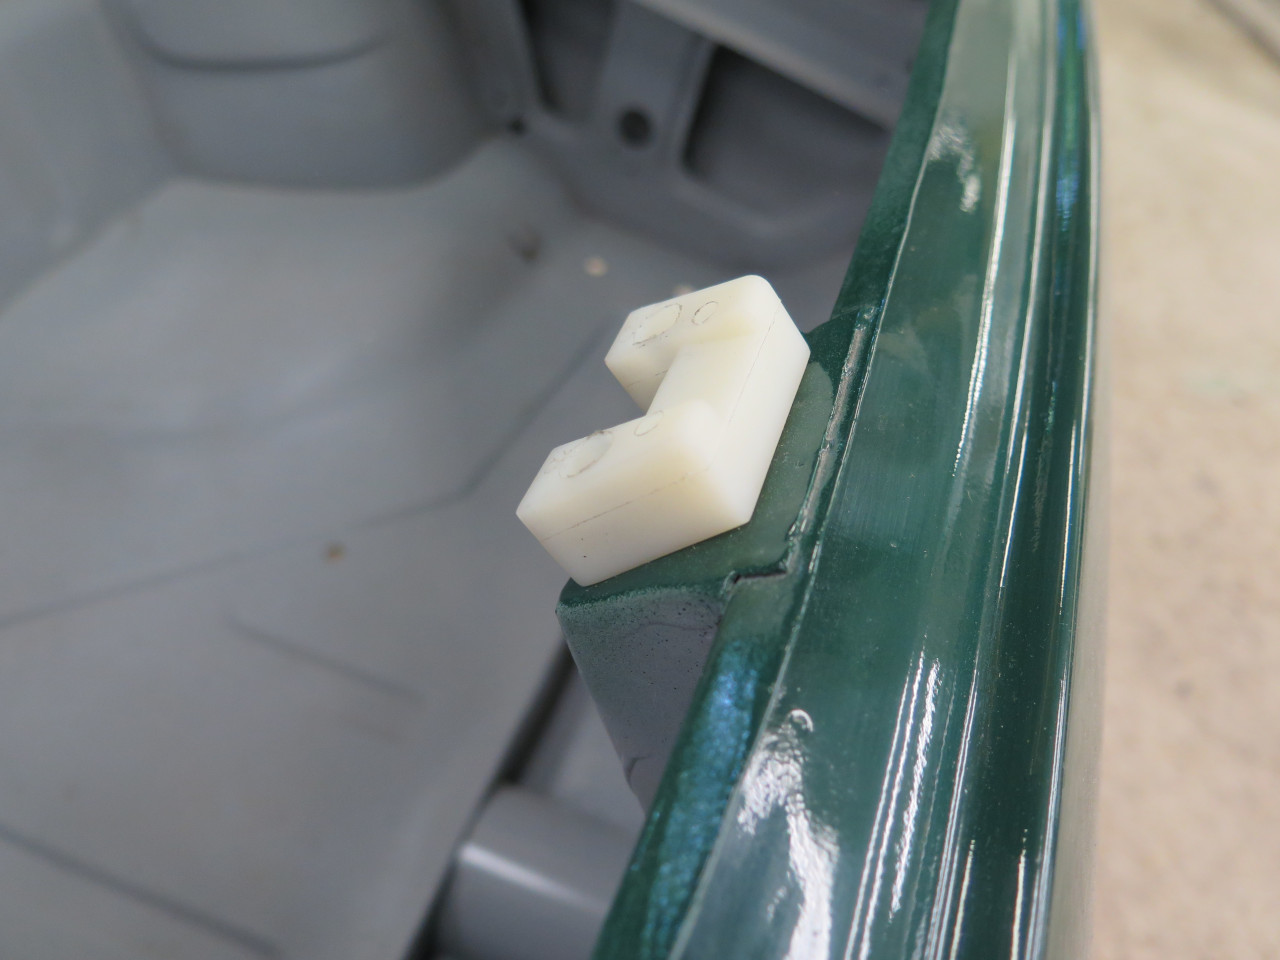
Then the chrome-like plastic locking strip:
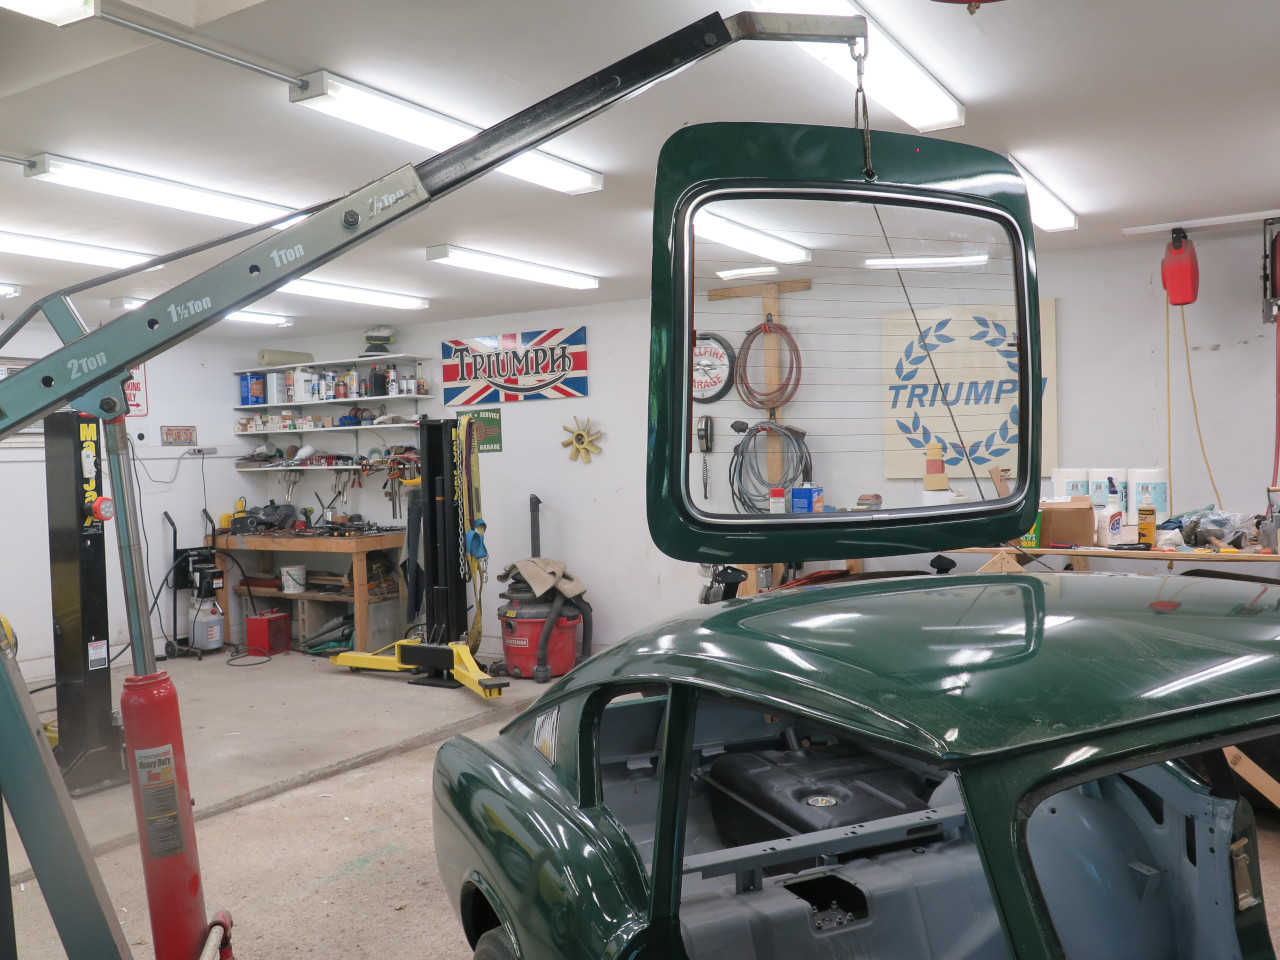
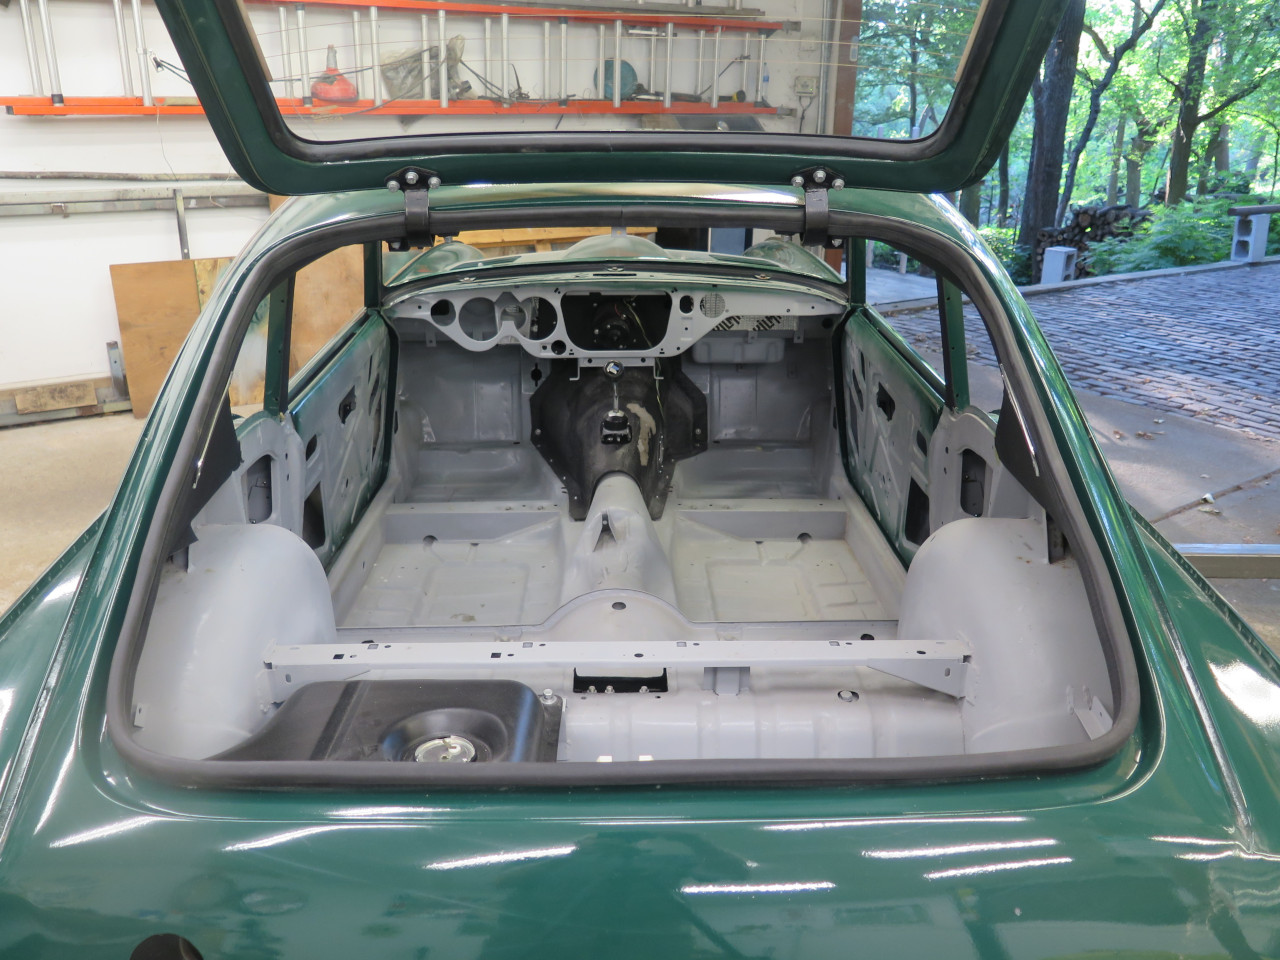
Then I had to prep the car to receive the hatch. I dug out the gussied-up hinge assembly.
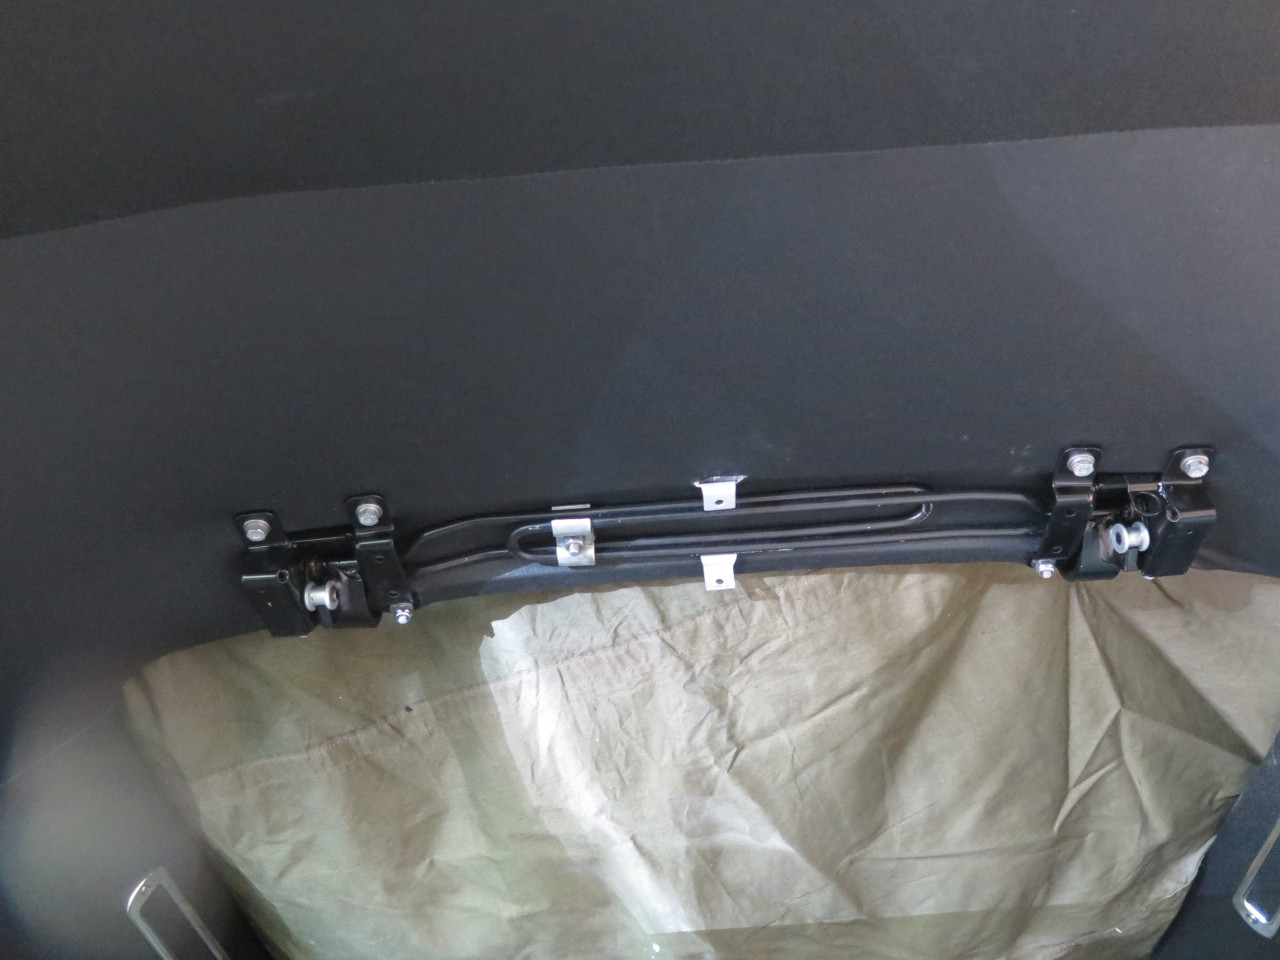
And bolted it to the roof of the car.
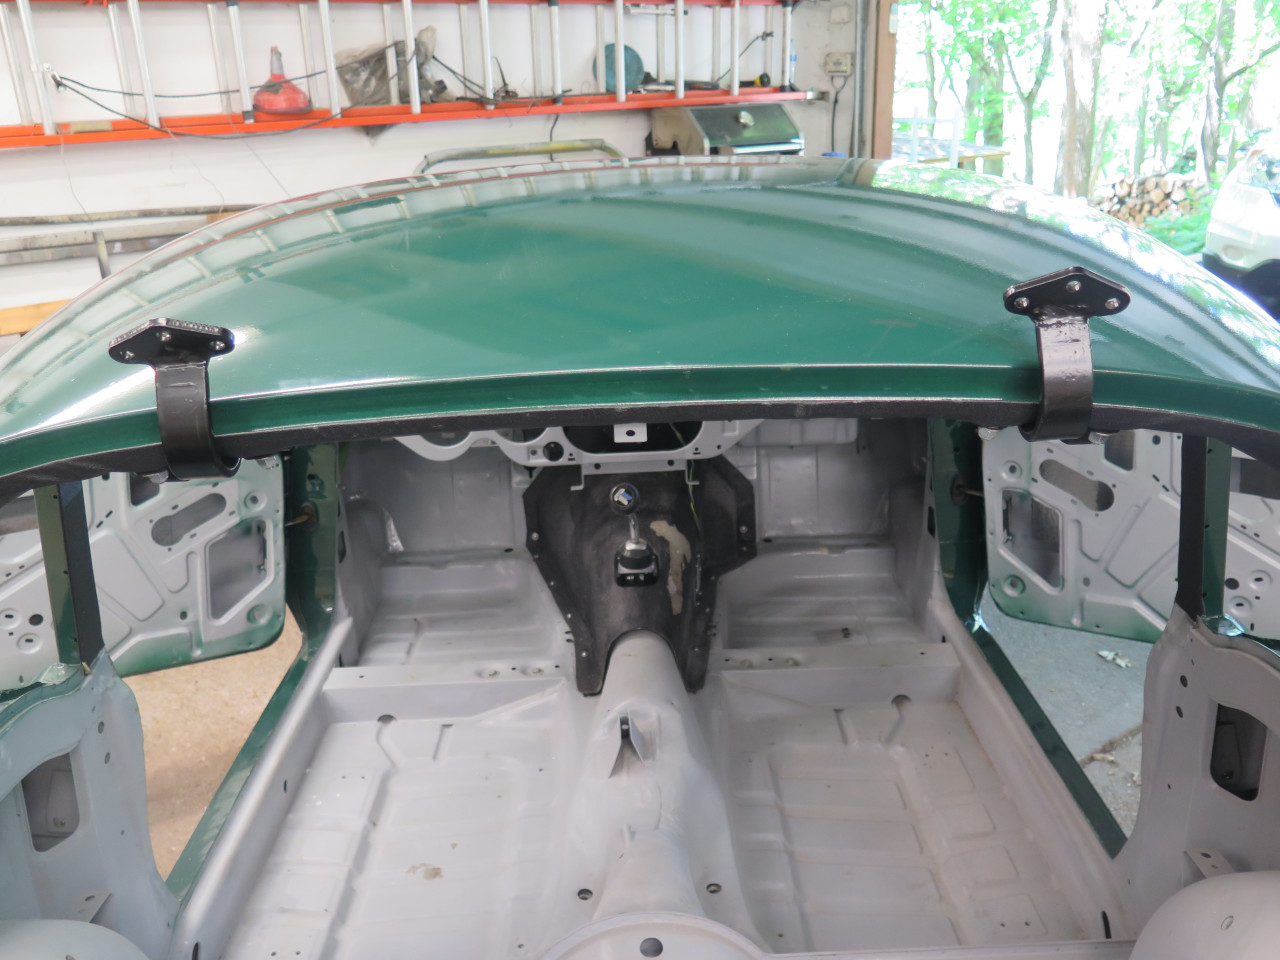
Since I'm a solo act here, I make good use of my engine hoist.
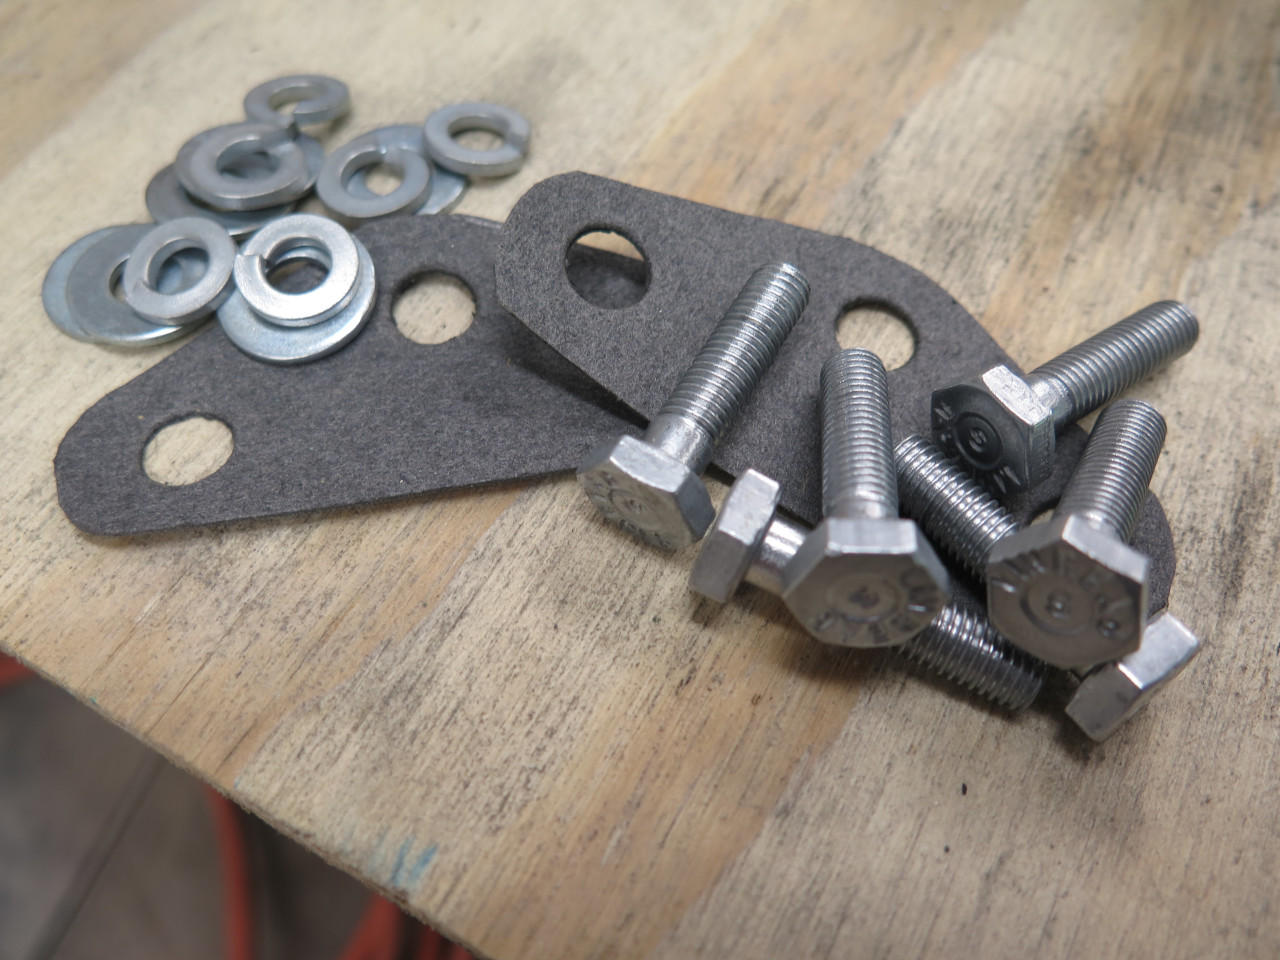
I couldn't remember if the factory had gaskets between the hinges and
the hatch frame, but they seemed like a good idea to me, so I made a
couple. The bolts are original. Washers are new.
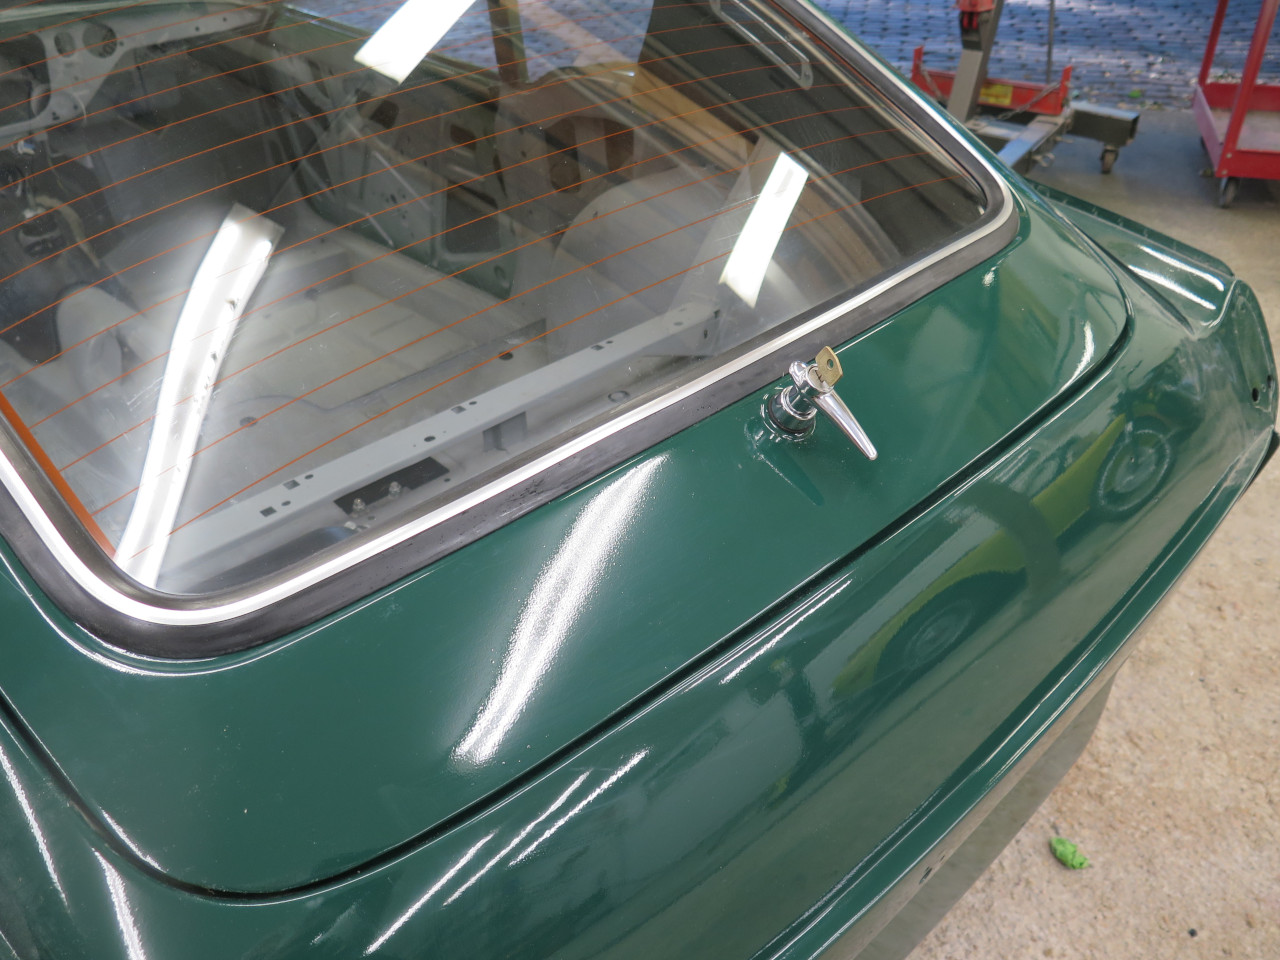
Finally, back together again.
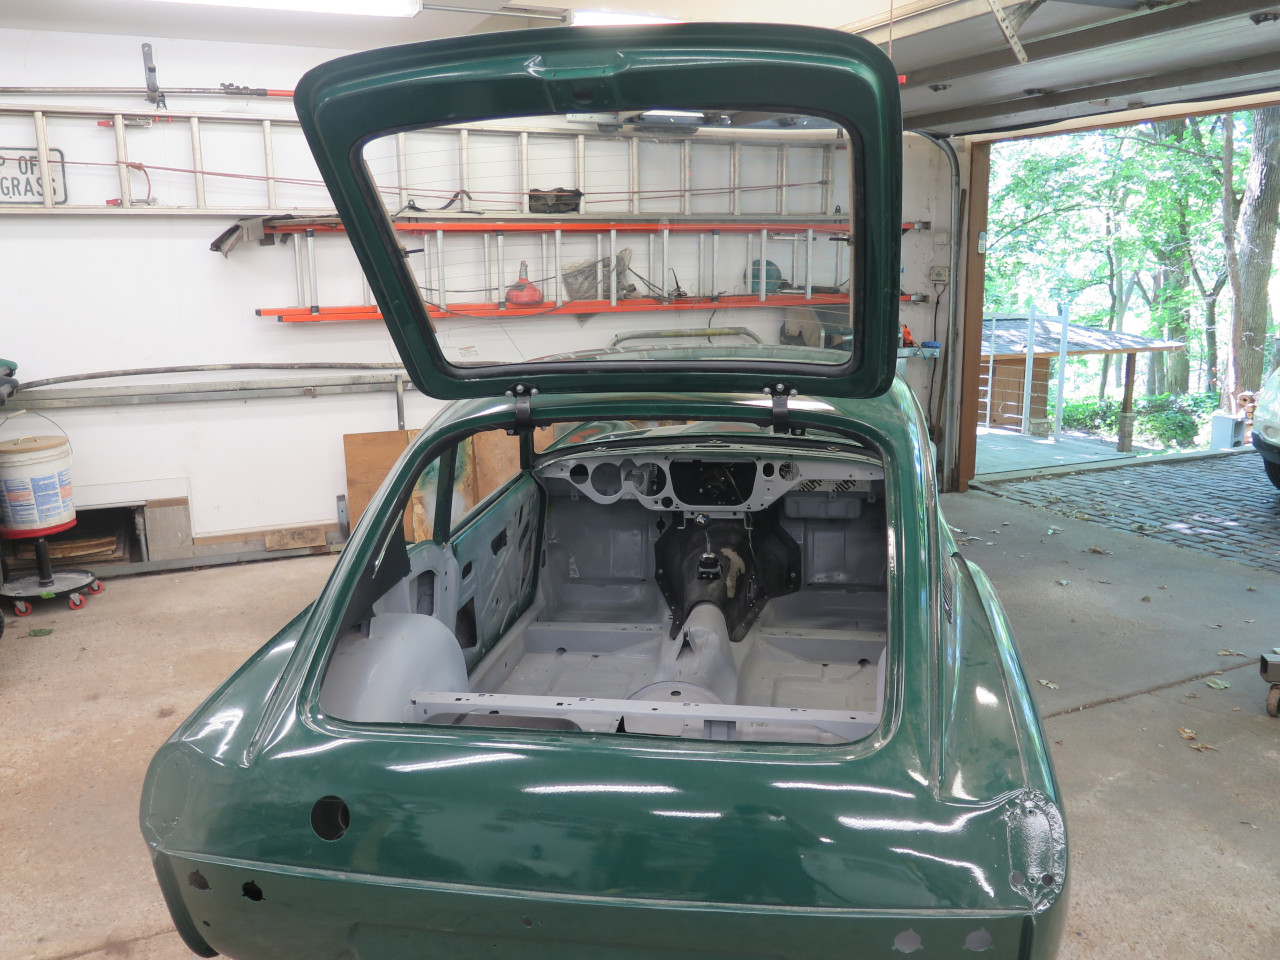
Then located the hatch latch and other related parts.

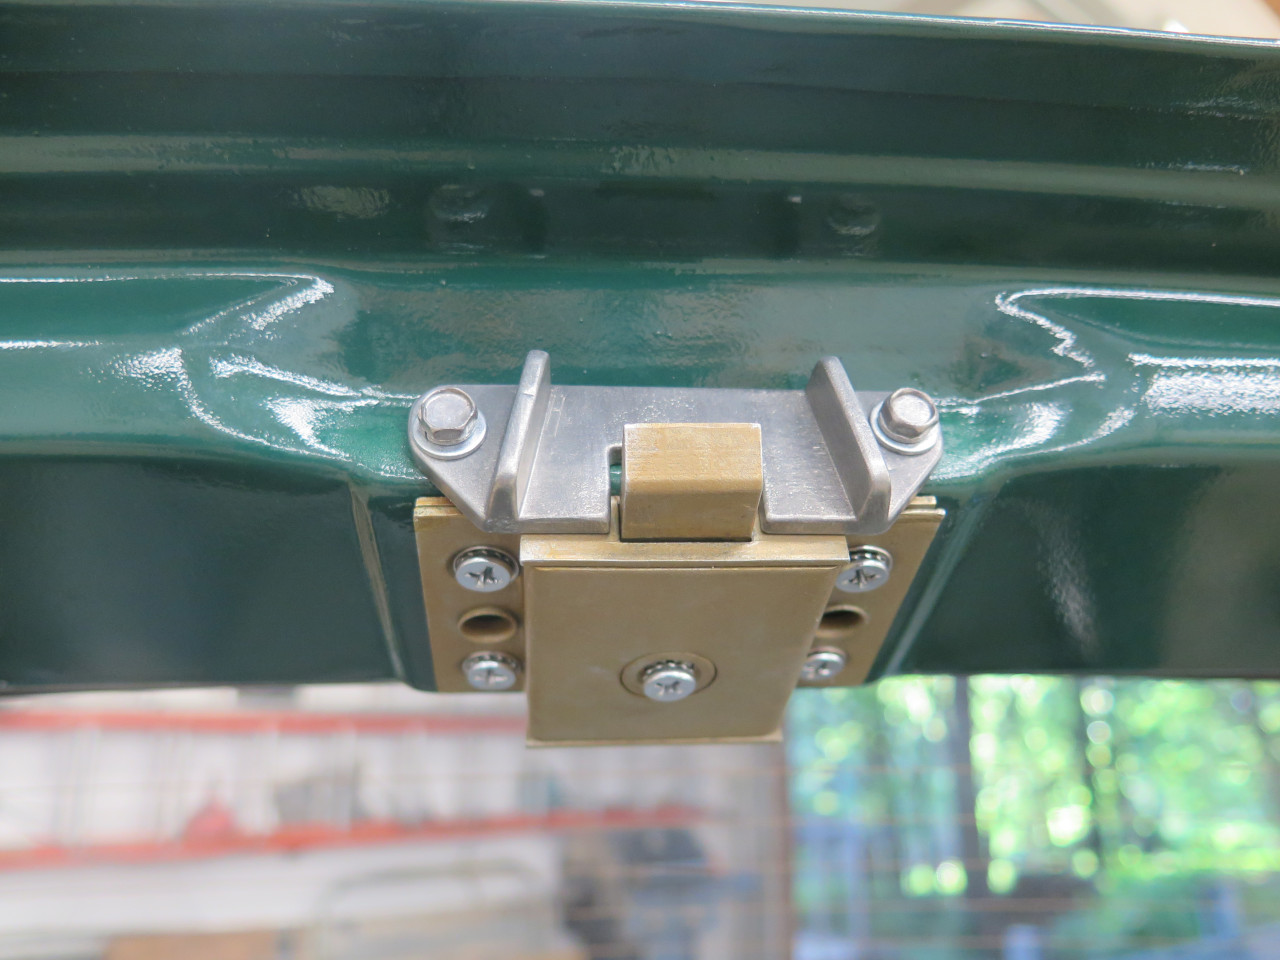
The latch worked, and a little tweaking of the hinge mounting got the
hatch pretty centered in it's opening. You will see some orange
peel in some of these pics because first, I'm
not a great painter, and second, nothing has been rubbed out yet.
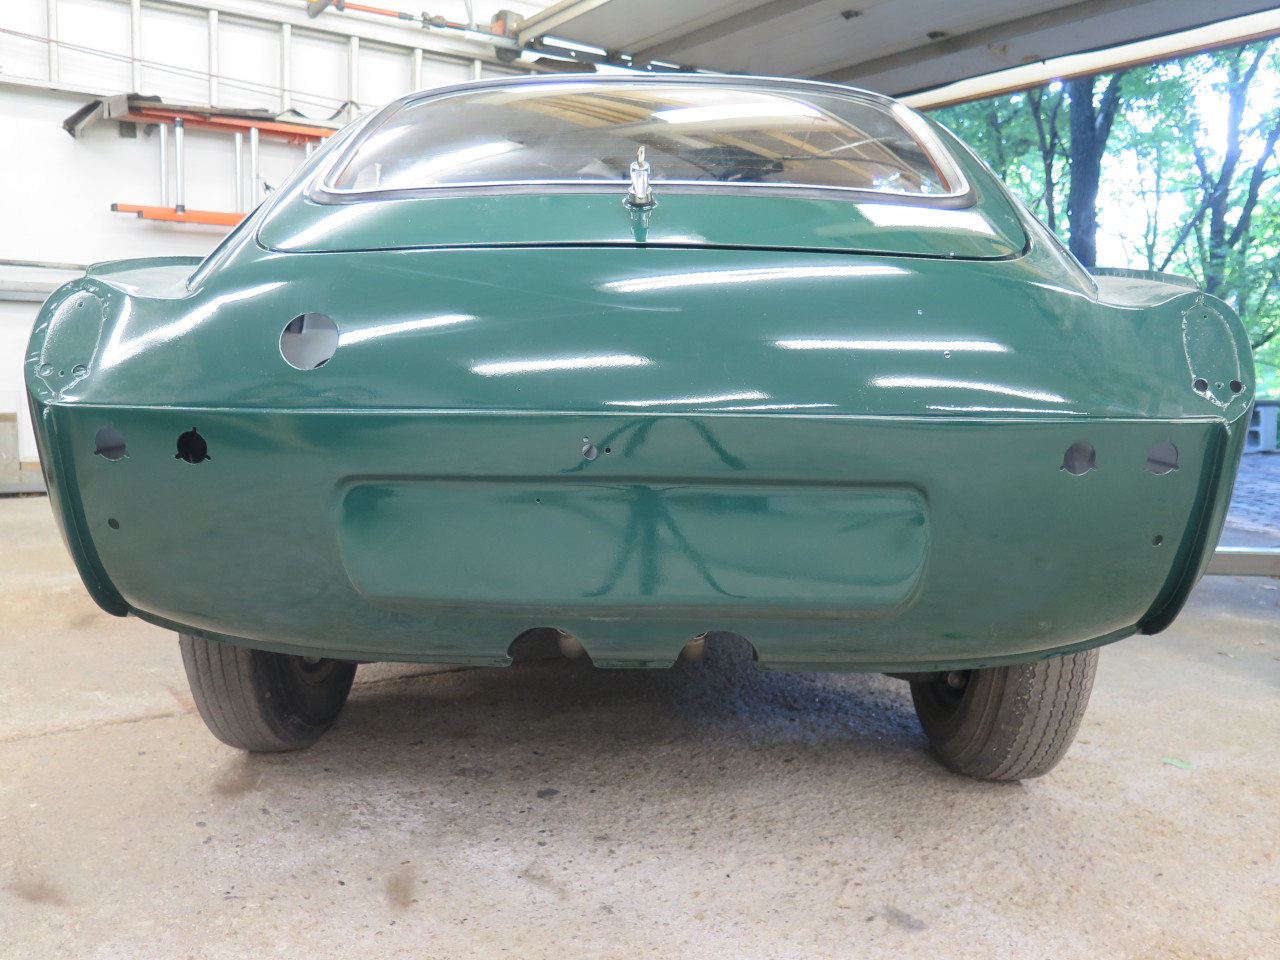
Then the boot seal.
It took a little adjustment of the striker, but the hatch now closes with a satisfying chunk.

I like these jobs that make a visible difference in the car. This
one was a struggle at times, but still fun. It wasn't a cheap
one. Glass and seals came to something north of $600.
Comments to Ed at elhollin1@yahoo.com
To my other GT6 pages.