To my other GT6 pages
February 15, 2022
Hatchback Hinges
GT6 cars had a swing-up hatch for the boot, hinged at the roof. It
was spring loaded, such that its natural state was all the way open,
and it had to be manually pulled down to close it.
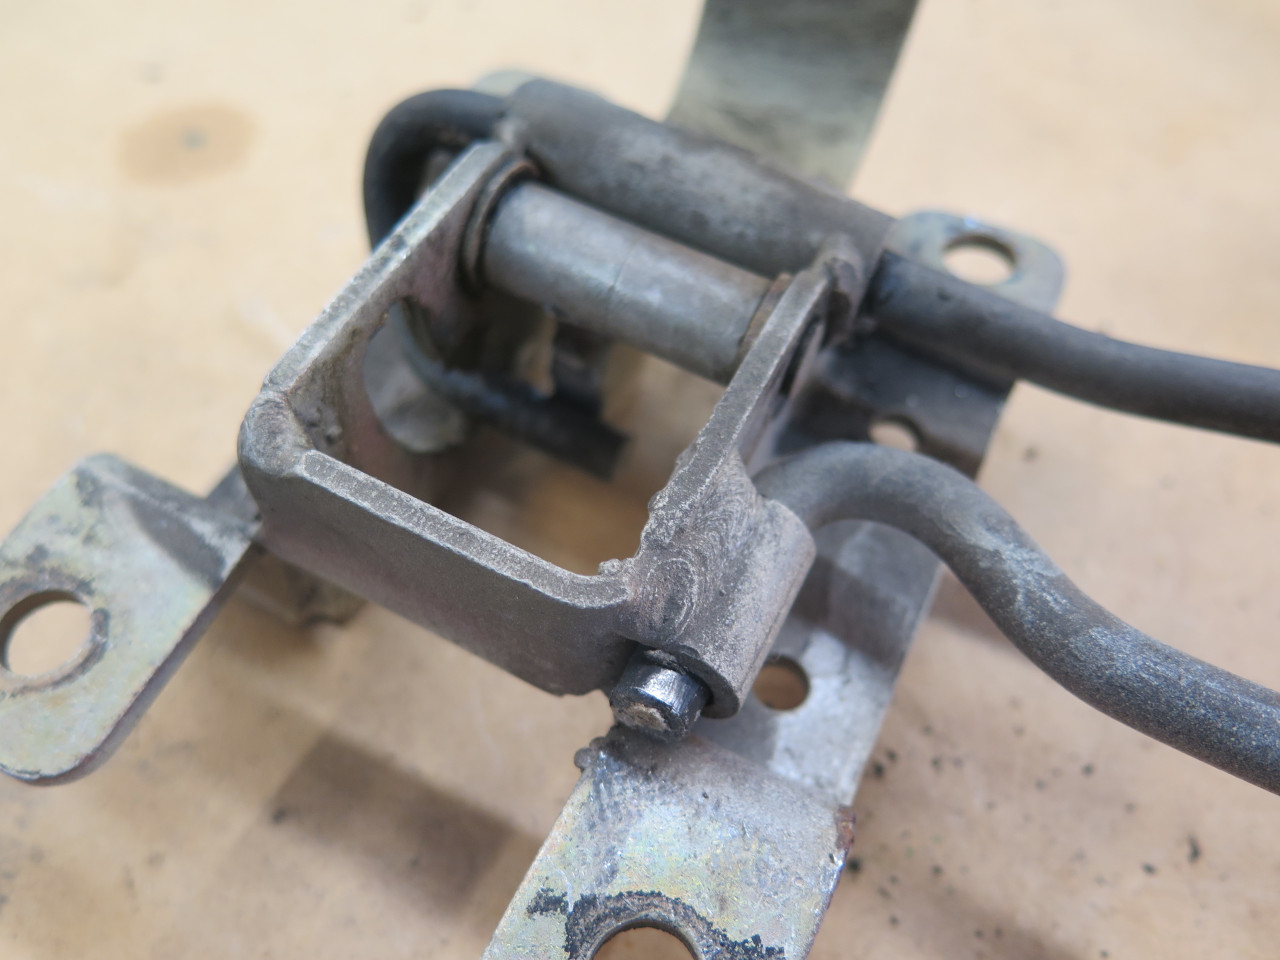
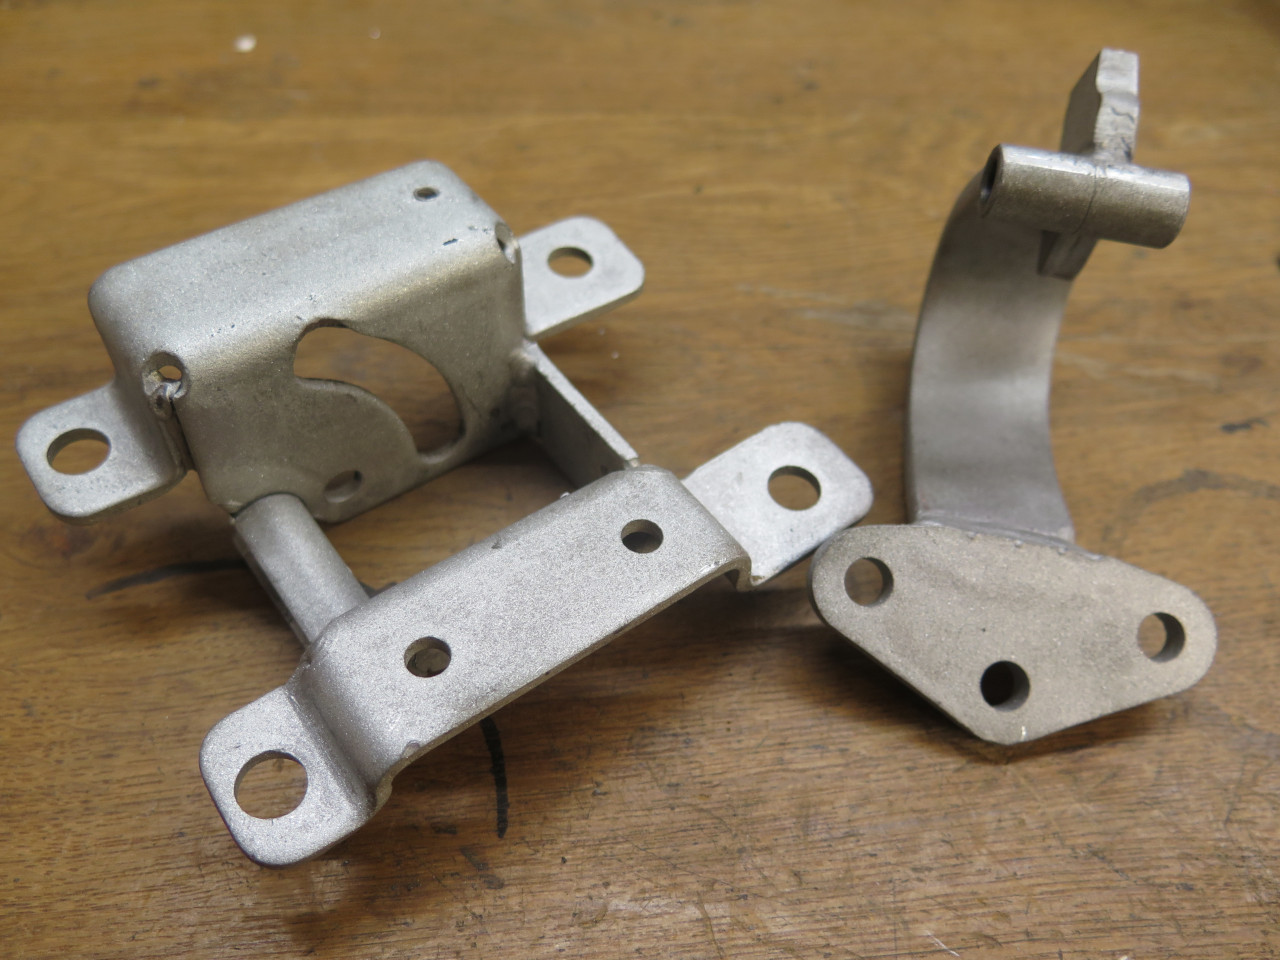
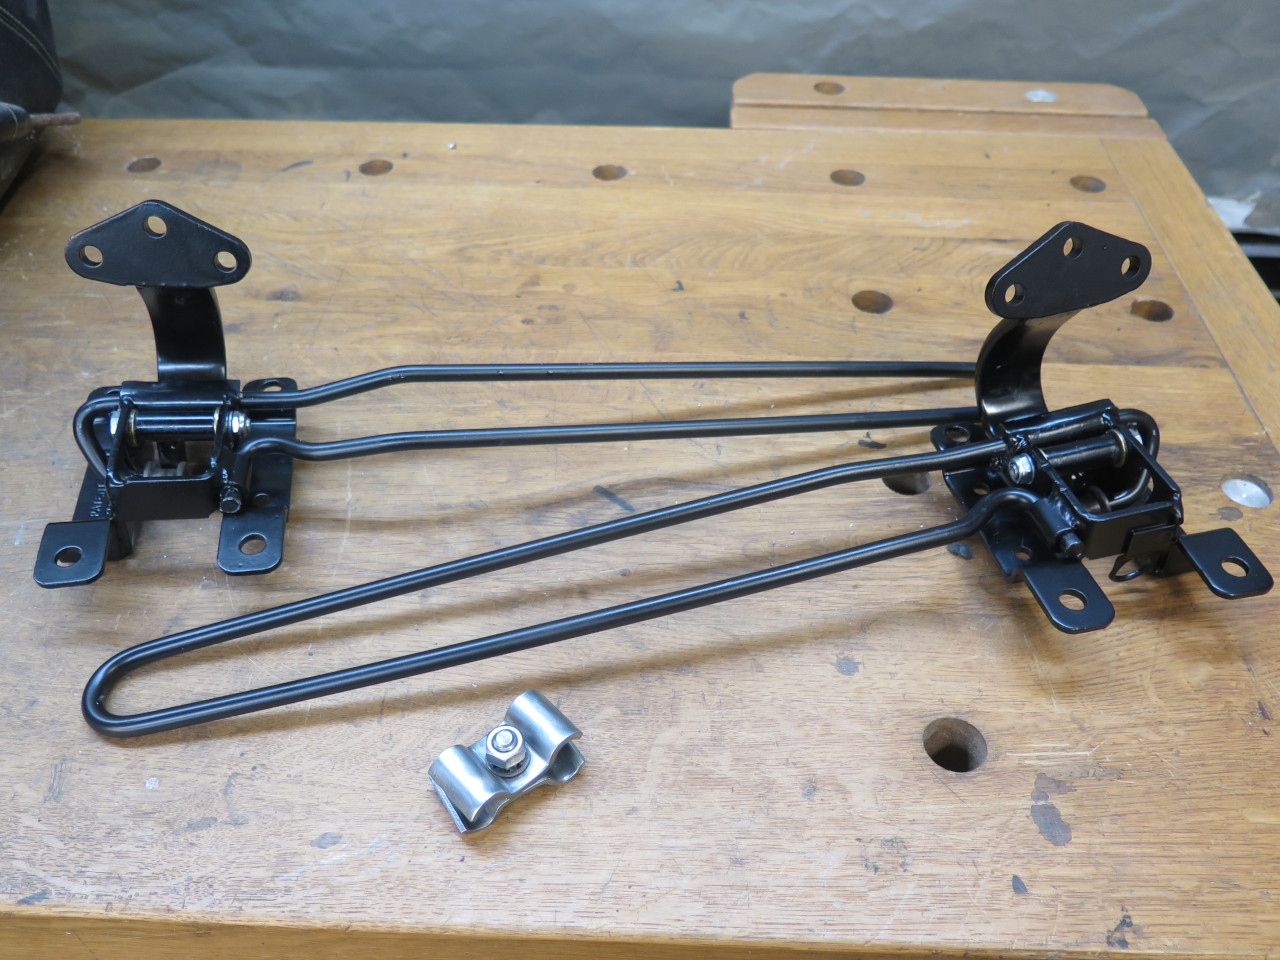
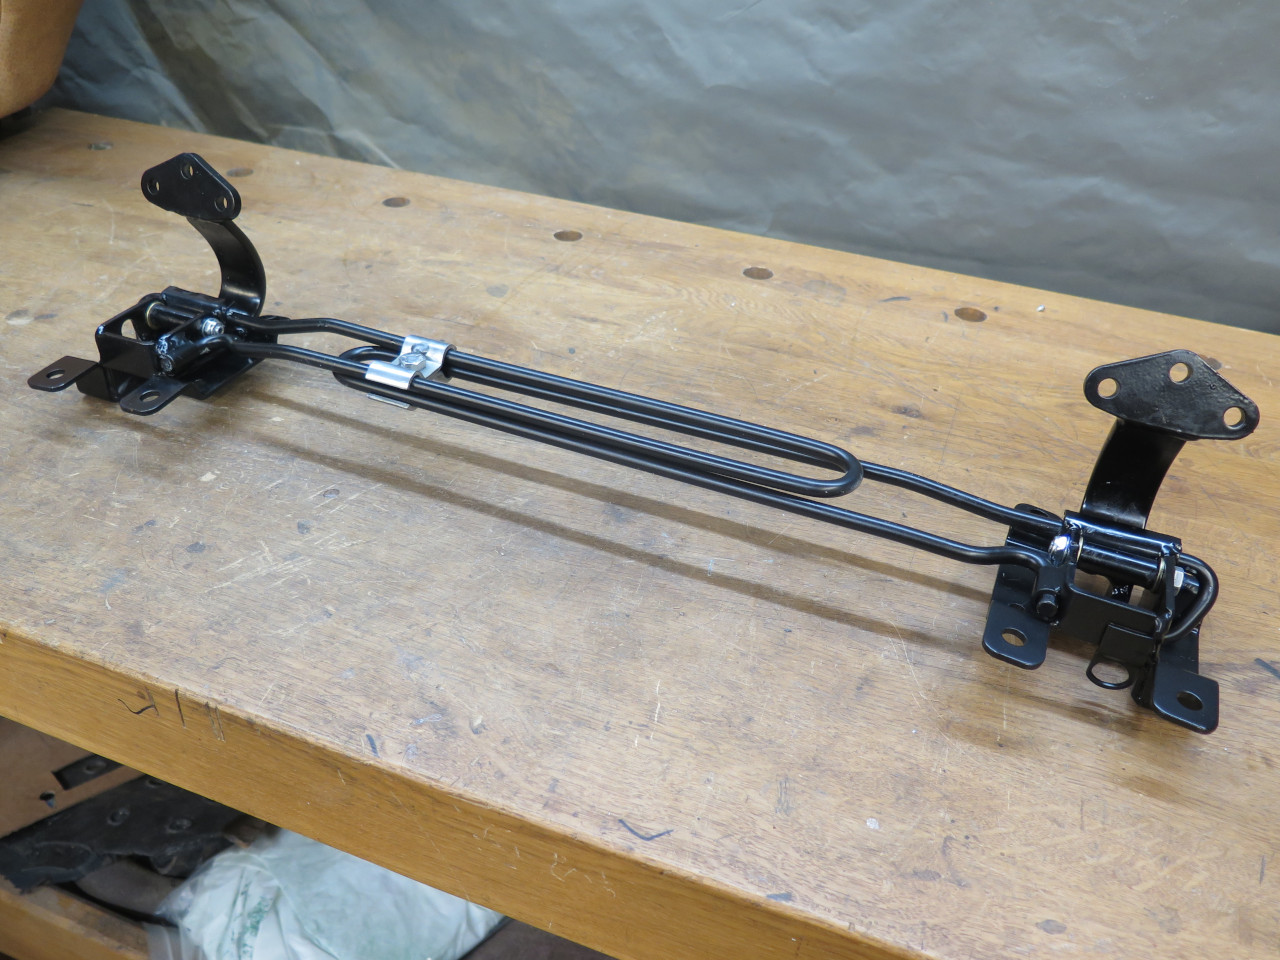
The spring action was built into the hinges in this gangly-looking assembly.
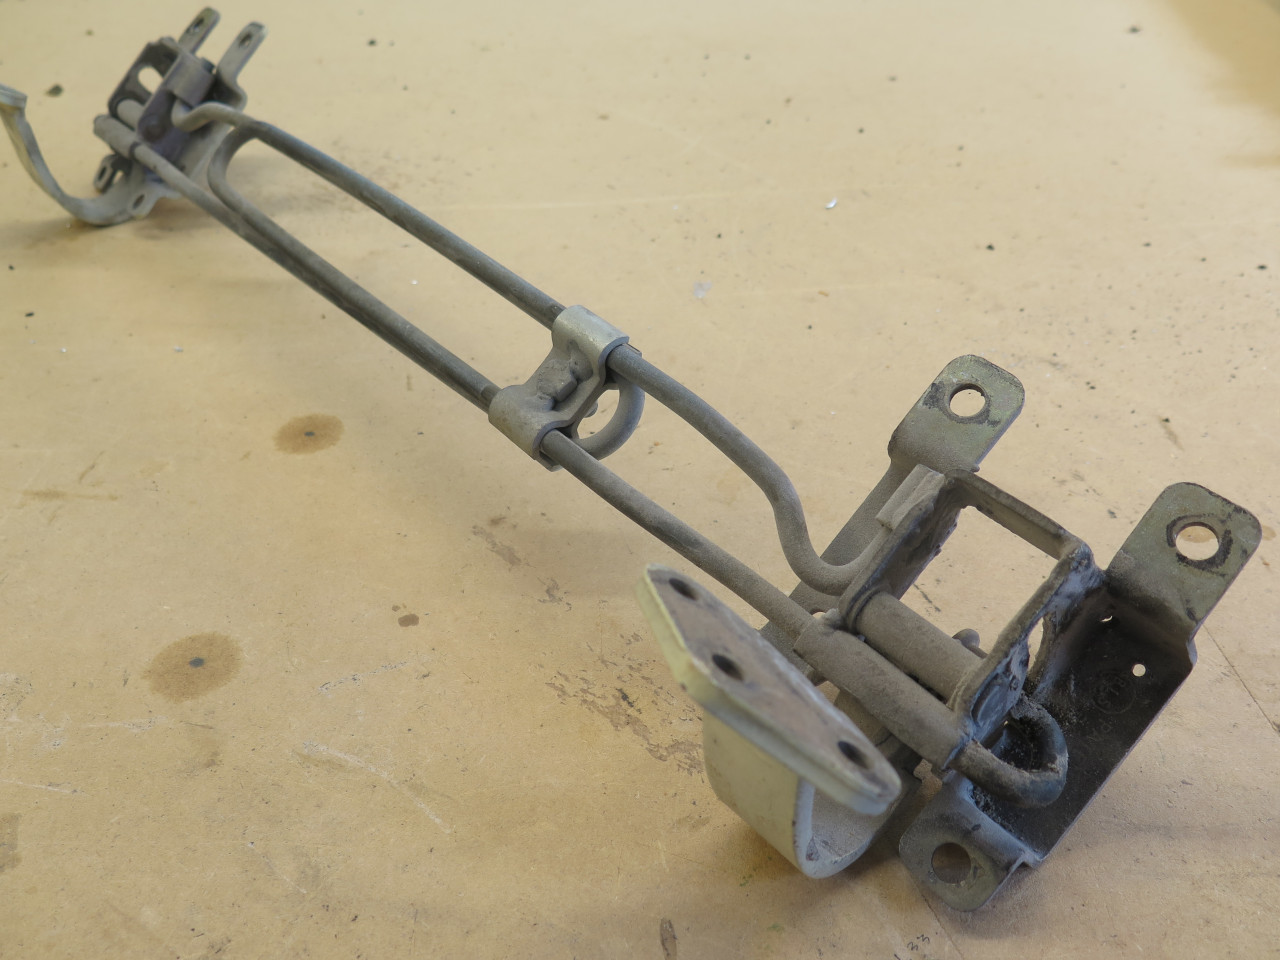
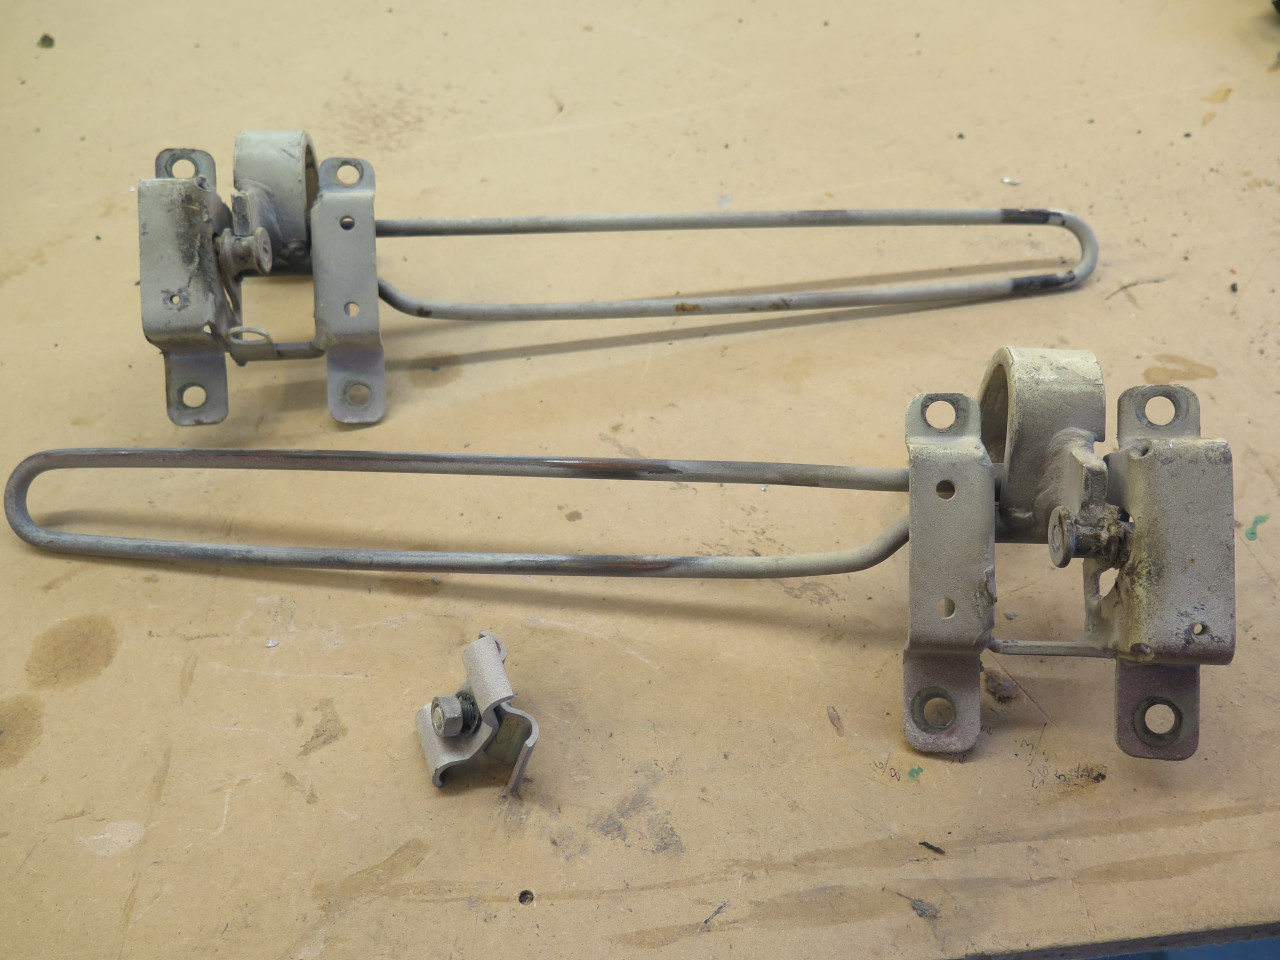
It was soon apparent that the assembly actually consisted of a pair of
hinges that were mirror images of each other. The two hinges were
just clamped together.
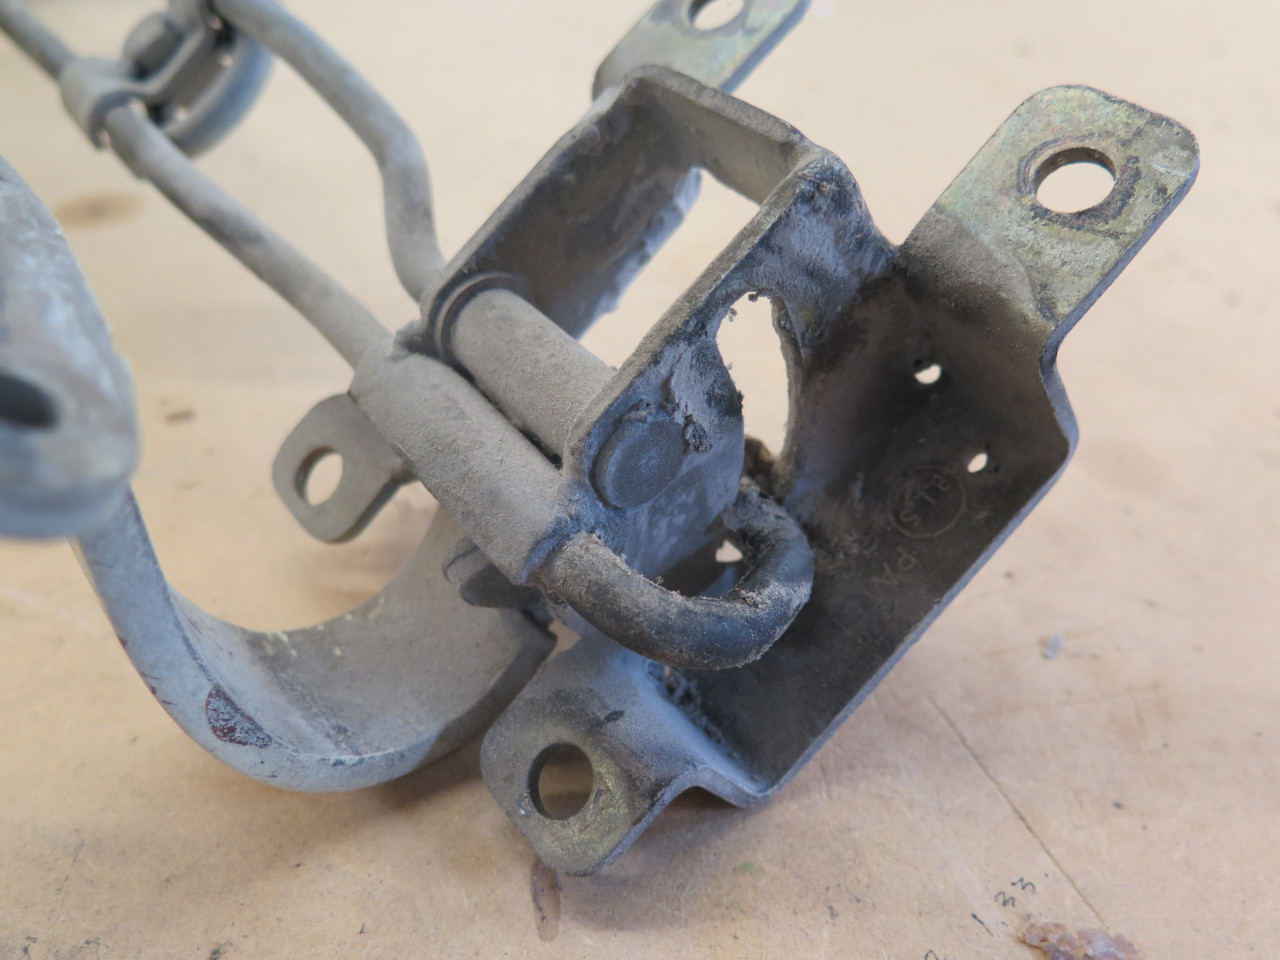
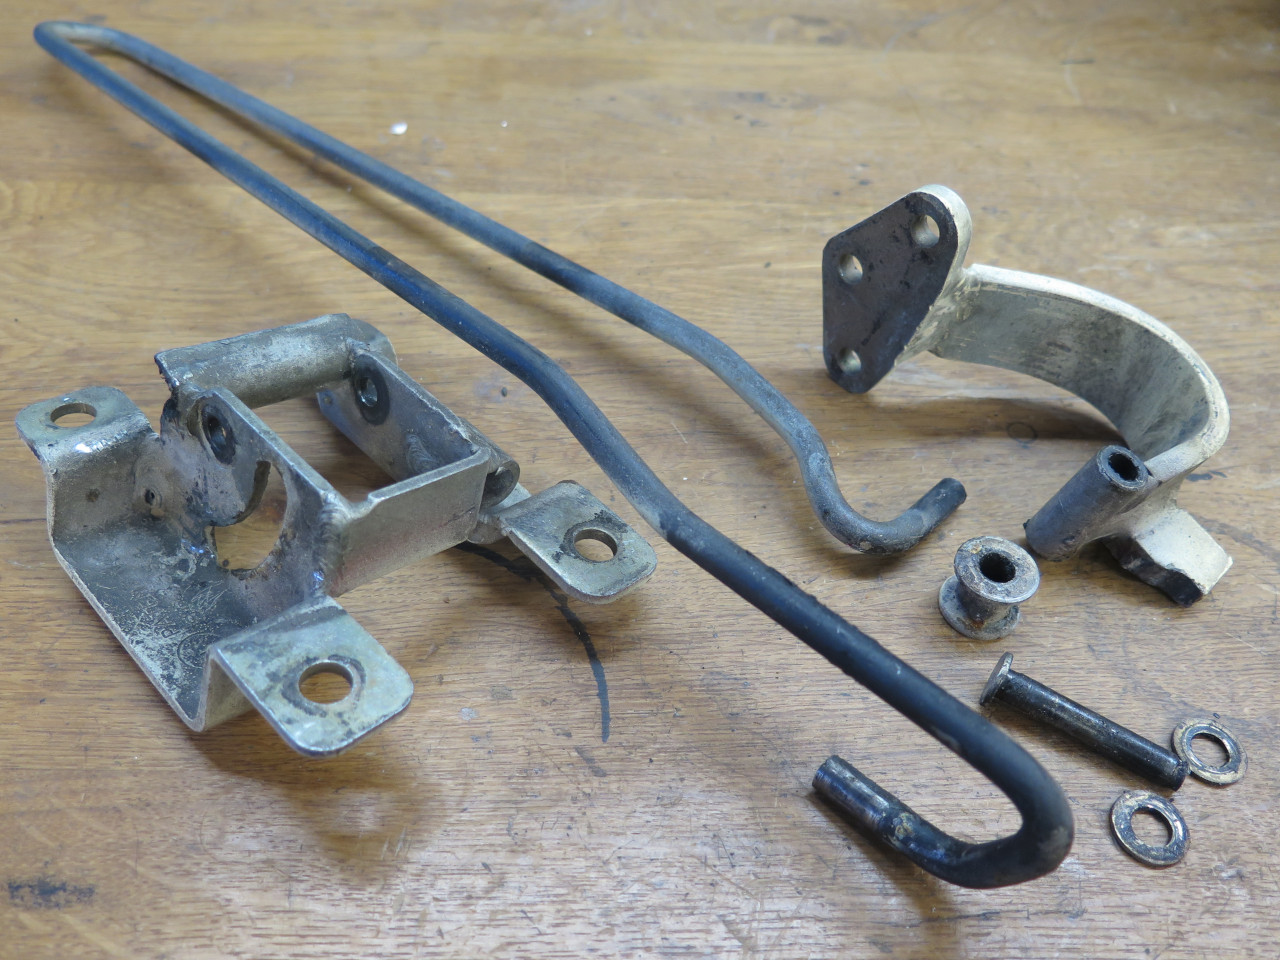
Inspection of one of the hinges revealed that the spring tension was
accomplished by a long folded torsion spring. My parts were very
crusty, partly due to being covered in sand. I had blasted most of
the shell of the car before it occurred to me to remove the hinges.
I really wanted to clean these up, but the sand contamination clinched it--they had to come apart.
In all my years of a predisposition toward fixing and rebuilding various
devices, there are a few things I've come to respect. Foremost
among them are: Hot wiring, charged capacitors, and energized
springs. All of these have energy that can hurt me.
I could tell that the spring in the hinges were under torsion. To
get an idea of how much, I put the hinge body in a vice, and clamped a
bar to the arm that attaches to the hatch door. It took about 16
foot-pounds of torque to move the spring off its stop. That may
not sound like much, but down close inside the mechanism where my hands
would be, we're talking about hundreds of pounds of force just waiting
to maim a finger.
On the other hand, I wasn't going to let a simple inanimate object scare
me into inaction. First, I was able to flex the spring enough to
remove the pin holding the swing arm. It was basically a rivet, so
I had to grind one end off.
Then, with the judicious use of levers and blocks, I finally got the spring free.
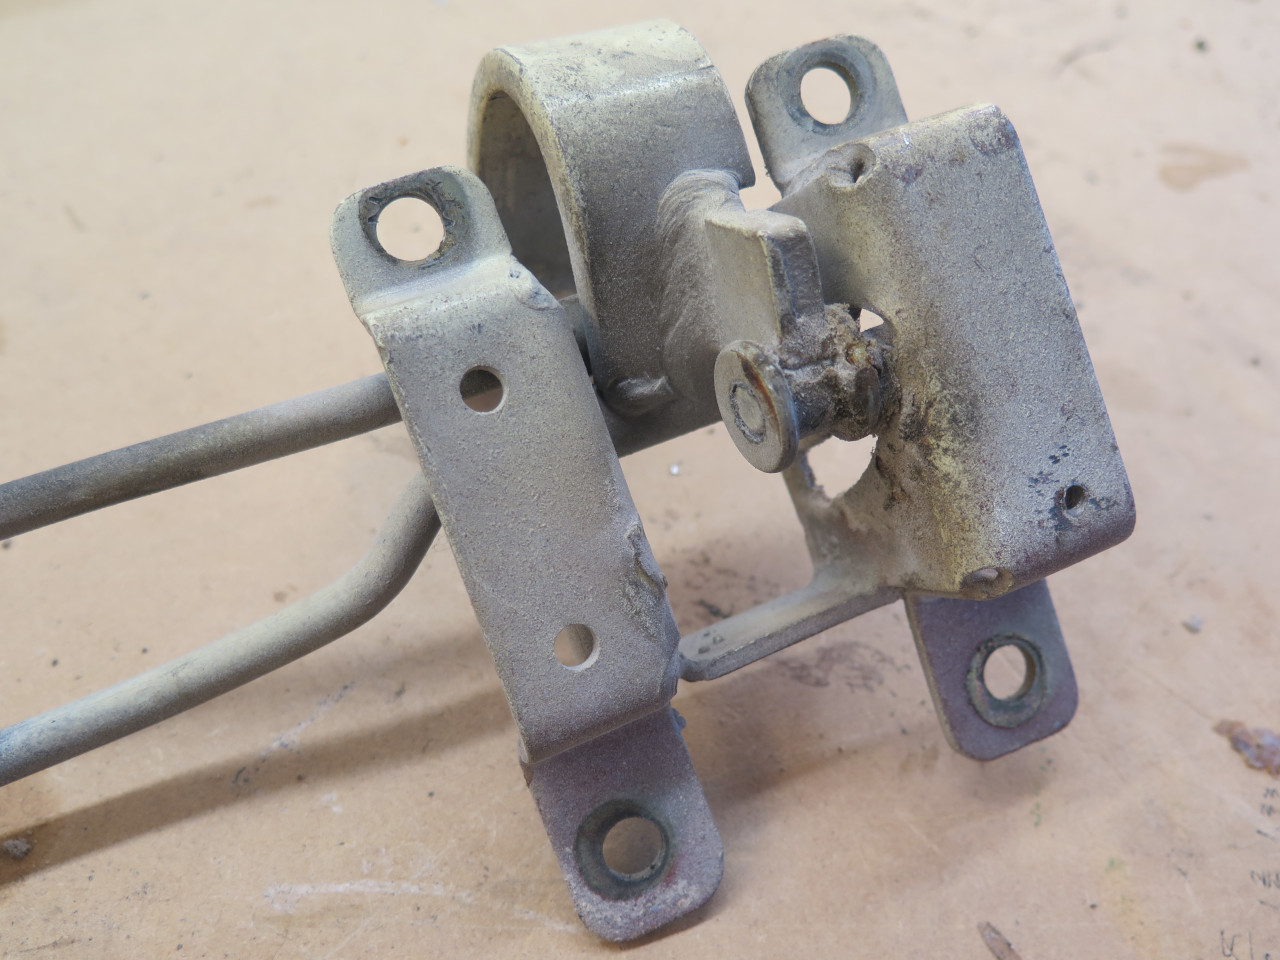
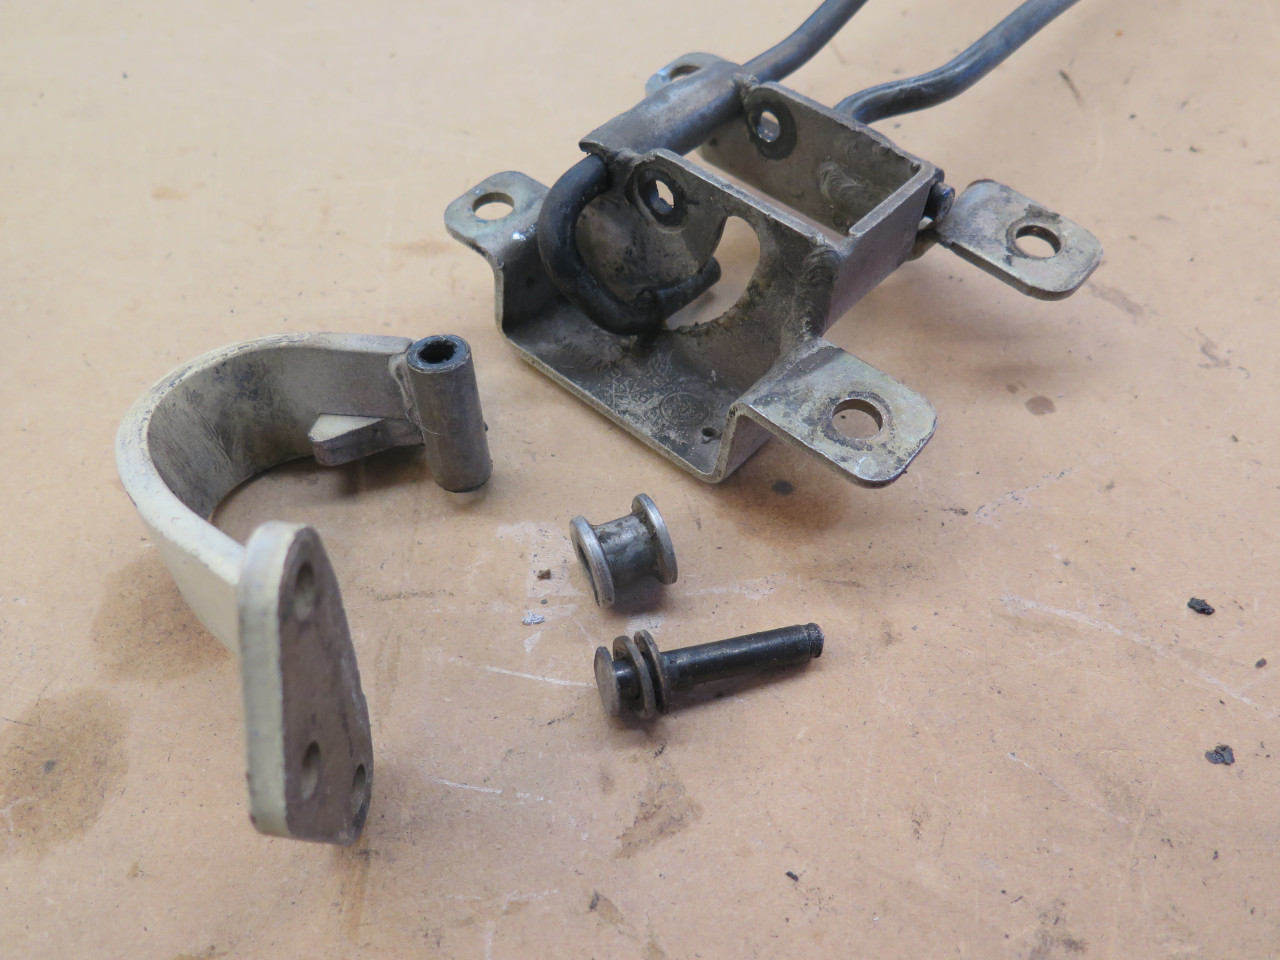
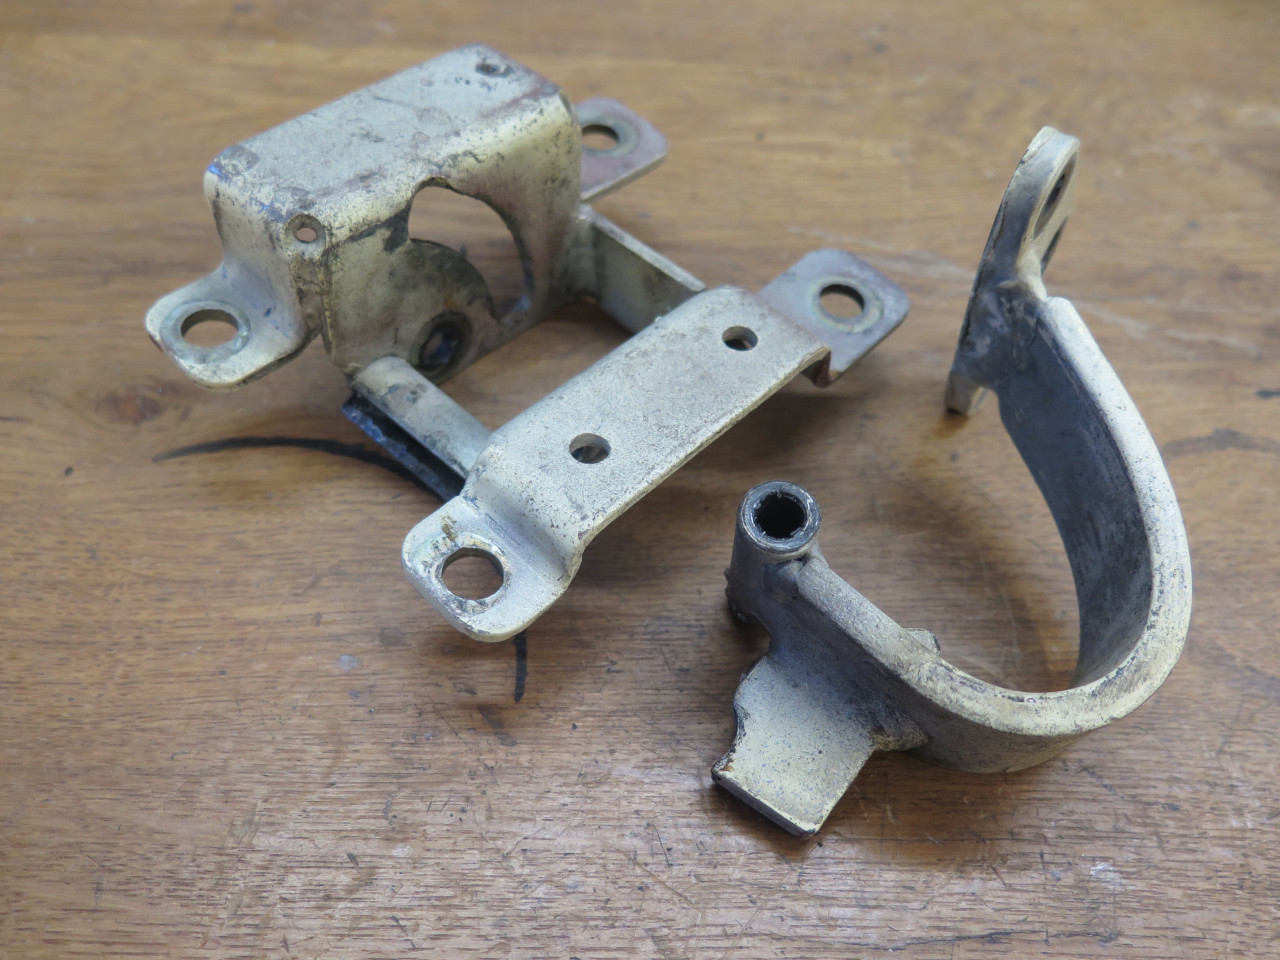
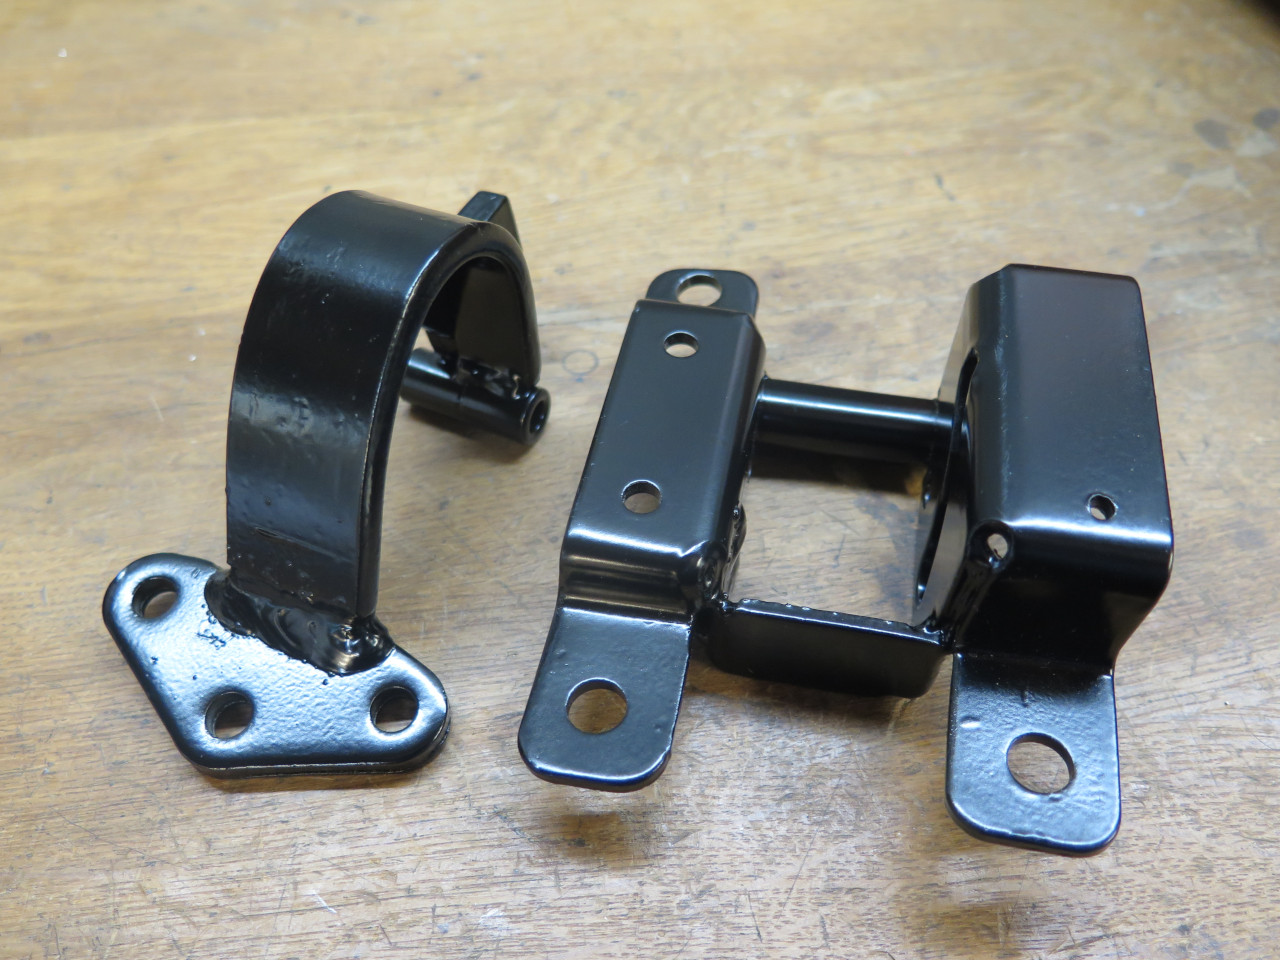
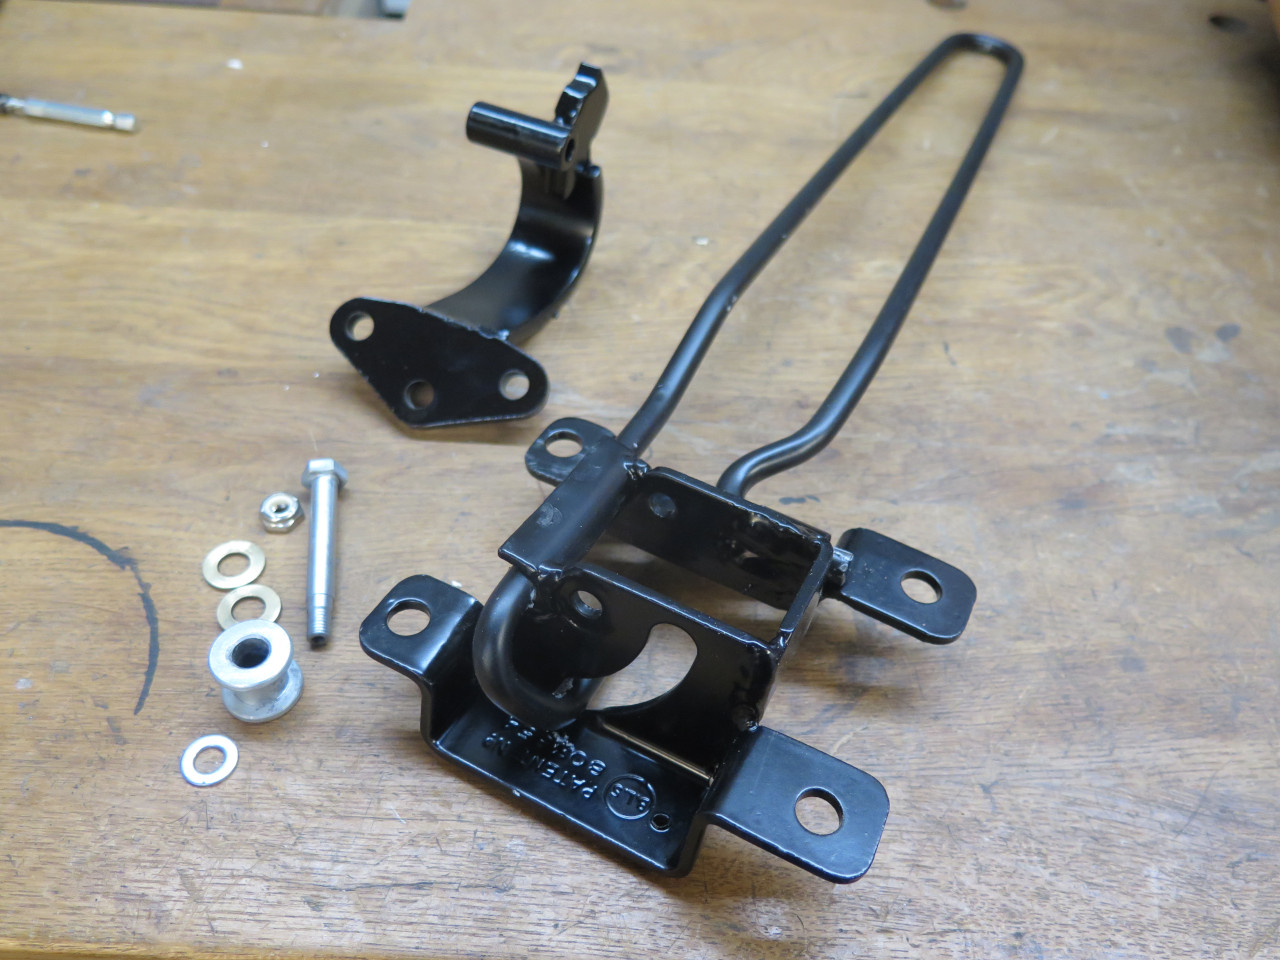
Besides the spring, the main parts are the hinge body and the swing
arm. I cleaned them up, blasted them, and powder coated
them. I worried a bit about PC oven heat on the spring, so it just
got painted.
Then, when thinking about reassembly, I had to address the pivot rivet
that I ruined in taking the hinge apart. One of them was pretty
worn and galled.
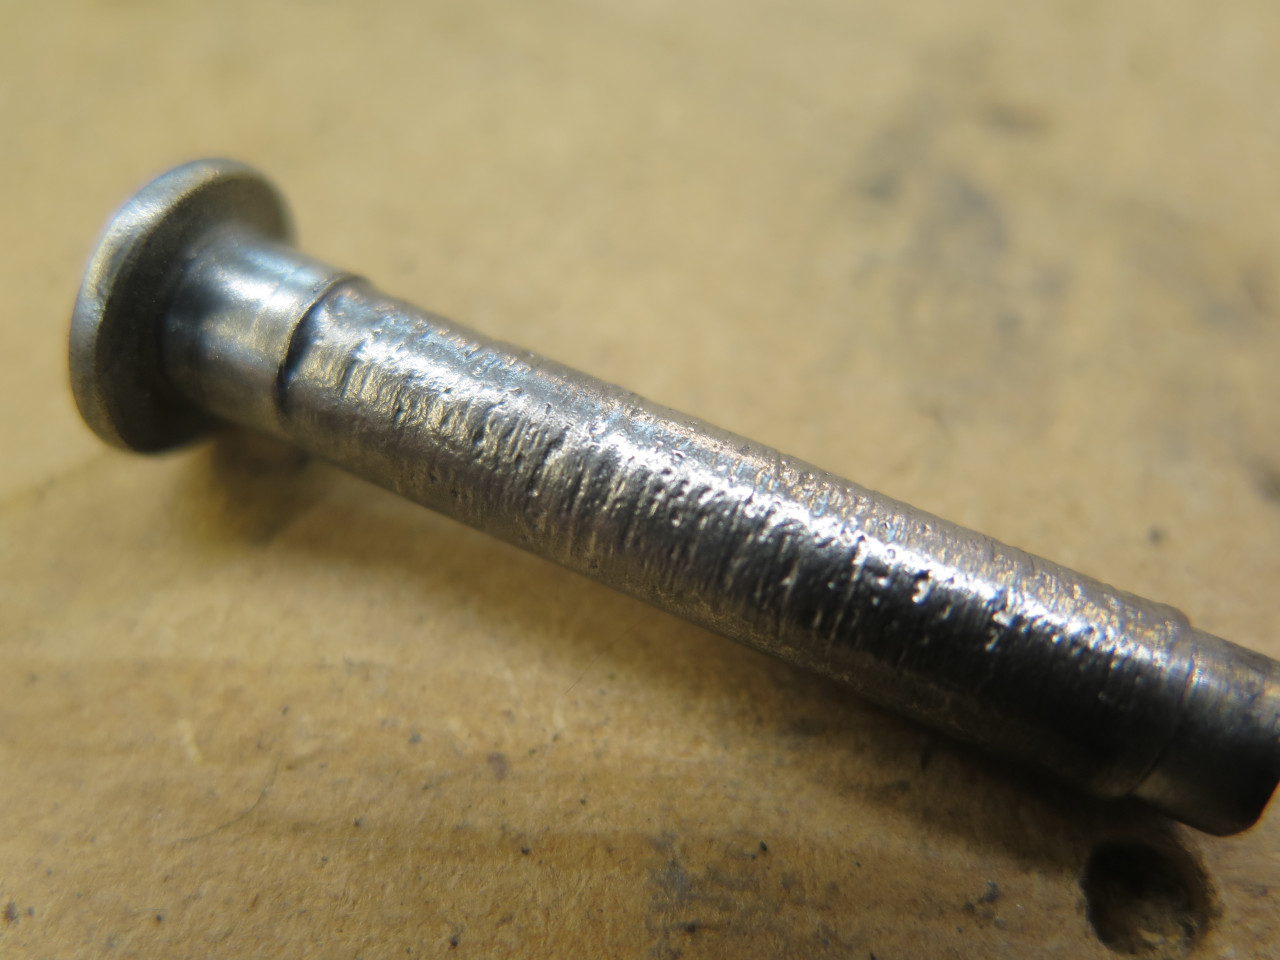
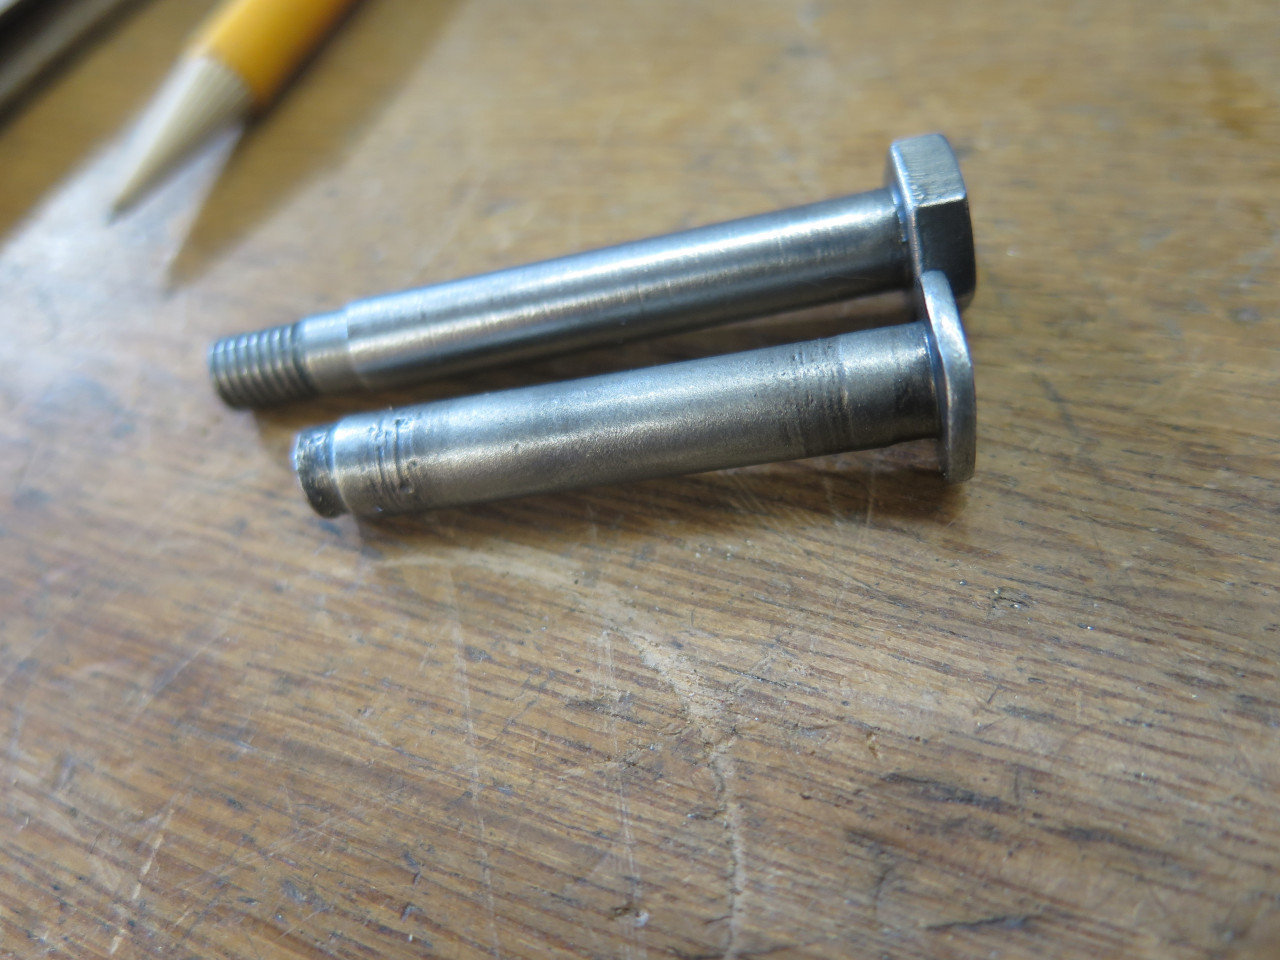
One issue in finding a replacement is that these rivets are 7 mm metric,
kind of long, and had a stepped end. I finally gave up on it and
decided to just make new pivots with a threaded end for a lock nut.

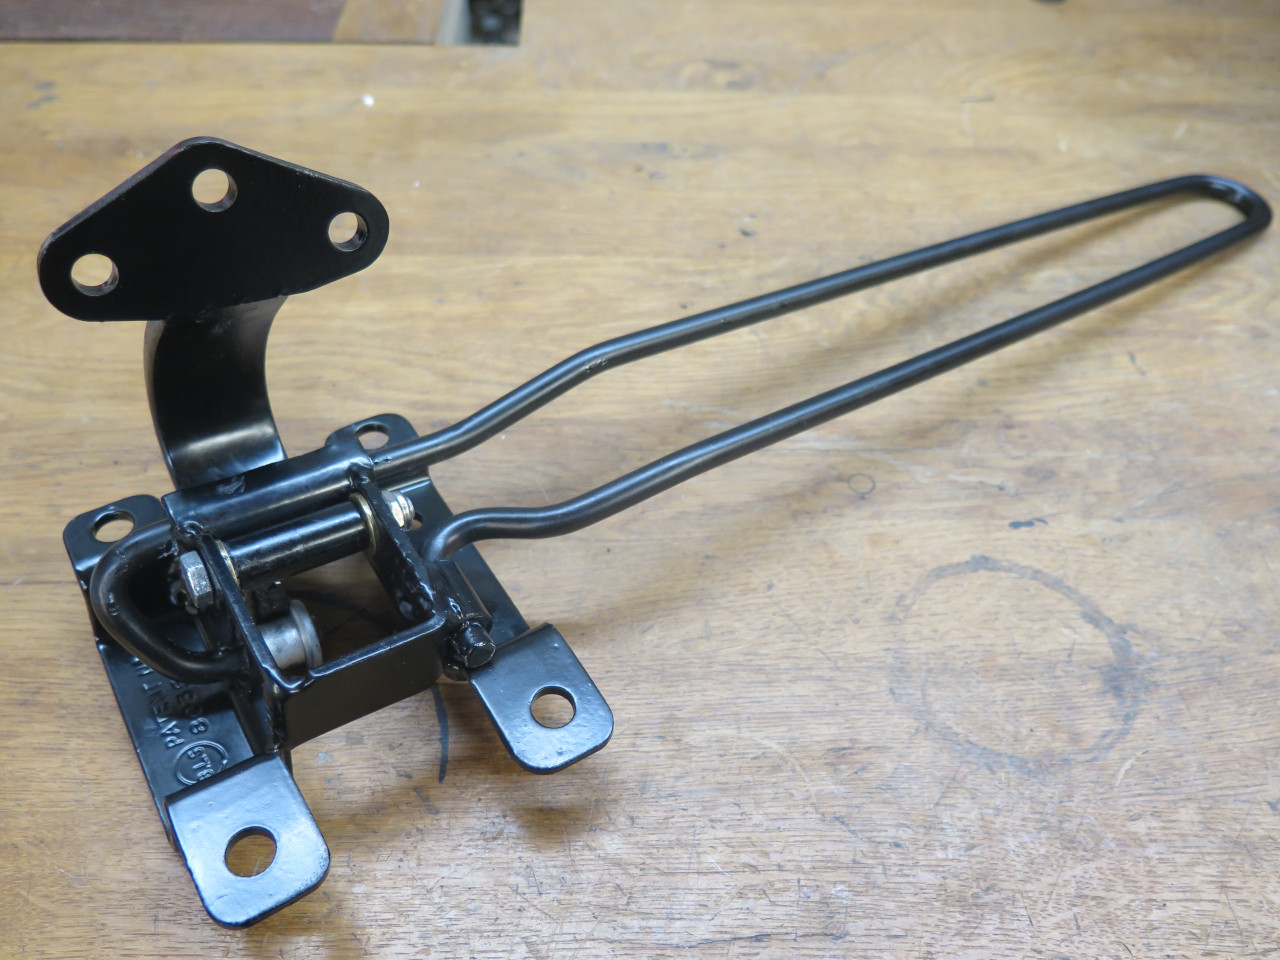
Gathered all the parts on the bench, and installed the spring.
It's a bit of a brutish operation, which dinged up the paint in a few
places.
Then added the swing arm with the new pivot. There was a little
brass washer on either side of the bore where the pivot goes
through. This of course was a chance to apply new modern lube to
all the moving parts.
I did one hinge at a time so I'd always have one for reference.
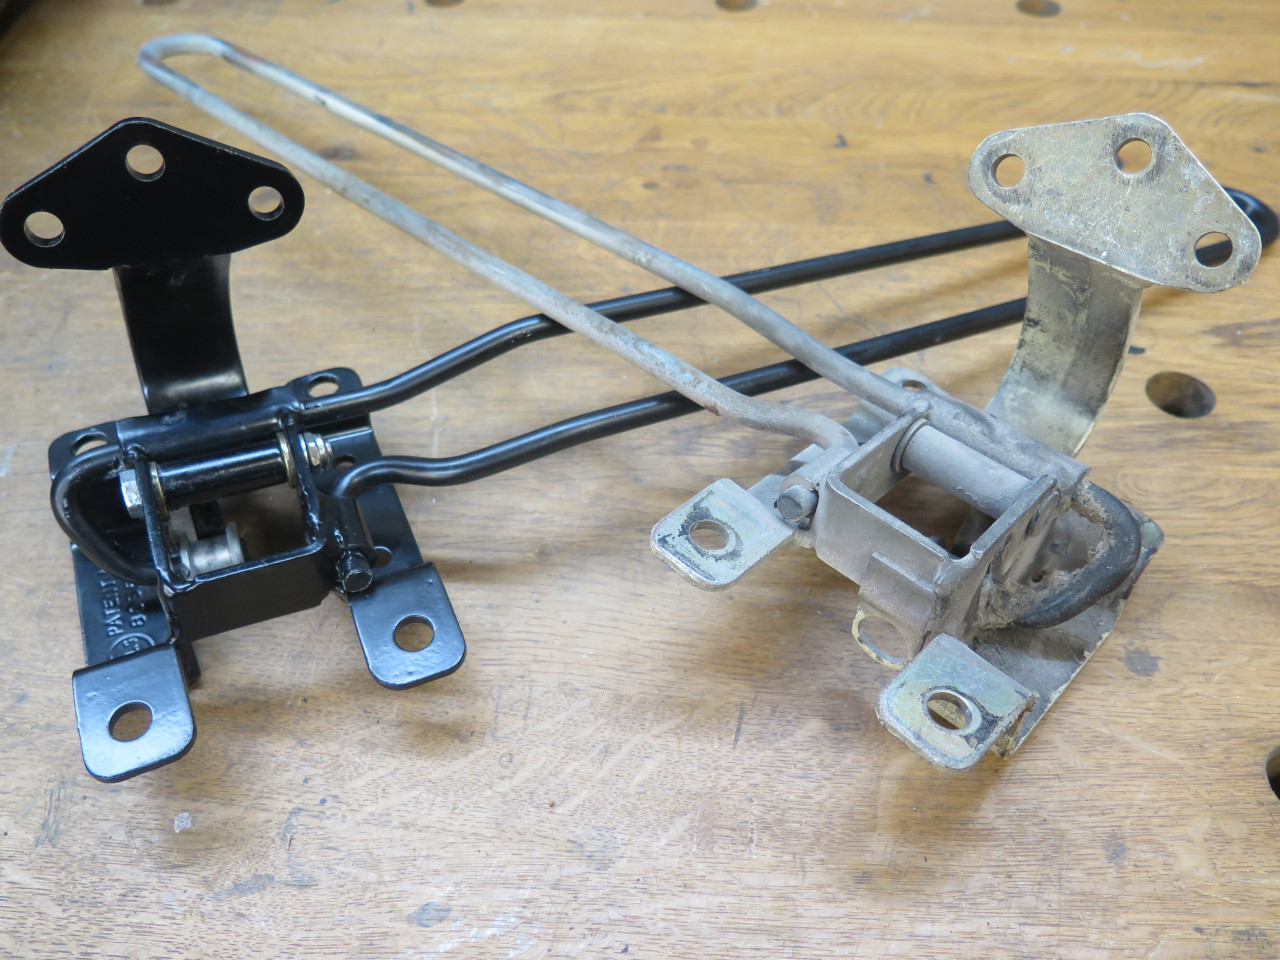
The second hinge went a lot faster.
Ready for install.
This was one of those silly little projects that you sort of get sucked
into, but it was good for a couple of pleasant afternoons in the
shop. Cost was essentially zero.
Comments to Ed at elhollin1@yahoo.com
To my other GT6 pages