To my other GT6 Pages
September 16, 2023
Badgery
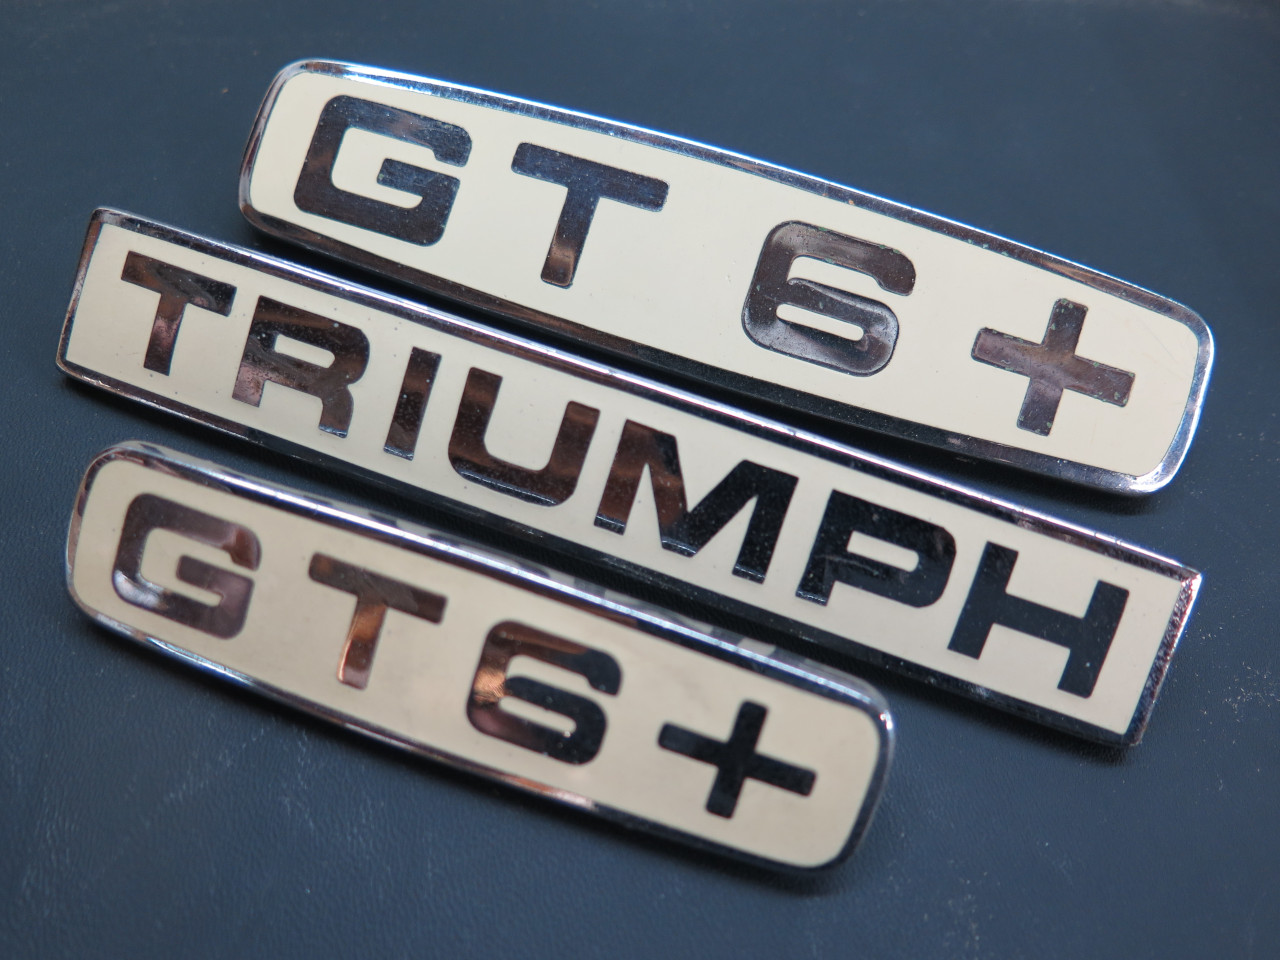
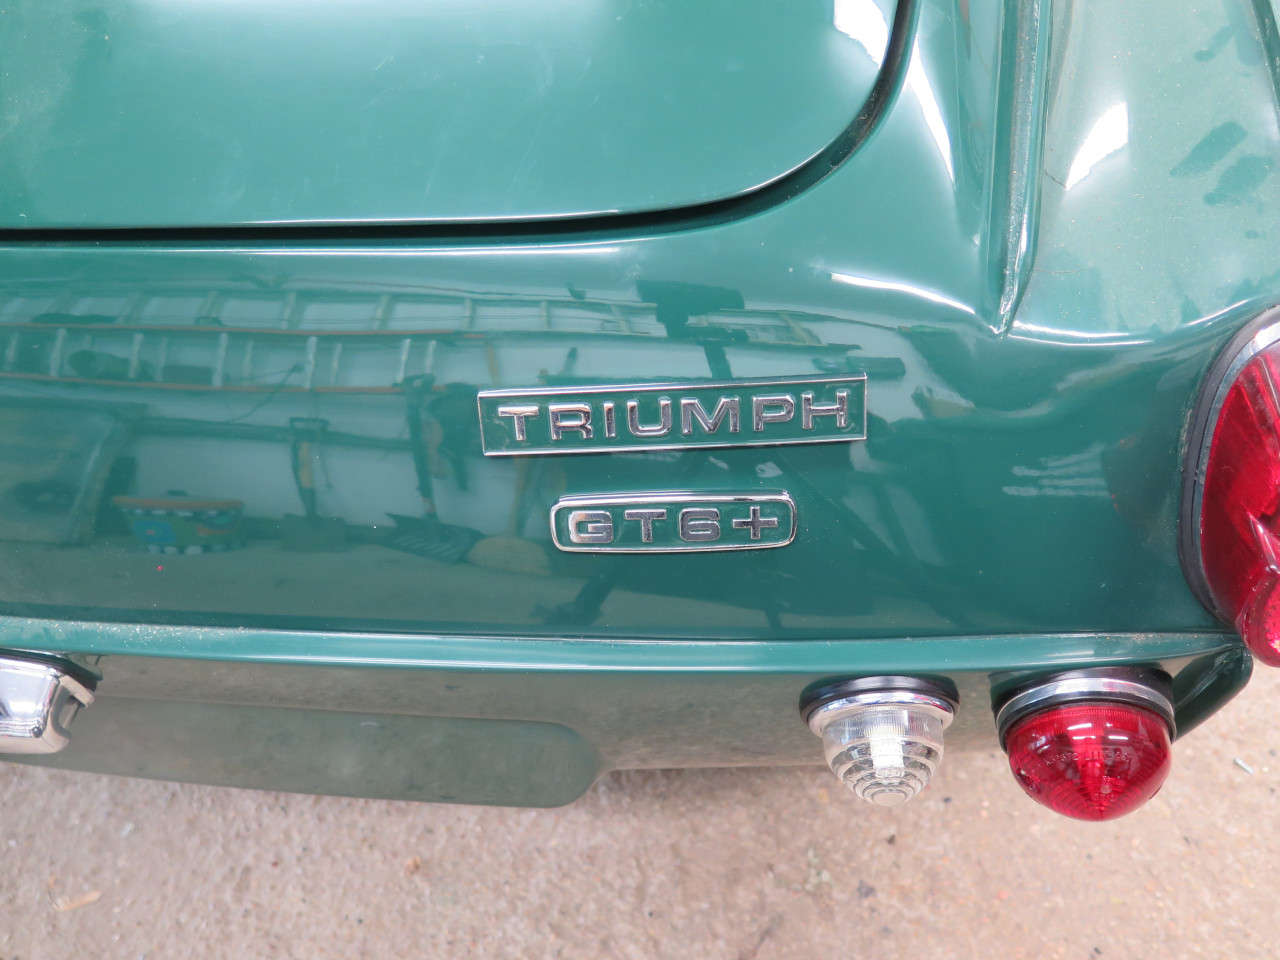
Like most cars, the GT6 sported a number of "insignia" on the exterior
to announce the make and model of the car. As far as I know, all
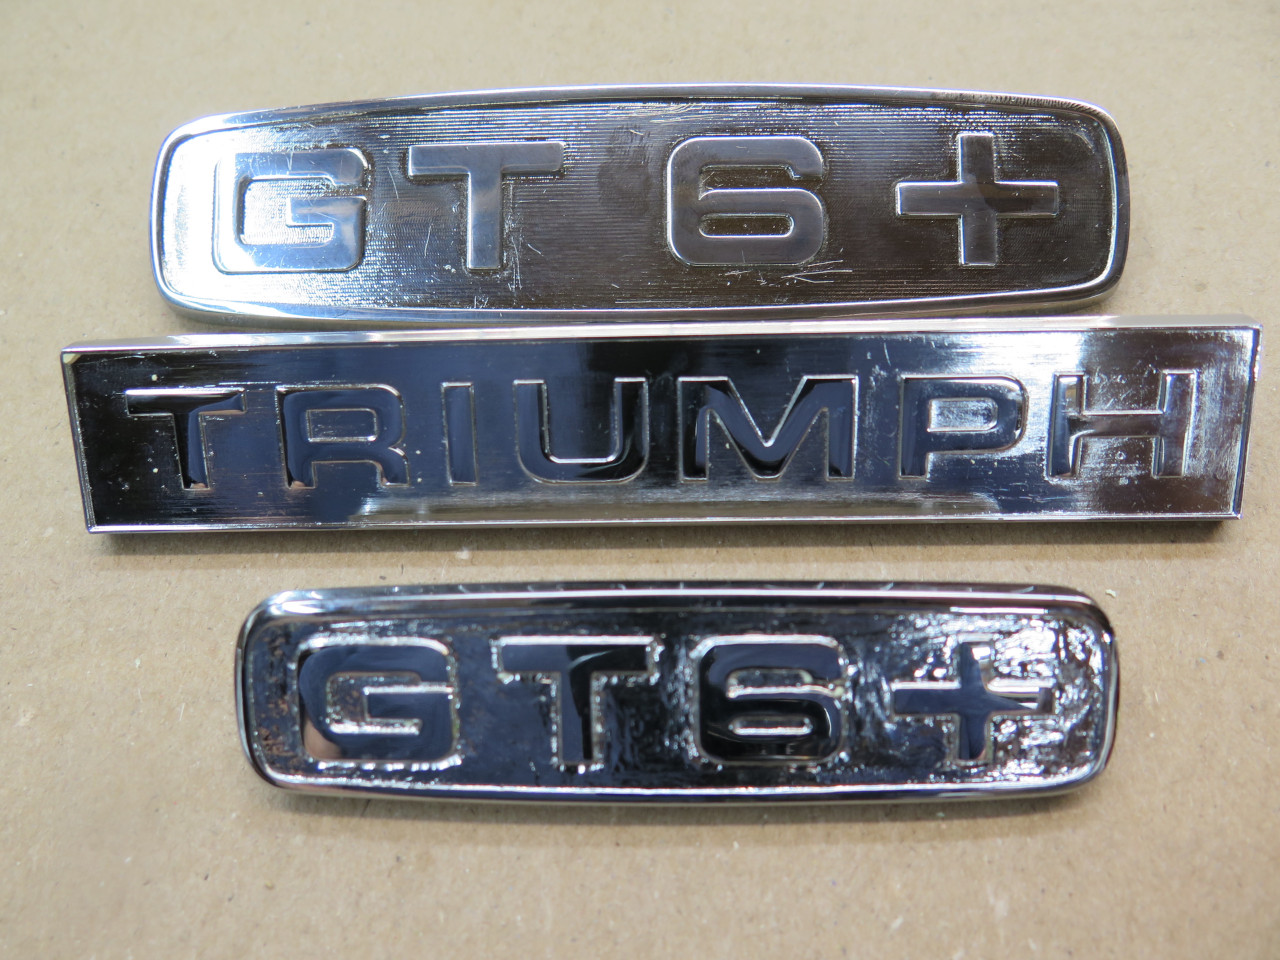
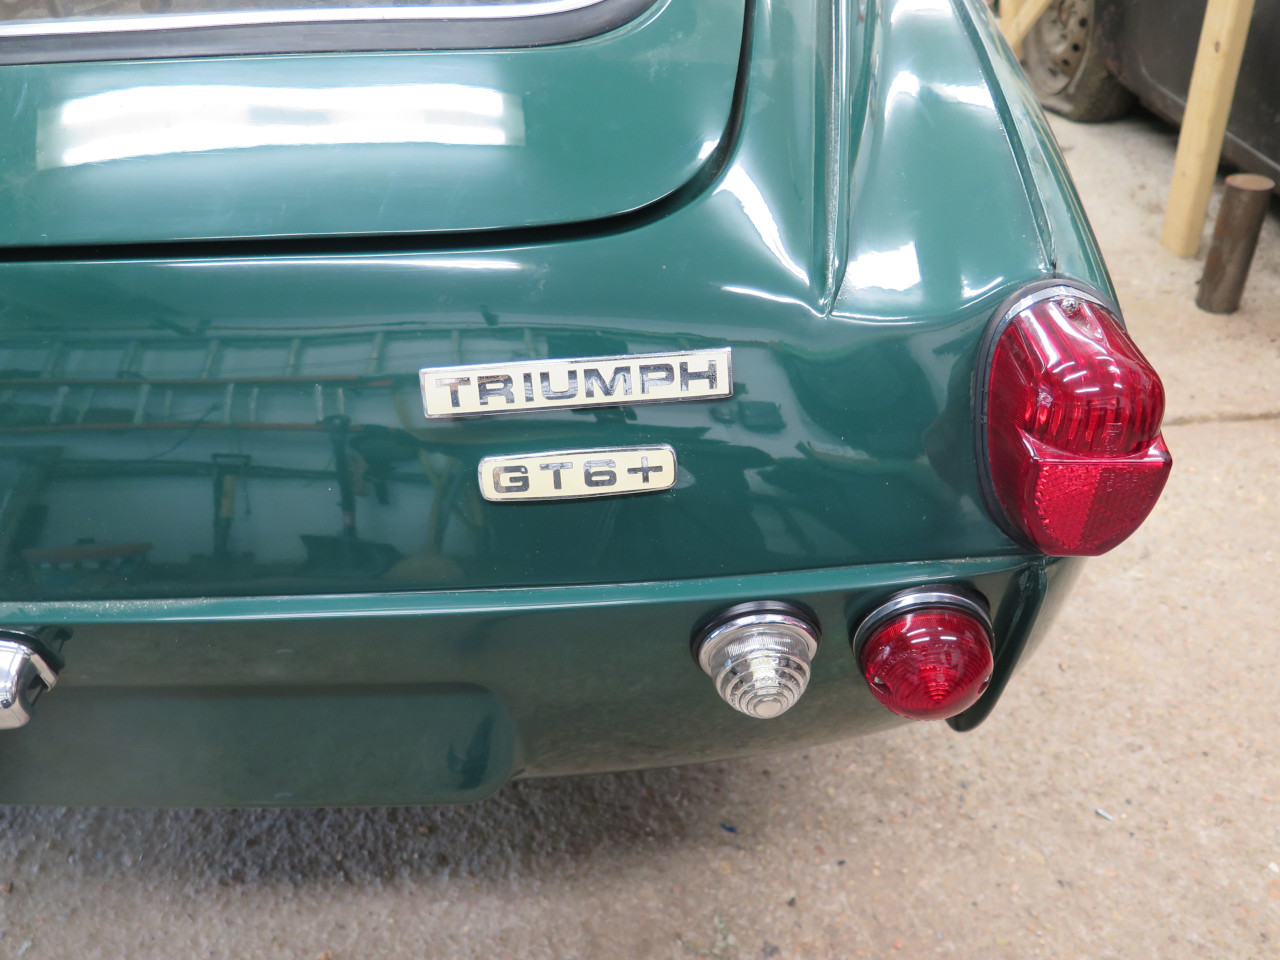
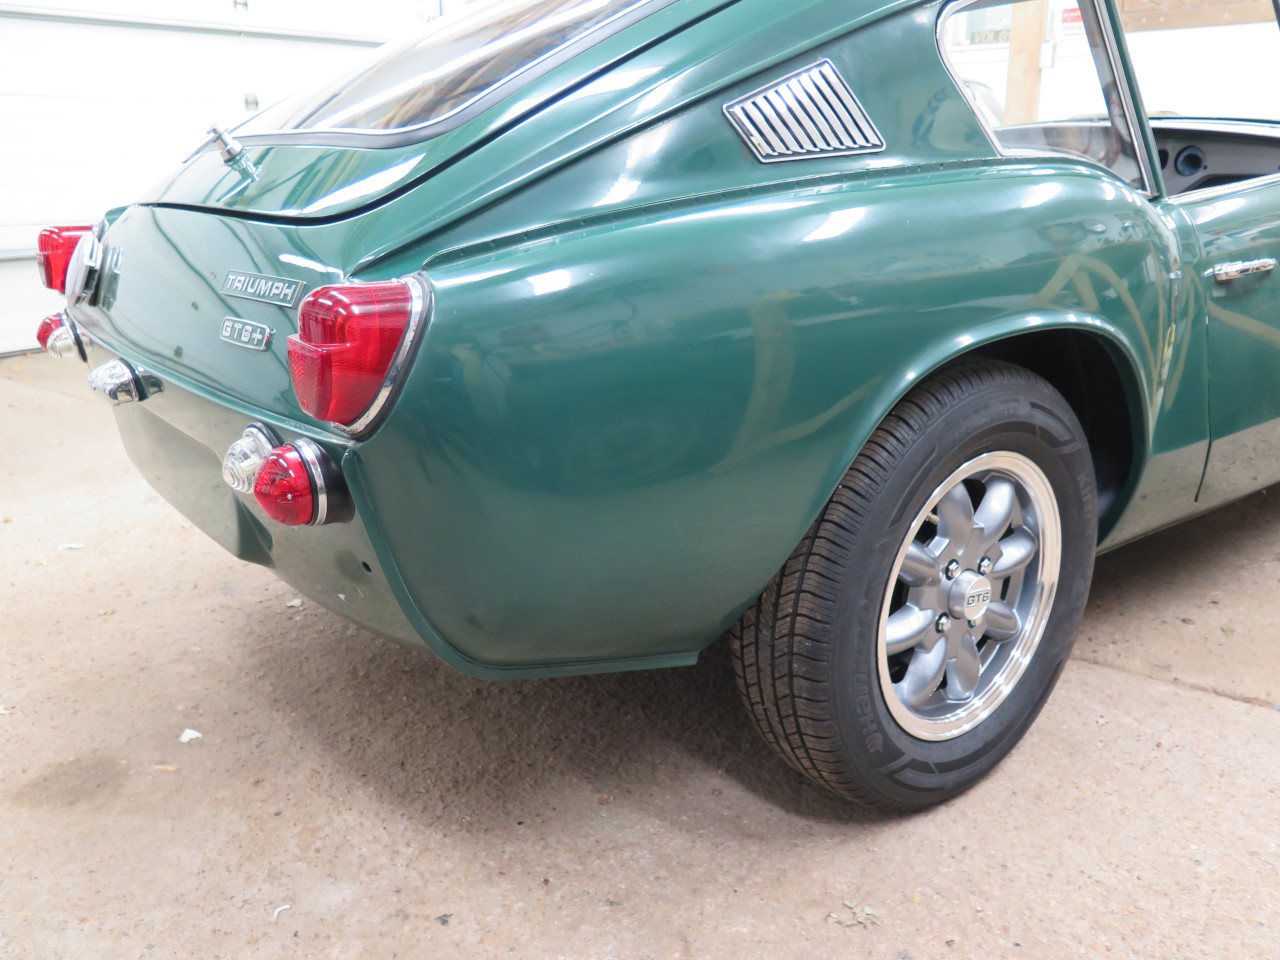
GT6 cars had three such badges. There were two on the right side
of the rear valance, one simply reading "TRIUMPH", and the other
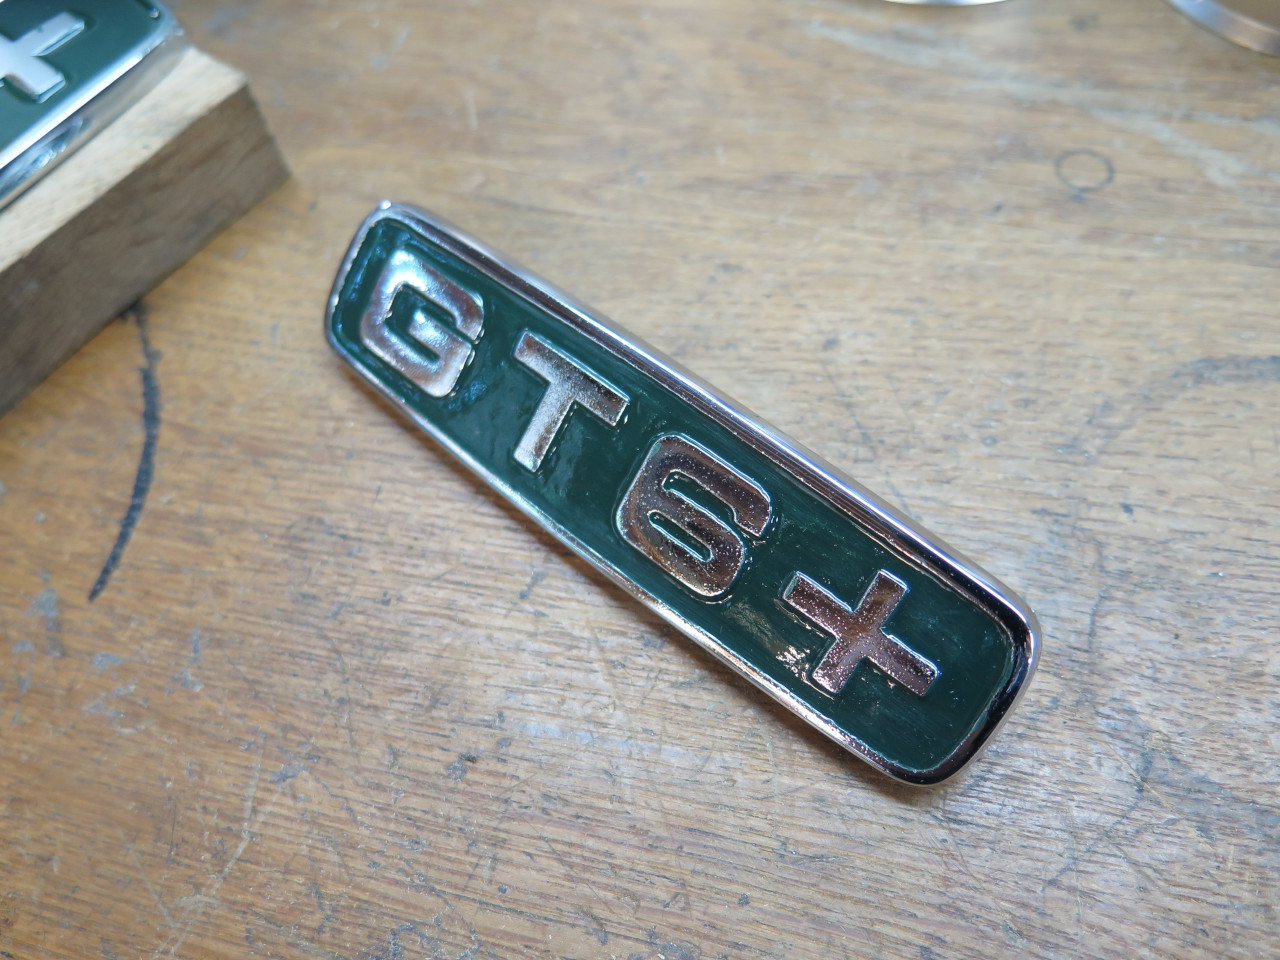
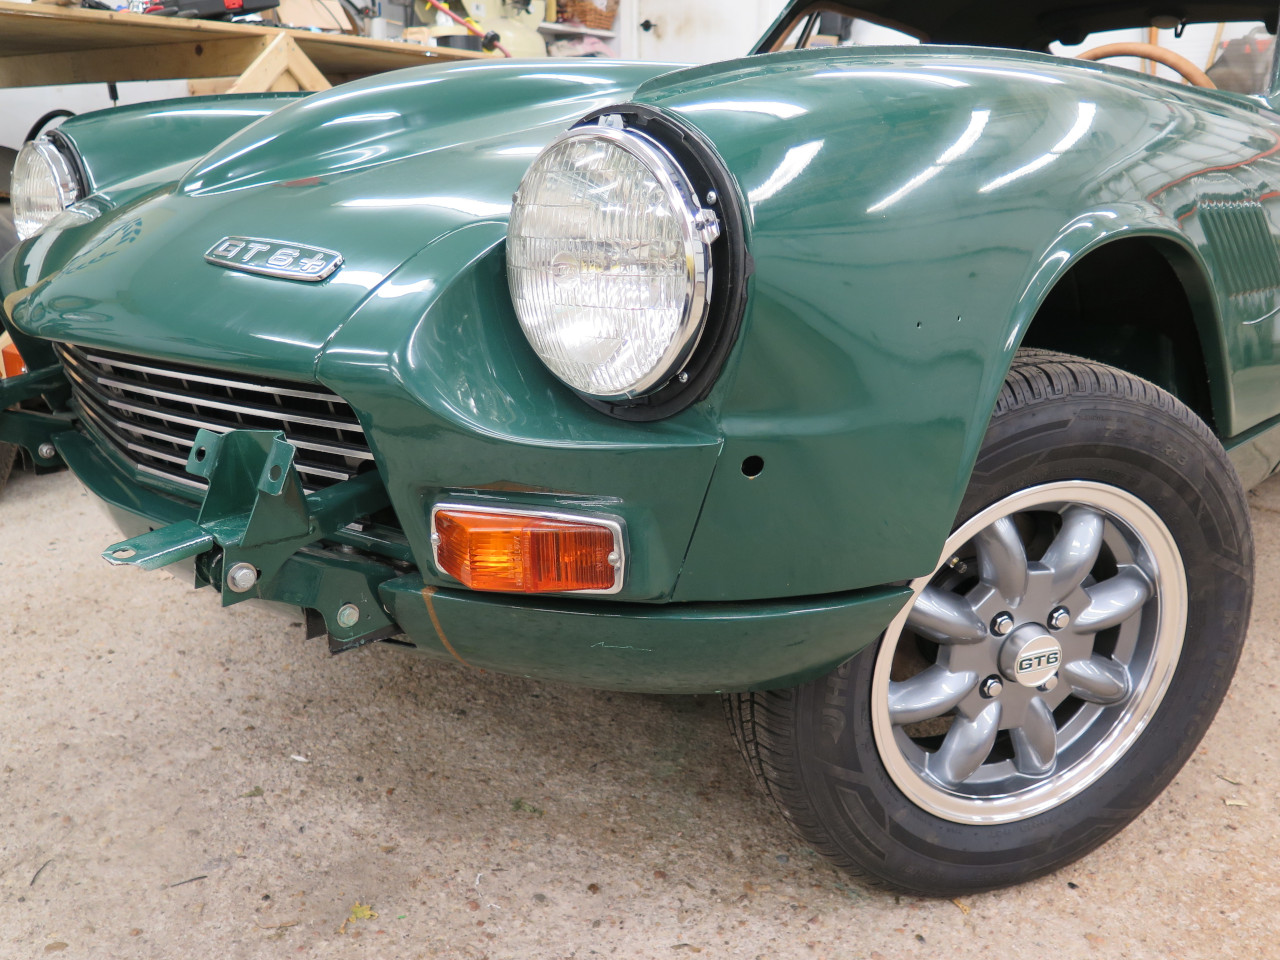
identifying the specific model, "GT6+" in my case. The third badge
was on the left front of the bonnet, and was another model identifier,
this one a little larger than the one at the rear.
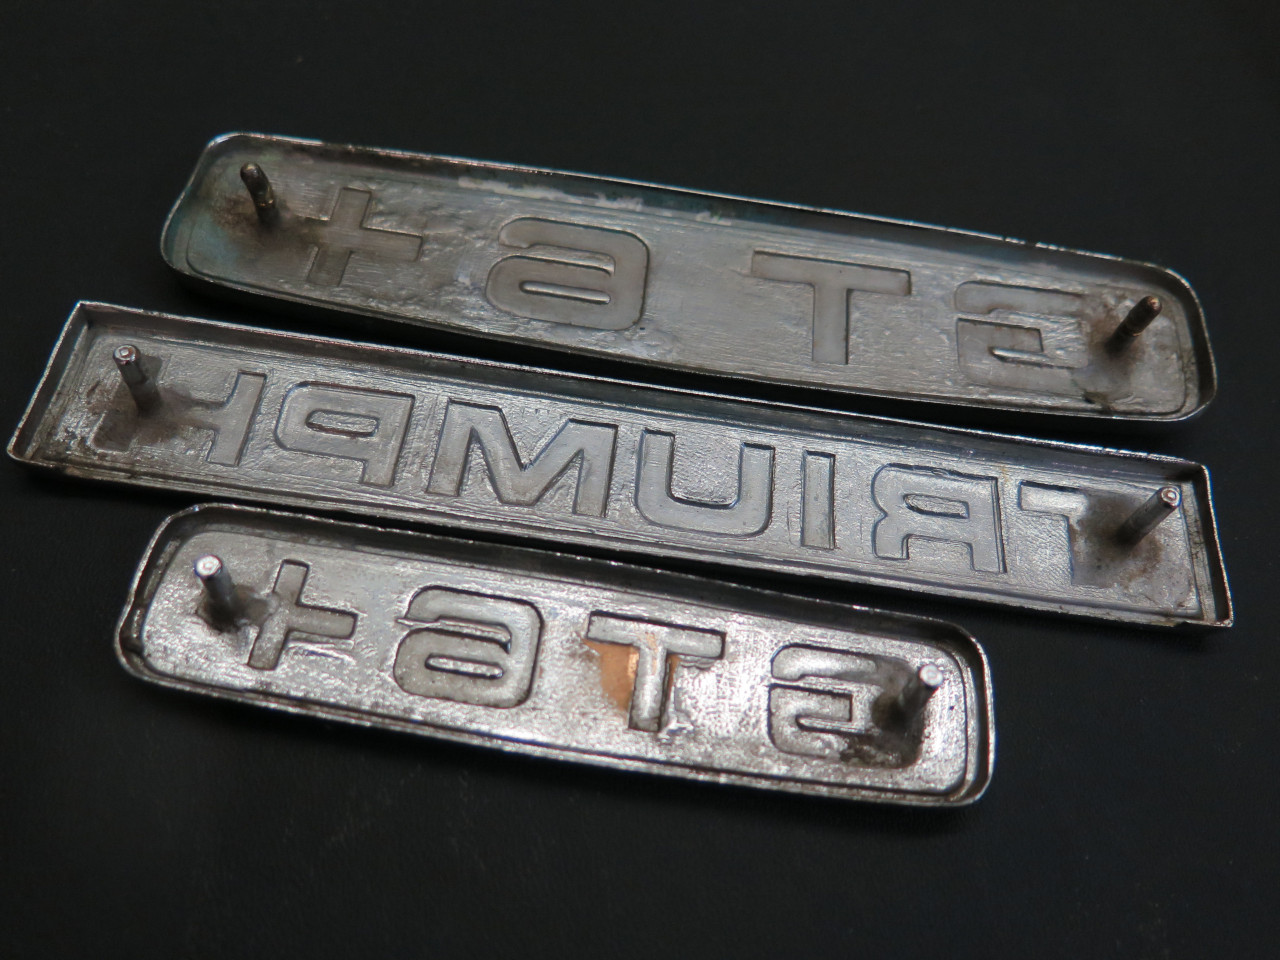
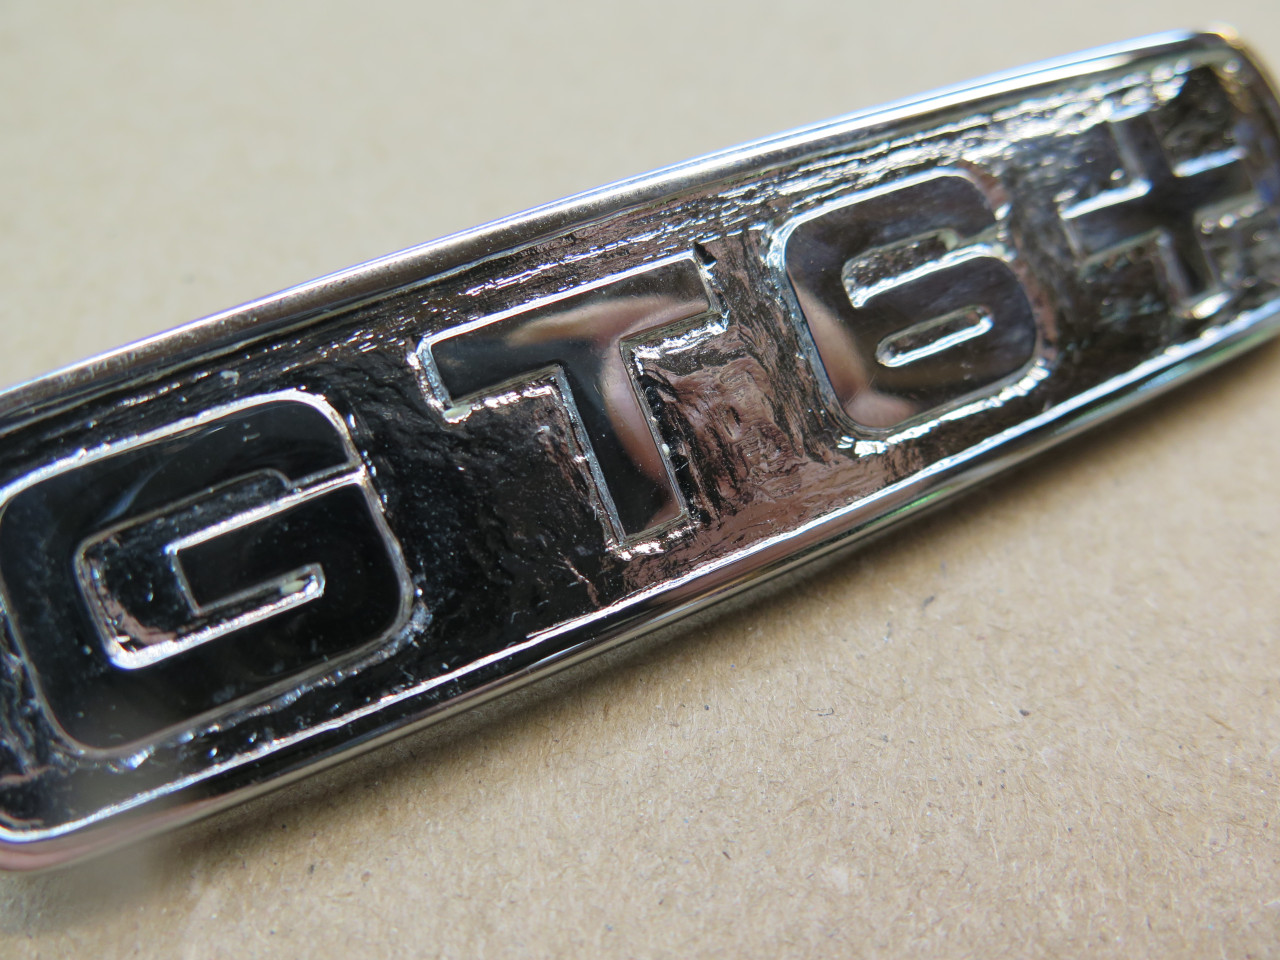
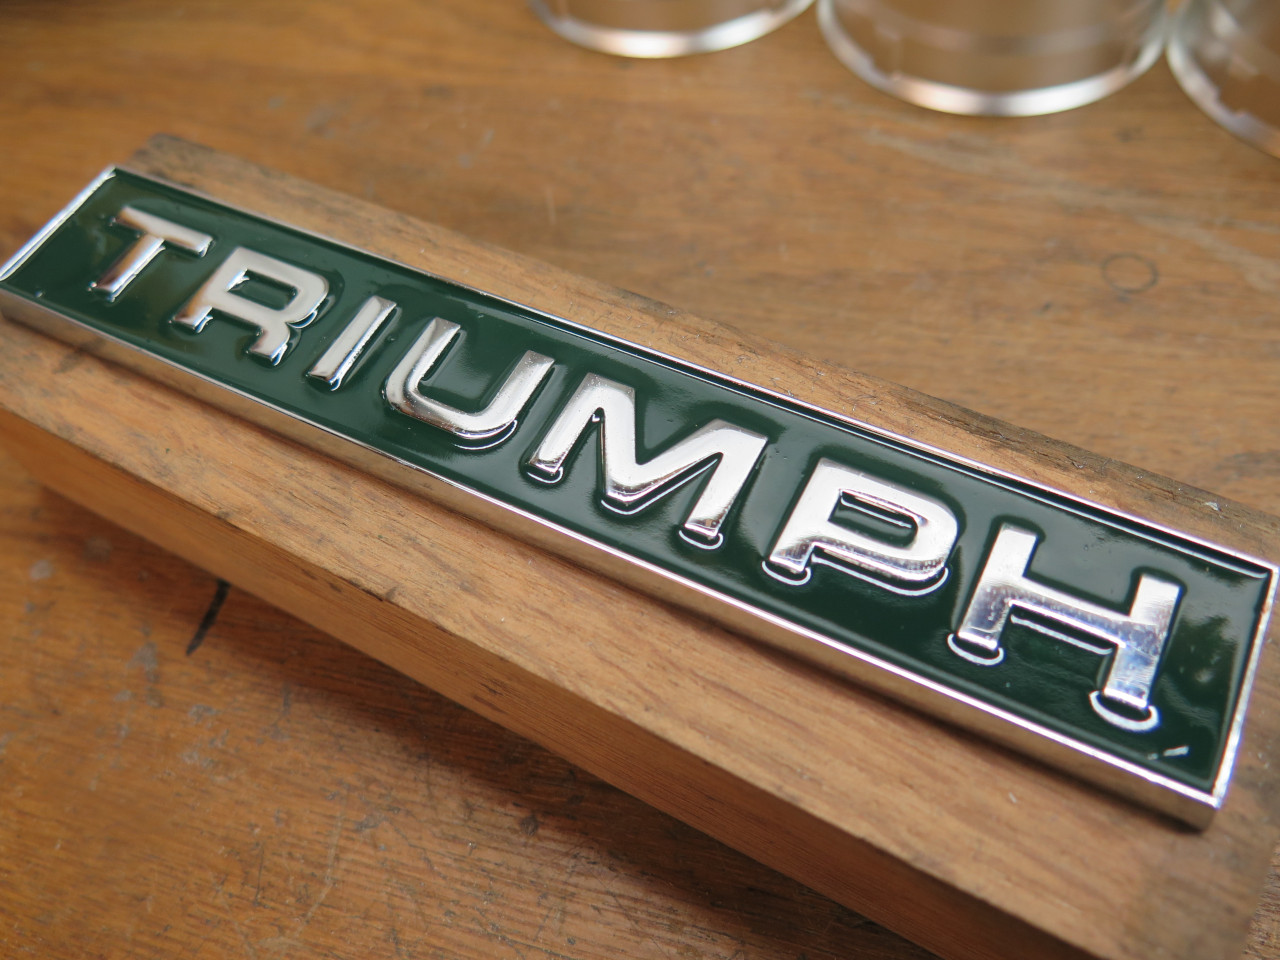
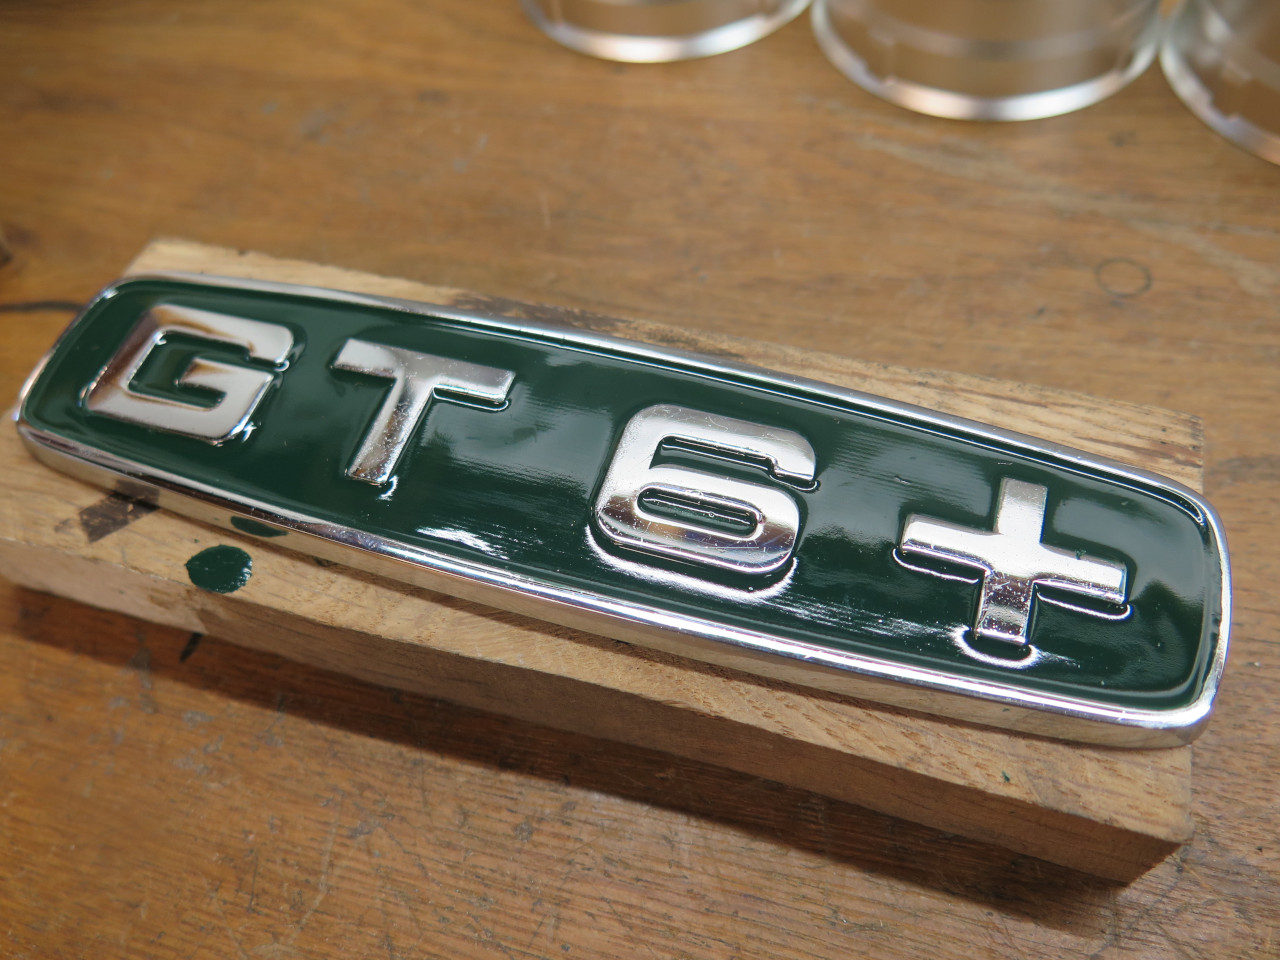
The badges appeared to be true "cloisonne" items, made by fusing a
glass-like substance directly to the base metal. The base metal is
commonly copper as shown by the abraded area in one of the pics below.
My badges were not in bad shape at all.
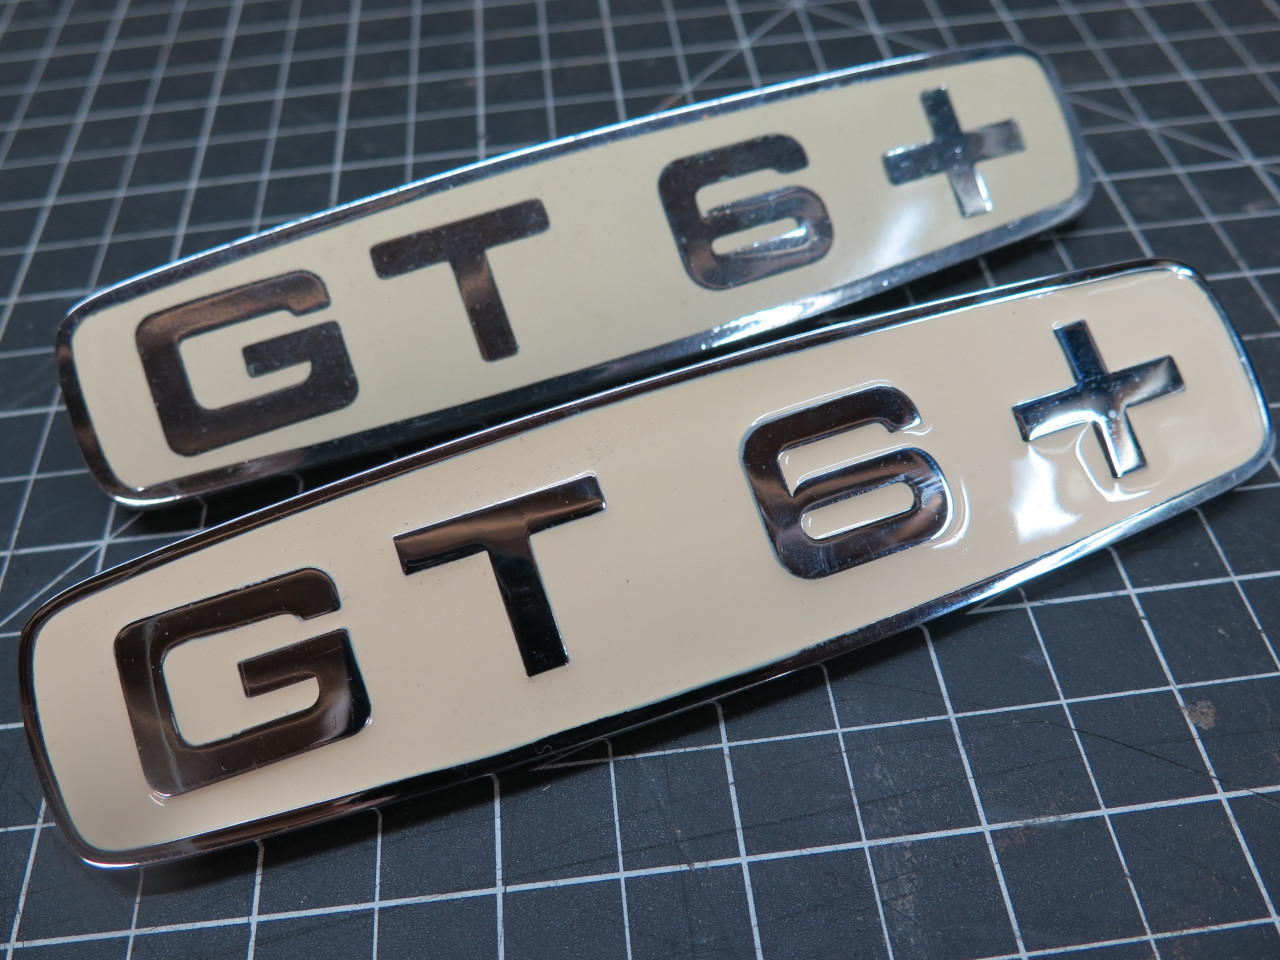
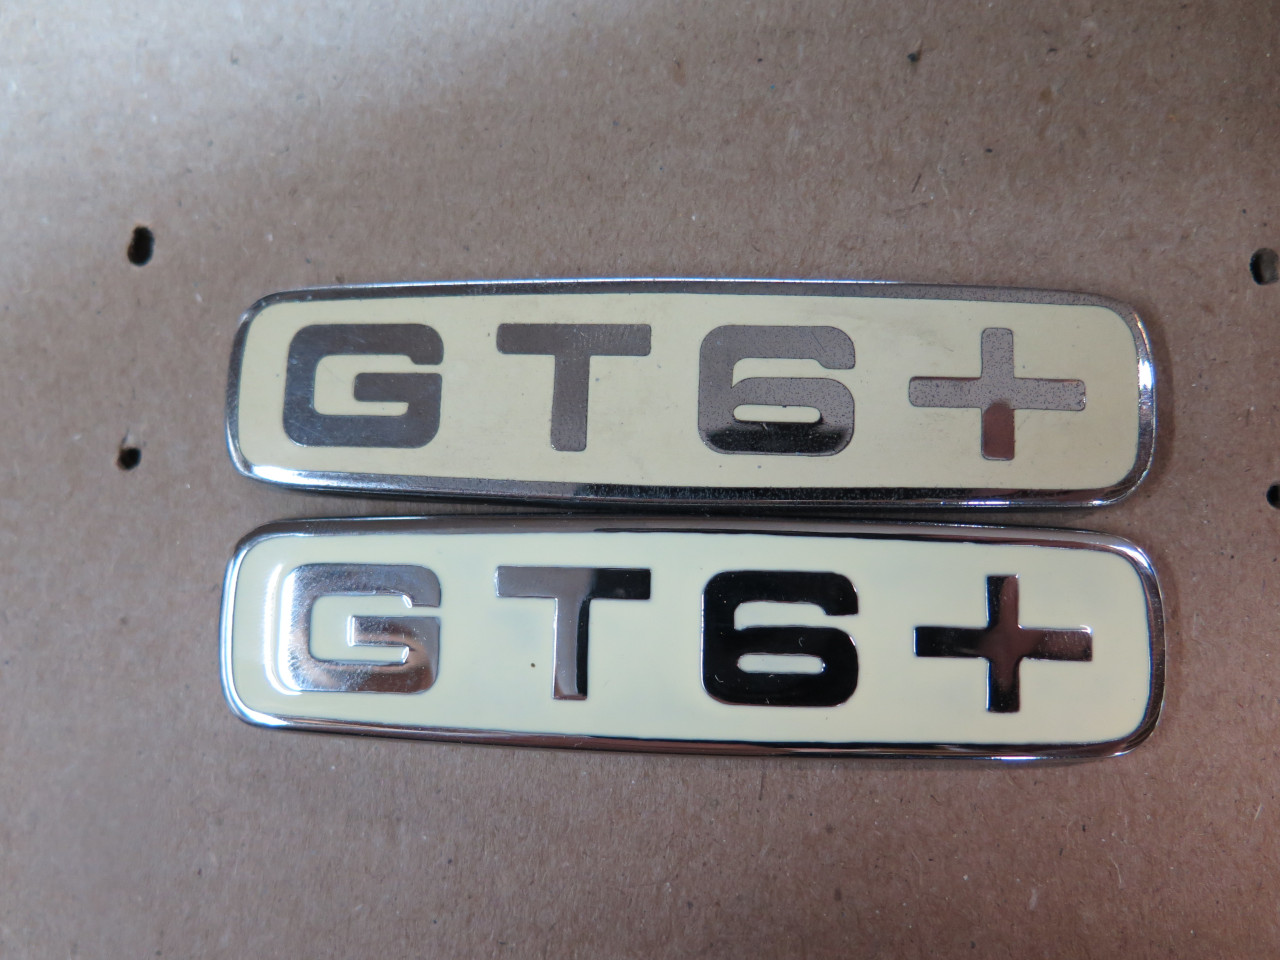
The original color of this car was a pale yellow called "Jasmine", and
the background color of these badges matched it very closely. I
never thought about it much, but I tacitly assumed that all GT6 badges
were coordinated with their car colors. This of course isn't the
case--as far as I'm aware, all GT6 badges have Jasmine as the background
color.
Since I was sort of fond of the color coordination of the original
Jasmine, I began considering ways to bring this coordination to my now
British Racing Green car. Since this was to be an experiment with a
decent chance of failing, and I didn't really want to risk my original
badges, I ordered a new set as Guinea Pigs.
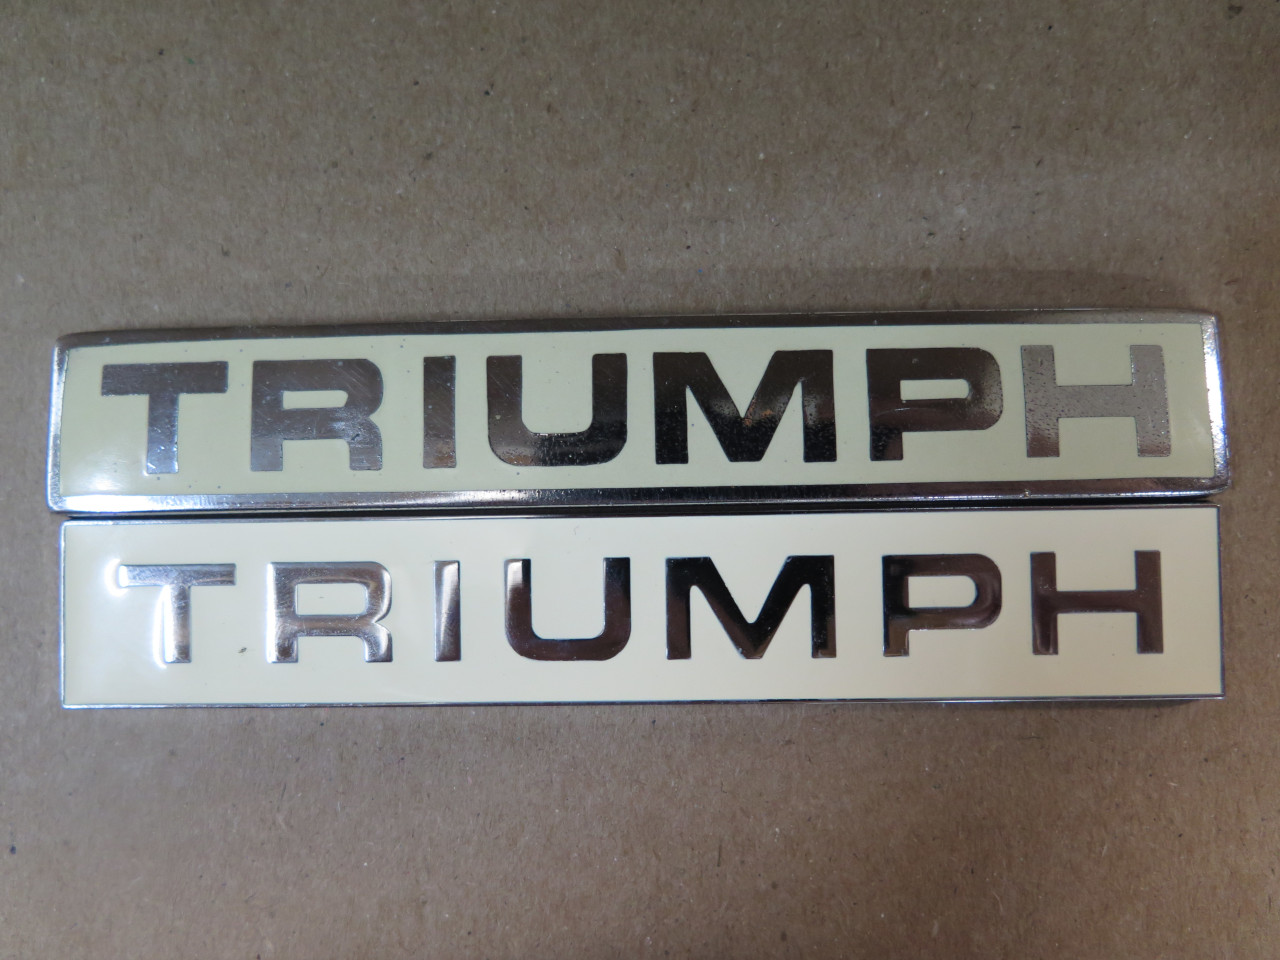
The new badges are noticeably different from the originals in quite a
few areas. In each of the pics below, the aftermarket badges are
the lower ones.
In a strange case of serendipity, shortly after I received the reproduction badges, I ran across a nice GT6 Youtube channel run by C. Bryan Love,
who had posted a really informative video reviewing aftermarket GT6
badges. I can underscore just about everything he says on the
topic.
So, to change the color of the new badges, I first had to get the old
color off. I doubted that these were real cloisonne items, so the
first thing I tried was a stout paint remover. This worked, albeit
slowly.
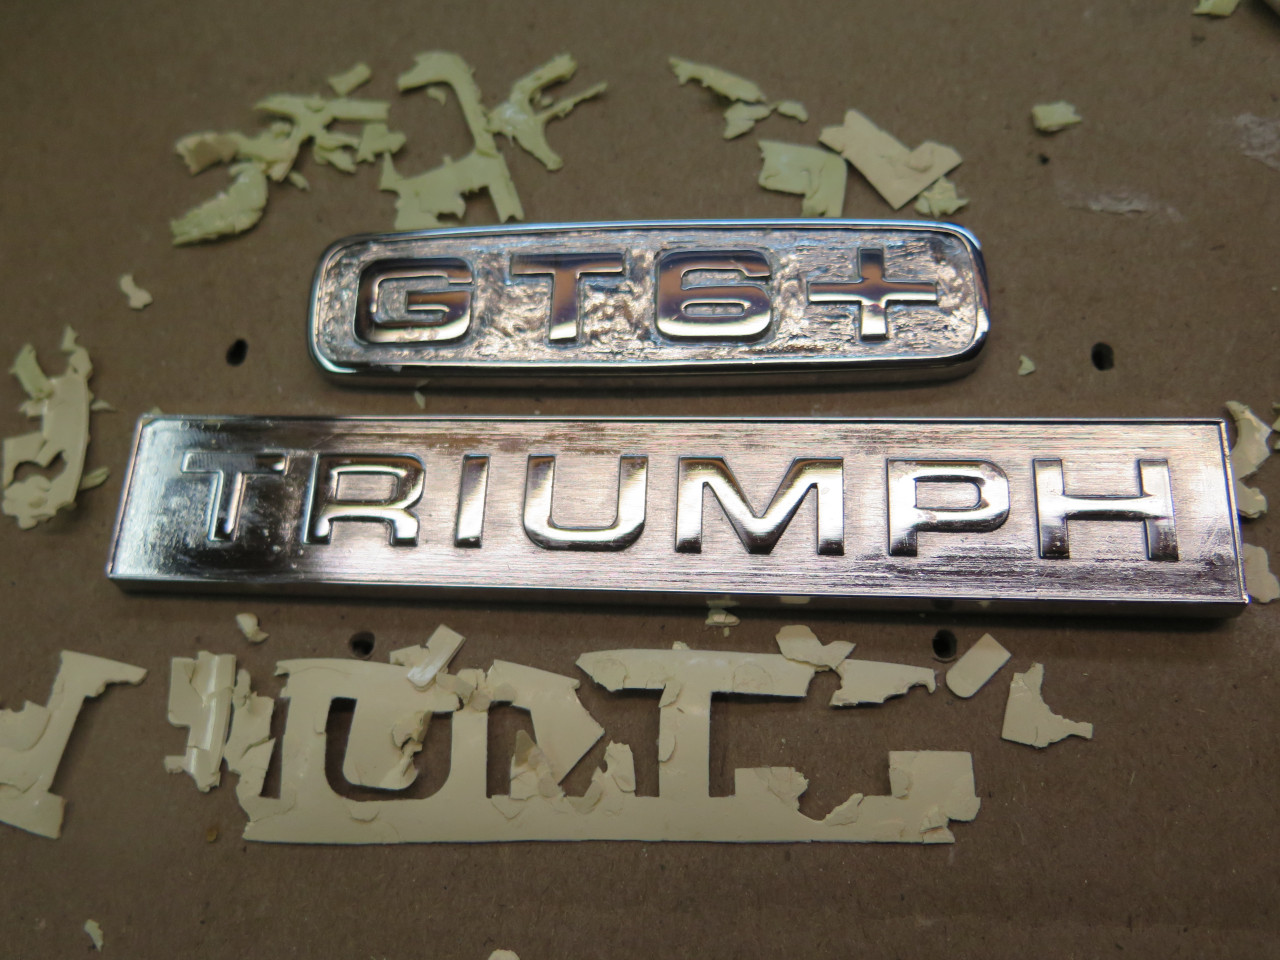
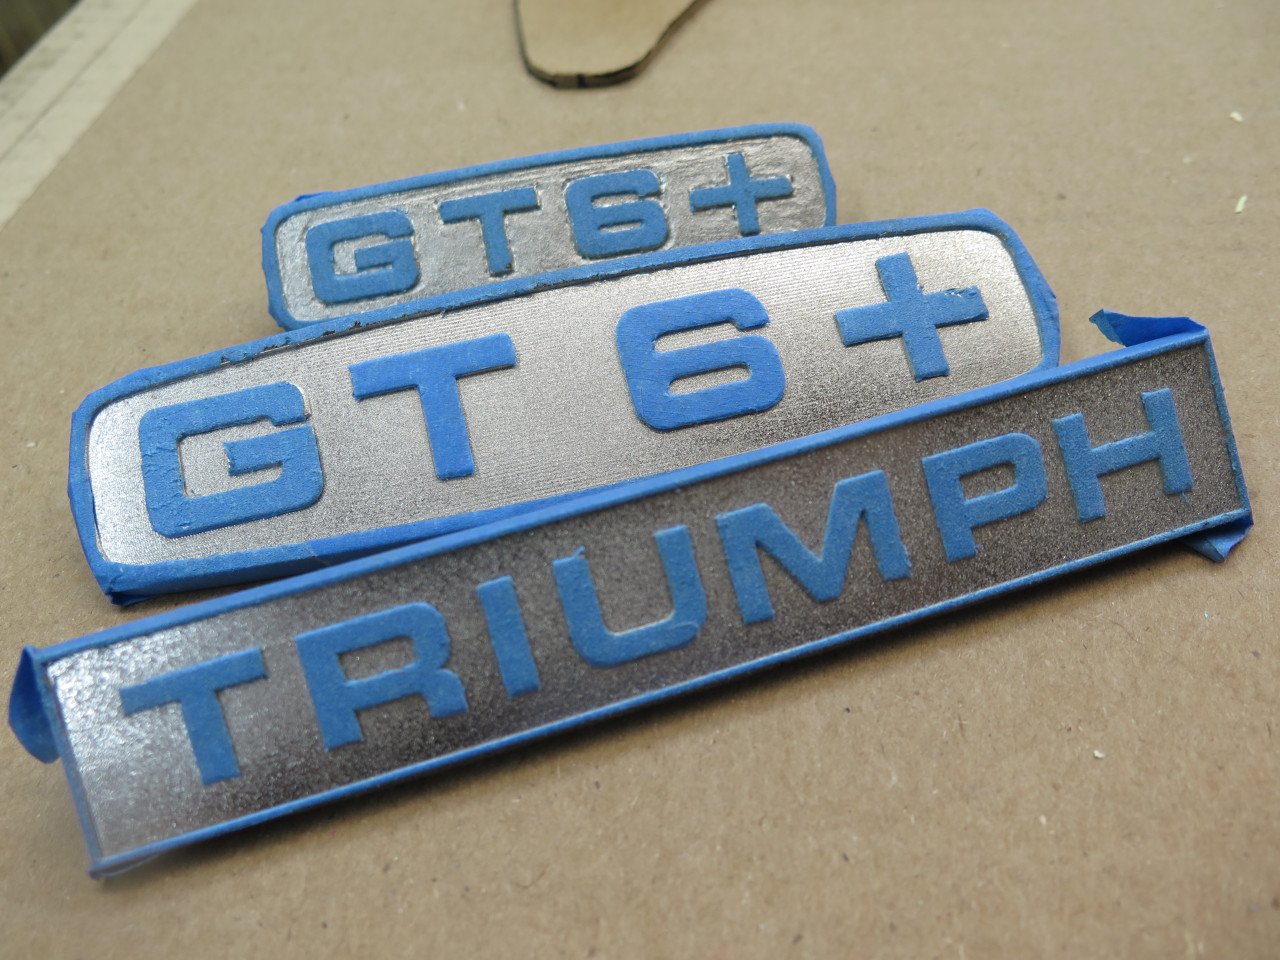
Among the many disappointments with these new badges, the background of
the smallest badge was terribly uneven. I surmise that these were
cast, and the mold looked to be carved by hand.
My original plan was to mask the badges and spray them.
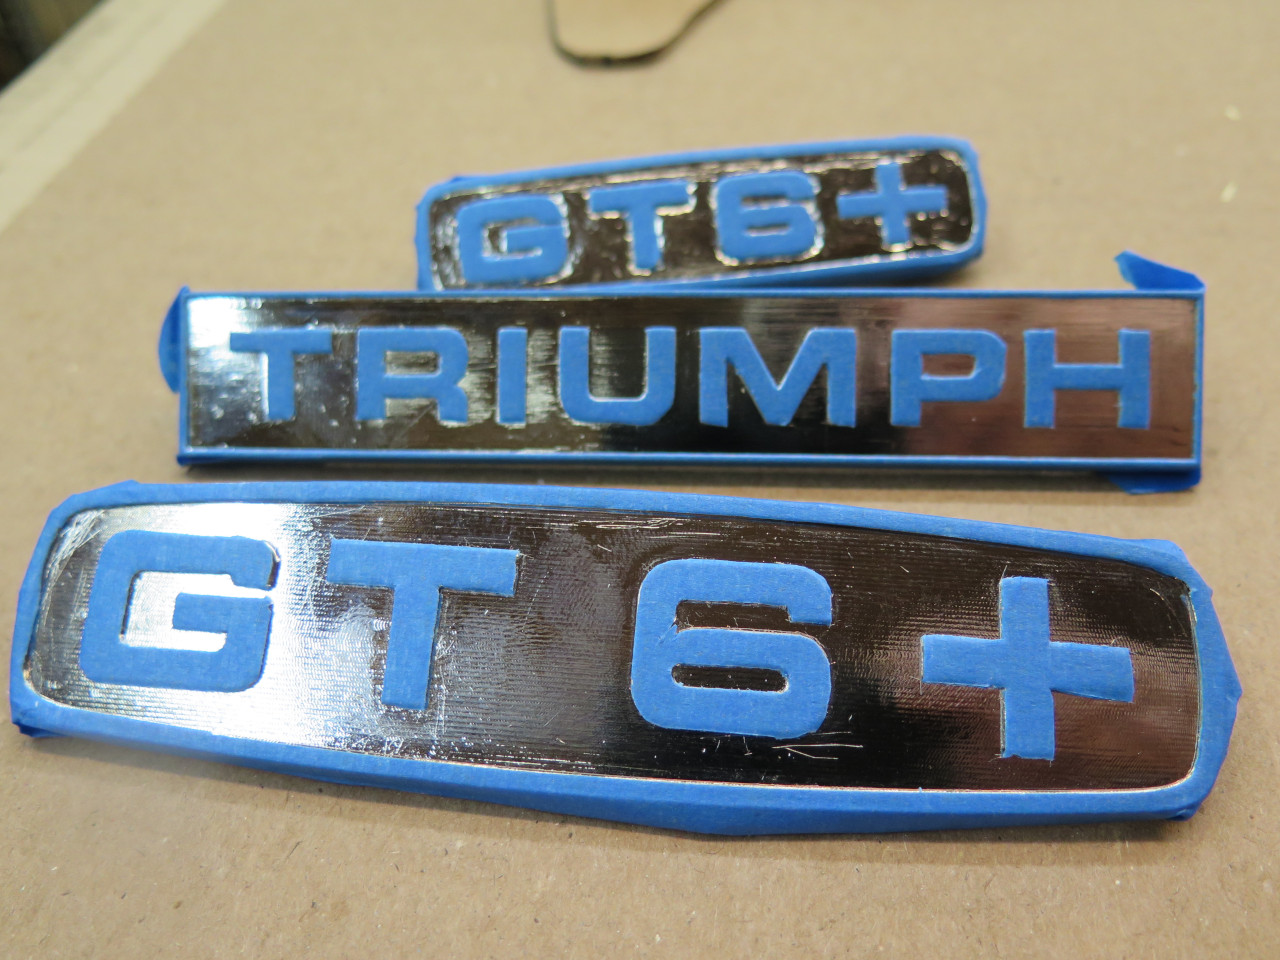
I first media blasted them to improve the tooth of the background..
I finally abandoned the idea of spraying in favor of just flooding paint
on to the background from a syringe. This worked very well since
the painted areas have barriers all around to limit where the paint
would flow. The rough background on the small badge does visibly
telegraph through, but it's hard to notice from any distance.
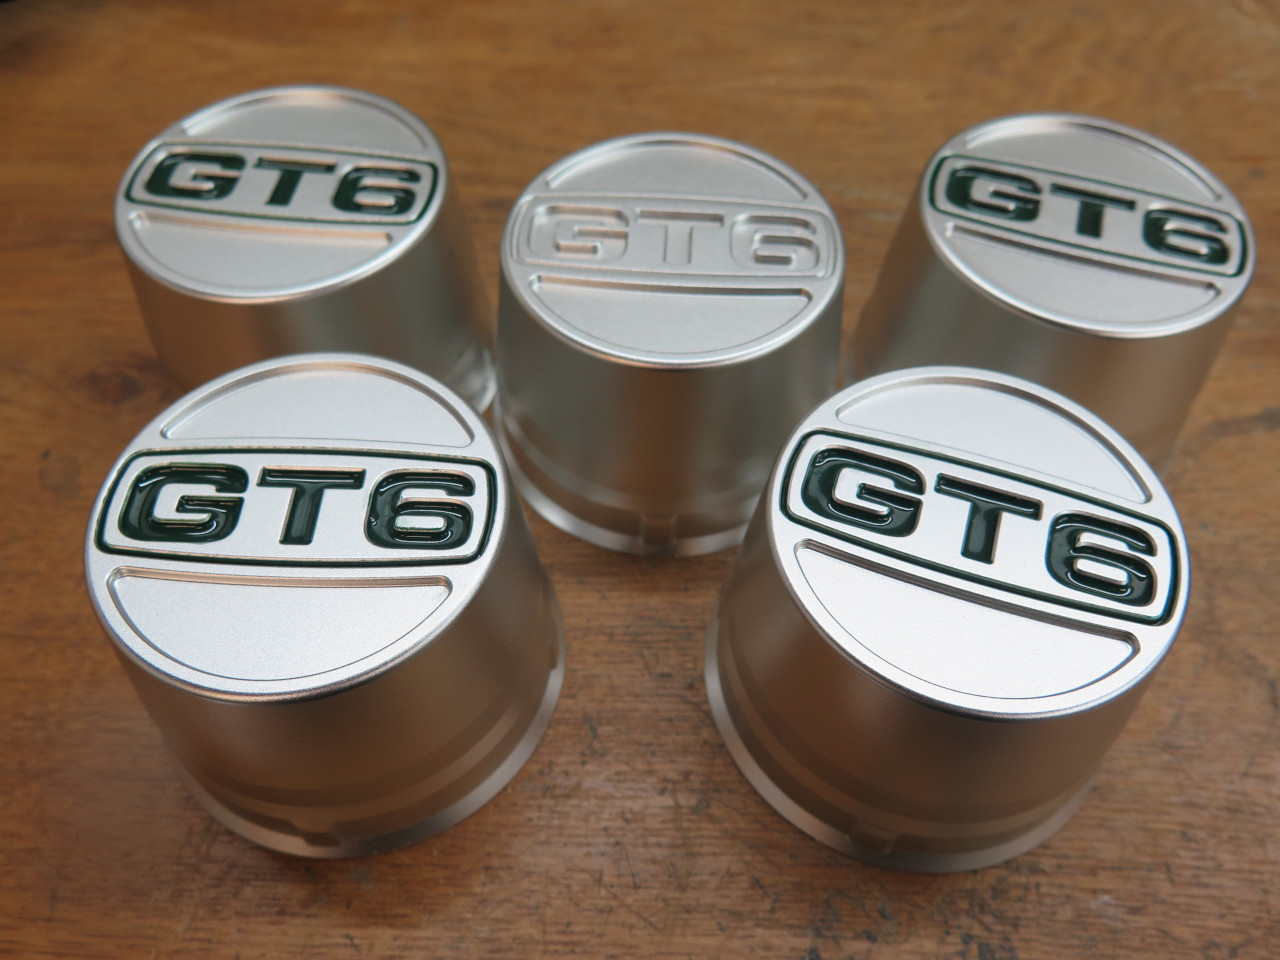
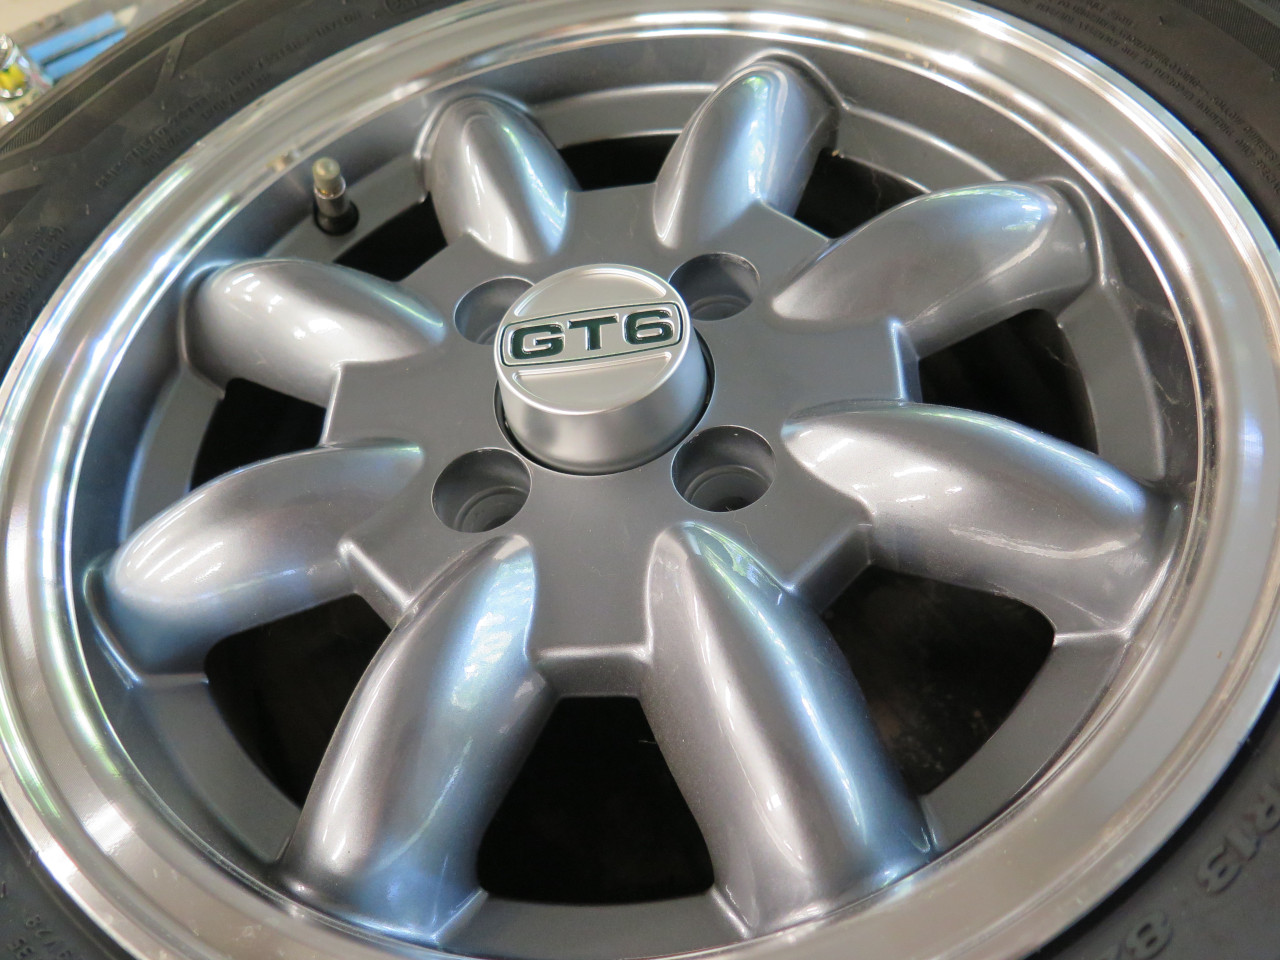
At this point, I finally came to a point I'd been waiting for. I'd been trading messages with Toby at Bauly Cars for a while about making some center wheel caps for the GT6, similar to the ones he offers for the TR6. When he had some early production units available, I bought a set (serial number 1, I think).
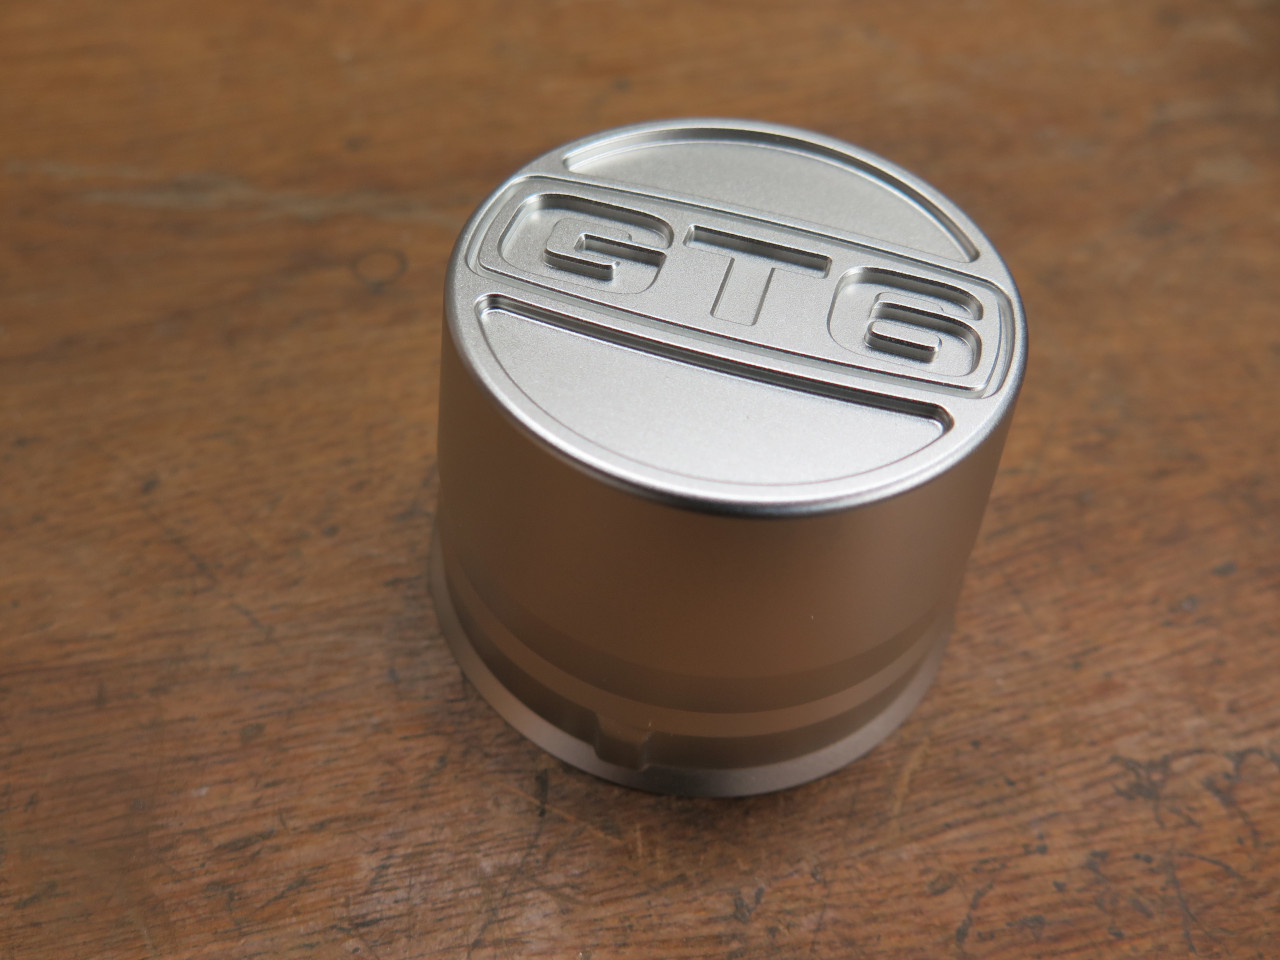
These got the same color accent treatment. (I actually got the idea of
flooding the recesses with a syringe from one of Toby's videos).
So here is the exterior badgery, ready to mount.

Even at this late stage, I was unsure whether I'd use the yellow or
green badges. I tried them both. First, one more aggravation
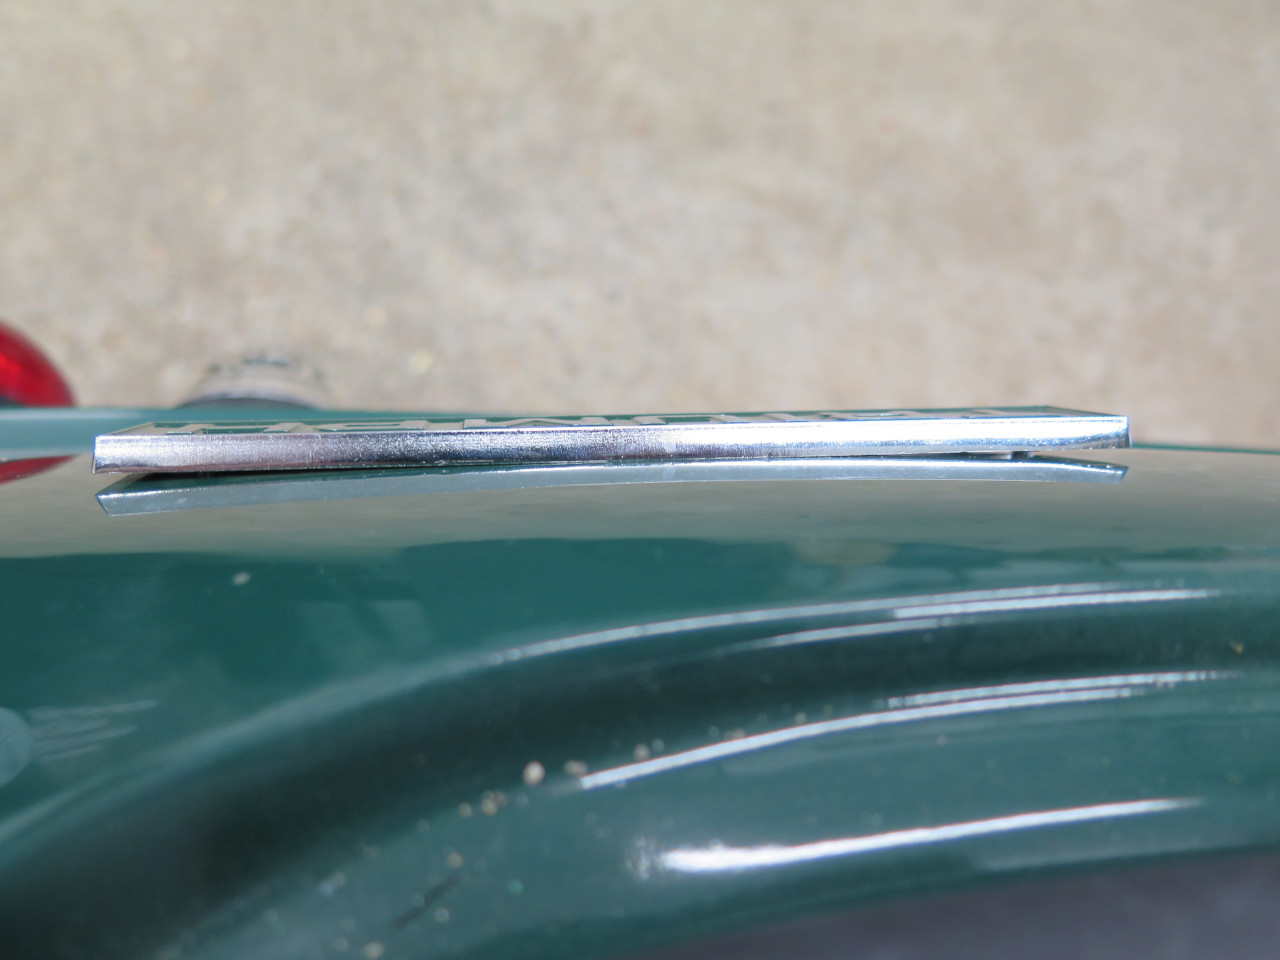
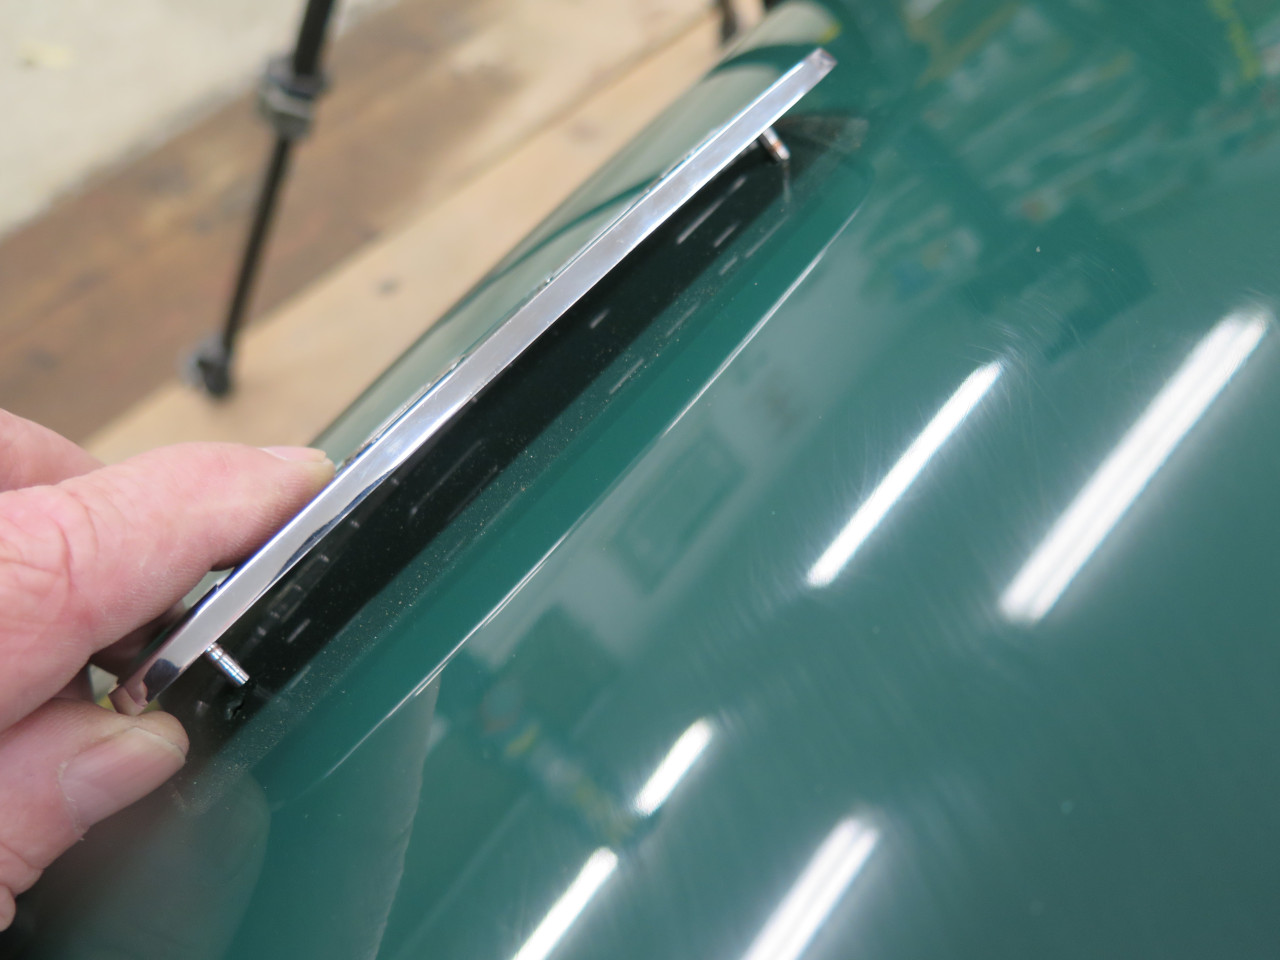
with the aftermarket badges. The original rear "TRIUMPH" badge
was curved to match the contour of the rear valance. The new badge
was flat. Some very gentle persuasion in a press got it to fit
much better. I don't seem to have a pic to prove it, though.
I stared at each one for a while.
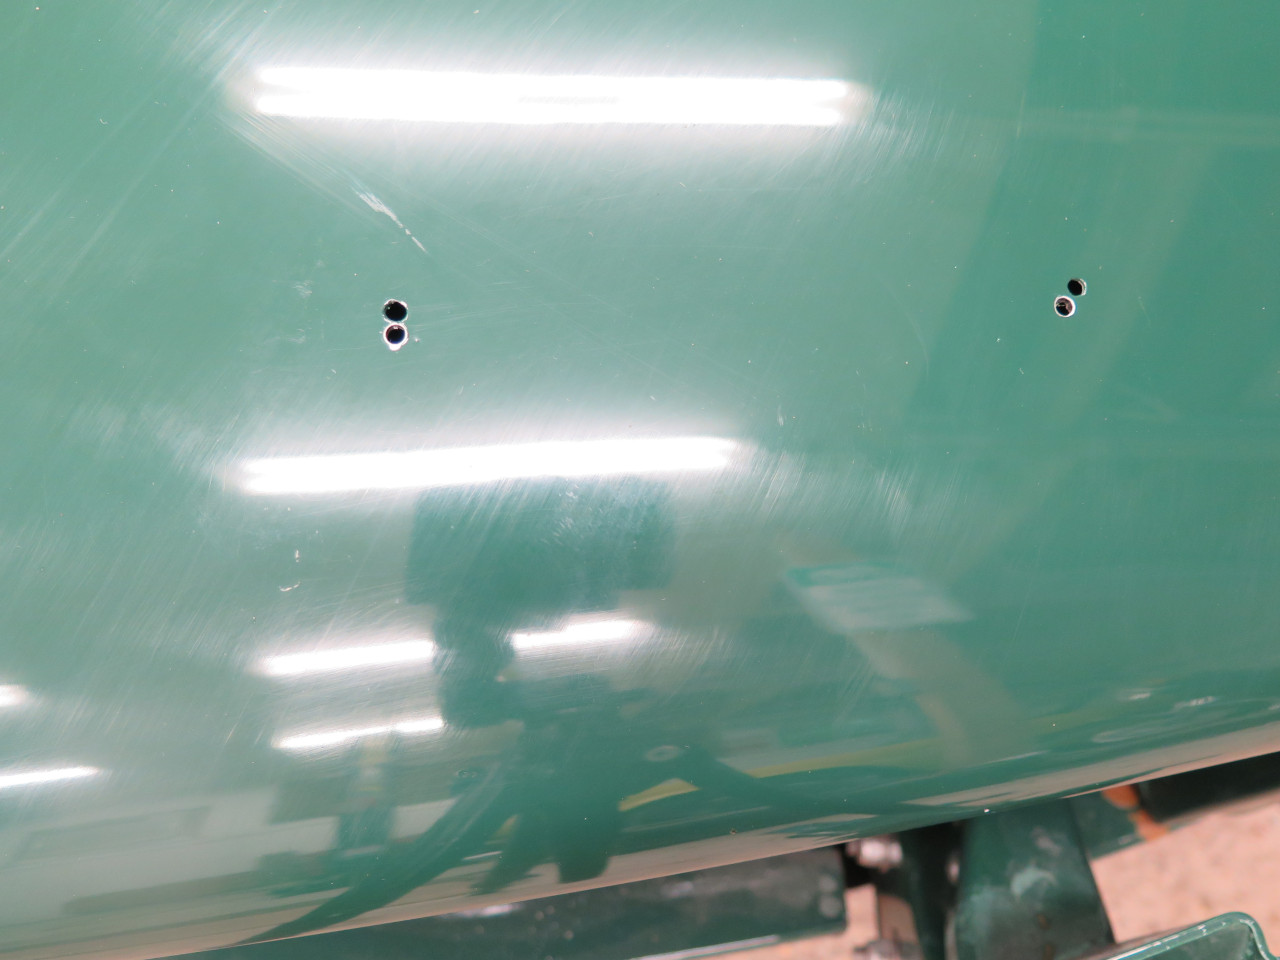
A little more heartache at the front. The pin spacing of the new
badge is different from the original. I drilled a new pair of
holes.
Staring at the front.
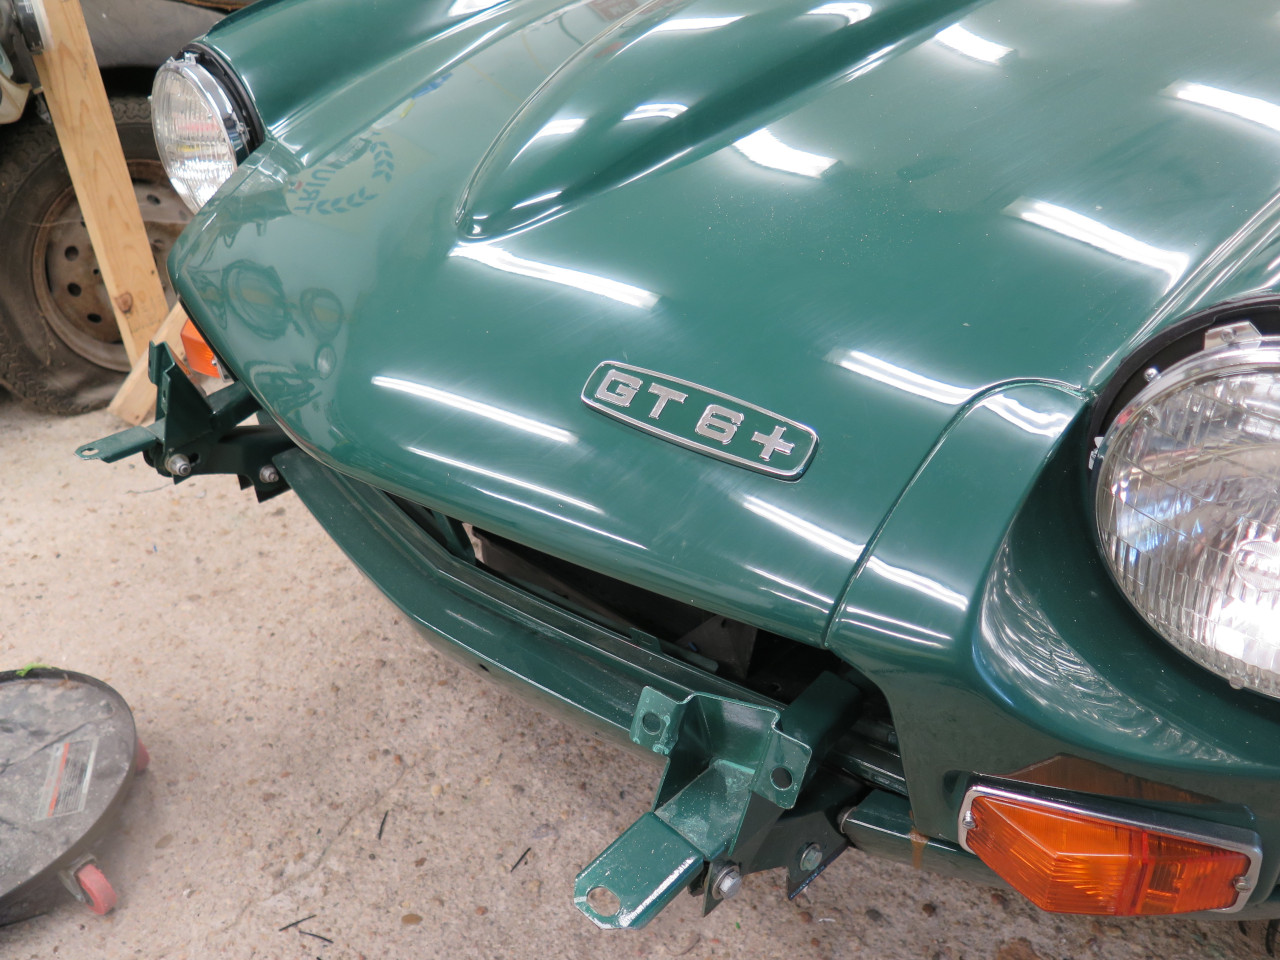
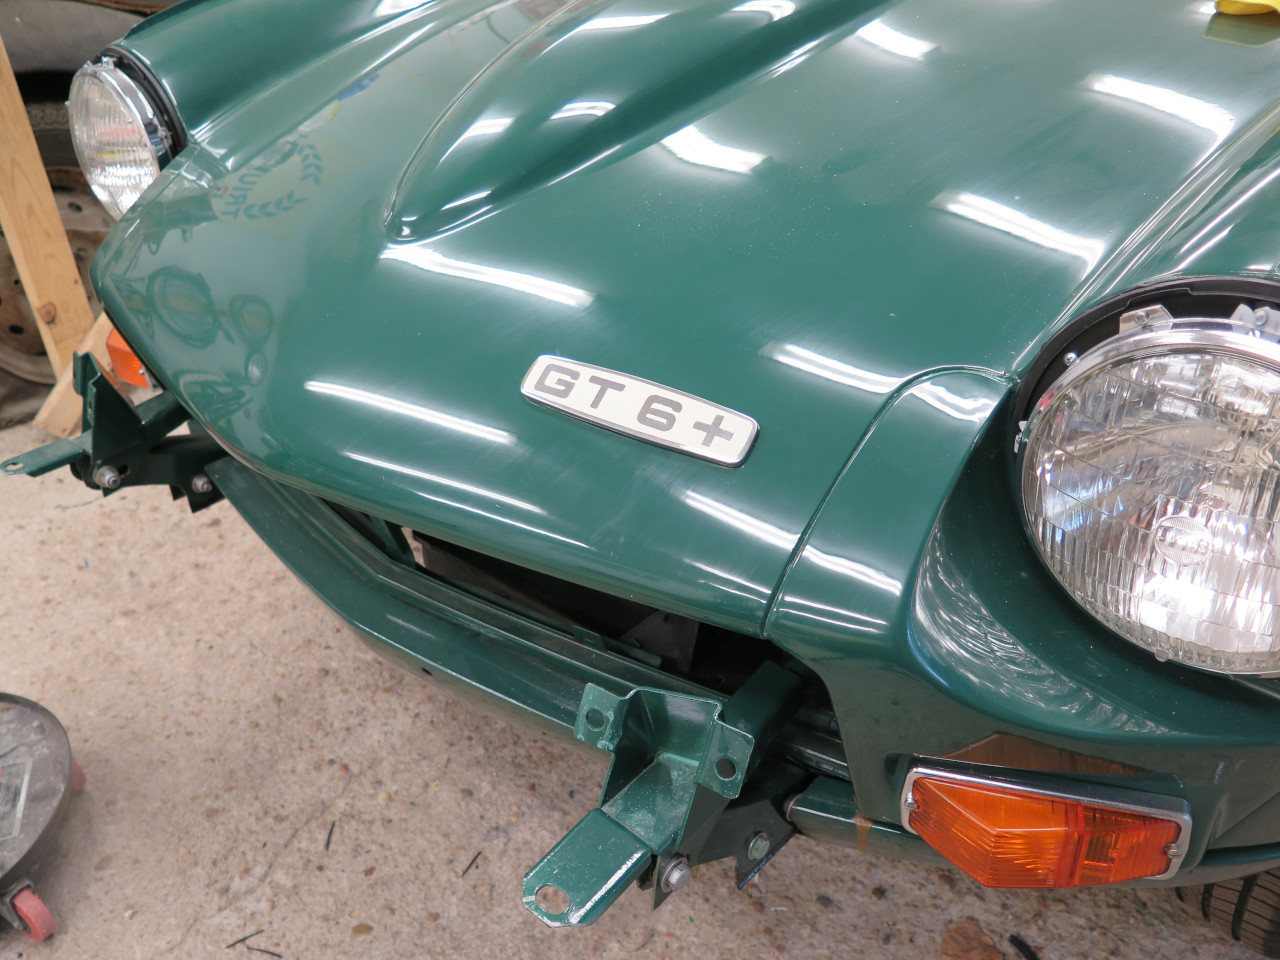
I honestly think it's a tossup for me. I left the green ones on.
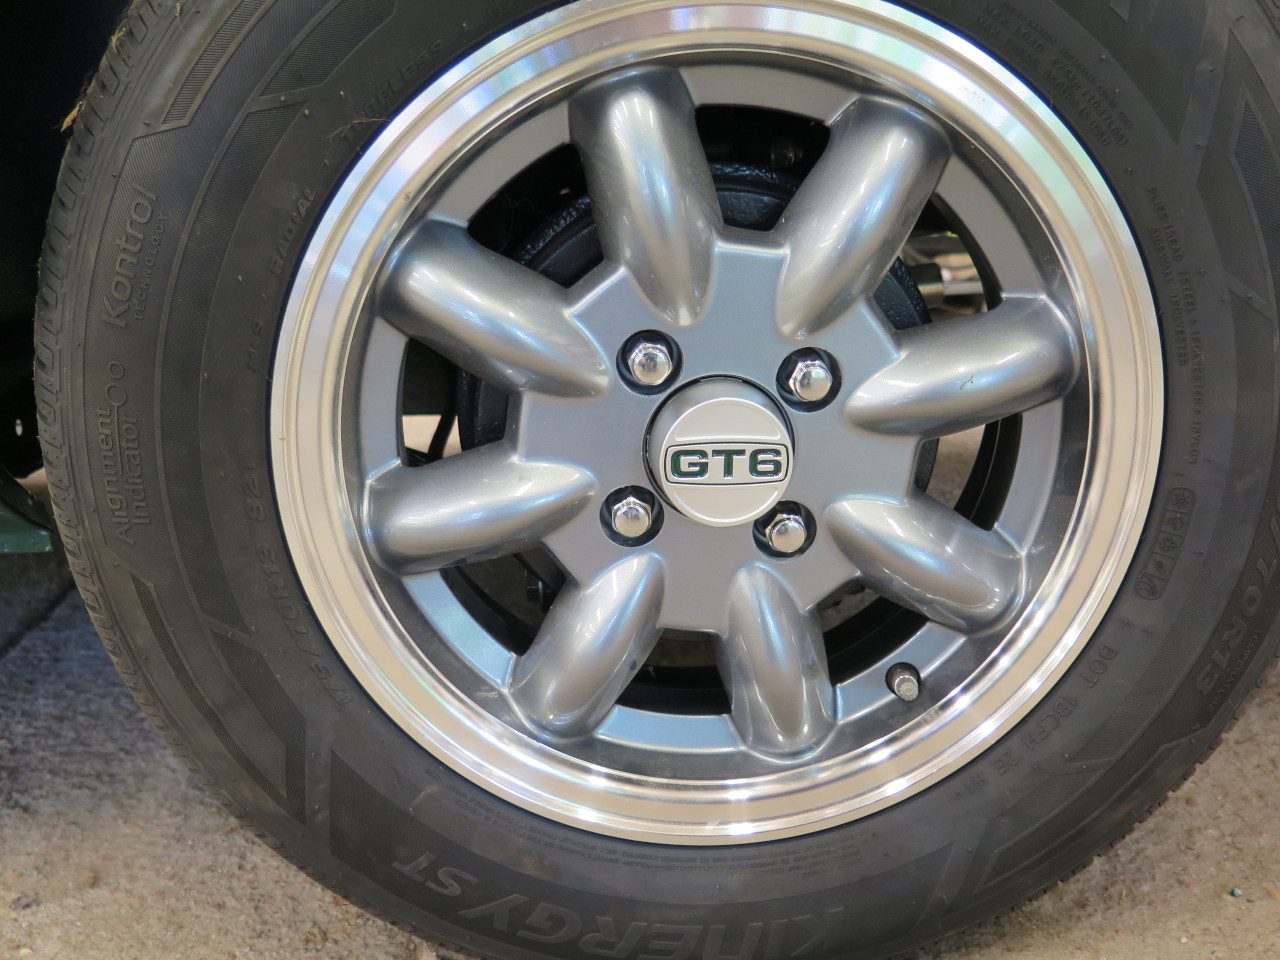
Then, on to the wheel caps. I took the opportunity to static
balance the wheels. They each took between zero and 1.5 ounces.
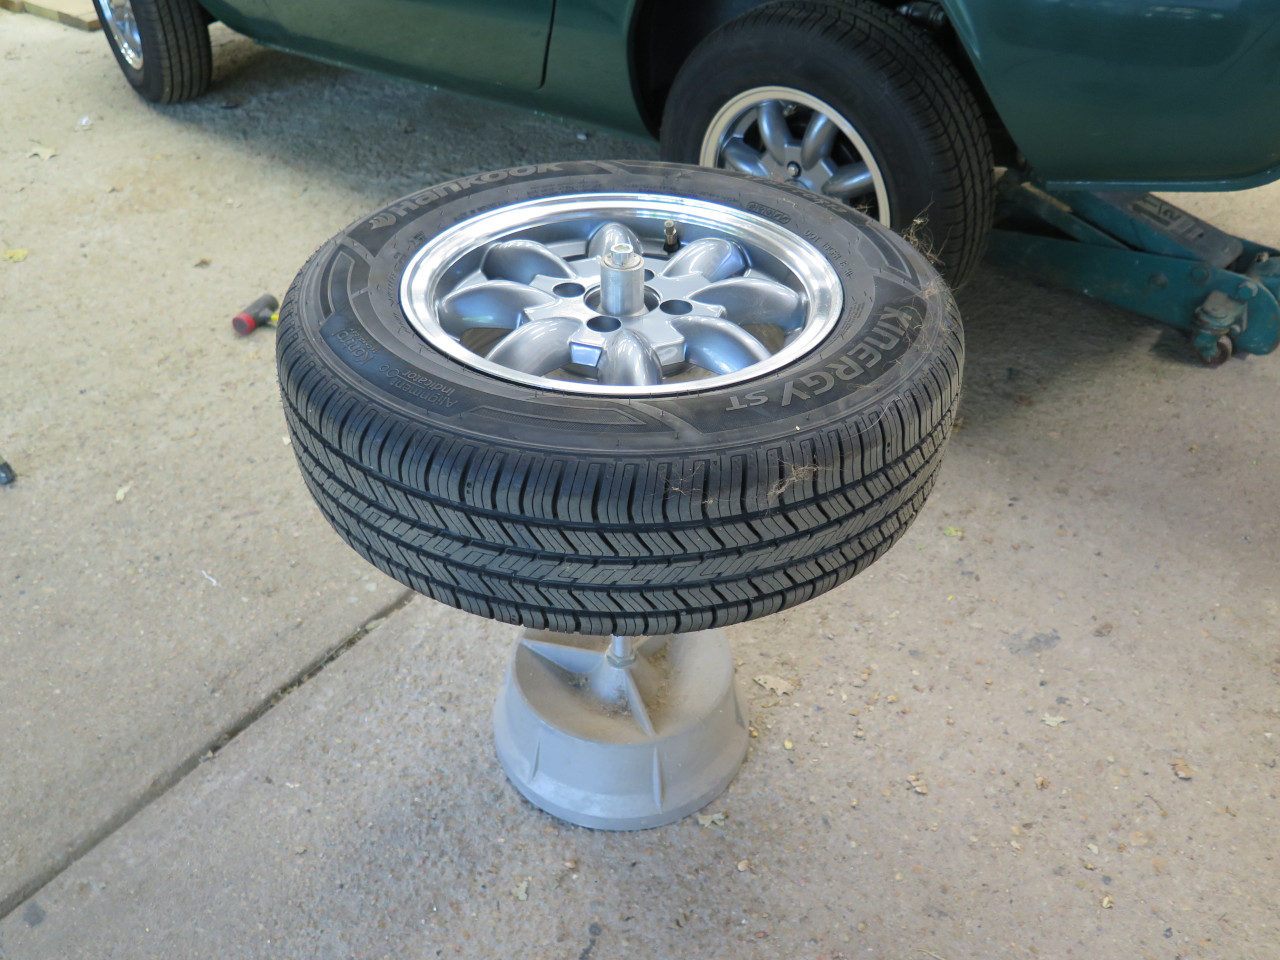
A tweak or two, tapped the caps in, and mounted the wheels. Looks pretty sassy!
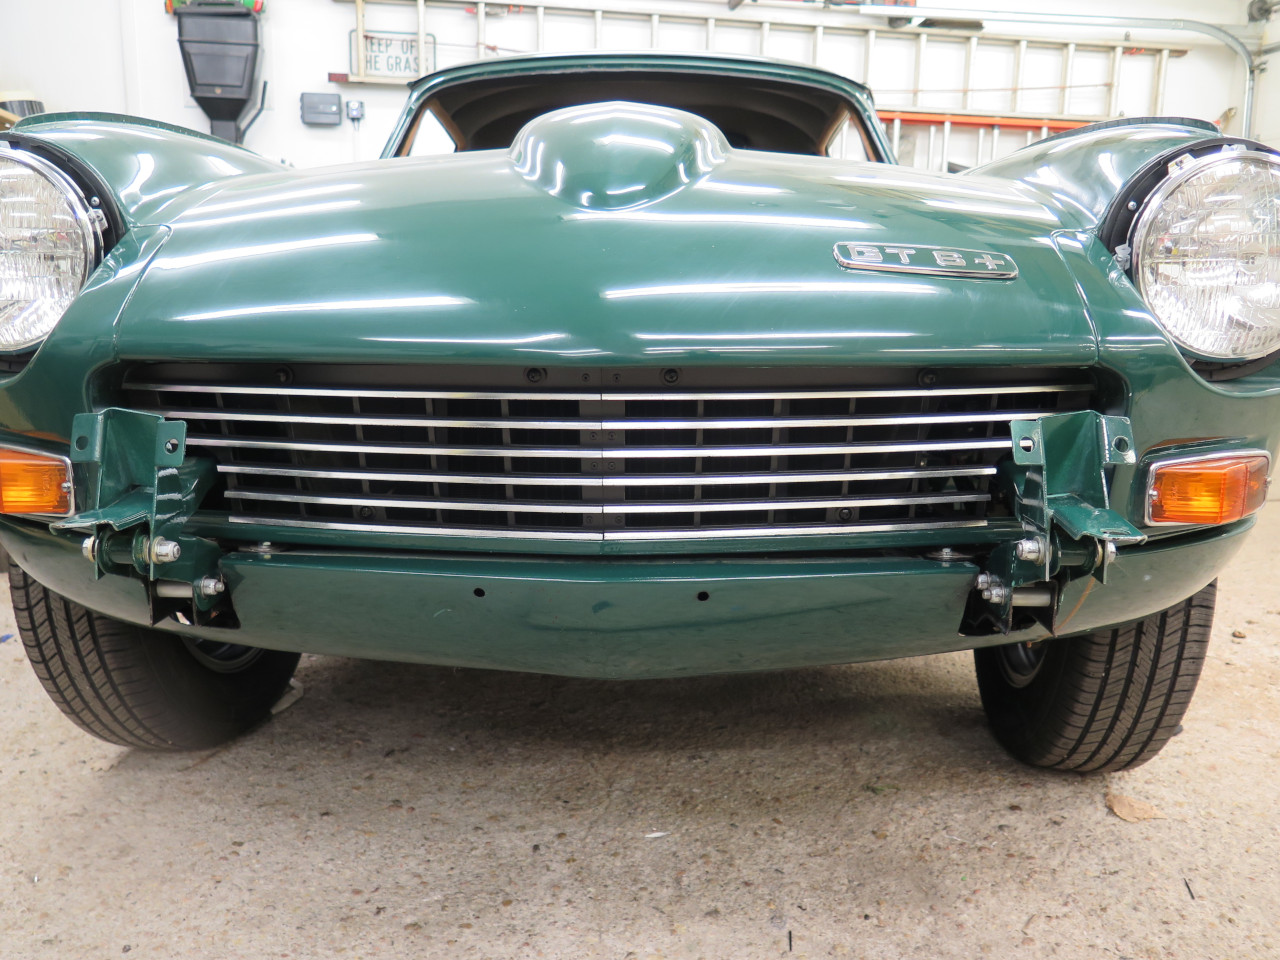
While staring at the front of the car, it occurred to me that I should mount the renewed grille for a more complete picture.
The original hardware was mostly toast, and one of the spacers was missing. Made a new spacer, and assembled new hardware.
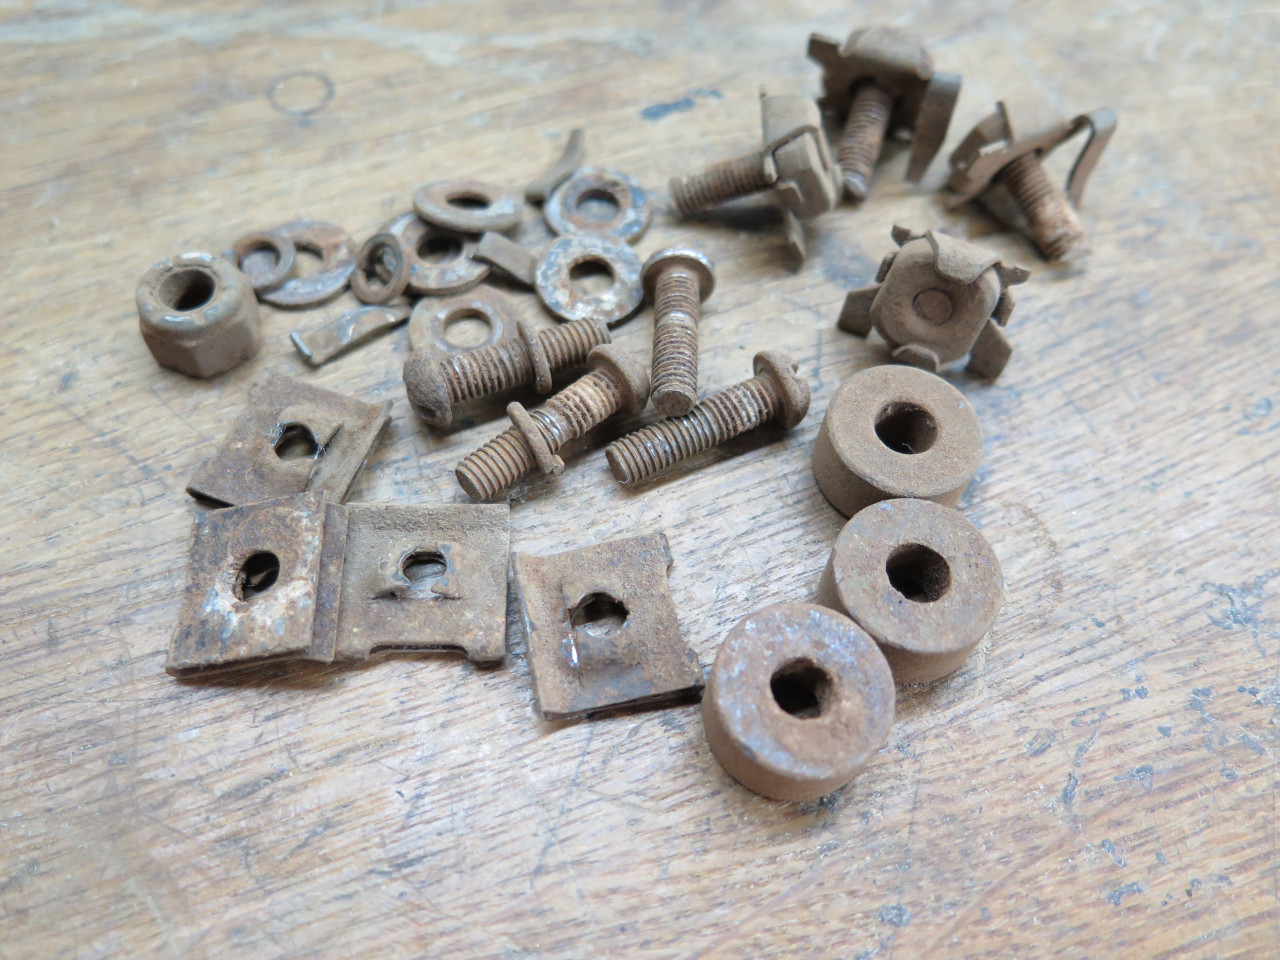
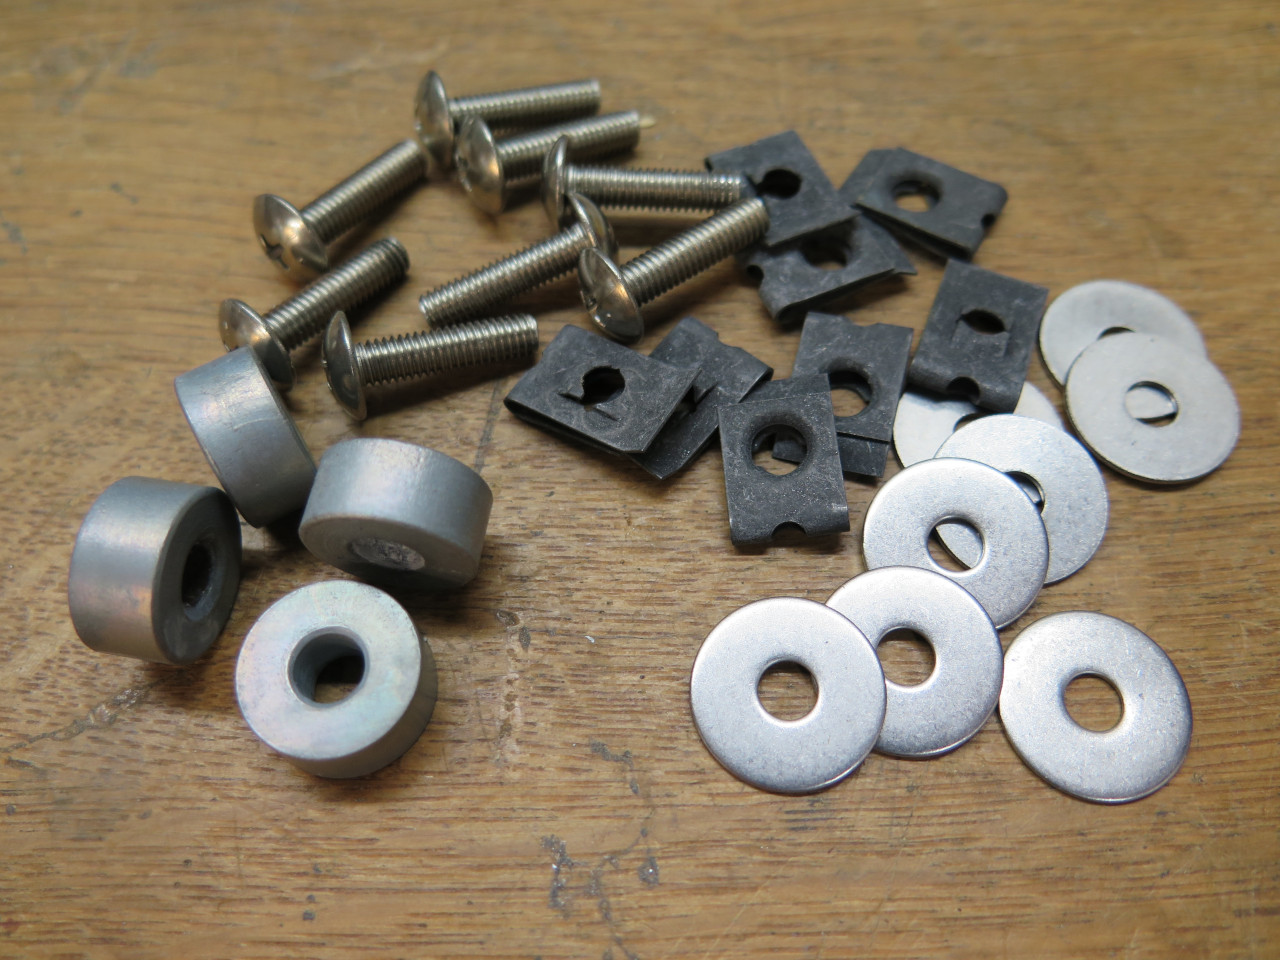
Since the fasteners will show from the front, it seemed right to black them out. This is powder coat.

Ahhh, mo' bettah.
I'll roll with the green badges for a while. Not too bad to swap
them. Wheel caps are keepers. Still have to figure out why
the front looks high.
In my opinion, one too few logos on a car is way better than one too
many. I might be crowding the line here, so no more logos.
This was not an inexpensive exercise. Something under three hundred dollars for the caps and the aftermarket badges.
Comments to Ed at elhollin1@yahoo.com
To my other GT6 Pages