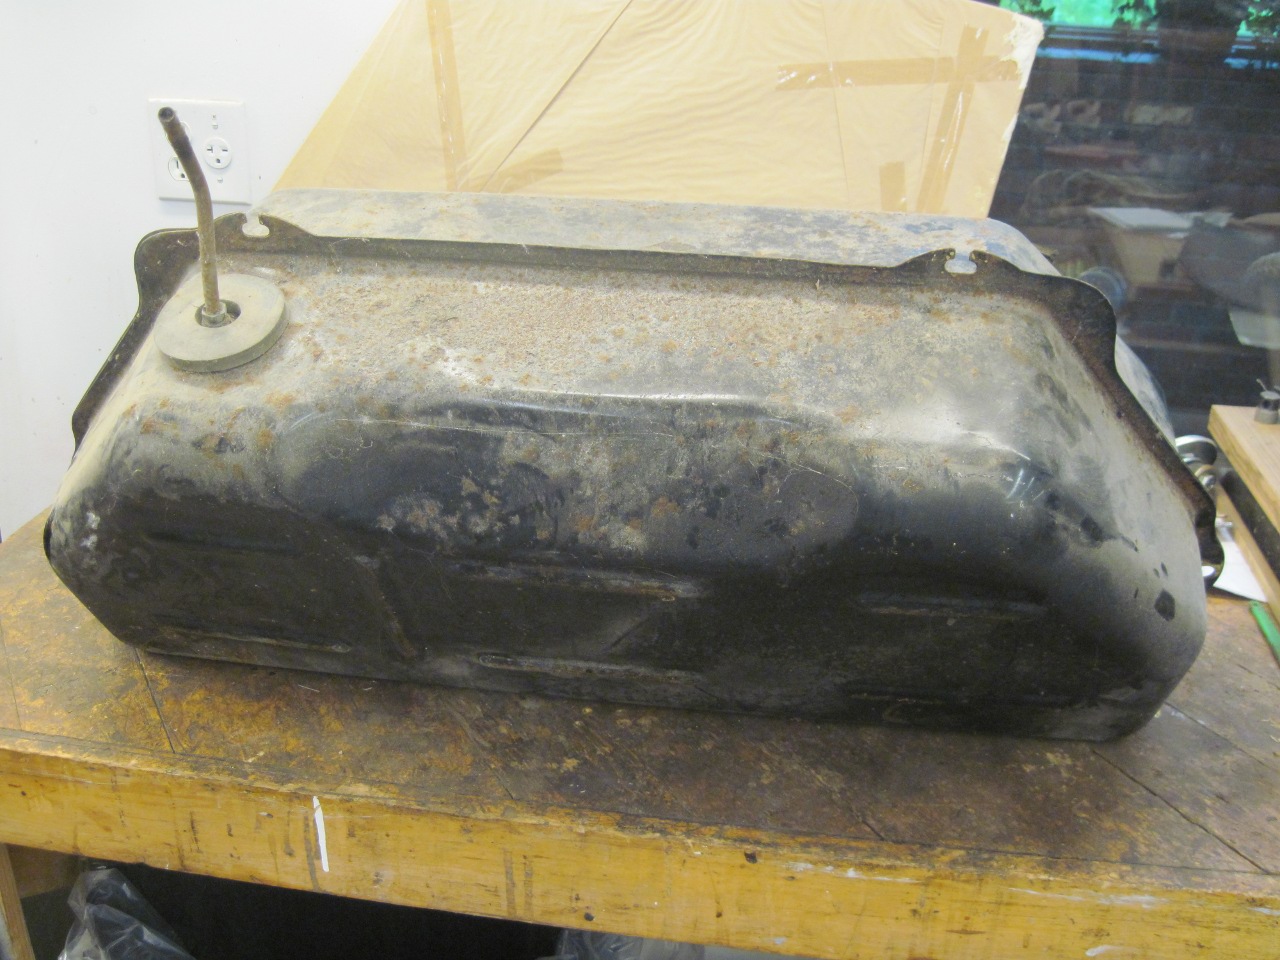
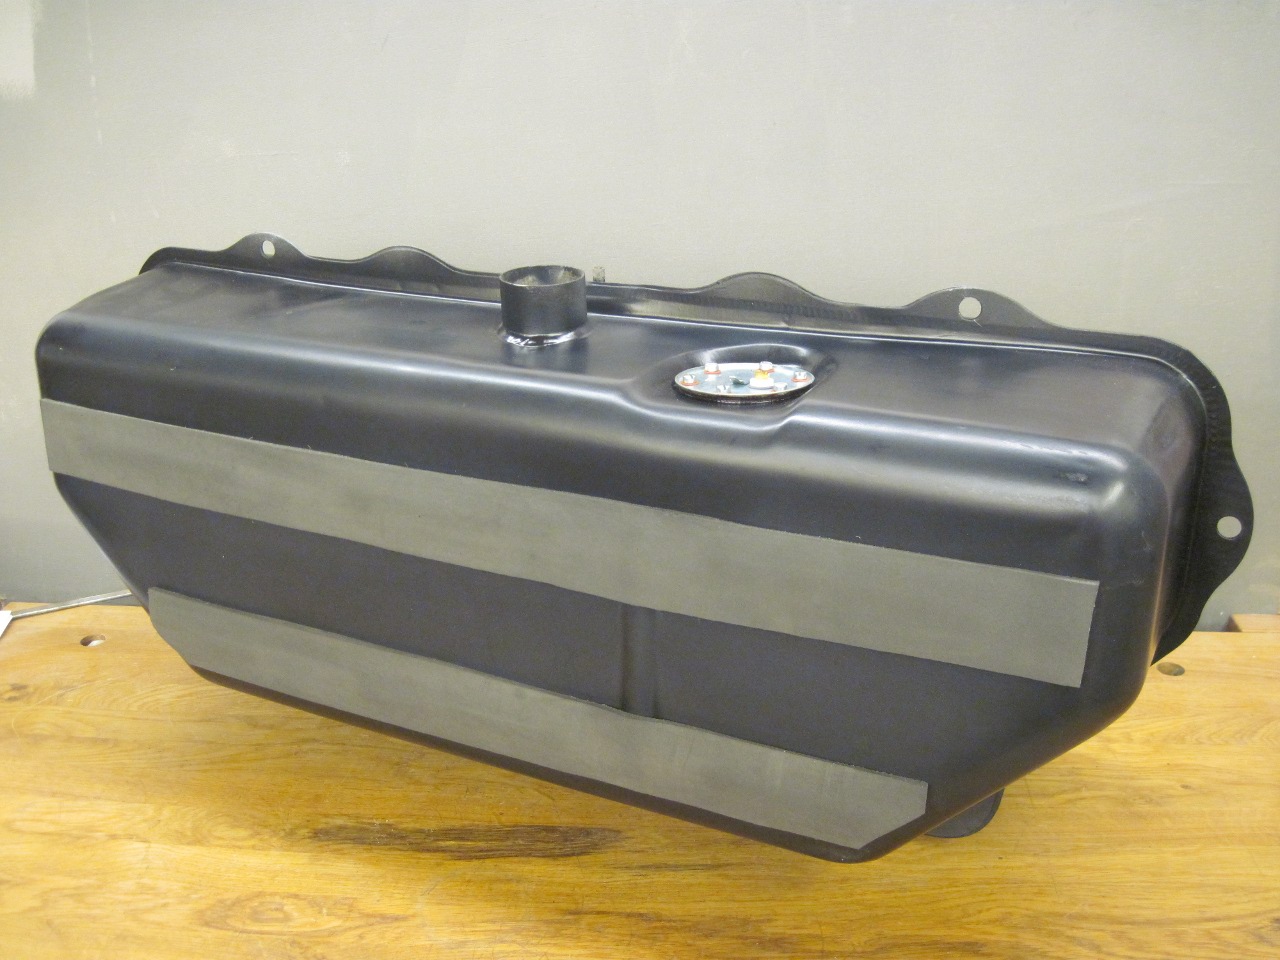
TR6
cars had a formed steel fuel tank with a capacity of 10 to 12 gallons
or so, depending on the year, and maybe the market. The tank
is
situated under the rear deck, between the passenger cabin and the boot.
My tank was dirty with
some rust here and there, but appeared outwardly to be intact.
The fuel level sender
had a lot of RTV-type stuff smeared around it, maybe from the factory.
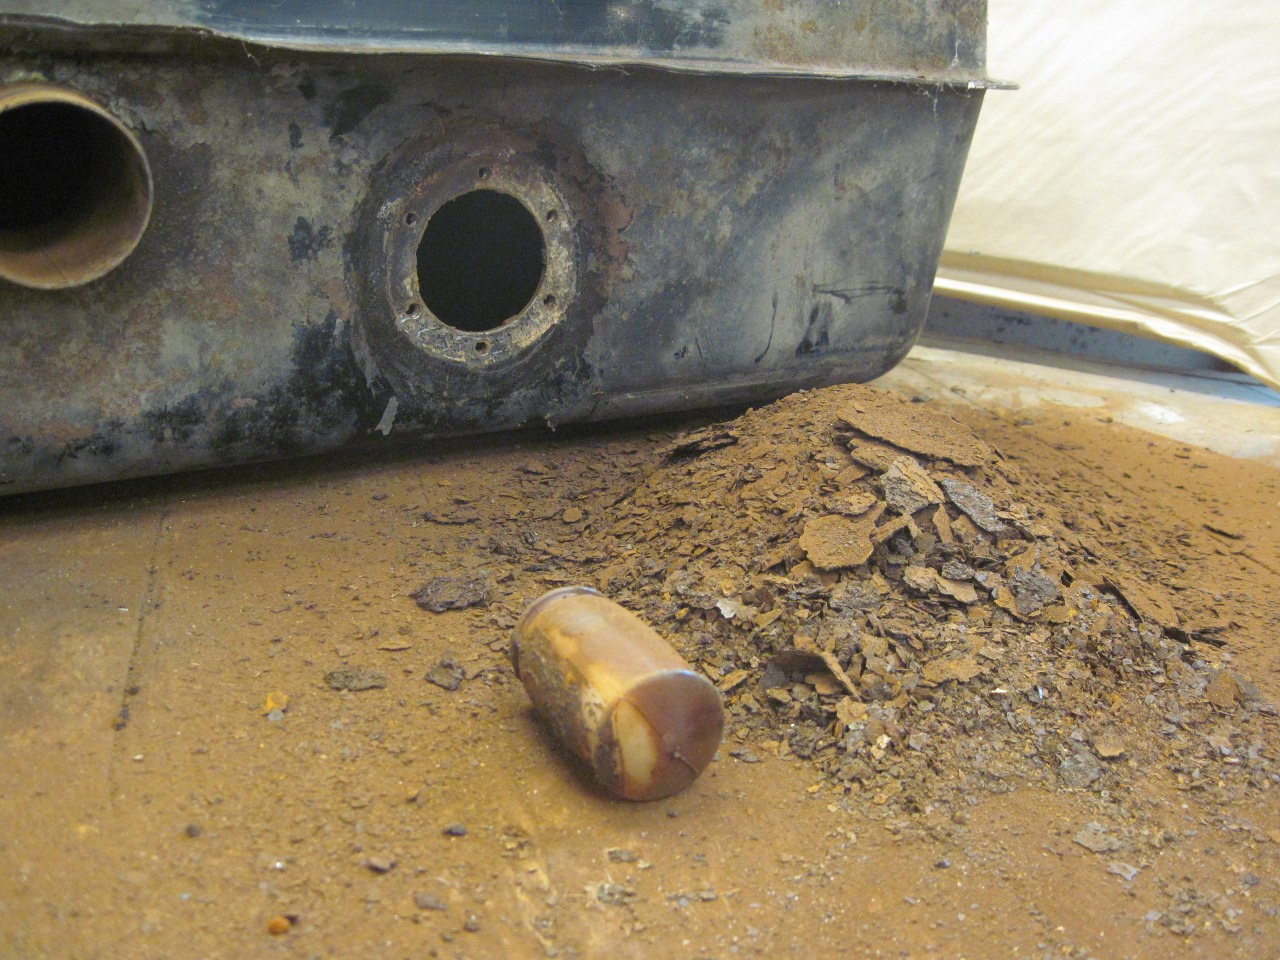
Inverting
the tank yielded a surprise--along with the expected dusty and scaly
material, out came a loose sender float, a third full of
liquid.
This tank hasn't had anything liquid in it for at least 25
years.
The
brown material looks superficially like rust, and some of it certainly
is, but closer inspection suggests that it's mostly just dried fine or
sandy textured sediment. A peek inside the tank revealed more
of
the material, but also areas that looked like bare metal with some
surface rust.
I
was encouraged enough with the condition of the tank to spend a little
more time cleaning it up. I've done a couple of motorcycle
tanks
before, and I take a very systematic approach to cleaning. To
get
the gross crusty stuff out of the tank, I use mechanical means.
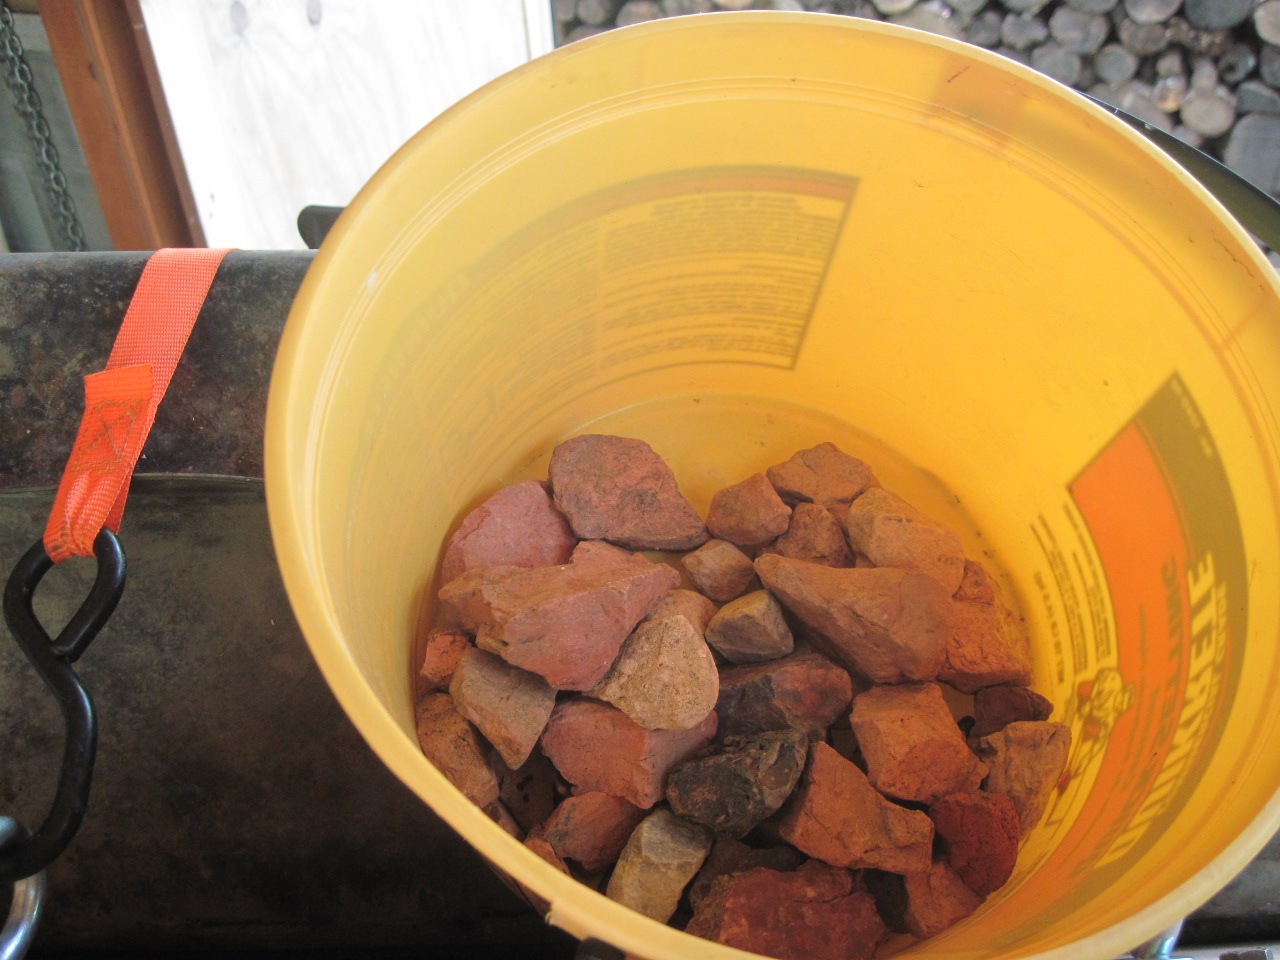
I
put heavyish abrasive material in the tank with some soap and water,
and agitate for a while. Though there is actual media made
for
this purpose, many people use nuts and bolts or drywall screws for the
abrasive. I chose to use a few pounds of small jagged rocks.
Now
with a motorcycle tank, manual agitation isn't too bad, but after a few
minutes of shaking the TR6 tank back and forth, I decided this would be
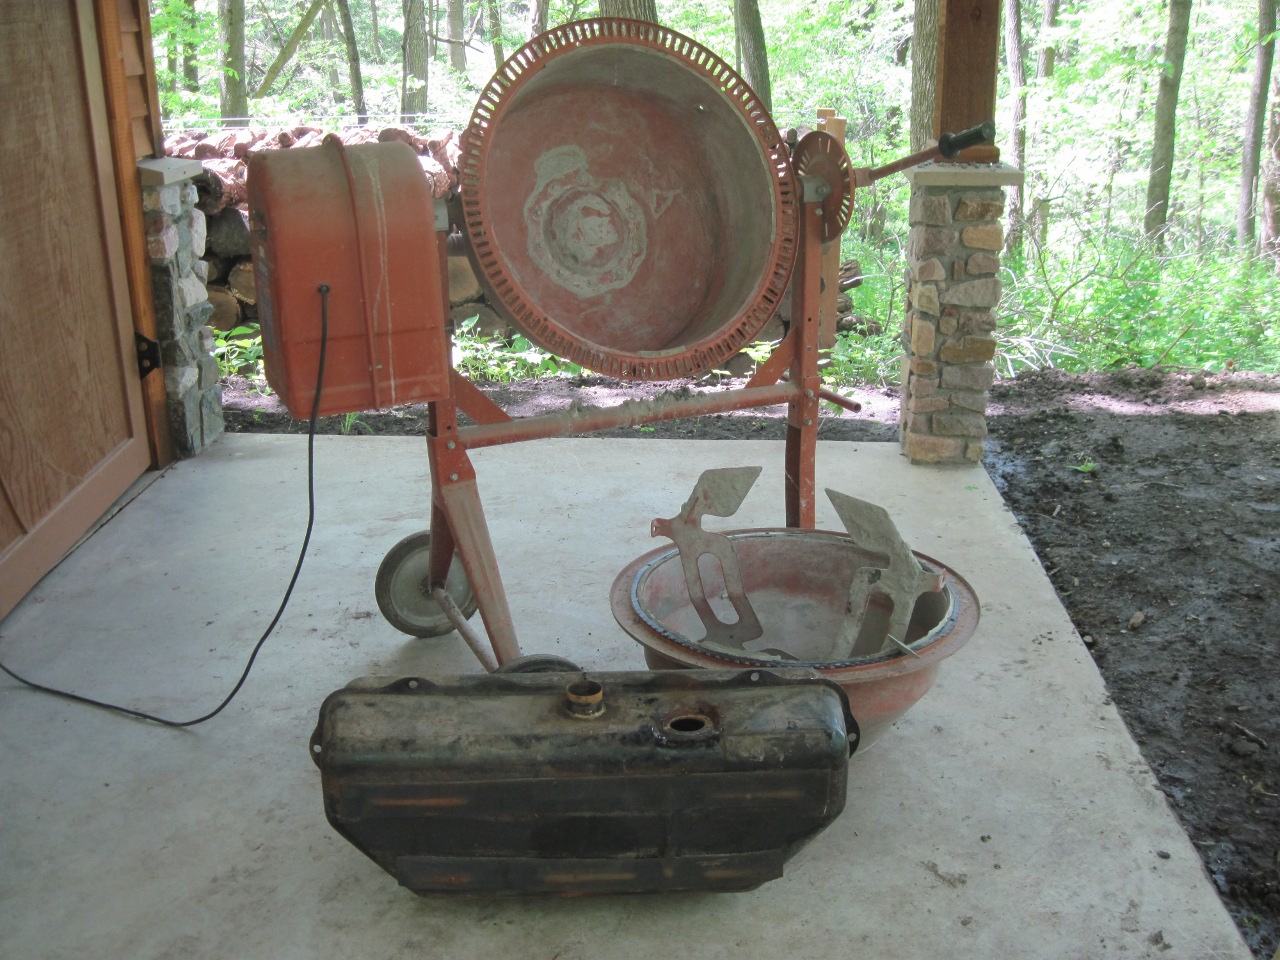
an excellent application for some sort of automation. I took
a
break to mull it over. I wandered to the shed and had one of
those AHA! moments when my eyes locked on my old cement mixer.
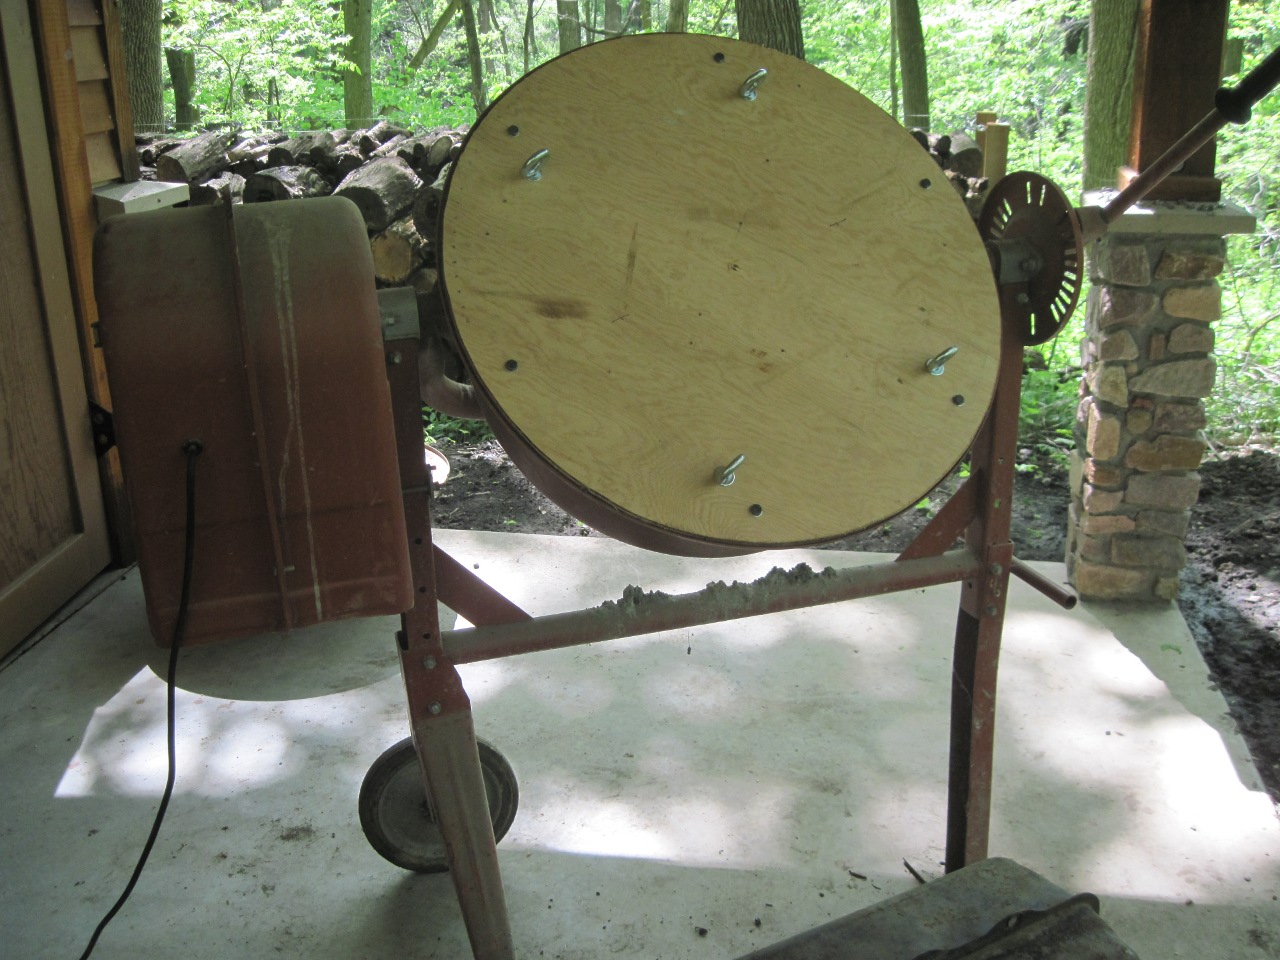
A little disassembly of
the mixer, a circular plywood platform, some hardware, and--Automation!
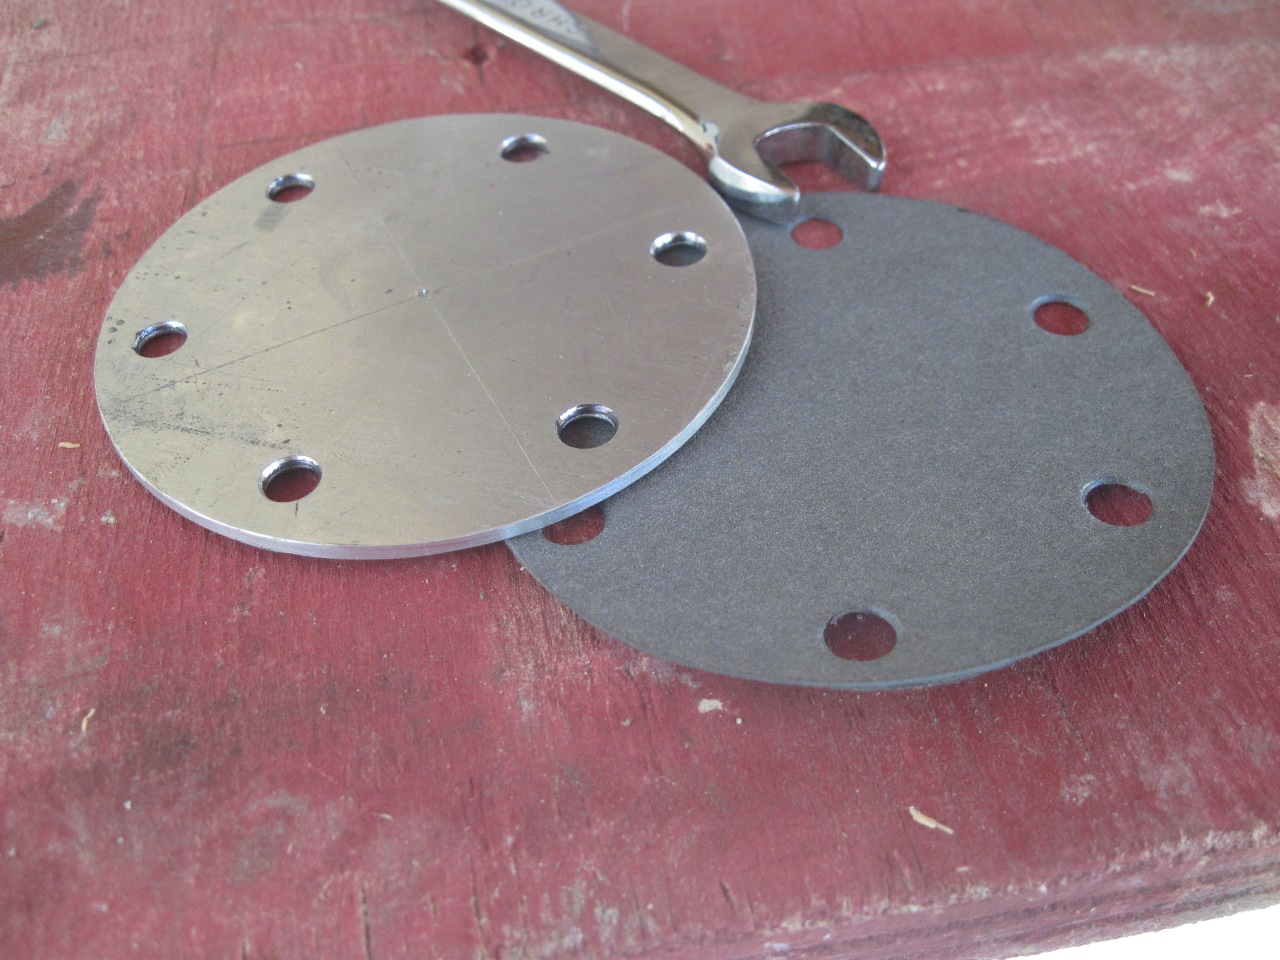
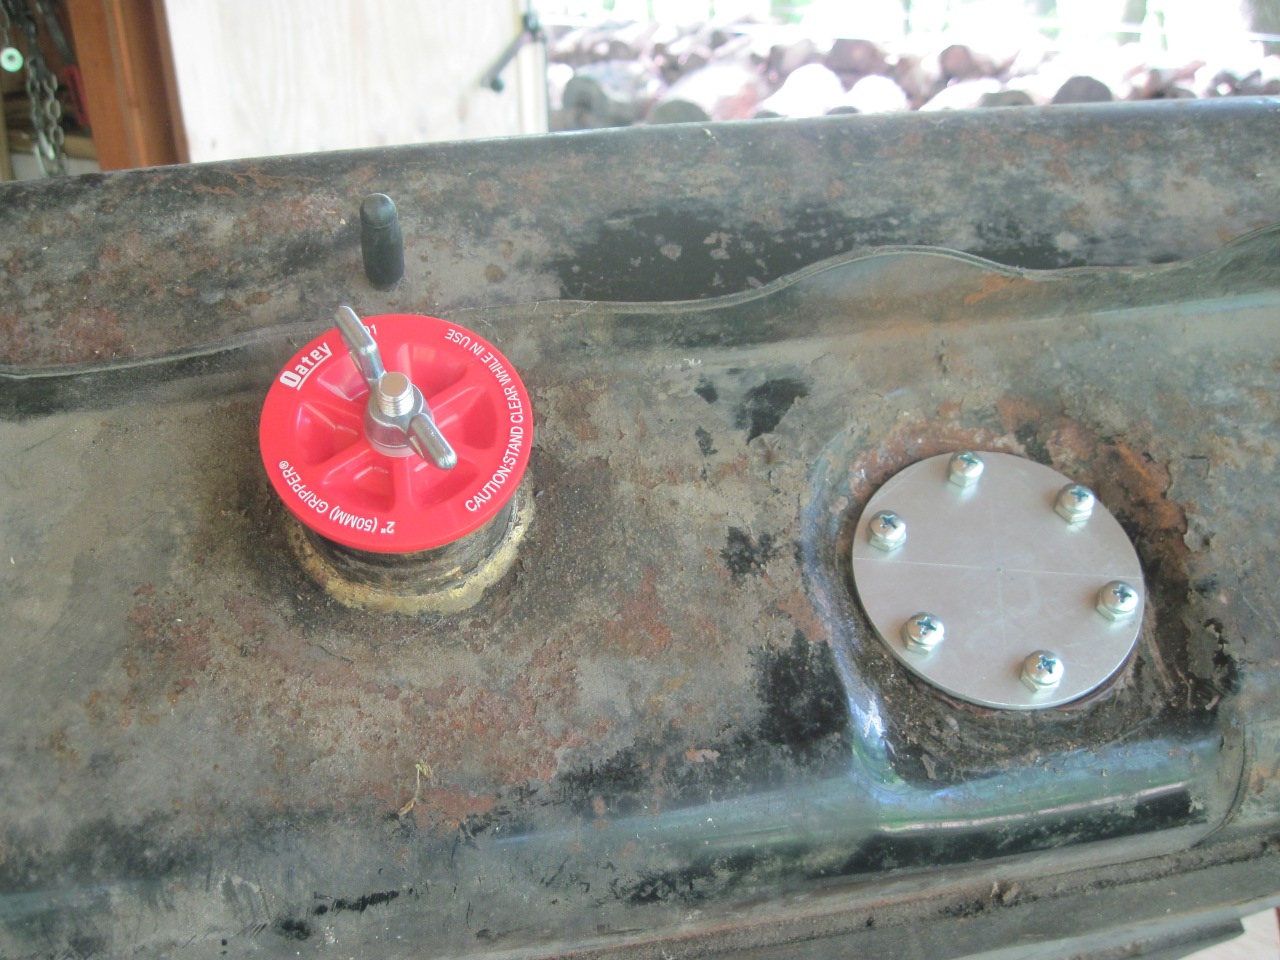
Before hitting the on
switch, I of course had to seal up the openings in the tank.
With all systems go, I
launched. It saved me a lot of effort, but Chippie the dog
didn't approve at all.
Everything
was cool for the first 10 or 15 minutes of rotation, but then I saw
something I didn't want to see--some drips on the floor.
Hoping
it was just a leak from one of the plugged orifices, I stopped the
contraption. It was what I feared, a small seep, probably
from a
pin hole. .
It was a very slow leak,
so I went ahead and finished 30 minutes of rotation, then flipped the
tank and did 30 more.
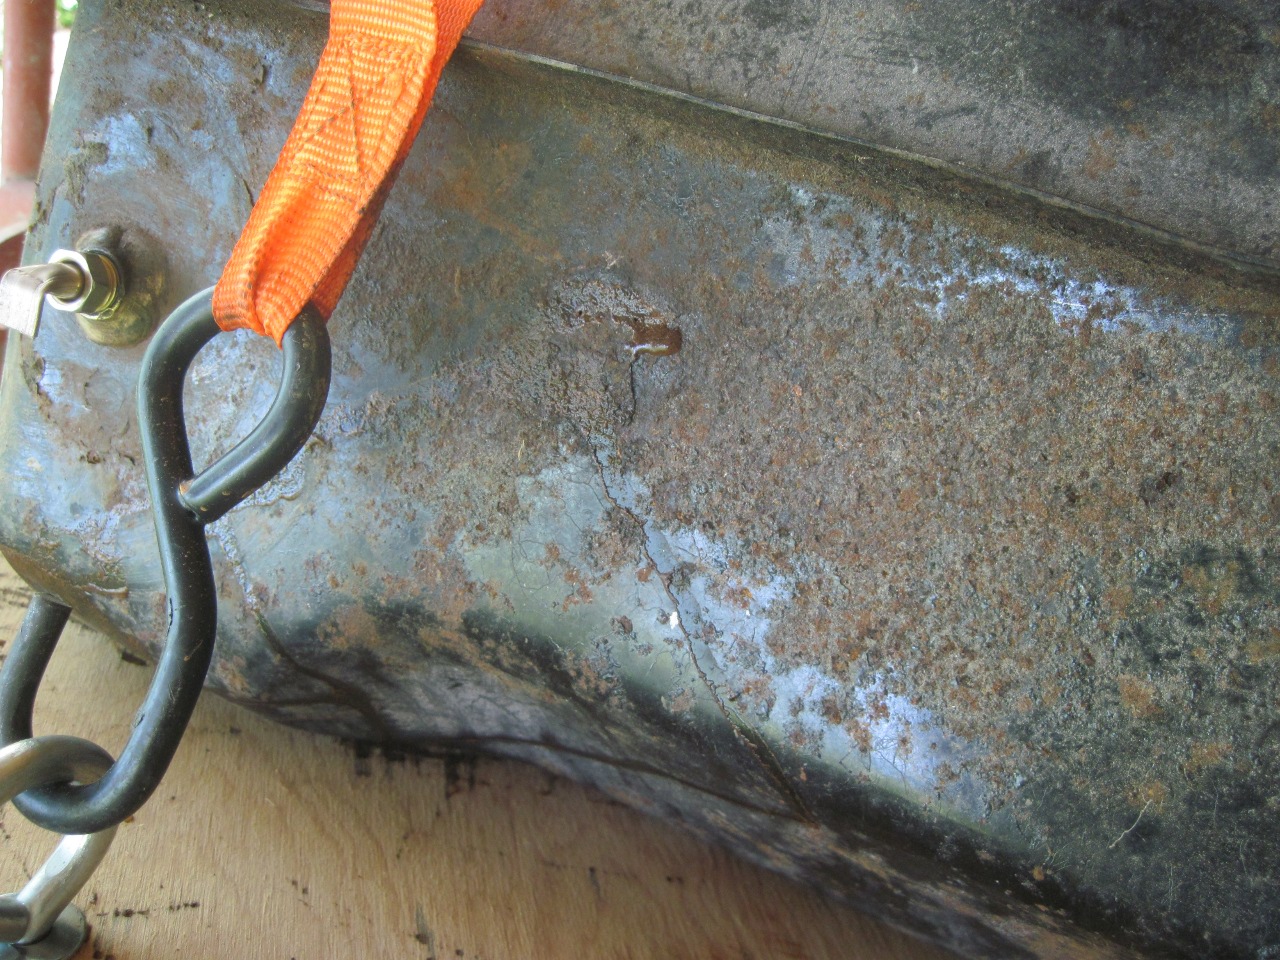
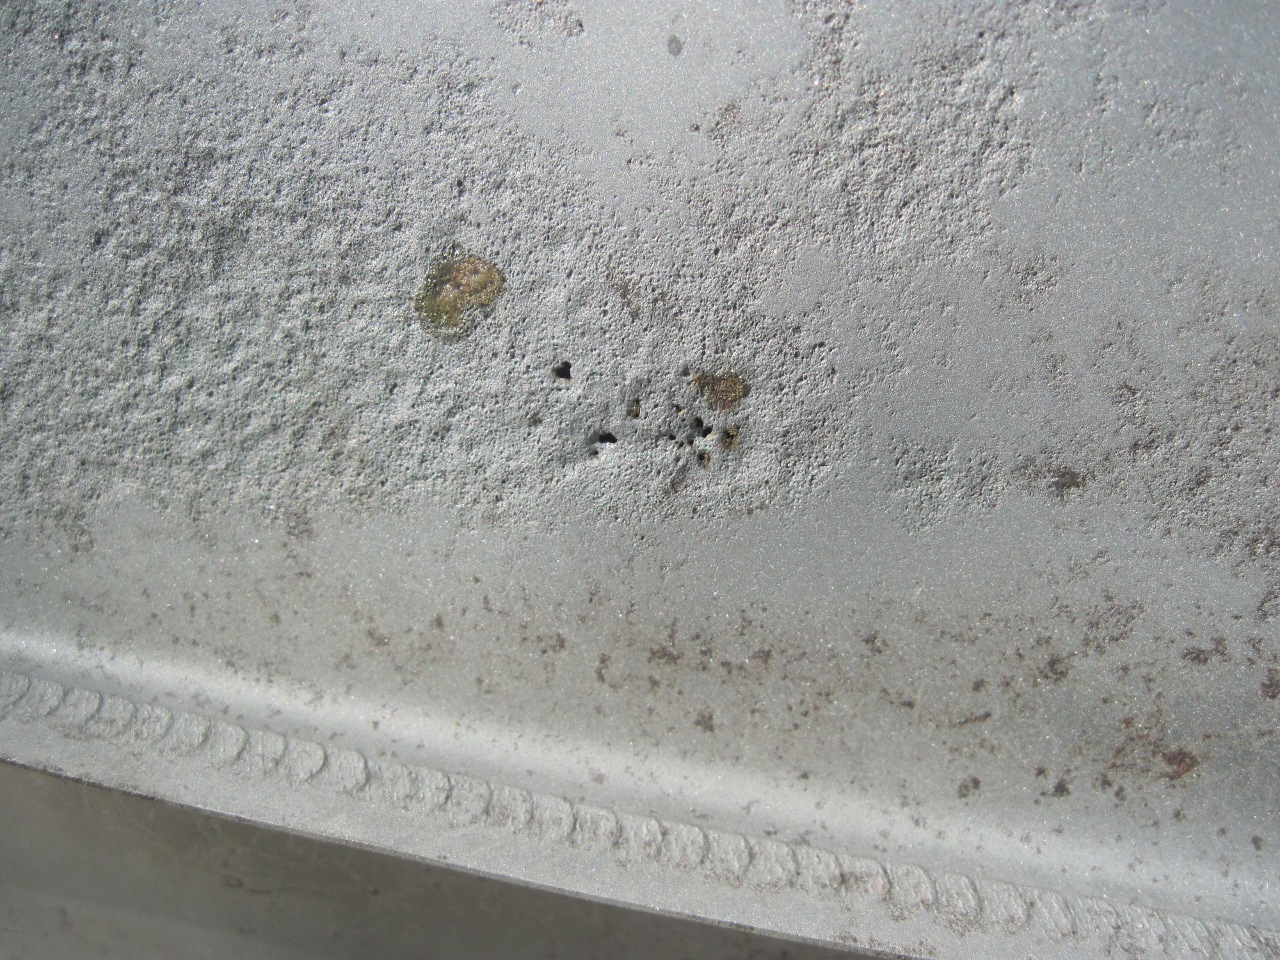
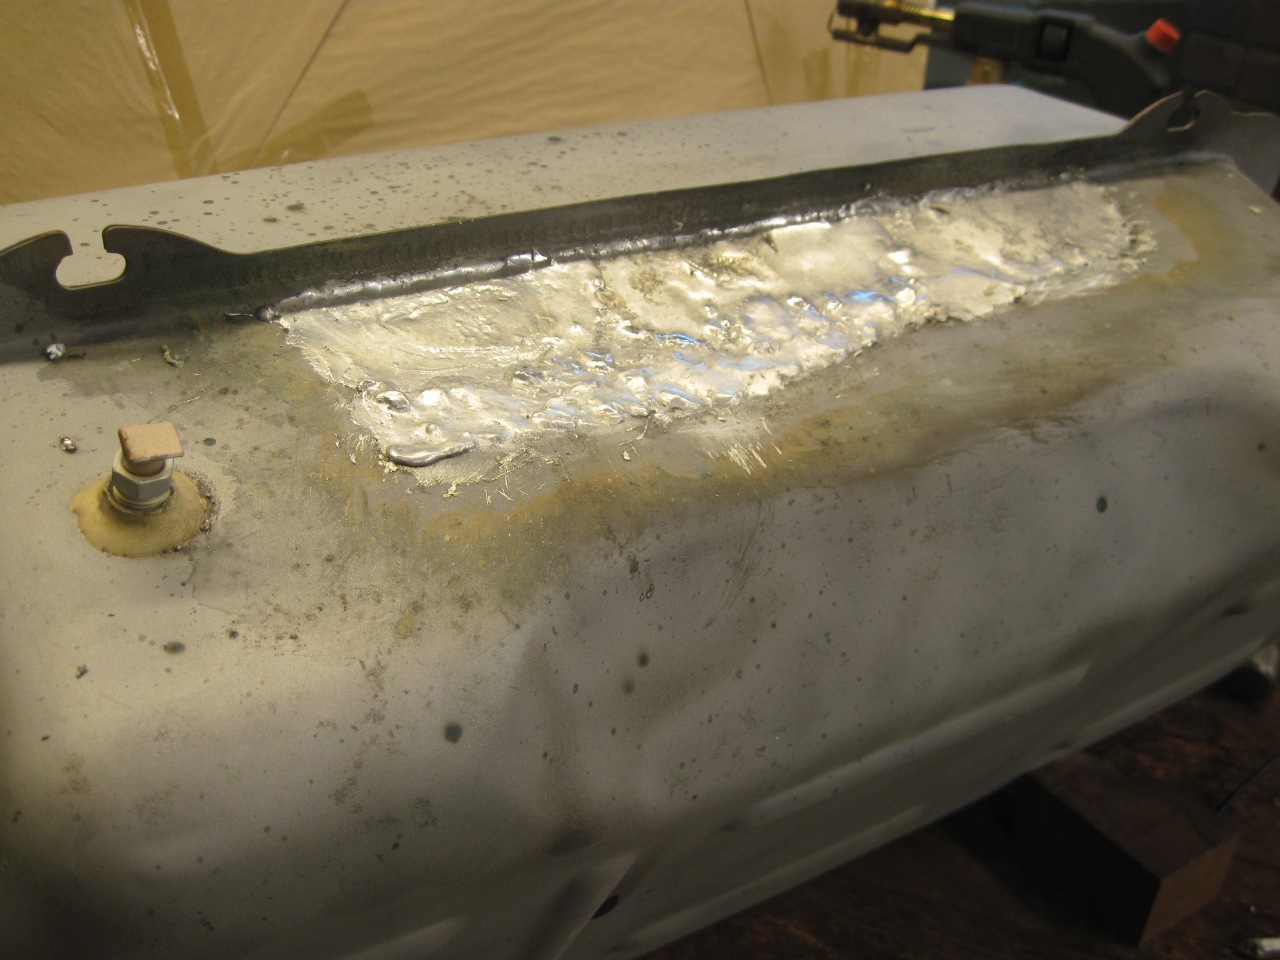
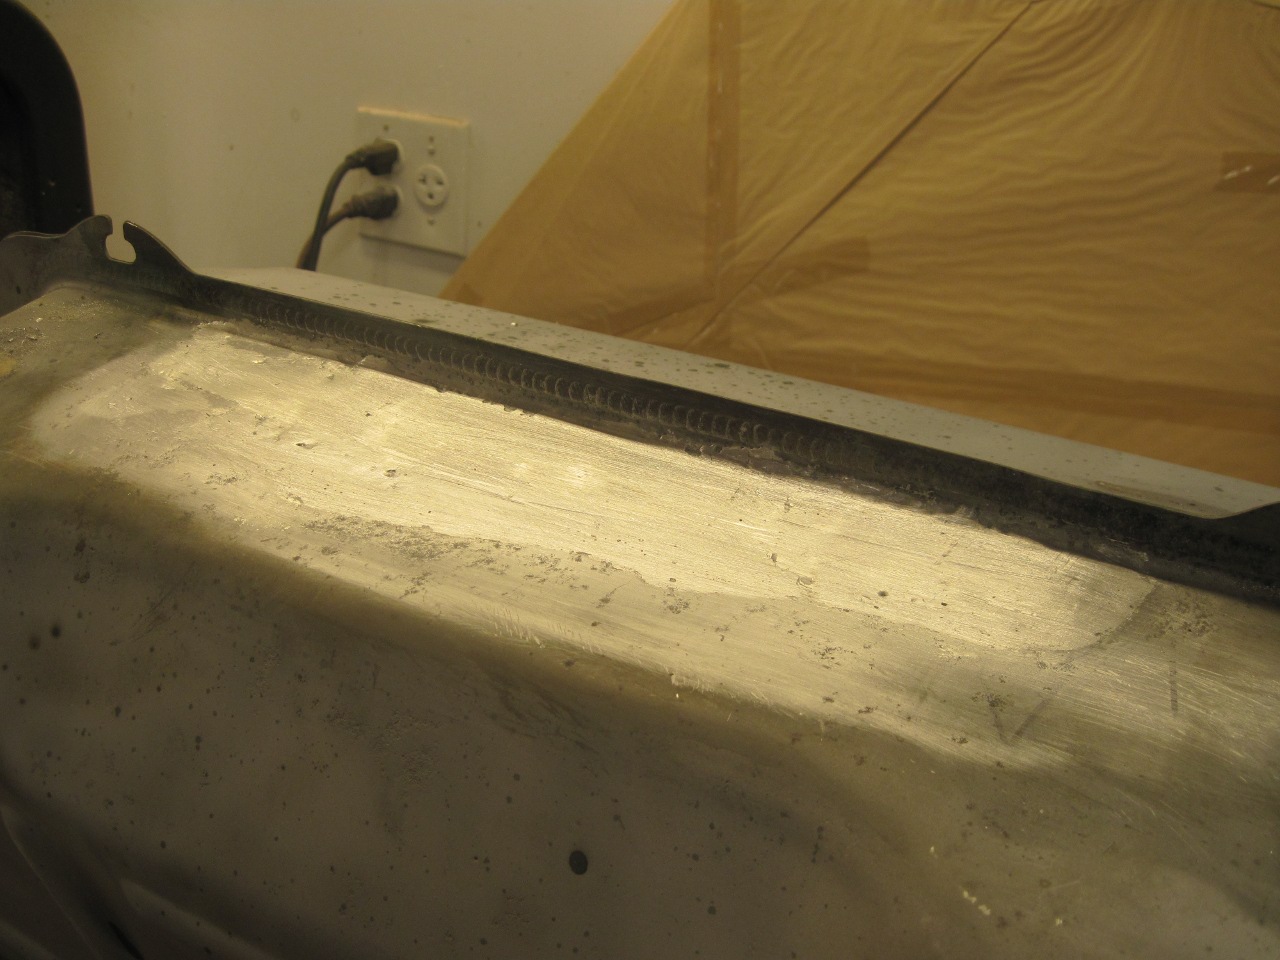
With
this new discouraging information, I decided to sand blast the outside
of the tank to
see how bad it was. There was a tight little group of pin
holes
at one place on the bottom of the tank.
The
pitting suggested to me that the rust through was from the outside, but
later internal inspection would confirm that. Since I'm not a
fan
of internal tank coatings, and because the damage was from outside the
tank, I decided on an external fix. I applied a thick coating
of
lead (solder, actually) to the pitted area on the tank bottom.
Then,
back to the tank cleaning regimen. After physically removing
all
the loose material, the inside of the tank still had a smooth reddish
brown surface coating. This was just gasoline varnish
residue,
either a non volatile fraction of the gas, or some decomposition
product. It's the same stuff that gums up carburetors when
they
sit for a long time and the fuel evaporates. Being organic,
an
organic solvent is needed to remove it. And wimpy solvents
won't
usually do it. Carb cleaner is a pretty strong solvent
usually
made of a mix of acetone and toluene and often a few other things.
A cheaper solvent that has a similar composition is lacquer
thinner, so the next step in my cleaning process is an automated slosh
with half a gallon of lacquer thinner.
After
the organic solvent step, the inside of the tank was bare clean metal,
but there were a few areas with some rust. Since organic
solvents
don't touch inorganic rust, a different attack is needed. Out
comes the lacquer thinner (reddish brown now, due to the dissolved
varnish), and in goes a gallon of phosphoric acid solution.
Phosphoric acid dissolves rust, and also leaves a thin
coating
of
grayish iron phosphate that offers some limited protection against
corrosion.
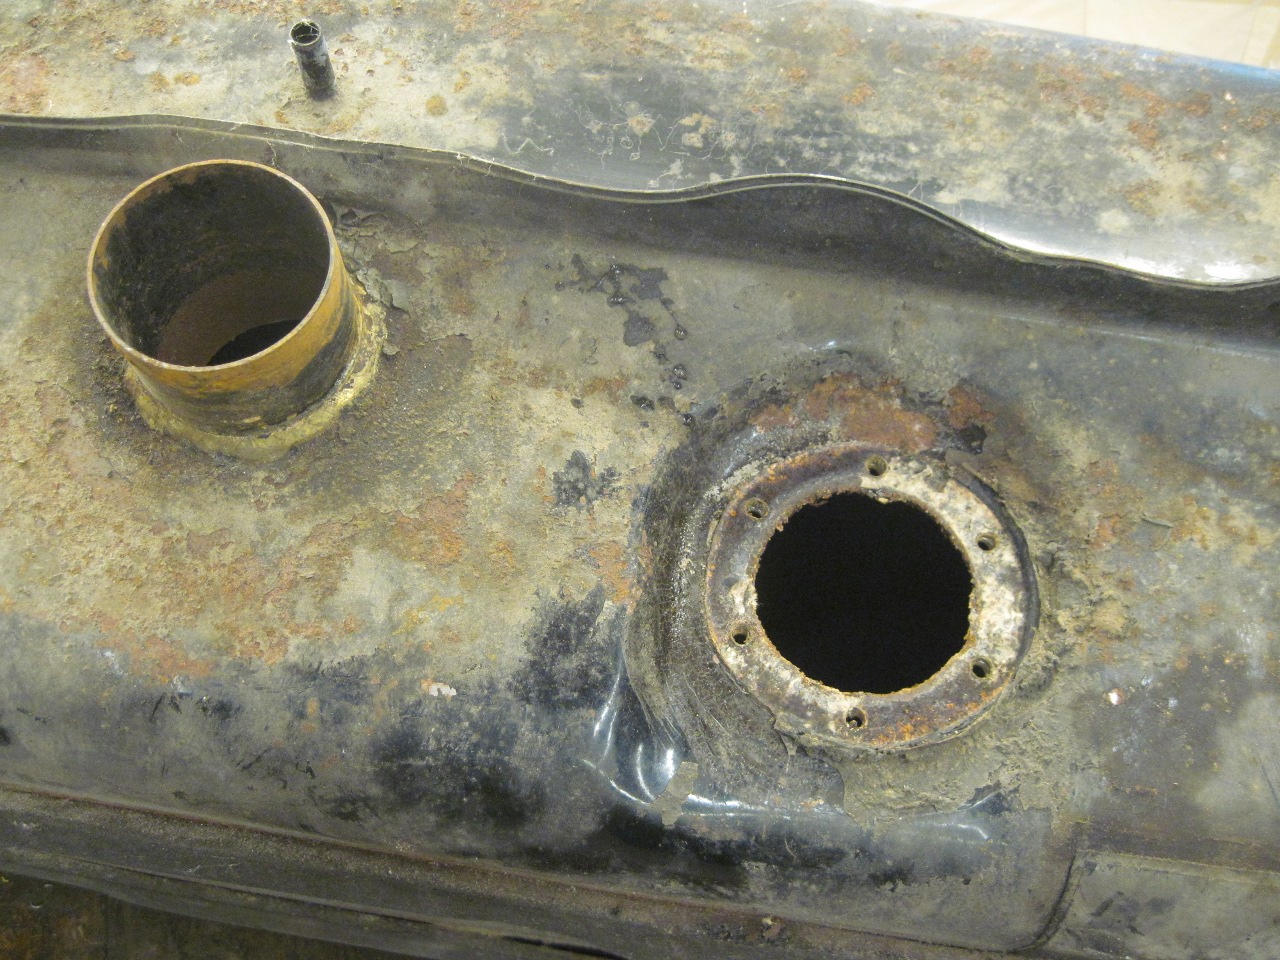
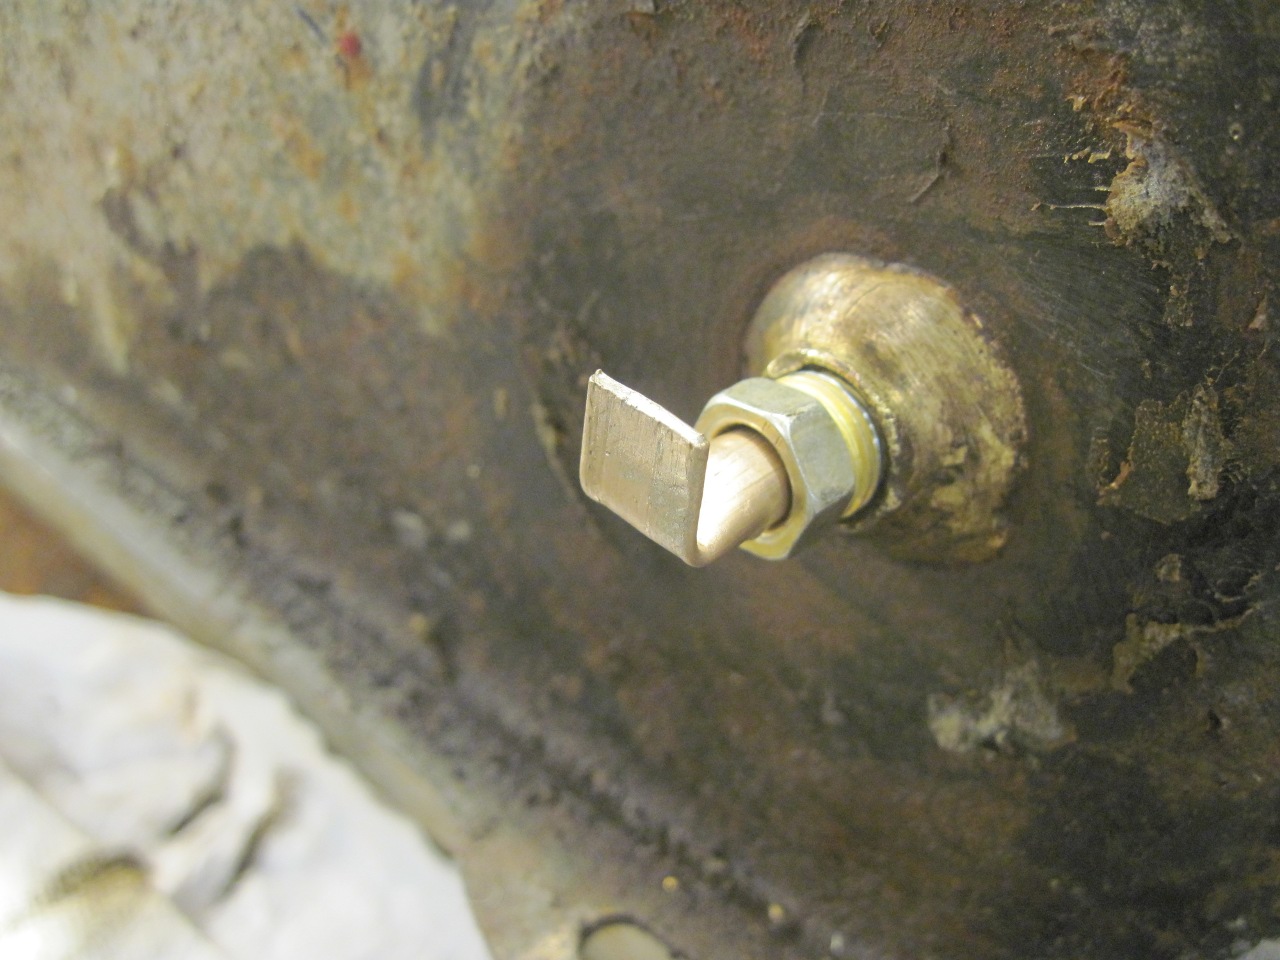
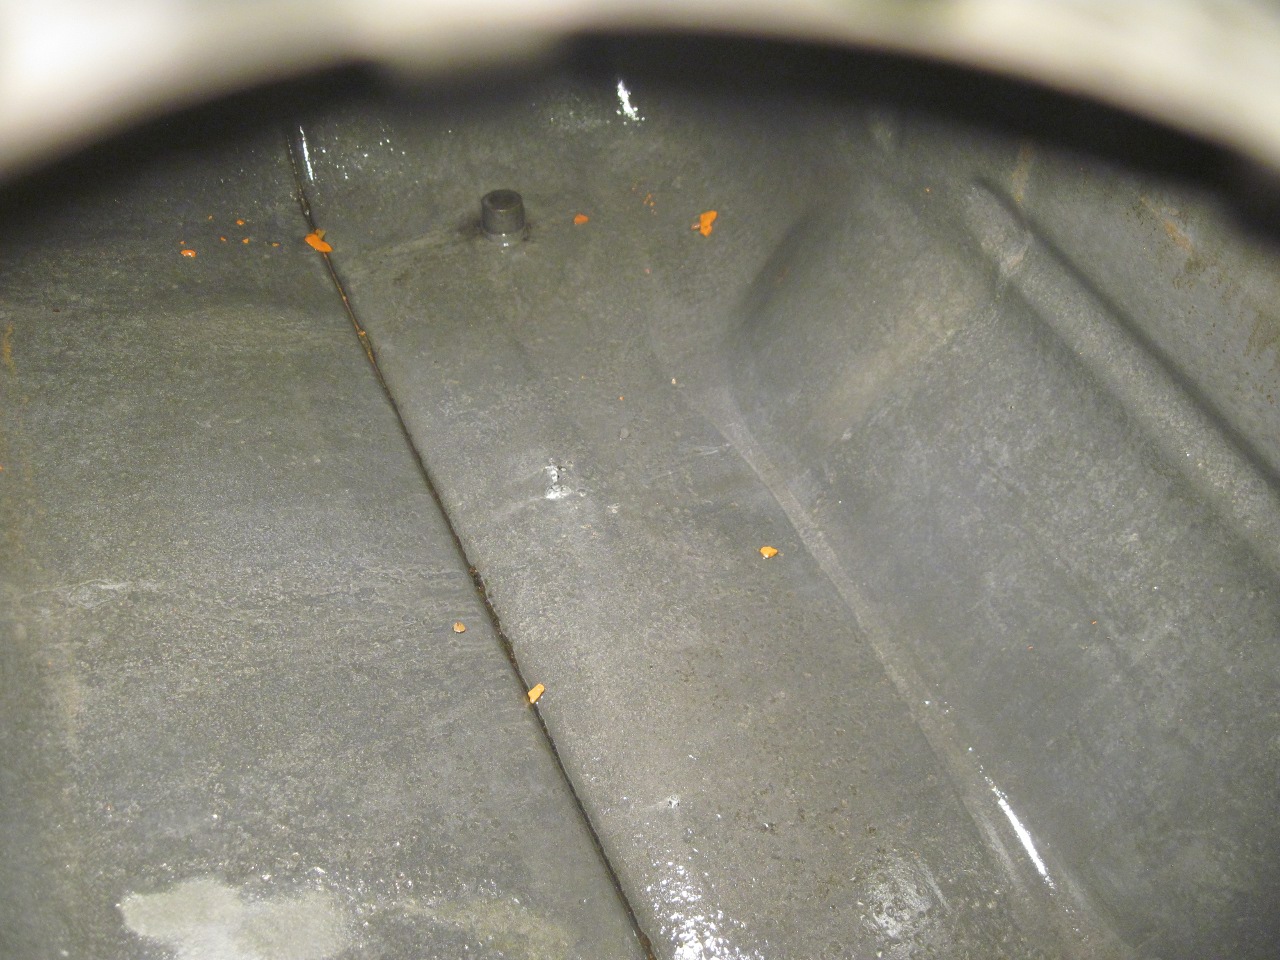
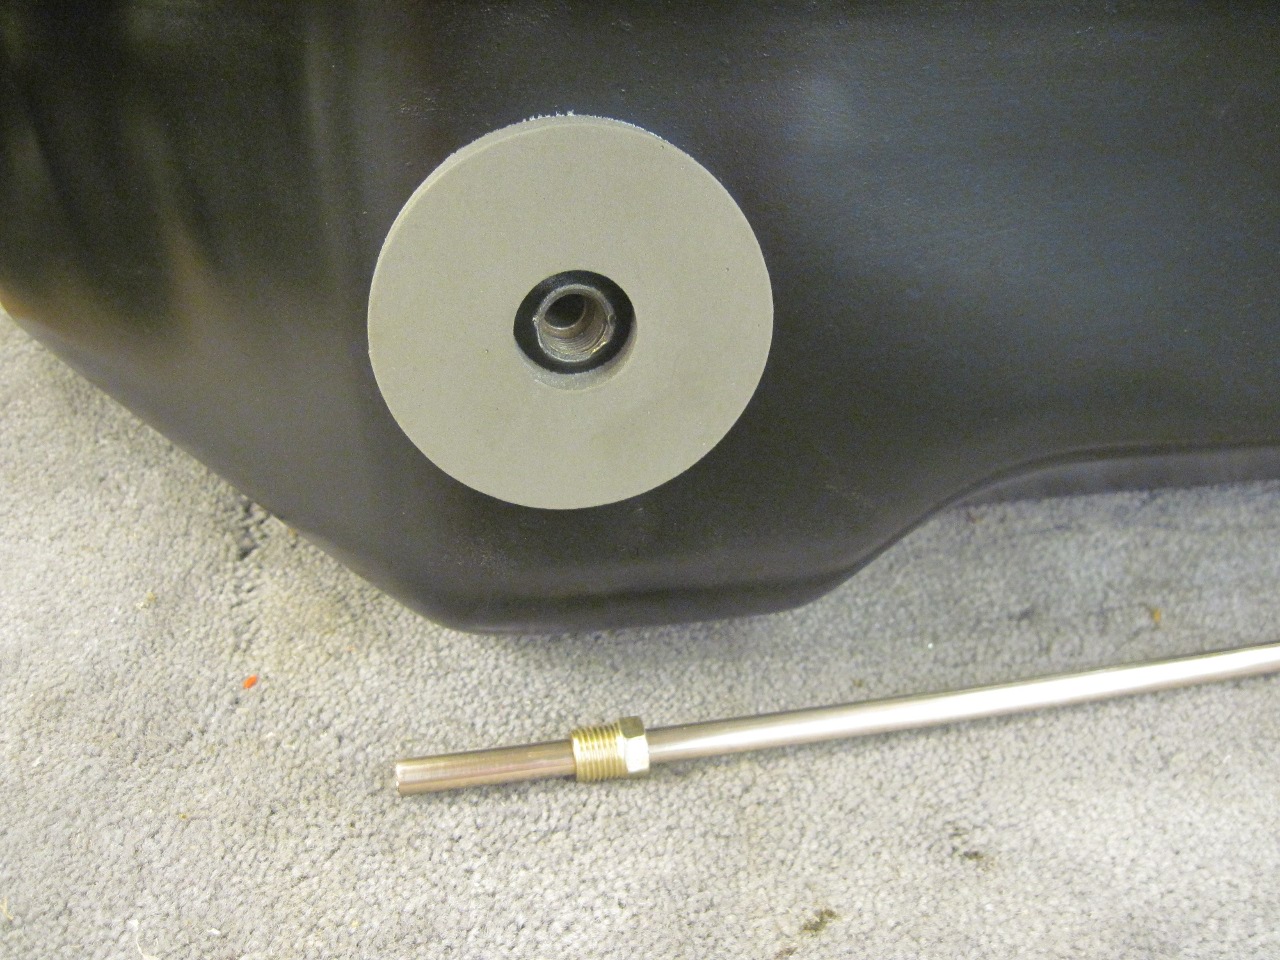
Here
is the inside of the tank after the acid. The little stub at
the
back near the top of the picture is the tank outlet. Notice
how
it sticks up a half inch or more above the tank bottom. This
is
to try to keep any sediment from getting into the feed pipe.
The
silvery areas near the center of the picture is where the solder came
through the pin holes. The orange specs are left over chips
of
the rocks used in the first step. Those came out pretty
easily after everything dried.
For those into
masochistic self-flagellation, here are links to some
shaky borescope videos of the inside of the tank after each step:
vid1--After
the loose material was dumped out.
vid2--After
the mechanical cleaning and pin hole repair.
Shows the varnish coating.
vid3--After
solvent cleaning.
vid4--After
phosphoric acid.
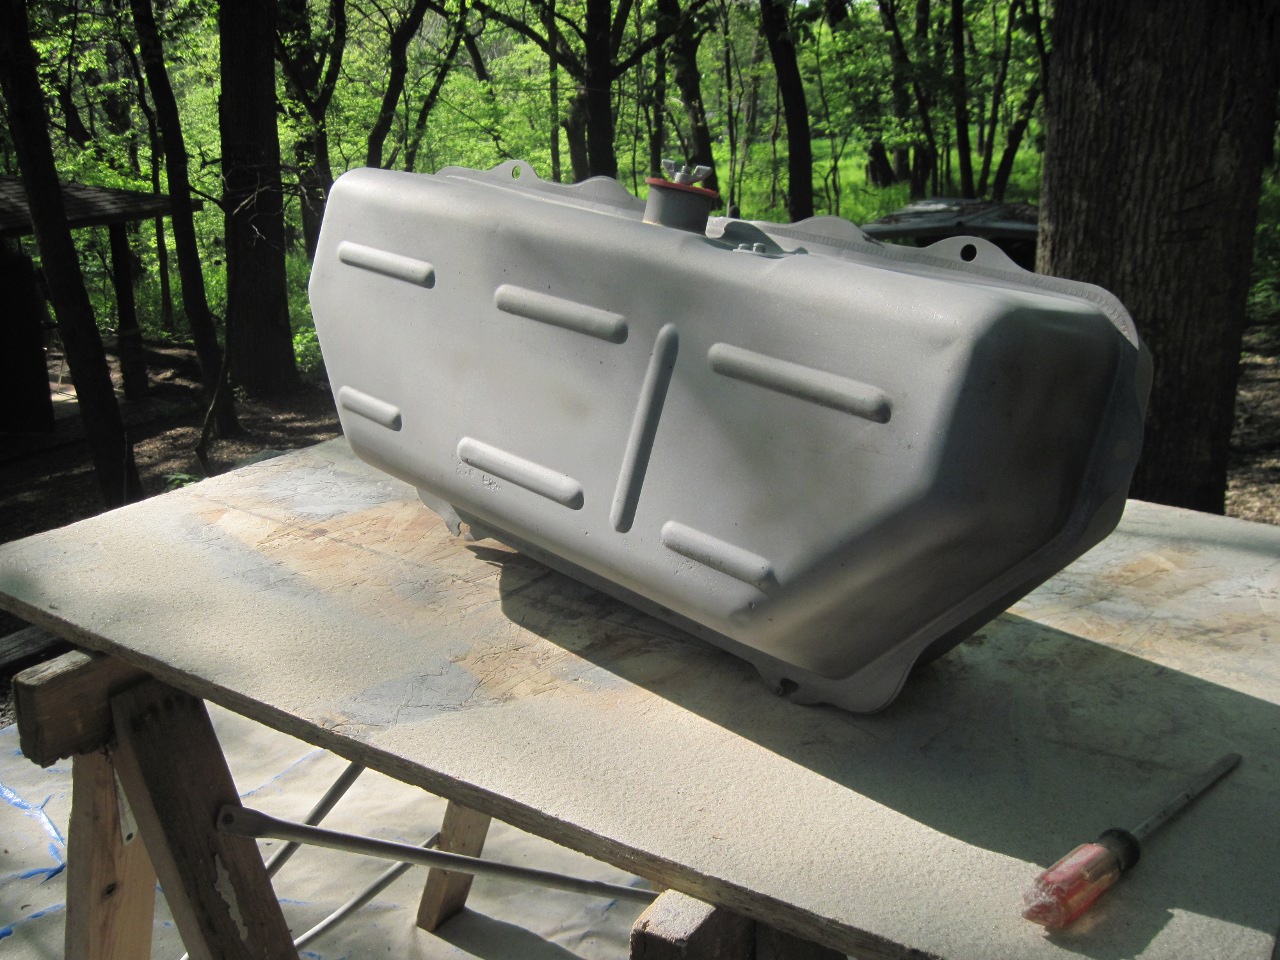
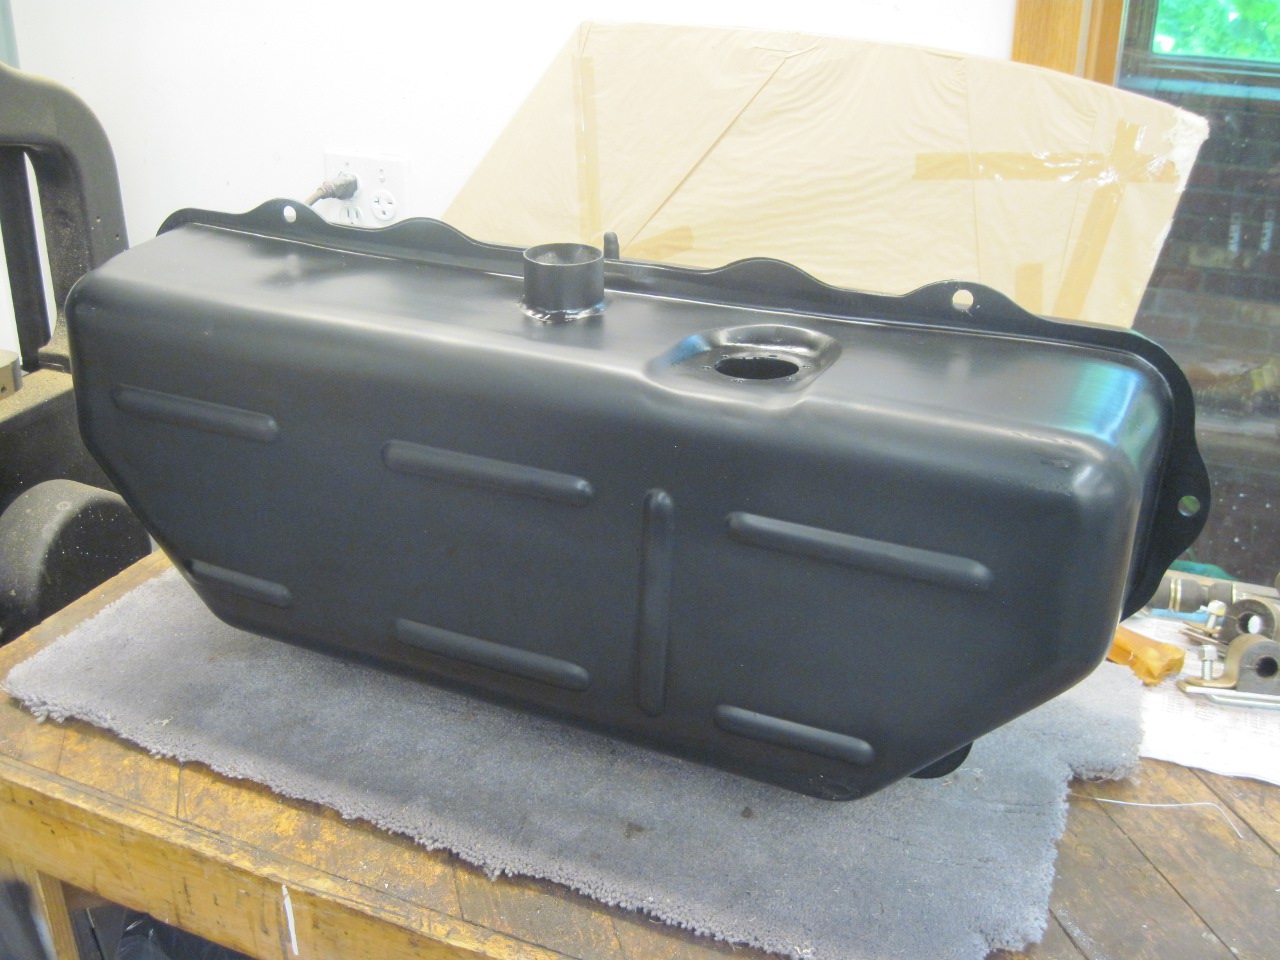
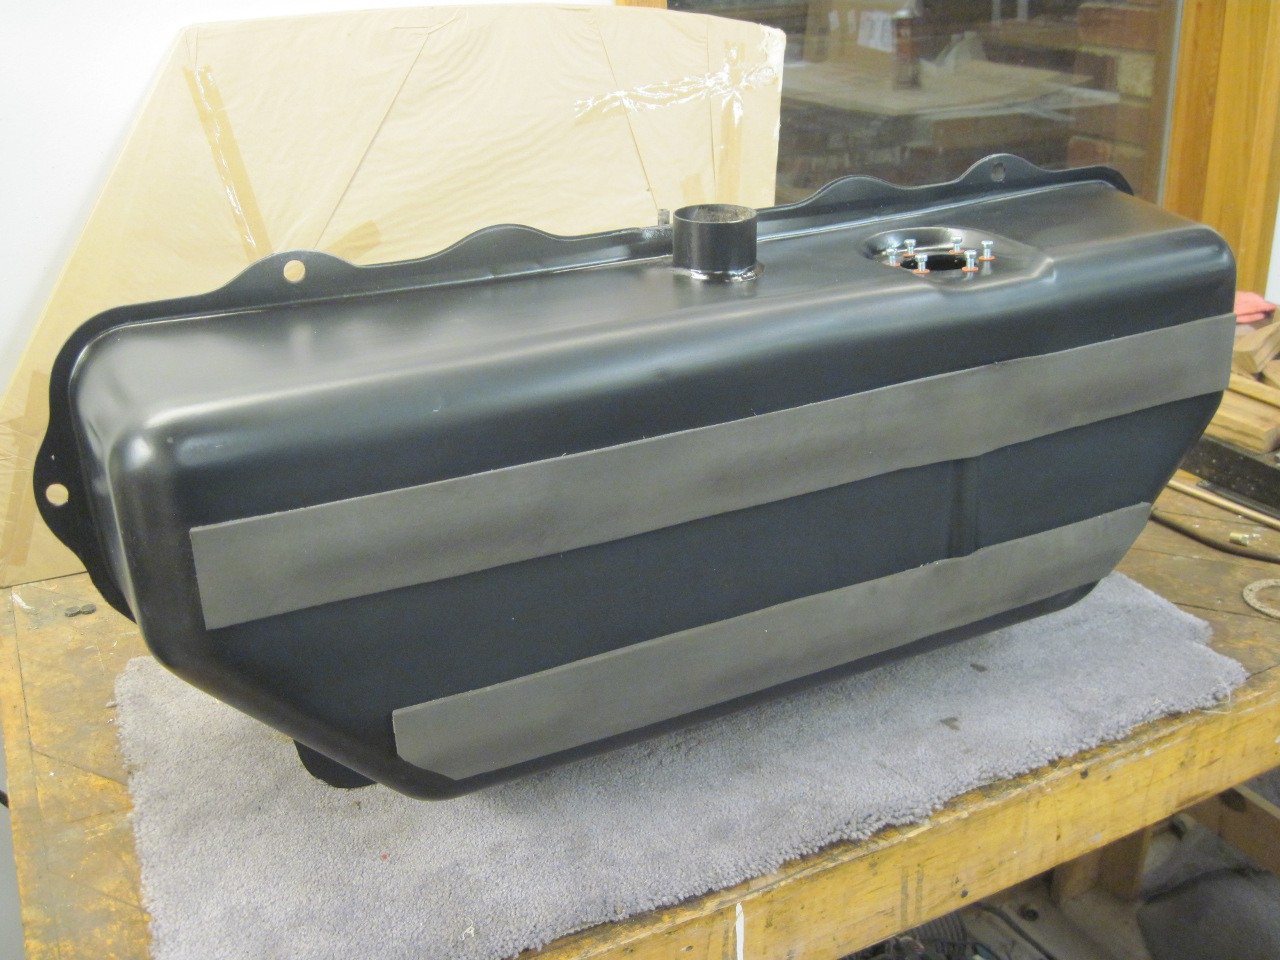
At
this point, the tank was liquid tight, and the inside looked pretty
good, so I decided to keep and use the tank. I gave it a
couple
of coats of POR15 to finish the outside.
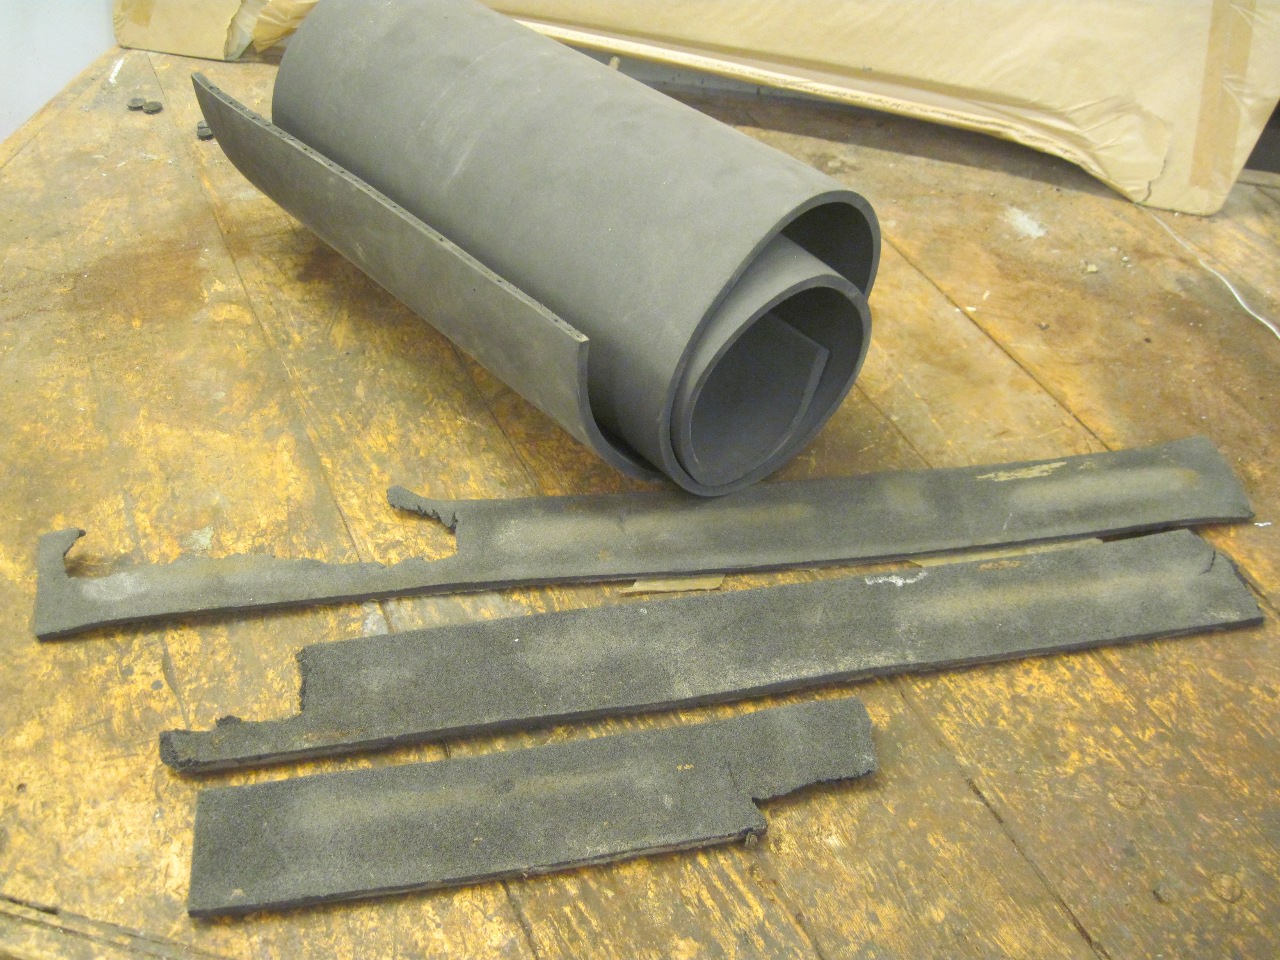
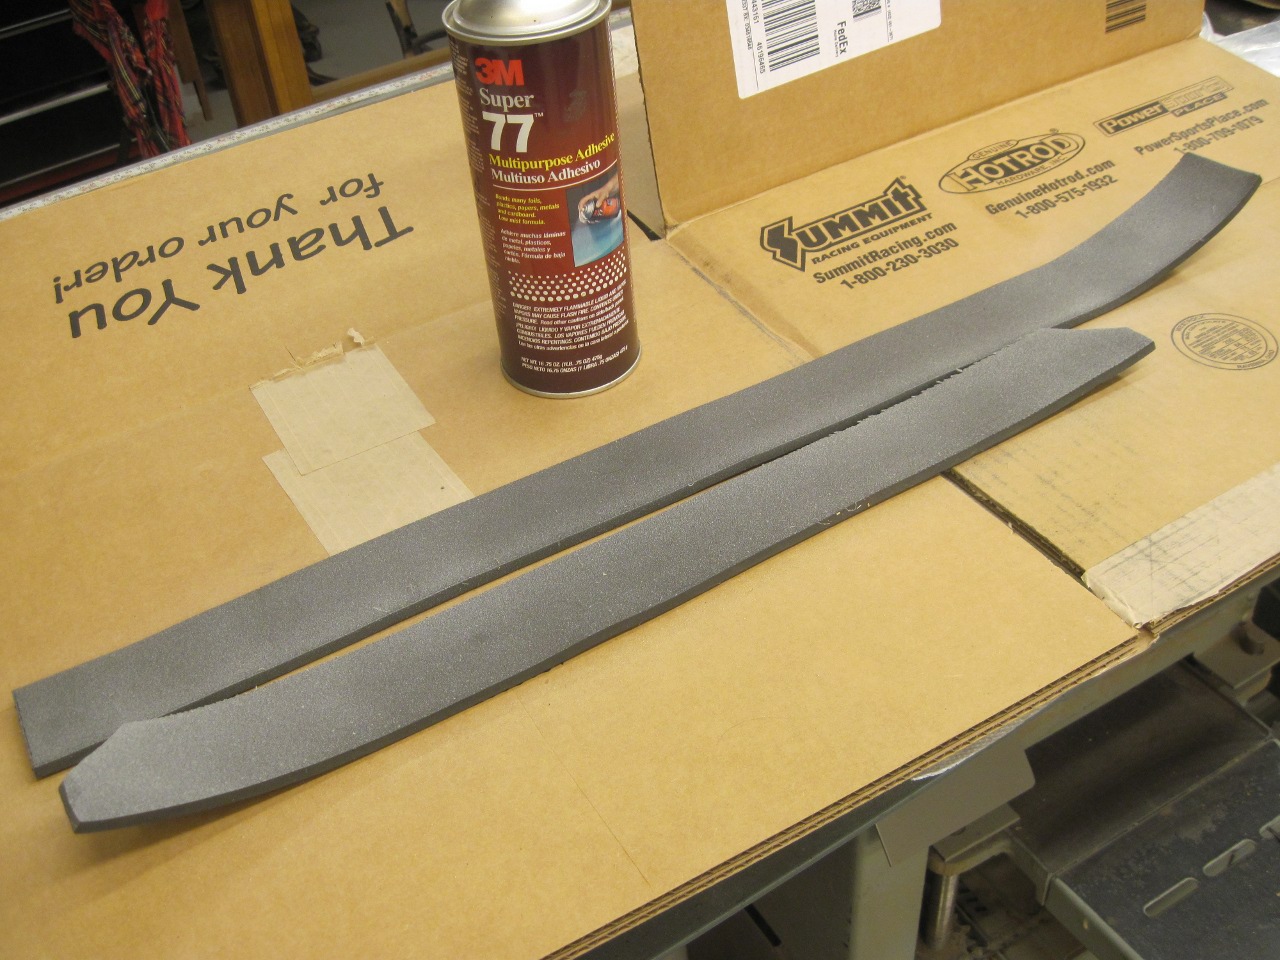
The
tank had a couple of foam strips glued to one side that didn't survive
being removed, so I made some new ones from some sheet foam of similar
properties. Some suppliers offer felt strips for this
application, but mine were definitely foam.
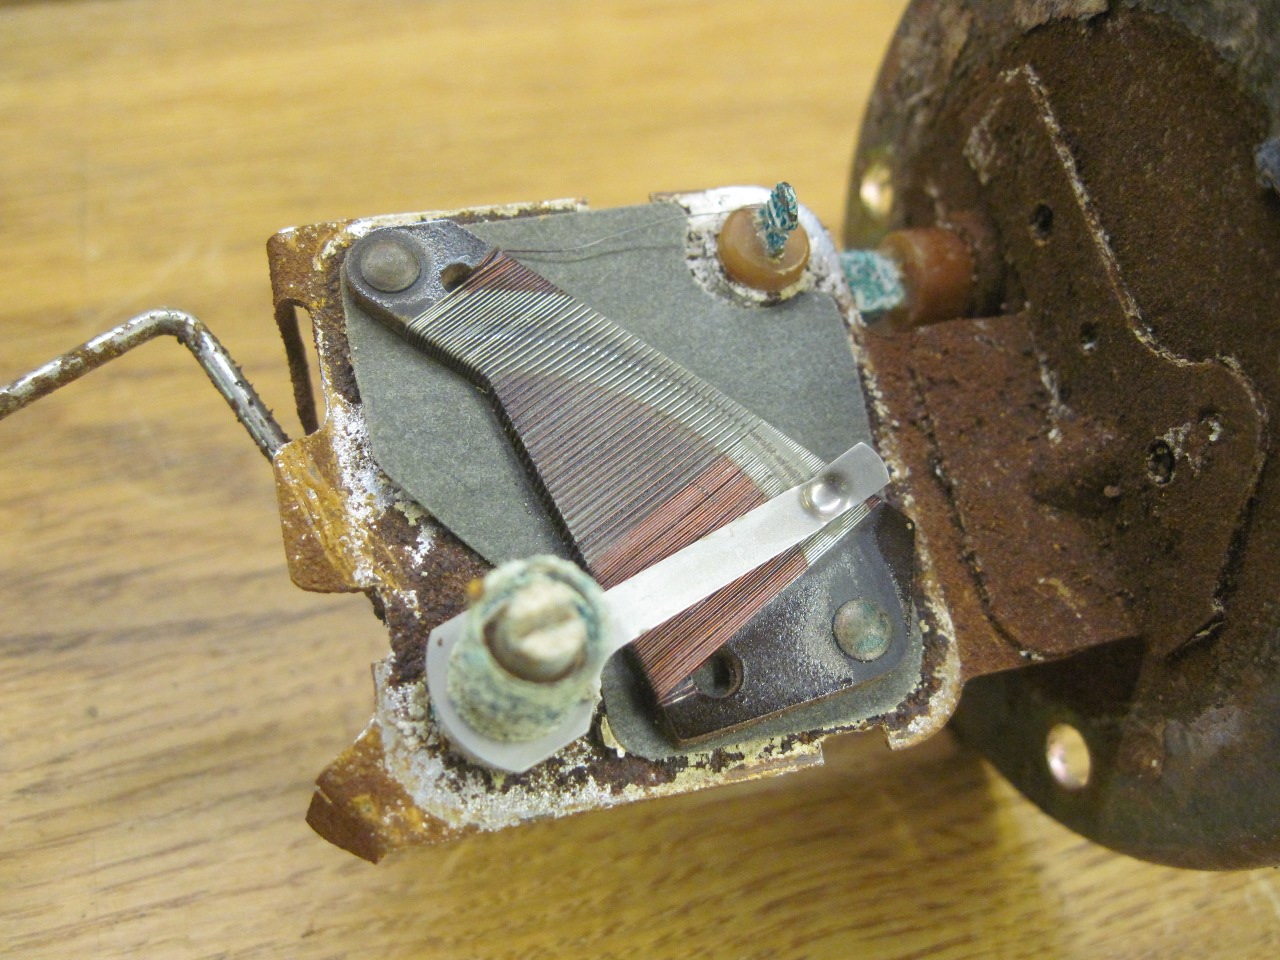
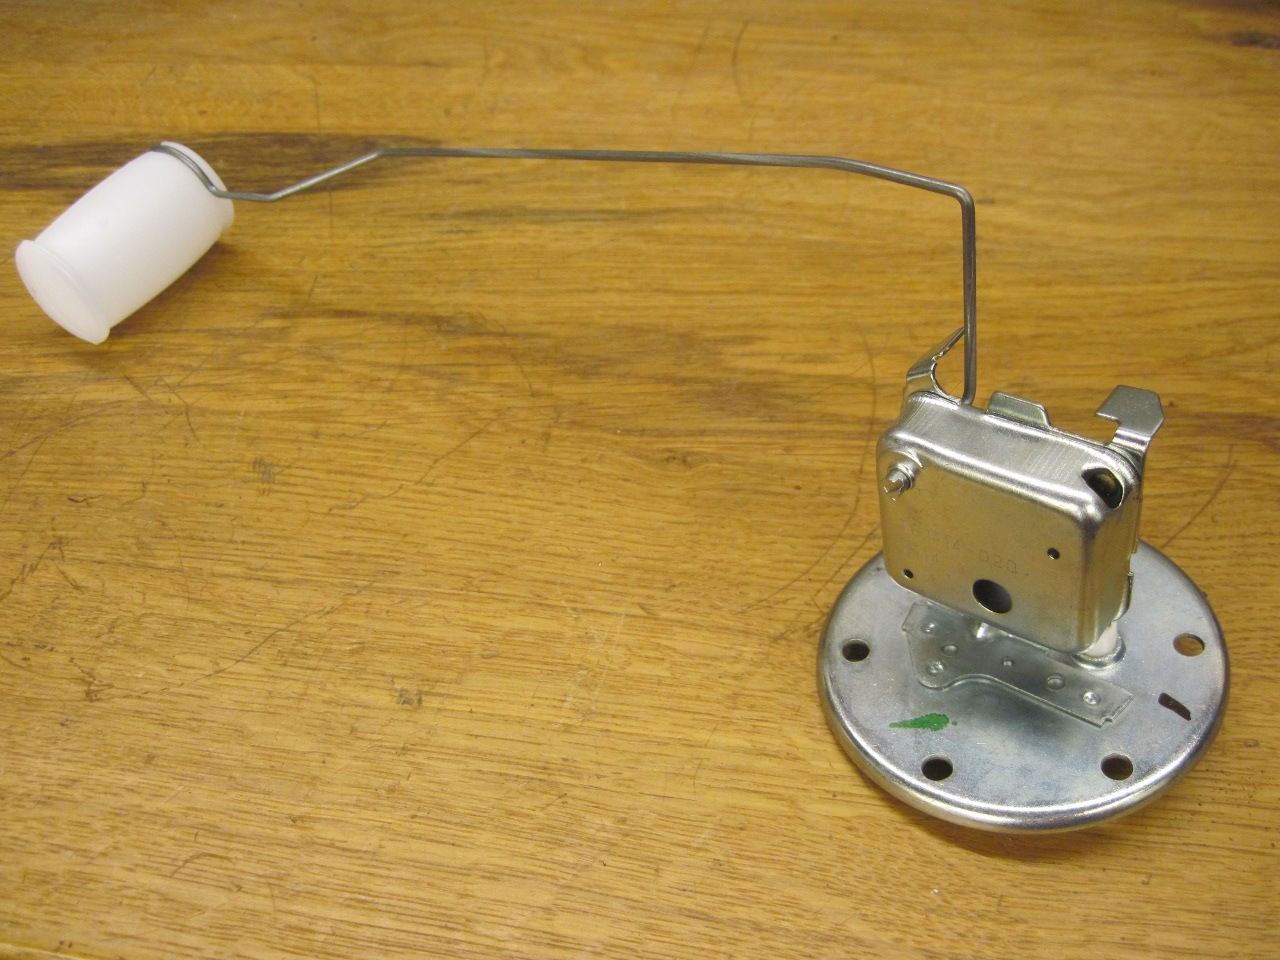
The
original sender was pretty gross looking, but still worked. I
could have cleaned it up, but was concerned about the wear on the
wires. A wiper rubs on a winding of resistance wire, and I
could
see that the wire was definitely scored under the path of the wiper.
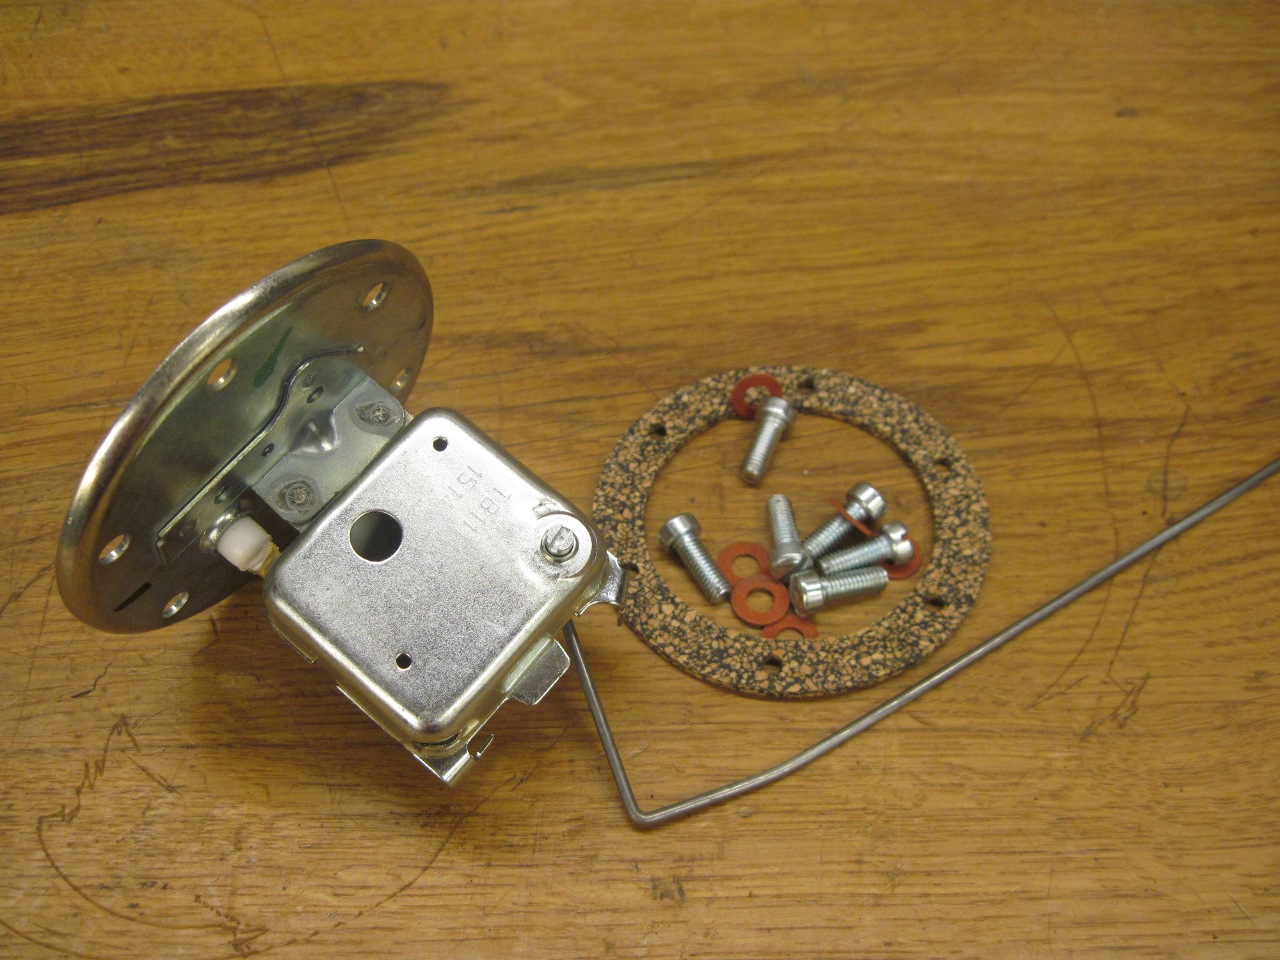
The new sender I ordered looked very close to the original,
and
had similar resistance characteristics, so I decided to use it.
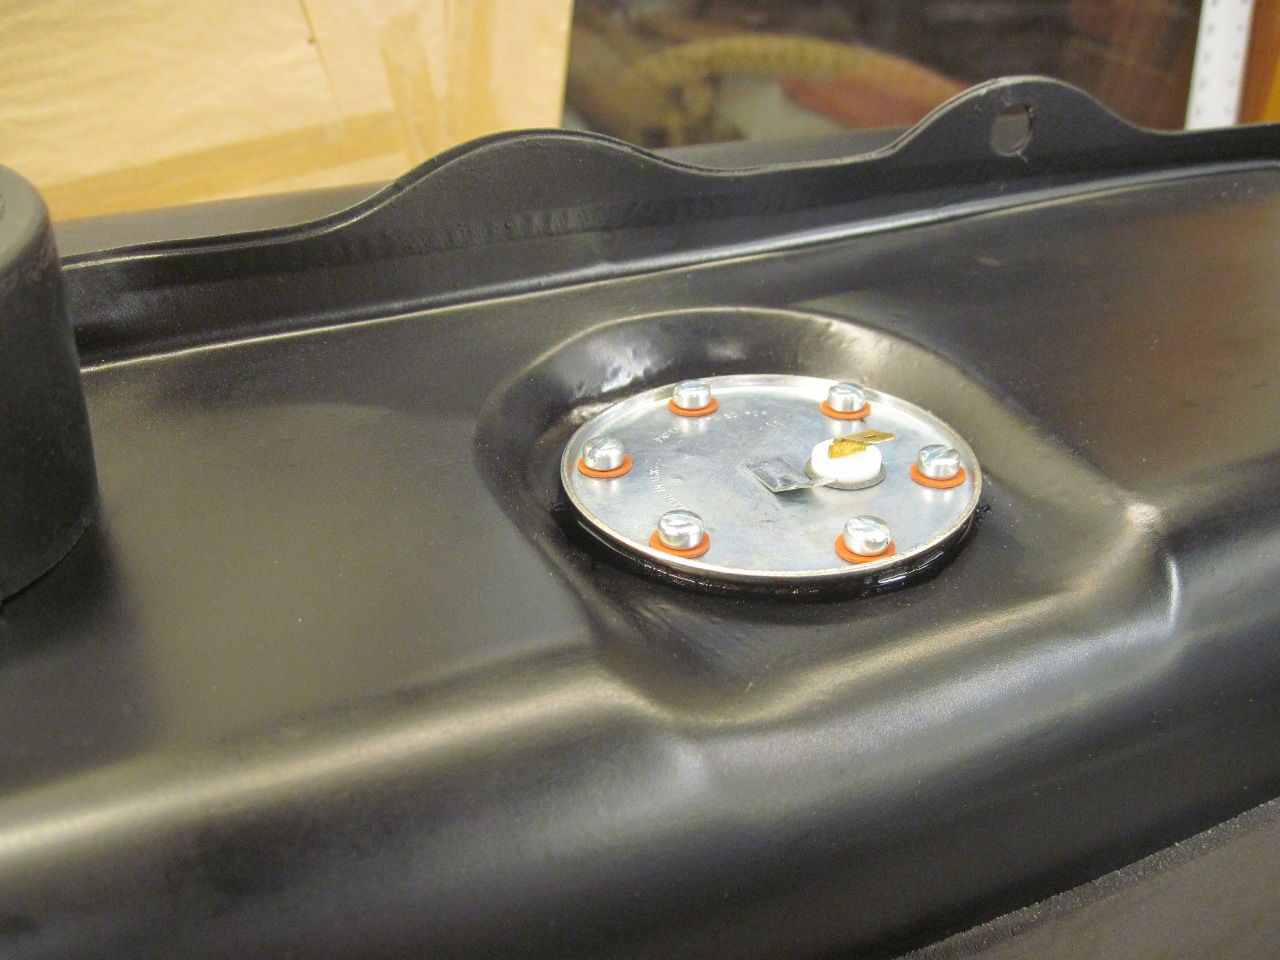
Installed the sender
with good coating of Permatex 3D on both sides of the gasket.
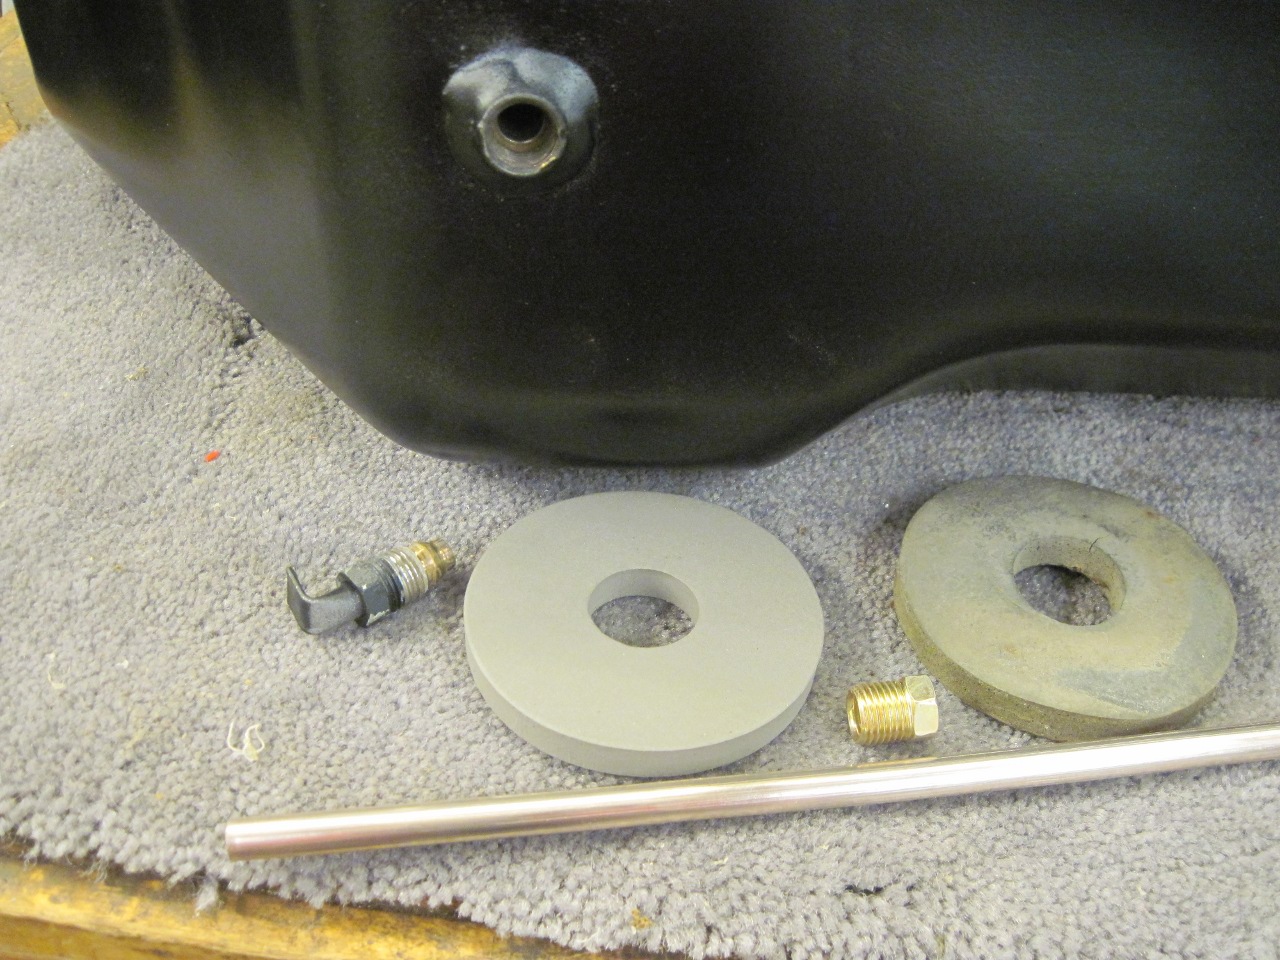
Then applied a new foam
pad around the outlet tube. I'm just lacking the little
ferrule to make a new tube.