To other pages
August 8, 201
Contact Breaker
[Click on pictures to see a bigger version]
After
getting most of the wiring squared away, I turned to the contact
breakers today. Though going to some kind of breakerless
electronic ignition is a very popular mod to these bikes, I've decided
to stay with the stock points at least for now. I have nothing
against solid state ignition systems, but I also don't see a huge
advantage, either. If a problem develops in the ignition system,
a roadside fix is a lot more likely with a conventional point system
than with an electronic one.
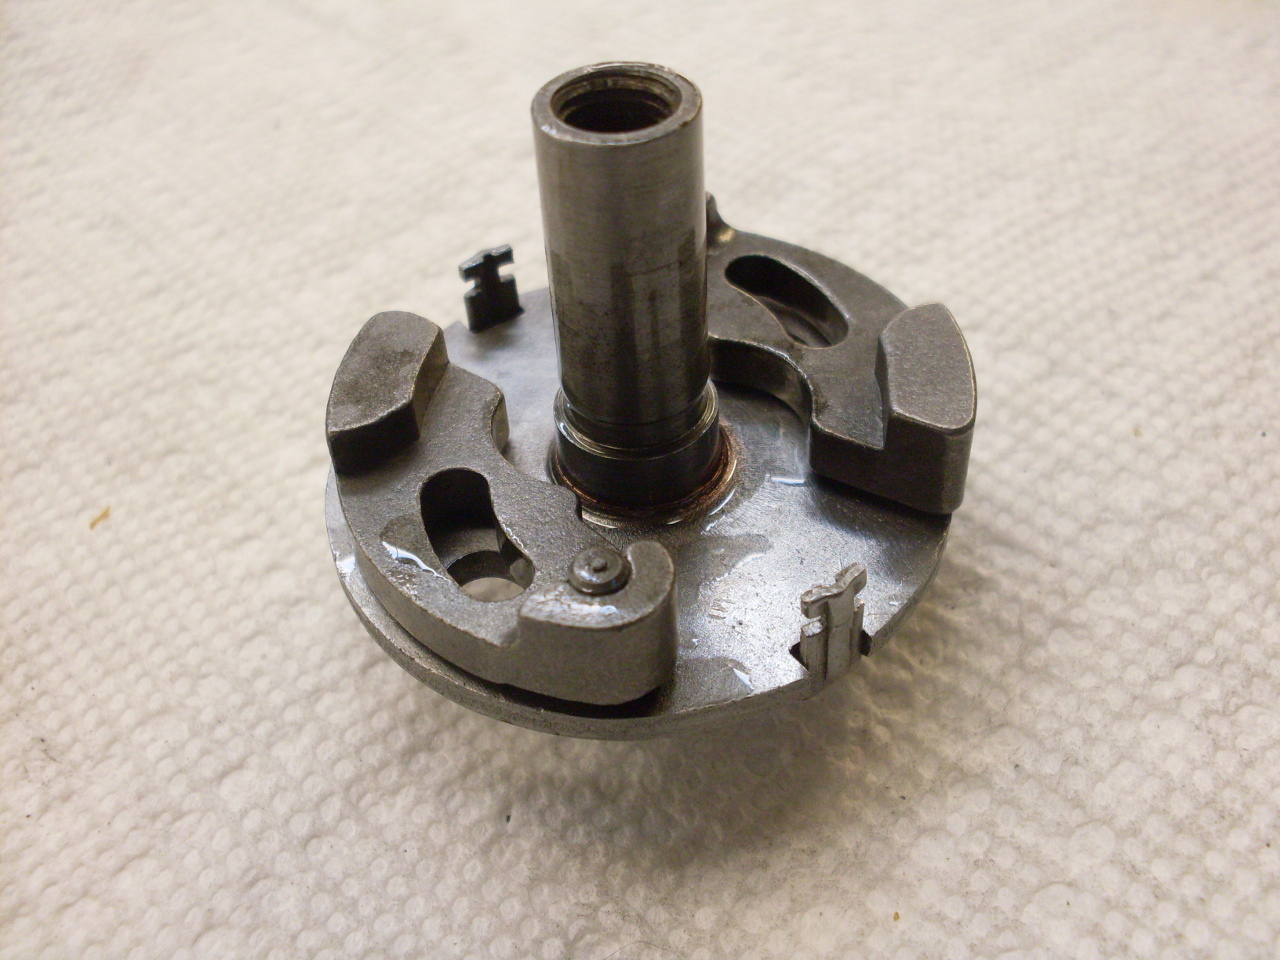
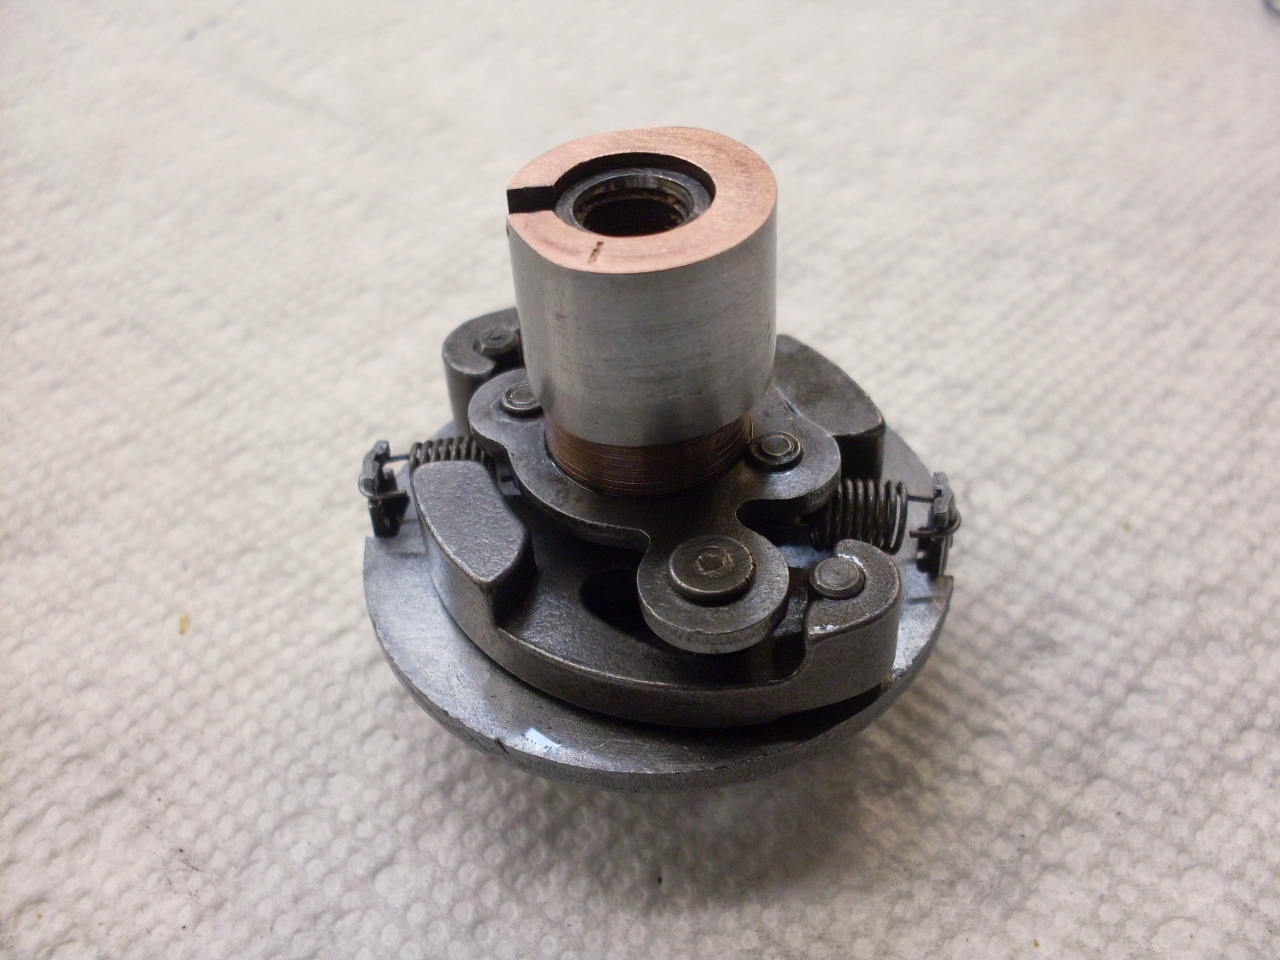
Thre breaker system on this bike
has two major subassemblies--the centrifugal spark advance system and
the breaker points themselves. The Auto Advance Unit (AAU)
is pretty sturdy and basic. The parts cleaned up easily.


There is a spindle that is driven by a short keyed taper from the end
of the exhaust cam shaft. On the spindle is a plate that carries two
weighted arms that can pivot outward against a pair of springs. Over
the spindle is the breaker cam with two arms that fit into arced slots
in the weighted arms. As the arms move outward with increasing RPM of
the engine, the breaker cam is rotated relative to the spinning
spindle. The AAU can advance the breaker cam up to 12 degrees, and the
advance curve (vs RPM) is determined by the weight of the arms and the
rate of the springs.
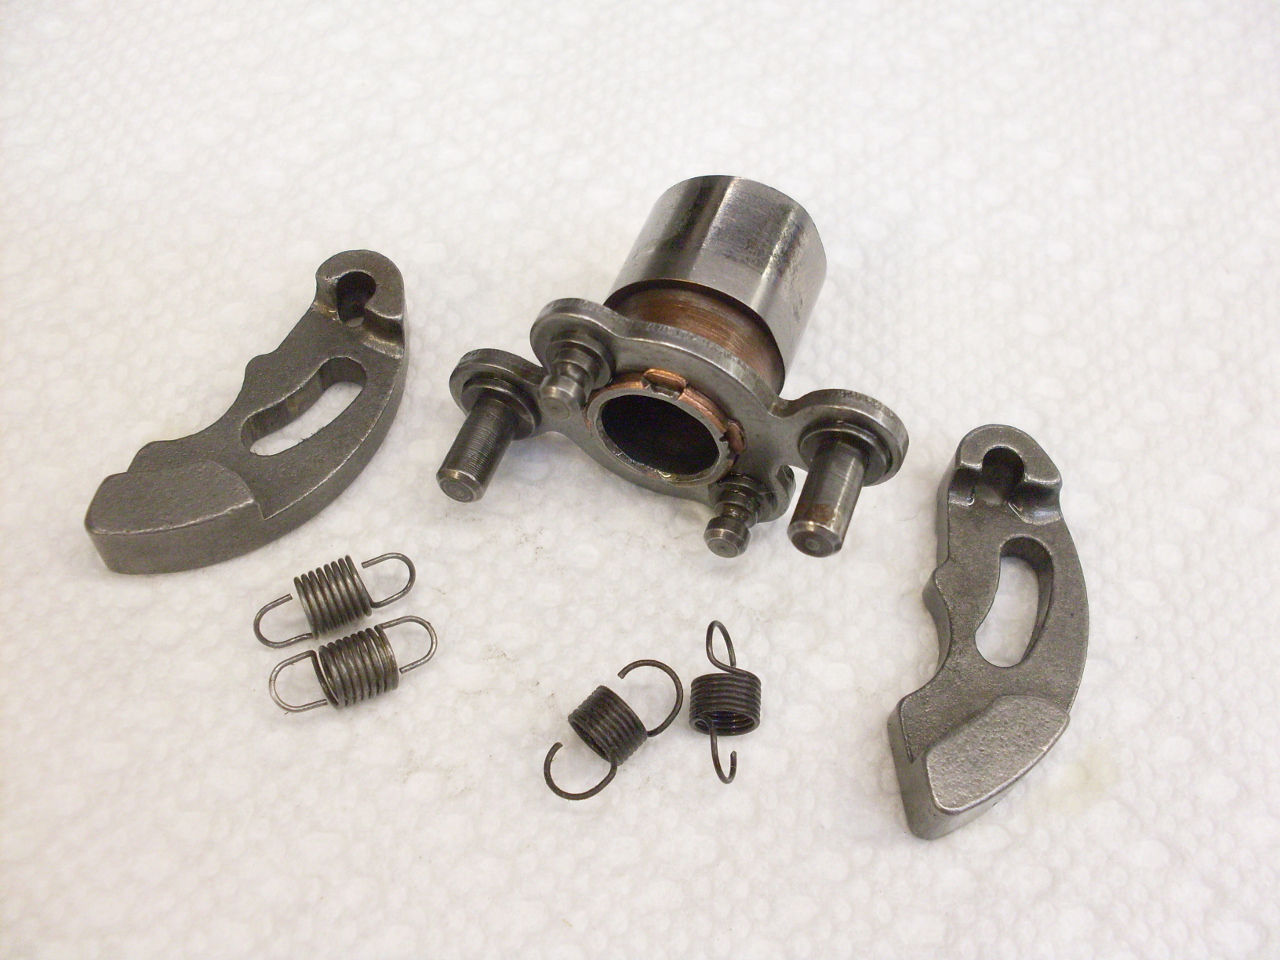
Though
I had no specific reason to suspect they were bad, I ordered a new set
of AAU springs to replace the 40-year old ones. New springs are
on the right. They do look a little tighter than the originals.
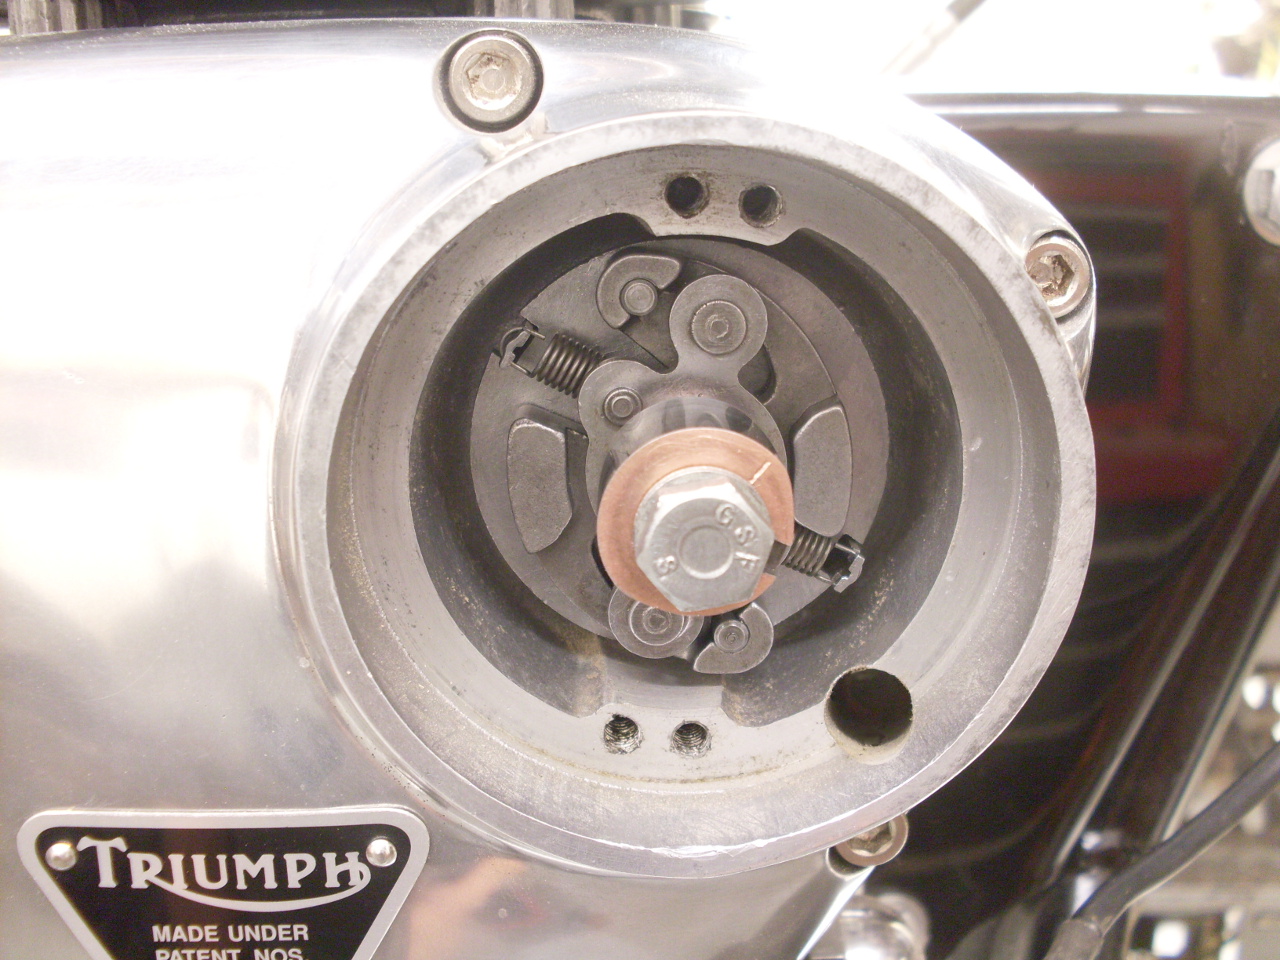
The AAU assembly slides in, finds it's key slot, and seats in the taper. It is held in place with the re-plated hex screw.
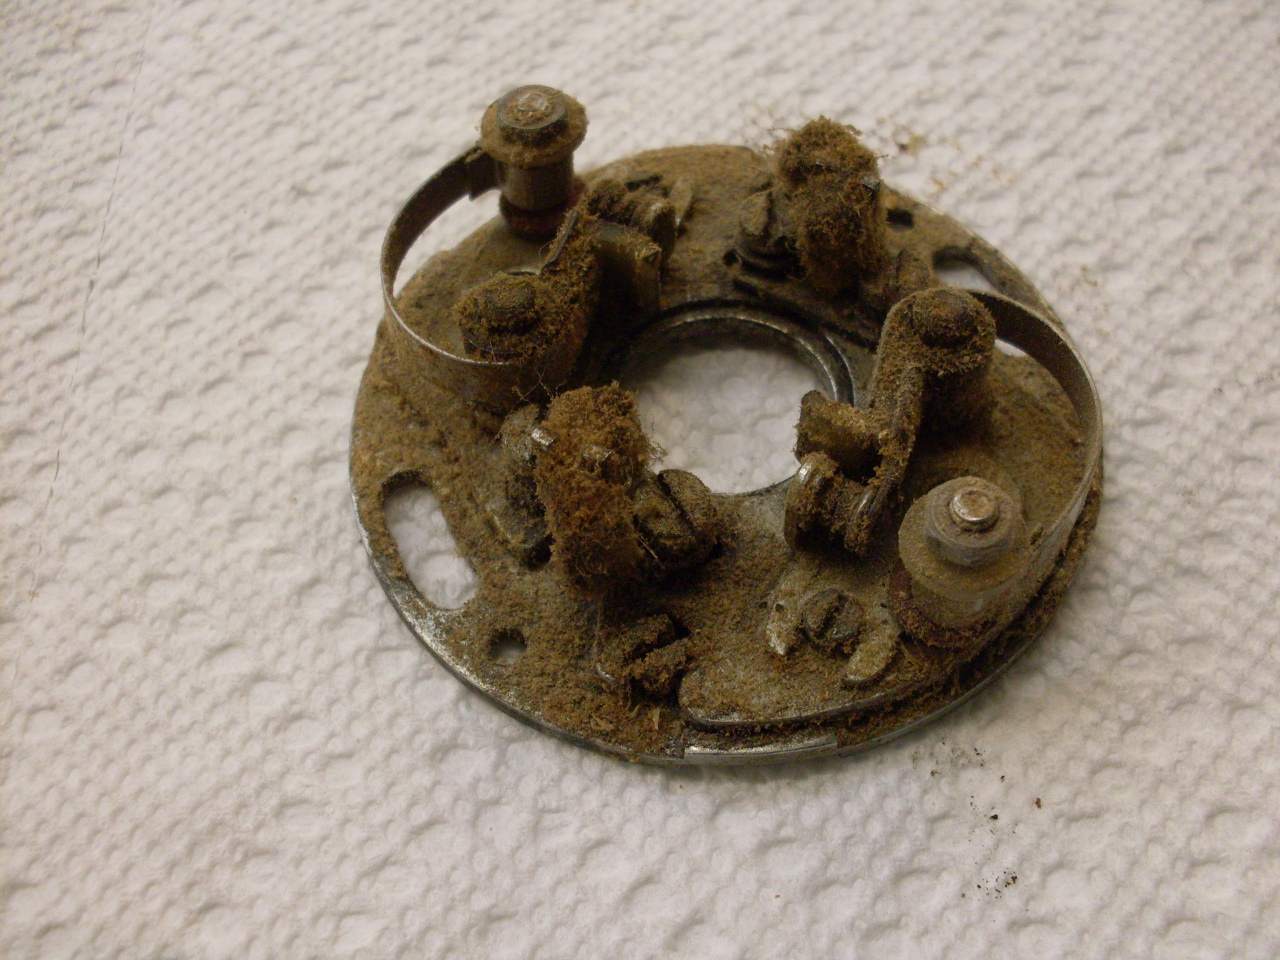
The
breaker assembly was in there somewhere. Actually much of the
crud was sawdust from sitting on a shelf near my table saw for a year.
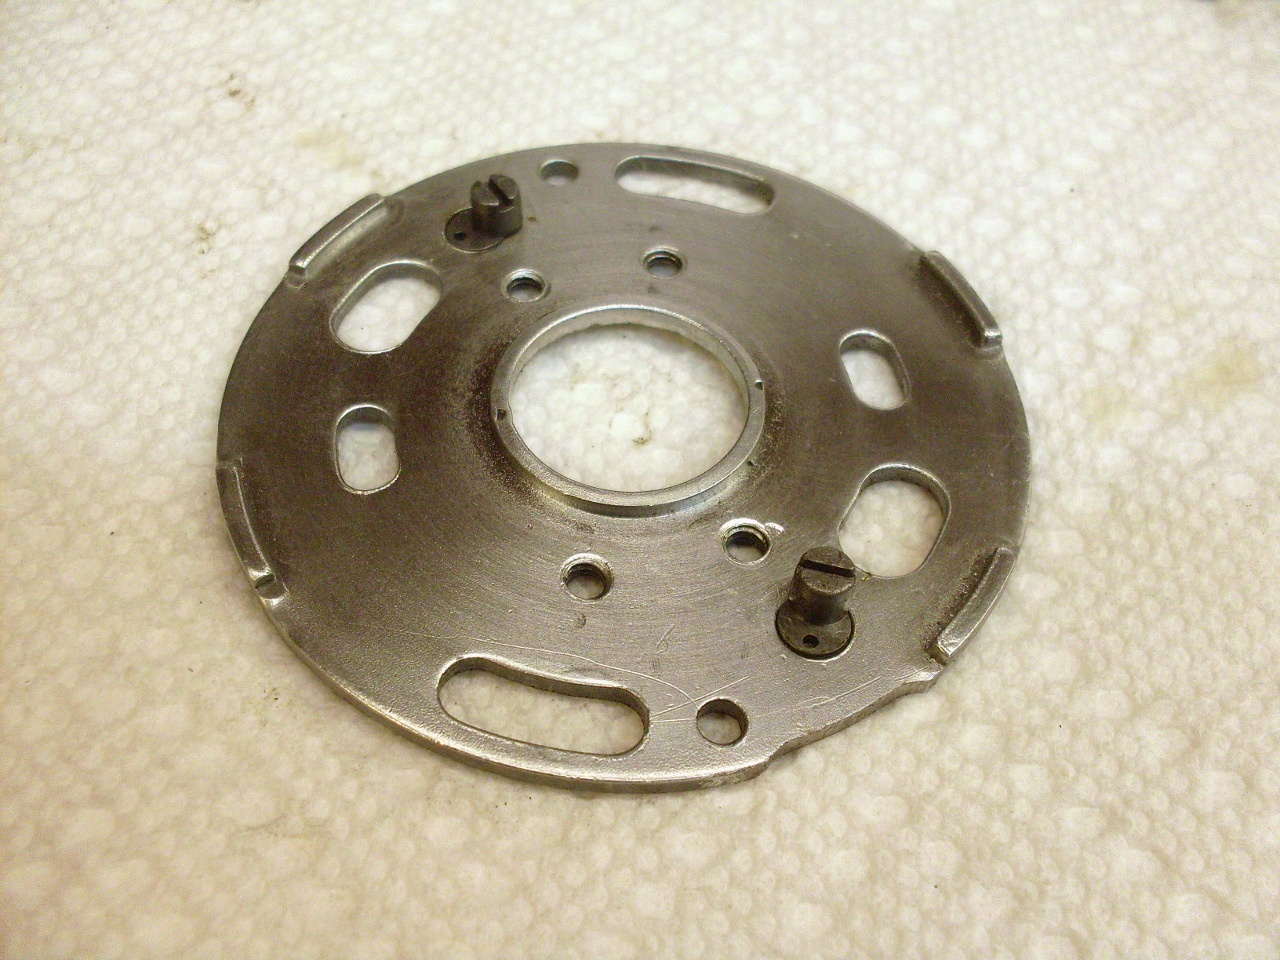
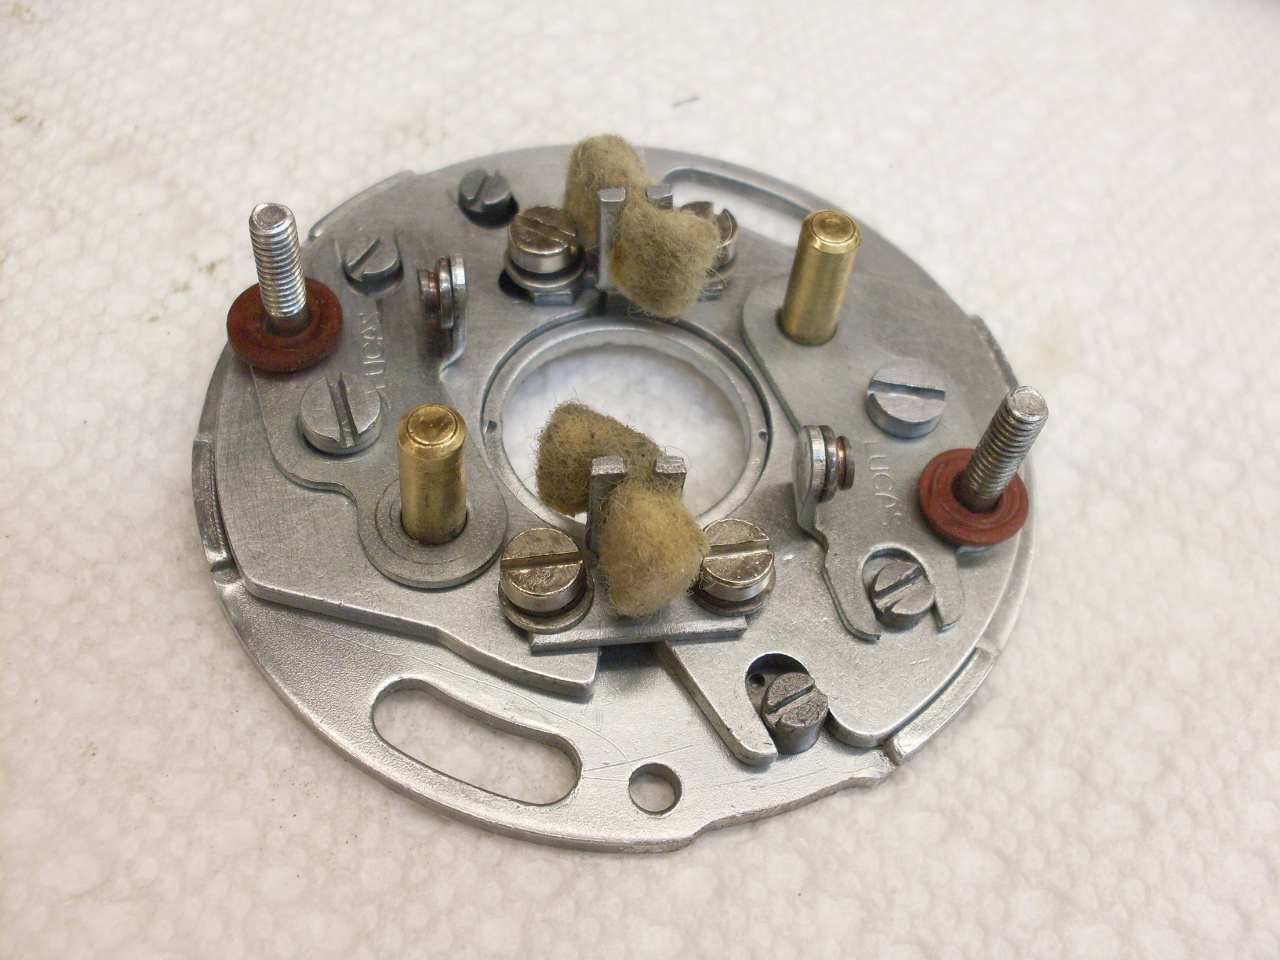
This
is the bare breaker plate. It shows a small edge cutout at the
lower right that I added to relieve the very tight squeeze for the
ignition wires. The picture also shows new little eccentruc pins
that are always bunged up on these old machines.
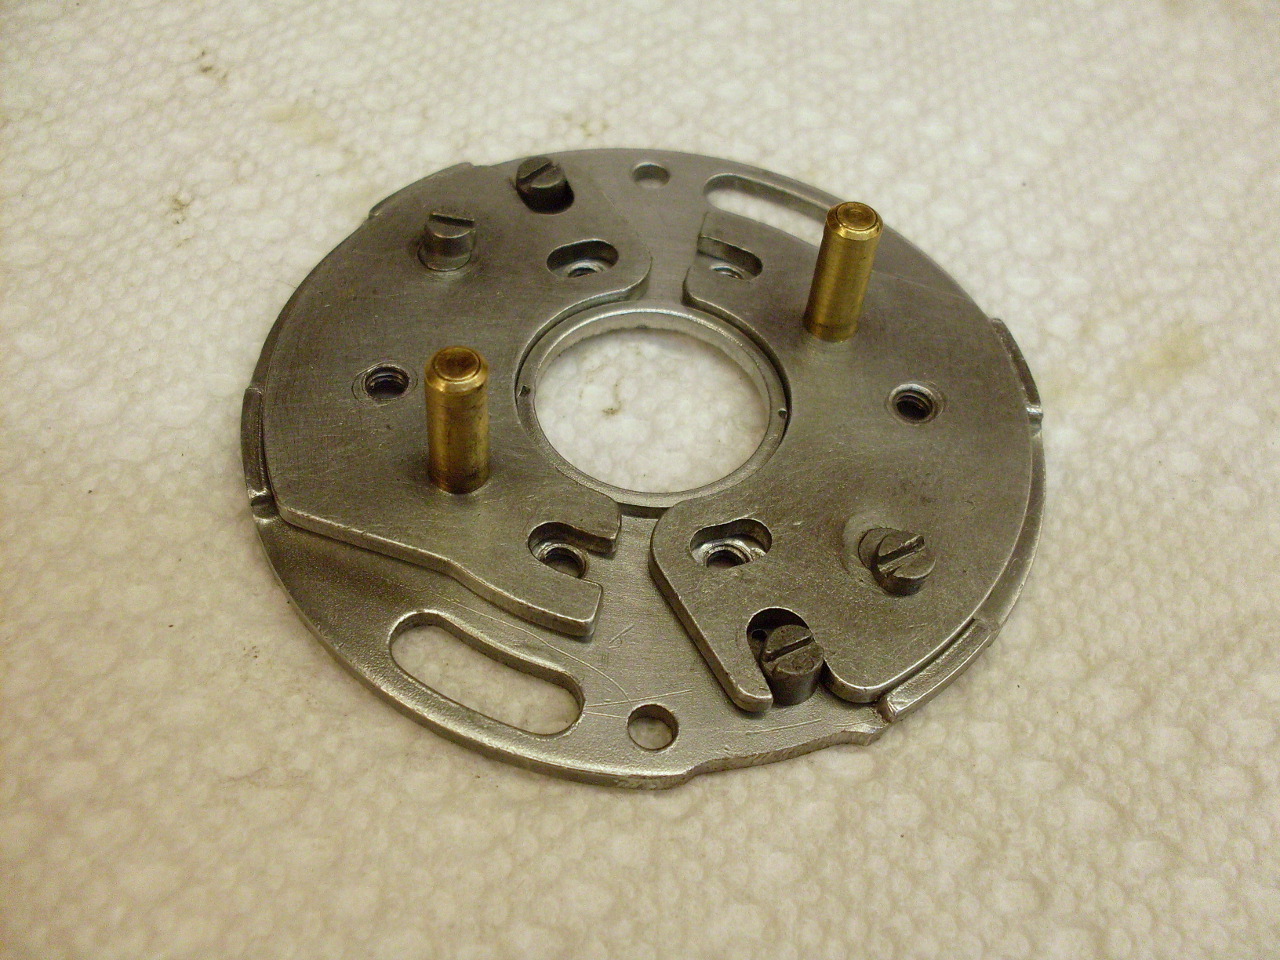
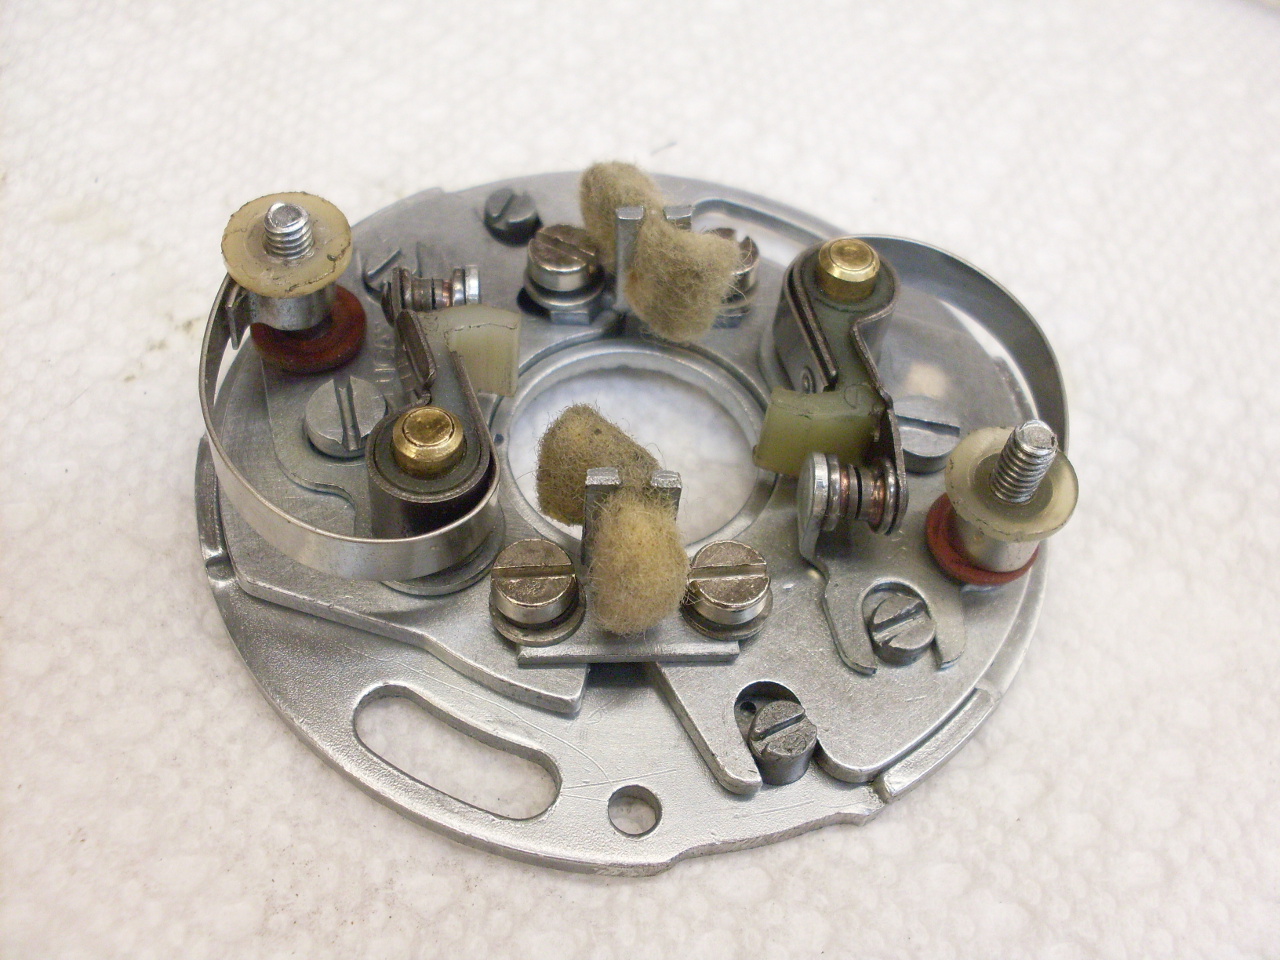
To
the breaker plate are mouned a carrier plate for each set of points.
The eccentrics on the breaker plate can move the carrier plates
in short arcs around the center of the breaker plate. This allows
independent timing adjustment for each cylinder, something that wasn't
possible on some earlier models.
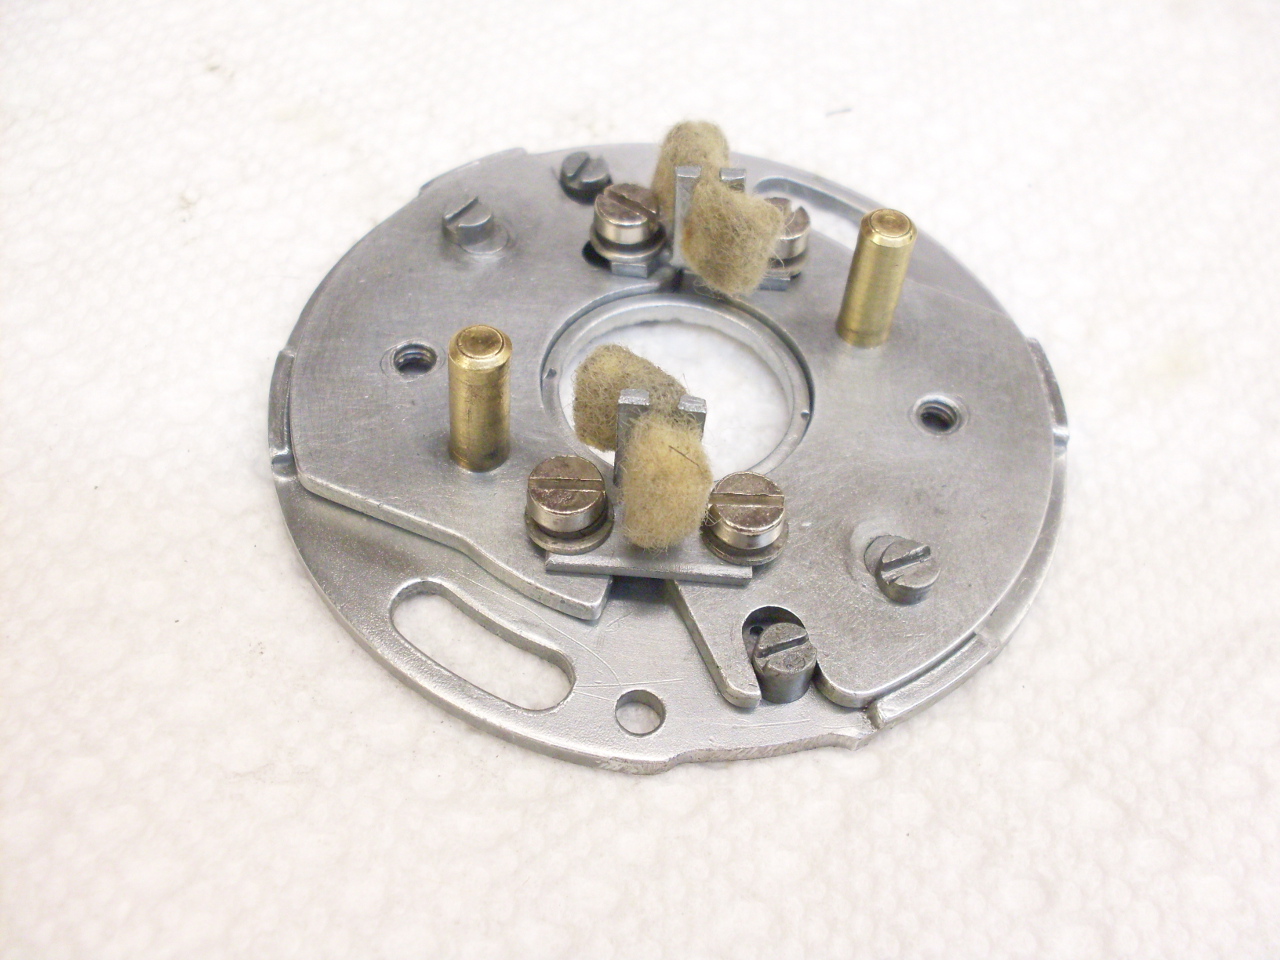
The
carrier plates are fixed in position by little brackets that also carry
the felt wicks that lubricate the breaker cam. My shop manual
says that these felts were "...impregnated with Shell Retinax A
grease." It doesn't appear that Shell Retinax A is available any
more, but I believe it was just a #2 lithium grease. To
rejuvenate the felts, I just soaked them in solvent a few times,
then soaked them in a bath of modern lithium grease considerably
thinned with mineral spirits. The felts soaked up a surprising
amout of the grease.
Then
the fixed and the moving parts of the points themselves are added.
I re-used the Lucas points. They are probably not original,
but certainly date from the 70s. Pitting was minor and cleaned up
easily with a diamond file and silicon carbide paper.
Mounted
the breaker plate in the timing cover after runining the breaker wires
through the hole to the outside world. The rubber grommet is a
pain to get in place, but being tight means it will do a good job of
keeping crud out of the engine.

Next time I take this cover off will be to time the engine.

Comments to: elhollin1@yahoo.com
To other pages