To other pages
July 31, 2013
Wiring
[Click pictures for a larger view]
I
had previously refurbished the original wire harnesses on tjis bike by removing
what was left of the woven loom and replacing it with an
expandable braided sleeve material with heat shrink at the joints.
This worked very well for the front harness coming from the
headlight shell, but for the more complicated rear harness, there were
problems. First of all, I rebuilt the harness off the bike, using
the existing lay of the wires as a guide. This proved to not be a
good approach. Some of the branches weren't in exactly the right
place, and some of those that were came off the main harness at a wrong
angle, making routing awkward. On top of this and most seriously,
some of the wires had hard, brittle insulation that actually cracked
when I tried to manipulate them into place. This was probably due
to a combination of age, heat and organic vapors.
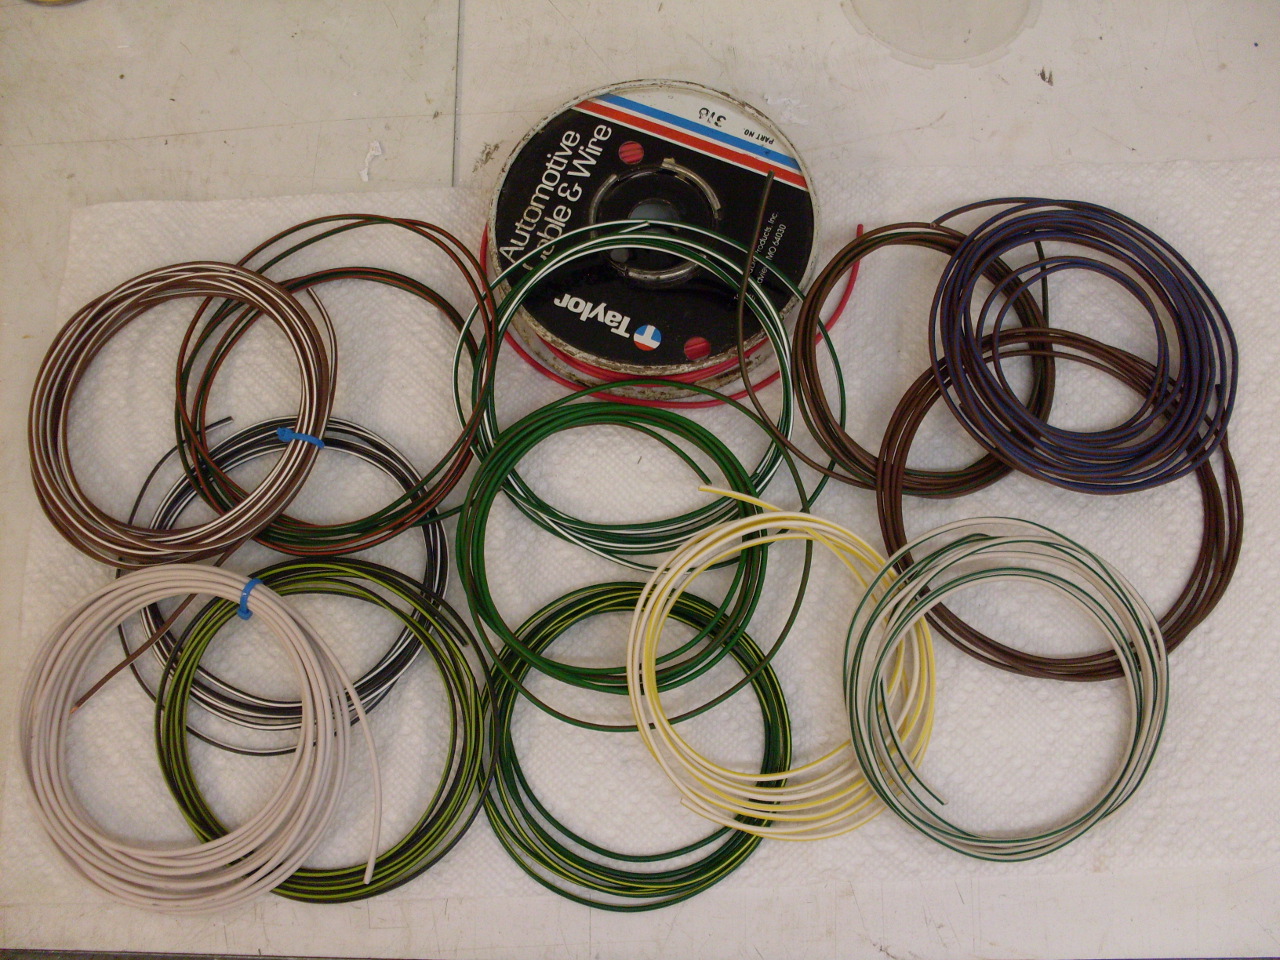
I
decided to start over from scratch on the rear harness. It's not
hard or even that expensive to get the original wire colors in a gauge
similar to the original. British wire today is sized by the
number of 0.3 mm strands that make it up. The original harness
used 14-strand wire, which is close to AWG 18-gauge. For a few of the wires that carry heavier
current, I went to larger 28-strand wire.
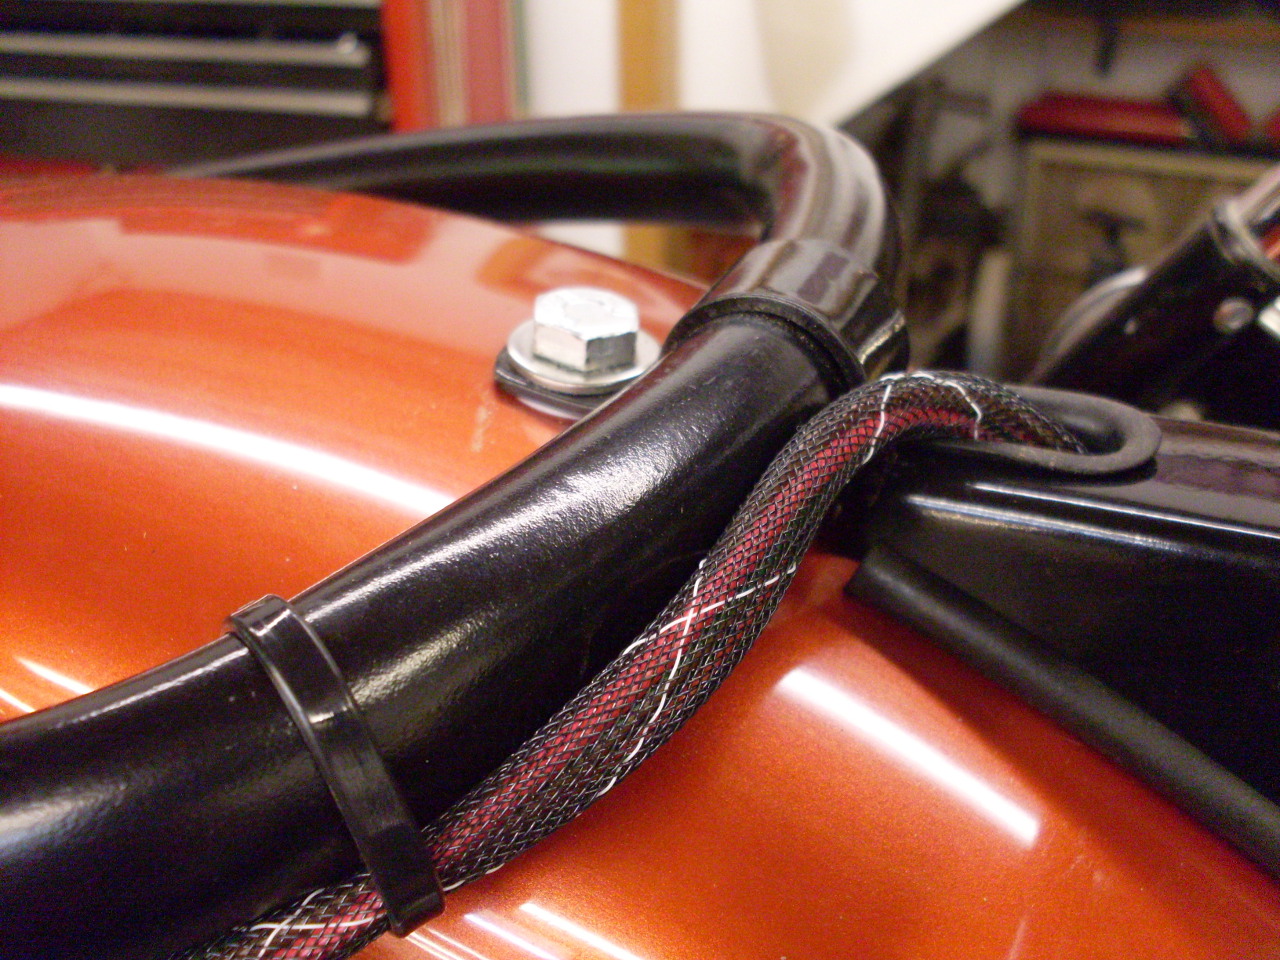
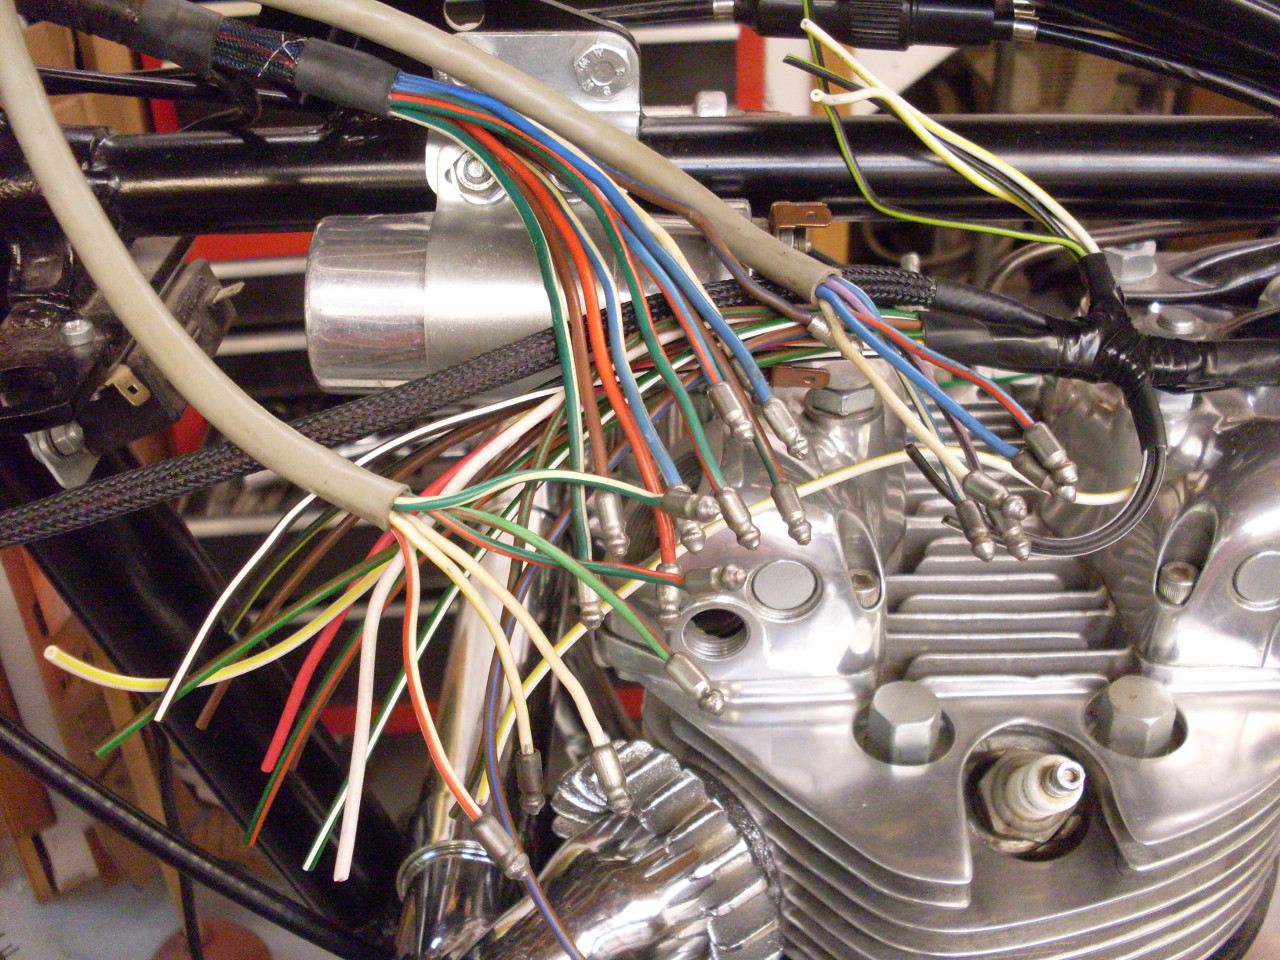
I
ran the wires in place on the bike so that all the branches would be in
the right place, going the right direction. I then bound the wire
bundles with a bazillion tie wraps before removing it from the bike.
Then I put on the braided sleeve with heat shrink at the
junctions. A little electirical tape sealed the junctions.
I used a non-adhesive tape that sticks to itself, but not the
wires. This allows the wires to flex and move, which keeps the
harness from getting stiff.


After
sleeving the main harness, I started at the rear of the bike by
soldering bullets on the wires and connecting them to the rear lights.
I then ran the harness out through the grommet and down the
inside of the left top frame rail.
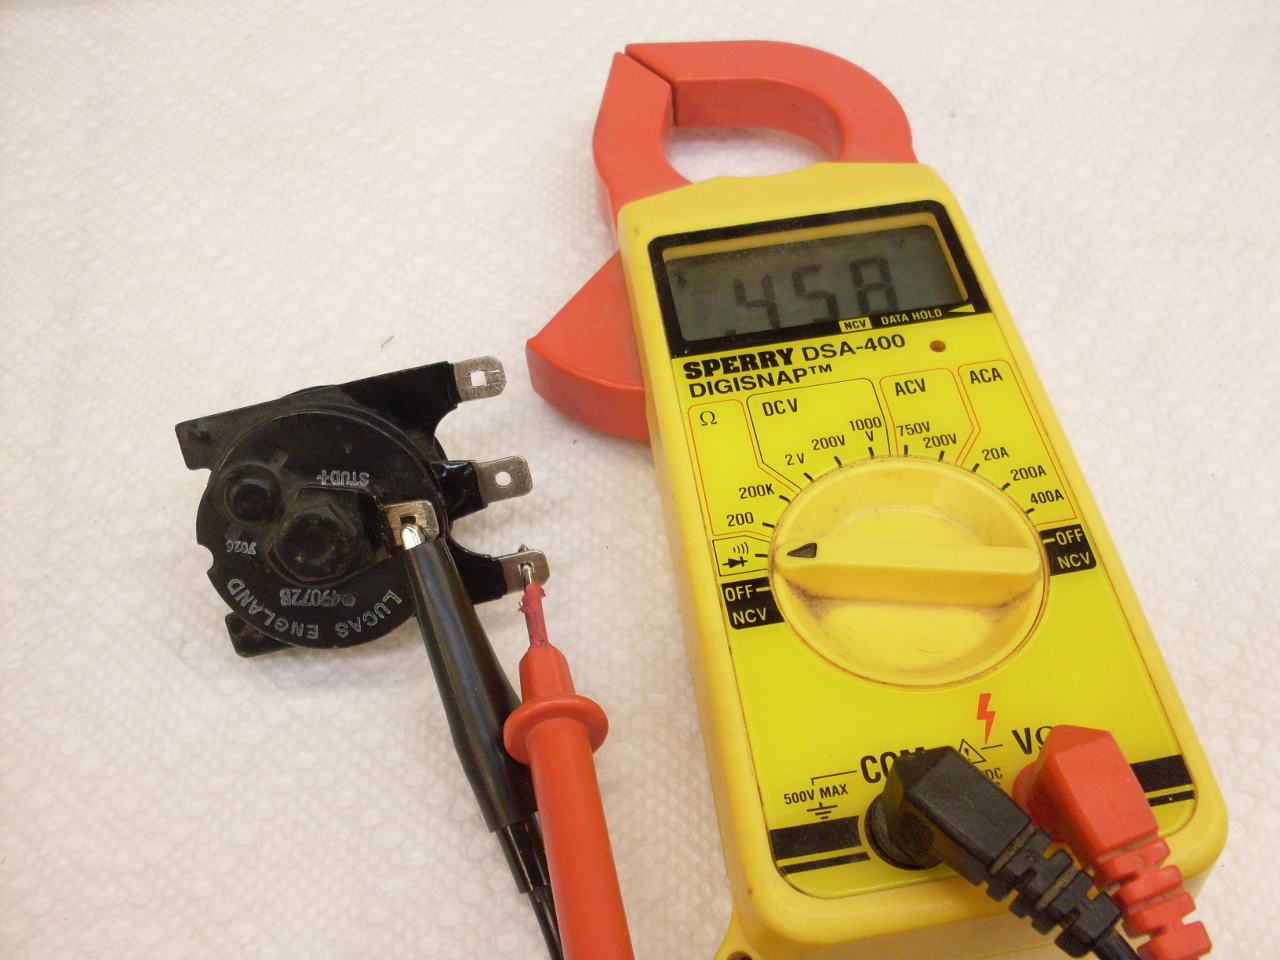
Before
I went any further, I took the time to check out some of the electrical
components to make sure they were good. Here is the bridge
rectifier under test. A meter with a diode test function is best
for this. Start with one of the outside terminals and test to
each of the center terminals Then reverse the test leads and
repeat. For each pair of terminals, one direction should read
"Overload" or something similar, while the other direction should read
some small number, and the meter may beep. Repeat with the other
outside terminal.
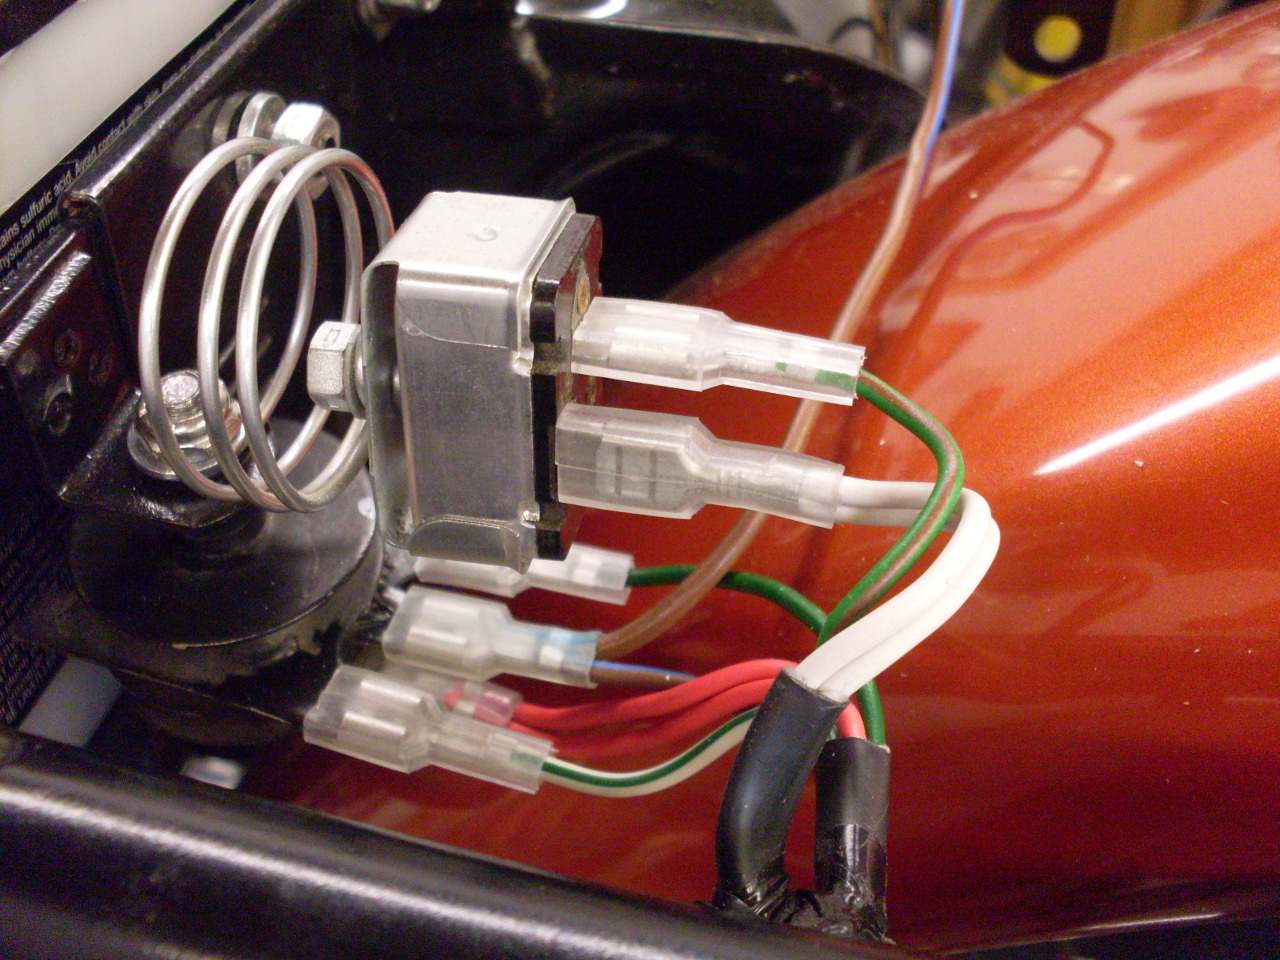
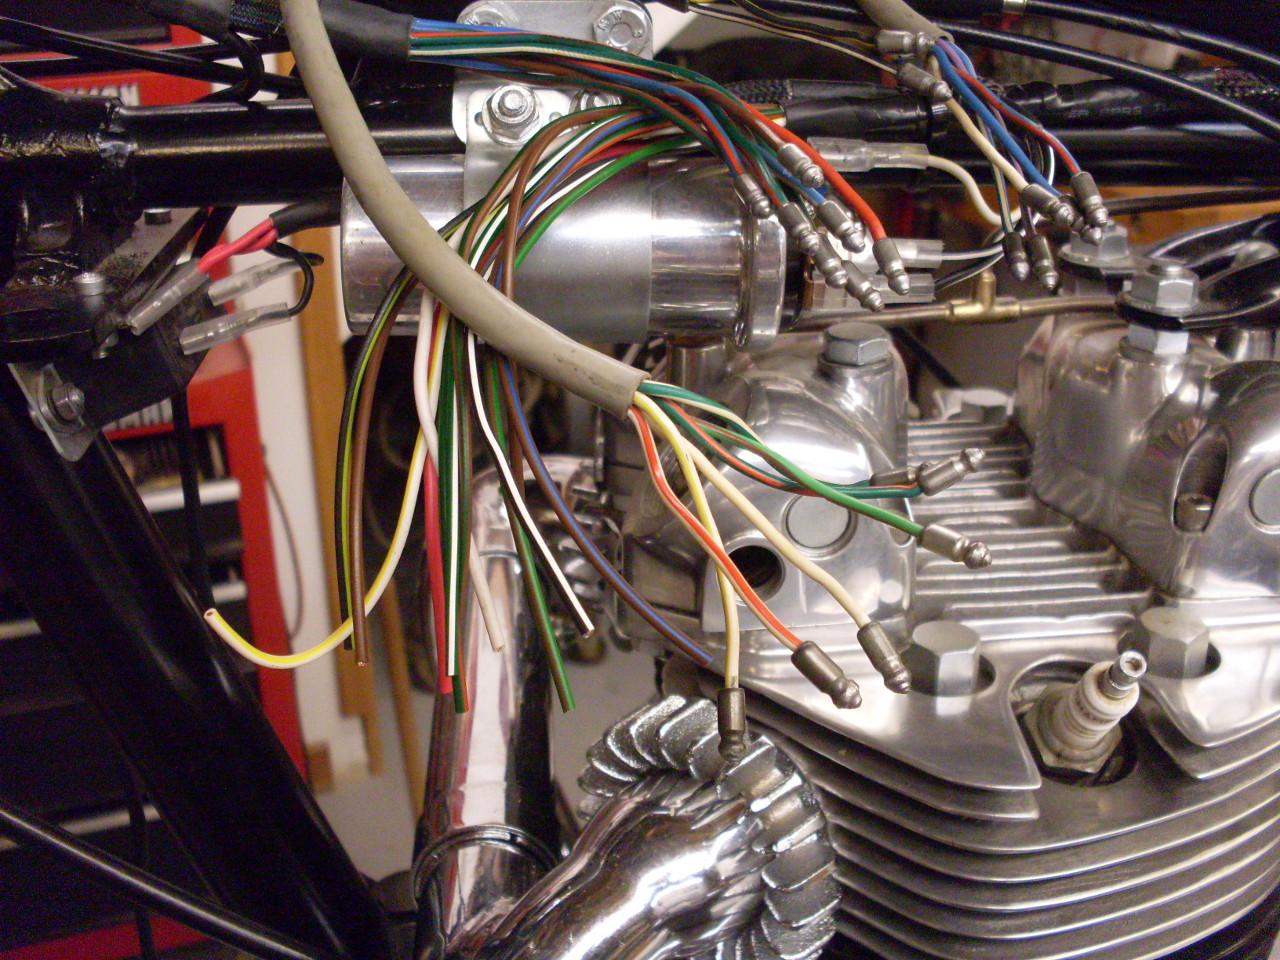
The
first drop from the main harness was for the rear brake switch. I
just left this long to trim later, since the chain guard is not
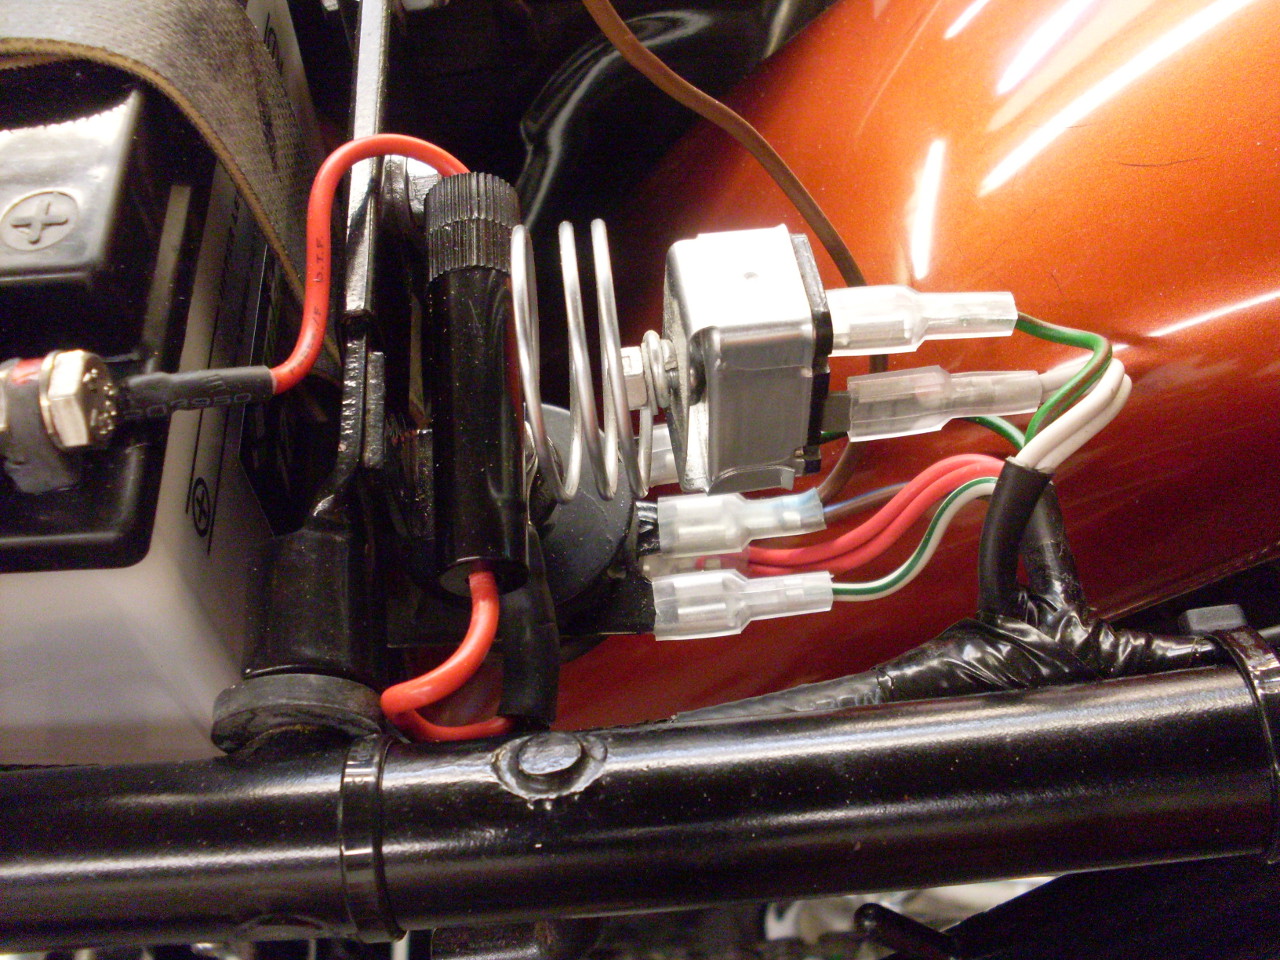
installed yet. Next up going forward was the breakout for the
rectifier and flasher units. I used new good quality open barrel
tinned copper terminals with the proper crimping tool. I usually
solder the crimped connections for a little extra insurance.

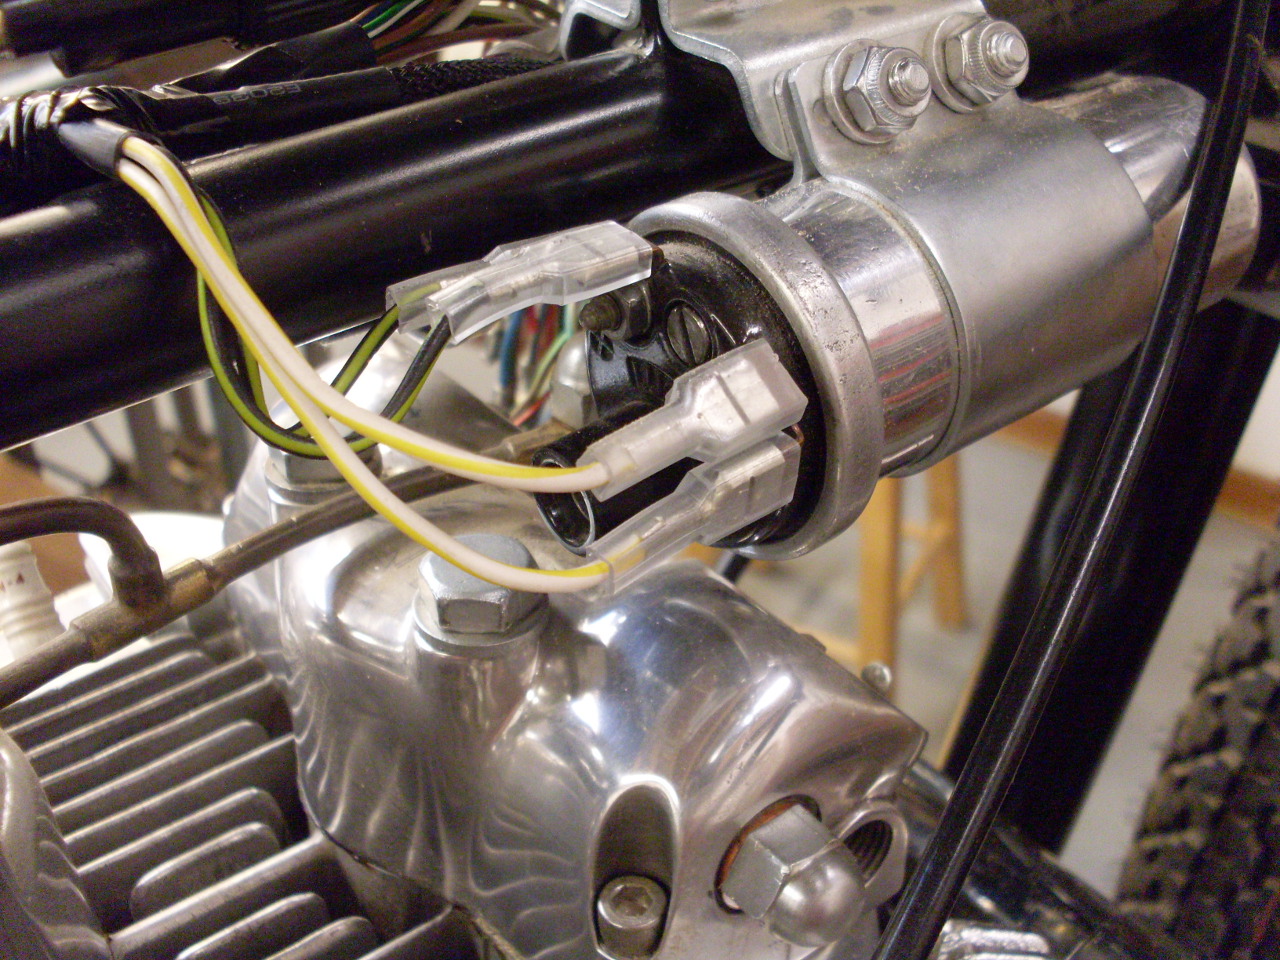
The alternator branch routes down the vertical frame tube to a couple of barrel connectors.

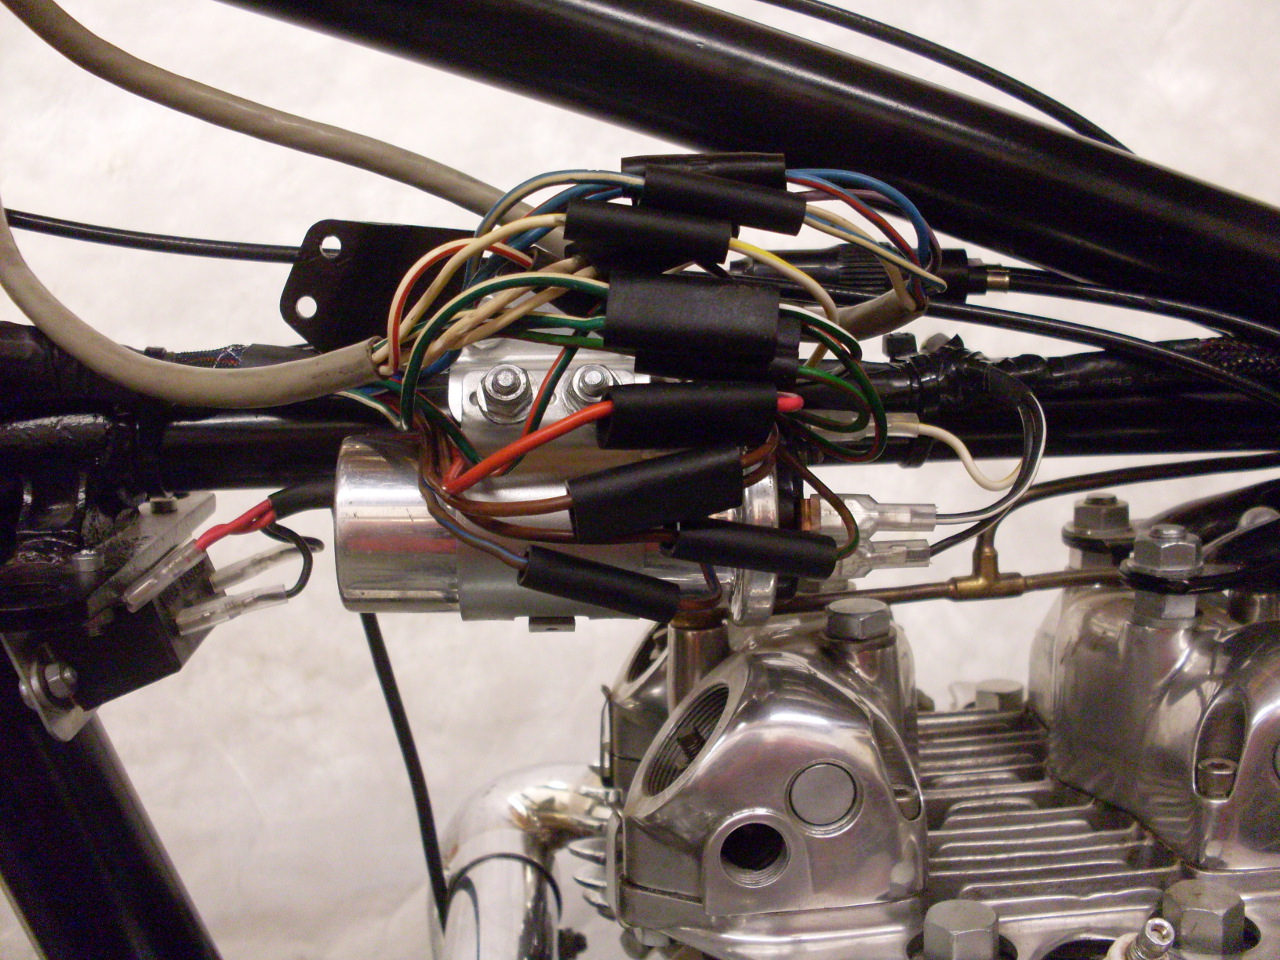
This is what's left to make sense of.
Coils get their connections, and a branch runs up to the condensers.

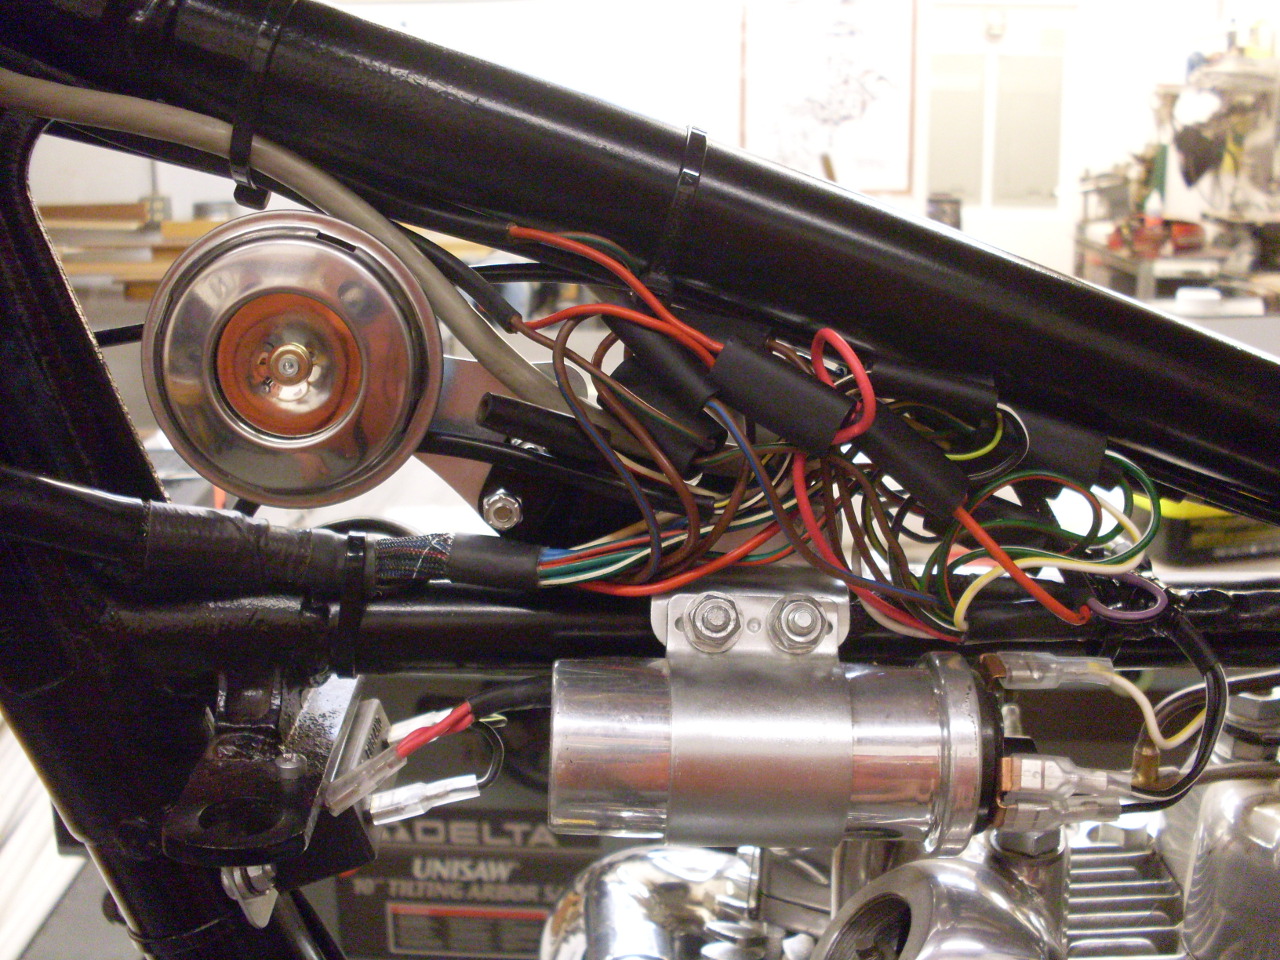
Things
are getting more organized. My horn was lost many years ago, and
I couldn't bring myself to pay what the want for a proper horn, so this
is a cheap aftermarket one. The horns are pretty useless on these
bikes in my opinion, but it keeps form having loose wires hanging.
Bought a new battery and wired up the fuse.
It
appears that Triumph went back and forth as to whether the fuse went in
the supply (-) or retuirn (+) side of the battery. I believe mine
was originally on the supply side. Electrically it makes no
difference, but I can think of one situation where a return side fuse
is better than the other option. With a blown supply side
fuse, the bike's frame is still connected to the positive battery, so
any part of the frame touching the negative terminal directly or
indirectly (like through a wrench or screwdriver) will short the
battery. A blown return side fuse on the other hand disconnects
the frame from the battery.
A return side fuse is a very bad
idea in mains power situations because it can leave equipment hot with
respect to ground. This may be why some people warn against it on
bikes, but the two applications are very different.
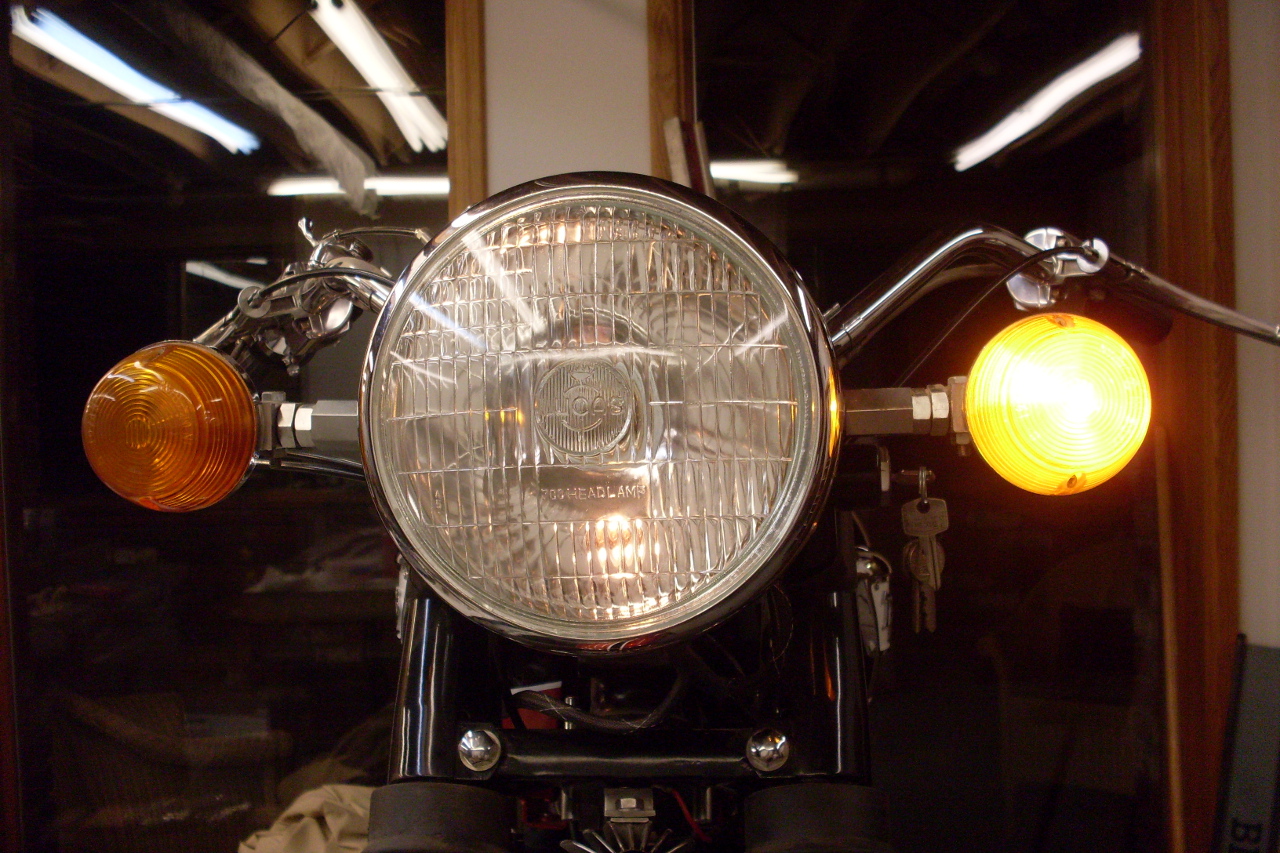
After a
little fiddling, everything appears to work. The only problem was
with the high beam headlight. I traced it to the handlebar
switch, but when I took it apart, it began working. Must have been a
piece oif crud on the contacts.
Send comments to: elhollin1@yahoo.com
To other pages