December, 2011
Chain Guard
[Click pictures for a better view]
Working on a few miscellaneous things recently, including the chain guard.
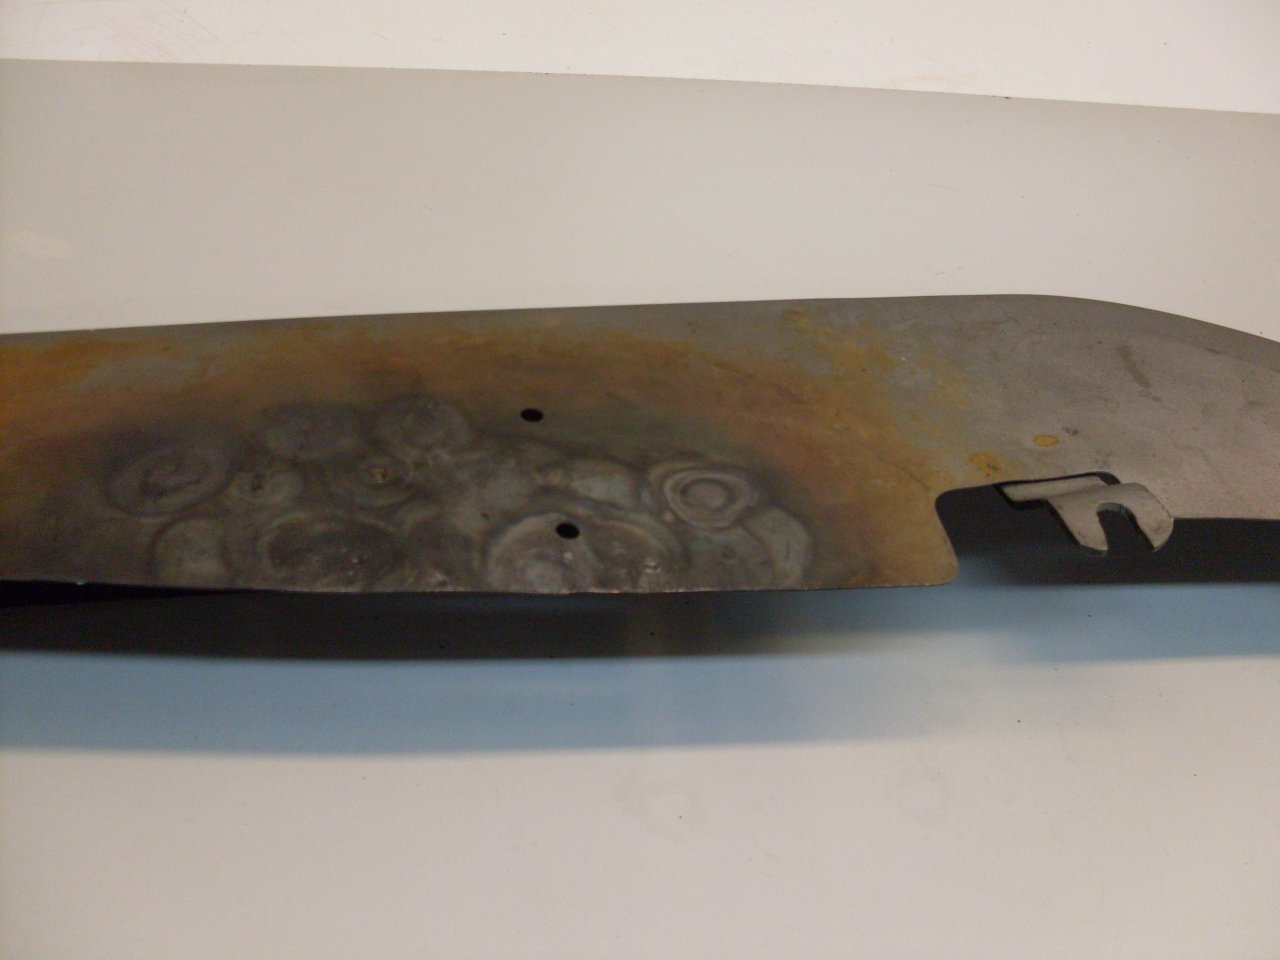
Forgot
to take a before picture of the chainguard, but it was basically intact
with the paint tired and dull, and the inside caked with ancient oil
and road grime. There was some rust around the edges, but no
apparent real damage. After cleaning it up and stripping the
paint off, the only real problem with it was an area along the lower
edge was "oil canning", which means that it would pop in and out of
position with a little pressure. Also, on looking closer, the
bottom edge of the sheet metal was wavy. These are symptoms of
stretched metal in that area. Whether this was the result of some
damage that wasn't apparent, or an artifact of the manufacturing
processes (I suspect the latter), I thought I'd try my hand at some
metal shrinking. The process involves rapidly heating small
patches in the stretched area, and then cooling them quickly with
a wet rag. I believe the idea is that as the small patch
gets to red heat, it tries to expand, but the surrounding cooler metal
constrains it, so the hot metal, more pliable now, just compresses in
area (thereby getting a little thicker). Cooling the spot quickly
freezes the shrunk patch. This is repeated all over the stretched
part of the surface. At forst, I tried a propane torch, but I
think it was too slow, so the pliable area wasn't localized enough.
Oxyacetylene worked nicely.
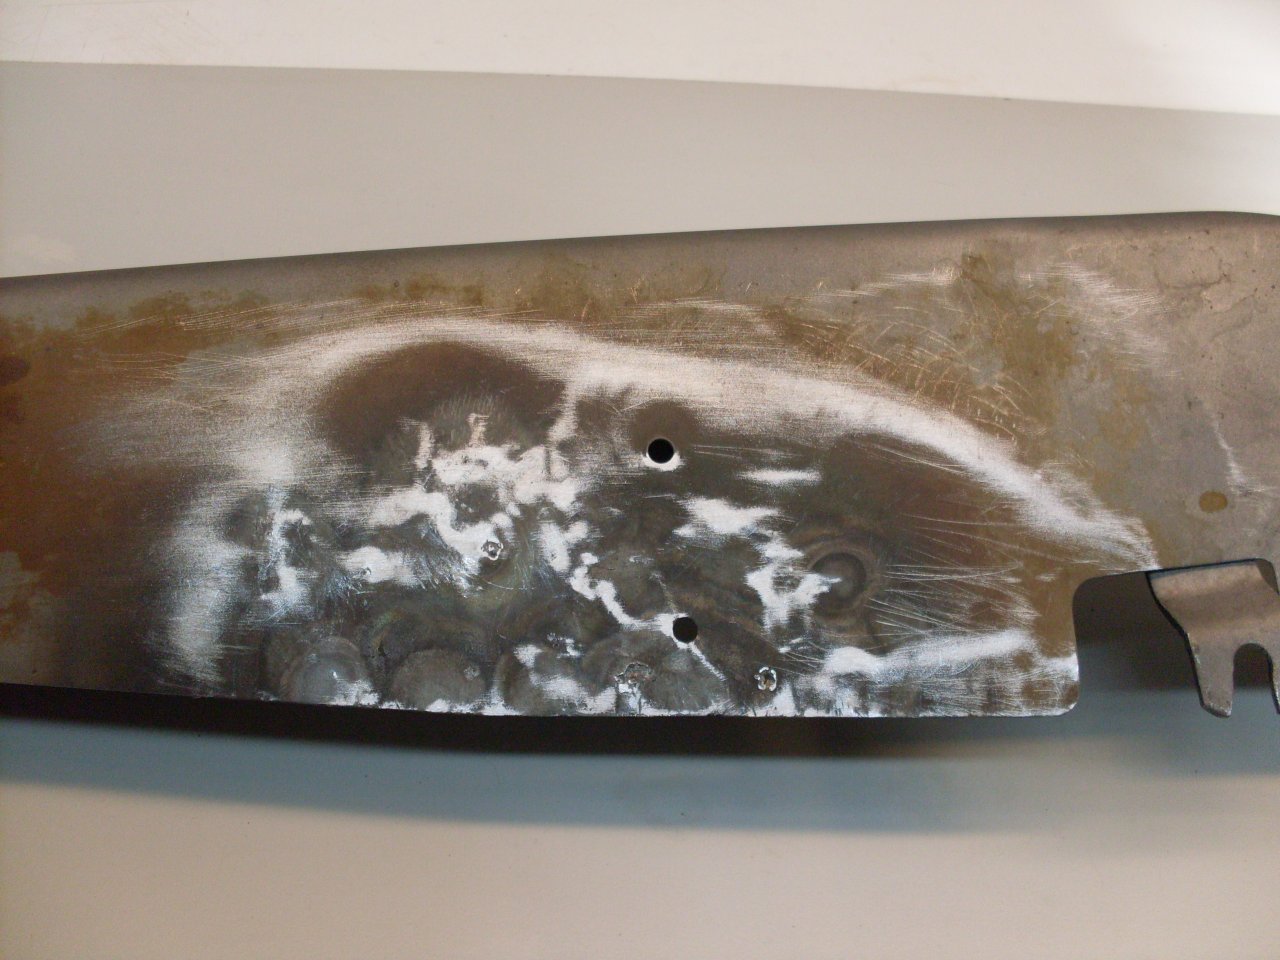
After
this process, the surface was distorted and discolored, and looked
worse than when I started, but the oil canning was gone, and the bottom
edge was actually straighter. A little work with a hammer and
dolly and a file, and I had the surface pretty flat.
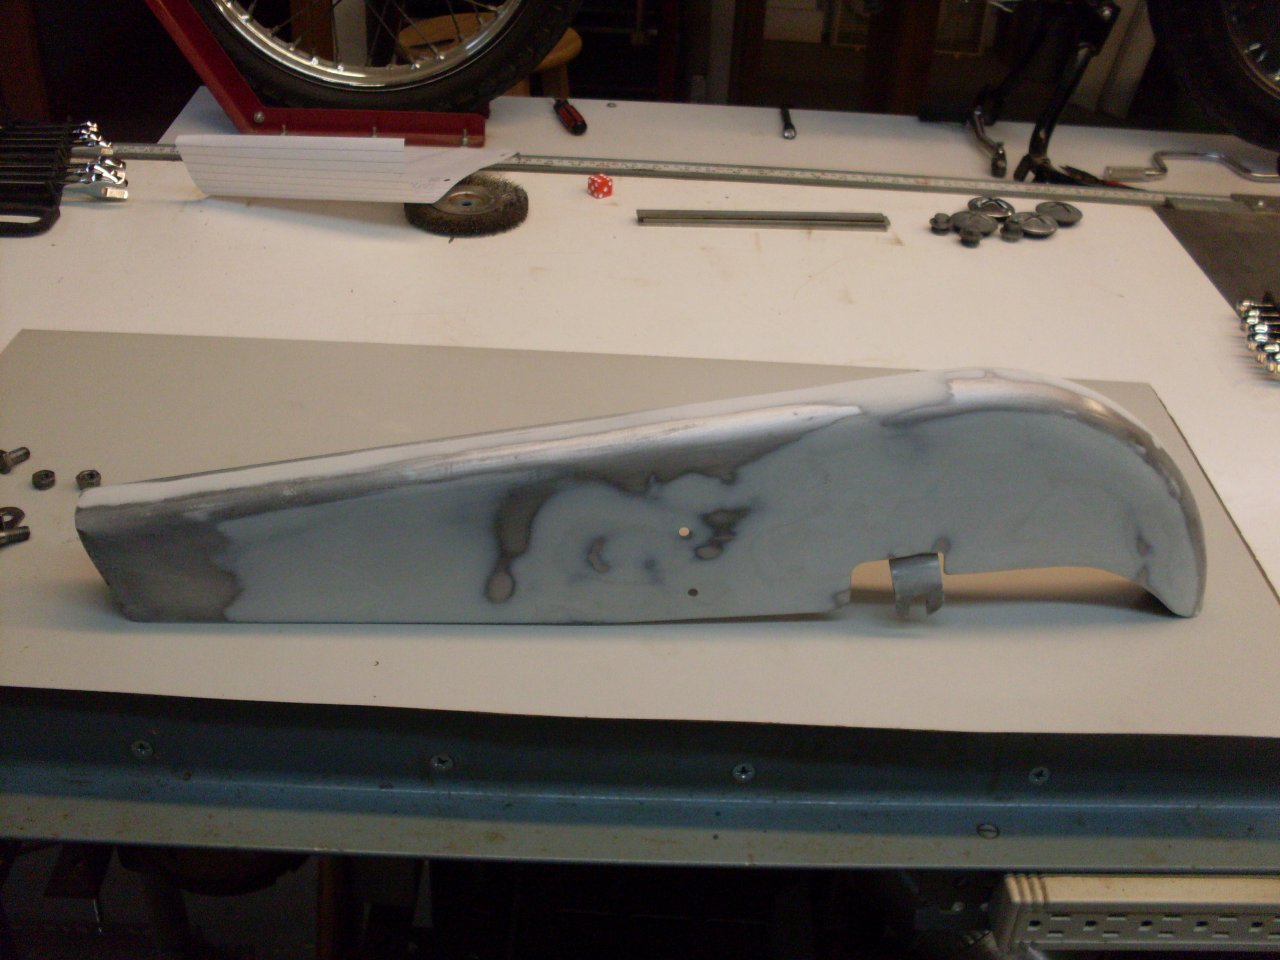
A
little Bondo helped to flatten out the entire surface, and I also
filled in the seam along the top of the guard for a cleaner look.
A few coats of black lacquer, and a few more of clear, a little rubbing, and I have a decent looking chain guard.
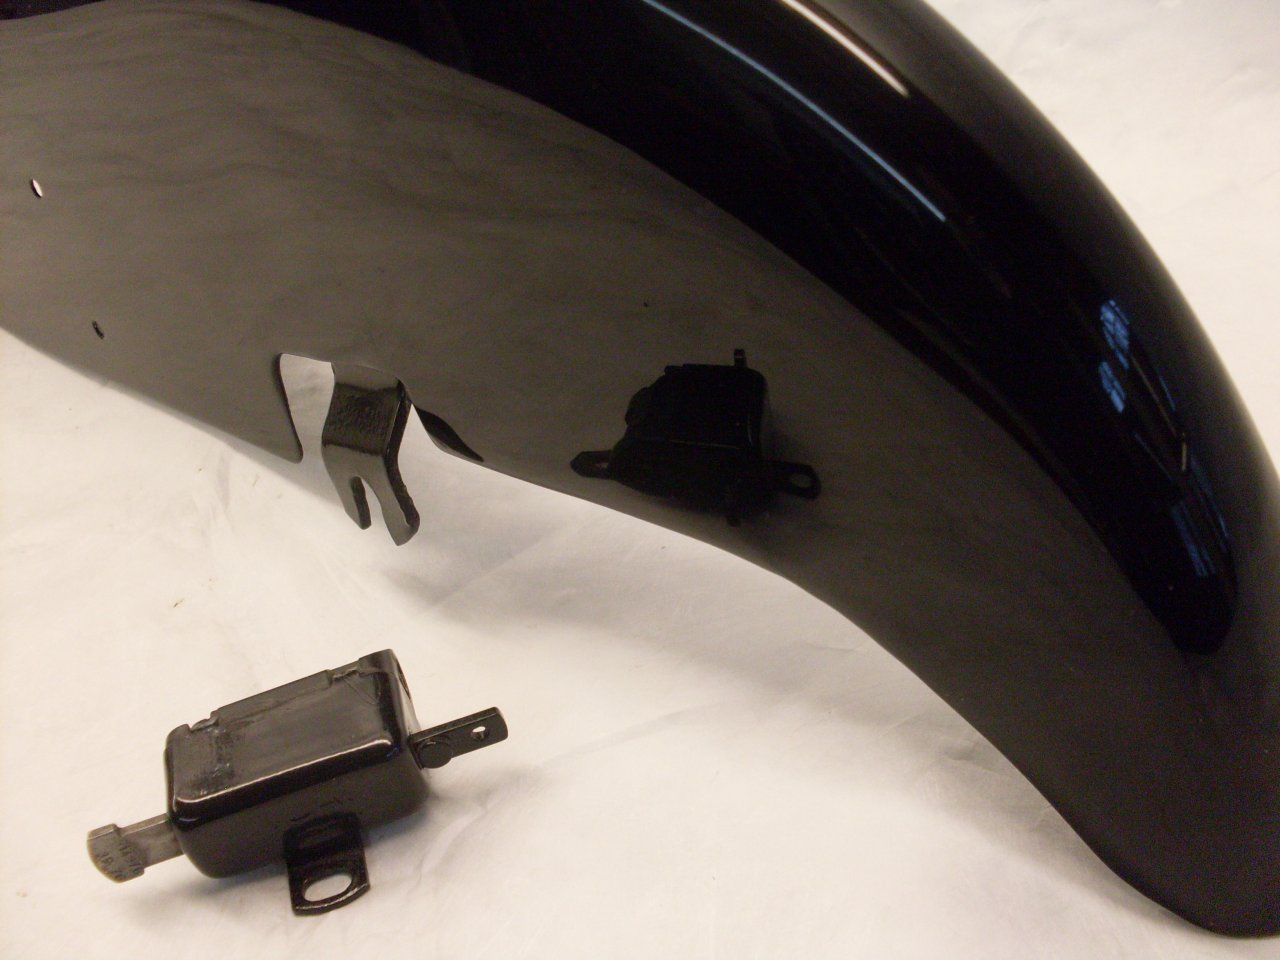
More pictures.