I'm
getting ready to paint the tank and fenders. To ramp up to
this
there is all the standard sheet metal prep work, but before that, I
wanted to make sure the tank was in good enough shape to use.
A
lot of bad things can happen to tanks that sit for 30 years
unattended. Even though this bike was always in a garage,
temperature and humidity cycles can deposit condensation on the
unprotected metal inside. It's possible that a tank that
looks
sound from the outside may have places that are essentially only paint
and rust.
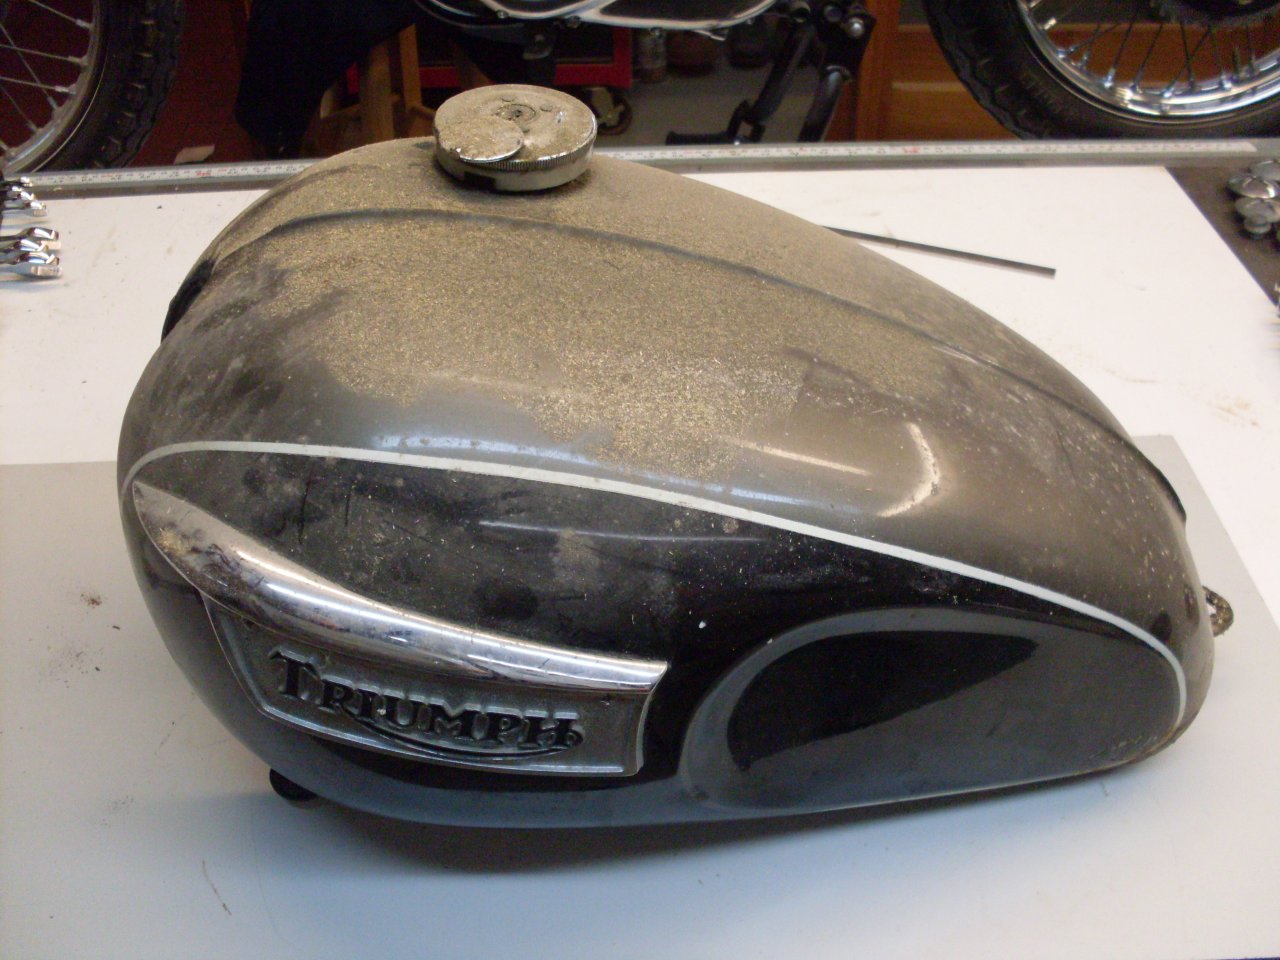
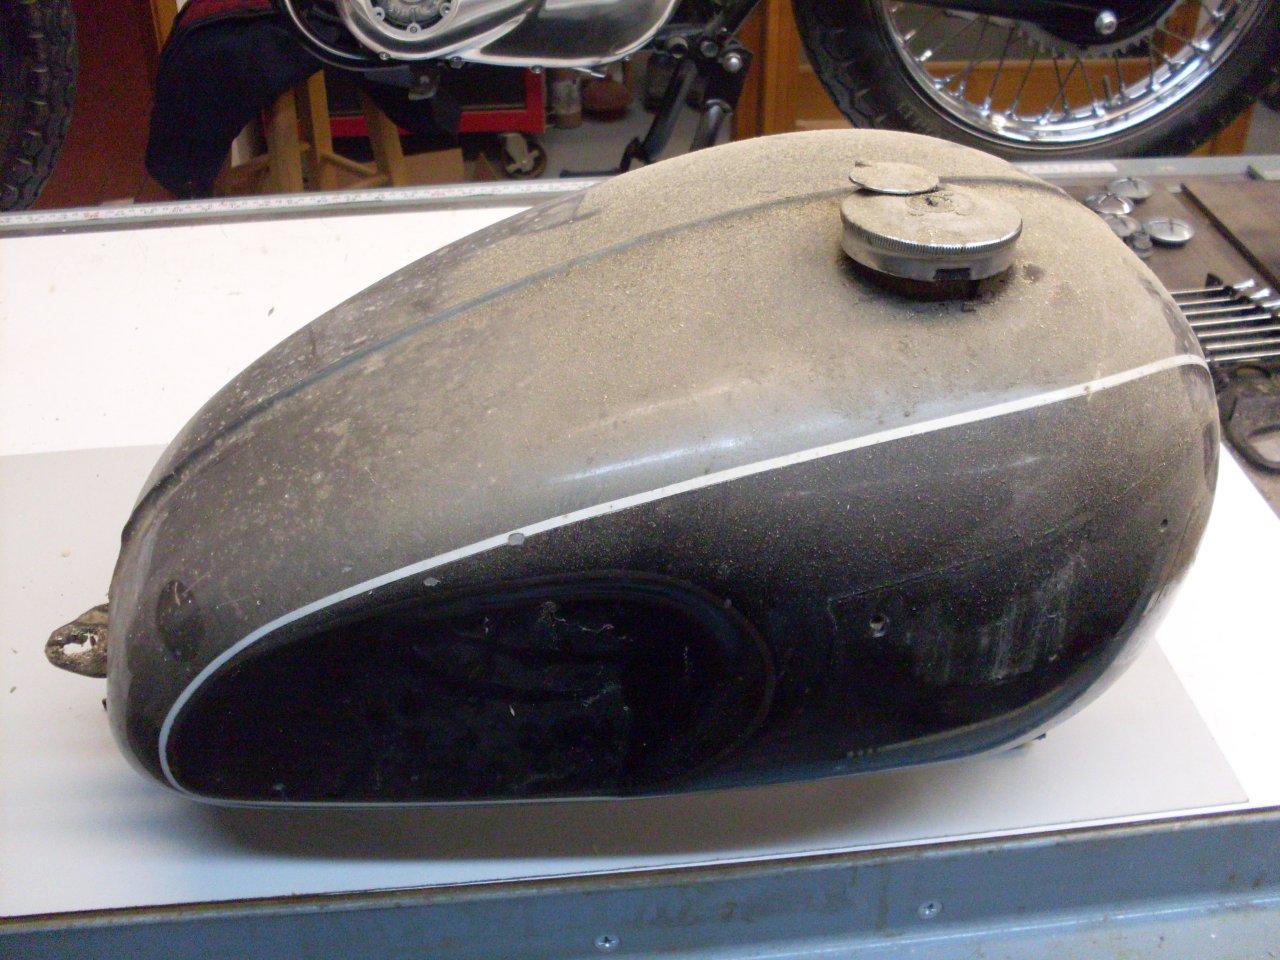
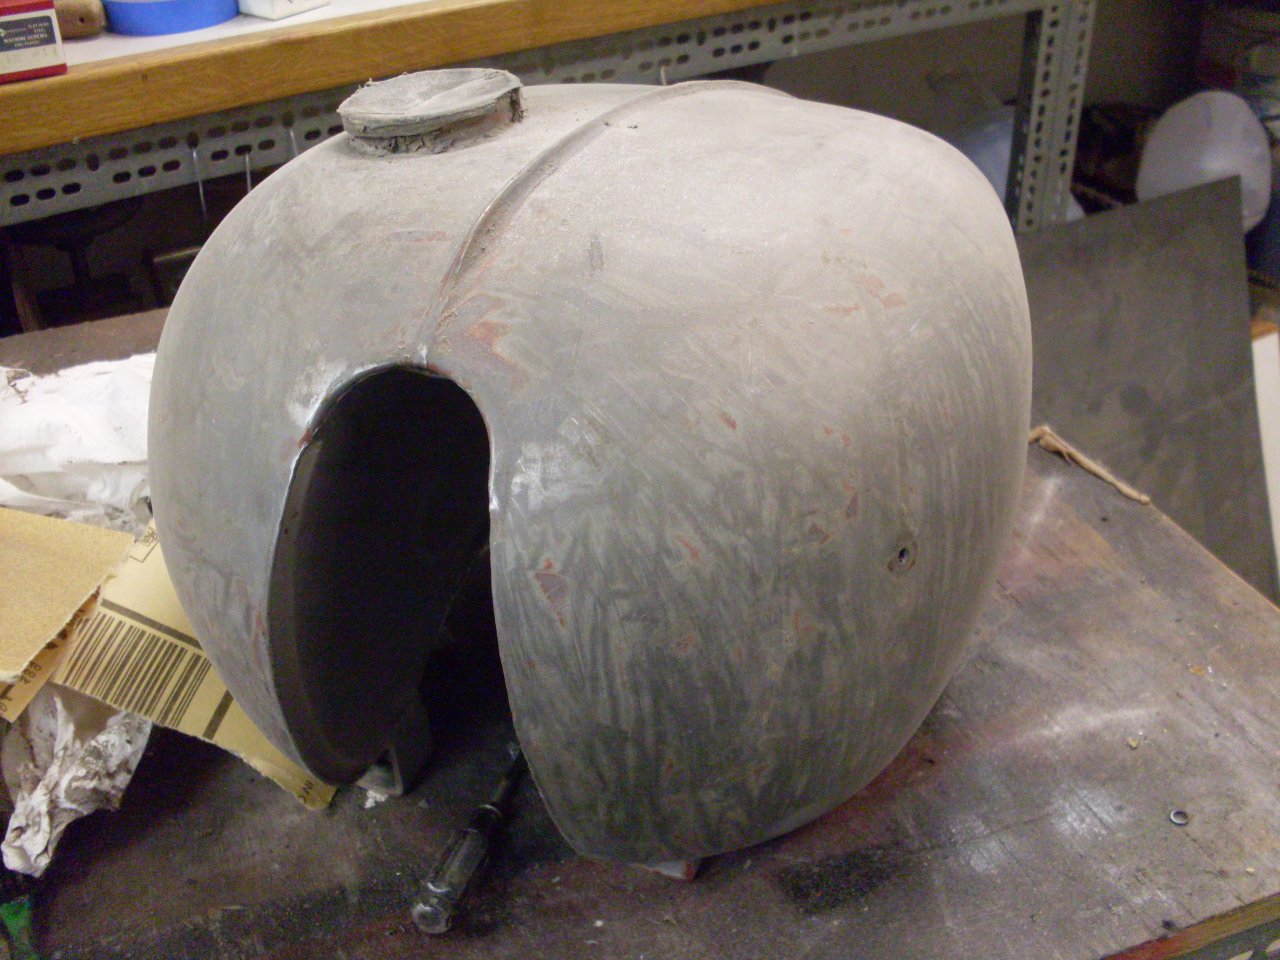
My tank looked solid
from the outside:
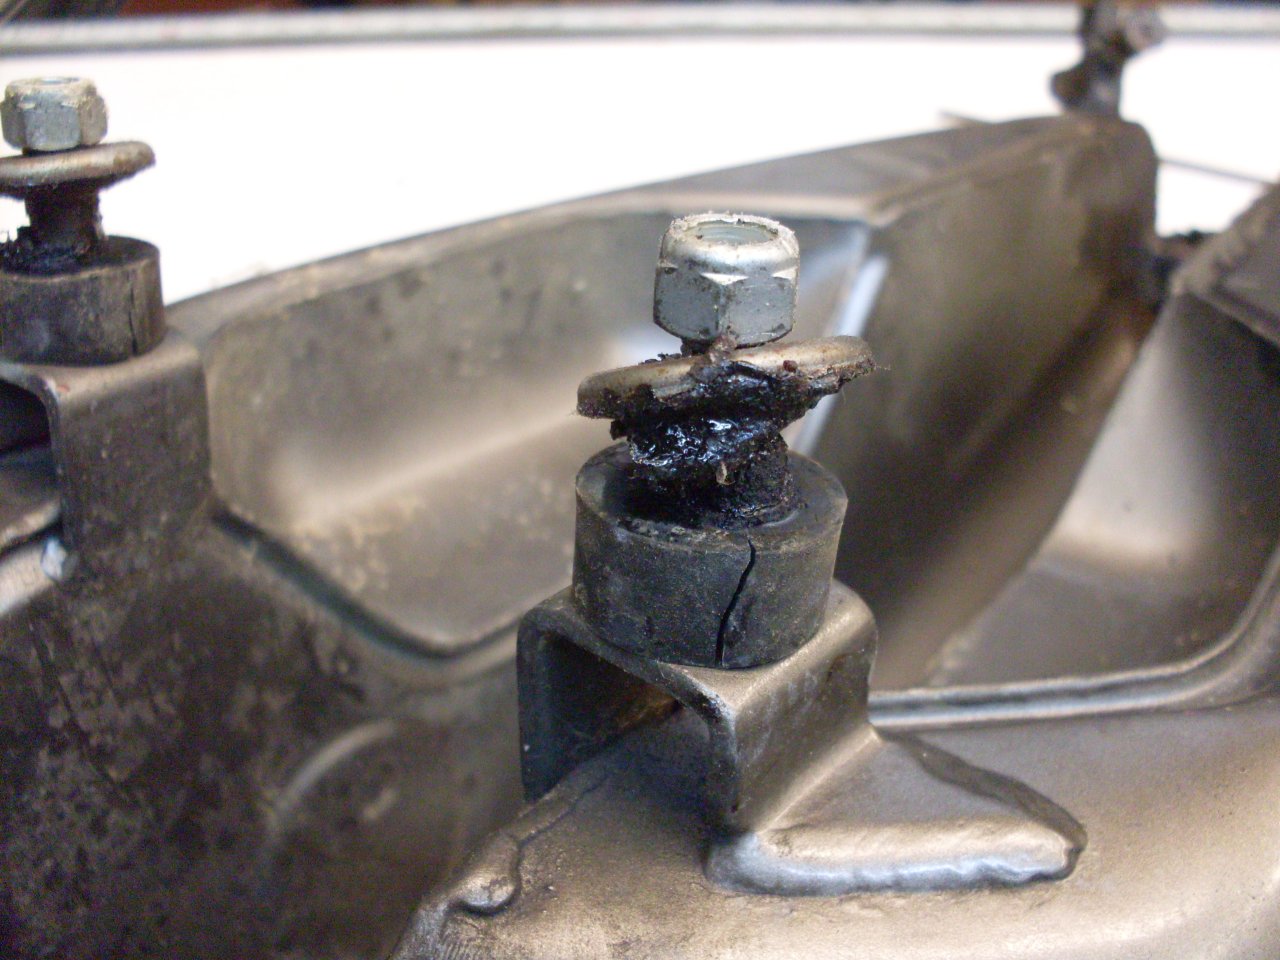
A few of the attachments
would need some attention. The petcock had leaked for months
before I put the bike away (see petcock
rebuild), and
something had turned some of the rubber mounts to goo.
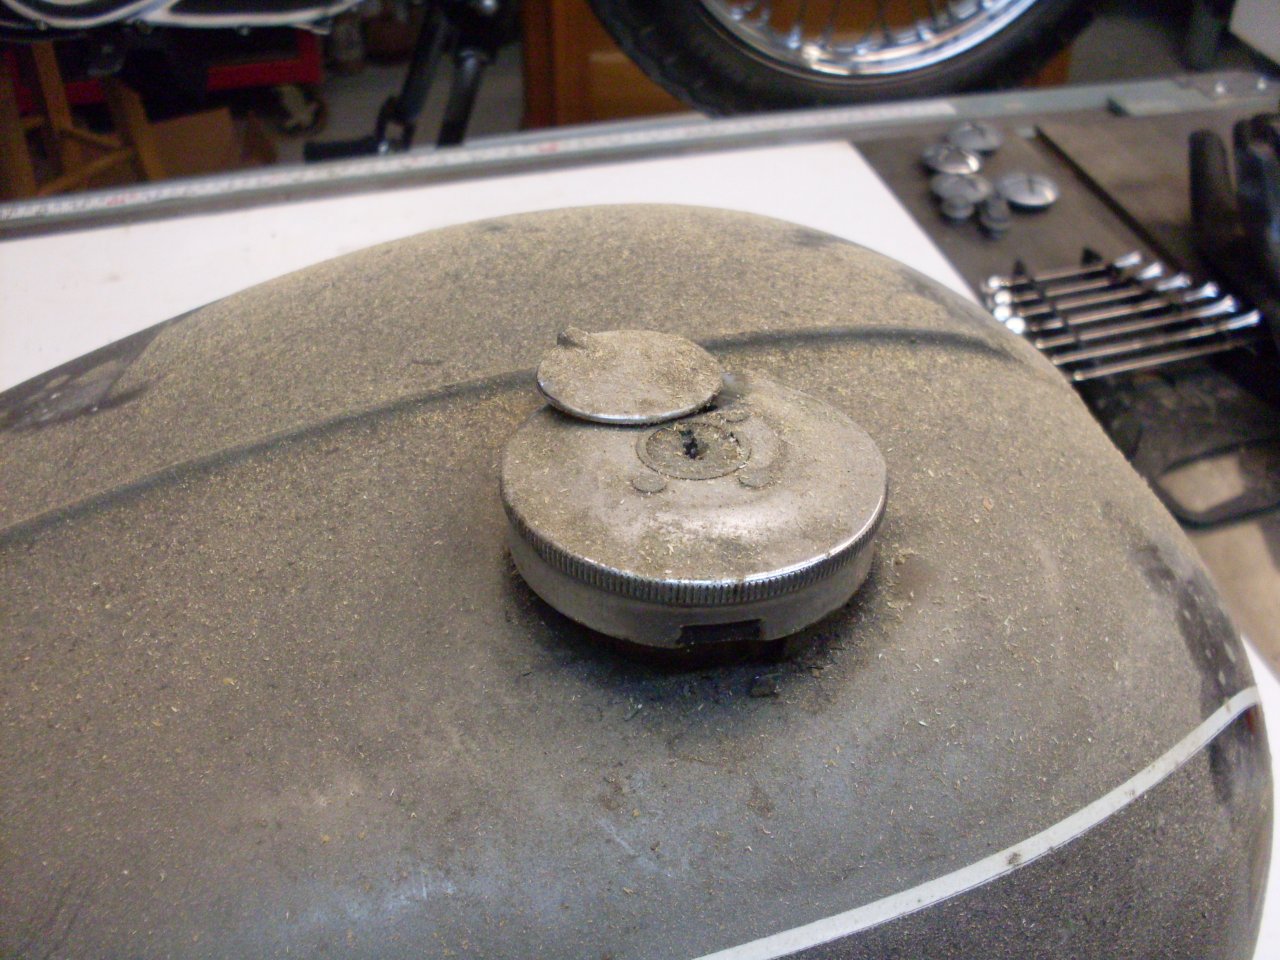
To do an internal
inspection, I first had to get by this bad boy:
Back
in my younger days some of my so called friends thought it was
funny to put fluffed up cigarette filters in peoples' gas tanks,
believing that the fibers would eventually clog the fuel filter,
causing hilarious trouble, but no real damage. They were
right
about
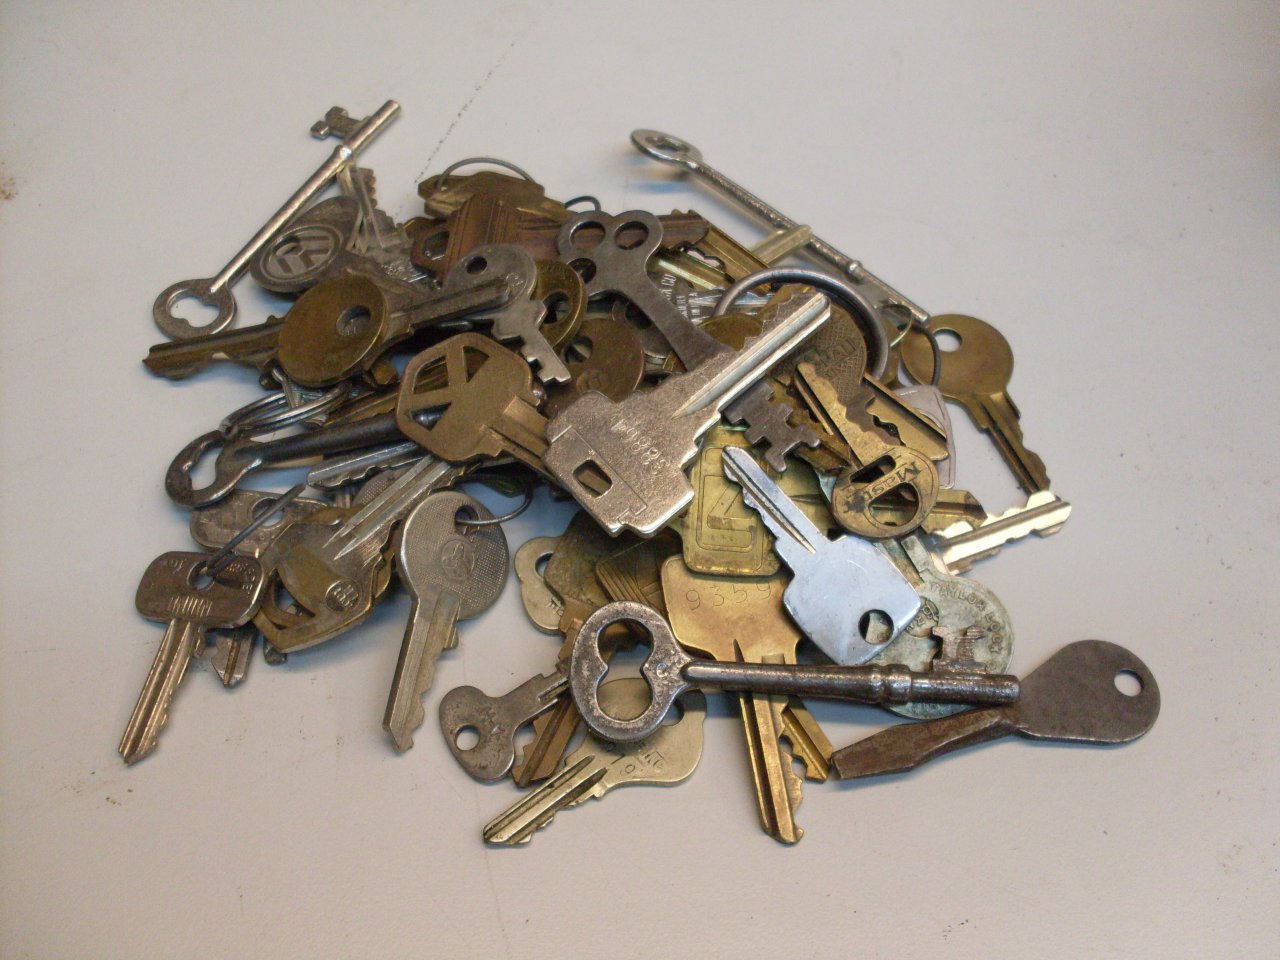
the trouble. The key lock solved that problem, but now 30
years
later,
I seemed to have misplaced the key. I tend to keep keys,
especially if I can't remember what they go to, so I had a pile of
candidates.
None
of them worked, of course, either because the right key was not among
them, or because the lock was so corroded inside that it was siezed.
I even read up on picking locks and tried for over an hour to
pick it. While I could feel the pins move, I couldn't turn
the
plug enough to open it. Finally, giving in to my baser
instincts,
I got out the big drill. Even faced with this, the lock didn't give up
easily--it had some hardened parts inside, I think. Anyway,
half
an hour later, success.
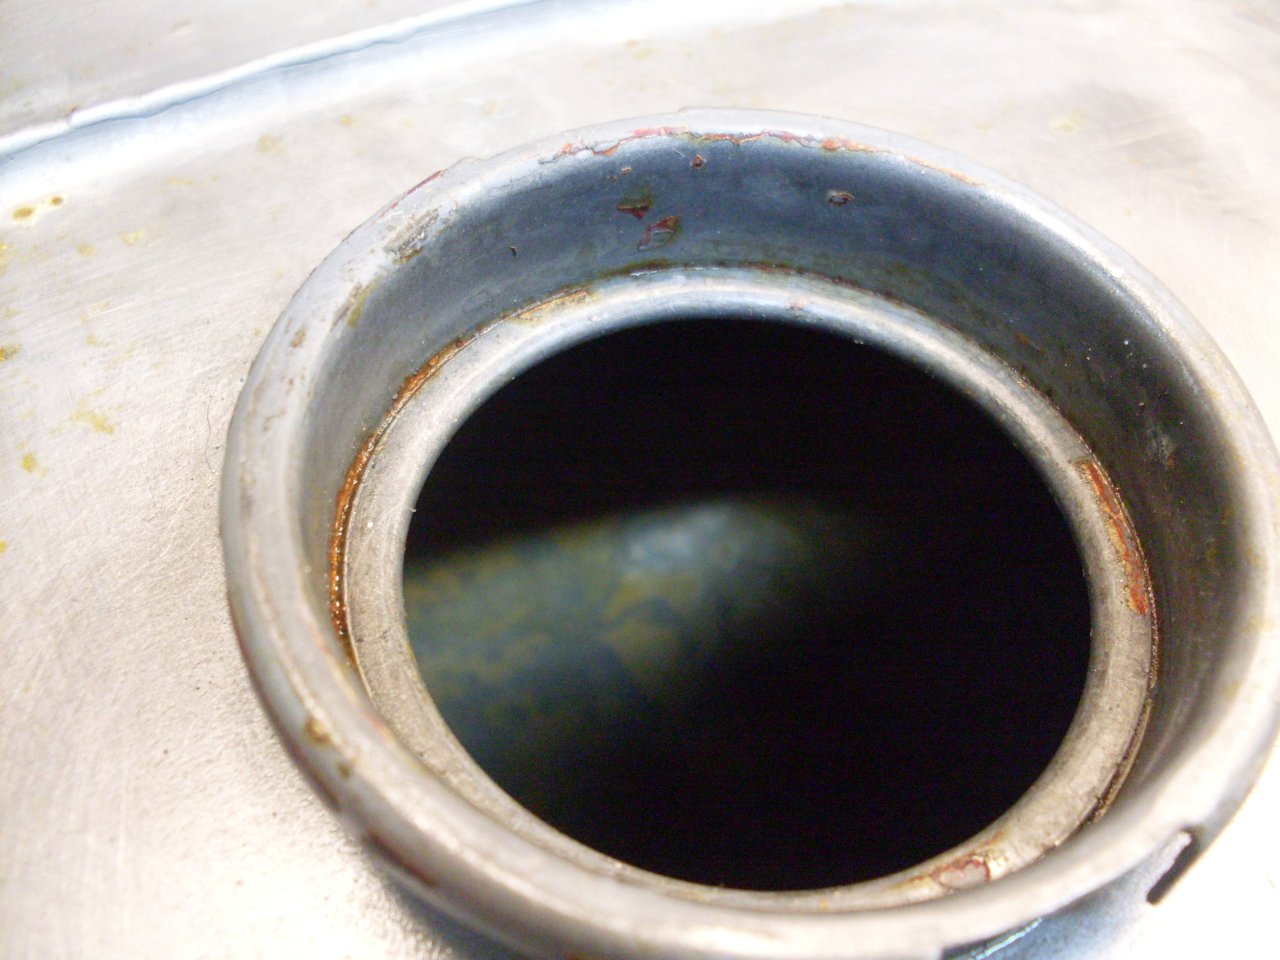
Peering
into the tank through the filler neck with the aid of a little
flashlight, I saw what I expected: The sidewalls had some
rust,
but most of it appeared superficial. The bottom had a rough
black
crust, which I assumed was rust covered by gasoline varnish.
In
thinking out a cleaning protocol, it seemed that a systematic
scientific approach would be good, focusing on each type of deposit in
order. Also, I wanted to be able to asses the progress over
an
area larger than the little area I could see through the filler neck.
This
is when the video TankCam was conceived. While certainly not
an
original idea, I needed to do it on the cheap. I'll try to
cover
the details of how I ended up doing it elsewhere, but I'll show some
results here.
Here's
a snip of how the untouched tank looked inside (these maybe aren't for
dialup). Mostly what you see is dark brown or black
varnish. A note about the videos: I know it will be
impossible to tell what part of the tank is being shown. When
I
did this, I had the advantage of looking at the screen while
manipulating the camera on the end of a long flexible positioner, so I
knew generally where the camera was and what direction it was pointing.
These video clips tend to fucus on the bottom of the tank.
When gasoline gets elderly, it can deposit a "varnisn". If
the
gasoline evaporates, the varnish is left behind. Varnish is
probably the small fraction of the fuel that is not volatile,
or
possibly some oxidation, decomposition or polymerization product of
gasoline components. At any rate, to remove it, wimpy solvents
won't do. It takes something like acetone to remove it.
I
used half a can of carb cleaner (this one was a mixture of acetone and
toluene), added to the tank and agitated in all positions for half an
hour.
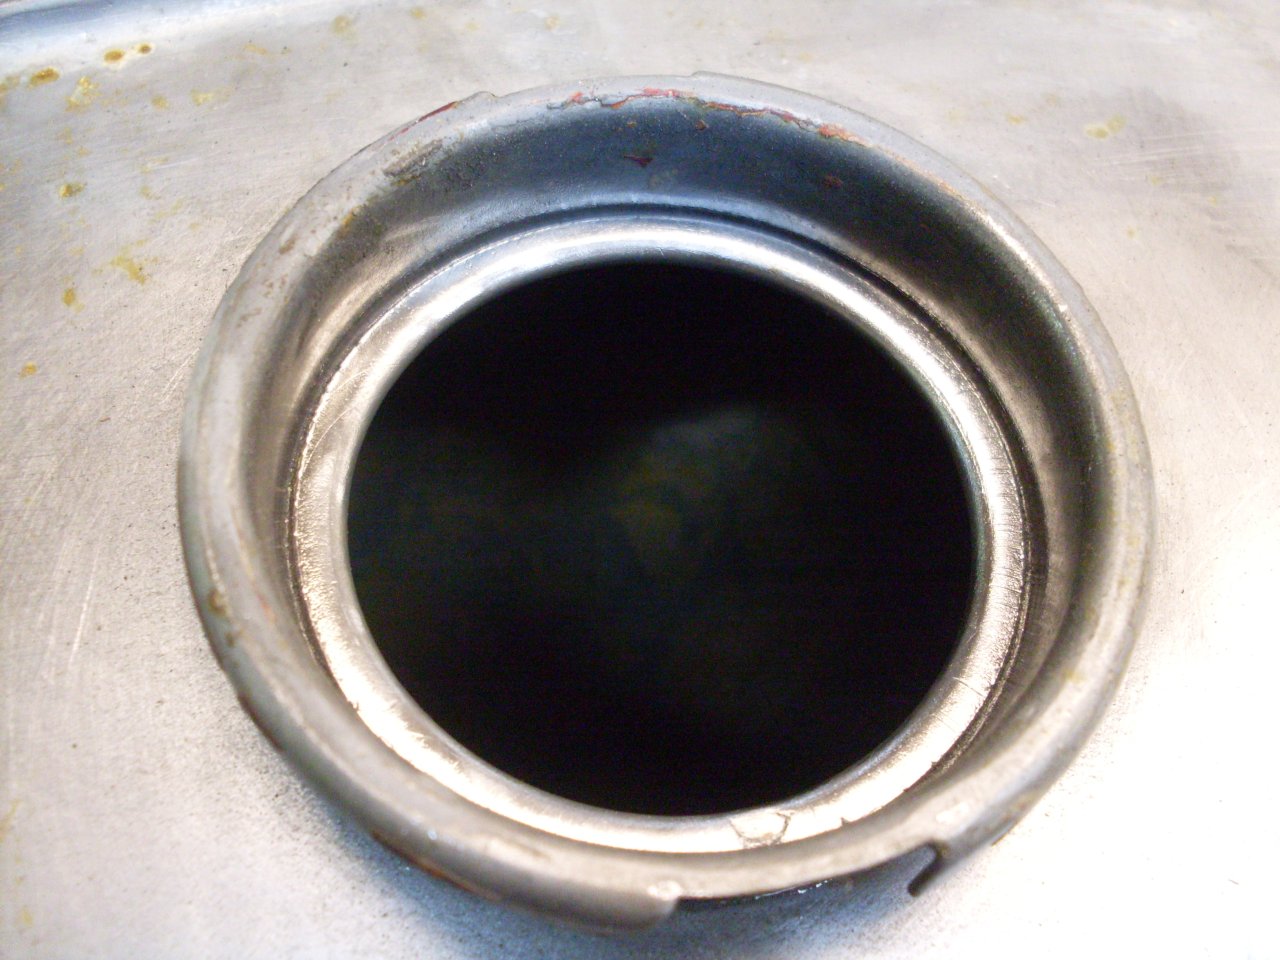
This clip shows what the
inside of the tank looked like after it dried:
2
Now
it is just rust to deal with. There are a lot of ways to
remove
rust from steel. One way is acids. Strong ones like
muriatic (hydrochloric), or weaker ones like phosphoric, acetic
(vinegar), citric, or oxalic. Hydrochloric isn't usually the
best
choice since it can attack the underlying steel, and it also leaves the
steel so bare that it will often immediately flash rust after the
treatment. The others have varying degrees of speed and
safety.
I like to use phosphoric. It is easy to get, not
too
expensive, relatively strong, not particularly toxic, and has the
advantage of leaving an insoluable coating of iron phosphate on the
steel that affords some limited protection against subsequent rusting.
Some soft drinks have phosphoric acid as an ingredient, and
this
has led some to use it for derusting. It probably does work,
if you're not in a hurry.
There
are also non-acidic rust removers that use complex organic molecules
called chelates that can grab and encapsulate certain metal
ions,
like the iron in rust. These tend to be non toxic and
environmentally benign. Molasses is a very old rust remover.
It probably works by chelation. Commercial tank
de-rust
products that brag about no acid or being biodegradable are probably
chelates.
Another
method is electrolytic rust removal. This process is a little
like reverse electroplating. It works well, and there are
some
who have tried it for the interior of tanks. The main
difficulty
with tanks, especially motorcycle tanks, is that an electrode(s) must
be inserted deep into the tank, ideally so that it has line-of-sight
visibility to every area needing derusting, all while guaranteeing that
the electrodes(s) doesn't touch the tank.
There
is also pure mechanical rust removal using abrasives. For the
inside of a tank that you can't crawl into, this would usually mean
some kind of tumbling or vibratory action using a loose abrasive media
inside.
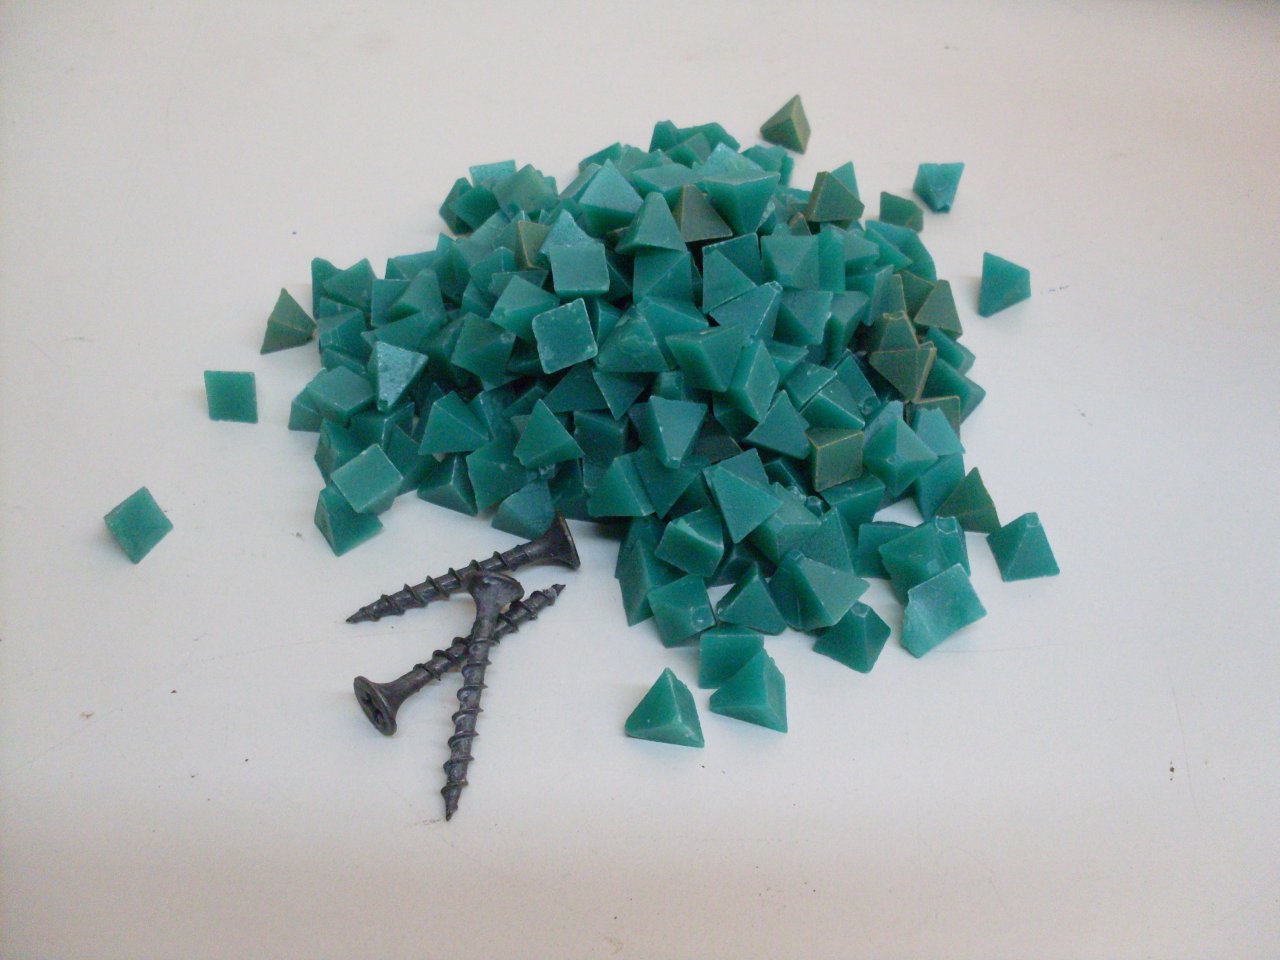
So
I made up maybe a gallon of phosphoric acid solution and put it in the
tank. I decided to add a little abrasive action to speed up
the
process. I've used gravel (like on my
oil
tank).
Small drywall screws or other metal hardware is also popluar.
On this tank, I used a couple of pounds of a media made for
the
purpose. It is little abrasive-loaded plastic tetrahedrons.
After
maybe 30 minutes with acid and agitation, the tank still had a little
rust on the bottom in the rear of the tank, so I repeated the
phosphoric process. I
emptied the acid and media from the tank, rinsed it several times with water, and
then rinsed with alcohol to scavenge the leftover water and get it to
dry quicker.
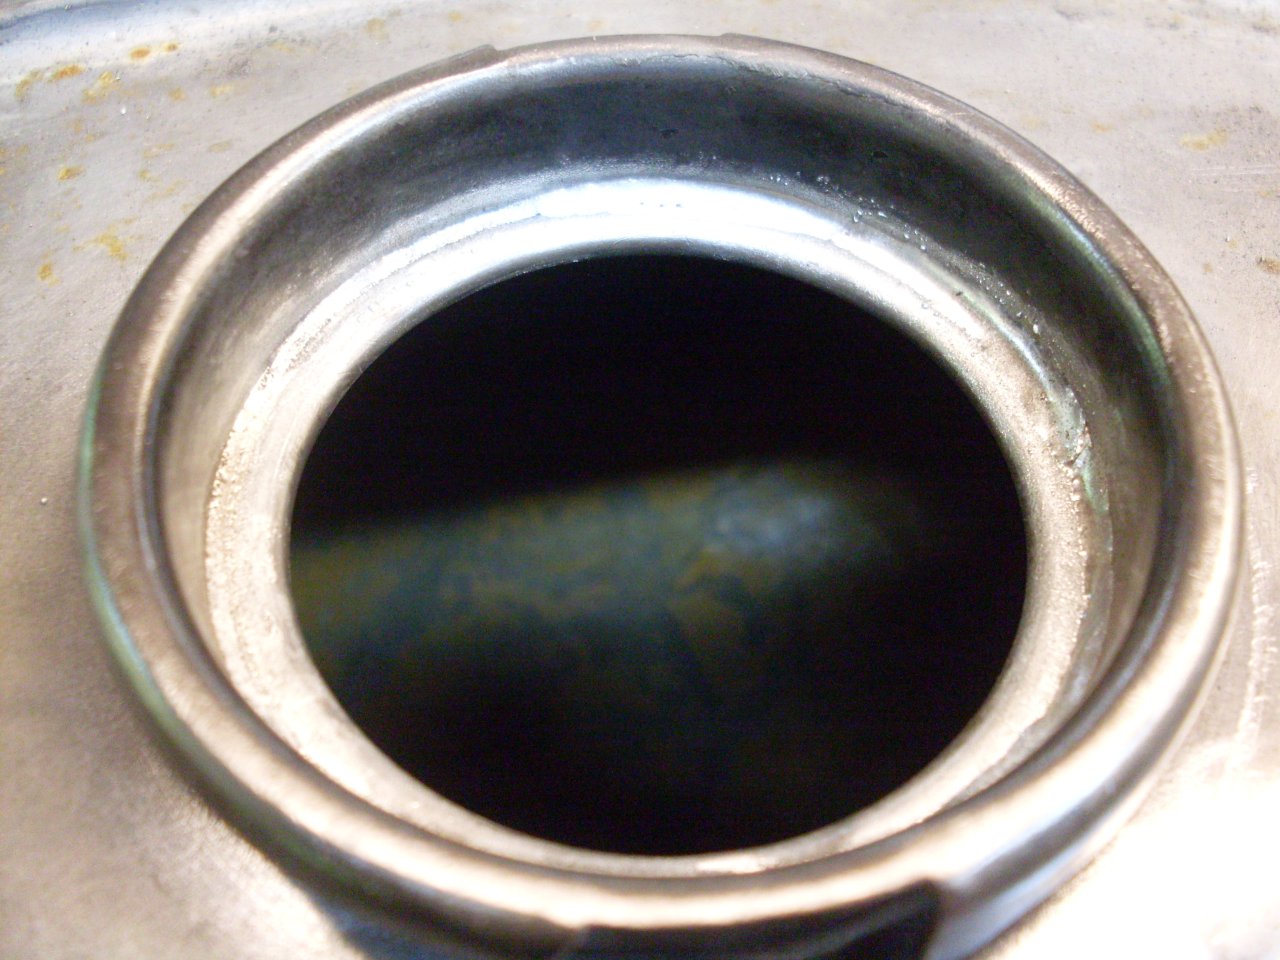
Here
is the inside after the rust removal. There is a
brownish/yellowish mottled appearance to the inside surfaces due to the
deposit of iron phosphate. (Sorry about that
cursor in the middle of the frame. I'm new to video capture.)
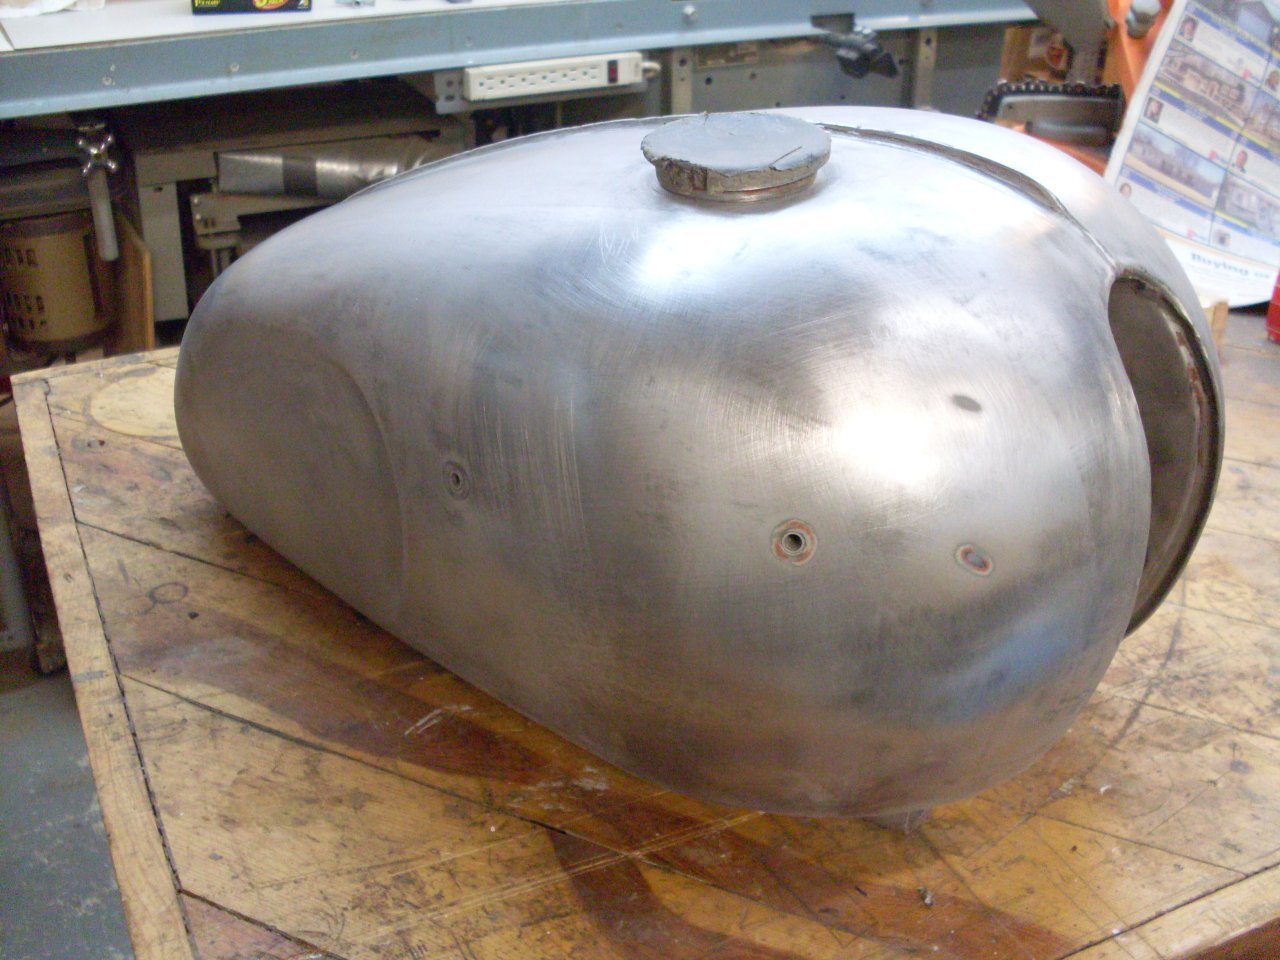
Now
that I knew I could clean up the inside of the tank, at least visually,
I turned to the outside. I have a small blast cabinet, but the
tank just about fills it up, leaving little room to maneuver the gun.
For most of the tank, I used a chemical stripper to remove most
of the paint, then sanded it.
For some of the hard to reach places, I made the blast cabinet work:
At
this point, many people would automatically apply some sort of tank
sealer to the inside of the tank. While I understand their
motivation, I believe that unless a tank is leaking, sealers are
unnecessary, and maybe even unwise. Sealing systems do sometimes
fail, possibly causing new and worse problems. Chemical sealing
systems have their place, but are better used as a last measure to save
an otherwise unusable tank. Even if a tank is leaking, there may
be better ways to fix it.
So
I needed to determine if my tank was fuel tight. I was fairly
certain that there had not been significant rust damage to the inside
of the tank, but leaks can come from other causes.
I
decided to do a leak-down test on the tank. This is a test where
the tank is pressurized and left to see how long it will hold the
pressure. I found a pipe plug of the right size to seal the
filler neck:
The
only other oriface in the tank is for the fuel petcock. To
eliminate as many external sources of leaks as possible, I decided not
to use the petcock, but use a simple hose barb adaptor instead.
This turned out to be a little more complicated than it appeared.
What appears to be a 1/4" NPT pipe thread in the bung hole is
not. The thread pitch is 19 instead of the NPT 18. There
wasn't even a 19 TPI leaf in my pretty complete thread gage set
(determined 19 TPI by using the 38 TPI gage). Turns out (seems
obvious once you know) that it is British Standard Pipe (BSP) thead.
Possibly if I lived in Europe, this would not have been a mystery
at all.
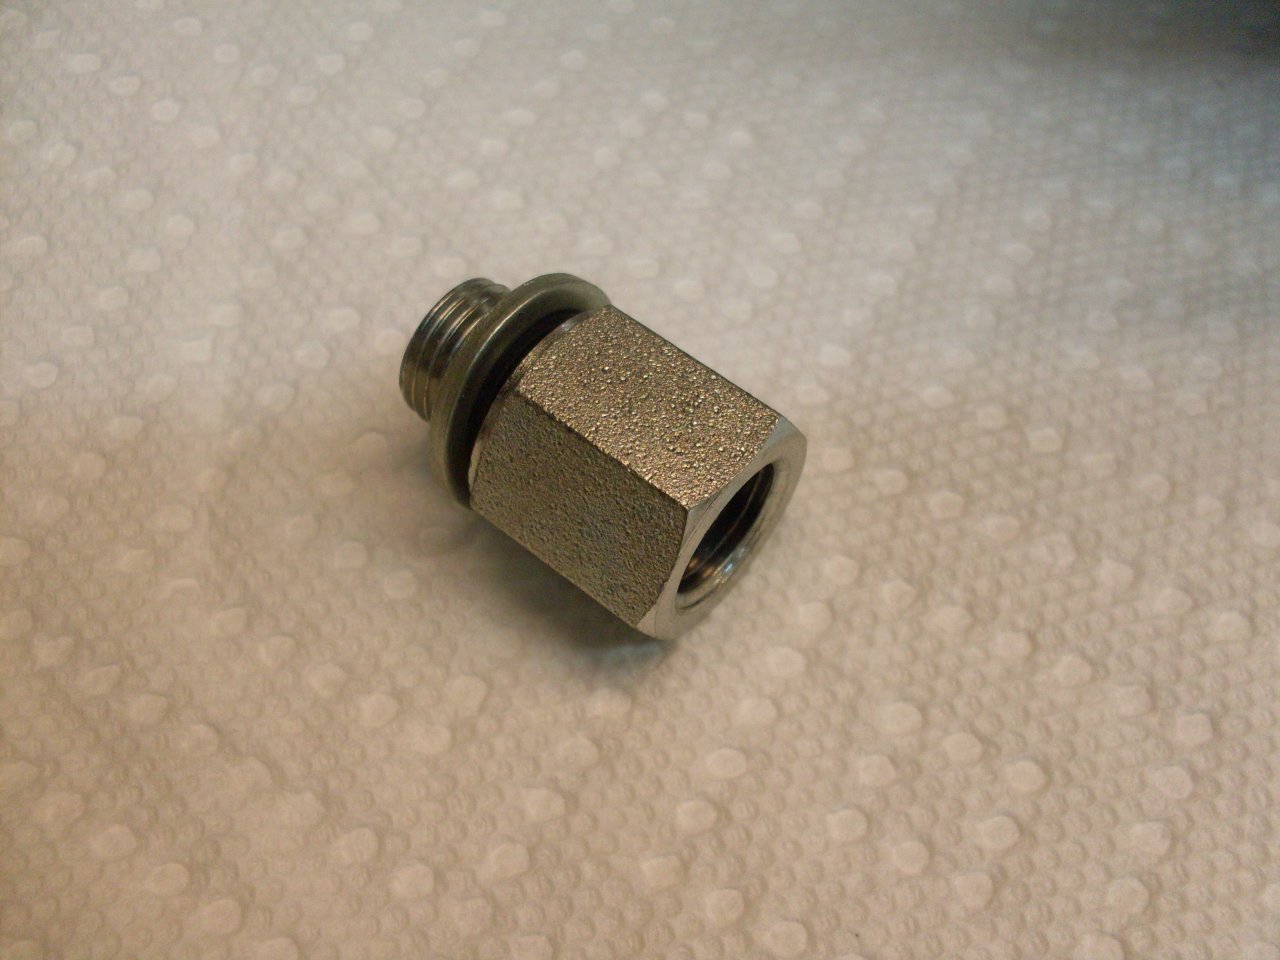
I
found a 1/4" BSP-to-1/4" NPT adaptor. Since it is a BSP straight
(non-tatered) theread, there is a sealing washer included:
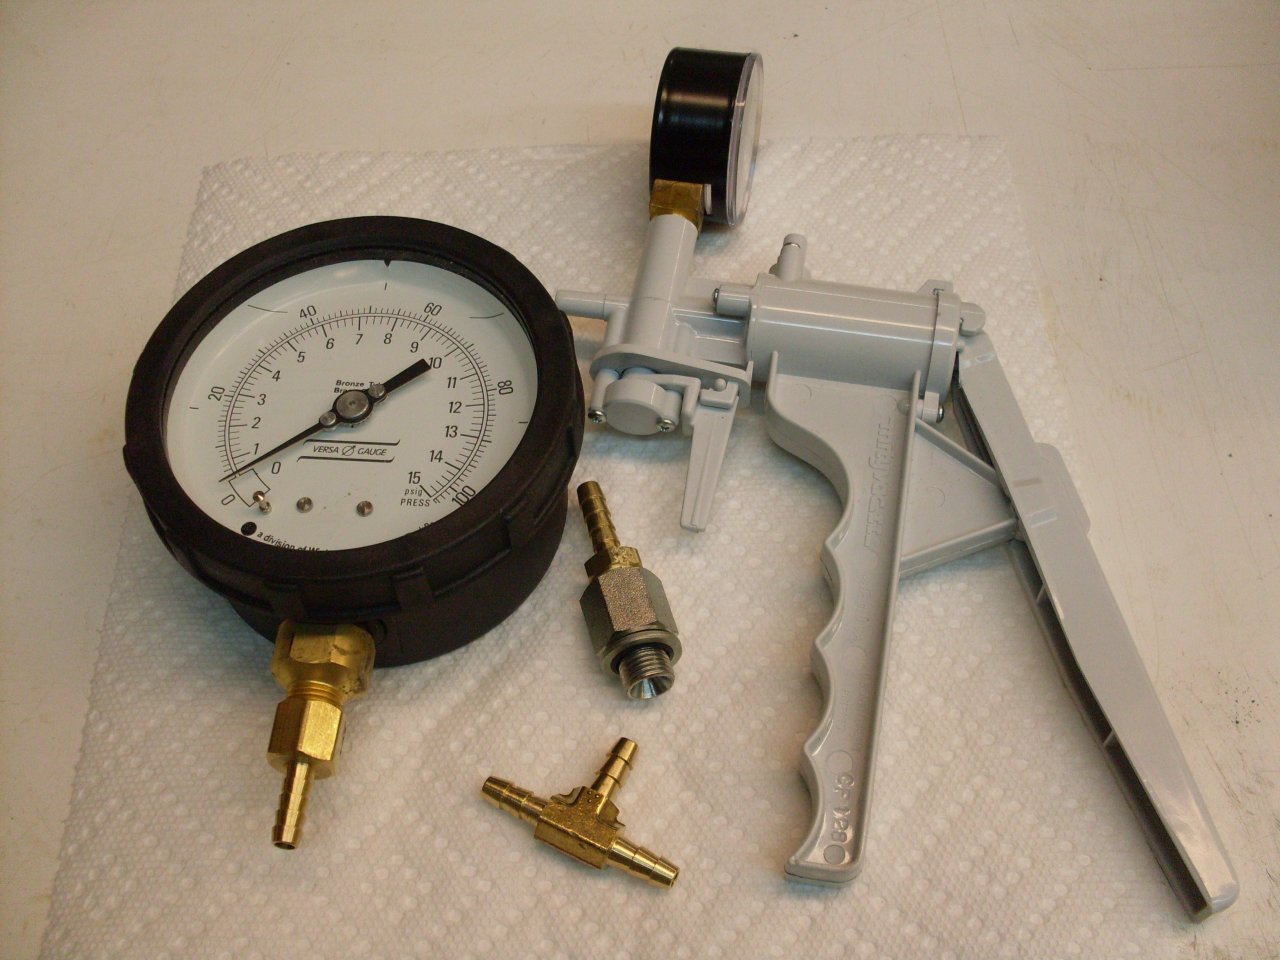
The
pressurization setup consisted of a "MityVac" hand pump (normally used
for vacuum, but there is a port on the pressure side), a pressure gage,
and assorted tubing and fittings:
It
doesn't take much pressure. In fact, it could be destructive or
dangerous to use more than a few PSI in a tank not designed for it.
I pumped up the system to 1 PSI. At this low reading, my
gage is not very accurate, but I'm really only interested in whether
the tank can hold pressure over time or not.
The
pressure in the system decayed to virtually nothing over an hour or so,
indicating a leak somewhere.
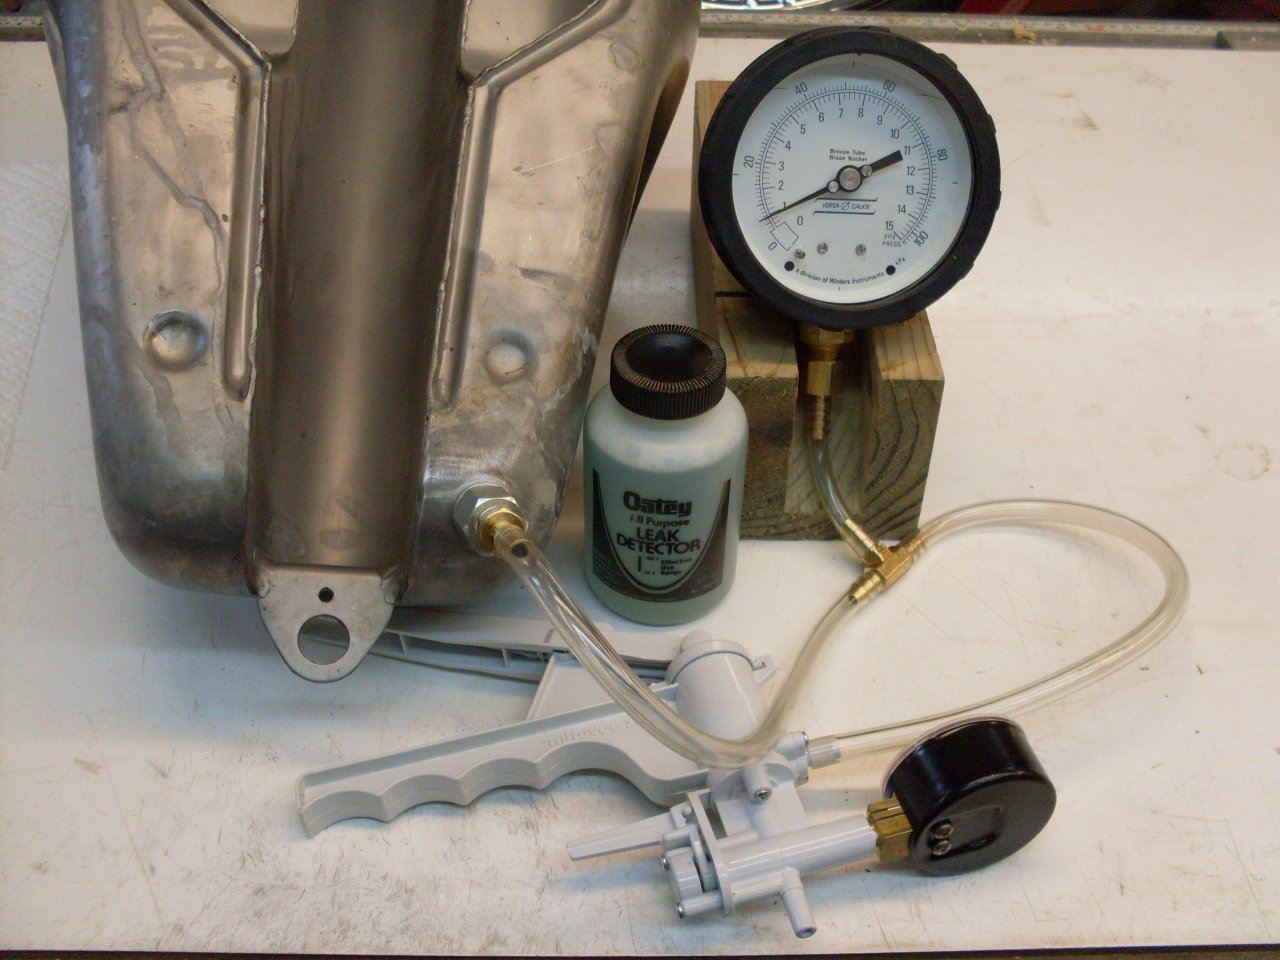
To
find a leak, one common method is to dunk the pressureized assembly in
a water tank and look for bubbles. I've done it this way before,
and find it messy and cumbersome, especially if the gage and pump are
still attached. I opted for what I think is an easier method.
Using a solution made for the
purpose (probably just soapy water), I swabbed all the joints in the
tubing watching for bubbles, and found nothing. The bung hole and filler neck fittings
appeared tight. Next I swabbed the detector solution along all
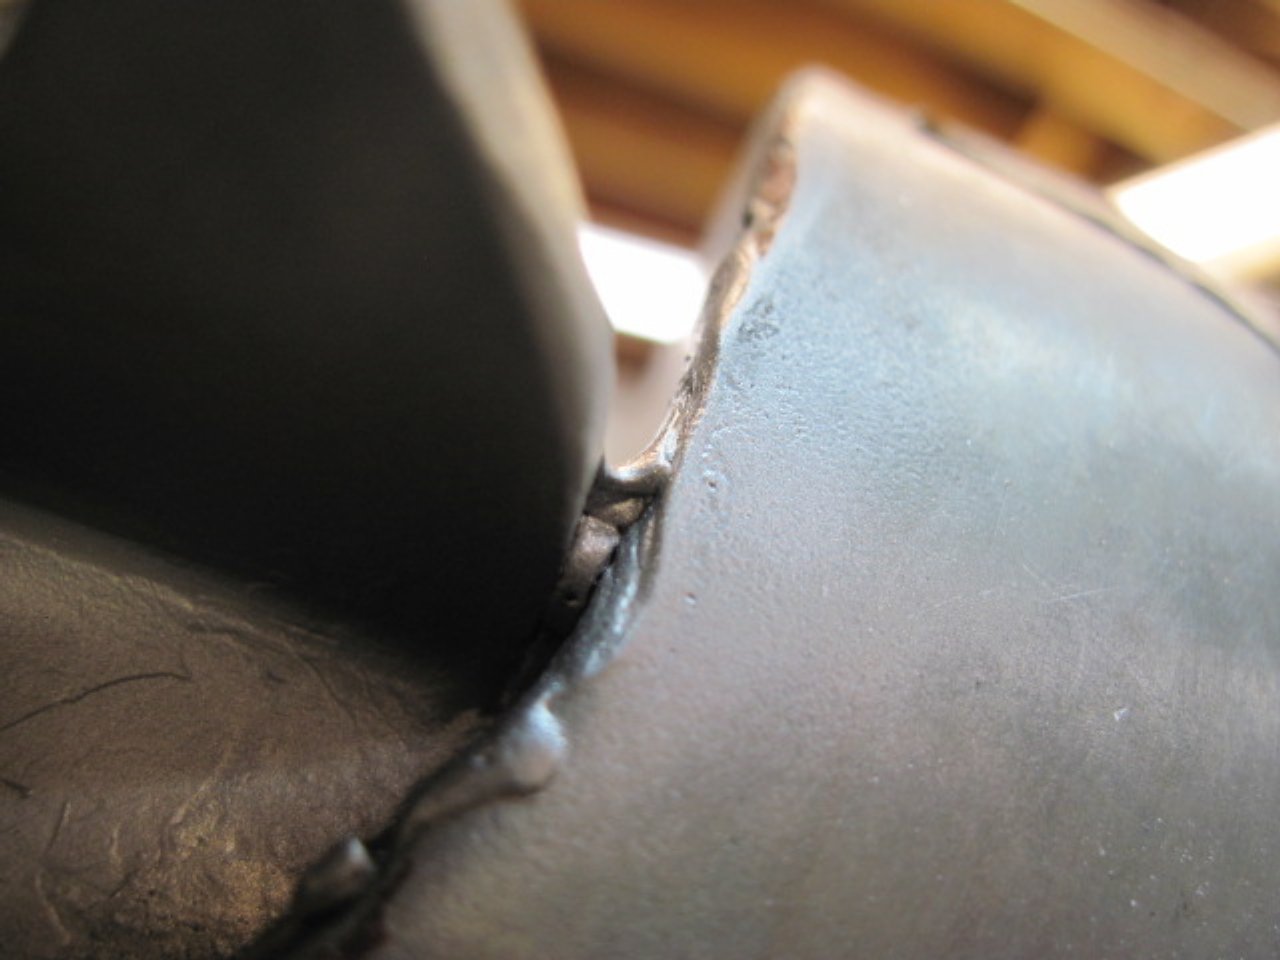
the welds on the tank. The all appeared tight until...
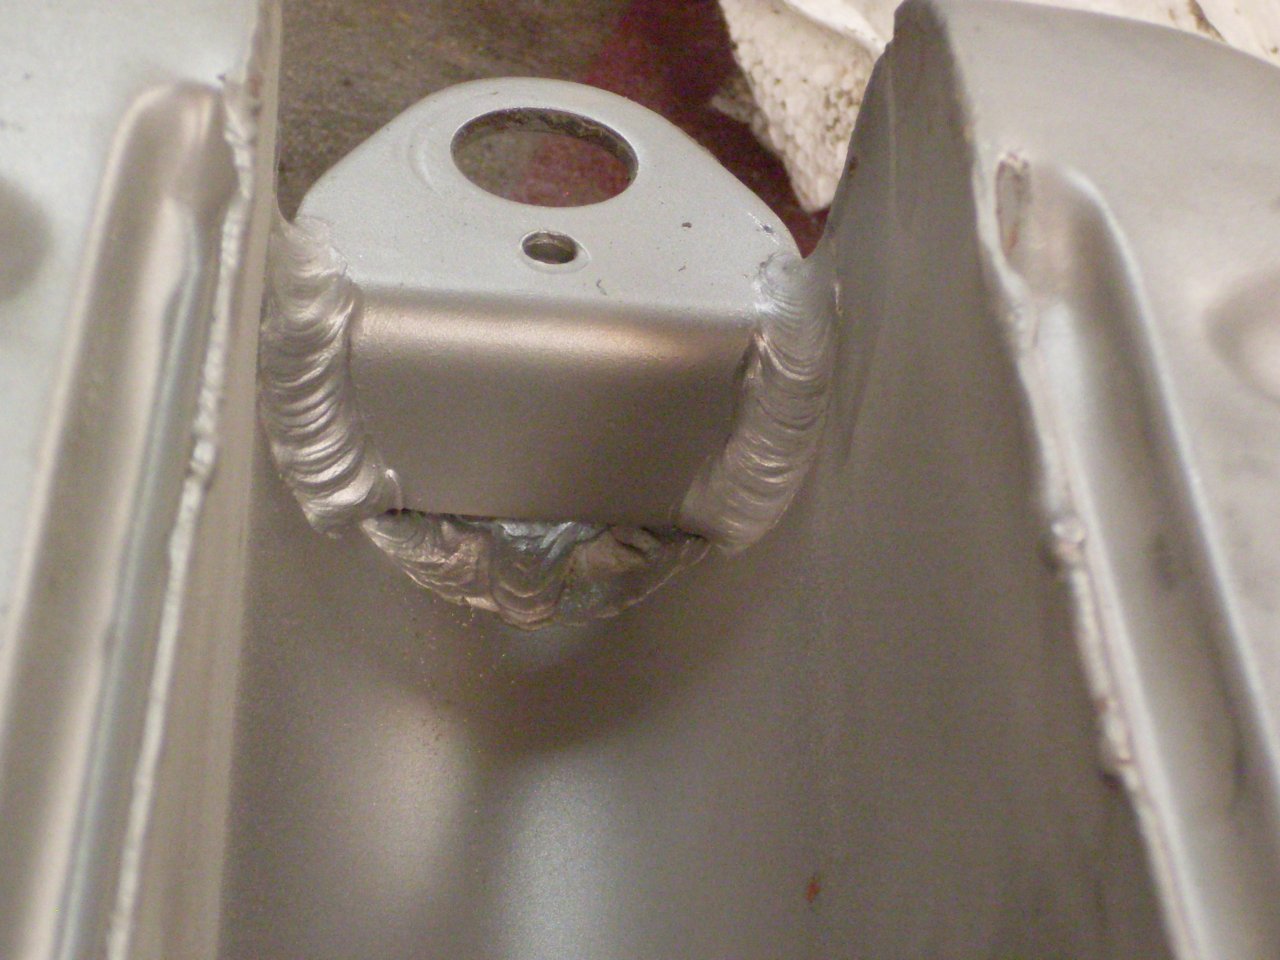
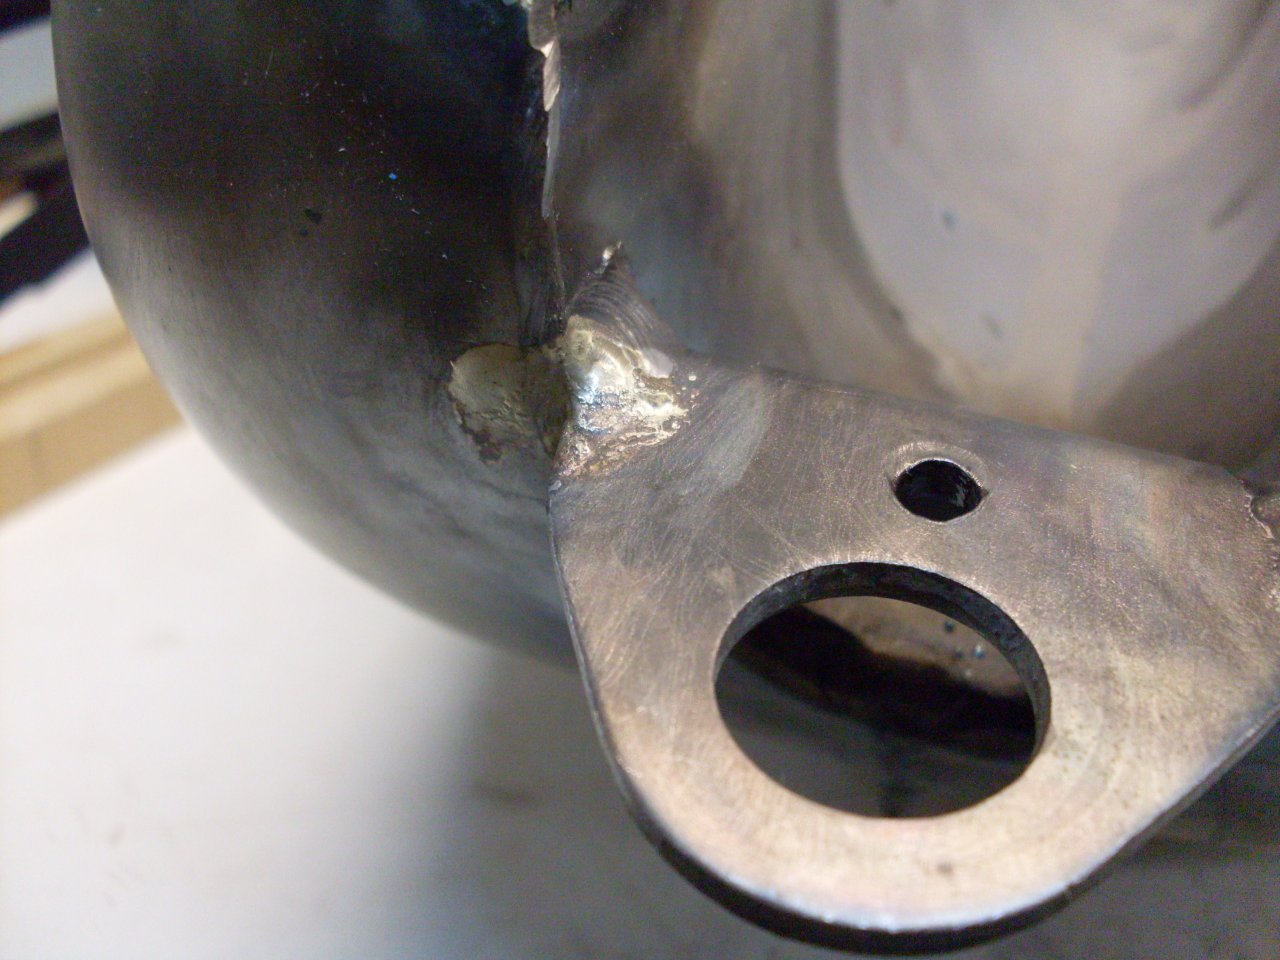
Right where the rear mounting bracket was joined to the tank on its left side, there was an obvious leak.
The
leak was where the rear mounting tab was welded to the tank. It
looked like an incompete weld, or a weld may have pulled loose or
cracked. This would likely be a high stress area, and it's
possible that the years of vibration eventually fatigued the joint.
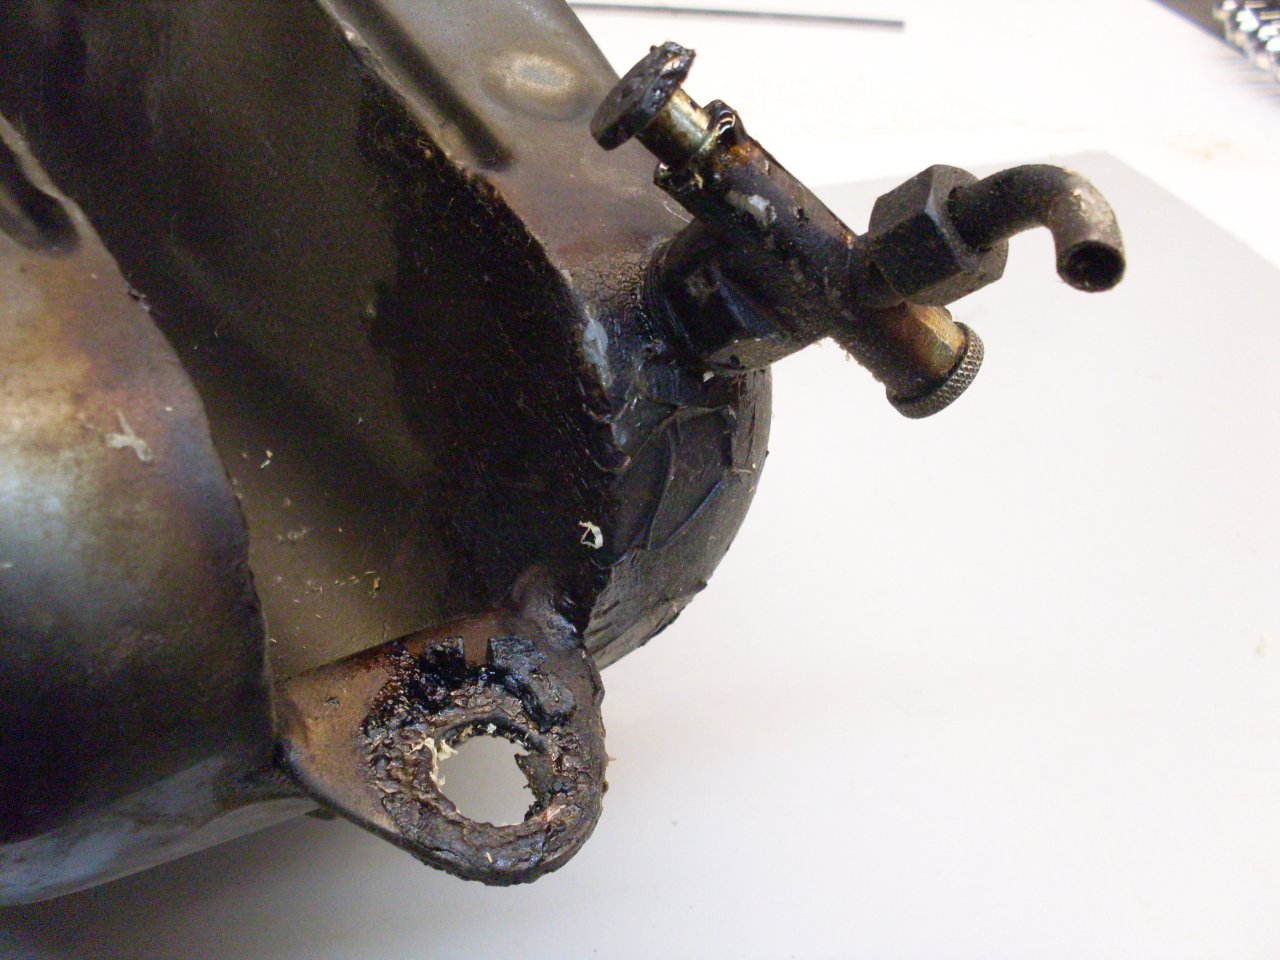
Looking back at the picture of the area around the petcock
(fourth picture at top), it appears that the leaking was not all from
the petcock. The crack was small--in fact when I started probing
it
with a sharp tool to clean it out, it stopped leaking. I probably
shoved some metal or crud into the crack and sealed it.
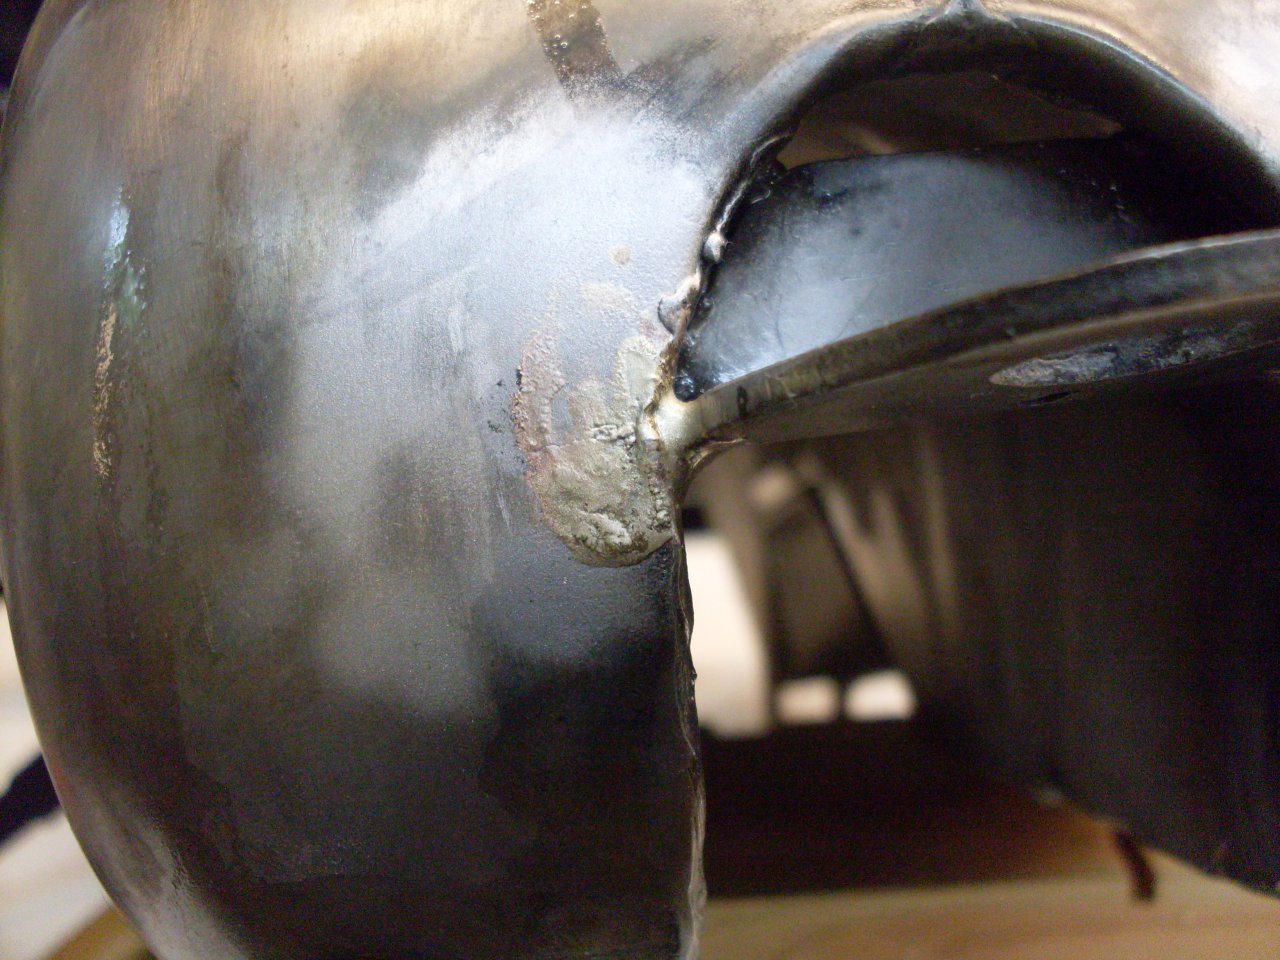
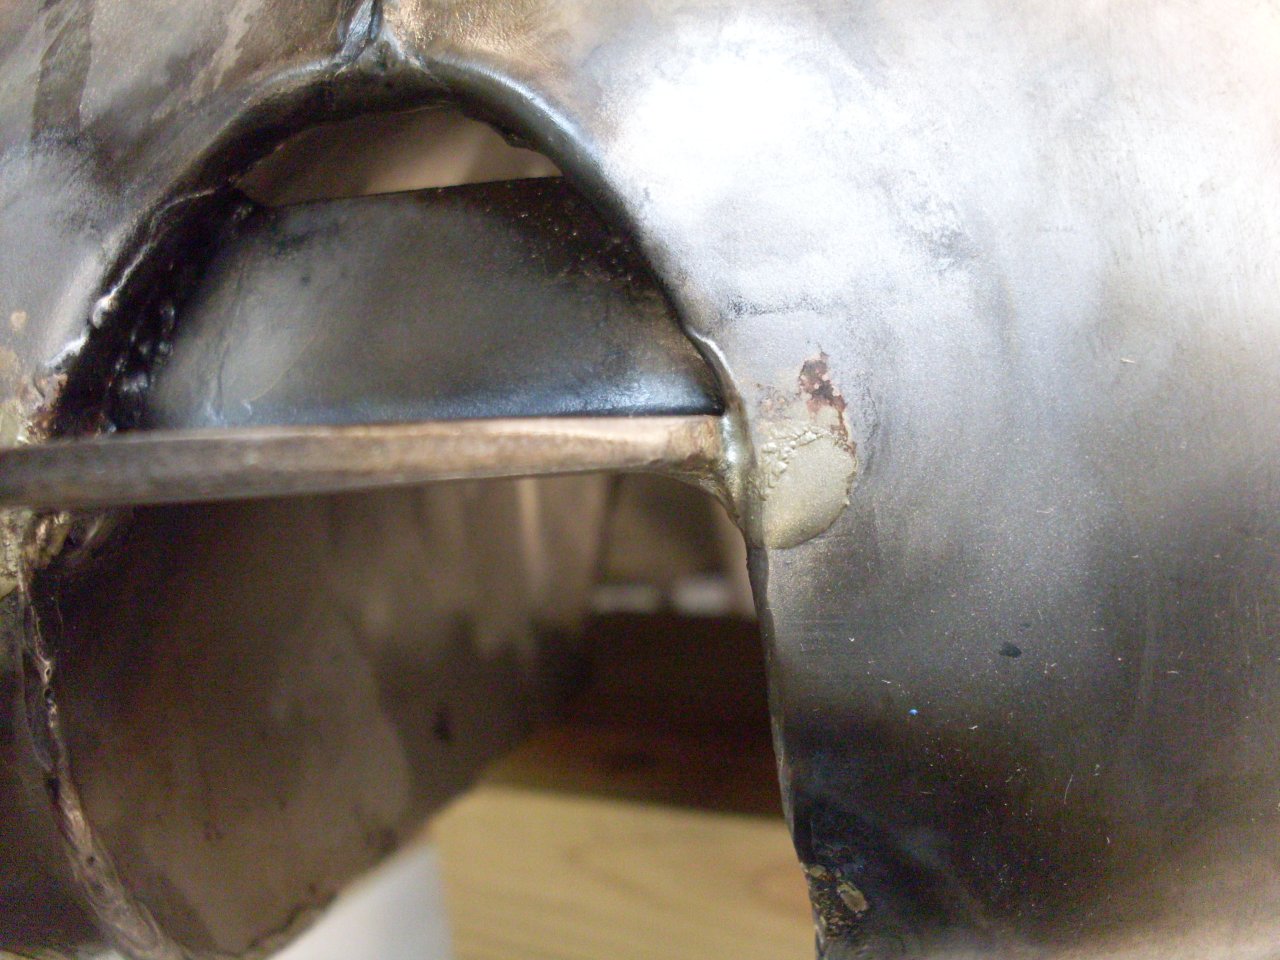
Nonetheless, I would have to fix it. Ignoring it would put
any new paint at risk.
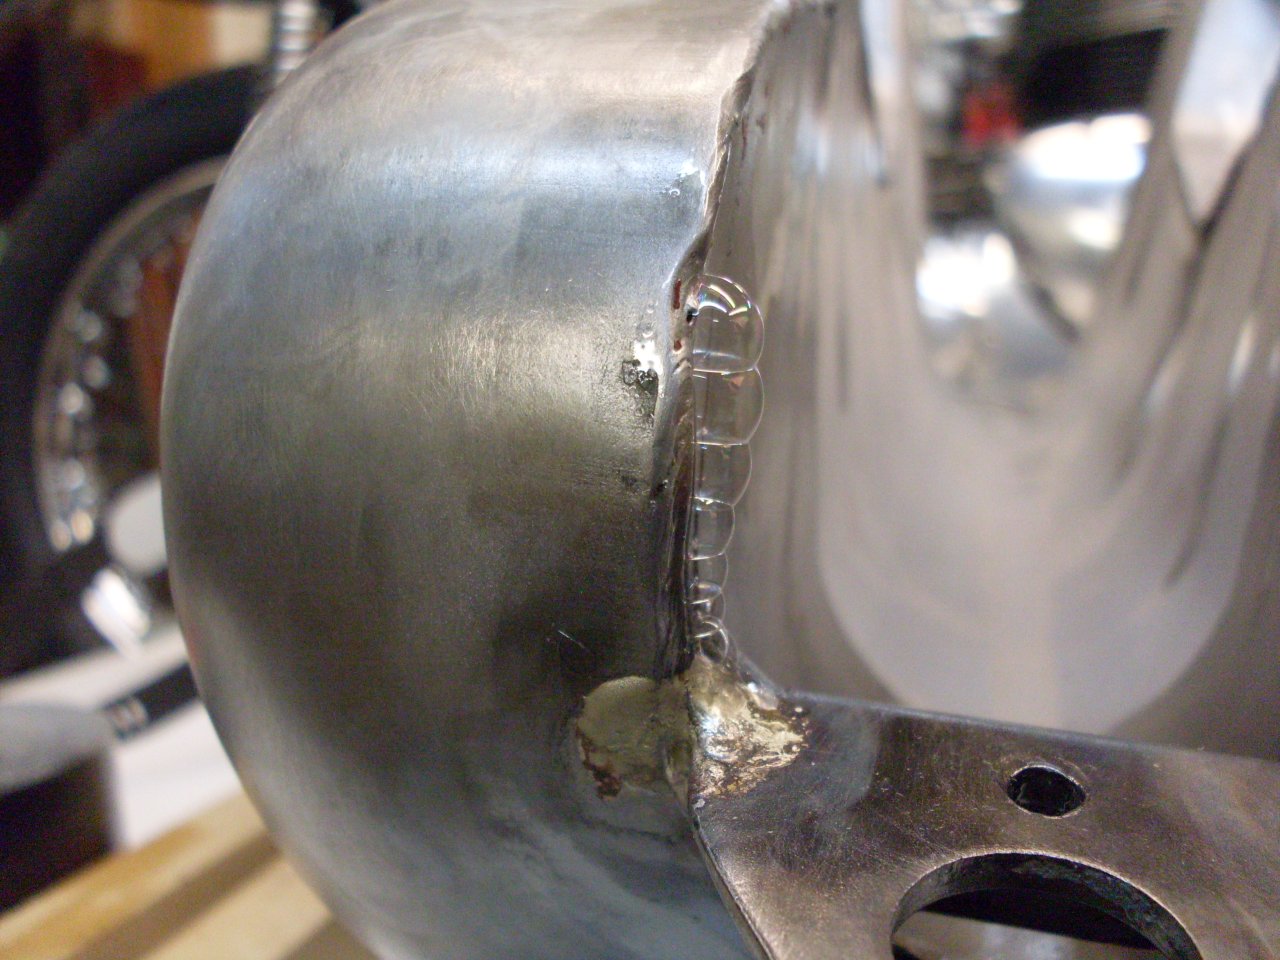
I decided to braze the area where the mounting tab meets the tank. I did both sides.
One
more pressure leakdown test, and it looked like I still had a slow leak
somewhere. Using the leak detector solution, I found it on the
weld seam near the previous leak. I'm pretty sure this leak
wasn't there before. Maybe the heat stress from the previous
repair caused it.
After I fixed that, the tank held pressure for over eight hours with no detectable loss. Time for final prep for paint!
July 4, 2011--
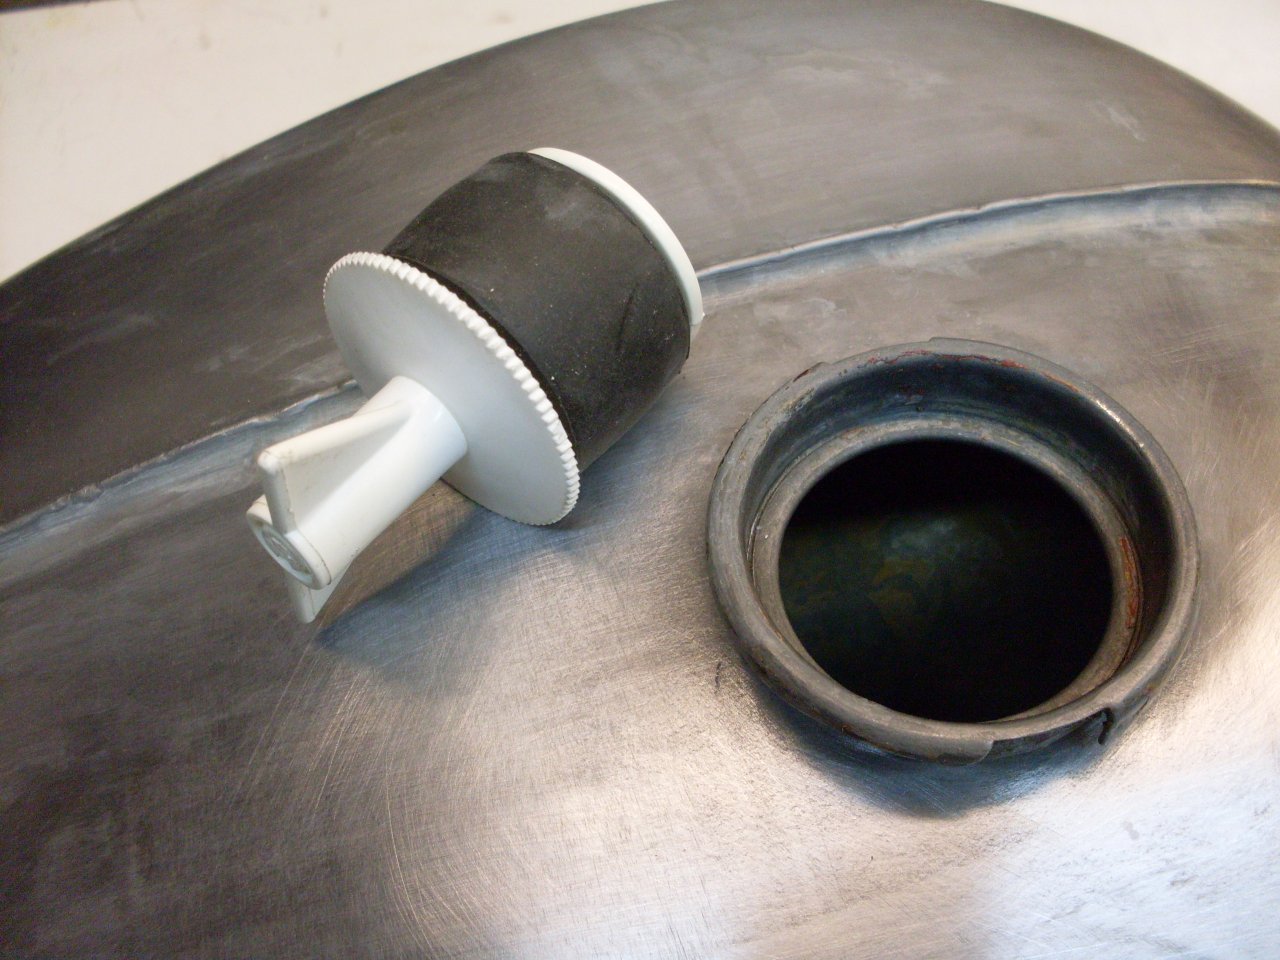
After
I posted the above, I got a couple of messages that I had overlooked
one potential source of leaks. The way I plugged the filler neck
with an expanding stopper put the filler neck joint outside the
pressurized area, so a leak at the neck would not have been detected.
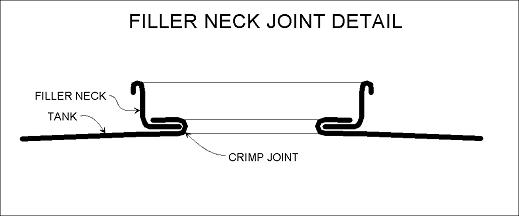
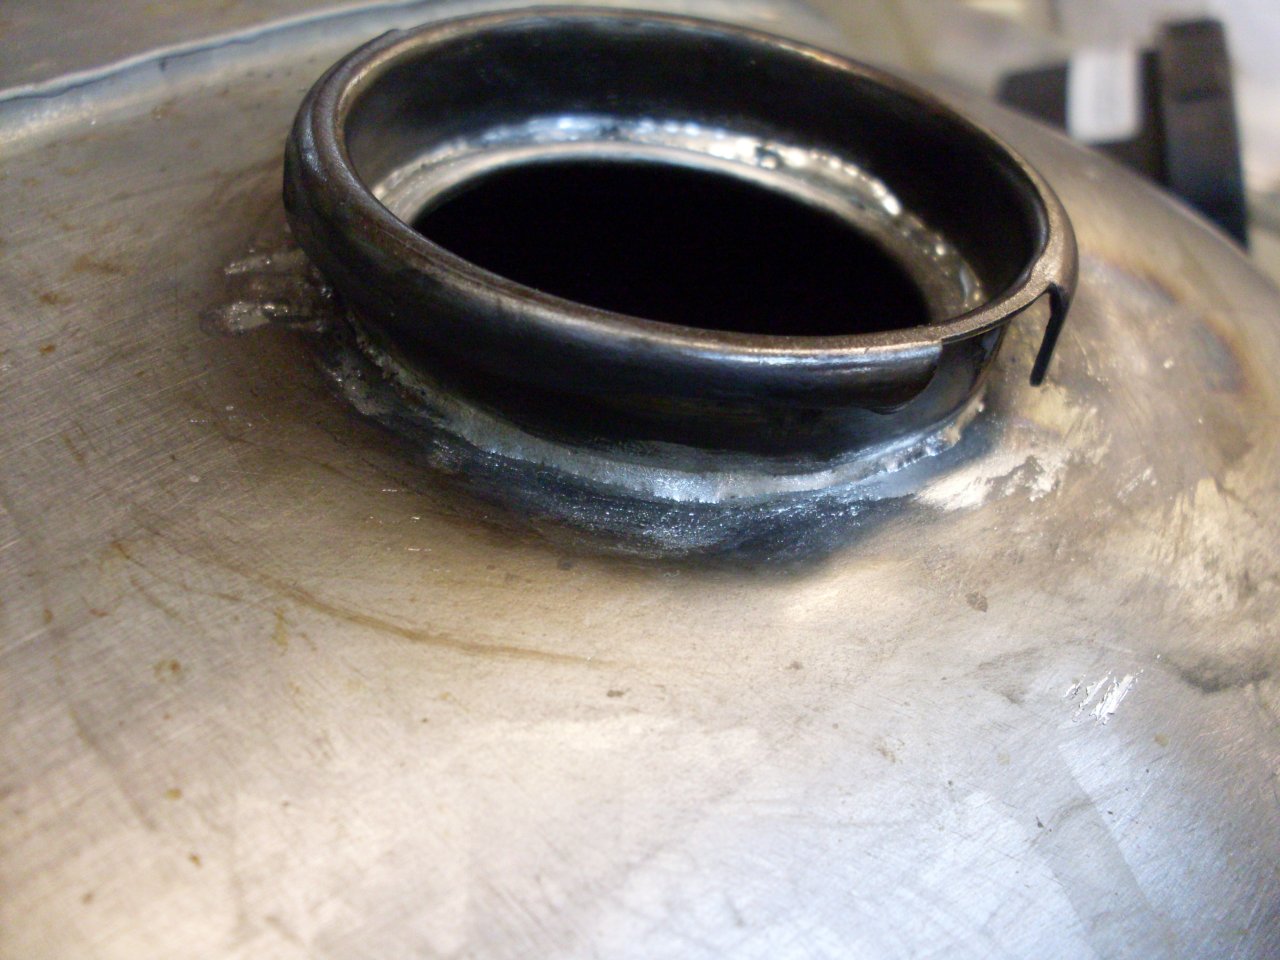
Of course, this is correct. Here is the construction of the
filler neck joint:
In
thinking of ways to repeat the pressure test, I decided that sealing
this joint would be a good idea whether it was leaking right now or
not. First, I cleaned up the accessible parts of the joint.
Then soldered it:
I had all the stuff out, so I soldered around the base of the neck, too:
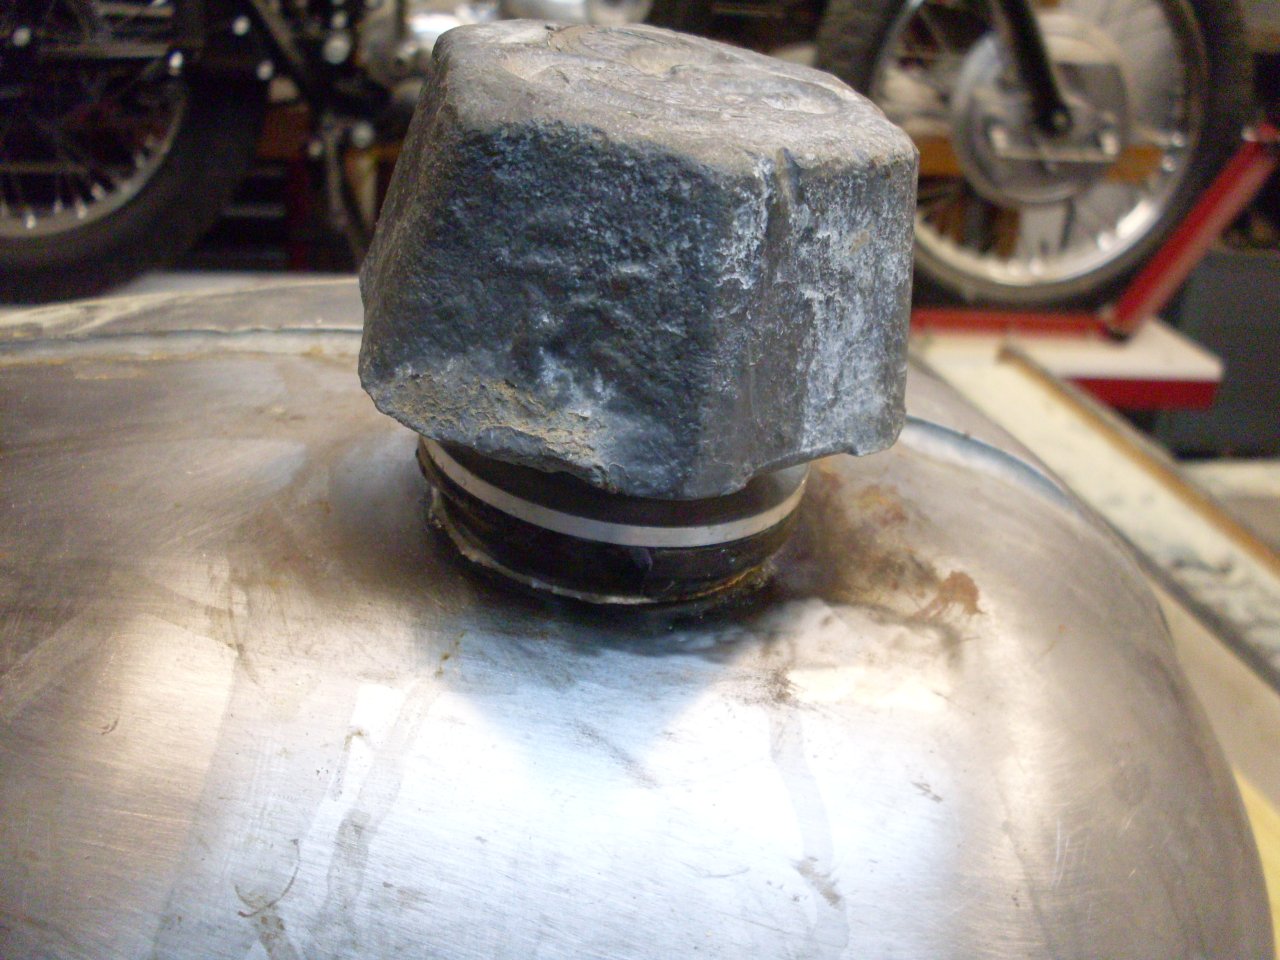
To
pressure test, I saw problems in just using a gas cap on the neck.
Even plugging the cap vent, the spring loaded cork washer didn't
seem positive enough, and besides, it would be hard to check for a
small leak around a gas cap. I ended up bonding a metal disk over
the top of the filler neck with RTV. The five-pound lead weight
balances the internal pressure to reduce the stress on the RTV joint.
The tank went over night with no detectable loss of pressure. Now I think I'm ready for prep and paint,