February 13, 2011
Tires
[Click pictures for a better view]
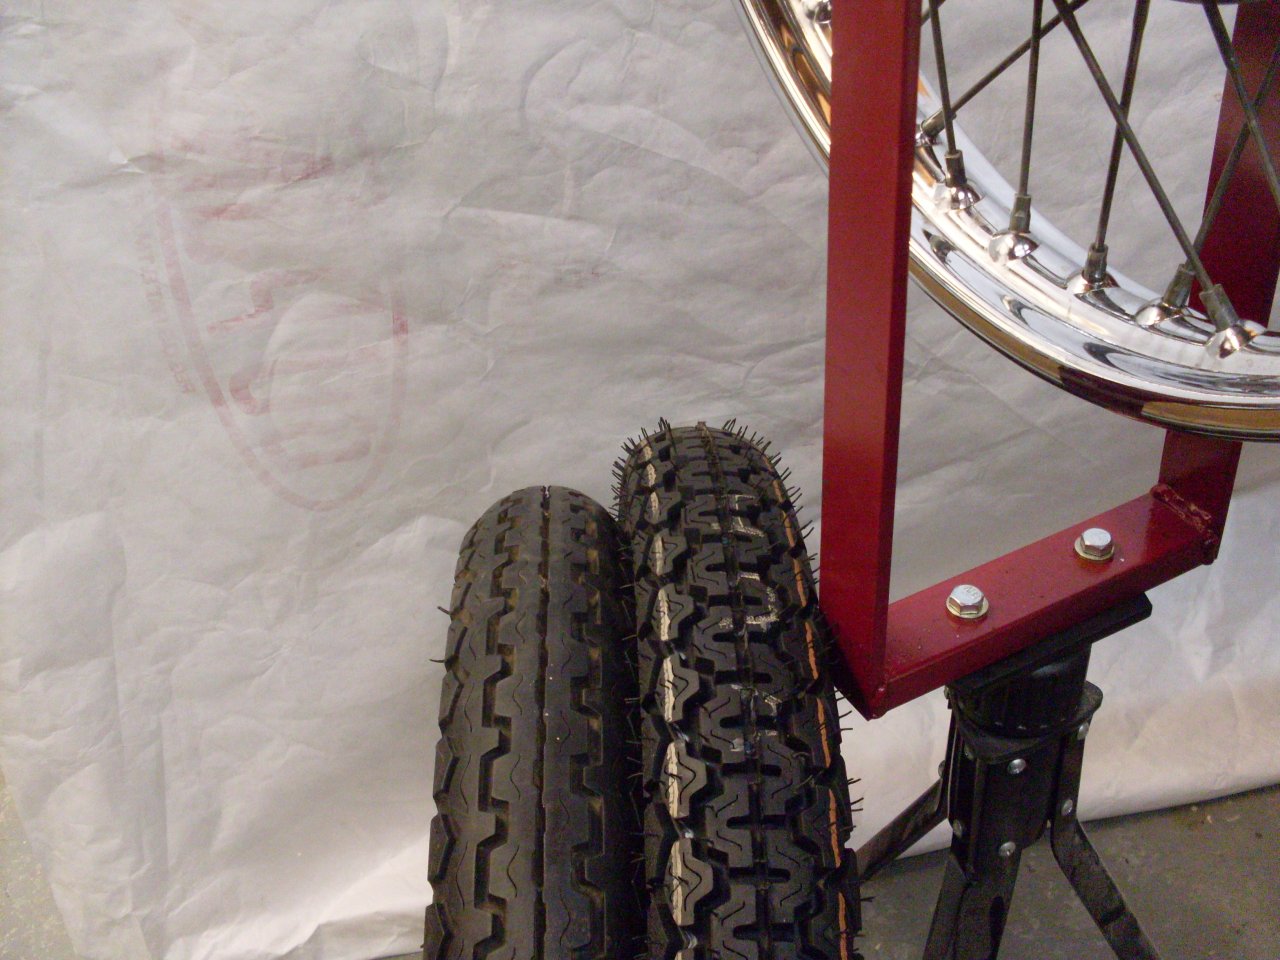
This
bike was supplied new with Dunlop K70 series tires. I'd replaced
them many years ago with K81 tires, and though they didn't have many
miles on them, and they had plenty of tread left, they were at least 30
years old and were noticably harder than new tires. It seemed
that traction could be a problem, especially in wet conditions.
I
found to my happy surprize that Dunlop still supplies the K70 tires,
apparently mostly for vintage bikes. Another happy surprize was
that they didn't cost as much as I feared. It looks like the K70
tires are a little higher in profile than the K81s. Also, the
K81s had markings on the sidewall indicating the correct direction of
rotation. The K70s apparently have no preference regarding which
way to spin.
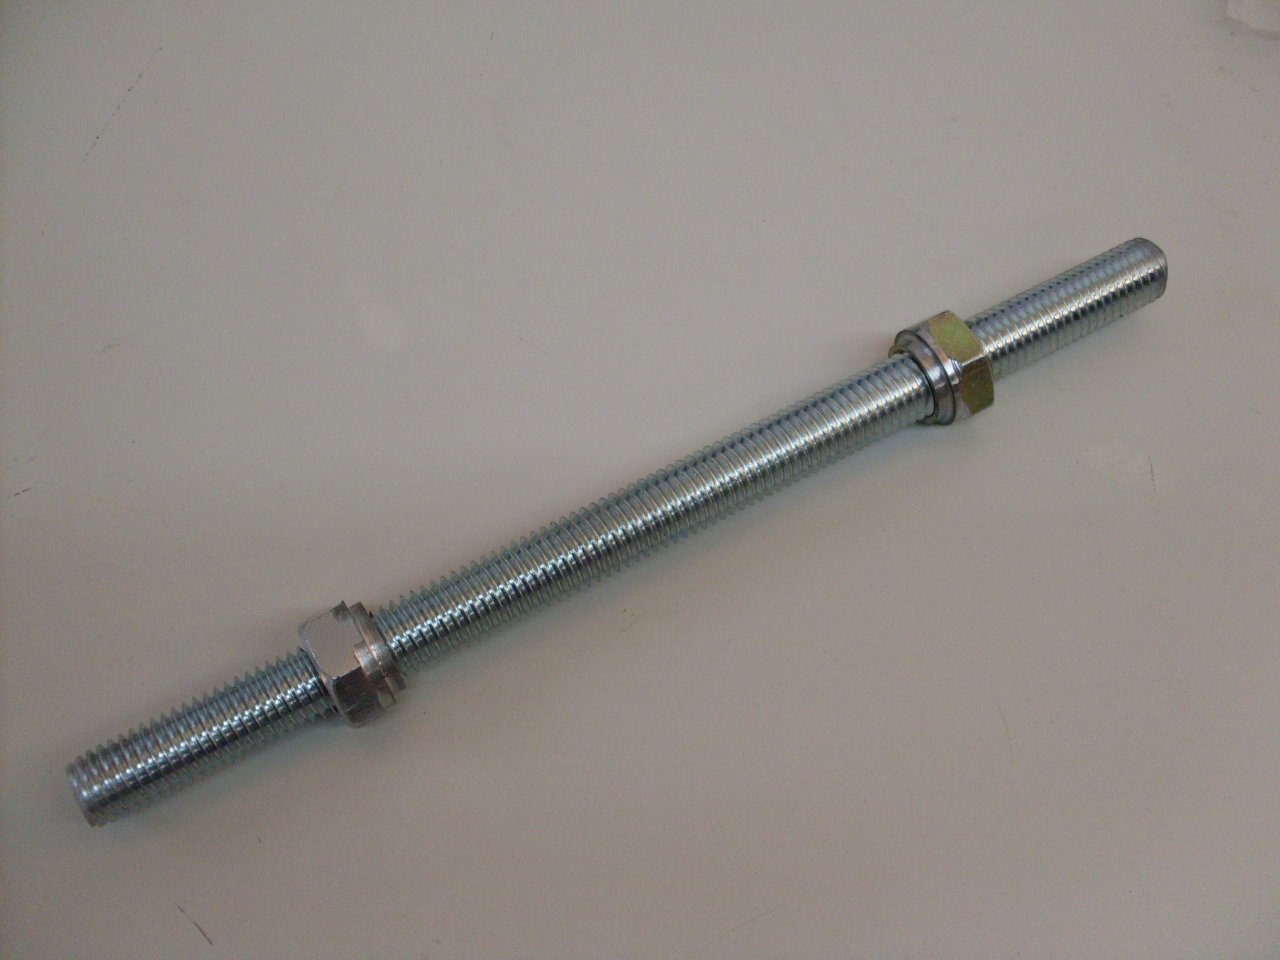
When I had the
tires off, I decided to also check the wheels for true running. I
made a temporary axle out of some threaded rod and some nuts with one
side turned to just fit in the inner race of the wheel bearings.
Also made a jig to hold the wheels while truing and balancing.
I was prepared to learn to lace the wheels, but both
wheels turned out to be pretty true--within 0.030 both in concentricity
and runout. I was a little disappointed, actually.


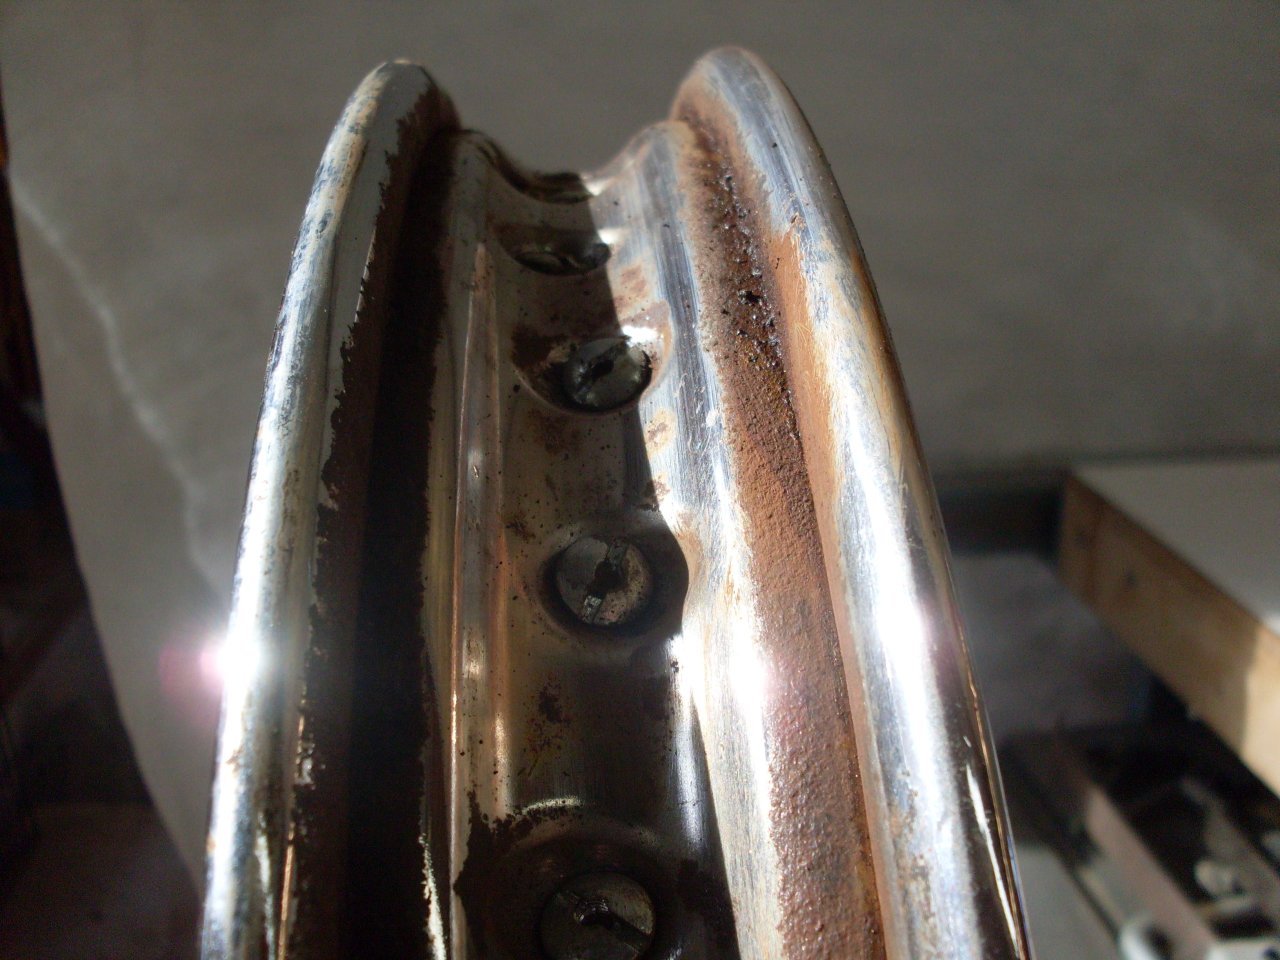
The
back rim was pretty clean inside, but the front one had some rust on
the tire contact areas. I wire brushed the rust off, and applied
two coats of a rust conversion coating.
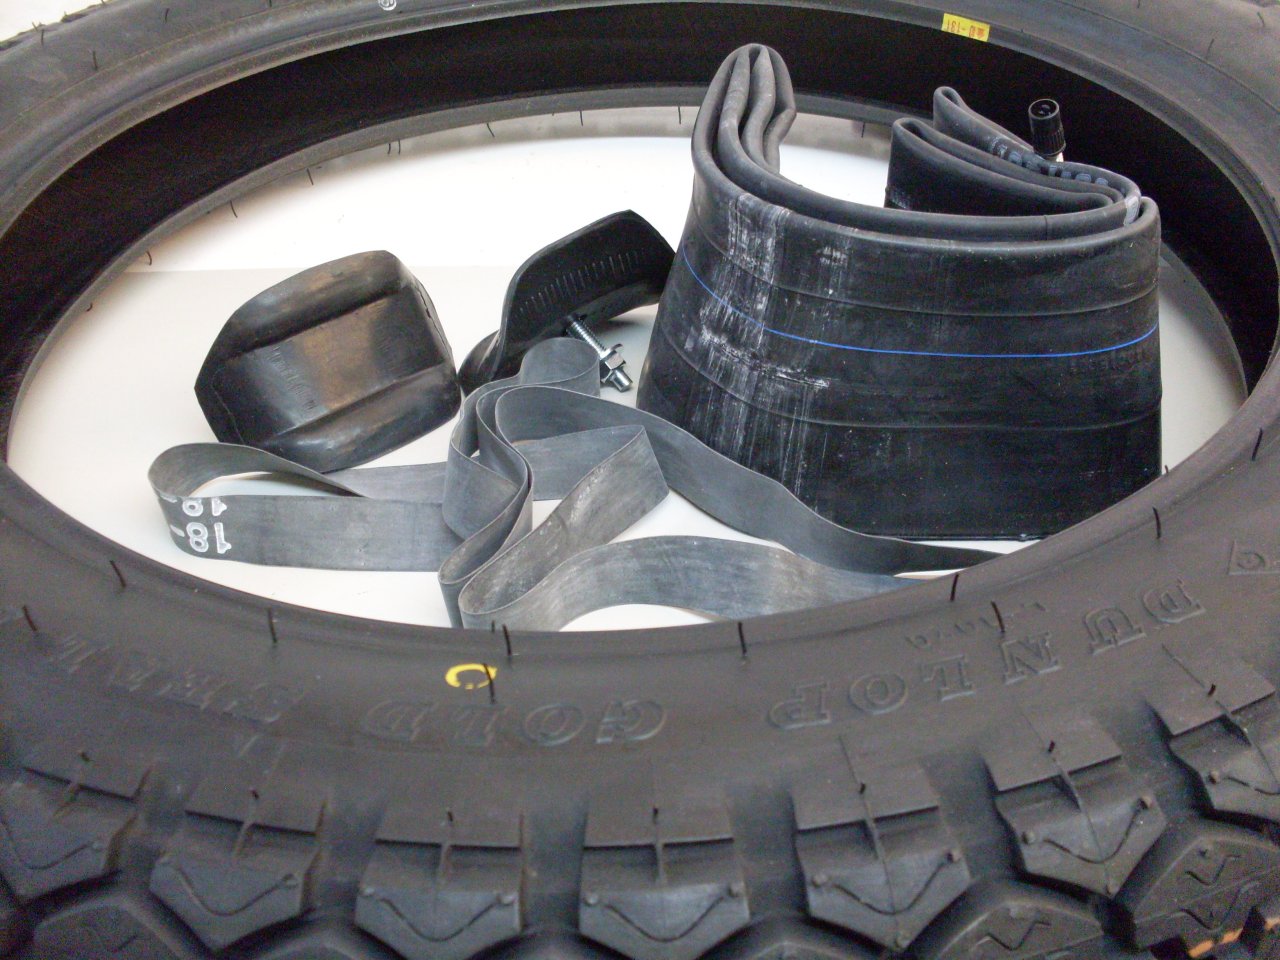
Here
is all the stuff that needs to go into the rear wheel. There is the inner tube, a
rubber rim strip that covers the spoke nipples so they won't chafe
the tube, and two "security bolts", sometimes called rim locks. These bolts clamp
the tire to the wheel so that on hard acceleration, the tire can't move
in relation to the wheel, possibly causing the tube to shift,
which would stress the valve stem. The front wheel does not have the security bolts.
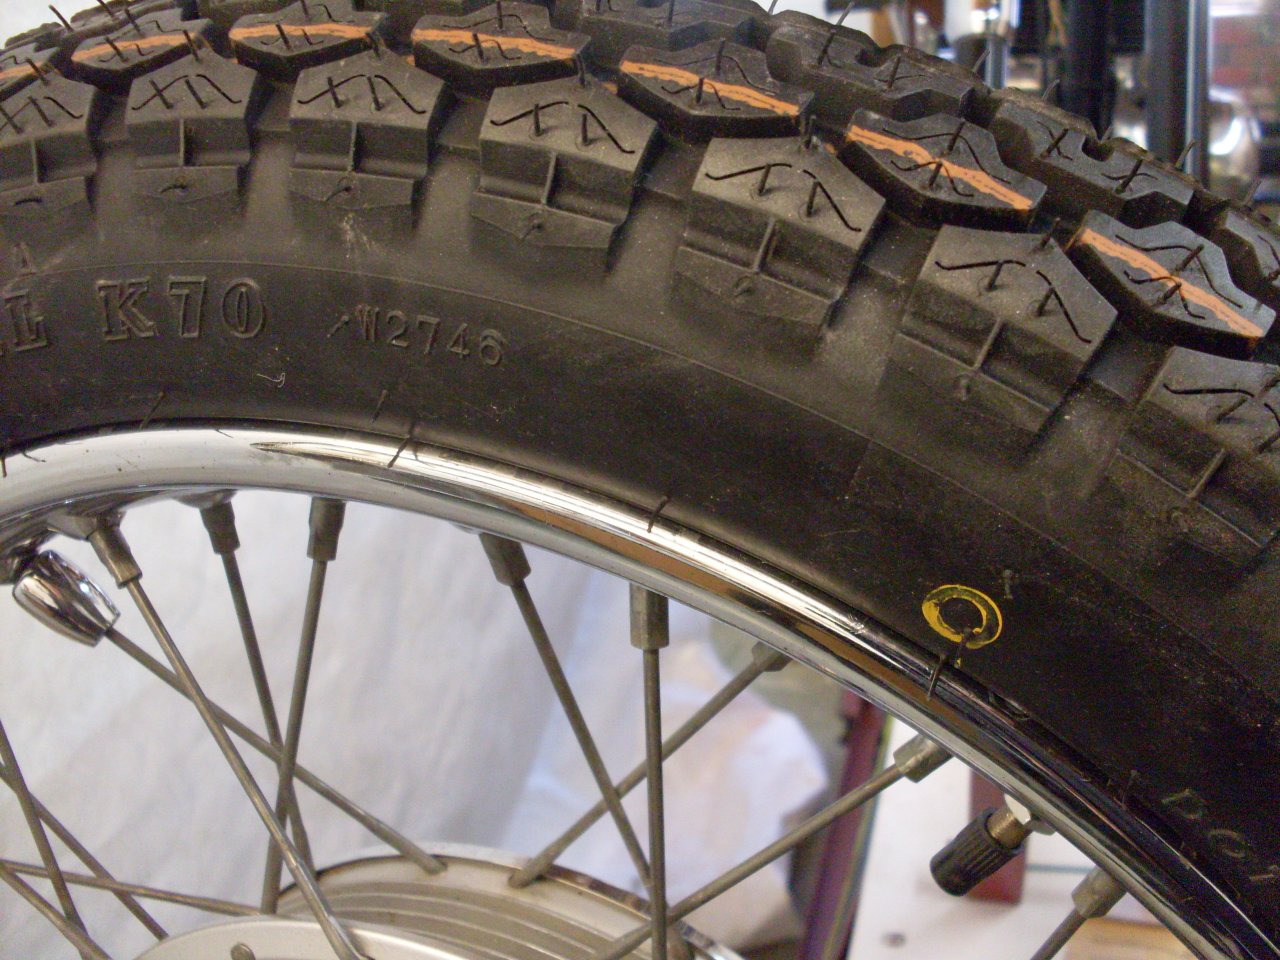
The yellow mark is put
on each tire by Dunlop to mark the lightest side. Since the only
known imbalance in the wheel is the valve stem, the yellow mark is
normally aligned with the stem.
This
was not the original rear wheel for this bike. The original was a
"QD" (Quick Detach, I think) type in which the sprocket and brake
drum was a single piece. I believe this was a difference between
the US models and the "UK and General Export" models. When I went
to replace the worn sprocket back
in the States in the late 70s, I couldn't find a QD part, so swapped my
rear wheel
for a used US style replacement. I was sad to find when I took
the tire off that some past genius mechanic had used security
bolts for a much narrower wheel. They not only didn't clamp
properly, but got deformed by the tire bead.
After
the wheels were cleaned up and checked for true, I started to assemble
them. It is common to rub talc on the inner tube so it will
inflate smoothly and not get twisted or bind. Some baby powder today is
actually corn starch. I don't know if it works as well on tubes,
but actual talc can still be found. There apparently exists
actual "tire talc".

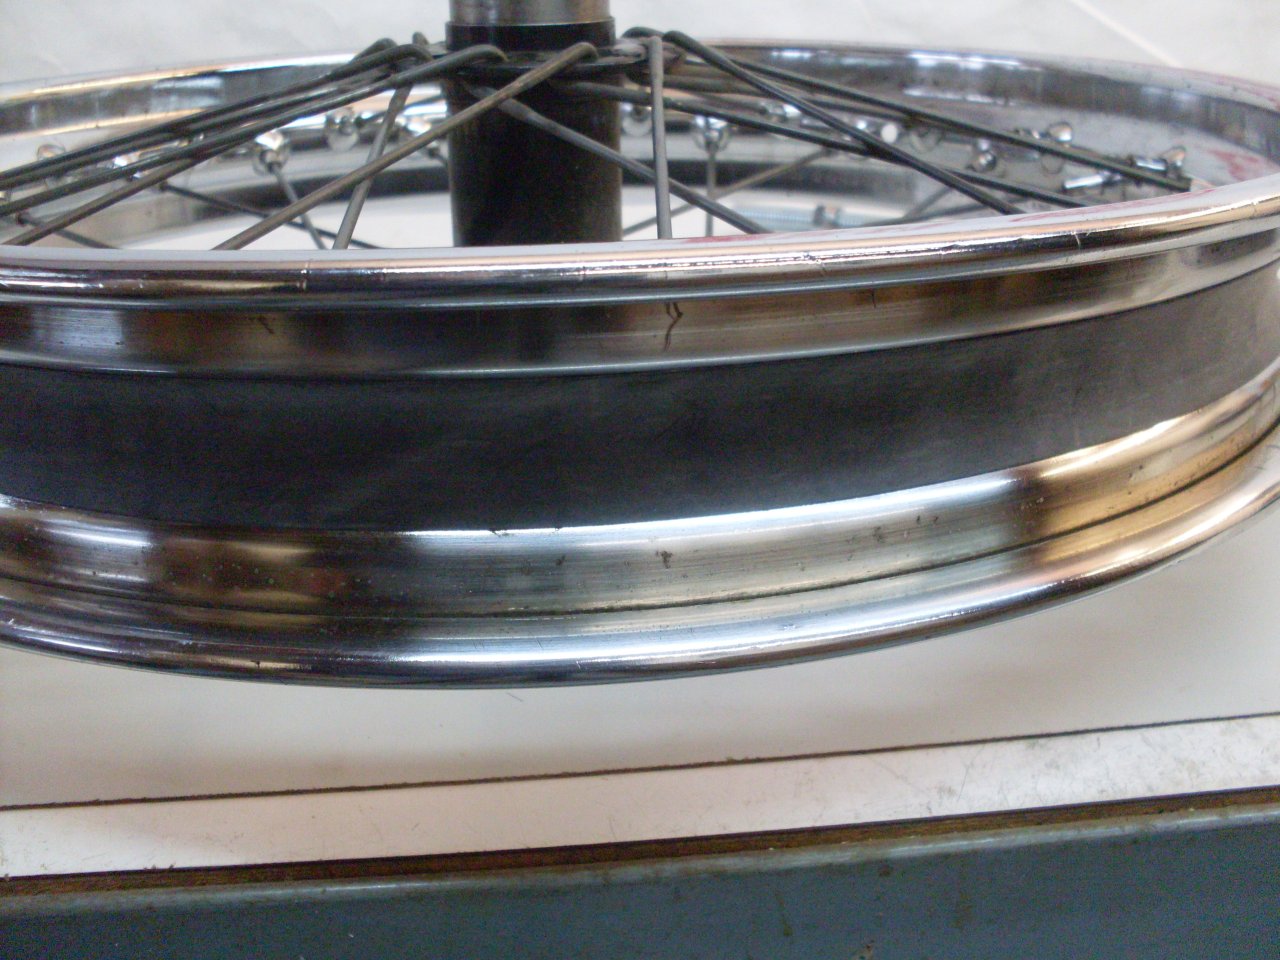
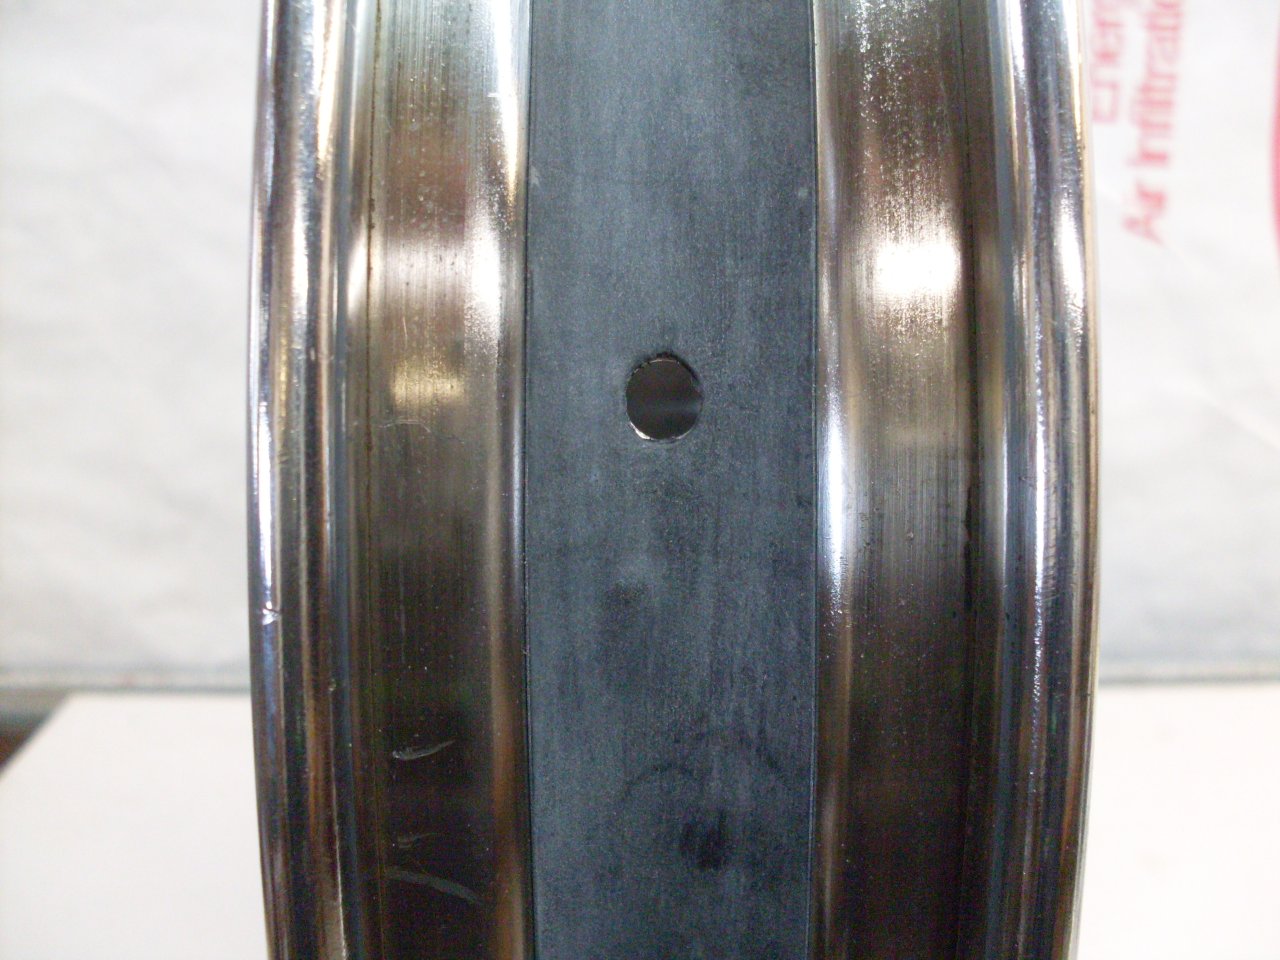
First
put on the rim strips, aligning the hole with the valve stem hole in
the rim. On the back wheel, it's necessary to cut holes for the
rim locks.
I
won't detail the mechanics of convincing a stiff rubber tire with an
18-inch inner diameter to go over a rim with a 19-inch outer diameter,
but it can be done. A couple of tire irons, a little soapy
water, and a determined attitude is all it takes. Put one bead
on, stuff in the inner tube and the rim locks, then try to get the
other bead on without pinching (and thus puncturing) the inner tube.
The rear wheel went without a hitch, but I ruined the first tube
on the front.
With
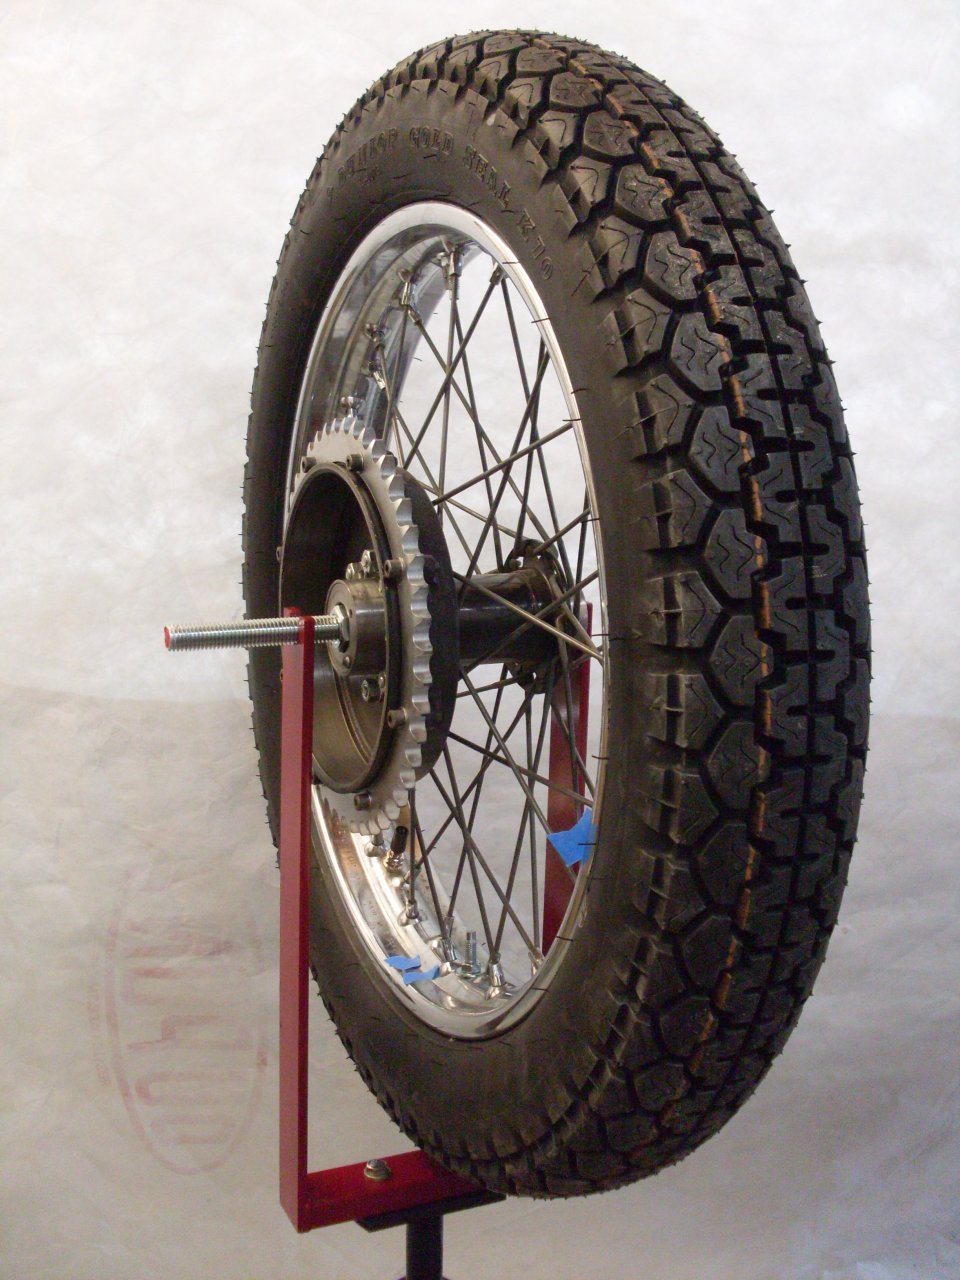
the tires on and inflated, I statically balanced them on the same jig
used for checking true. Set the wheel slowly in motion and mark
the bottom of the rim when it comes to rest. Repeat this a dozen
or more times, and it will become obvious where the heavy side is.
A "false indication " can sometimes happen where the heavy side
actually stops at the top, since there is no torque arm to pull the
wheel around. Once located, the heavy side can be checked by
placing it at the nine o'clock or three o'clock position and
releasing. The marked point should consistently fall to the
bottom.
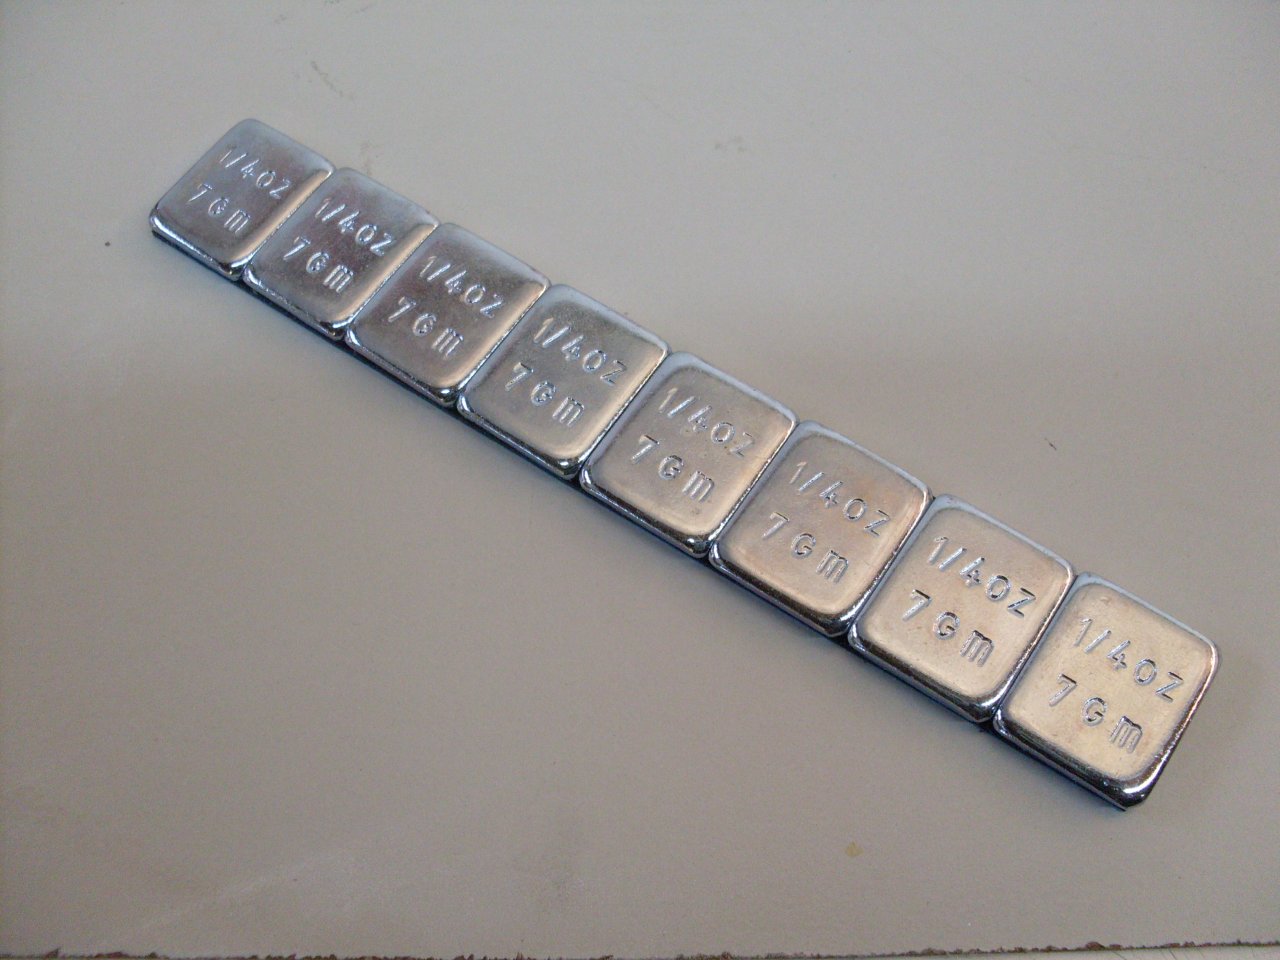
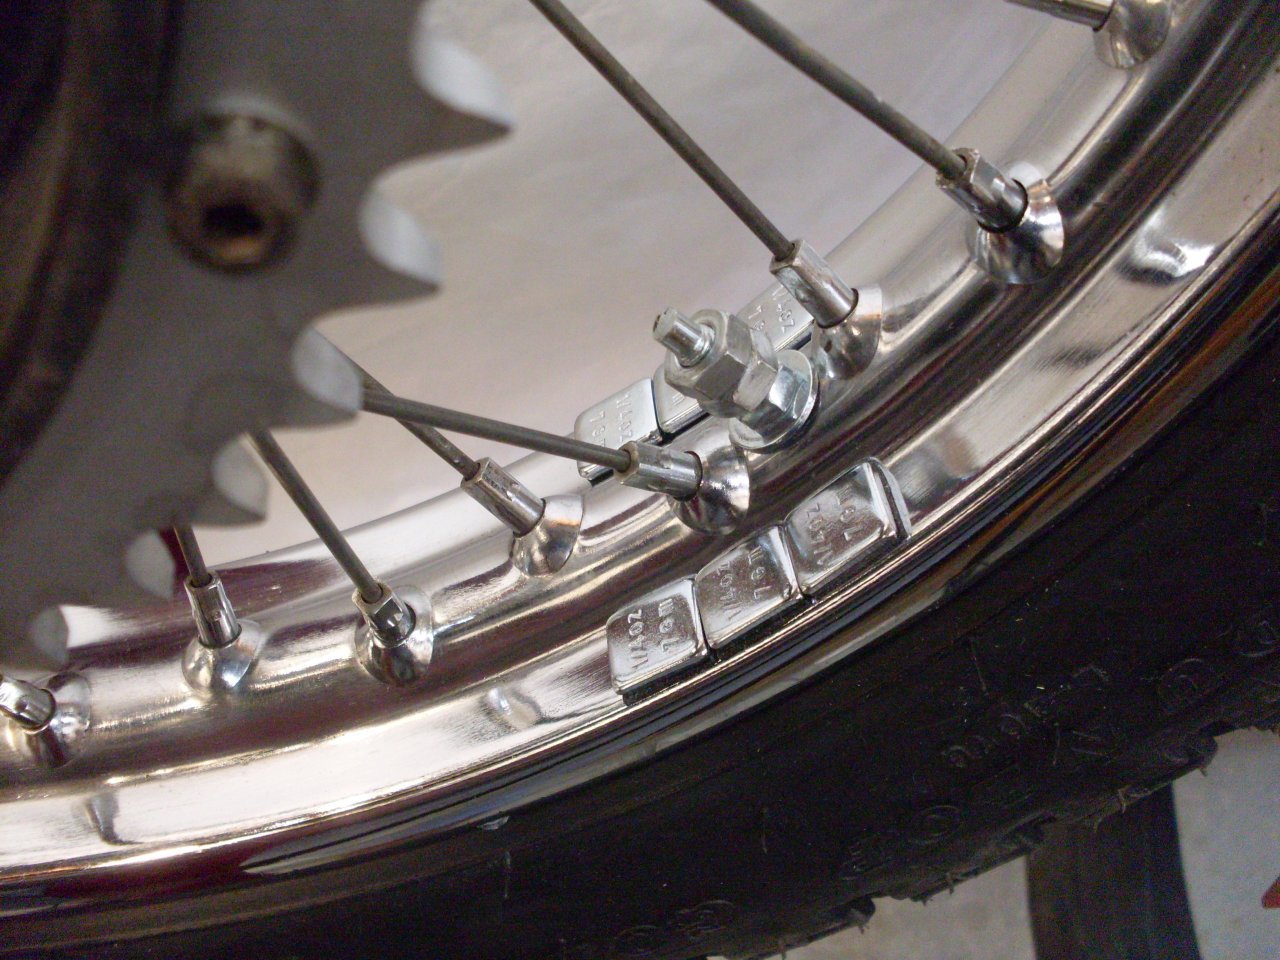
These
self-stick motorcycle wheel weights, are 1/4-ounce (about 7 grams)
each. I taped them on opposite the heavy side one at a
time at first just to see how many it would take. When
balanced, the wheel will stay in any position it is released, and show
no preference for any particular point being on the bottom. In
the case of my rear wheel, it took seven weights--almost two ounces.
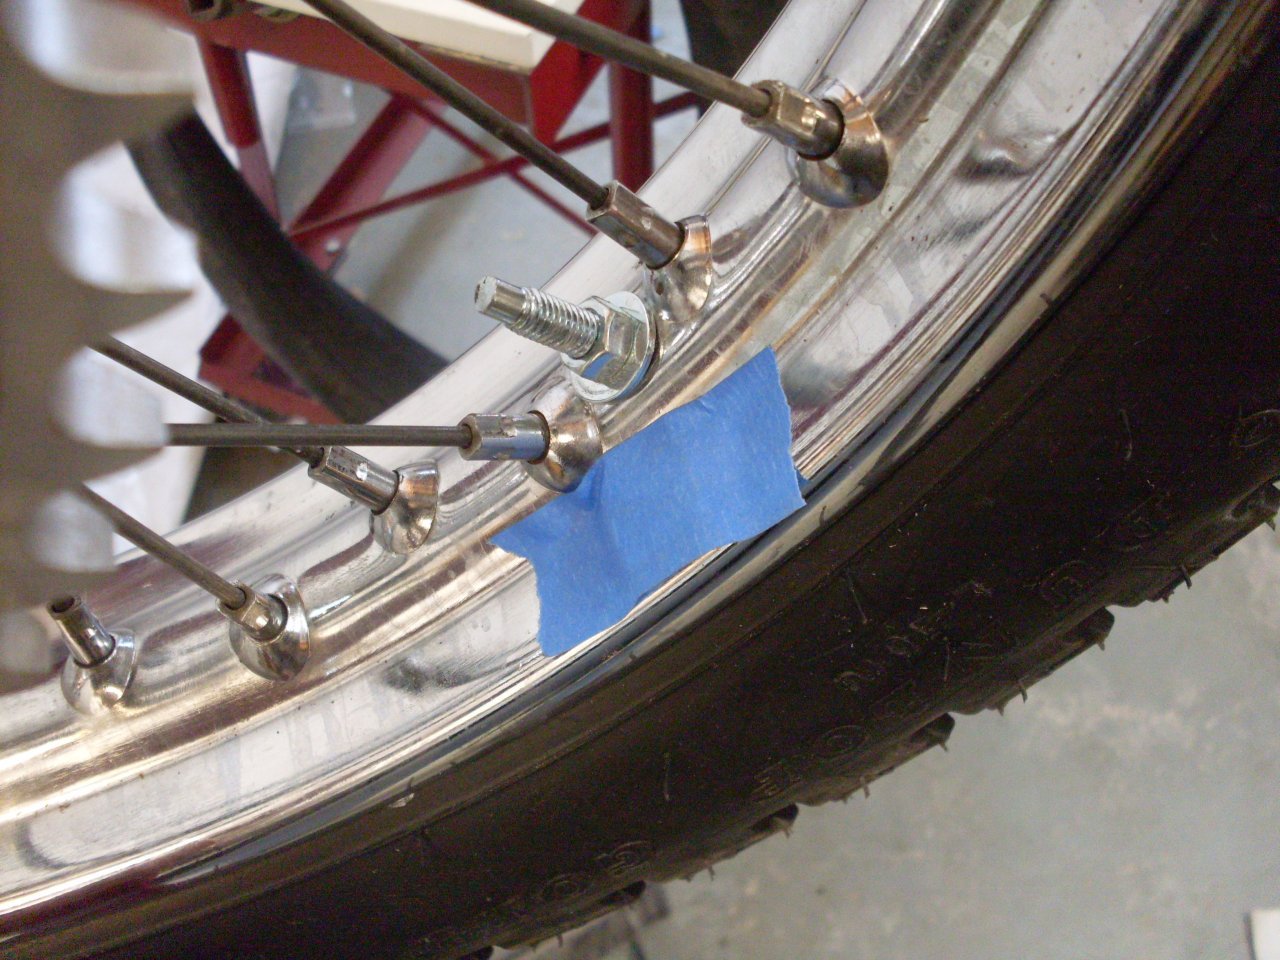

On
my rear wheel, the light side happened to be right at one of the
rim lock bolts, so I was able to add some of the weight with extra nuts
on the bolt. This let me get the number of 1/4-ounce weights to
an even number . I split them up to both sides of the rim for
better symmetry. With any self-stick item, adhesion is improved
by cleaning the surface with alcohol first.
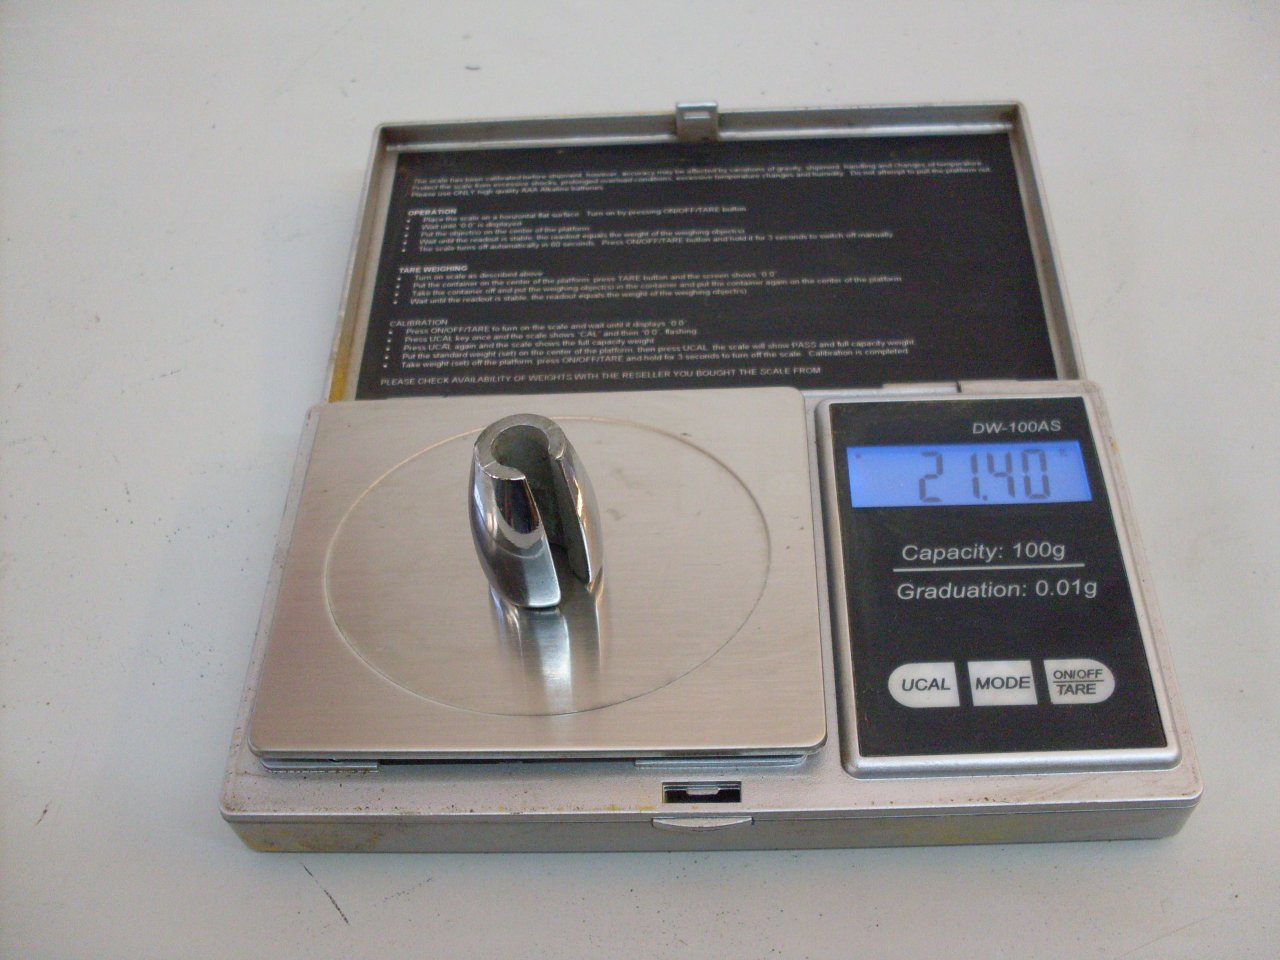
My
front wheel already had this balance weight that fits on a spoke
nipple. I had to add anpther 1/4 ounce to make it perfect.
That yellow spot will come off with soap and water.
[Click pictures for a better view]
To more pictures
Send comments to: elhollin1@yahoo.com