February 20, 2010
Started putting together the stuff on the handlebars this week.
[Click on pics for a larger view]
To other pics
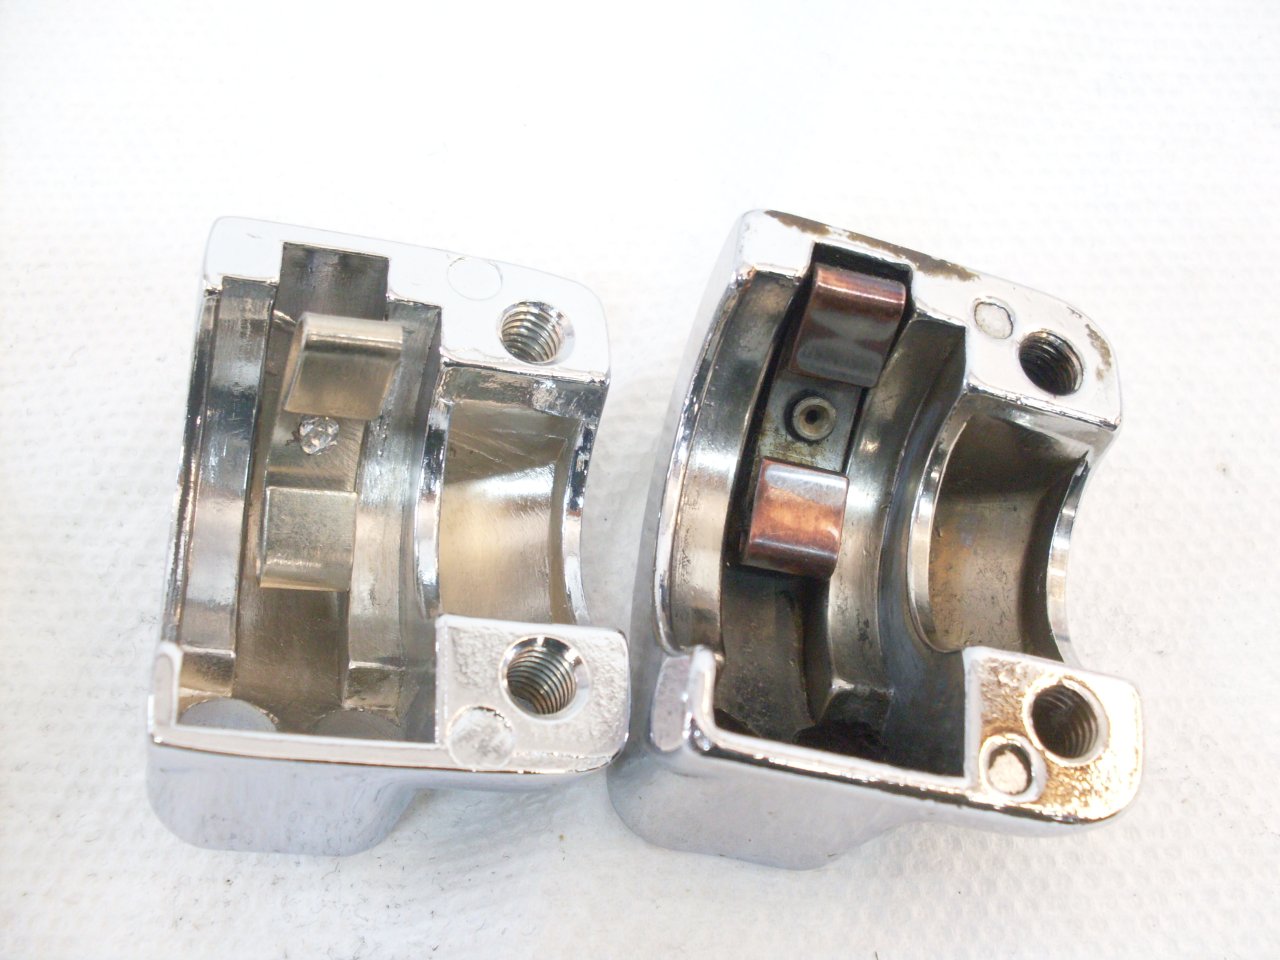
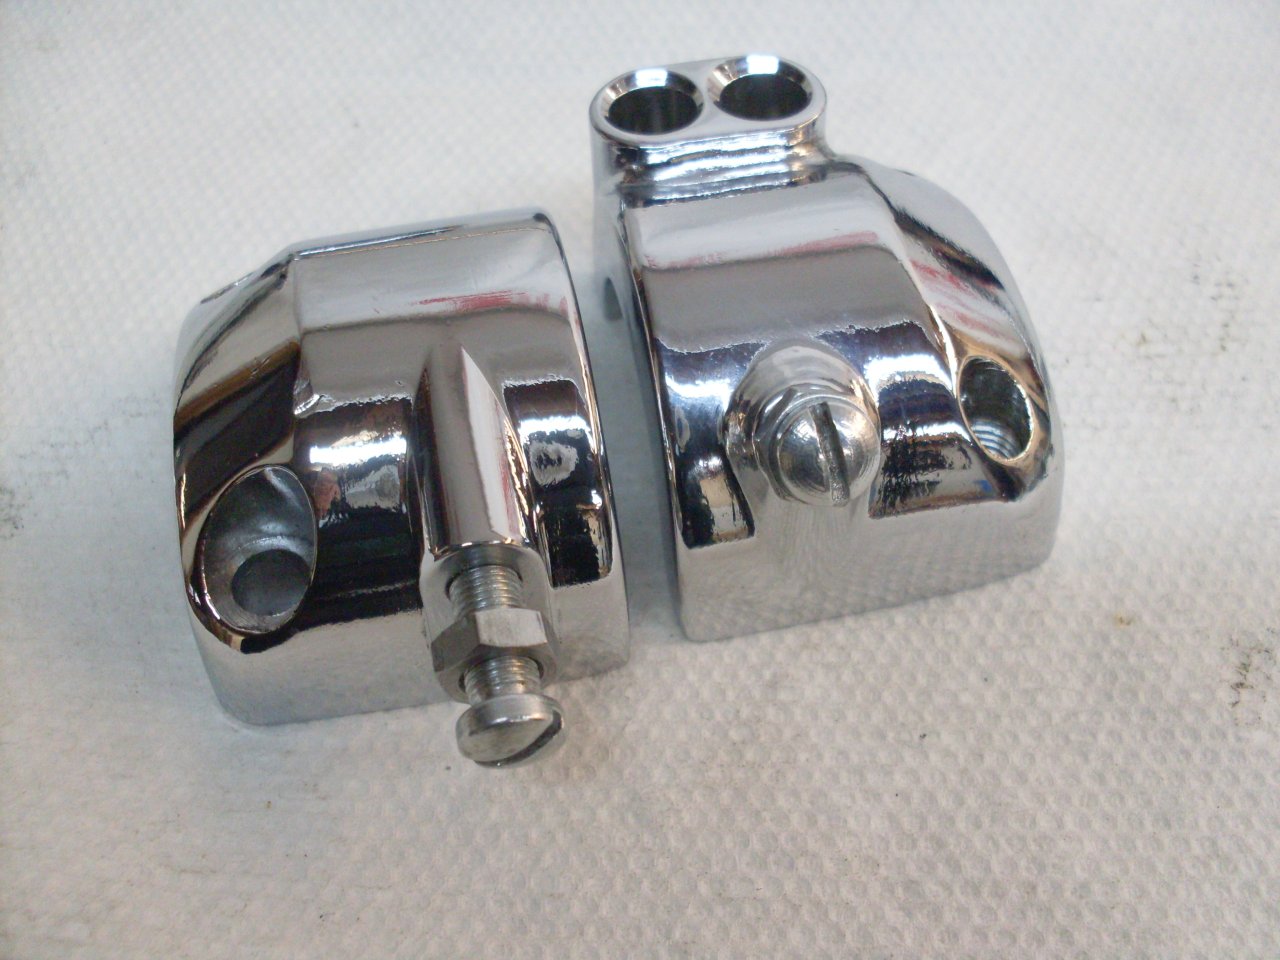
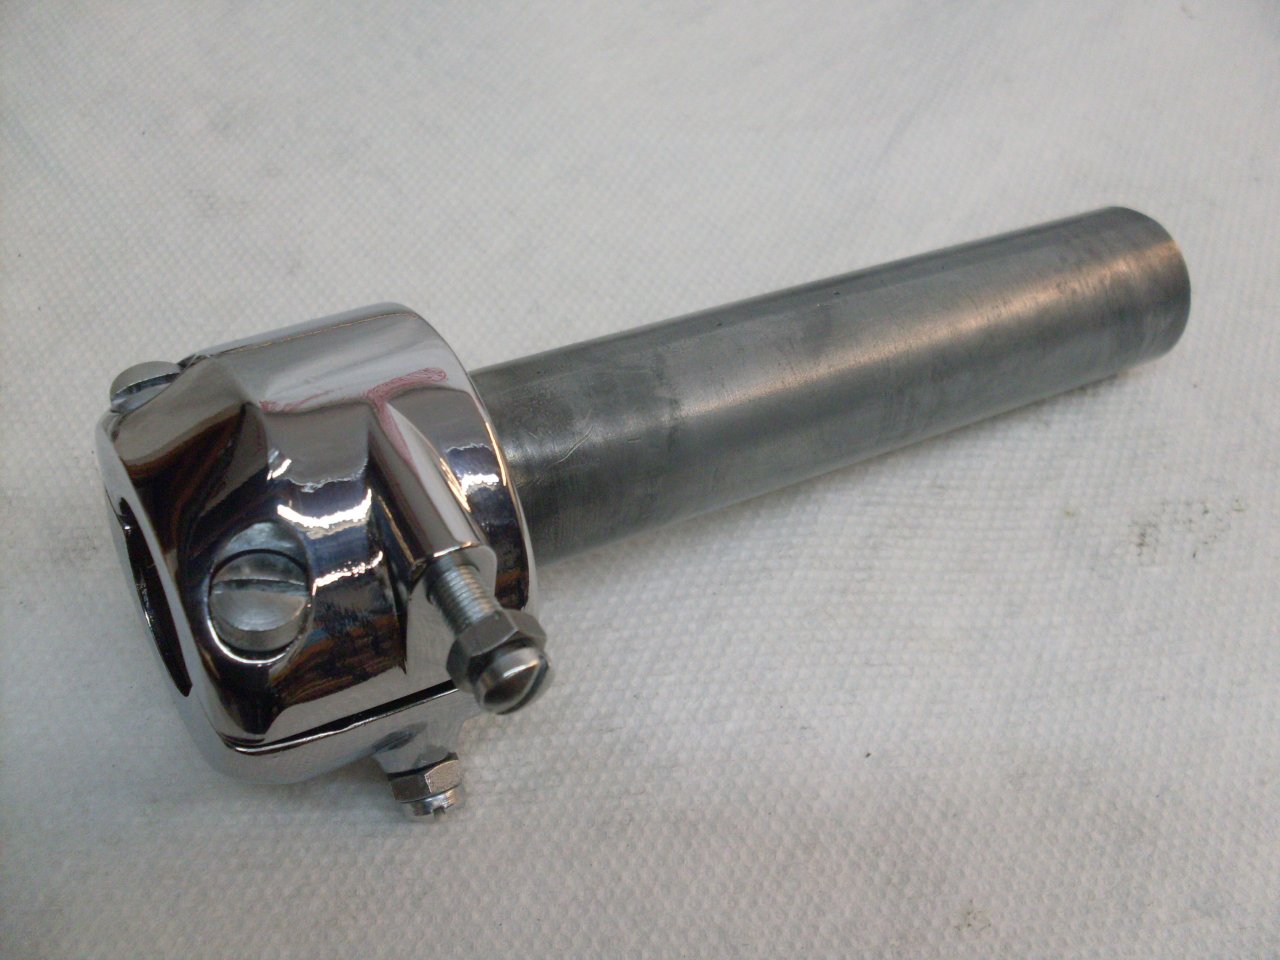
The
throttle twist grip assembly is a two cable unit. The housing
halves were in good shape except for severely pitted chrome on the top
half.

I
was considering rechroming, but I found an entire new "reproduction"
assembly for a pretty cheap price. The finish on the repro
housing (on the right) is not great, but a lot better than the
original. I still wasn't too unhappy with the purchase.

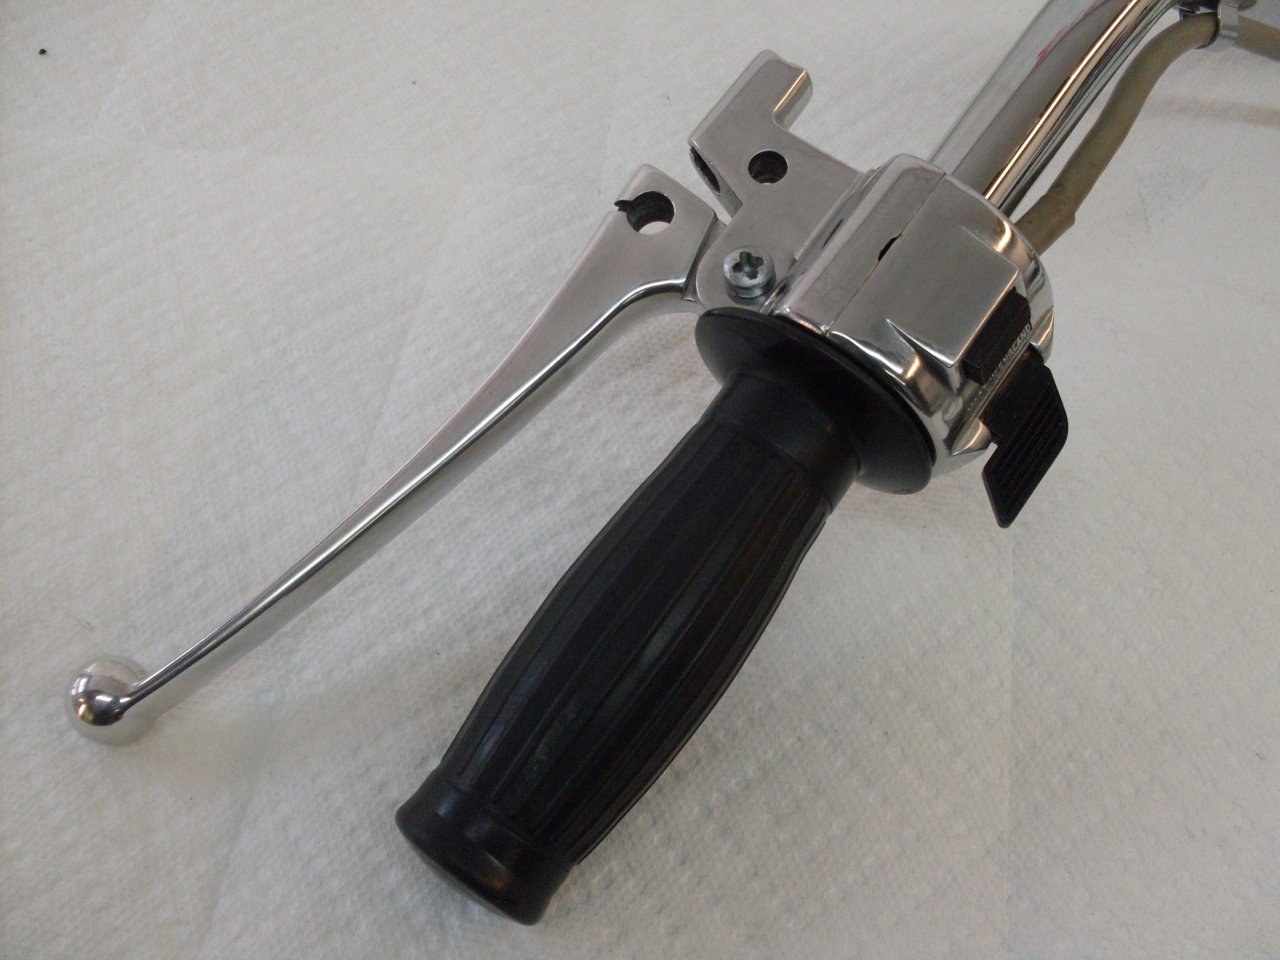
But
here are the kinds of things that really irritate me about some
"reproduction" parts. First, on the grip "rotor", the recesses
that accept the barrel ends of the throttle cable wires are too small
to accommodate the nominal 1/4-inch barrels. Just drilling them
won't work because they are too close to the main bore and would
probably break through. Also, the track that holds the wire from
the barrel won't allow the wire to come into the barrel from the side,
which would put a kink in the wire right there. This part is
useless to me, but luckily, I can use the original.

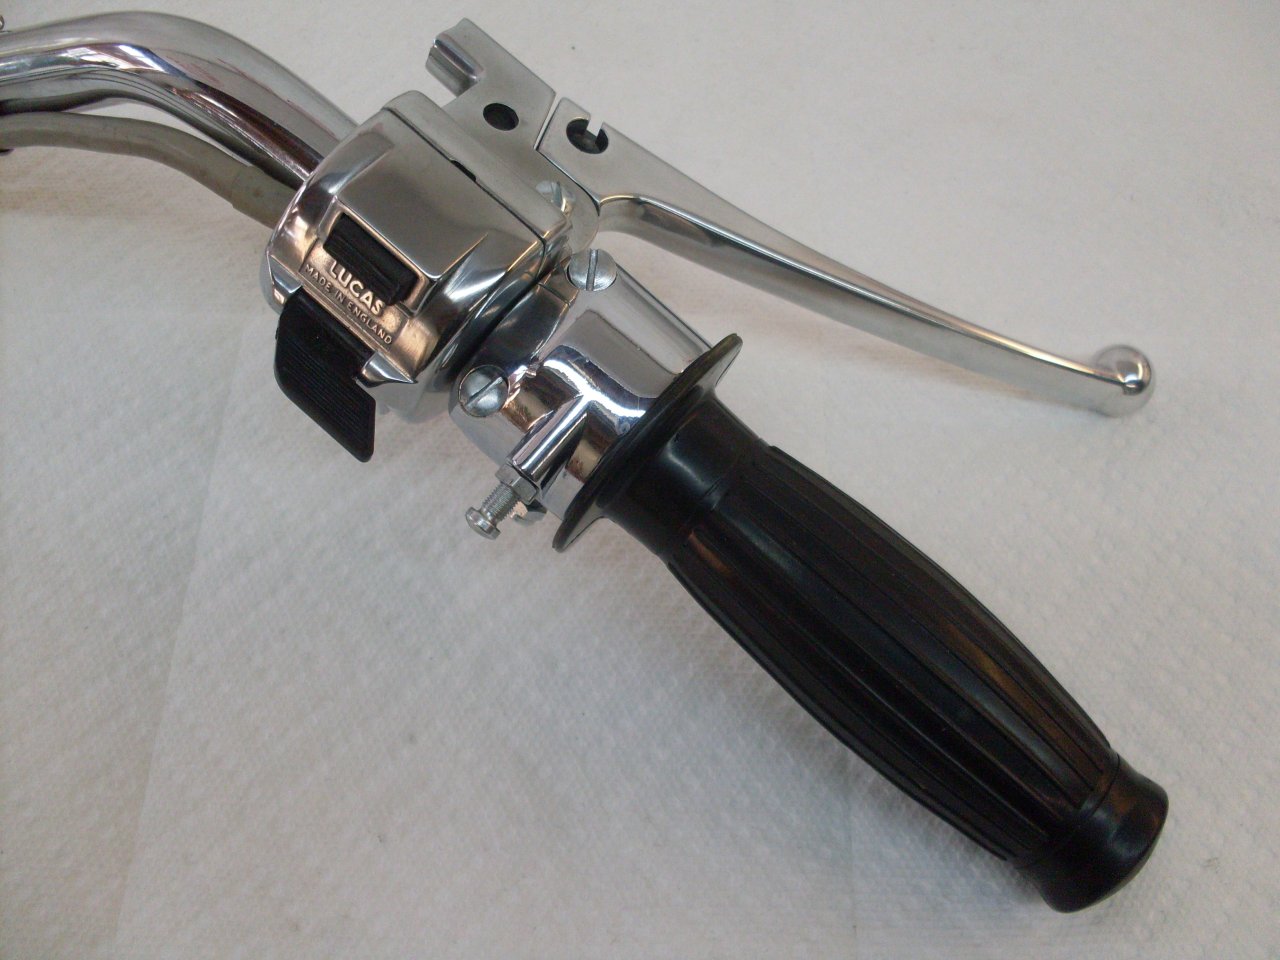
Next,
the original "cable stops" (on the left), which hold the ends of the
outer cable sheath are a nice slip fit for the ends of the cables.
The replacement items have quite a bit bigger bore for a sloppy
fit. Again, luckily, I can use the originals.
Finally,
the screws on the replacement unit are different from originals.
The original screws holding the two halves of the body together
are 1/4-26, while throttle stop and the friction screw are both
7/32-40. Granted, these are both oddball threads, at least in the
States, being British Standard Cycle (BSC) and Model Engineer (ME)
threads, respectively. The new screws are M6-1.00 and M5-0.80
metric.
Now
I am not really all that anal about originality, but since I plan to keep
this bike, I'd like to keep it in comformance with the parts catalog as
much as possible, so that parts I or someone else orders for it in the
future will still fit.
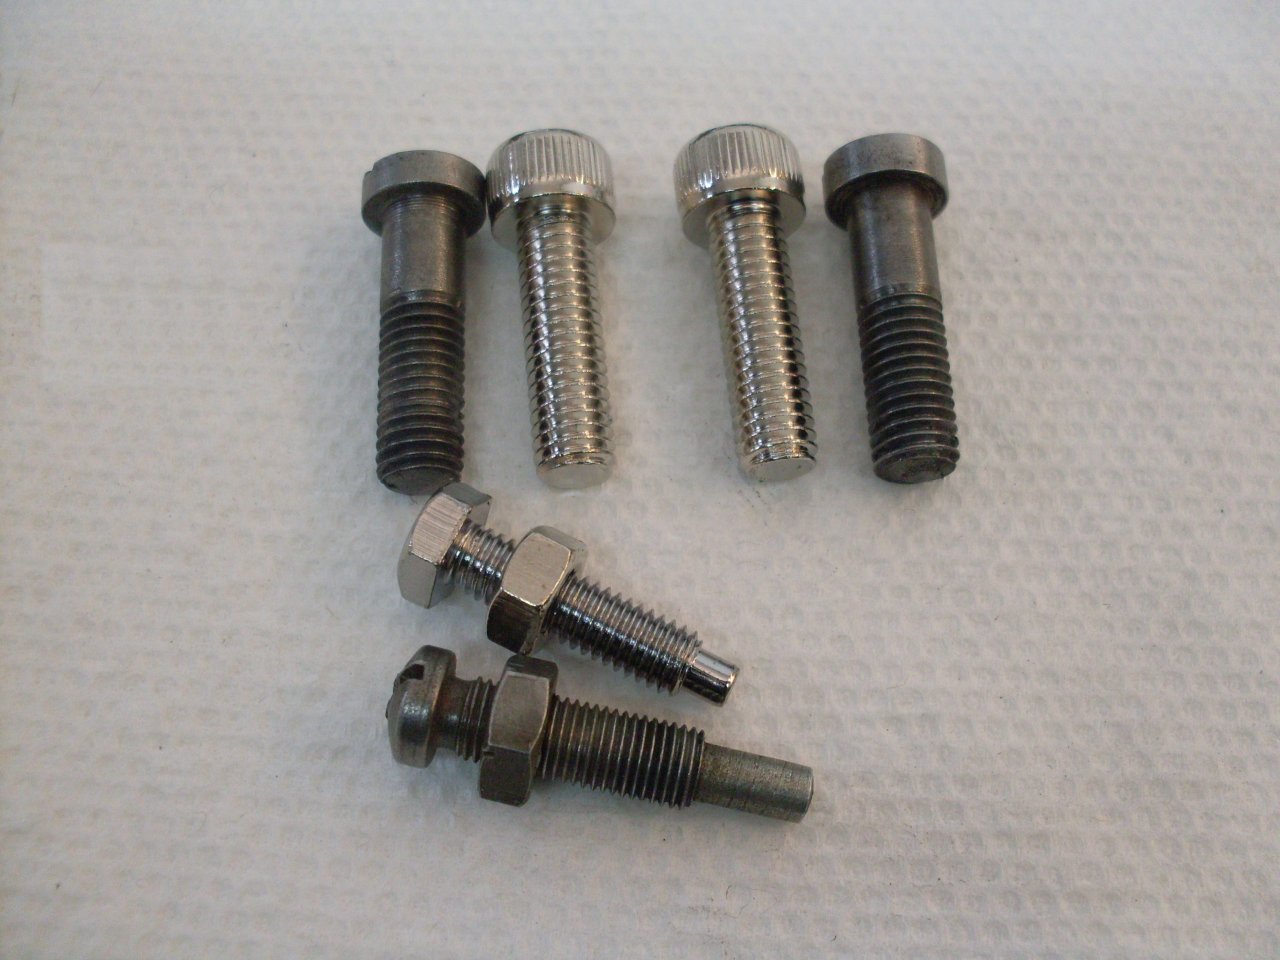
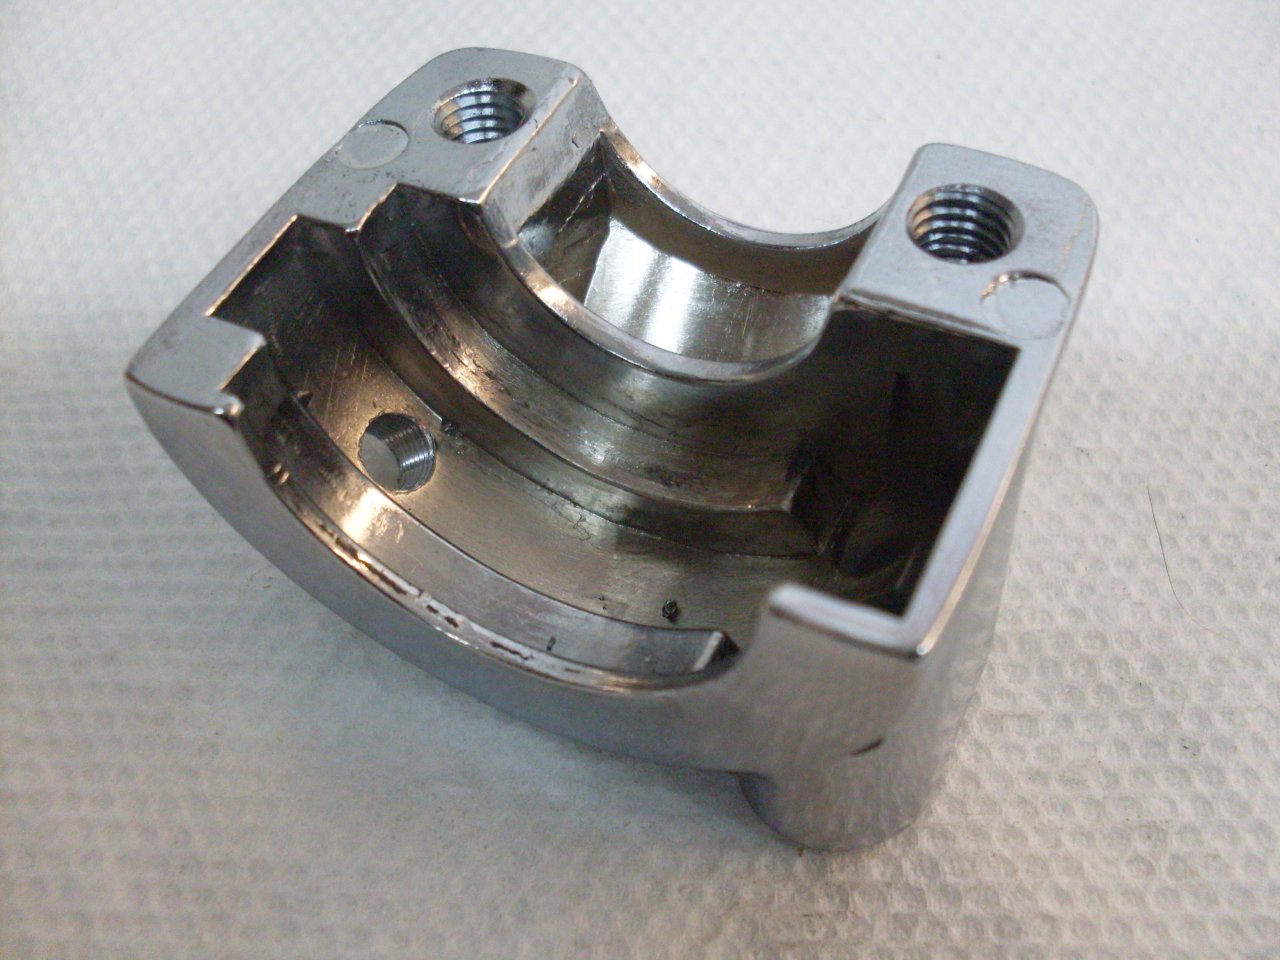
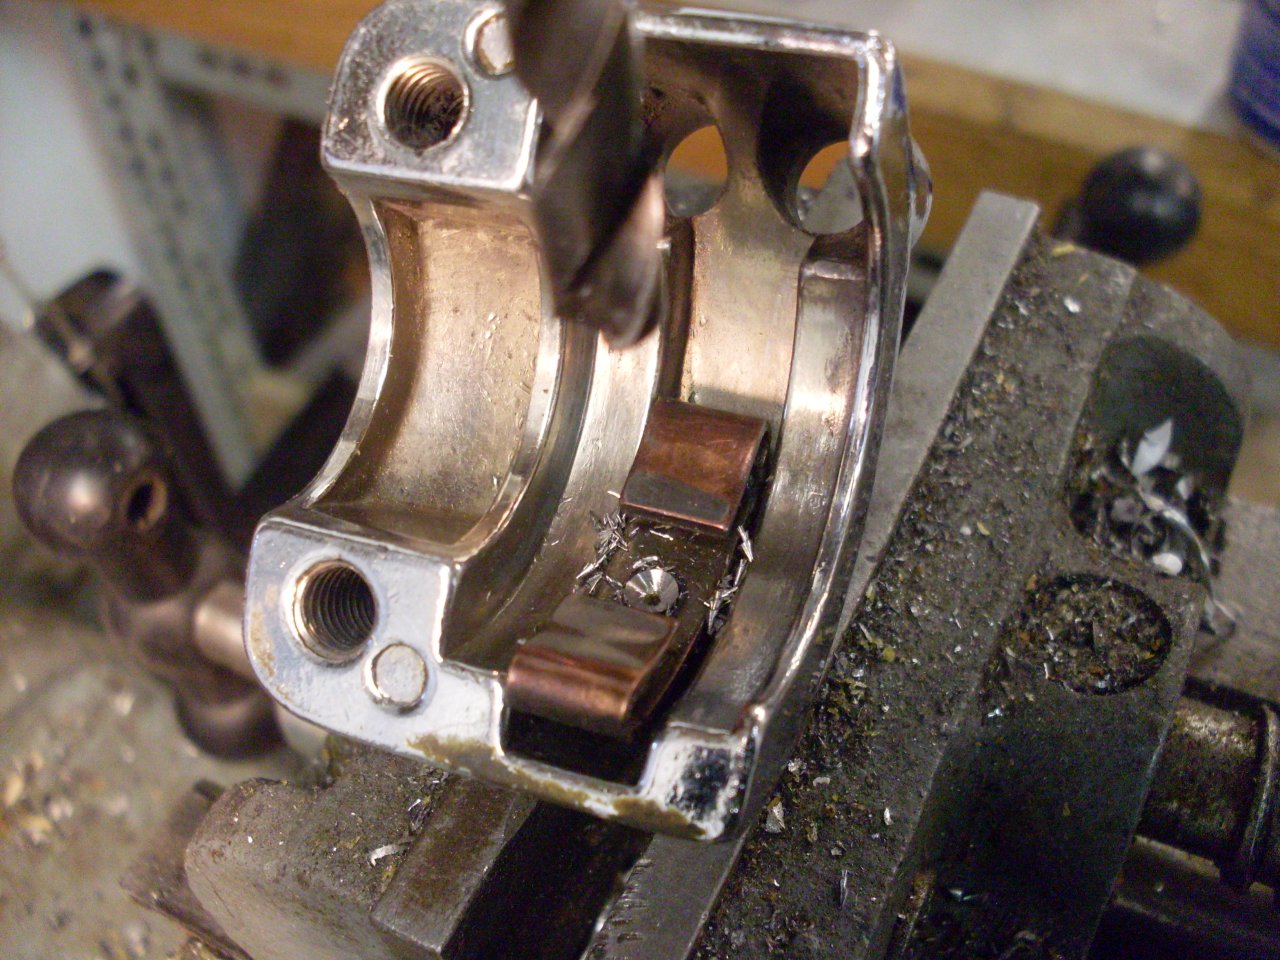
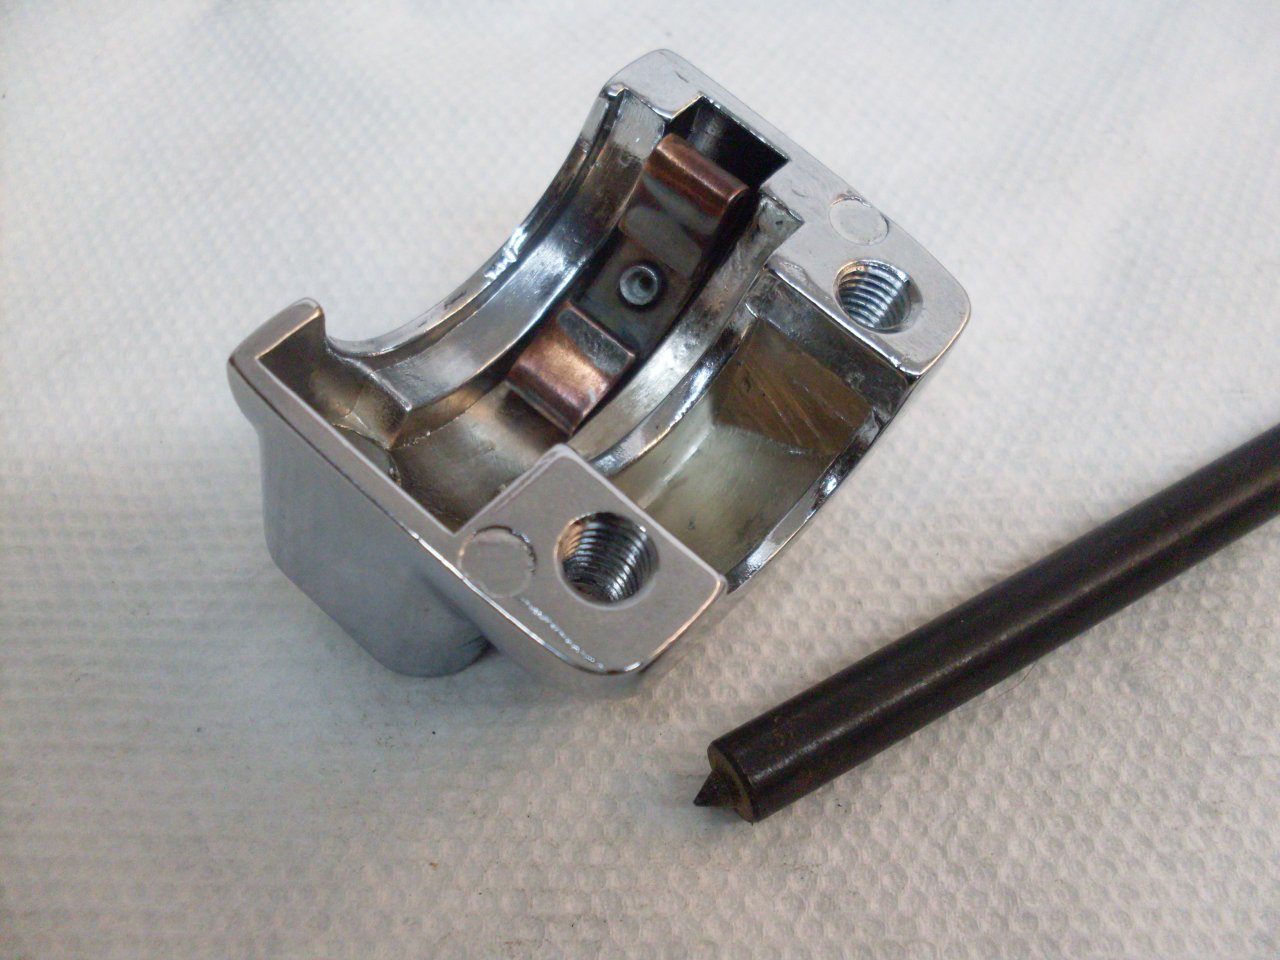
I
determined that since the original screws are enough larger than the
repro ones, that I could drill and re-tap the body for the original
screws. After buying the special taps, I probably would have been
better off having the old parts replated. Pic shows retapped holes.
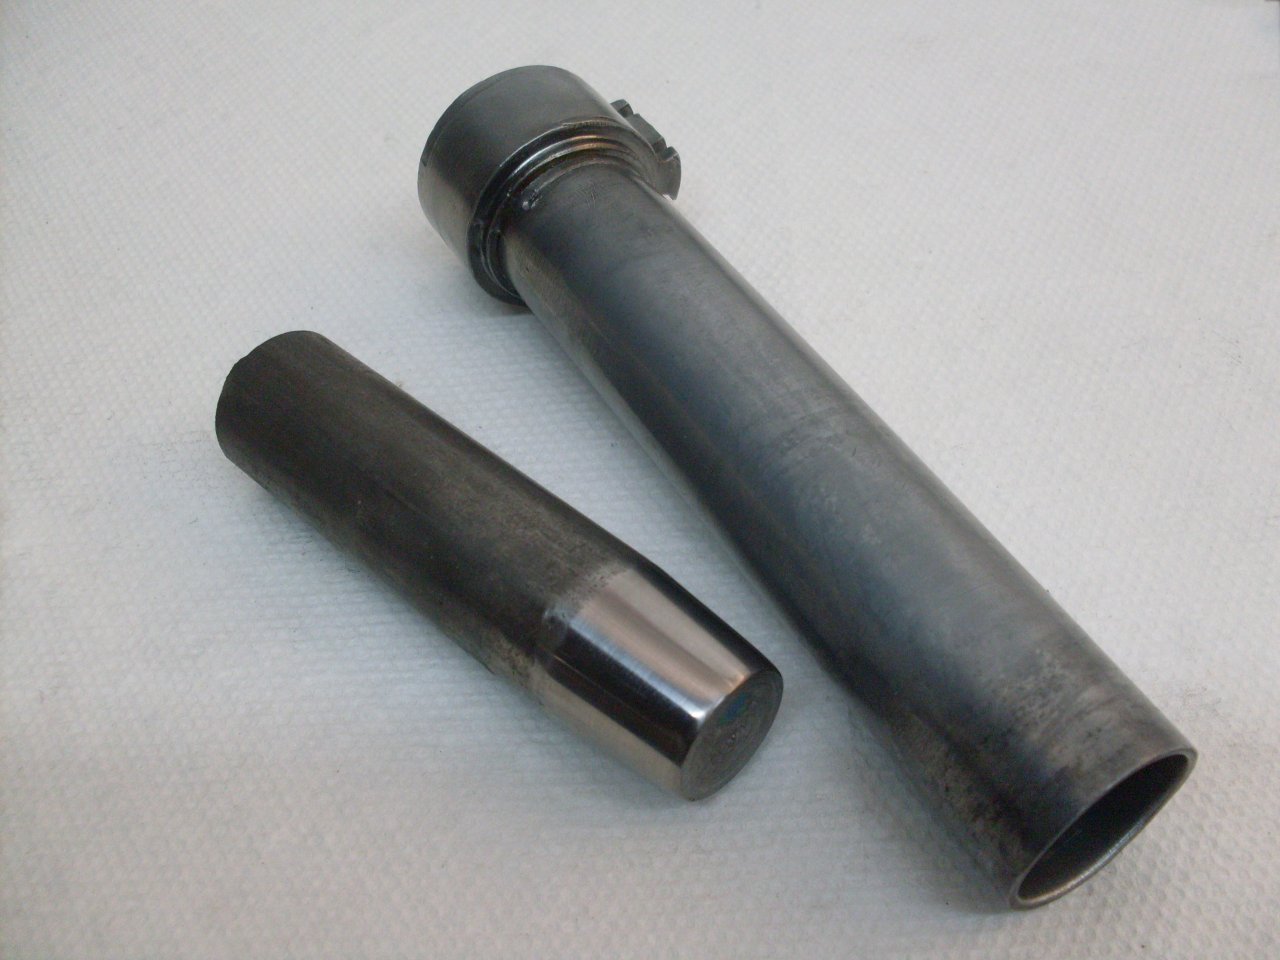
Since
I didn't think I was going to re-use any of the throttle twist grip
assembly, I wasn't too gentle when I removed the stubborn grip from the
rotor. I ended up damaging the soft pot metal rotor. It had
a dent in it and was slightly out of round so that it wouldn't
slip freely over the handle bar. I made this 7/8" mandrel to
shove down through the bore and straighten and align it.
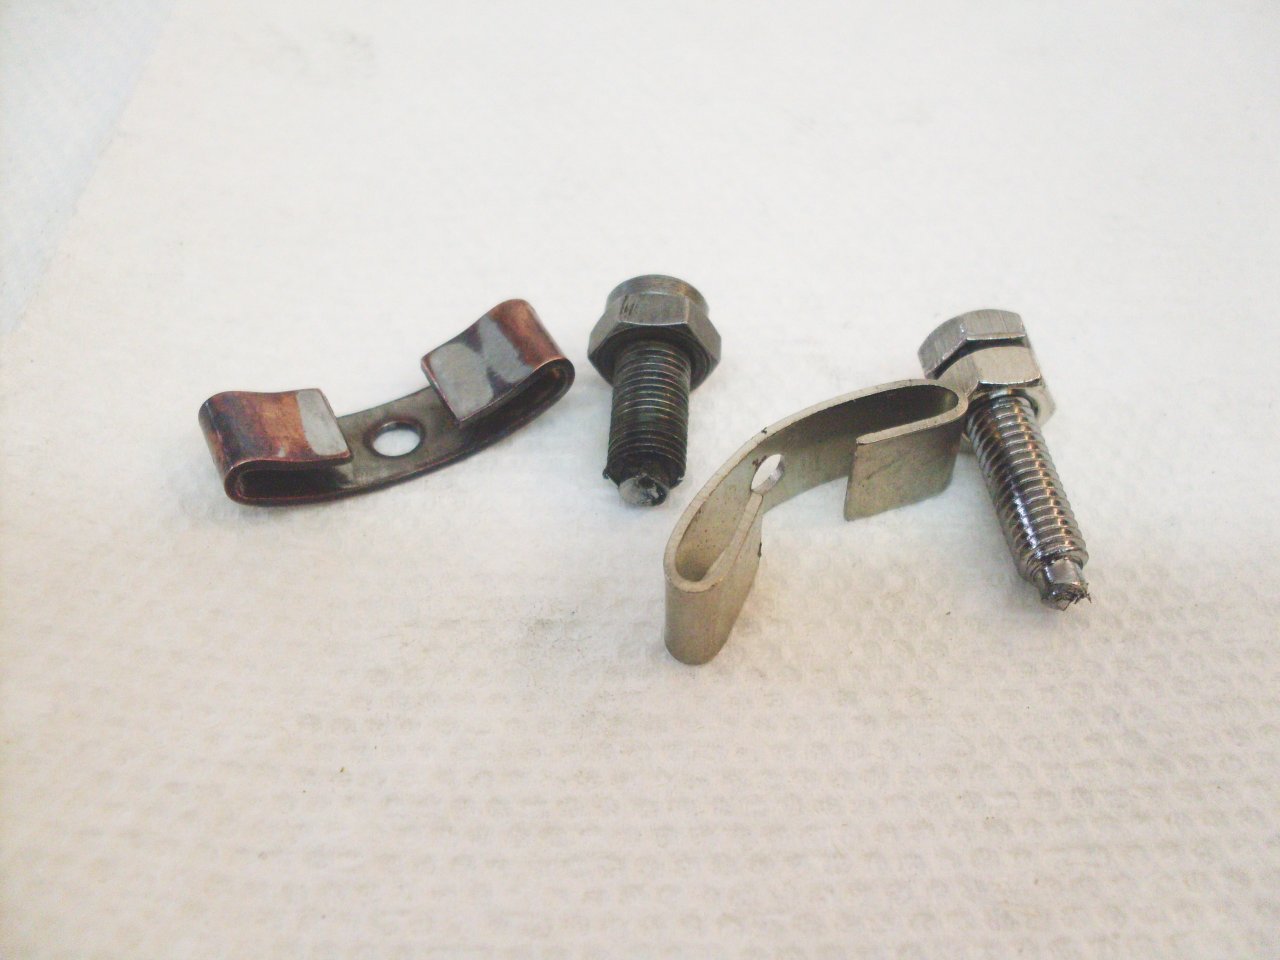
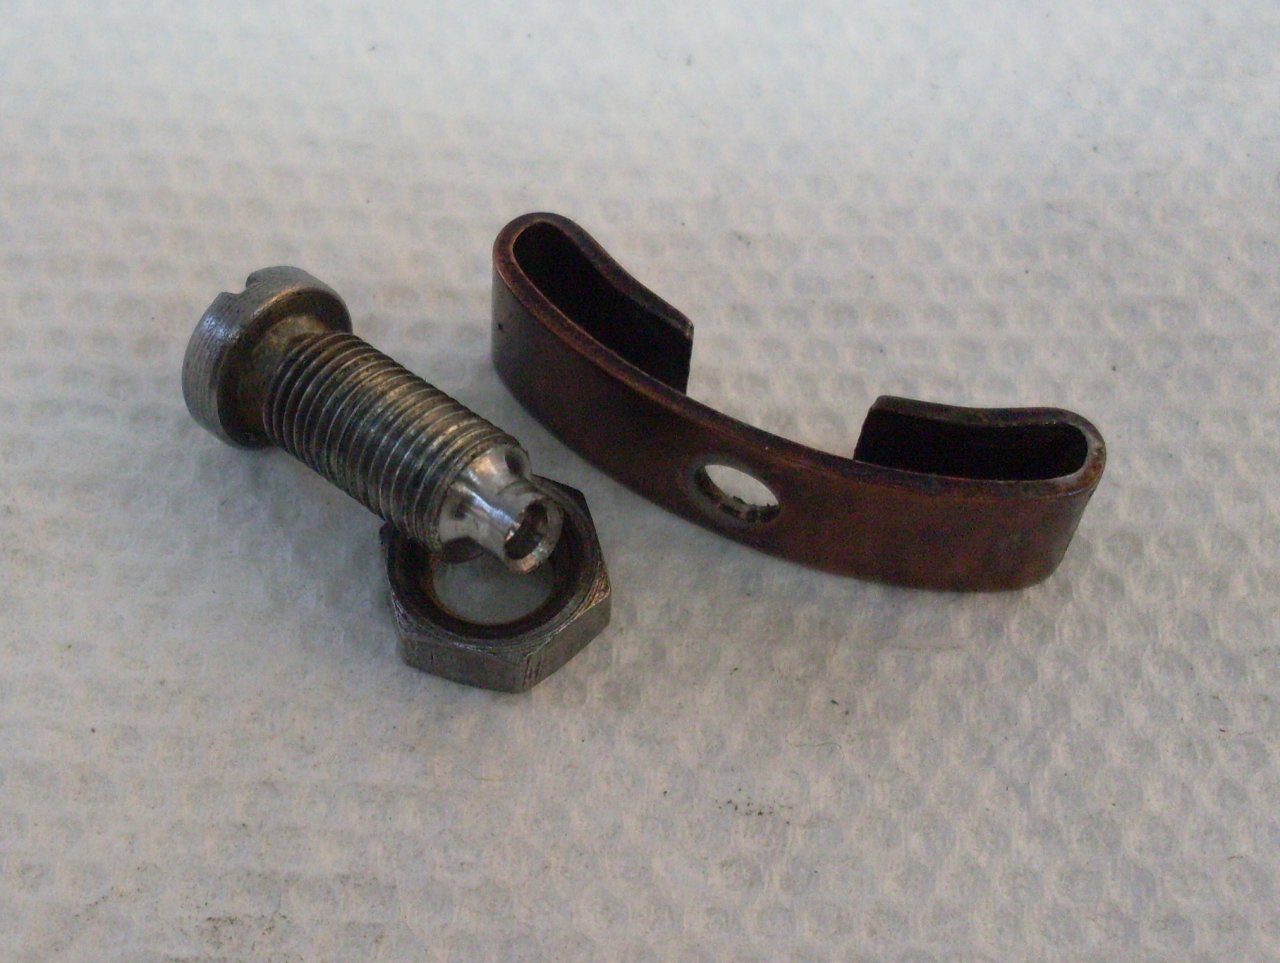
The
friction springs on both units were staked to the end of the adjustment
screw--the original with a nice "V" deformation, while the end of the
repro screw was just mashed down. The original spring was also
more robust and shaped to mate with the rotor better. Since I was
going to move the original screw to the new body, I had to remove both
springs. I'll have to be machine the original screw to lengthen
the staking nipple.
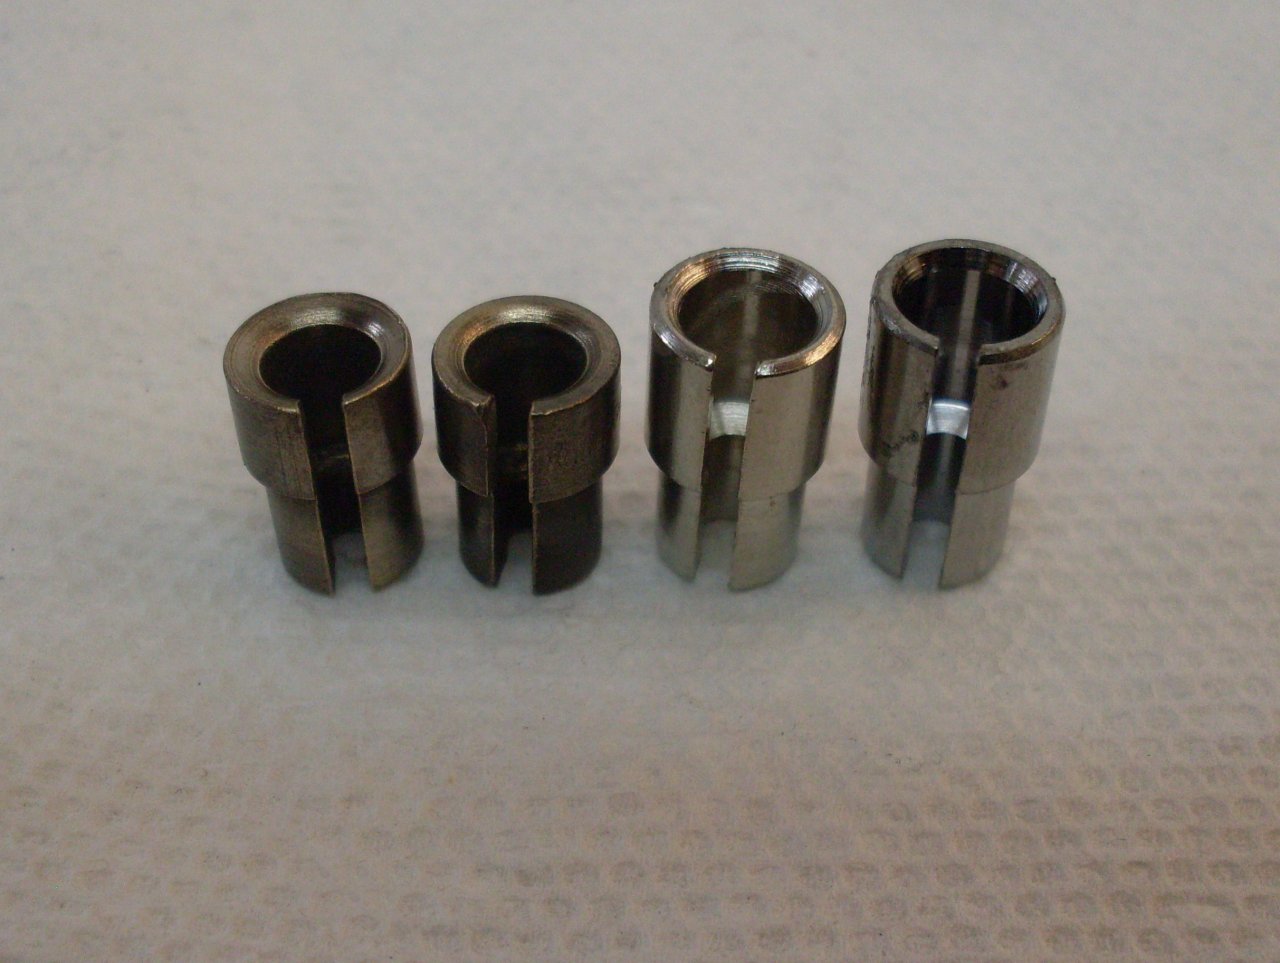
The
thingy on the right of the left picture is a little split bush, tapped
7/32-40 to accept the friction spring screw. When tightened in
the lathe chuck, it tightens on the screw threads, holding it securely
for the forming of the stalking nipple on the end of the screw.
The right picture shows the lengthened
nipple. It's also drilled to make it deform easier. Last
pic shows the hardware with new zinc, ready for assembly.
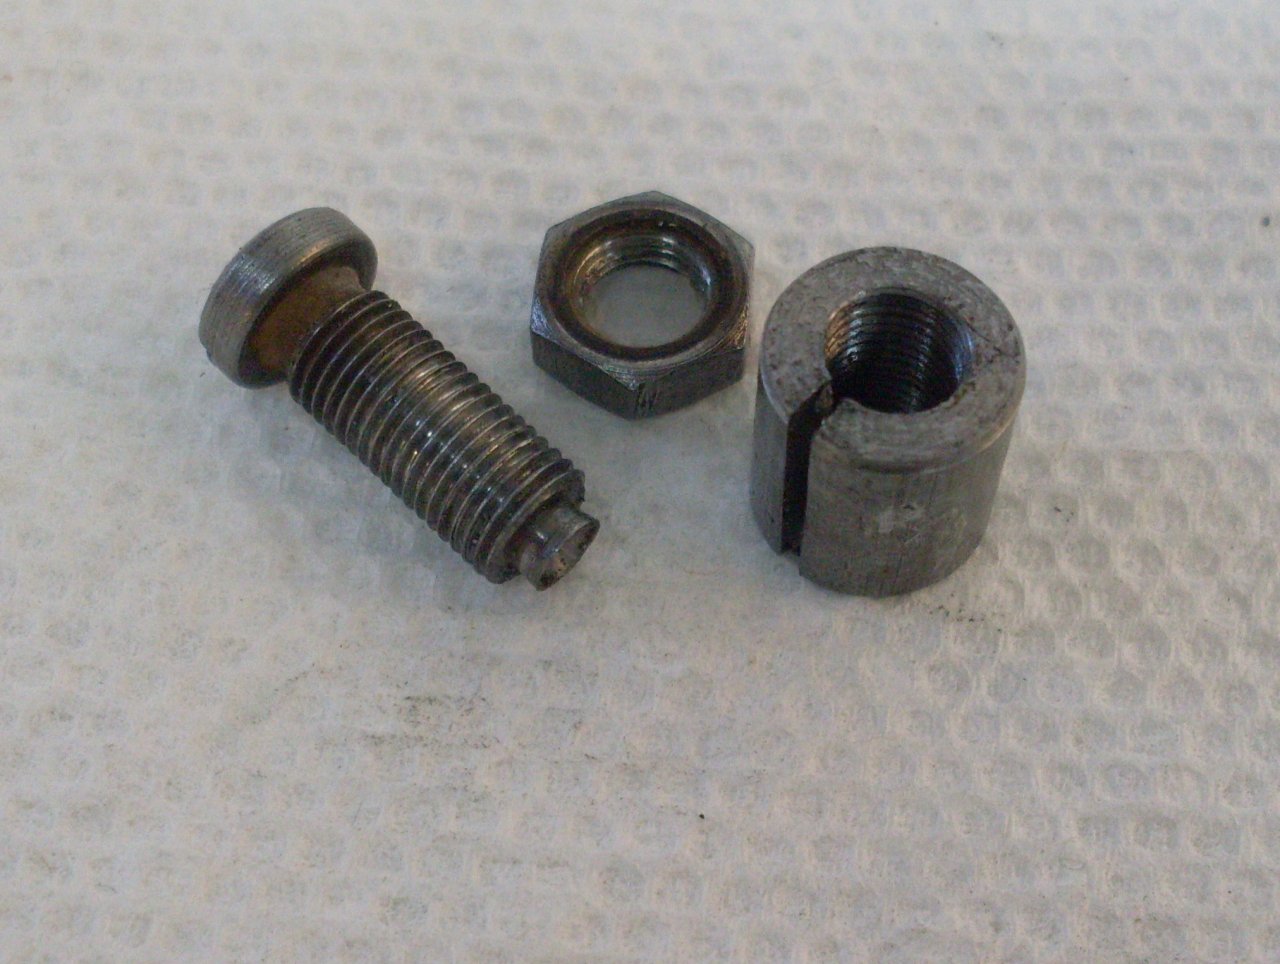
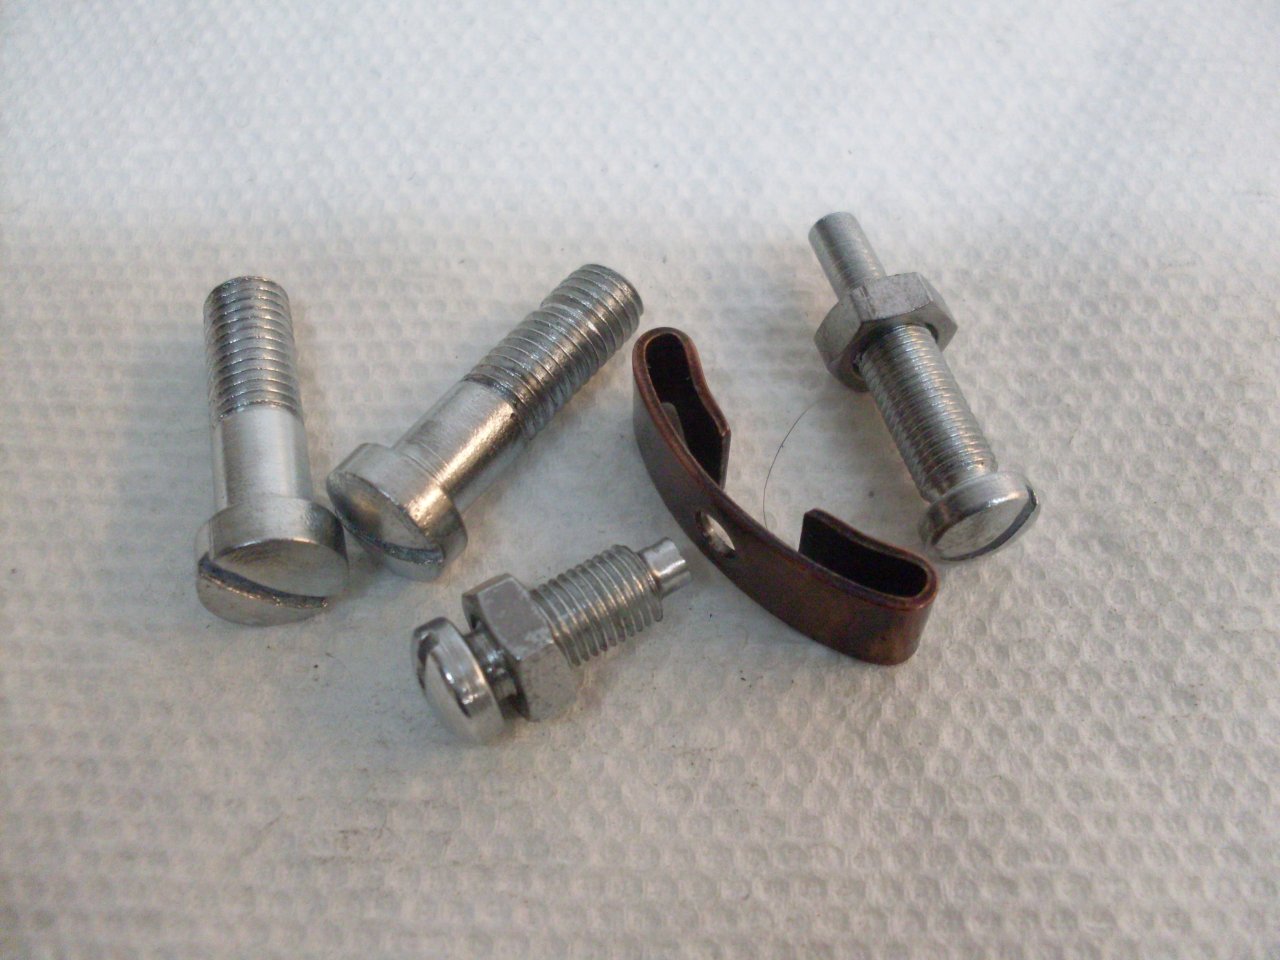
I used a transfer punch as a tool to musroom the stake just enough that the spring woudn't fall off.
A
lot of unanticipated work went into this assembly. The geometry
of the new body halves was different enough that I had some binding of
the rotor when everything was tightened down. Took some time to
figure out where the rub was and fix it.
I probably would have been time and money ahead to just rechrome my original parts. I
I still would have had to take the friction spring out, though.
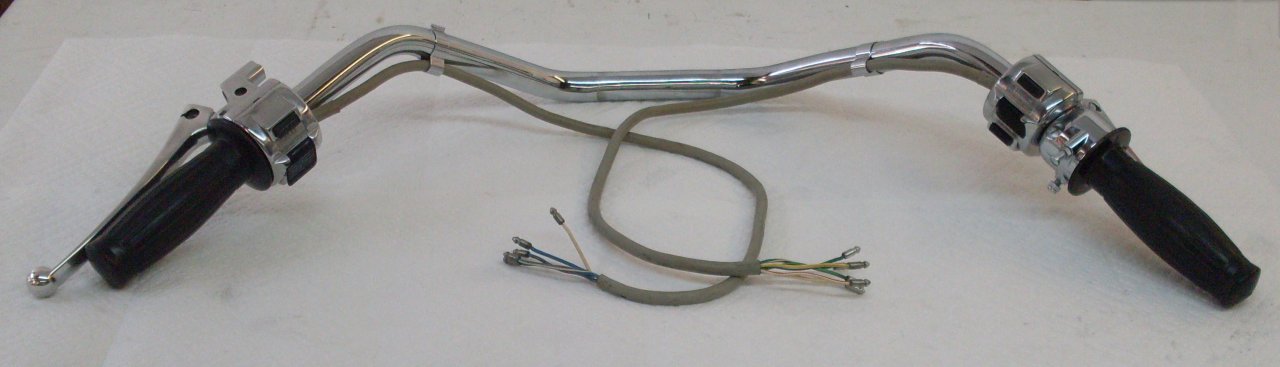
Just
about everything is ready to build up the handlebars. The bar
itself was scratched up and had rust on it. I couldn't find a
replacement set that I was sure was exactly the same as mine, so I
ended up having mine rechromed. The cost was about a wash.

Used the old hairspray trick on the grips. In this case, a hoity-toity salon brand (thanks, Sweetie!).
Ready to go...

To other pics
Comments to: elhollin1@yahoo.com


