To my other TR6 Pages
September 19, 2017
Cowl & Bonnet Gutter Drains
[Click the pics for a larger view]
On
the TR6, as on many cars, fresh air for the heater, defroster, and
ventillation is drawn in through an opening in the cowl just forward of
the base of the windshield. Inevitably, water gets into the cowl
along with the air. The water has to be drained somewhere.
In an inexplicable design decision, Triumph engineers apparently
thought it was a good idea to just drain the cowl into the closed space
between the inner and outer front wings (fenders). Now it's true
that that space has a path for water to drain to the outside through a
small opening in the lower lip of the outer wing, but we all know what
happens to small drain openings when the water can carry other debris
in it.
Many folks have recognized this shortcoming and devised a
range of solutions, usually involving extending the stock drain hose to
empty in a more suitable location.
One problem with this simple
solution is that it doesn't address a bigger problem. Also
draining into the inter-wing space is the gutter that runs under the
aft edge of the bonnet. This gutter receives all the water from
the cowl and windshield, except for what goes into the cowl vent, so
it certainly directs more water behind the wings than the cowl
drains do.
Some have addressed this larger issue by adding extensions to the gutter that direct water to some more sensible drain point.
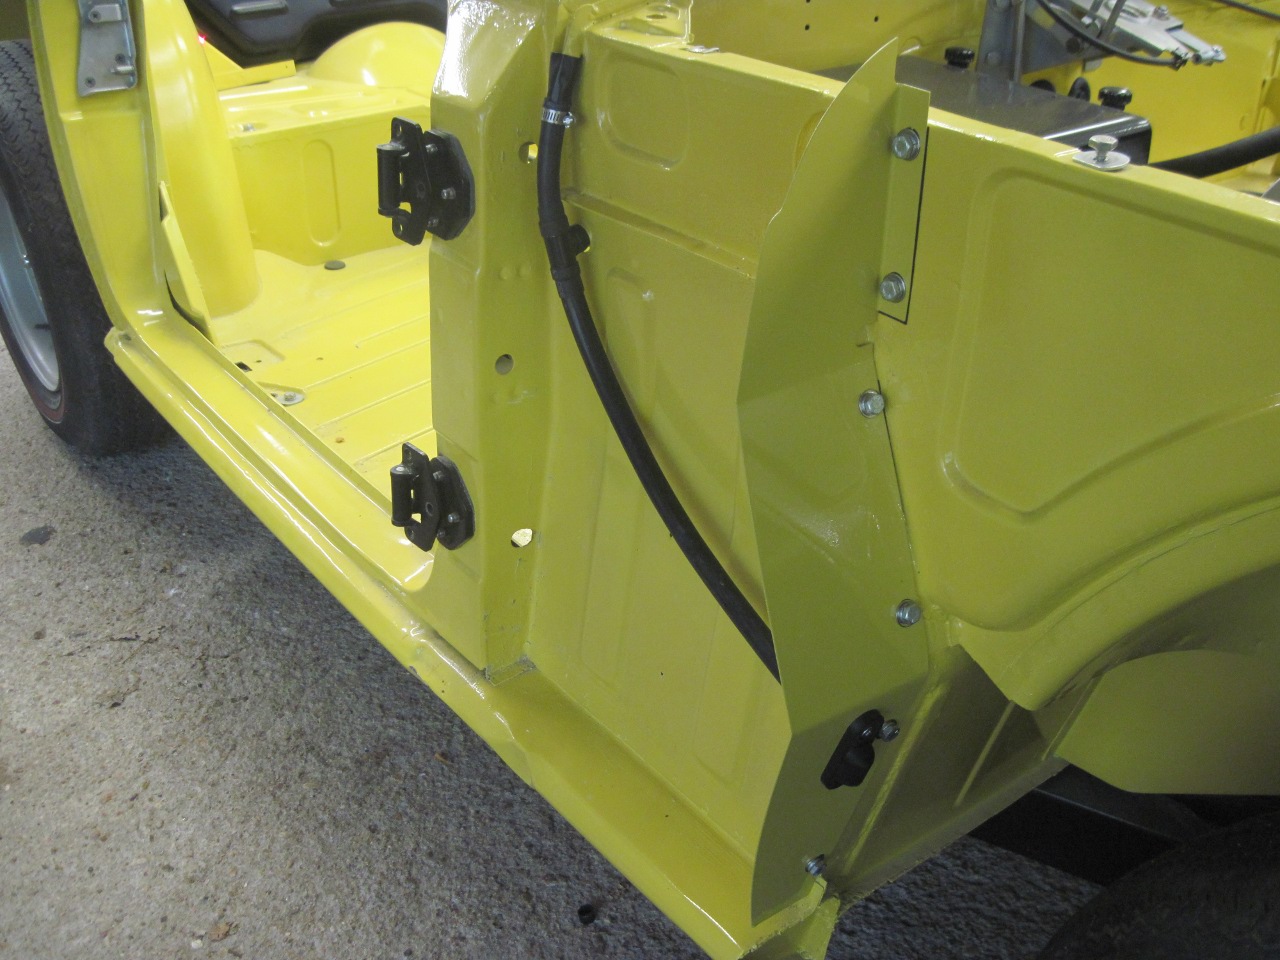
When
I was doing the restoration work on my tub, I added this piece to
extend the gutter to a point where a drain hose would attach.
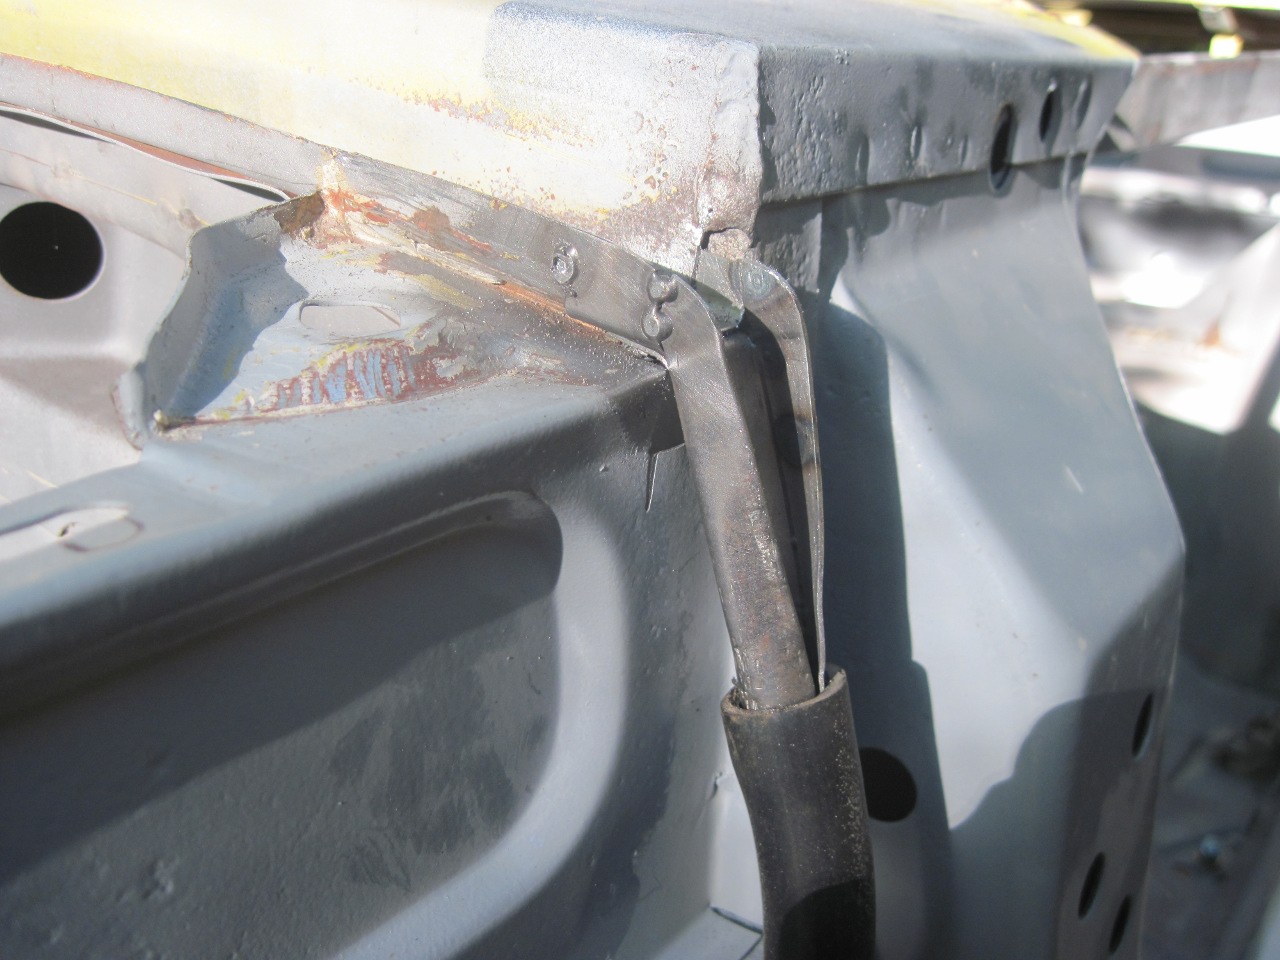
Now it's time to install the drain piping.
Though
people have run their drains to daylight by various routes, the most
common place to terminate the drains is through the splash shields
behind the front tires. I also chose this option since it was
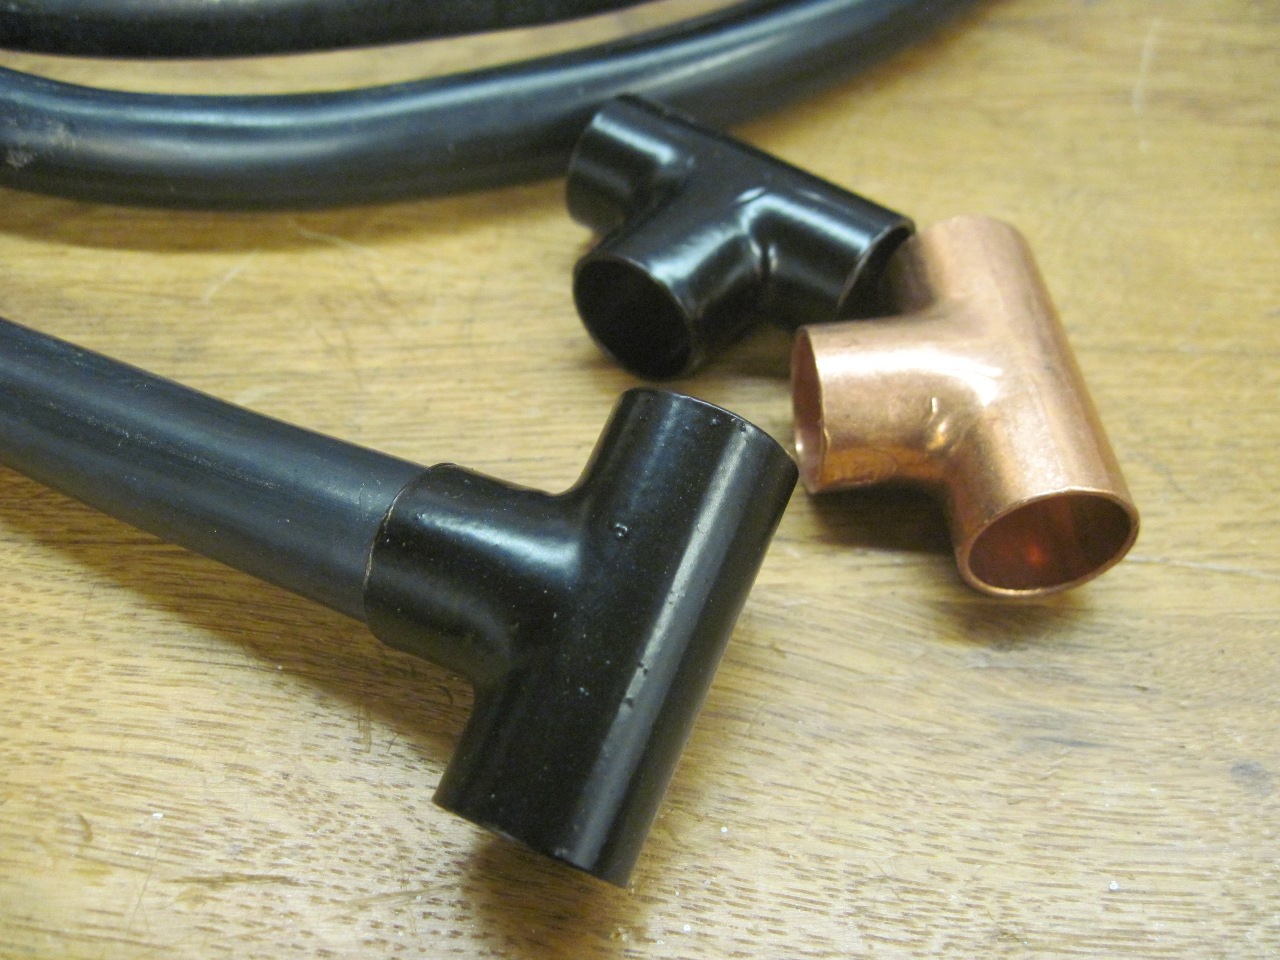
simple, direct, and required only minor surgery. I got some 1/2"
ID Neoprene rubber tubing for the drains. On each side of the
car, the cowl and gutter drains are joined with a "T" fitting. I
originally planned to use a plastic barbed fitting, but I was concerned
about how small the ID if the fitting was. After a short search
for something better, I discovered that my rubber tube was a nice
sliding fit into 1/2" copper sweat fittings. This seemed like a
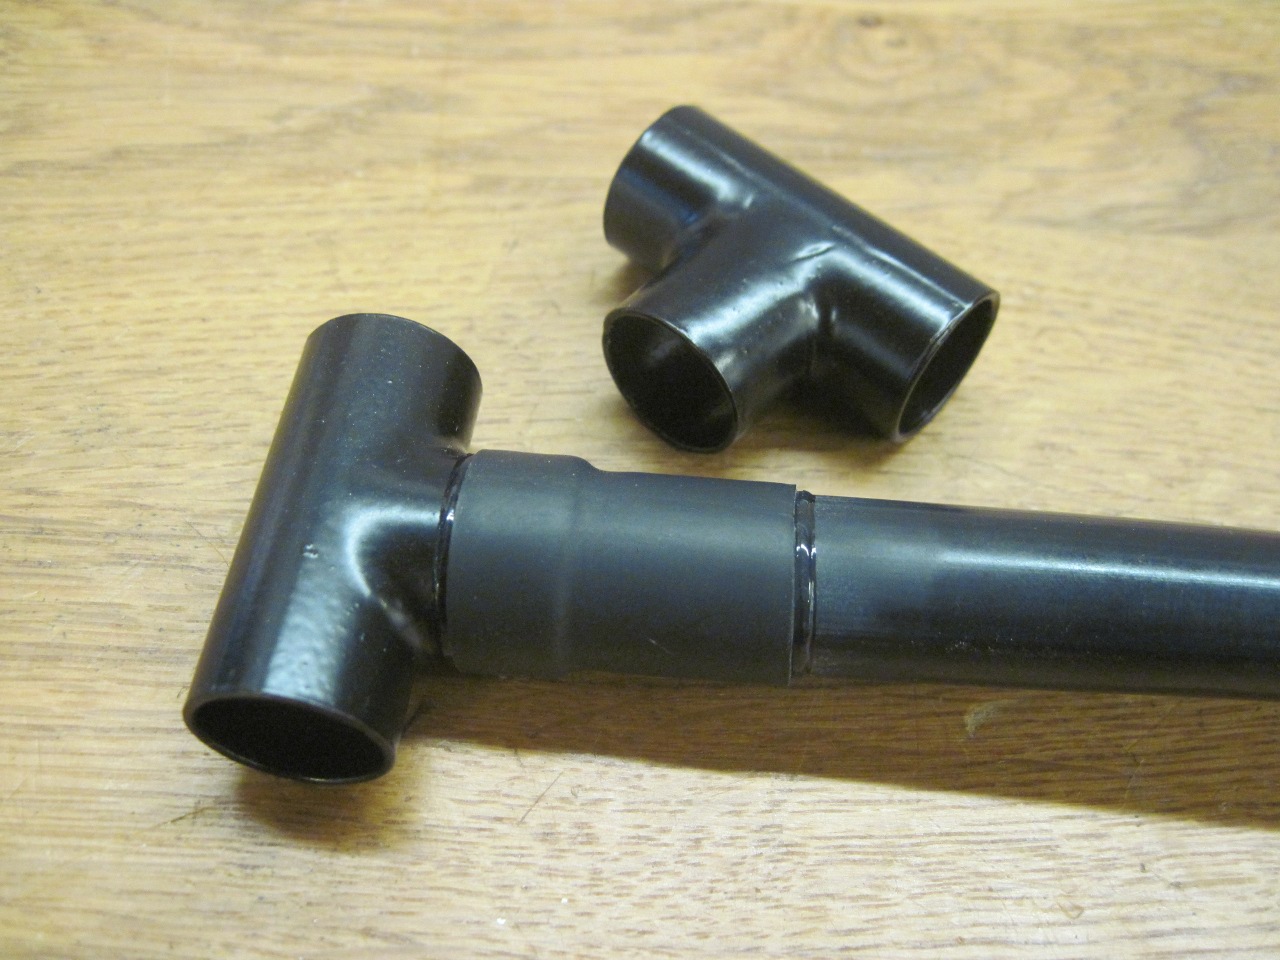
good approach--large ID, no corrosion, and compact. I powder
coated the fittings so they wouldn't necessarily advertize the fact
that they were plumbing parts. To secure and seal the joints, I
used some "marine" heat shrink tubing that has hot melt glue inside.
I
gave some thought to the termination of the drain at the splash shield.
I needed something that would secure the tubing in place, and it
would be nice to have some protection against splashing water and
debris being forced into the tube. For the ingress protection,
some have used a quarter panel drain used on older Mustangs.
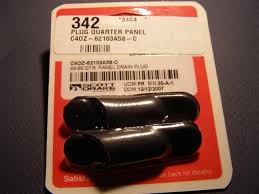
I
looked at these, and they are apparently designed to be mounted on the
underside of a quarter panel cavity that can collect water. They
are made of rubber, and have a simple valve of sorts, but no good way
of attaching a hose. Their external shape deflects splashed water
from all but one direction.
In the end, I borrowed the general idea of the Mustang drains, but made it so that it would easily accept my tubing.
Coincidentally, I just got my first 3D printer, and was looking for a real project for it. This is the result:
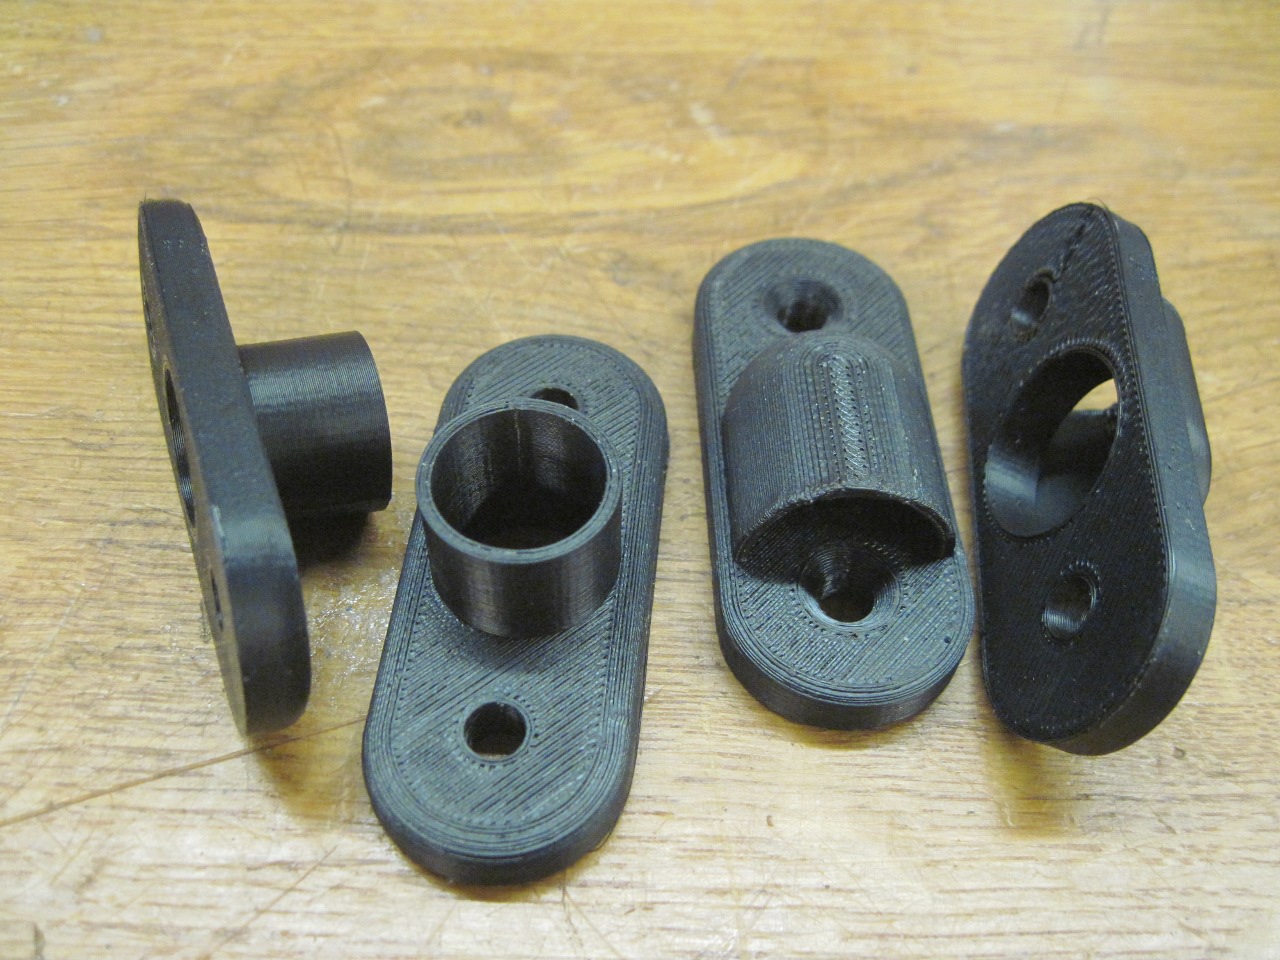
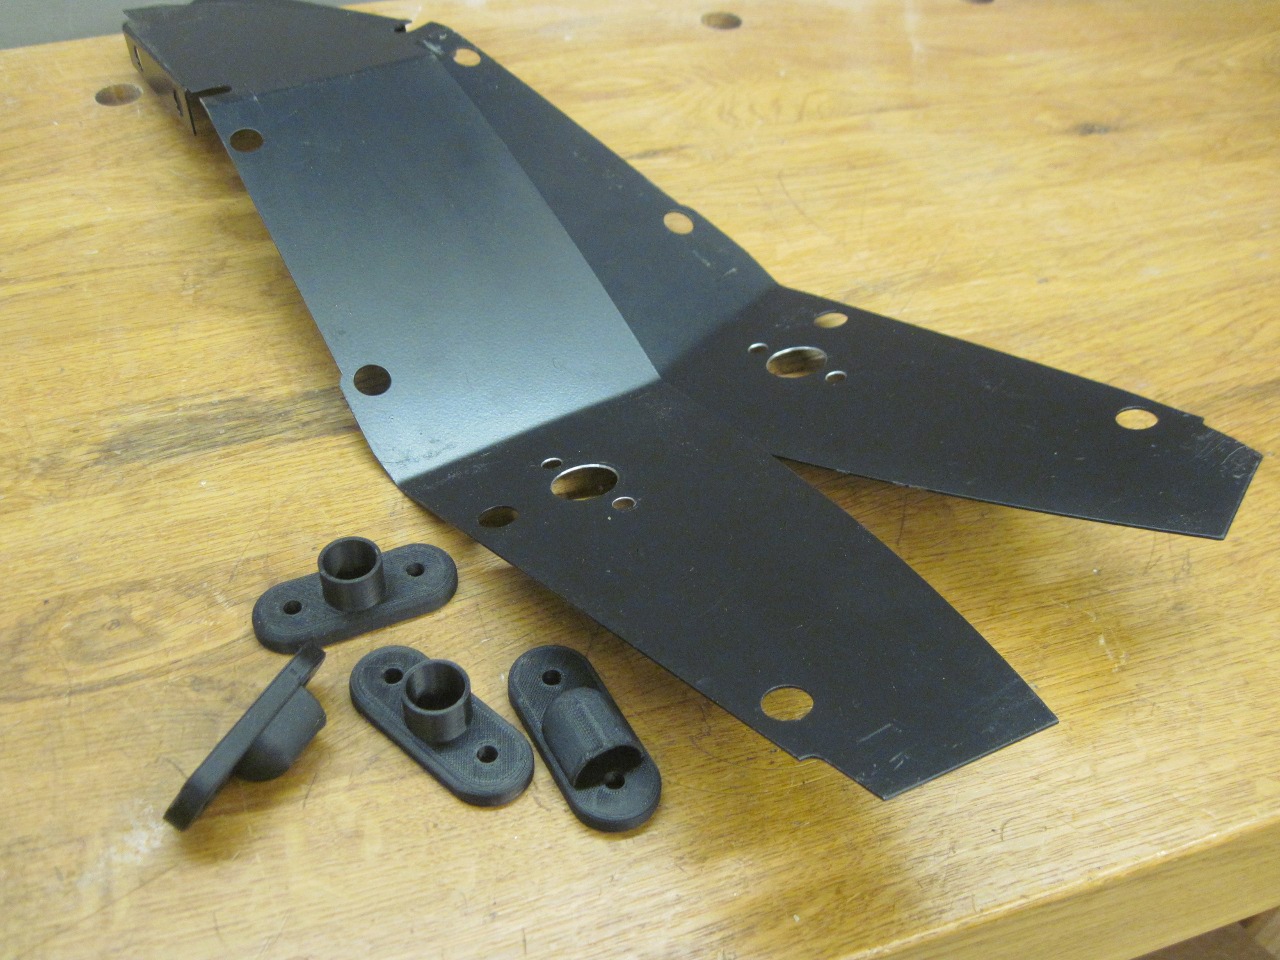
So
here is the drain tube assembly. The tubing extends through the
splash panel and slightly into the outside part of the drain.
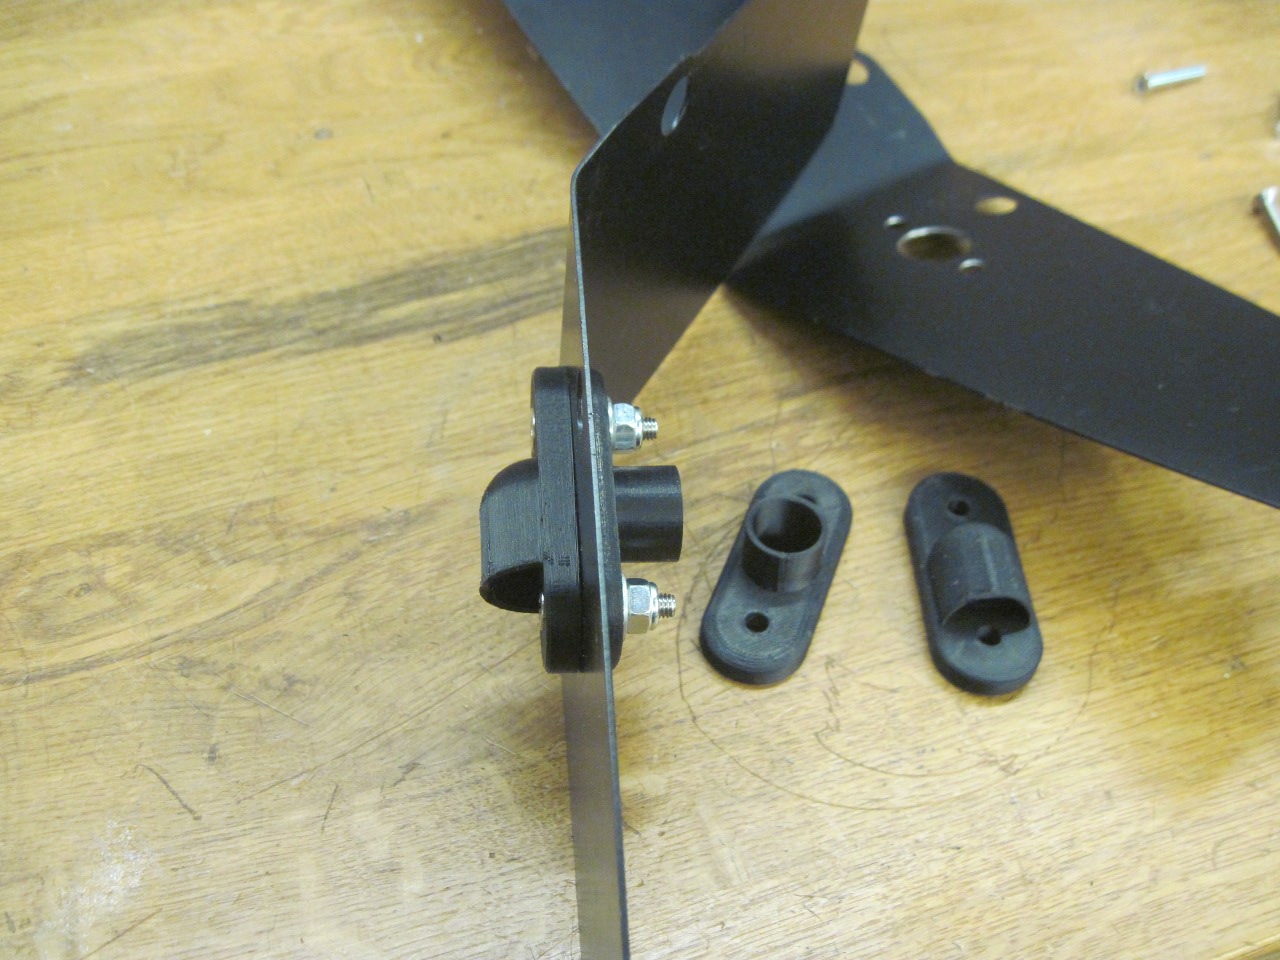
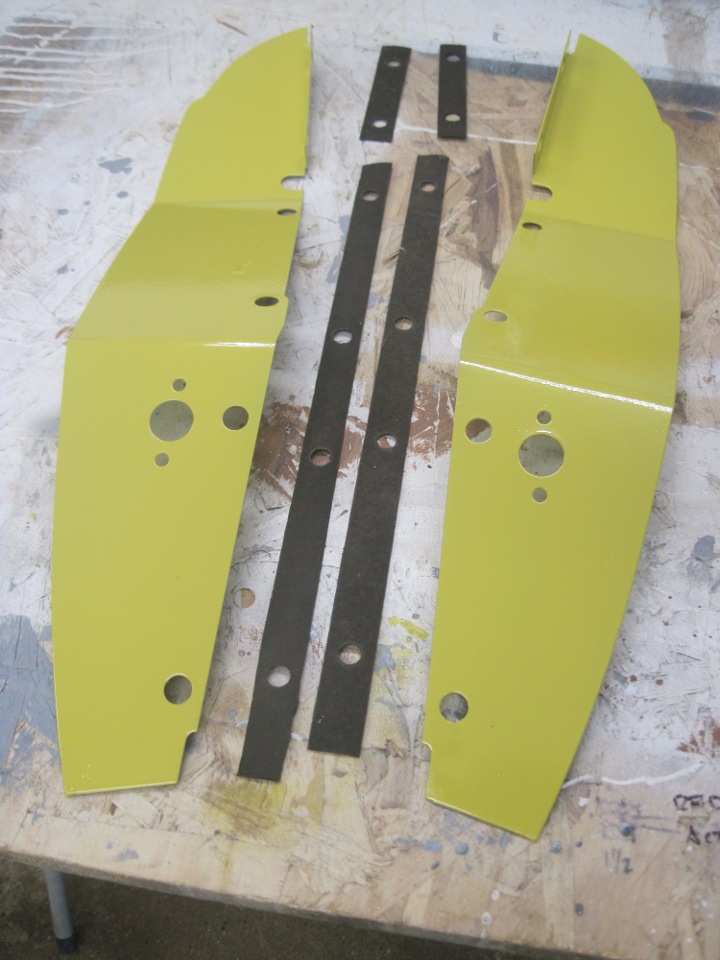
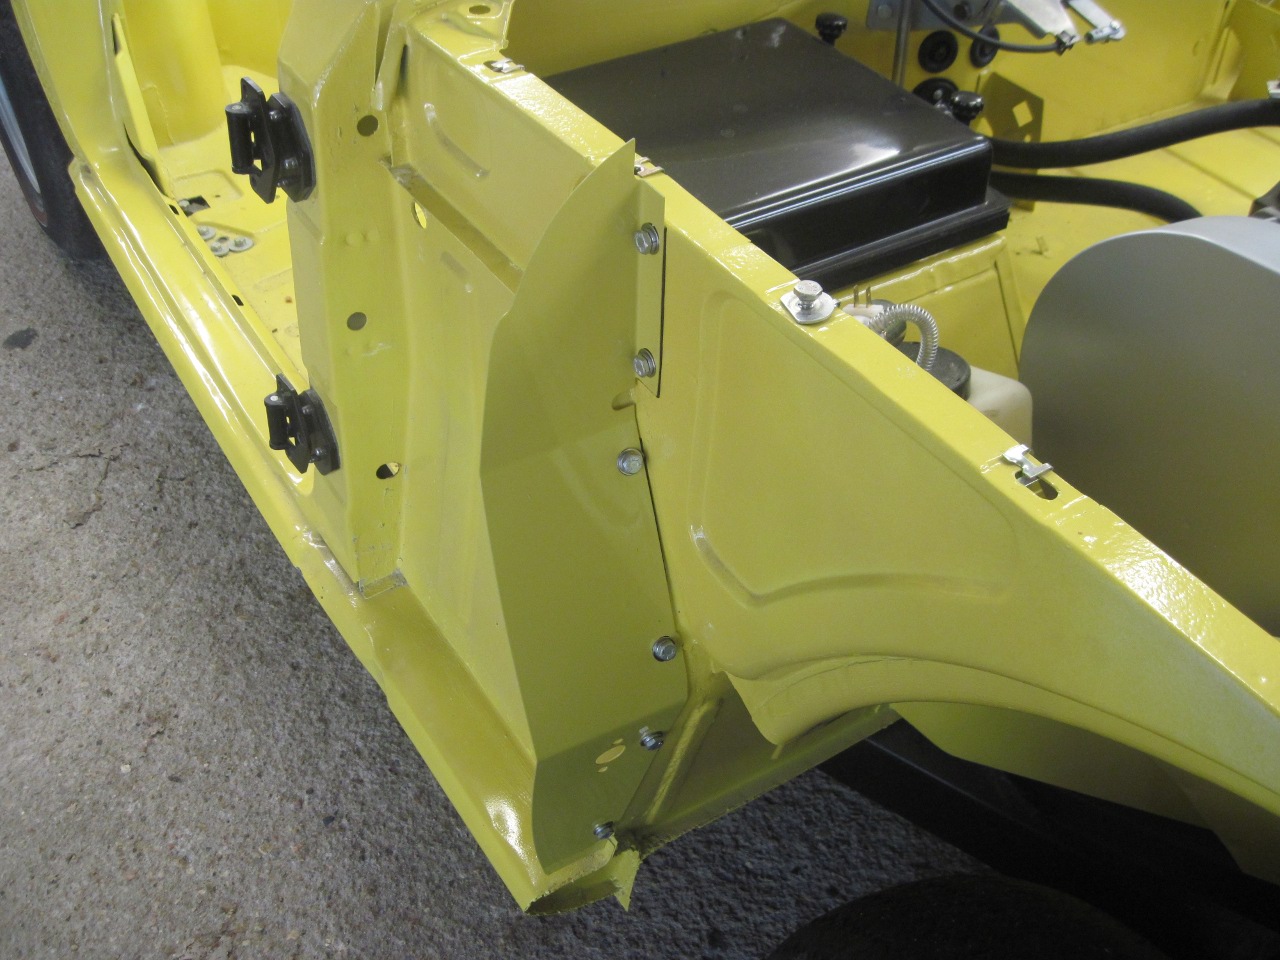
Painted
the new splash panels and mounted them. I used some bituminous
gasket material between the panels and the tub to try to keep the paint
more intact.
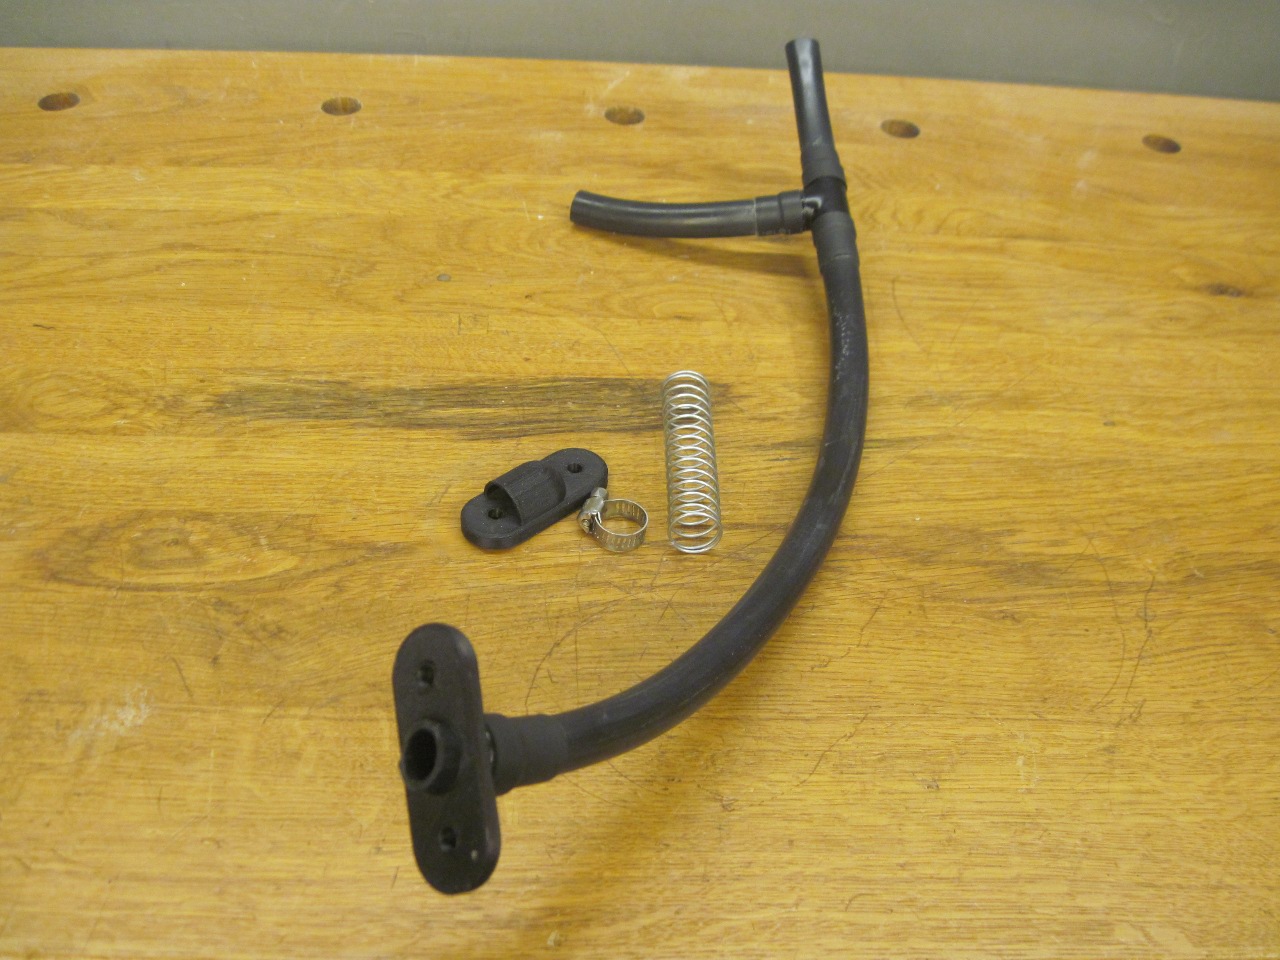
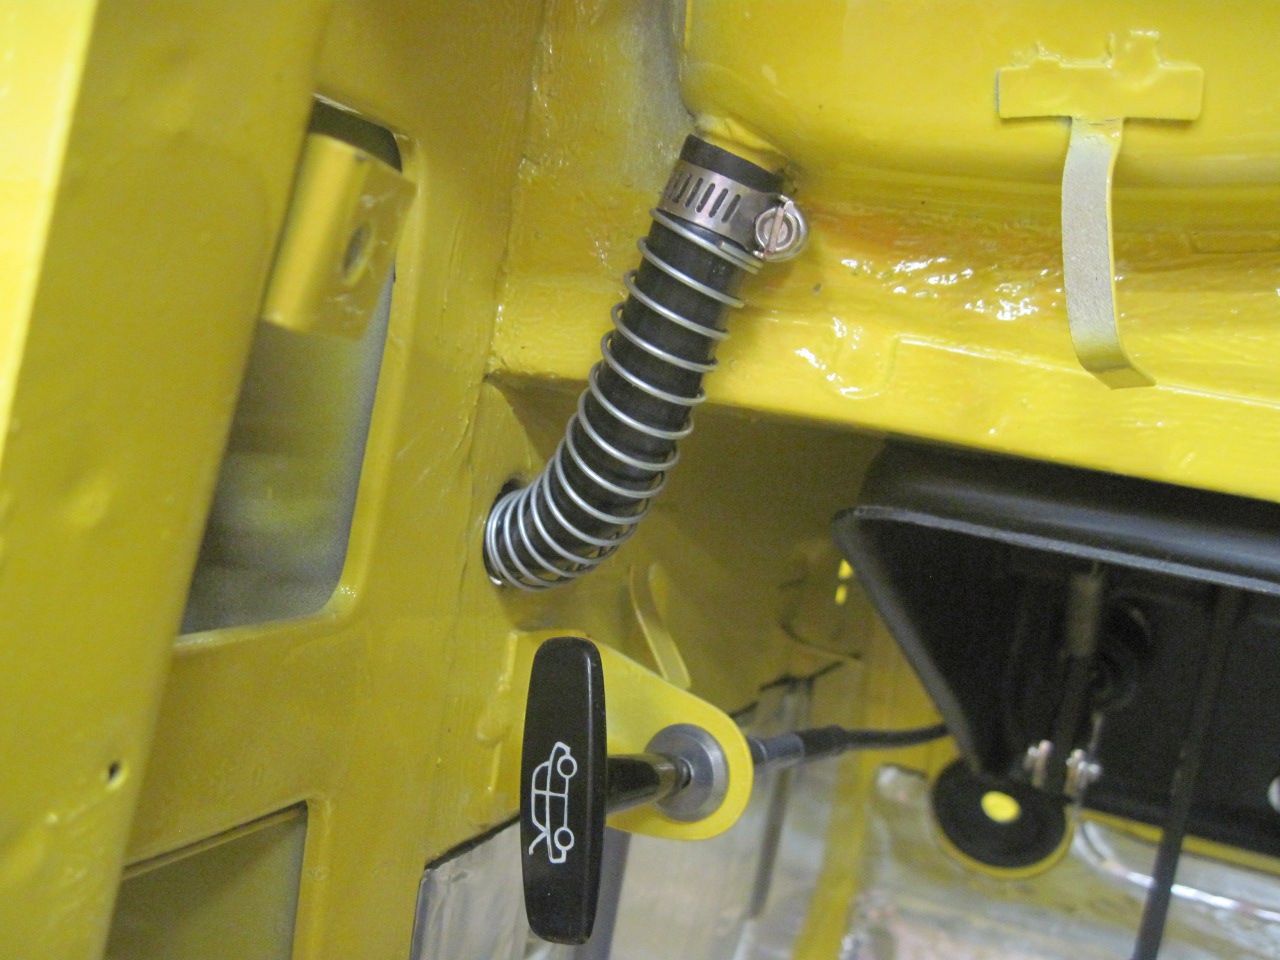
The tight bend for the cowl drain branch was tending to crimp. This spring stopped that.
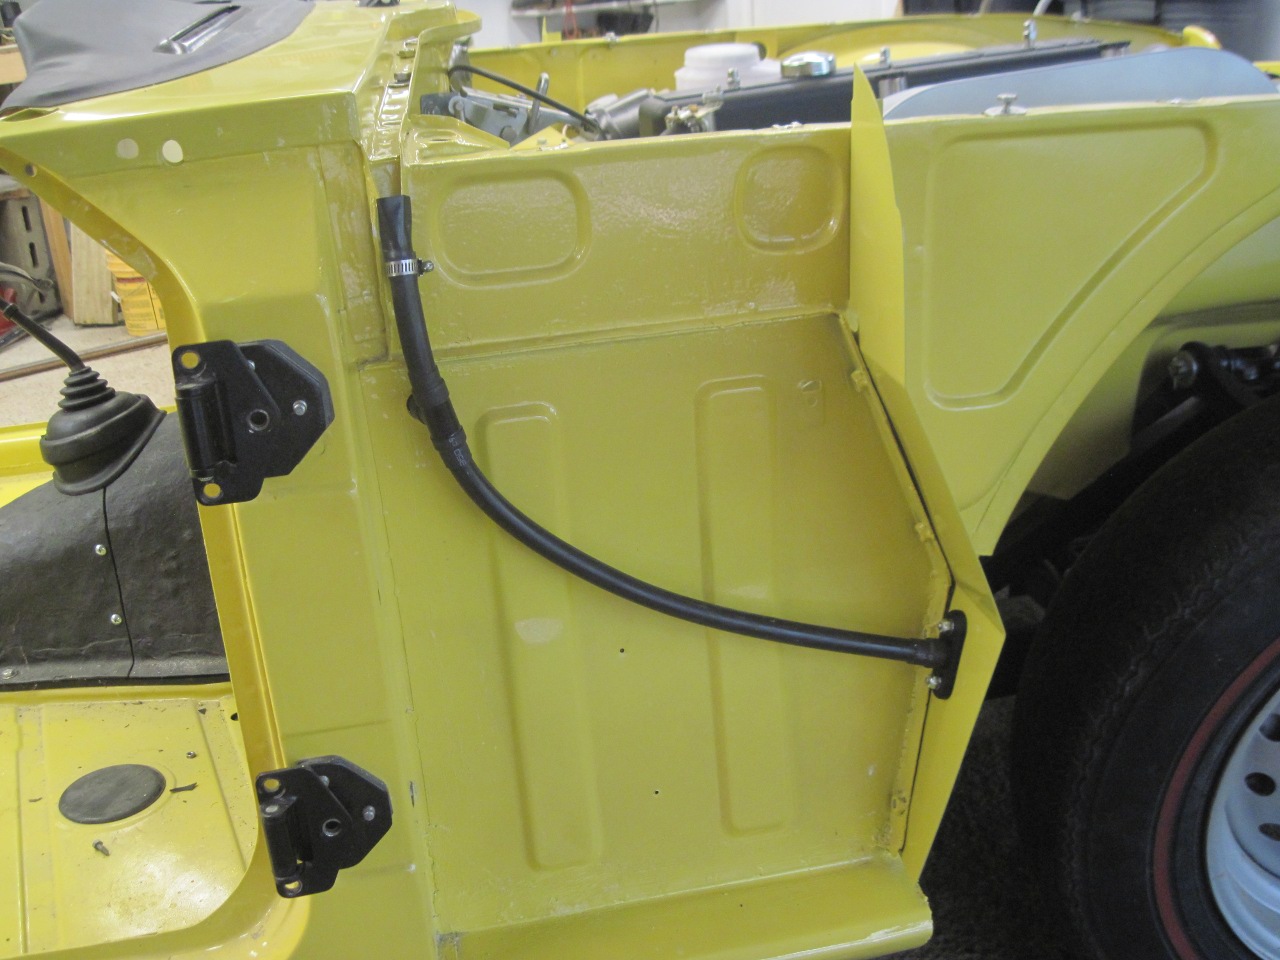
Installed drains.
The funnest part pf this job was playing with the 3D printer!
Comments to Ed at elhollin1@yahoo.com
To my other TR6 Pages