To my other TR6 pages
July 29, 2017
Shift Boot
There
is nothing too special about theTR6 shift boot. It's a pretty
standard vinyl cone-shaped thing that is primarily cosmetic. My
boot was original and was in deplorable shape. New vinyl or
leather boots are easy to get and not too expensive. On the other
hand, I had quite a bit of vinyl left over from recovering the crash
pads and dash support, so I figured why not just try to make a boot.
This
opened up a range of possibilities to tweak the design a little.
I've always liked the look of a finish ring around the base of
the boot, so I decided to add that feature. To me, it looks a
little more, well, "finished".
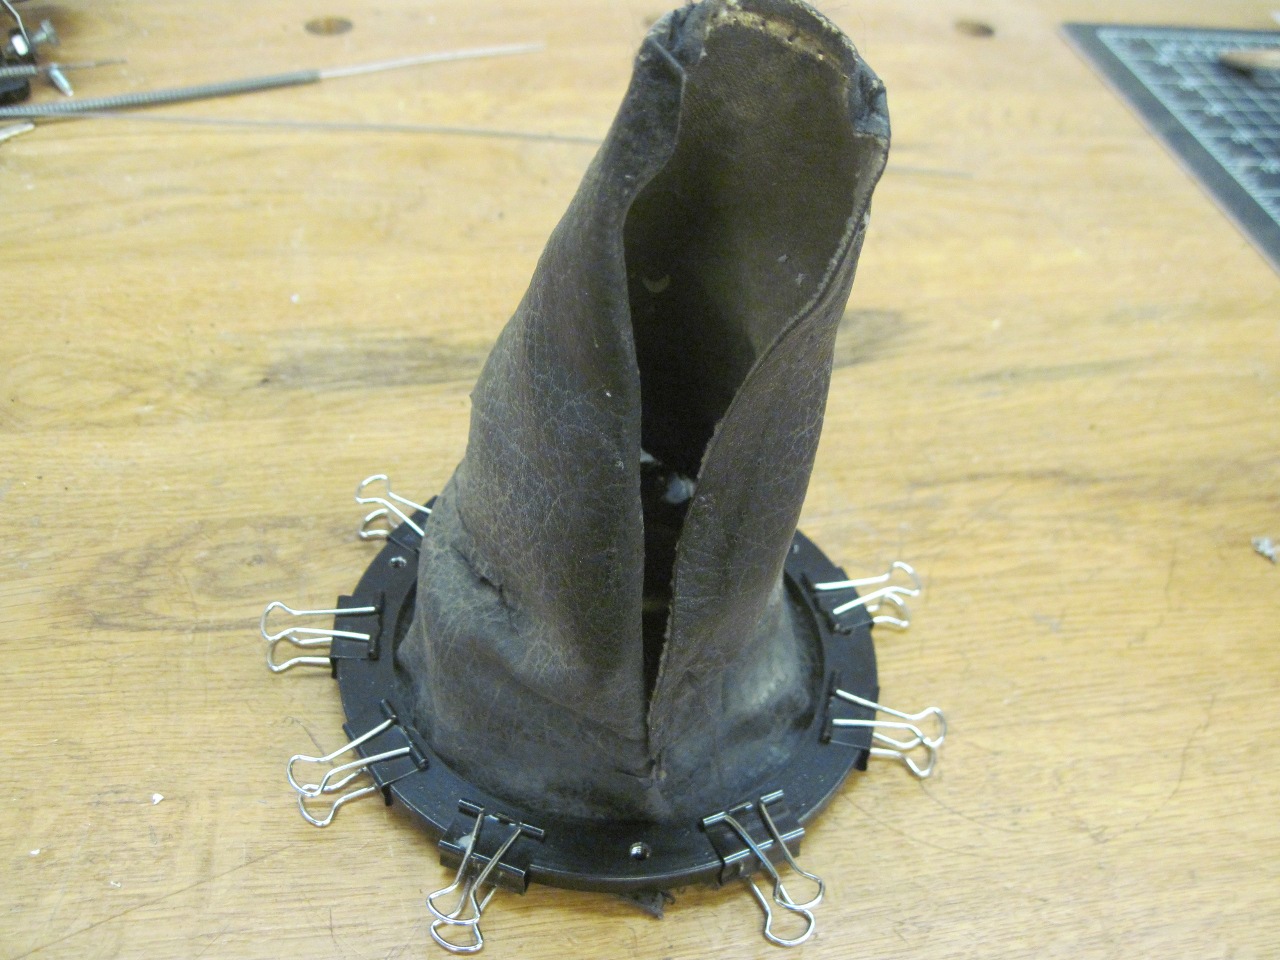
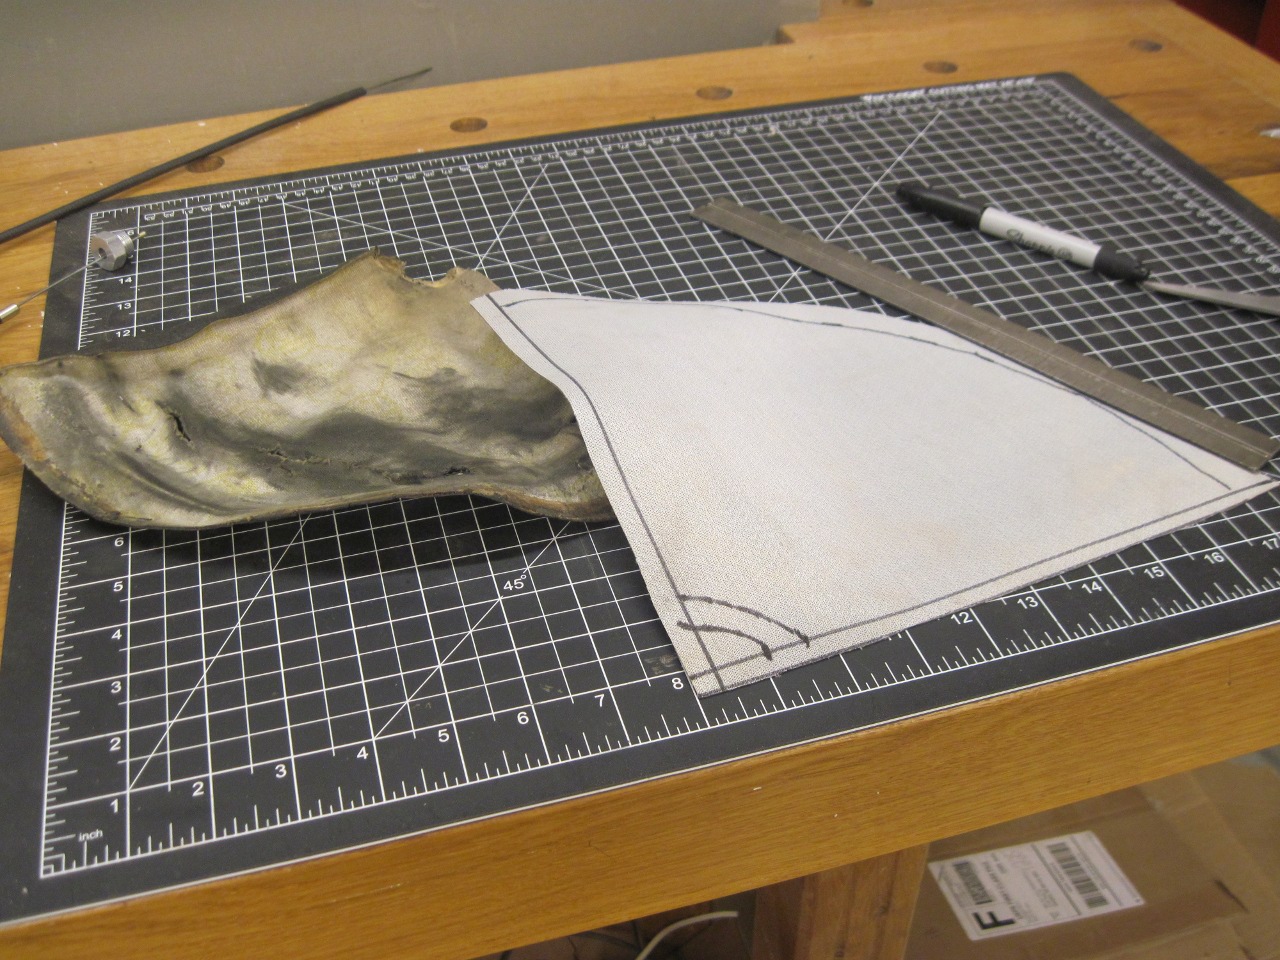
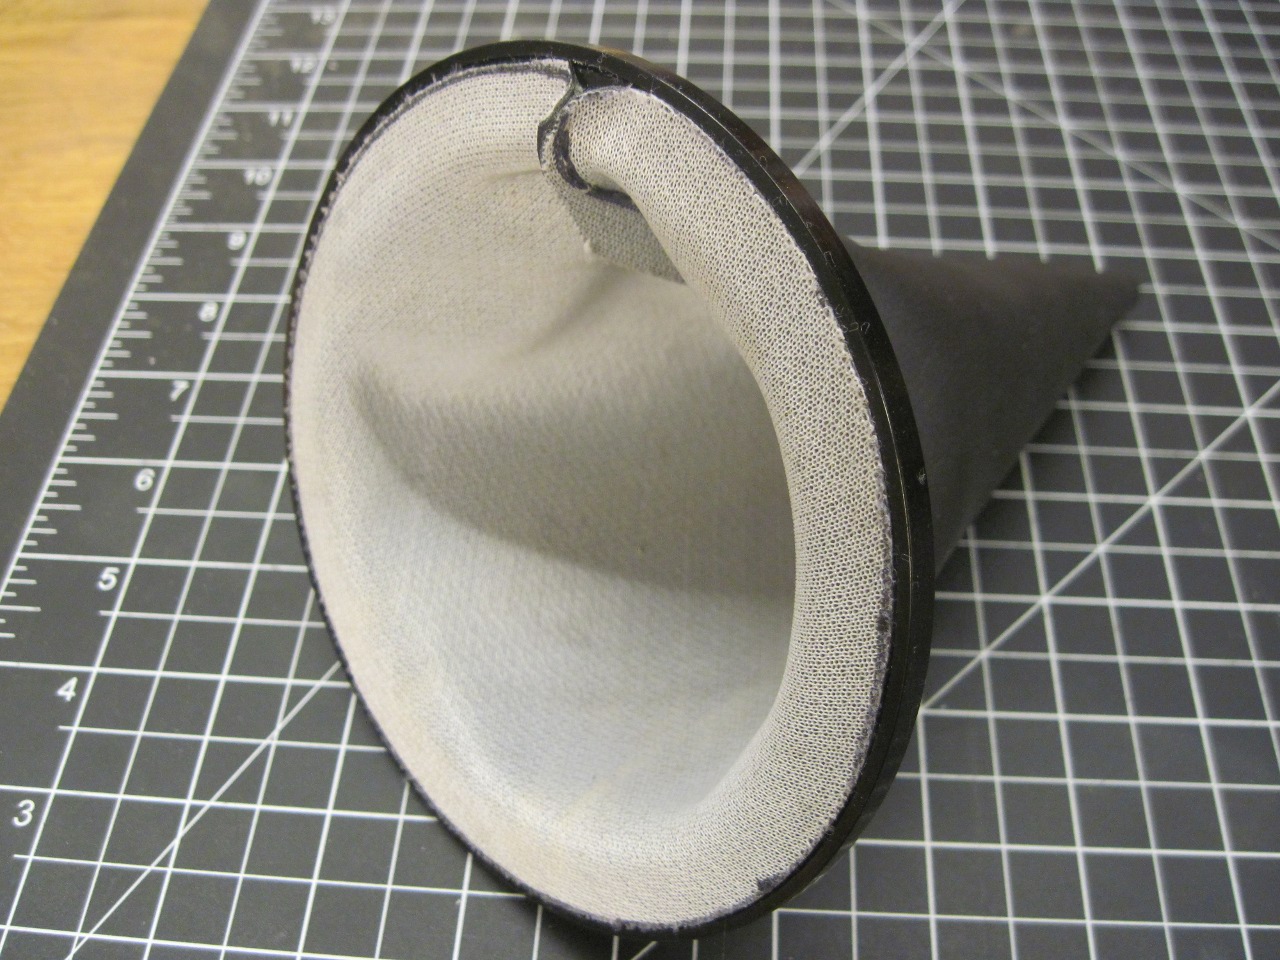
First, I unstitched the old boot to see how it was constructed, and to use it for a pattern.

Before
going too far, I decided to make the finish ring to make sure the new
boot would fit it. There are actually two rings, an aluminum one
to go on top of the shift surround, and a steel one to go on the
underside. The bottom ring will be tapped for the fixing screws
from the top ring. After drilling and tapping, the steel ring was
powder coated, and the top ring anodized black.
.
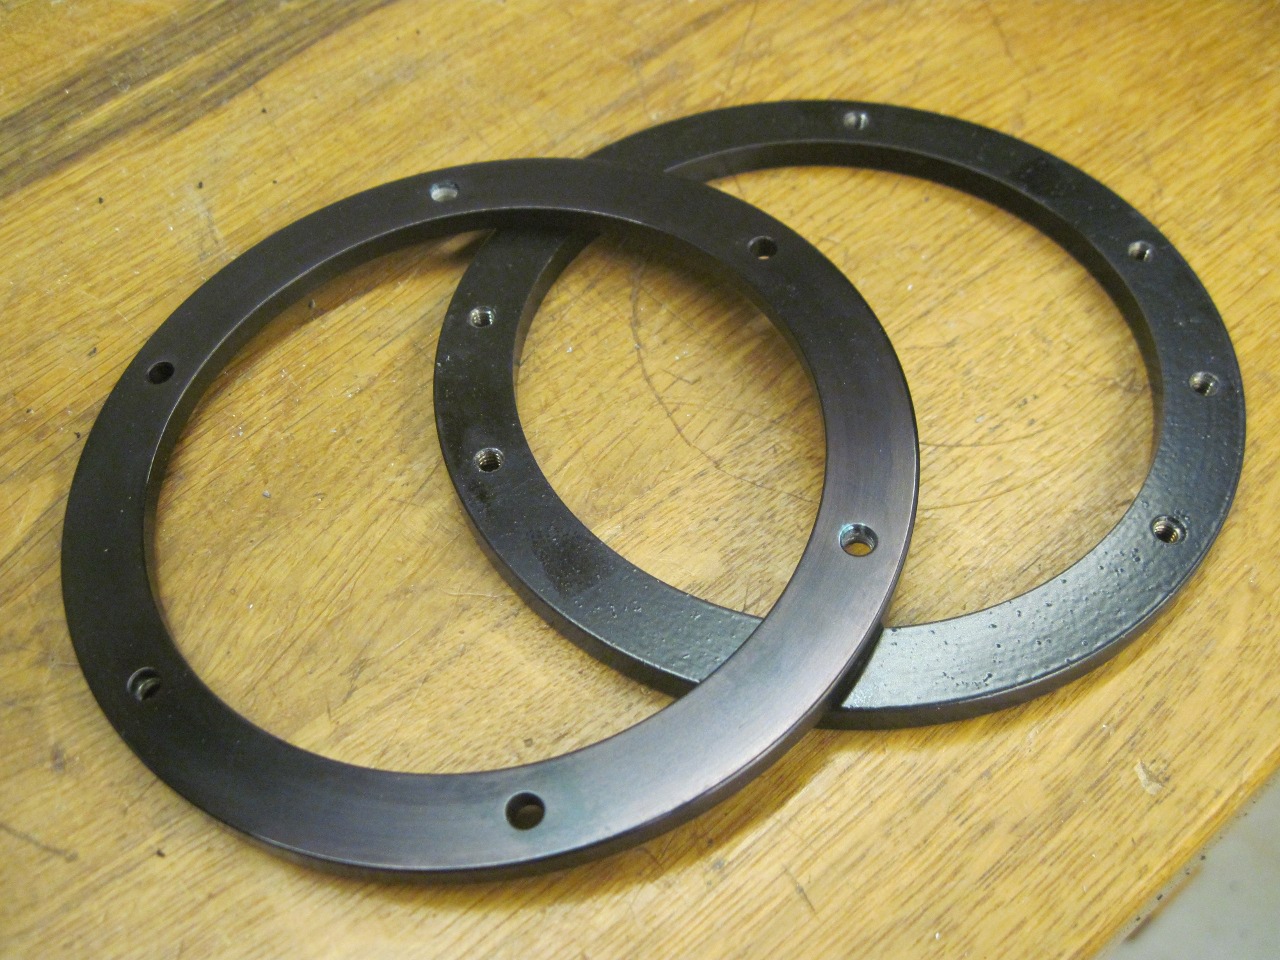
The bottom ring has two extra threaded holes to hold it in place until the upper ring is installed.

I
wanted to glue the boot to the underside of the top ring, so using the
old boot, I was able to determine that it would fit without any changes.
Then marked and cut the new boot from some black automotive vinyl.
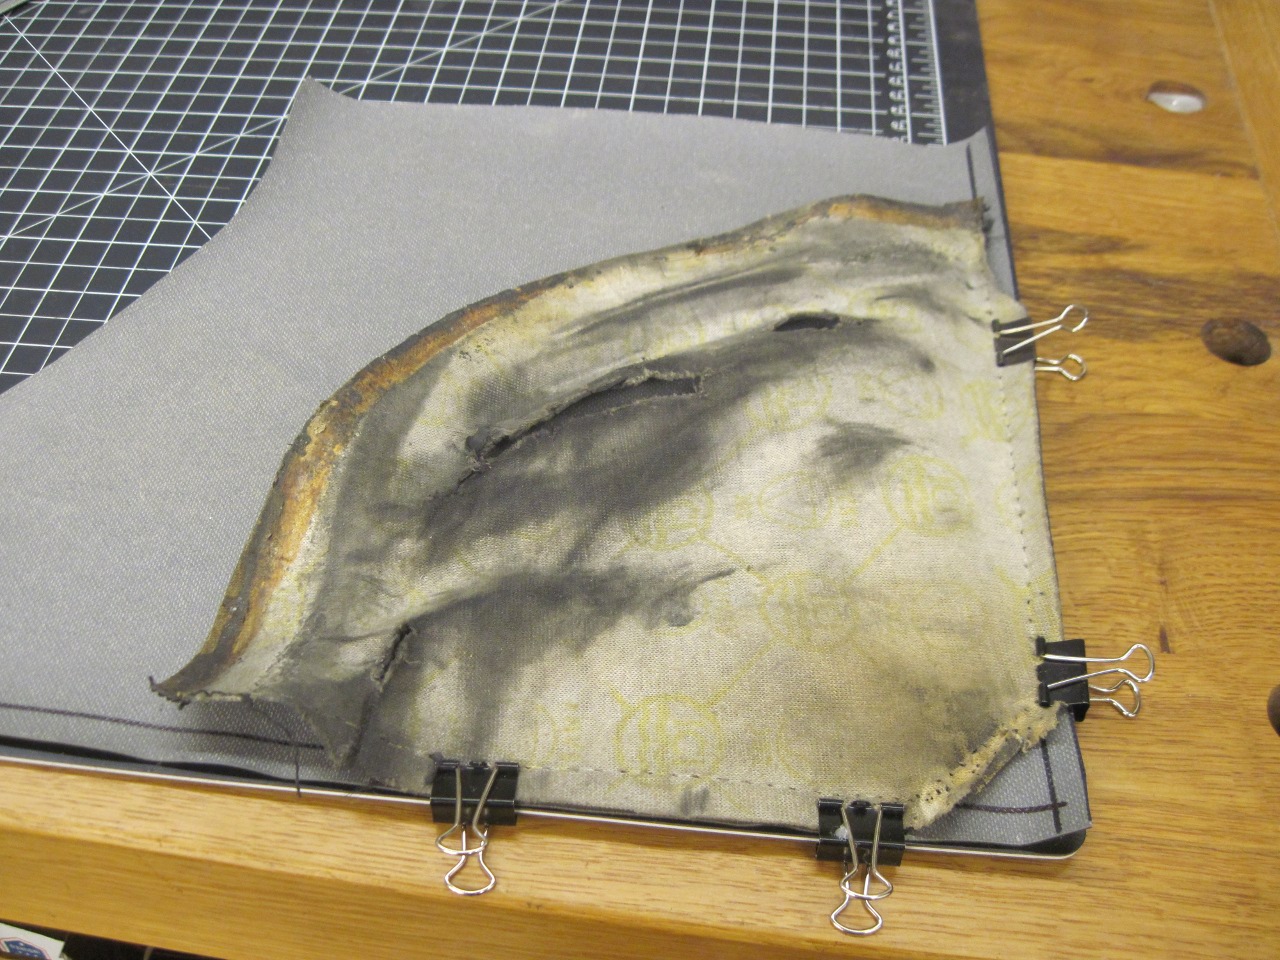
Now
I don't have a sewing machine, and the love of my life wouldn't let me
use hers, so this was going to be a hand stitching job. I used
this sail-maker's stitching awl, which worked pretty well. I'm
certainly no seamstress, so my first attempt ended up with a pretty
crooked and ragged seam. On version 2.0, I made a couple of
plastic strips with guide notches that helped space the stiches and
keep them straight. This worked much better.


I
had machined a little lip on the underside of the aluminum ring to
account for the vinyl thickness. It also worked as a dam when
brushing on the contact cement.

Pressed on the rim of the boot, and then cut holes inthe vinyl to match those in the ring.
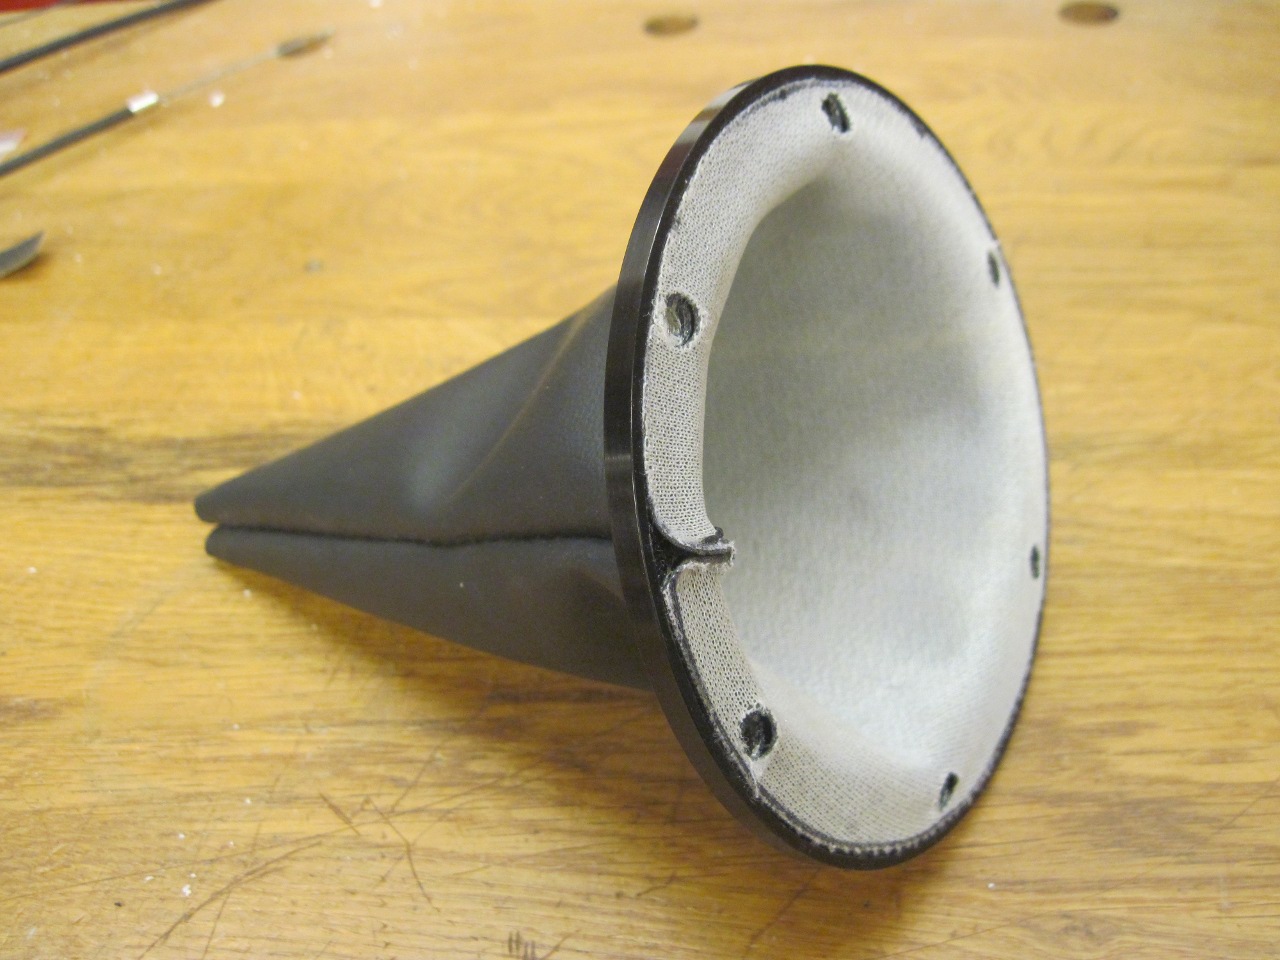
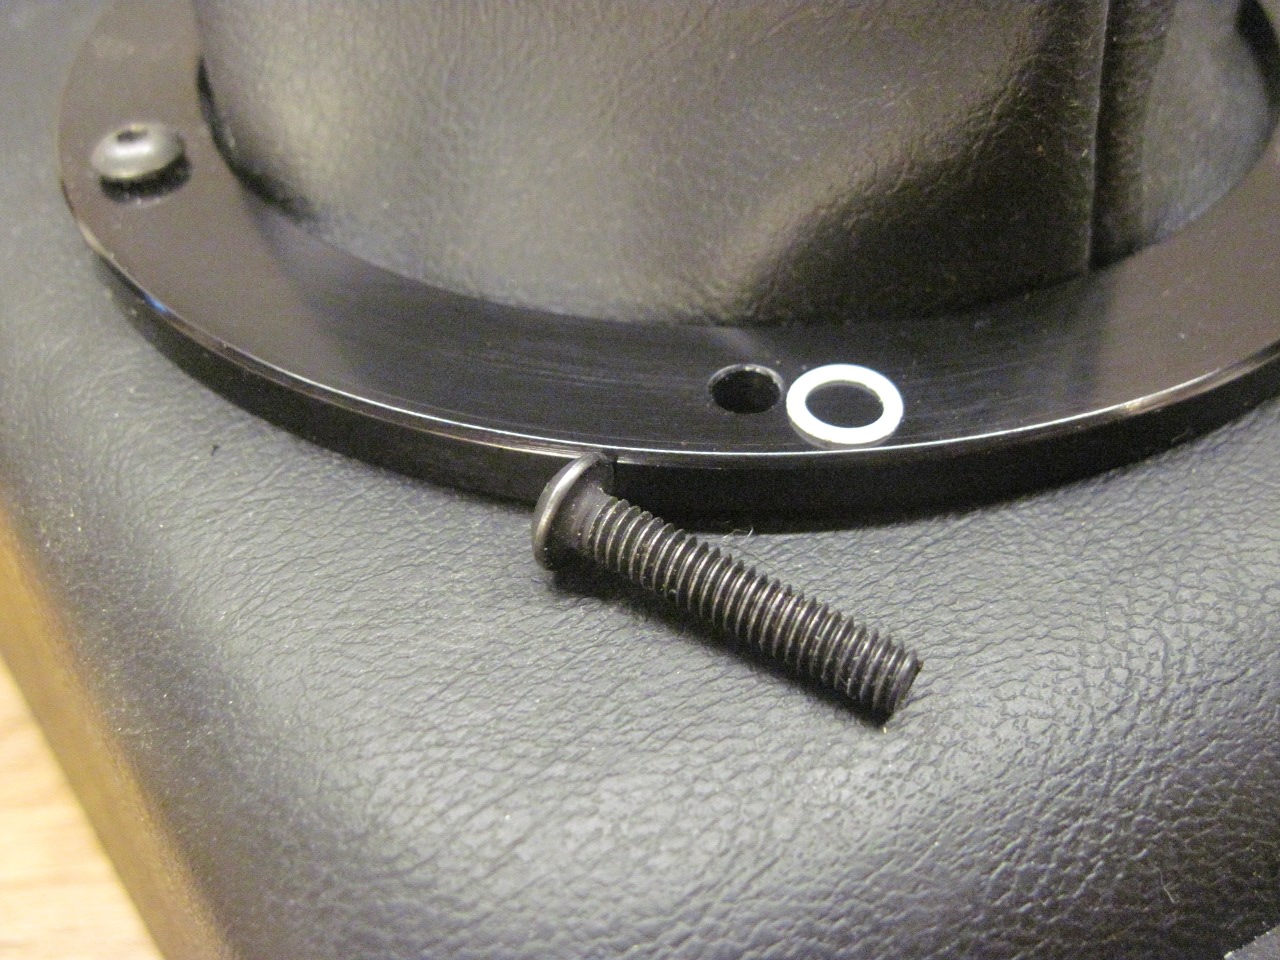
Making sure everything lines up. I used little nylon washers under the screw heads to protect the anodizing.
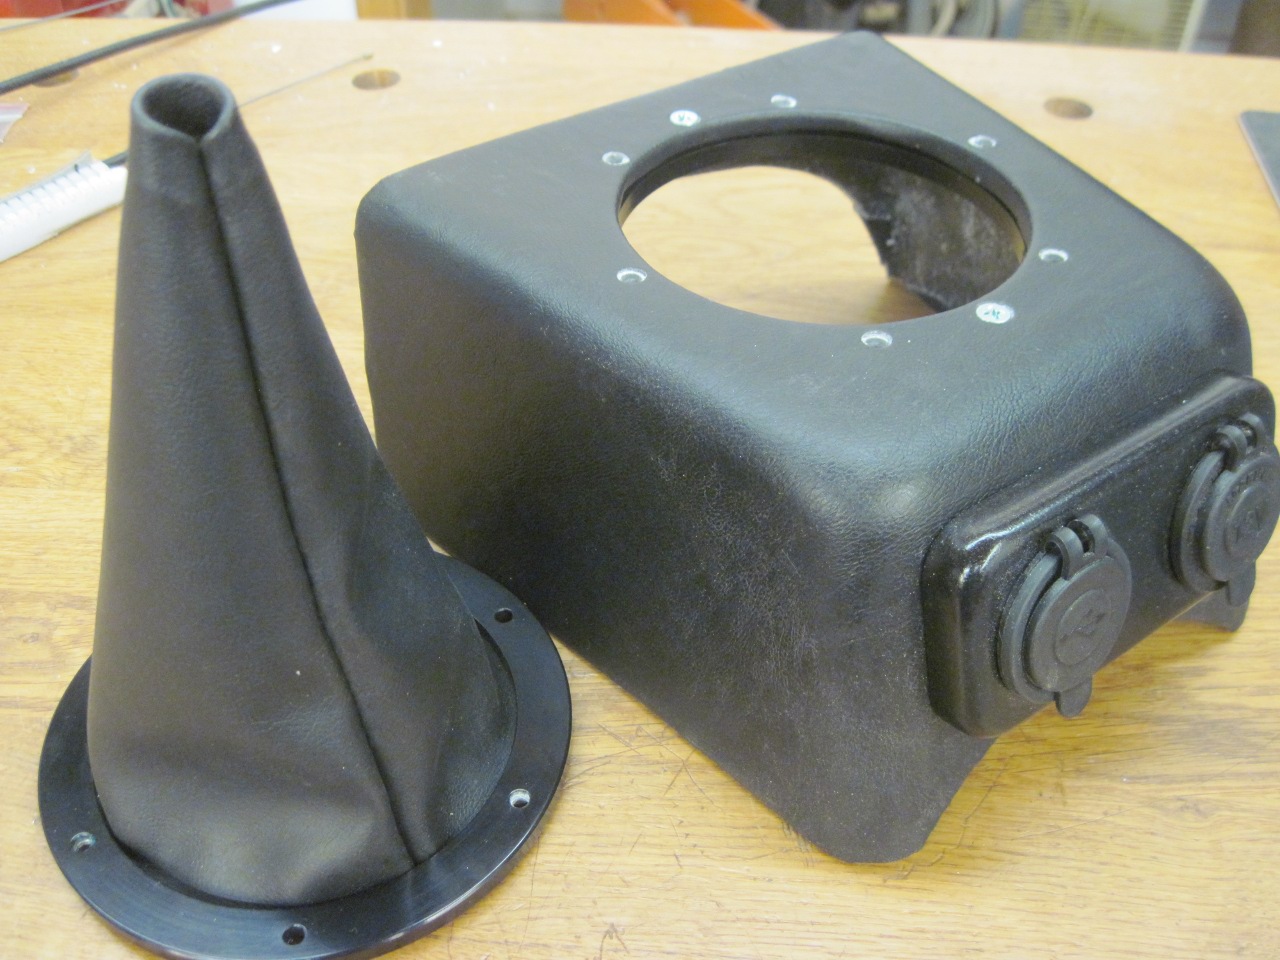

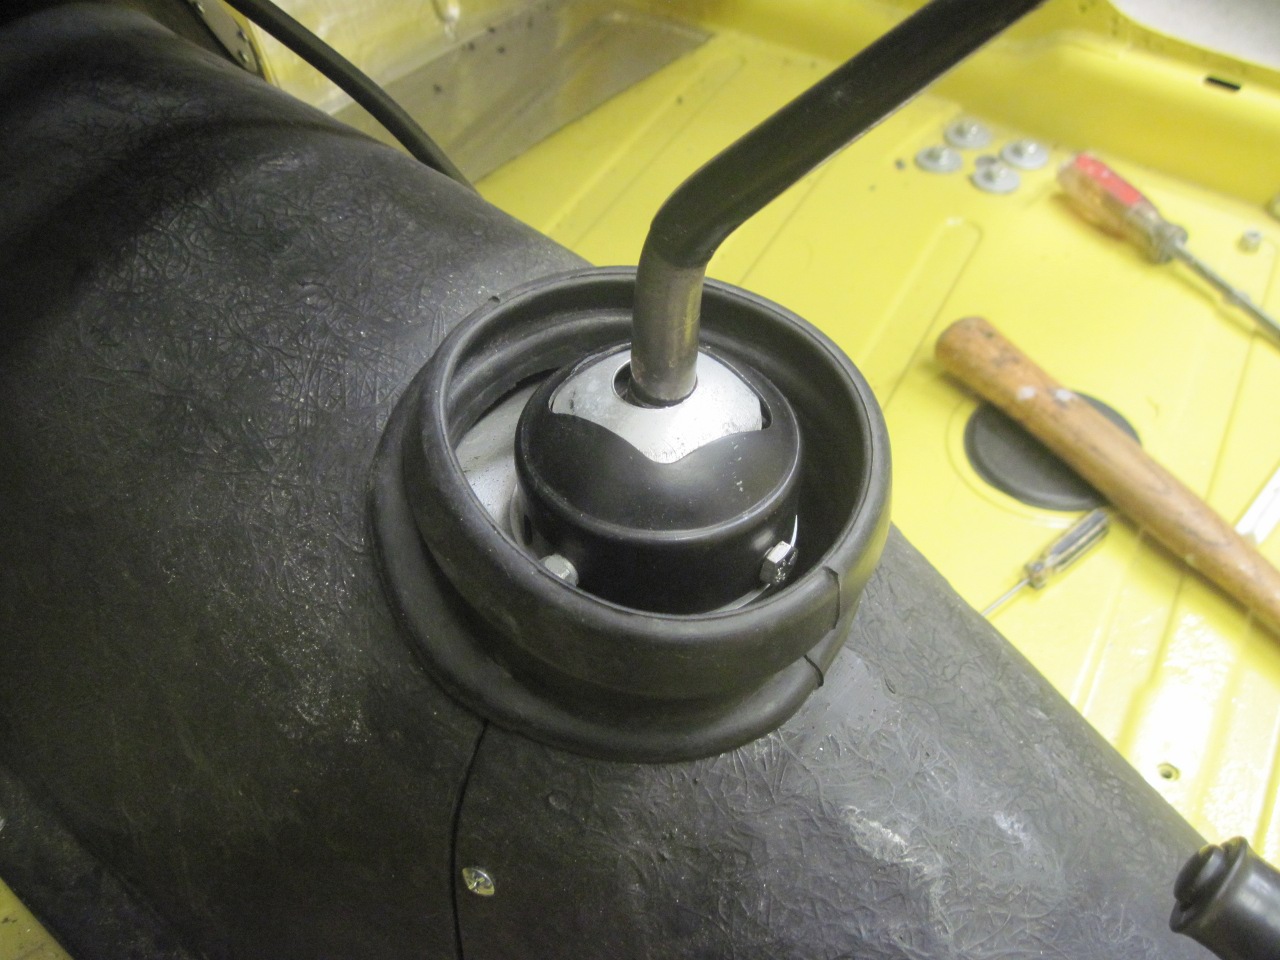
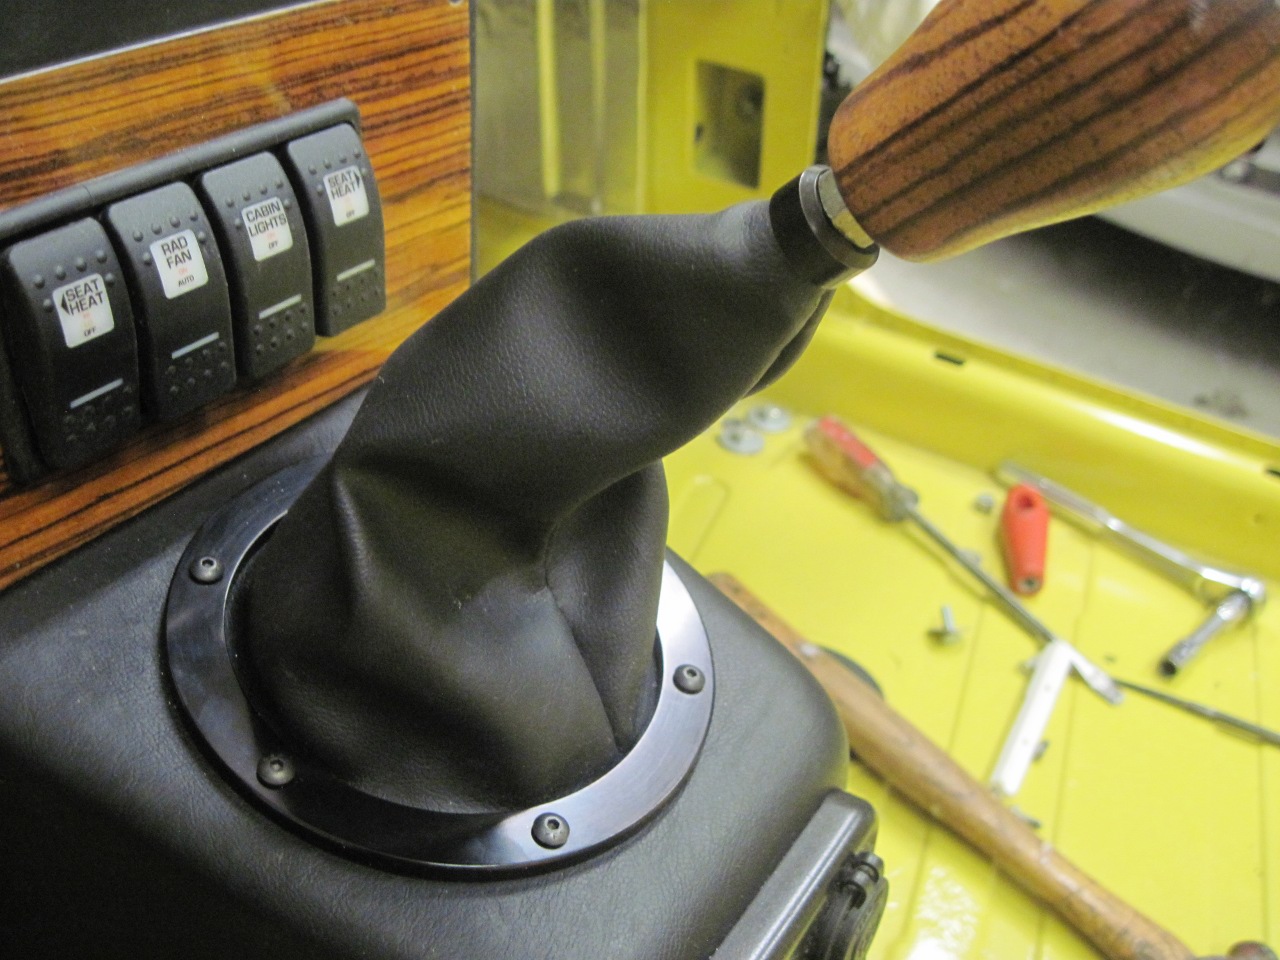
Getting
ready to try the new boot on the car. The real weather-seal boot
is a two piece rubber affair that attaches to the gearbox tunnel.
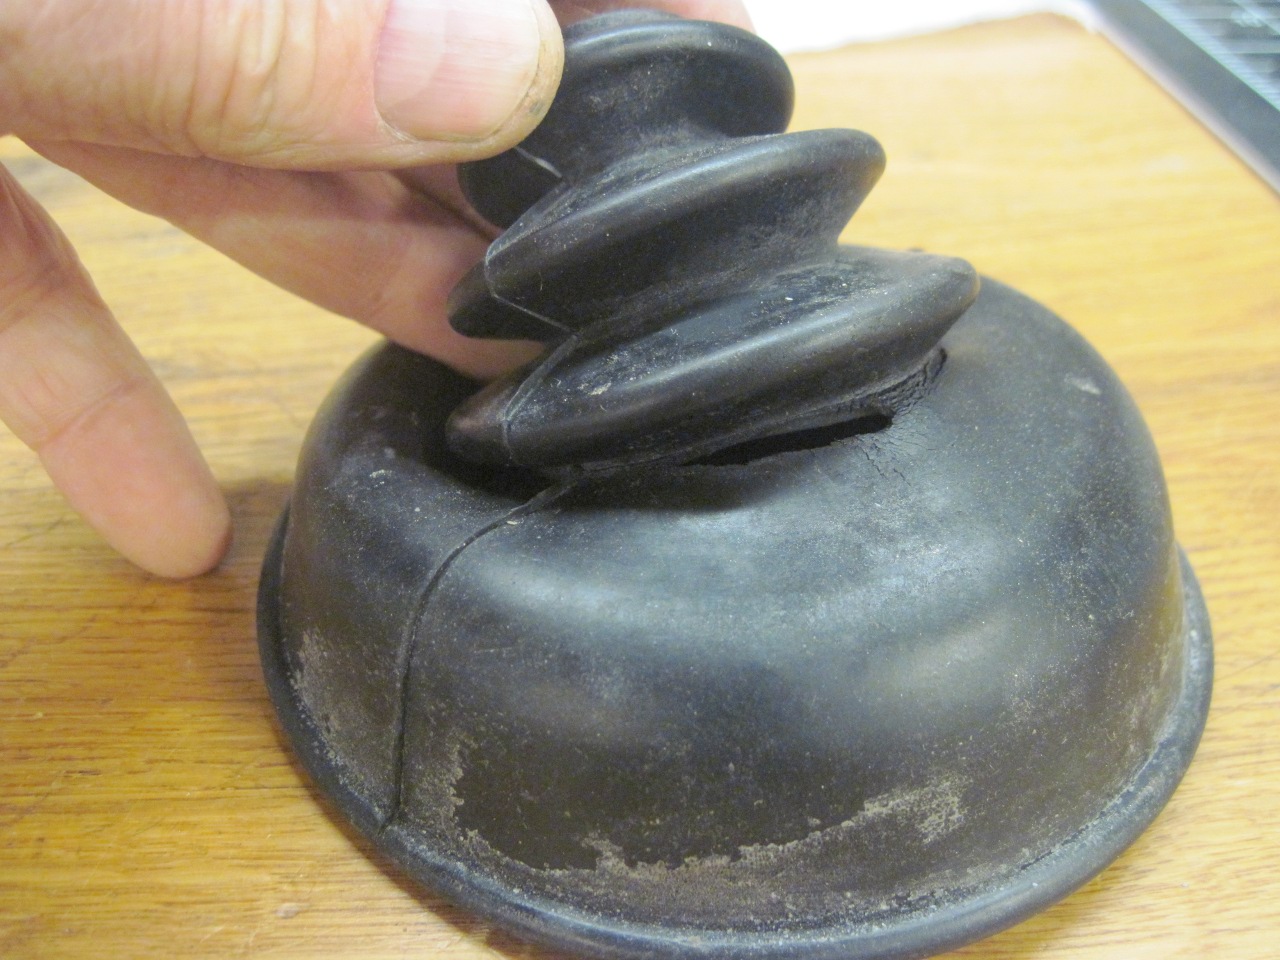
In my case, the lower boot was in fine shape. The upper one,
while looking pretty good, had some splits in the recesses of the
bellows.
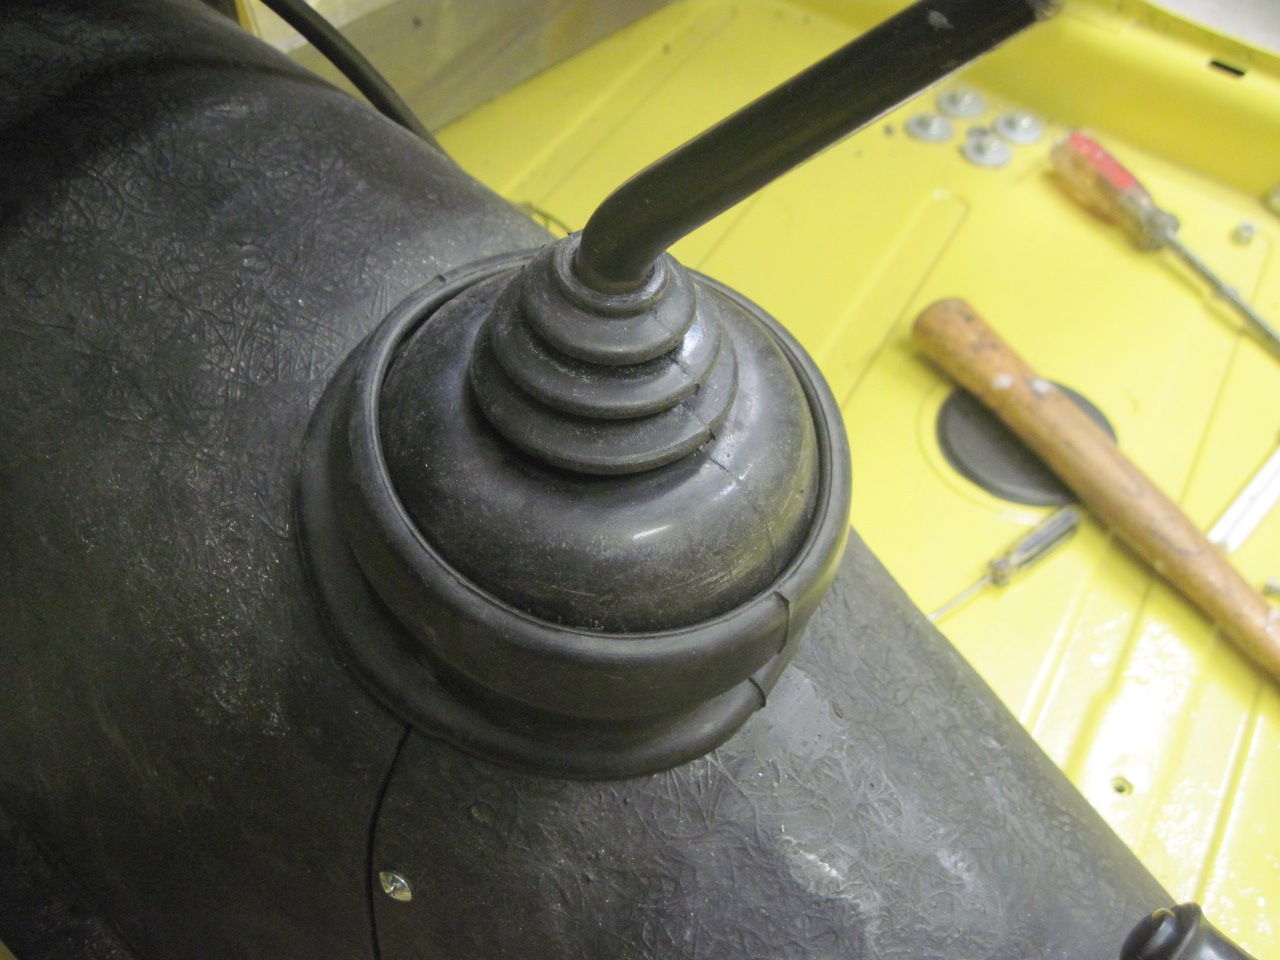
I got a new upper boot, and despite my trepidation about replacement
part quality, especially rubber parts, this boot looked and felt pretty
darn good. New boot is on the right.

The
upper boot fits inside the lower one. I believe the original
factory construction was to glue the vinyl boot to the upper rubber
boot before inserting it into the lower boot.
Now
for the final fitting. Since the new vinyl boot mounts a bit
higher than the original position, I probably could have made it a
little shorter. I made a little ferrule to top it off.
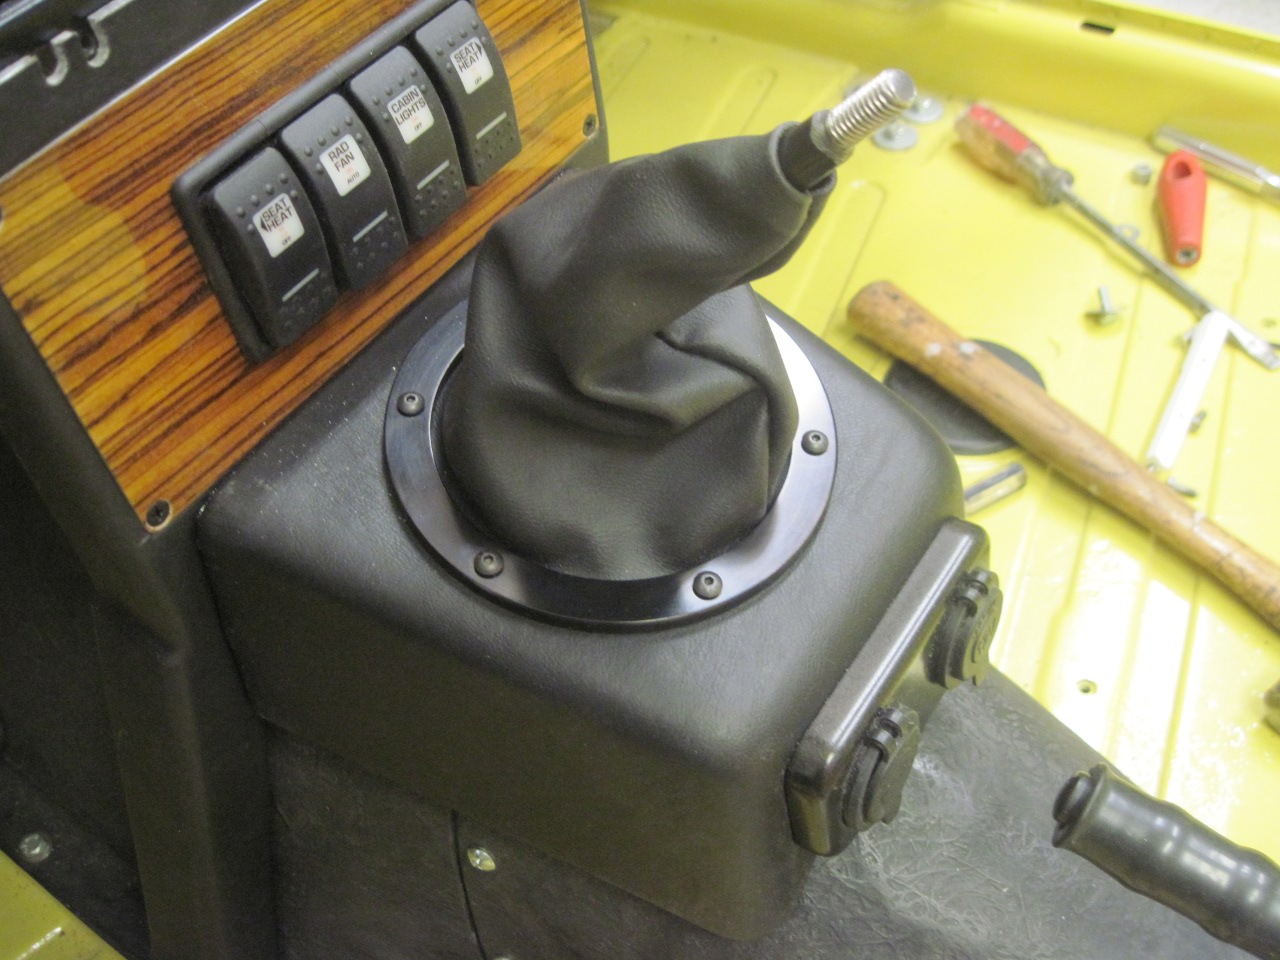

So this is how it looks. I like it.
This
was a pretty simple, fun project, and it stretched my skill set.
It occurred to me that it might actually be an improvement over
the original design, since the boot can now be replaced without
removing the dash support. Total cost was probably less than the
cost of a ready-made boot.
Comments to Ed at elhollin1@yahoo.com
To my other TR6 pages