To my other TR6 pages
May 20, 2016
Mounting The Tub
After
a long winter of waiting, I was finally ready to re-mount the refurbed
tub onto the refurbed frame a few weeks ago. I was really looking
forward to this event, partly because it would generate an additional
parking space in the garage and give me more working room.
In
preparation for the mating ceremony, I did a few last minute things.
I filled the gearbox and differential with GL4 gear oil,
then did a little precautionary trimming of the reinforcing brackets on
the differential bridge. I wasn't sure it was necessary, but
didn't want to take the chance.

Then
I did a final corrosion preventative treatment to the interior of the
frame. I had used a popular "Internal Frame Coating" as I
finished the frame repair, but as far as I can tell, it is just an
ordinarty zinc phosphate primer. It's one of those products that
is probably sold under a number of very application-specific names,
but I think the only thing about it that makes it uniquely suited
for the inside of frames is the extended spray nozzle that comes with
it. Beyond that, it is just a paint, and I don't have high
confidence in its effectiveness on metal surfaces that can't be
properly prepared for paint. In my opinion, there are better
treatments for confined interior spaces.
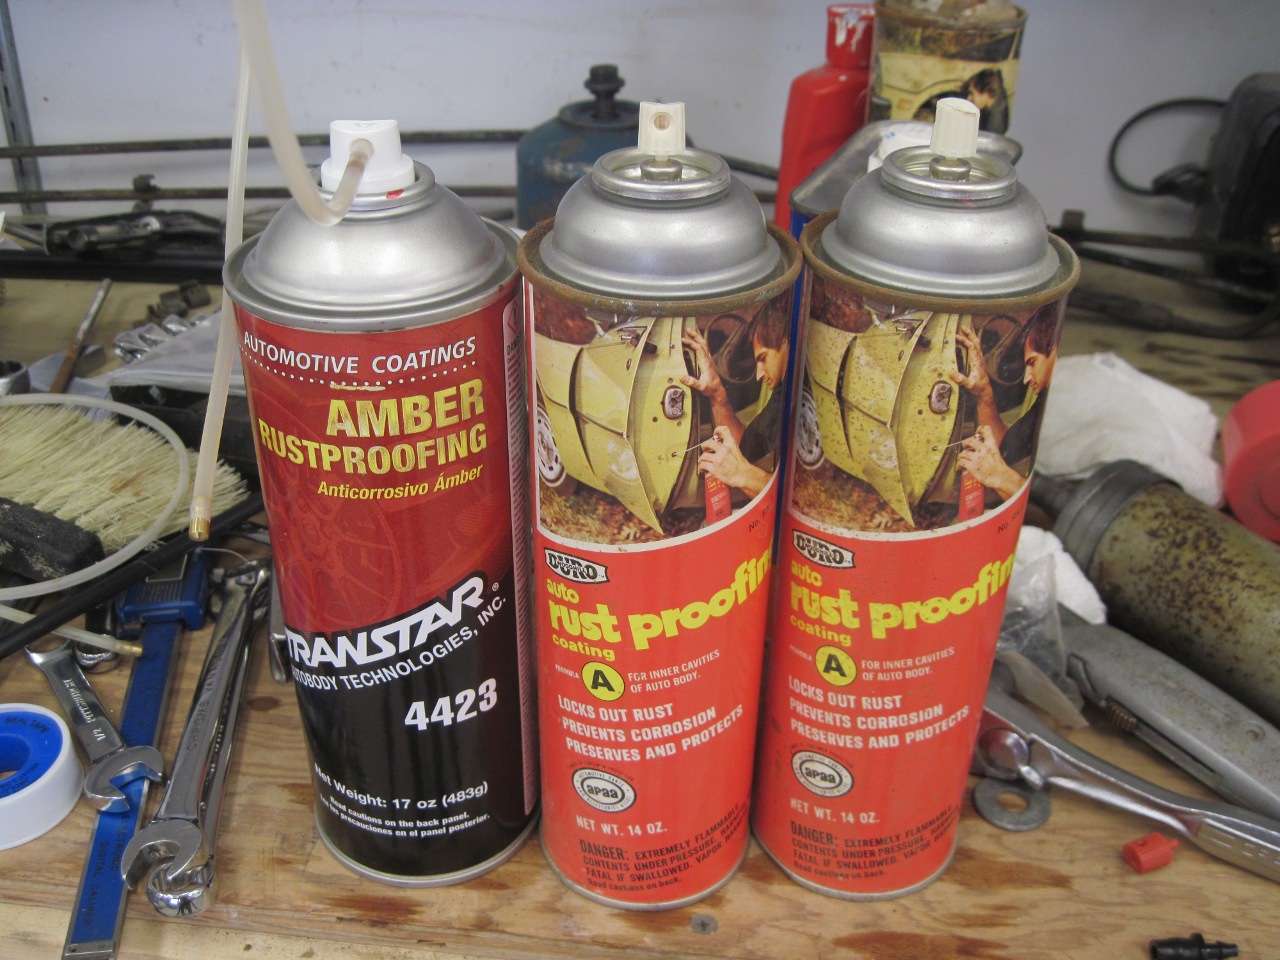
I use a product that
appears to be a heavy wax thinned with a solvent and delivered from a
spray can. I've bought it under several names, but it all seems
to be the same stuff. It smells, looks, and feels the same as
what Ziebart uses. It clings to surfaces, then dries to a soft
gummy film that never hardens. I used the same nozzle that came with the Internal Frame
Coating.
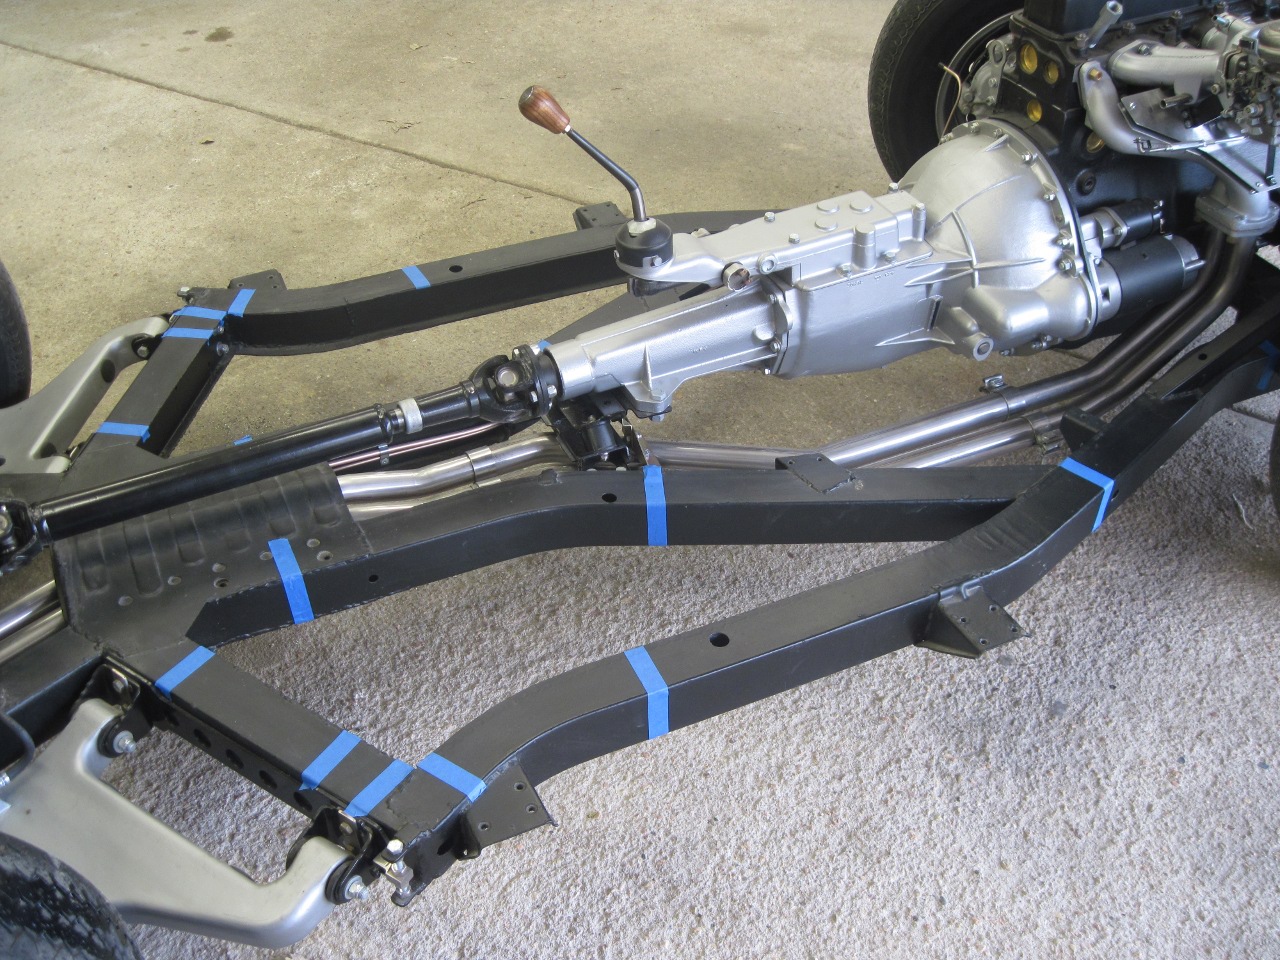
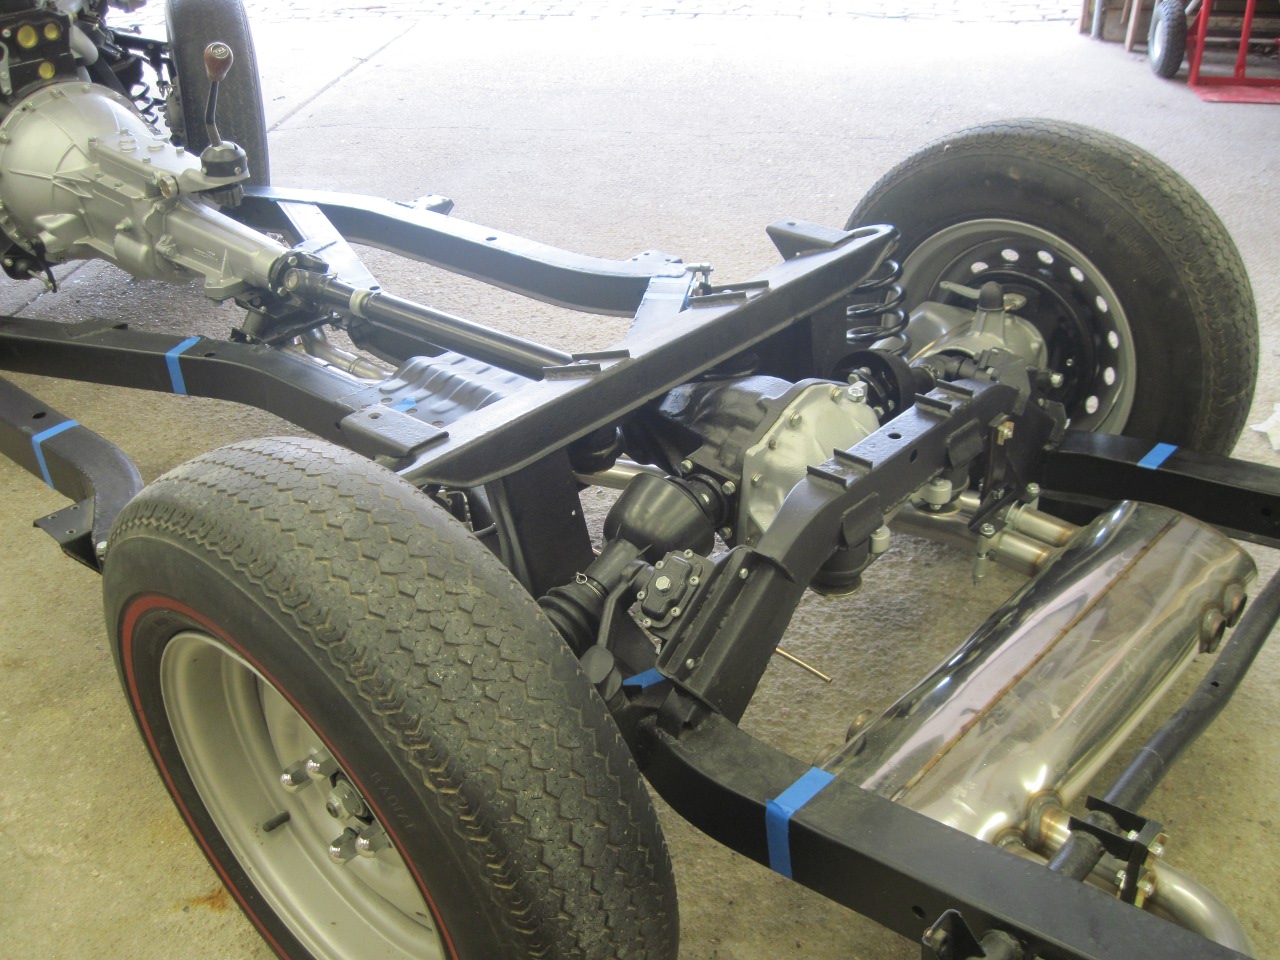
One
thing that complicates the application of anything inside the frame members is
the numerous internal stiffening baffles. I used a feeler to
find the baffles and mark them to make sure I didn't miss any areas. In a couple of places, I drilled holes for access.
With
the inside of the frame finished up, I turned to the outside. I
bought a body mounting kit form one of the big three suppliers. I
don't remember which supplier it was, but it was a huge
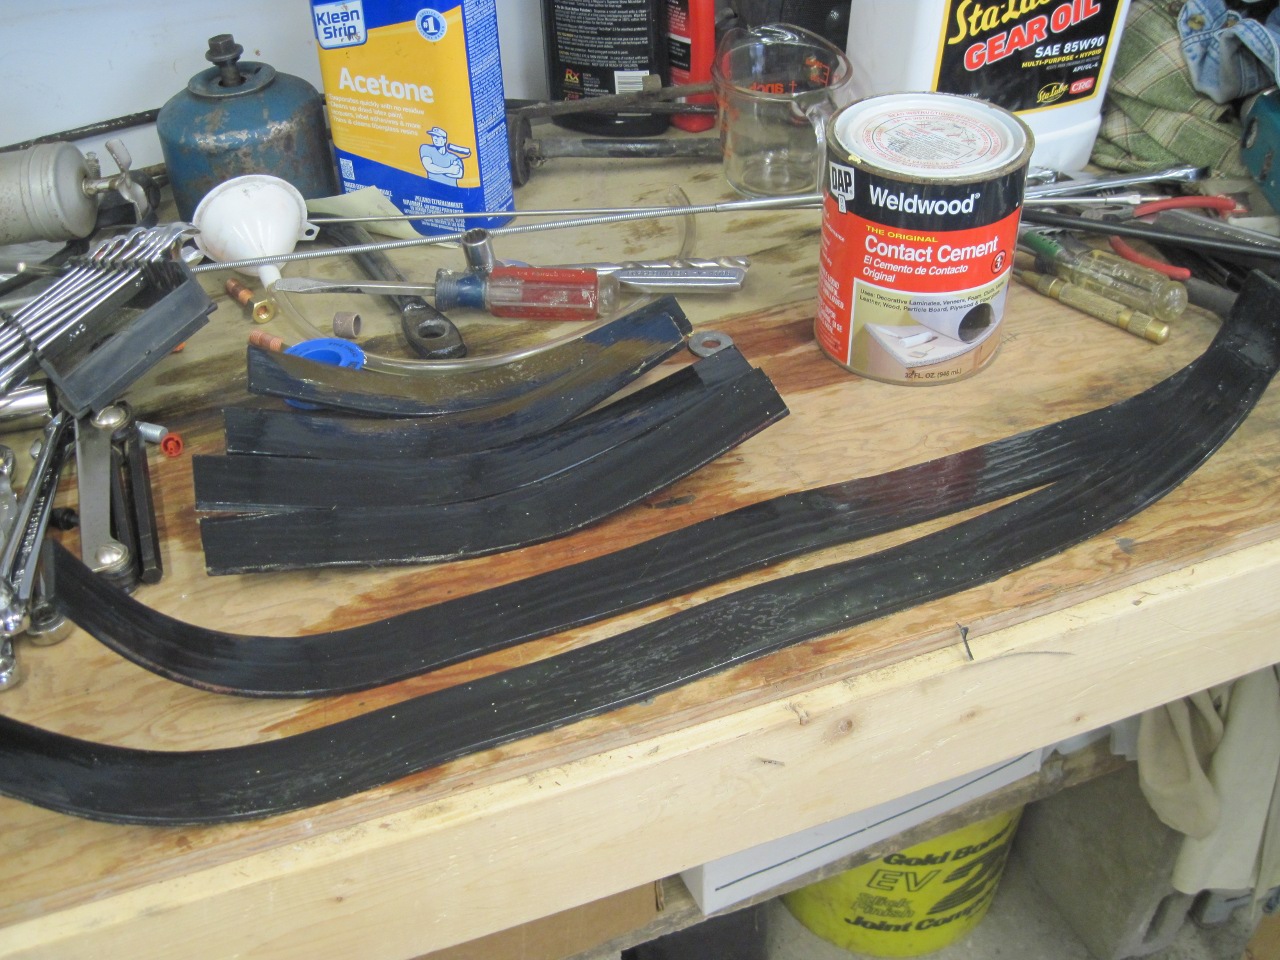
disappointment. I didn't end up using much of it. One part
that was OK was the rubber strips that get glued to the frame rails.
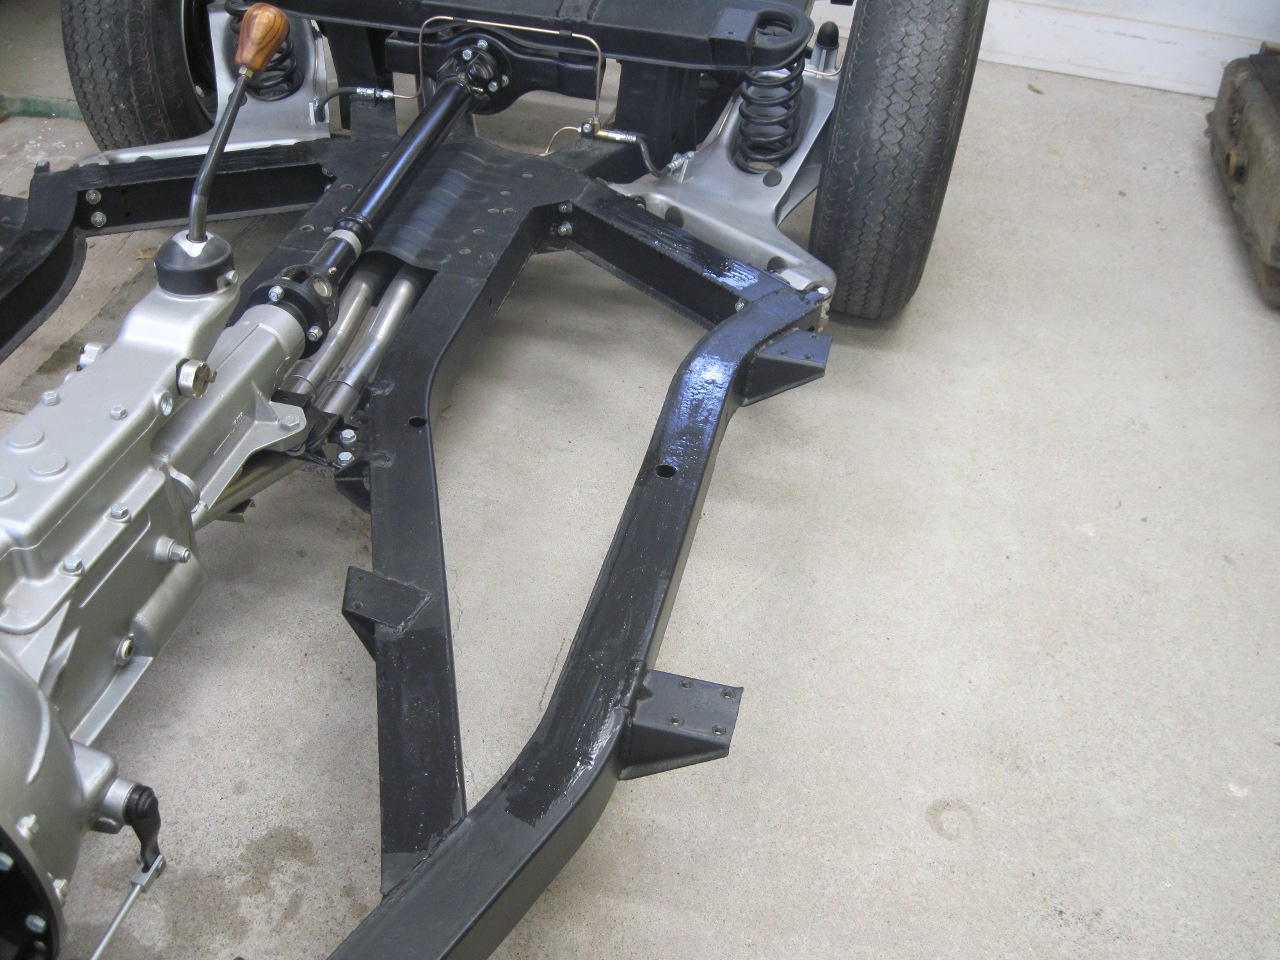
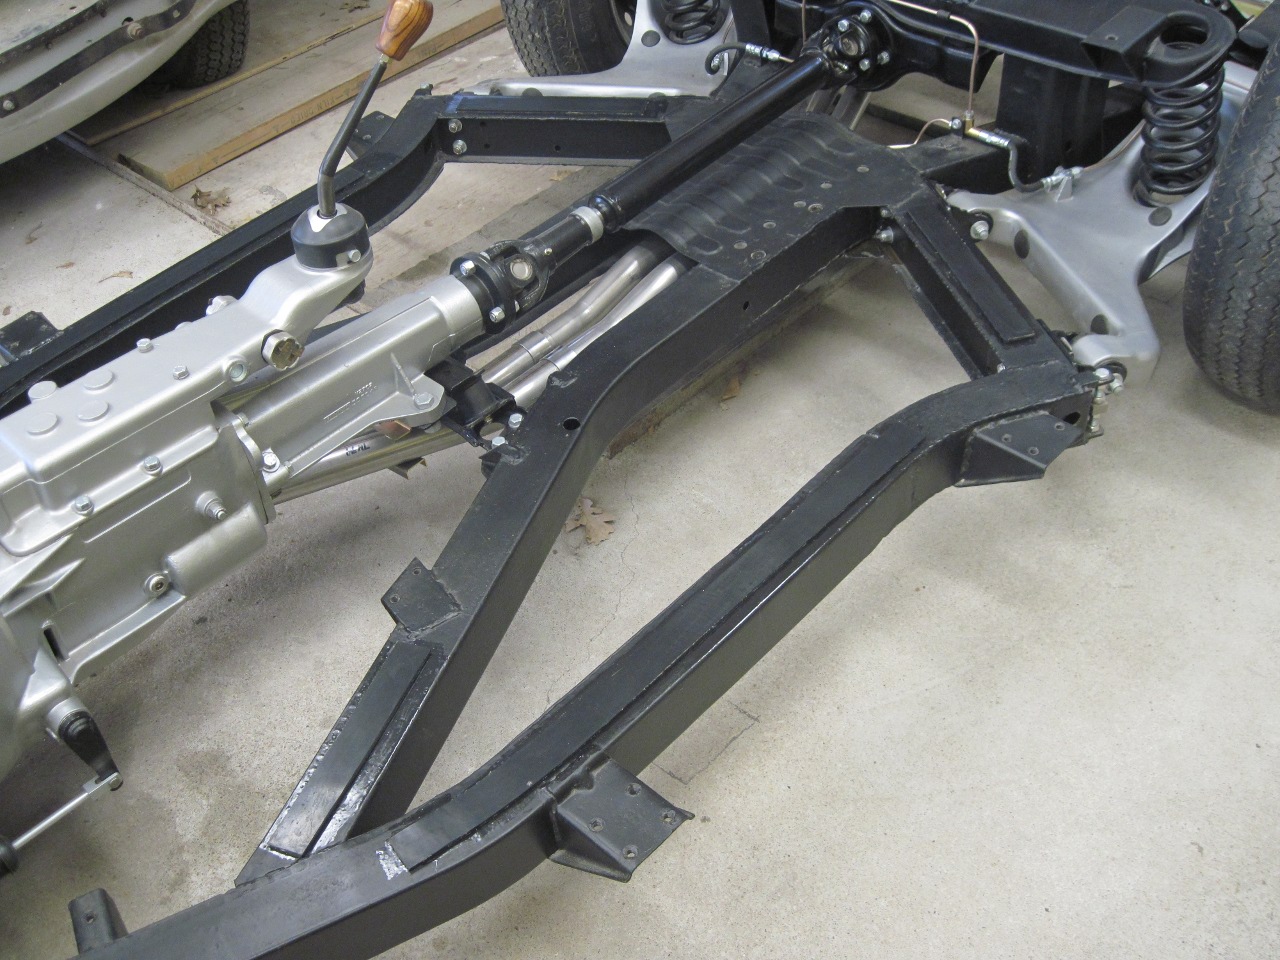
The
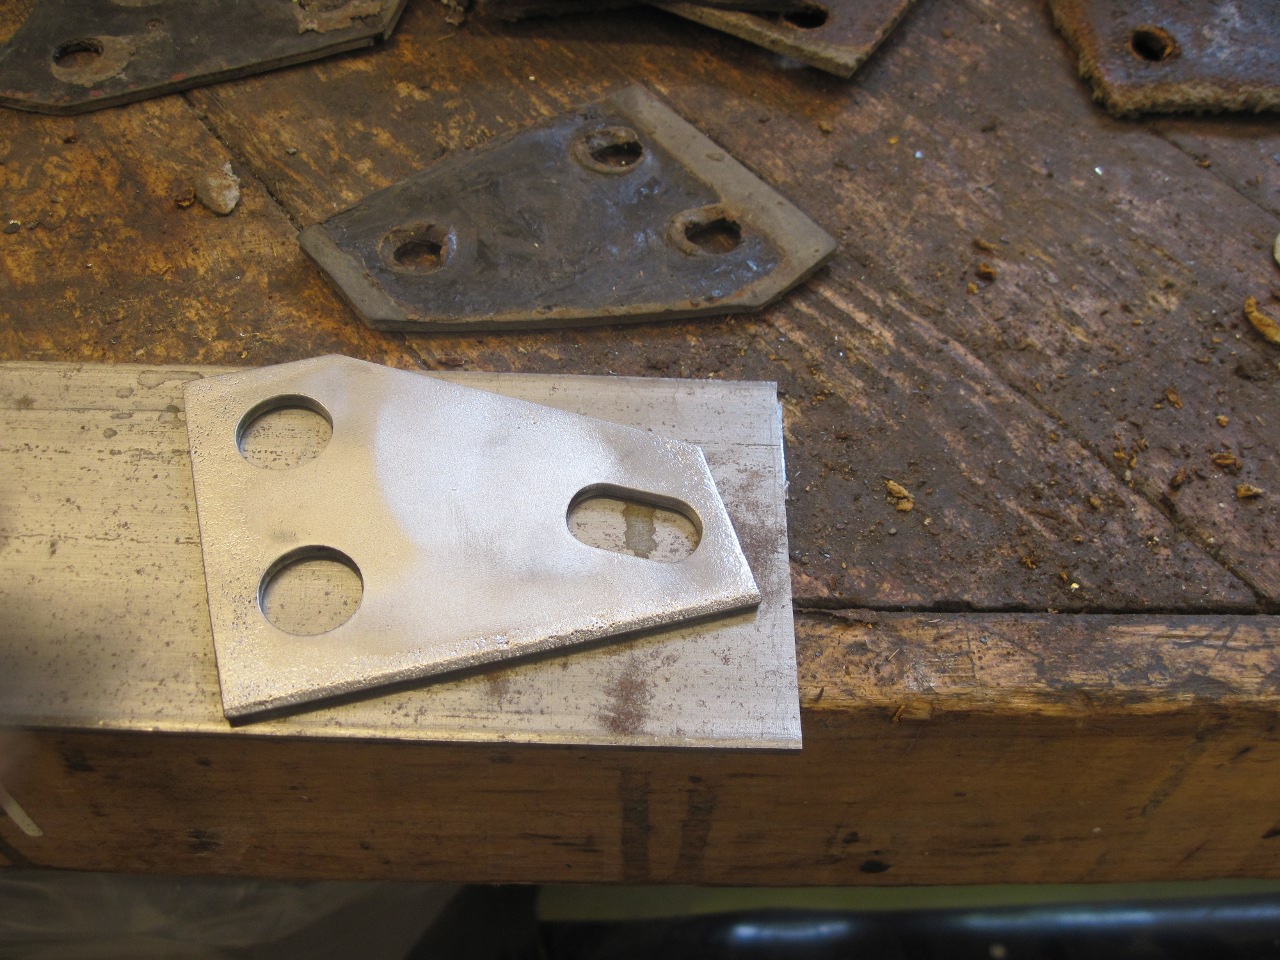
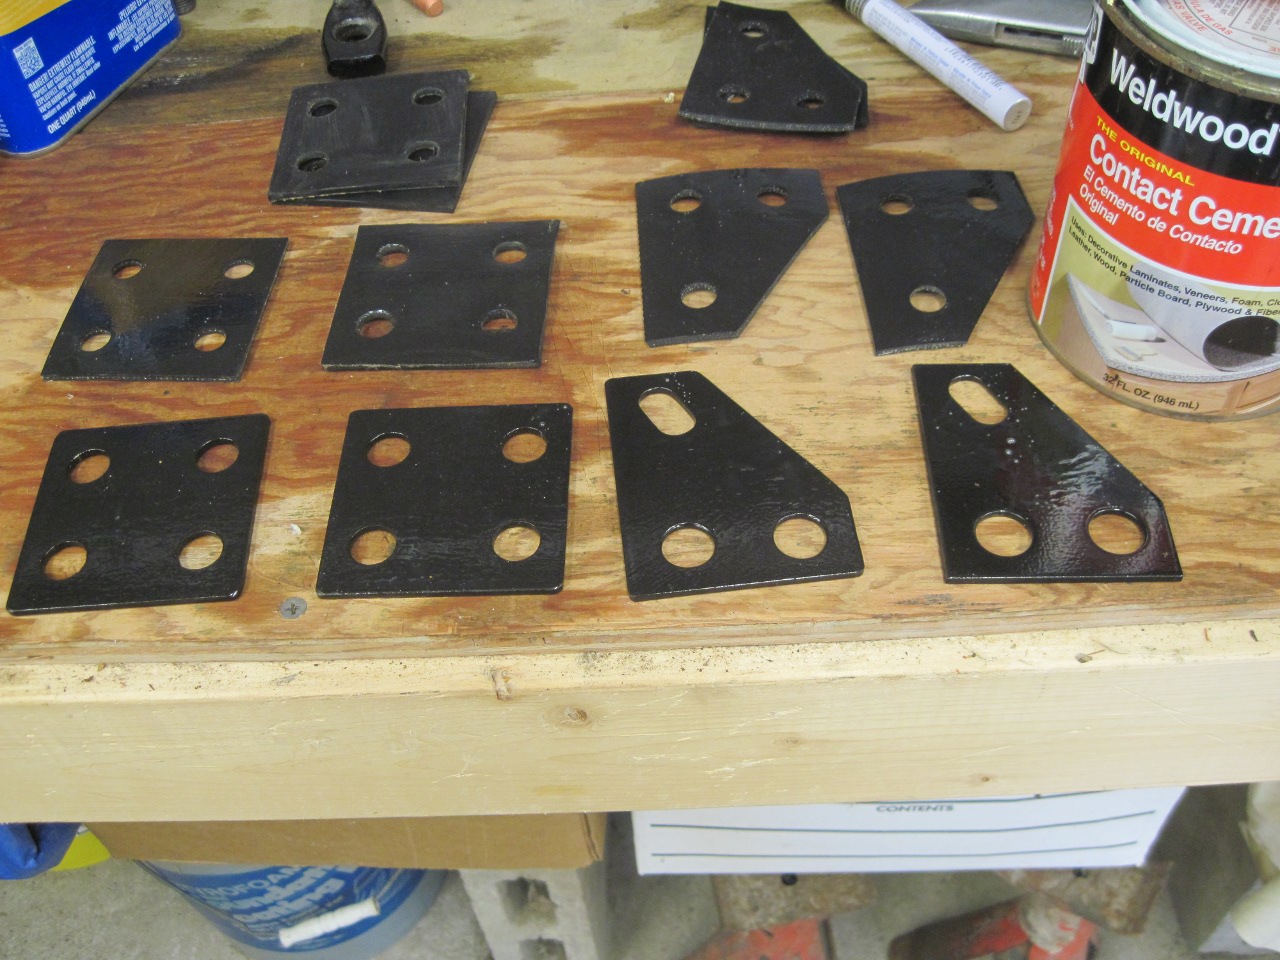
main body mounts on either side of the cabin floor are a combination of
metal plates and rubber pads. My car was missing one of the
trapezoidal metal plates, and I wanted to at least start with the same
mounts at all four places, so I had to make a trapezoidal plate, using
the existing one as a pattern. I derusted and powder coated all
the plates.

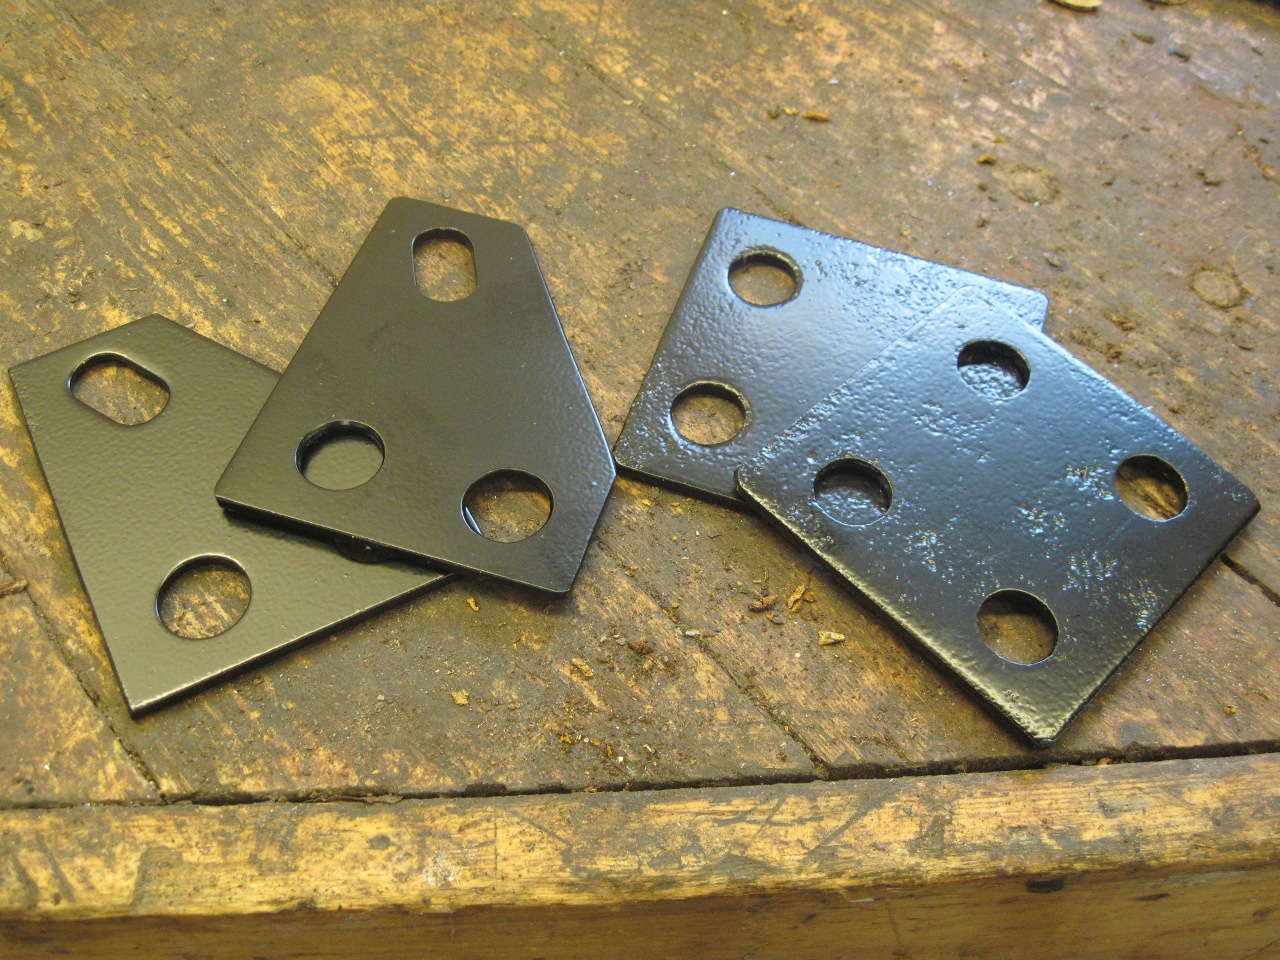
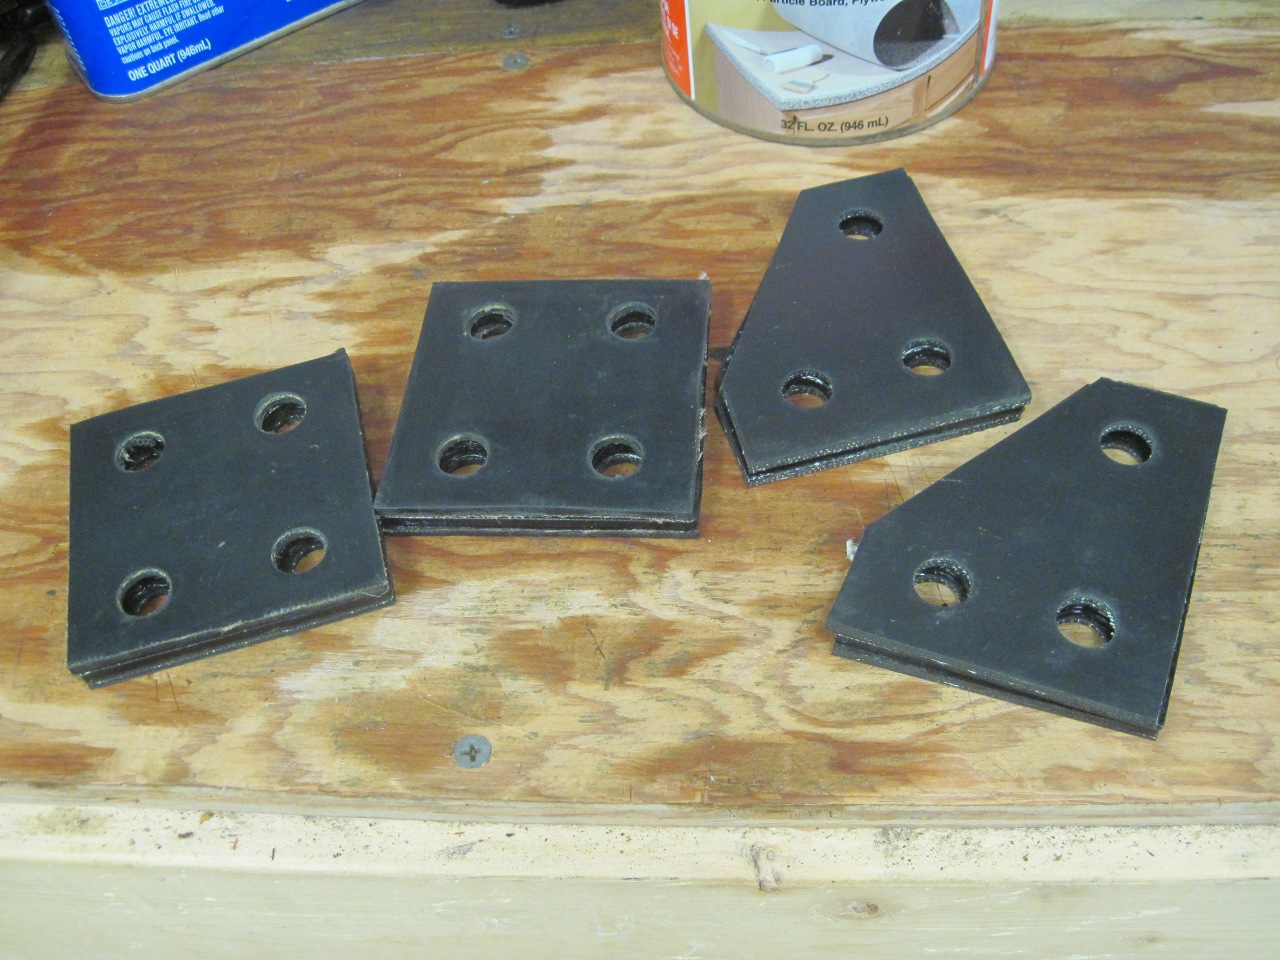
There
was supposed to be four trapezoidal and four square rubber pads in the
mounting kit, but it was short one of the square ones. I was
consdidering using one of the originals when I noticed that while the
original pads have a reinforcing fabric embedded in them, the new ones
were just rubber, with no reinforcement. The fabric layer serves
to prevent the rubber from distorting and extruding under pressure.
In the end, I decided to chuck all the bought pads and just make
them from a sheet of 1/8 inch reinforced rubber sheet. I was also
irritated by the sloppy shape of the purchased trapezoidal pads.
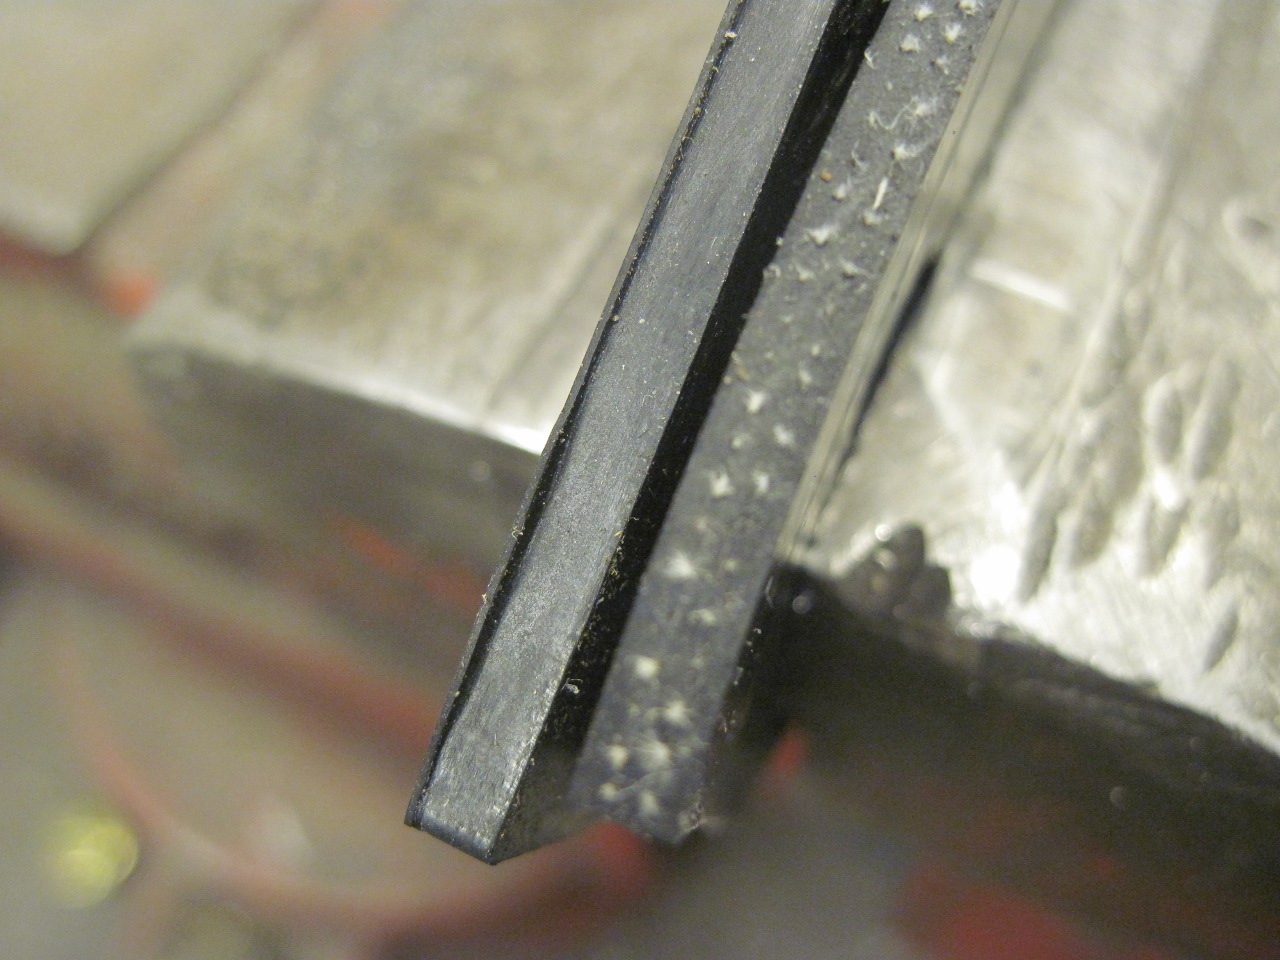
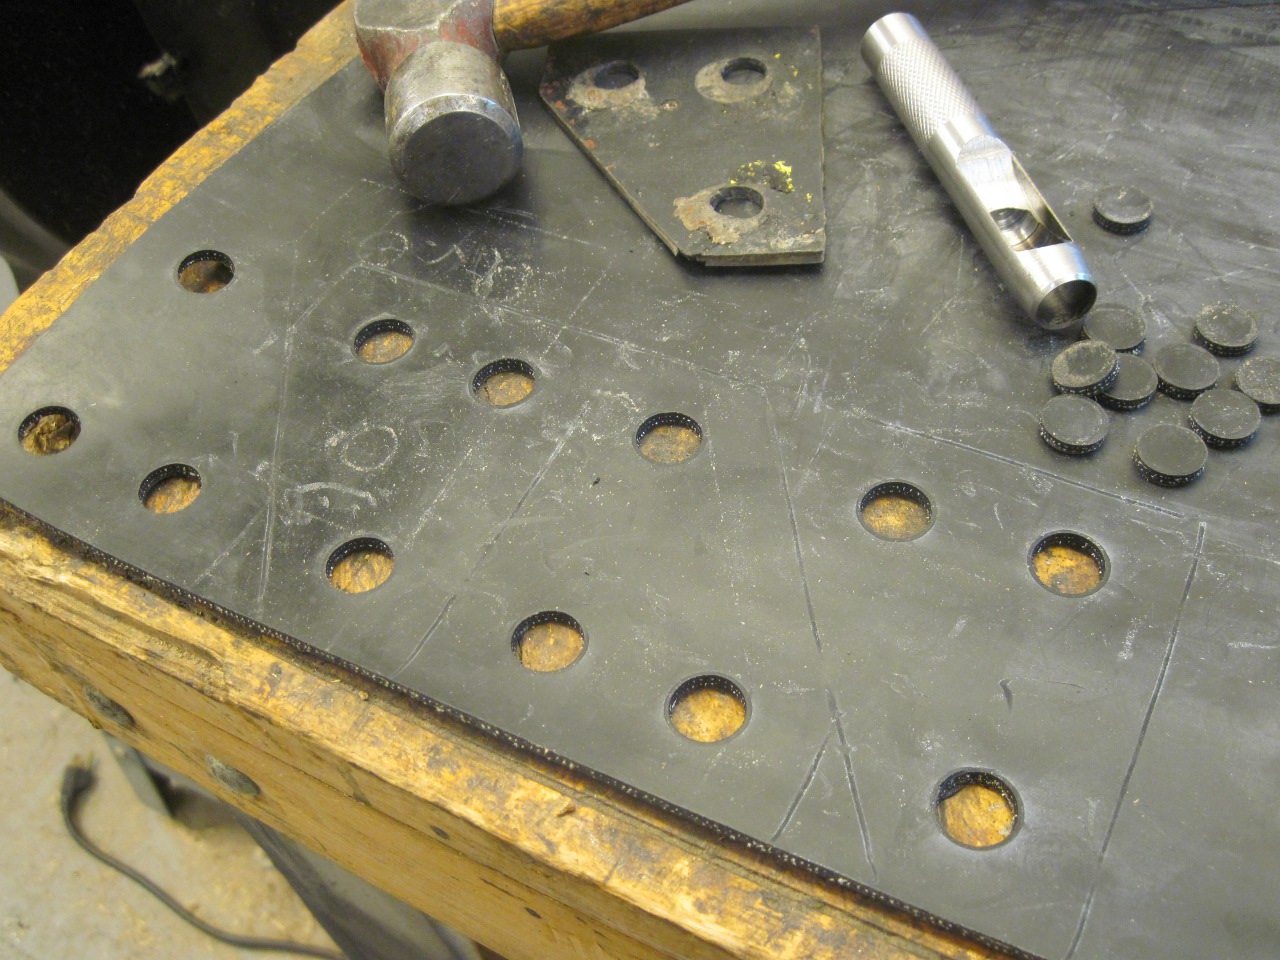
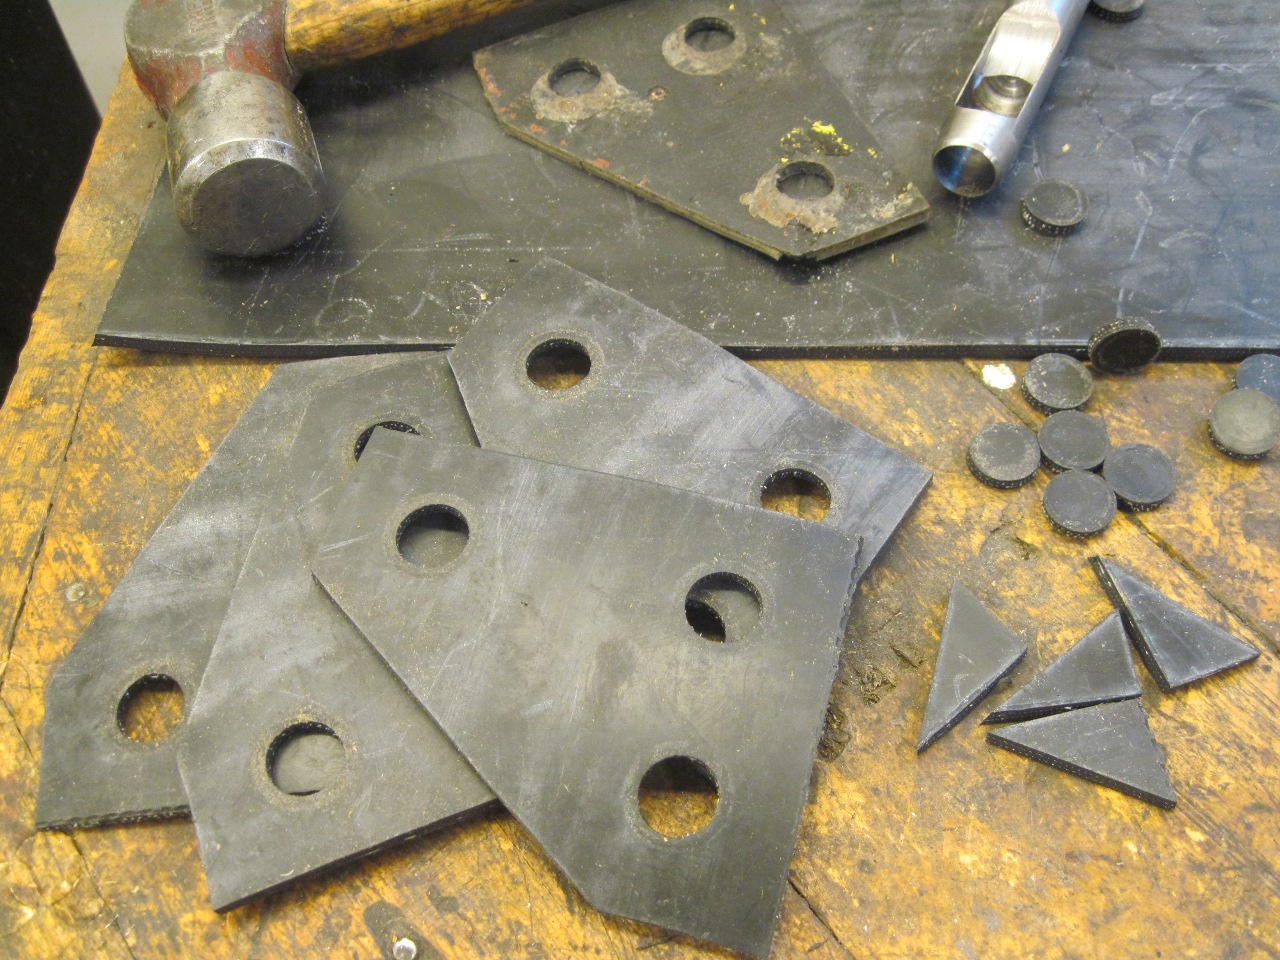
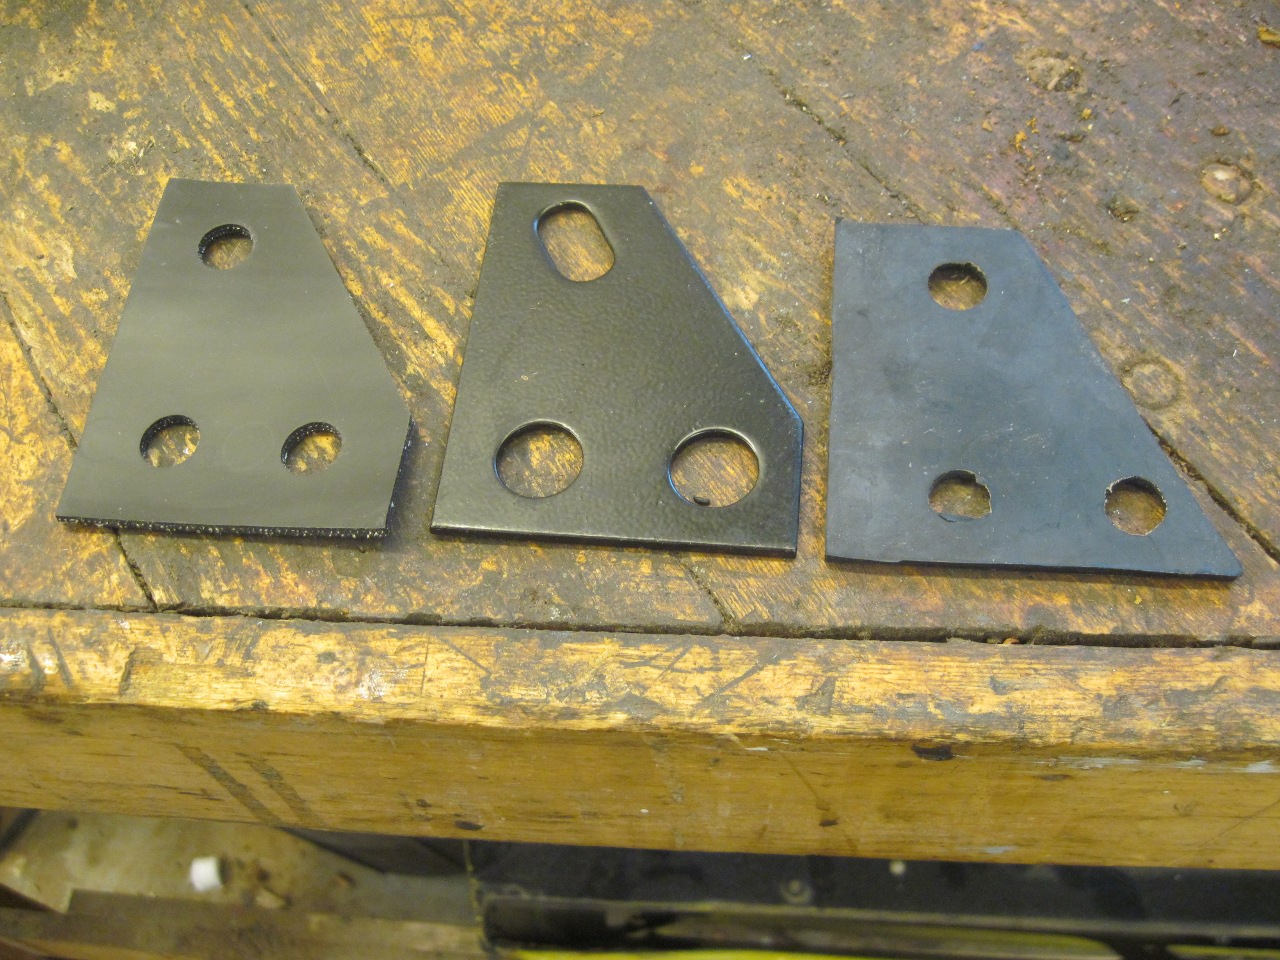
I built up mounts by sandwiching the metal plates between rubber pads.
In
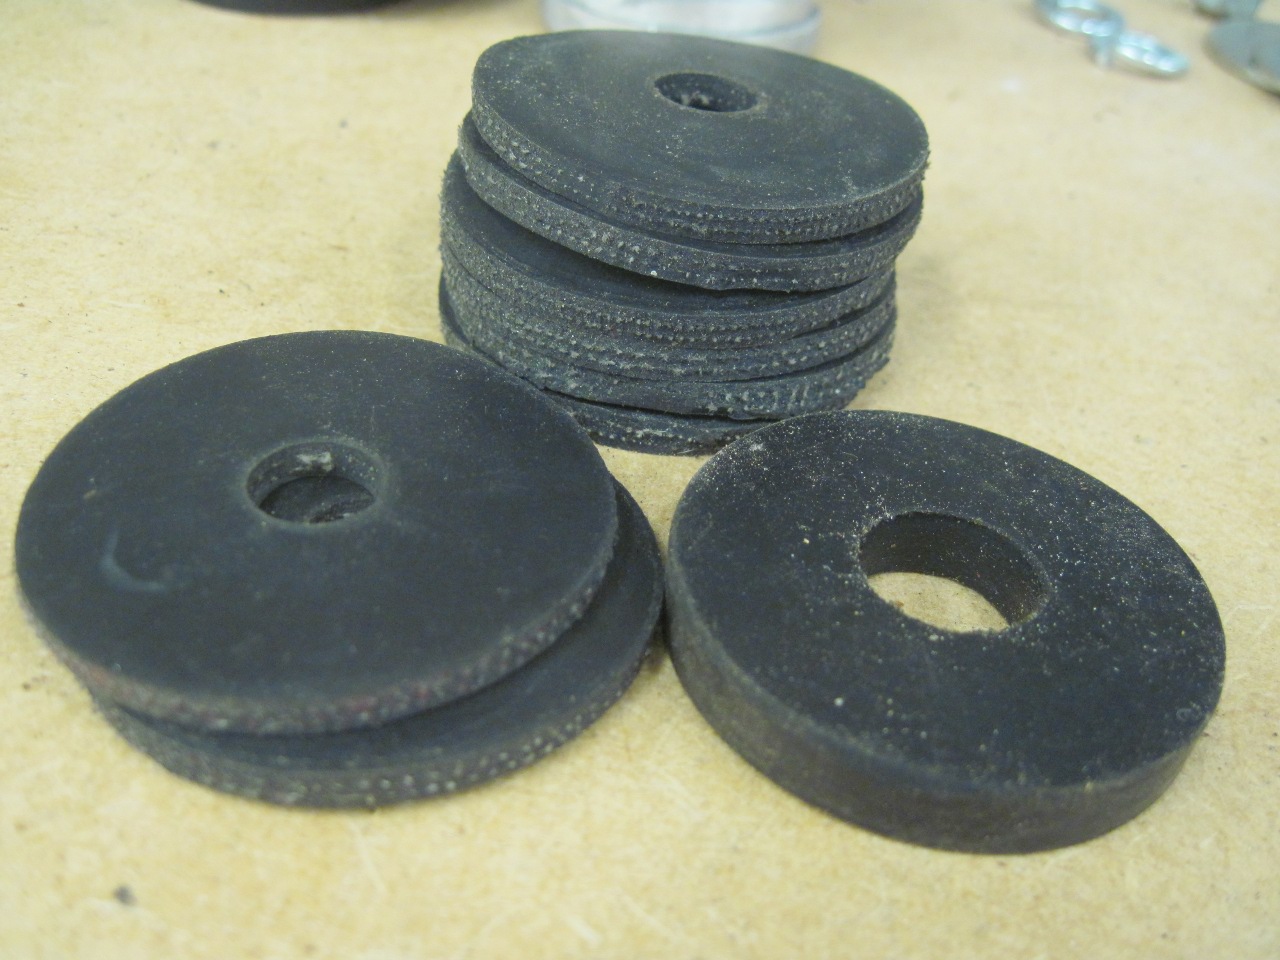
sorting through the other parts in the mounting kit, I discovered that
it didn't include any of the thin rubber washers needed for some of the
mounting points, and that the thick ones in the kit also didn't have
any reinforcement. So I had to go back to my rubber sheet to
make the thick washers, and ordered the thin ones (probably from a
different supplier since they came made of reinforced material).
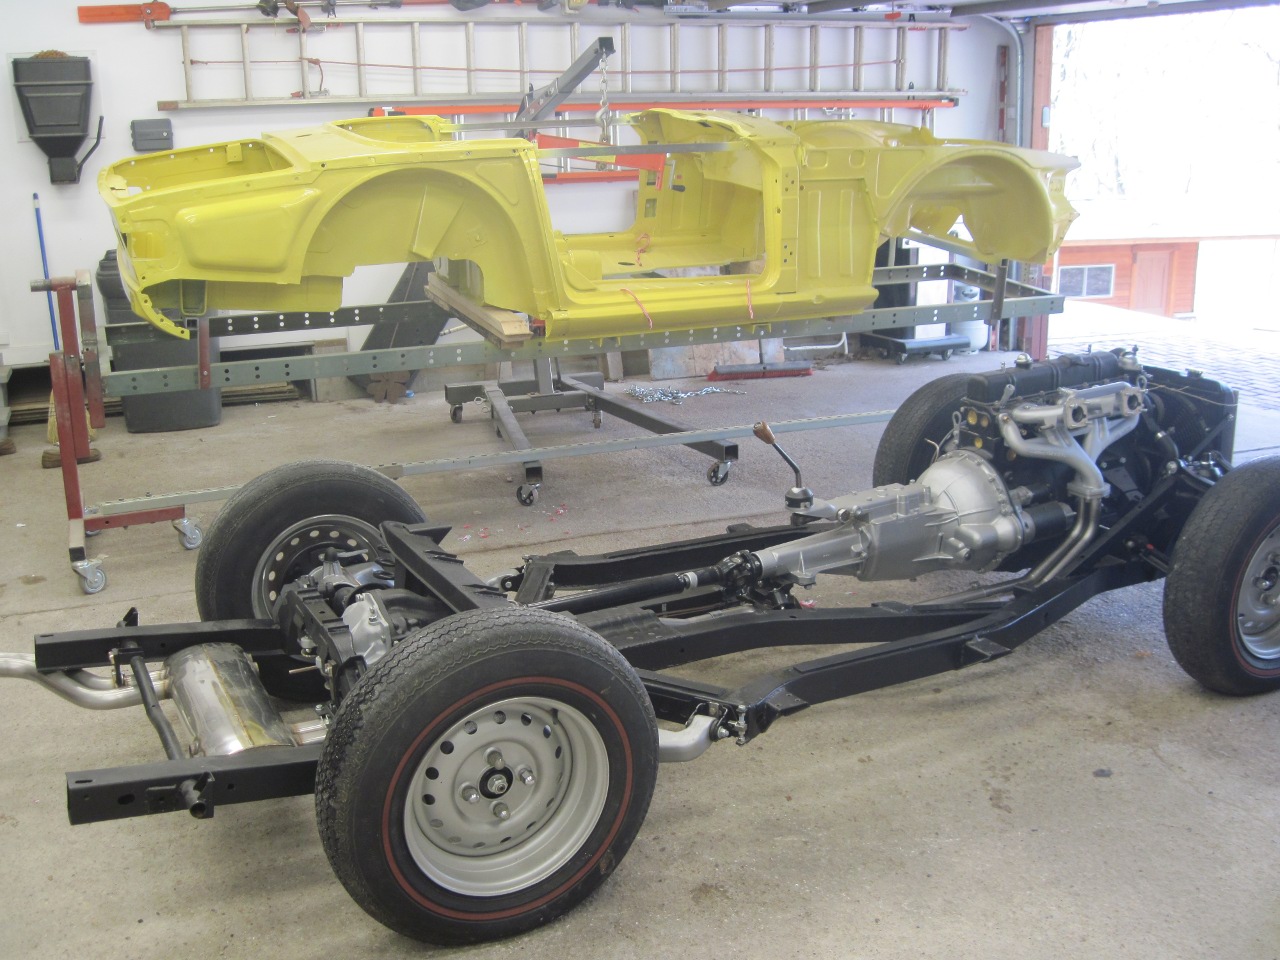
So
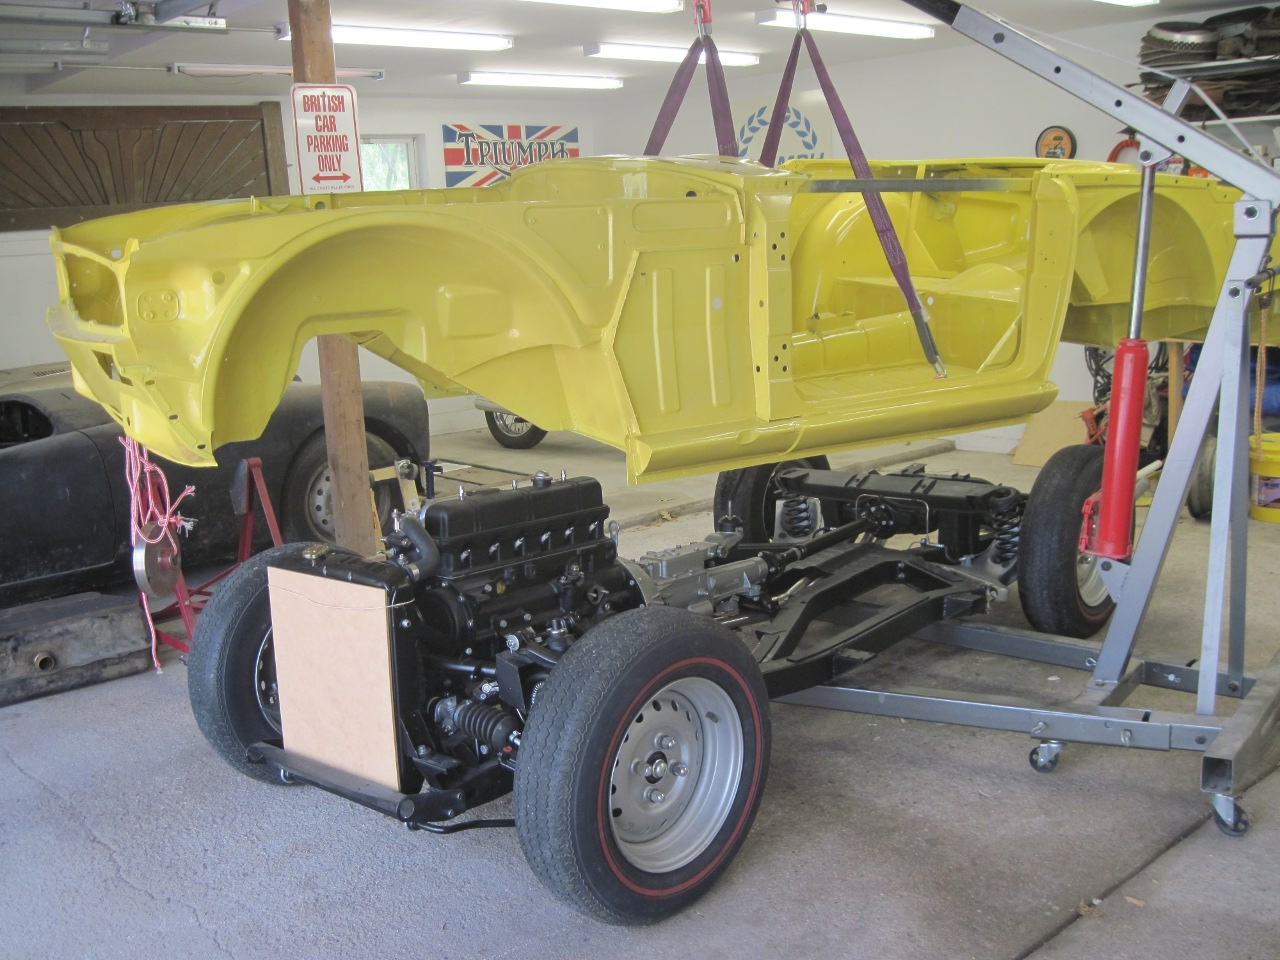
then, it was show time! Hooked up the skyhook, lifted the tub off
the rotisserie and pulled it out of the way, and gently nudged the
hanging tub over to the waiting frame.
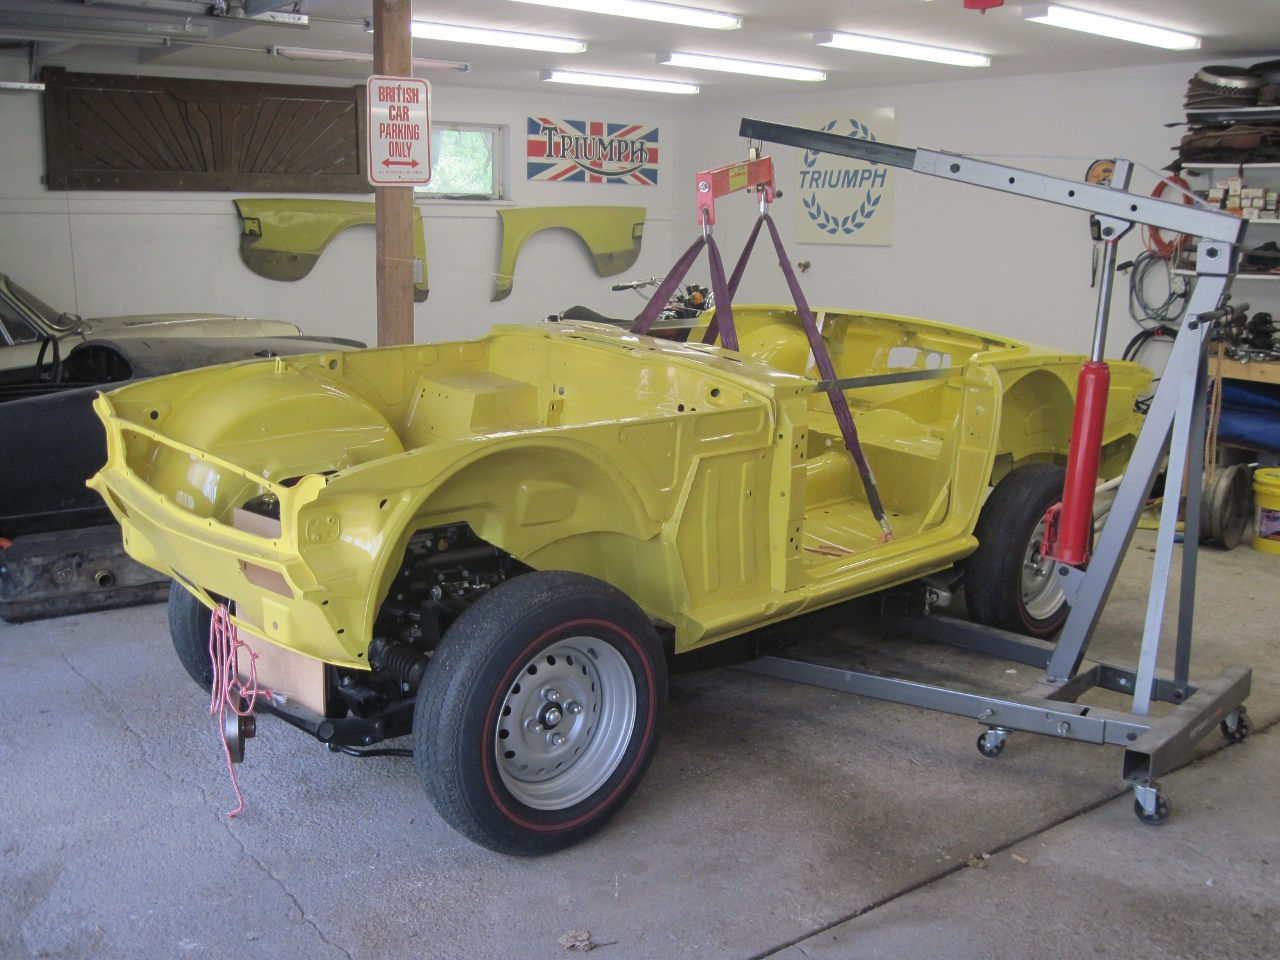
Since
I had braced the door openings of the tub before I removed it from the
frame, and had been
pretty careful to keep the front and rear of the tub located
and supported on the rotisserie while I was doing all the repair
on it, I hoped that I'd have minimal trouble with re-mounting the tub.
At most of the mounting points, the nominal compliment of spacers
and rubber washers seemed to be about right to fill the gap between the
frame and tub. One confusion was with the holes that accept
the seat belt stalks near the central tunnel. All the catalogs
show rubber mounts there, but my car had thick steel spacers instead.
This was apparently a change made some time before '74 that the
suppliers don't acknowledge in their parts listings. (The
larger spacer in the pic is an unrelated part that I thought at the
time was a mounting shim.)
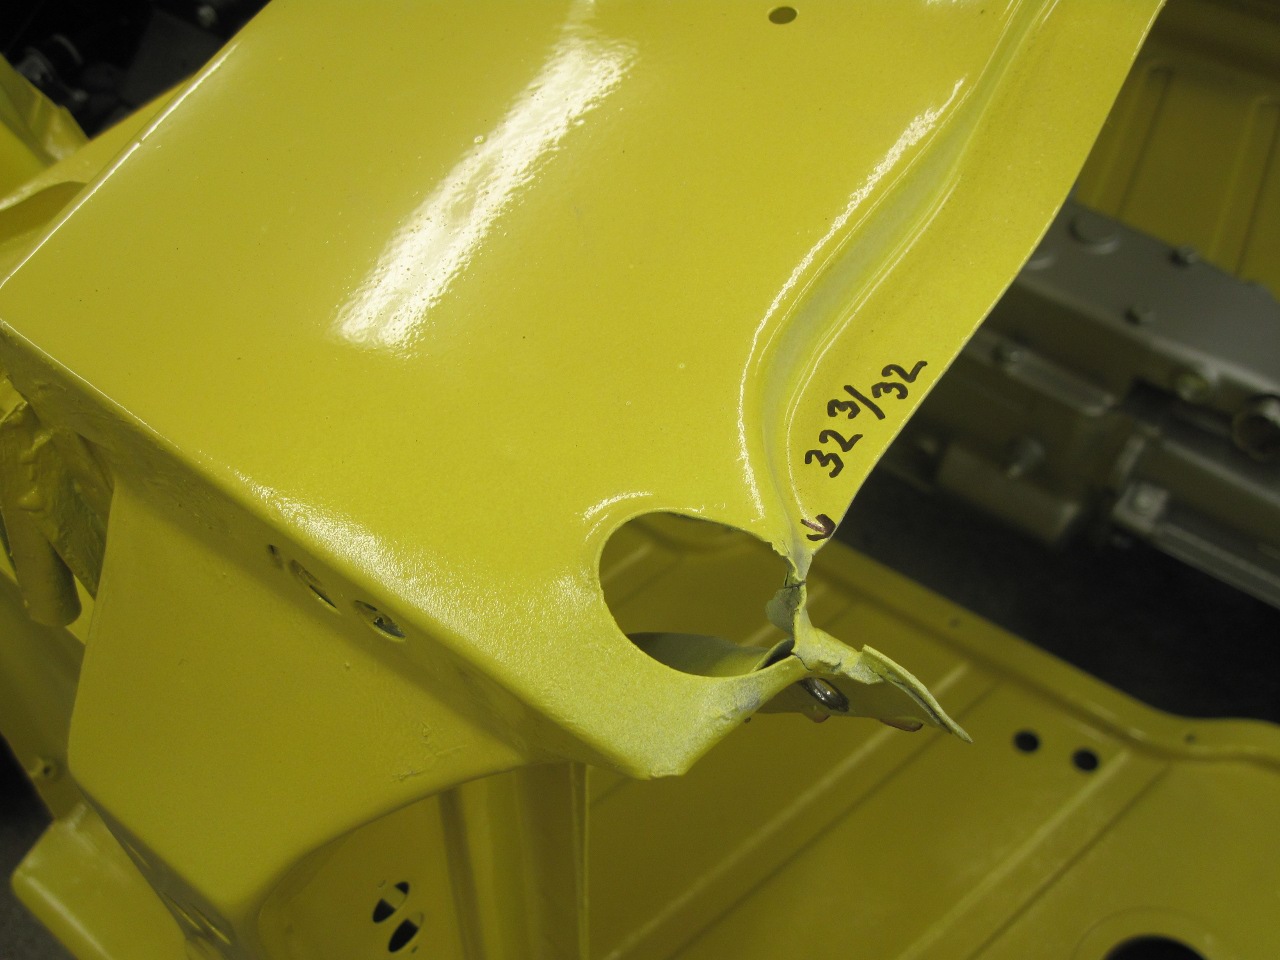
The next tense moment was removing the door
opening braces. I feared that all the welding on the tub had
built up huge forces only restrained by those braces, and removing them
would release the pent up energy by springing the tub into a twisted
shell. I measured each door opening so I'd know how much things
moved. Thankfully, removing the braces was a non-event.
Movement was minimal--well under an eighth of an inch on one side, and virtually zero on the other..

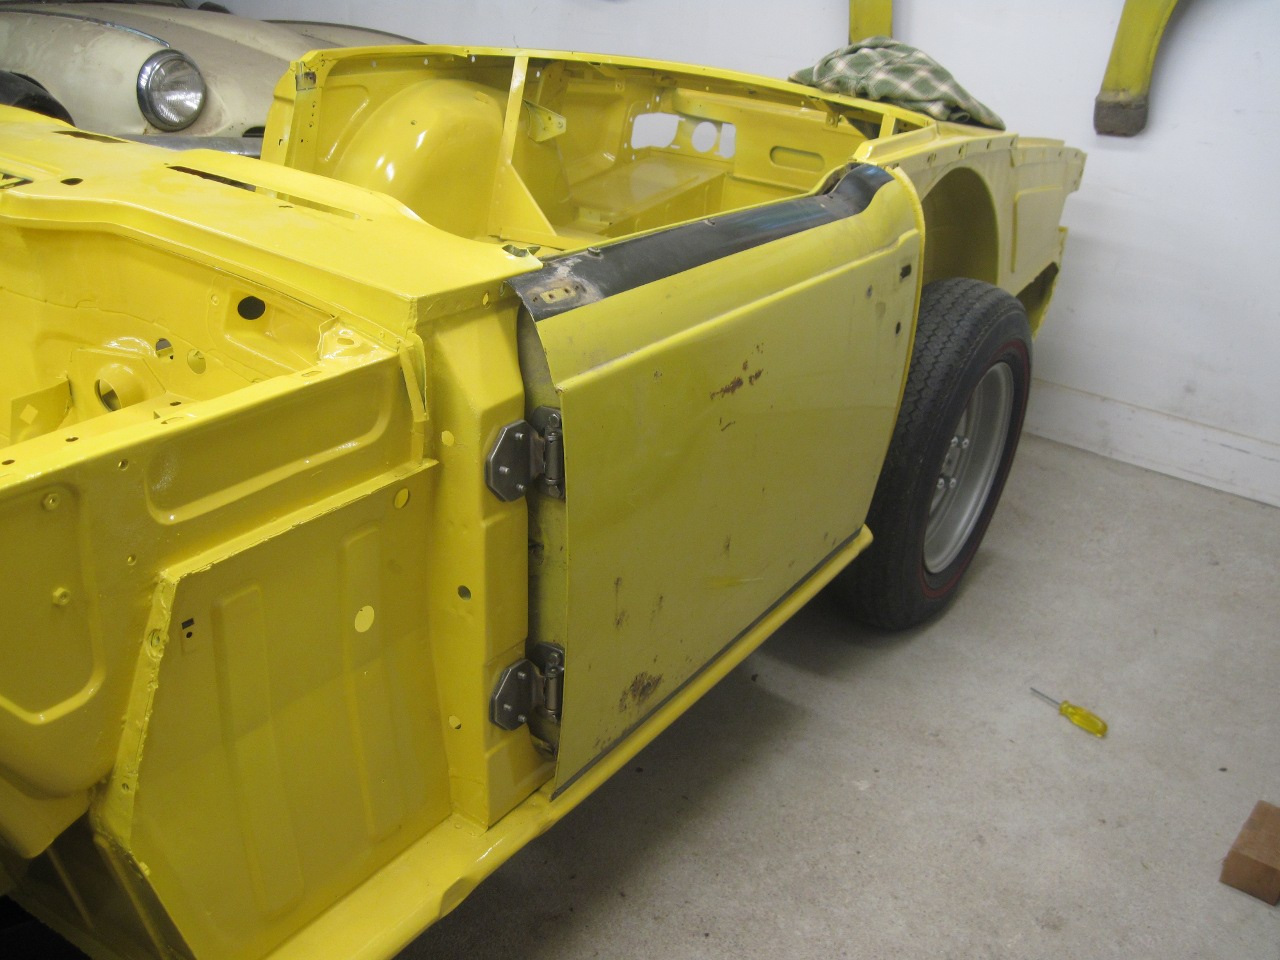
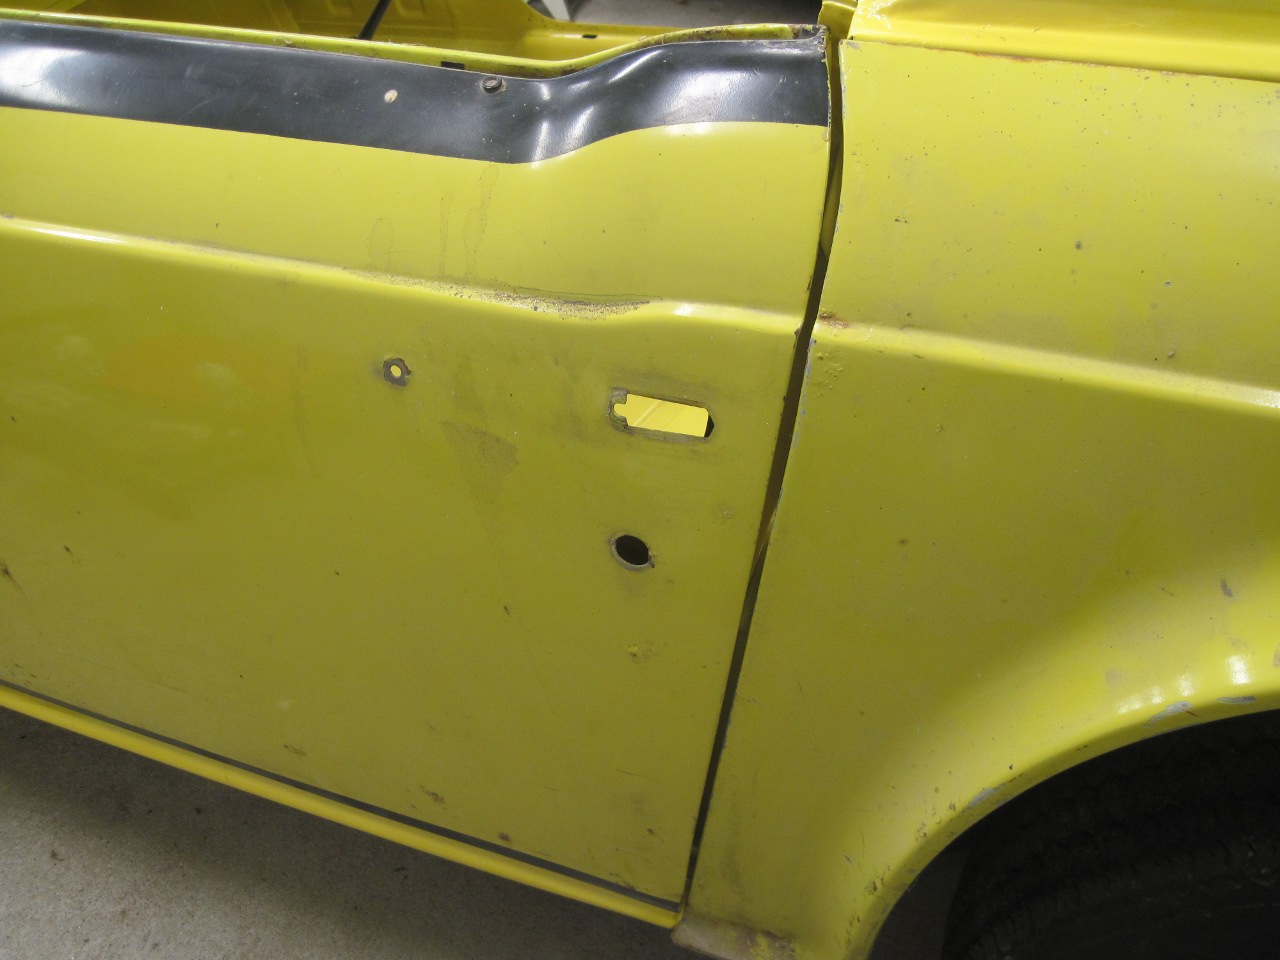
The
next milestone was to temporarily mount the doors and fenders to see if
the door gaps were out of whack. It took some fiddling, but I was
able to satisfy myself that I'll be able to get the door gaps to be OK.

In
looking at the hardware provided in the "kit" to fasten the body, I
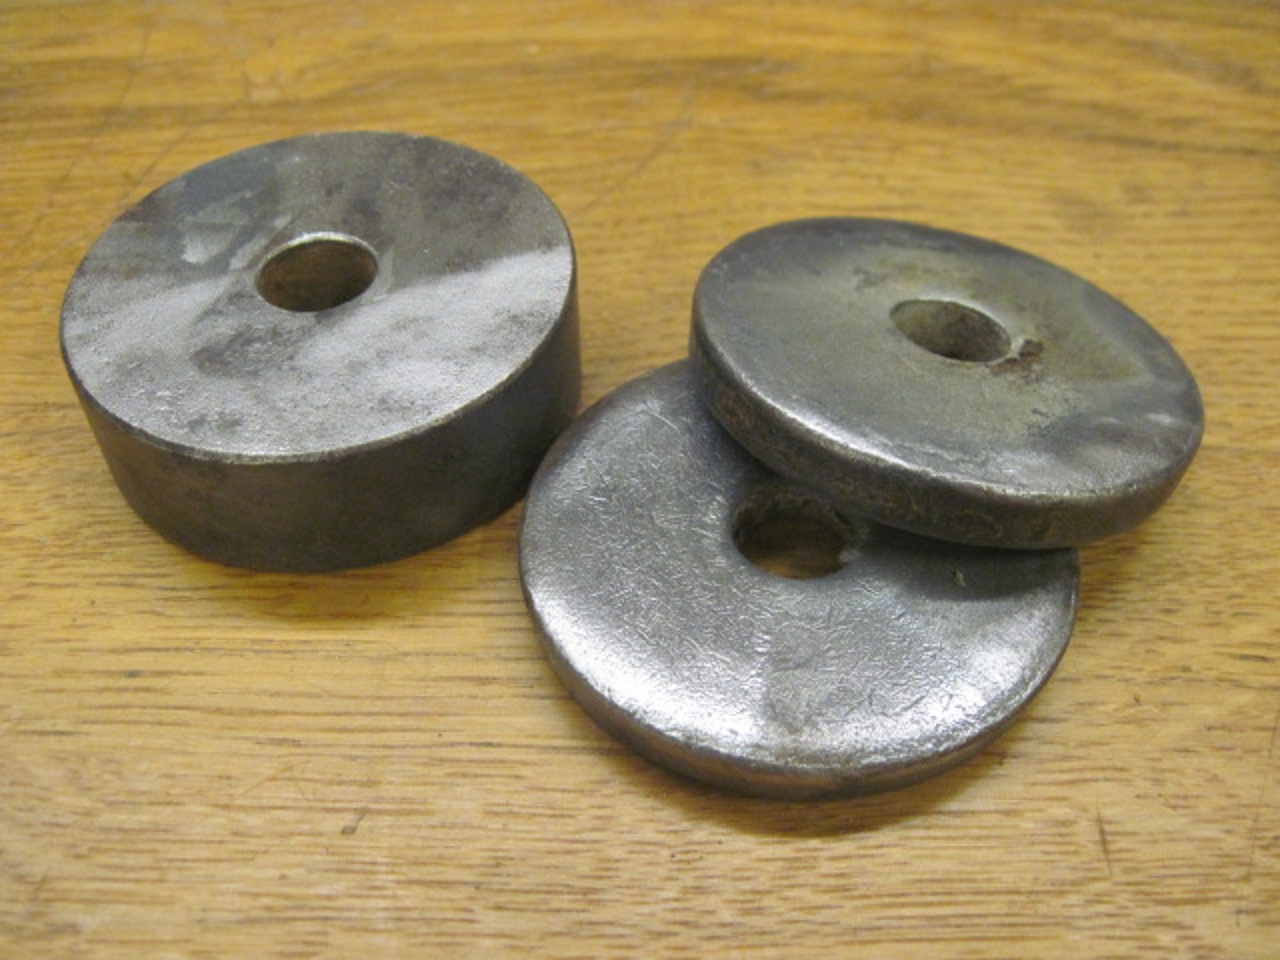
discovered one more outrage. The washer on the left in the pic
below is an original item used under many of the tub fixing bolts.
It is thick to ensure it doesn't distort while spreading
clamping force evenly to the sheet metal of the tub. The washer
on the right is what the "kit" supplied for the job. With some
mild cursing, I tossed the kit washers in my loose hardware
bucket. I was able to save about half of the original washers by
derusting and replating, but had to buy the rest from an industrial
supplier.

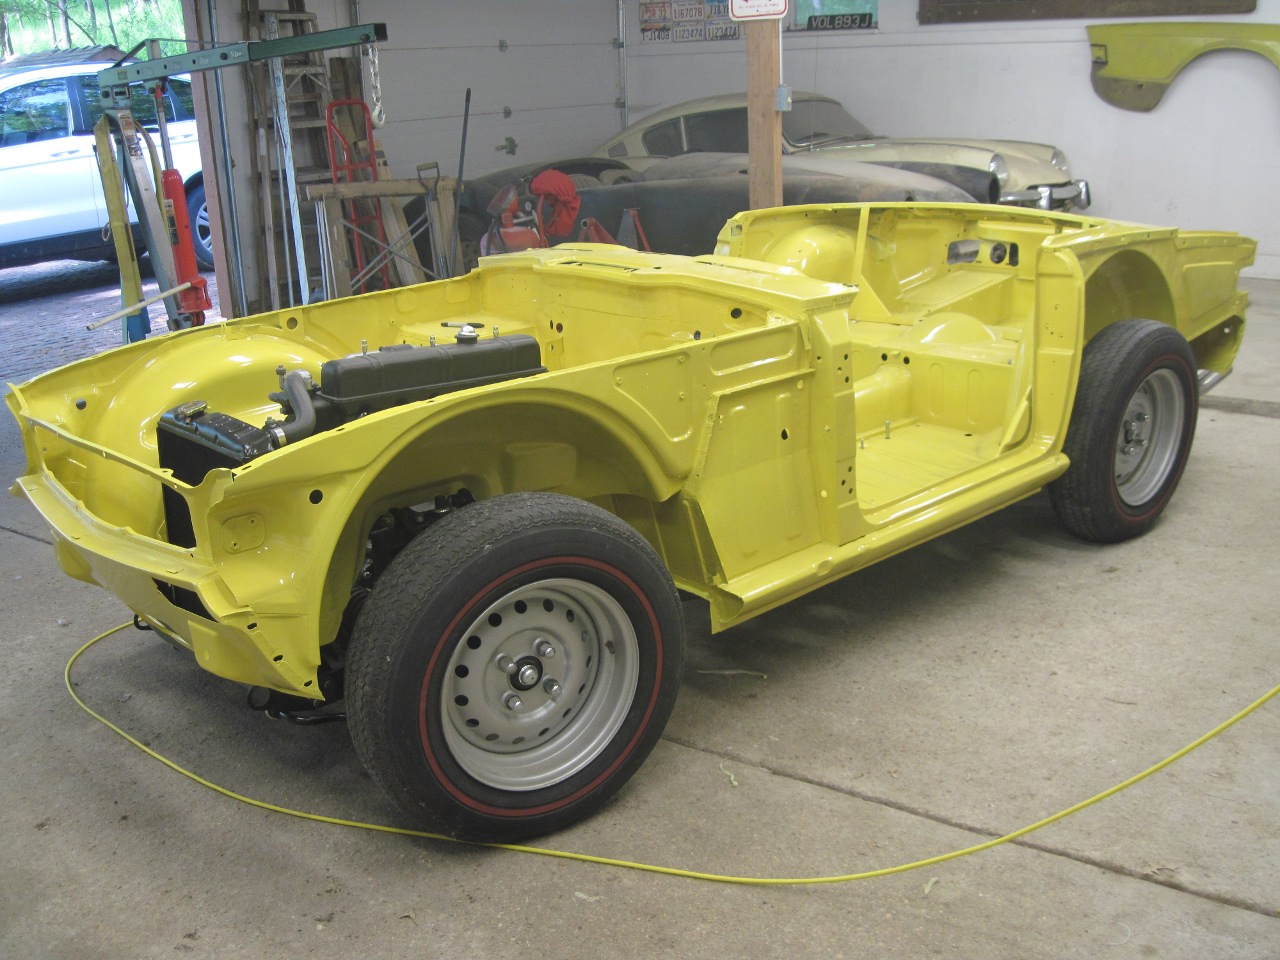
So,
in spite of the worthless mounting kit, my tub is now provisionally
mounted on the frame, I have some newfound space in the garage, and I'm
really looking forward to a summer of bolting things onto the car.
Comments to Ed at elhollin1@yahoo.com
To my other TR6 pages